-
Posts
10,356 -
Joined
-
Last visited
Content Type
Profiles
Forums
Gallery
Events
Everything posted by ccoyle
-
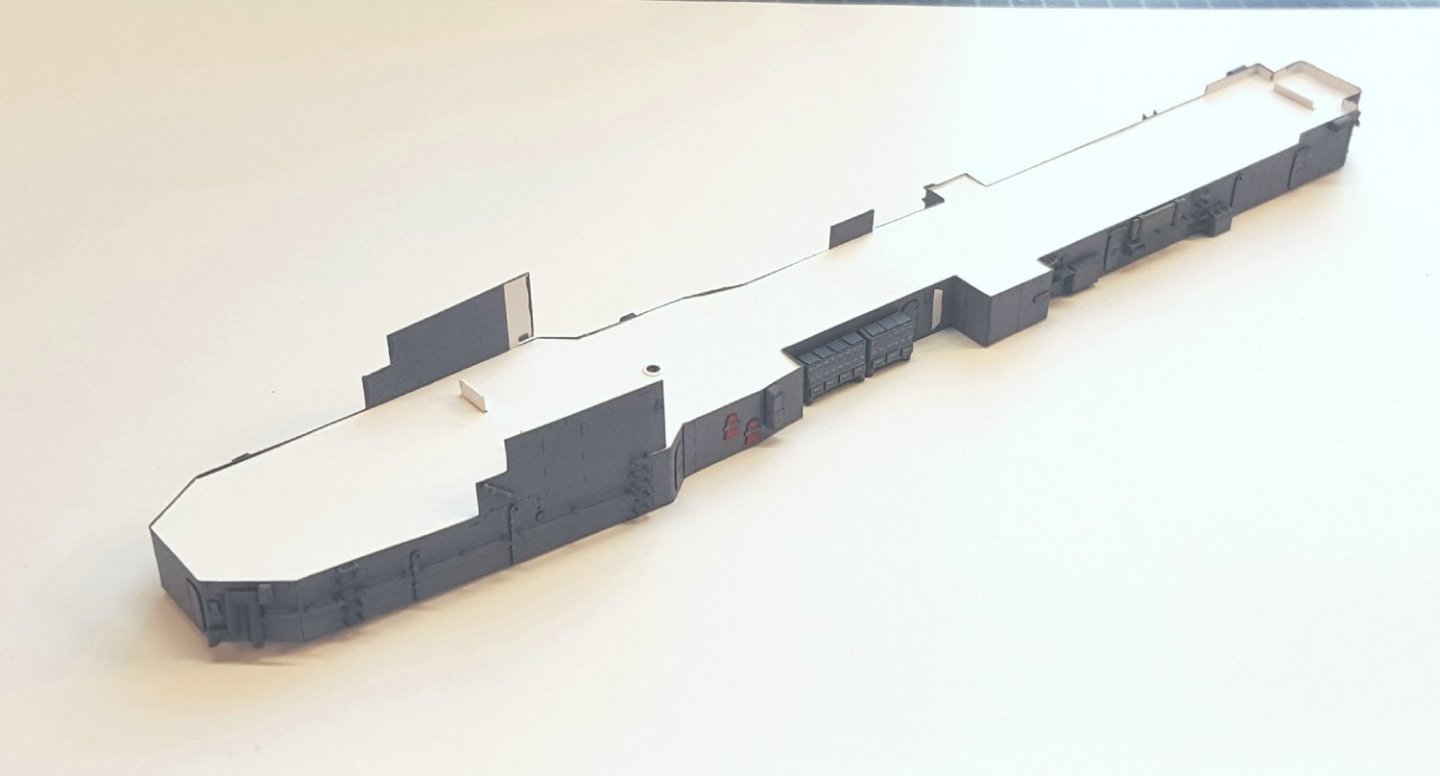
They wrap around projections of the deck. No tabs. Like most of my models, they look great when viewed from the right distance and/or angle! 😉
-
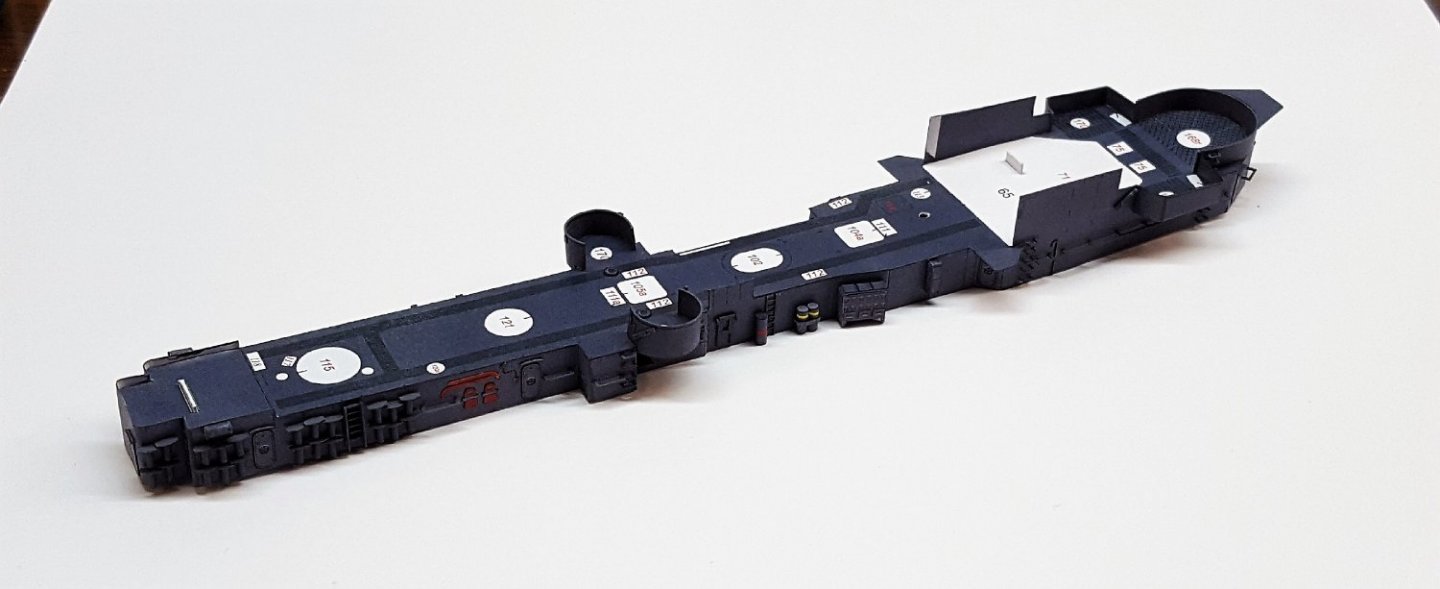
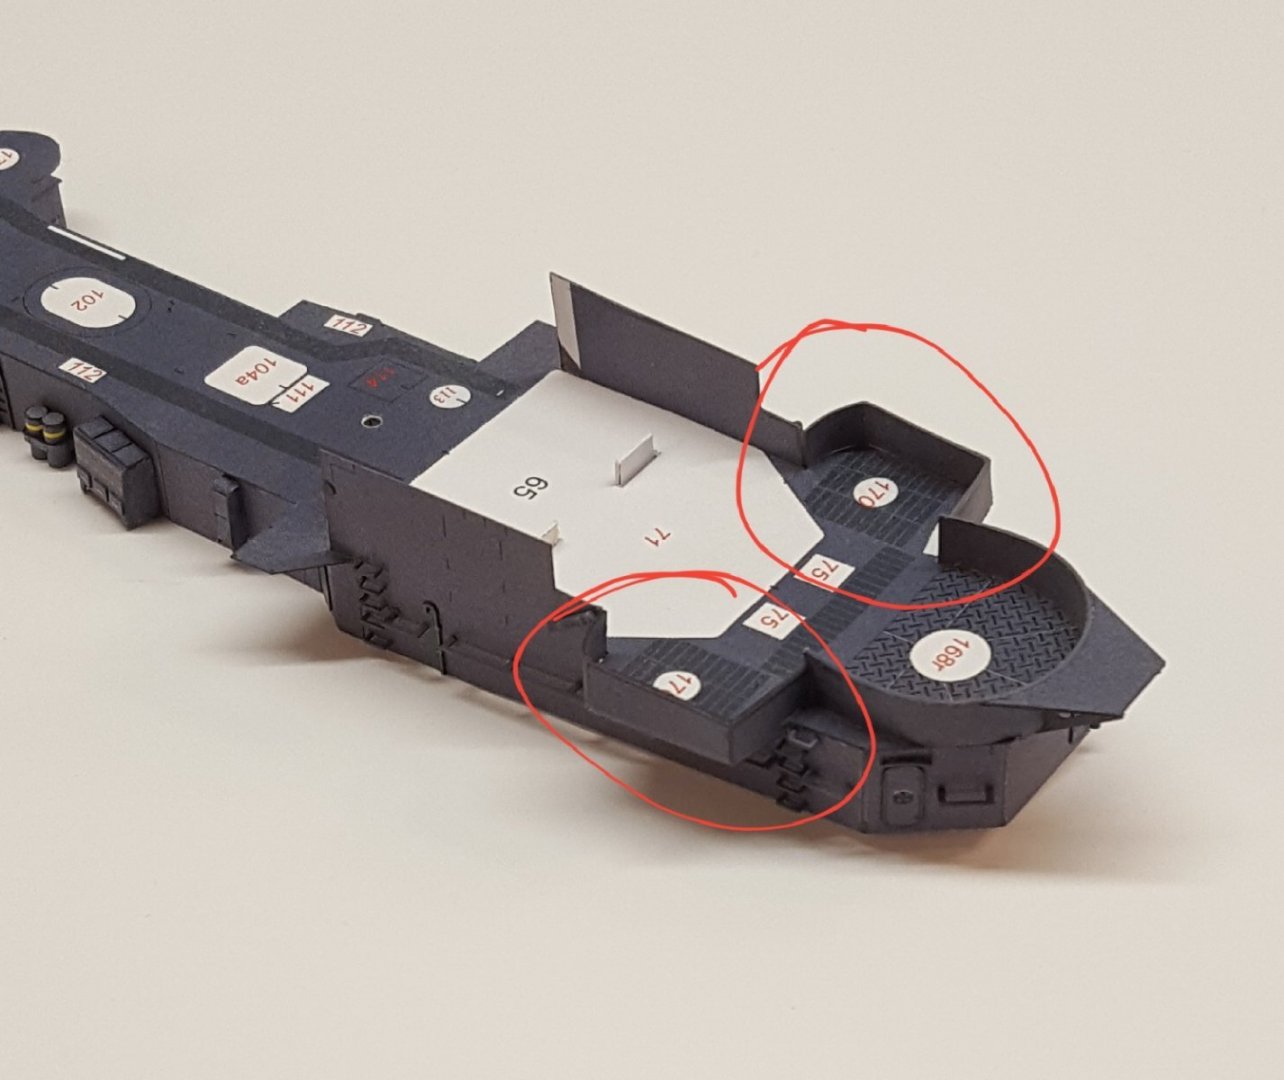
7: Superstructure (cont'd) Step 7 is all done now -- another 38 parts. The amidship 20 mm gun tub walls were much easier to do. Thanks to their being more than a half-circle, they sort of clamp themselves when glued to the main superstructure.
-
First I've ever heard of it, but from the product description it sounds very similar to Evergreen's canopy glue.
-
Yep, this is the method I suggest when folks ask about where to buy eye bolts. Why buy them when you can quickly and easily make them yourself? And for much less money, too!
-
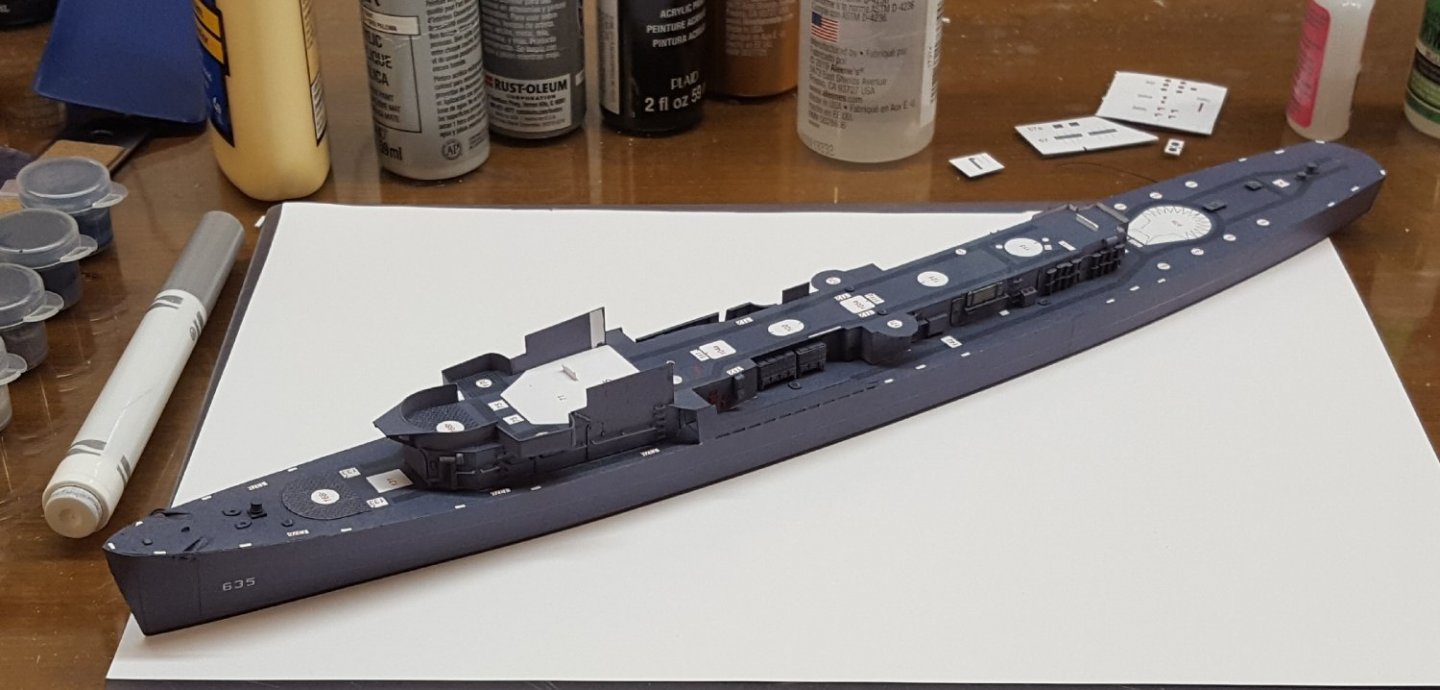
So, do you ever run into a part of your build that seems like it should be easy but then just goes 🤬🤬🤬🤬? Yeah, well I ran into that with the walls around the 20 mm positions. Each is just two parts, shaped, glued together, and then ready to afix to the superstructure, but ai yi yi!! For some reason, once they were folded, they wanted to slip from my grasp constantly, after which they inevitably fell to the floor. Then they proved to be too long and needed a trim, then they wouldn't stick properly, then I managed to get glue seemingly everywhere. Ugh! I finally got them done, but they exhausted my patience, so the shipyard is closed for the evening. There are a number of underside parts and brackets that are supposed to be glued to the superstructure deck before it is added to the superstructure. I did all of the flat parts, but I didn't add the brackets at that point -- the suggested sequence just seemed like a recipe for disaster for me. I went ahead and glued the deck on and then added the brackets. Not a big deal. Here's a just-for-fun shot of the superstructure sitting on the hull. It's not glued down yet, but I may need to do that job soon, regardless of the suggested construction sequence. The superstructure has a slight twist, which means it will need to be clamped when it's glued to the hull, and I won't be able to do that once all of the various superstructure bits are added. Cheers!
-
Definitely check out the Vanguard kits, then. Owner Chris Watton is one of the best in the business.
-
Those are Spanish roundels. Late last year there were a lot of reports coming out about Spain wanting to purchase 50 F-35s; there were also an equal number of reports that Spain were not interested in buying them. I don't know if they made any final decision.
-
Welcome aboard! I have no personal knowledge of the MarisStella kits, but the company is well-regarded. Model Shipways also offers a progressive series of kits aimed at beginners, designed by David Antscherl, who is a respected modeler and member of our community. You can check those kits out HERE. BlueJacket Shipcrafters also produces kits for beginners, particularly those who think they might prefer the solid-hull approach to modeling; the owner of that company is likewise a member here. You can browse the BlueJacket offerings HERE in the "Ensign Builders" category. Cheers!
-
See? Now you've just made me go and question the coloring of every card model I've ever done or will yet do. 😆 Oh, well. That's one of the limitations of the medium -- we are to a degree beholden to the research and creative skills of our kits' designers.* Sure, we can fix a few bits, but making too many changes sorta defeats the purpose of doing card models. *I guess this is true for all kits, isn't it? 🤔
-
I thought that might be the case, but it was worth a shot. Try looking at these finished builds for visual hints.
- 65 replies
-
- Ballahoo
- Caldercraft
-
(and 1 more)
Tagged with:
-
I'm going to flag @chris watton on this, as he designed the kit. Usually the bulwark strip is supposed to sit level with the tops of the bulkhead extensions, but I can't state that authoritatively for this kit.
- 65 replies
-
- Ballahoo
- Caldercraft
-
(and 1 more)
Tagged with:
-
Hello, Tomek! You are off to a nice start on this interesting subject.
- 17 replies
-
- Vistula barge
- card
-
(and 1 more)
Tagged with:
-
Congratulations, Gregg!
- 29 replies
-
- Model Shipways
- muscongus bay lobster smack
-
(and 1 more)
Tagged with:
-
I know, right? But I guess that finding damage control equipment easily in an emergency was considered a higher priority.
-
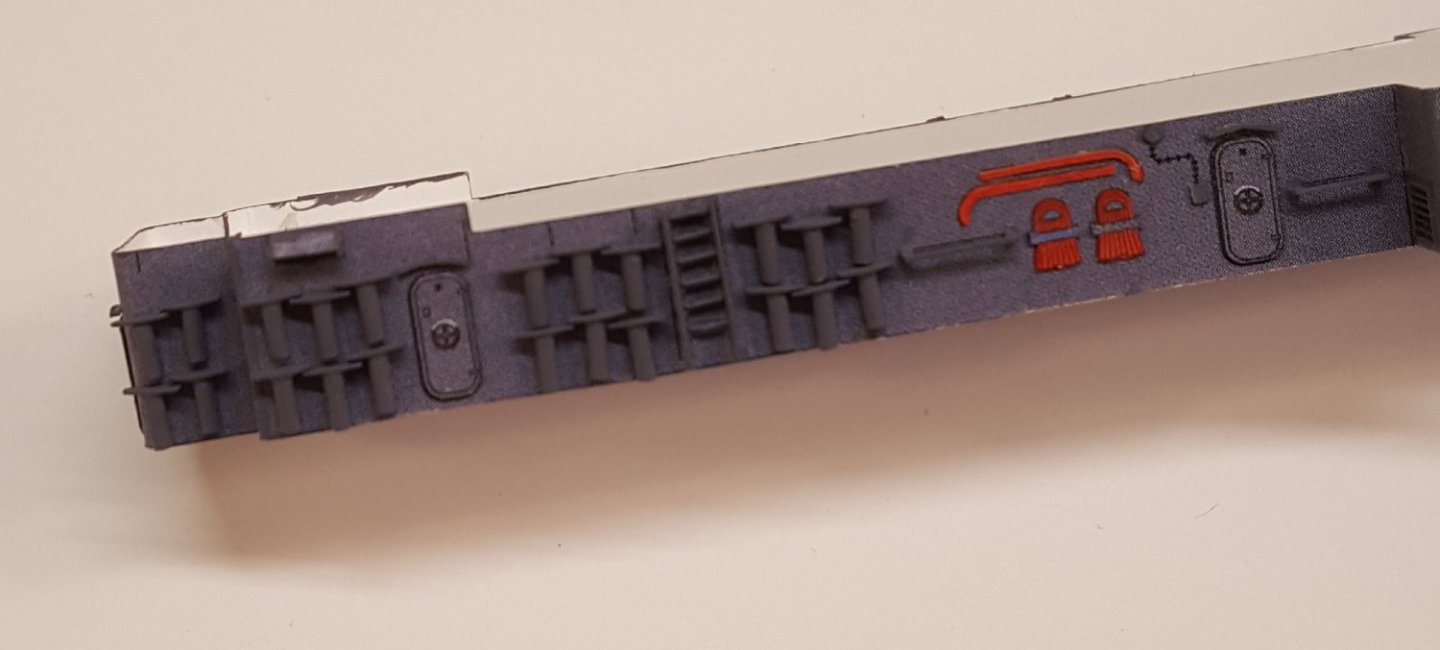
5, 6: Superstructure (cont'd) Whew! All the depth charge cradles are done -- at least the ones on the superstructure! I made a couple of modifications. Originally, each cradle is designed to consist of a tray and a rolled tube. Thinking I would go nuts if I had to roll 38 tubes, I decided instead to make these from 1 mm styrene rod. I made a jig out of scrap wood to get each tube exactly 3 mm long. The other change concerned the color. The prototype model on the cover shows the cradles as either white or light gray -- hard to tell which exactly. The kit provides the tubes in dark blue-gray, and the laser-cut trays are light gray. So which is correct? I decided to scope out some pictures online and, unsurprisingly, the few color photos I found showed the cradles painted the same color as their parent ship. That makes total sense. Since the whole point of painting the ship dark blue-gray is concealment, it seems to me that it would defeat the purpose to paint the cradles a highly contrasting lighter color. So, for this build they all ended up being painted dark blue-gray. Here are the 22 on the starboard side. There are 14 more on the port side. And that finishes off the construction for diagrams 5 and 6. Onward!
-
5, 6: Superstructure (cont'd) All of the port-side elements except the depth charge cradles are now in place. This brings the total number of parts added to the superstructure to 153. The depth charge cradles will push that total to 229. 😬
-
Congratulations on finishing your project!
- 34 replies
-
- Artesania Latina
- Finished
-
(and 1 more)
Tagged with:
-
Welcome! Your post title made me instantly think of the musical Camelot -- perhaps that was the intent?
About us
Modelshipworld - Advancing Ship Modeling through Research
SSL Secured
Your security is important for us so this Website is SSL-Secured
NRG Mailing Address
Nautical Research Guild
237 South Lincoln Street
Westmont IL, 60559-1917
Model Ship World ® and the MSW logo are Registered Trademarks, and belong to the Nautical Research Guild (United States Patent and Trademark Office: No. 6,929,264 & No. 6,929,274, registered Dec. 20, 2022)
Helpful Links
About the NRG
If you enjoy building ship models that are historically accurate as well as beautiful, then The Nautical Research Guild (NRG) is just right for you.
The Guild is a non-profit educational organization whose mission is to “Advance Ship Modeling Through Research”. We provide support to our members in their efforts to raise the quality of their model ships.
The Nautical Research Guild has published our world-renowned quarterly magazine, The Nautical Research Journal, since 1955. The pages of the Journal are full of articles by accomplished ship modelers who show you how they create those exquisite details on their models, and by maritime historians who show you the correct details to build. The Journal is available in both print and digital editions. Go to the NRG web site (www.thenrg.org) to download a complimentary digital copy of the Journal. The NRG also publishes plan sets, books and compilations of back issues of the Journal and the former Ships in Scale and Model Ship Builder magazines.


