ccoyle
-
Posts
10,605 -
Joined
-
Last visited
Content Type
Profiles
Forums
Gallery
Events
Everything posted by ccoyle
-
Welcome! We also have a section in our gallery for models in museums and exhibits.
-
 In the upper right corner of each of your posts is a symbol composed of three dots -- clicking that brings up a drop-down menu from which you can select 'edit.' You can also edit your title, but only from the first post. I gave your title a fine-tuning so you can see the proper format. I also tagged your build log; tags help members quickly find all of the topic threads that bear the same tag, e.g. clicking the 'Revell' tag brings up a list of all the topics that have a Revell tag. You can also resize your photos, should you feel the need; simply double-click on the embedded photo to pull up the resizing menu. Cheers!
- 35 replies
-
- 4
-

-

-
- Constitution
- Revell
- (and 1 more)
-
Your New "cautionary tale" posterchild here!
ccoyle replied to Valkyrja68's topic in New member Introductions
To learn more about the touchy subject of pirated models, click here and here. In a nutshell, there are certain kit manufacturers who are engaged in the nasty business of ripping off the designs of other companies. These unscrupulous companies and their products are persona non grata at MSW. -
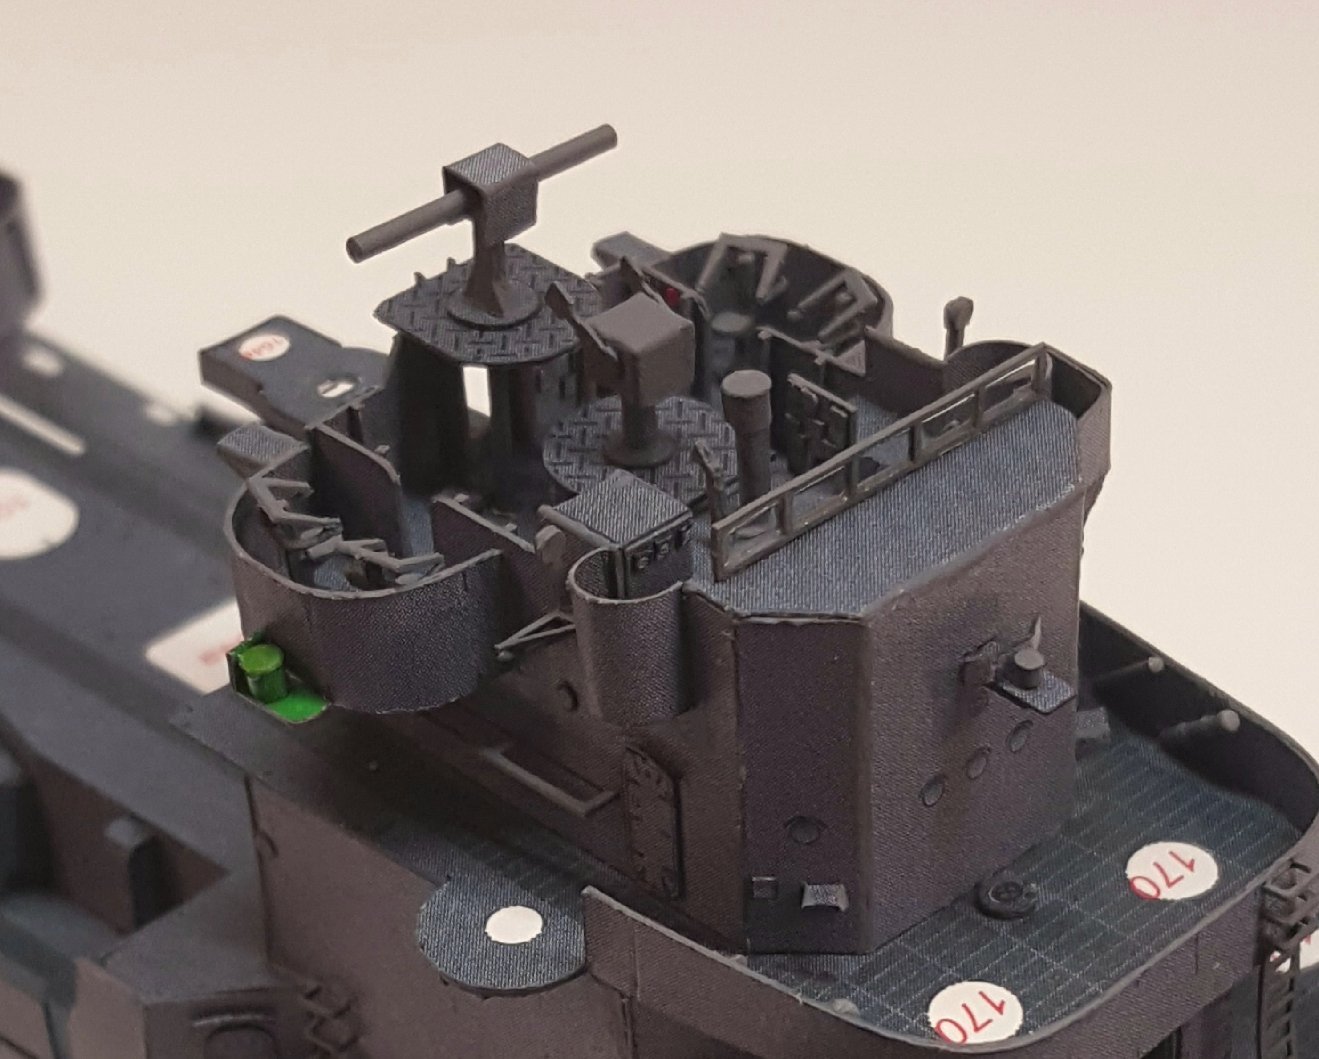
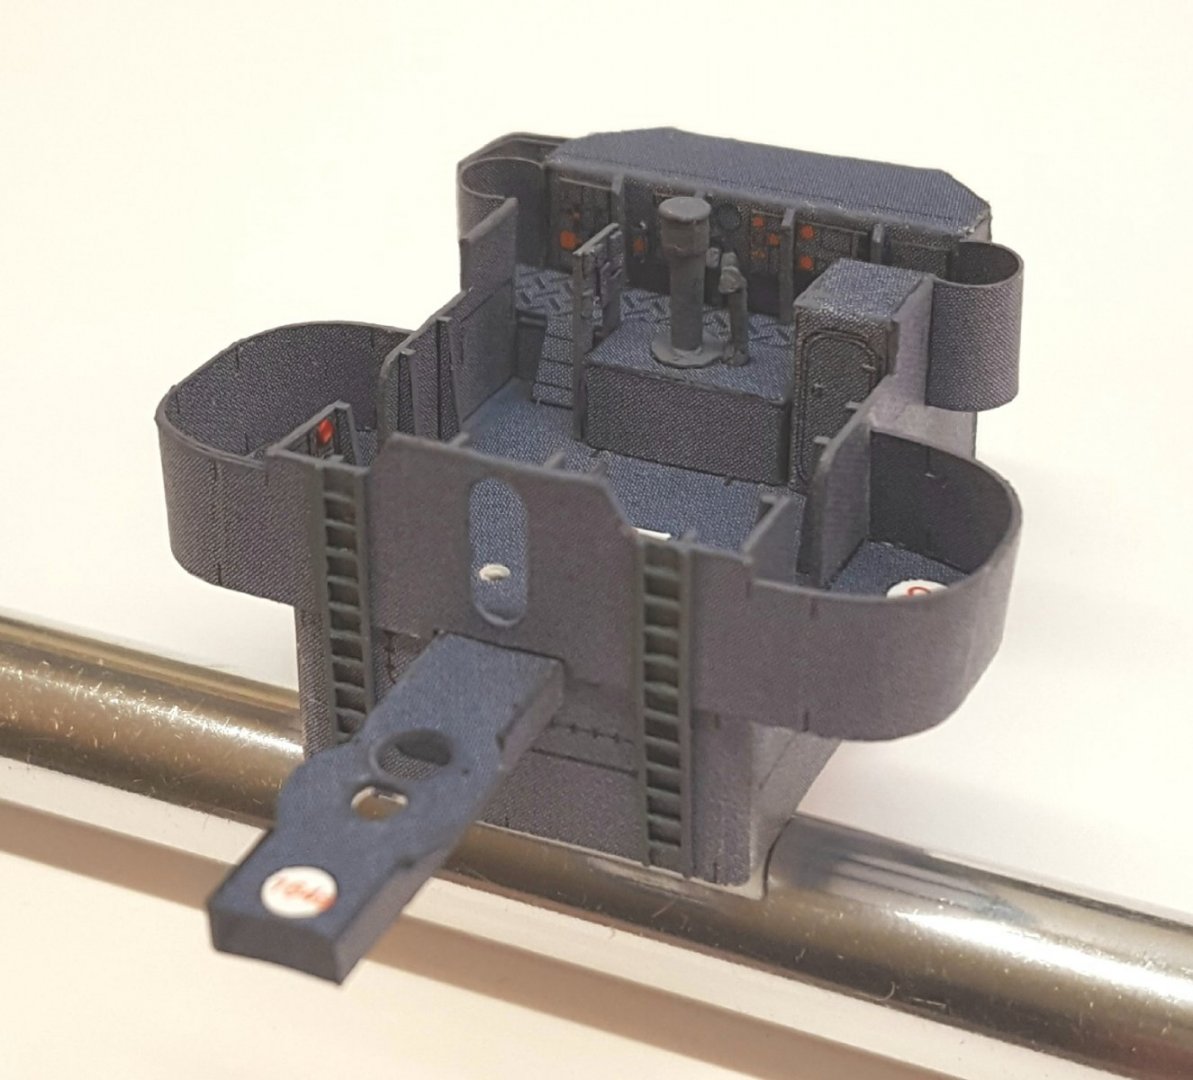
16: Bridge (completed -- yay!!) Okay, the last bits of the bridge have been added (for now -- some other bits get added later). These include navigation lights and some electronic doohickey on the forward bridge wall whose function I do not know. This wraps up Step 16. Whew!! Total parts count for this sub-assembly came to 142.
- 331 replies
-
- 21
-
-

-
Per, your workspace is far too tidy! 😉 Refer to pictures of my modeling desk for ideas on proper levels of slovenliness!
-
This is the second-to-last post about the bridge -- I swear it!! After this, there are only ten more parts left to do. For this update, we have range-finding equipment and a half-dozen more bits added to the exterior walls.

- 331 replies
-
- 21
-
-
-
Have you mentioned your YouTube channel before? I didn't know you had one -- it turned up in my suggested videos feed today.
- 244 replies
-
- 2
-
-
- borodino
- dom bumagi
- (and 1 more)
-
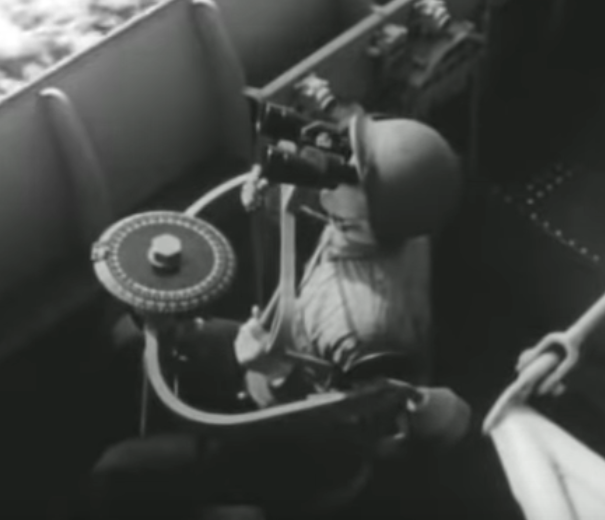
Yes, sort of. In the screen capture below you can see that it's actually the lookout's binoculars that are held by the frame (which is slightly different in this image from the type provided in the kit). The lookout uses his hands on the frame to adjust elevation. The most commonly used US naval binoculars were 7x50s that weighed 2.7 lbs, so using one's hands to hold them at eye level for long periods would obviously be very fatiguing. I've provided links to both the training video from which the capture is taken and to a website that describes the Navy's 7x50 binoculars in detail. https://www.youtube.com/watch?v=FrdwAJ3YIaY http://www.company7.com/library/sard_7x50_mk.html
- 331 replies
-
- 12
-
-
Still more bridge stuff . . . Sky lookouts, 5 pcs each. Mounted on the bridge. You can also see the windscreen (correct jargon?) fixed atop the bridge; I glazed it with diluted Aleen's Clear Gel Tacky Glue. Cheers!

- 331 replies
-
- 17
-
-
-
copyright
ccoyle replied to michael mott's topic in Using the MSW forum - **NO MODELING CONTENT IN THIS SUB-FORUM**
Absolutely. -
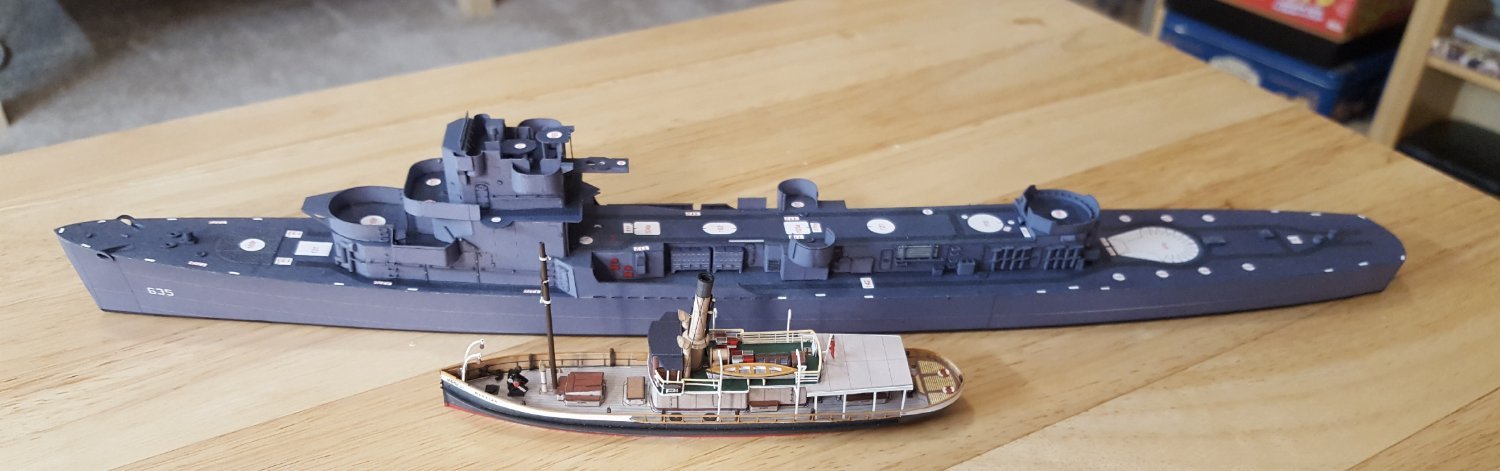
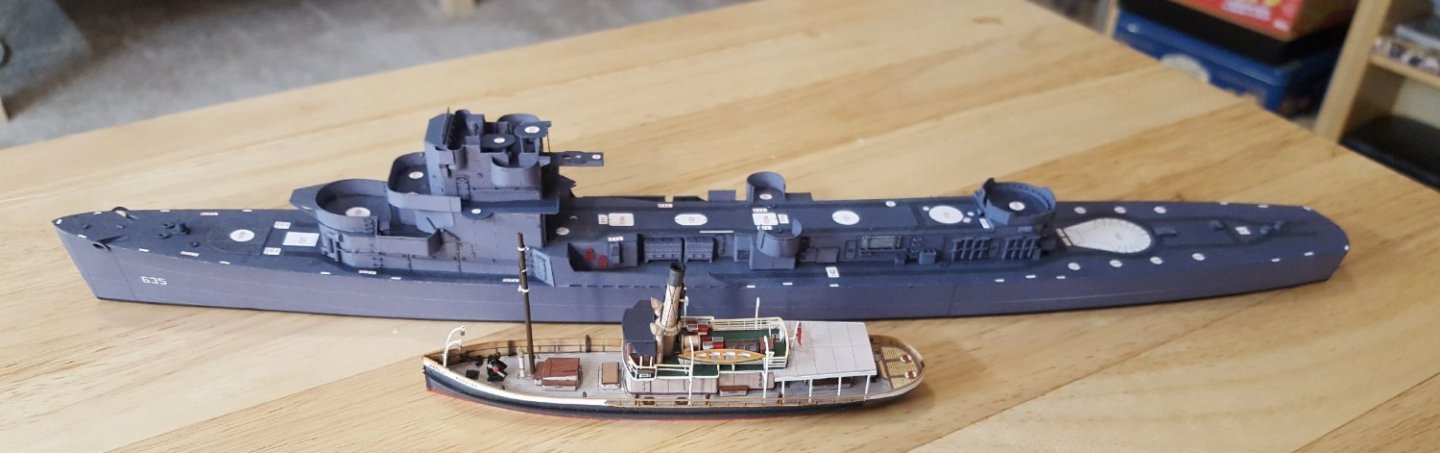
A just-for-fun pic -- Waratah and England side-by-side in the same 1/250 scale. Remember, a DE is considered a small warship!
- 331 replies
-
- 25
-
-
-
I'm not an expert on the Highland Clans, but I recognize Gaelic when I see it, so I checked it out with Google translate. 😉 I do, though, have a lot of Ulstermen in the family tree.
-
You know that's encroaching on card model territory, right? 😉
-
Clan Menzies, eh?
-
This is an excellent idea, and I can easily set it up for you, Frank, if you decide you'd like to have your own log.
-
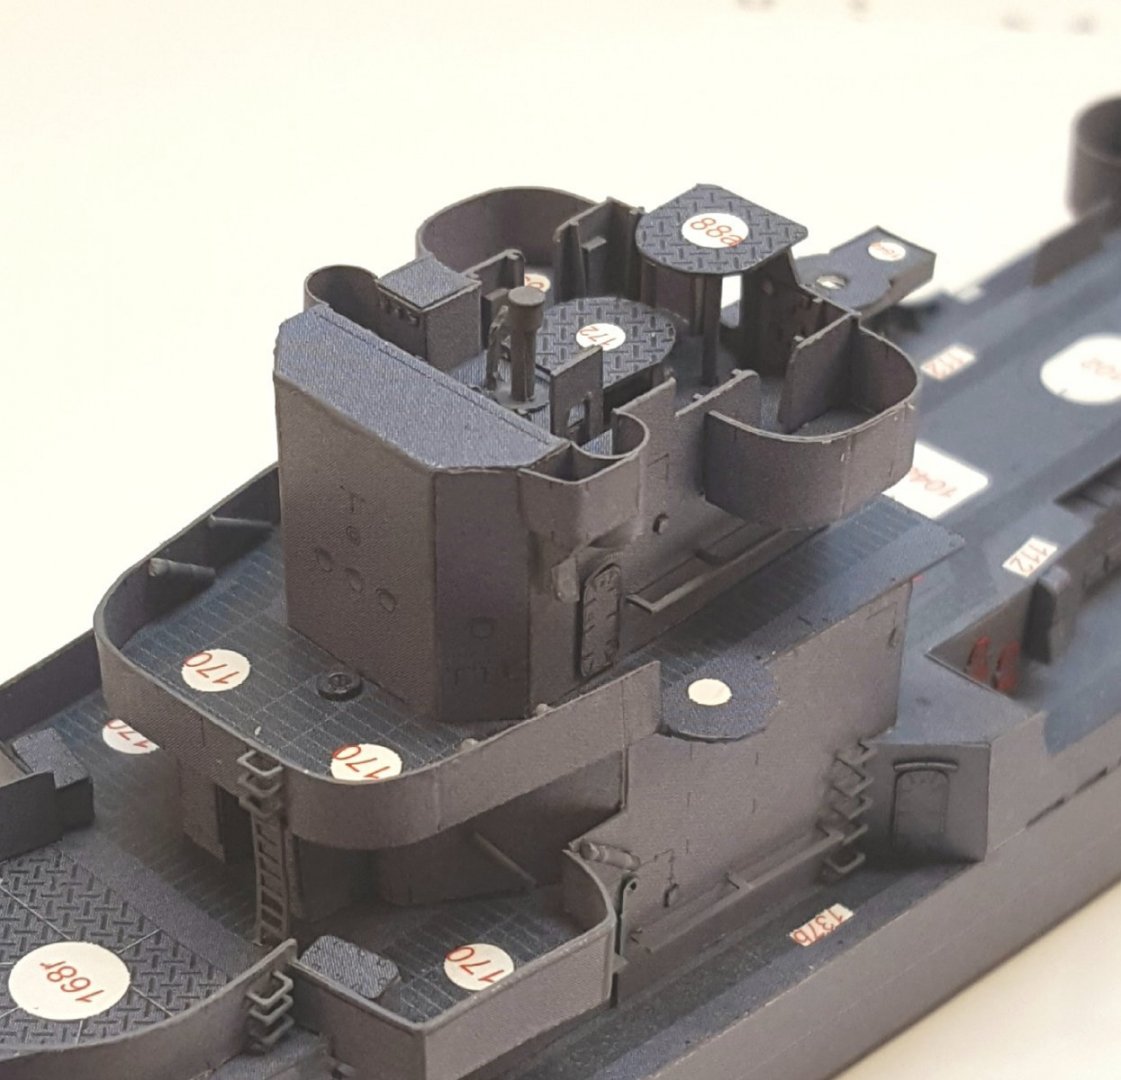
Yet again we have . . . Bridge (cont'd) It was finally time to glue the bridge to the superstructure, because now I need to glue stuff to the outside of it, e.g. handrails, that can easily be knocked off. Another 18 parts, including the platforms for ranging and direction equipment, part of the next installment.
- 331 replies
-
- 17
-
-
-

-
Yes, one could, in fact, by using weathering chalk. That's way beyond my abilities, though. I'll be happy just to finish this model -- I haven't even gotten to the hard parts yet!
-
They are printed. The cut edges need to be colored. Oh, and the mistakes -- they need to be colored, too, but hopefully not often!
-
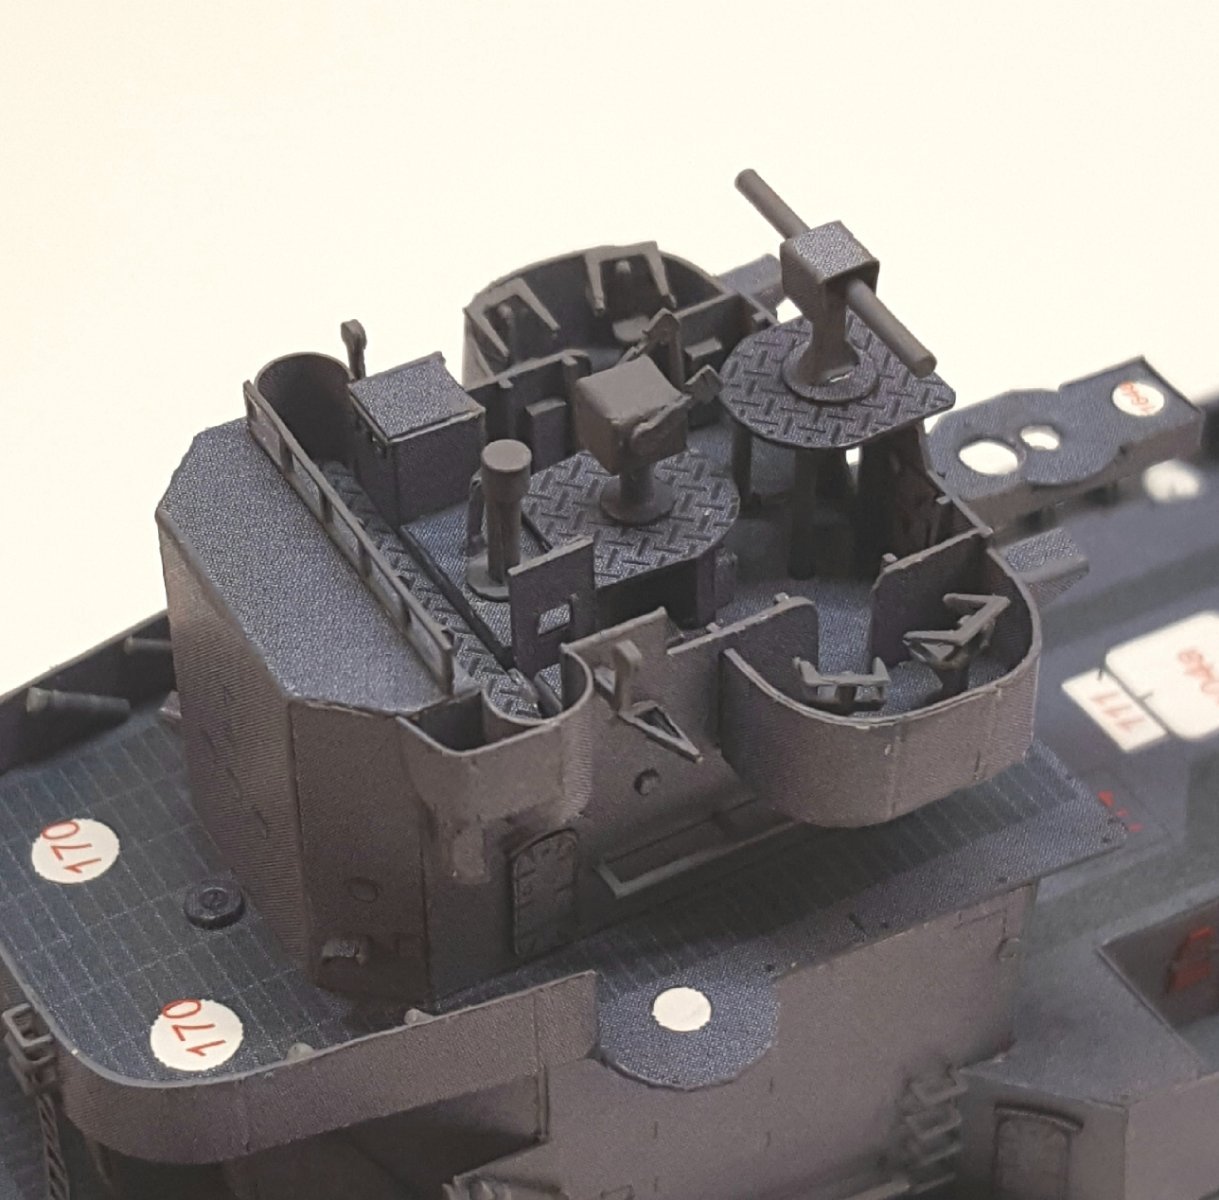
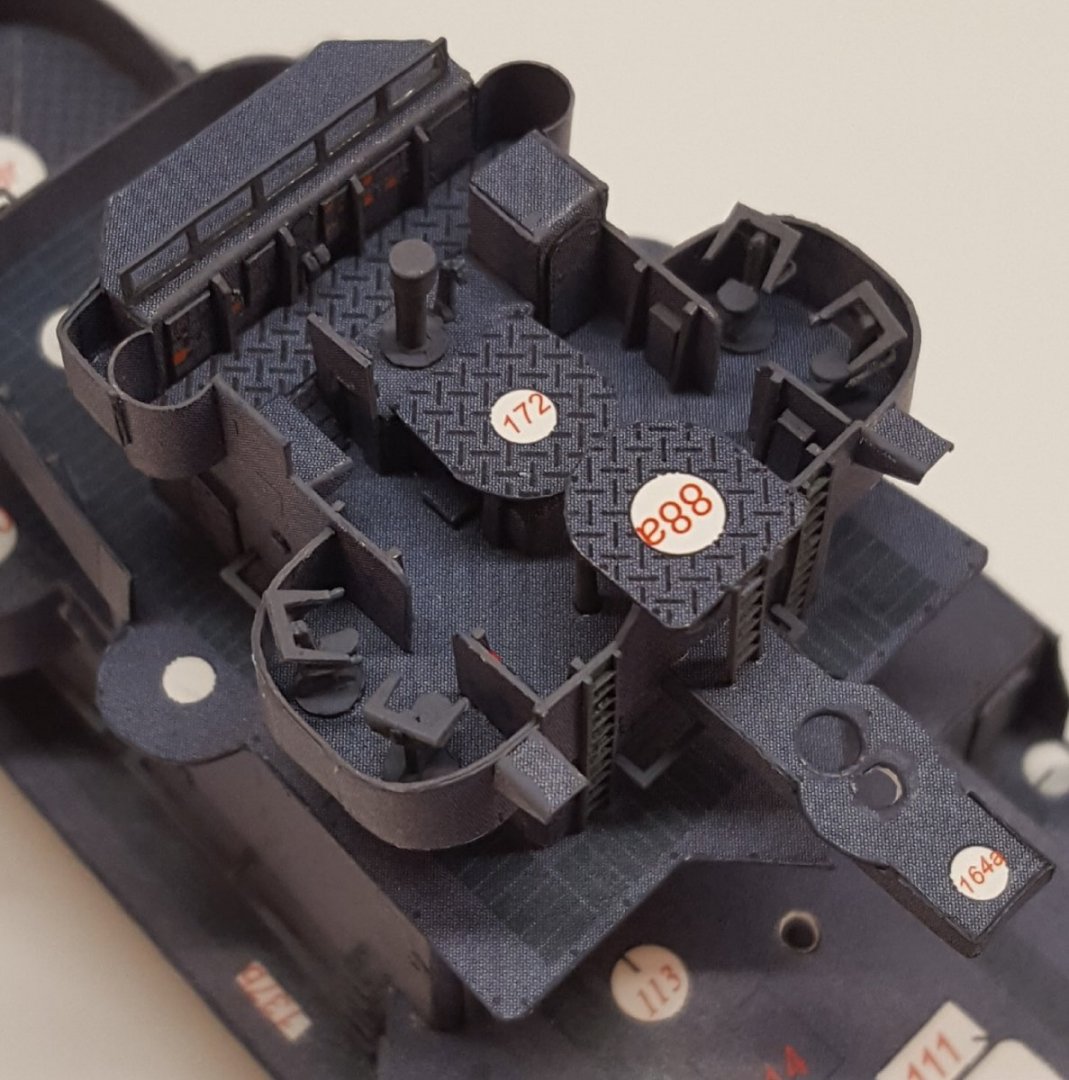
And yet again we have . . . Bridge (cont'd) More bridge interior details. Believe it or not, 24 more parts have been added since the last shot, but eight of them are support brackets, so you can't see 'em.
- 331 replies
-
- 22
-
-
-
Bridge (cont'd) Added the back wall to the bridge, plus its detail bits -- 28 more parts in total. Yes, that's my craft knife handle in the photo, for scale.
- 331 replies
-
- 14
-
-
I was 13 when the original came out -- saw it seven times in the theater and dreamed of being a Hollywood SFX model-maker. Of course it's mainly CGI now. That was the only one of the nine Trilogy of Trilogies films that I didn't see in a theater. Pretty sad.
-
This project has slowed considerably since I have been lassoed into watching the Marvel MCU movies in chronological order with my daughter. Thanks for understanding! 😉
- 331 replies
-
- 12
-
-