-
Posts
10,544 -
Joined
-
Last visited
Content Type
Profiles
Forums
Gallery
Events
Everything posted by ccoyle
-
I just now saw that the display model at Paper Shipwright has the boats switched around in the manner I described above, so I guess that's the way to do it.
- 45 replies
-
- Tijger
- Paper Shipwright
-
(and 2 more)
Tagged with:
-
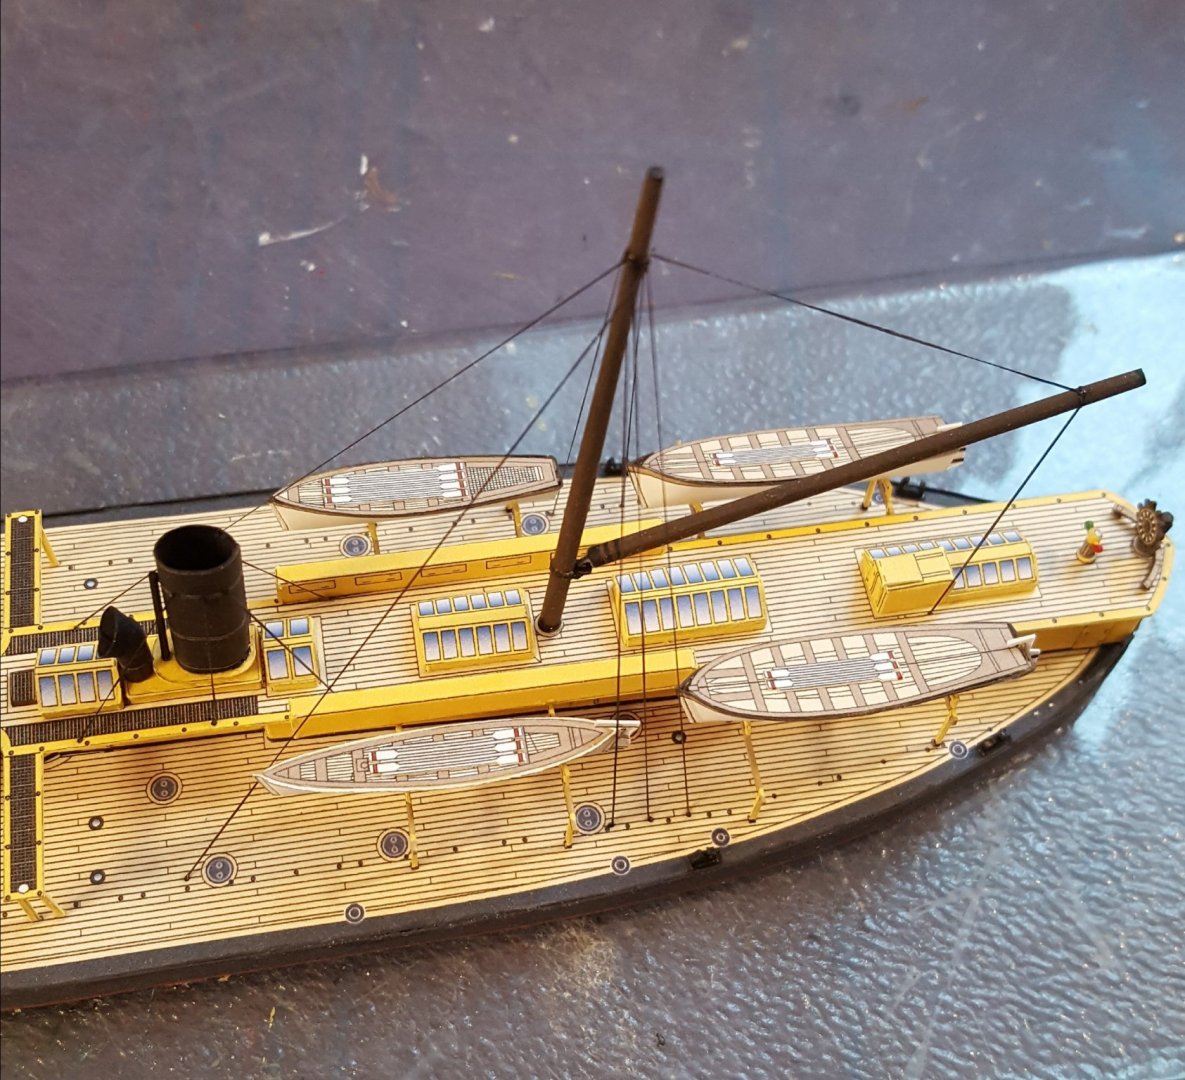
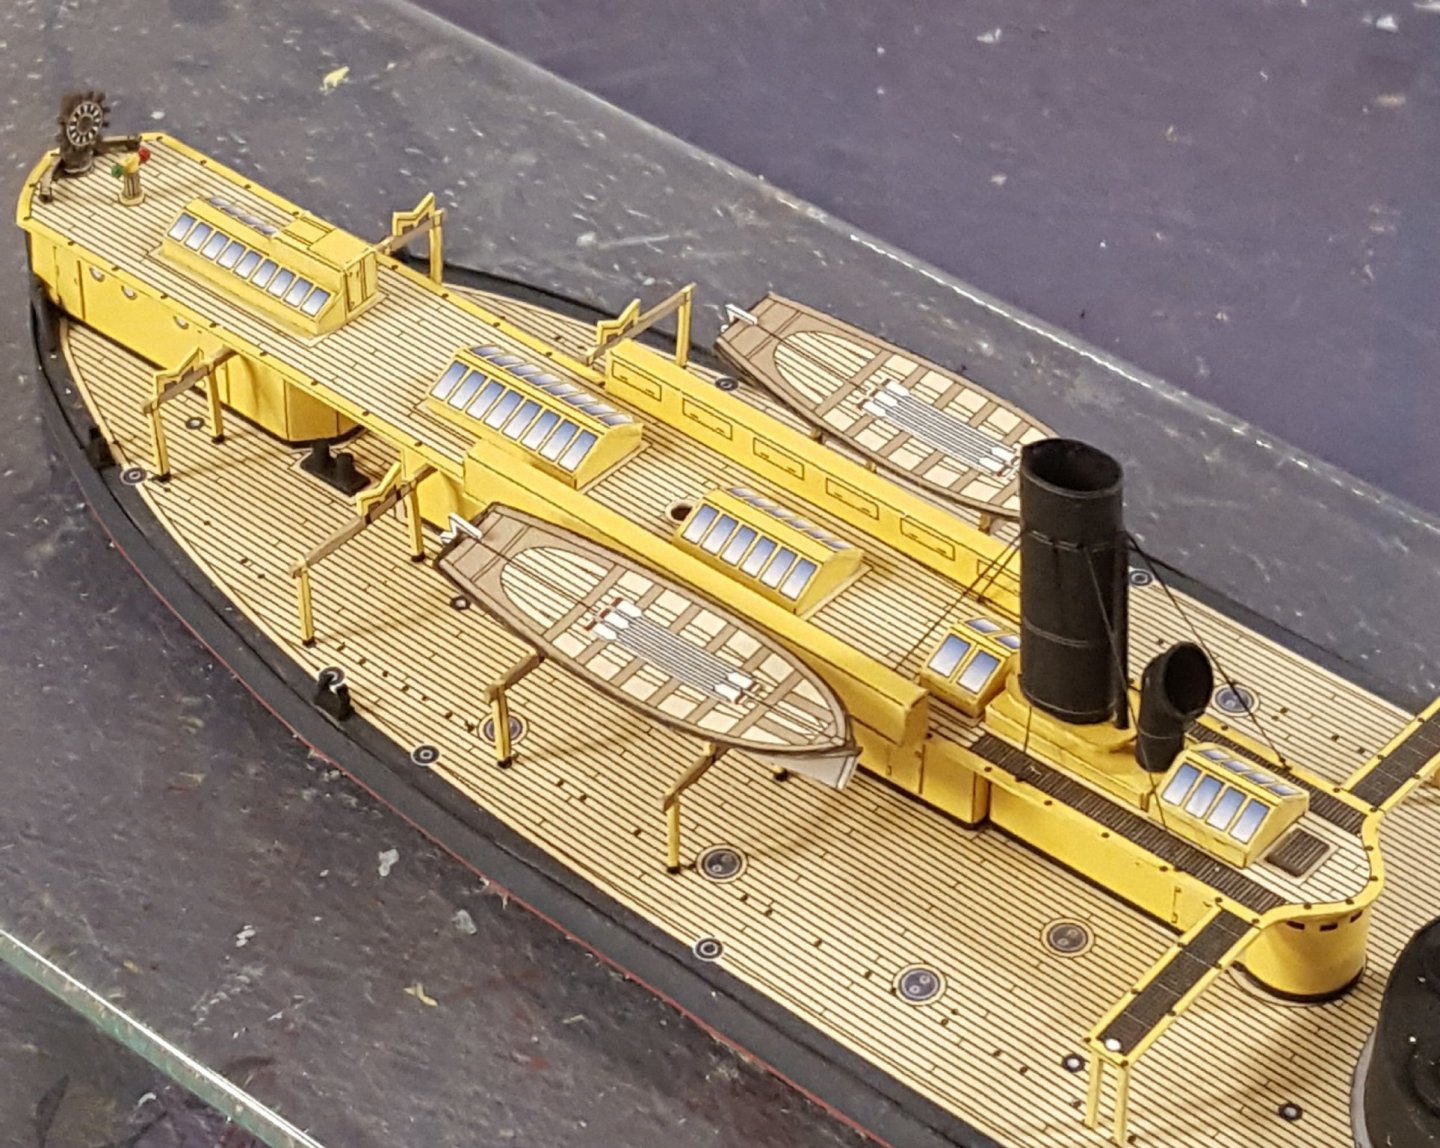
Okay, now I have an issue. There are four boats; the kit refers to the larger boats as "lifeboats," and they are supposed to on the amidship chocks. The smaller boats, a whaler and a cutter, are supposed to go aft. The issue is, if the boats are placed in those locations, then the shrouds leave insufficient room for the lifeboats -- they're too big for those spots. However, I can move the lifeboats aft, as shown in the photo, and everything will fit. The question is, will I be violating some sacred Dutch naval protocol if I swap the boats around in this manner? BTW, the rigging was a complete pain in the Tuchus! I did not attempt to make the masts from the supplied paper parts. I replaced them with turned plastic rod.
- 45 replies
-
- Tijger
- Paper Shipwright
-
(and 2 more)
Tagged with:
-
I've done so on prior pojects, but then the resulting part is very flimsy and difficult to get mated to the boat's hull correctly. One has to carefully choose one's paper battles! (And yes -- Dan was a master, and he's missed.)
- 45 replies
-
- Tijger
- Paper Shipwright
-
(and 2 more)
Tagged with:
-
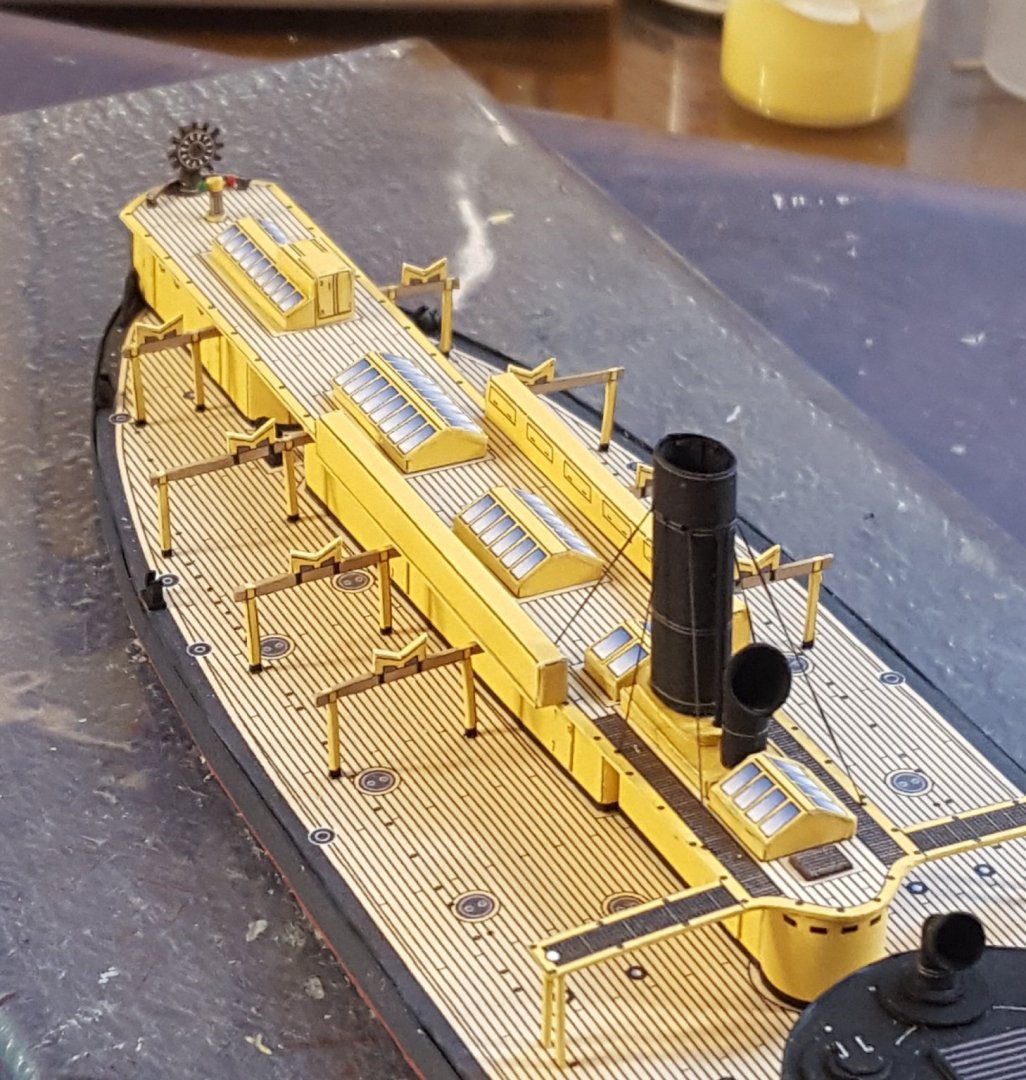
I did the port-side boat supports last night and finished up the starboard side tonight, then did the first two boats (not glued in at this point). I usually have quite a struggle with the boats, but these turned out nice, probably because I opted to forego cutting out the spaces between the thwarts and adding the optional internal detailing. That produces boats that are less 3-D, but they're also much easier to build. BTW, the secret to those spindly little support columns is to wick some CA into the cut edges before doing the edge coloring -- makes a big difference.
- 45 replies
-
- Tijger
- Paper Shipwright
-
(and 2 more)
Tagged with:
-
Many, if not most or even all, warships have redundant steering systems in case one is put out of commission during an action. I'd bet dollars to donuts that Tijger has an internal steering station somewhere.
- 45 replies
-
- Tijger
- Paper Shipwright
-
(and 2 more)
Tagged with:
-
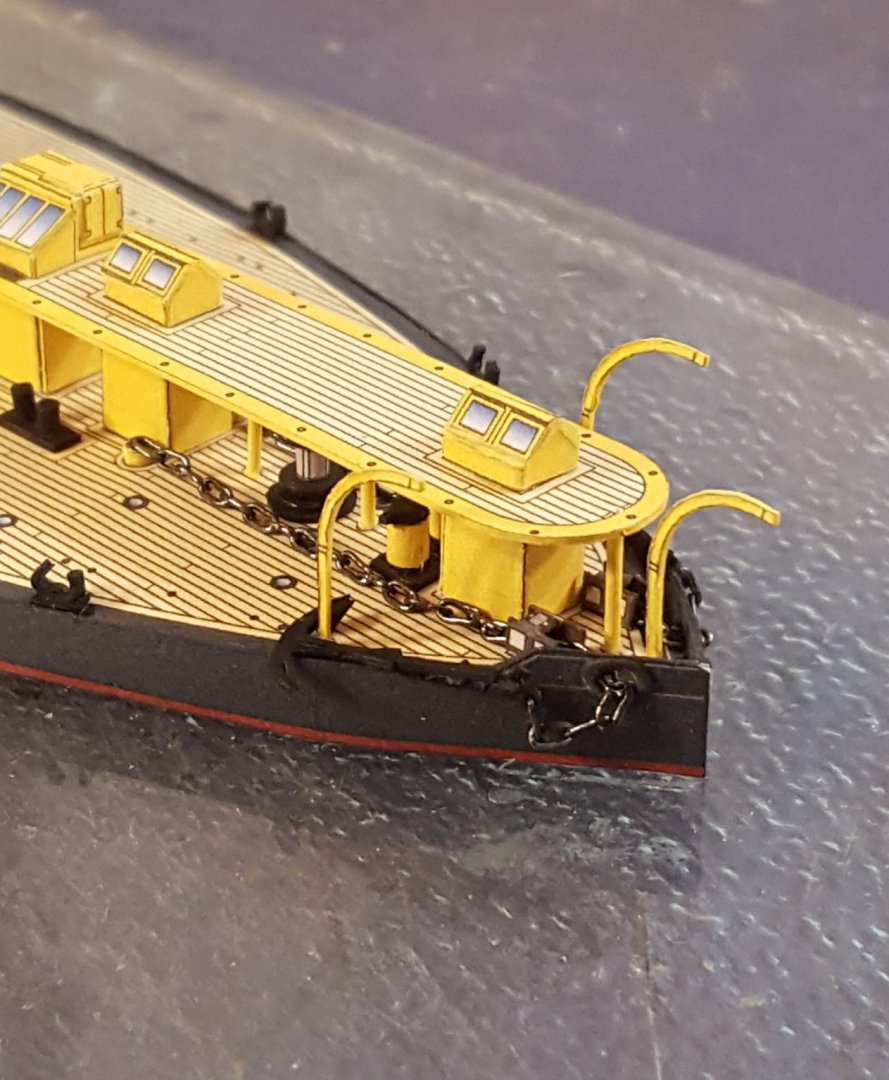
Bollards, anchors, chain, anchor davits. The chain is a bit over-scale, but it was the smallest I could find at Hobby Lobby. I had to individually pinch each link with pliers to get the chain to pass through the chain stoppers and hawse holes. Boat supports are next.
- 45 replies
-
- Tijger
- Paper Shipwright
-
(and 2 more)
Tagged with:
-
That is a lot of castings to clean up. 😳 But, on the other hand, I've always thought that some of those Caldercraft kits looked pretty handsome when completed.
- 50 replies
-
- Marie Felling
- tug
-
(and 3 more)
Tagged with:
-
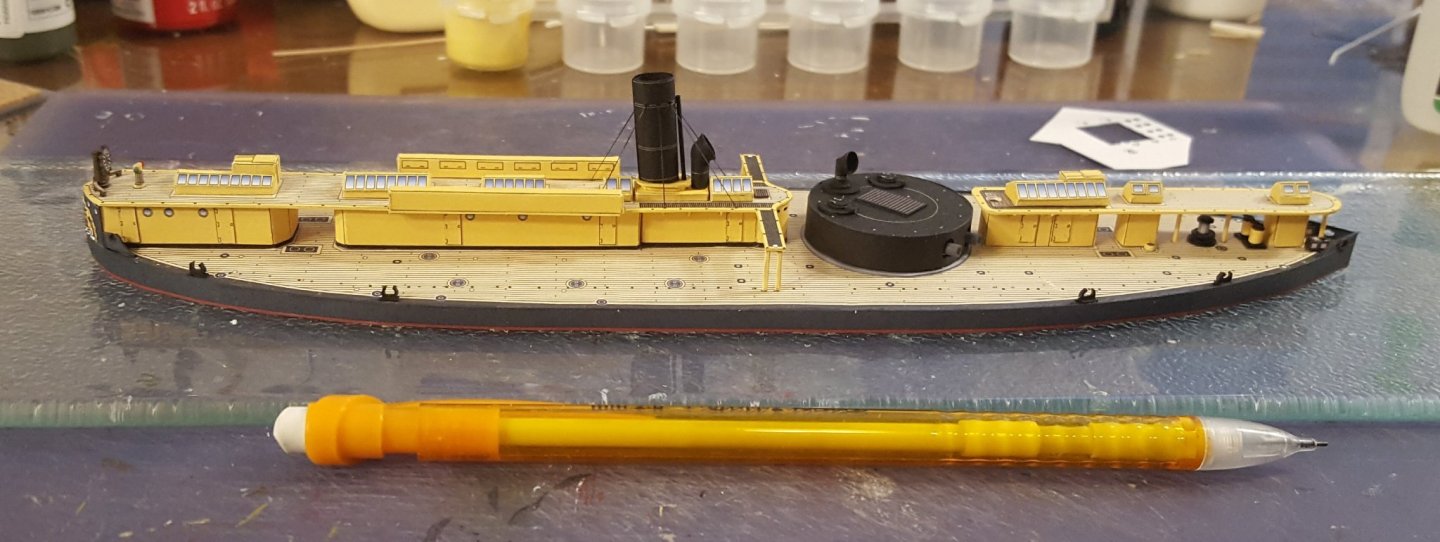
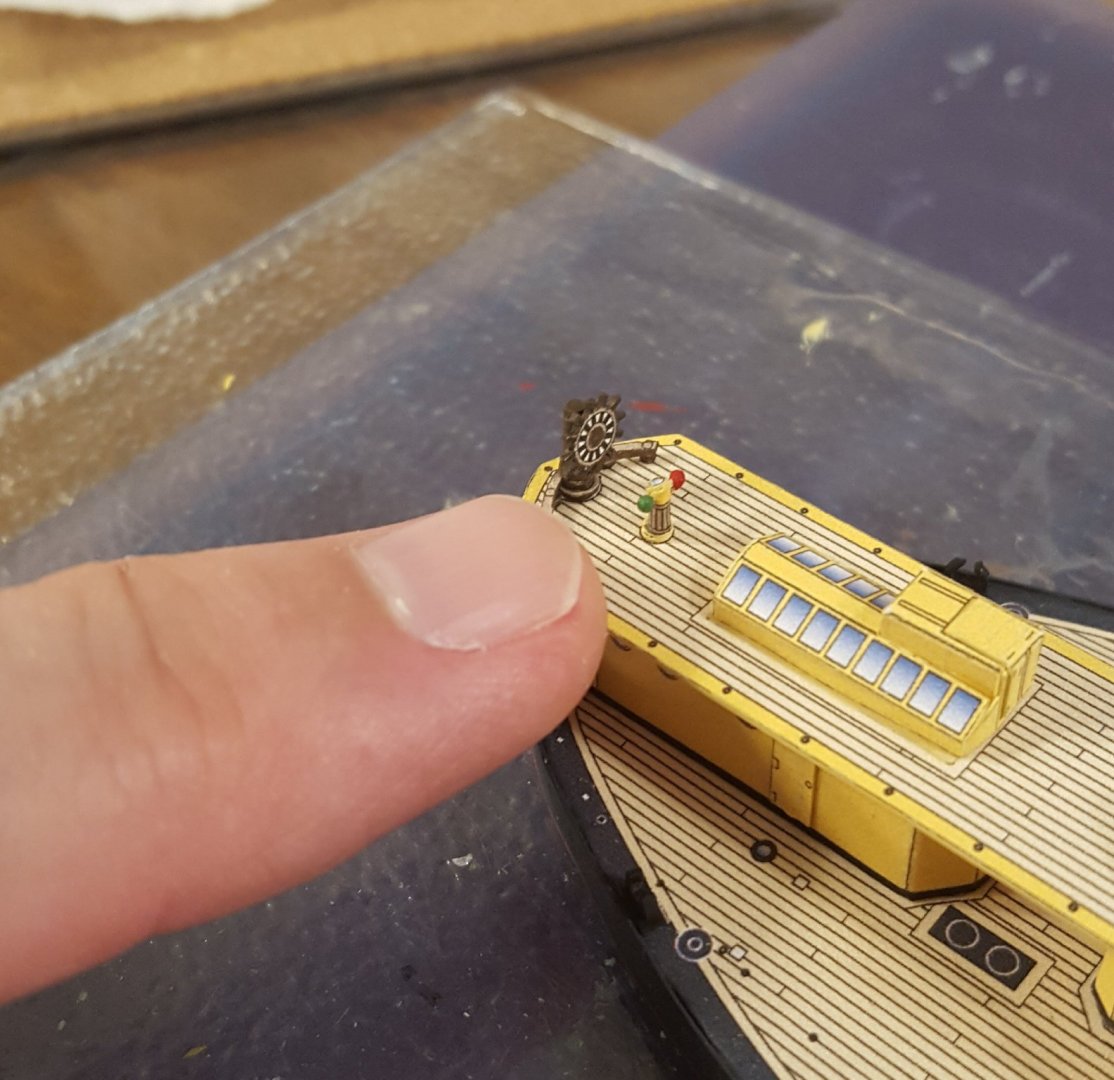
Well, I wasn't going to add a picture today, because all the bits I added today are quite small, but since you asked ... Here's an over-all glimpse. The additions are the fairleads (8), ship's wheel, and compass. And a close-up of the wheel (10 parts) and compass (5 parts), along with some scallywag's finger for size comparison (I'm fresh out of matchsticks and Tic-Tacs). Thanks for looking in! EDIT: There's also a new cowl vent in front of the stack. You'll notice it points upward at an awkward angle. I can't get the cowl vents in these kits right if my life depended on it. We'll just call them "Coyle-style cowls" -- or maybe just "Coywles." 🙄
- 45 replies
-
- Tijger
- Paper Shipwright
-
(and 2 more)
Tagged with:
-
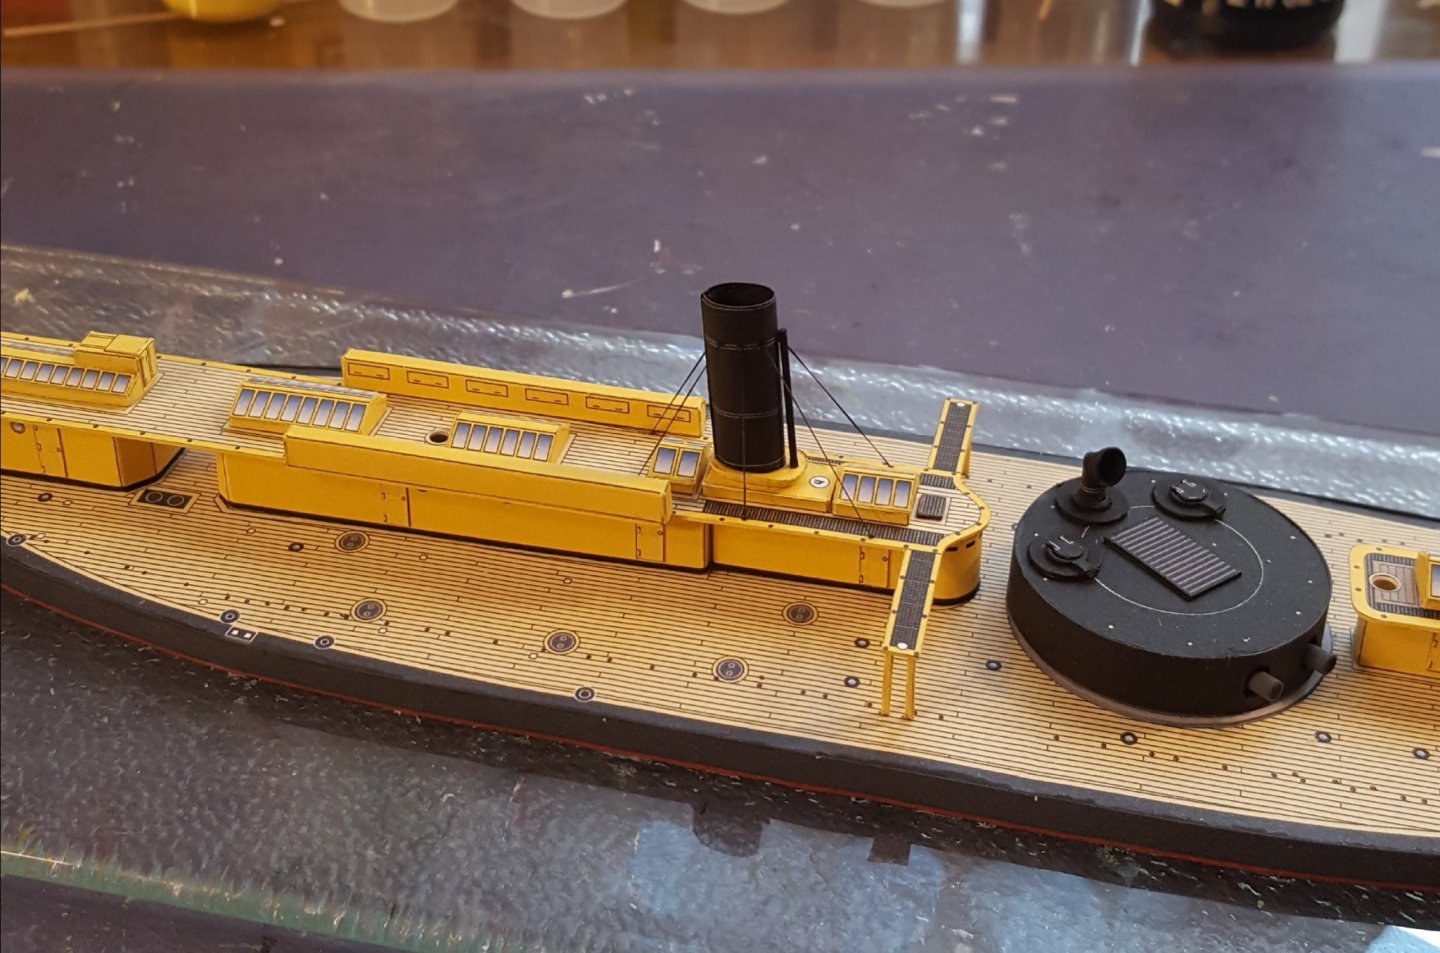
Ugh ... this next step looks simple, but it was a real booger. First of all, the stack is not a simple cylinder -- it is oval in cross-section, and these are twice as hard to do nicely as just a plain tube. The second difficulty was the guy wires. These are made from EZ Line, and it is not "EZ" to work with at this scale. The anchoring points are tiny, which makes getting glue everywhere a real issue, and the line itself is so light that the slightest puff of air -- like when the AC cycles on -- makes the stuff want to flutter and fly away. I may have needed "special words" for this part. 😬 But at least it is done.
- 45 replies
-
- Tijger
- Paper Shipwright
-
(and 2 more)
Tagged with:
-
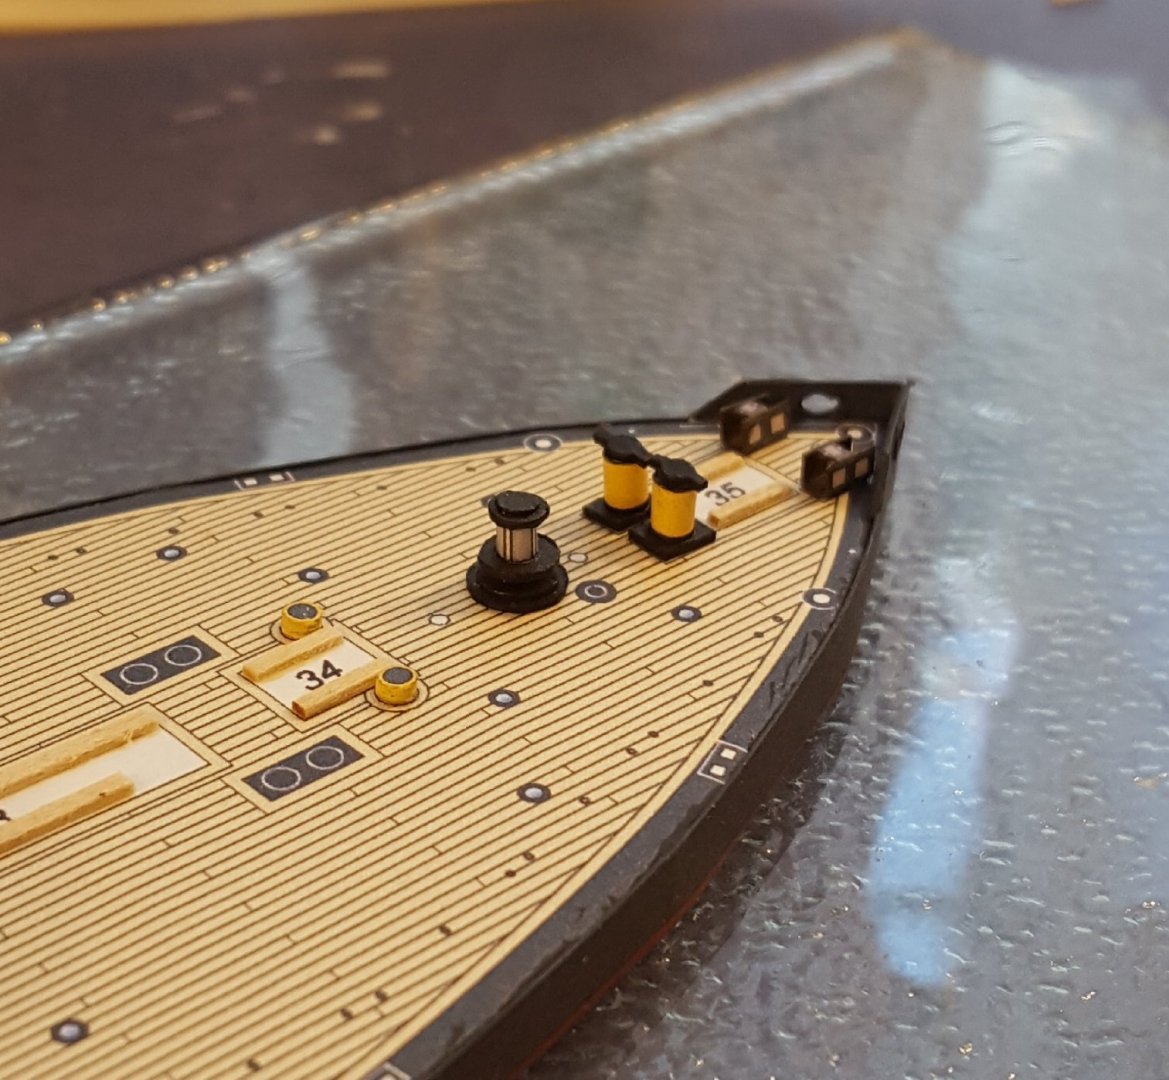
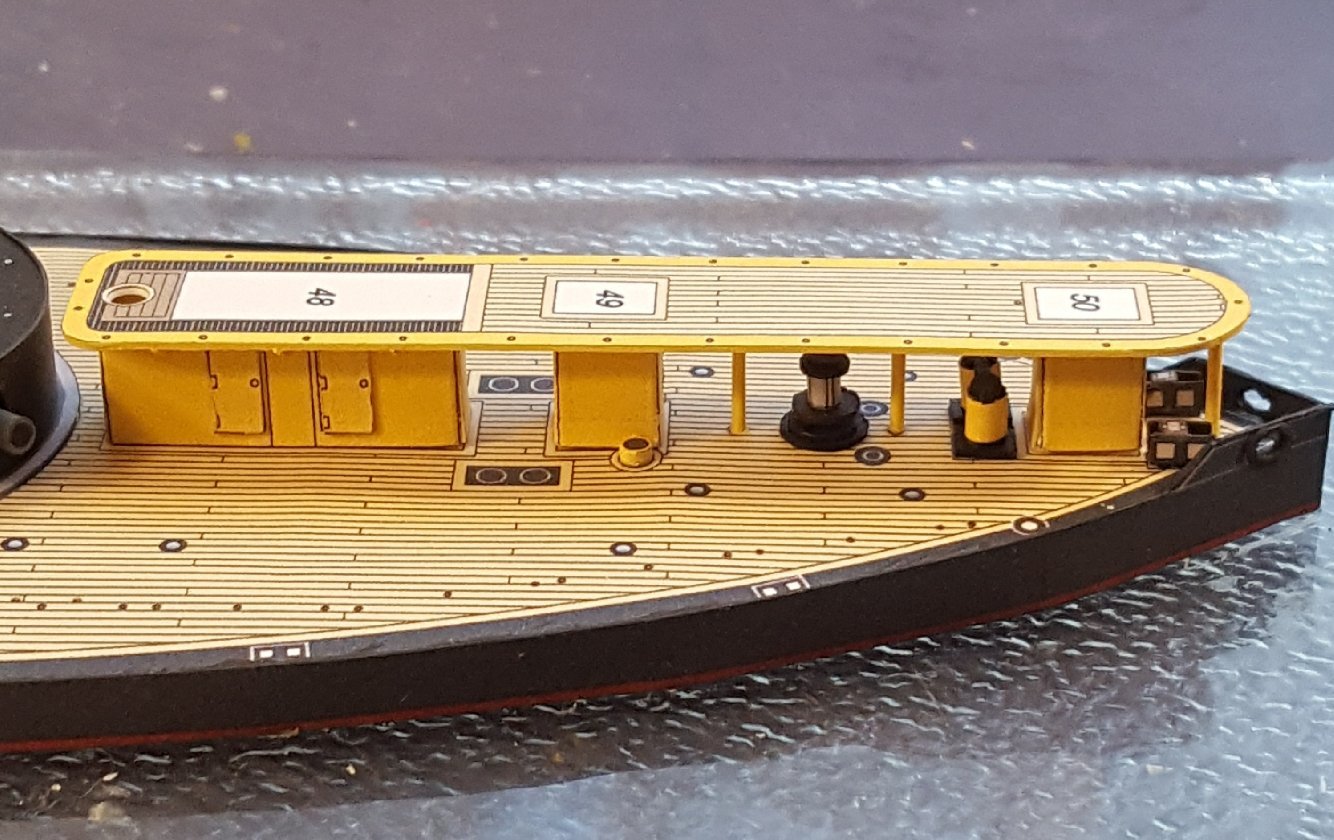
Another day's progress. Hawse pipes, capstan, bitts, chain stoppers. Forward superstructure deck and support columns. Skylights. Meer zal volgen, maar niet vanavond!
- 45 replies
-
- Tijger
- Paper Shipwright
-
(and 2 more)
Tagged with:
-
The amount of enjoyment you may or may not miss out on depends solely on the builder. Some are happy using whatever materials come in the box, others go all-out to super-detail their models, and many fall somewhere in between those two extremes. Anyways, as to replacement blocks, there are several suppliers in the US. Model Expo is the place if you want to get the usual kit-grade blocks. If you want to up your game, you can try boxwood blocks from Syren Ship Model Company. There are more options from overseas suppliers, but check out these two first. Cheers!
-
Welcome and good luck on your project!
-
Forward superstructure dry fit -- can't glue it down until some fiddly bits that go beneath it are finished (parts in the background).
- 45 replies
-
- Tijger
- Paper Shipwright
-
(and 2 more)
Tagged with:
-
- 45 replies
-
- Tijger
- Paper Shipwright
-
(and 2 more)
Tagged with:
-
Nice work, Tomek! I like how the stern carvings turned out.
- 26 replies
-
- Seahorse
- De Zeven Provincien
-
(and 2 more)
Tagged with:
-
- 45 replies
-
- Tijger
- Paper Shipwright
-
(and 2 more)
Tagged with:
-
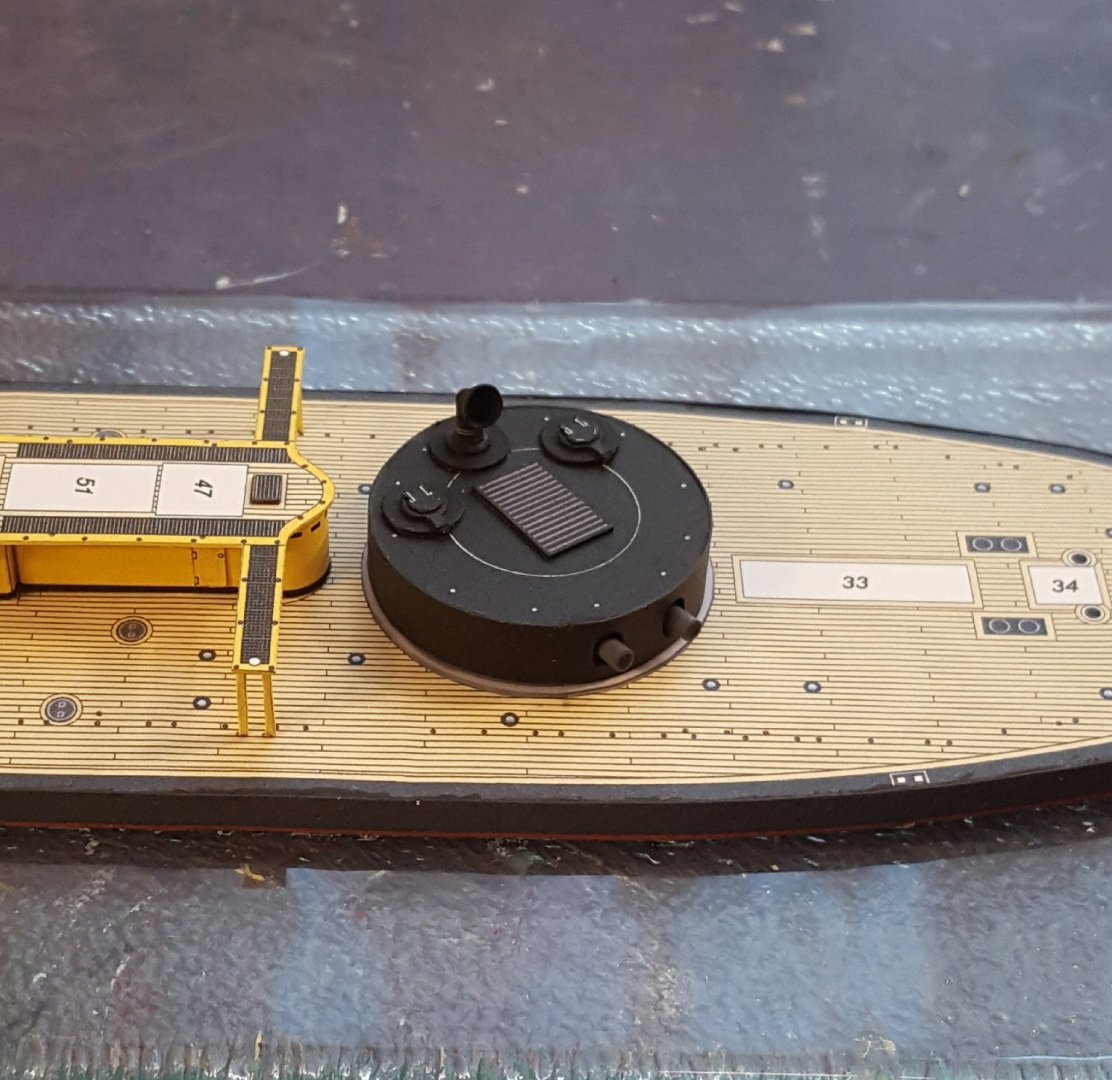
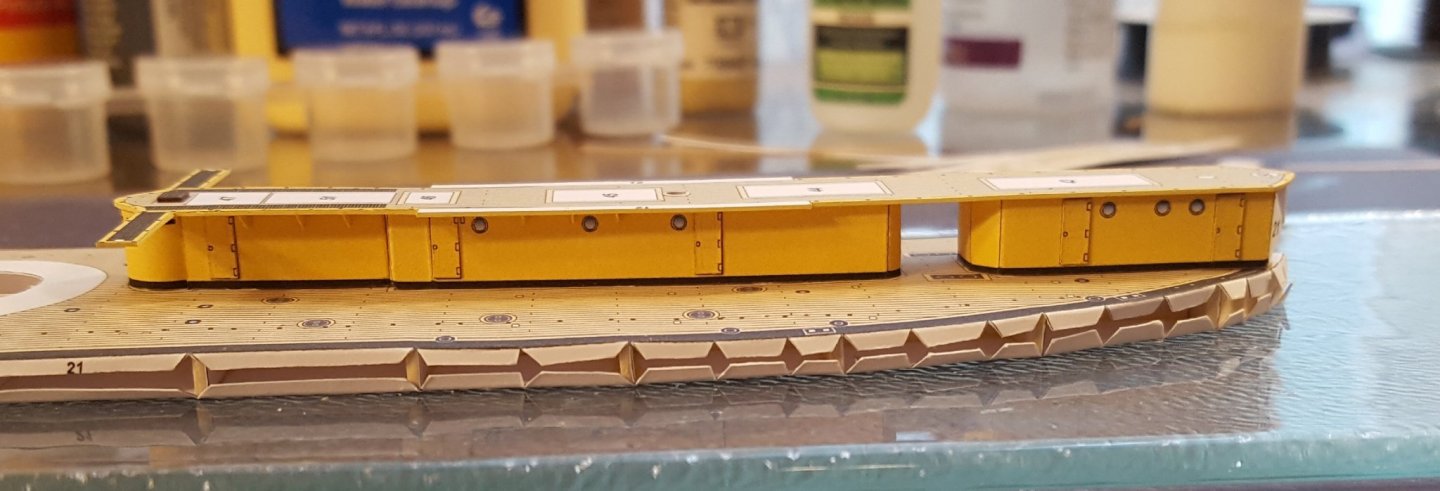
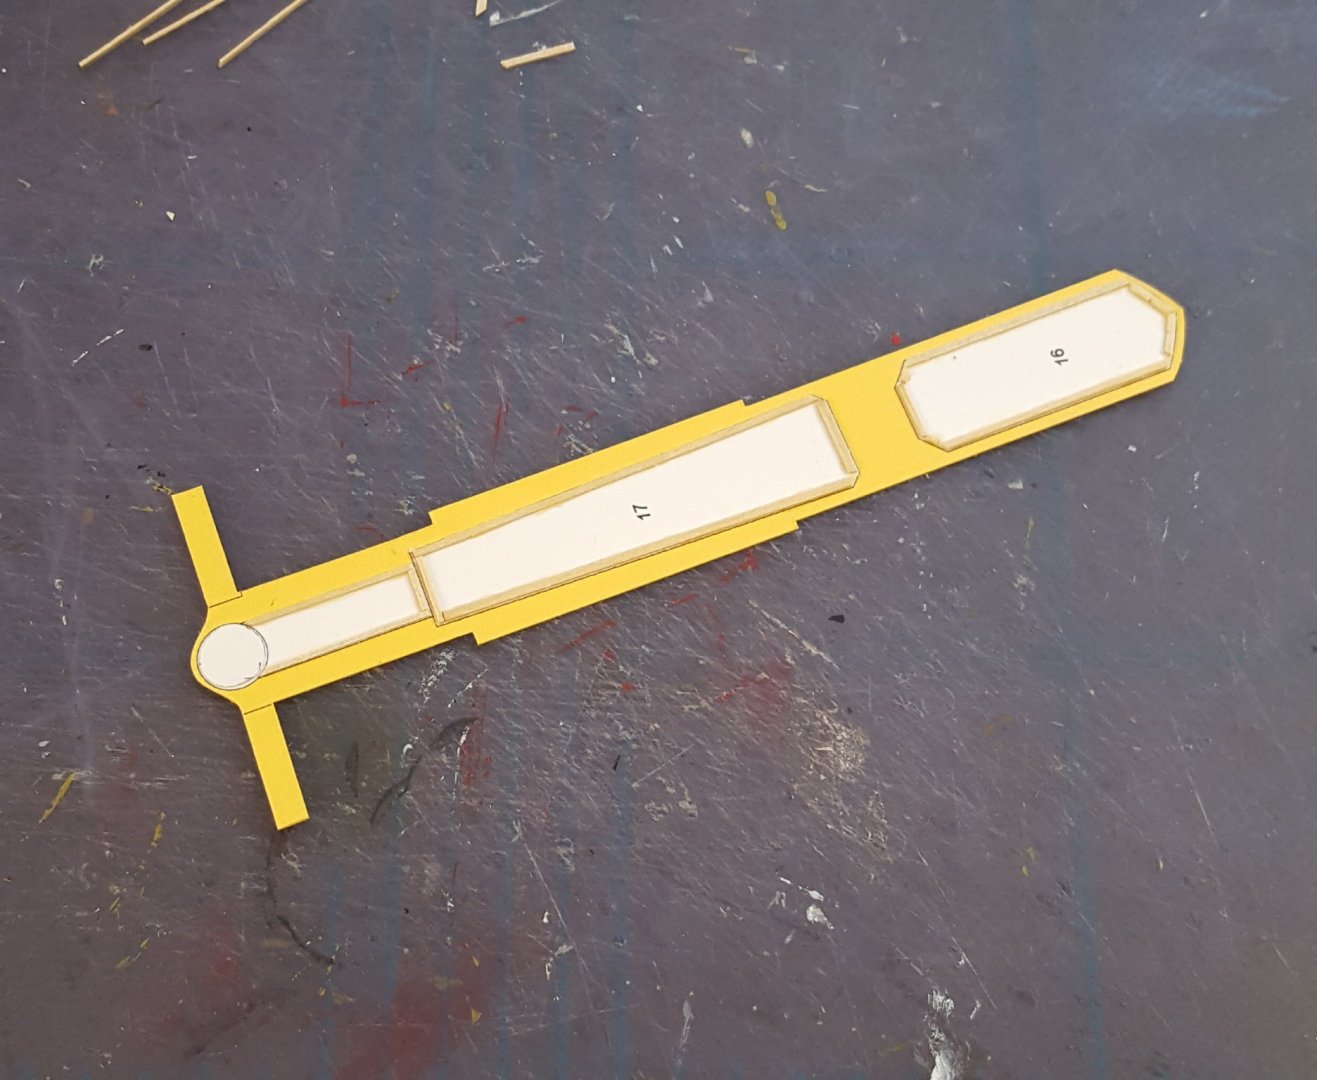
Moving right along to the aft superstructure. The kit uses gluing tabs on parts like this, which I don't care for. That's not a knock against David's design, since lots of other kits use this same technique. But as I explained in my V-108 tutorial, these tabs act like little springs and don't allow structures to seat as well as they could. What I do instead is cut all the tabs off, then use furring strips cut from scrap material to line where the parts will be glued down; each strip acts as both a part locator and a gluing surface and should produce minimal seams between the glued parts. I did both the main deck and the underside of the superstructure deck in this manner. And here's the aft superstructure glued down to the main deck. It doesn't look like much, but there are 30 parts in the sub-assembly. The doors are doubled. The tiny little braces on either side of the structure were not included in the kit, but the superstructure walls were marked for something, and braces were my guess based on similar ships from the same period.
- 45 replies
-
- Tijger
- Paper Shipwright
-
(and 2 more)
Tagged with:
-
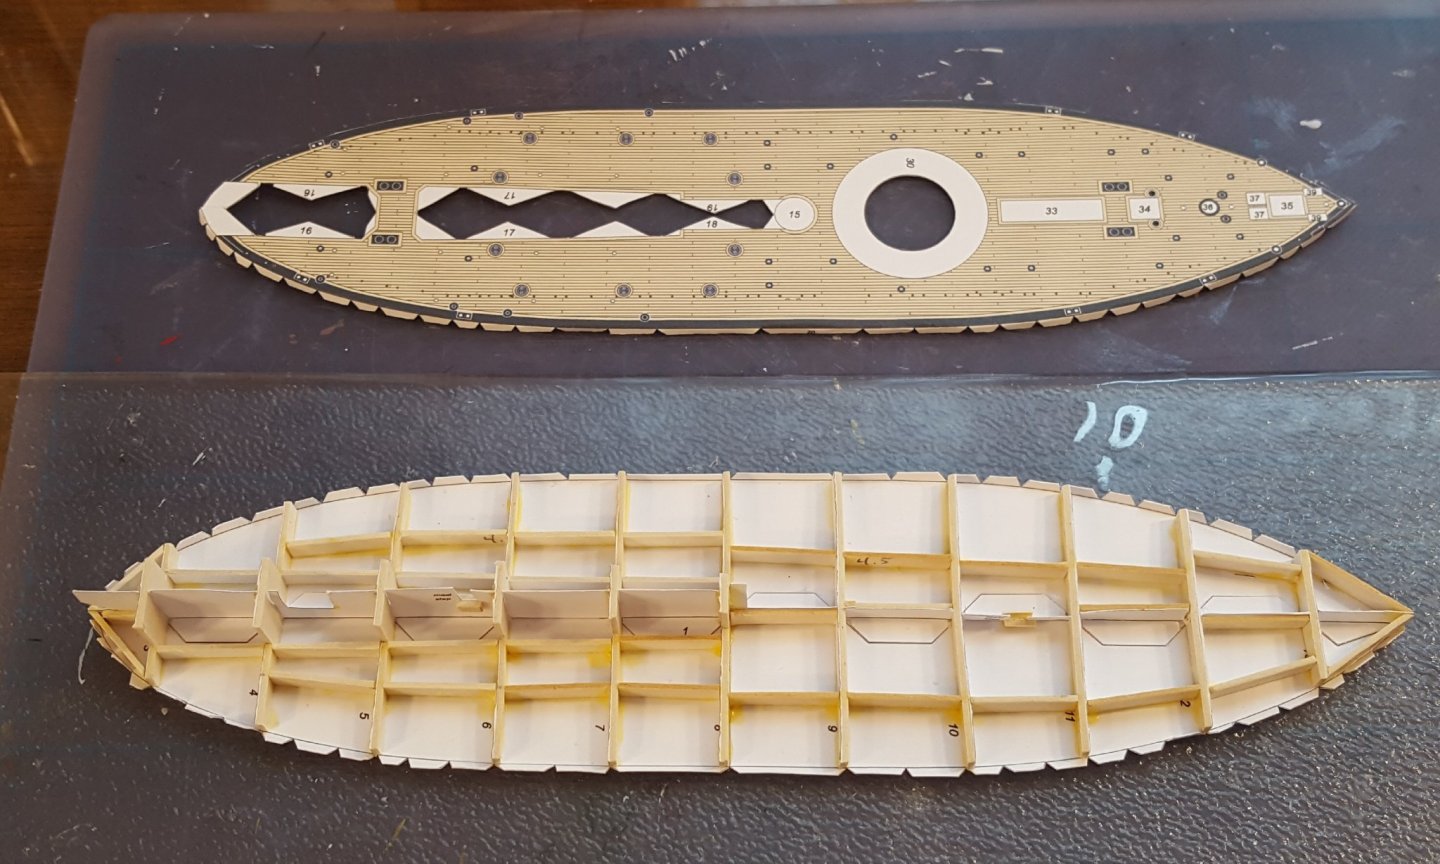
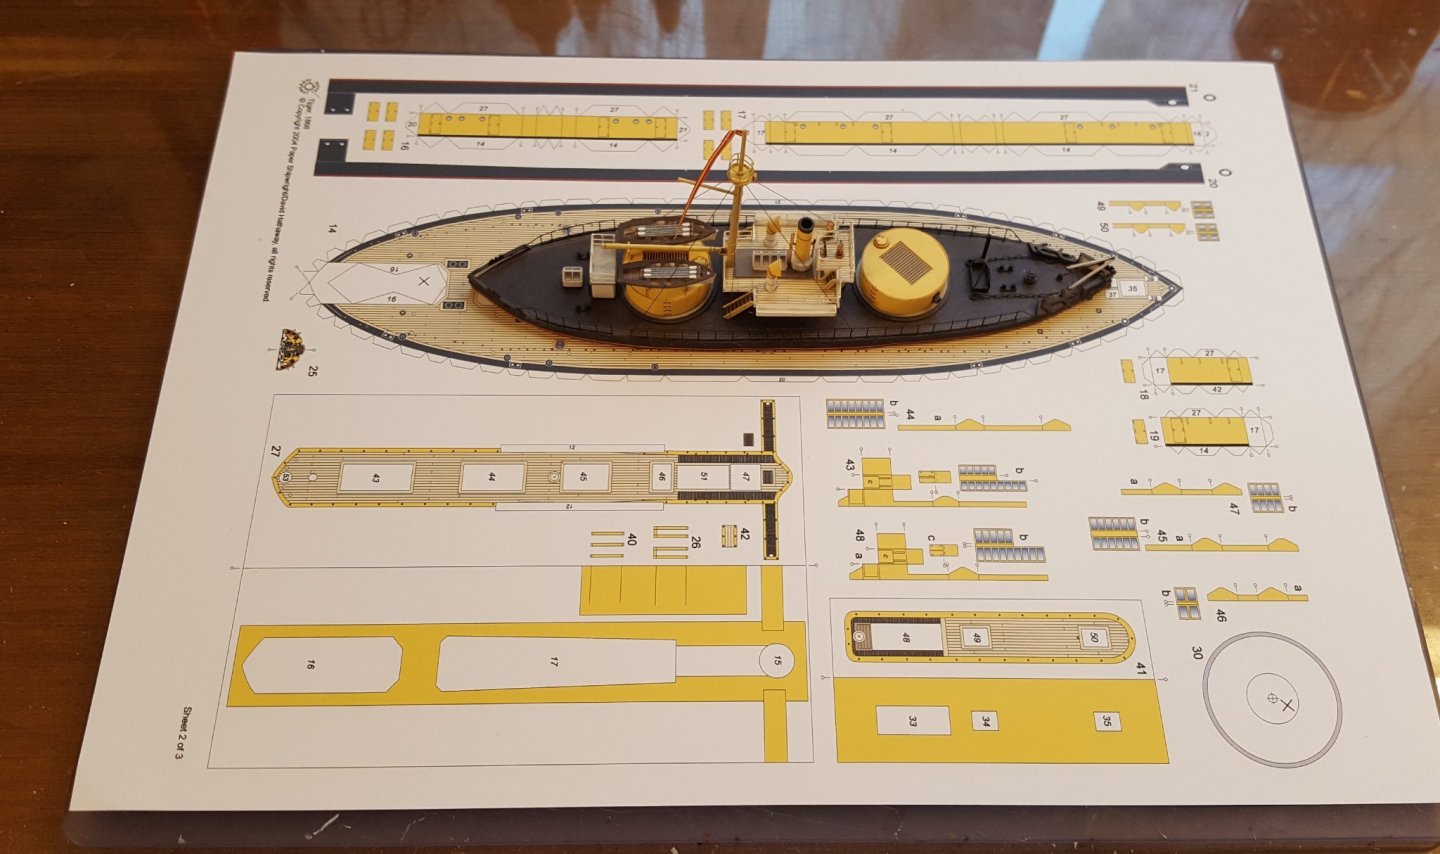
First step was to cut out the base plate and temporarily fix it to a piece of glass to keep it flat during construction. Then came the hull formers. I never have much luck with using the plain card pieces by themselves -- I always seem to get some "starving cow" sagging between bulkheads. In fact, one reason why I chose Tijger as my next project is because I mistakenly assumed the deck is flat; I was going to see about getting a piece of wood planed to the correct thickness and create a solid hull. But, in fact, the deck has a slight bit of camber, so I went with option #2, which was to glue the formers to some leftover laser-cut sheets (this is where hoarding comes in handy) before cutting them out, which produces a sturdier sub-structure and provides more gluing area. Before attaching the deck, I had to cut out the recesses for the aft deck houses and turret; the latter action is optional depending on if one wants the turret to be able to rotate or not. I'm going for the rotating turret. I also located and made holes for the future mast shrouds and stays. Then the deck was carefully glued on. Can't complain too much so far.
- 45 replies
-
- Tijger
- Paper Shipwright
-
(and 2 more)
Tagged with:
-
Hello, Ian. You have made a very good start on this kit. You might not know that this kit is an early design effort by Chris Watton, who is a member here and now runs his own company, Vanguard Models. Many design compromises were made for Sherbourne with the intention of making the kit easier for beginners to complete, so yes, there is plenty of room for improvement in the level of detail. A big help for me when I built mine 20 years ago was a volume from the Anatomy of the Ship series on the cutter Alert; the two ships are not exactly alike, but the book can help you with detailing the model. One thing that you might wish to consider is making the rig more period-appropriate. You can see what this looks like on my example in the gallery here. Again, this modification was done using the Alert book as a source. But, do as much or as little extra detailing as you like. The main thing is to enjoy the build. Cheers!
-
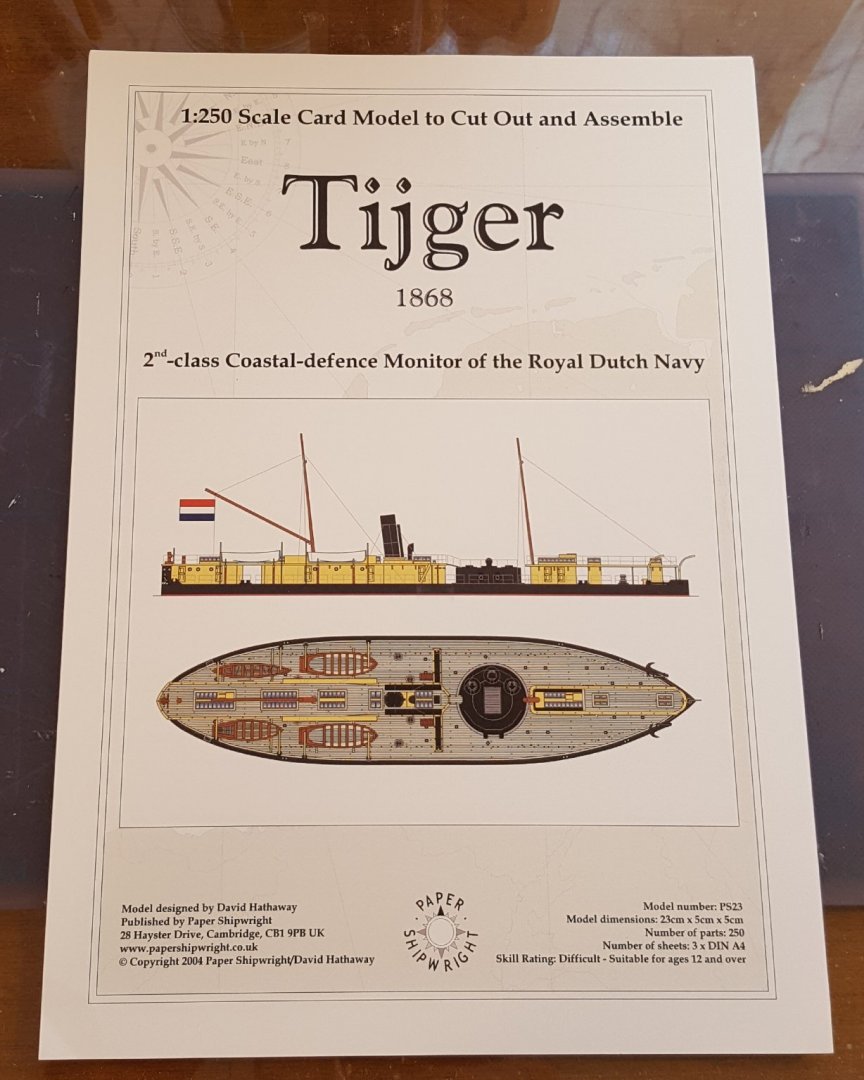
Well, not resting on my laurels here -- moving right along to the next project. I wanted to get back to ships and do something not terribly difficult. Tijger fits the bill, so off we go. Tijger was one of five Heiligerlee-class monitors laid down for the Dutch navy in 1867. Roughly 192 ft in length with a beam of 44 ft, they had a draft of only 9 ft 9 in, displaced 1555 long tons, and carried a pair of 23 cm guns in a single turret. Tijger was auctioned off in 1895. At 1/250 scale the finished model will be 23 cm long. In the second photo you can see one of my earlier models, the Spanish monitor Puigcerda, sitting atop Tijger's deck for a size comparison. Build pics to follow soon. Maybe. P.S. My understanding is that HNLMS (His/Her Netherlands Majesty's Ship) is an international prefix for Dutch ships, and that internally the Royal Netherlands Navy uses the prefixes Zr./Hr. Ms. (Zijner/Harer Majesteit's). Here in the American Deep South we would probably just call them "Y'All's Ship," as in, "Y'all's ship is blockin' muh party barge."
- 45 replies
-
- Tijger
- Paper Shipwright
-
(and 2 more)
Tagged with:
About us
Modelshipworld - Advancing Ship Modeling through Research
SSL Secured
Your security is important for us so this Website is SSL-Secured
NRG Mailing Address
Nautical Research Guild
237 South Lincoln Street
Westmont IL, 60559-1917
Model Ship World ® and the MSW logo are Registered Trademarks, and belong to the Nautical Research Guild (United States Patent and Trademark Office: No. 6,929,264 & No. 6,929,274, registered Dec. 20, 2022)
Helpful Links
About the NRG
If you enjoy building ship models that are historically accurate as well as beautiful, then The Nautical Research Guild (NRG) is just right for you.
The Guild is a non-profit educational organization whose mission is to “Advance Ship Modeling Through Research”. We provide support to our members in their efforts to raise the quality of their model ships.
The Nautical Research Guild has published our world-renowned quarterly magazine, The Nautical Research Journal, since 1955. The pages of the Journal are full of articles by accomplished ship modelers who show you how they create those exquisite details on their models, and by maritime historians who show you the correct details to build. The Journal is available in both print and digital editions. Go to the NRG web site (www.thenrg.org) to download a complimentary digital copy of the Journal. The NRG also publishes plan sets, books and compilations of back issues of the Journal and the former Ships in Scale and Model Ship Builder magazines.


