ccoyle
-
Posts
10,604 -
Joined
-
Last visited
Content Type
Profiles
Forums
Gallery
Events
Everything posted by ccoyle
-
 Elevators complete. And since there was so much recent interest in the cans on my desk, I've made sure that they feature prominently in this shot. 😜
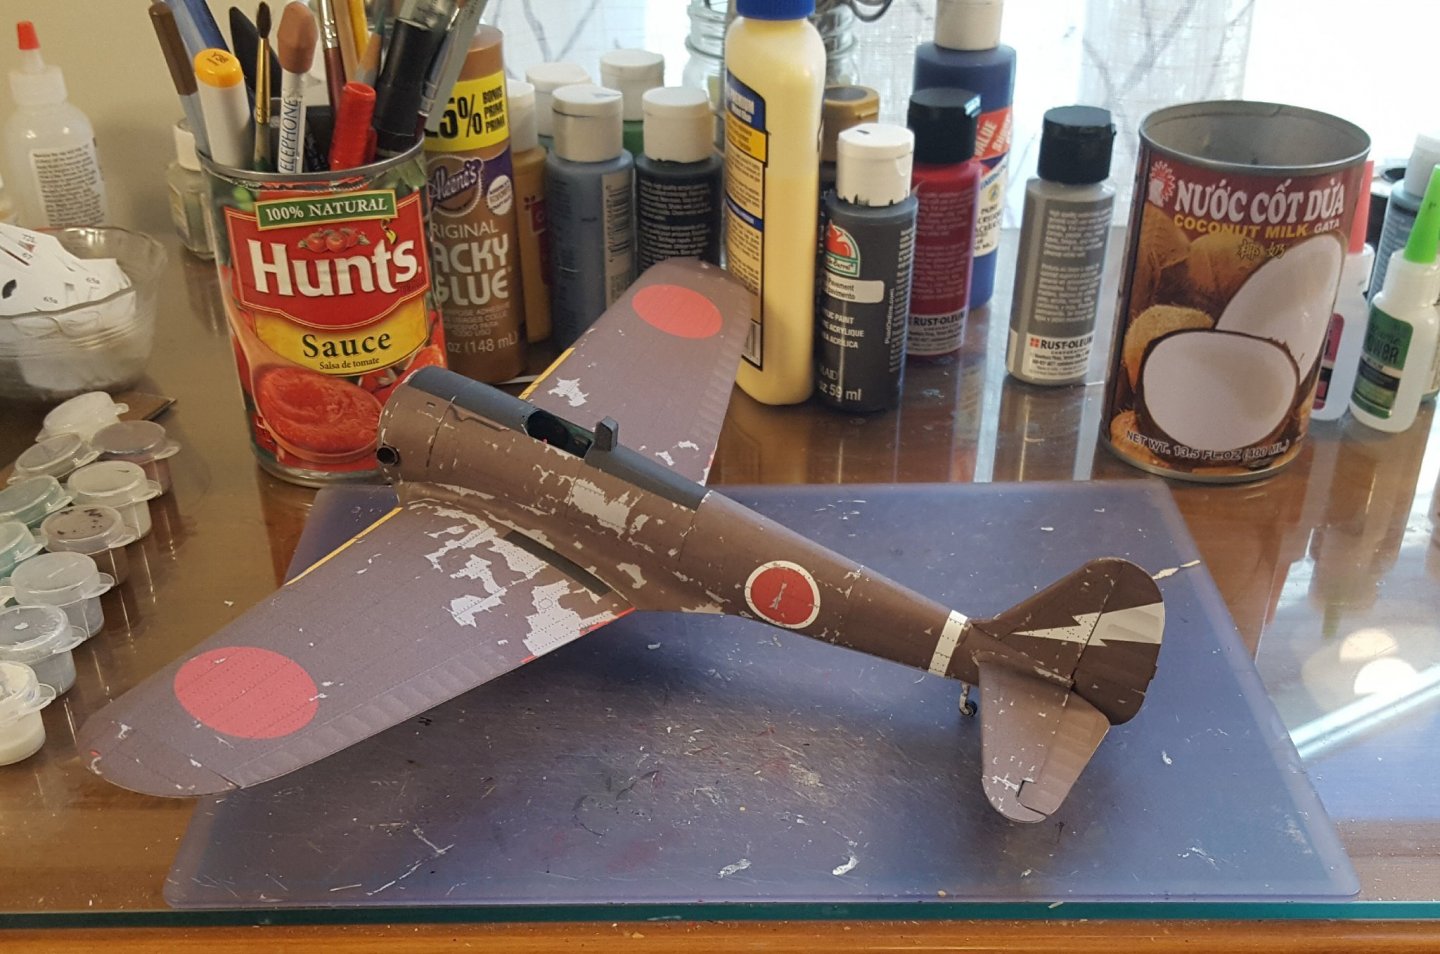
- 125 replies
-
- 14
-

-

-
Very nice work! Build log titles can only be edited from post #1. I've got this one covered for you. Cheers!
- 22 replies
-
- 1
-
-
- Lowell Grand Banks Dory
- Finished
- (and 1 more)
-
Couple of odds and ends today -- exhaust stubs, headrest, rudder. Not a whole lot to show because of all the soccer I had to watch today. 😋 I started work on the elevators. Not a single diagram shows the internal structure of these elements. Thankfully, I already have a good idea of how they go together.
- 125 replies
-
- 10
-
-
If you're genuinely curious, I can set up a topic in the Shore Leave area.
-
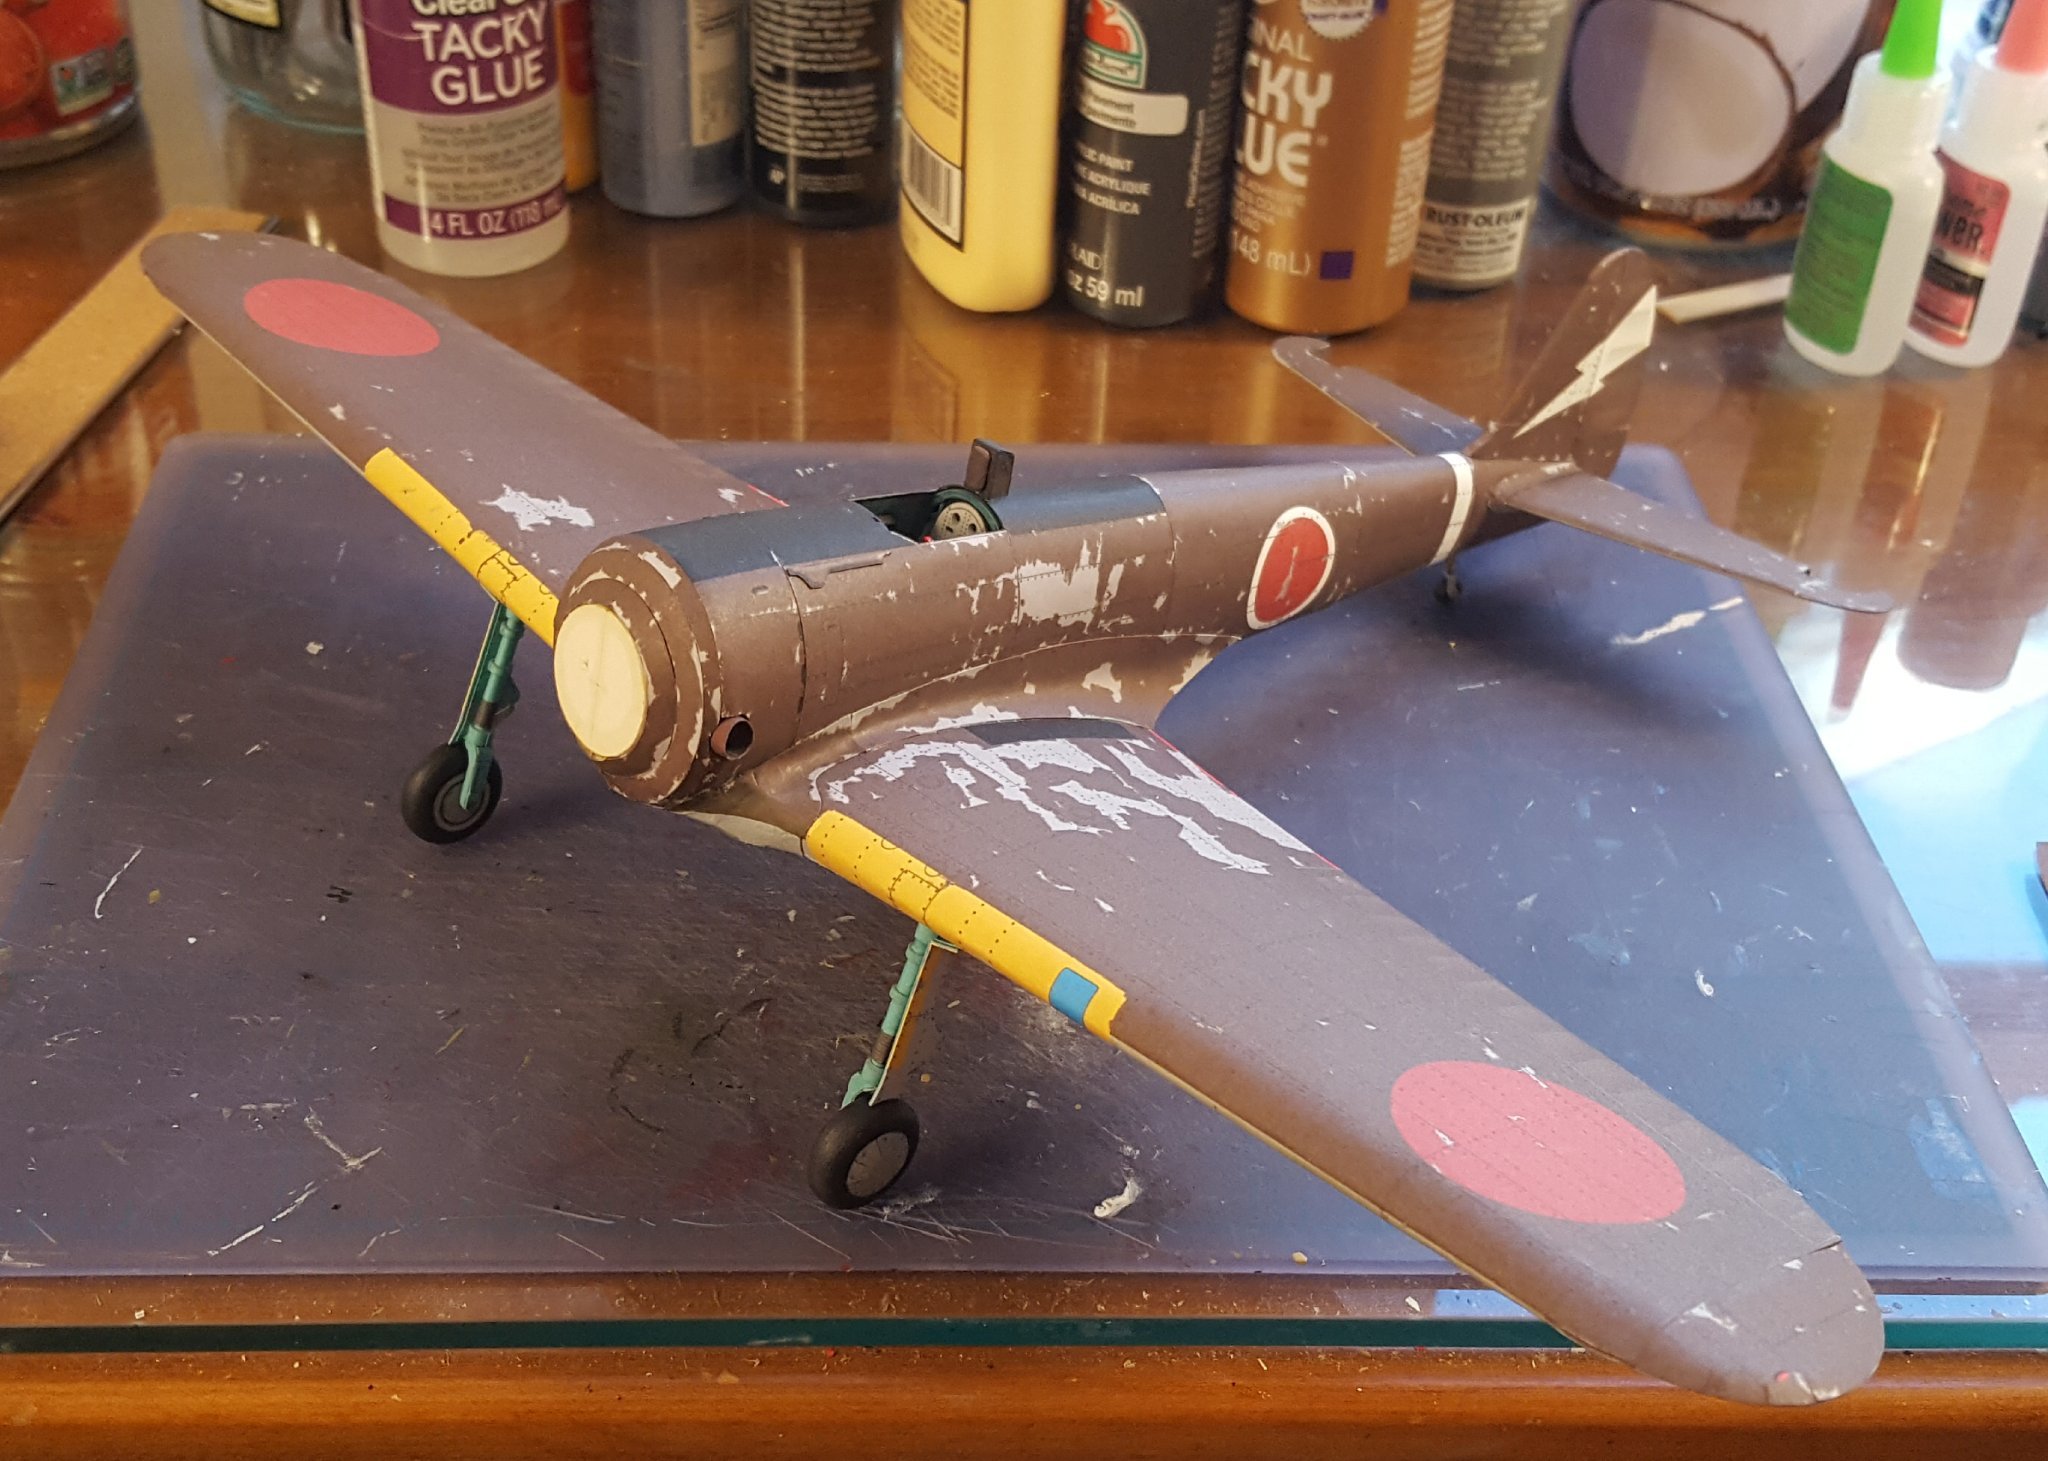
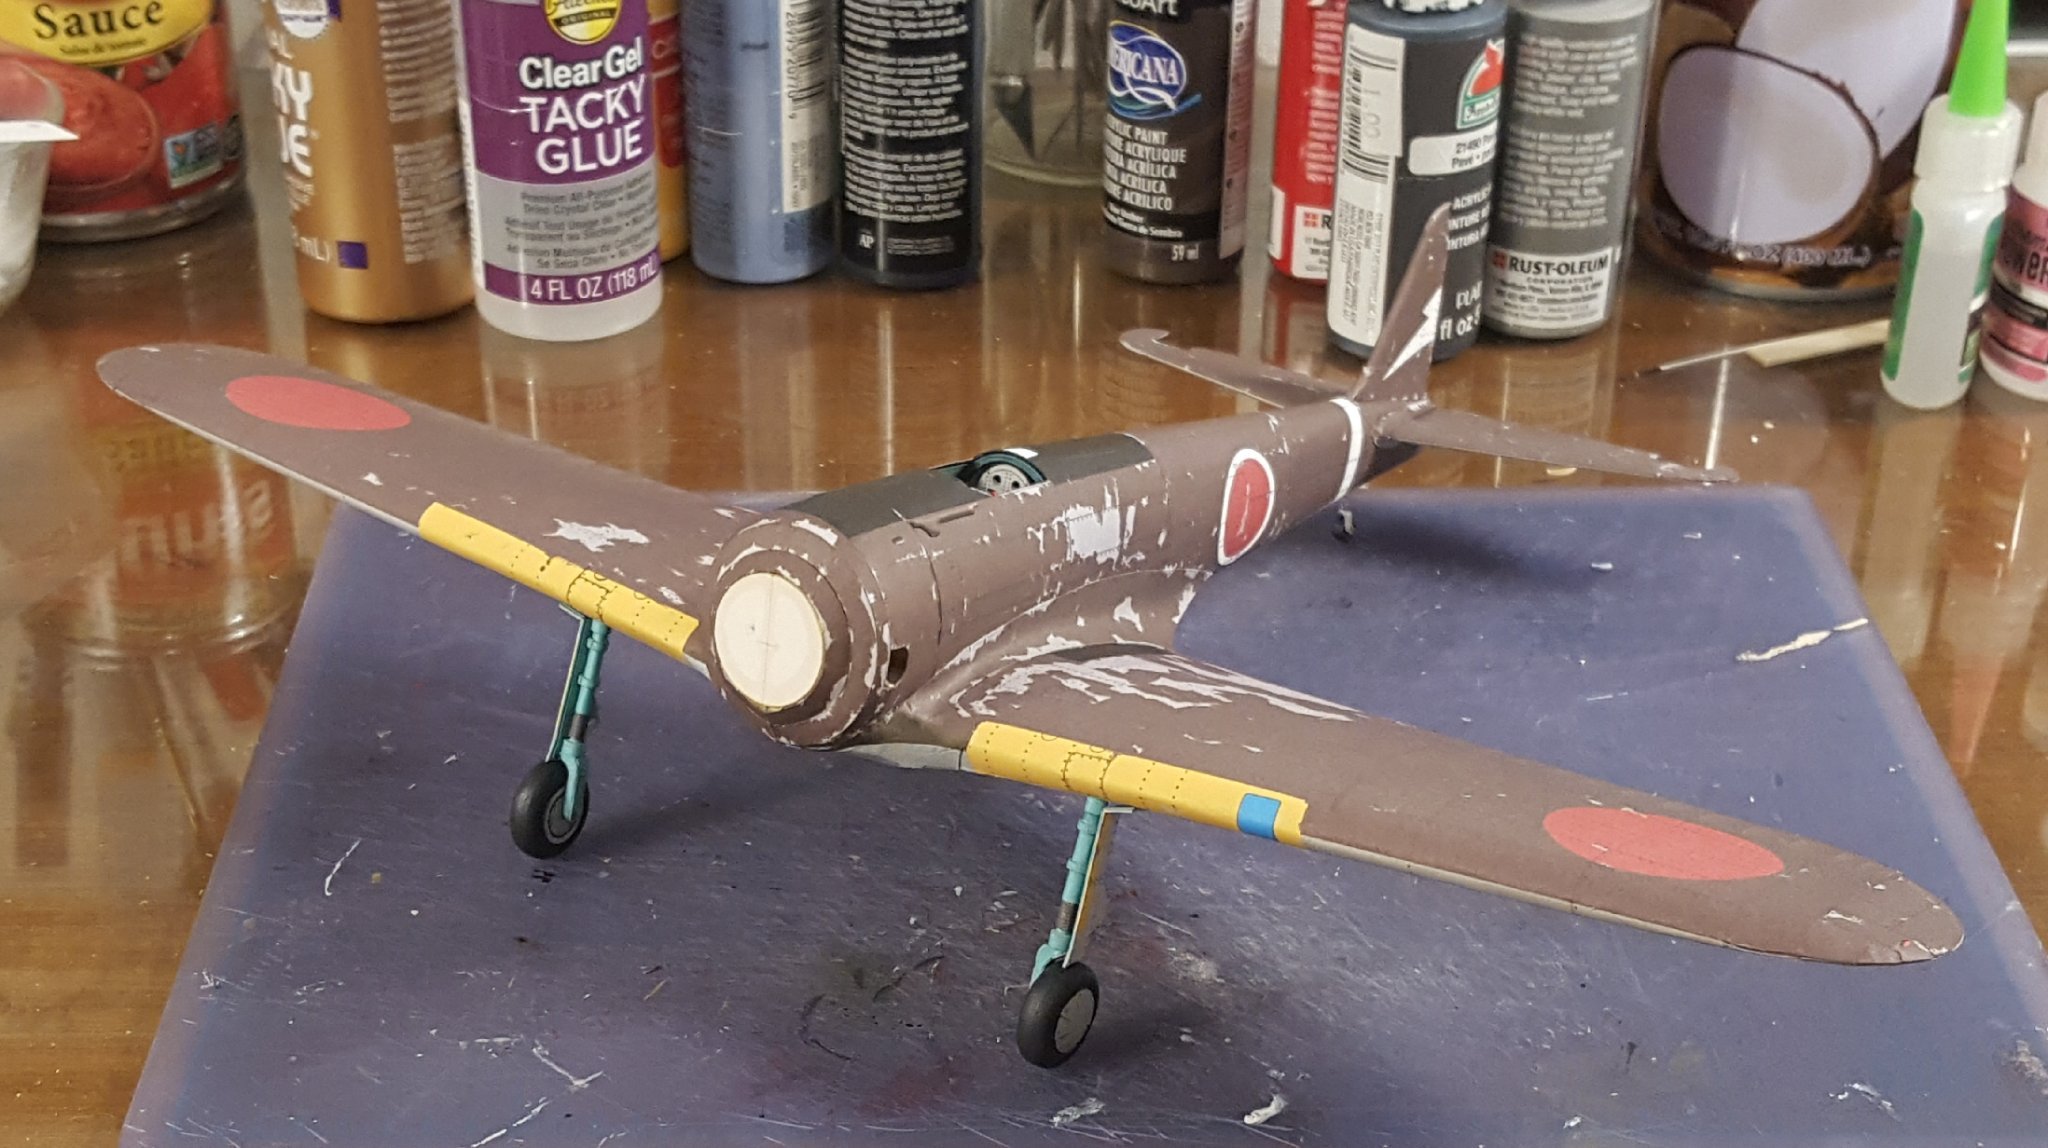
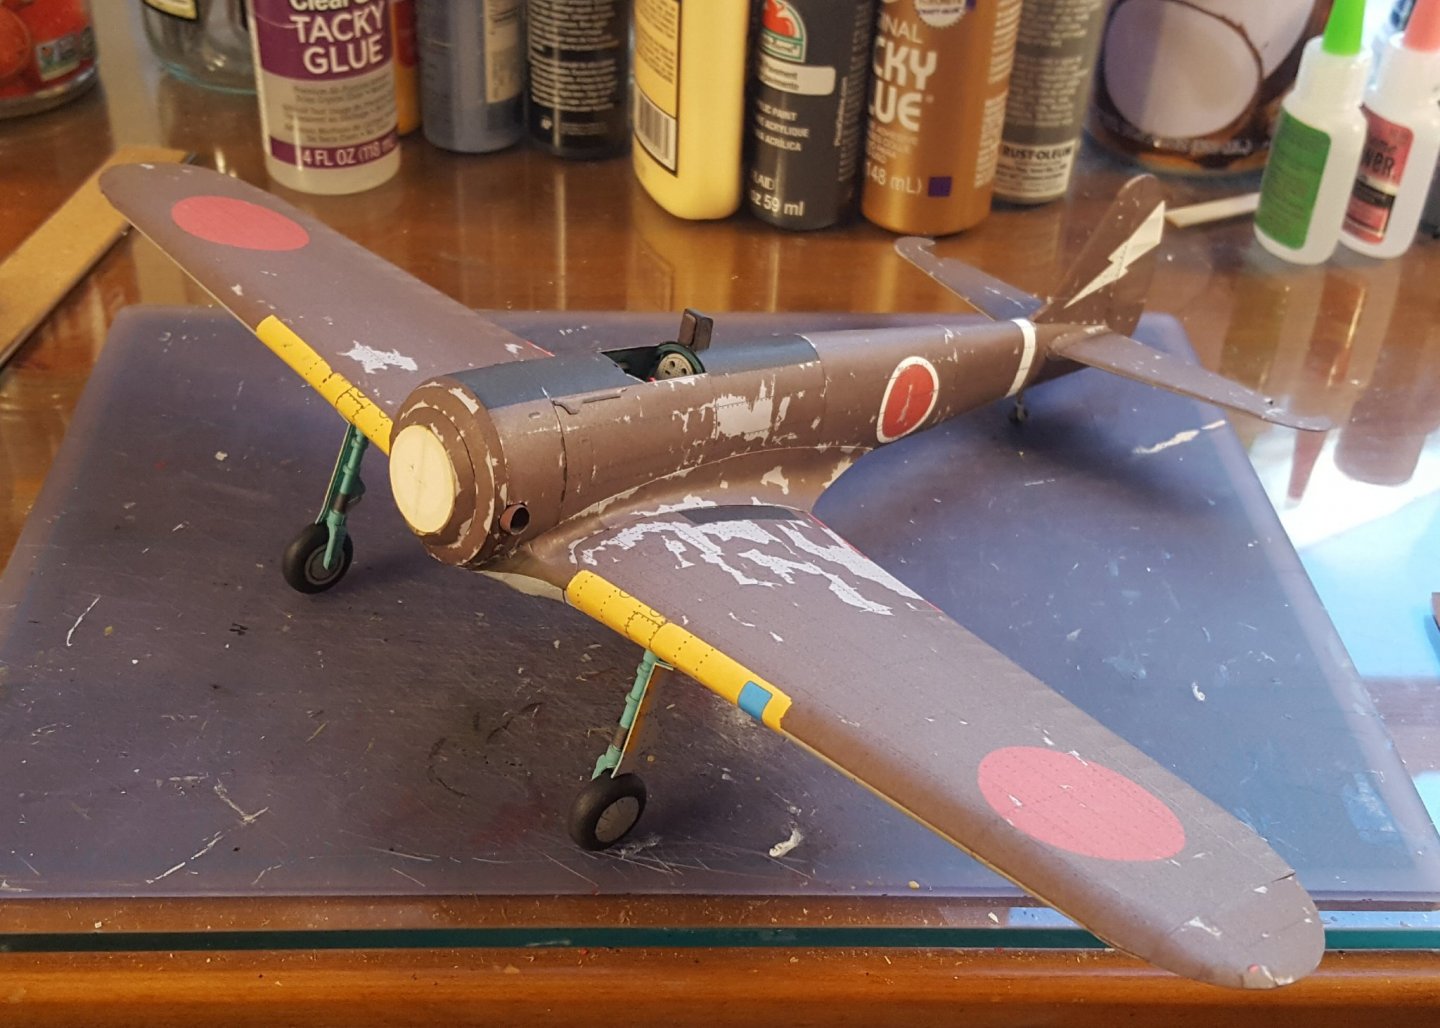
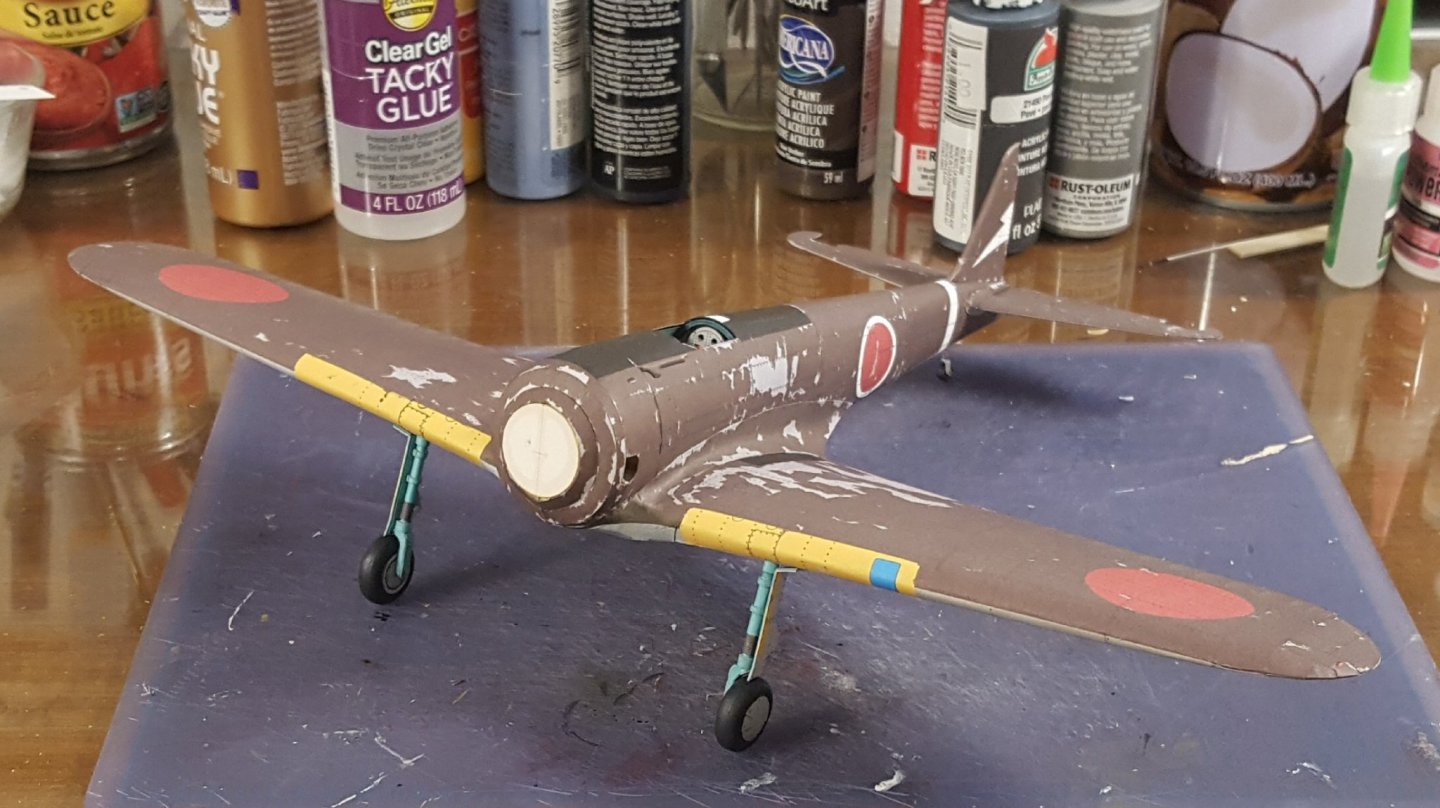
Baby has new shoes. Each main gear has 15 17 pieces, and the tail wheel has 9. I left off the brackets that normally would hold the gear doors to the struts, because the diagrams were very vague on their placement, and they are tiny parts in any case.
- 125 replies
-
- 16
-
-

-
Witam, Adam! Hope you will enjoy your time here.
-
1:1 firearms are a niche within the card modeling community. I don't build them myself and have little interest in them, so I'm not super-familiar with the sources. But there are examples of them here and there for sale, such as here.
- 27 replies
-
- 6
-

-
-
- eBay
- kit piracy
- (and 1 more)
-
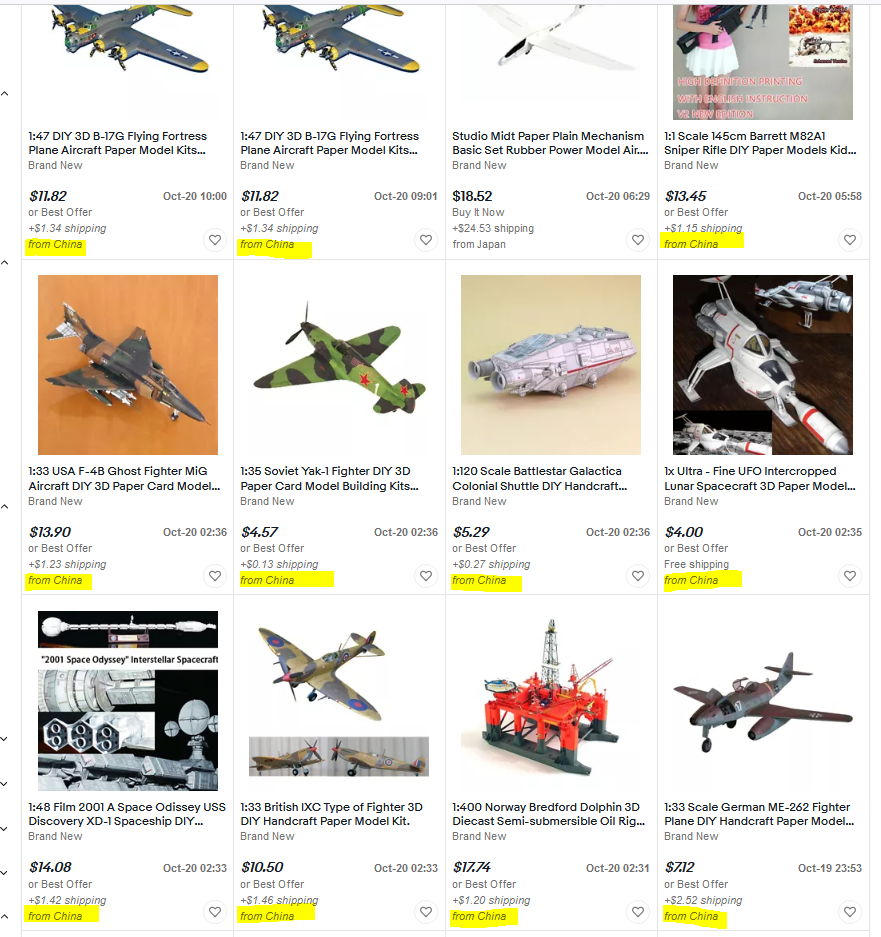
Hey, there. This post is for those who may be new to card modeling and might be thinking about buying one. Here's some advice: unless you know what to look for, avoid eBay as a source for card models. Why? To answer that, let's look at the following eBay screen capture, showing page one of the results obtained by searching for "paper models," with the search narrowed to aircraft and sorted by newly listed: Anything jump out at you? That's right -- nearly all of those models are originating in China. And you know what else they have in common? Every kit coming from China has been illegally scanned and copied from a legitimate kit. In many cases, I know who published the original design. Sadly, it is extremely easy to scan a card model and make copies of it, and a quick survey of eBay shows that nearly 80% of the card models listed there are illegal copies. This is an example of IP infringement. It's theft, and it's wrong. Same as for wooden kits, pirated card model kits are not welcome at MSW. Help support card model designers and publishers by only purchasing models from trusted sources -- think of it as an investment in the future of card modeling. If you have a question about a particular model, feel free to shoot me a PM. Cheers!
- 27 replies
-
- 23
-
-
-

-
- eBay
- kit piracy
- (and 1 more)
-
Well, no pictures of landing gear today. Why no pictures? Because yet again, the diagrams in an Orlik kit leave much to be desired -- namely clarity. There's parts that aren't shown, parts that aren't numbered, parts shown in one perspective but not another, and even parts shown in locations that they cannot possibly be physically located in. Ah, but who doesn't love a challenge? 😑
-
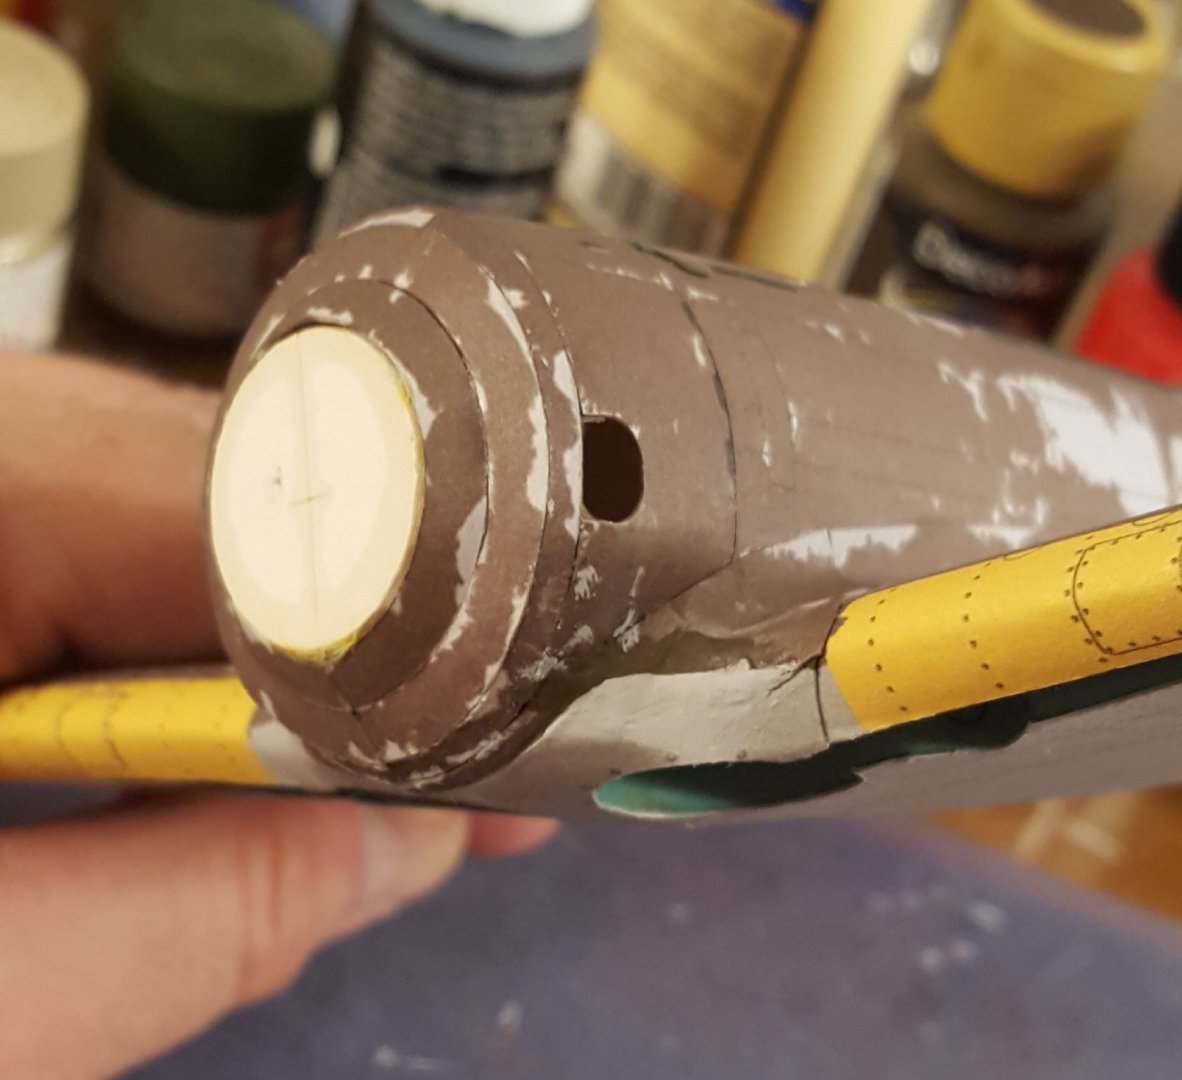
Whew! Both sides done now. The starboard side, while not a perfect fit, did not require as much surgery as the port side, e.g. no paper mache -- was able to fill in the gaps with glue. Next step will be the landing gear, then the fuselage will be set aside for a bit to work on the engine and cowling. I love building radial engines out of card stock. 🙄
- 125 replies
-
- 16
-
-
-
Ah, I forgot about Dom Bumagi. This log can stay in the kit section -- it's still the same kit, just bigger.
- 31 replies
-
- 3
-
-
- Borodino
- Dom Bumagi
- (and 1 more)
-
When you say "from the Ukraine," I'm guessing that this is the Orel kit?
- 31 replies
-
- 4
-
-
- Borodino
- Dom Bumagi
- (and 1 more)
-
Radiation was still a novelty back in those days. The military did a lot of wacky things with nuclear tests back then that make little sense based on what we know now.
- 174 replies
-
- 6
-
-
- prinz eugen
- trumpeter
- (and 2 more)
-
Yep, and so were USS Saratoga and IJN Nagato. Personally, I think all three of them would have been priceless museum ships, especially Saratoga.
- 174 replies
-
- 4
-
-
- prinz eugen
- trumpeter
- (and 2 more)
-
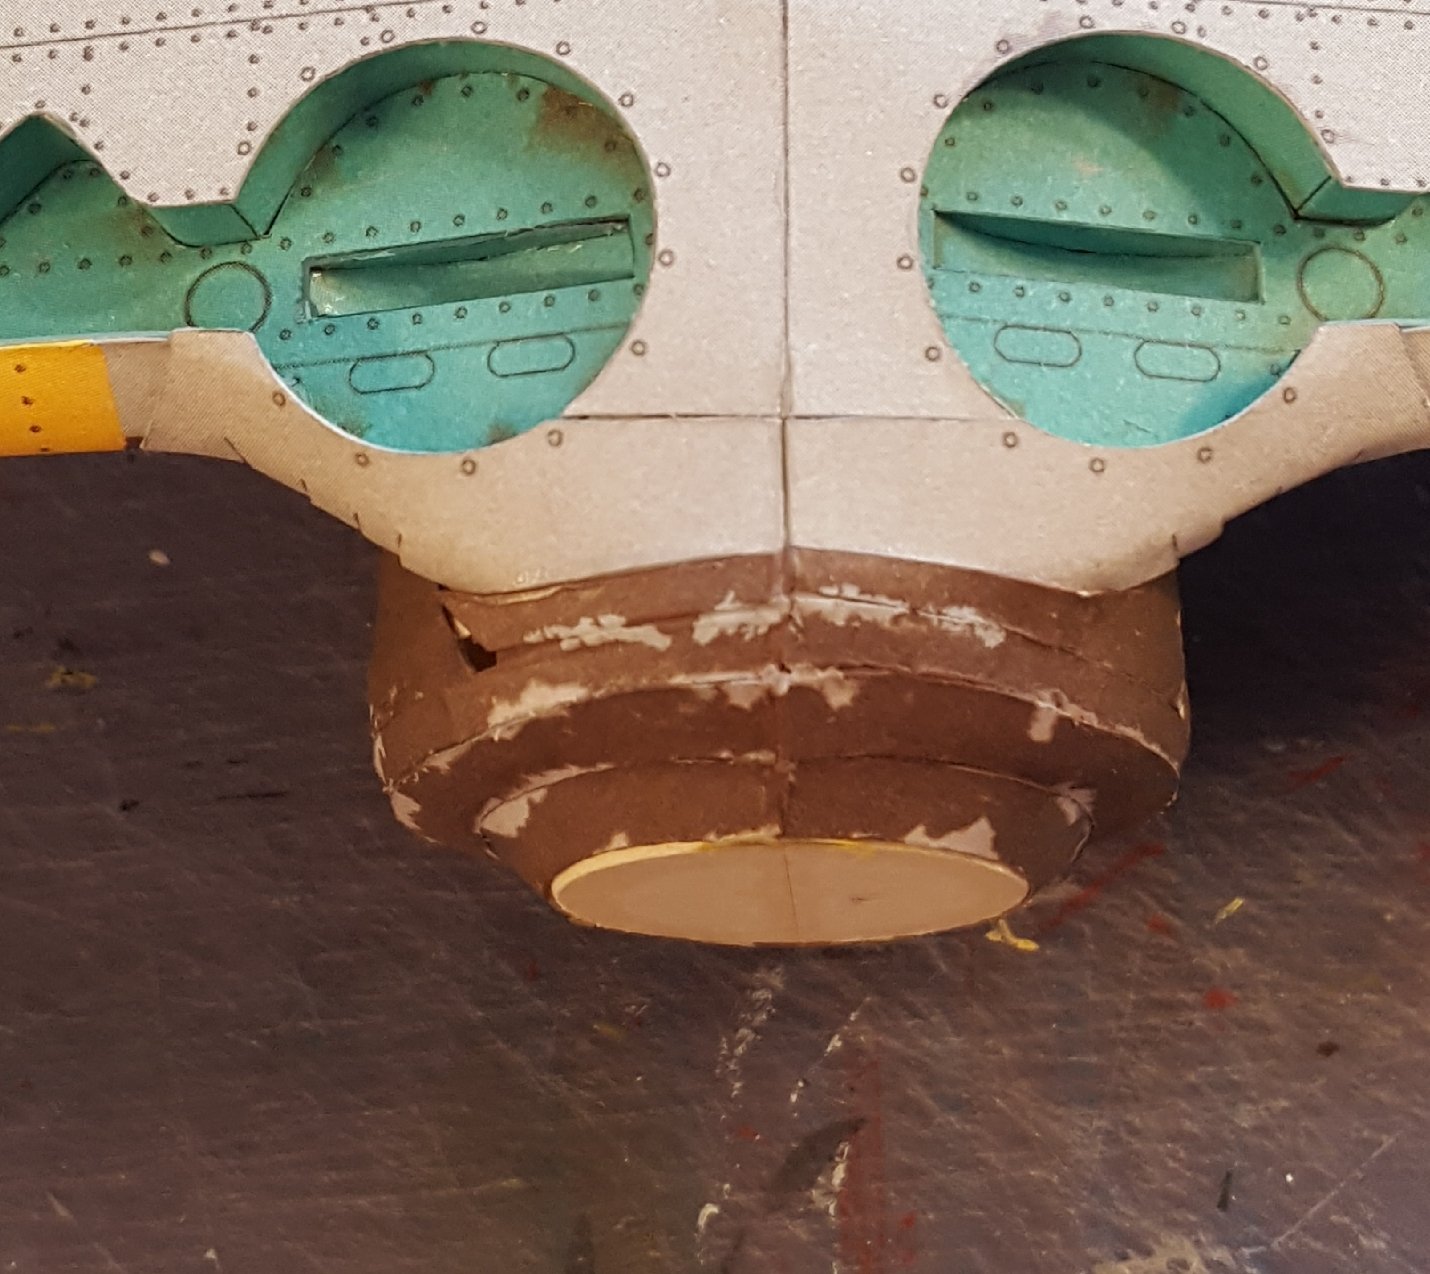
Ha! First time I ever used it! 😉
-
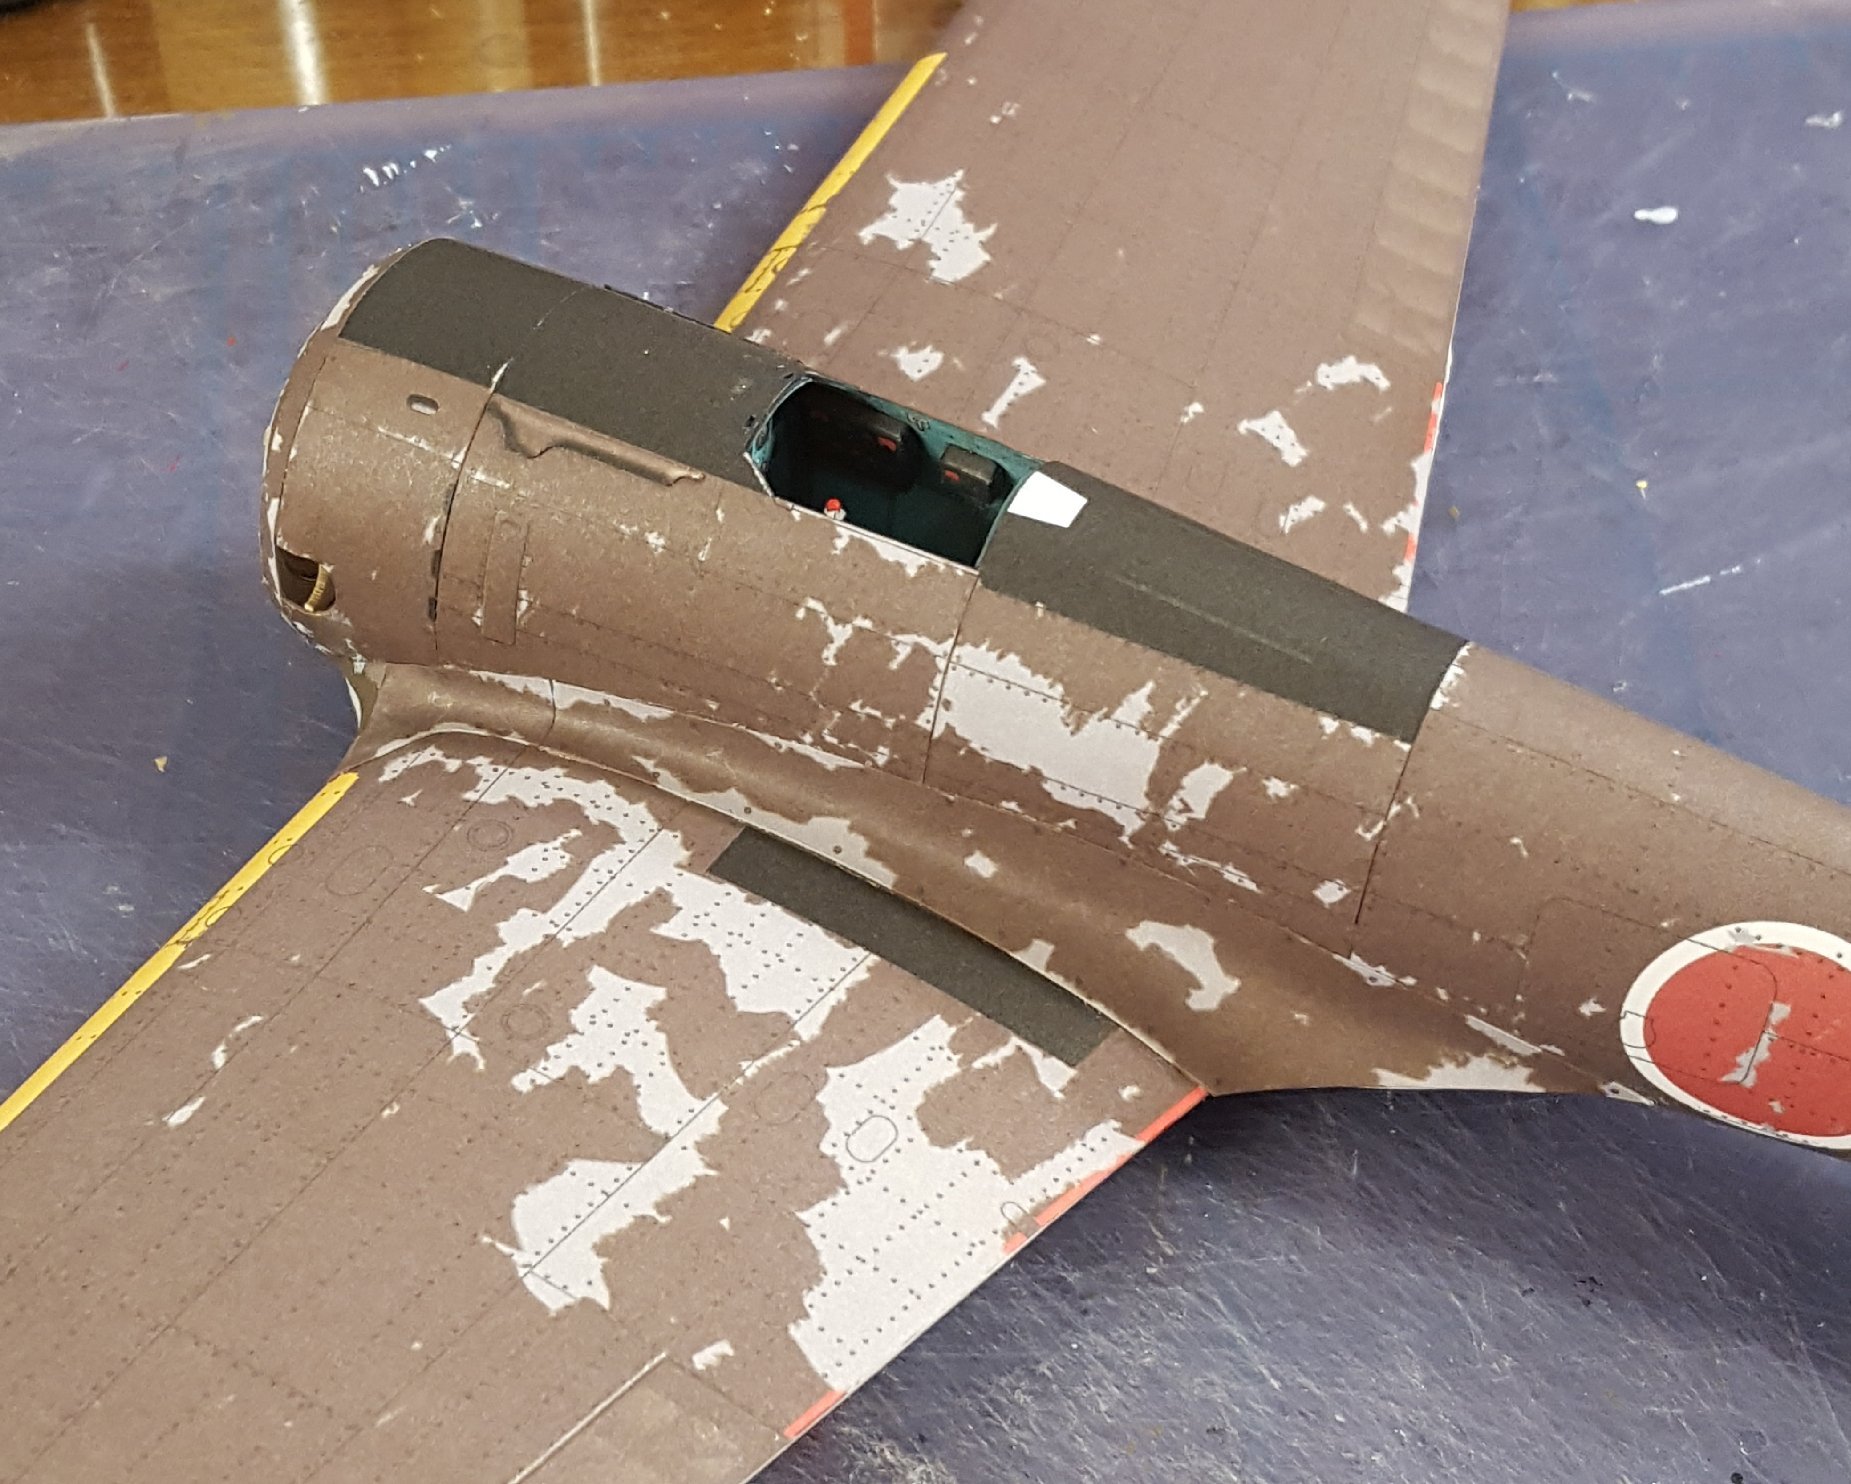
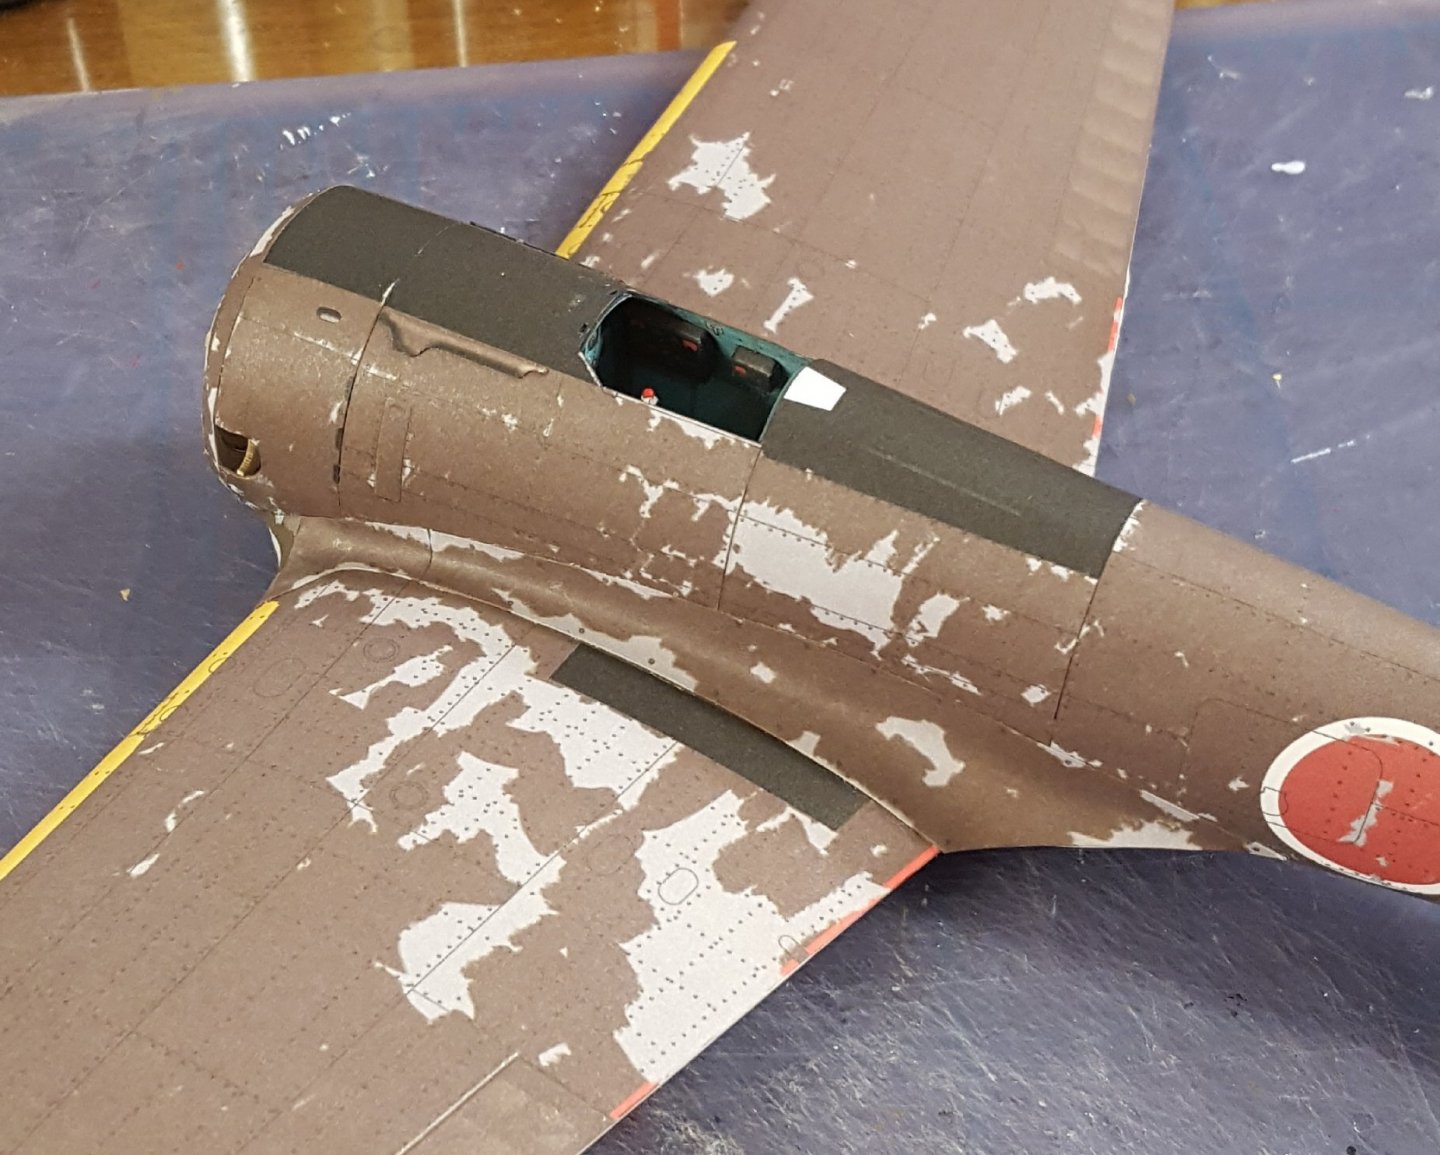
So here's the patch job. I did actually use a kind of paper mache (bits of paper towel soaked in white glue), covered by a bit of spackle, then sanded down. I touched it up a little more after this photo, so it looks better at the moment. And here's the entire left wing fillet. Only one more side to do! 🤪
- 125 replies
-
- 17
-
-
-
-
Hold that thought. 😉
-
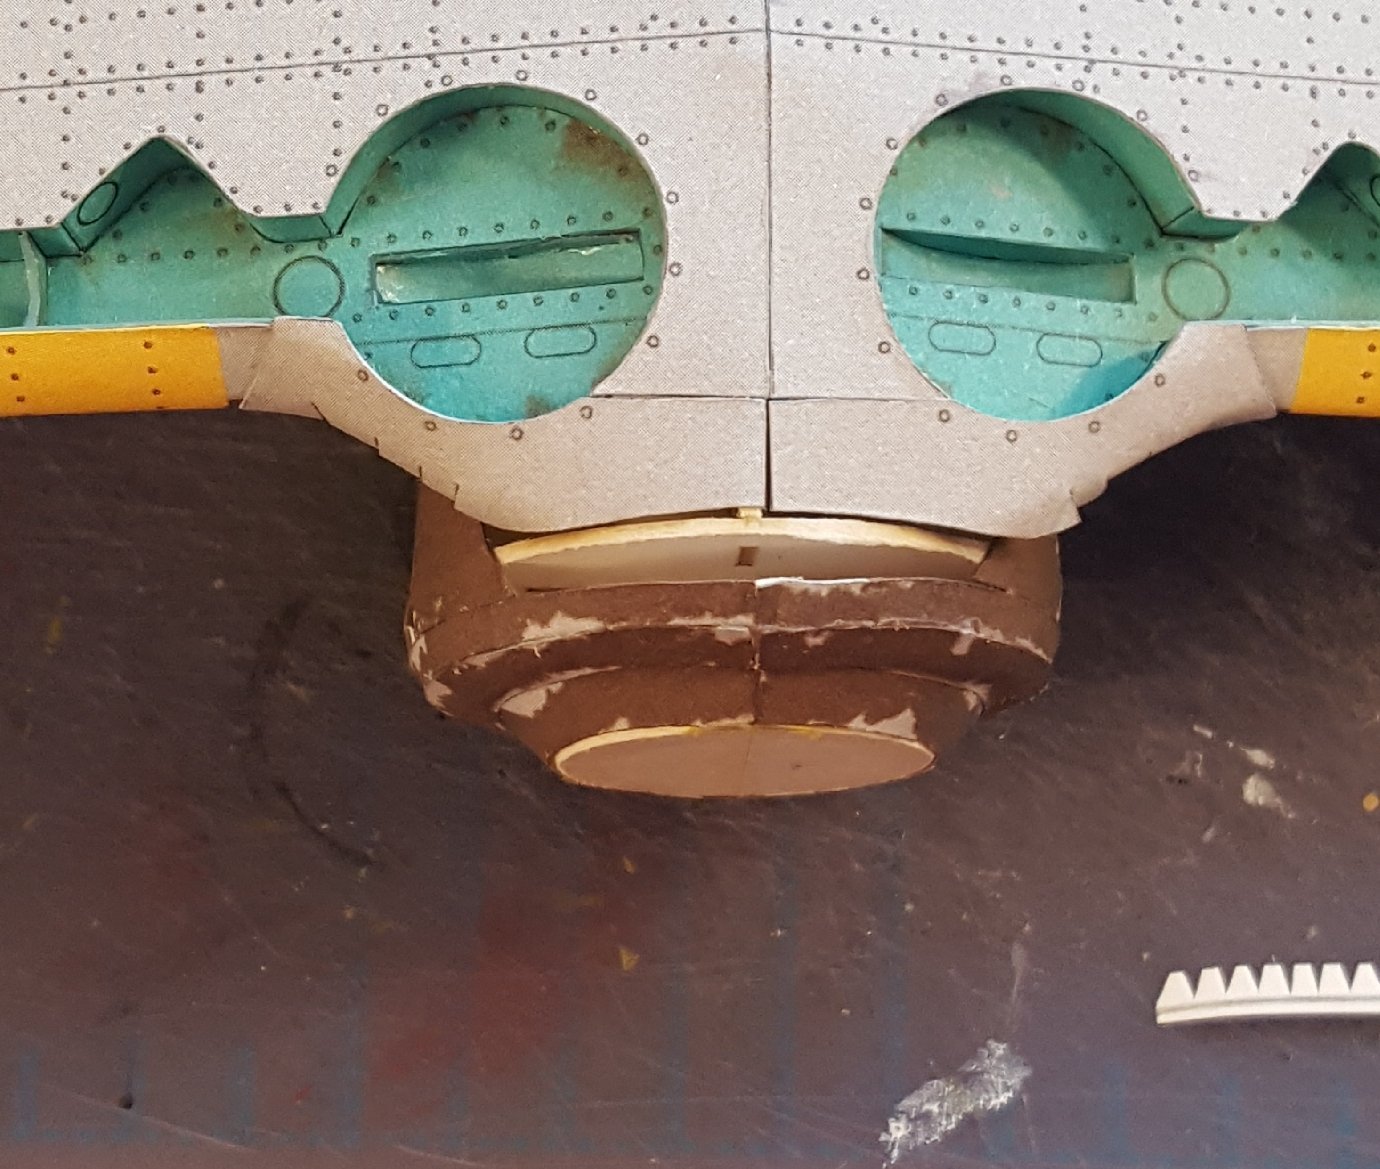
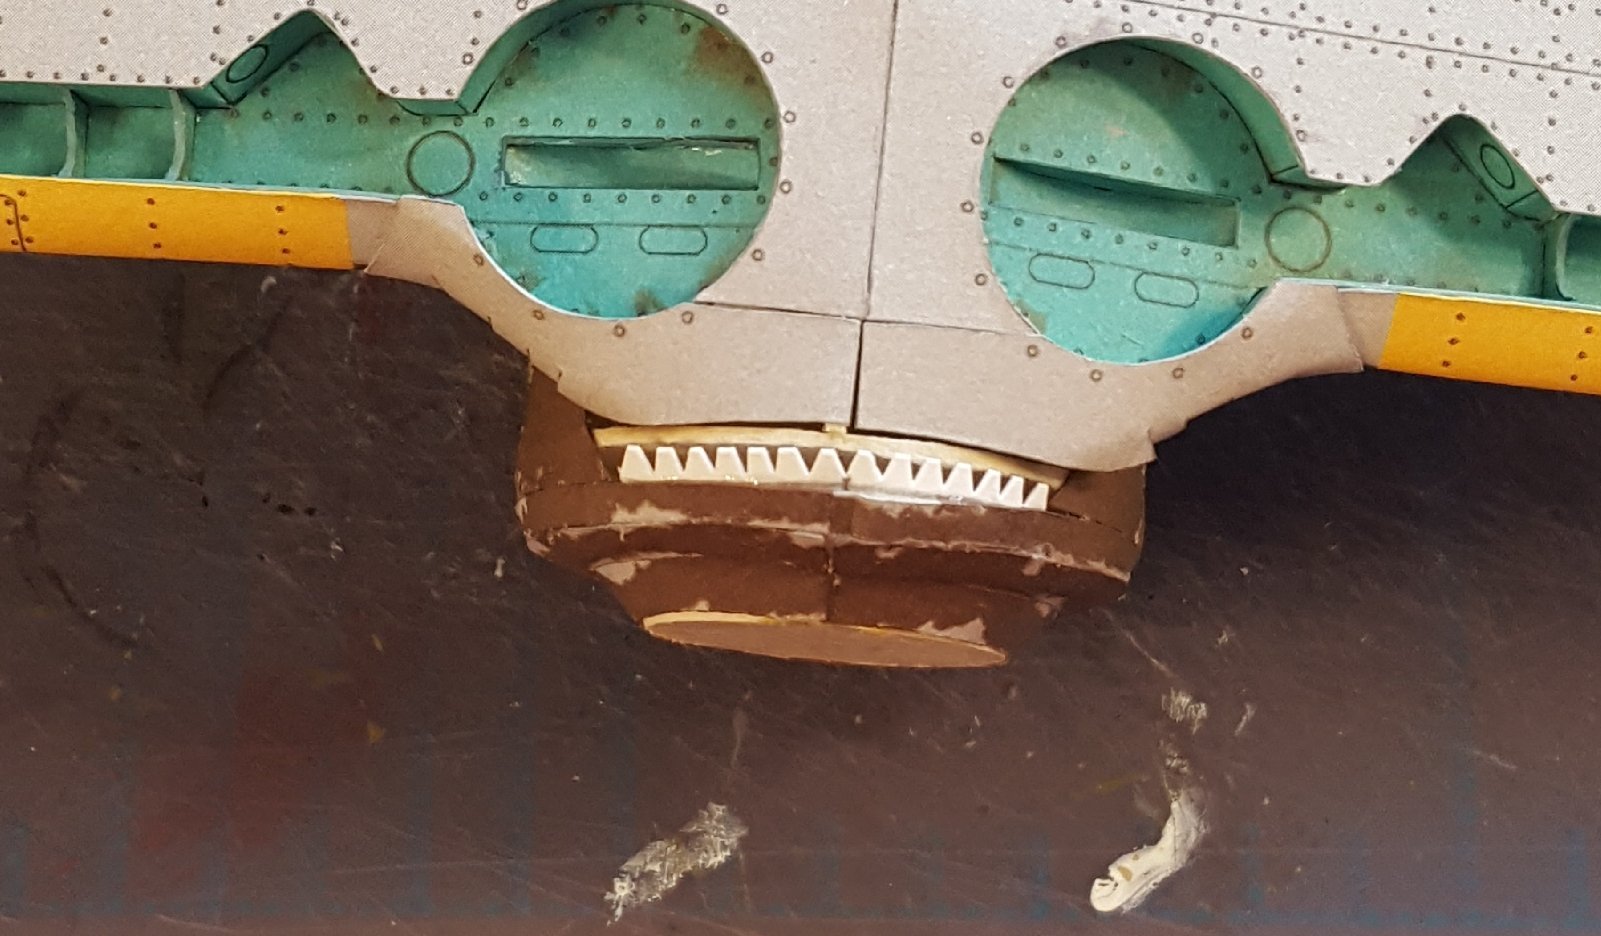
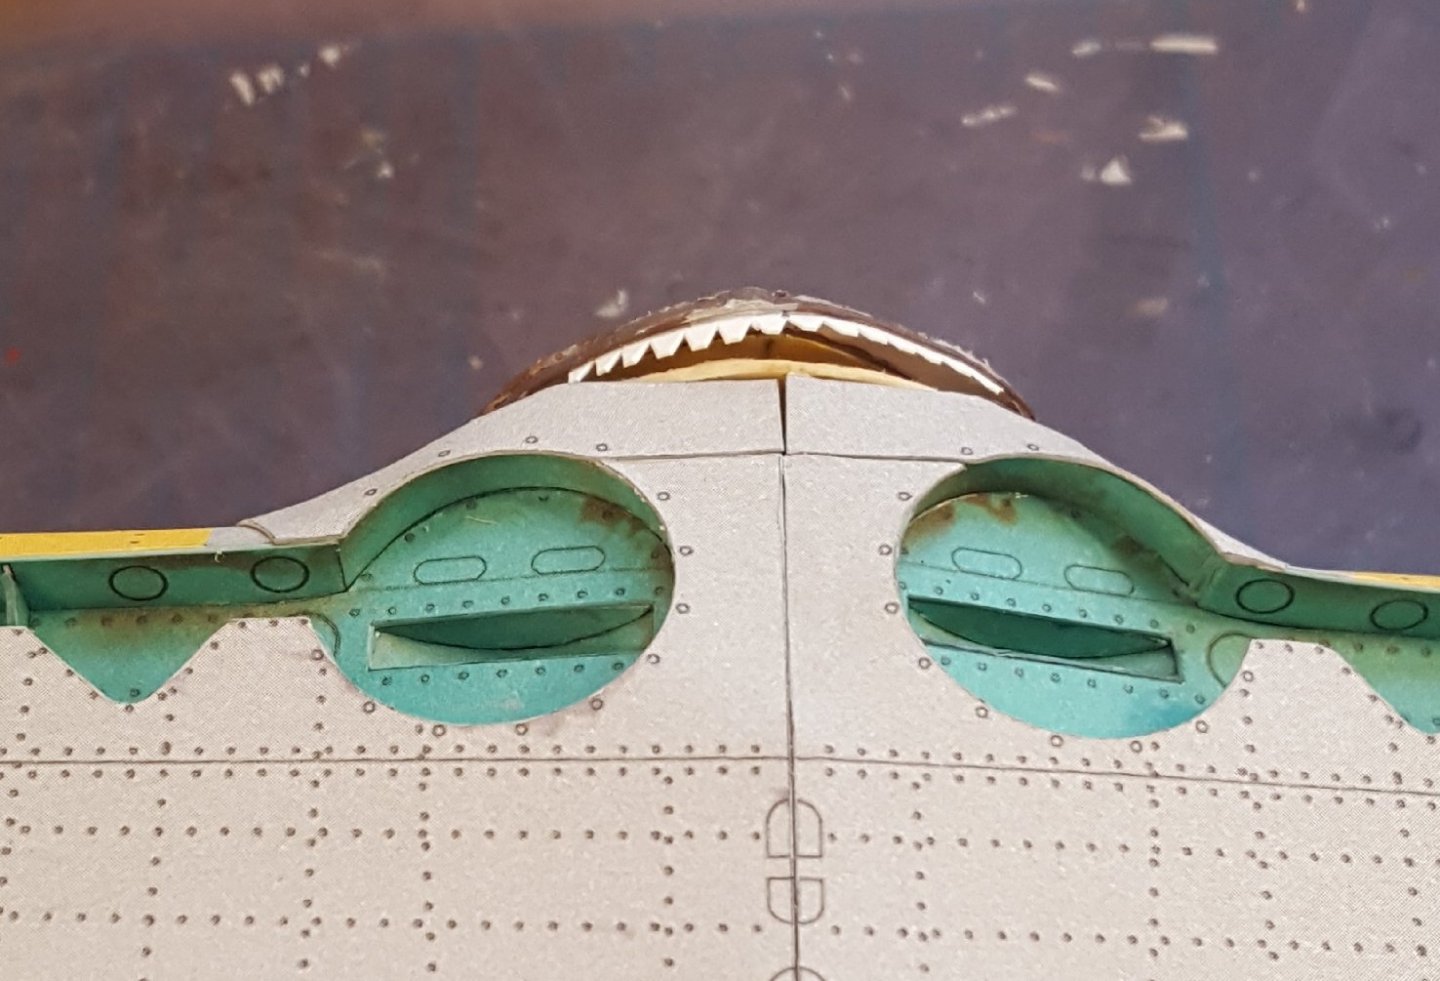
Okay, now things get a little ugly . . . First, the wheel wells were completed. You'll notice that there are a couple of pieces of fairing added to the front of them. That gap that was mentioned back in post #31 was not covered by these pieces. So, the first order of the day was to fill in this gap, beginning with a joiner piece cut from some scrap. But, as you can see in this shot, the ring that the joiner strip attaches to is too big. I had to snip the ring open, remove a bit of material, and then rejoin it so that the resulting skin structure could meet the underlying bulkhead properly. Once that was done, I had to create some filler pieces. I first made a template to fill the gap, then cut the fillers from one of the surplus color swatches provided in the kit. These were glued in and touched up -- some random "chipping" helps hide the surgery scars. And here's where it gets really messy. The wing fillets are made in two pieces. The larger aft piece (mostly obscured in the photo) actually fits well and was not a problem to install. Nope, the problem was with the smaller forward piece. There simply was no way that the fillet, the lower wing fairing, and the forward fuselage were going to meet properly. At all. Yet again, the diagrams did not present a clear view of this particular aspect of the build, meaning some guessing about the shaping was necessary, but even so, this joint wasn't going to happen cleanly. This brings back some rather unpleasant memories of my Yak-3 build, whose leading edge wing roots were also a major headache. Some filler is plainly going to be required here -- will report back later on the result.


- 125 replies
-
- 12
-
-
Well, if I can help tempt anybody, $70 for the POB II kit is really a steal, and the finished model can be quite spectacular.
-
Try a matte clear acrylic top coat.
-
I've got my fingers crossed for you -- just holler if you need any advice. I also read German, so let me know if you need something translated.