ccoyle
-
Posts
10,350 -
Joined
-
Last visited
Content Type
Profiles
Forums
Gallery
Events
Everything posted by ccoyle
-
Niagara is a fine kit. This is an older Model Shipways design, and MS kits usually require builders to essentially scratch-build components using kit-supplied materials; in newer kits, many of these same components are built from laser- or CNC-routed parts. Choosing one or the other style is a matter of personal preference, and based on your beautiful Pup model, it certainly looks like you would not be thwarted by the MS design philosophy.
-
 This kit makes a fine model. Good luck, and enjoy your project!
 -
If I had money, space, a trailer & hitch, and a way to hide my activities from the admiral, I would love to add a daysailer and maybe a skiff to the fleet, but don't look for those any time soon.
- 299 replies
-
- 11
-

-

-
I put the 2nd coat of epoxy on today -- I have it almost down to a science now. Today's work took only 45 minutes. I won't add a picture today, because the boat looks exactly the same as in the previous post. Once this coat cures, it will be time to do the major sanding, i.e. taking down all the lumps and bumps, smoothing the seams, etc., after which will come a final finish coat of epoxy. Time to start thinking about finishes, but still a bit of work before then.
- 299 replies
-
- 13
-
-
La Toulonnaise 1823 by ward - FINISHED - 1/50
ccoyle replied to ward's topic in - Build logs for subjects built 1801 - 1850
Nicely done -- congratulations!- 26 replies
-
- 1
-
-
- schooner
- la toulonnaise
- (and 1 more)
-
Am I missing something? 🤔
-
Congratulations, John! Finishing that first model is always a joy, and you pulled it off with a particularly challenging subject. Cheers!
- 204 replies
-
- 1
-

-
- marine model company
- charles w morgan
- (and 1 more)
-
Doris, I'm afraid there are not enough superlatives in our language to describe your work -- it is truly outstanding in every respect. Cheers!
- 1,035 replies
-
- 3
-
-
-
- royal katherine
- ship of the line
- (and 1 more)
-
Dutch yacht by henry x - RESTORATION
ccoyle replied to henry x's topic in - Build logs for subjects built 1501 - 1750
Okay, everyone -- slow down! The problem here is that opinions were expressed, and then opinions were expressed about those opinions, and then ... well, you know how these things go. I think everyone agrees that this is Henry's model, and ultimately he can do with it whatever he wishes. So, let's leave the opinions aside for now and let Henry get on with his restoration. Back to you, Henry! -
Where do you want to begin? Unboxing? Starting the build? Already part-way through the build? It's up to you.
-
Just noticed this in your signature. HMV beat you to it. 😉
-
I had a distant cousin on board the Samuel B Roberts at Samar.
- 25 replies
-
- 4
-
-
- Gambier Bay
- BlueJacket Shipcrafters
- (and 1 more)
-
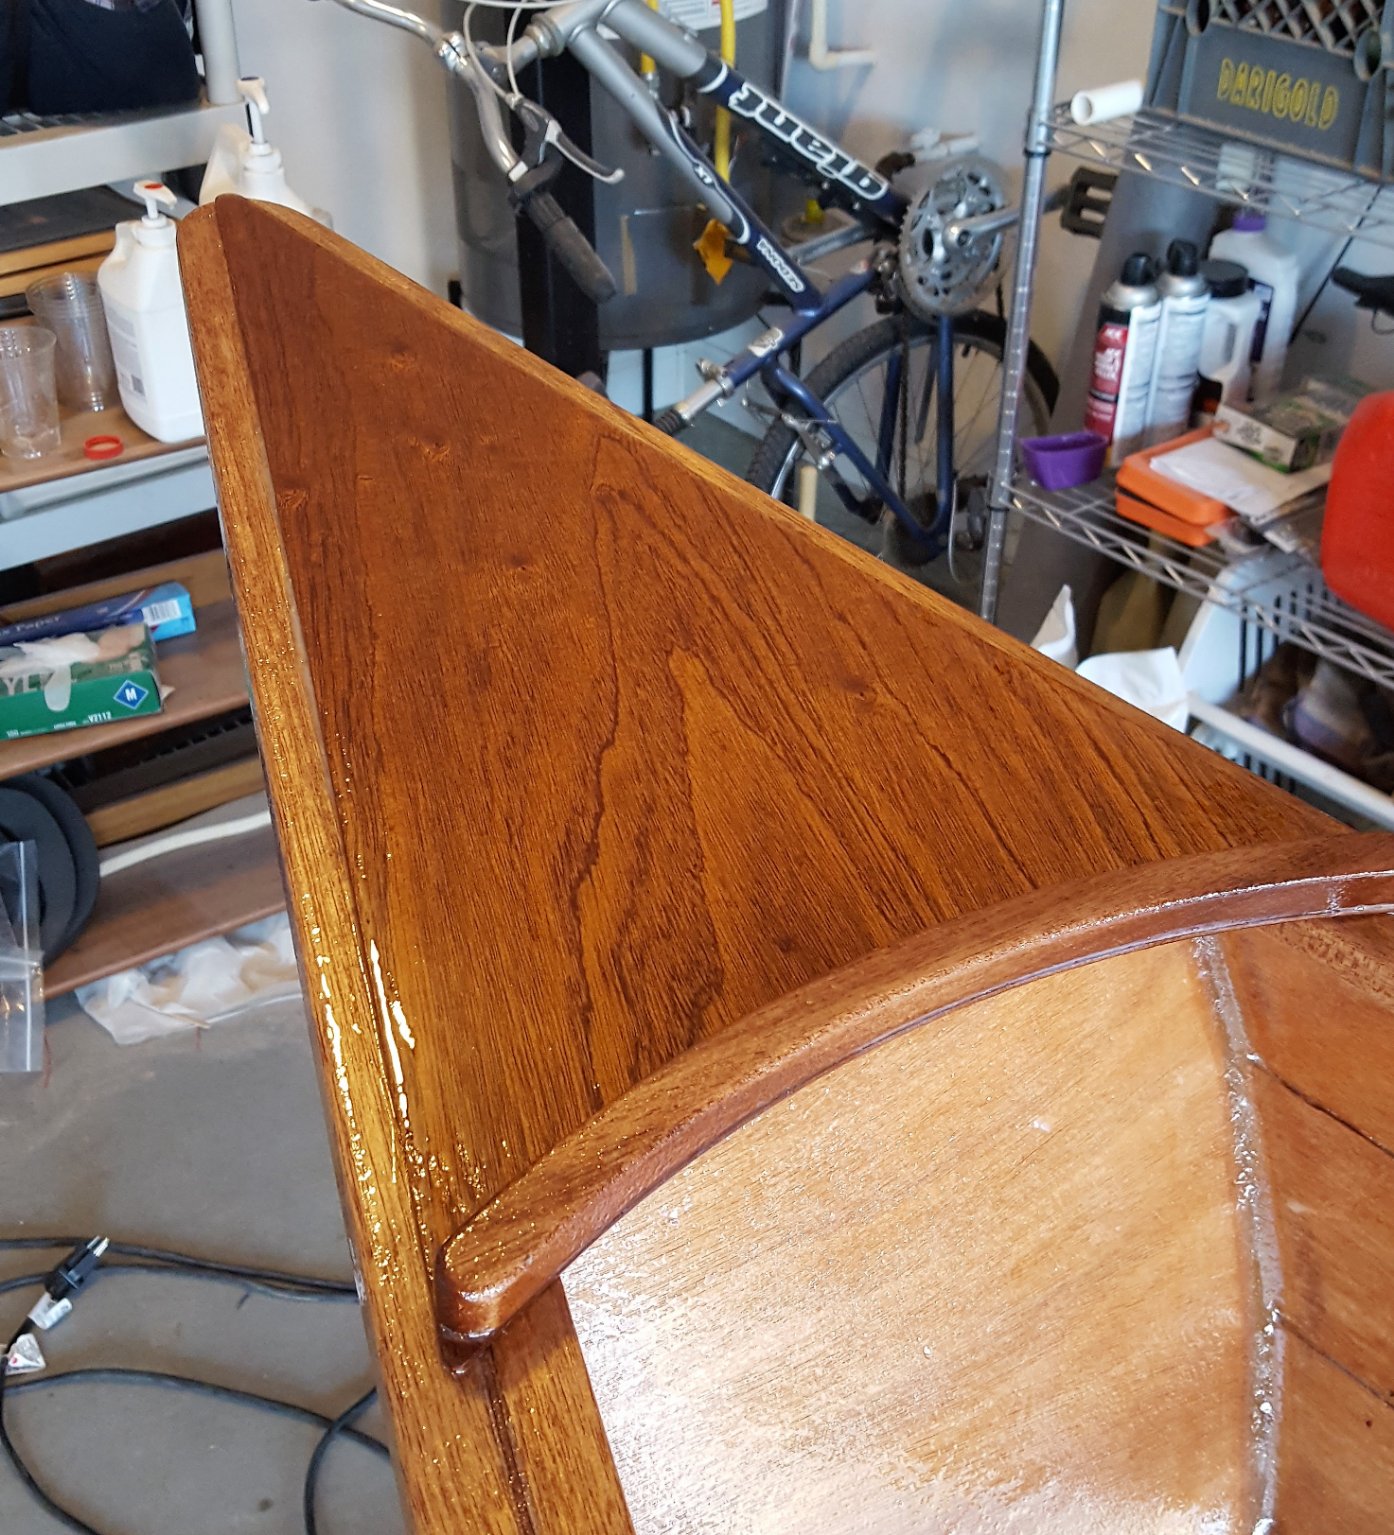
So I just now finished putting the second coat of epoxy on the coamings. This was such a small amount of epoxy (one squirt each of resin and hardener) that I announced to the womenfolk that I wasn't going to change into my grubbies for the job. Doubt was expressed about whether I could do this without making a mess. Ten minutes later, upon coming in from the garage, the following conversation was had: Me: "I'm done." Wife: "Did you get any on you?" Me: "No." Daughter: "Then I owe Mom five bucks." 😆😆😆
- 299 replies
-
- 16
-
-
-
Great subject. I added a bit to your title for those of us (perhaps only me) who had no clue what 'HDML' stands for.
-
HMS Beagle by Krupi - OcCre - 1:60
ccoyle replied to Krupi's topic in - Kit build logs for subjects built from 1801 - 1850
It looks like you made a good recovery! -
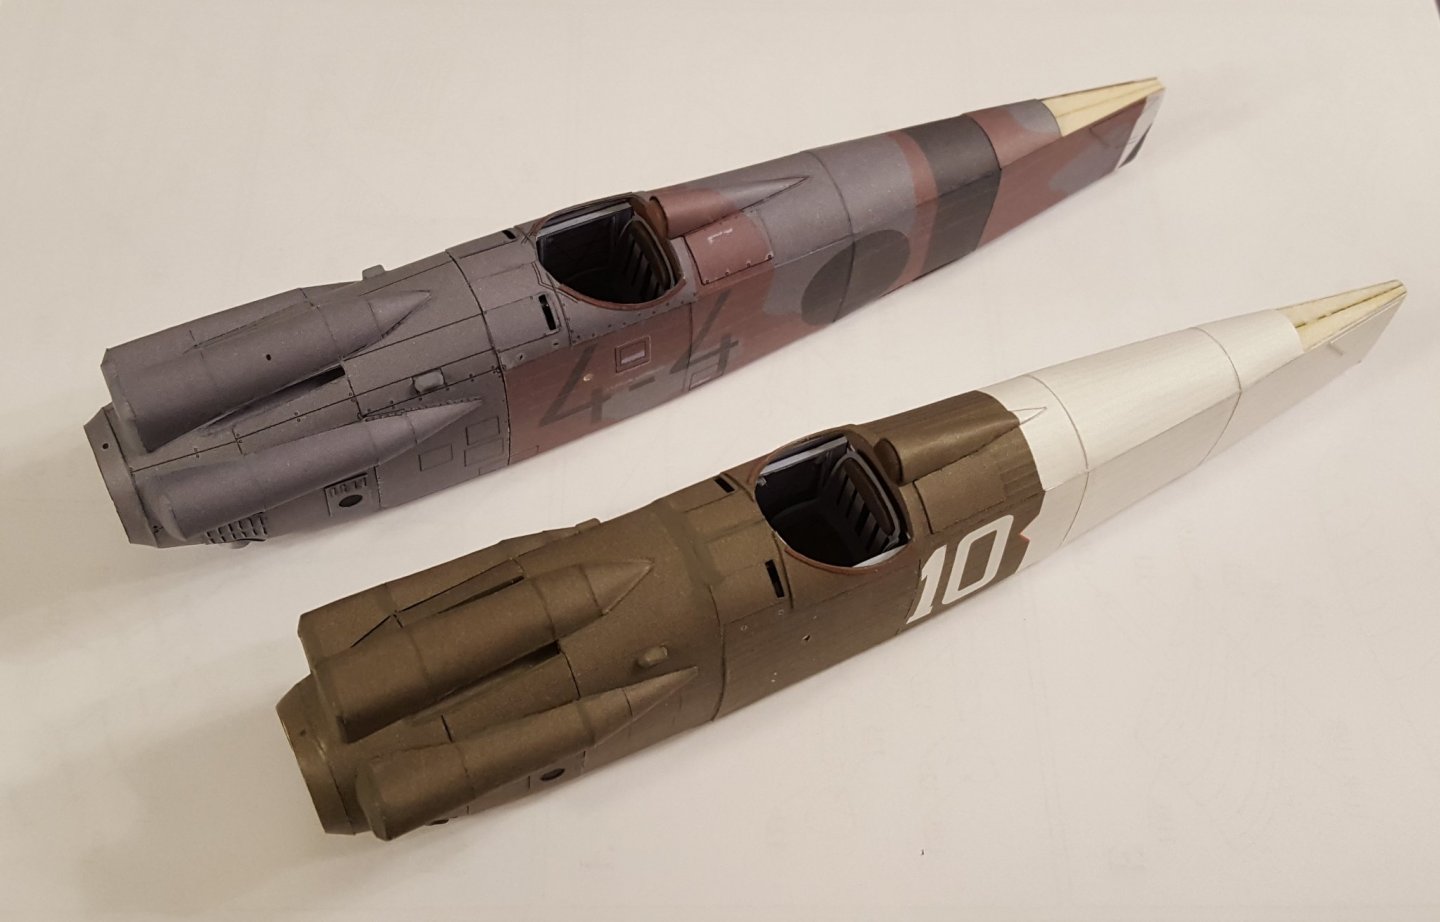
Finally an update. Have been working on this project slowly, interspersed with with bits of boat building. I now have White Tail's fuselage completed to the same stage as Spanish Nationalist. Remind me not to build any more airplanes with W engines -- three cylinder head covers per plane got kind of tedious. 😬
- 136 replies
-
- 18
-
-
Model from the Lancaster Maritime Museum.
ccoyle replied to Valeriy V's topic in Nautical/Naval History
Duke of Abercorn was launched in 1919 as TSS Curraghmore, renamed in 1930, and scrapped in 1935. This model suits your skill set, Valeriy -- you should build one! -
To use a phrase by Daffy Duck, "Da-rool, da-rool, da-rool!"
-
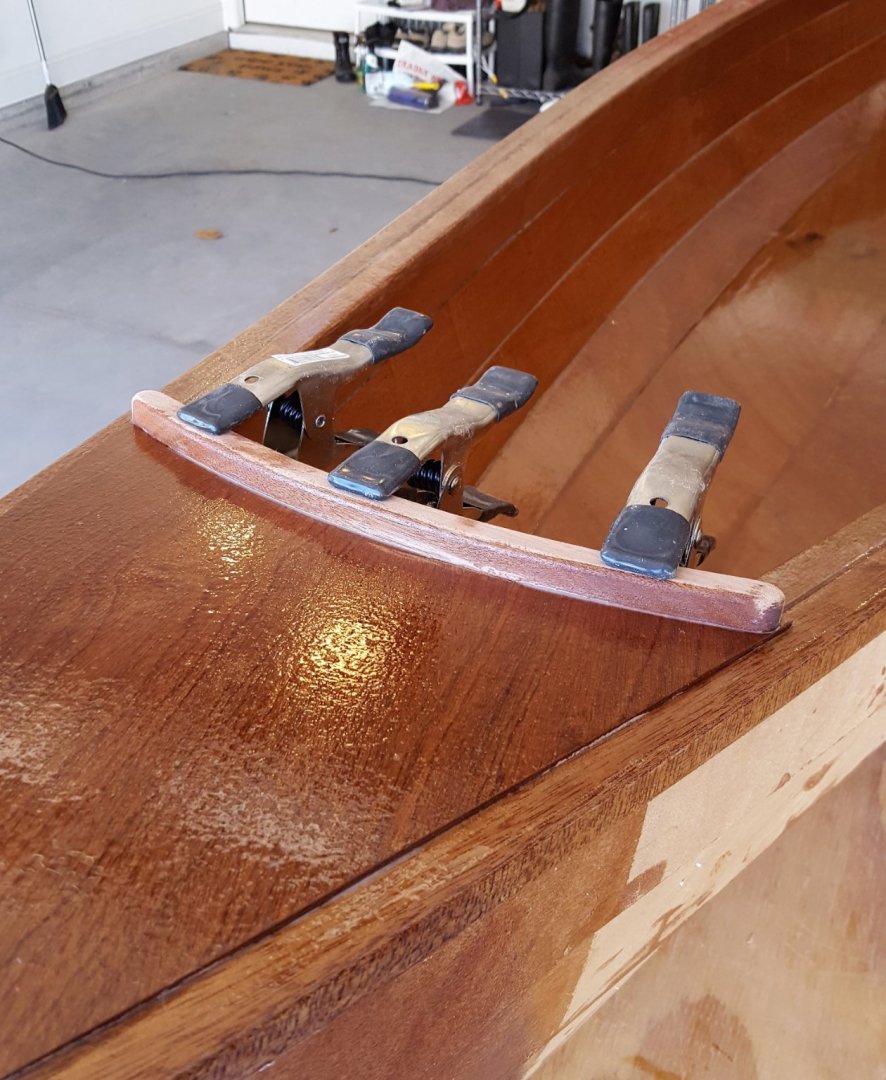
Forgot I needed to add the coamings. These were about 3 mm too long, so I used a sanding drum in my Dremel tool to take off the extra length and to round off the edges.
- 299 replies
-
- 17
-
-
Good luck! Interesting shop you have there -- very tidy, and with an enviable stash of plastic kits in the background!
- 25 replies
-
- 2
-
-
- Cutty Sark
- Artesania Latina
- (and 1 more)
-
A lot of old sailing workboat designs found second lives as pleasure craft, so I'm sure that taking liberty with the kit's rig and color scheme is not unprecedented.
- 27 replies
-
- 1
-
-
- Lady Isabella
- zulu
- (and 2 more)
.jpg.a08ff0b5755a85dd2c7f9a96c7a129d3.jpg)