HOLIDAY DONATION DRIVE - SUPPORT MSW - DO YOUR PART TO KEEP THIS GREAT FORUM GOING!
×


ccoyle
-
Posts
10,370 -
Joined
-
Last visited
Content Type
Profiles
Forums
Gallery
Events
Everything posted by ccoyle
-

Yokosuka B4Y1 "Jean" by eatcrow2 - jb Models - 1/72 - CARD
ccoyle replied to eatcrow2's topic in Completed non-ship models
Ha ha! Thanks for providing evidence of my age-related memory loss! 😉 -
Yokosuka B4Y1 "Jean" by eatcrow2 - jb Models - 1/72 - CARD
ccoyle replied to eatcrow2's topic in Completed non-ship models
Very nice! I'm not familiar with this kit or its publisher -- what can you tell us about them? -
OC, you need to add some details to your post: prices, payment methods, shipping options.
-
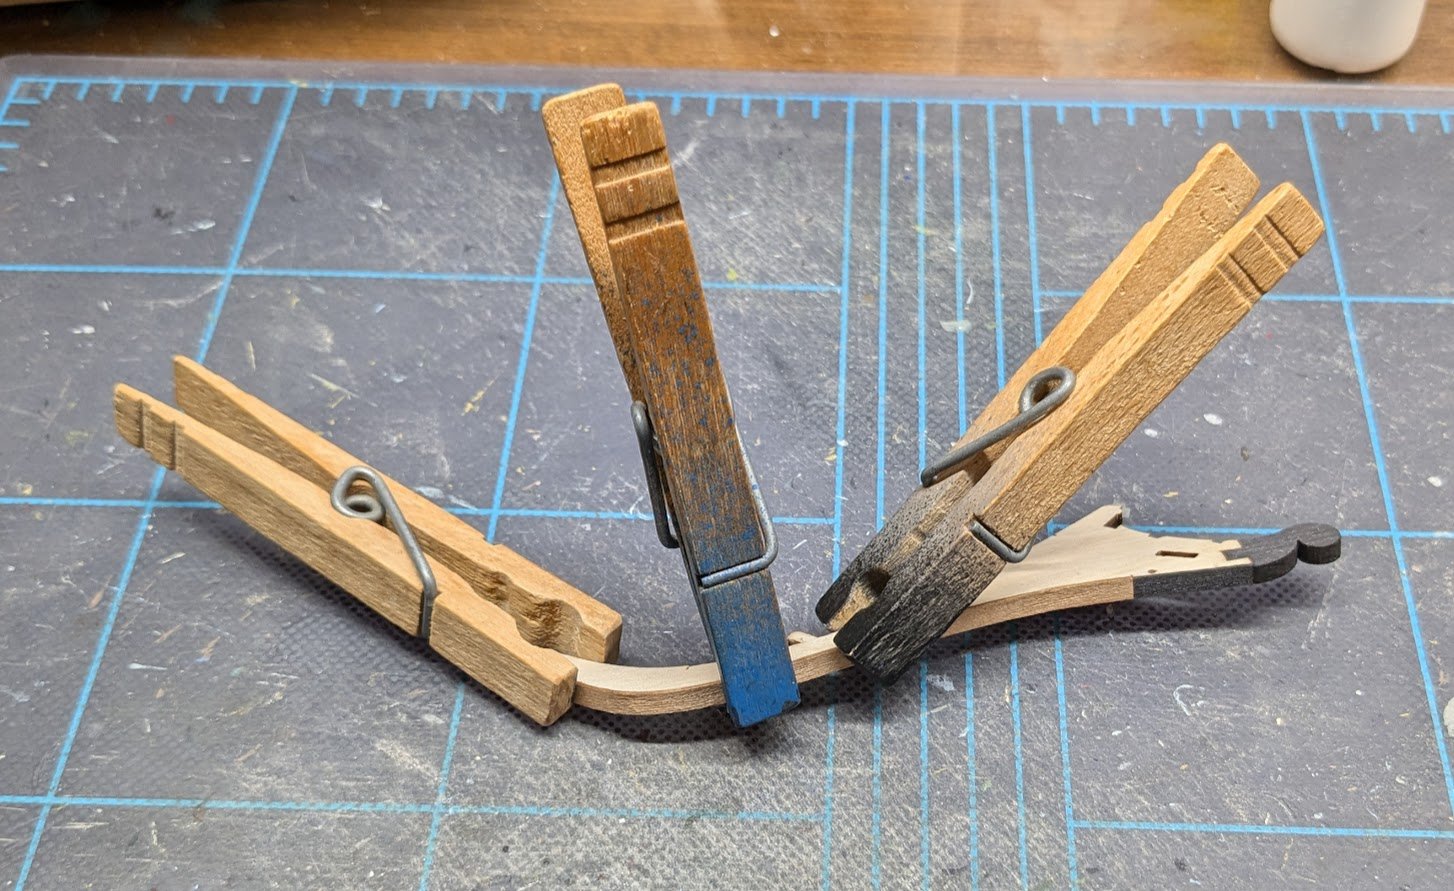
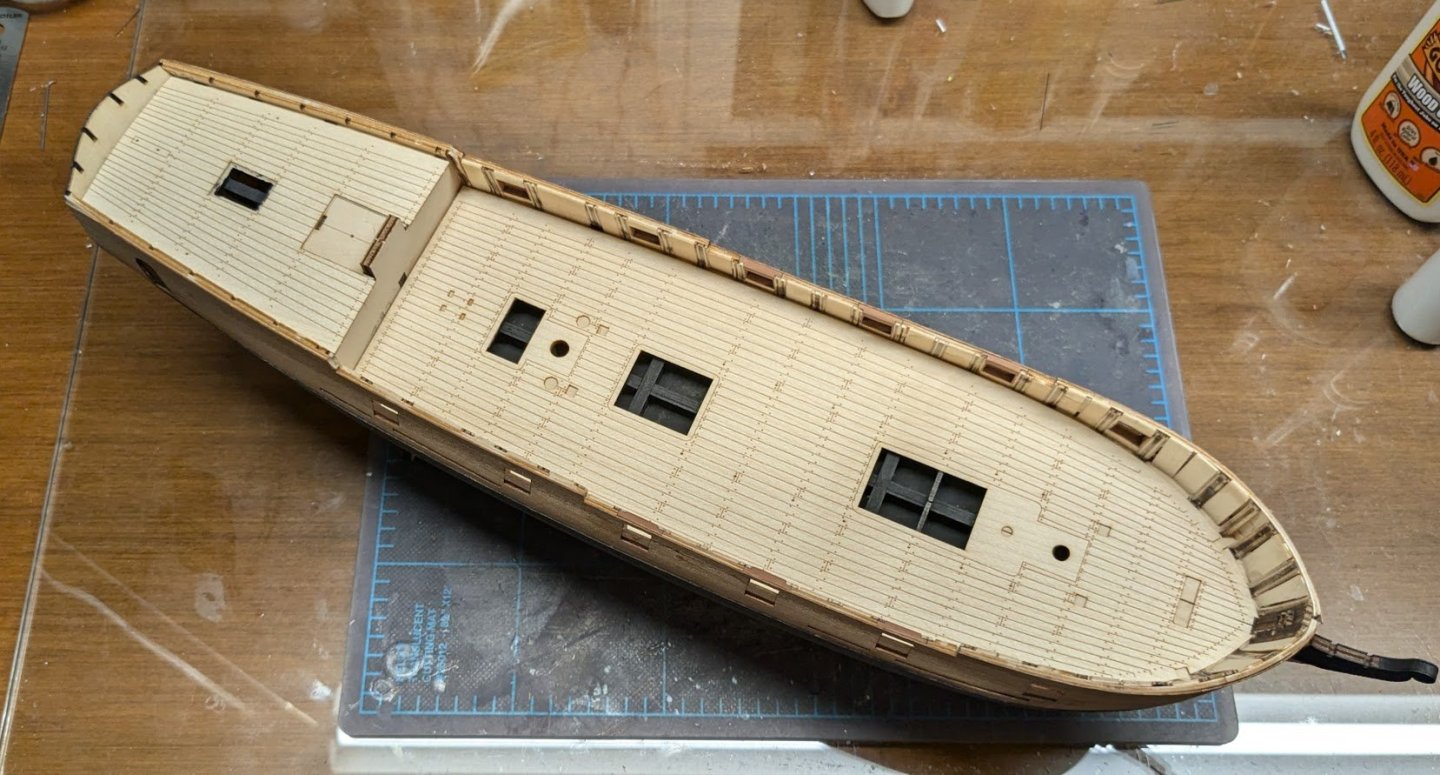
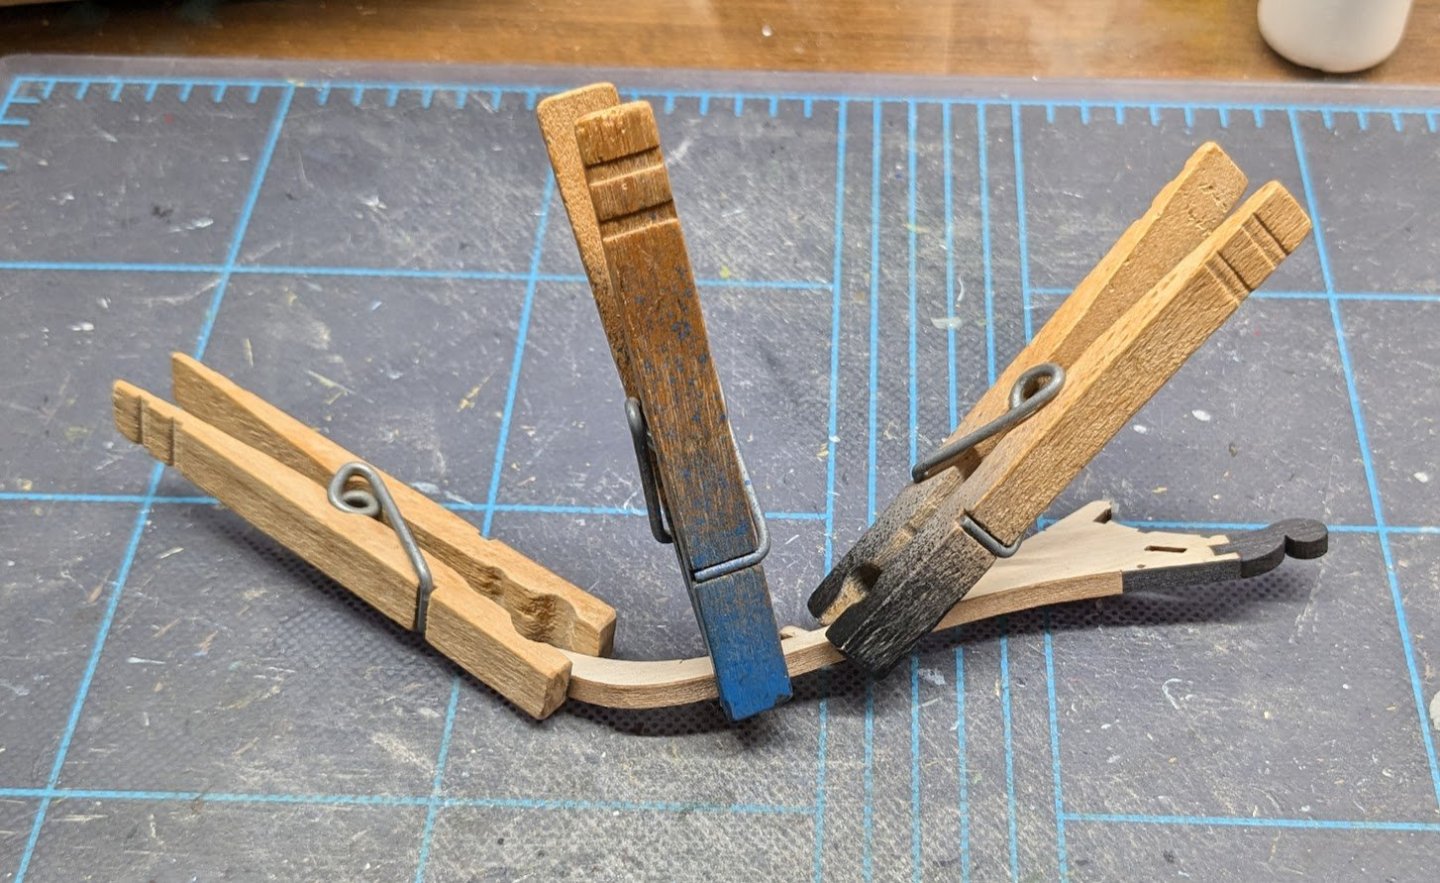
Time for the decks. The instructions recommend contact cement, which I opted not to use because contact cement allows absolutely zero working time -- make a mistake and it's permanent. I used wood glue and worked quickly. The edges wanted to curl up, but I held them down by clamping clothespins atop them along the bulwarks until dry. Next I worked on the aft cabin bulkhead. It's two layers of veneer, with painted hinges and faux doorknobs made of cut-off brass nail daubed with white paint. Just dry fitted for now. Cheers!

-
Nic can confirm whether this is correct, but I don't believe this kit design is original to BlueJacket. I think it is one of the designs they inherited as part of their purchase of Laughing Whale many moons ago.
-
As a footnote to this build, I discovered today that Andrzej Halinski has listed a new model at his website. This is big news, because ever since Andrzej's wife passed away three years ago, the card modeling community has debated whether the Halinski publishing house would ever publish any more kits. It had, after all, been four years since Halinski released a kit of any kind and over five years since the last aircraft kit went to print. My excitement upon reading this news was tempered by the fact that the new kit is a Bf-109F-4/trop and is an updated version of a kit first published two decades ago but now no longer available. I have that kit in my stash. It's a great kit, so I don't believe the updated kit is sufficiently improved to entice a purchase from me. On the plus side, the new kit includes two different liveries, the original Hans-Joachim Marseille version plus optional skins to depict the mount of Wolfgang Lippert (who, like Marseille, was mortally wounded while attempting to bail out of his aircraft over North Africa). Interestingly, the kit is dated 2021 -- I can only guess at the reasons for the delayed release. Hopefully we won't have to wait another five years for another Halinski airplane!
-
Looking more impressive with each update!
-
Hello from Calgary, Alberta, Canada
ccoyle replied to AboveTheWaterLine's topic in New member Introductions
Welcome aboard! You have chosen a good slate of beginner projects -- they have gotten many modelers off to a successful start in this hobby. -
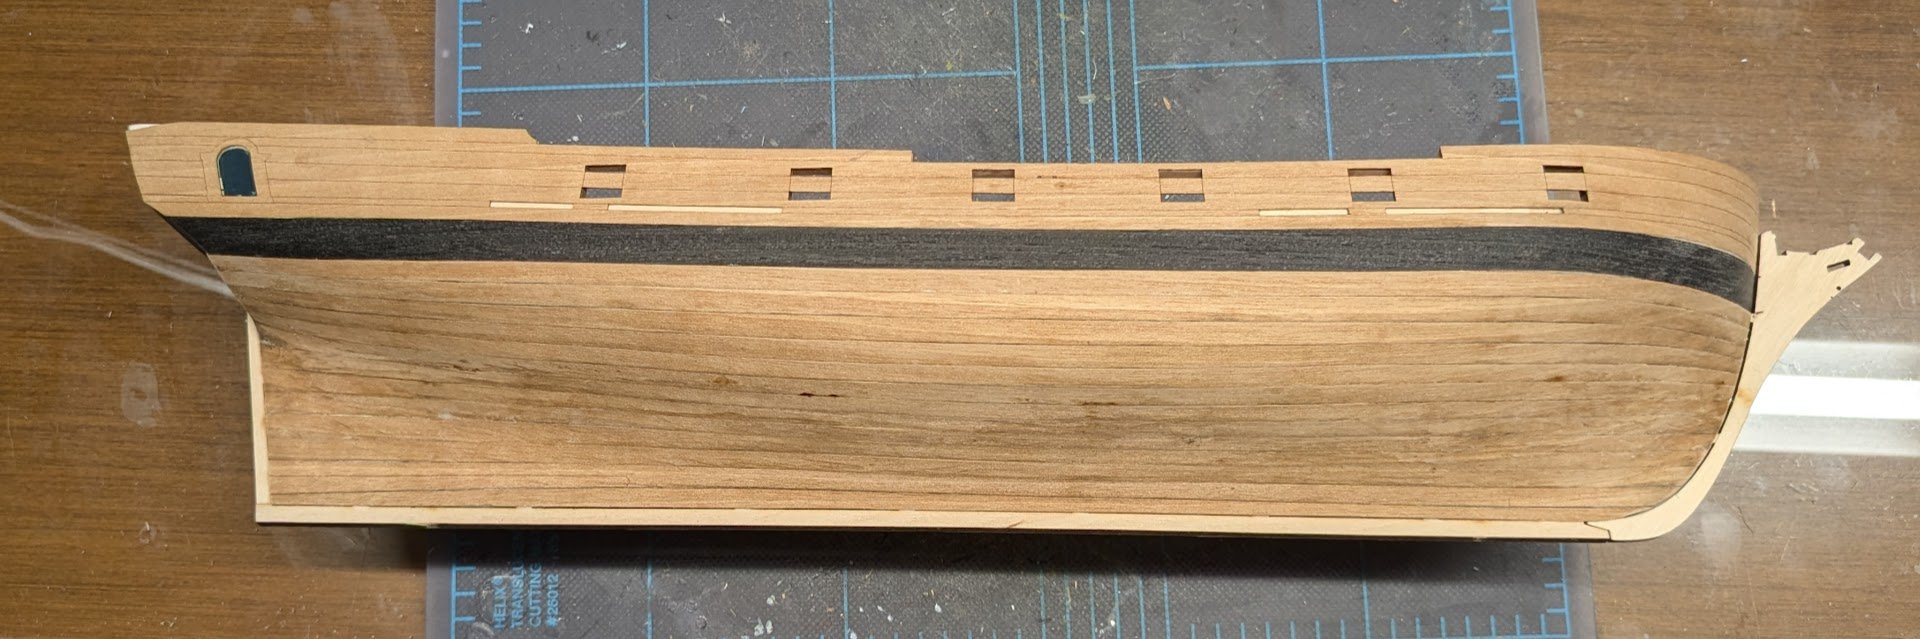
Glued the pieces of the stem together and added part of the veneer. After this dried, the stem needed to be tapered from 3mm inboard to 2mm outboard. And here we have the two stems, the keel, and the second layer of the wales added. This is a blistering pace of construction compared to my usual plodding. 😏
-
Okay, I have moved it back! Looking forward to seeing how this comes together.
- 77 replies
-
- 1
-

-
- Royal Yacht
- card
- (and 1 more)
-
I have moved this to the research section, but if you decide to create a build log for this I'm sure we'd all love to follow along!
- 77 replies
-
- 1
-
-
- Royal Yacht
- card
- (and 1 more)
-
Welcome aboard! An advantage of ship models is that they tend not to be involved in disastrous crashes resulting in fits of uncontrolled sobbing. They do occasionally induce crying, just not by crashing!
-
Trimmed down the plank ends and dry-fitted the stem post, keel, and stern post. These three pieces all get veneers later.

-
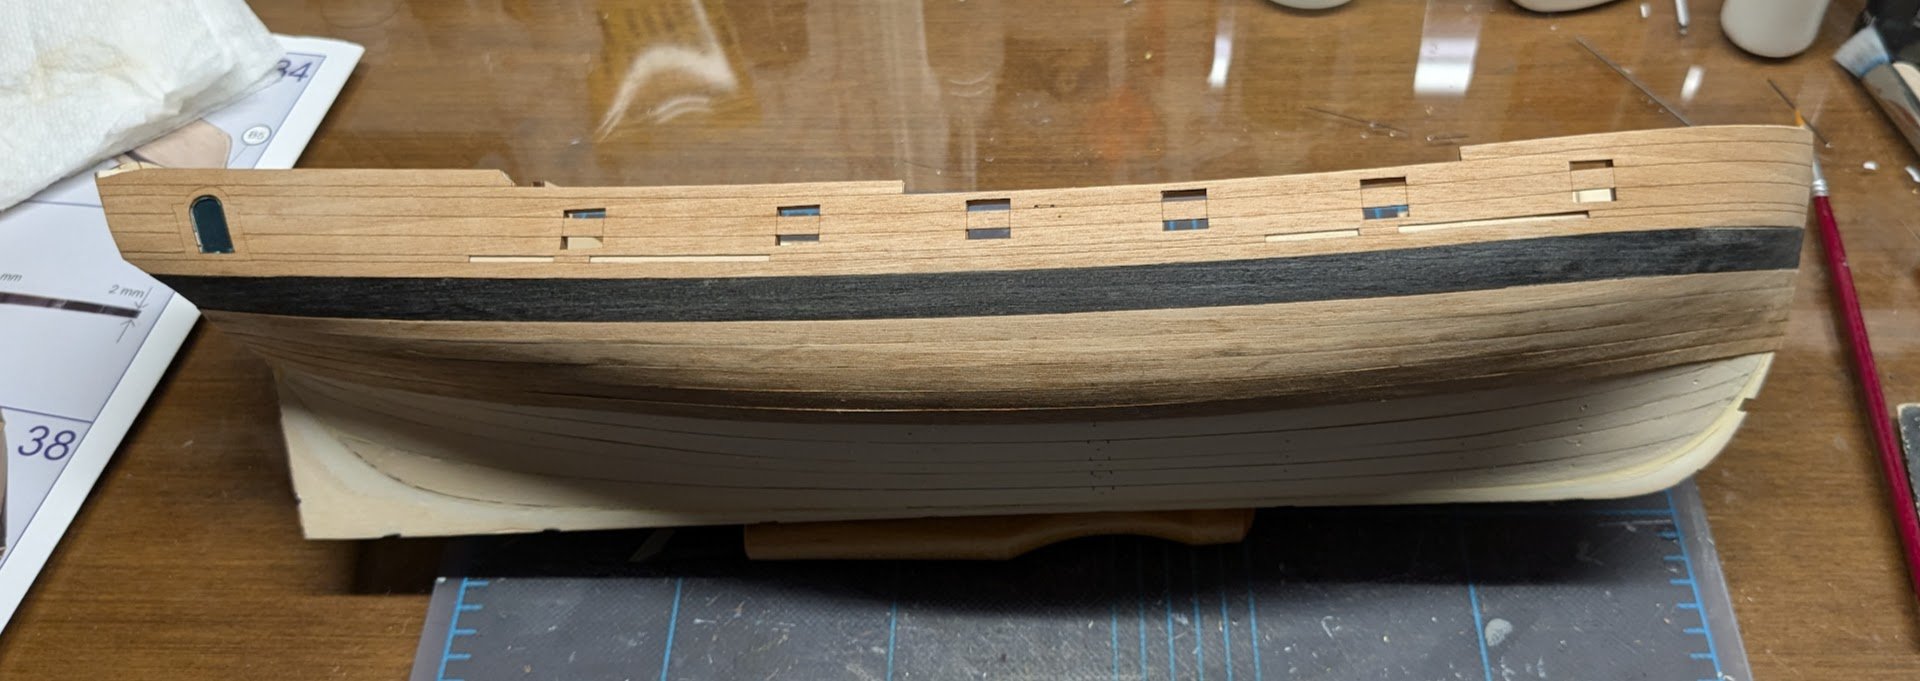
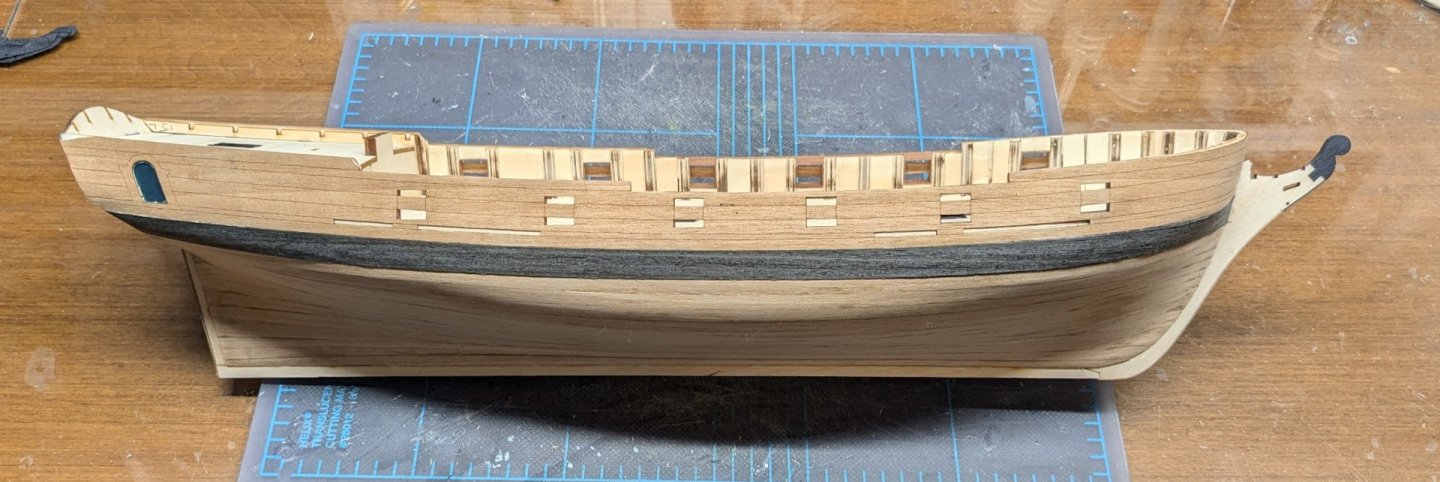
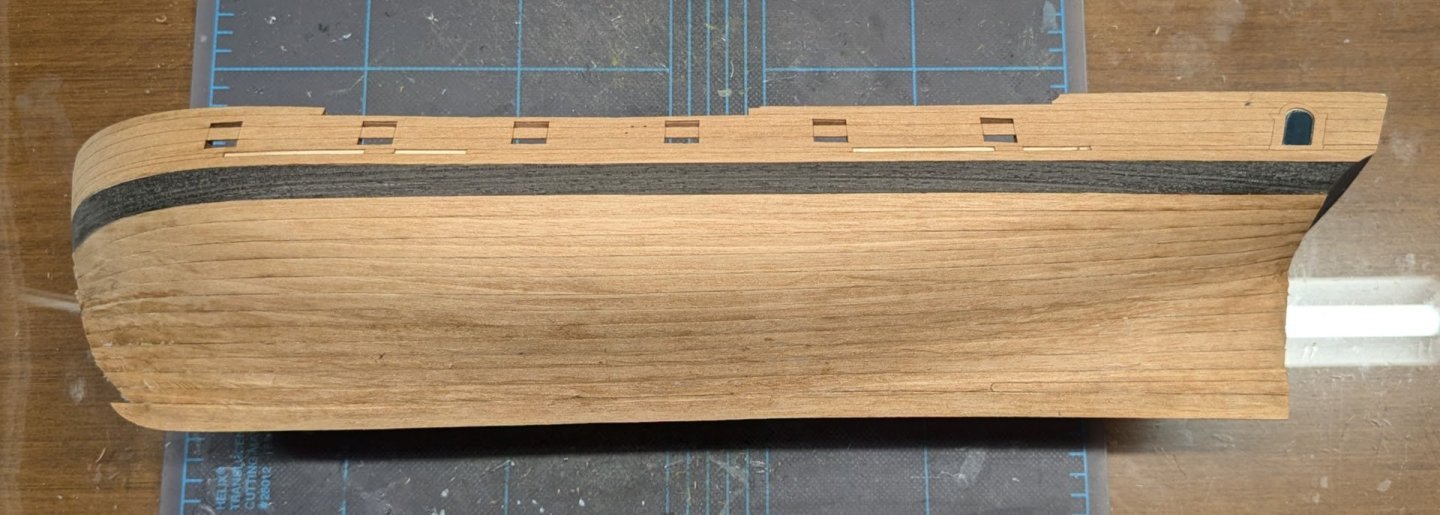
Well, it was MLK Day here in the US, and I had the day off. So over the course of several sessions, I managed to get all of the finish planking on, except for another layer that will need to be added to the wales. Here it is in its rough state. It will need some sanding and a little filler here and there, plus a couple of plank ends broke and will need repair. But its a milestone, to be sure. As you can see, the kit design uses planks that overlap the bow and stern; these will need to be trimmed, creating slots for the keel and stem post.
-
I've moved this to the scratch-builds section. It might be kind of a gray area, since the printed parts are kinda the equivalent of a kit, but I figure since you had to print everything yourself instead of having it all neatly provided in a box, it leans more towards scratch than kit. P.S. I lived in Santa Rosa, California for four years when I was a kid, and our family made many day trips to Bodega Bay during that time.
- 51 replies
-
- 2
-
-
- Puncher
- escort carrier
- (and 1 more)
-
Wow -- creating your own one-of-a-kind laser-cut parts set is pretty impressive, at least to me. I'll be interested to see how this progresses.
-
Absolutely yes I would. I really dislike repetitive tasks, though we must often push through them in our hobby.
-
There are 13 planks below the wale on each side. So far I have done five on each side. Fortunately there is no spiling to do, but there is still the monotony of bend, glue, repeat. I max out at about four planks per session before boredom sets in.

-
I got a Serv-o-Matic for Christmas. Not this past Christmas, mind you -- Christmas of 2023. I intend to put it to use for Phoenix.
-
Good luck on this project!