


ccoyle
-
Posts
9,940 -
Joined
-
Last visited
Content Type
Profiles
Forums
Gallery
Events
Everything posted by ccoyle
-
Welcome, John! Your Albatros looks fine. Finishing is the main thing for a first build, so well done!
-
 I think it would be awesome to eventually have Paddle displayed with maybe a map of his journey and a copy of a page from the book.
 -
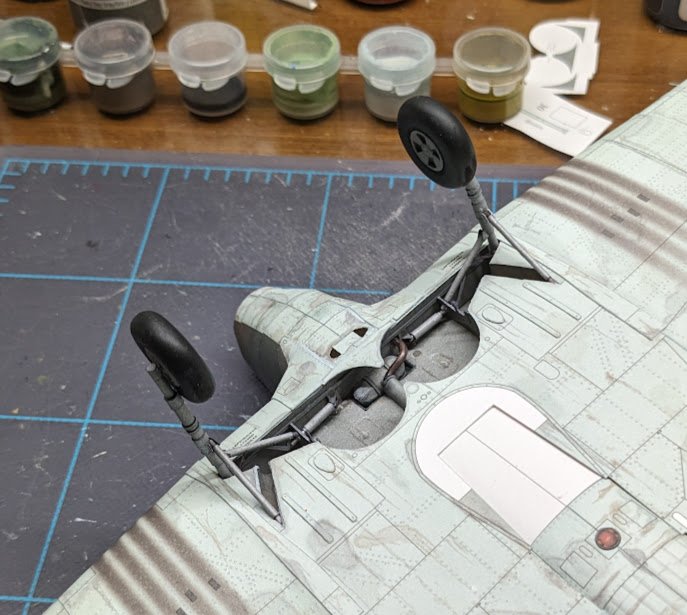
The struts are on now -- no doors yet. Each strut and wheel consists of fifteen parts. The end of this build is coming slowly into view!
- 126 replies
-
- 17
-

-
Welcome aboard, Klas!
-
L'Amarante by marsalv - 1:36 - POF
ccoyle replied to marsalv's topic in - Build logs for subjects built 1501 - 1750
Here's some info on the monograph. https://ancre.fr/en/monograph/105-l-amarante-corvette-de-12-1744.html -
Welcome aboard, Jay!
-
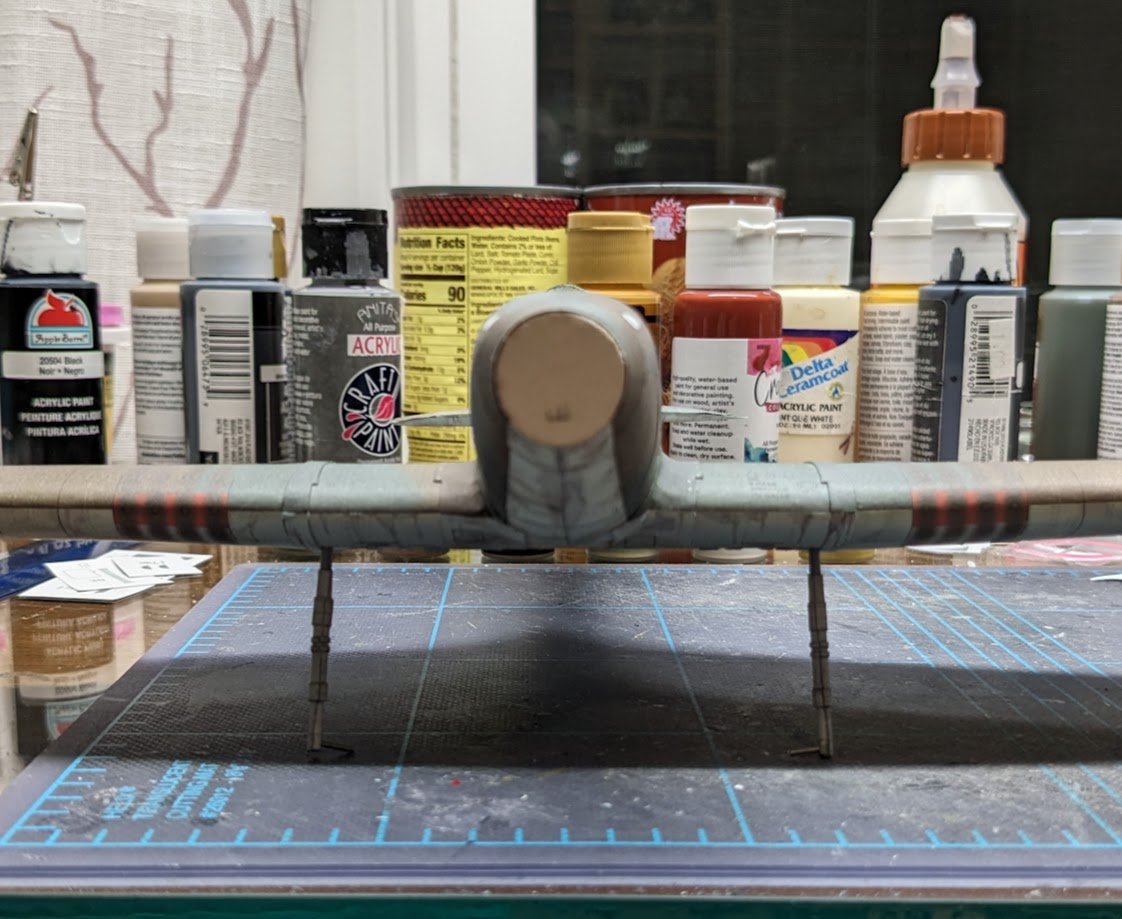
Not much time for modeling the last couple of days, but I did take a moment to dry fit the gear struts to make sure they fit properly and are the correct length. Everything looks pretty square from this angle.
- 126 replies
-
- 18
-
-
Have now spliced your two topics together and moved them again. Please don't post questions about specific kits to the build logs area, unless they're part of an actual build log.
-
I edited and moved your question to an area that will hopefully get you the response you're looking for. Good luck!
-
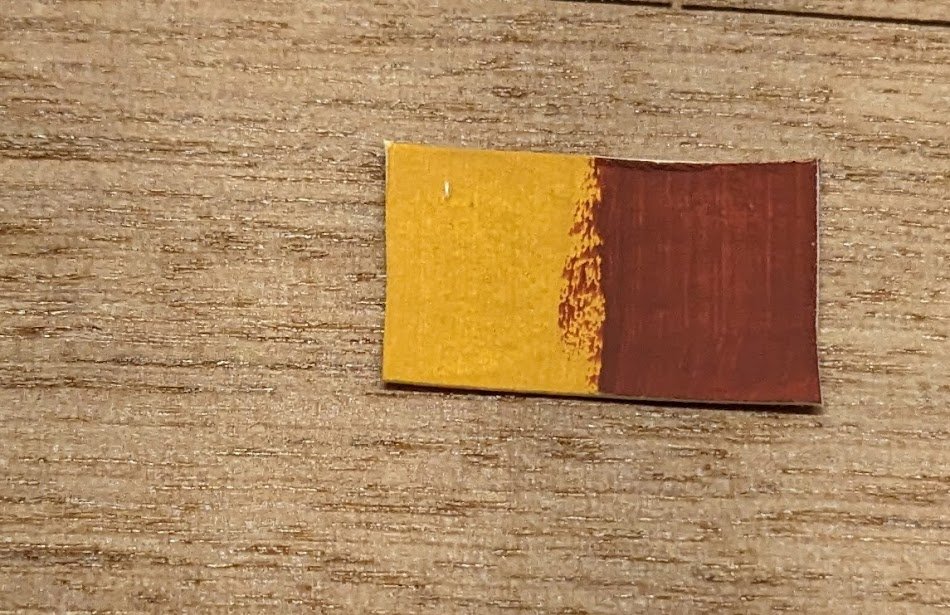
I think I have more or less settled on this color scheme for Phoenix: While I was at the local Hobby Lobby to get some fresh CA glue, I decided to shop for paint for trim work. I wanted to go for the yellow ochre + red ochre look seen in the photo, and I think I may have lucked out. These two colors are a pretty close match to what I was looking for: In fact, they are a better match than can be seen in the photo, because no matter how much fiddling I did with the camera settings on my phone, I couldn't get the image colors to match the real-life colors (imagine everything with a redder tone, if you can). Anyways, I really must wrap up my Hurricane build and get back to this one.
-
So, if you consider instituting double shifts and flogging, how quickly do you think you can get your 'lackey' to have the prototype built? 😉
-
That's a great collection!
-
"The Fully Framed Model" is a series of books that detail how to build an admiralty-style model. They are excellent books and well-worth the money if that is the type of model you intend to build someday. I say "someday" because fully-framed, admiralty-style models are right near the pinnacle of our art, and one should probably have some prior experience under one's belt before diving in. Card models, if that is something that strikes your fancy, are much easier and cheaper to get into, but they're not everyone's cup of tea. They can be scratch built or from kits, and many kits have additional after-market add-ons available, such as laser cut frames and details. We have a card modeling tutorial available here in the forum, and if you search for "card" with our search engine, you will find many finished examples. As Phil has stated,the Ukrainian publishing house of Orel has many pre-Dreadnought types in their inventory. Cheers!
-
Good luck with your project!
-
I would expect them to be very minimal, as was typical for the early Caldercraft/Nelson's Navy kits.
-
That's pretty nice work so far for a first build AND a scratch card model! Very brave of you!
-
Hopefully you will be sharing some photos of the finished model?
-
Where does it even say that? (Perhaps I'm putting my ignorance on display here?)
-
HMS EURYALUS by Matiz - FINISHED - scale 1:56
ccoyle replied to matiz's topic in - Build logs for subjects built 1801 - 1850
A beautiful model in every aspect -- congratulations! -
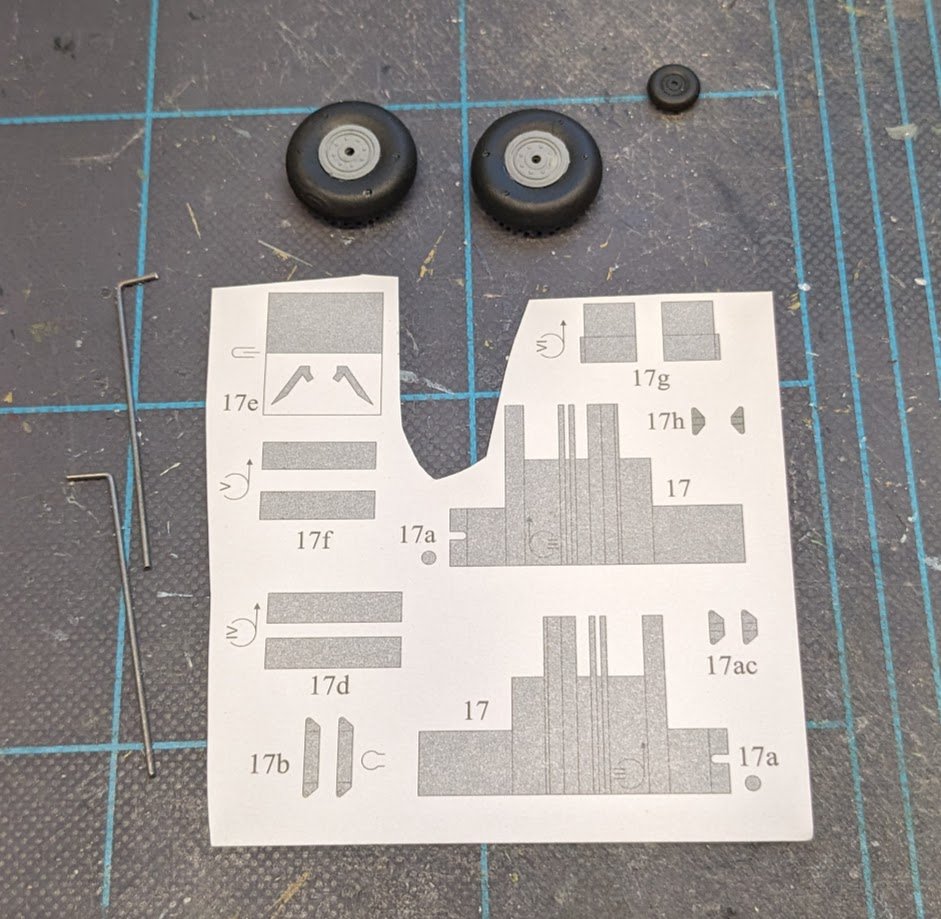
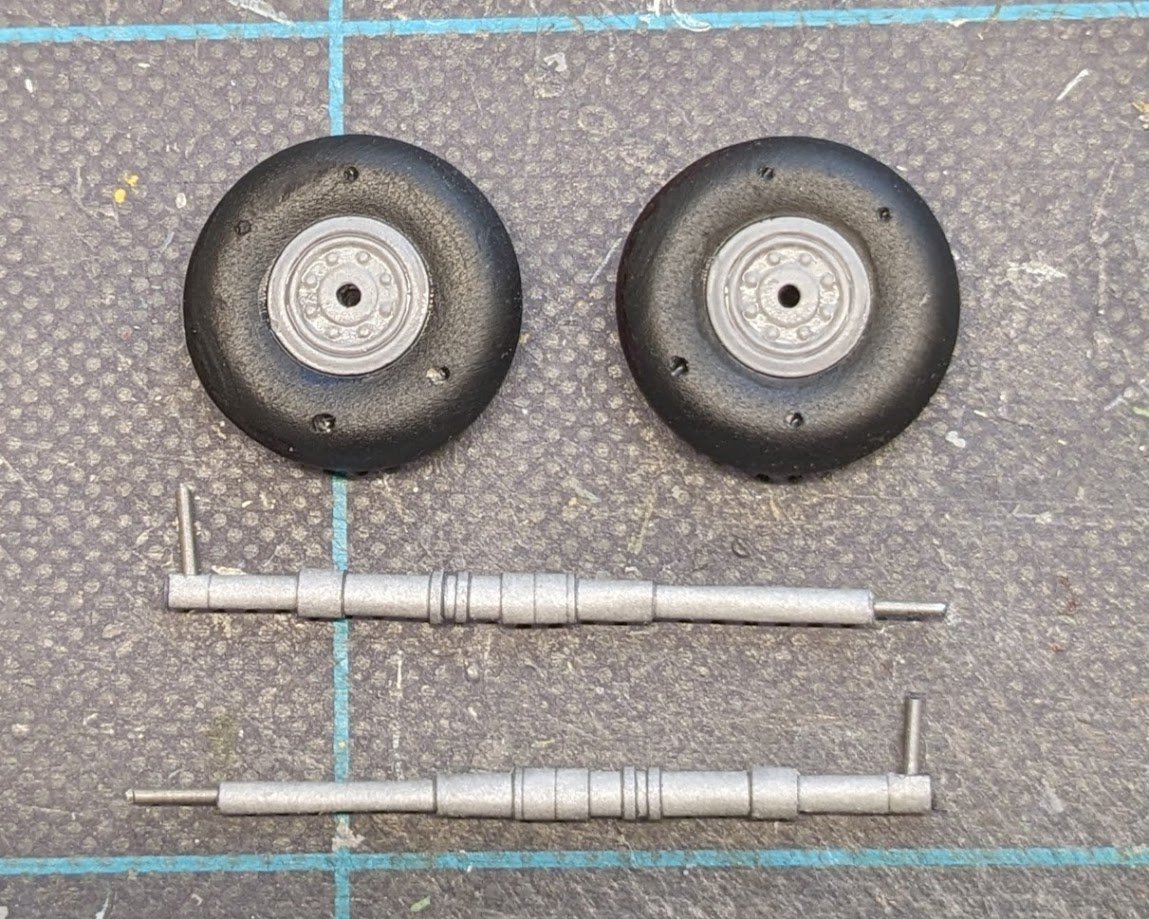
Small update . . . I finally had some time (and mojo) to work on the landing gear. Here's the parts for the main struts, their wire innards, and the resin wheels (with some preliminary painting done). And here's the main struts rolled and the inboard sides of the wheels done. There are some residual pock-marks on the wheels, which I do not intend to fuss about, as they are not ginormous. Well, maybe I'll fix them -- one never knows. I've applied a couple of washes to the hubs to try and grunge them up a bit -- they effect is more noticeable in real life. Still lots more to do.
- 126 replies
-
- 16
-
-
I remember this wee beastie. I hope we may see some progress once the term is out? Hope your student teaching went well!
-
If we are sorely tempted, but don't really have the necessary display space, does that count as interest? 😉


