-
Posts
10,576 -
Joined
-
Last visited
Content Type
Profiles
Forums
Gallery
Events
Everything posted by ccoyle
-
Welcome aboard!
-
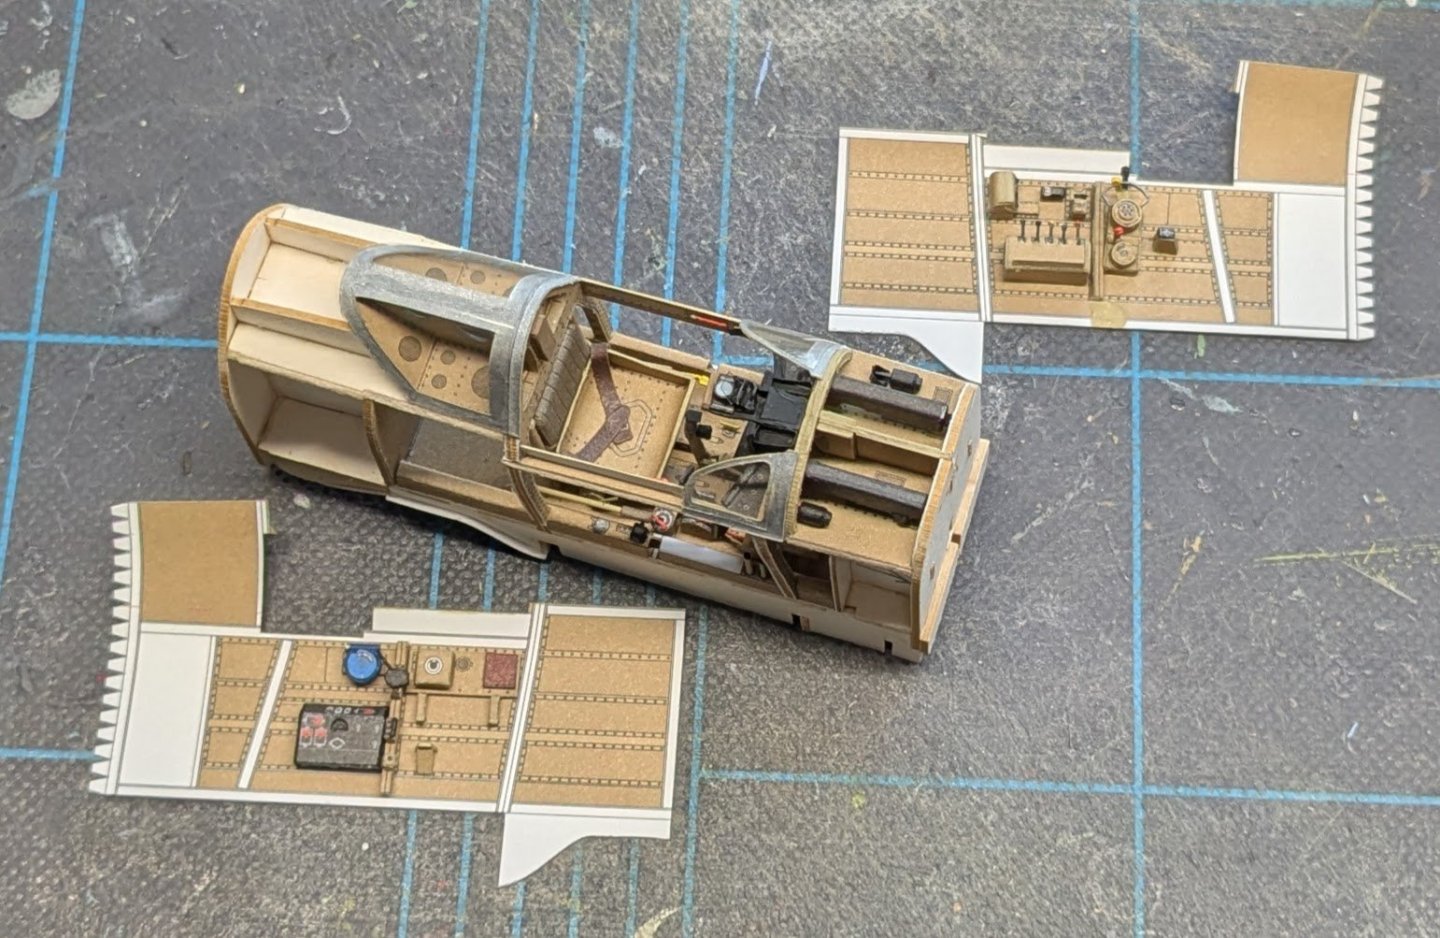
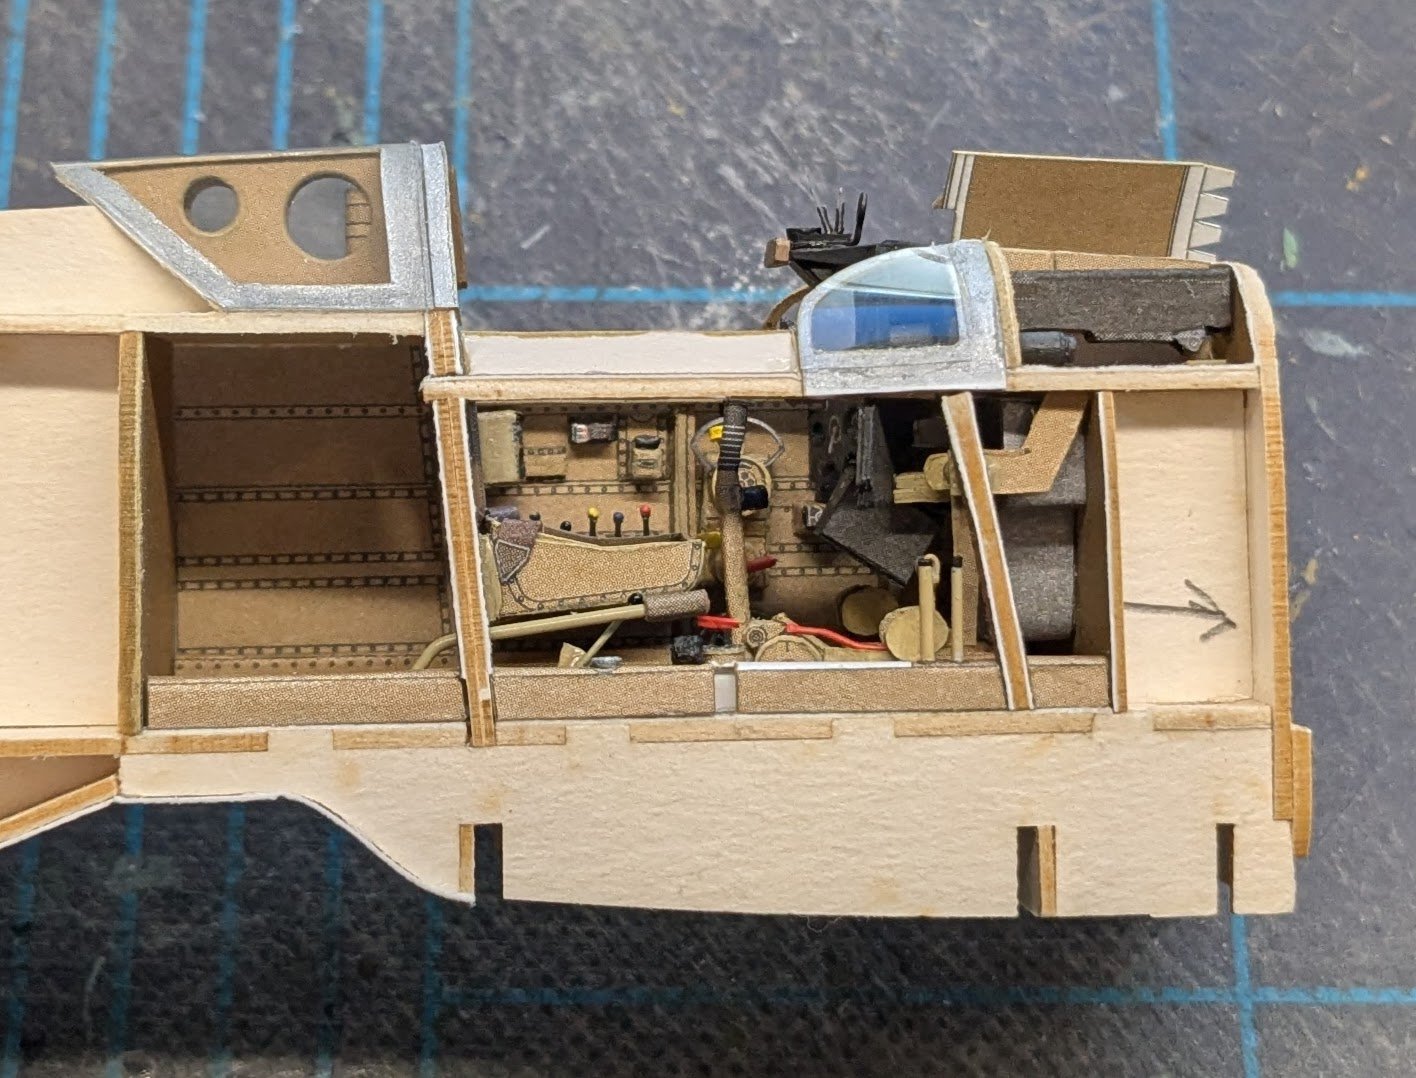
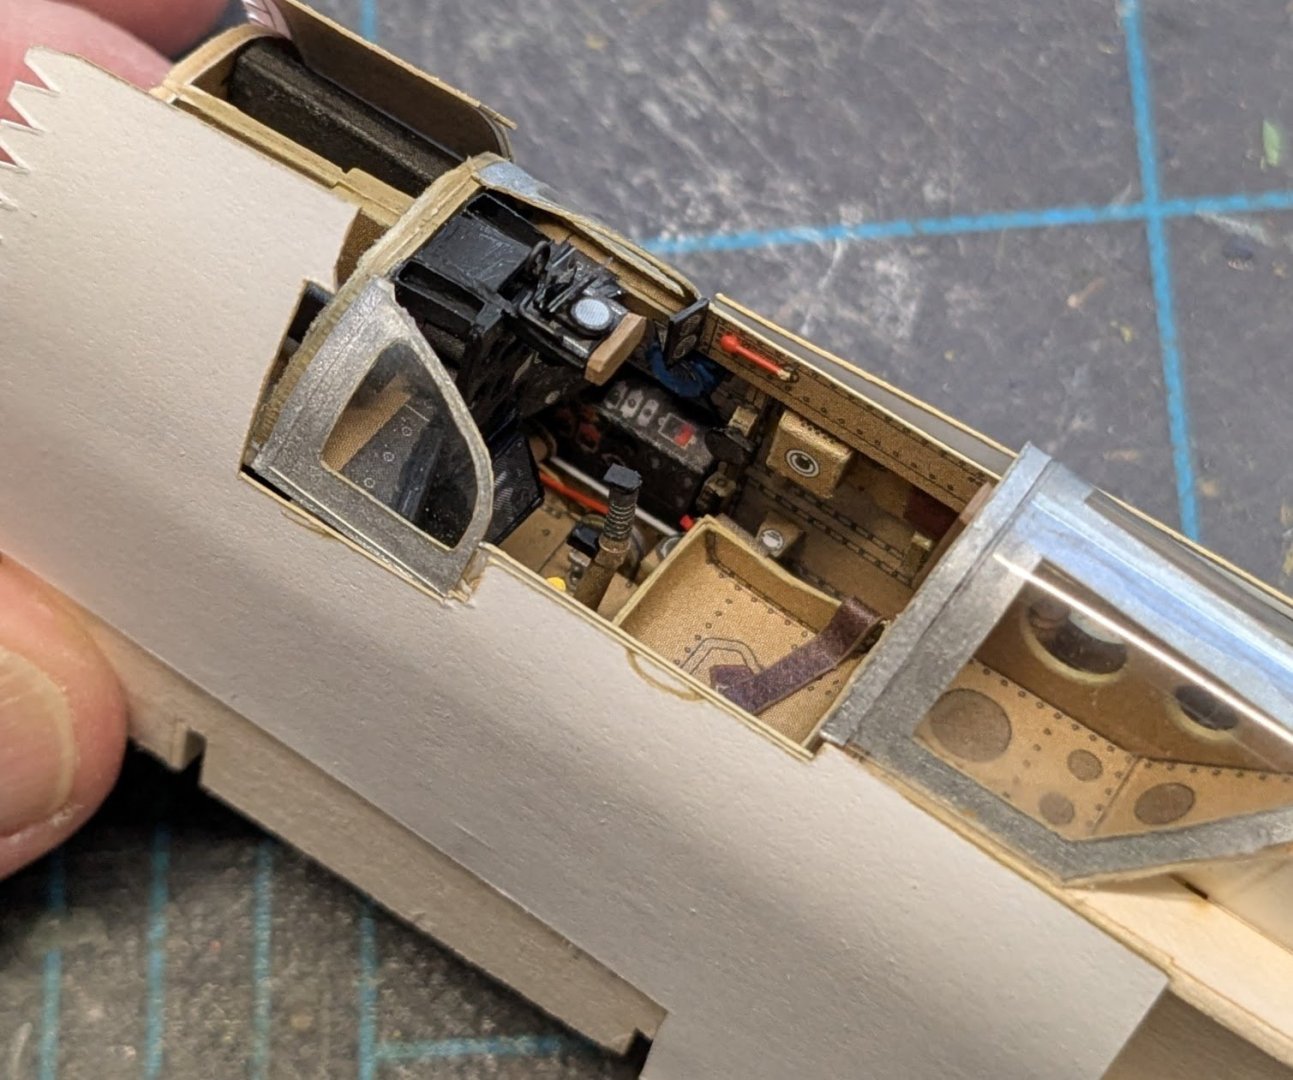
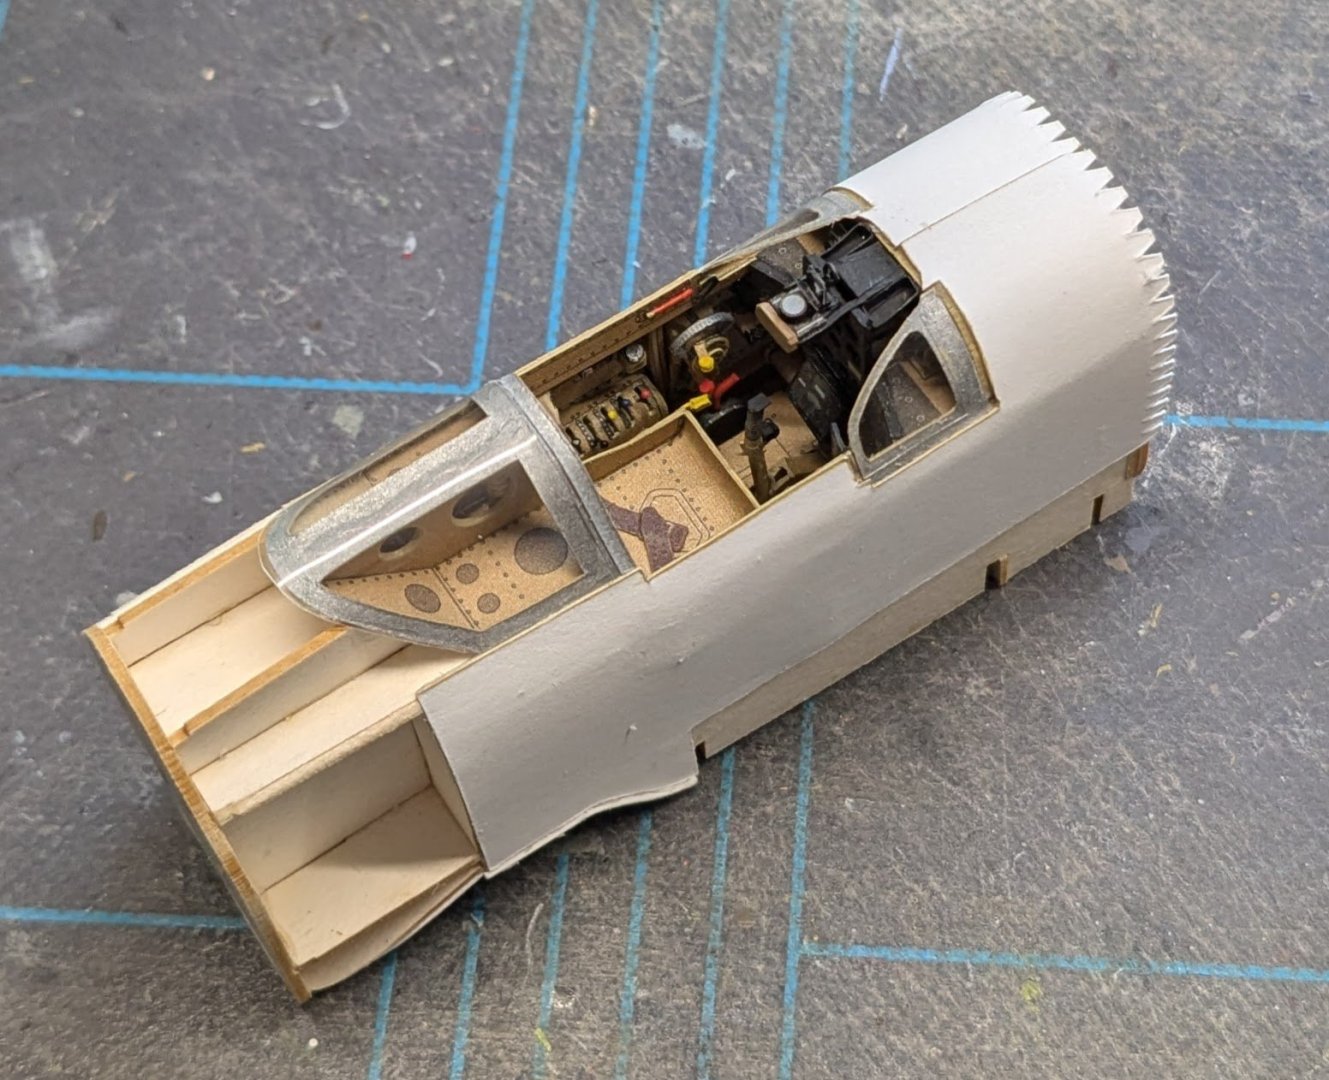
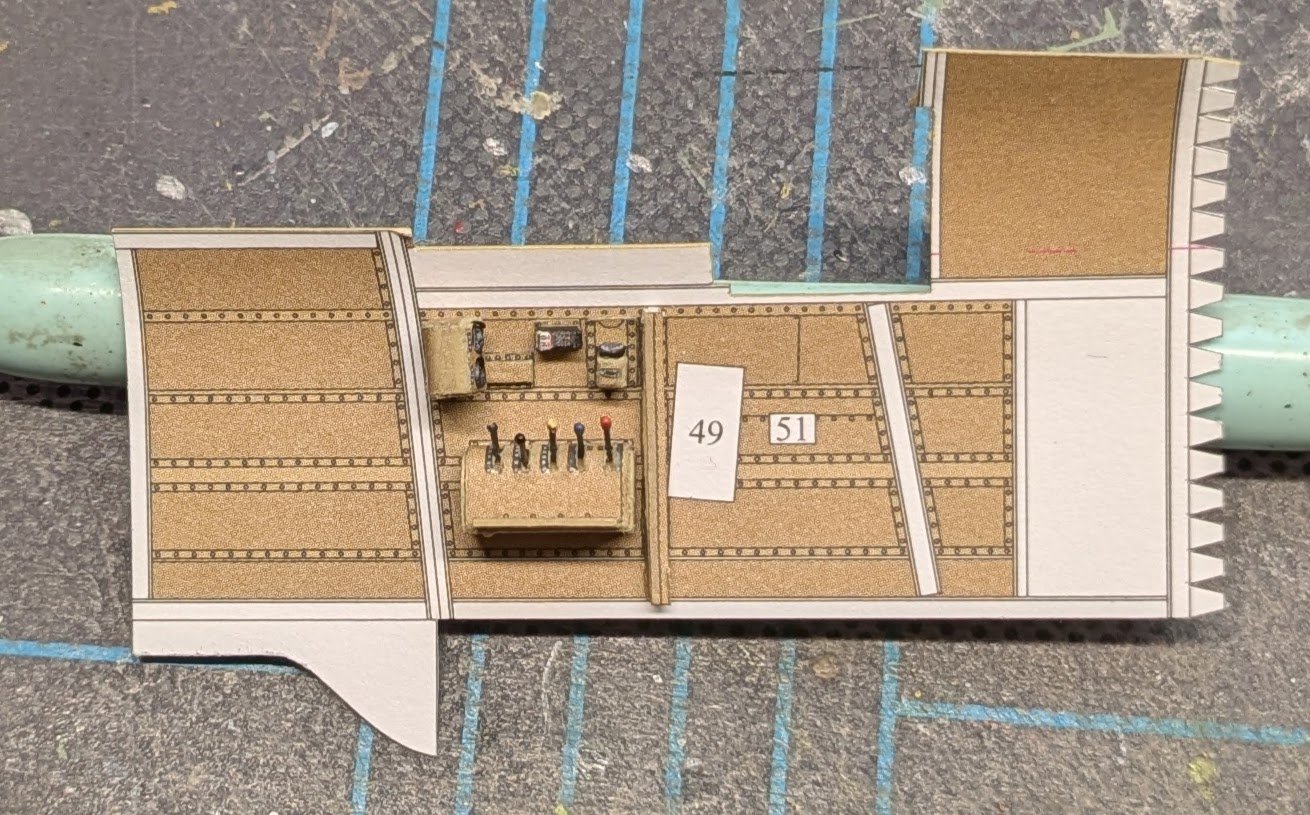
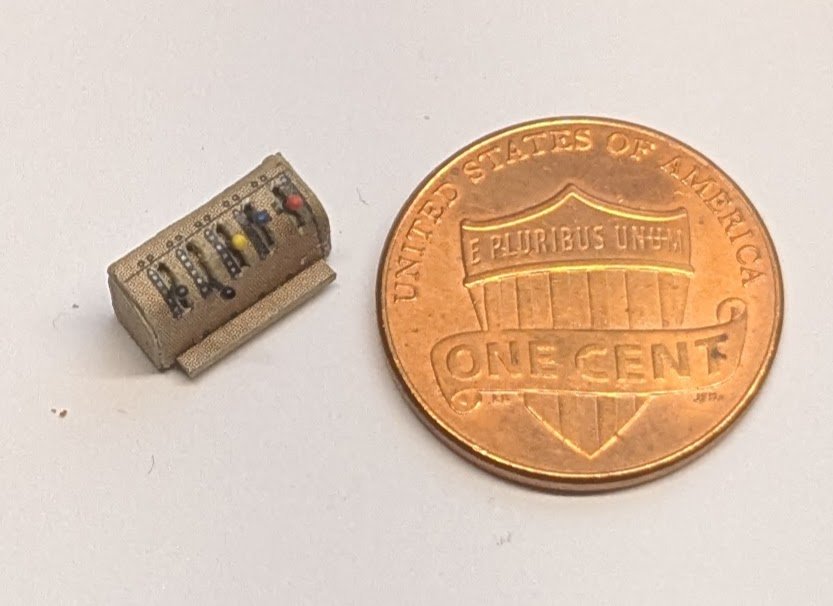
Thanks for the compliment and info! Generally, I don't worry too much about the what the doohickeys are and what they control -- for me, the outside of the plane counts far more than whatever detail happens to be on the inside. That being said, I do look for info online regarding appearance, color, settings, etc., and if that doesn't help out, then I just go with whatever positions are indicated in the diagrams. This is why, for example, my Spitfire Vb, has its gear selector in the 'up' position, even though the gear are very obviously down! Cheers!
-
Joelle, every time I check on your build, I am blown away by your skill. I'm curious if you have any plan in mind for having this model on display somewhere once it's finished, other than a shelf in your house somewhere. It seems eminently worthy of a public display somewhere, even if it is not a scratch build and thus not up to some museum standards.
- 212 replies
-
- Russo-Japanese War
- Mikasa
-
(and 2 more)
Tagged with:
-
This topic will give you some ideas on how the finished gratings should look. I'm assuming you're using the typical interlocking combs supplied in kits. The important part to remember is that the fore-and-aft pieces (the battens) ride on top of the athwartship pieces (the ledges). Also, the finished grating should always fit within its coaming so that the coaming's inside edges abut a batten or ledge; the edge cuts should never be made through the grating gaps themselves. Cheers!
-
I used it almost exclusively back in my early days. It does the job well, though it is thicker than the canopy glue I prefer these days. Since it is water-based, it can easily be thinned to whatever consistency one likes.
-
Congratulations, Russ, that is really some very nice workmanship!
- 20 replies
-
- Victory
- Artesania Latina
-
(and 2 more)
Tagged with:
-
#4 is not an option. Even incomplete builds can be useful to someone looking for information on that kit. In your case, I'd go for #3. Everyone understands that there are reasons why someone might lose interest in keeping a log updated, but it'd be nice to see the finished model and be able to mark your log with the highly-prized "finished" tag.
-
This is why I never, ever let my guests backlight my models when viewing them! 😂 offset printing
-
I found the review. It's in the March/April 2006 issue of Ships in Scale, Vol. XV No. 2., page 92. The author rated the kit's written manual 2.5/4 and photo manual 4/4. Overall he had this to say: The kit's final score was 2.5./4. Keeping in mind that the review was written 20 years ago, I think it's safe to say that the Constructo kit was similar in overall quality and design to other kits of that era, but that those designs are typically dated in comparison to what's available today. Cheers!
-

Novice: AL Sanfrancisco II or OcCre San Martin?
ccoyle replied to Arnie-75's topic in Wood ship model kits
Welcome, Arnie! The first question to ask is: do you really like these particular ships? You'll be making a significant time investment, so liking your subject is important. Second, whereabouts is "here"? Access to kits can certainly affect your decision, but if we know where you are located, we may be able to suggest some alternatives for your consideration. Other members may chime in with more kit-specific comments. Cheers! -
Johnny has provided a great overview of the kit. I remember maybe twenty years that one of the modeling magazines (might have been Ships in Scale) did a review of the newest Constructo version available at the time, and the reviewer's verdict was that it wasn't a bad kit for the money and represented a step up in quality compared to earlier Constructo kits. That being said, I don't think you'll get much argument against the Constructo kit being several steps down from the Caldercraft kit, and even the Caldercraft version is a bit dated, since kit design in general has advanced significantly in recent years. Cheers!
-

Vought F4U Corsair by PeD - Tamiya - 1/48
ccoyle replied to Danny_CZ's topic in Completed non-ship models
Amazing work and a great memory of your Dad! Thanks for sharing! -

Arado Ar-196 by Ian B - FINISHED - PLASTIC - German seaplane
ccoyle replied to Ian B's topic in Non-ship/categorised builds
Fabulous! As I posted before, you've made her look just as of she has done some hard shipboard service. -
If you end up being unhappy with the final result, you can always opt to fill, sand, and paint. This is how some of our Polish friends produce their immaculate hulls. Of course, most of them seem capable of producing immaculate hulls without the extra effort, so there's that. 😋
-

Technics to attach the sails to the yards
ccoyle replied to Amedeo Riga's topic in Masting, rigging and sails
The nautical term you are looking for is bending. Sails were bent to yards in various ways depending on the type of sail, era, and nationality of the vessel. If you can provide those details, our members may be able to direct you to some resources. -
Welcome aboard, Rui!
About us
Modelshipworld - Advancing Ship Modeling through Research
SSL Secured
Your security is important for us so this Website is SSL-Secured
NRG Mailing Address
Nautical Research Guild
237 South Lincoln Street
Westmont IL, 60559-1917
Model Ship World ® and the MSW logo are Registered Trademarks, and belong to the Nautical Research Guild (United States Patent and Trademark Office: No. 6,929,264 & No. 6,929,274, registered Dec. 20, 2022)
Helpful Links
About the NRG
If you enjoy building ship models that are historically accurate as well as beautiful, then The Nautical Research Guild (NRG) is just right for you.
The Guild is a non-profit educational organization whose mission is to “Advance Ship Modeling Through Research”. We provide support to our members in their efforts to raise the quality of their model ships.
The Nautical Research Guild has published our world-renowned quarterly magazine, The Nautical Research Journal, since 1955. The pages of the Journal are full of articles by accomplished ship modelers who show you how they create those exquisite details on their models, and by maritime historians who show you the correct details to build. The Journal is available in both print and digital editions. Go to the NRG web site (www.thenrg.org) to download a complimentary digital copy of the Journal. The NRG also publishes plan sets, books and compilations of back issues of the Journal and the former Ships in Scale and Model Ship Builder magazines.


