-
Posts
10,063 -
Joined
-
Last visited
Content Type
Profiles
Forums
Gallery
Events
Everything posted by ccoyle
-
Welcome aboard!
-
Now there's a conversation starter, to be sure!
- 310 replies
-
- Diana
- Caldercraft
-
(and 1 more)
Tagged with:
-
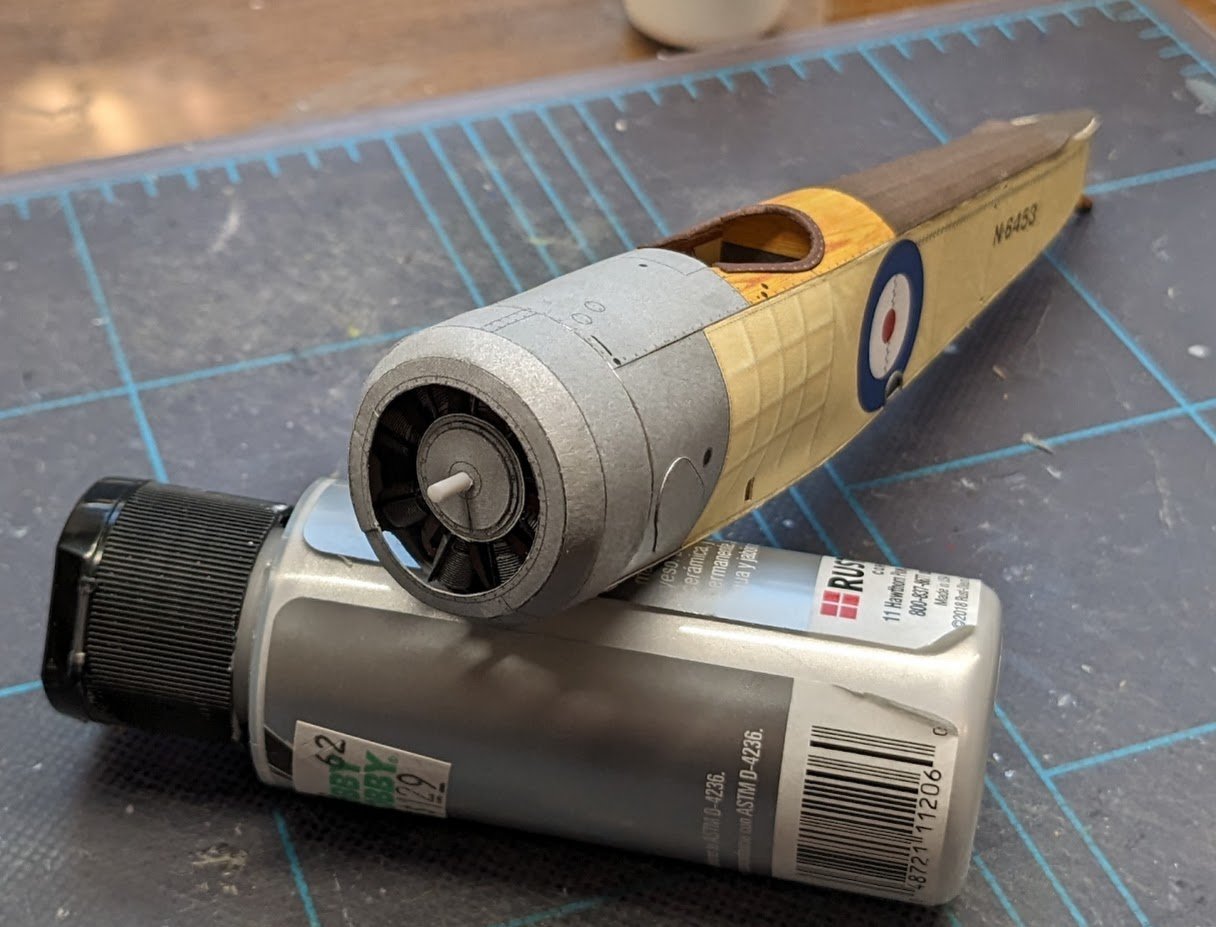
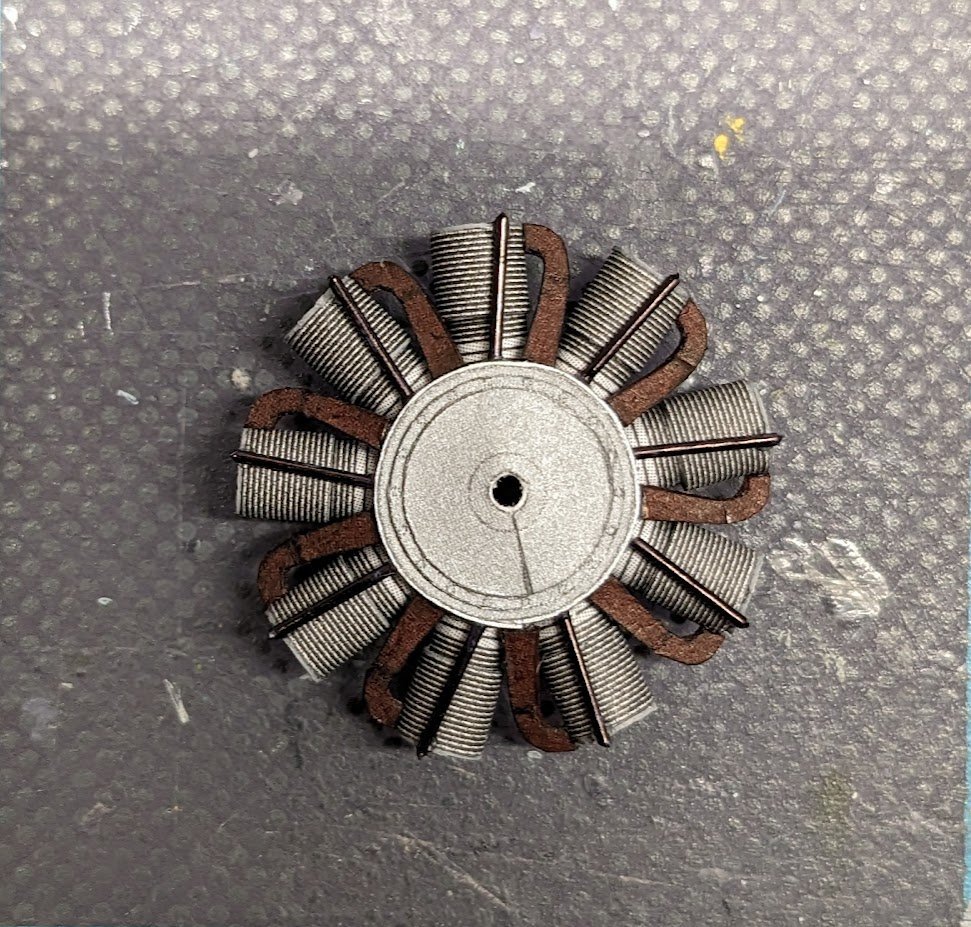
The engine and cowl are now mated to the fuselage. I had a couple of minor problems with this portion of the build, neither of which was due to any inherent shortcomings of the kit. First, I did not recognize until after I had finished the cowl that its three ventral openings are not centered on the aircraft's midline. This led to me improperly positioning the second of the three rings that make up the cowl. Second, I dropped the forward-most ring while I was gluing it together, and my dog got hold of it, leading to a few tense moments between master and dog, with the final result being that the ring was every so slightly, er . . . munched. I fixed it as best I could, and, happily, I don't think that either of the two errors just described will be highly noticeable on the finished model.
-
Regardless, she is an official Goodwill Ambassador for the City of Baltimore and does sail on the Chesapeake, so she meets the OP's criteria.
-
Lots of possibilities out there. Baltimore clippers are common kit subjects, e.g. Pride of Baltimore II from Model Shipways. Wye River Models also makes a number of kits featuring Chesapeake Bay work boats.
-
I agree, but I don't see much there to get excited about -- a small selection. most of which are available from other manufacturers already. Meanwhile, untold thousands of ship and boat subjects still have no representation at all in the wooden kit world.
-
I fixed it for ya. Looks like you're off to a good start.
- 27 replies
-
- Gjoa
- Model Shipways
-
(and 1 more)
Tagged with:
-
Welcome aboard!
-
Try getting hold of a copy of Ship Modeling Simplified by Frank Mastini. It's often available in public libraries as well as being easy to find (and cheap) online. The book is a bit dated in some respects, but it's still a good introduction to the hobby.
- 26 replies
-

New member with broken Ship in need of a professional restoration
ccoyle replied to a topic in New member Introductions
Welcome, James. I have moved this to the new members intro section and spruced up the title. -
Welcome aboard, Toni! I have tagged your log as a first build -- this lets members know that the builder might need that little extra bit of encouragement. One bit of advice I would give is to avoid using the brass nails. If left in, they will make sanding an onerous chore, being harder than the surrounding wood. I use push pins (with drilled pilot holes) to temporarily tack first-layer planking in place. Cheers!
- 26 replies
-
Welcome aboard, Brian!
-
Congratulations, Reg! She's a real beauty.
- 137 replies
-
- winchelsea
- Syren Ship Model Company
-
(and 1 more)
Tagged with:
-
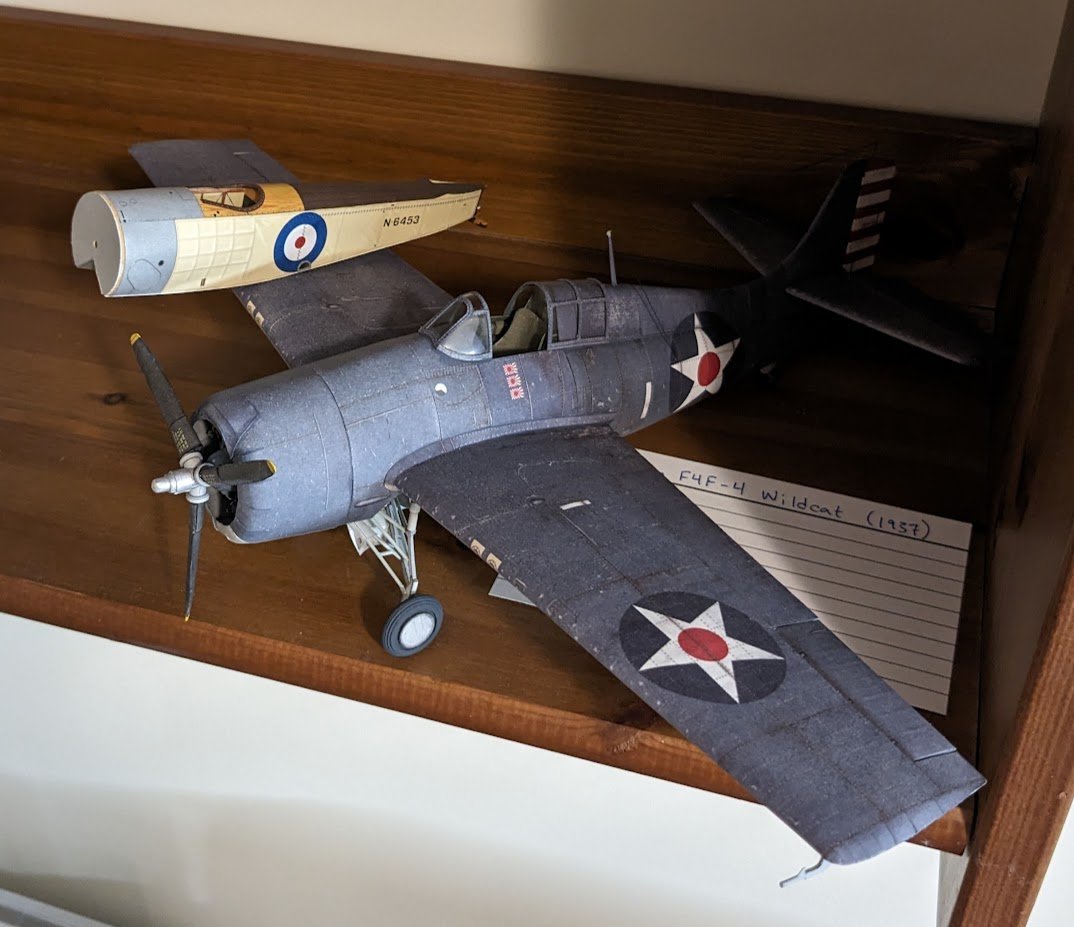
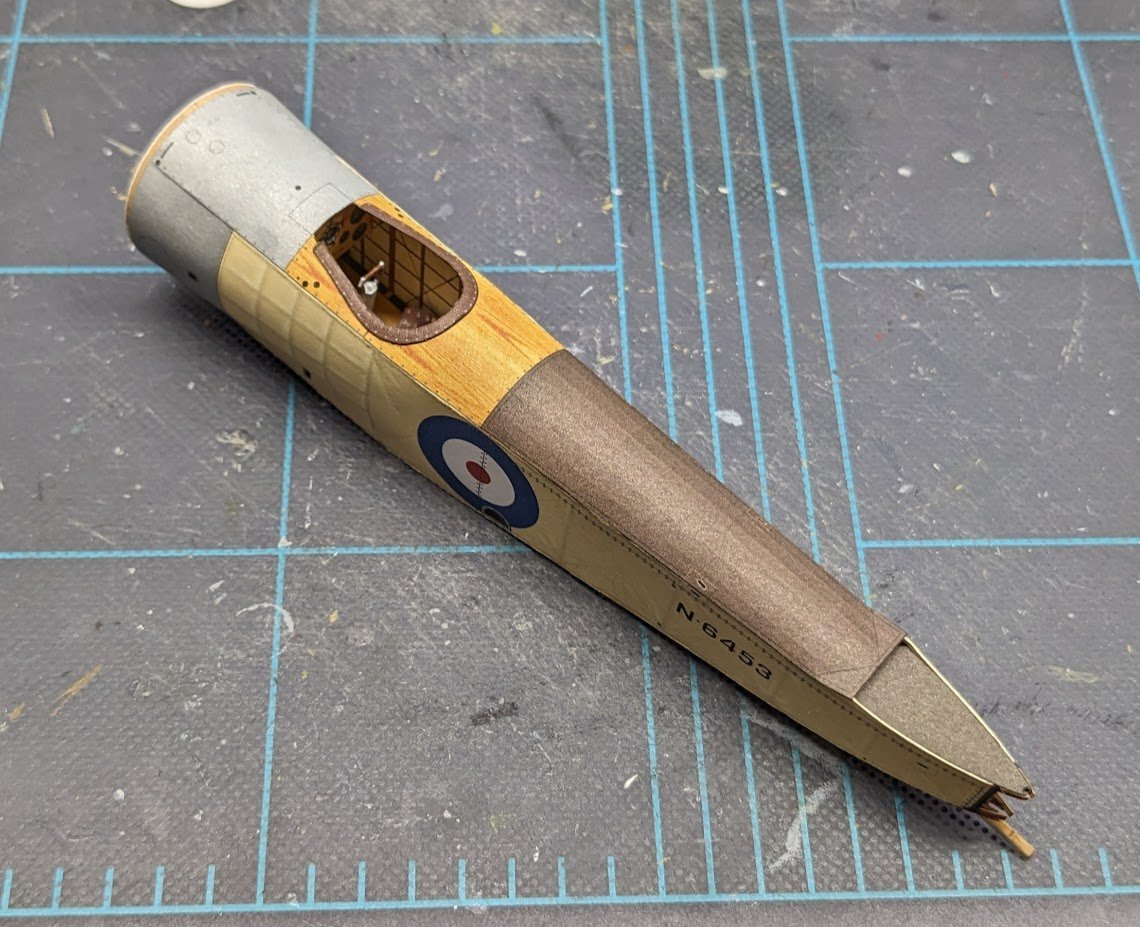
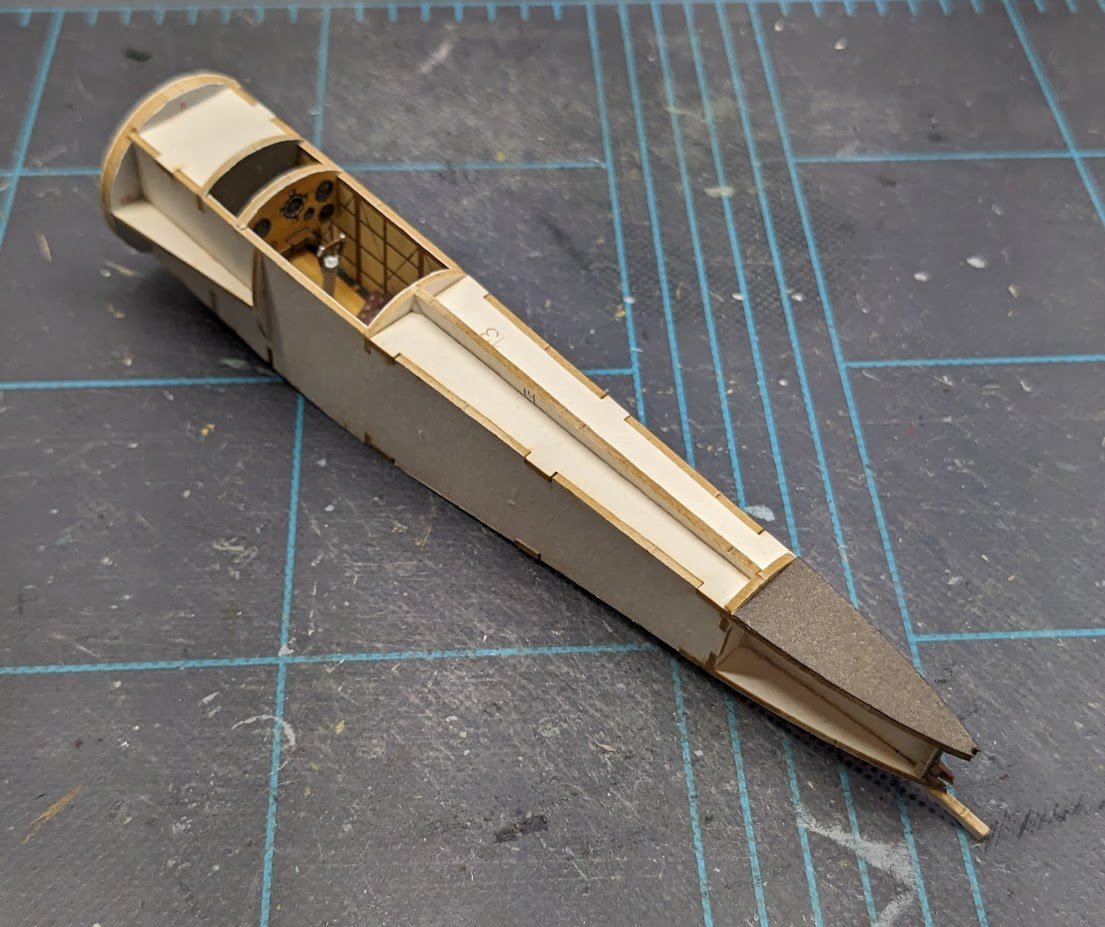
Interesting discussion with a younger coworker who saw a picture of my Pup fuselage. Coworker: "What is it?" Me: "A Sopwith Pup. You know the Pup?" Coworker: "No." Me: "Well, do you know the Sopwith Camel? The Pup was the Camel before there were Camels." Coworker: "No." Me: (slightly incredulous) "Really? Well, how about Snoopy? Do you remember that Snoopy was always pretending to be a World War 1 flying ace?" Coworker: "Yeah." Me: "Snoopy flew a Sopwith Camel." Coworker: (realization dawns) "Oooh." I live to enlighten my coworkers. 😅
-
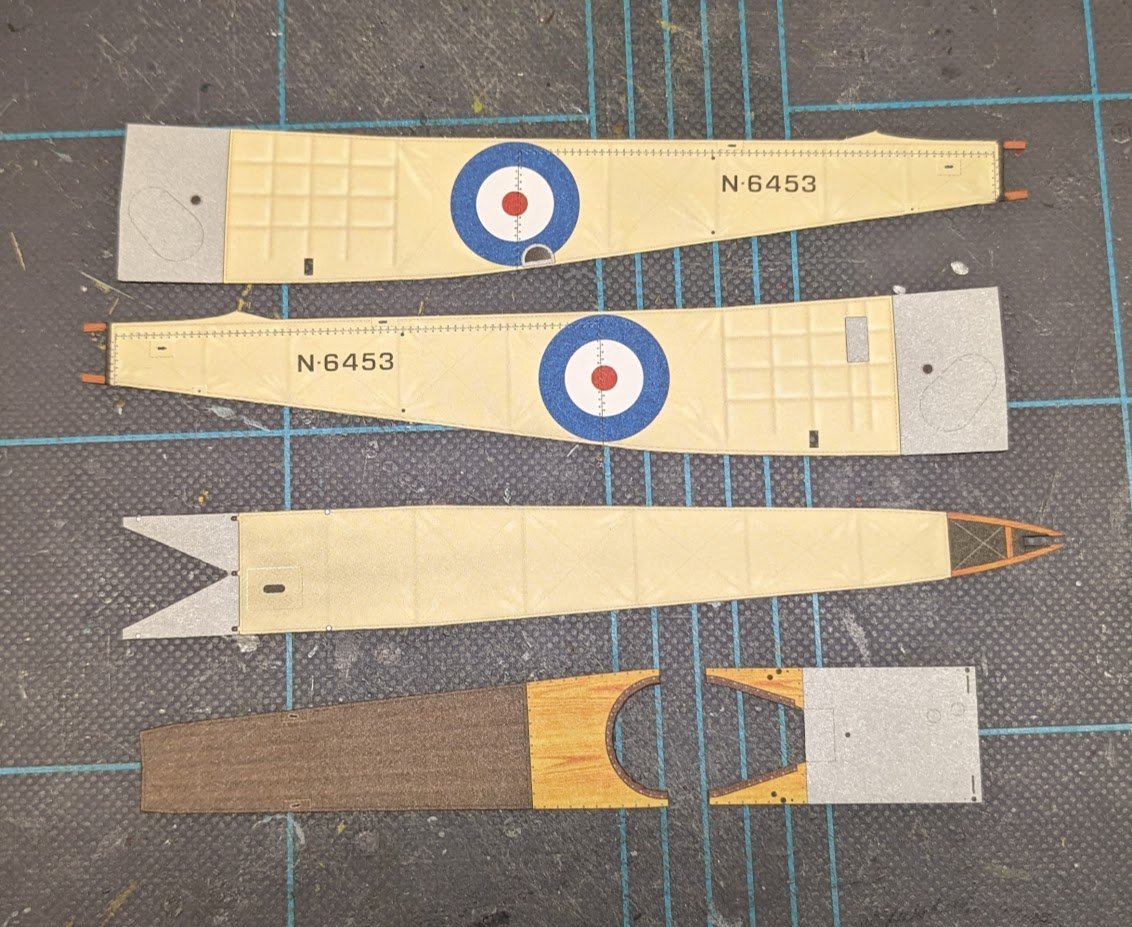
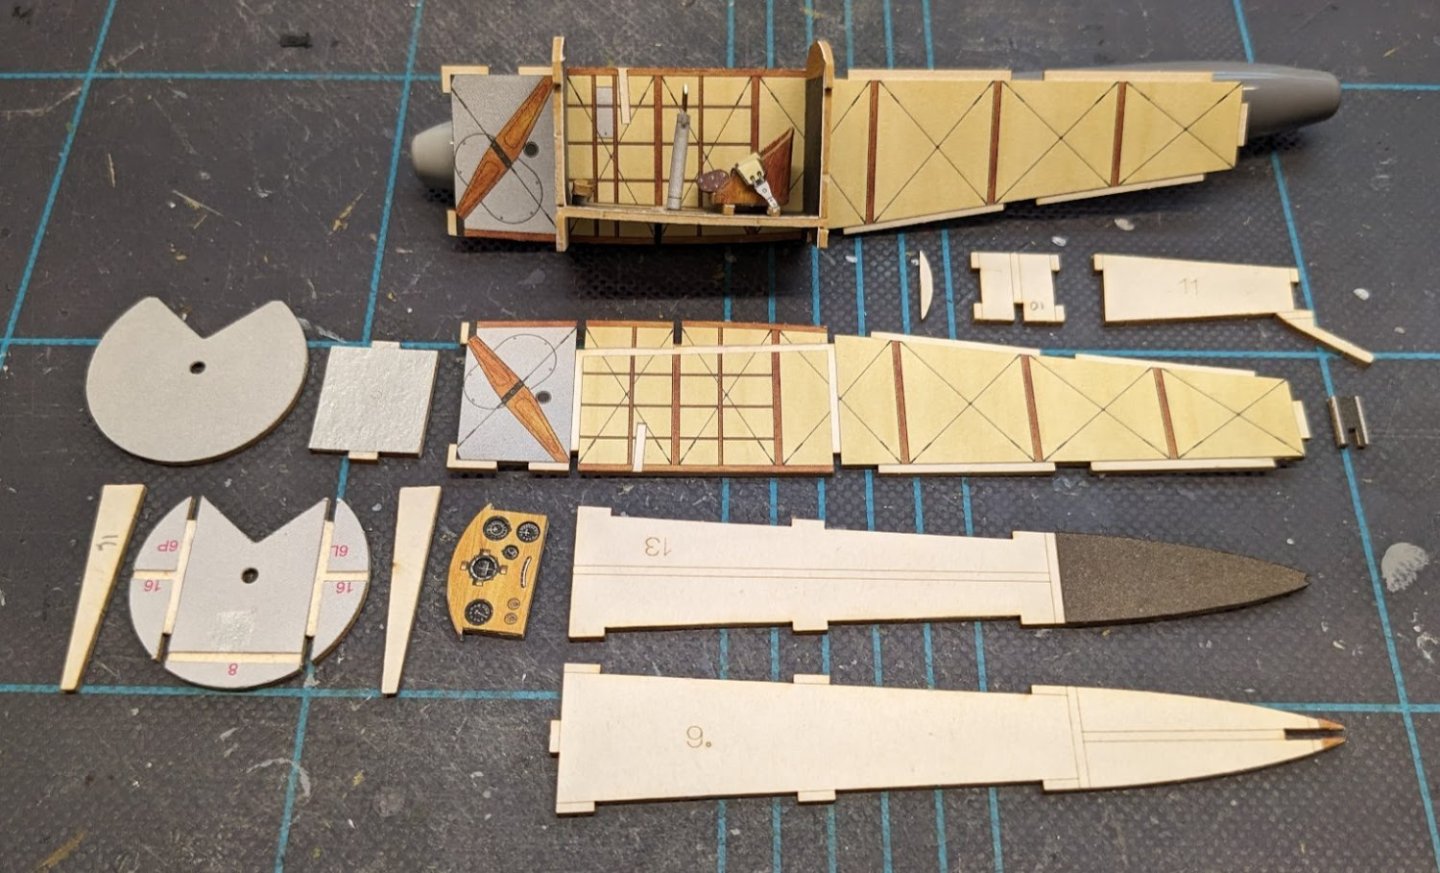
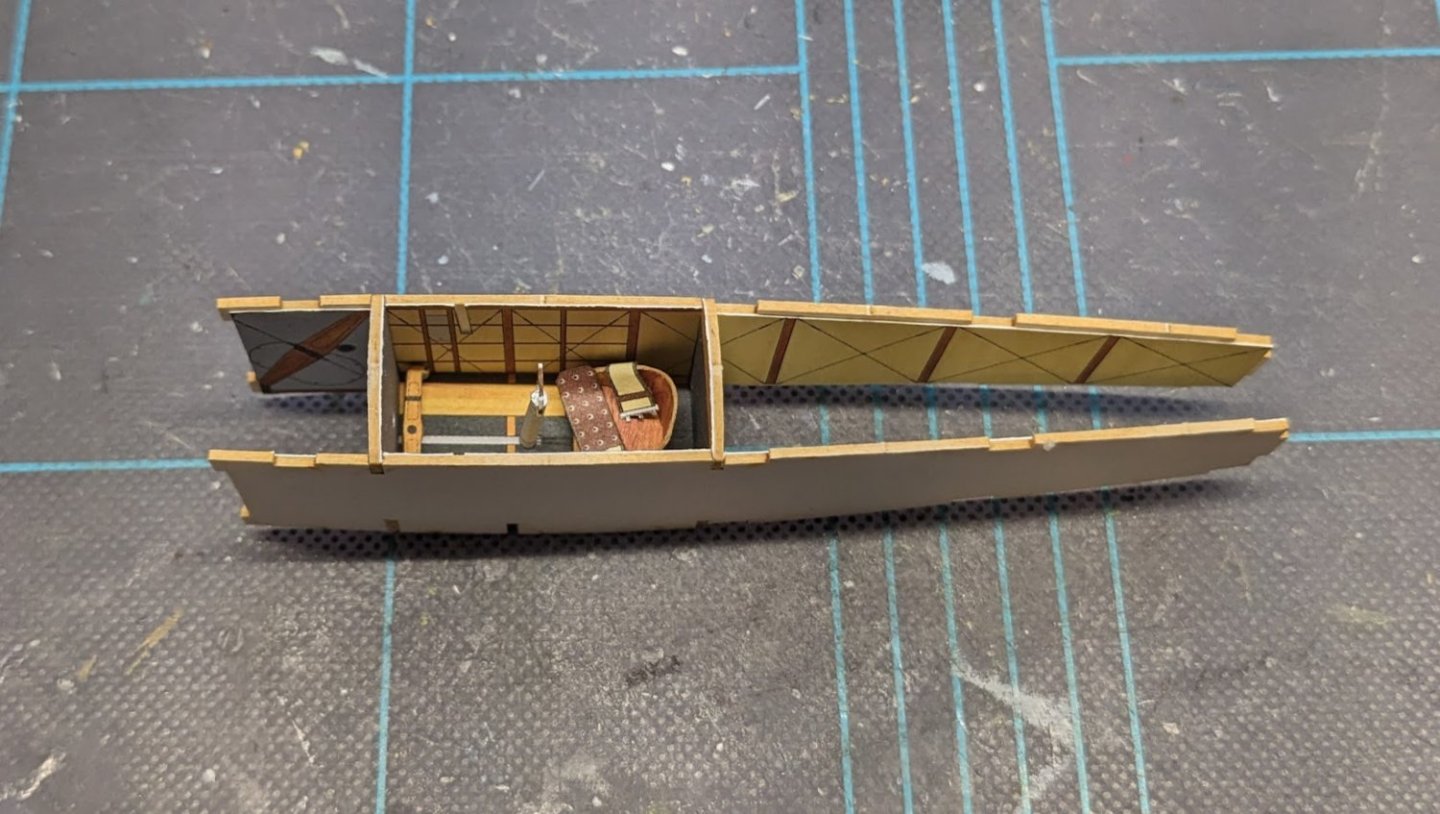
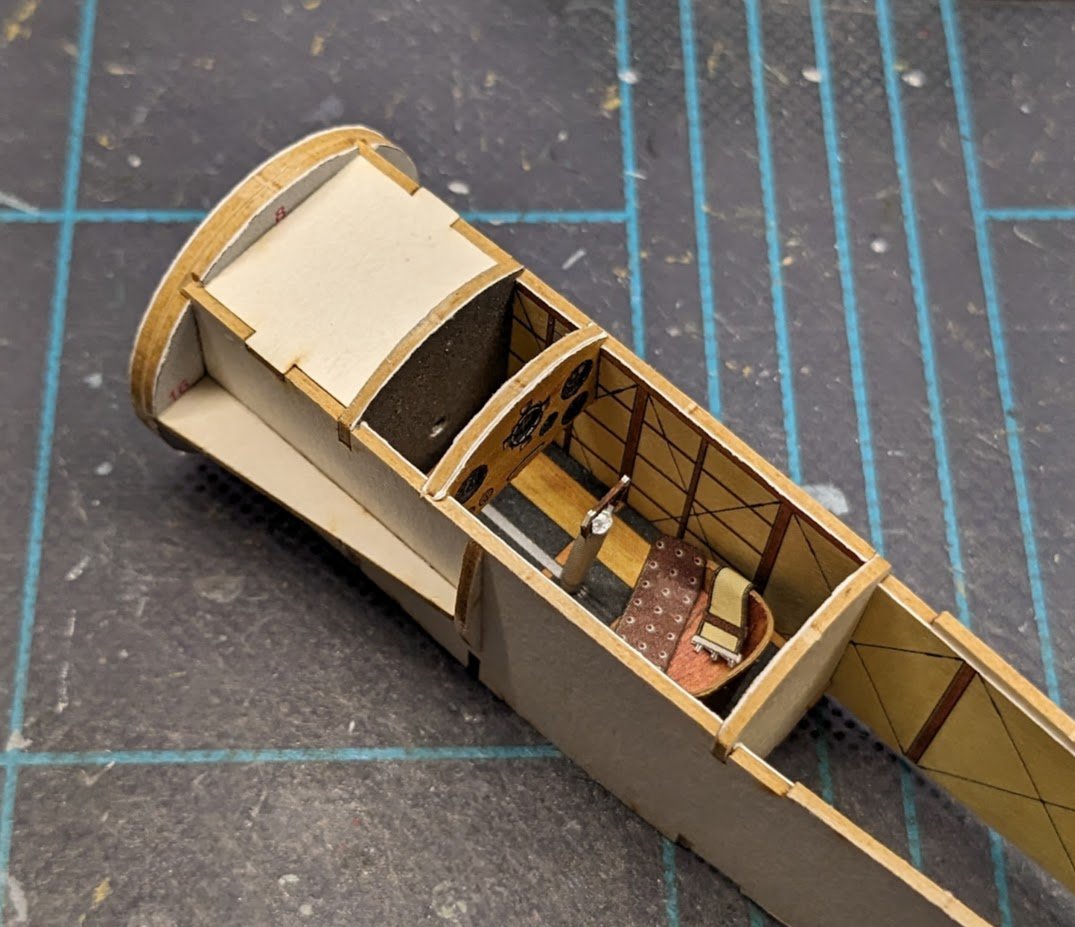
A note on some of the interior printing that is visible but will obviously not be seen once the fuselage is closed up: Believe it or not, there are some insane modelers out there (Poles, usually -- duh) who will open up parts of their build and scratch-build interior components such as stringers, bracing, and control cables, thus necessitating some printed interior details. I am not one of those modelers, so don't ask.
-
Once again, a Mistewicz design just falls together sweetly without any hitches so far. Here's the fuselage structural pieces ready to be glued up (I found out later that three pieces were missing from this group shot, but they're on the model -- which is what counts). And bit by bit it gets put together. Skinning starts next!
About us
Modelshipworld - Advancing Ship Modeling through Research
SSL Secured
Your security is important for us so this Website is SSL-Secured
NRG Mailing Address
Nautical Research Guild
237 South Lincoln Street
Westmont IL, 60559-1917
Model Ship World ® and the MSW logo are Registered Trademarks, and belong to the Nautical Research Guild (United States Patent and Trademark Office: No. 6,929,264 & No. 6,929,274, registered Dec. 20, 2022)
Helpful Links
About the NRG
If you enjoy building ship models that are historically accurate as well as beautiful, then The Nautical Research Guild (NRG) is just right for you.
The Guild is a non-profit educational organization whose mission is to “Advance Ship Modeling Through Research”. We provide support to our members in their efforts to raise the quality of their model ships.
The Nautical Research Guild has published our world-renowned quarterly magazine, The Nautical Research Journal, since 1955. The pages of the Journal are full of articles by accomplished ship modelers who show you how they create those exquisite details on their models, and by maritime historians who show you the correct details to build. The Journal is available in both print and digital editions. Go to the NRG web site (www.thenrg.org) to download a complimentary digital copy of the Journal. The NRG also publishes plan sets, books and compilations of back issues of the Journal and the former Ships in Scale and Model Ship Builder magazines.


