


ccoyle
-
Posts
10,578 -
Joined
-
Last visited
Content Type
Profiles
Forums
Gallery
Events
Everything posted by ccoyle
-
 Hmm -- we don't have an emoji for "I can't answer that one for you."
- 63 replies
-
- 1
-

-
- card
- Revenue Cutter
- (and 2 more)
-
Hi from New Zealand - the case of the Sergal Great Harry
ccoyle replied to Robert Hamlin's topic in New member Introductions

-
Hello, Lapinas! Have you got this project under way yet?
-
Hi! I hope you have finally had a chance to settle in for good and make some progress on your model?
-
Hi, Frank. Have you had a chance to make some progress on this build?
- 10 replies
-
- 1
-
-
- Charles W Morgan
- Revell
- (and 1 more)
-
Hi, Joe. Wondering if you ever got around to finishing your project?
-
Ron, you were so close to finishing -- did you wrap this build up?
-
US Brig Syren by Gahm - Model Shipways
ccoyle replied to Gahm's topic in - Kit build logs for subjects built from 1801 - 1850
Hi, Thomas. I hope life has allowed you some time to get back to this beautiful project? -
Hey, Tim, did you ever wrap this one up?
-
David, since your topic is more or less morphing into a build log, I have formatted your title accordingly and moved it into the proper area. Good luck with your project!
- 114 replies
-
- 2
-
-
- Cutty Sark
- plastic
- (and 4 more)
-
Wow! Hot off the presses and already well into the build! Based on your previous efforts, I have no doubt you will make a fine model out of this. Enjoy!
- 146 replies
-
- 5
-
-
- Adder
- Vanguard Models
- (and 1 more)
-
We live in a Golden Age of beginner-level wood kits. It's a great idea to start with one of the many simple rowed craft or small sailing boats that are available. One of the best lines was produced by Midwest Products -- you can still find the original kits on eBay. The Midwest Products boats are now made by Model Shipways here in the States and are available from Model Expo (ME). ME also makes a series of progressively more challenging beginner kits called the Shipwright Series. In the UK, Vanguard Models makes a line of small fishing vessels specifically designed with beginners in mind. To get a good overview of the process of building a wooden model, check out the classic book on the subject Ship Modeling Simplified by Frank Mastini -- it's easy to find, inexpensive, and a good read.
-
I missed the conclusion of your beautiful project. She's very striking!
-
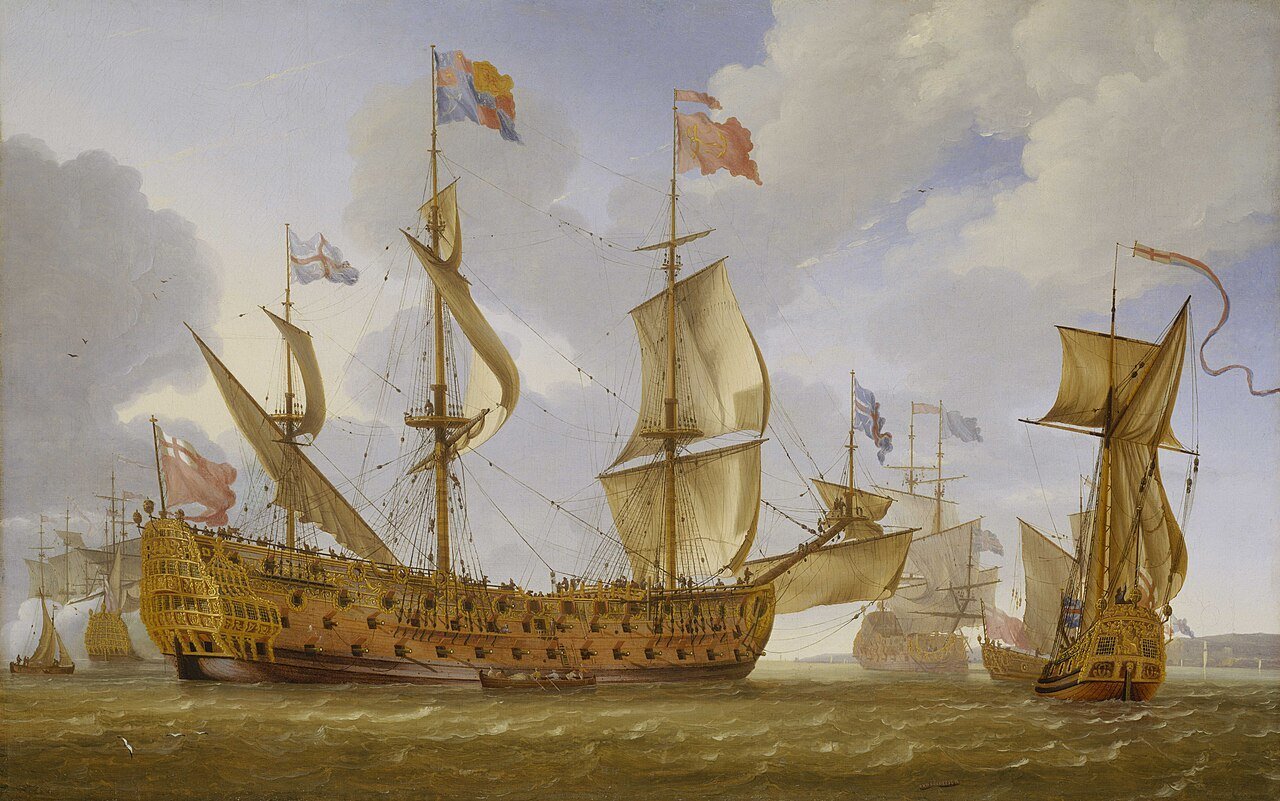
Hi, Nic. Your grandfather obviously had some skill at making models. It looks like it may be HMS Prince 1670. An Italian kit manufacturer, Aeropiccola, once made a kit of her, and I have seen at least one example of someone building a scratch model from the kit's plans. The bad news for any new modeler is that this particular ship is one of the most challenging subjects a modeler could choose. In addition to the copious amounts of rigging (which could be omitted if the modeler chose to build a hull model, i.e., no rigging), Prince sported an incredibly lavish suite of carved ornamentation. It's not my intention to scare you off your project, but I think you'd want to know just what kind of challenge you would be taking on. http://www.modelshipgallery.com/gallery/misc/sail/HMSPrince-144-mda/index.htm Cheers!
-
Welcome aboard!
-
That's a Bermuda schooner rig. I can't tell you exactly when it came into use, but it's been around a long time. See https://en.wikipedia.org/wiki/Bermuda_rig#History.
-
Welcome aboard! Chile is beautiful country -- I wouldn't mind visiting some day.
-
Absolutely fabulous! What a credit to the card modeler's art! PS: Do you follow the HMV page at Facebook? If not, I'd like to share a link to your build log there -- Benjamin (the owner) would certainly appreciate it.
-
Hey, did this build ever get wrapped up?
-
I've no personal experience with them, but I'd be super hesitant to order anything from AliExpress -- they're a known platform for pirated merchandise, and some Chinese sellers have no qualms about using photos that don't depict the actual merchandise being sold.
- 1 reply
-
- 3
-
-
Congratulations, and nicely done!
-
There's no comparison, as you may already know. Chris designed both kits, but the Caldercraft kit dates to very early in his career arc. The Caldercraft kit is still a good product, but Chris' more recent releases for Vanguard Models are ahead in every respect: better designs, better materials, better instructions.
- 9 replies
-
- 9
-
-
- vanguard models
- cutter
- (and 1 more)
