ccoyle
-
Posts
10,526 -
Joined
-
Last visited
Content Type
Profiles
Forums
Gallery
Events
Everything posted by ccoyle
-
 Should we wait for those before marking this build as finished?
- 40 replies
-
- 1
-

-
- Okahumkee
- sternwheeler
- (and 1 more)
-
Yes, this is how I had to build all my models back in the days before I discovered laser-cut parts! Happily, pulpboard is far gentler on #11 blades than chipboard (shudder). I was fortunate to have such a large surplus piece of it on hand.
- 107 replies
-
- 10
-
-
You could, if A.) you were willing to pay for a new set, B.) the replacement set were also the wrong thickness, and C.) you were willing to wait two weeks or so for the new set to arrive. No, thanks!
-
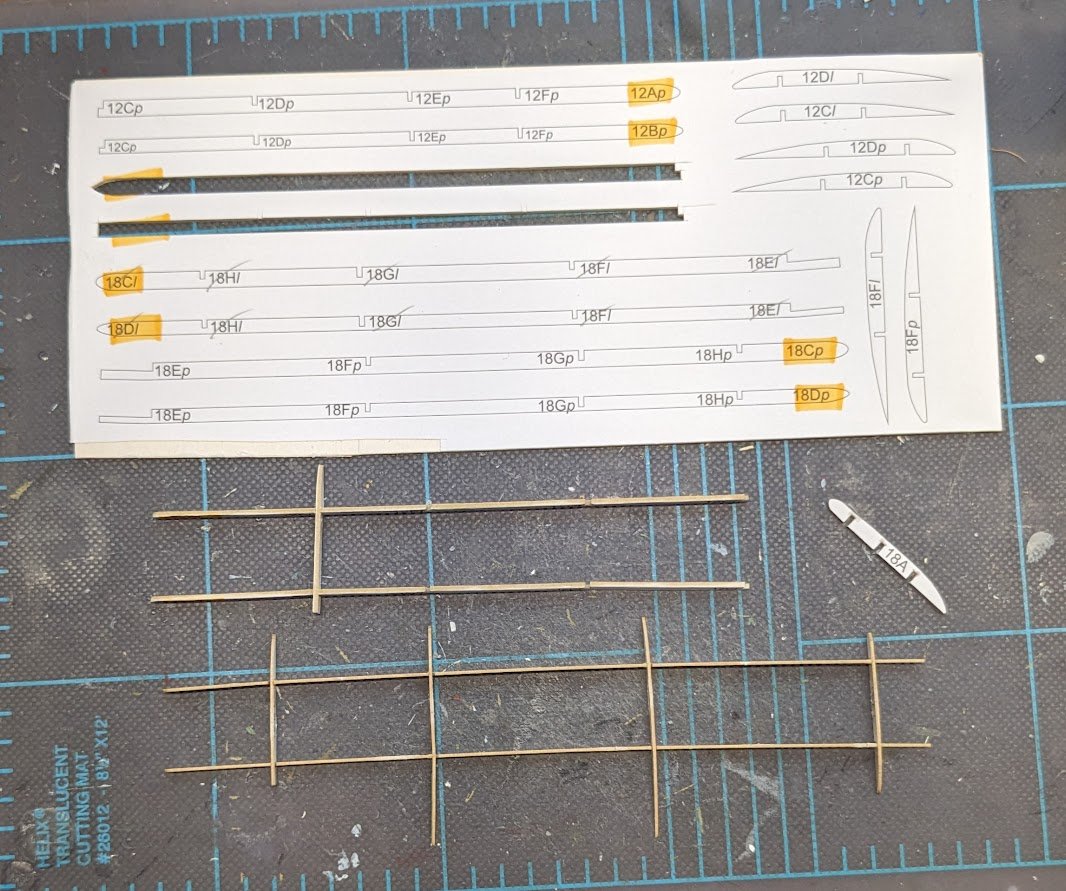
Bit of a hiccup on the Salmson. The sheet of laser-cut parts for the wings was cut from the wrong thickness of card -- only 0.5 mm instead of 1.0 mm. I suspect the sheet containing the fuselage bulkheads was likewise cut from the wrong thickness, but thickness was less critical for those parts. Anyways, I assembled one wing frame, hoping I could make the thinner parts work, but the resulting structure is very flimsy. So, I made the painful decision to ditch the laser-cut parts and use the printed kit parts after laminating them to some leftover 1.0 mm pulpboard. This means I will now need to cut out 28 parts for the wing frames. Also, because the frame pieces are so narrow in the vertical dimension, cutting out the notches where the parts intersect greatly weakens the pulpboard at that point, so I need to stiffen all of the cut-out parts with thin CA. Depending on how motivated I am, this task may take a few days.
- 107 replies
-
- 12
-
-

-
Interesting video of a Salmson being readied for flight. I can plainly see some elements that the kit designer got wrong. 😑
-
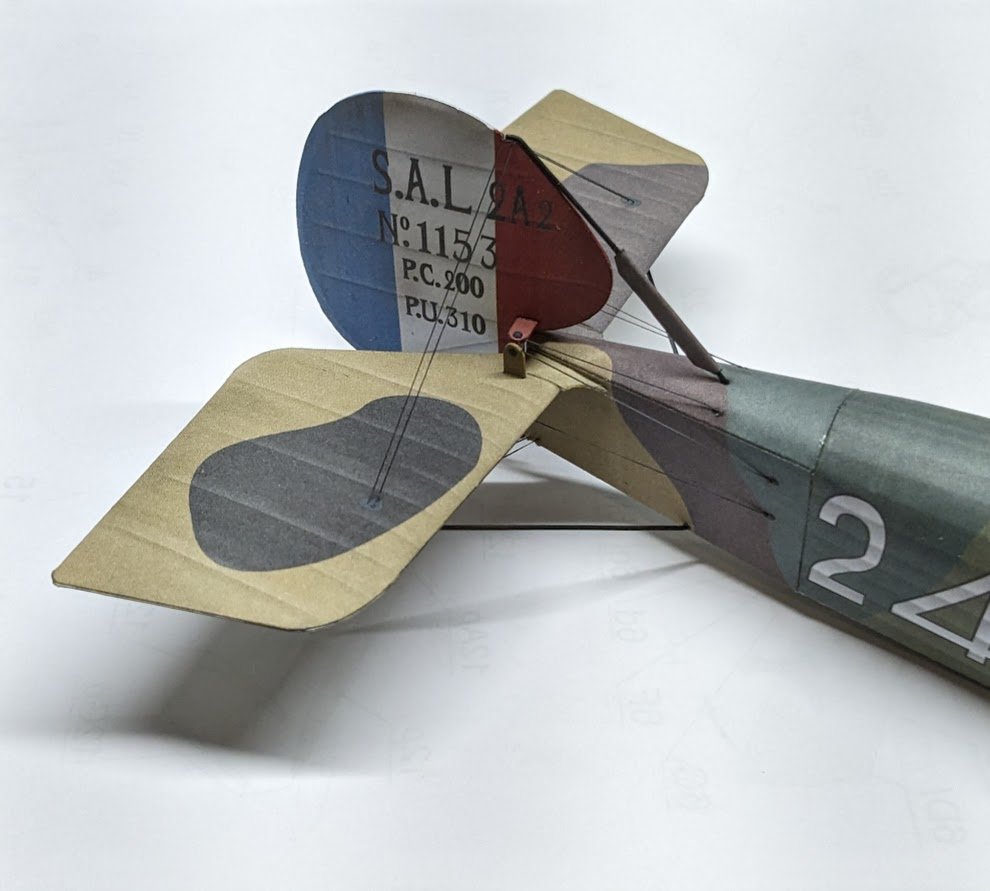
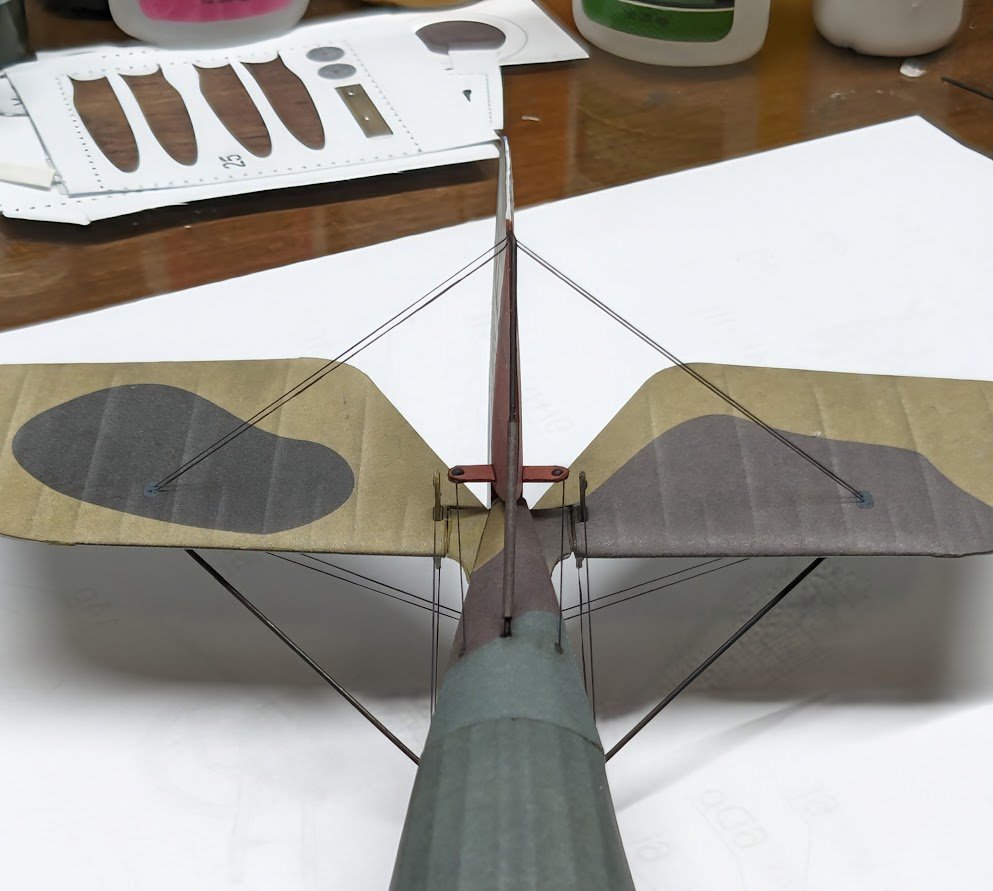
Empennage is done. I can't give this kit high marks for number and quality of diagrams, not for sufficiency of internal structure. I had to muddle through the former and scratch-build some of the latter, but it turned out okay, I think.

- 107 replies
-
- 19
-
-
Close-up photography is the enemy of being satisfied with a job well done -- it highlights a wealth of tiny mistakes that no one will notice at normal viewing distances. I have to remind myself of this fact all the time.
-
I remember reading a long time ago that some very early paper models have survived surprisingly long times in museums. As for my models, they will probably survive until I die, but after that all bets are off!
-
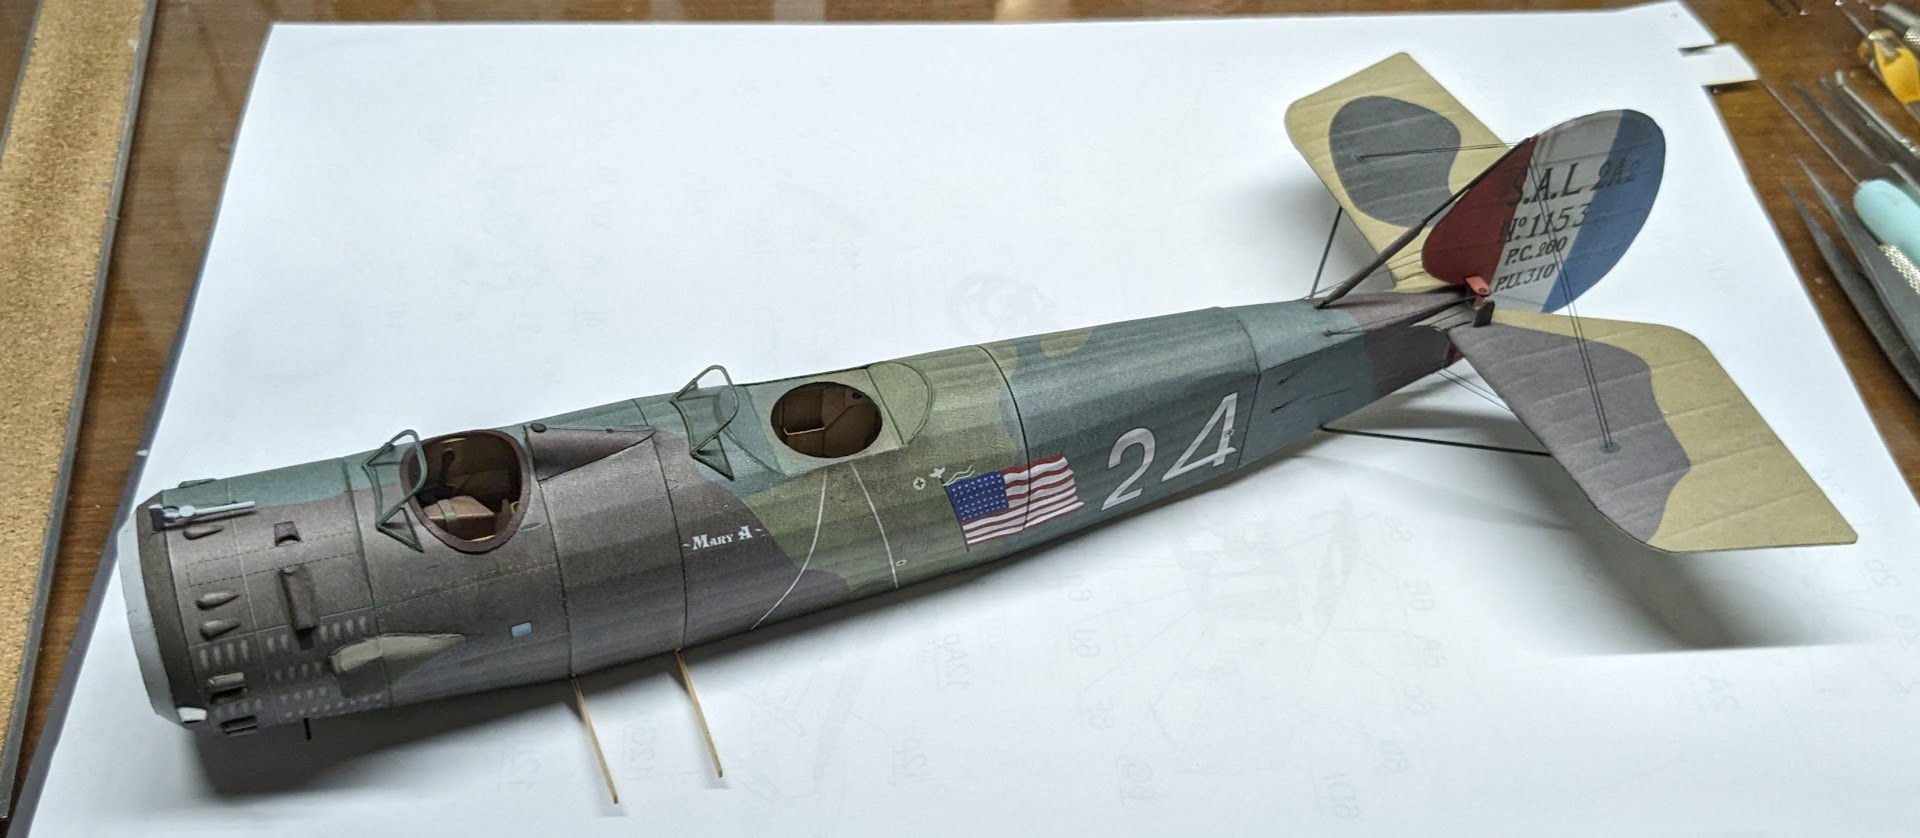
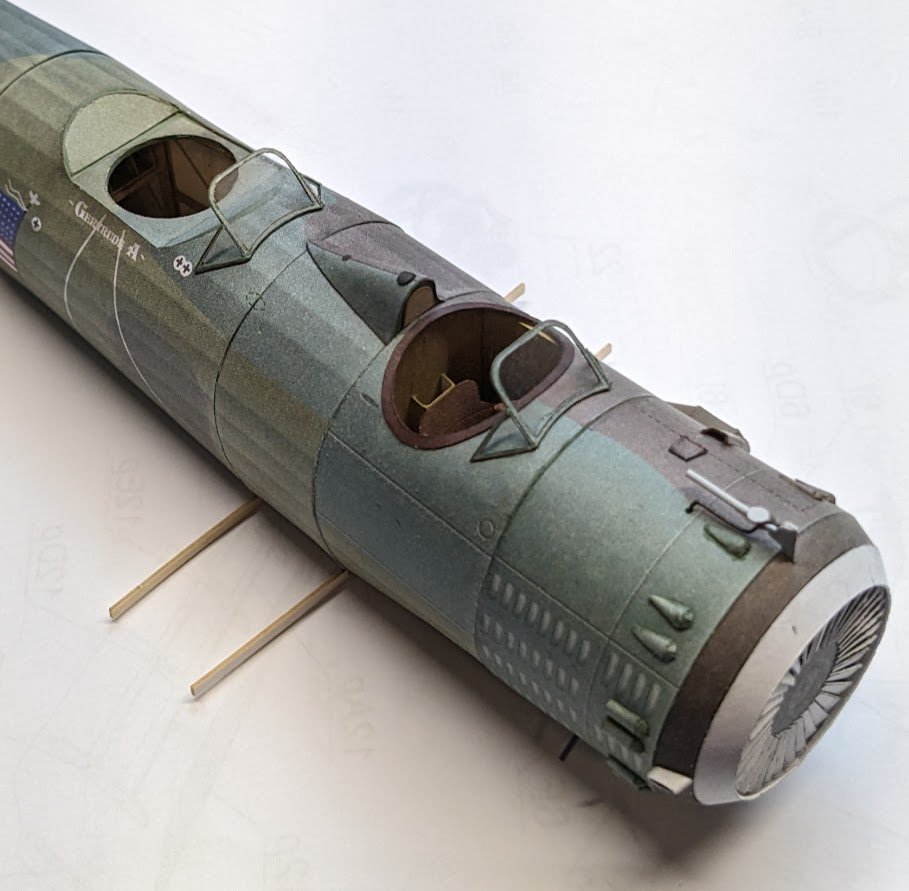
Added the pilot's headrest and windscreens. The kit provide neither interior frames nor glazing templates for the latter; I made photocopies and used those as templates.
- 107 replies
-
- 15
-

-
-

-
My priorities are in perfect order -- they just don't match my wife's priorities!
-
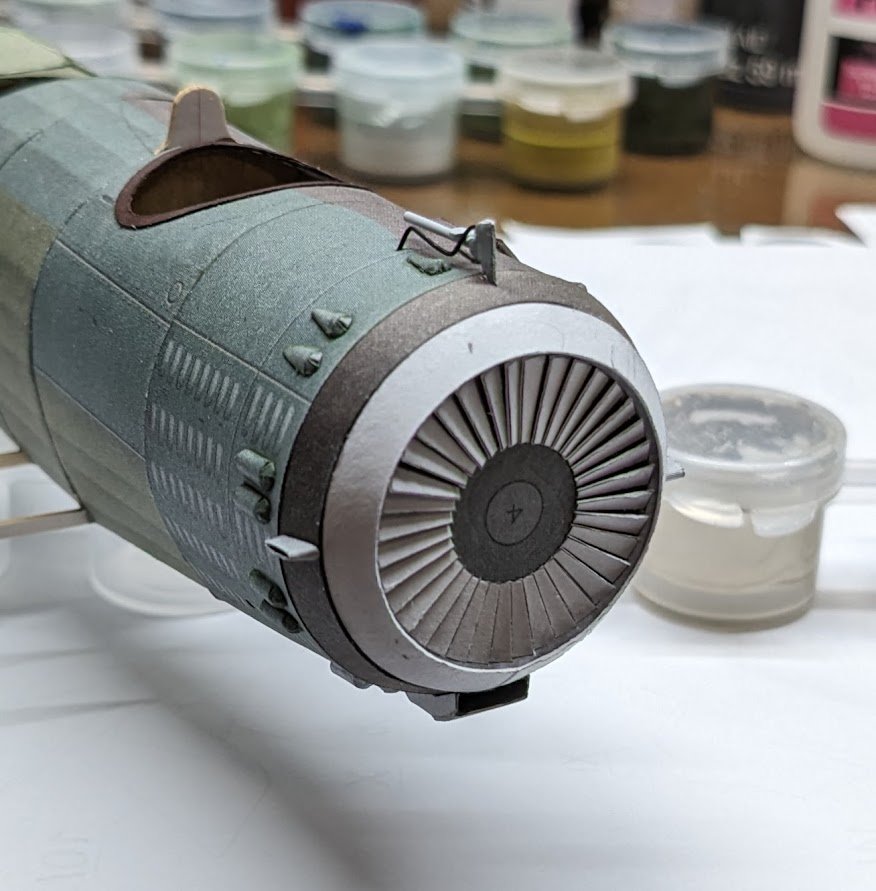
More cowl bits added. I mighta got more done today except I spent the entire day stripping the old finish off my fence. 😬
- 107 replies
-
- 19
-
-
-
New member and brand new (Paper) modeller!
ccoyle replied to Marcel1981's topic in New member Introductions
Welcome aboard, Marcel! Card models are kinda like Lay's Potato Chips -- no one can build just one! -
Keith, It was I who edited your build log title. I did this as part of an overhaul of all the build log titles on our site, to conform them to our site guidelines. The job took nearly two months to complete, as we have thousands of build logs here, so perhaps you can see why I didn't ask everyone whose logs were tidied up for permission to do so in advance. As for your log in particular, I added the information about Madawaska because the 1869 launch date for Tennessee isn't the original launch date for the ship itself -- personally, I think that little bit of extra info is interesting, but if you wish you may strike the last bit from the log title, or I can do it for you. Kind regards, Chris
-
I didn't realize they were acrylic. Are these available from Syren? I agree that the metal versions are rather a pain to deal with.
- 840 replies
-
- 1
-
-
- winchelsea
- Syren Ship Model Company
- (and 1 more)
-
I check the post tracker daily -- sometimes twice a day.
- 146 replies
-
- 6
-
-
- Speeljacht
- Seahorse
- (and 2 more)
-
Seeing the results of your work, Chuck, one would not think that there are any modeling tasks that could possibly terrify you.
-
Hello from South West of England.
ccoyle replied to Missile-Monkey's topic in New member Introductions
Welcome aboard! I'm always intrigued, and sometimes confused, by the English usage of "just," especially when they say "just about." In America, if we say "just about finished," we mean almost but not quite finished, i.e., not finished; in England, they mean just barely finished. I always have to think about that when I'm watching Premier League games and the announcer says, "He's just about done enough for a corner." -
3D Longboats in Blender
ccoyle replied to 3DShipWright's topic in CAD and 3D Modelling/Drafting Plans with Software
What? You mean that film is historically inaccurate?? 😮😉 -
It's not really turquoise so much as sky blue. The Russians didn't seem to waste much time on experimenting with color schemes -- sky-blue undersides and two-tone gray topsides were commonplace. I can't say for certain, but I suspect they used the same blue for interiors and undersides simply because it expedited construction. The Soviets figured out early that simplifying their manufacturing processes got materiel into the field faster and in larger quantities.
-
3D Longboats in Blender
ccoyle replied to 3DShipWright's topic in CAD and 3D Modelling/Drafting Plans with Software
That's lovely work.