ccoyle
-
Posts
10,601 -
Joined
-
Last visited
Content Type
Profiles
Forums
Gallery
Events
Everything posted by ccoyle
-
 Alex, did you ever finish this wonderful model?
 -
Researching family military history in the various records can be very rewarding. When I began doing genealogy work years ago, no one in my immediate family had any knowledge of our family's service prior to WW2. Through unit roll calls and a variety of other sources, I was able to piece together my 2x-great grandfather's service in the Palmetto Sharpshooters during the 'Late Unpleasantness'. I was very surprised to learn that the PSS were a highly regarded unit within the Confederate armed forces and fought in many of its bloodiest engagements, including Second Manassas, the Peninsula Campaign, Antietam, and The Wilderness. I'm sure my ancestor could have recounted many harrowing tales, but sadly I have no evidence suggesting he ever left any written accounts. Good luck on both your projects!
- 53 replies
-
- 11
-

-

-
I already feel a connection to this ship. John Dolbeer invented the steam donkey in Eureka, California, in 1881 for use in Humboldt County's redwood forests. Dolbeer was a partner in the Dolbeer and Carson Lumber Company. The now-defunct company's timber holdings were sold off long ago. I had the good fortune to work on some of them back in my fish habitat restoration days. William Carson had a home built, the Carson Mansion, which is one of the most famous and most photographed examples of Victorian architecture. The site of Carson & Dolbeer's main mill in Eureka is now occupied by a community center and boardwalk.
-
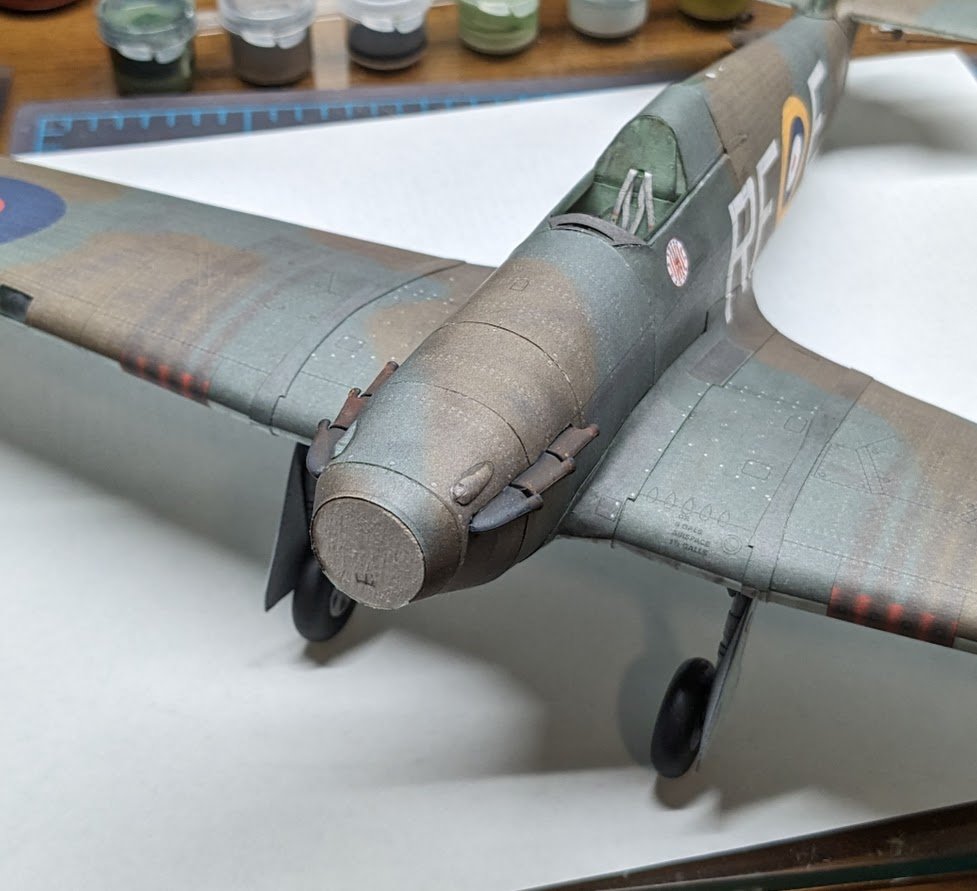
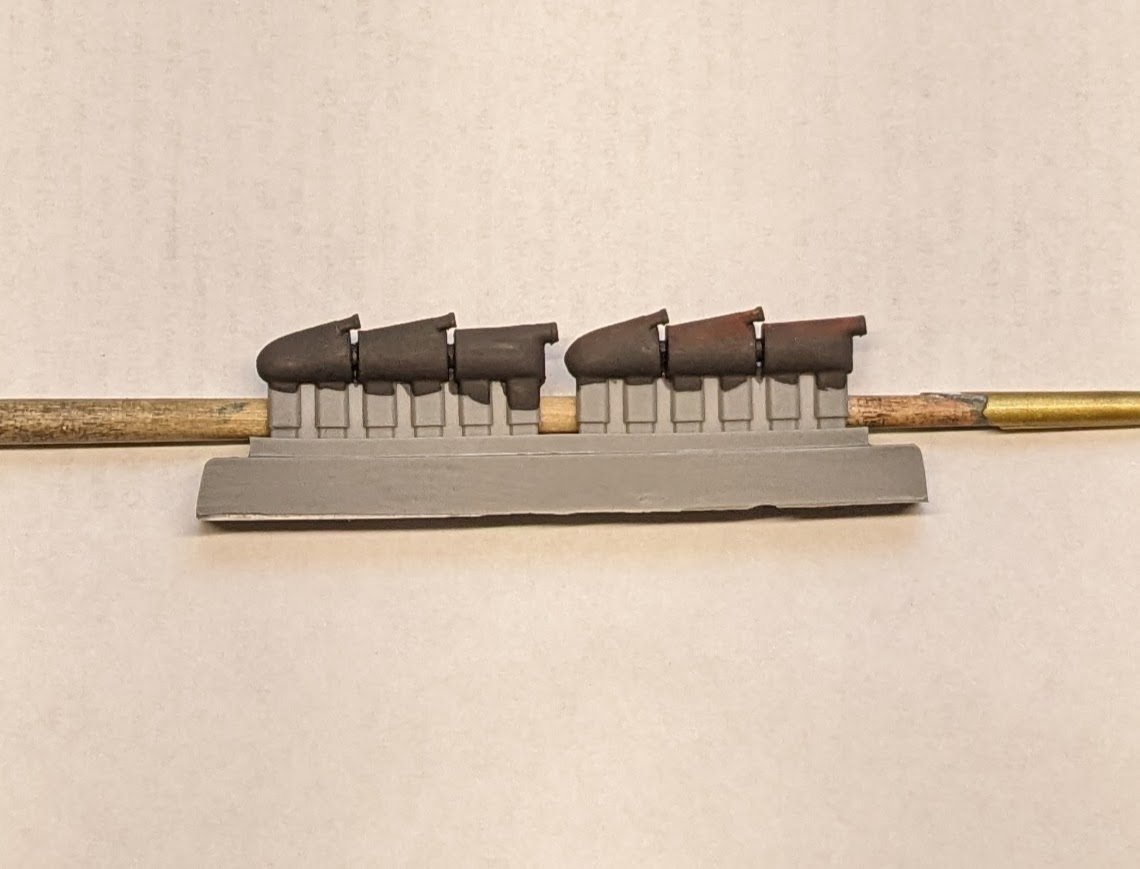
The resin exhaust stubs arrived today. It turns out that Squadron.com is down the road a bit from me in Ellijay, Georgia, where my Granny Coyle's family was originally from -- small world. I gave the exhausts a bath in soap and water, just in case there was any residual releasing agent, then painted them a suitably dingy shade of brown. After that dried, I tried my hand at grunging them up a bit. The forward stack should be the least corroded, for obvious reasons. Here's how the first set turned out (right), compared to the still un-grunged second set (left). As per usual, the cellphone cam image washes things out a bit. I don't want to over-do the effect. BTW, there is a negligible difference in size between the 1/33 scale paper parts and their 1/32 scale replacements. I will need to do some cutting into the fuselage to fit the new stacks -- shouldn't be too arduous (fingers crossed).
- 126 replies
-
- 14
-
-
Outstanding! I think I may need to pry the padlock off my wallet!
- 9 replies
-
- 3
-
-
- Speeljacht
- card
- (and 1 more)
-
Very nice!
-
@0Seahorse Tomek, do you have a target release date for this kit? I know a guy who might be very interested in purchasing a copy! 😉
- 9 replies
-
- 4
-
-
- Speeljacht
- card
- (and 1 more)
-
Looks pretty much like Chris' build progress photos -- which is a testament both to his design and your skill!
- 146 replies
-
- 1
-
-
- Adder
- Vanguard Models
- (and 1 more)
-
Good luck with both your project and your long-term recovery!
- 47 replies
-
- 1
-
-
- Erycina
- Vanguard Models
- (and 1 more)
-
I agree! It's a marvelous little model -- congratulations!
-
No clue -- but they haven't really been lighting the modeling world on fire of late.
-
You probably know this already, but you can tack the ends of the reef points down with a spot of Aleene's. They should hang straight down, perpendicular to the waterline. Your Delaware beach looks much the same as a South Carolina beach. Here's one along California's Lost Coast, near where I grew up:

- 63 replies
-
- 4
-
-
- card
- Revenue Cutter
- (and 2 more)
-
Welcome, Eric!
-
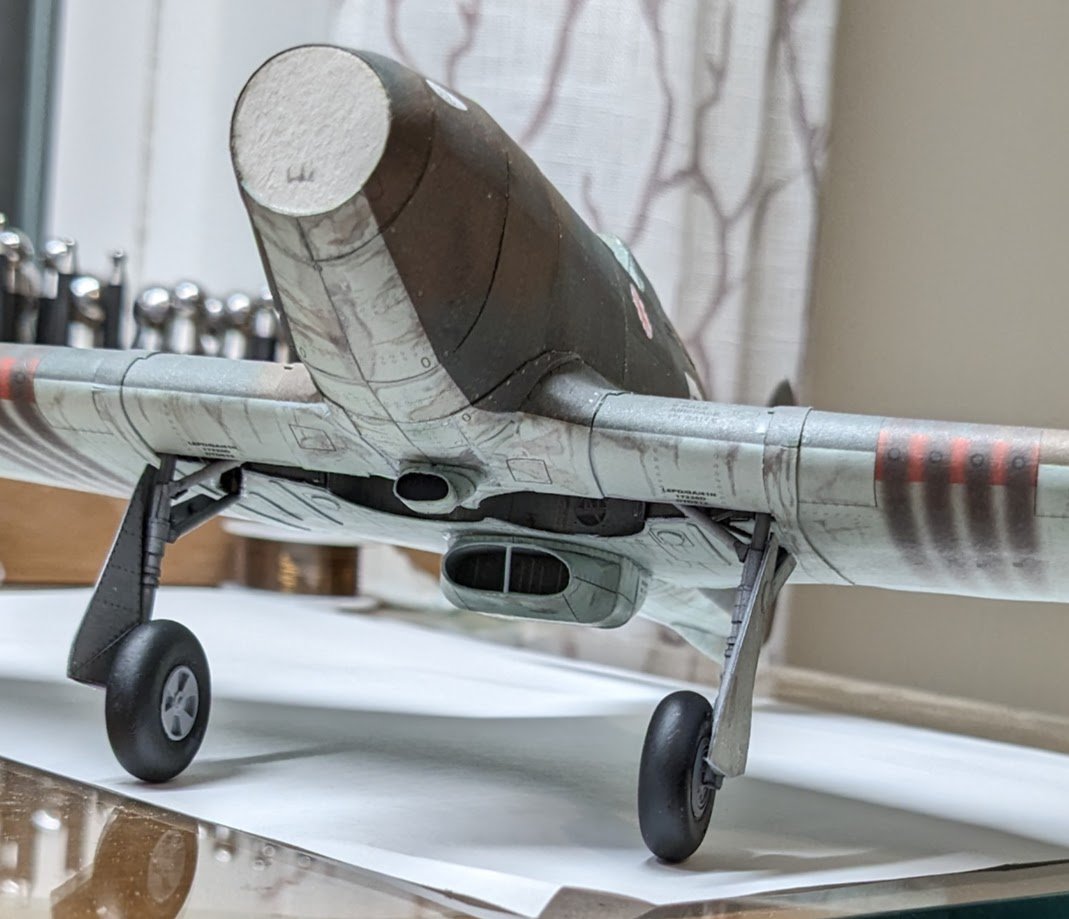
Carburetor and radiator intakes. Both of these were far more aggravating to build than their final appearance suggests. 😑
- 126 replies
-
- 17
-
-
A striking result! Congratulations!
-
Glad to have you aboard, Ryan!
-
Isaiah, that's not just a great result for a beginner, it's a great result period! Congratulations!
- 177 replies
-
- 2
-
-
-
- Perseverance
- Modellers Shipyard
- (and 1 more)
-
Welcome aboard! True, we're not easily wowed, but we are pretty supportive nonetheless!
-
For first layer planking, I use plastic push-pins, driven into the bulkheads with a tack hammer via pilot holes.
-
Happy to have you aboard, Doug.