ccoyle
-
Posts
10,526 -
Joined
-
Last visited
Content Type
Profiles
Forums
Gallery
Events
Everything posted by ccoyle
-
 And I know from experience how difficult it can be to post in foreign language forums (I used to post regularly in one of the German card modeling forums), so I really appreciate the effort you make to share your work here.
- 210 replies
-
- 4
-

-

-
- Russo-Japanese War
- Mikasa
- (and 2 more)
-
Hallo, Joelle. Happily, I read German, but most of our members don't. Please post in English. I followed your Millennium Falcon build, so I know you can do it! 😉 Thanks!
- 210 replies
-
- 4
-
-
-
- Russo-Japanese War
- Mikasa
- (and 2 more)
-
Welcome aboard, Lee! You have gotten your project off to a good start.
-
Just Retired and yes... another Heller Victory Builder
ccoyle replied to Fred B's topic in New member Introductions
Welcome aboard, Fred, and good luck on your project! -
For those of you who are interested, I thought you might like to see what an insanely talented card modeler (not me, obviously) can do by kit-bashing a rather rudimentary model. Scroll down to the pics at the bottom to see the scratch-built super-detailing. It's on a whole 'nother level. MiG-3 at Kartonowki gallery
- 107 replies
-
- 14
-
-
-

-
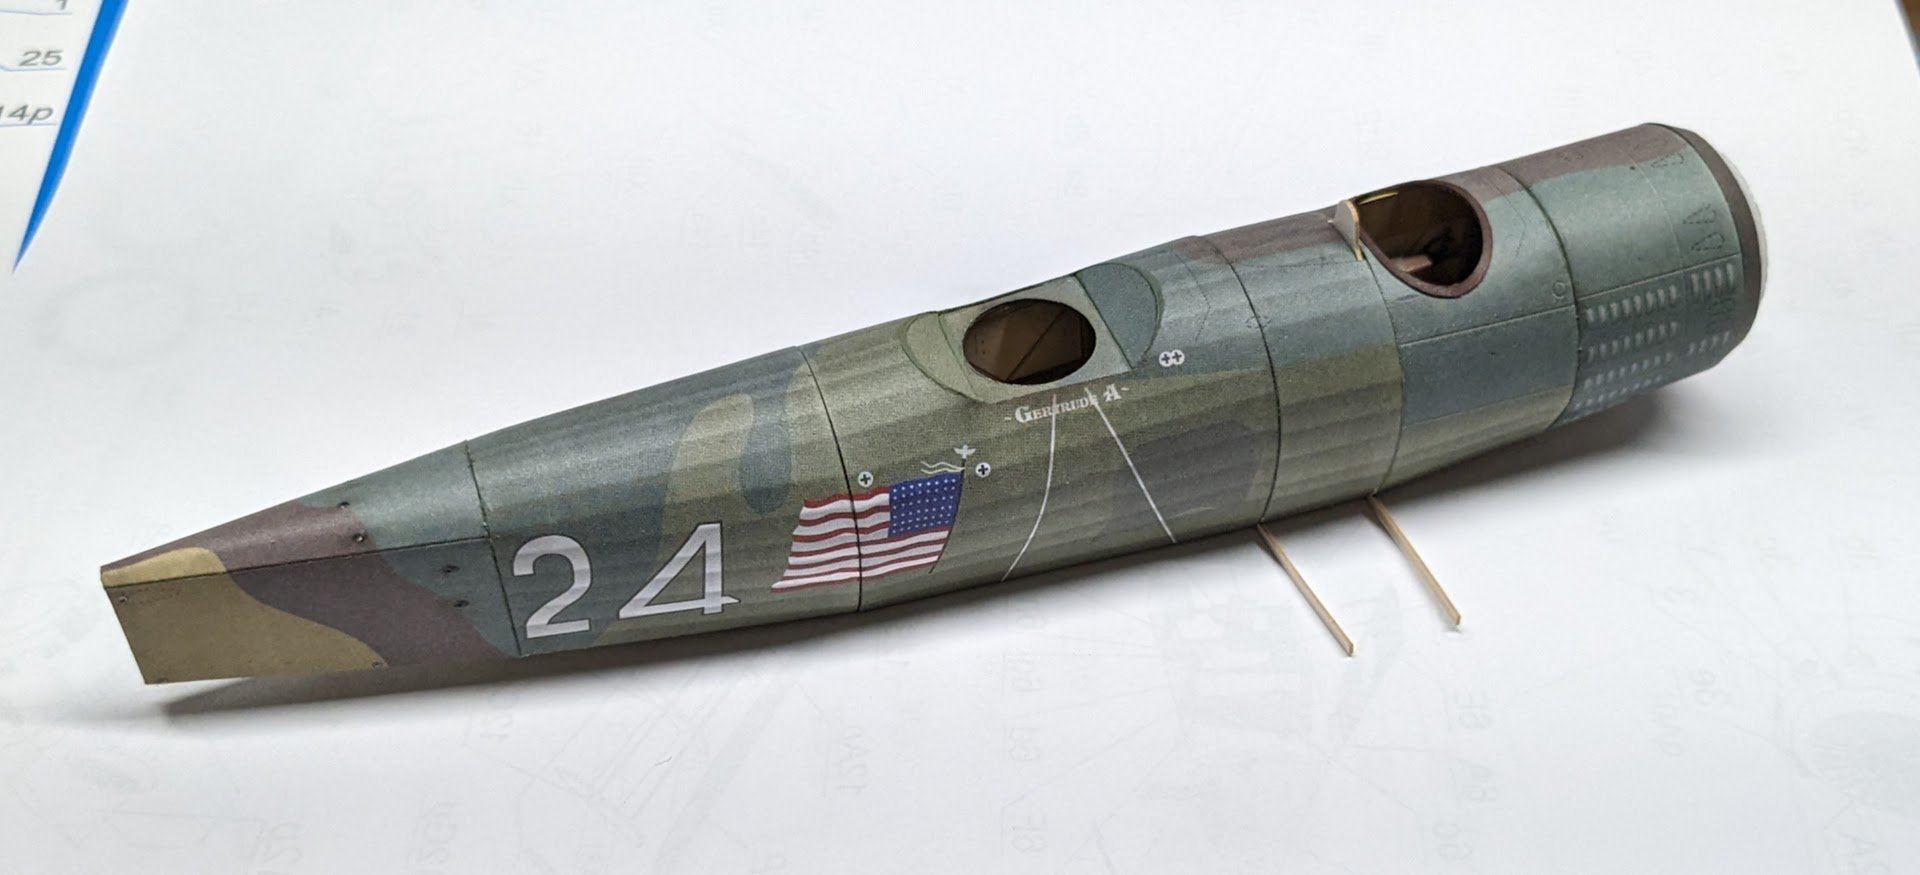
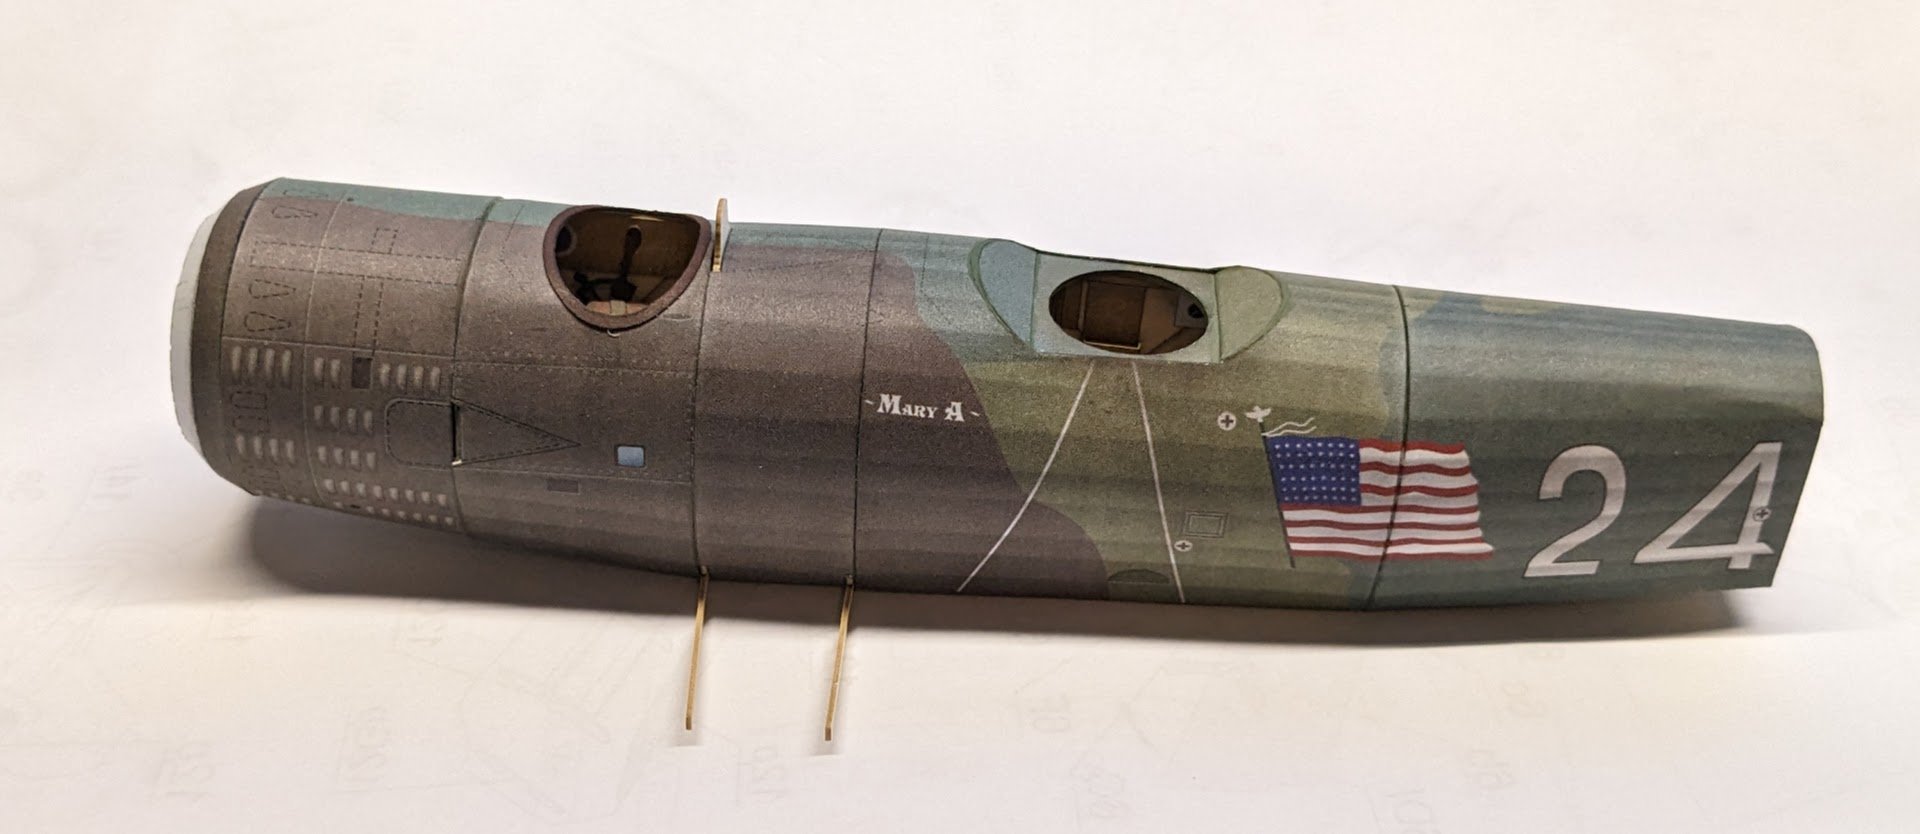
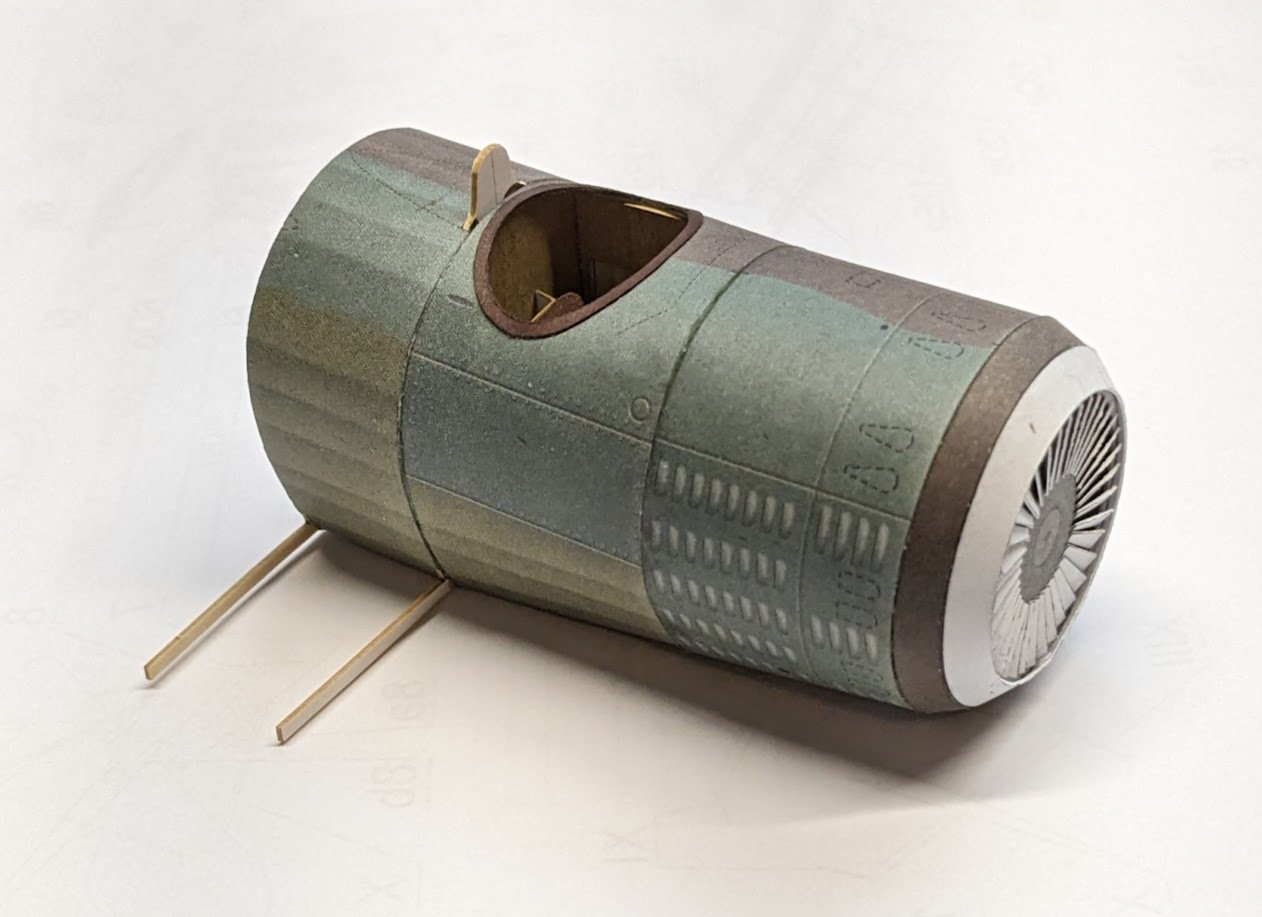
The main fuselage sections are done now. Next I'll need to go back and mount all the little lumpy-bumpy parts.

- 107 replies
-
- 20
-
-
Thanks for this nostalgic build!
-
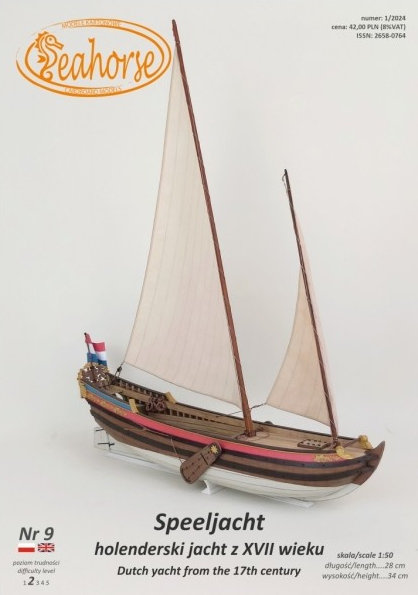
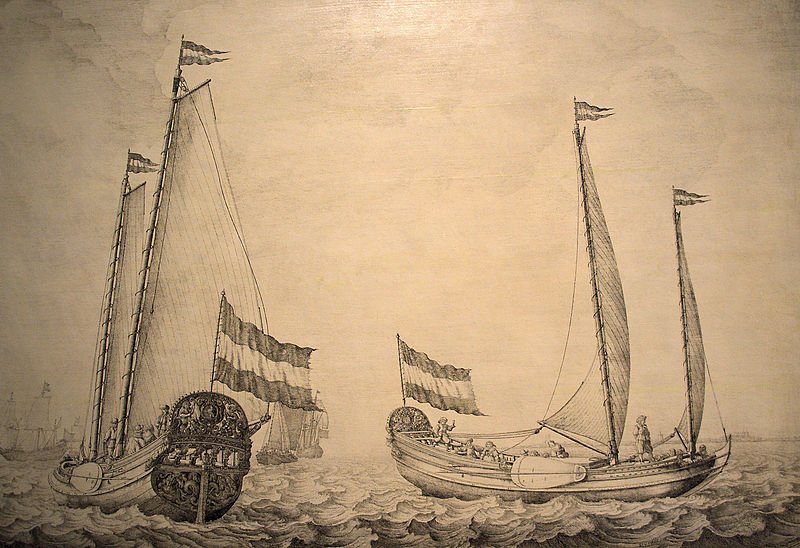
Yes, yes, I know -- this will be yet a third concurrently running project. And actually, this project will not really begin for at least another week to ten days, because I just ordered the kit today, and it has to wing its way over here from Poland. So, first question is: Why this project? For several reasons: I have long been wanting to try my hand at a card sailing vessel. This looks like a great kit for that purpose. The rig is super simple. It is hot off the presses. I want to be among the very first to build one of these (the urge to be an 'early adopter') -- hence the slightly premature rush to start this log. I will do a deep dive into the kit contents once it gets here, but for now here's a shot of the kit cover: And a contemporary drawing of the subject by Willem van de Velde. I ordered the discounted set for the model, which includes the kit, laser-cut parts, mast dowels, and printed sails. In total, this set me back a whopping US$30.62, including shipping, which is about half what it would cost to acquire a single Halinski kit along with its bells and whistles. I have remarked before on the value of ordering directly from Tomek at his website. And now . . . we wait. In the meantime, I will try to get as much done on the Salmson as I can before the next project arrives. That's it for now!
- 146 replies
-
- 20
-
-
- Speeljacht
- Seahorse
- (and 2 more)
-
Wonderful finish! It's rather amazing to think that only eight years elapsed between the last Holland boat and the launch of U9.
-
I'm not an expert by any stretch on smallcraft rigs, but a cursory internet search of the terms 'cat-ketch' and 'cat-yawl' turns up a lot of images with rigs that are essentially identical, so maybe we're not the only ones who are confused.
-
It may take some digging, but it is generally possible to find out who designed a particular kit, even if that info is not available at the publisher's website.
-
I love the lines on this little boat. Seeing one being built here always makes me wish I had a real one.
-
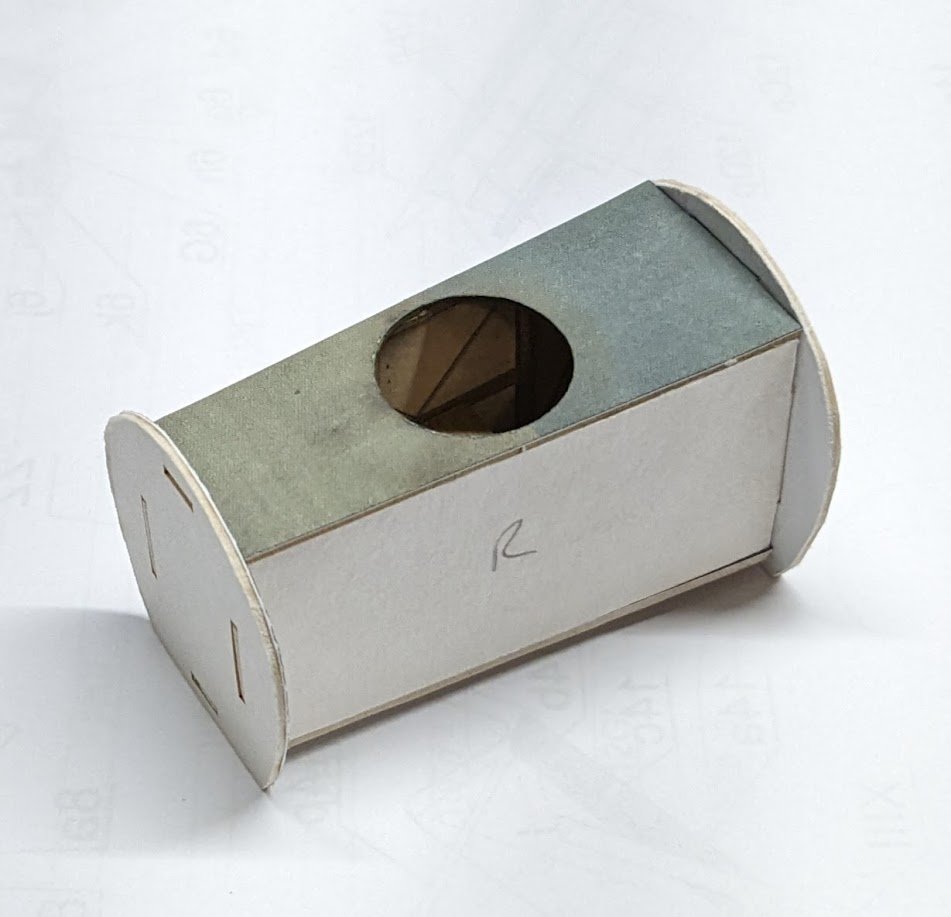
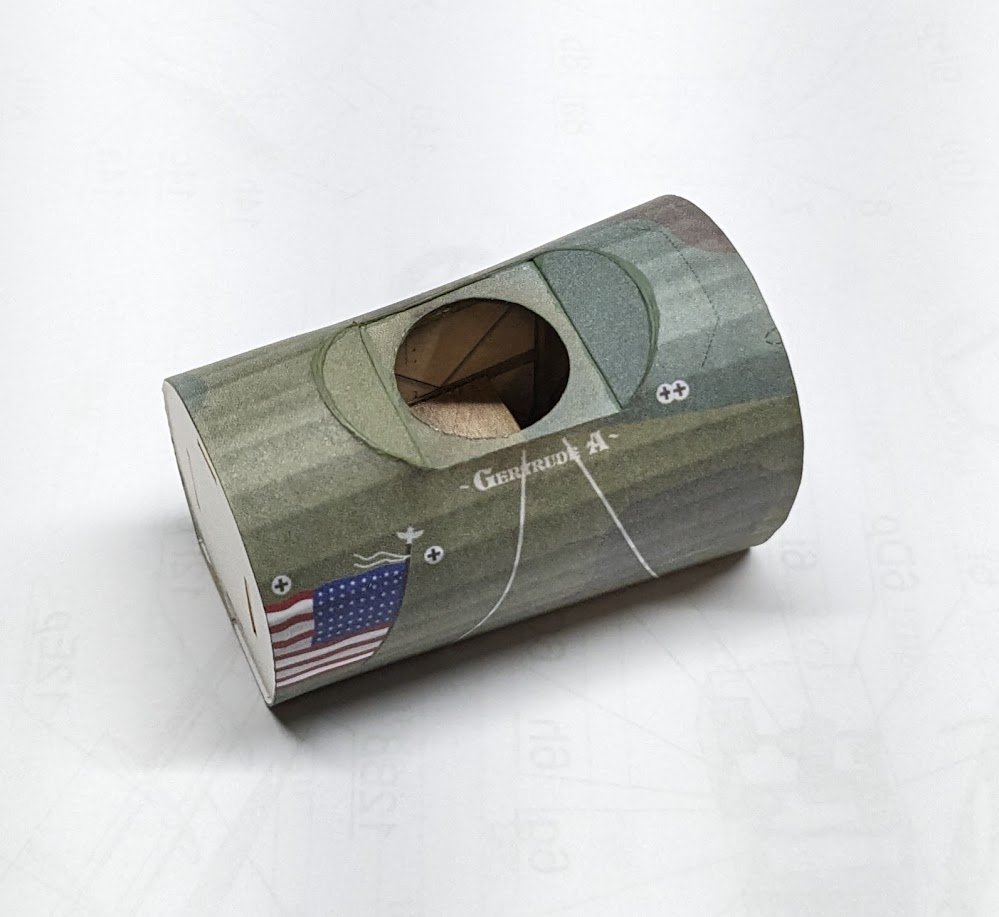
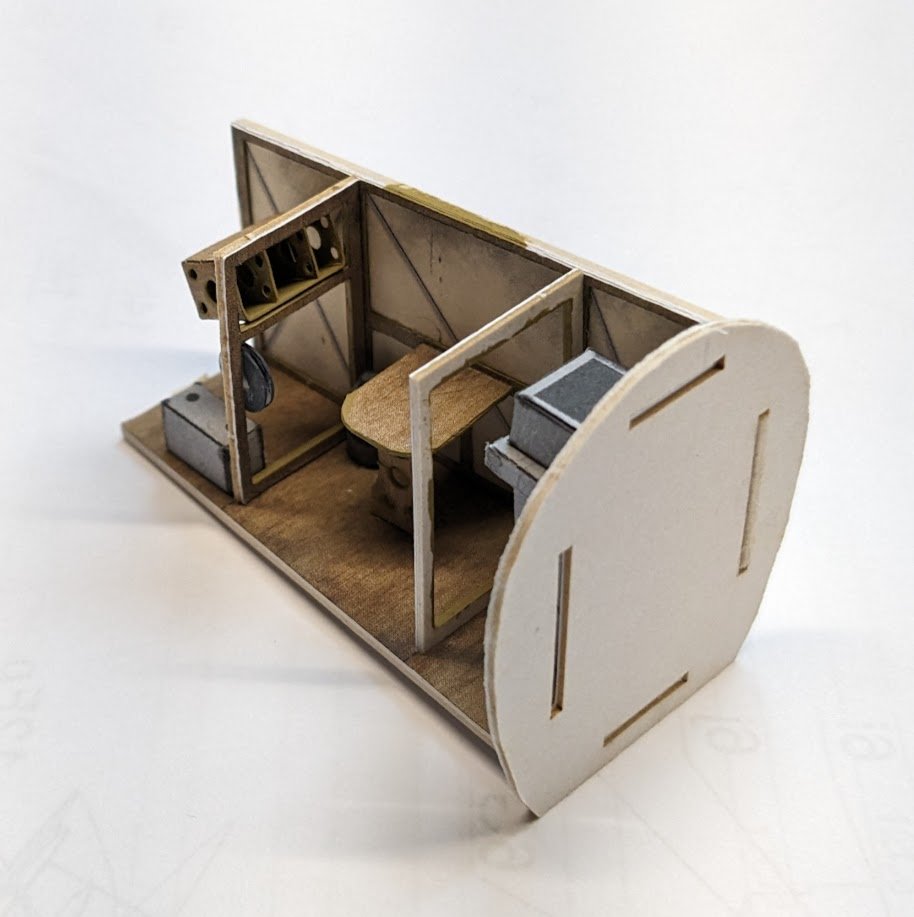
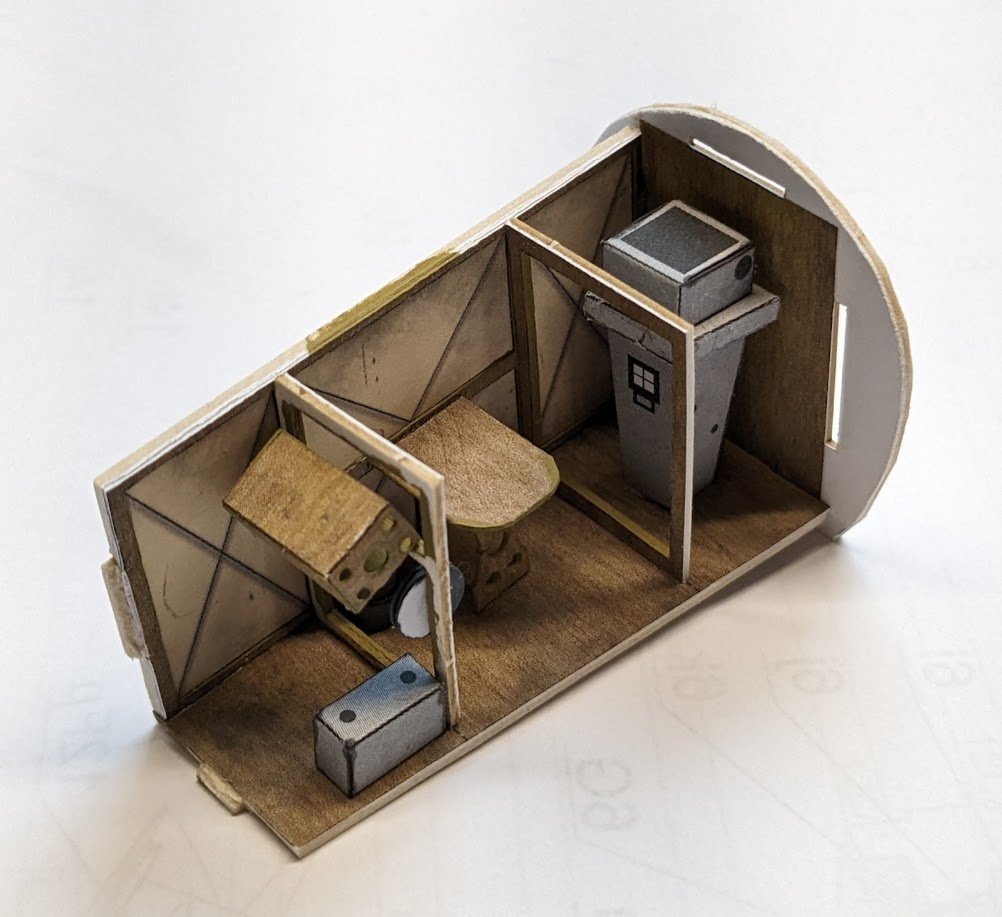
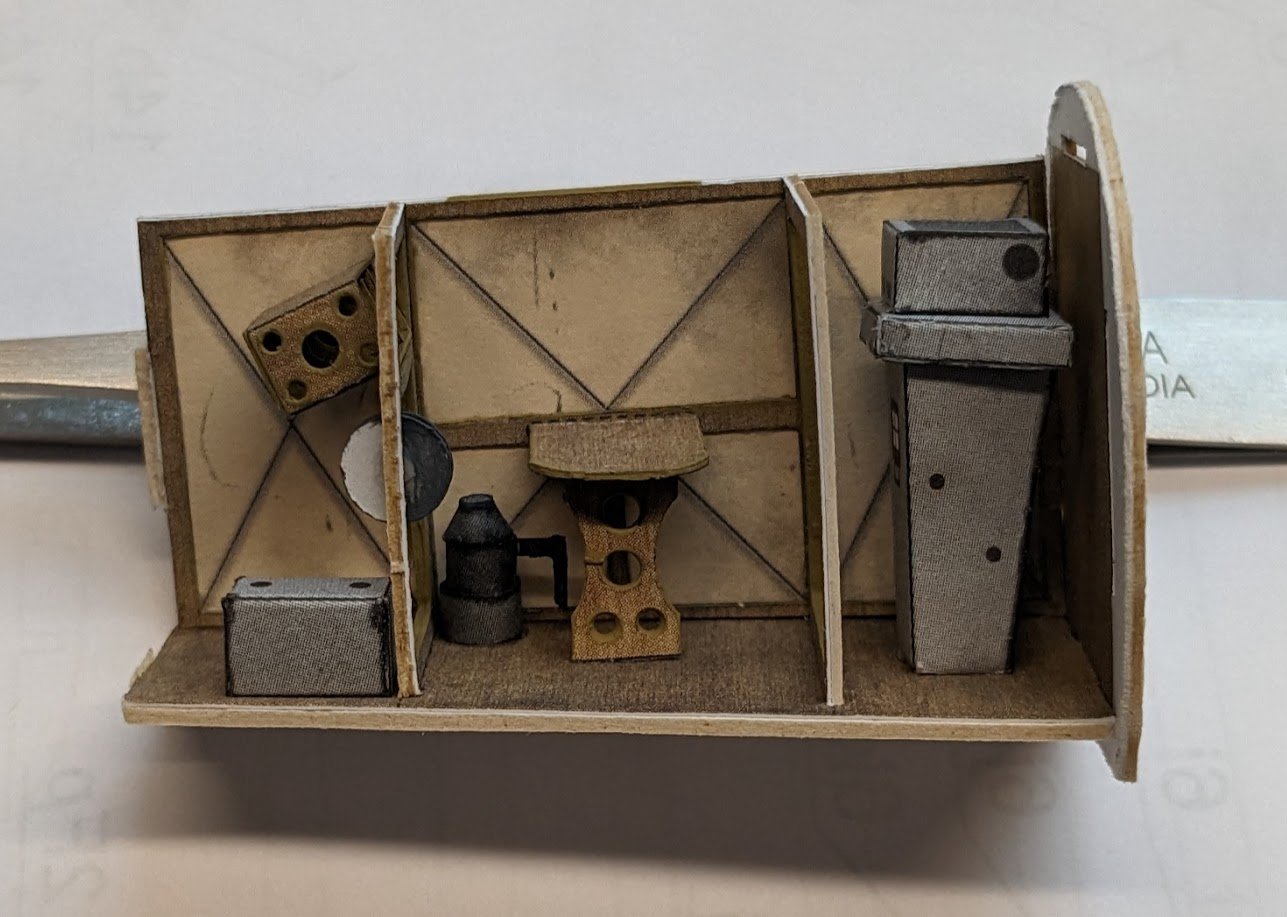
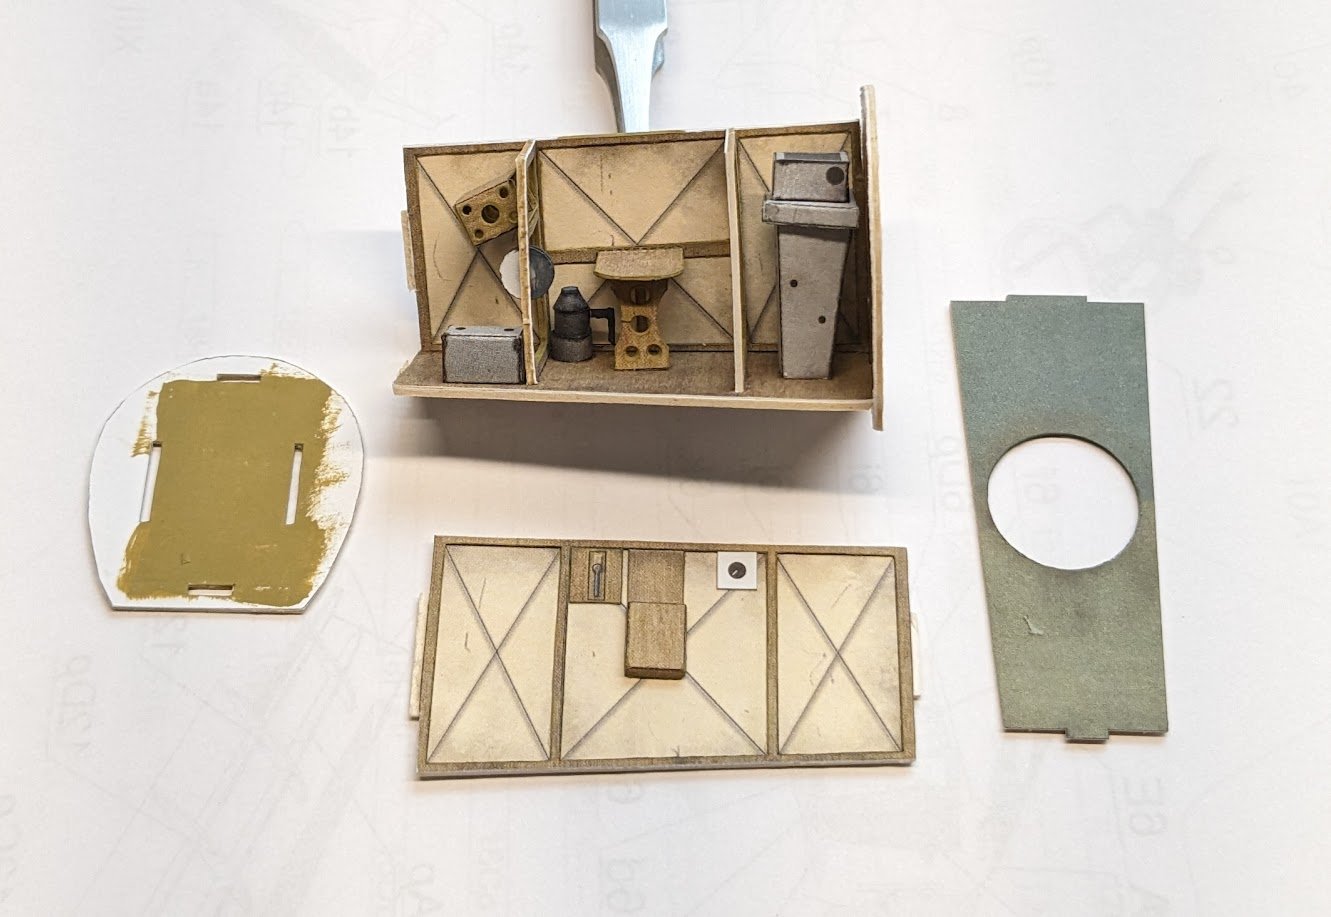
The observer's position is complete. These are the last views anyone will see before it gets zipped up. After this, anyone wanting to get a good closeup look will need to use an endoscope. 😑
- 107 replies
-
- 19
-
-
-
How can those of us who aren't piping engineers know for certain that all that piping wasn't just added to the ship in random patterns? 🤔😉
-
Welcome aboard, Max!
-
Midwest kits are now manufactured by Model Expo. They may provide you with a copy of the instructions if you make an inquiry with them.
-
Welcome aboard, Brent!
-
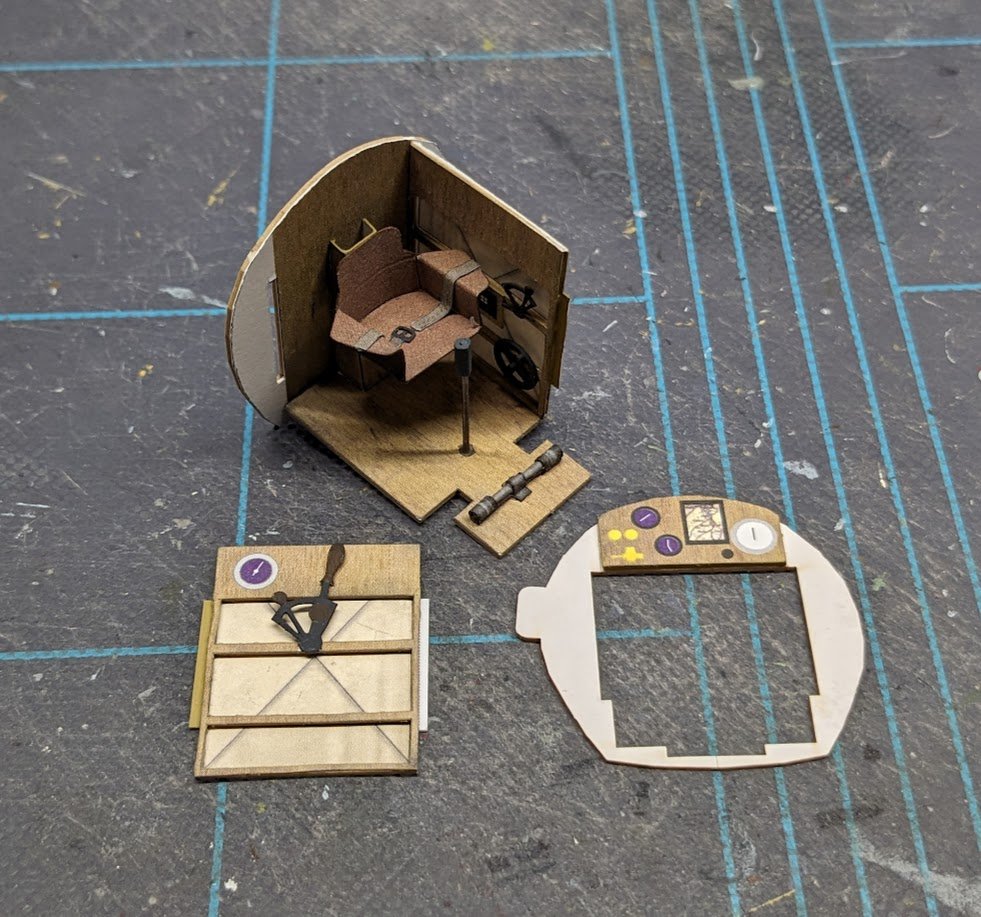
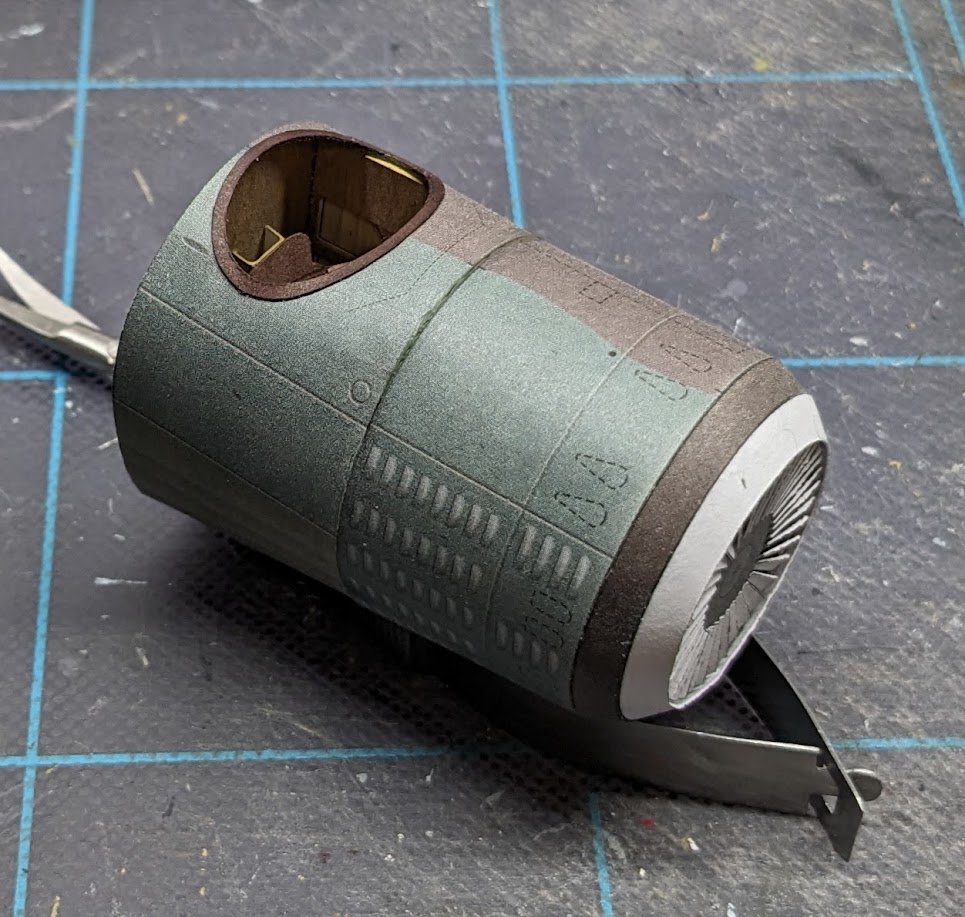
I call this next one the "last time you'll ever have a clear view of this cockpit" shot. And here's the cockpit section all closed up and mated to the forward fuselage. The butt joint did not turn out as nicely this time. A simple fuselage slice is next, followed by construction of the observer's position. Cheers!
- 107 replies
-
- 19
-