ccoyle
-
Posts
10,524 -
Joined
-
Last visited
Content Type
Profiles
Forums
Gallery
Events
Everything posted by ccoyle
-
Always sad to a grand old ship neglected and in decline, but I can understand why. They are expensive to fix and expensive to maintain, and there's a lot of resources locked up in all that metal.
-
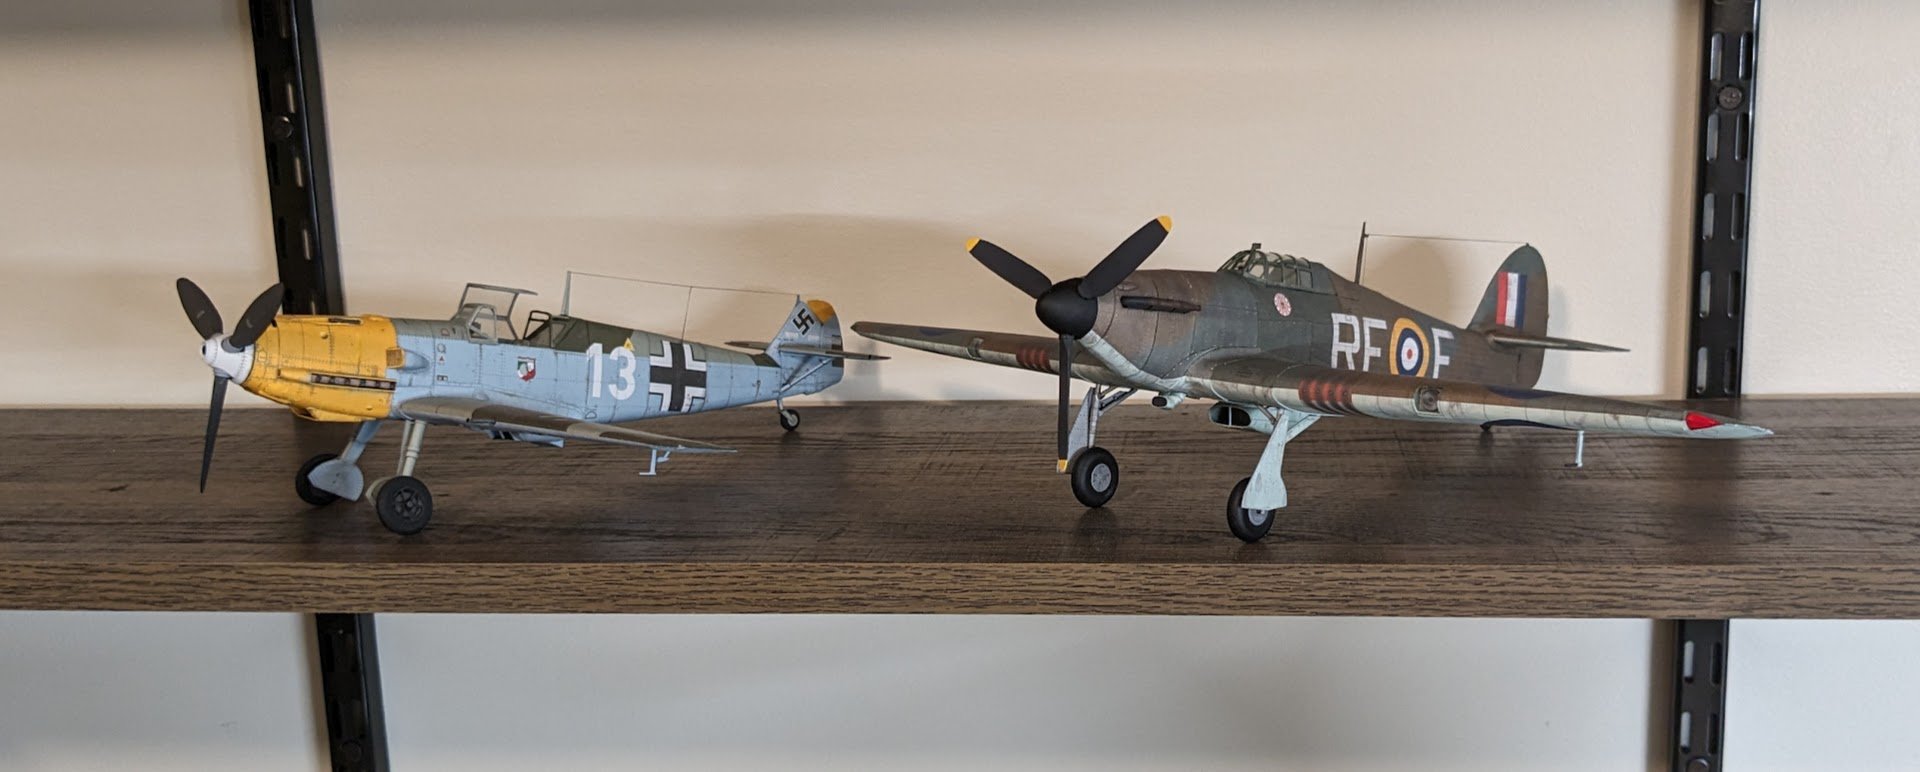
 Aaaand . . . done. I will post the Big Reveal tomorrow. Time for bed now! And one more shot of the one-time adversaries together. G'nite!

- 126 replies
-
- 21
-

-

-
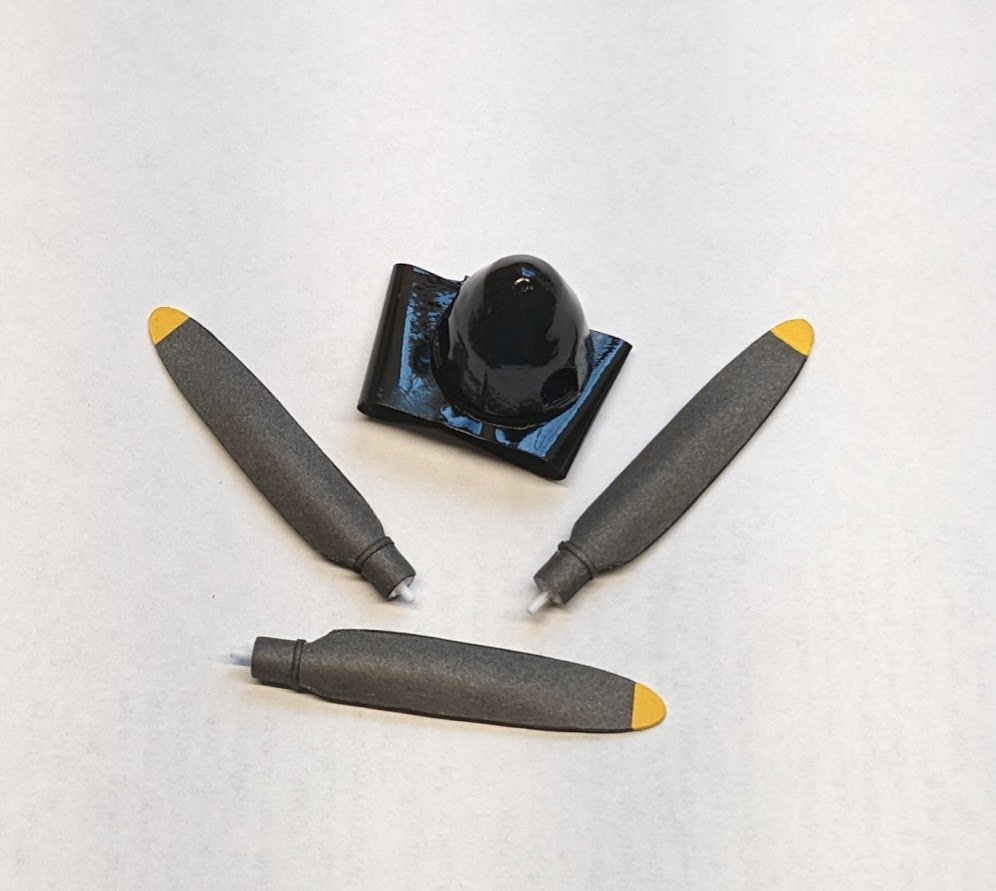
Oh, I don't! I just don't think there should be a glaring contrast. Which, BTW, there won't be, cuz I painted the blades already. 😉
-
Yes, please supply photos and location.
-
Interestingly, the Polikarpov Po-2, the most-produced biplane in history, was powered by a five-cylinder radial.
-
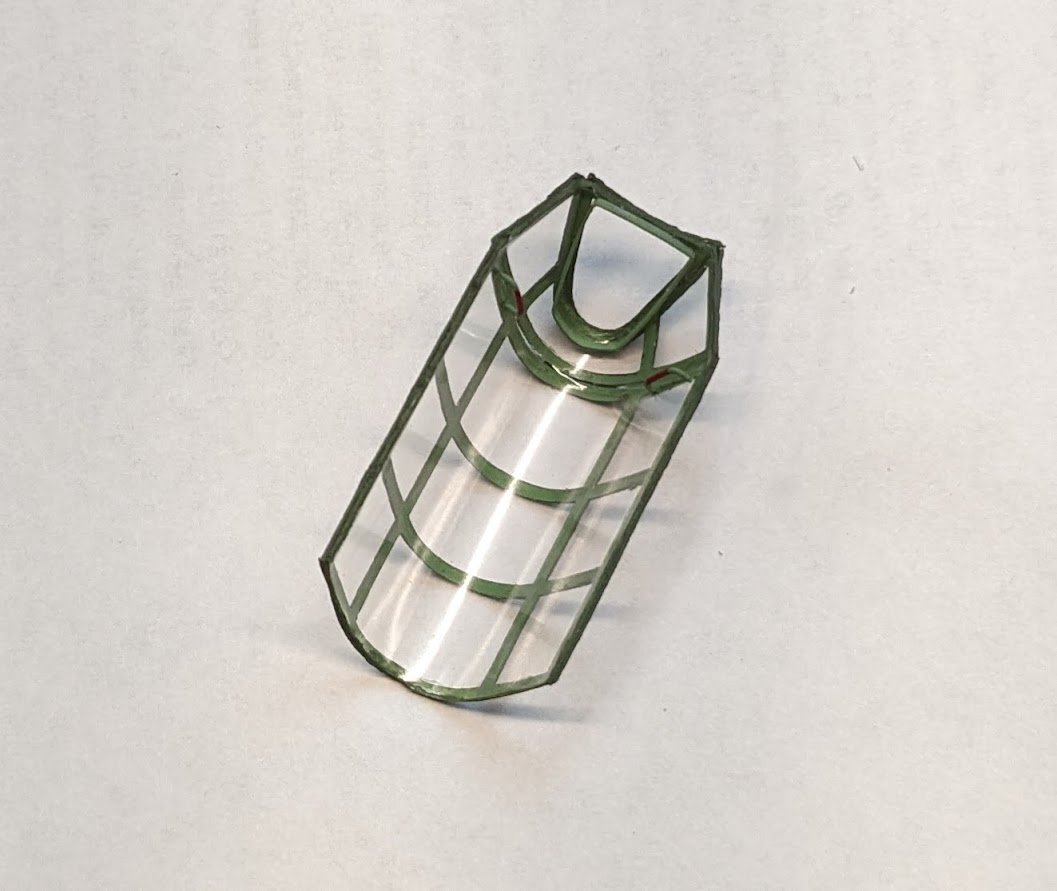
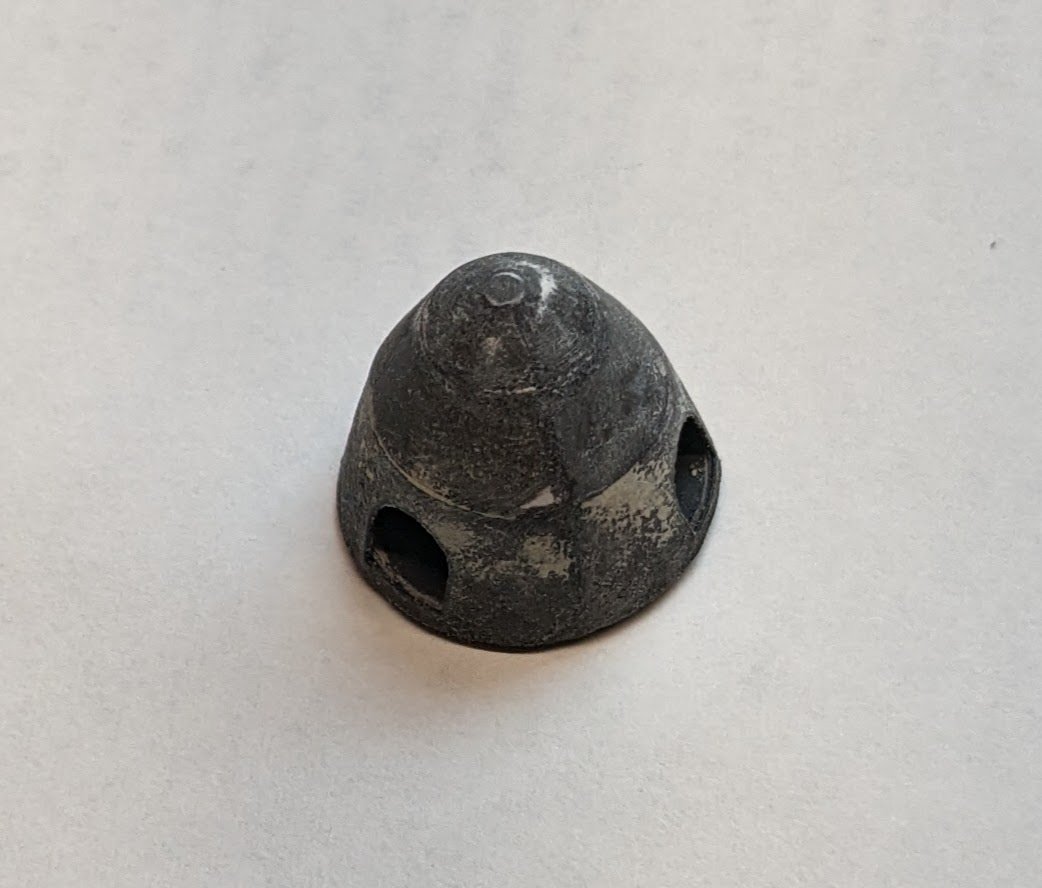
Okay, the canopy is all done and mounted. Here's a couple of in-progress shots. I got the canopy freed from its mold without too much difficulty. I did, though, in my efforts to clean the thing up accidentally scuff the interior glazing with my emery board. Oops! I also mounted and painted the interior grab handles, as well as the frame for the armored glass. I didn't actually add the armored glass, because a. it is a pain, and b. you can't really see it inside the closed cockpit. Apart from the scuffing, this is actually one of the better canopies I have done. While bits of the cockpit were drying here and there, I finished up the propeller hub and blades. To try and make a cleaner, neater hub, I did a little sanding and filling of the basic assembly. I then sprayed the hub with satin-finish spray paint. Unfortunately, it's the kind that takes a looooong time to dry, so I will probably have to wait until tomorrow for the final assembly. The black of the hub and blades is now quite different shades, so I may end up painting the blades a darker black as well. And that's all for now!

- 126 replies
-
- 19
-
-
-
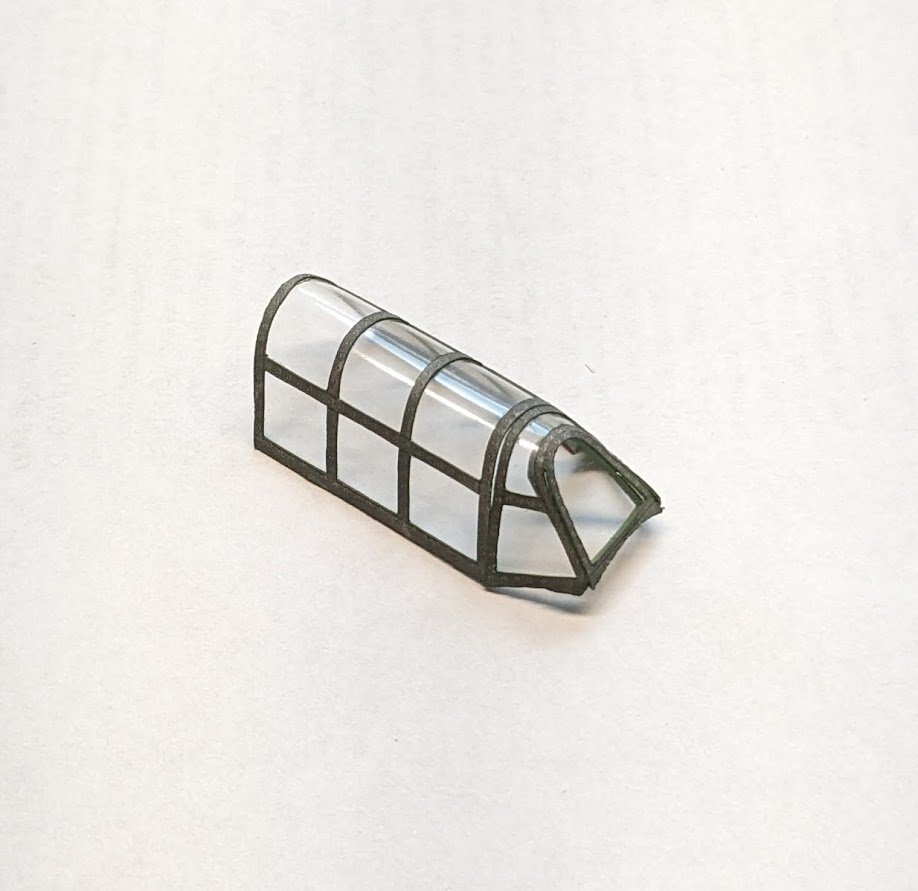
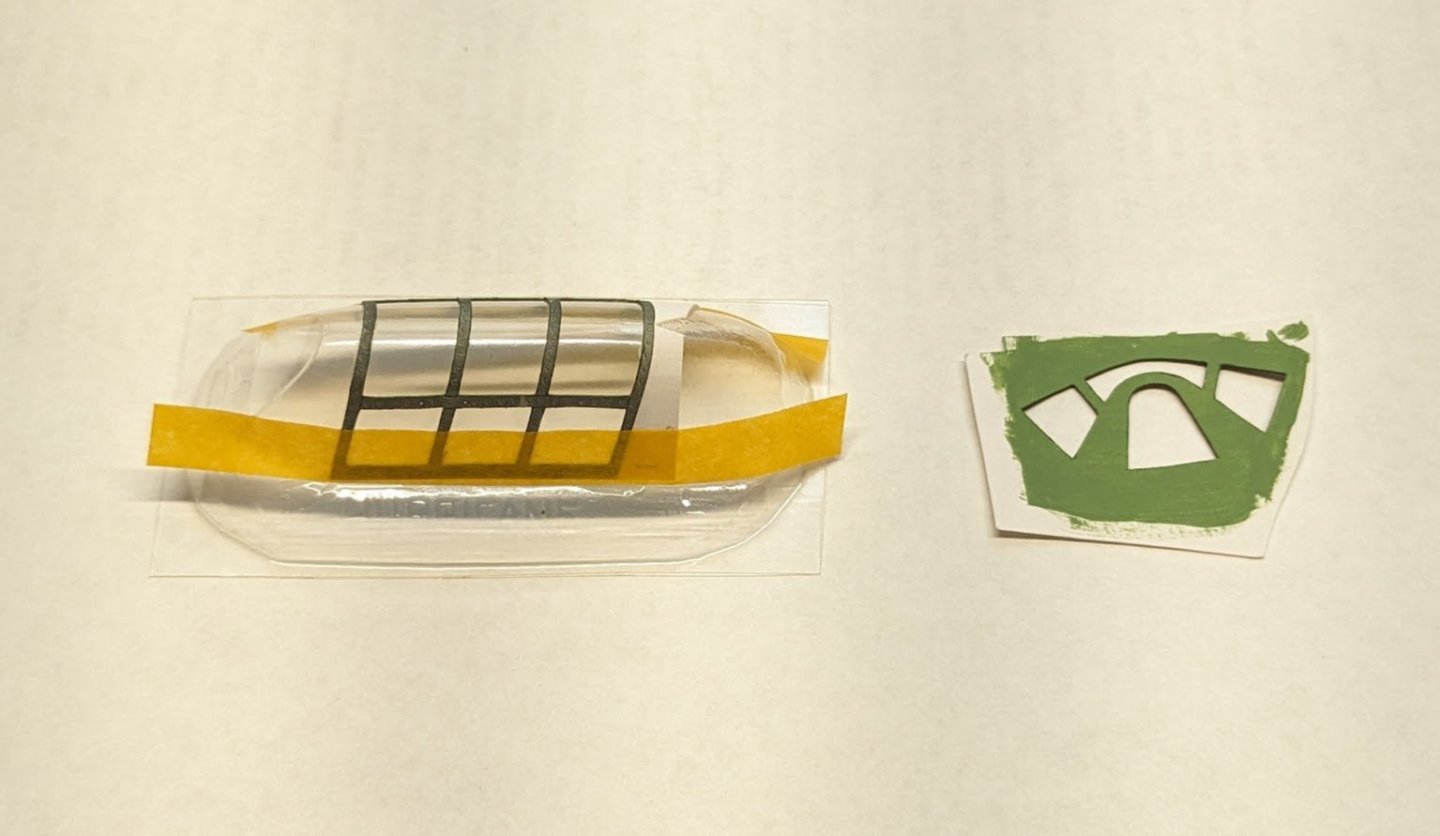
Next up: canopy. Bleah!! Canopies are one of my weaknesses. Nevertheless, I'm happy with how this one is going -- so far. I have glued on the frames for the sliding portion, tacked them down with low-tack tape (have never tried this before), and will let the glue cure for 24 hours before messing any further with this part. I intend to try something else different as well: I'm going to display the model with the canopy closed. Because of this, I will not be adding the internal printed frames. I never manage to get the inner and outer frames to match up well anyways. As you can see, the inside of the outer frames are painted interior green. As long as no one looks to closely, it's hard to tell that the interior frames are only paint. The proof of the pudding will be getting the molded canopy and frames cut out without having the frames peel up -- but that's a task for tomorrow.
- 126 replies
-
- 14
-
-
AMC DH9 by davec - FINISHED - Wingnut Wings - 1/32
ccoyle replied to davec's topic in Non-ship/categorised builds
There are few things prettier than a brightly colored biplane. -
The argument about whether this fighter or that fighter was the 'best' is fun for us to debate years later, but it was largely mooted by strategic considerations, though folks were less aware of it at the time. In order to have any real chance of winning, the Germans (and indeed all the Axis powers) needed to negate the combined industrial advantage of the Allies. German, Italian, and Japanese fighters didn't just need to be equal to their Allied counterparts -- they needed to shoot down their enemies in numbers that far exceeded their own losses. They never accomplished this, even during the Battle of Britain, when the Luftwaffe had a considerable numerical advantage. The fact that the P-40 gave at least as good as it got was seriously bad news for the Axis powers -- if both sides lost resources (planes, pilots) at an equal pace, there was never a question of who would run out of them first.
- 53 replies
-
- 10
-
-
Moved to proper sub-forum.
-
Alex, did you ever finish this wonderful model?
-
Researching family military history in the various records can be very rewarding. When I began doing genealogy work years ago, no one in my immediate family had any knowledge of our family's service prior to WW2. Through unit roll calls and a variety of other sources, I was able to piece together my 2x-great grandfather's service in the Palmetto Sharpshooters during the 'Late Unpleasantness'. I was very surprised to learn that the PSS were a highly regarded unit within the Confederate armed forces and fought in many of its bloodiest engagements, including Second Manassas, the Peninsula Campaign, Antietam, and The Wilderness. I'm sure my ancestor could have recounted many harrowing tales, but sadly I have no evidence suggesting he ever left any written accounts. Good luck on both your projects!
- 53 replies
-
- 11
-
-

-
I already feel a connection to this ship. John Dolbeer invented the steam donkey in Eureka, California, in 1881 for use in Humboldt County's redwood forests. Dolbeer was a partner in the Dolbeer and Carson Lumber Company. The now-defunct company's timber holdings were sold off long ago. I had the good fortune to work on some of them back in my fish habitat restoration days. William Carson had a home built, the Carson Mansion, which is one of the most famous and most photographed examples of Victorian architecture. The site of Carson & Dolbeer's main mill in Eureka is now occupied by a community center and boardwalk.
-
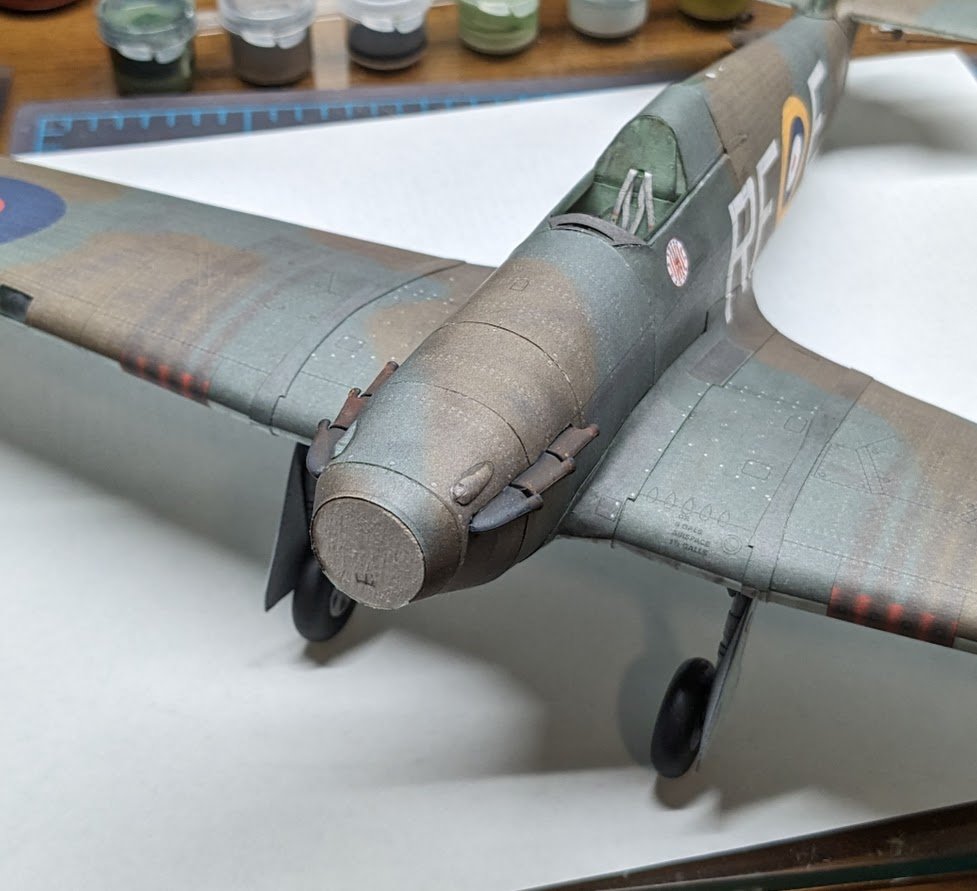
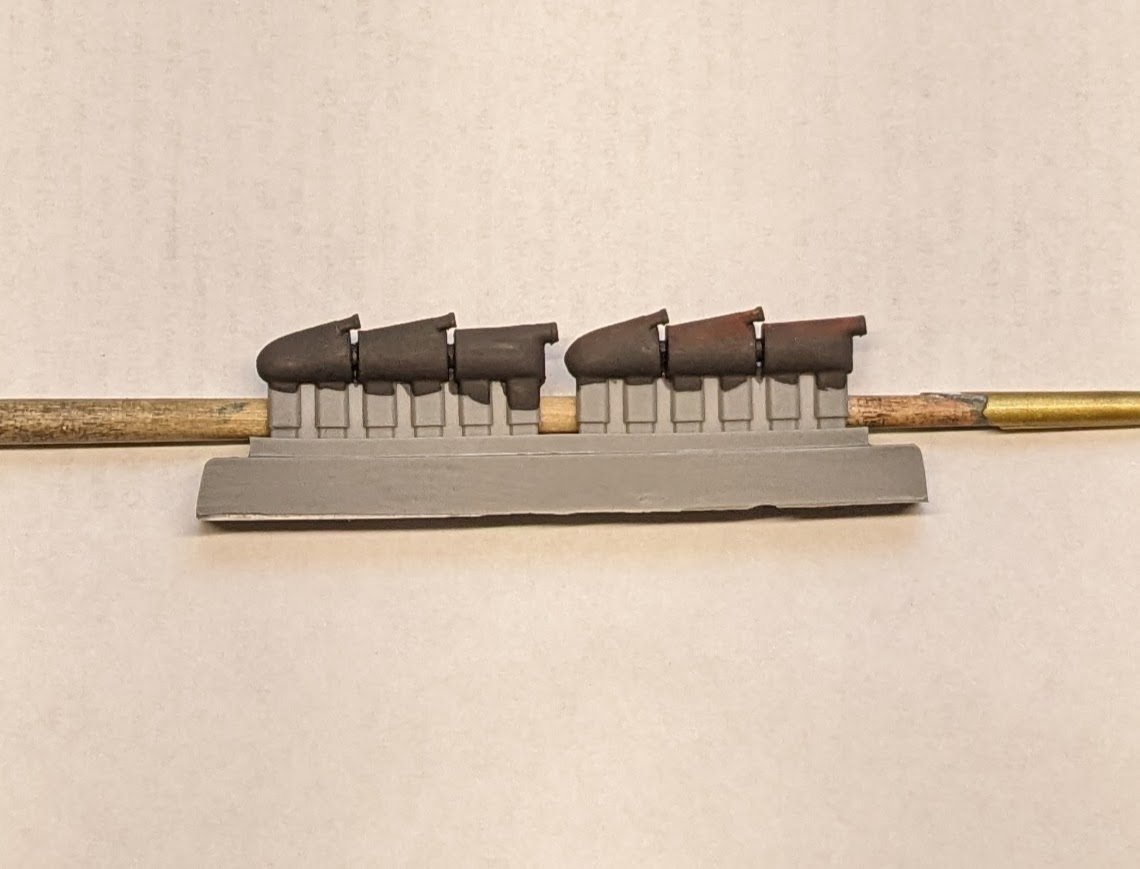
The resin exhaust stubs arrived today. It turns out that Squadron.com is down the road a bit from me in Ellijay, Georgia, where my Granny Coyle's family was originally from -- small world. I gave the exhausts a bath in soap and water, just in case there was any residual releasing agent, then painted them a suitably dingy shade of brown. After that dried, I tried my hand at grunging them up a bit. The forward stack should be the least corroded, for obvious reasons. Here's how the first set turned out (right), compared to the still un-grunged second set (left). As per usual, the cellphone cam image washes things out a bit. I don't want to over-do the effect. BTW, there is a negligible difference in size between the 1/33 scale paper parts and their 1/32 scale replacements. I will need to do some cutting into the fuselage to fit the new stacks -- shouldn't be too arduous (fingers crossed).
- 126 replies
-
- 14
-
-
Outstanding! I think I may need to pry the padlock off my wallet!
- 9 replies
-
- 3
-
-
- Speeljacht
- card
- (and 1 more)
-
Very nice!
-
@0Seahorse Tomek, do you have a target release date for this kit? I know a guy who might be very interested in purchasing a copy! 😉
- 9 replies
-
- 4
-
-
- Speeljacht
- card
- (and 1 more)
-
Looks pretty much like Chris' build progress photos -- which is a testament both to his design and your skill!
- 146 replies
-
- 1
-
-
- Adder
- Vanguard Models
- (and 1 more)
-
Good luck with both your project and your long-term recovery!
- 47 replies
-
- 1
-
-
- Erycina
- Vanguard Models
- (and 1 more)