


russ
-
Posts
3,086 -
Joined
-
Last visited
Content Type
Profiles
Forums
Gallery
Events
Posts posted by russ
-
-
-
Pat:
Thanks. This will be very useful for me since many of these local vessels have that same scupper slot along the deck.
Russ
-
-
-
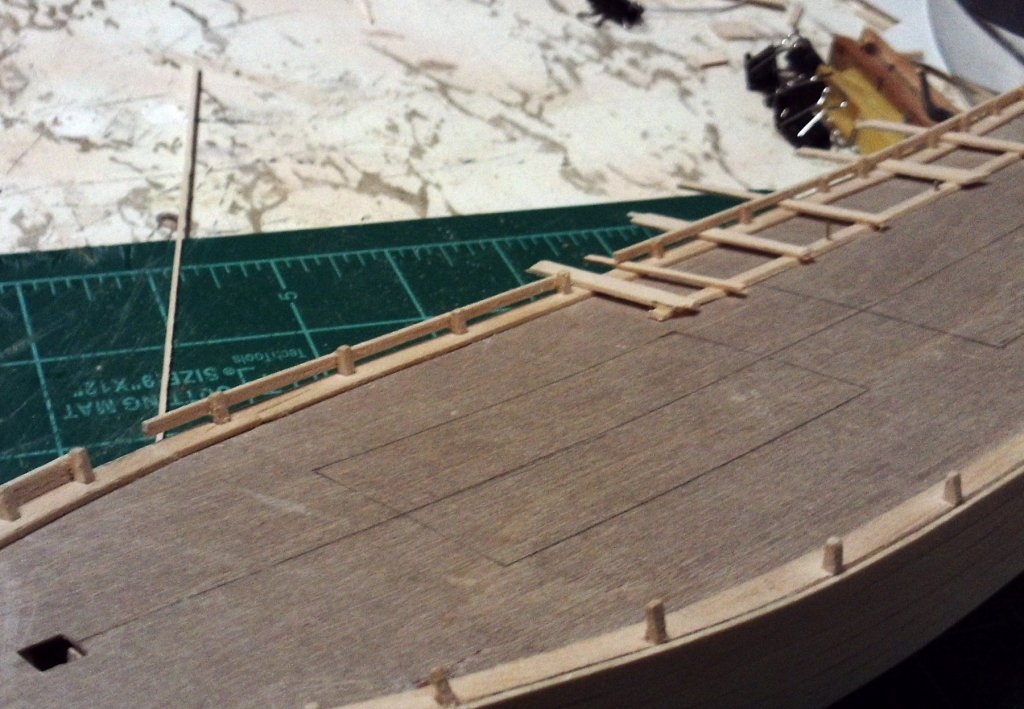
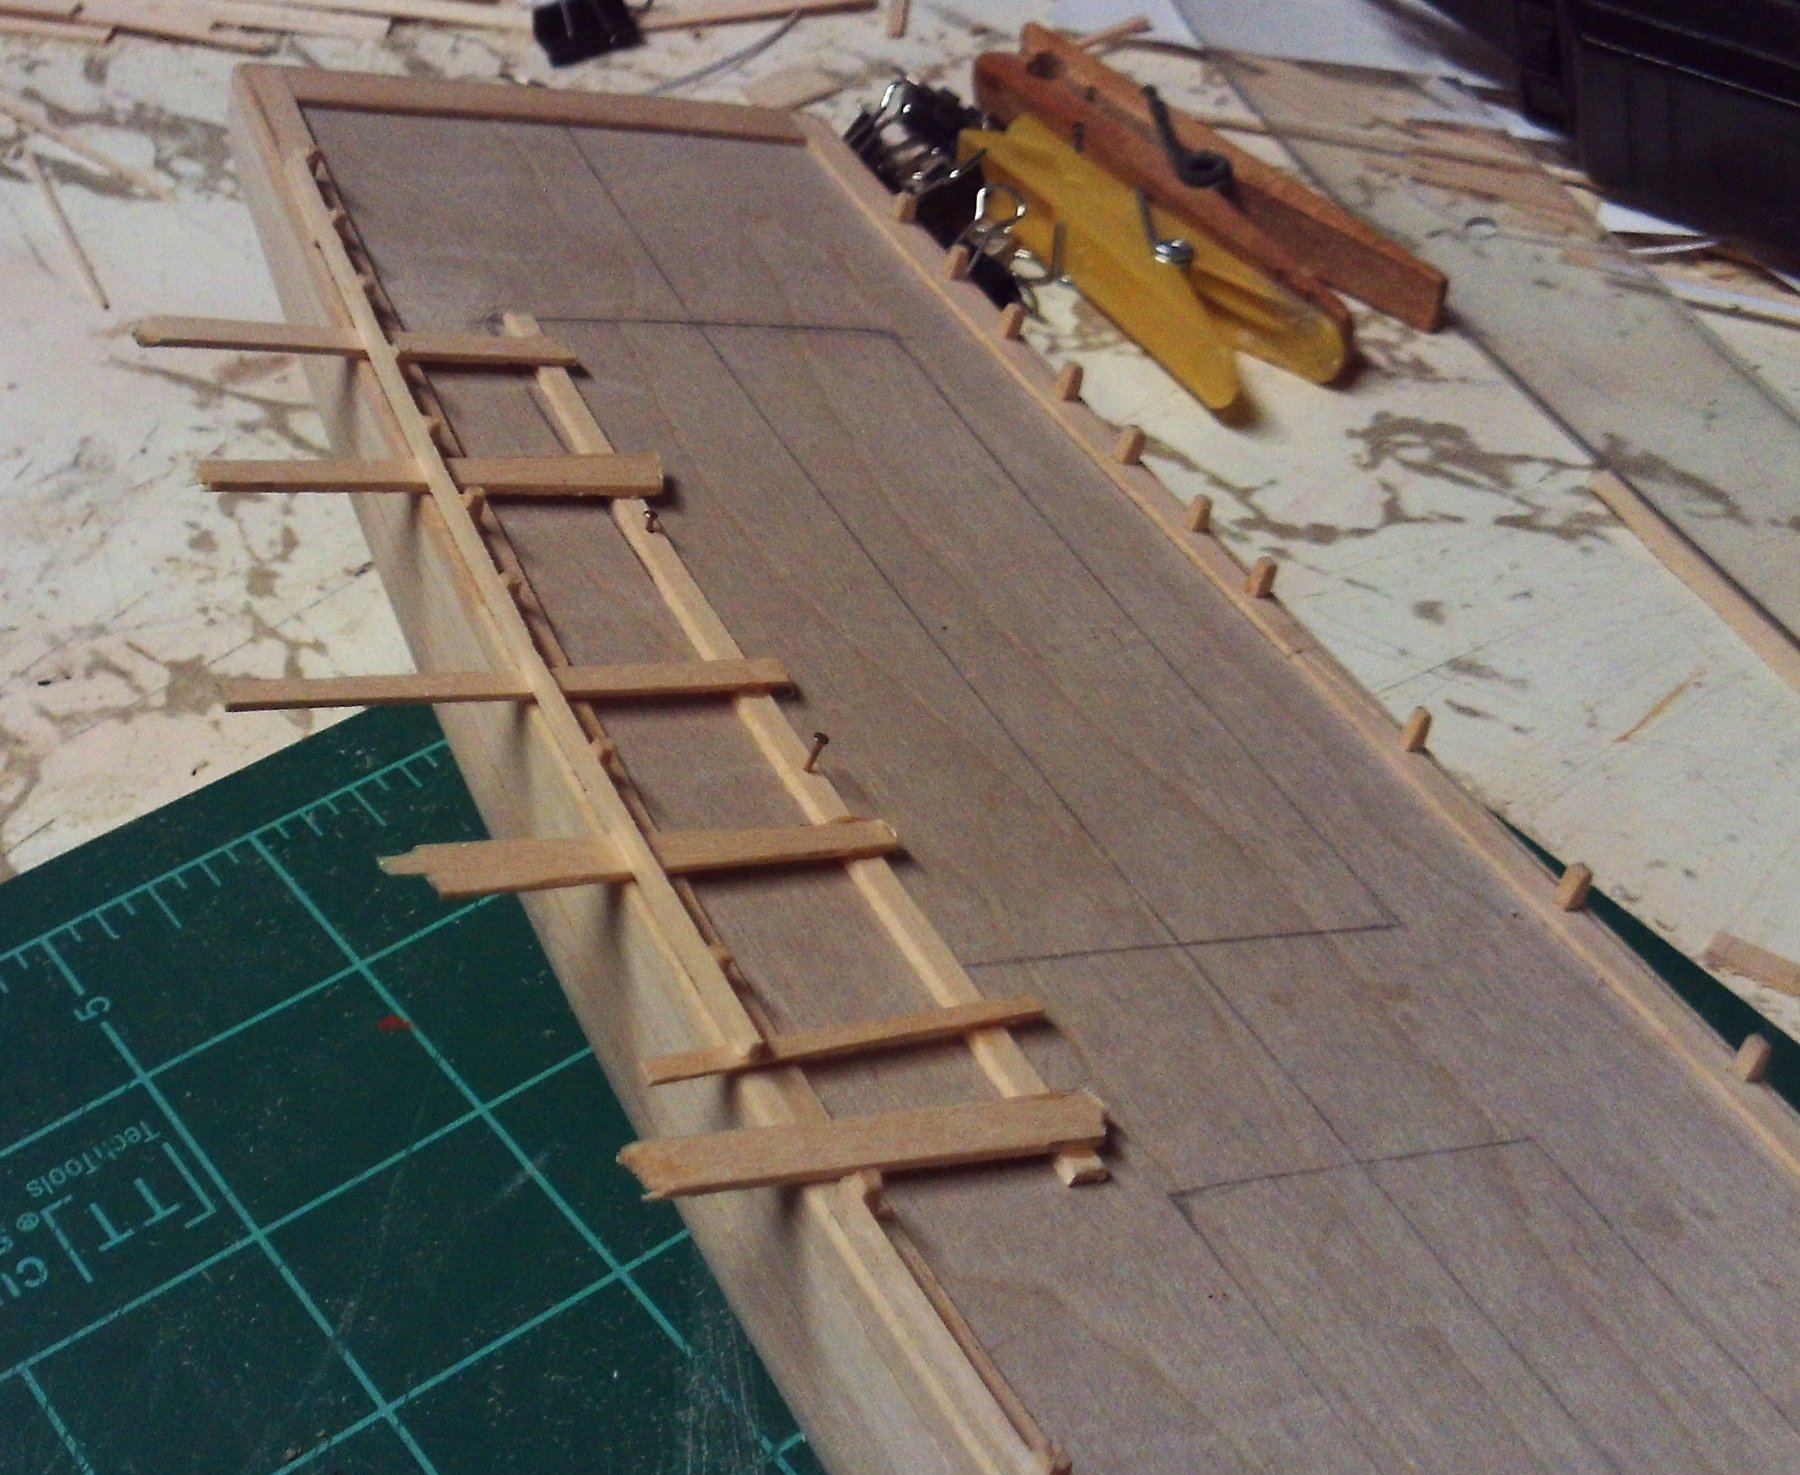
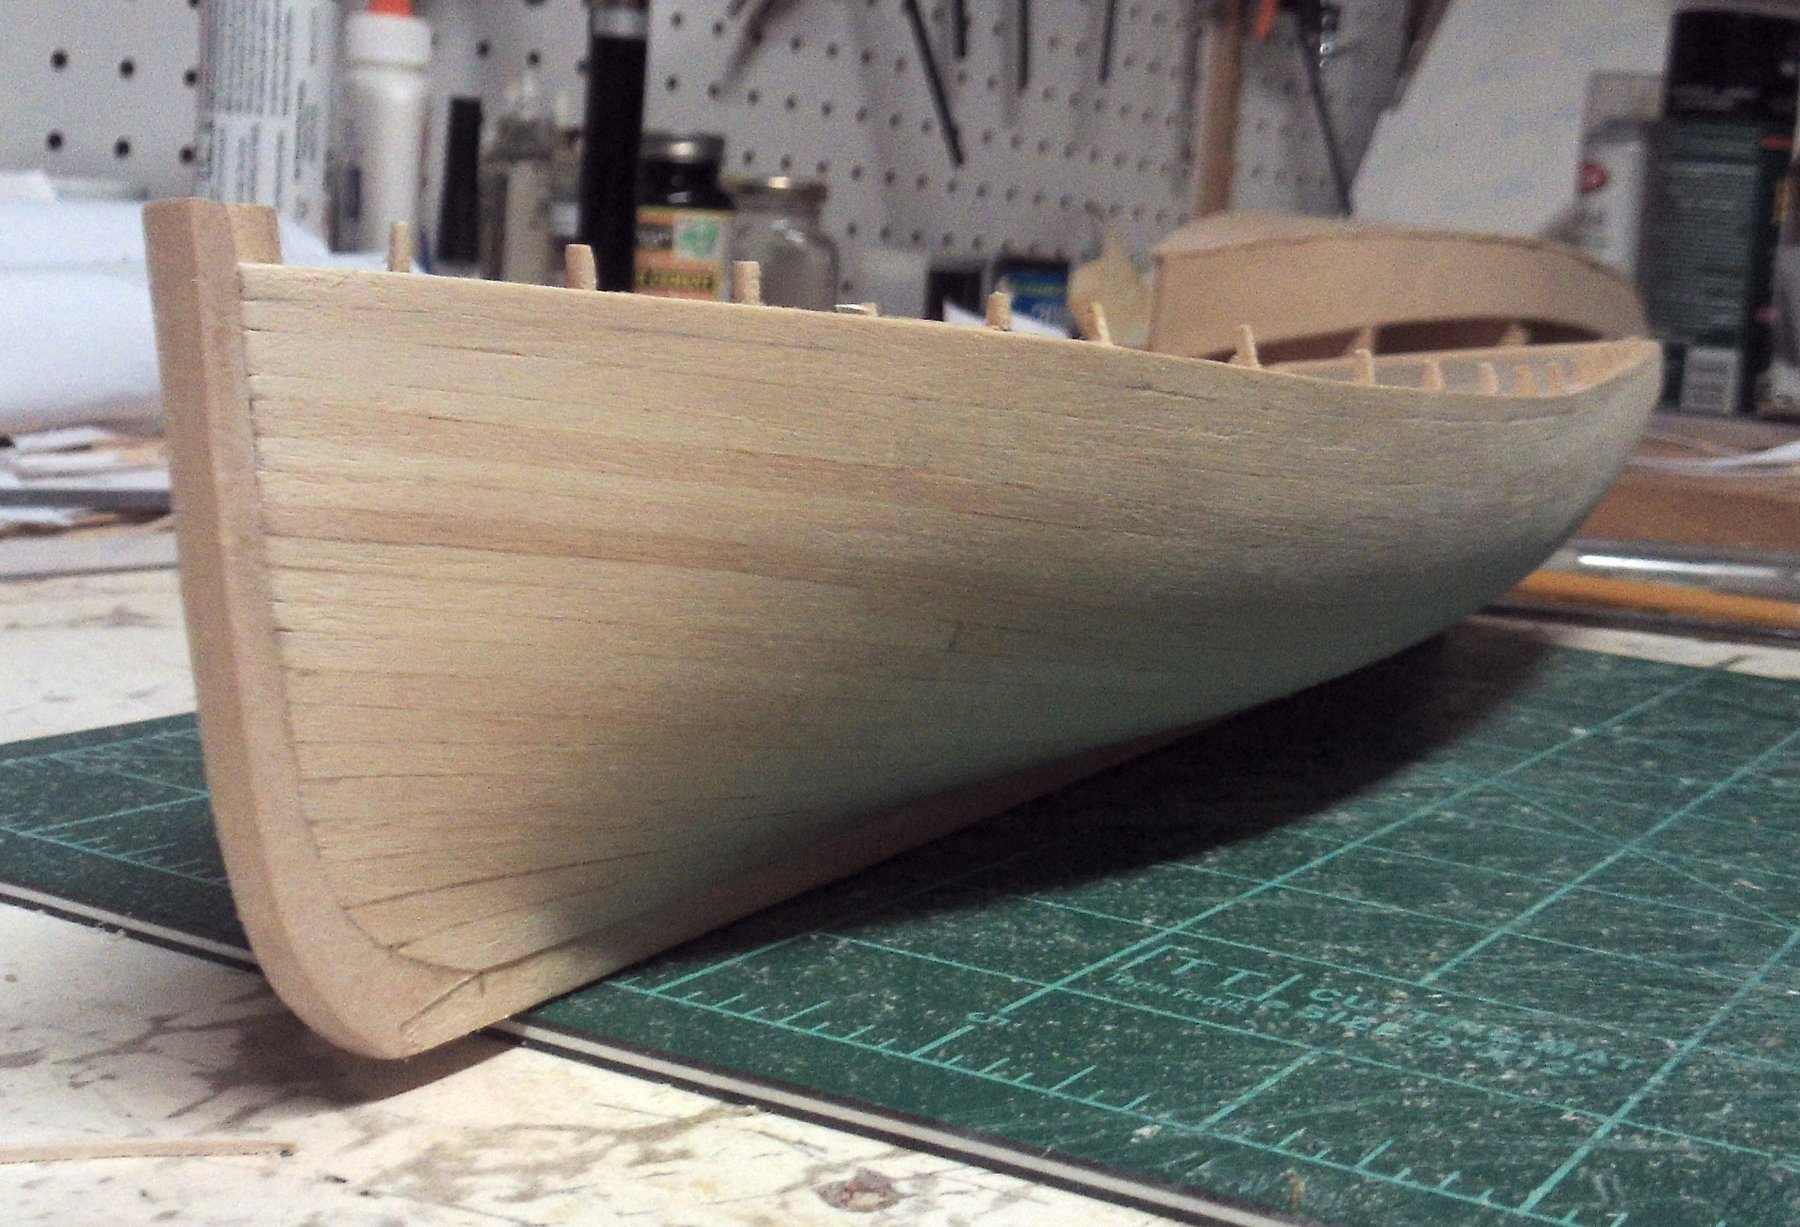
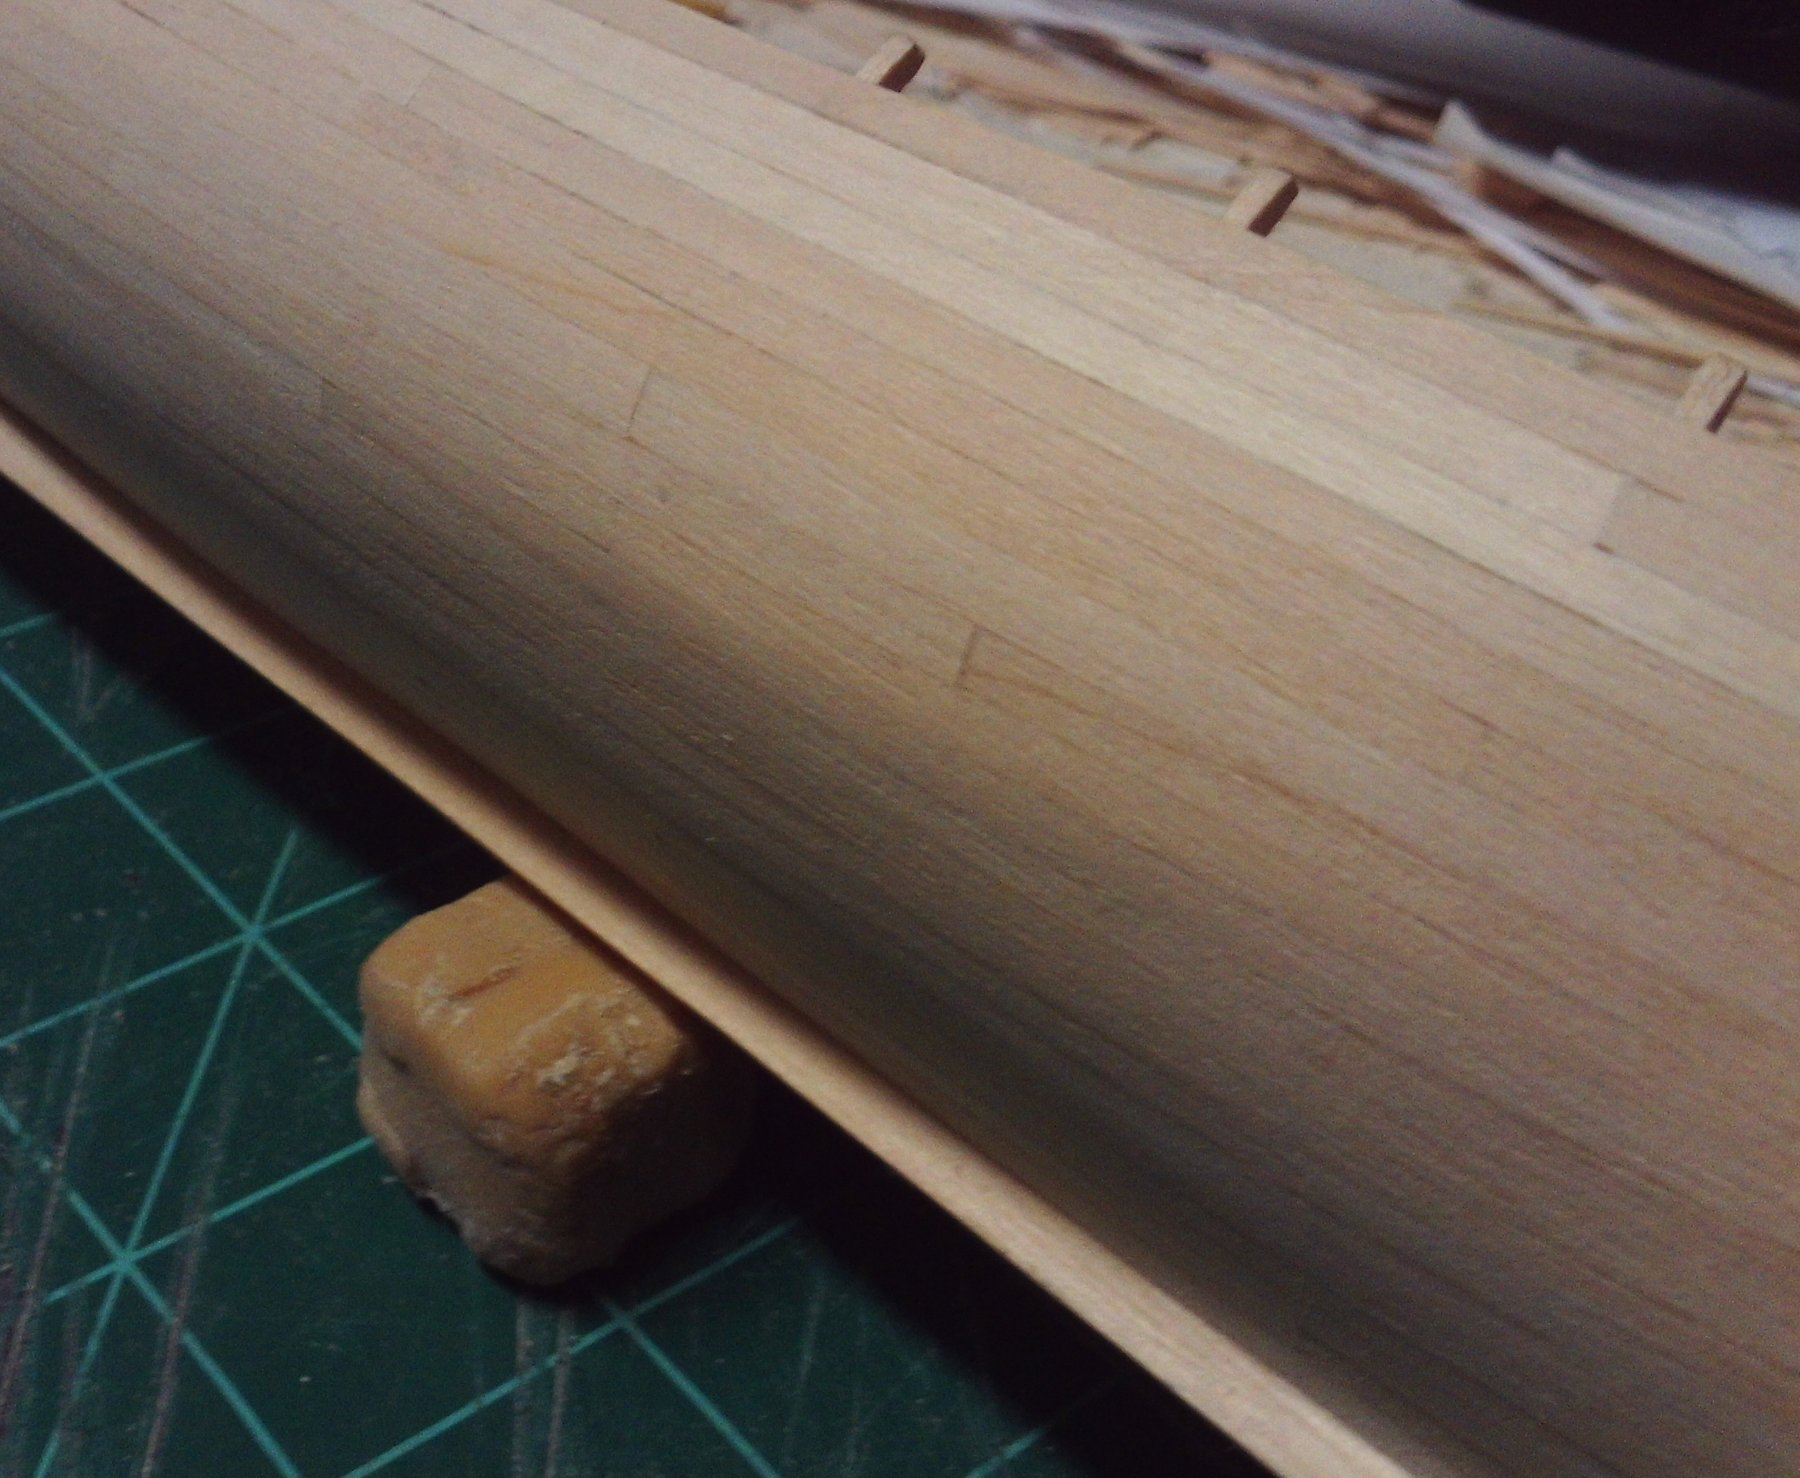
A little more progress the past few days. I began work on the bulwarks for this lugger. These vessels have a lightly planked bulwark and there is a slot left open at deck level to clear water from the deck. These vessels often come back to the dock with the decks awash because of their heavy load of shrimp or oysters.
My challenge is to make sure that this long open slot is of a uniform width for its complete length. I needed a jig to ensure that uniform spacing. I used scrap material of the same thickness as the opening and then glued several pieces of it inboard to a piece of decking material. The jig can be slid in place when and where necessary. It is temporarily nailed to the subdeck to ensure that it follows the sheer of the deck. It does not look pretty, but it got the job done. Once the glue holding the bulwarks planking to the stanchions has dried, the jig can be removed.
Maybe this will help someone with a similar issue.
Russ


- BANYAN, GrantGoodale, Mahuna and 10 others
-
 13
13
-
-
-
-
-
Thanks. I am well satisfied.
")
Russ
-
Daniel:
I may be wrong , but I rather doubt anyone really knows the true appearance of the cabin's interior. Since you have already created a nice looking partition, I would continue with that style for the cabin walls. However, see what others might offer. They may have a better idea.
Russ
-
I agree. The rigging is coming along beautifully. Well done.
I also really like your color scheme. Great choices with your colors.
Russ
-
-
Kenneth:
Exactly. The model will always keep me humble. That and the camera that sees everything I do not.
Russ
- popeye the sailor, mtaylor and src
-
3
-
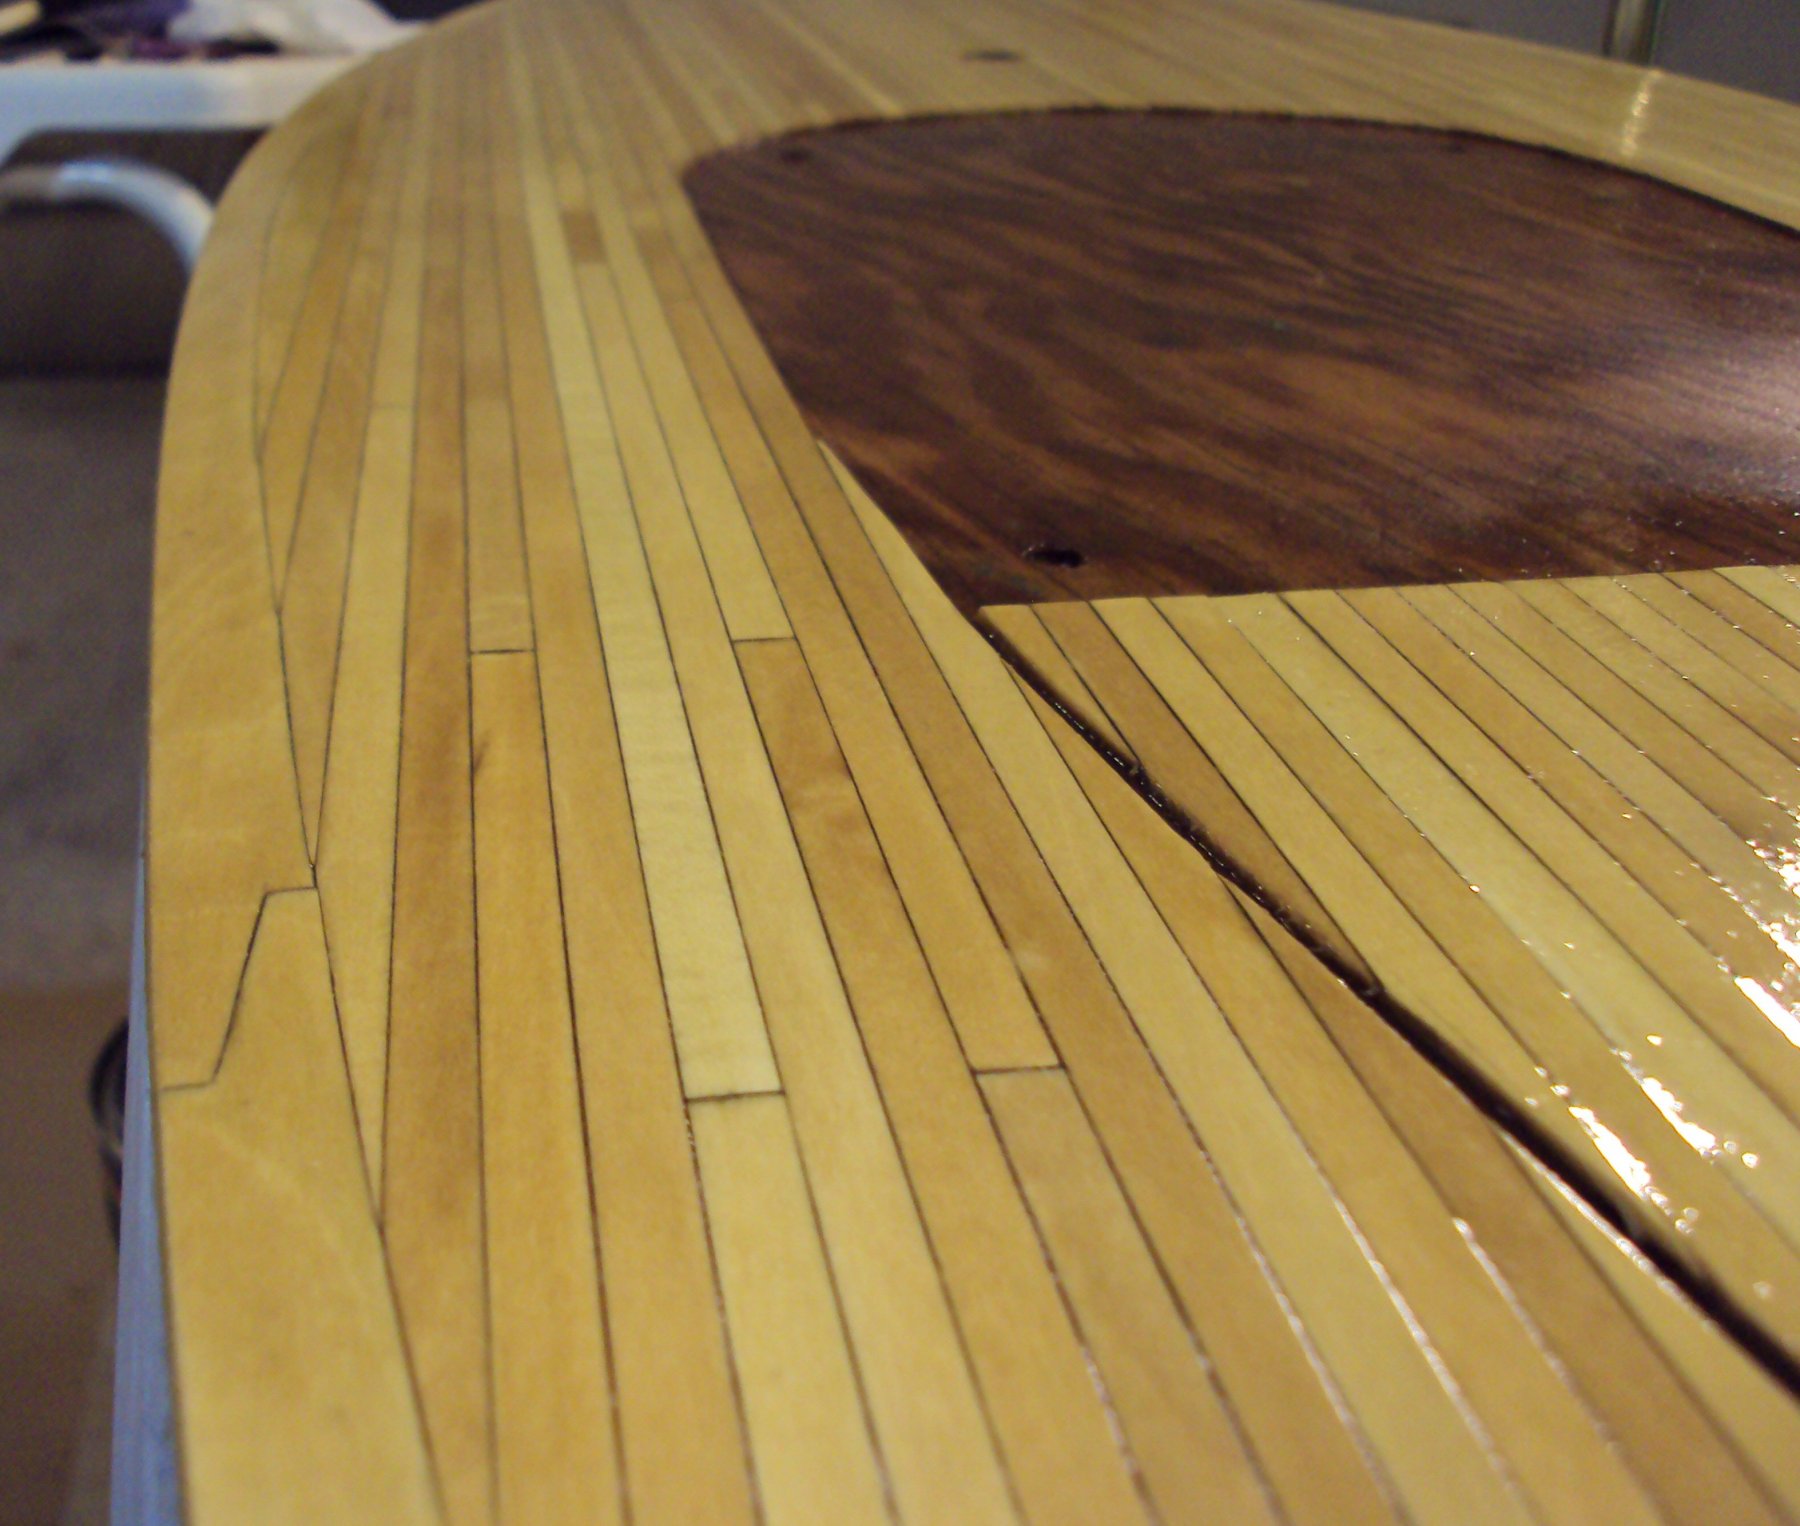
On decks I have used a simple number 2 pencil on one edge of the plank and on one end. It gives a subtle line that suggests a caulked seam. Here is a look at a model that I restored using this method. This was a yacht so there is a glossy finish, but you can see how the seams show up with a clear finish.
Russ

- Chuck Seiler, druxey, thibaultron and 6 others
-
9
-
-
-
-
-
Pat:
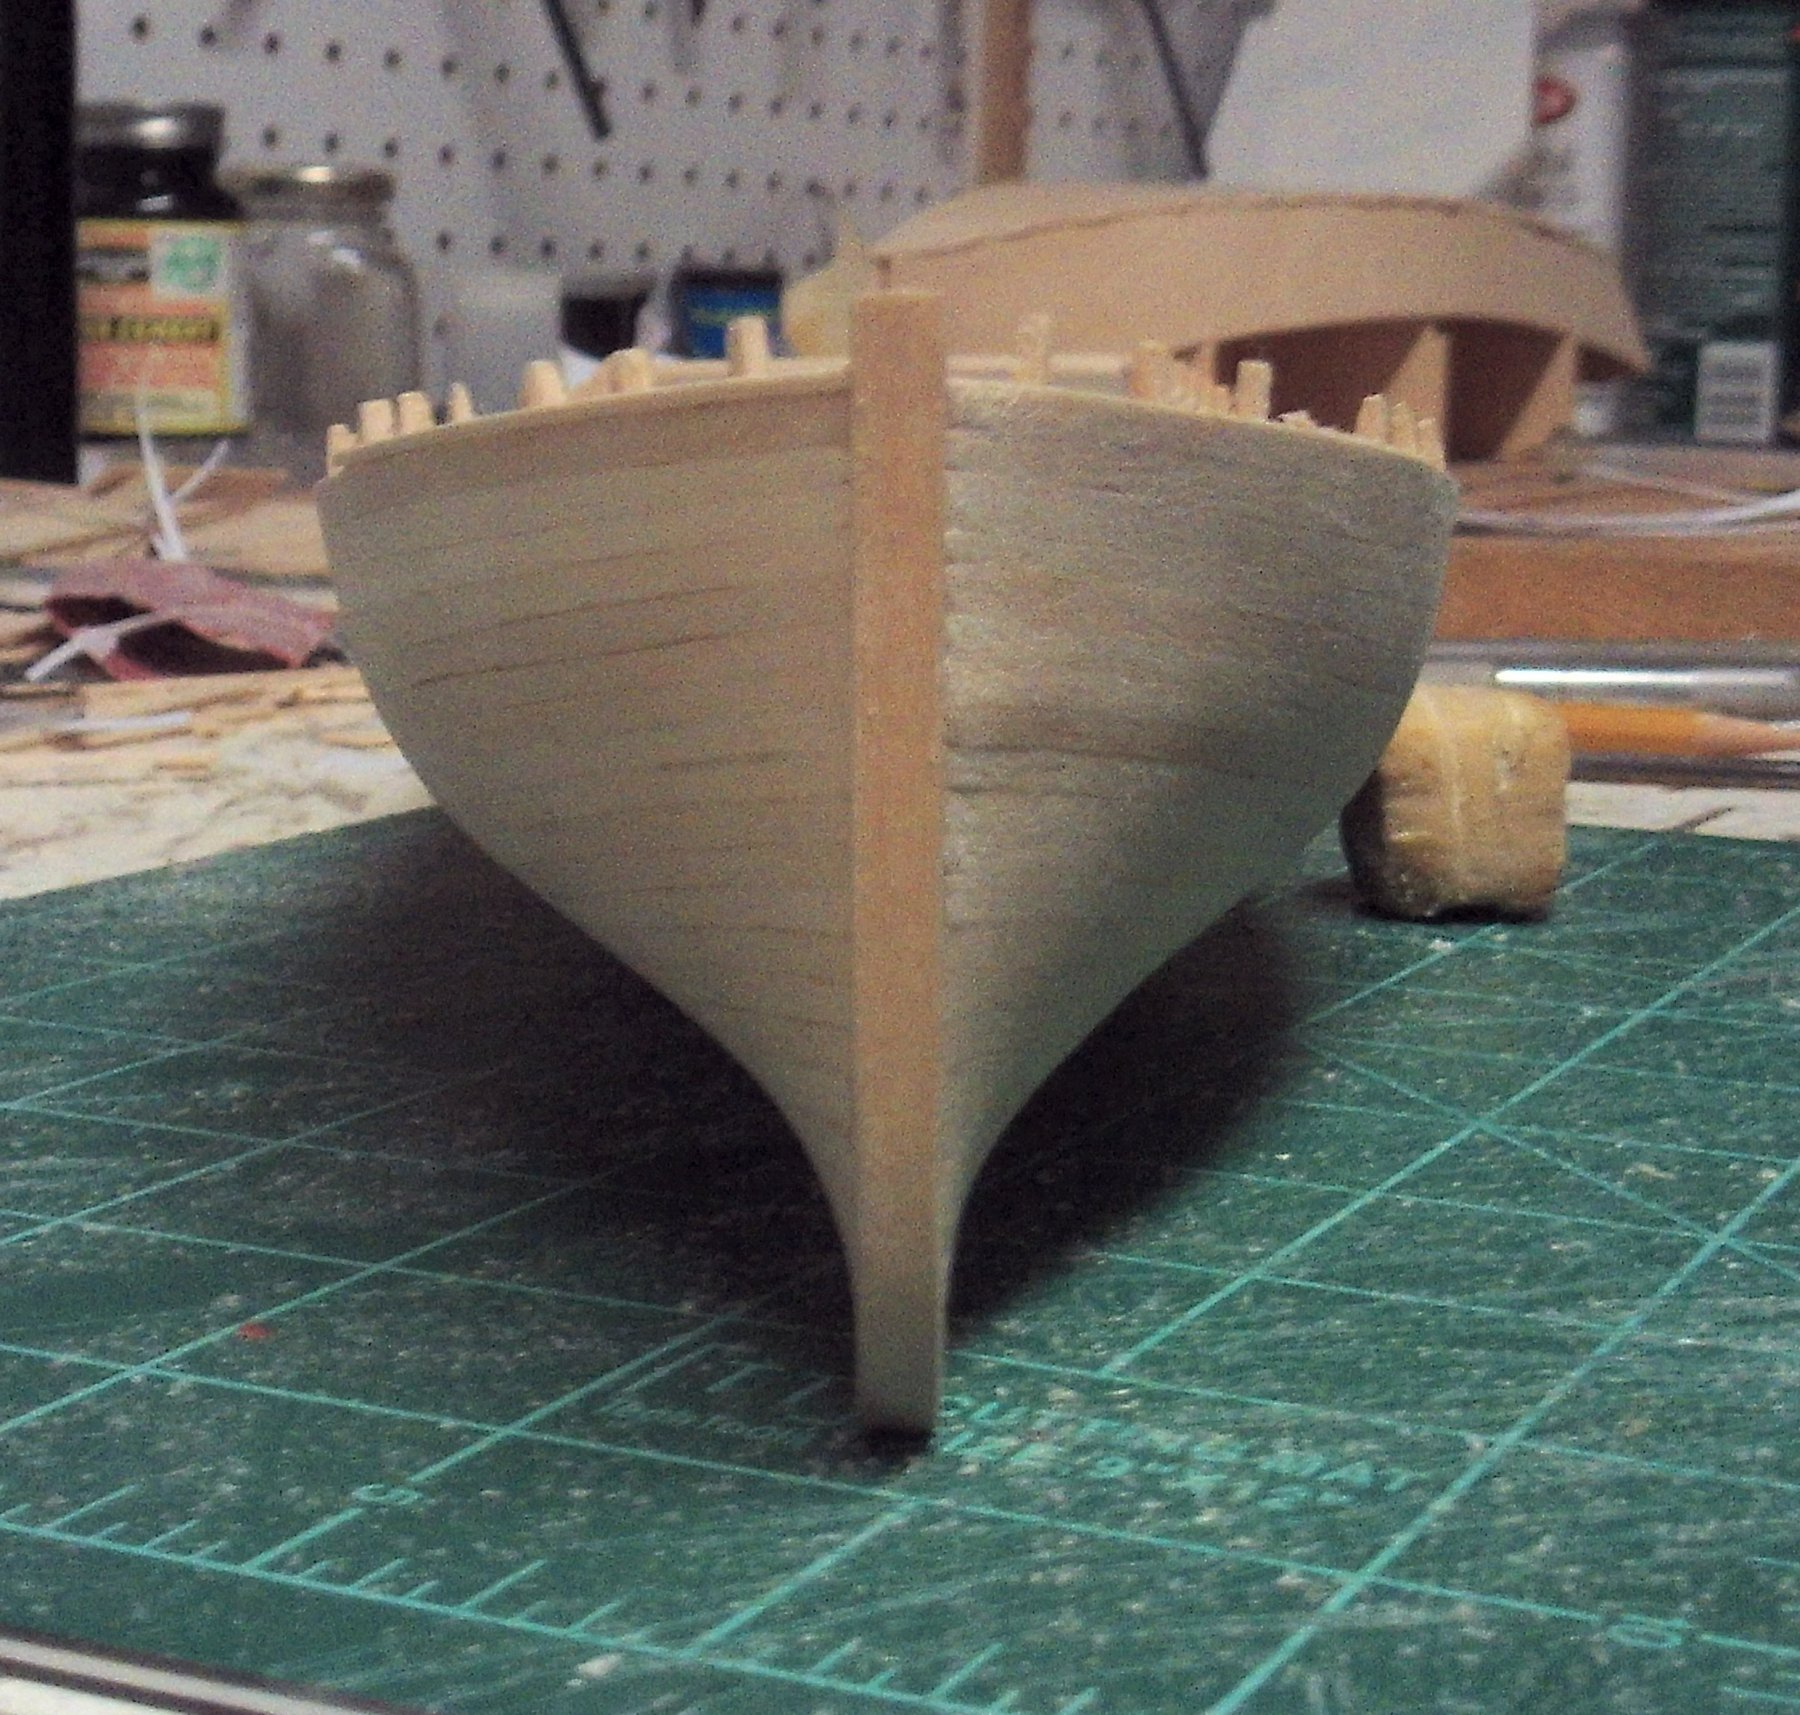
Thanks. I appreciate it. The planking looks pretty good to my eye, but it is good to know that it looks good to others too. I find that I can get a bit too close to the work and I lose some objectivity.
I just have to remember that there is always room for improvement.
Russ
-
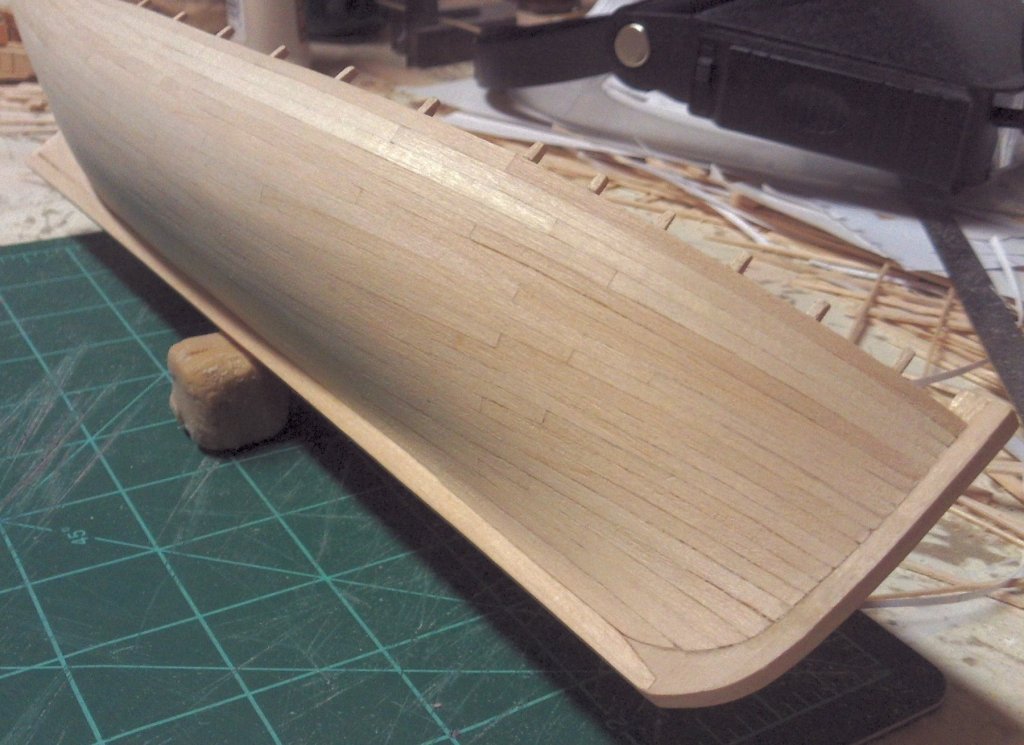
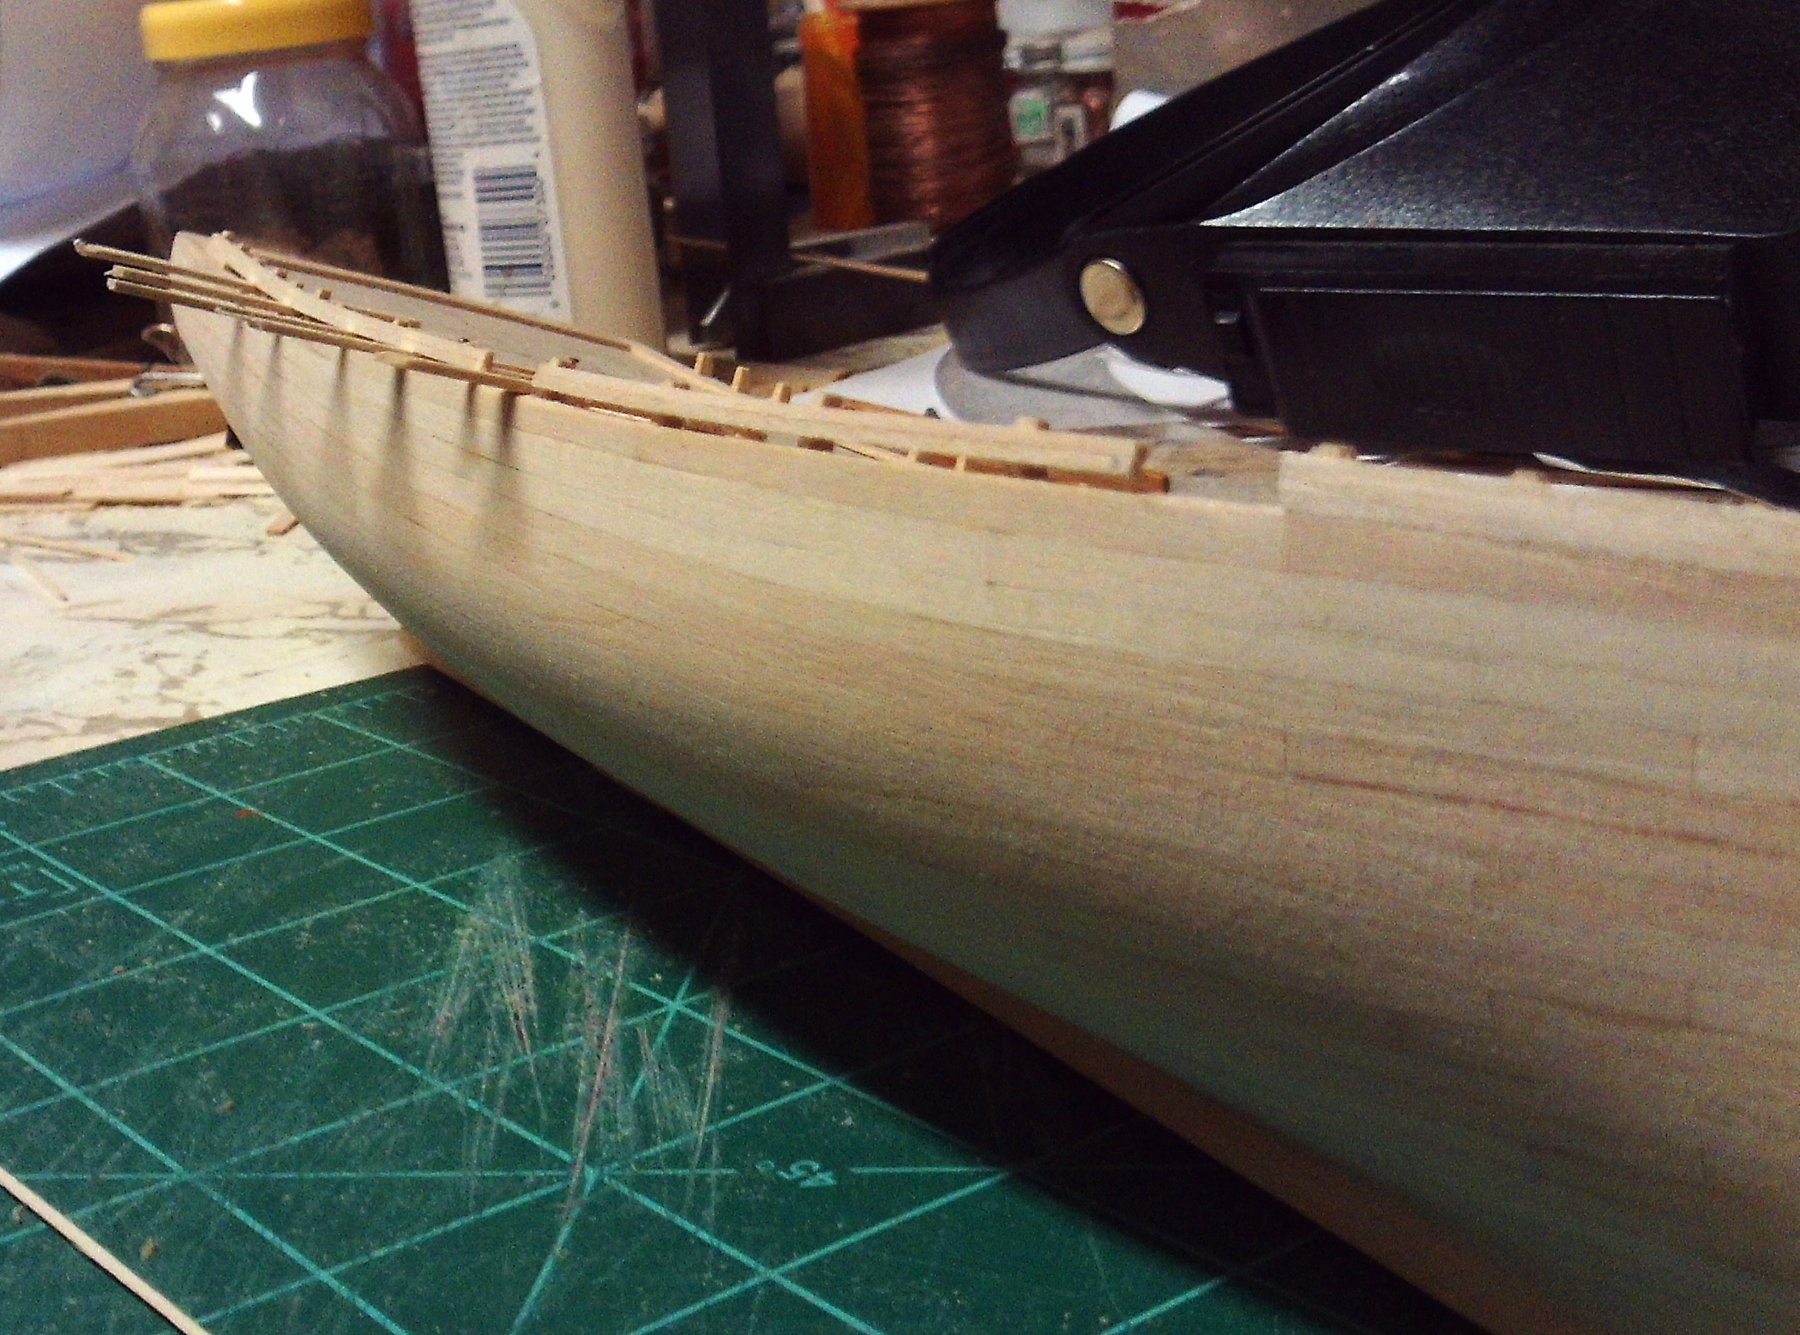
The starboard planking is complete below the bulwarks. Some sanding has been done, but there will probably be a bit more here and there. Three more planks on the port side and I will be ready to plank the bulwarks.
Russ


- rony, Wintergreen, mtaylor and 11 others
-
14
-
Tom:
Your hull planking looks like it is coming along well. Never mind if the planking is a little rough right now. The main thing is to make sure the planks are lining up and you are getting the run of the planks that you want. I am planking right now and I can tell you that it is best not to do much sanding until you get the entire hull planked.
Russ
-
-
That looks pretty good. If you have the shapes you need, then you are good to go.
Another way to do this would be to cut a jig and soak the pieces in hot water, clamping them in place on the jig and allow them to dry. Miniature bar clamps would be one way to clamp them to the jig. The jig's curve should be a little more than you need. The pieces will likely spring back a little after you release them from the jig.
Russ


Meteor 1851 by Jim Lad - Scale 1:96 - Immigrant Ship
in - Build logs for subjects built 1851 - 1900
Posted
John:
This looks like a good start. That is a lot of framing. I will be looking forward to see her progress. I vote for planked, but with some planking being replaced.
Russ