KeithAug
-
Posts
3,980 -
Joined
-
Last visited
Content Type
Profiles
Forums
Gallery
Events
Everything posted by KeithAug
-
 Ras - for jobs like this I like to create a dowel joint by turning a spigot on the arm and a hole in the attachment piece. This makes soldering much easier and the joint is stronger. Your first shot of the bow with the winch and boiler looks great. I guess you are not planning to lag the pipework?
- 128 replies
-
- 2
-

-

-
- zulu
- sternwheeler
- (and 1 more)
-
That is looking good. You seem to be making quite good progress despite distractions. I assume you are going for the cut down rig rather than reproduction of the full rig? Now that would be a challenge!
-
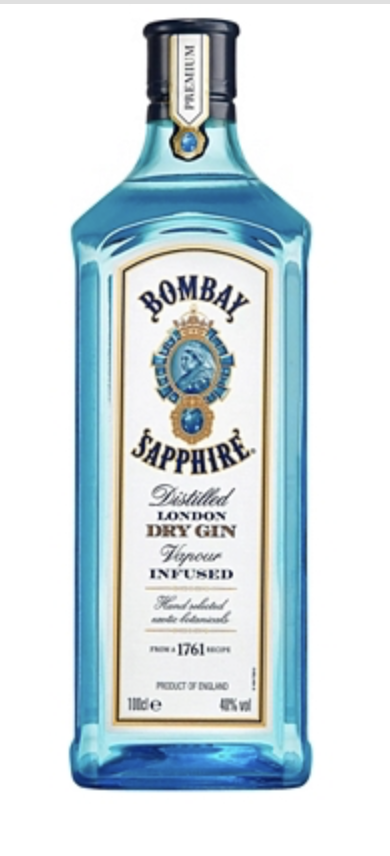
I am an uneducated drinker - I will drink any brand if it's free. If I have to buy it I tend to buy Bombay Sapphire Gin.
-
Gin, I am afraid Andy. I started drinking Gin in my sailing days. We had a rule (oft broken) that the first gin of the day couldn't be had before 11am. The rule was formulated without being specific about time zone. I remember quite clearly the day someone suggested that it was always after 11am somewhere in the world. We never looked back after that. Steve, one of the crew (now dearly departed) even started using gin on his tooth brush instead of boat water. Steve, Pat, Druxey, Glen, Rick - thank you all for your comments and thanks to everyone for the likes.
-
Yes it's on my list to buy it for Benji when he gets a little older. Thanks for the inspiration.
-
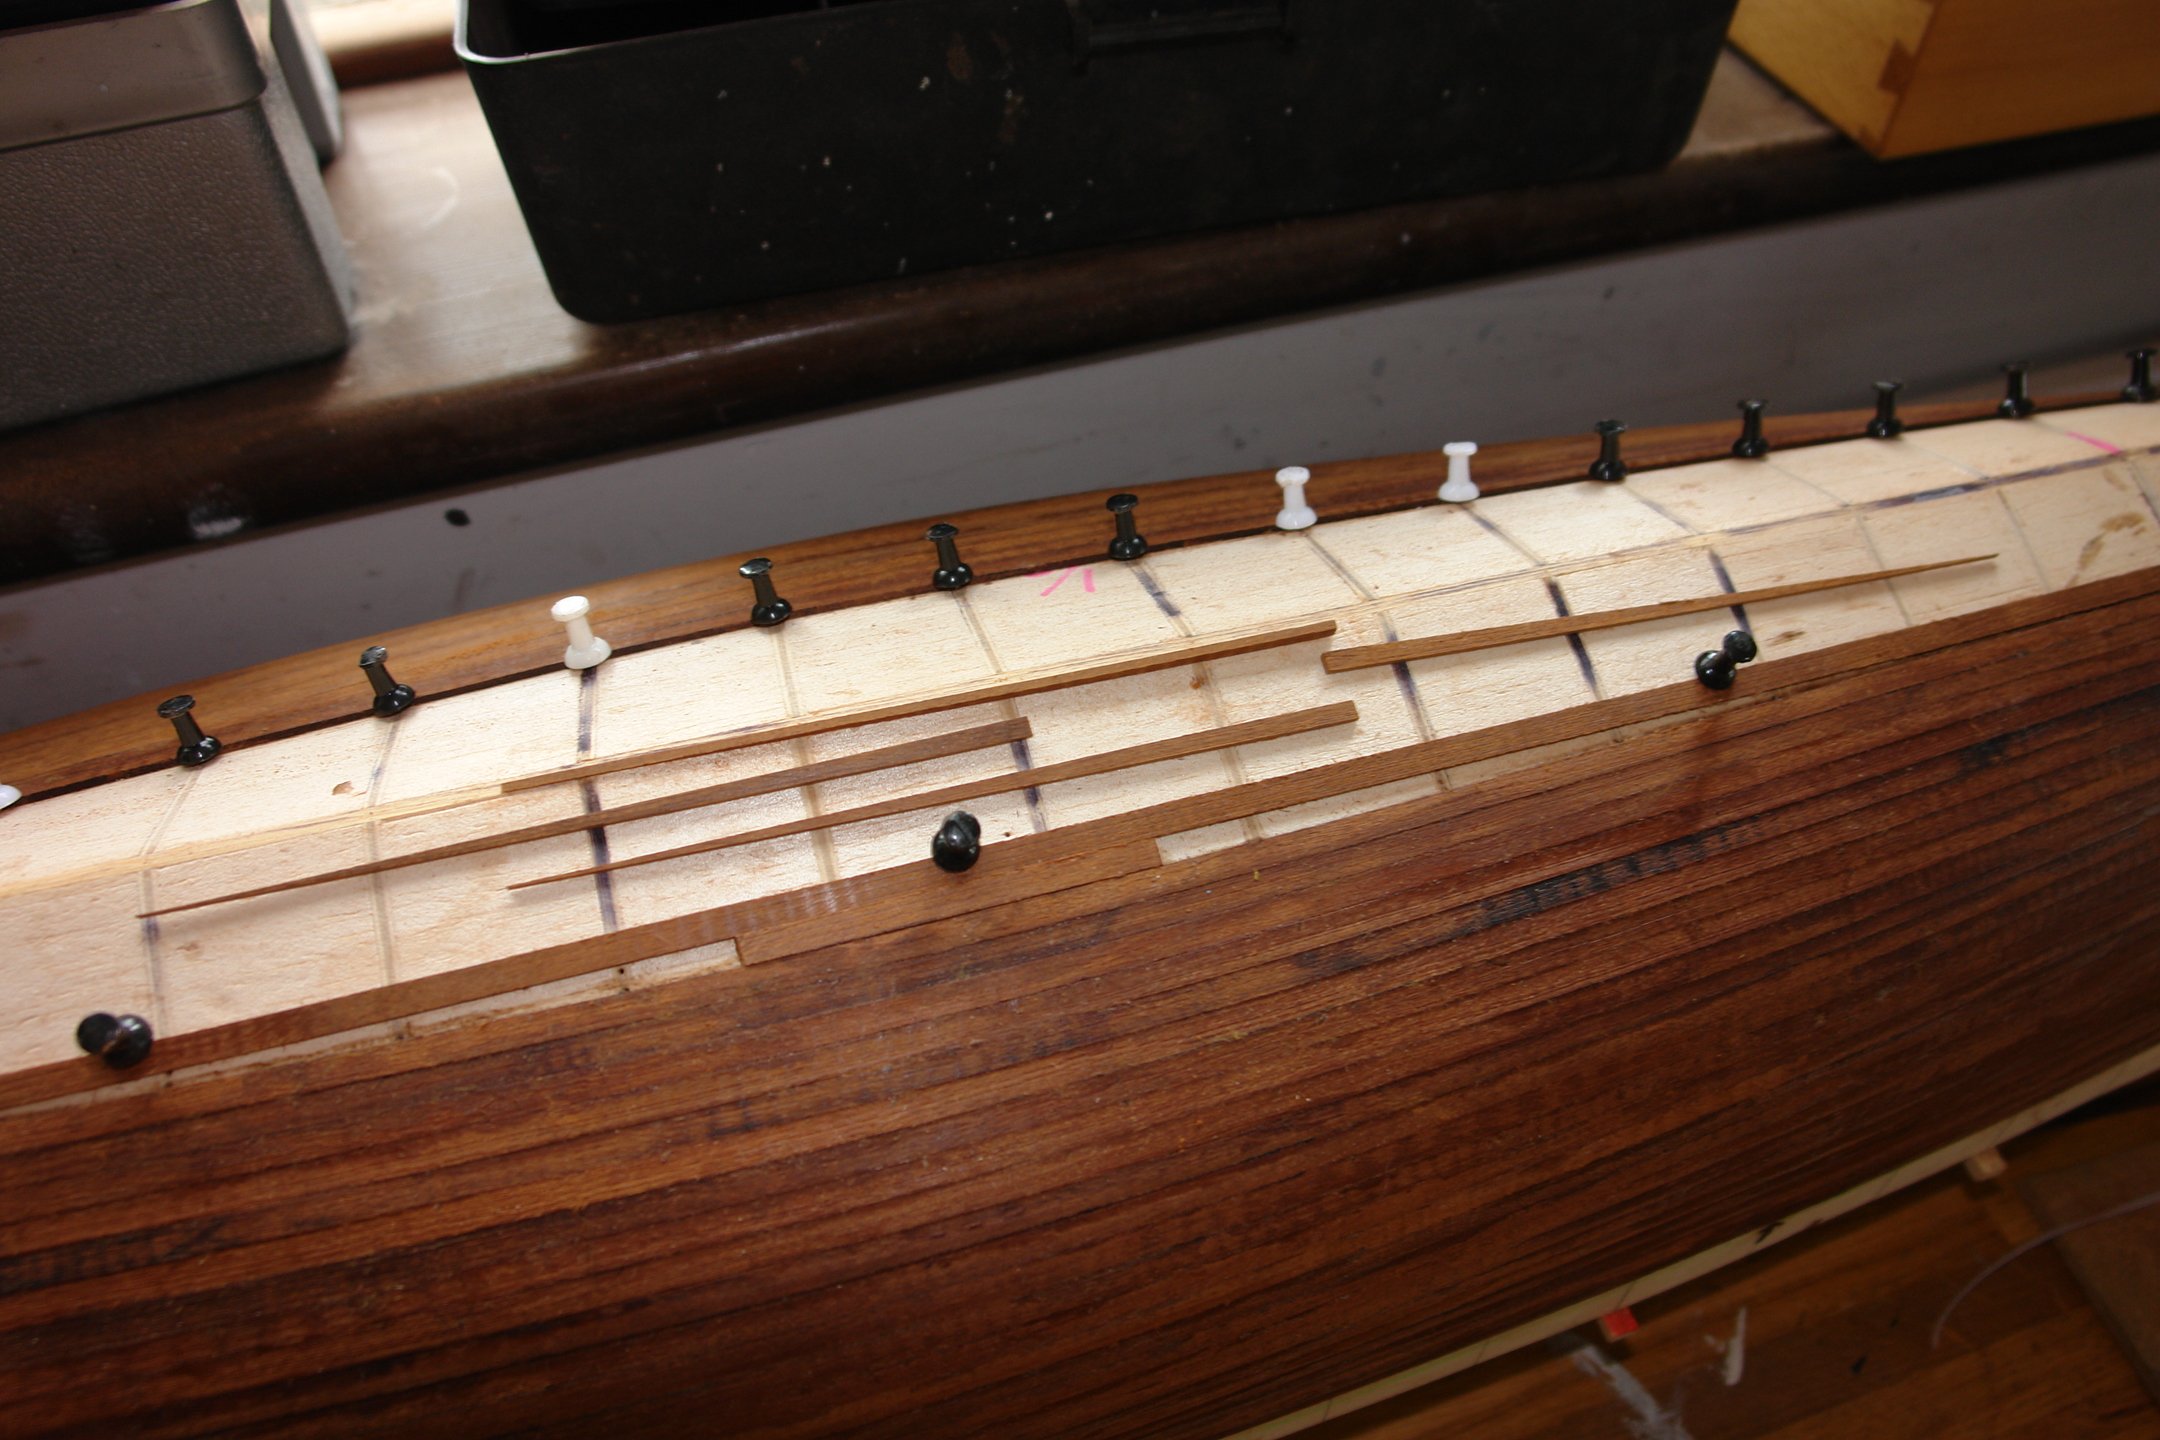
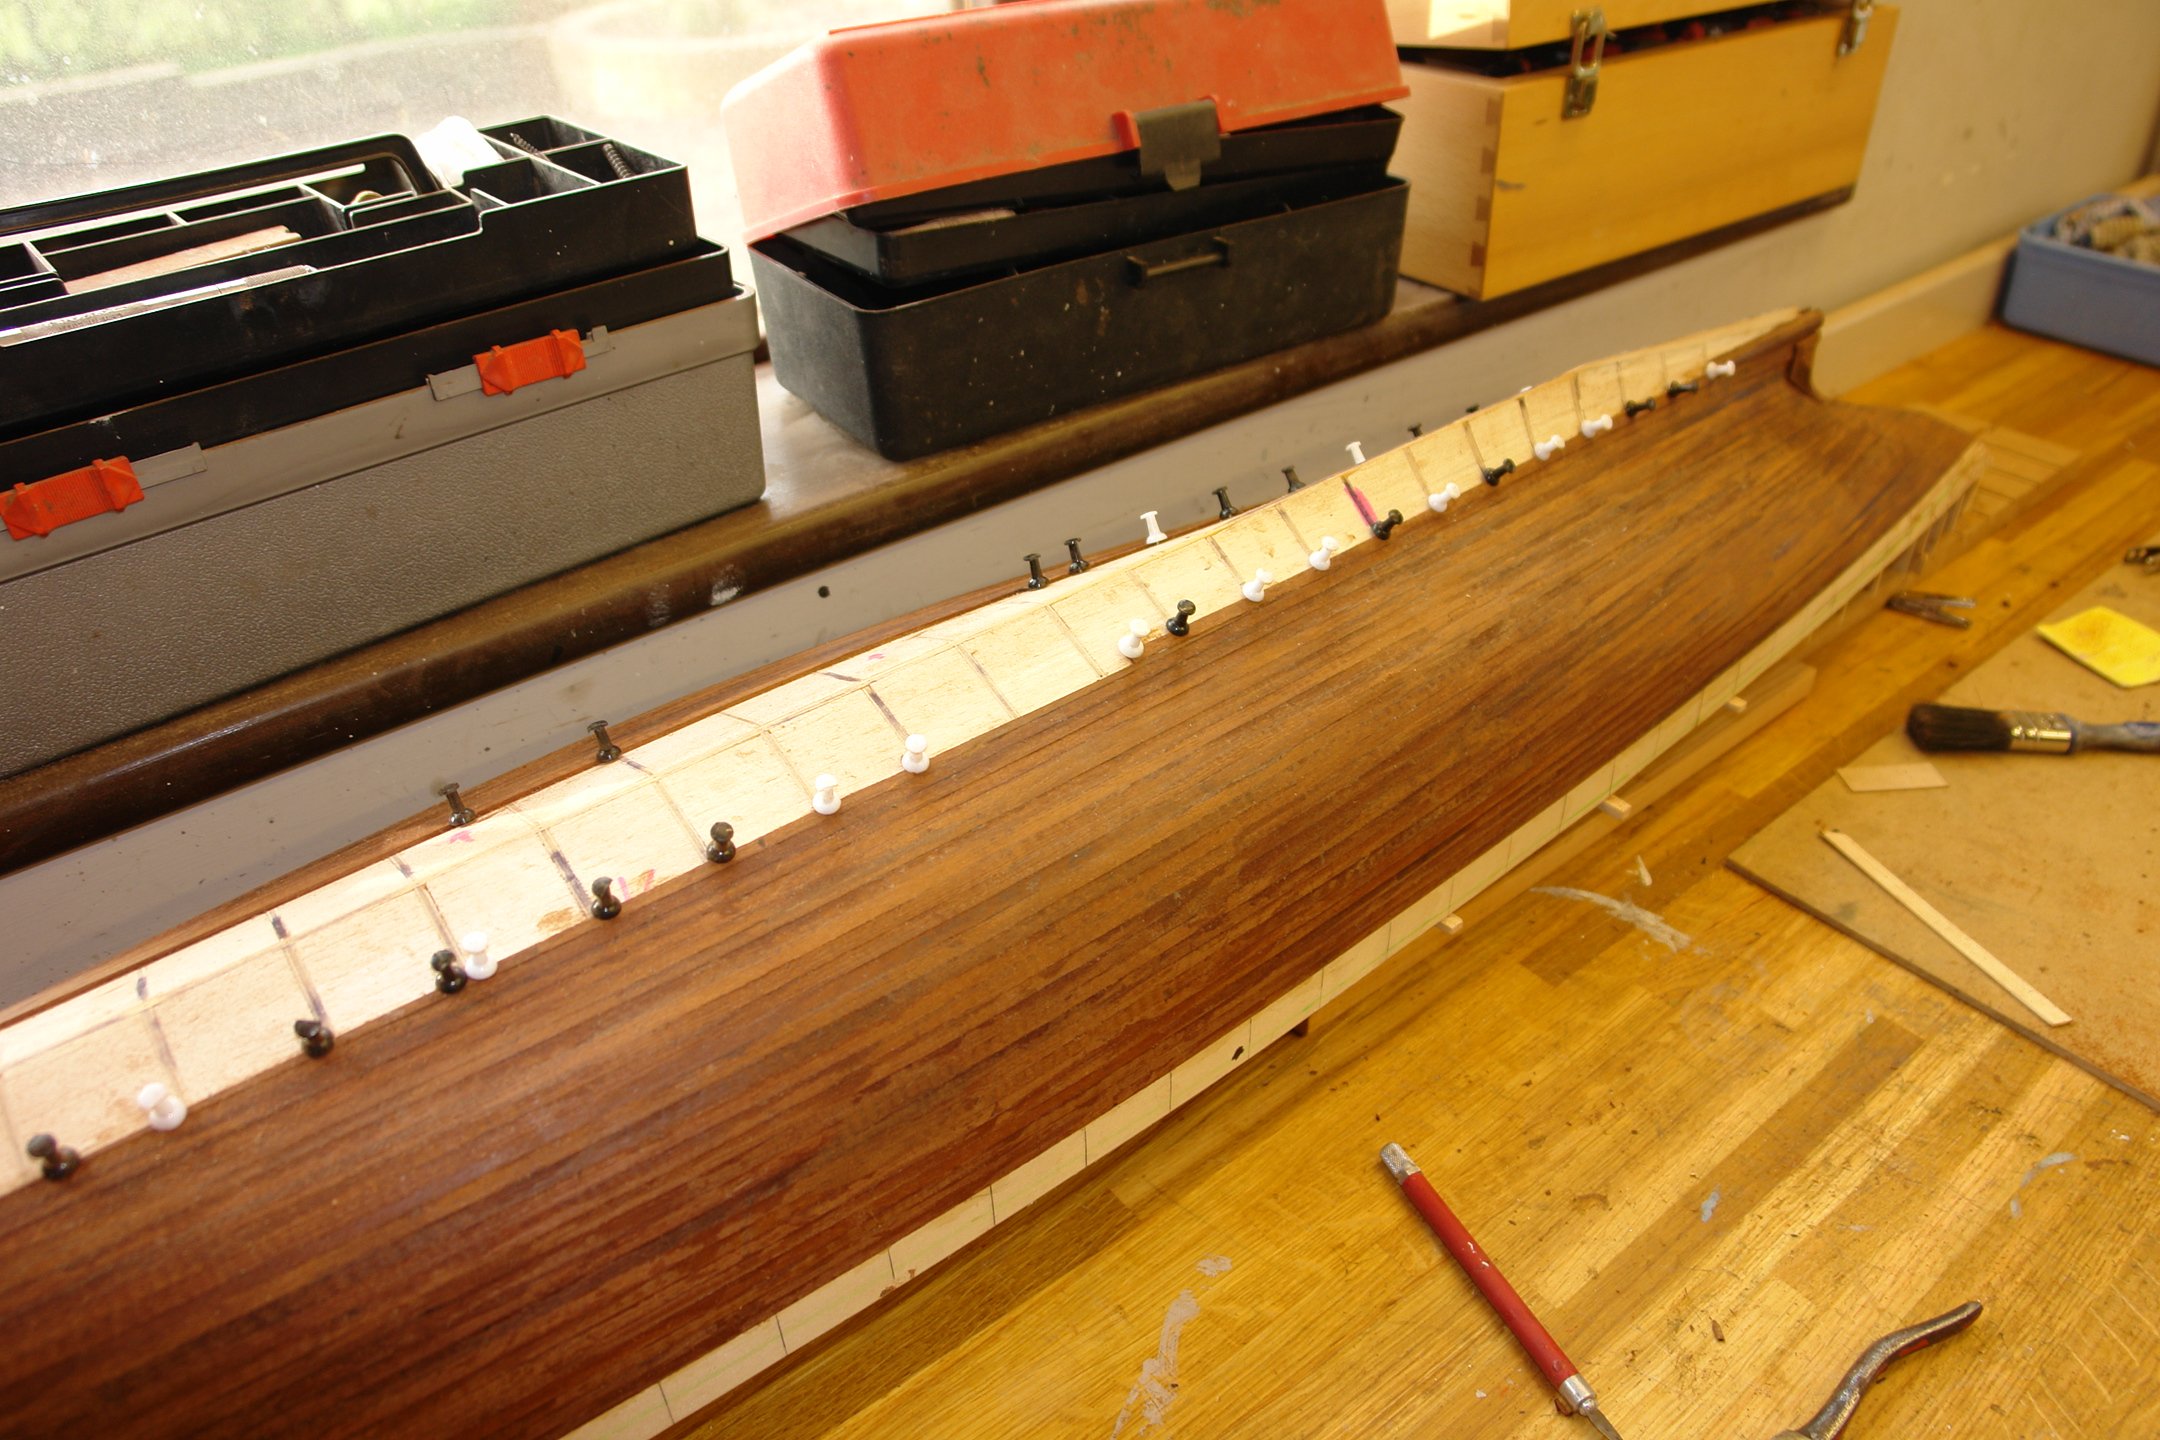
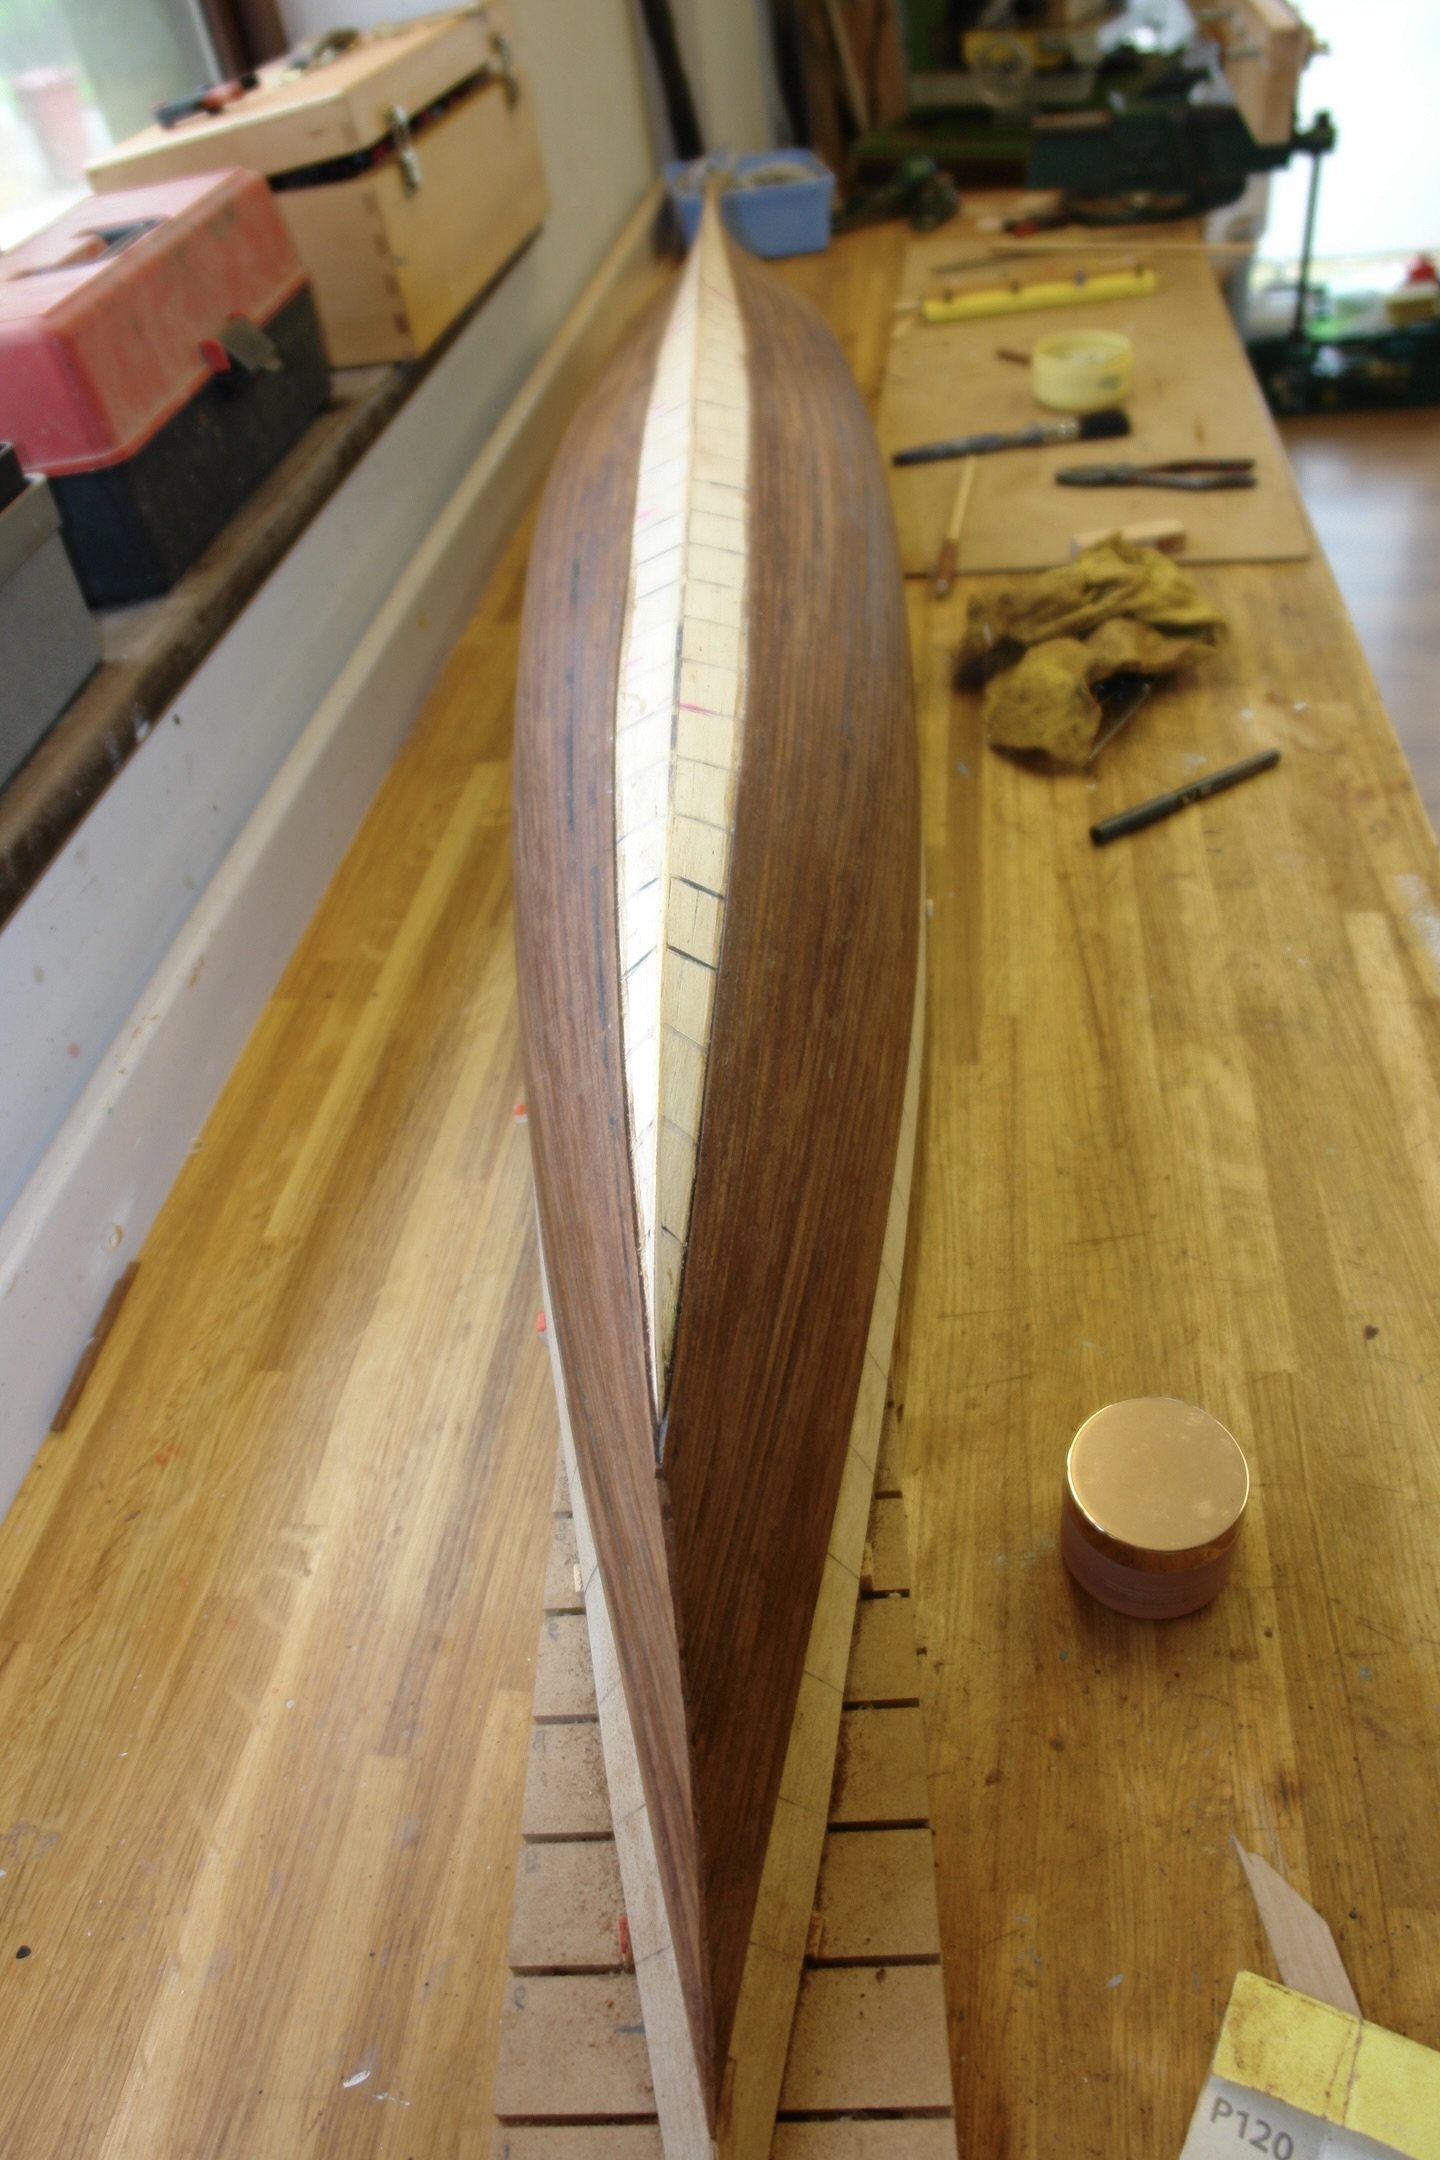
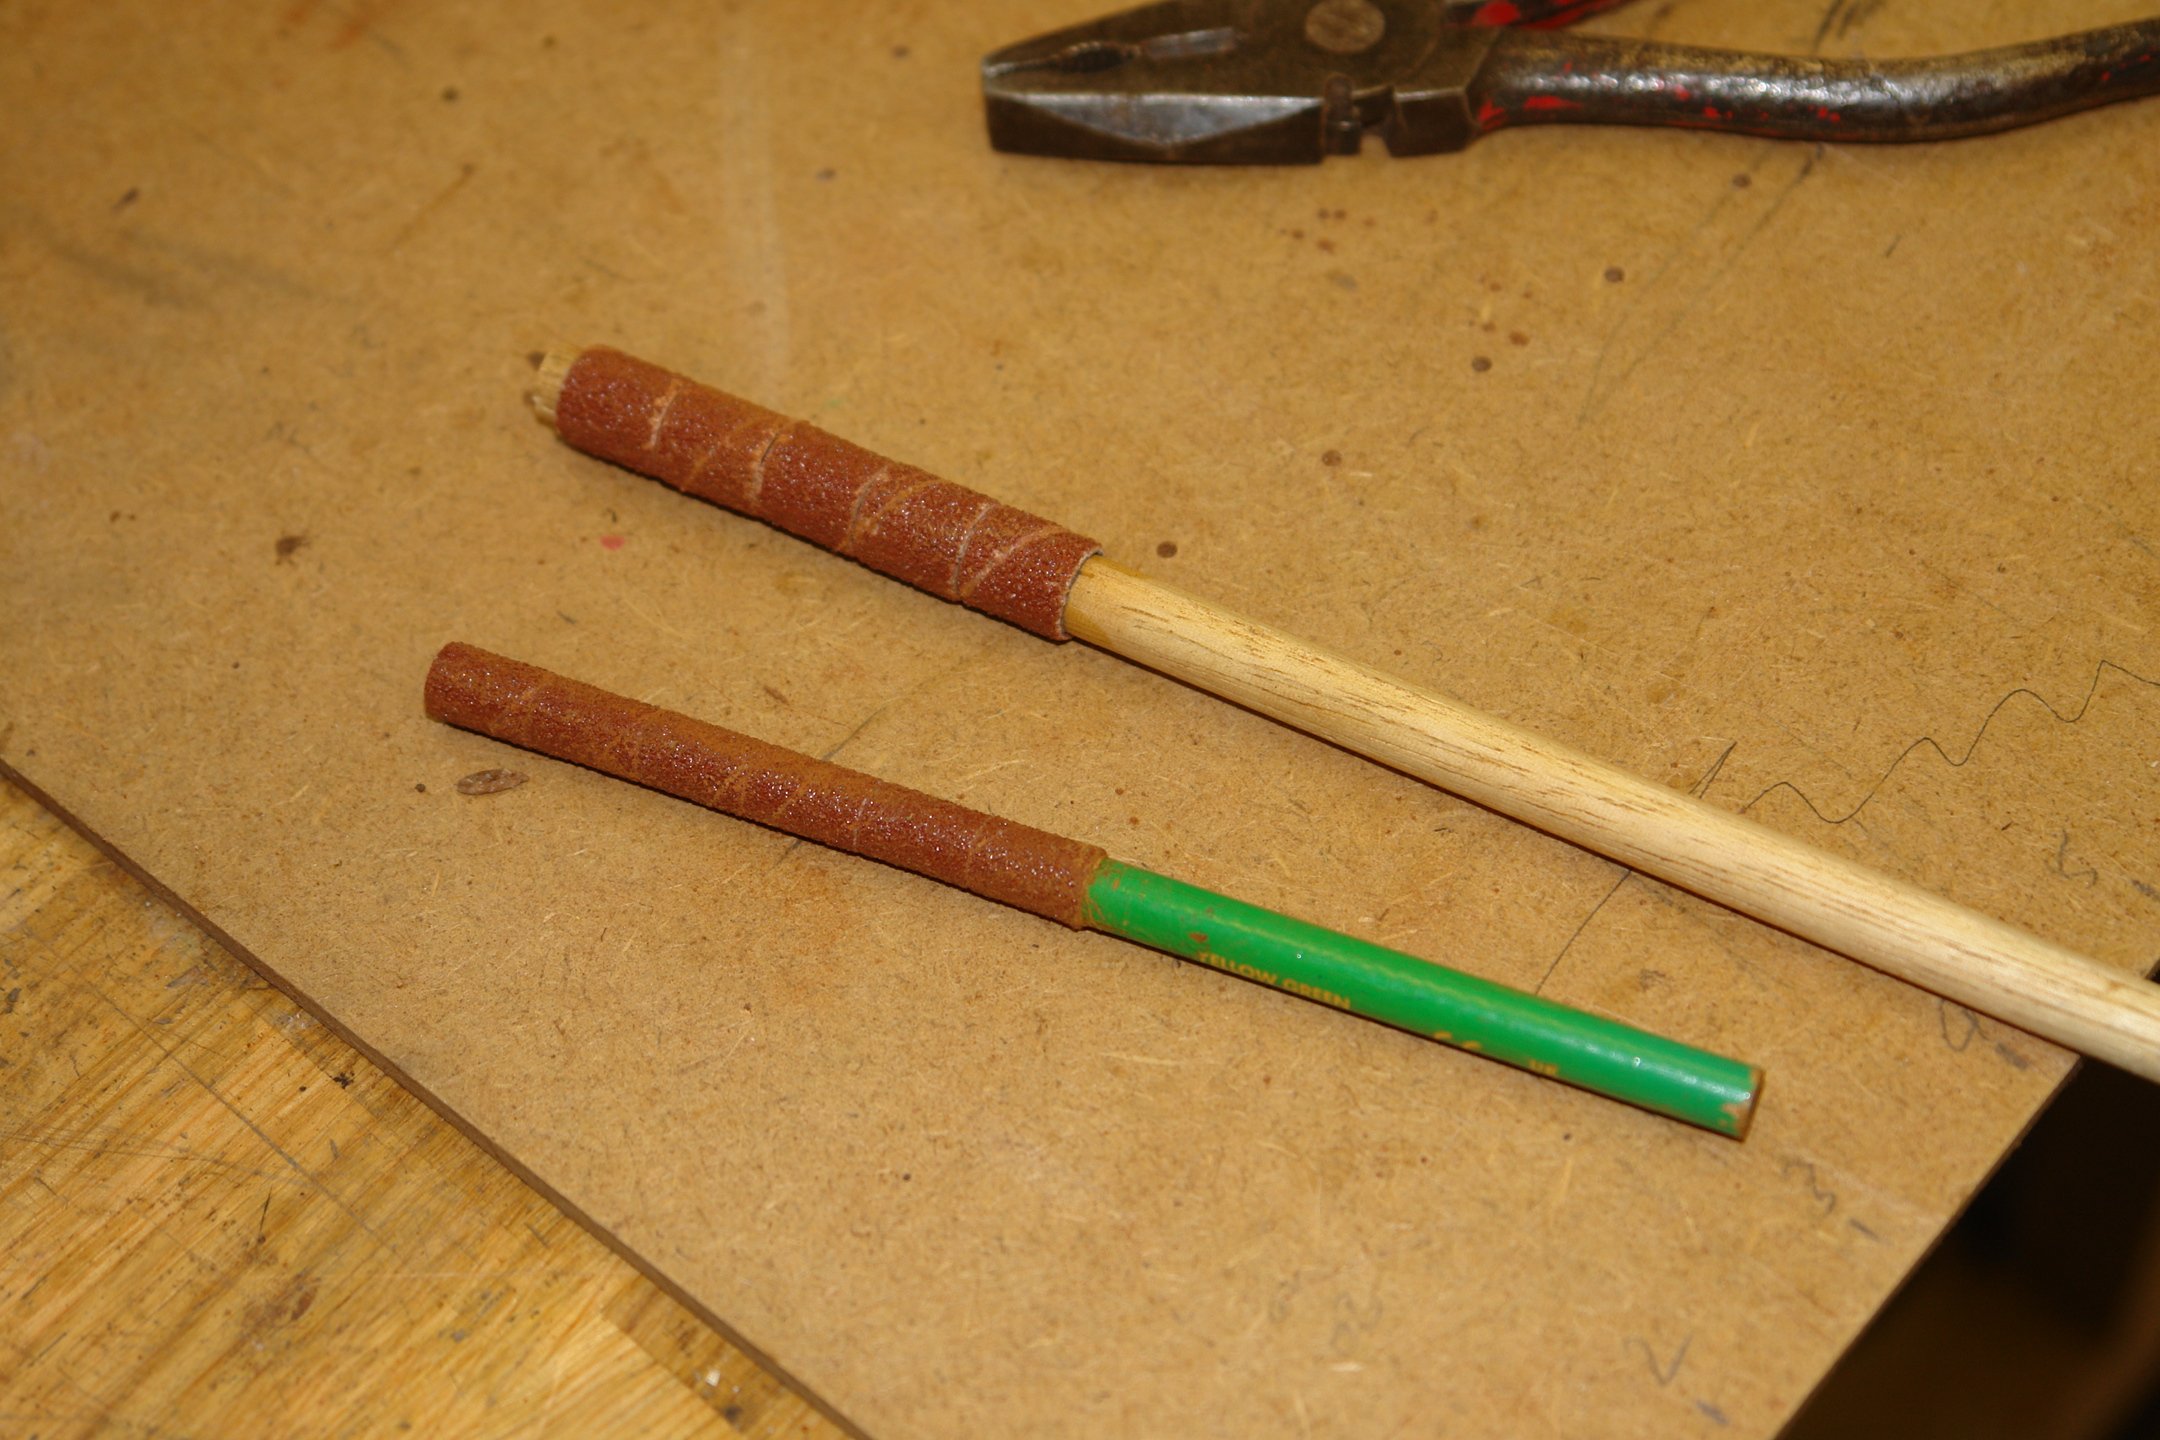
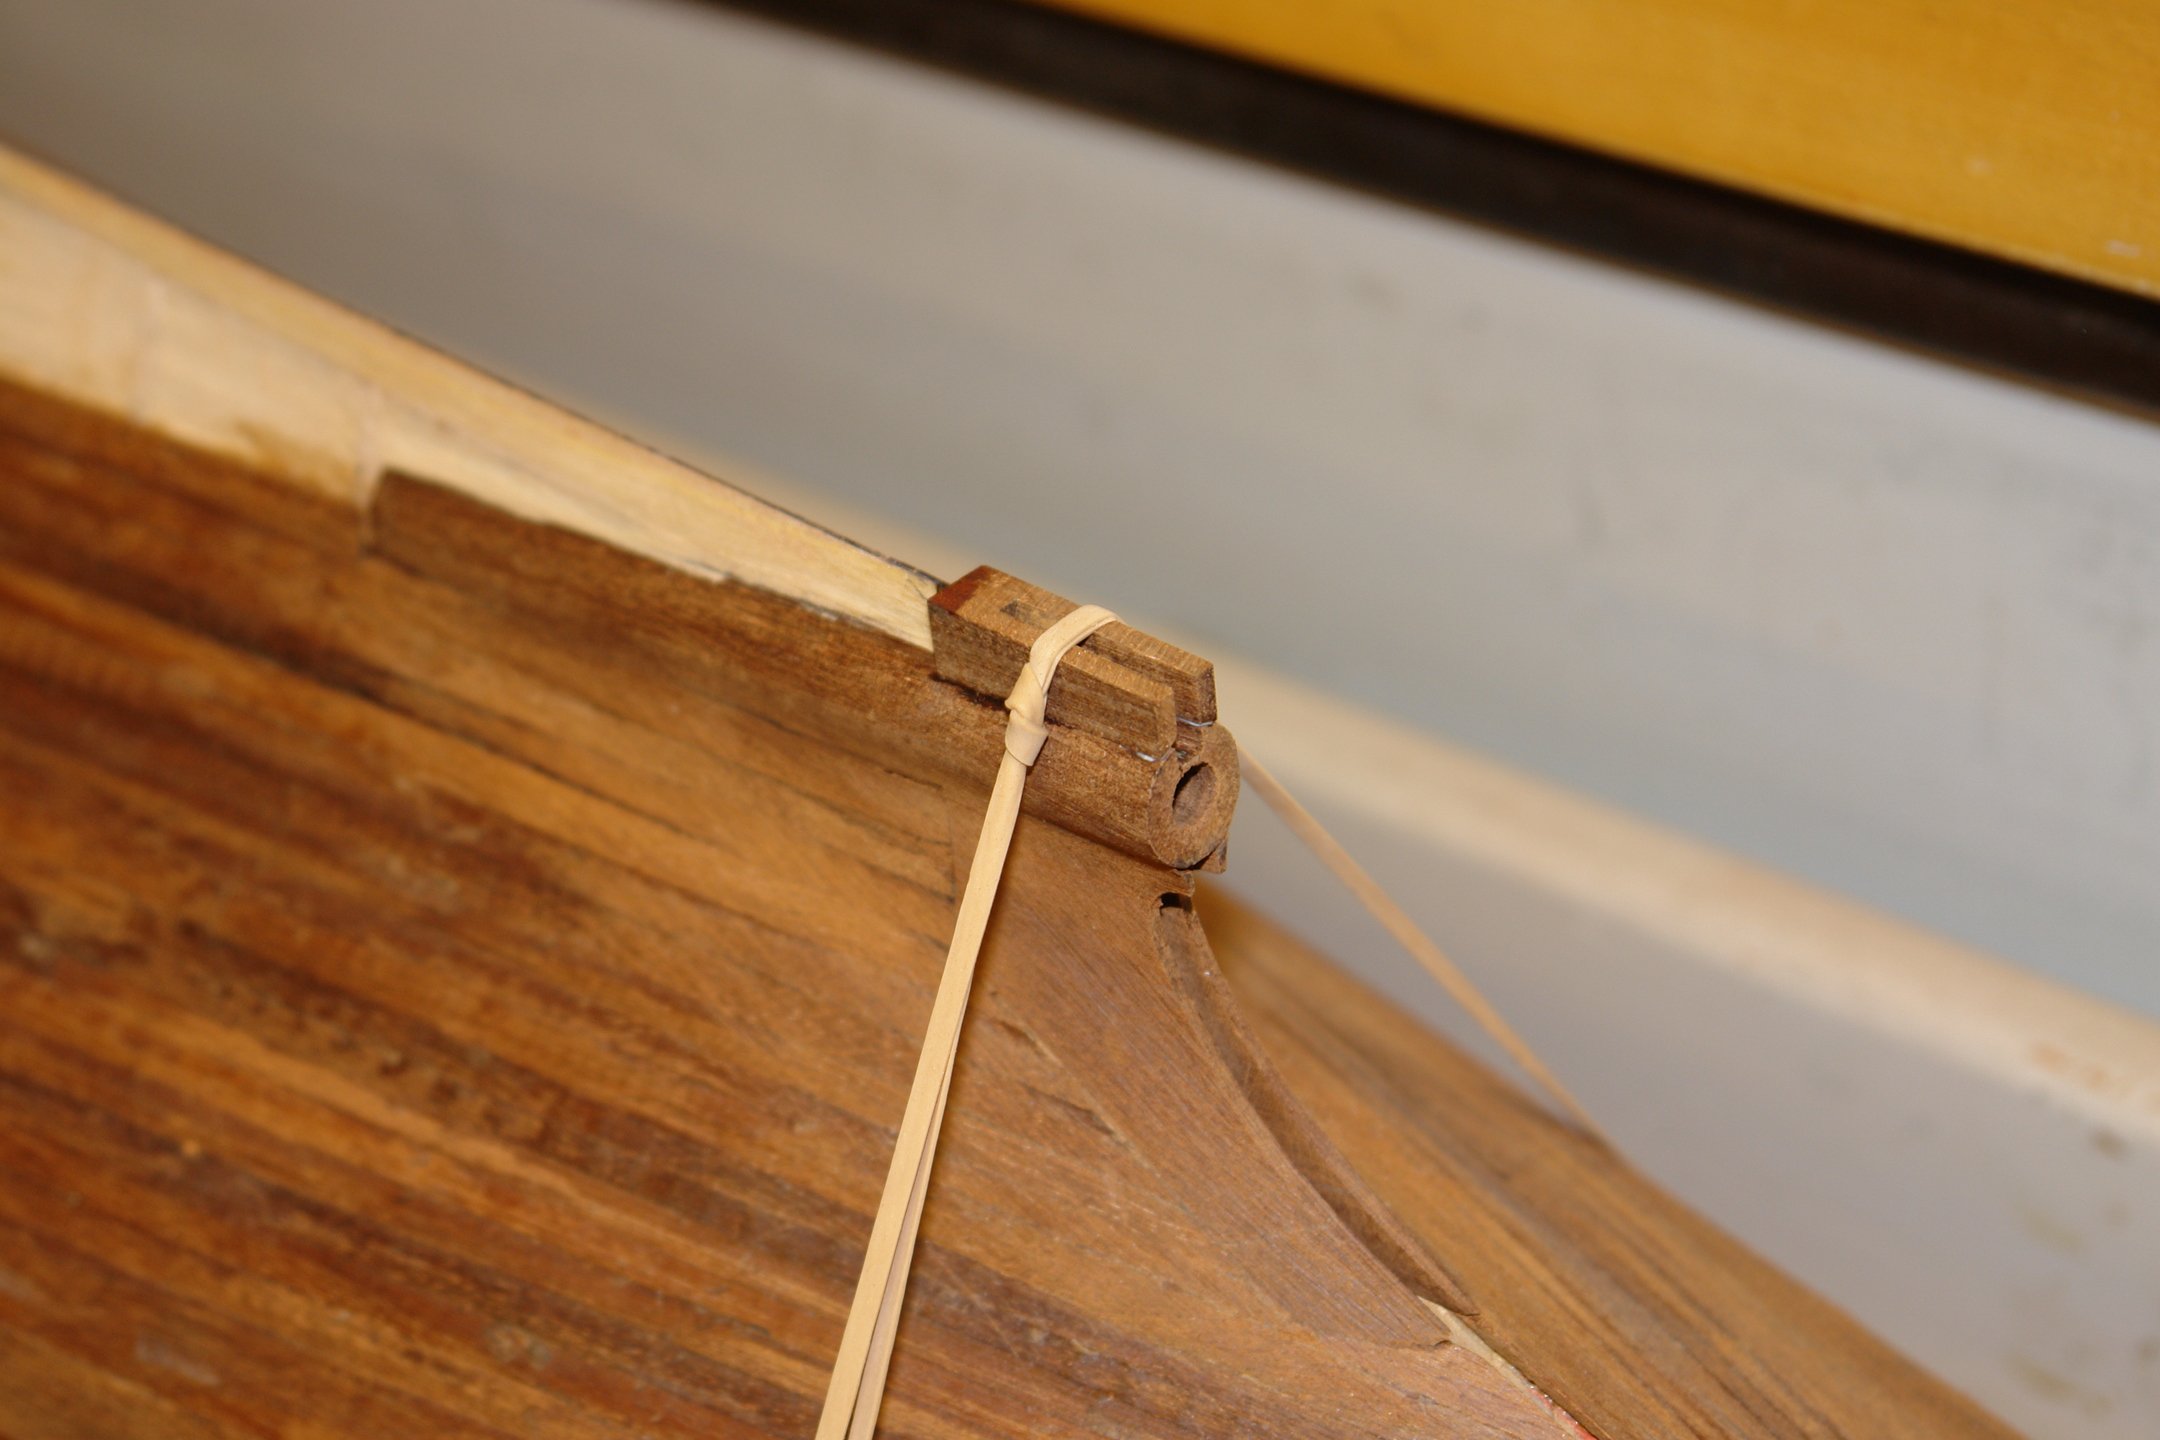
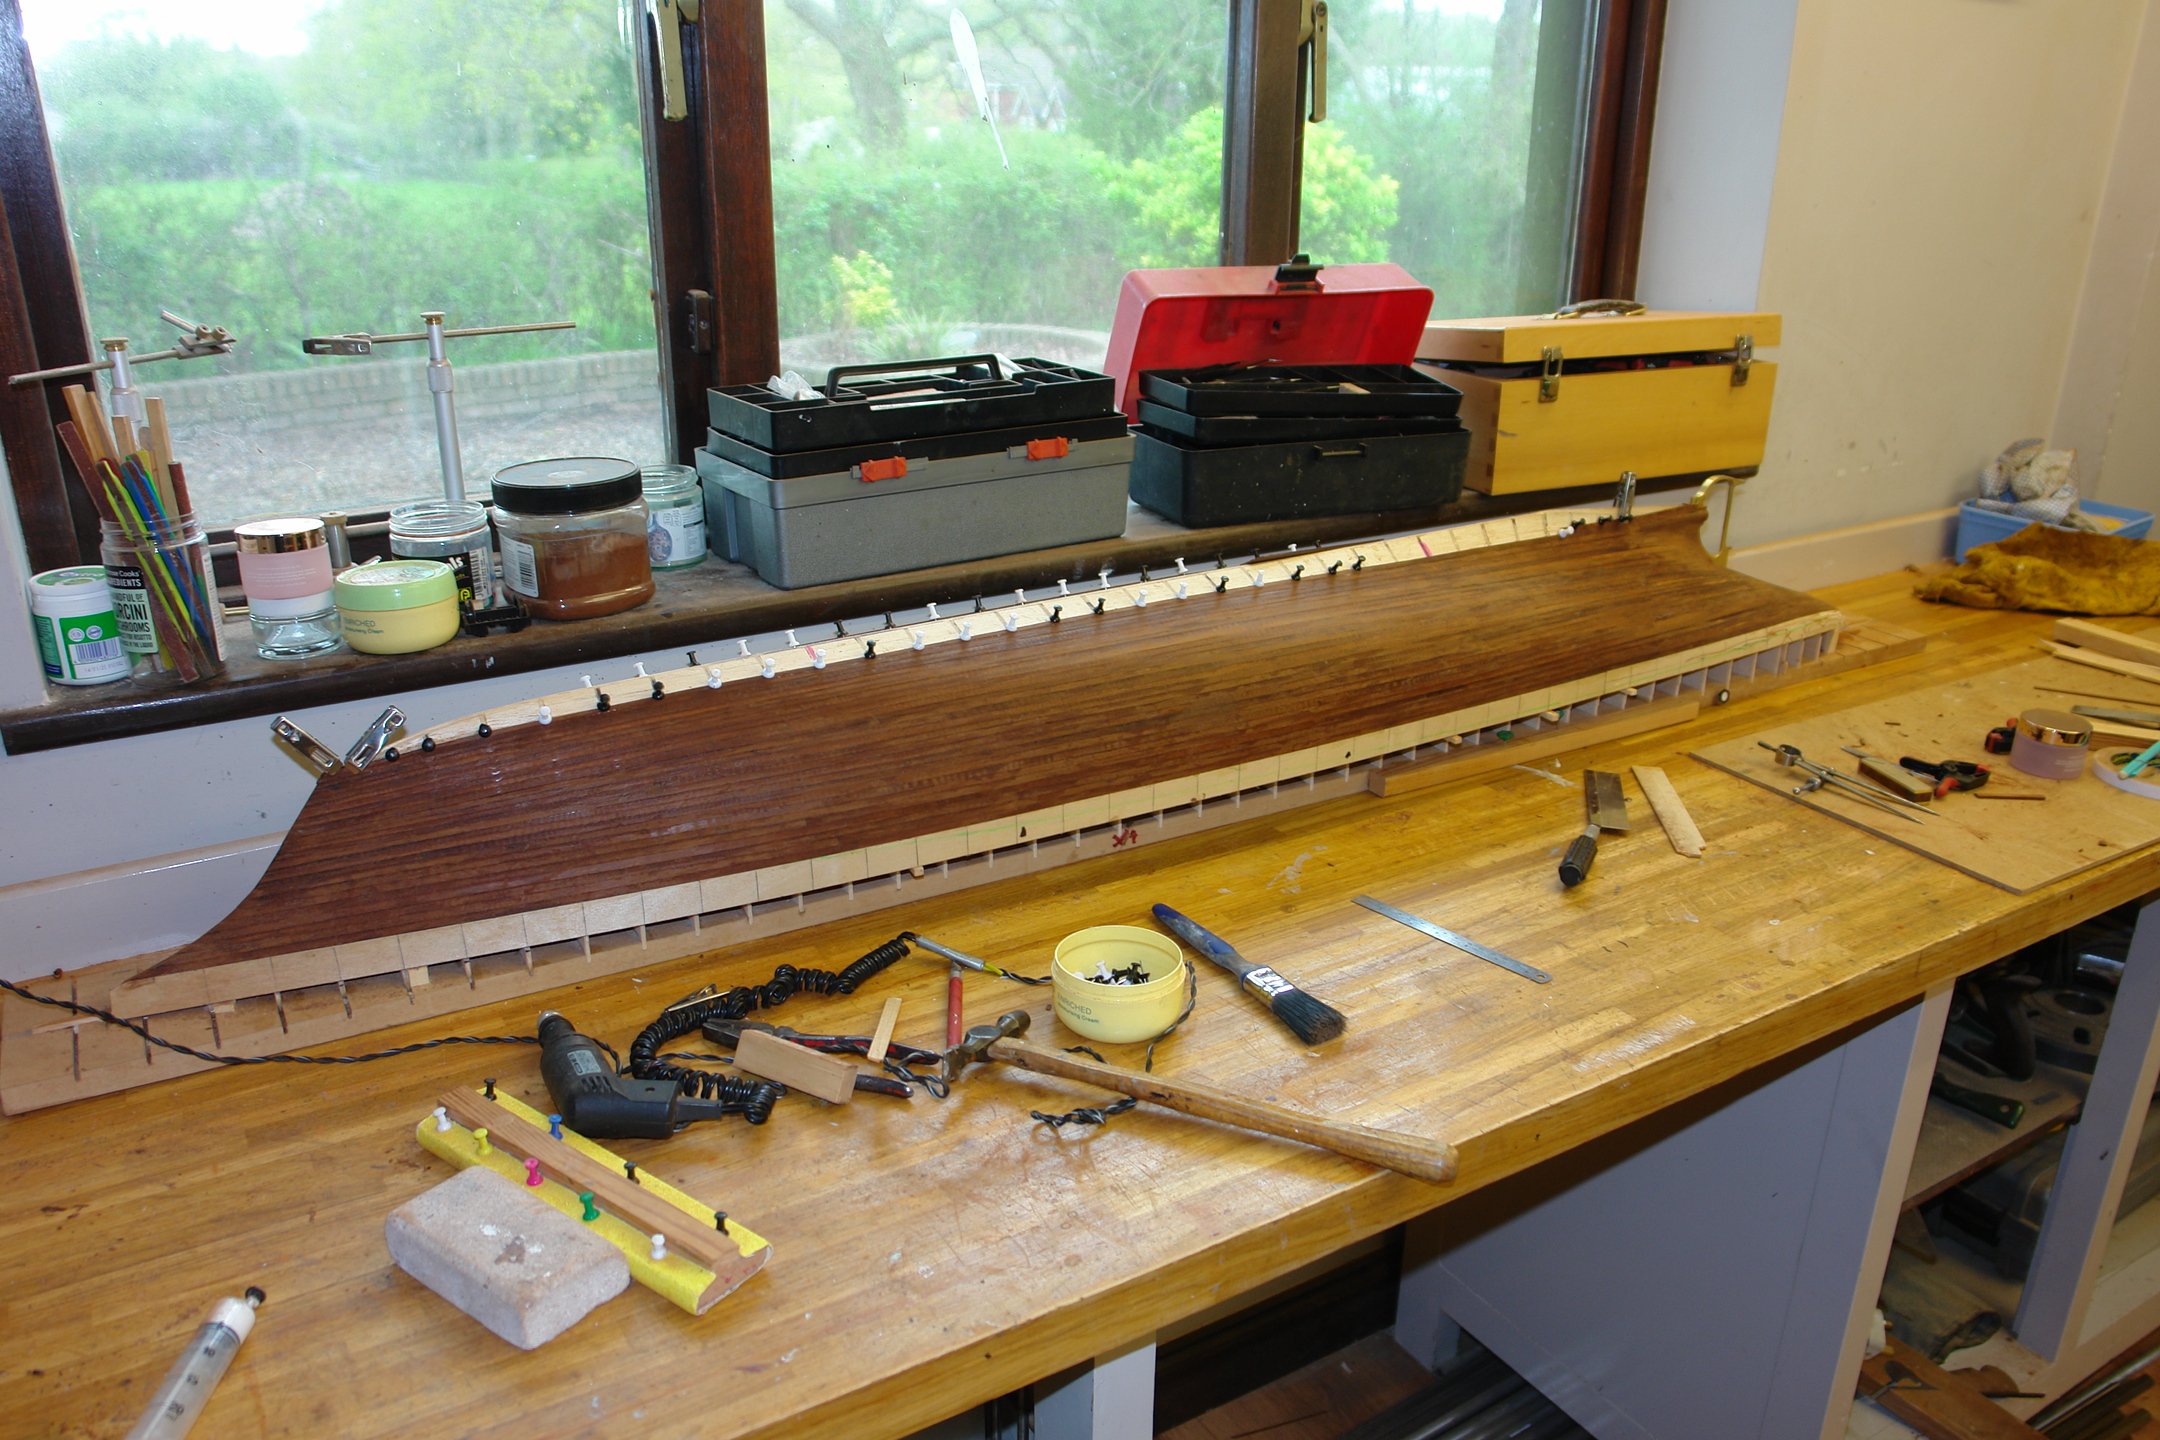
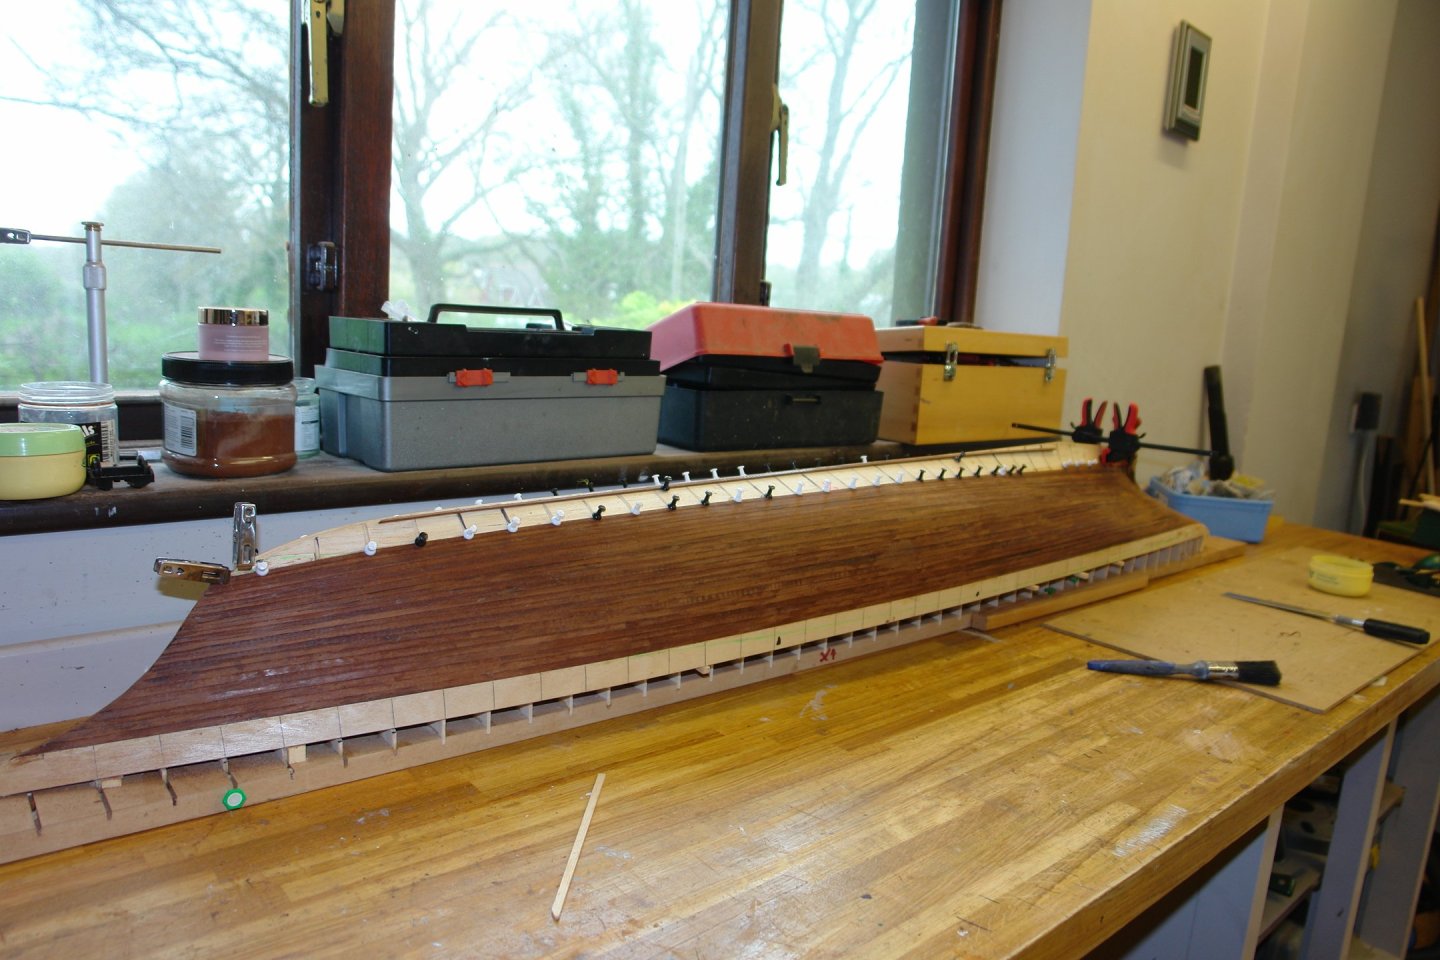
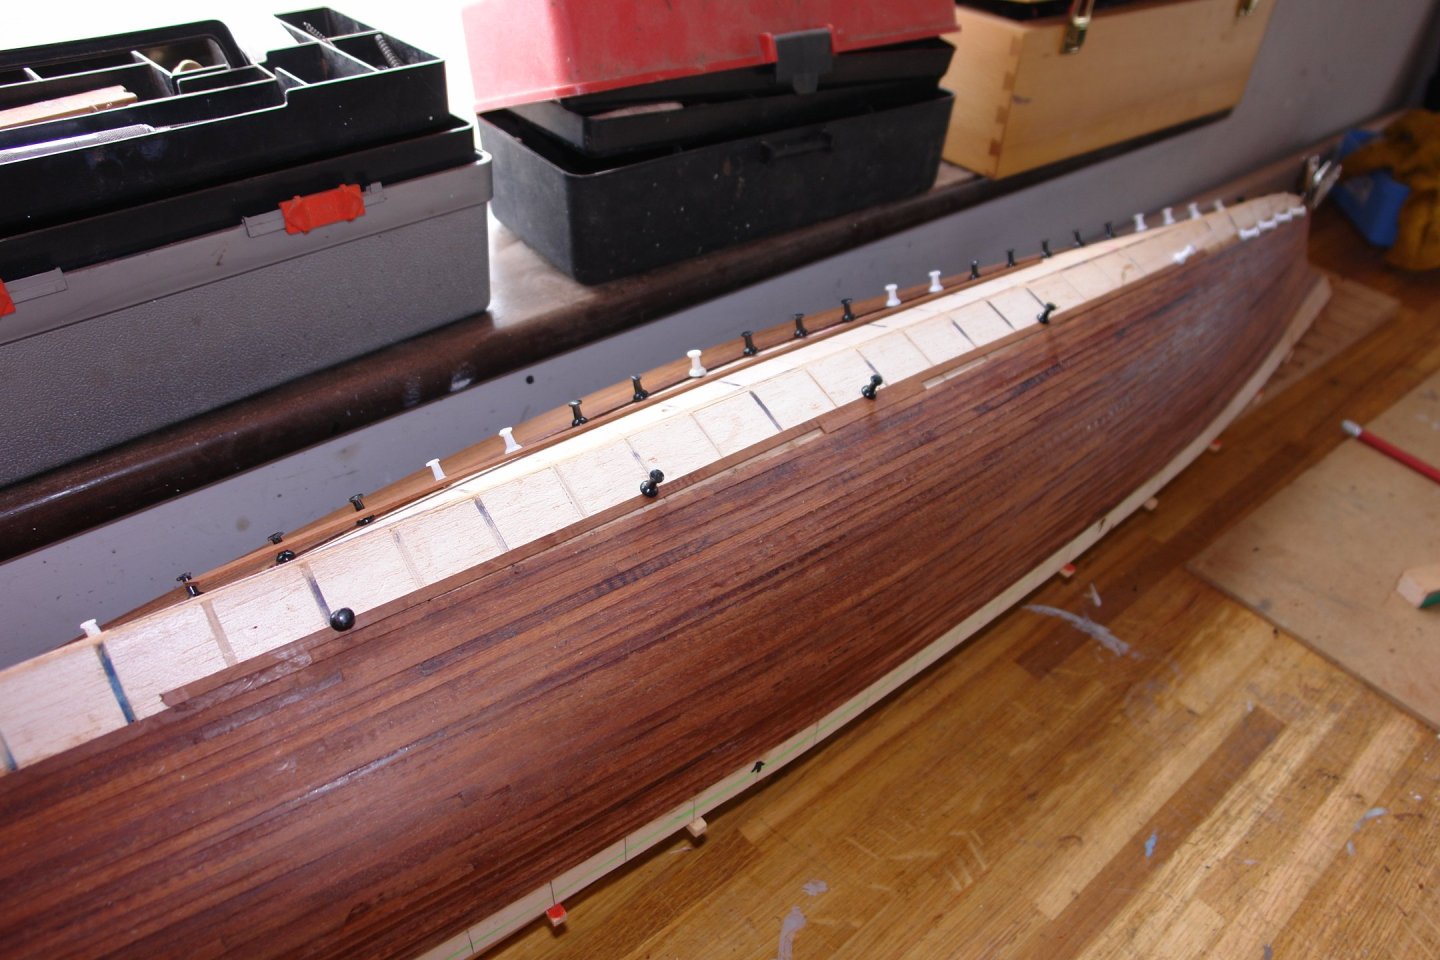
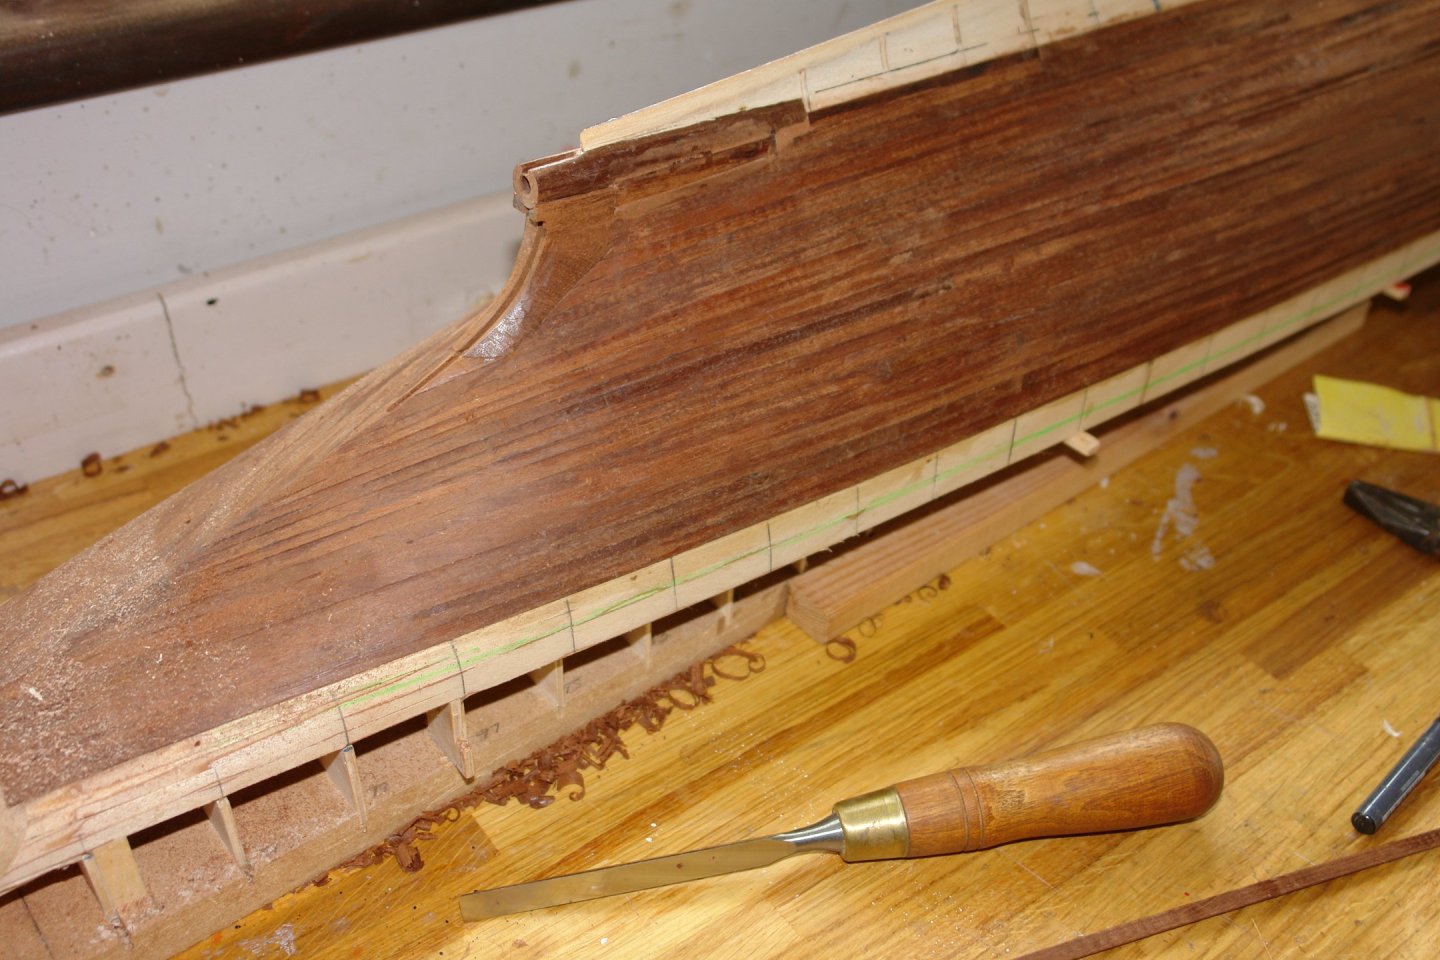
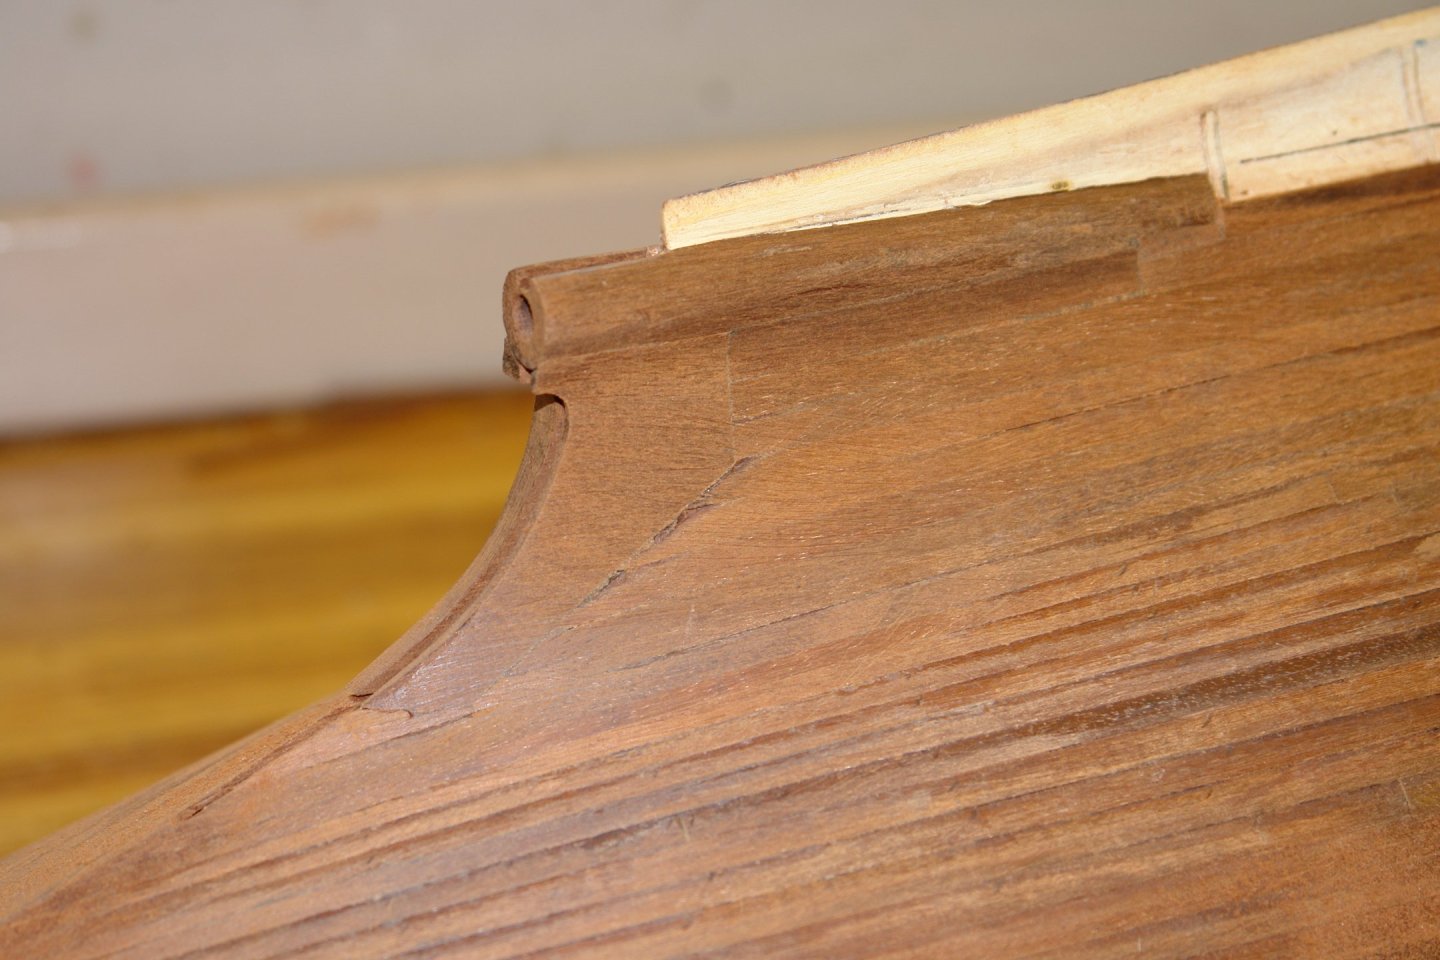
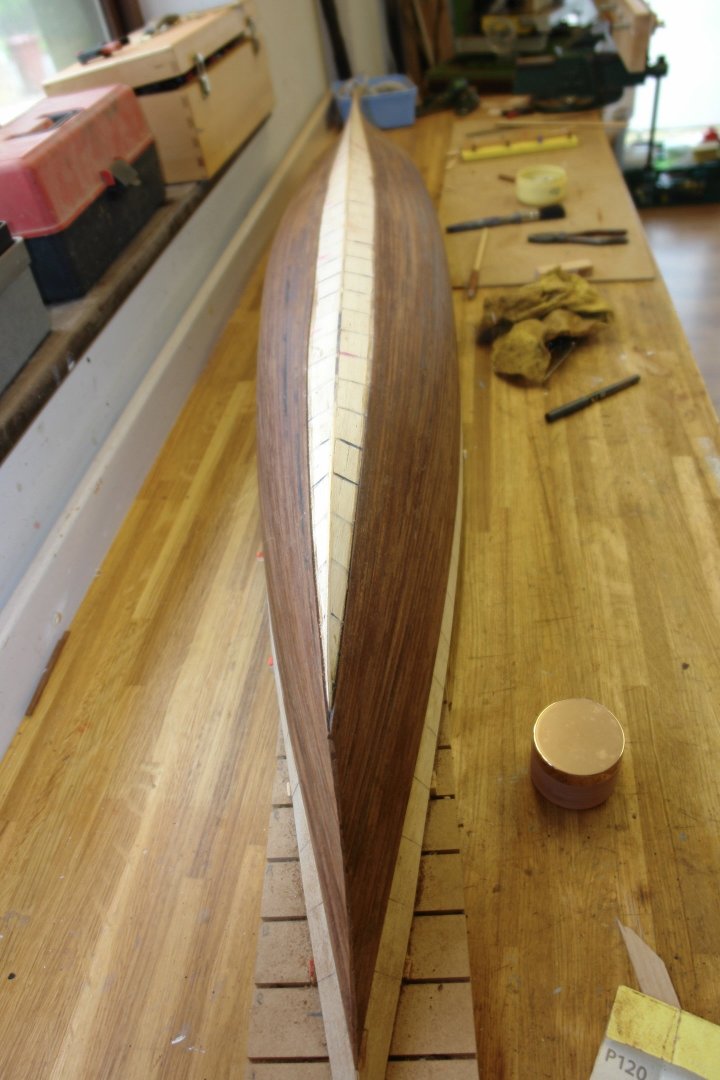
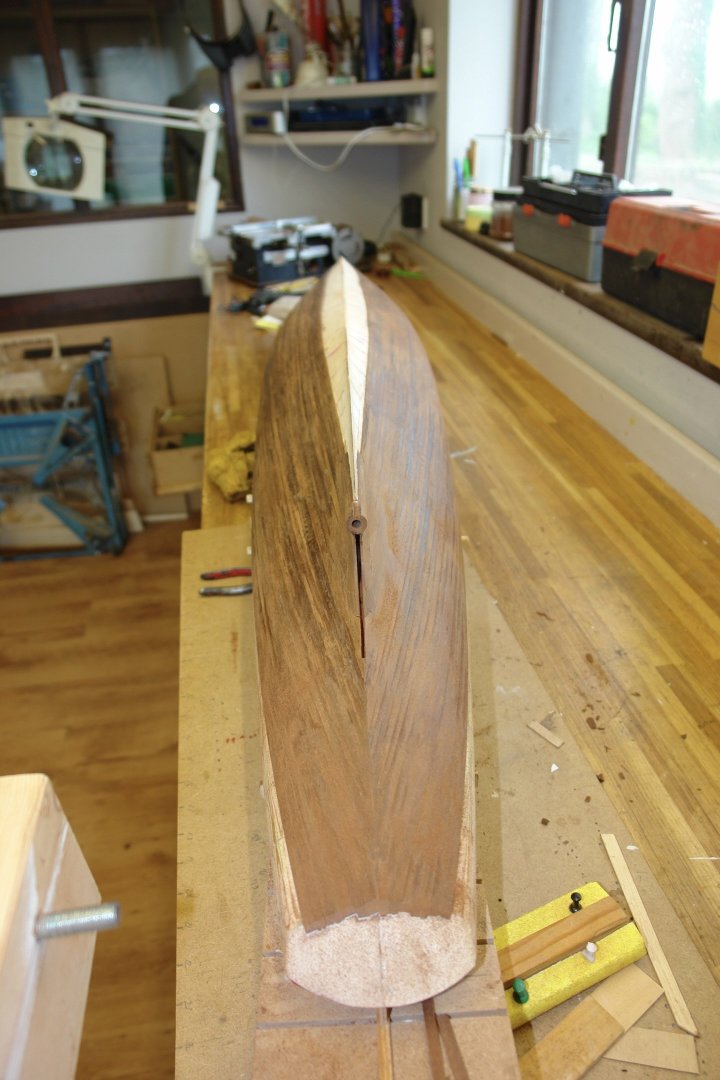
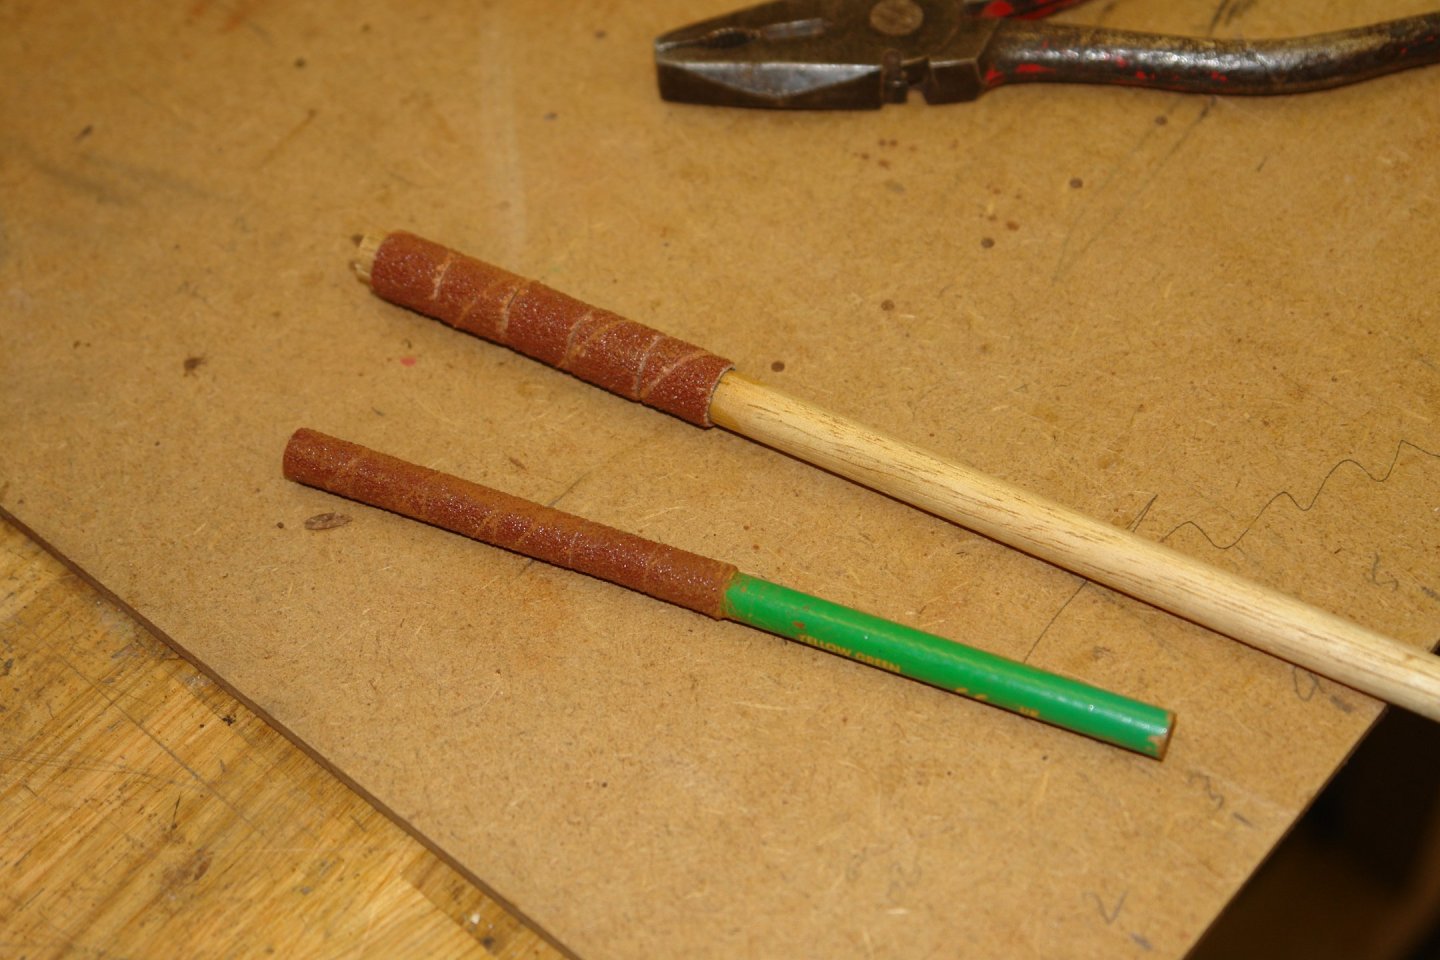
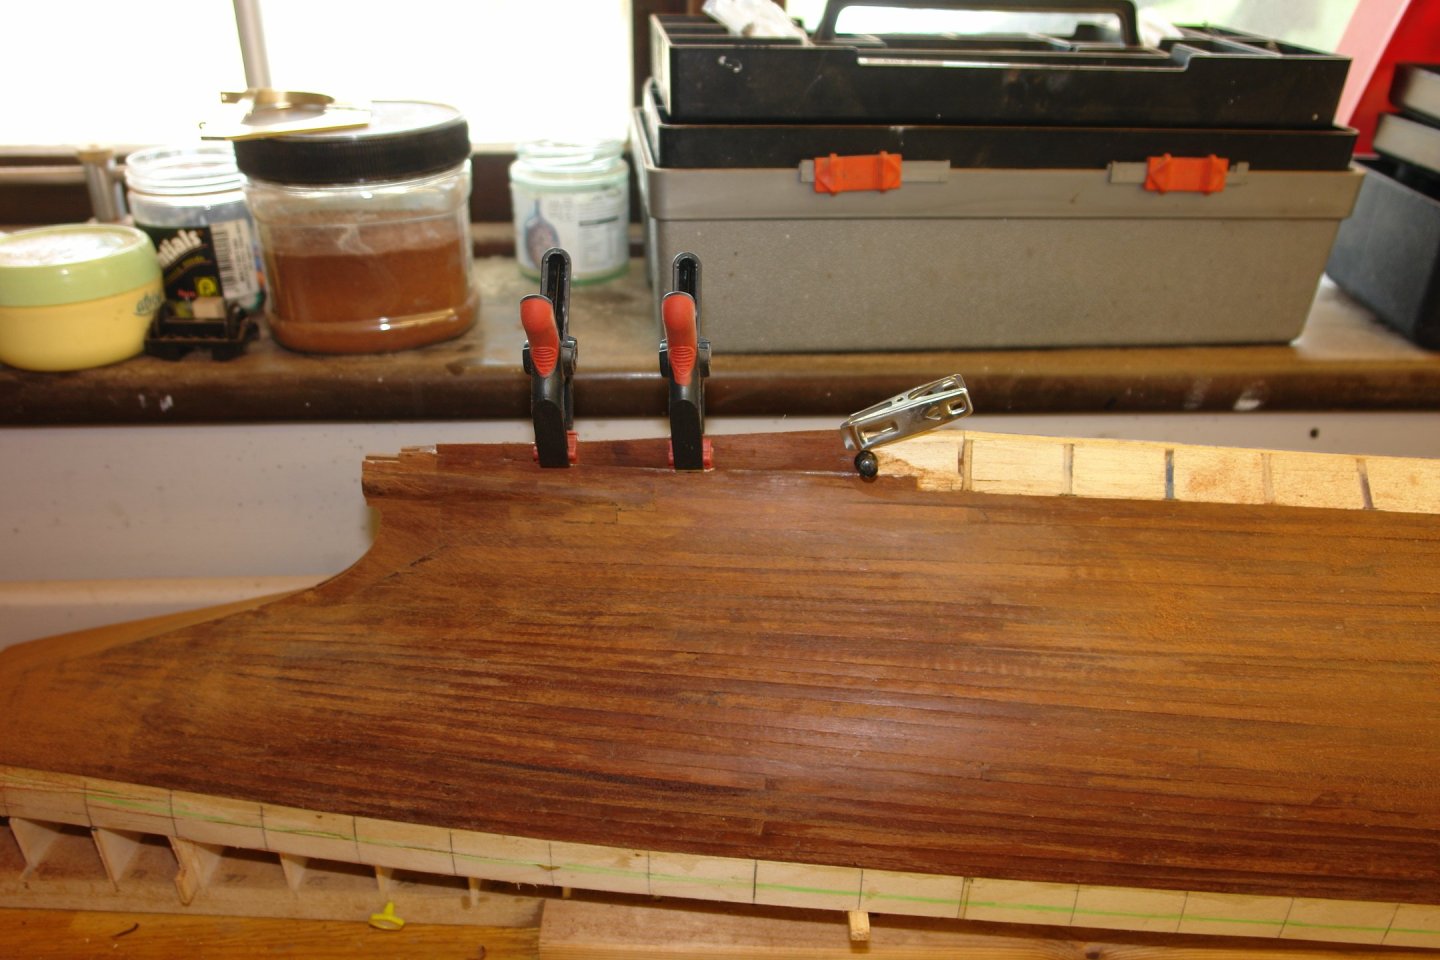
Not a great deal of progress over the last week. I found some rot in a couple of external window frames and so amused myself by cutting it out and replacing it with seasoned oak. Hopefully the repair will see me out. As I get nearer the keel the light at the end of the tunnel is coming into view. Just a pin prick at the moment but hopefully over the course of the next week it will start to dazzle. I seemed to develop a bit of unwanted dip (on both sides) at the position noted by the white arrow. It wasn't very significant and I did consider leaving it to be sorted out on the garboard plank. In the end I chickened out and sorted it before progressing. As per a previous post I aligned a plank along a run that looked about right with a short plank section acting as a spacer. I then cut wedges to fill in the triangles. Obviously 4 required - 2 per side. This corrected the dip and set me up with a fairly simple job of planking toward the keel with minimal tapering. I then moved on to sorting out the mahogany block int he area of the skeg. The rough carving was done with a 3/8" chisel. I needed some round sanding sticks to sort out the concave areas. I improvised these by sticking some small Dremel type sanding drums on to a piece of dowel and a pencil. In the next Photo I am progressing with the shaping. The planks at the bow are also starting to encroach on the bottom of the keel. I am not expecting any significant issues with planking in this area (famous last words). The next shot show the skeg slot fairing into the prop tube. Still a lot of fine shaping required in this area. I then started to build up the planking above the prop tube. The garboard plank is becoming a tangible objective. But first more work around the prop tube. The mild steel plug in the prop tube is a temporary sanding guide. Once again that's all for the moment folks.


-
Enjoy you holidays, I look forward to more eye candy when you return.
-
She is quite lovely isn't she. I think I like the exterior version with all the arrows, much more interesting with all those extra bits.
-
Brian - you seem to have stopped. Has your light sabre blown a gasket?
-
The sips wheel is very interesting - does anyone know what the secondary small wheel did? The small chain hanging from the sprocket on its shaft doesn't seem connected? Possibly the two wheels separately control the rudders pre and post the paddle wheel????
-
Not sure about the Cumbrian Ale. Is it brewed near Windscale. Perhaps it glows in the dark. I know a thing or two about Brewing and Reprocessing!😬 There are a lot of Keith's and Black's on this thread. A convention would be very confusing.😕 /
-
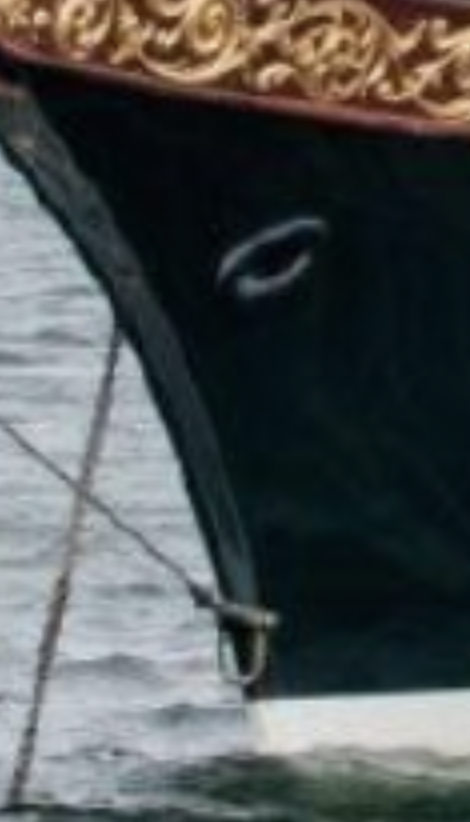
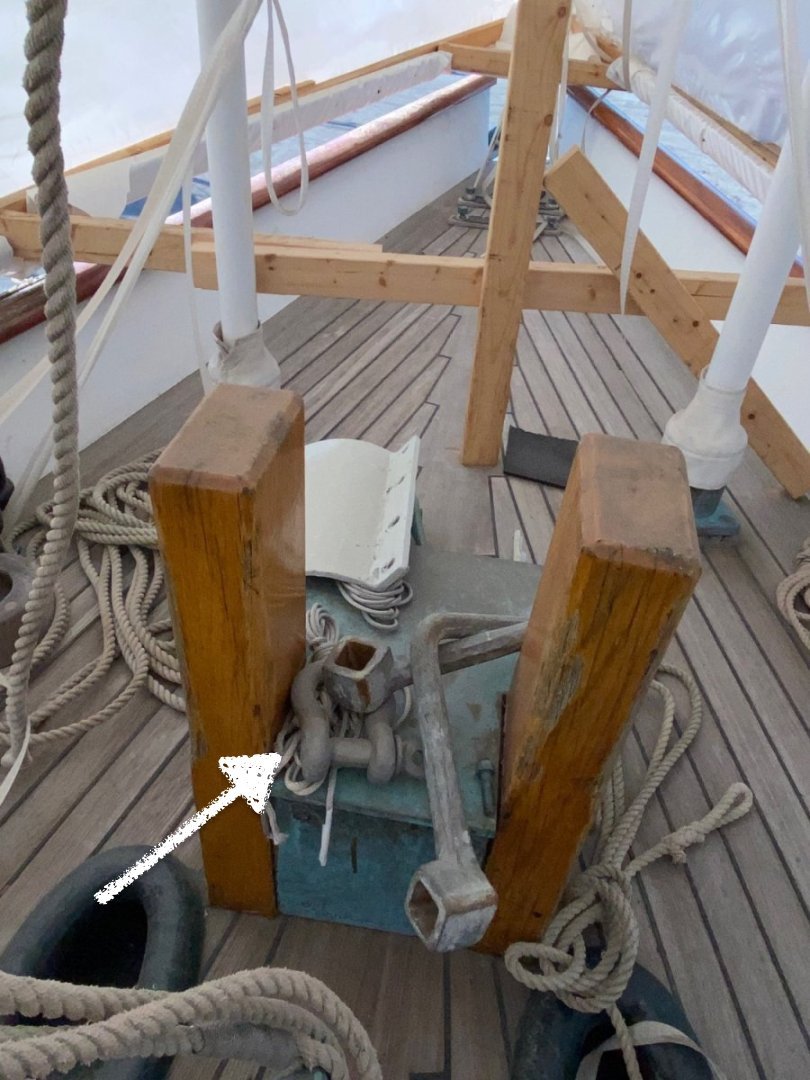
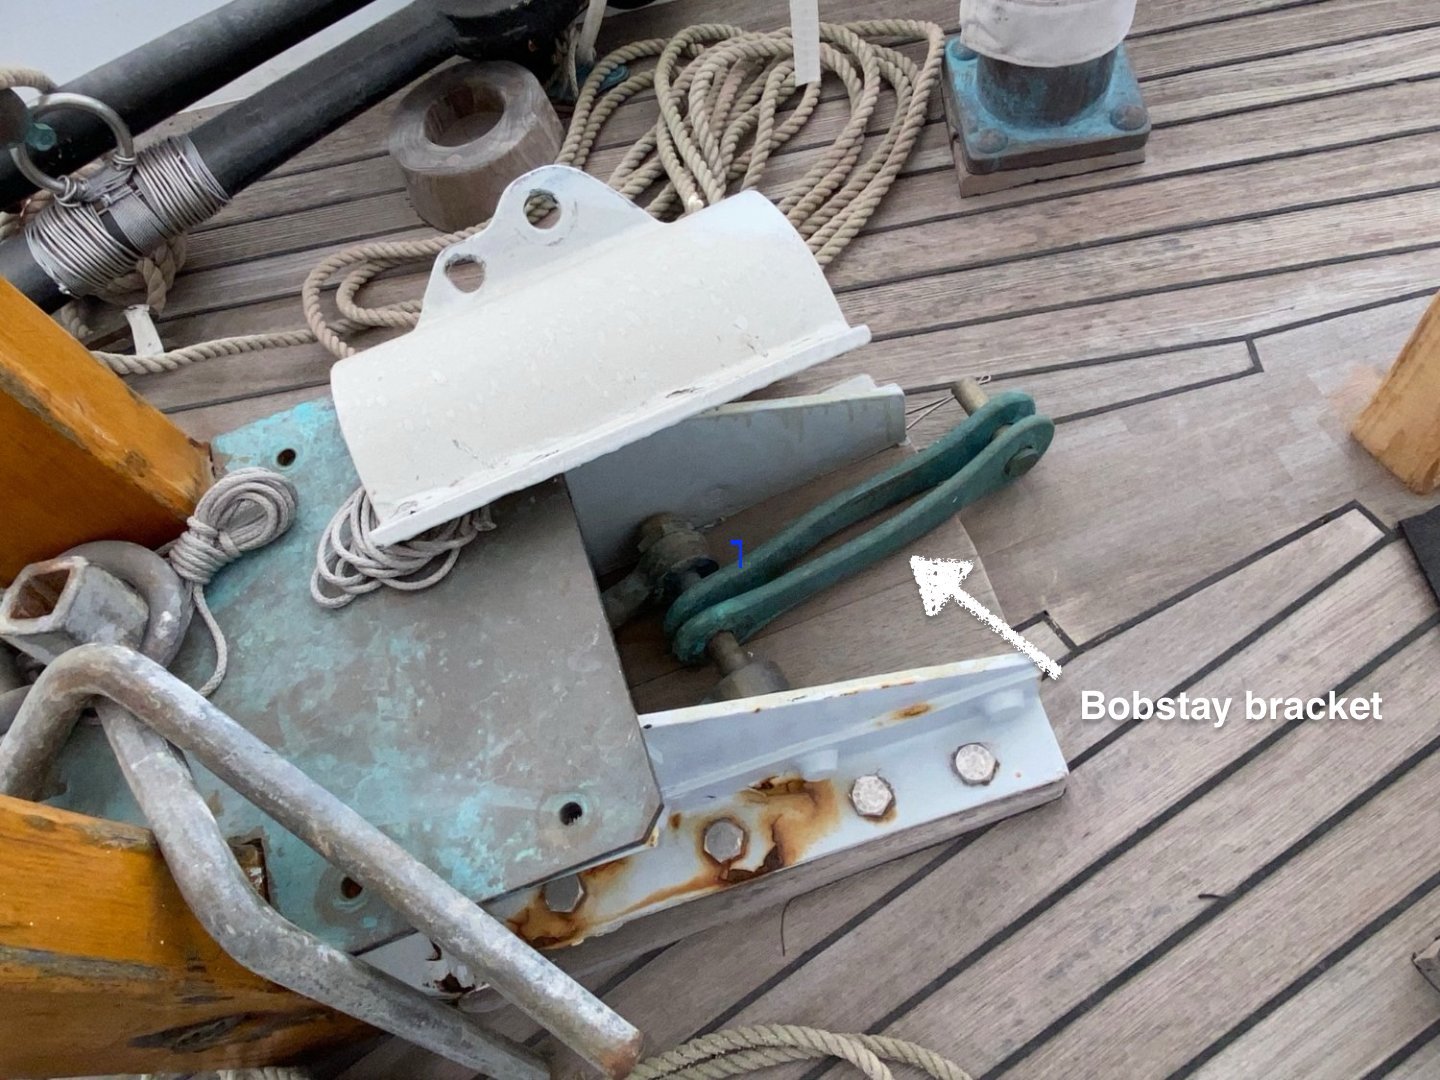
Maybe! I am still looking for the shackle. There is a shackle on deck near the bob stay attachment bracket but it is the wrong shape. I think it is off the anchor.
-
Thank you very much Rick. I would have made it round but from the photos is looks to have a sharp edge front and rear and is longer than it is wide. I think in a previous post it was suggested that the half pipe in front of it is some sort of baffle. Yes I agree, if you look at some of the previous photos you provided you can see the bobstay attachment bracket laying on the deck in the area of the foot of the bowsprit.
-
Nice work - hell of a smoke stack!
-
Nice to see the boiler room staff getting a little deck time. All very precise. Excellent work.
-
The hull planking is actually pretty good for a first attempt.
-
Exactly so Louie. Two nations united by a common language.
-
Mollusc - I guess you are going to paint the hull. If this is the case just fill the area with wood filler and sand back to the required shape.
-
Those aren't buscuits Chris as previously stated they are scones (sometimes pronounced scons) . Two nations devided by a common language!
-
Hi from a fellow Yorkshireman - currently living in exile in West Sussex. You will find a lot of friendly help here. Some may even help solve irreverible errors.
-
Those ratlines are truly magnificent Keith. The shot with them mounted shows how perfect they are. Clearly your skills are in no way diminished. Keep up the good work.