trippwj
-
Posts
3,156 -
Joined
-
Last visited
Content Type
Profiles
Forums
Gallery
Events
Everything posted by trippwj
-
 Looking at your picture, Andy, and for a moment I thought you had broken someone's heart....
 -
Also would help if Augie didn't buy Tilapia and Salmon at the grocery store....
-
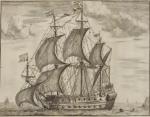
Based on the engraving which is posted for sail (tee hee) that comes up with St. George's guess, I do believe he has it (it is the same picture posted for us to identify). Now to wait for official confirmation! http://www.memoryprints.com/image/451382/henry-john-vernon-artist-day-&-haghe-publishers-engravers-a-hinton-publisher-ackermann-&-co-publishers-hms-satellite
-
Sjors & Danny - Do they make those in micro sizes? The deadeyes on my Harriet Lane are only 2.5mm in diameter, and the wire on the smallest threaders I have found locally is the same diameter as the holes in the deadeye - no way to fit the two wires through and still be able to pull the doubled line through the hole. Had to settle for hardening the end (about 10mm) of the line using thin CA and trimming back as it gets bent from my poor aim trying to thread it through the holes.
-
Congratulations, Senor Adrieke! Not even one small, little picture for the update before you put the box away?
-
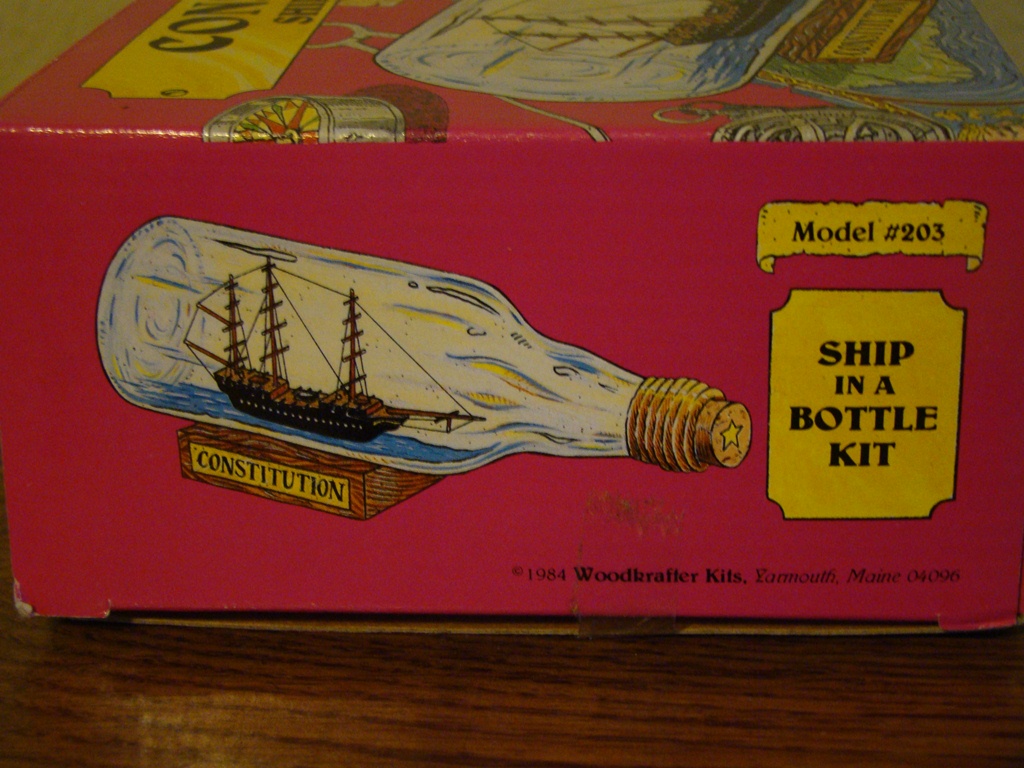
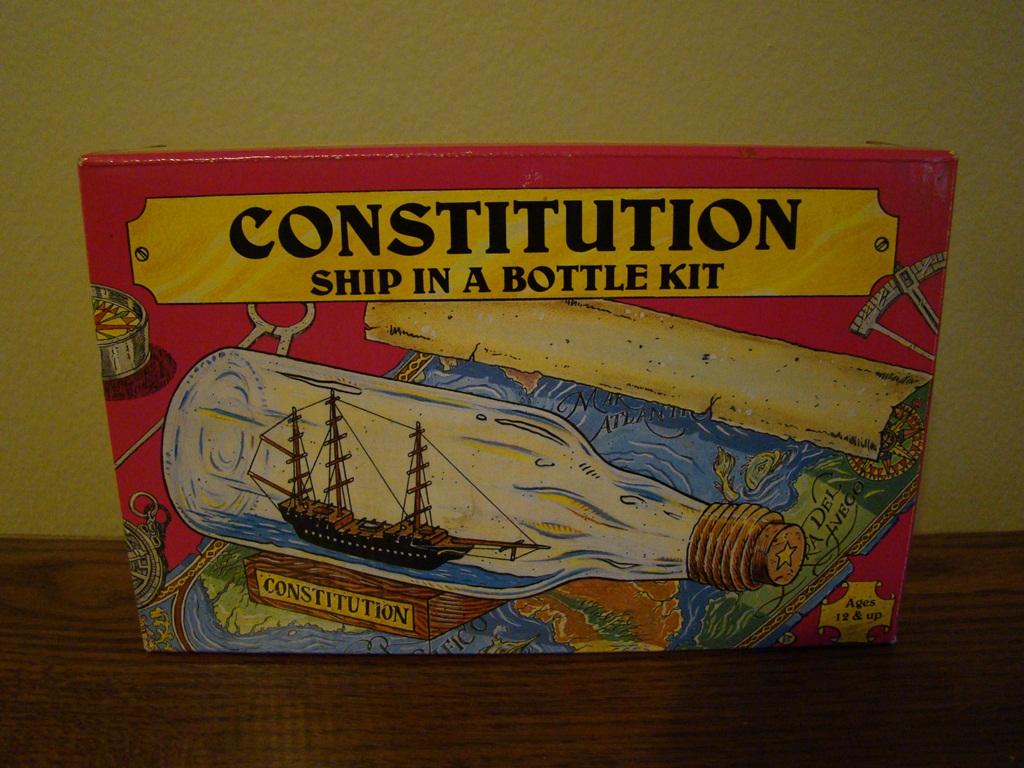
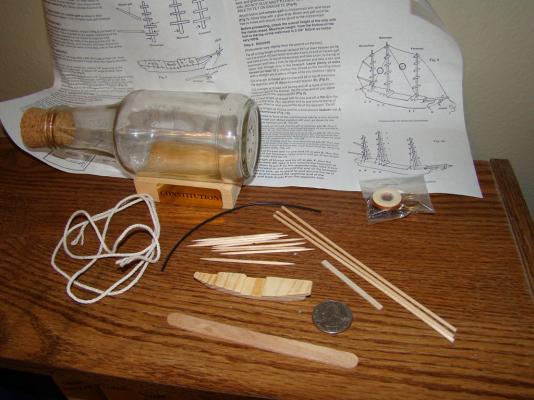
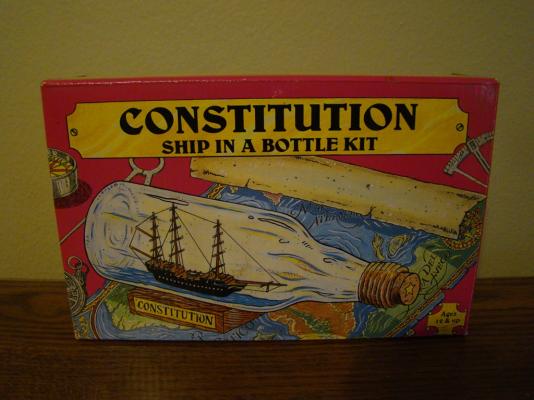
Welcome aboard, Anja. Always a seat for you!!! No scale listed on the box or plans, but based on the length of the Connie (about 200 ft) and the model (3 inches) appears to be about 1:800 scale - but no ratlines on the plans (unless I really want to go crazy!)
- 15 replies
-
- 1
-

-
- bottle
- constitution
- (and 1 more)
-
Good afternoon, Ian. I believe we bought it sometime in the 2005 time frame, so could be anywhere from 8 to 30 years old at this point. Skerryamp - that is cool! I had completely forgotten we had this until the Admiral found it in one of boxes that has been stored away for quite some time!
- 15 replies
-
- 1
-
-
- bottle
- constitution
- (and 1 more)
-
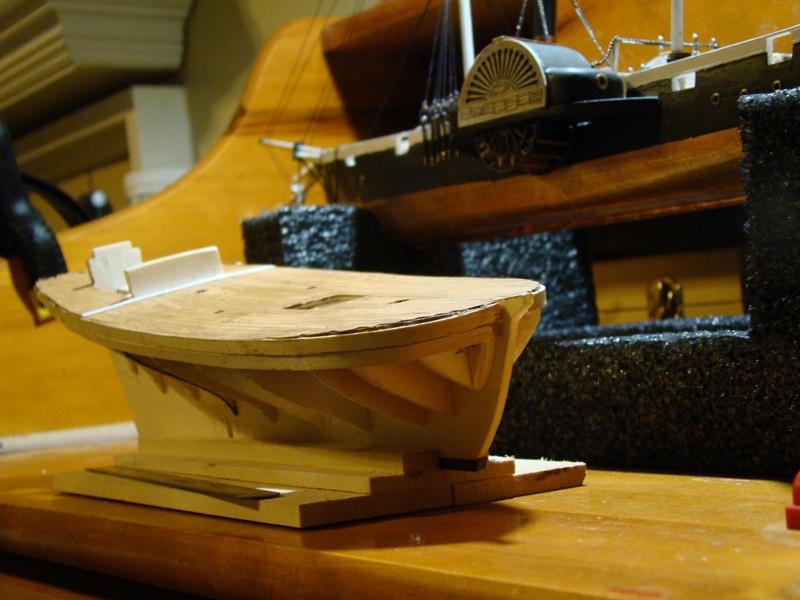
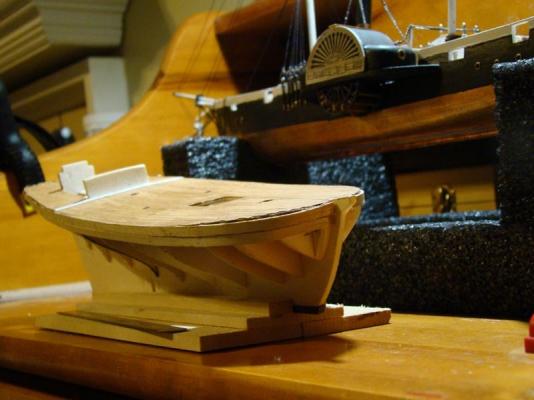
Not a problem - each of my sons have a Phantom kit on the shelf here at home, so learning about it via other builds so I can steer them in the right direction when the time comes! A POB (Plank on Bulkhead) uses more or less solid bulkheads transverse to the keel to simulate frames as shown below. There are generally not as many frame pieces as in a POF (Plank on Frame) model. In a POF model, the individual frames are used. These can be fairly simle as in the Emma C. Berry (shown here) where the frames are laser cut as a single piece per side, to very complex where the frames are built up out of pieces (futtocks) that scarph (join) together from keel to rail. A POB is a great way to learn how to plank and turns out some beautiful results. A POF is nice if you want to build it in a manner similar to the way the innards of a real ship was built and also if you want to add a great deal of internal detail and perhaps leave some of the planking off to show off the structure.

- 85 replies
-
- 2
-
-
- phantom
- model shipways
- (and 1 more)
-
While in the process of cleaning out our storage bin in preparation for a major move later this summer, i came across a kit that we had bought several years ago when on a visit to Maine. Figured it was time to dust it off and maybe give this one a try when I need a change of pace from the other ones!

- 15 replies
-
- 1
-
-
- bottle
- constitution
- (and 1 more)
-
Well, dang! There will be more - GOOD LUCK! Would be pretty cool to be able to take plans and then have the pieces laser cut for you - where you are! Just imagine the possibilities....
-
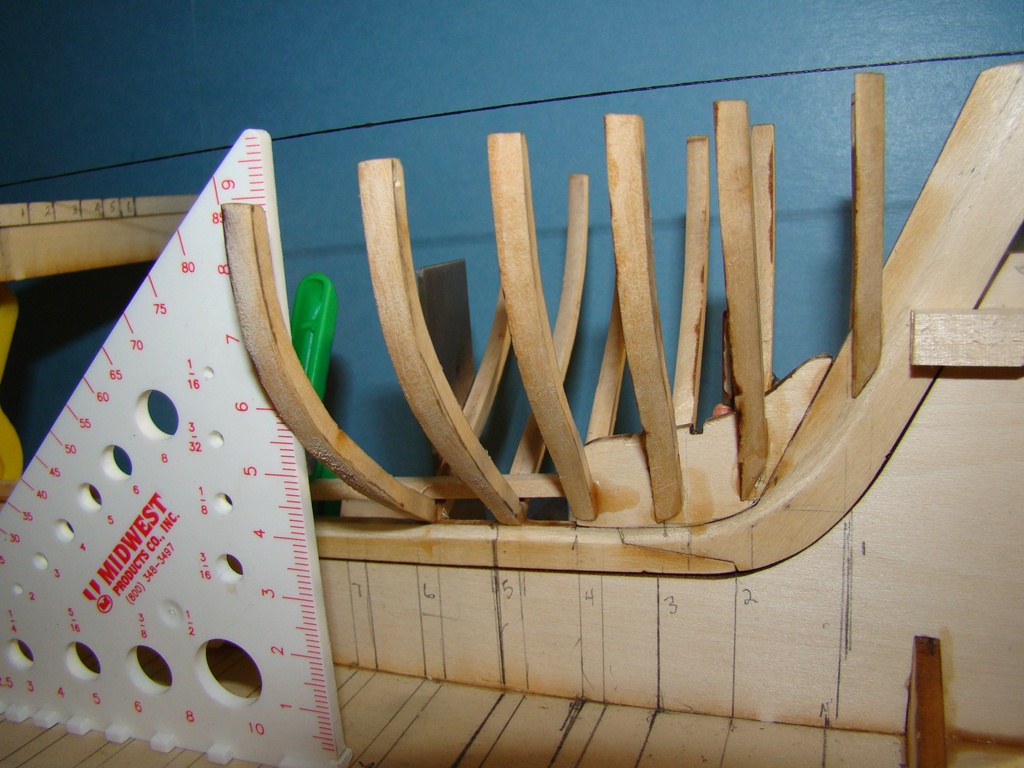
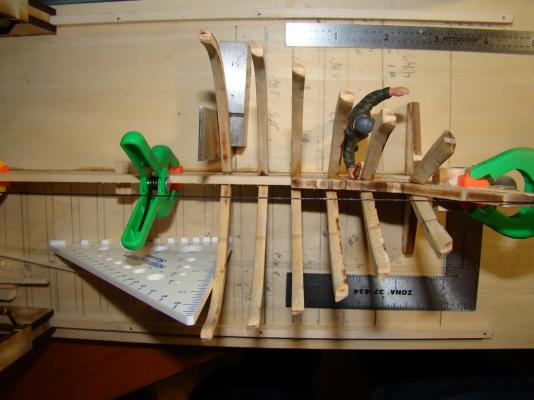
You are correct about not installing the false keel until after the shaping is done since all the templates are proportioned to the solid hull without the false keel. Template 5 is getting very close - may need to shave a smidgeon (highly technical term meaning an amount approximately half way between a hair and a touch) right at the point where the hull takes the curve (you can just see that small gap above the turn toward the rail). That should bring #5 into alignment with your centerline on the keel line on this side. Of course, then you have to do the other side as well! Once you get #5 set, move forward a template and aft a template and keep gradually establishing the shape. By the time your reach #2, it should flow quite smoothly for you. As you move from 5 to 4 you will also be working the run into frame 3, and then as you get 4 finished and move to #3 you will also be leading naturally into #2. As to posting pictures with narrative, see the tutorial posted here by Danny Vadas. Keep it up - you are doing great on this one!
- 85 replies
-
- 1
-
-
- phantom
- model shipways
- (and 1 more)
-
Absolutely a gorgeous build, Chris!
-
I have looked and searched, but all I can see is a fantastic planking job! Not sure if that is the difference, though - has always looked good!
-
Robbyn - Do the upper deadeyes belay off (fancy sounding, huh?) to the lower mast in some manner - I am not familiar enough with the SF, but the deadeyes should be on the outer edge of the crosstrees, then what would be the chainplate on the lower deadeyes extends below there to some point. Sometimes it is to the lower shrouds, sometimes to a band on the mast. The ratlines would extend high enough to enable a sailor to access the tops from them - whether via the lubber hole (if there is one) or the ratlines on the futtock staves.
-
Si...oui....ja....ayuh That is nearly my entire repertoire of other languages!
-
Looks very nice, John! Love the look of these paddle boats!
-
If the profile picture reflects your repair job, then WOW!
-
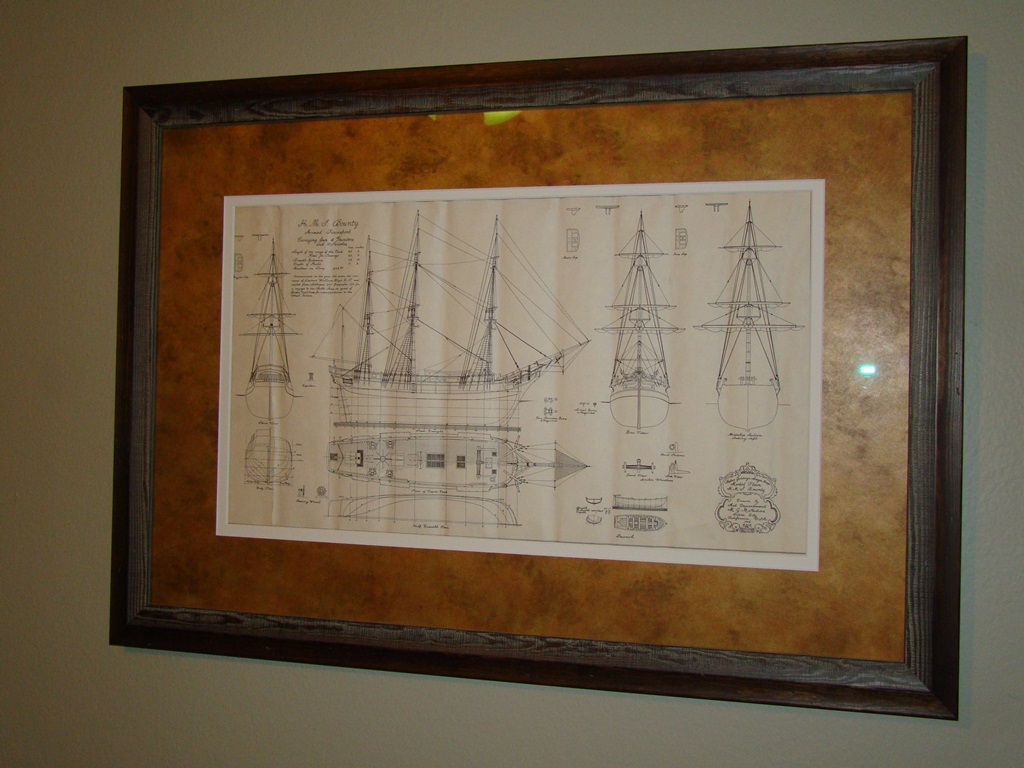
Carl - I am still mulling that over. I may do that after I get the next few frames installed and see how well it will fair with several in place. Have made what, for me, is amazing progress this week. Have installed through Frame 6 (only 19 more to go!) First, though, my Birthday present has arrived! Framed promotional set of plans for the Bounty from 1963!


-
Thank you, Robbyn - the shrouds are looking nice! Try not to overindulge in the Syren scent - you want to savor in small doses and leave some for when the actual build commences!
- 773 replies
-
- 1
-
-
- san francisco ii
- artesania latina
- (and 1 more)
-
Your workmanship is truly amazing! These pieces are astoundingly precise and absolutely beautiful. I am in awe of how you can achieve so much at such a minute scale.
-
She is coming along nicely, Matti - it looks like you are achieving the look you are striving for!
-
Awesome stuff! I only wish I had the time to learn to use this stuff - provides a fantastic method to visualize the actual workings of the ship. These must take you an amazing amount of time and effort to produce?
-
The hull itself. Once you have the keel flat and centerline marked, then you want to start from the midship templates and work outward. Getting the waist (midship) fared then gives you a solid starting point working toward the bow and stern. For the #5 template (which is the midship template), you would want to sand the hull where the template is in contact which should in turn bring the rest of the template into fairly good contact with the hull. You will want to be checking the next templates fore and aft (#4 forward and #6 aft) as you work on shaping the hull to get the right curvature without overdoing it. Sanding and shaping these solid hulls is a repetitive process - take off a little, check the fit, take off a little bit more. When they come into true, though, it feels sooooo good!
- 85 replies
-
- 1
-
-
- phantom
- model shipways
- (and 1 more)
-
Looking pretty good so far. Getting the keel flat and the center marked takes awhile on these solid hulls. The "C" on the template should be at the centerline on the keel when the hull is shaped correctly. In your last picture, you can see where the hull needs a bit more sanding to allow the template to fit correctly (note the part of the template along the side that is in contact with the hull while either side shows a gap). Have you gotten the midship sections faired already?
-
Hello, Thomas - look forward to following your build as well as Anthony's. This is one that sits on my "someday" list!