MORE HANDBOOKS ARE ON THEIR WAY! We will let you know when they get here.
×

Cabbie
-
Posts
597 -
Joined
-
Last visited
Content Type
Profiles
Forums
Gallery
Events
Everything posted by Cabbie
-
 Howdy Mark Thanks for looking in, its very hard these days to keep up with all the fine builds going on. Then we have to find time to do our own ships. Yeh i like the planked look a lot better. I was going to plank inside the window frame but was getting too messy that way. The "paint" is actually some black glue I had mixed up for the wales, I thought it would be easier to stick the glazing bars on to the black glue. Rather than painting inside the glazing bars after. Some poly on top now will darken the black glue, and I am hoping the motley effect will look like reflections on the glass. Hooroo Chris
 -
Thanks everyone for recent looks and likes, much appreciated. Hi Don, Yes because I am not painting I need to go hard and be creative, to make it look interesting. I have a few different ideas to try out. Good Morning Scott thanks for looking in. How is life in your shipyard at the moment? Getting a bit of modelling done I hope. The hole for the rudder is going to have to be done soon, probably should have done it sooner. I suppose the idea would be to drill a hole and expand with a file. Will need to study OATS for a bit and get it in my head first, exactly how it should look. Cheers Chris
-
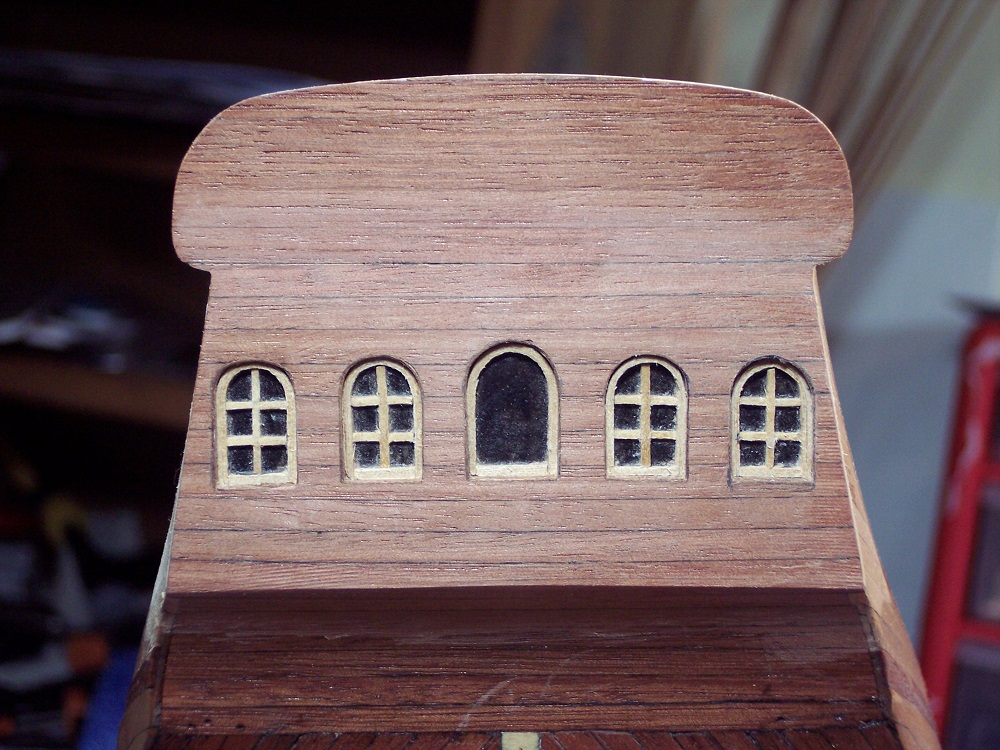
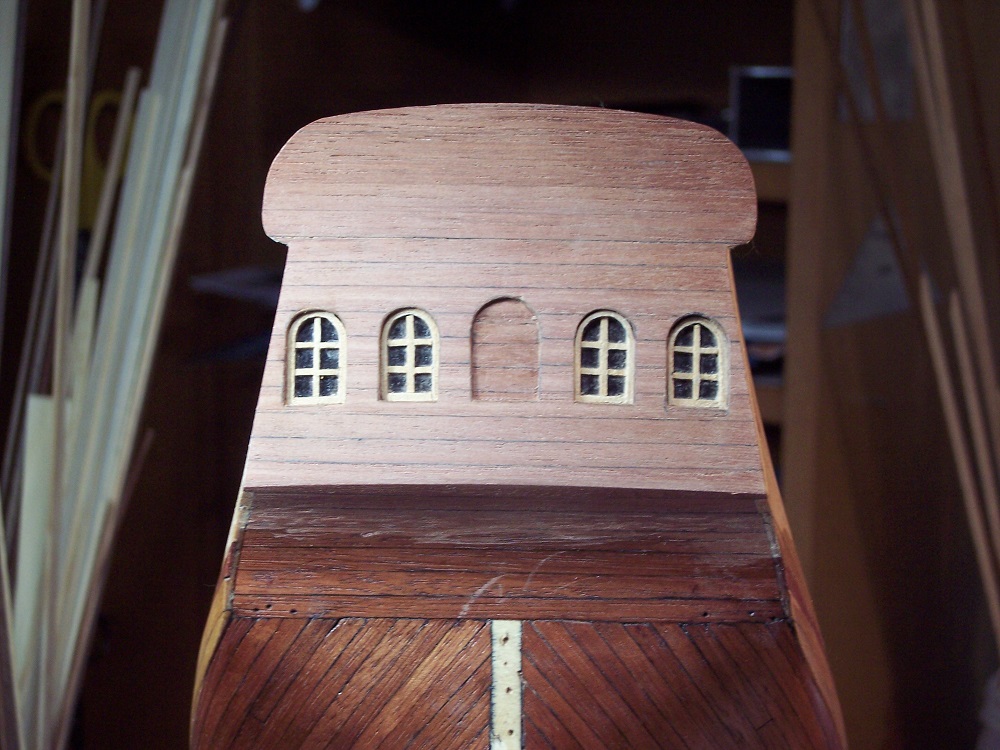
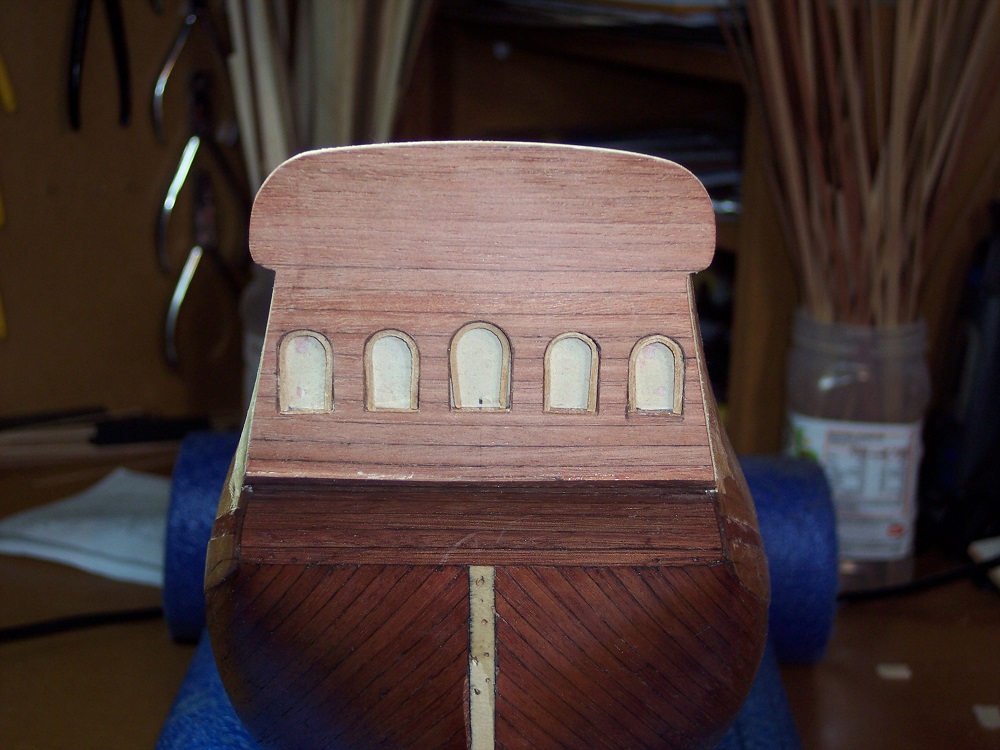
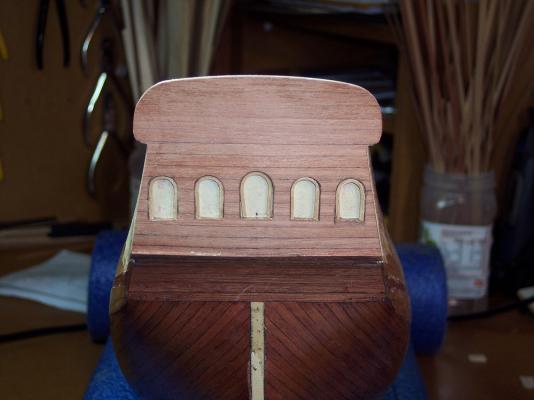
Good evening all Time for a little update, a bit more stern work has happened. First up I had a window frame in the middle window, but then decided I didn't like it, pulled it out and planked the opening. It will look a lot better with some poly. Then i started making some mouldings for across the stern. It has been bent slightly to match the ship. One good thing is that I have nutted out how the stern will look, now all I have to do is make it happen Hooroo Chris


-
Hi Dave I should say now, that I thought that the blackening looked pretty good as well. I will be very pleased to get mine looking just as good as either of your methods. Cheers Chris
-
Good Morning Dave Thanks for writing all of this. I get mixed results when I do it. Similar method to yours. Sometimes it works real well and others very patchy. Going back and looking at your pics, it appears that the chimneys in the block are blackened, and then painted before putting on the ship? They certainly do look better after painting. Not a cheats way, just a method of getting a realistic finish. Thanks Chris
-
Hi Dave Very good looking work, The chimneys look spot on to me. In fact I was about to ask how you did your blackening, then I saw this; (but my blackening methods not the best), looked pretty good to me. Can you tell us anyway? Thanks Chris
-
Hey Dave, dead right, since I don't like painting, I have to make sure the work is good enough not to need paint. And after doing all that work, you definitely don't want to cover it up. I am experimenting on my version of the stern windows and glass at the moment. It will be good to see how it ends up looking. Cheers Chris
-
Hi Scott Thanks for looking in Me neither, painting is not something I like doing. At this stage I don't think that I will paint anything. I am going use some of the walnut that came with the kit, masts, yards ect, and put a jarrah stain on them. It should go quite dark and provide some contrast in the finishes. Thanks Chris
-
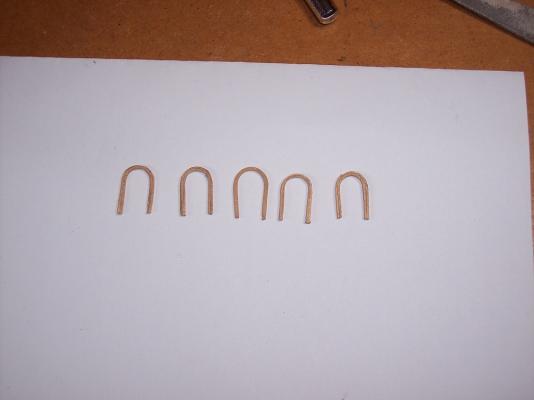
Hi Hof Good to see you looking in. "Interesting" Nah, it will be fun!!! All a good learning experience. Looks like tricky stuff the liquid gloss, trying to get it in the right spot, and not all over the woodwork. Work on the ship has being going at, slow crawl, speed,at the moment, glued the arched pieces for the windows last night, do some more tonight I hope. How is the weather over there, it has been very dry here and everyone is waiting for the autumn break. Our block has turned to almost total dust now. I think that the grass has packed it in and has decided not to grow anymore. Hopefuly La Nina is on the way and will give us a wet year. Not sure, what might be out of line, but all is good. Hooroo Chris
-
Thanks Pat i will have a look
-
Hi Pat Thanks for the info on the liquid gloss, should do the job. i am going to put a frame, and no glazing bars in the middle one, just to define it a bit, and put jarrah planking in. Thanks Chris
-
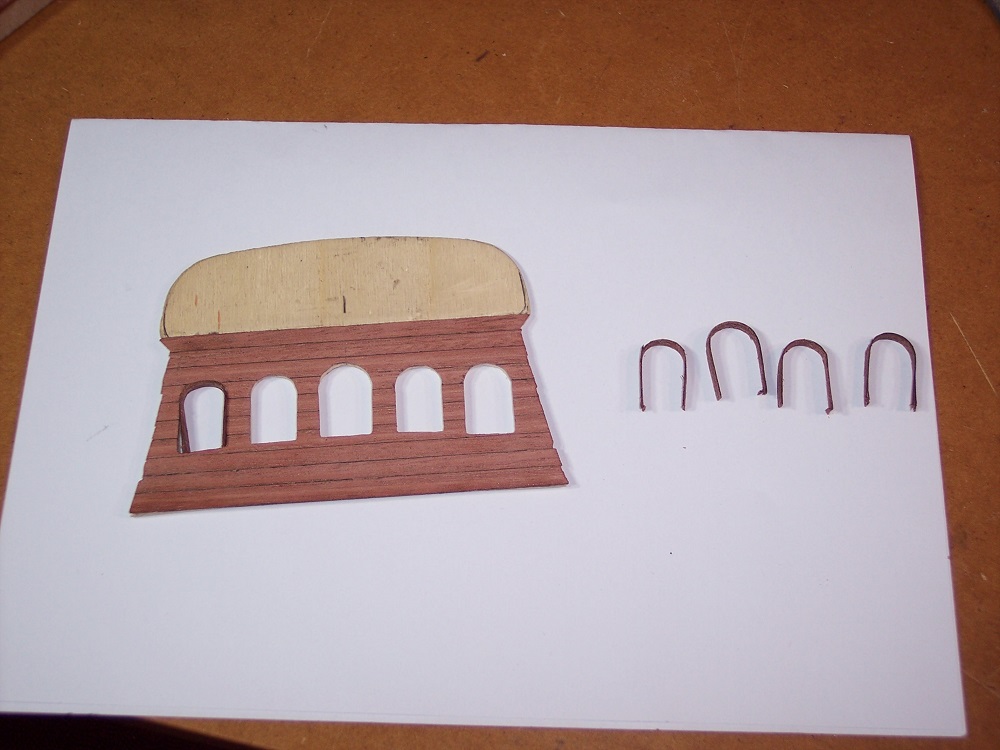
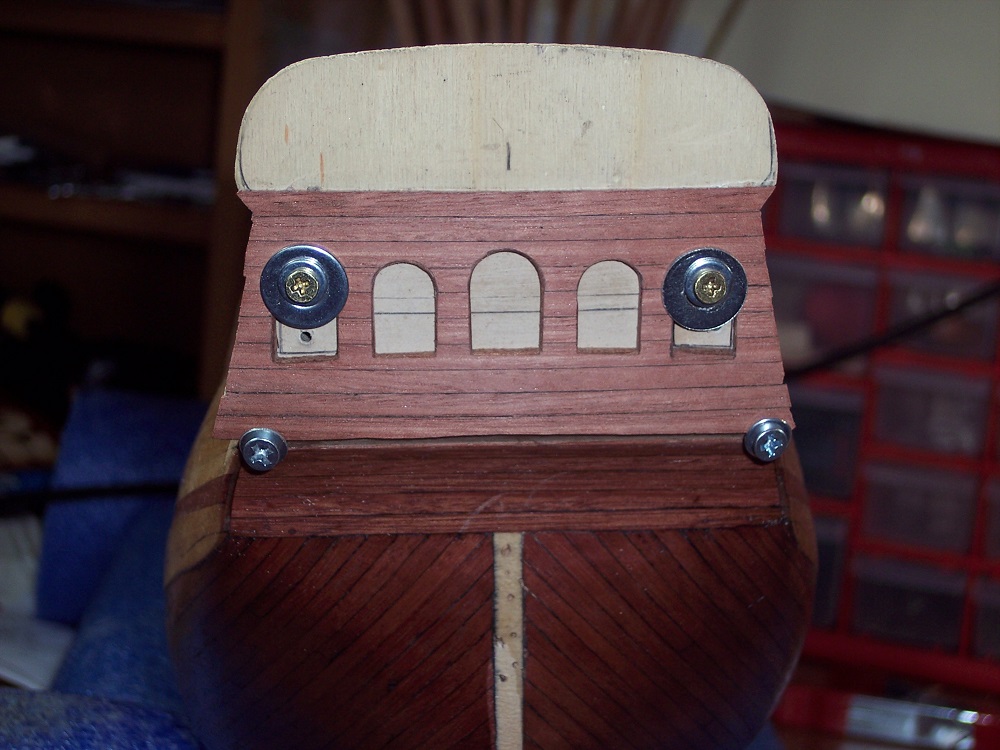
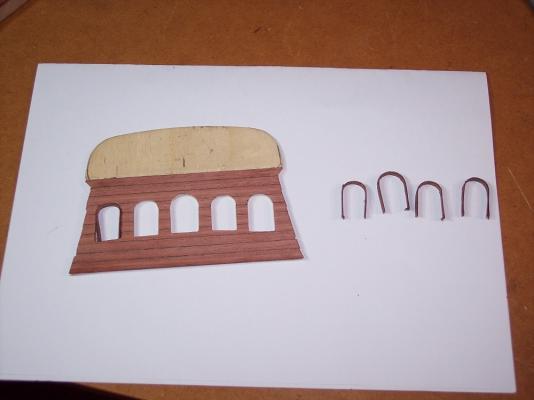
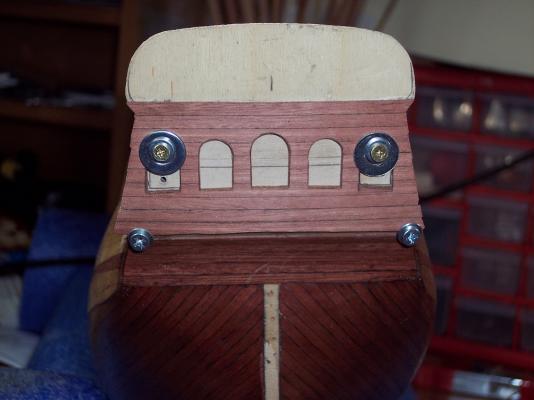
Good Evening all Slow business this model ship building hobby, but good. I have been working on the stern, and starting the windows. First I part planked the plywood stern piece. The jamb strips are Sapele from the kit, a bit darker than the Jarrah. Hopefully the sapele will give a shadow effect to the frame I soaked them and placed in window openings until dry, then then cut some 1.25mm x .5 kauri strips and soaked and bent for the window sashes, and glued them together to make it up to 1mm. Then I fixed the assembly in place, and finished the planking. Next is to make the double cross glazing bars. Then I need to decide what to do instead of glass, painting it in black seems to be one idea, which probably appeals to me (simpler). Any one got any ideas? Cheers Chris
-
Howdy Hof All is good, we new you that you would have been hard at it !!!!!! Yeah, sandpaper is pretty dangerous stuff in my hands, it doesn't seem to take too much to go through a plank. Would you need to take all the old deck off? Just sand it back to a good surface, and plank over the top. There are some deck photos in here. http://www.modelships.de/Museums_and_replicas/Endeavour/Photos%20HMB%20Endeavor.htm And in these Flickr albums you can get a lot of partial shots. https://www.flickr.com/photos/endeavourvoyages/10583868184/ Click on the Back to photostream link top left, and you can access the albums. Now back to my stern work which seems to be never ending. Cheers Chris
-
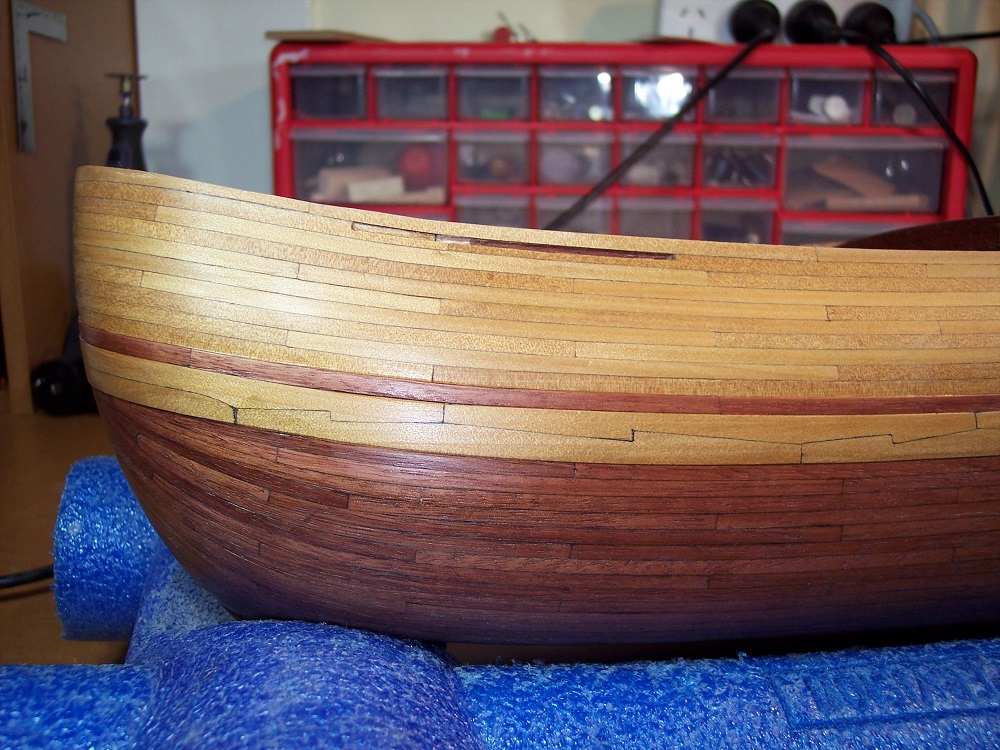
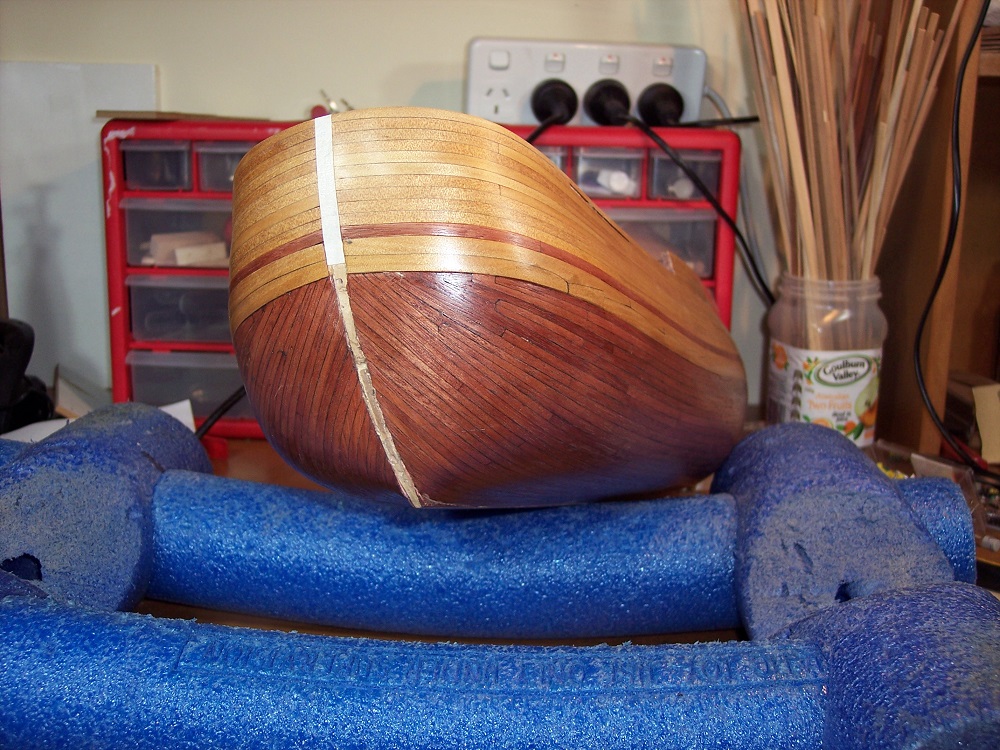
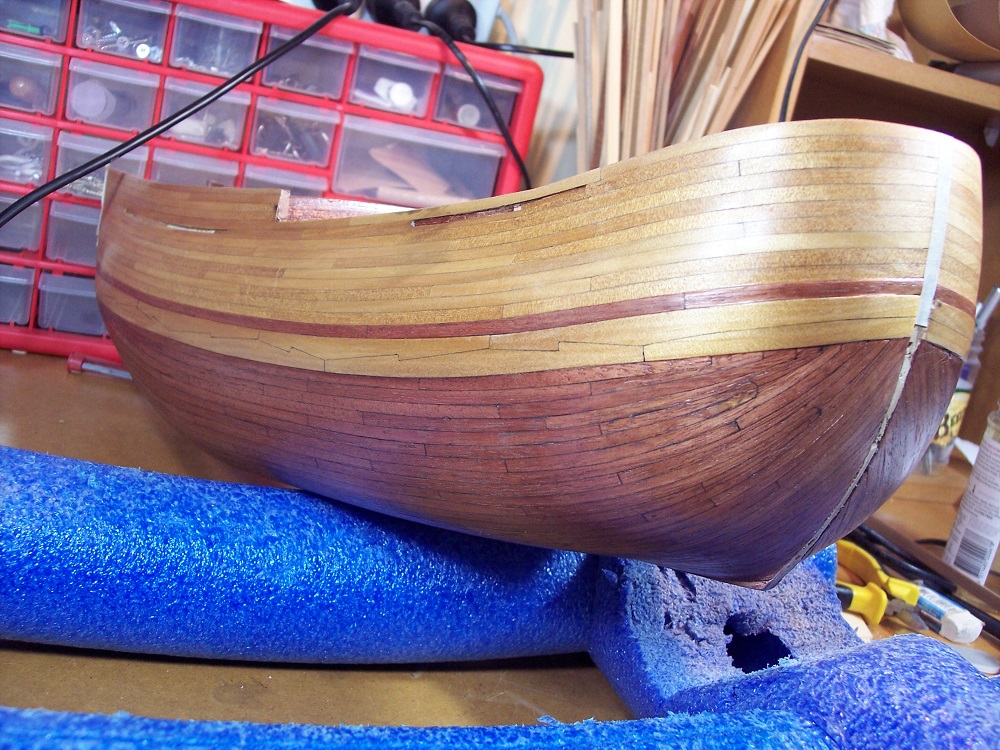
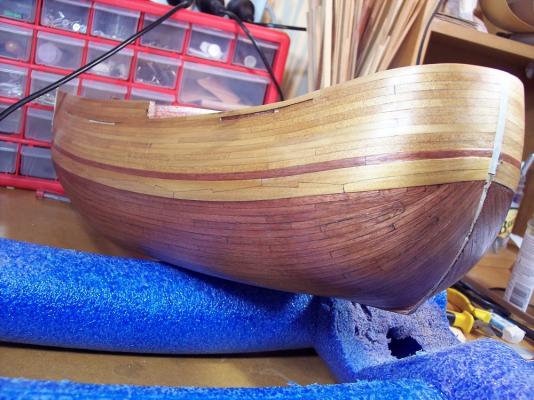
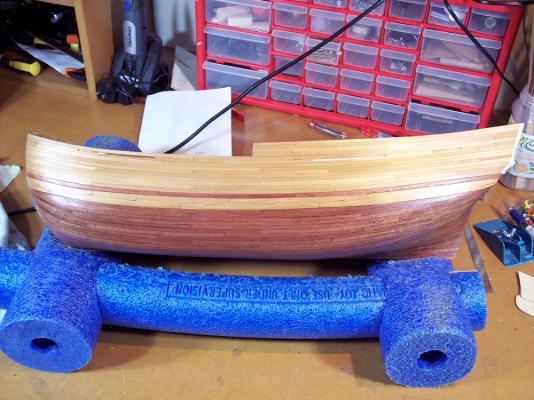
Good Evening Dash That is an enormous amount of work that you have been doing. And it all looks so good, the hull planking is too well done, Its too hard to see the planking, the joins are too neat. And I must say that i am totally impressed in the effort you have put in, finding out how the endeavour was built. And then use it to build your ship to a great standard. I hope you don't mind if i make use of your work and incorporate some of what you have found out, into my model. It will certainly make mine look better. It has made me realize that there is a lot more detail, than what the kits show for us to build. Thanks Chris
-
Good Afternoon All Thanks for the looks and likes, it was a lot of work, but very worthwhile. Hi pat, I'm really only doing all timber because I hate painting, and I like the look of timber much better. Thanks Don, a little bit of enjoyment is allowed, but I want to get on with it. Sorting out the stern next, how I want it to look, and in particular the windows. Time for a little bit of experimenting. Hooroo Chris
-
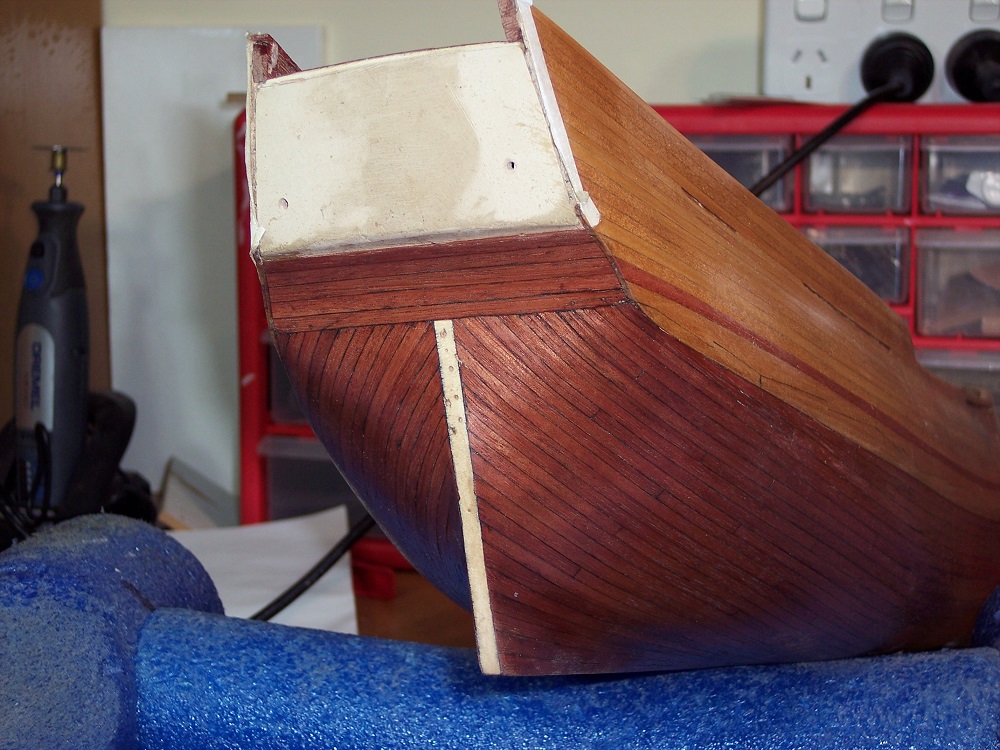
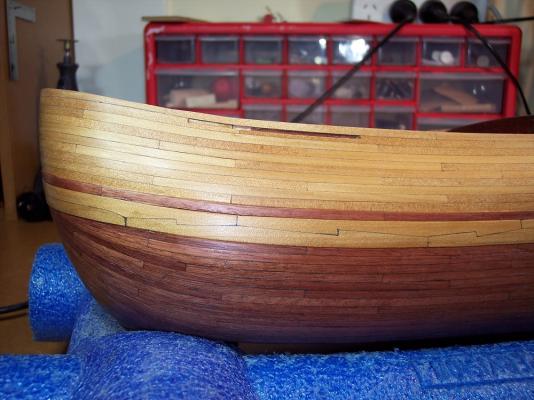
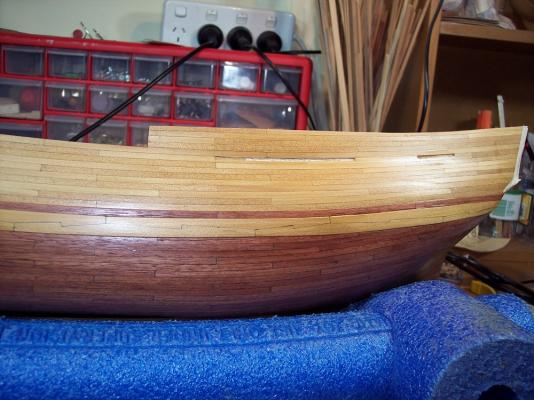
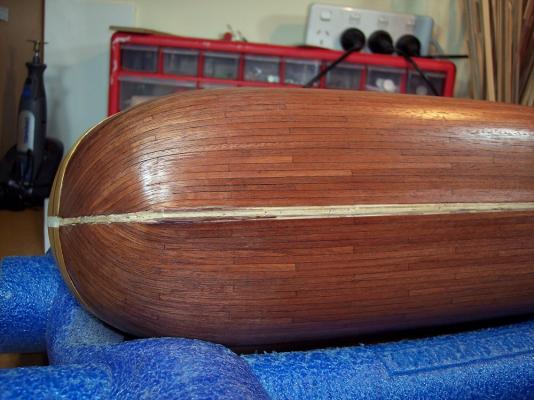
I have had enough of this!!! Fiddling around on this hull, Just finish it boy, and put some poly on it. That's what I told myself, so I did. Time to move on and do something else. There are as usual a few things not quite right, some little things to fix up. And as usual a sanded through plank to replace, but ah well that appears to be the norm around here. Hooroo Chris


-
HI Dave, Yes the smaller blocks do look better. In fact the whole set of cannons looks top notch, if mine come out any where near as good I will be very happy. Chris
-
Hi Trim i am new myself to this hobby and I don't know the kit you have, But to me it looks like your bow is not correctly done. First thing, you need to do is block your bow and stern with balsa and after that "fair" your boat, before you start planking. There are tutorials on this site that will show how to do the blocking and fairing. Take some time and have a look through the planking and framing articles on this page. http://modelshipworldforum.com/ship-modeling-articles-and-downloads.php You need to get these things right or you won't be happy with how your boats looks. And i think there are other build logs on your boat in the kit built section. cheers Chris
- 7 replies
-
- 3
-

-
- longboat
- artesania latina
- (and 1 more)
-
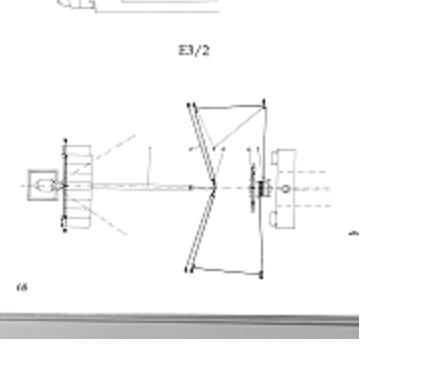
Good Morning dash I was wondering if the tiller had to be as long as it is currently? Is there a rule about tiller length and the size of the ship? If it was shorter, the rigging could all be behind the chimney, there would be less sag problems. It Wouldn't need a great chunk of metal on the end. Aots has it as Jud has drawn. I am just coming from a novices point of view, and just look at things as if I had to do them. And wondering why they designed it to be like it is. Cheers Chris
-
Hi Ron yours sails are looking very good, she is going to look like the real thing when done. I found this pdf the other day, a bit late for your sails but there is other info in it. I don't know if you have seen it. http://juwarki.org.au/wp-content/uploads/2012/03/VC-Man-final.pdf Cheers Chris
-
Hi Don That is great looking work and a wonderful kit to build. I'd forgotten you started this. Too many good logs to follow and not enough time. Speaking of time, what time is it over there now?, must be quite late? Cheers Chris
- 653 replies
-
- 7
-
-
- trabakul
- marisstella
- (and 1 more)
-
Looking great Rusty Love the draft table idea, i will make one for myself. Your planking looks very neat on the inside as well. Cheers Chris
- 310 replies
-
- 4
-
-
- cheerful
- Syren Ship Model Company
- (and 1 more)
-
Hi Dave I found this pdf today, I don't know if you have seen it before, but it could be handy for cross checking your rigging plans against. And for myself it will make it a lot easier to be able to see where the ropes are belayed. http://juwarki.org.au/wp-content/uploads/2012/03/VC-Man-final.pdf Cheers Chris
-
Howdy Hof checking in to see how things are going I noticed that you are chasing a deck pdf, I have hunted around and haven't found any thing in the past. I did mine by looking at the pics of the replica and marking it out the best I could. I think it came up fairly close but its too hard to do properly without actually standing on the deck. Anyway I'm the ship master and builder and I like it as it is. I noticed that you have that decking topic, in the card model section, it might be a bit hard to attract attention there, but you have had a few replies. One thing I did find today is find this pdf I don't know if it has been put up at MSW before. It will be very handy when it comes to rigging, and there is a few other bits of info. http://juwarki.org.au/wp-content/uploads/2012/03/VC-Man-final.pdf Are you thinking of re-doing your deck? A lot of work to do that, but if it is really bugging you then I found the best idea is to just get on with and enjoy doing it. It's all good practice, and we just have to put it down to experience ( we never seem to be too old to leave that one behind) I have had to heed those words myself a few times. Now off to to do a bit on mine. Cheers Chris