dafi
-
Posts
2,434 -
Joined
-
Last visited
Content Type
Profiles
Forums
Gallery
Events
Everything posted by dafi
-
 But me too I messed up ... Goodwin states 28.04.1803 and you the the Kent 28.04.1804 ... Have to put this clear for my brain still ...
 -
I found my reference that I relied on: Goodwin Ships of Trafalgar. He also refers to the inspection and accounting of the ordnance on the 28.04.1803, so most possibly the same source. The numbers he states are 30 32pdrs, 28 24pdrs, 30 long 12pdrs for the upper deck, 12 short 12pdrs quarter deck, 2 medium 12pdrs and 2 24pdrs carronades on the forecastle. The 6 18pdrs carronades of the poop were said to be removed. XXXDAn
-
If I remember well, the information about the carronade(s) either came out of "Nelsons ships" or "Ships at Trafalgar" from Goodwin. Have to double check the entries there, to see if I misunderstood or if possibly he could have misunderstood the entry you have shown. Thank you for the as always well researched information! And especially a big thank you for sharing it!!! Cheers, DAniel
-
In our german forum I have a accumulated list with all the data I found in chronological order. It states that the Vic undocked on the 11.04.1803 still with 2 24-pounder carronades. So it fits well into the scheme 🙂 On the 14.05. she went to sea. I added already the new data. Thank you for those informations. https://www.segelschiffsmodellbau.com/t5759f198-Fakten-zur-Victory.html#msg117794 XXXDAn
-
@Gary: many thanks! When I started my Vic some 10 Years ago, everybody was of the opinion: OH NO, not another Victory, how boring. Today I know it is one of the least known ships and it is always a real treat to throw some lights into the dark corners of this ship´s history. Today I am happy to build the Vic, as it shows par excellence, how little we really do know about the ships of this time and how much research is still necessary! Cheers, Daniel
-
Thank you Jan and Gary. I still do not know yet, still putting all informations together to at least get a well educated guess. For the side entry port there are some very interesting observations I made over the last years. First the Vic. She was most certainly build with one most possibly both sides. All contemporary plans and models show this, also the drawing of 1779, „Sailing by the White Cliffs of Dover“. All of these show the old fashioned version with two columns and the groin vault. There was a major refit in 1788 and from this point on ALL plans, drawings and paintings are omitting the side entry port. See https://collections.rmg.co.uk/collections/objects/79913.html and the well known paintings of Dodd and Swaine. It is also omitted in ALL post-Trafalgar drawings and paintings. On the Vic the side entry port just reappears on the drawing of Edward William Cooke from 1828. But then it is situated one port more aft 🙂 So to me the sources upon the Vic are very robust and consistent in this sense, no port in between about 1788 and 1828. Very interesting is too, that I realised the same happening to most all first and second rates. They are missing this port from about 1760 onwards. To be seen on plans, drawings, paintings, models. Perhaps as it was the time of the american war of independence and the ships were send overseas more often ? That is the only guess I have as far as I can see know. Funny enough the Vic lost the side entry port for a gun port but the number of guns was not increased on this deck. I do not have sources to see if this happened too to other three deckers. The side entry port first reappeared for other vessels on the plans for the Ville de Paris 1795, Temeraire Class 1798 and Ocean Class 1805, but not completely consistent yet, but became standard again soon after. But another question I do have about the use of this port. The german name for it translates with "Admiralty port" and was believed to be just for the admirals or other high rated officers. In all the sources of the time of Trafalgar and earlier I never found any hint about this sole use. Just in much later times there are some hints about this restricted use. So what was the use of this port? Also the missing information about the doors, blinds or bulkheads is puzzling me. No signs of it and people having their hammocks nearby ... Was it really there for protocol reason? Or was it for more? Or - heretically question - did it simply provide a way to empty the potties from two lower decks? And was therefor open and no guns placed? So as usual, questions above questions. All the best, Daniel
-
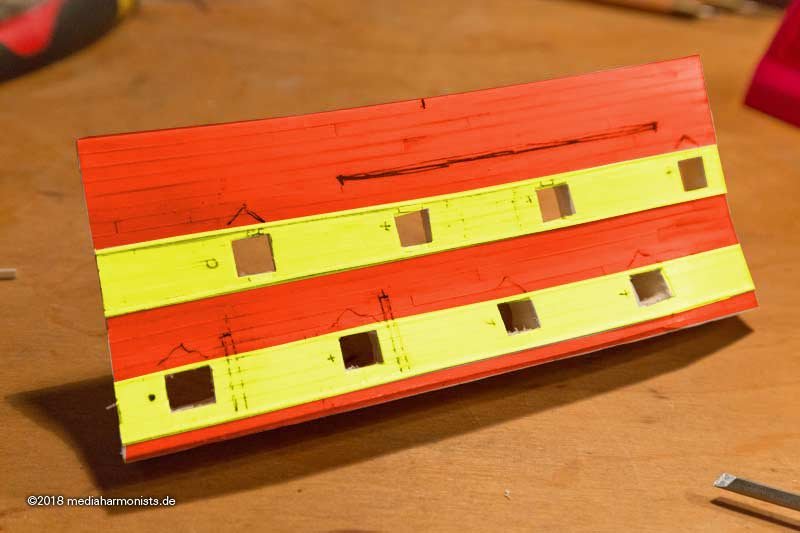
Ok, time for some heretic thoughts. After some great basic work from Maik.L in our german forum analyzing the Turner drawings I tried those thought digitally on my small slice. https://www.segelschiffsmodellbau.com/t7042f1475-HMS-Victory-Spurensuche-4.html#msg155257 Important: This is not about the shade, this is only about the width of the stripes. First the classical V1, as to be seen our days in Portsmouth. Turner saw and drew the ship before and after Trafalgar. Those scribbles are difficult to evaluate, bat they give some interesting hints. As there are in his drawings and paintings no signs of the black checkers after Trafalgar, that leads to V2 In most of Turner´s drawings and paintings the yellow stripes appears larger than the black one that gives V3 Without the checker V4 And if the hinges were painted too, that would give V5 So if you want to crucify me now, you may. Whistling greetings, XXXDAn PS. Everybody only one cross, please.
-
Thank you folks 🙂 Ok time to go back to THE Vic, 21 Oktober 9:17 o´clock in the morning. The base are the Turner drawings done after Trafalgar and the model SLR0513 (Victory (?)/Boyne 1810 - https://www.segelschiffsmodellbau.com/t2690f198-Falsch-zugeordnete-Victory-Modelle-im-NMM.html) and some other sources from the time of 1800 to 1805. First the new build forecastle barricade, with the openings for the timberheads. and the rough state is done 🙂 XXXDAn
-
And my 1920 slice is moving towards the finishing line. And some small comparison, the look of 1765 Look of 1805 Look of 1920 And some details Cheers, DAniel
-
Final spurt for the 1920 slice. Prepared the bolts for the irons. Double-Twin-Spin-Technology, first the diameter and then the hight of the head. Then toothpicked the wrong holes of the deadeyes ... ... fixed, marked, center punched and drilled ... ... and grooved. Tried different window settings. Got the irons, tinkered on and finally ... ... got it done 🙂 Still have to smoothen a lot to be prepared for color. And here the update of the nice comparison: Just a mere 100 years apart 🙂 XXXDAn
-
And then was time for some dafinition of the details. Next was to put some primer to see the new rigols. Both guns and first window - still has to be improved ... Also the cases for the hammocks were redone. XXXDAn
-
You gave the answer to your last question "... or what?" already one line up 😉 Thank you all, very appreciated all your great input! XXXDAn
-
Thank you Druxey. Also he simply did not bother about the facts, just see the "Fighting Temeraire" on her last journey, masts still up. But anywhere we had a great discussion on our german forum about his work concerning the Vic. Highly interesting. Those who are inscribed to our forum see here: HMS Victory - Spurensuche https://www.segelschiffsmodellbau.com/t7001f1475-HMS-Victory-nach-Trafalgar-ein-letzter-Zeuge.html https://www.segelschiffsmodellbau.com/t6980f1475-Turners-Deckszeichnungen-der-Victory-reloaded.html#msg152838 https://www.segelschiffsmodellbau.com/t5671f1475-William-Turner-quot-The-Victory-From-Quarterdeck-to-Poop-quot.html Please find the translate button on the left bottom corner 🙂 XXXDAn
-
Thank you all for Comments and likes, very appreciated! All figures are Preiser 1:100. See in earlier posts how they were made :-) Somehow Fast-Food-Tinkering does not work for me somehow. I already started planking the outside with poly but could not find a pattern for the width of the planks - Frustration taking over ... Then I realised that as I cutted the ports "free hand - first sight" was the problem, as the planks are following - unlike the 1765 original planking - exactely the row of the ports. So considered a second (or even more look) to get things straight and realised taht all planks have more or less same width. So I took the illustrtion programm and started to push the measures until it fitted the photographs and suddenly it all worked out. 21 cm planks it was what I needed and some correction on the ports. Also Business as usual - removing the first trial of planks :-) New planks were cut ... ... ports newly defined ... ... cleared with plenty of blood, sweat and tears ... .... and cut free. Just see on the inside of the ports the difference to the first fit :-O Fixed the first goodies, soon more about that :-) And here we go, twice the same section of hull, just a bit more than 100 years of difference. XXXDAn
-
Found some time to tinker a bit on that exotic gem 🙂 Got a signal gun - one of 6 on the ship for salutes - and one historical barrel. The rest will be windows. The gun is a self made brass one made in my Dremel to give it a slightly conical shape. Also the chainboards with the accurate number and position for the irons is there together with the small port that gives access to the shrouds. A child that only a mom is able to love - or a dafi 😉 XXXDAn
-
Do not worry Gary, I got it absolutely right what your intention was and I am always very thankful of well founded informations. I only point out the suspected mislabeling on a regular base, as we already had a lot of discussions on other details like the number of the stern windows of theses models as they proves that the Vic in P. is completely wrong in theses aspects ... Some details of the 1803 block model can also be observed in the turner drawings like the carvings on the cutwater 🙂 Cheers, Daniel
-
Lovely!!! XXXDAn
-
Thank you Gary, as a good example for the possible color - I always saw this as white and not the creamy tint that it actually is - I would just renew my suspicion about the identification of the model. See https://modelshipworld.com/index.php?/topic/6044-wrong-identified-models-of-hms-victory-in-nmm/&do=findComment&comment=175377 XXXDAn
-
Thanx Gary and OC, I will come back to this! Smoothed up every thing and did the port frames. XXXDAn
-
The really cheapest way is to make them out of paper like the card-board-specialists do. Basically some paper wrapped several times around a core. Have a look at the cardboard forums if no-one ever presented it here 🙂 XXXDAn
-
HMS Victory 2017 re-fit colours
dafi replied to Seren's topic in Painting, finishing and weathering products and techniques
Many thanks Gary! -
Funny enough most modelers build the version that: - existed the shortest time - that is the least documented But on the other hand modelers have the tendency to be stubborn to new research. But still these changes often contradicted with other knowledge or was soon to be revised like the stern davits on and off and other features. But on the other side, do not forget that we all here are rivet counters and the job the curators did since 1920 really succeeded in bringing the feeling of the old seafarers to the "normal" people, to keep the history alive, no matter all the details we say "THEY" did "WRONG". XXXDAn
-
Luv-it 🙂 XXXDan