


dafi
-
Posts
2,292 -
Joined
-
Last visited
Content Type
Profiles
Forums
Gallery
Events
Posts posted by dafi
-
-
Thanks Kev, how the hell did you guess?
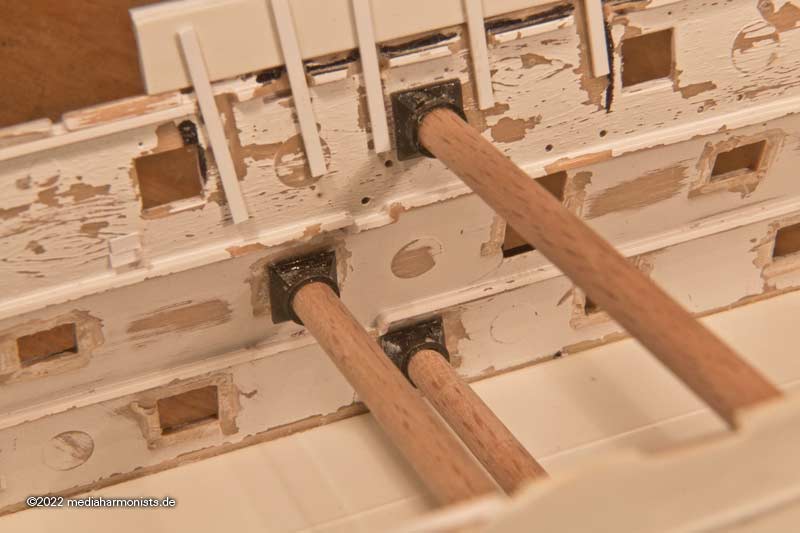
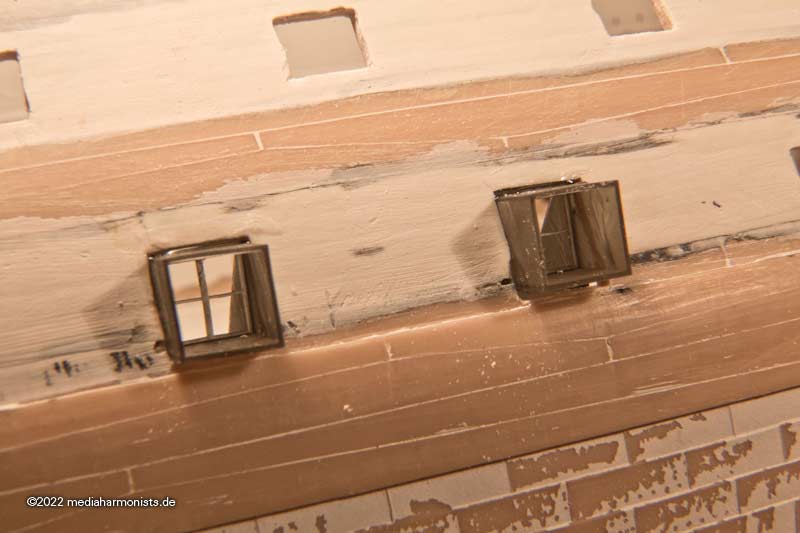
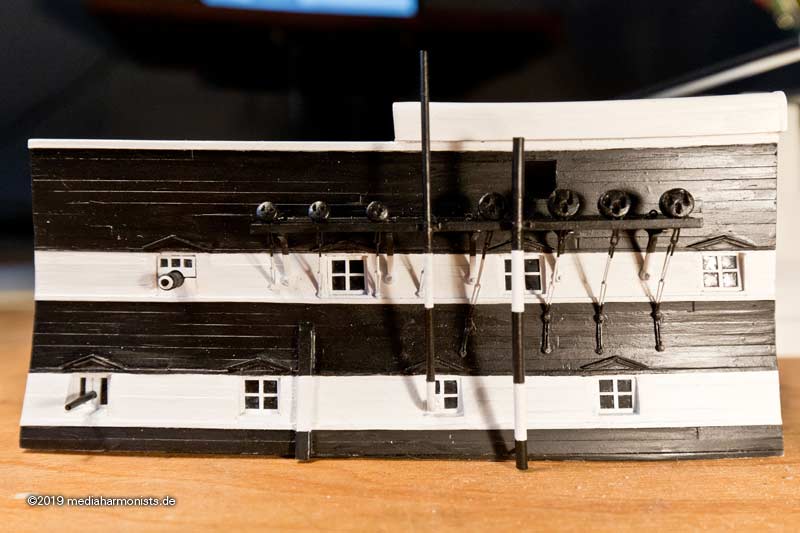
With the possibility of printed parts I finally saw the chance to mass-produce the window crosses in a neat ship shape fashion. To get the vertical alignment of the window panes, I had the idea to link opposite windows over a wooden rod. Therefore I constructed a window frame with an adapter behind it, so that you can pull out the stick trough one side and cover the hole with the square window pane in front.
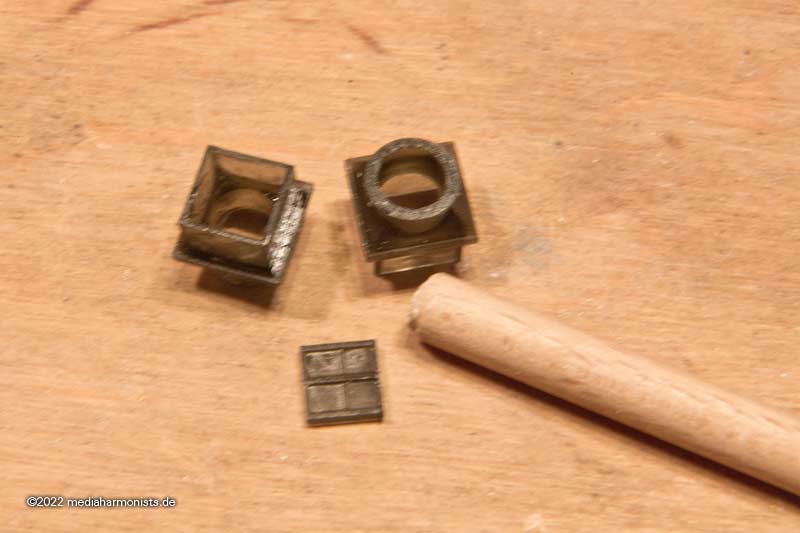
Inside it looks like this ...
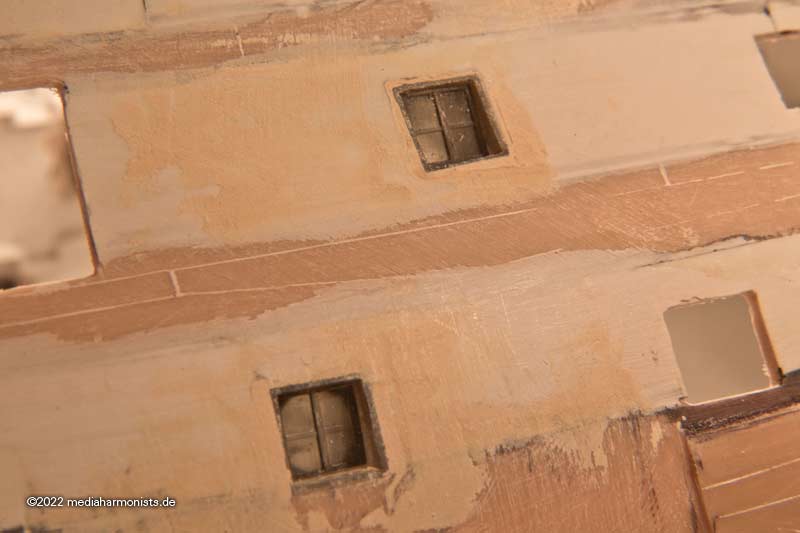
... and outside like that 🙂

Rods pulled out, gaps of the frame filled and trimmed, it looks good for now.
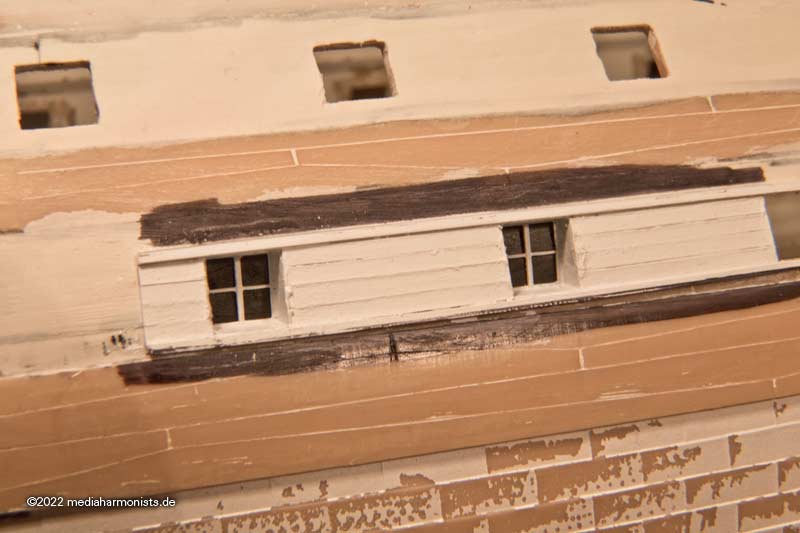
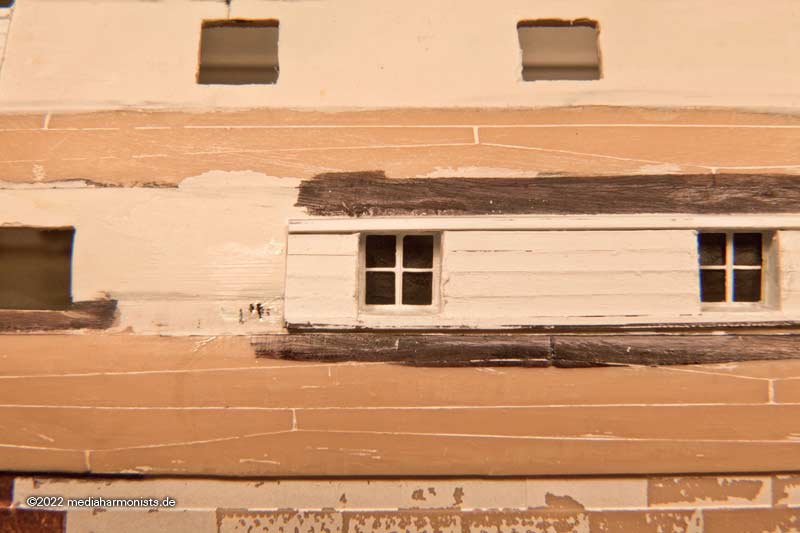
Instead of the polysterol sheet I used 300 gram paper cut in single planks. That could look like this.
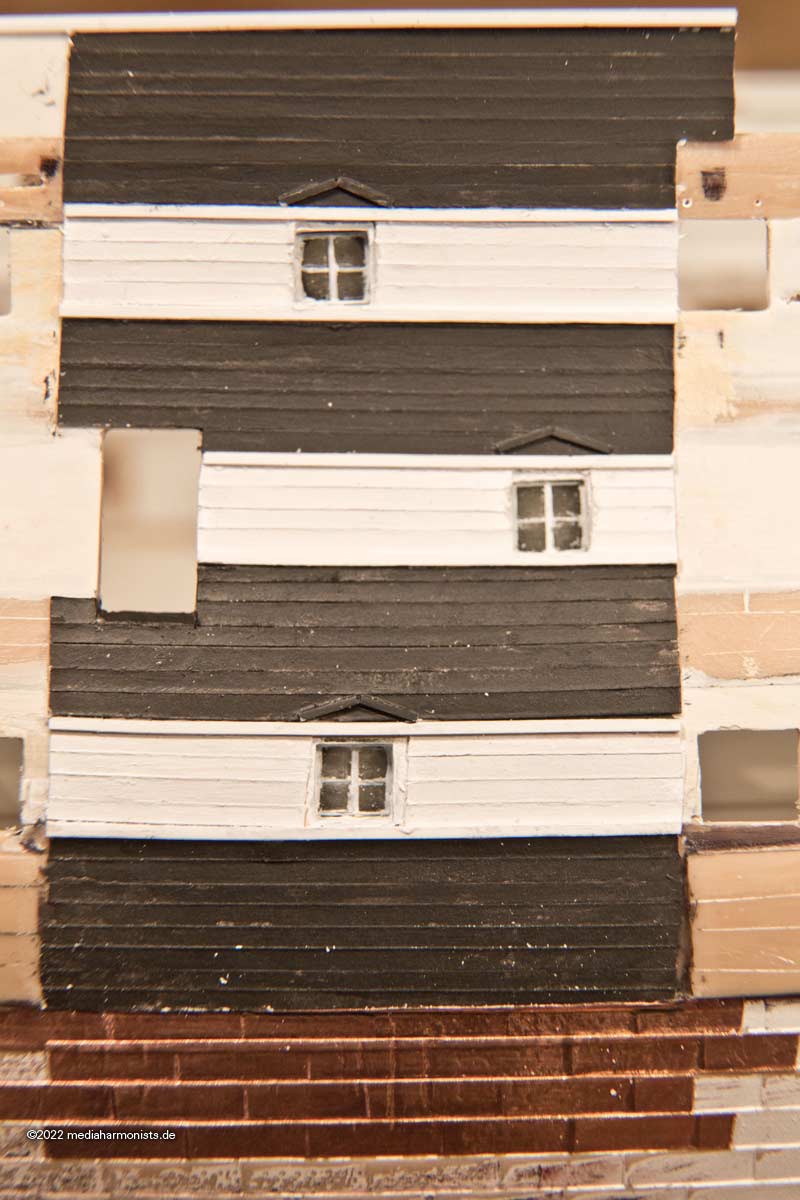
You can also see that the window crosses are difficult to paint. The window panes are also still intransparent black.
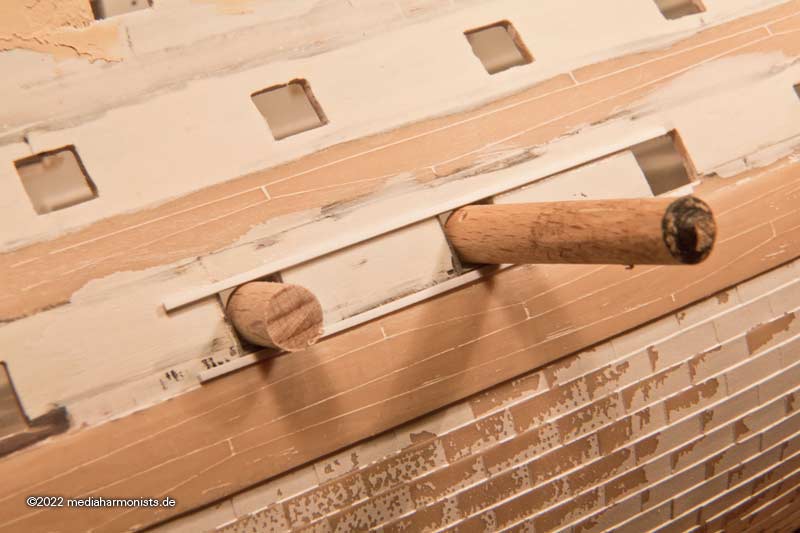
But above all, the windows are difficult to align at an horizontal angle.
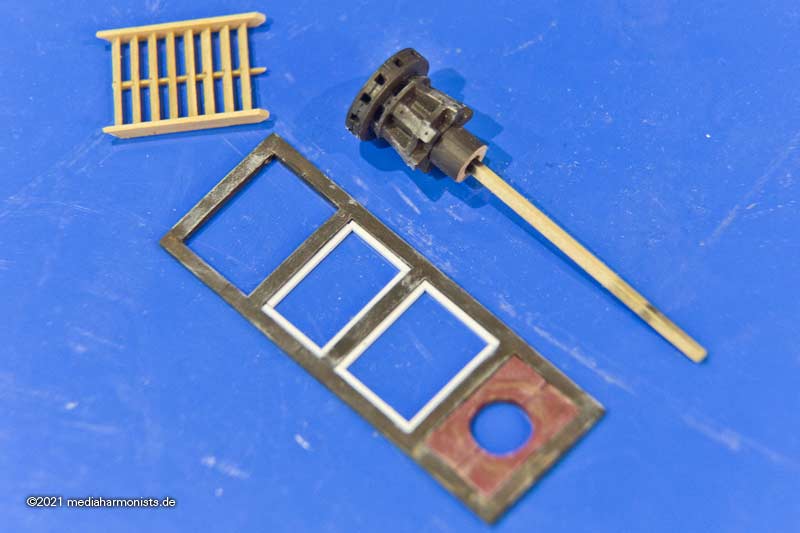
Therefore a new system. Window frame with cross on a "carriage" that stands on the deck and thus guarantees height and angle. The window pane can then be added from behind and be secured by a small frame.
Since these windows were square, and the decorative strip had to sit exactly at the top and bottom of the window, I put a piece of round rod in to align the decorative moulding.
And it looks very cute 🙂
XXXDAn
- popeye2sea, bruce d, mort stoll and 9 others
-
 11
11
-
 1
1
-
A short look back:
More than 5 years ago I started a 1910 Victory.
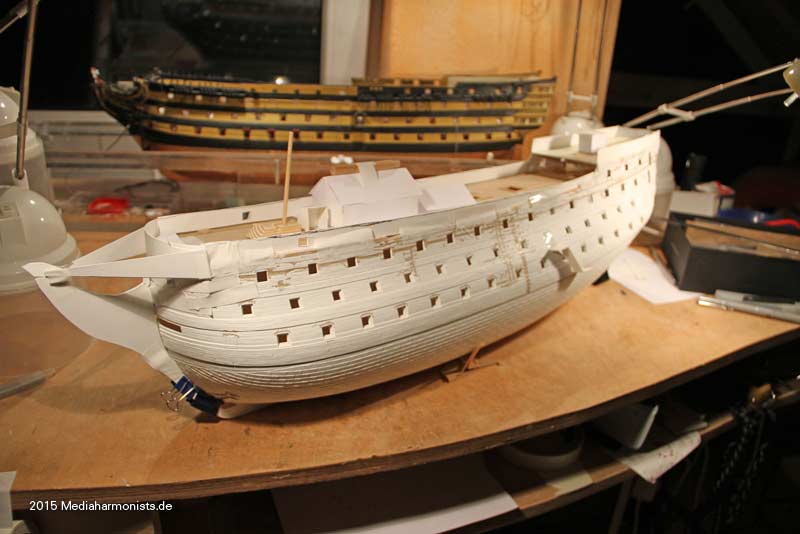
The starboard side was already prepared, the test piece was already made, but then a slow full stop: it didn't work the way I wanted ...
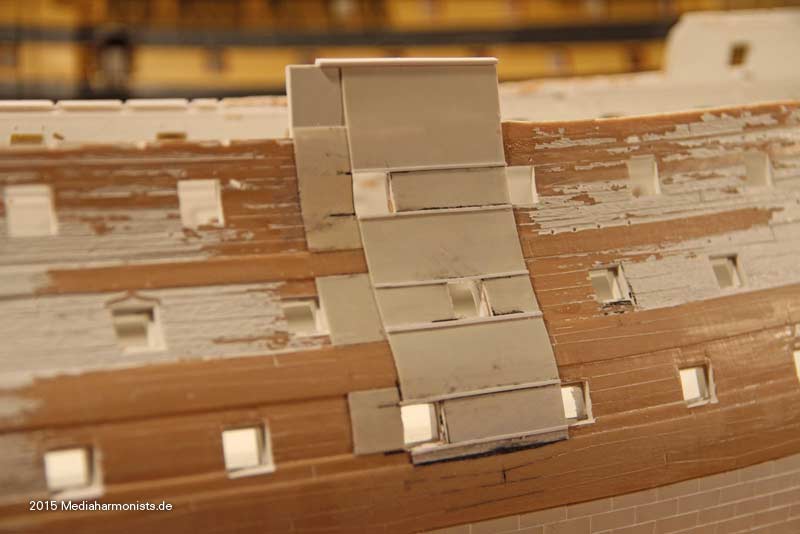
I wanted to glue the whole hull with 0.3 mm sheet plastic and engrave the plank edges.
But the thin sheet becomes so wavy because of the glue that it had to be taken off again. I also wanted to make the decorative strip out of brass, but that
didn't work either ...
When I was building the cutaway sections, I also noticed that it is elementary for the whole appearance that the windows are properly aligned and the crosses are neatly mounted, both of which could only be done with extreme effort at that time.
Aim was for that the rest should look as neat as this.
So go back to start ...
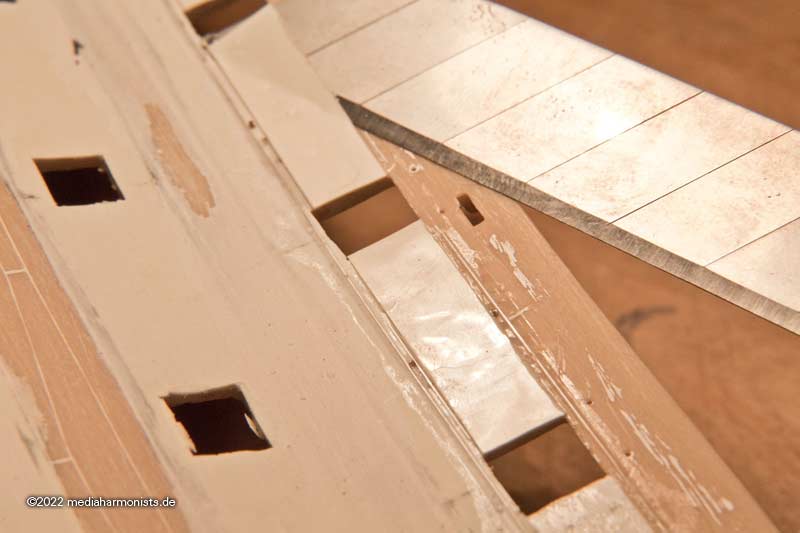
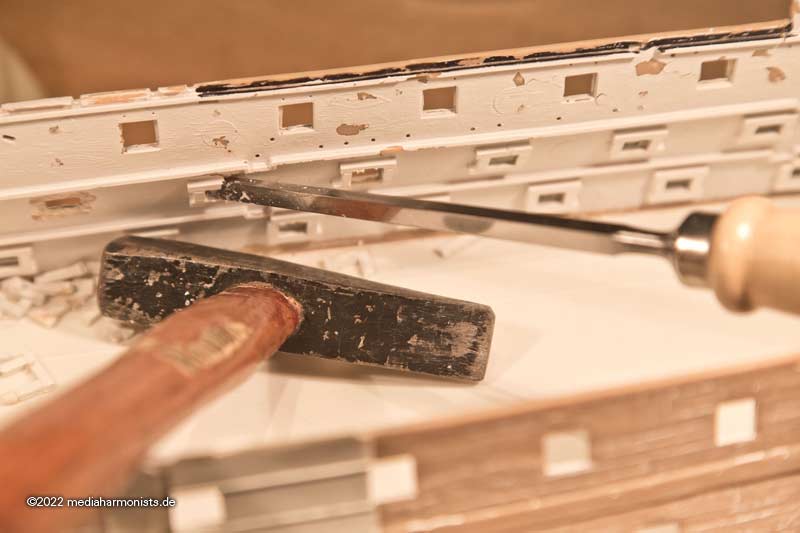
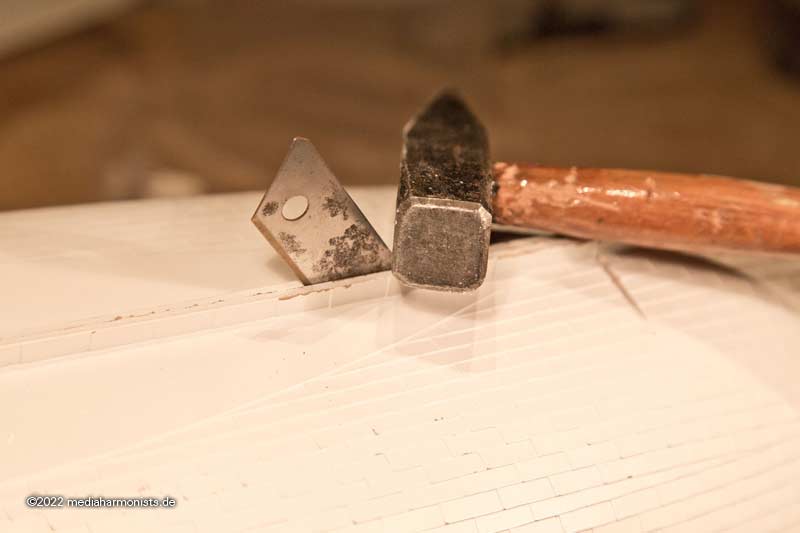
In good german tradition: Take a hammer, chisel and a rough file and start over again!
XXXDAn -
Nice, thank you!
Is this another view of #16?
Origin http://collections.rmg.co.uk/collections/objects/63401.html
XXXDAn
- bruce d, Keith Black and mtaylor
-
3
-
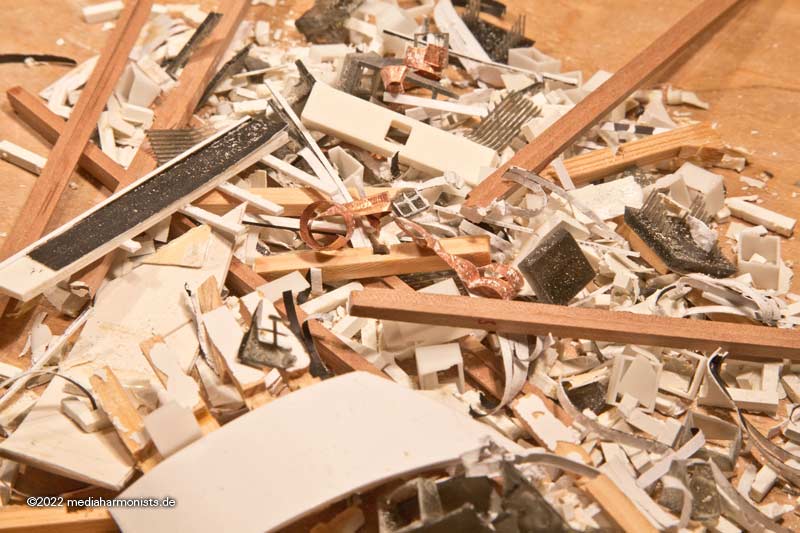
At least one thing that I am good with - the mess - says the best wife of all too 😉
XXXDAn
- Hubac's Historian, Mexspur and mtaylor
-
3
-
There always needs to be hammer on cliché pictures of model ship builders.
Even when they're rigging.
They're not that far off.
Or to paraphrase Schiller, "What wilt thou with a hammer, speak!"
https://www.youtube.com/watch?v=Kp1z8EzZ5Hs
XXXDAn
*** I think we had that here on the forum once: Old picture, grandpa building the rigging of a cutter, grandson watching. At the table supporting the rigging work: THE HAMMER!
- mtaylor, druxey, GrandpaPhil and 1 other
-
4
-
Thanks Tom!
Small intermezzo, aka news from the shipyard: "Ouops, I did it again" ...
https://www.youtube.com/watch?v=CduA0TULnow
XXXDAn
-
Thank you all for the kind comments! Very appreciated!
After finishing the lower deck project, there was a short breather - the exhibition stood still for about 0.035 seconds - I immediately took advantage of the nice momentum and continued:
New adventure: middle deck and beyond, projected construction time approx. 12 years (experience value) .
The coamings of this area off site ...
... and on site, first fitting samples ...
... and for retrofitting for the folds so that the gratings don't fall onto the lower deck....
And then glue was put underneath the coaming and another public wait for the glue to set. Model making is soooooo exciting 🙂
... and waiting ...
And then it came, as it had to come, the public open heart surgery ...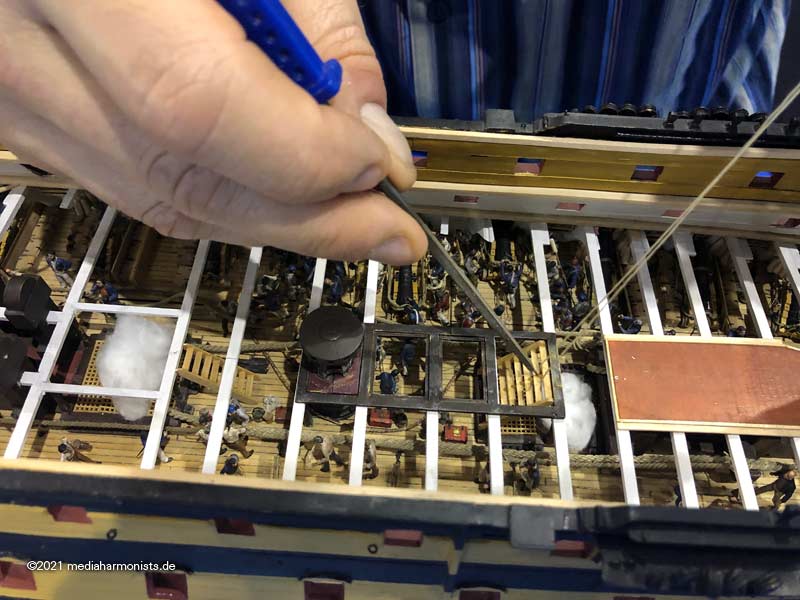
The stairs had to be lifted from below as for the fold of the coaming, the thread was to lift it up ...
... and the whole thing quickly-quickly ...
... without bumping into anything, because ...
... there was superglue at the bottom of the ladder.

And then just let go of the line and done we are 🙂
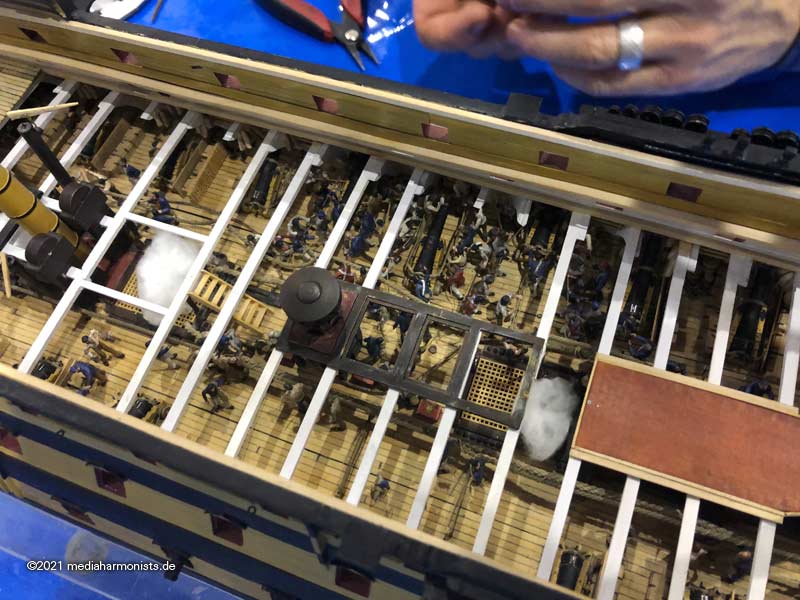
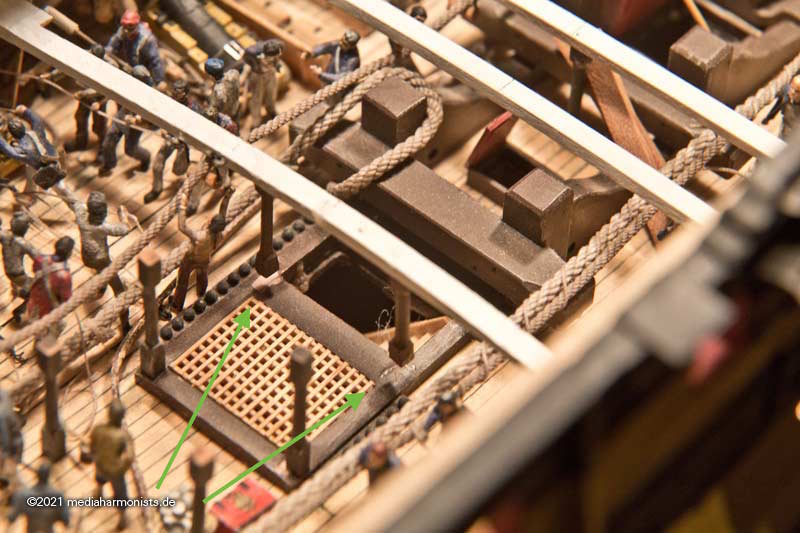
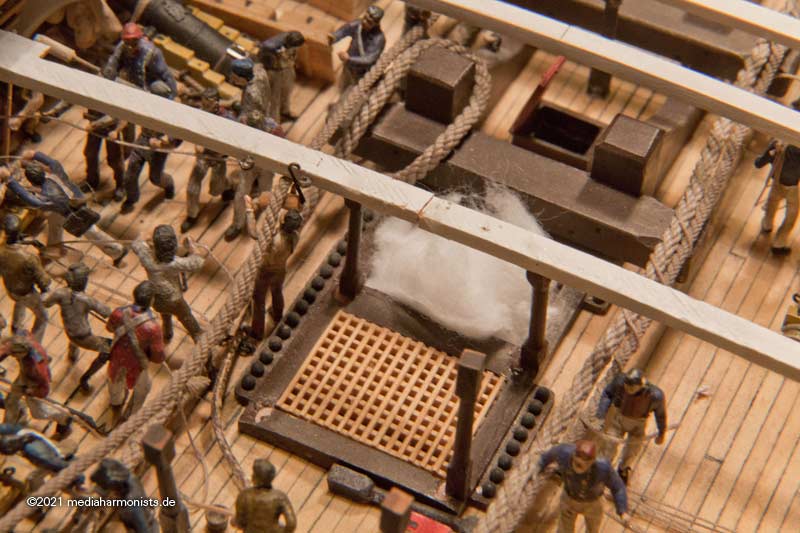
Finally the coamings around the main hatch ...
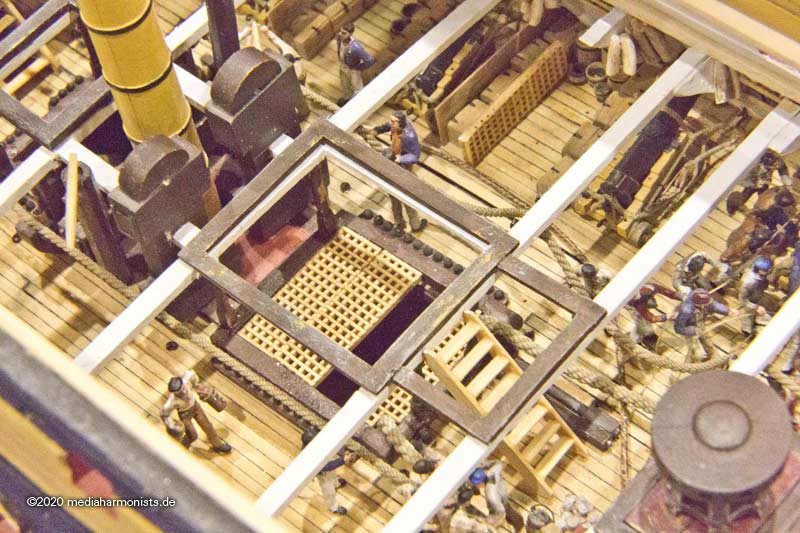
... and some impressions of the finished area.
Well, now I have to cut some more deck planks ...
XXXDAn
-
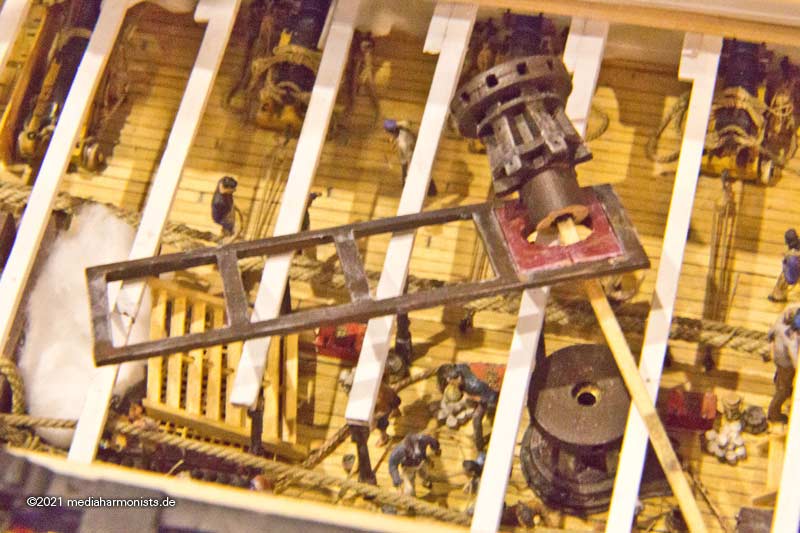
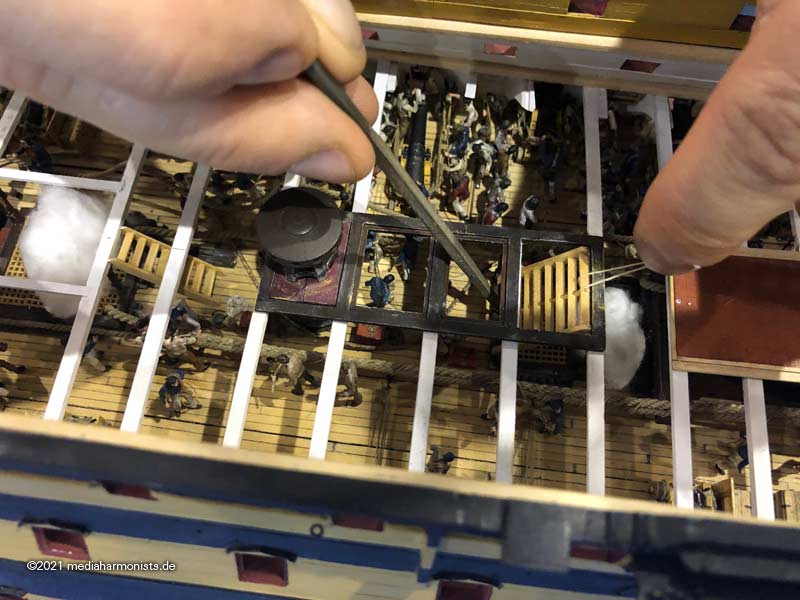
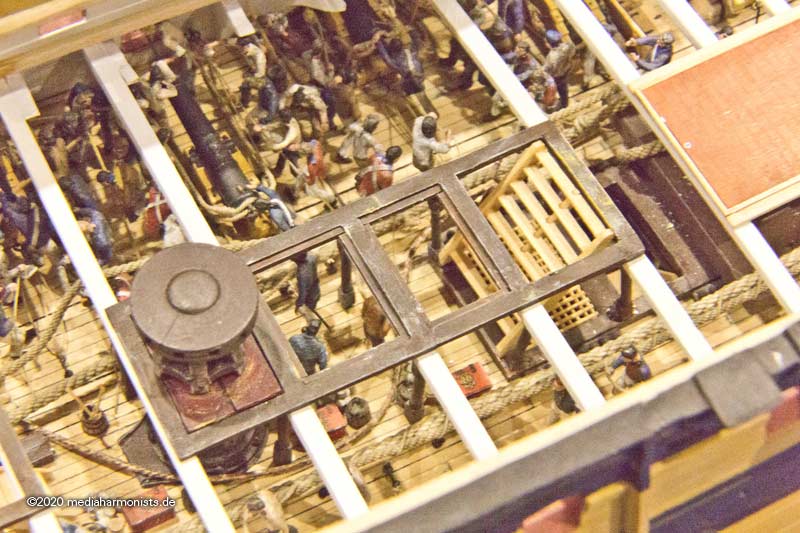
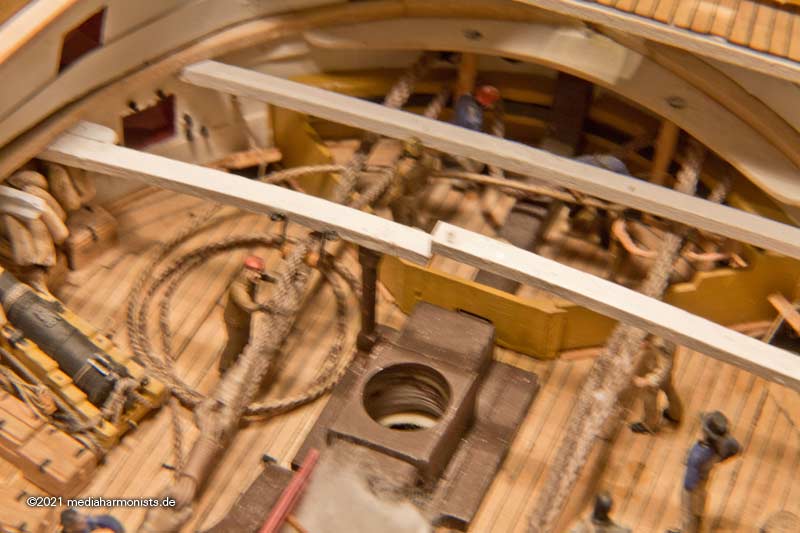
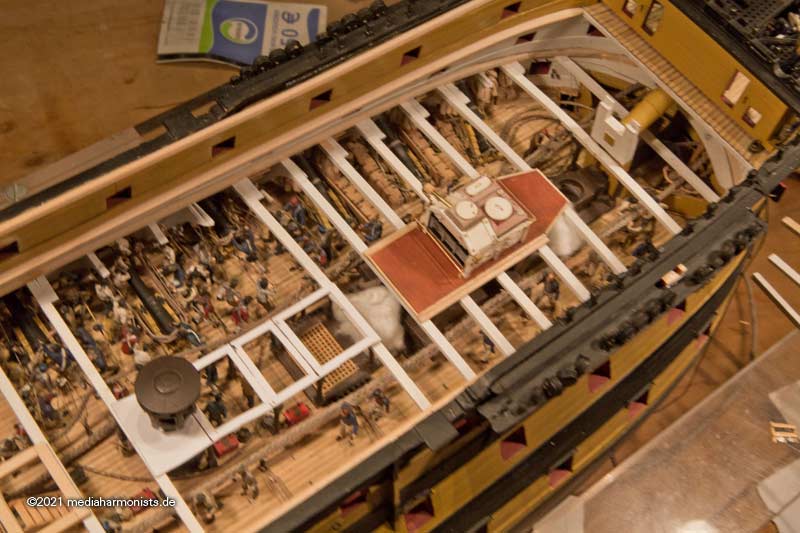
In the meantime, all the deck beams were in place and the stove could be provisionally adjusted.
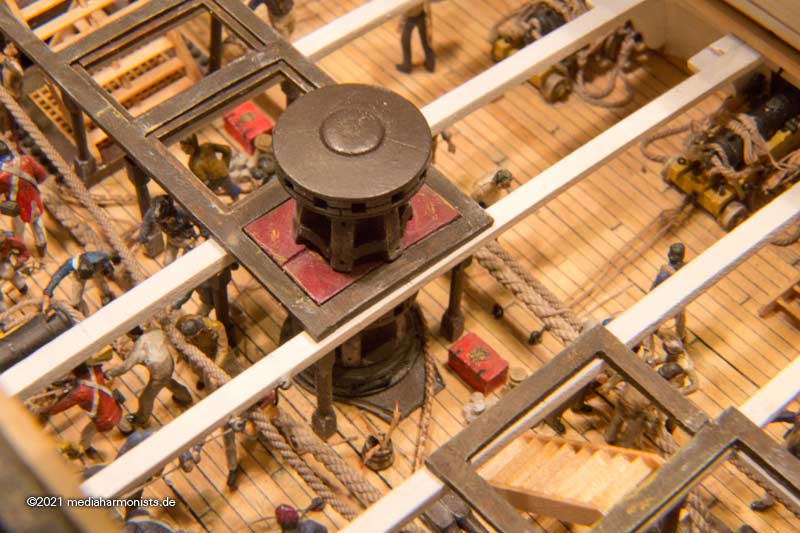
The next stage was the area between the stove and the fore capstan.
First, the capstan was removed and the bottom plate from the 1788 plans was added. No one has yet been able to tell me its purpose ...
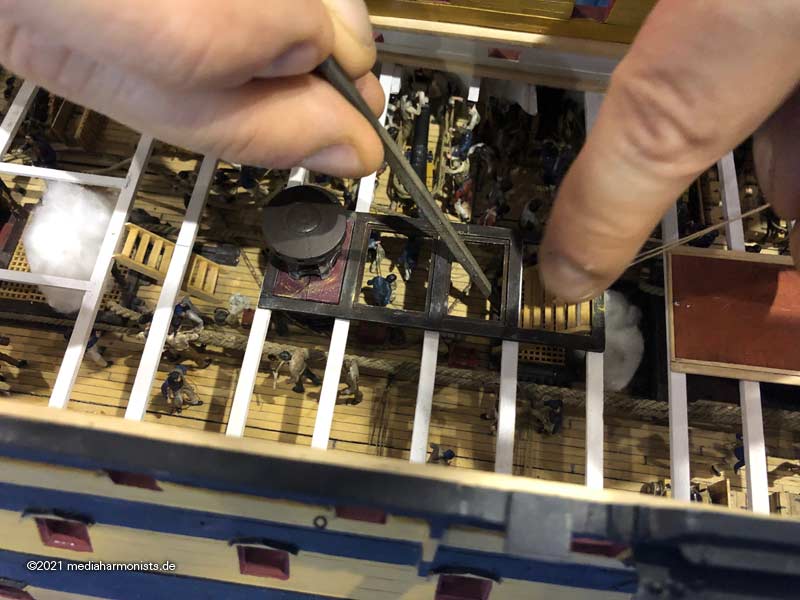
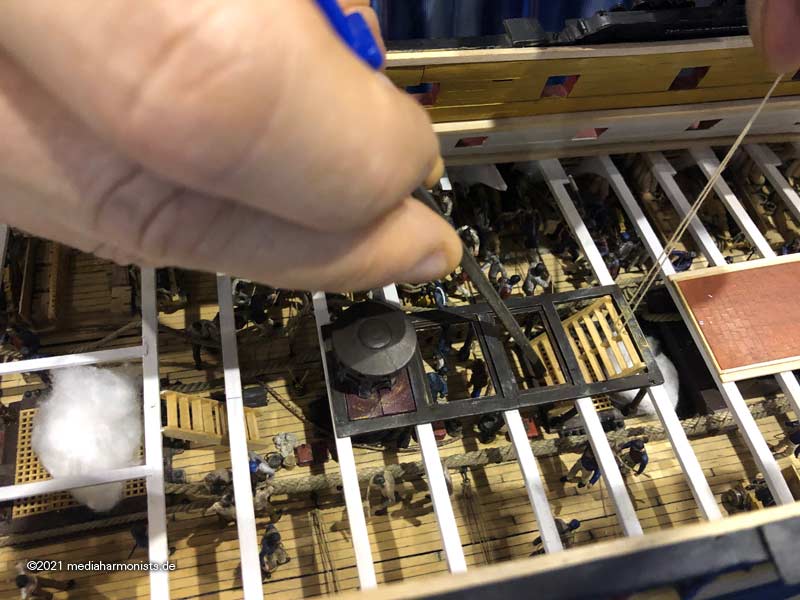
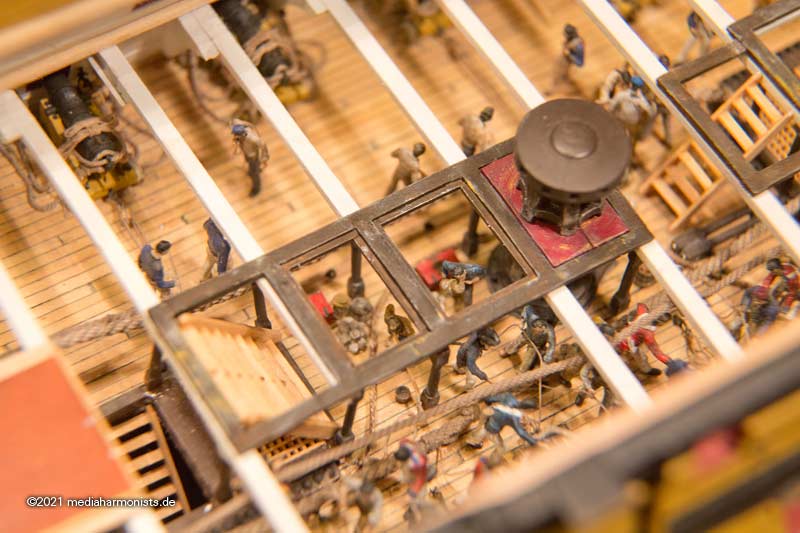
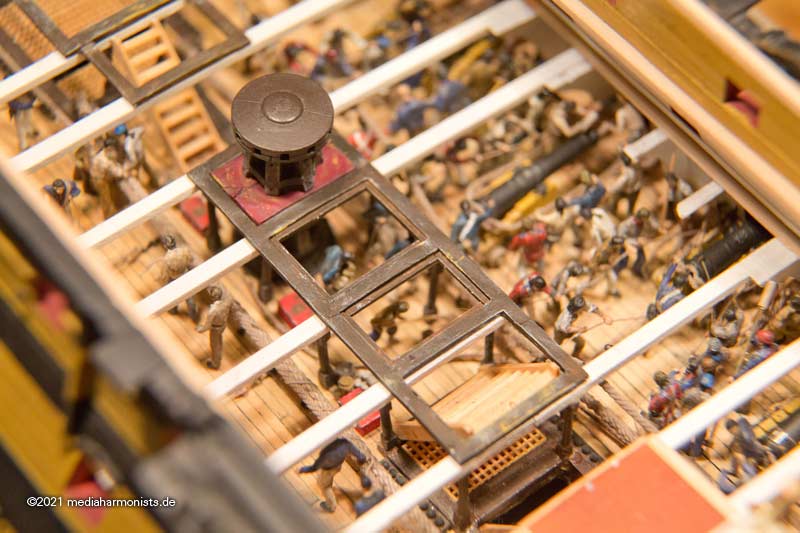
And then glue it in and press it ...
... and public waiting, oups, the life of a model maker can be sooooo exciting ...
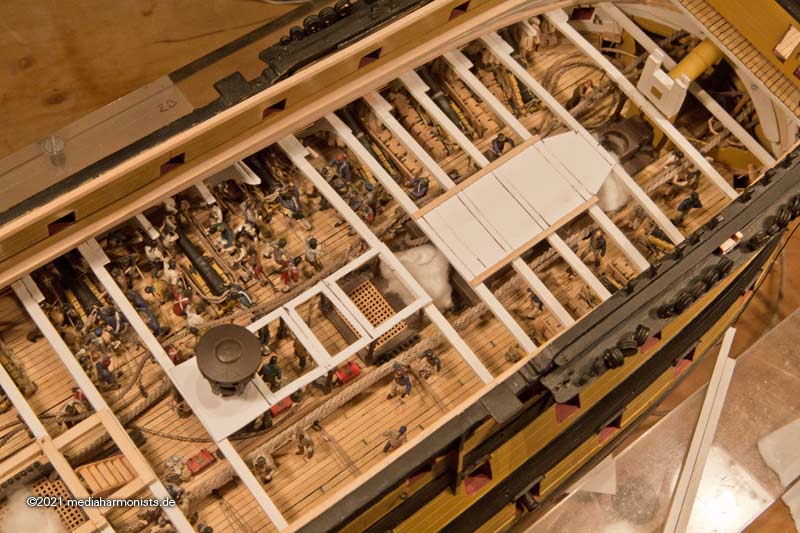
And with that, something had happened that no one had ever dared to dream of, that no one had thought was humanly possible, something earth-shattering:
This was the last piece to be fixed on the lower gundeck.
Herewith I call this adventure finished 🙂
It was only 12 years since October 2009 for the lower gun deck 😉
Respectfully, with kind regards, Daniel Fischer
(out of town after dictation)
-
Due to the stress of the end of the year, I never found the time to record what has happened in the meantime ...
The last work with the deck beams was only the prelude, the overture, even the prelude to greater things! So read and be amazed, truly unexpected things were going to happen!
For the force was with me!
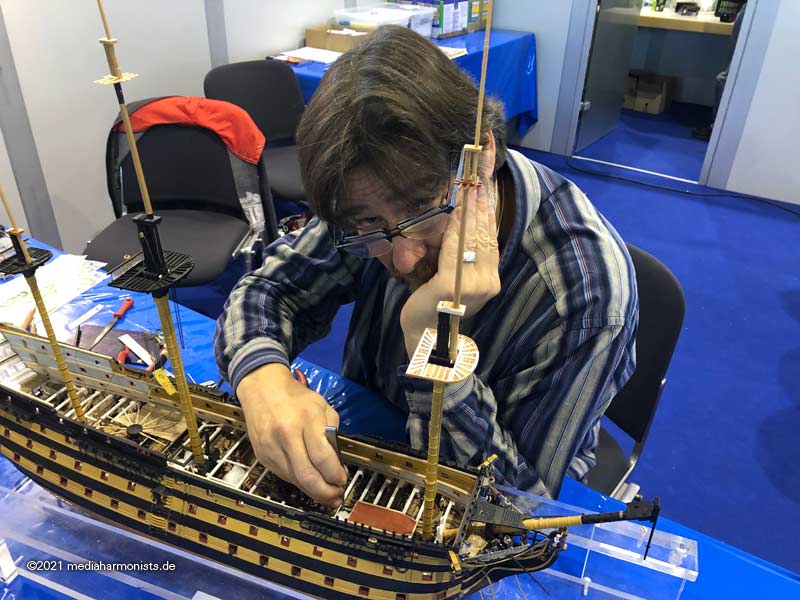
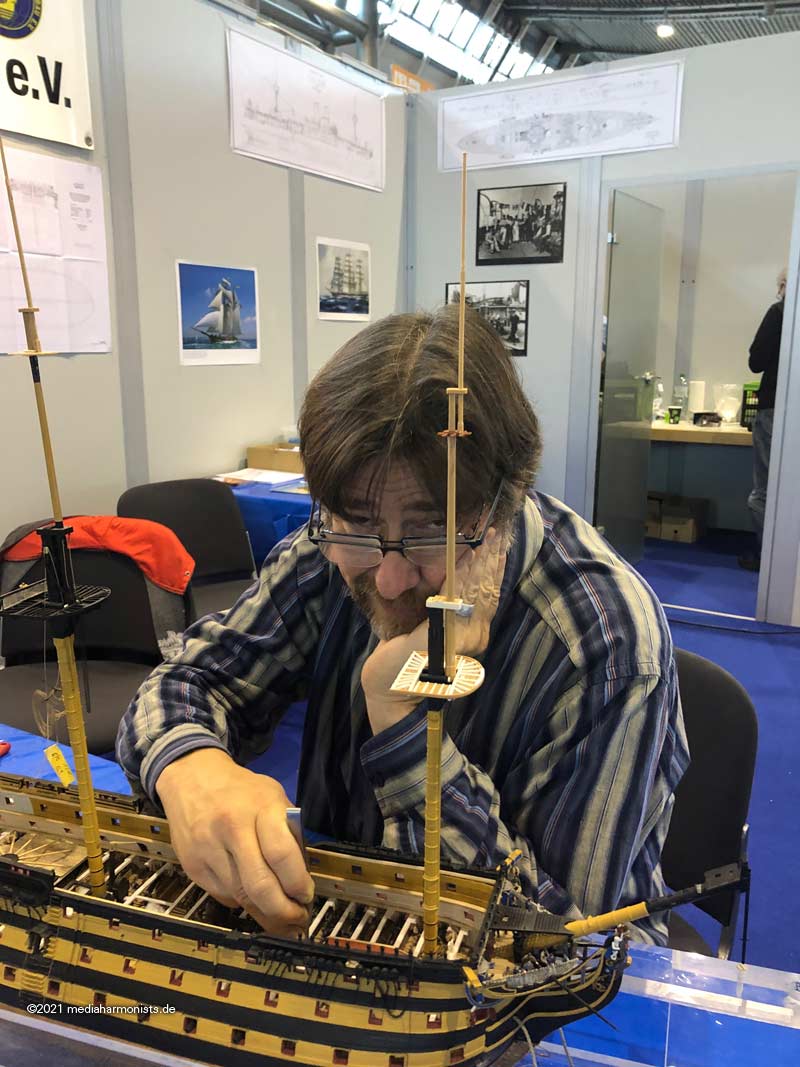
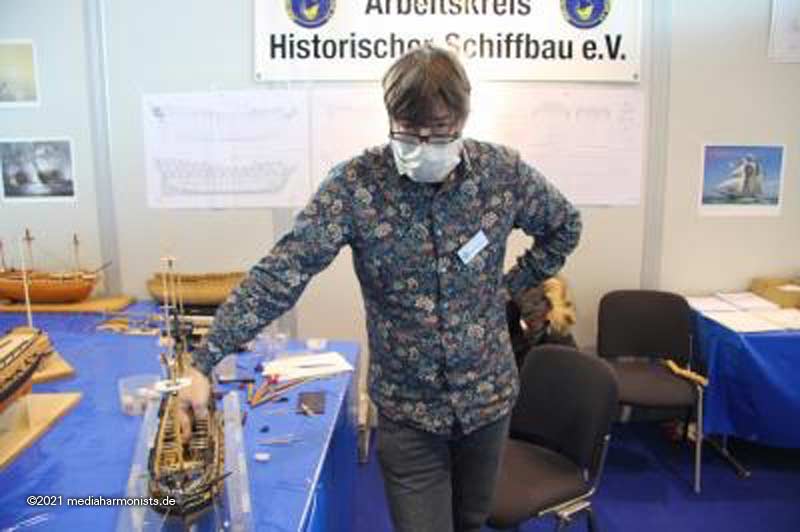
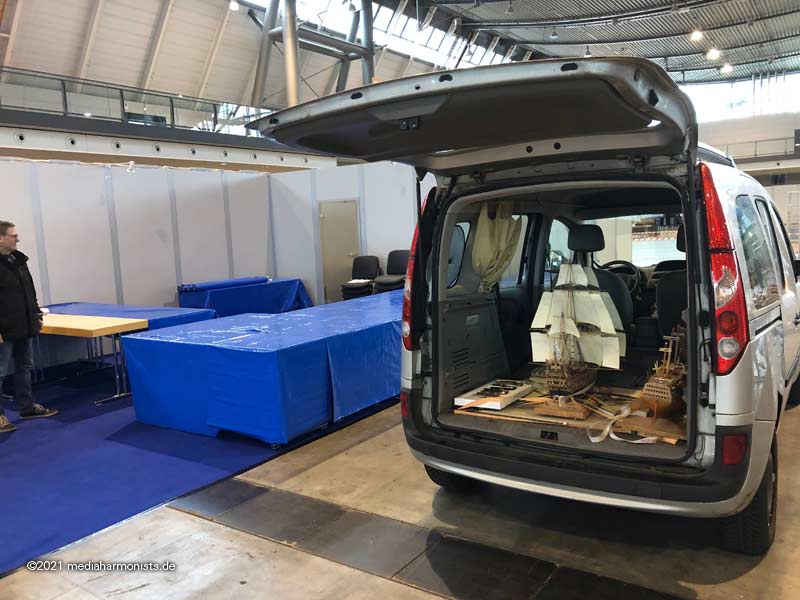
But first things first. In mid-November the stupid virus got me, but thanks to vaccination only a mild course. Thus "boosted", it was an easier decision for me to help the colleagues from the club at the booth during the games fair in Stuttgart. As those were public handicraft lessons, my small one with the yellow and black lines that make her look slim was supposed to look pretty. With all the battle damage removed, into the car with all my other children - "Are we there soon?" "I feel sick" "I'm hungry!" "I have to pee!" and so on - and otherwise uneventful drive to the fair to set up 🙂
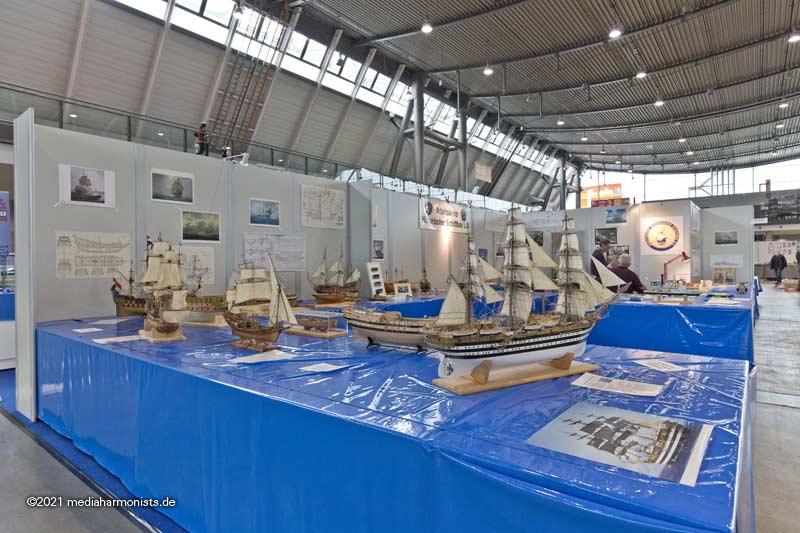
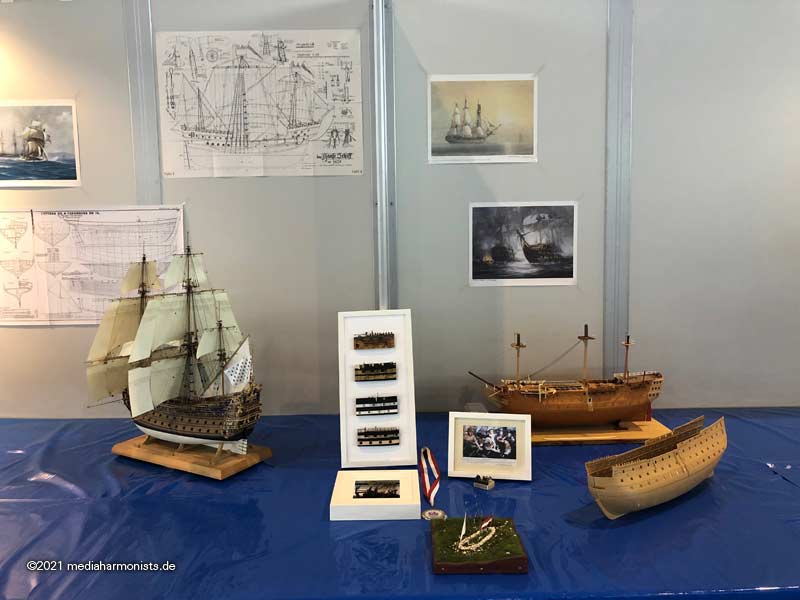
The booth of the [i]Arbeitskereis historischer Schiffsbau[/i] ...
... and the corner with all my bits and pieces.
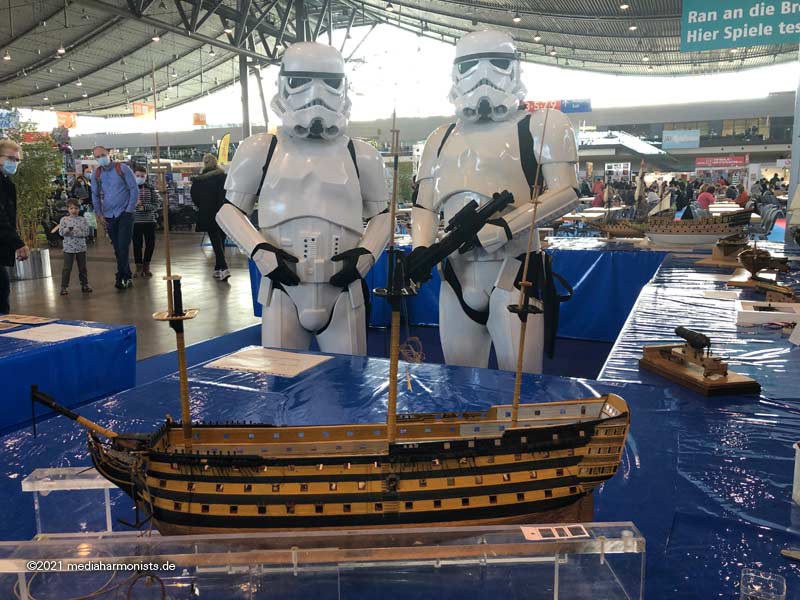
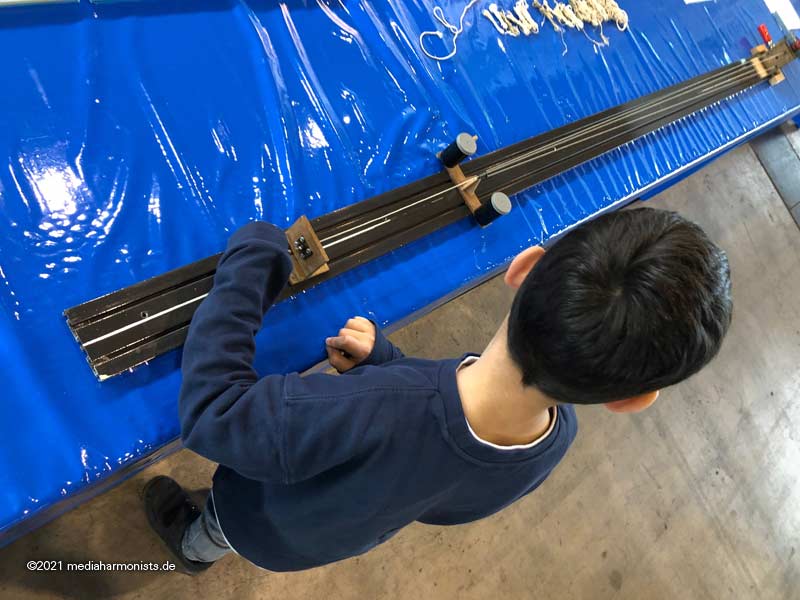
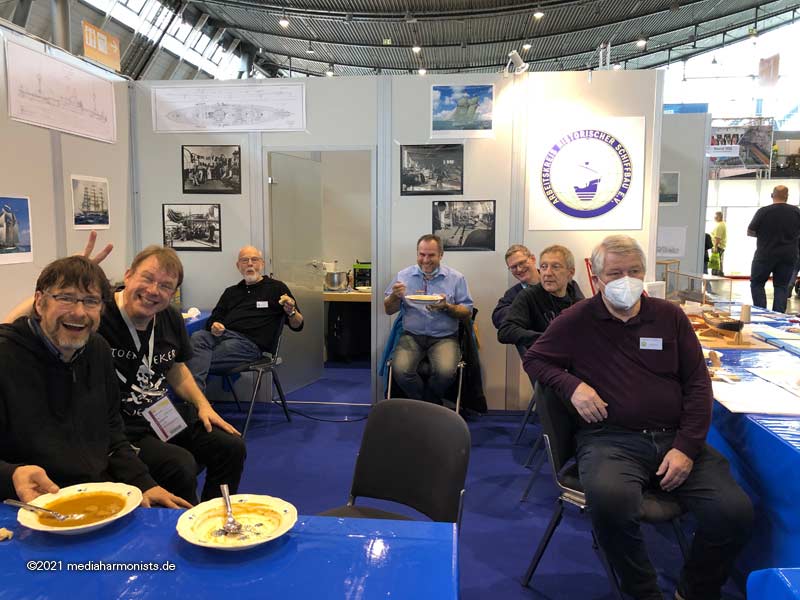
Because remember, fun is the fair life if:
- you can send the offsprings to the "Reeperbahn" ...
- and there is enough food for the fight 🙂
-
-
But also bigger things happened, but never had the time to report.
The force was with me!
But before it was back to the model again 🙂
Repairing battle damage. I had simply installed the first beams without pre-bending but under tension, the correct curve was so automatically achieved, and it had worked quite well. At that time. What was not considered:
Wood works, and in the meantime the beams had simply become longer and they were suddenly 2 mm higher and had even taken the supports with them :-≠
Removal of the whole beam was not possible without too much collateral damage, so a cut was made in the middle with the resin saw ...
... and sawed out the overhang and ...
... it fits again 🙂
Accordingly, the coamings of the middle deck could finally be continued.
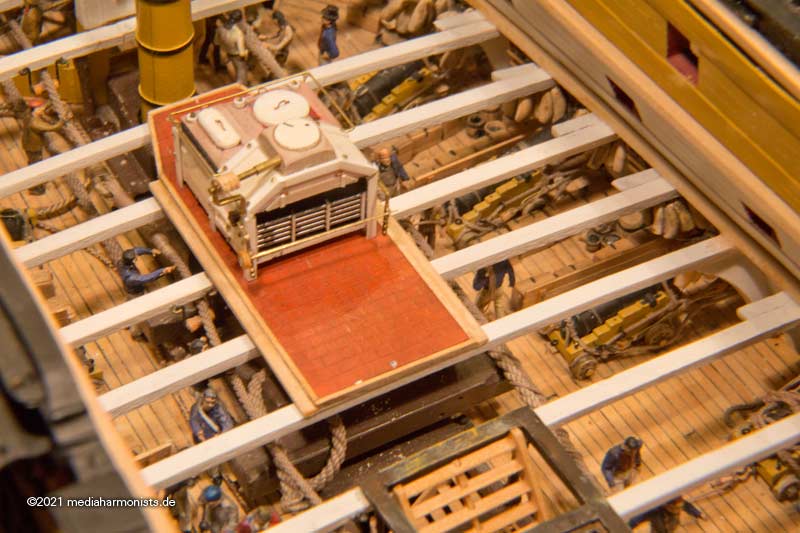
Also the small kitchen could finally get its foundation. And the tiler was also there.
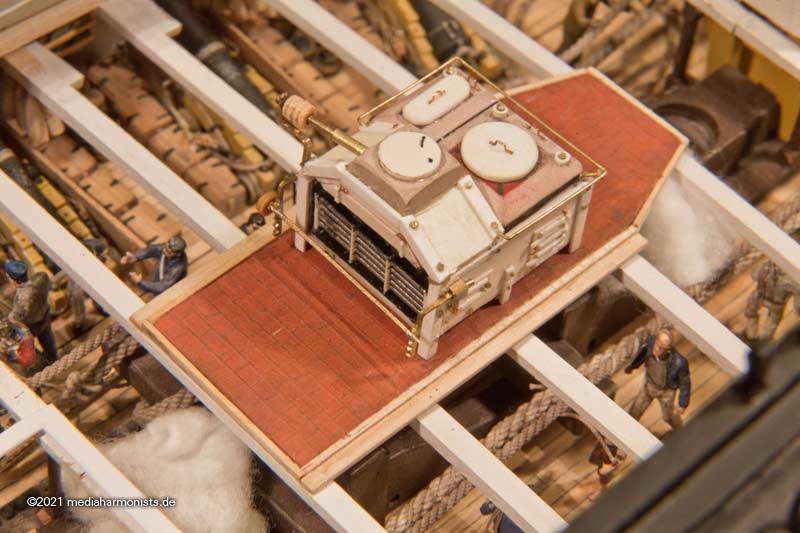
So things are happening again in the state of Victory 🙂
Greetings, DAniel
-
Happy new year to you all, happy modelling and stay safe!
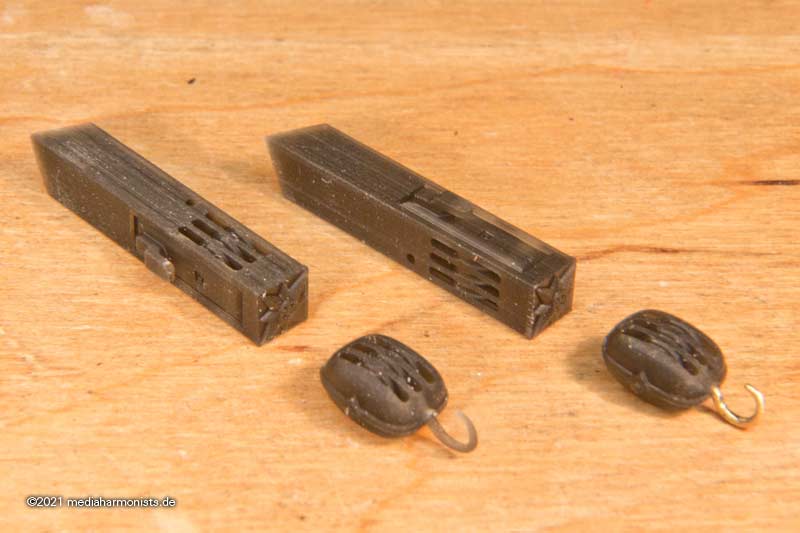
Empty the vaults still: I did the fitting cat blocks fore the cat heads 🙂

XXXDAn
-
-
-
No prop Pete, looking forward to see your thread 🙂
All the best, Daniel
- europapete and mtaylor
-
1
-
 1
1
-
As you were already talking about the heller site: I was pointed out by Paul Bean at the new booklet of instructions for the Vic:
https://www.heller.fr/en/80897176-brochure-hms-victory-1080897176
XXXDAn
-
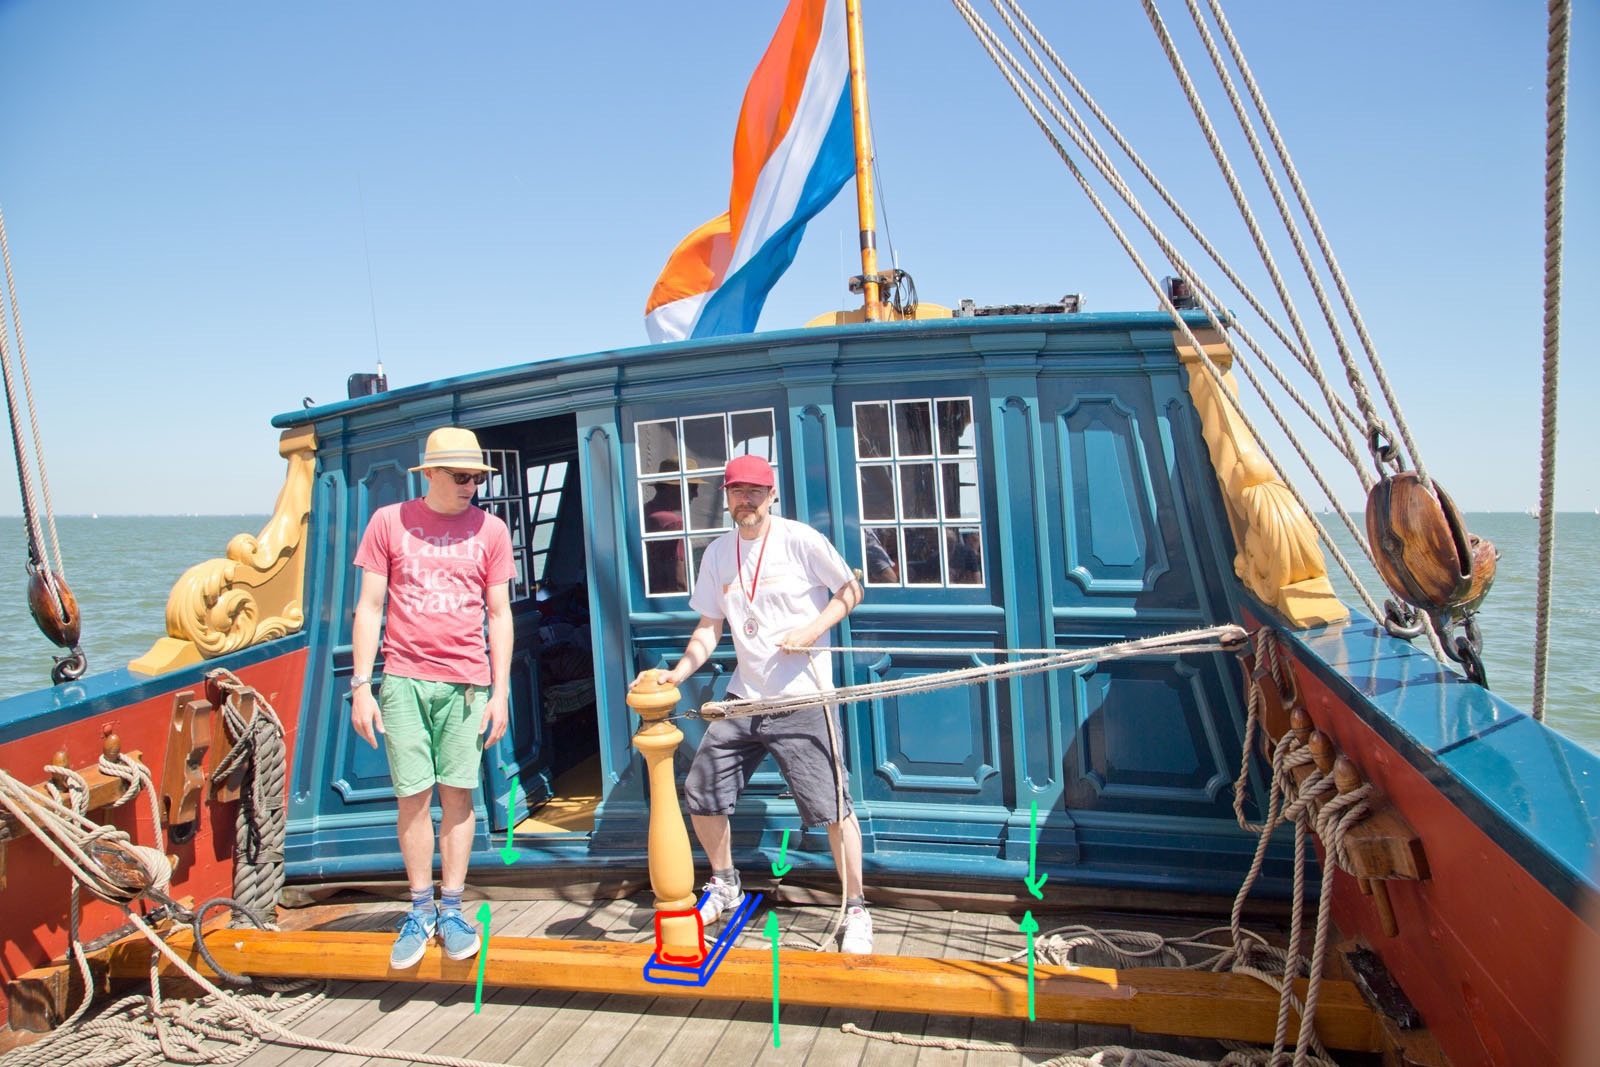
The big beam is the slide for the beam of the gaff, the iron fitting can be seen on the starbord side.
The handle of the pintle is special for those statenyacht. I sketched the hidden parts. The pintle (blue lines) passes unterneath the blue bulkhead that is not linked to the deck. The slot is covered with a cloth, green arrows. On the pintle is a column (red lines) to maneuver.
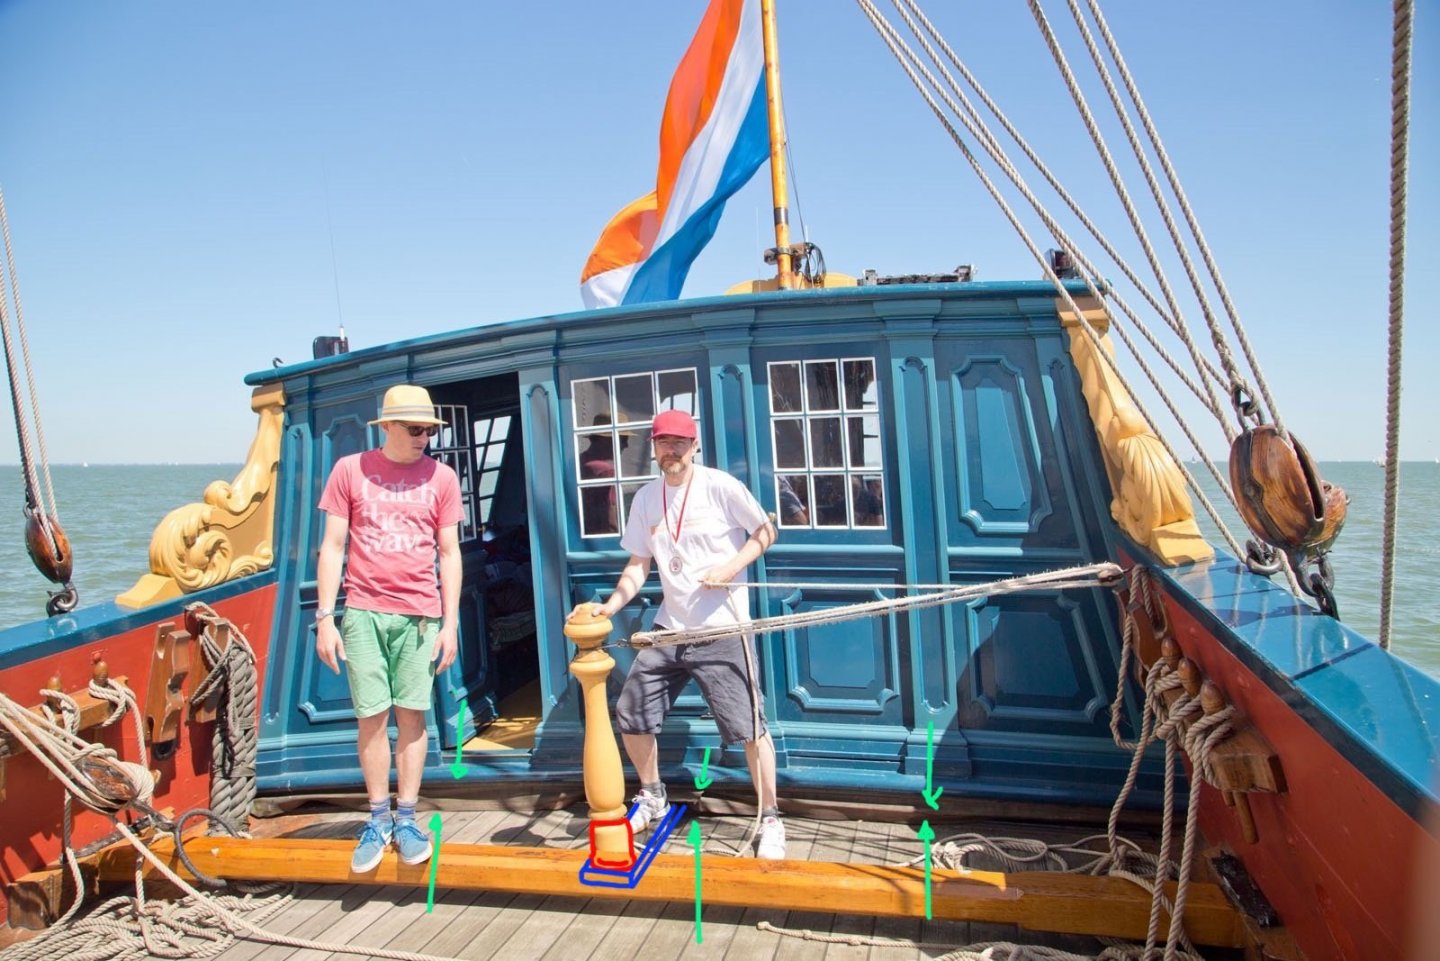
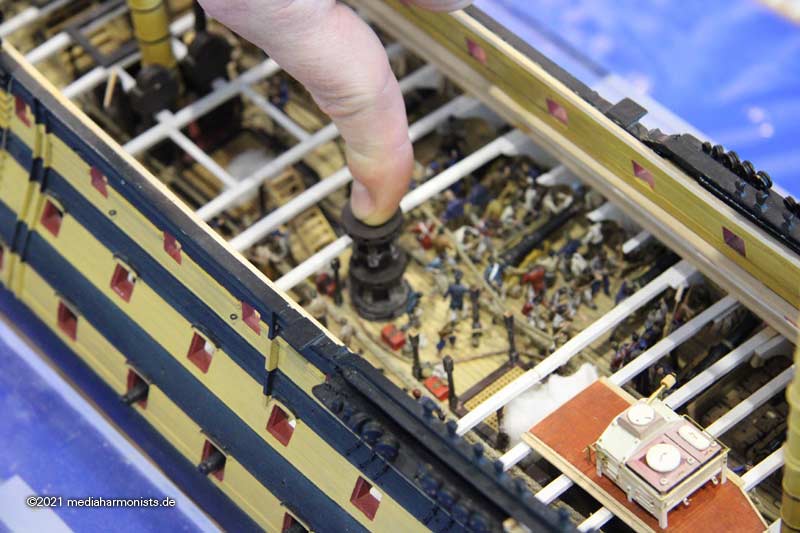
Even with right trimm the rudder has a tendency to pull on one side. This is facilitated with the tackle. If it needs to be corrected towards the other side, push with the foot - that is why my foot is on the pintle - or the hand.
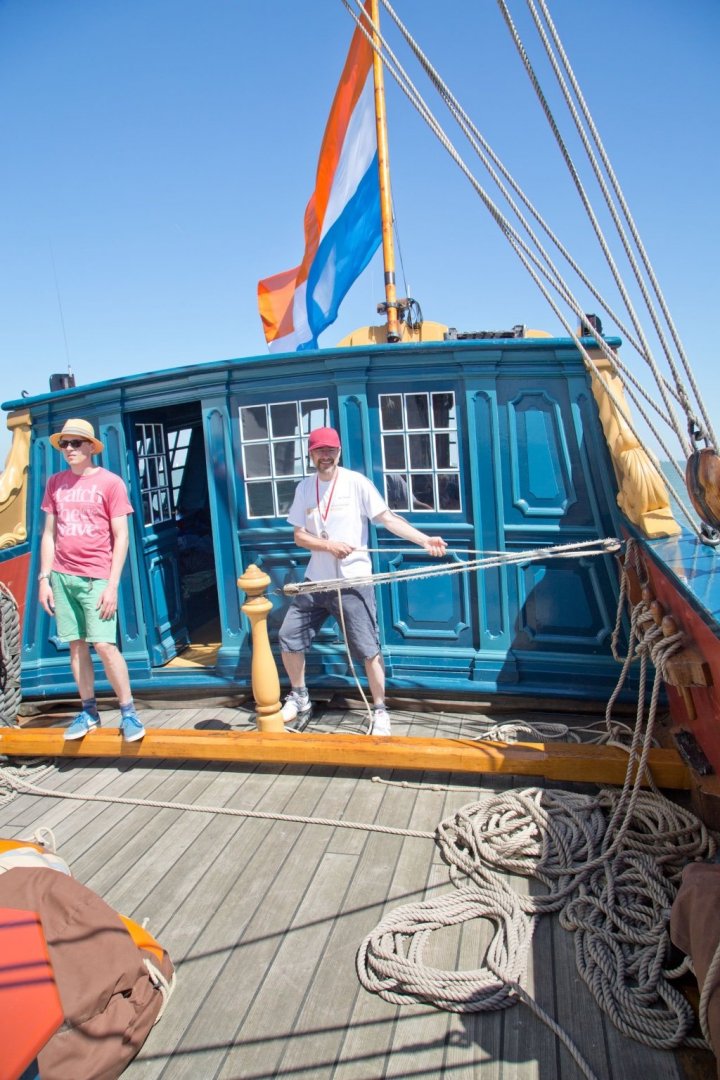
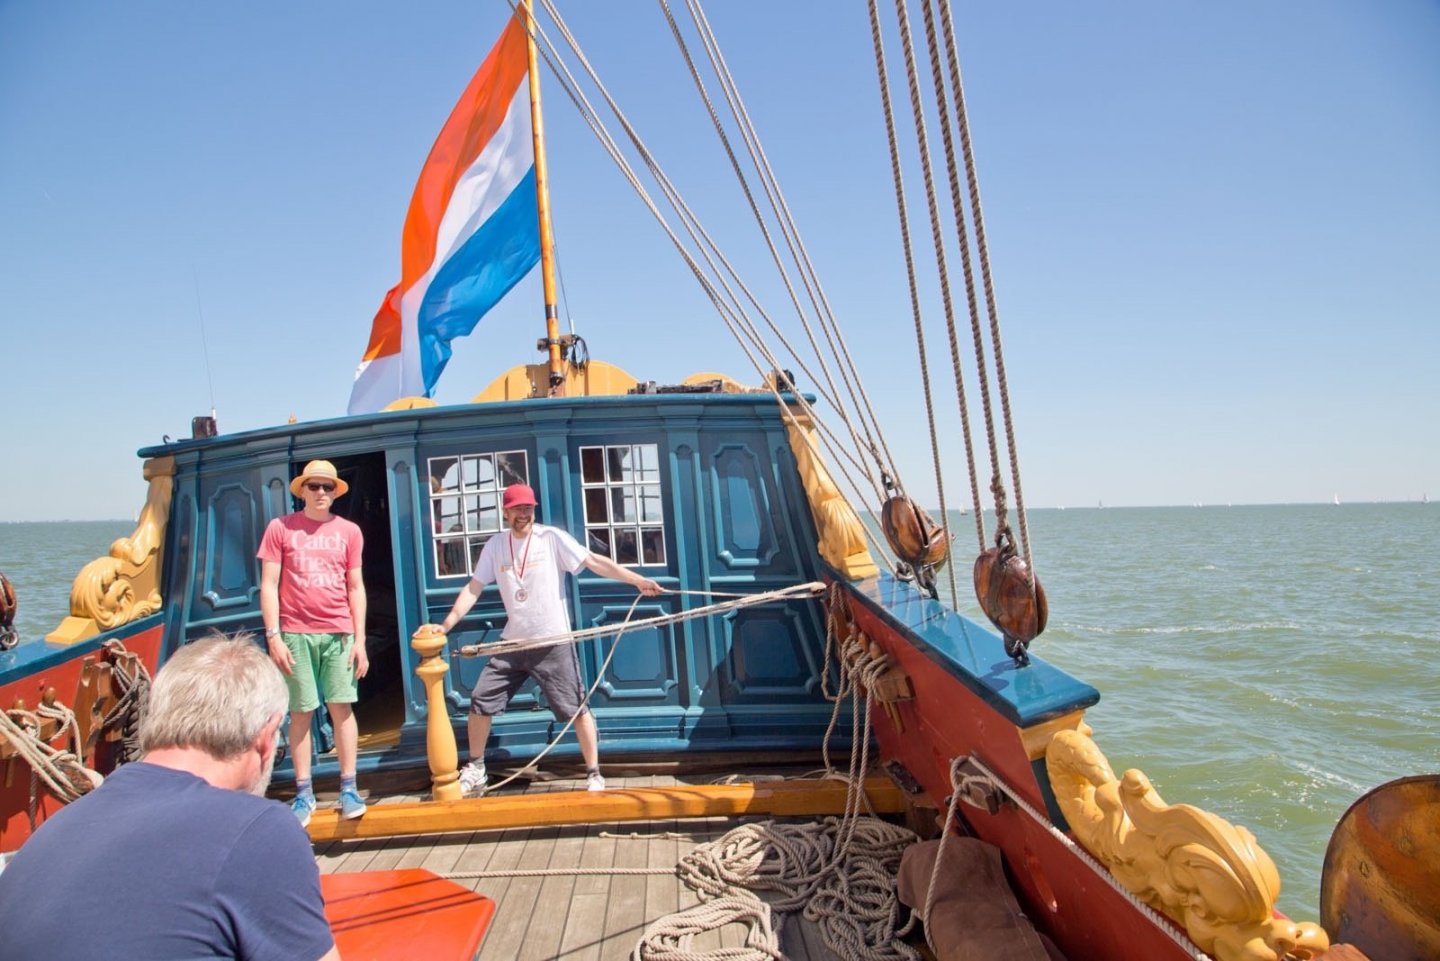
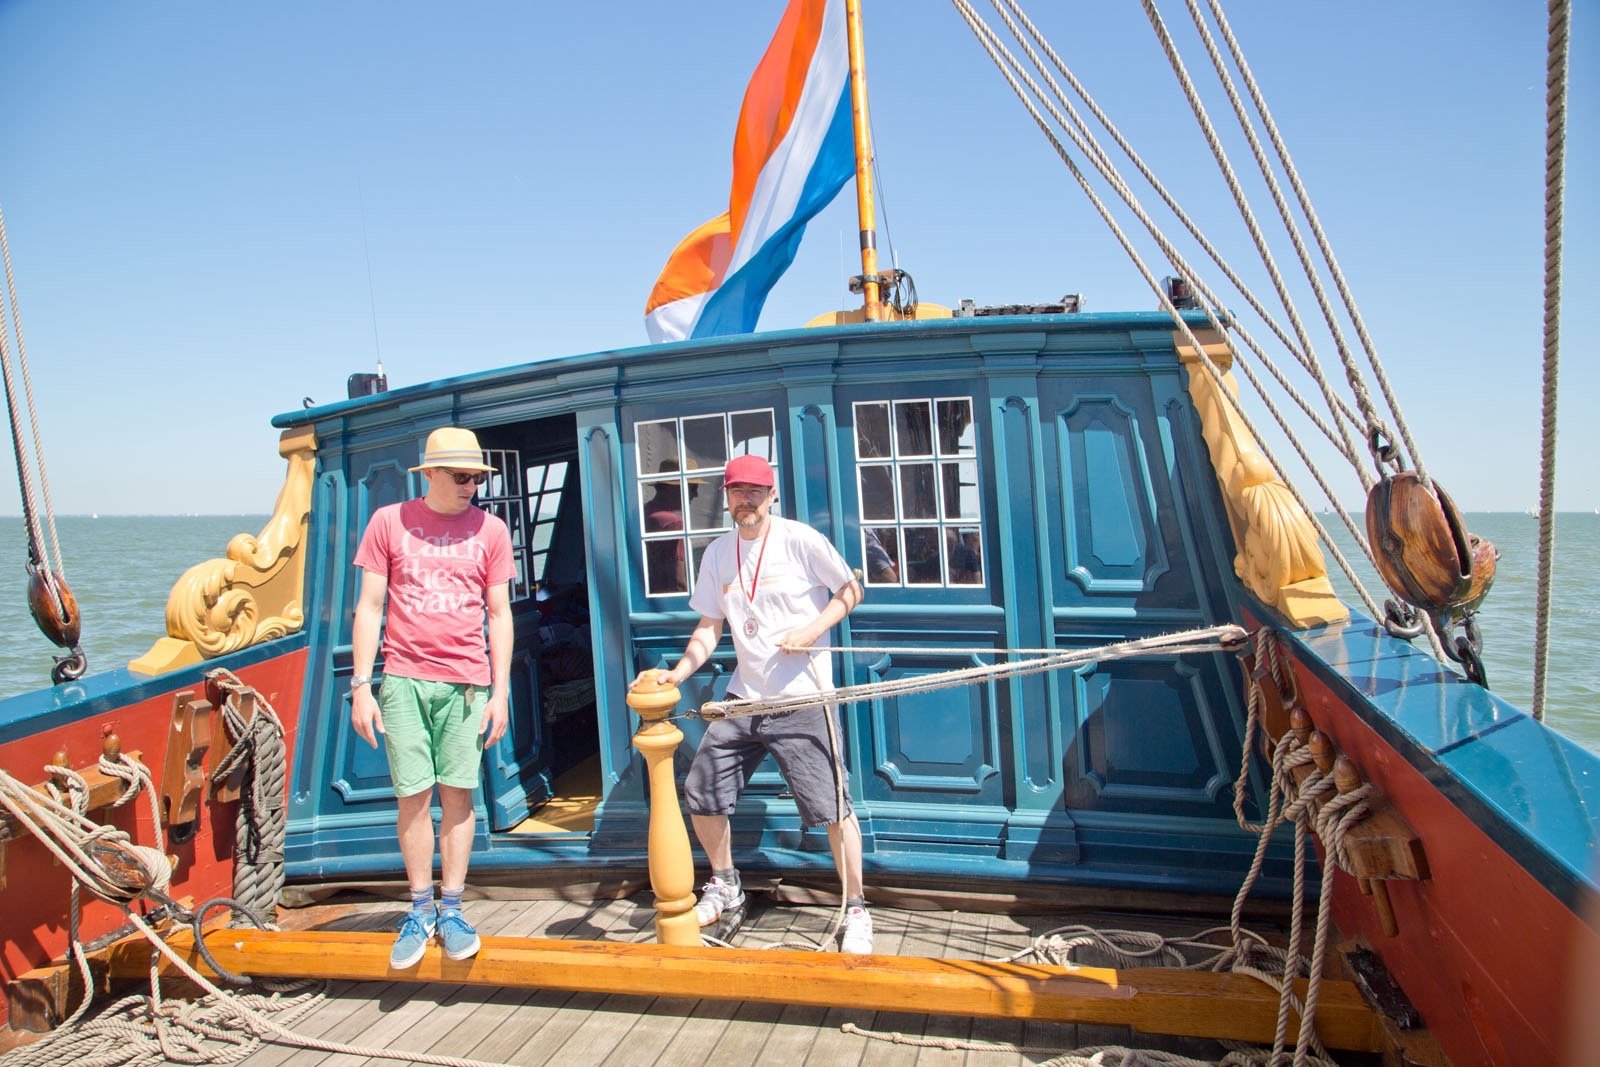
Here you can see that the column is not in touch with the big bar. This was while leaving the harbor under motor, so no tackles were used.
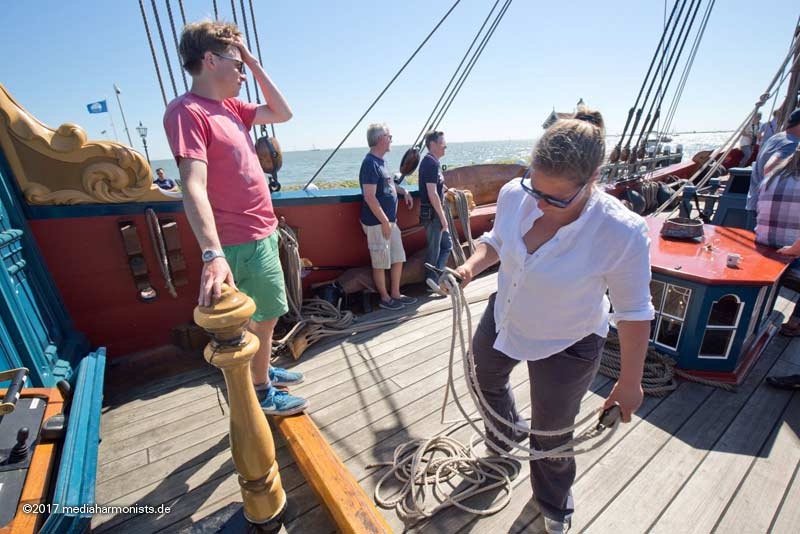
These are some pictures of the sailing day we had with our german modeling forum 🙂
25 German pirates invading the dutch harbor and cutting out the Utrecht 😉
The ransom was paid by the skipper with fennel soup.
XXXDAn
-
-
-
-
Thank you all for your input.
Having had a closer look at other pictures of the Princess Royal, I am not so sure as if the groove served a purpose. Many other edges on different parts show that kind of groove as a mere decorative feature.
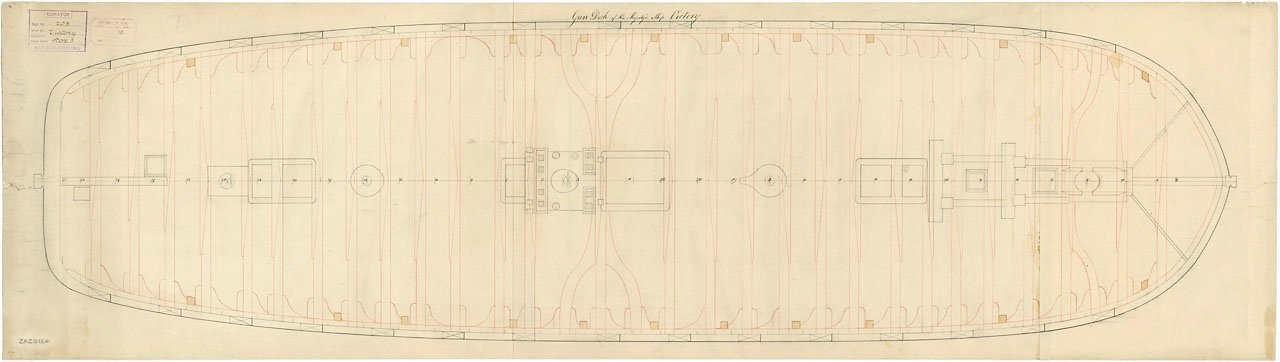
If one looks at the position of the tongue at Princess Royale 1773, the tongue goes flat agains a coaming so that drainage appears less probable, or it would better have been pointing the other way.
The same setup is on the Ocean 1761. Interesting to see, that this plan matches the model of Princess a 100%.

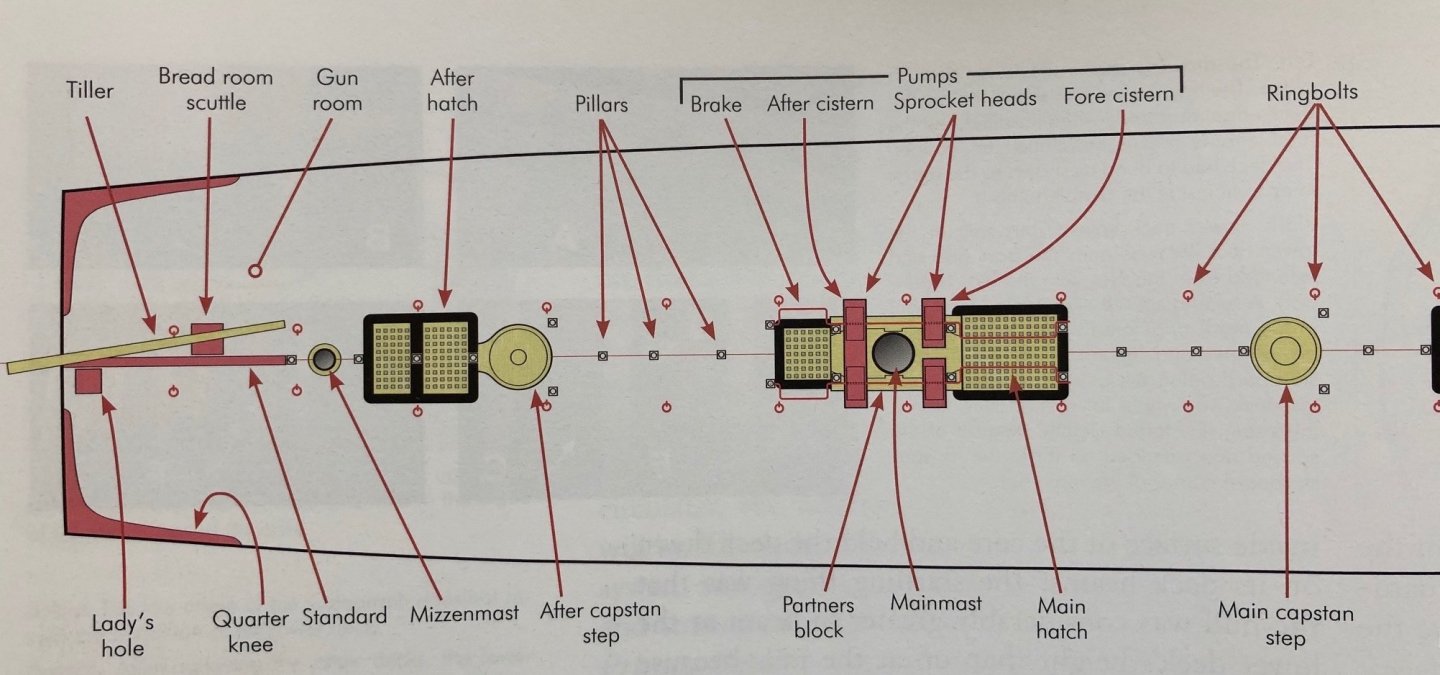
The Vics drawings of 1788 show the tongue on the main/fore capstan step. The picture of today´s capstans I do not use for reference, as they are 1920 repairs or reconstructions.
Also I agree that for structural / strength reasons or to hold pawls the design of the step should be more massive than it is.
XXXDAn
-
Thank you druxey,
to make things more challenging, I found this tongue on either fore or aft capstan, but never on both so far, and also either pointing forewards and backwards without a reason to conclude why ...
A first thought was to avoid water to drag into the mechanics as for the form of the groove on the tongue - like the cutting board for roasted meat - but as in Princess Royale it would lead the water against the coaming of the hatch so I think it can be ruled out.
To give more support on the adjectant beams it is too weak for my personal judgement. I would have expected a less delicate form.
Perhaps something to facilitate the cable to slide atop the step towards the whelps?
XXXDAn
-
-
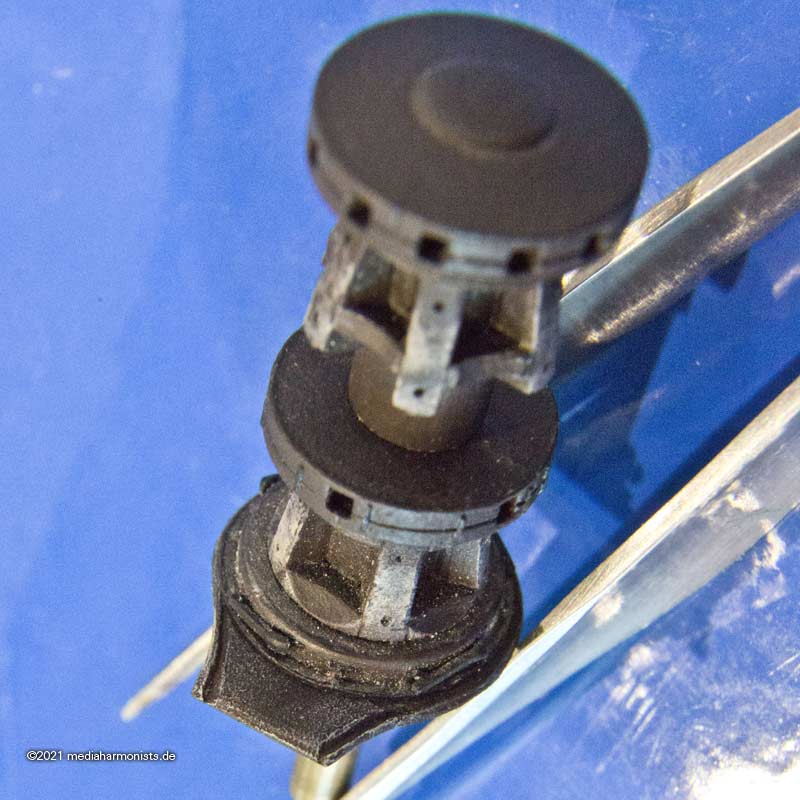
On many english ships one can see a capstan step with a tongue. What was this shape for. Here is the one from Princess Royale.
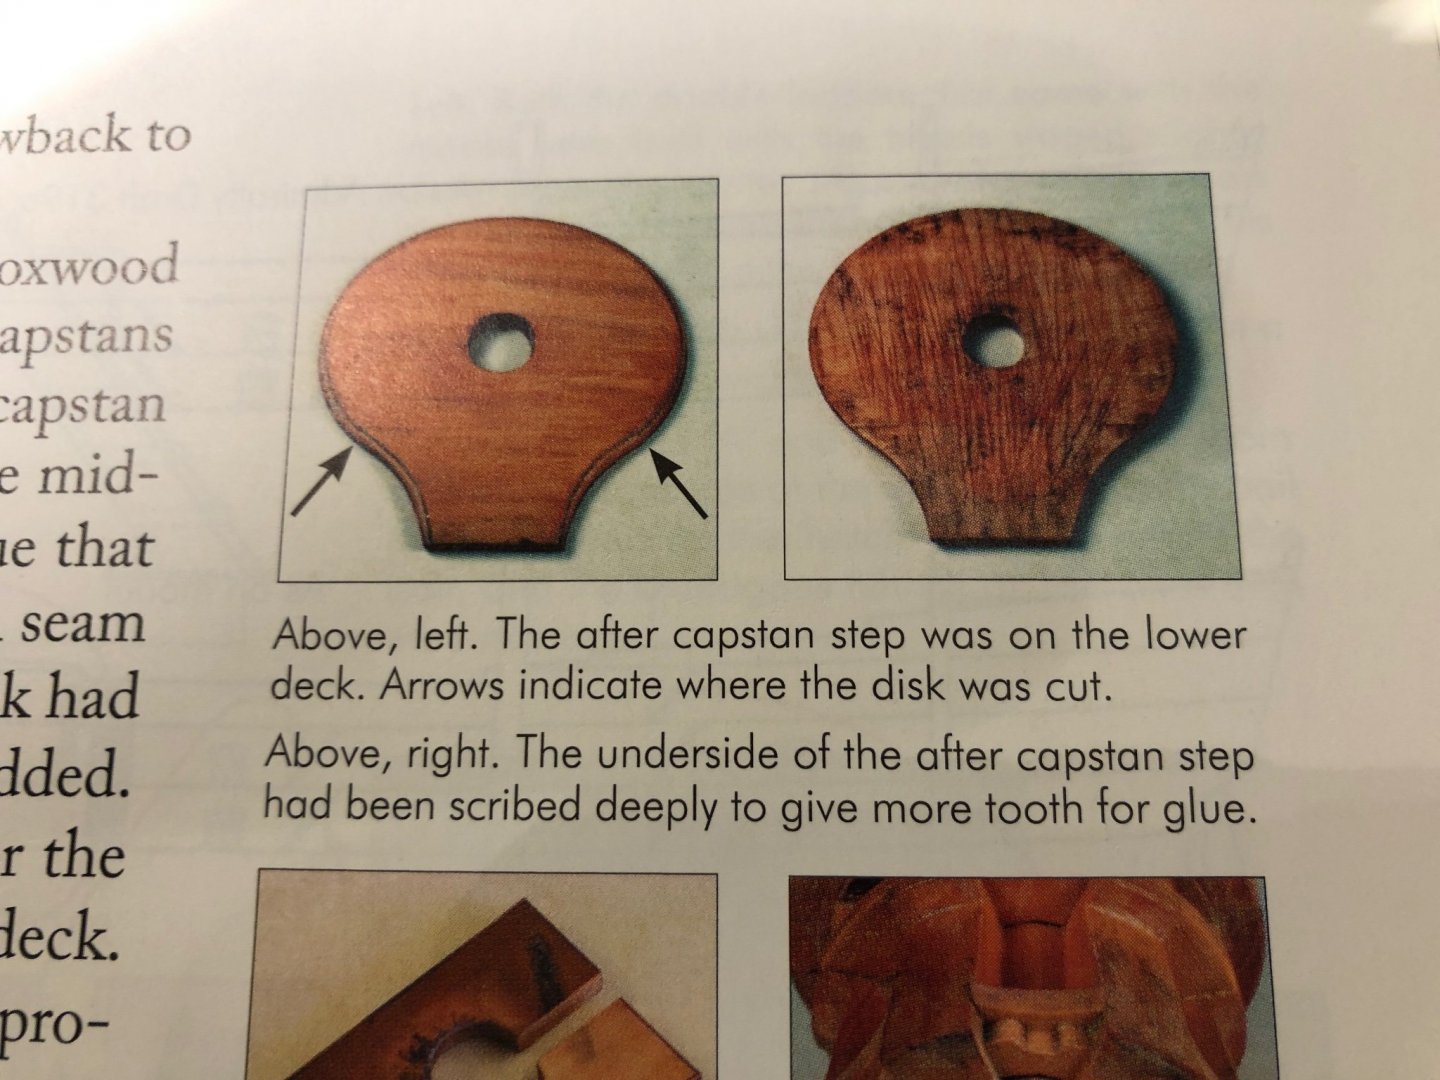
The tongue extended to the aft to butt against the hedge ledge. On plans of other ships it extends both aft or front.
So now my question: What was this feature for?
XXXDAn


HMS Victory by dafi - Heller - PLASTIC - To Victory and beyond ...
in - Kit build logs for subjects built from 1751 - 1800
Posted
😂 😂 😂