


G.L.
-
Posts
1,553 -
Joined
-
Last visited
Content Type
Profiles
Forums
Gallery
Events
Posts posted by G.L.
-
-
On 3/19/2020 at 10:40 PM, Mark Pearse said:
Hi Geert
A very interesting hull, a lot of volume for a short boat ... & yet the lines are sweet.
Is there a risk in the hull being distorted by unequal loads from the planking?
The portside will be heavier than starboard, but with the massive tin keel the center of gravity will be below. I don't believe that it will give a lot of problems to fix the model on a base plate.
-
On 3/19/2020 at 4:01 PM, rtropp said:
Thank you for the time and effort it took to post this article. It is clear, concise and easy to follow.
This will help a lot of folks including me.
I was unable to find an English version of Apprendre le modelisme naval and my language skills are wholly inadequate or I would be tempted to build along rather than just read along.
Richard
Richard,
I am glad that my log is easy to understand. I learned English during my school years and used the language during my naval career, but it is not always easy to find the right words to explain exactly what I have in my mind.
I think that the book Apprendre le modelisme naval is only published in French.
-
Amazingly how that handwheel is made! I would never succeed to think out such a production process.
- Keith Black, mtaylor, druxey and 1 other
-
 4
4
-
-
Impressive!! I can't wait to see the sequel.
-
-
Whaw, that goes fast. And such a clean joinery! I wonder how you get it done.
-
-
-
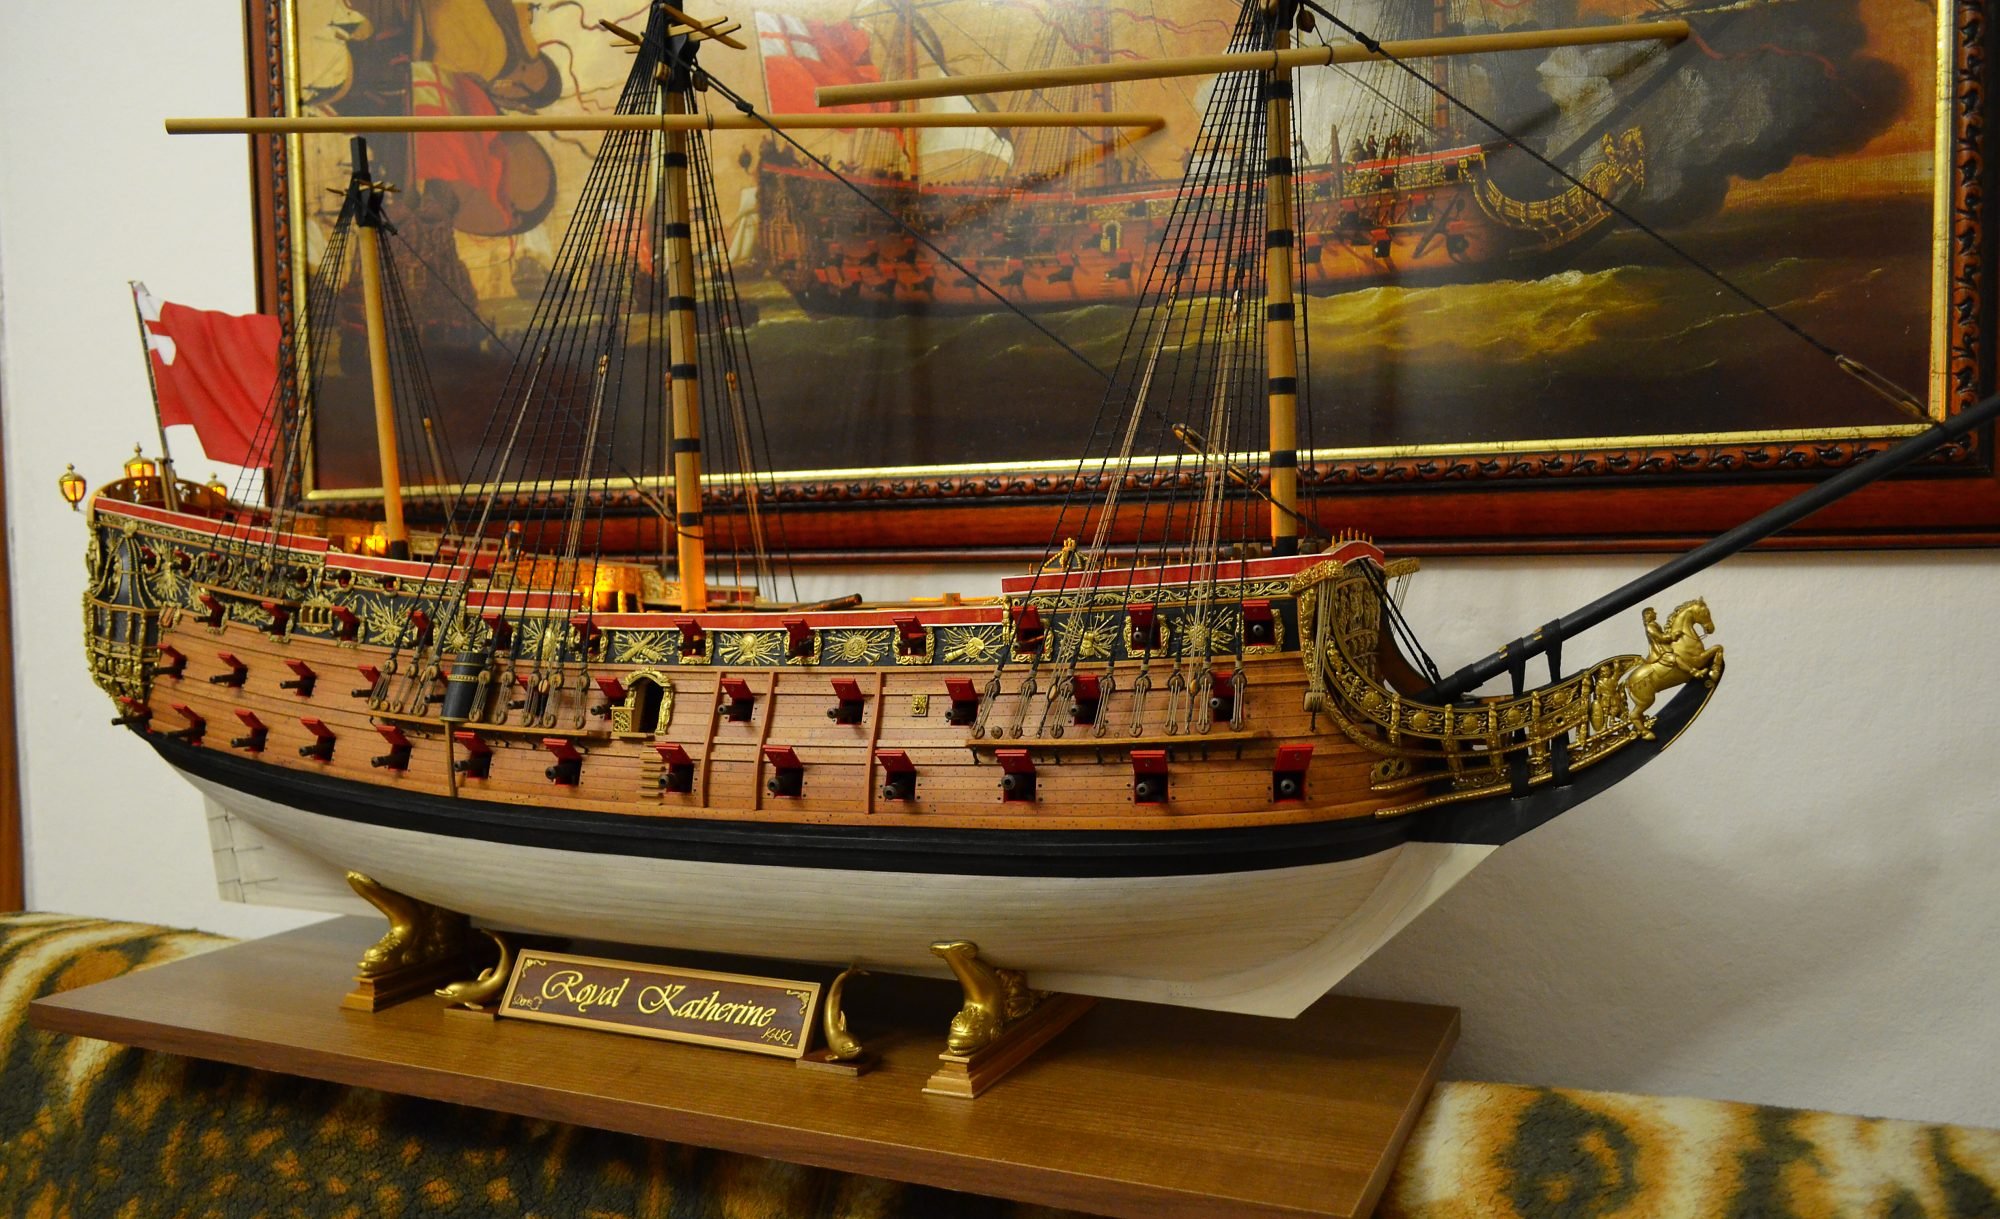
18 minutes ago, DORIS said:
Amazing how it changes with gun ports in place!
- Jorge Diaz O, davyboy, Jeronimo and 13 others
-
16
-
-
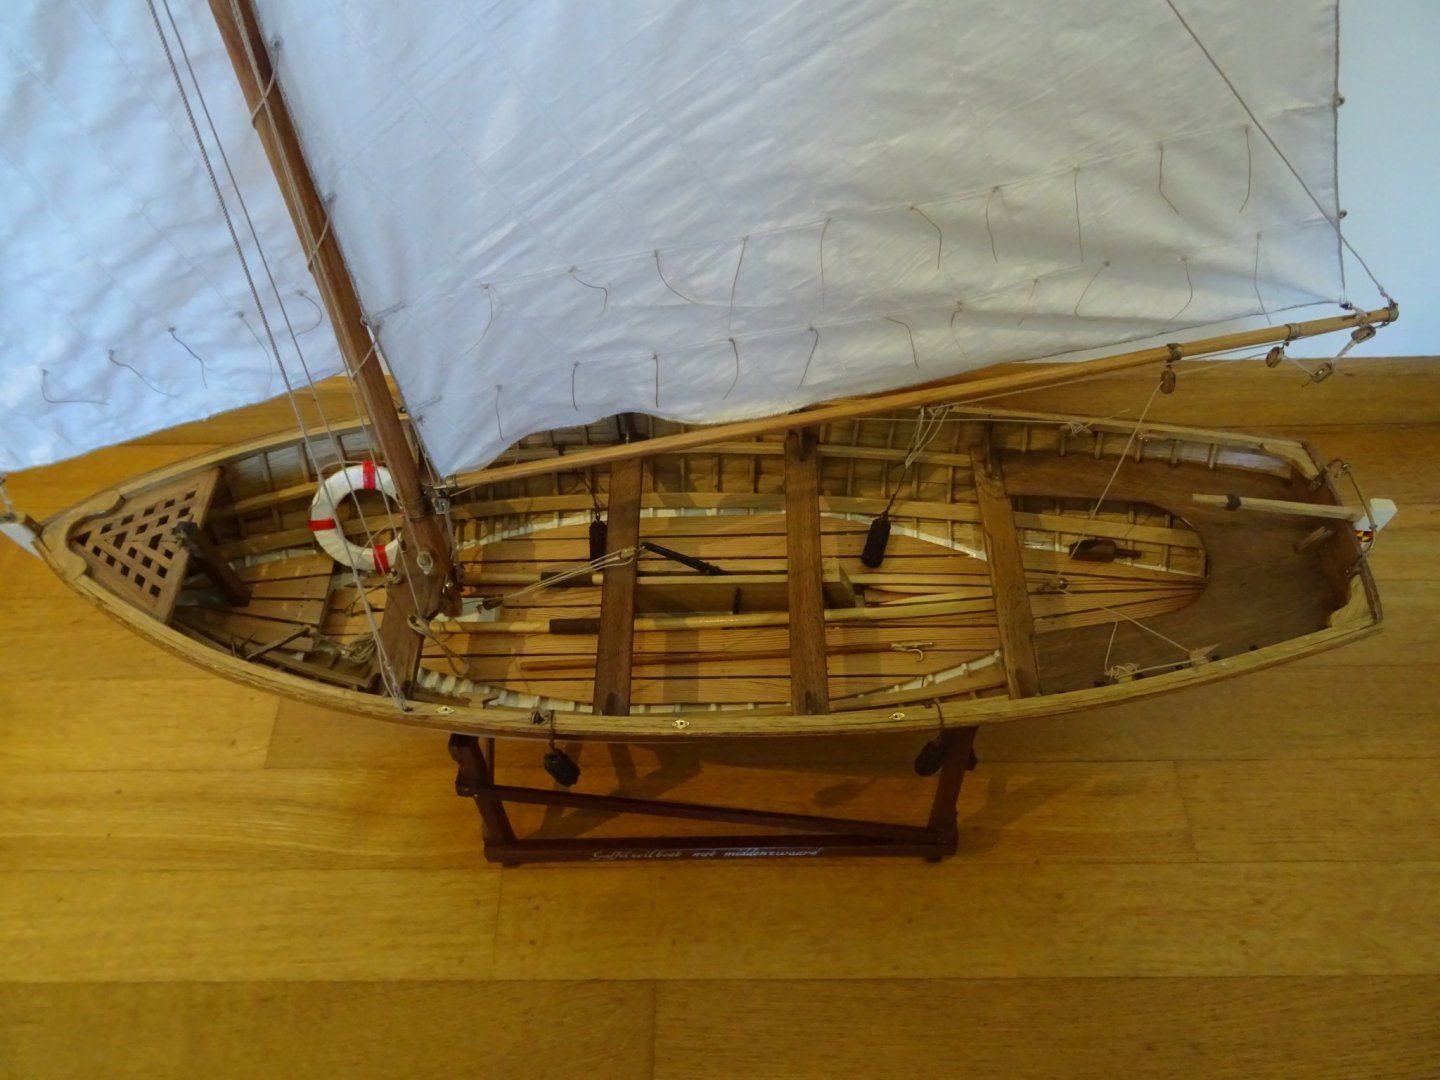
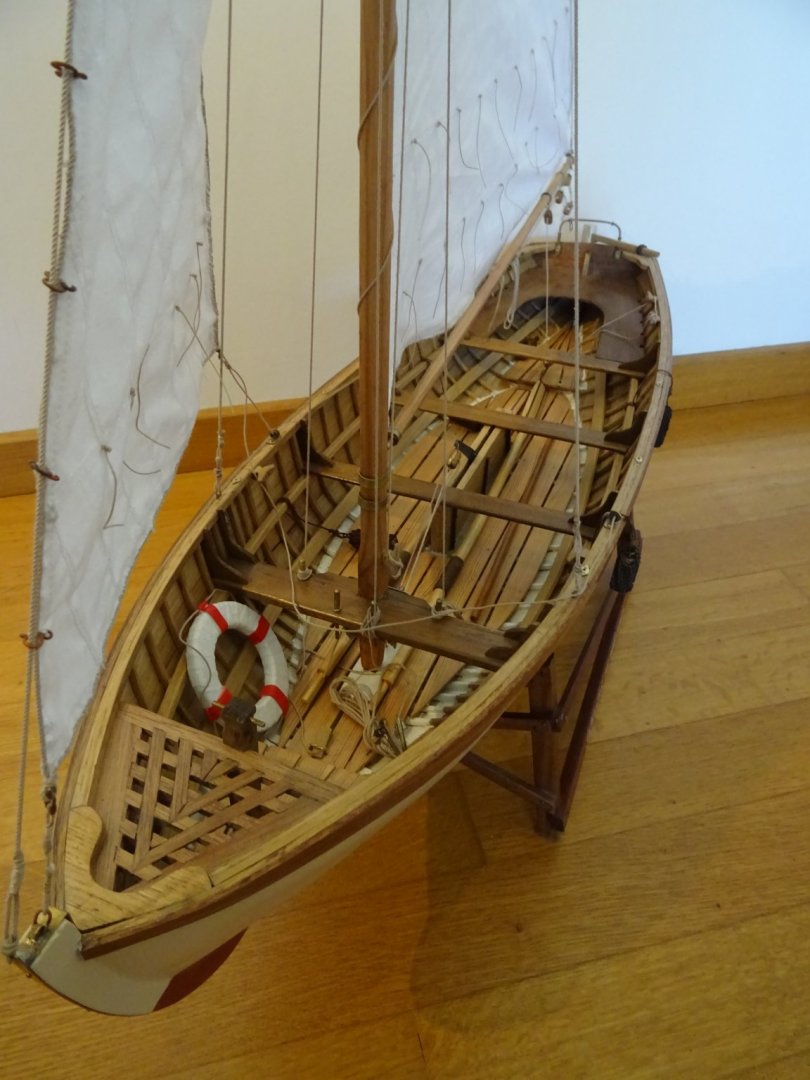
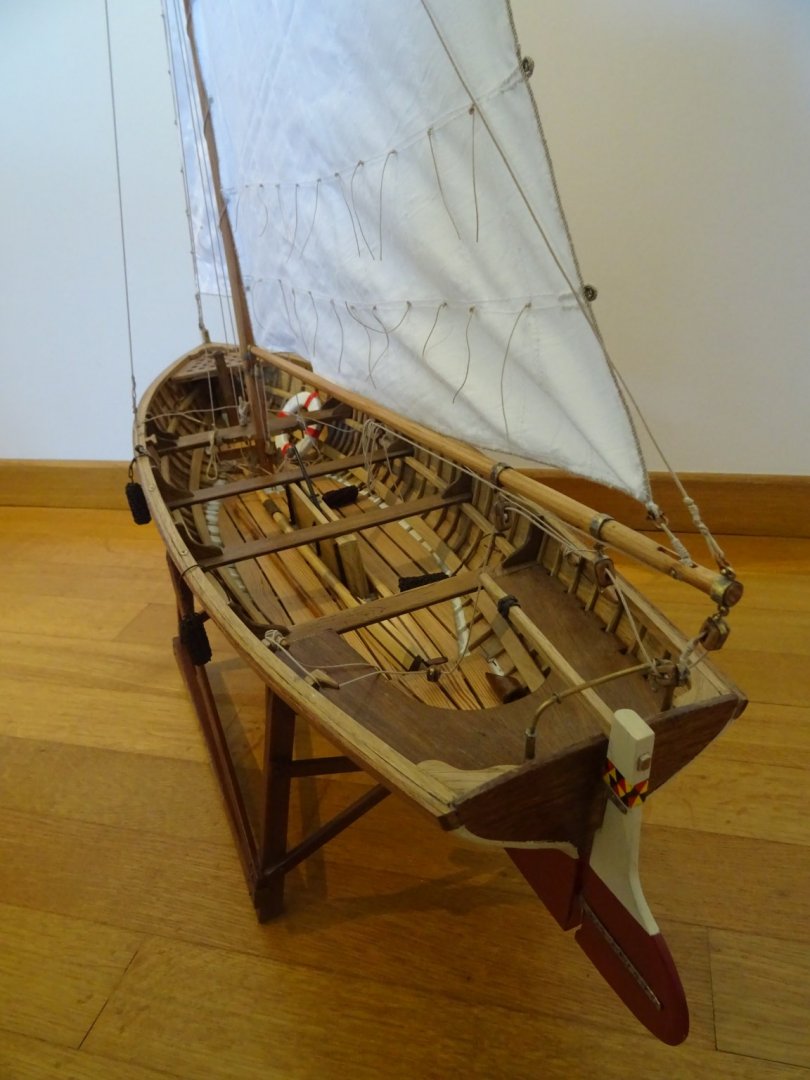
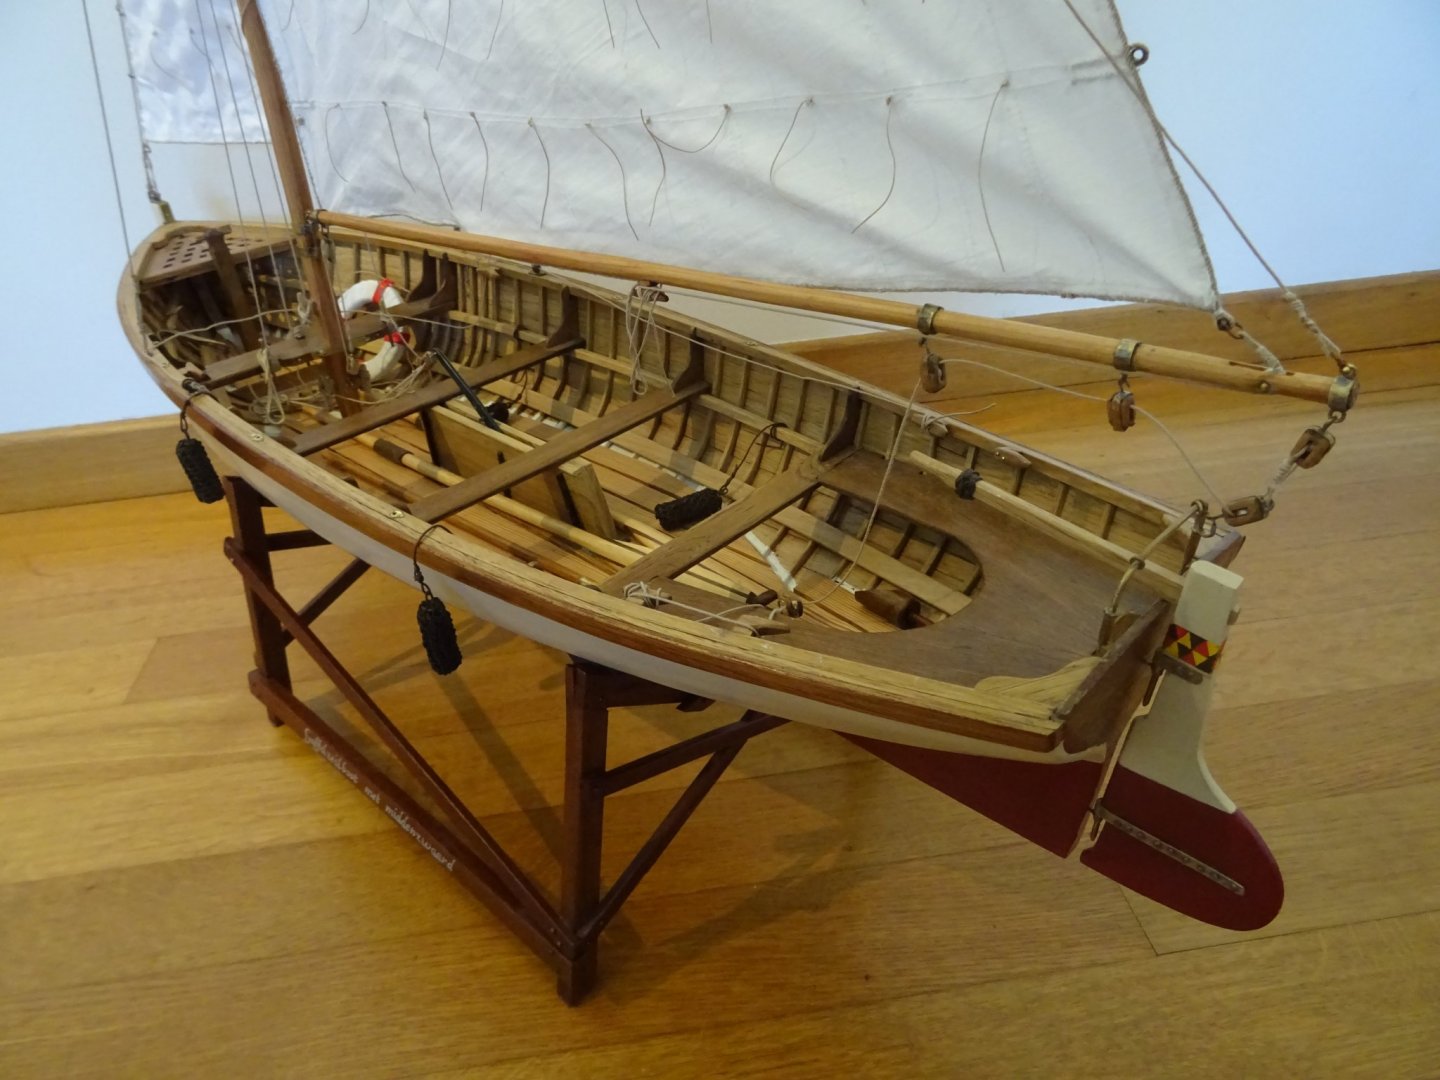
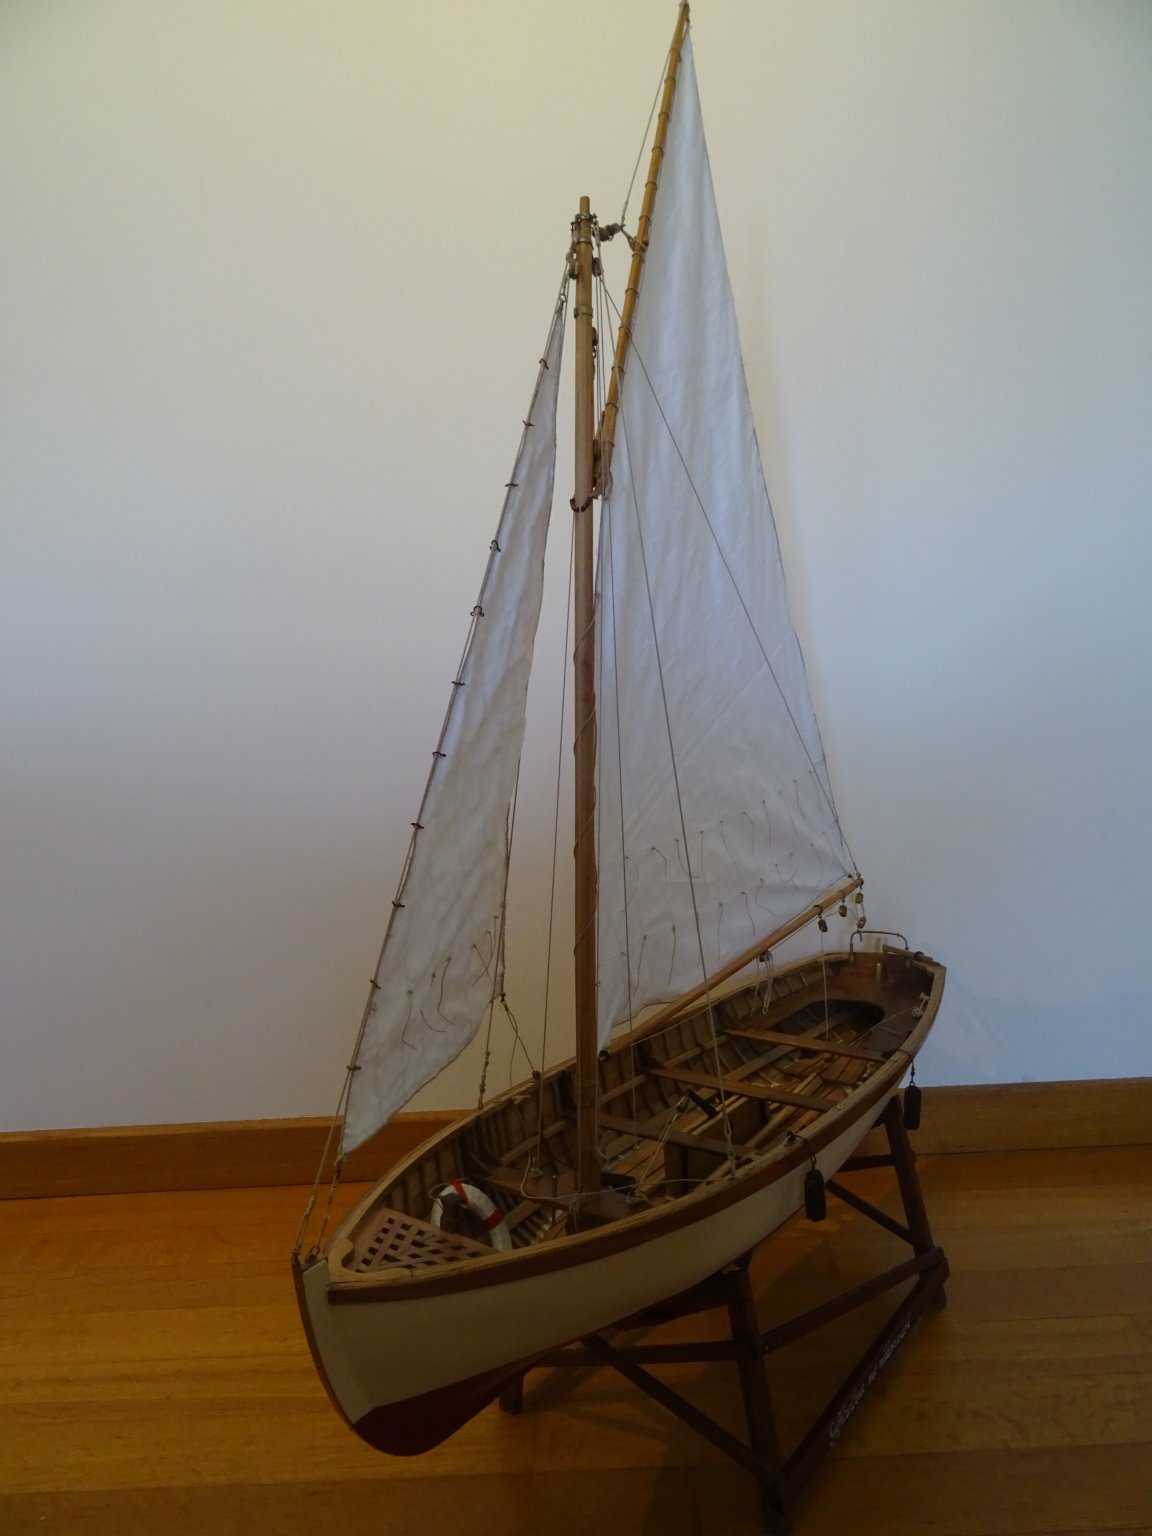
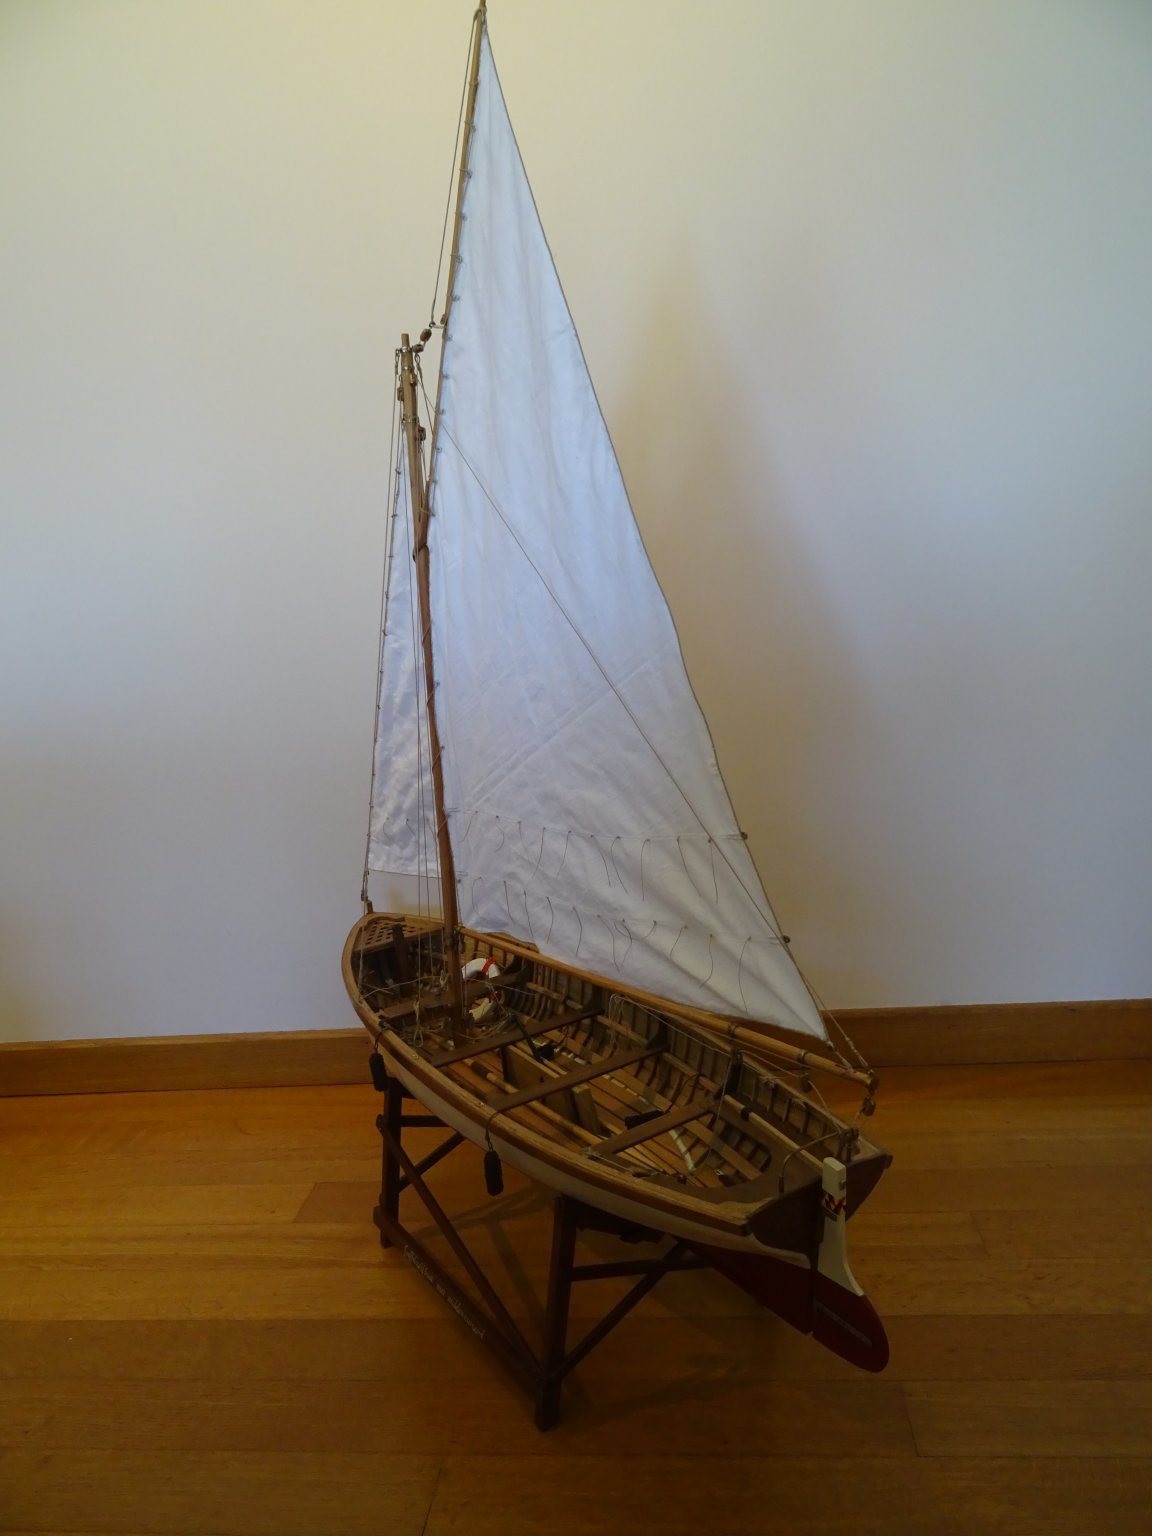
13. The sails (continuation)
Meanwhile the mainsail is finished and hoisted.
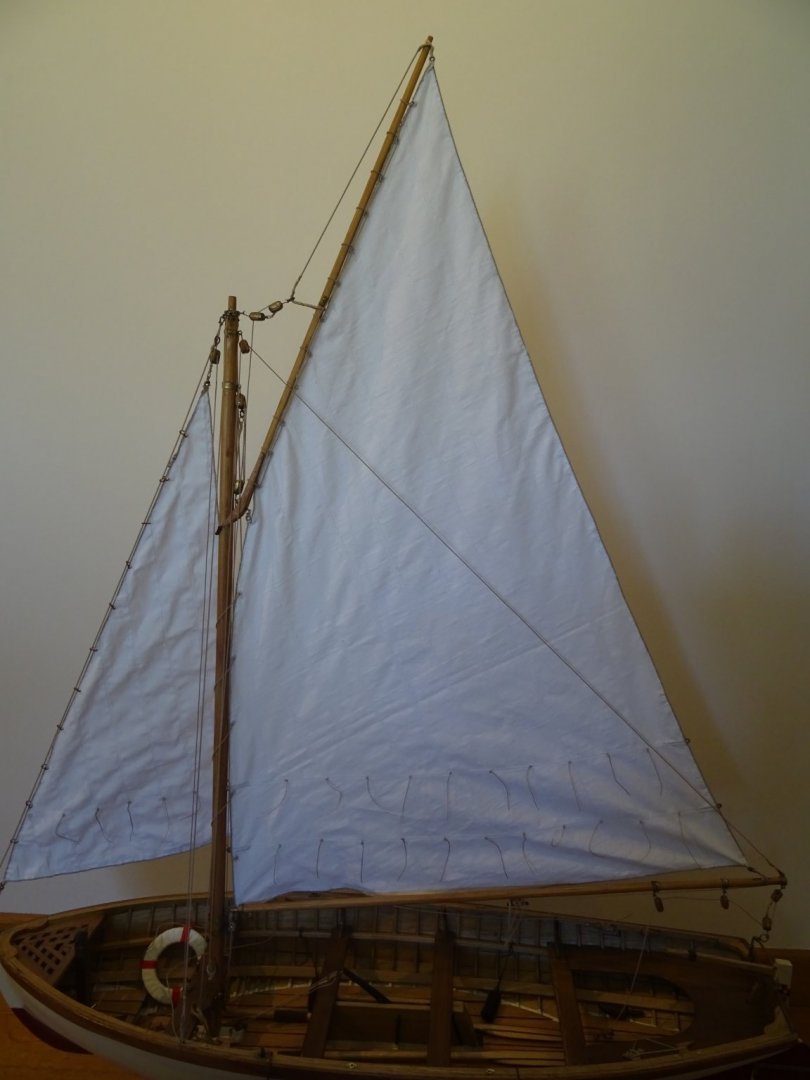
Now that this is done, the model is finished. The only thing I have still to do now is making some good pictures to place in the gallery. But I prefer to do that in the painting atelier of my wife because the light is better there. Unfortunately that atelier is located in a house in town that we purchased and remodeled especially for that reason and also to organize occasionally an exposition. With the present lockdown it is unreachable, so the photo session has to wait until Corona left the country.
This morning I made some pictures here at home as a little foretaste.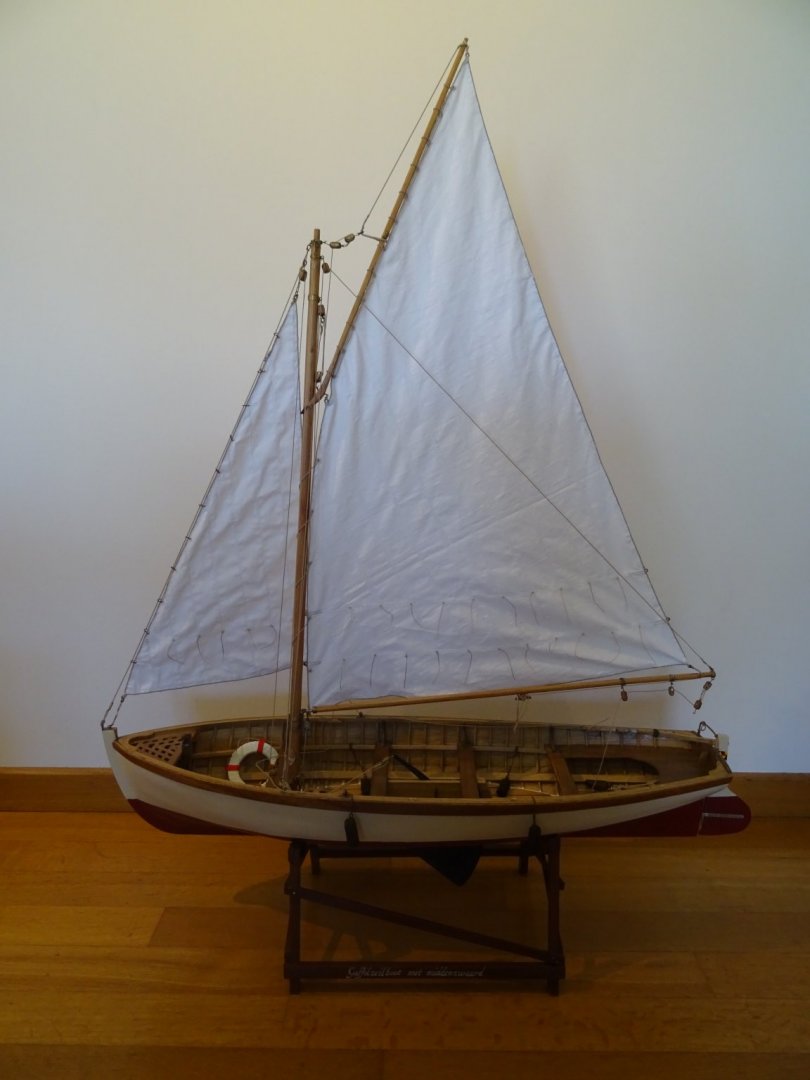


Now I only have to thank you all for your interest and all your enthusiastic reactions. Thanks to your expert advice, I was able to fix some errors that certainly enhanced the model's quality.
The weekly reports of this log stop here, but there are still a lot of projects waiting on my to do list.Keep it all healthy! Till next project.
-
On 3/8/2020 at 8:52 PM, KeithAug said:
I enjoyed catching up on all the fit out details Geert. It is a pity this build is nearing its end.
Thanks Keith. It is indeed pity that today I arrive at my last report. I enjoyed very much the built of this model. The result is better than I expected at the beginning.
-
-
-
Hey Patrick,
Very nice work. I am pleased to see that your wood shipyard is again fully operational.
Too bad for your holyday in Tenerife! And also for the cancelled IPMS festival, I planned to go to the Franciliades 2020 on April 25 in the vicinity of Paris with the local modeling friends, but that is also cancelled. In present circumstances it wouldn't be wise anyway to go. Maybe there will be an other opportunity in Autumn.
-
Very clever idea that net over the barrels!
-
-
Thank you Gary and Michael!
It are weird days! Since yesterday noon Belgium went into lockdown. Our youngest daughter left for a three weeks trip to Thailand with her boyfriend ten days ago, just before the Corona epidemy became exigent in our part of the world. We hope that they can return home without too much troubles. Maybe they are now safer where they are now than here. The good news is that I didn't hear yet of contagions in our family or circle of acquaintances. I hope that that is also the case in our modelshipworld community.
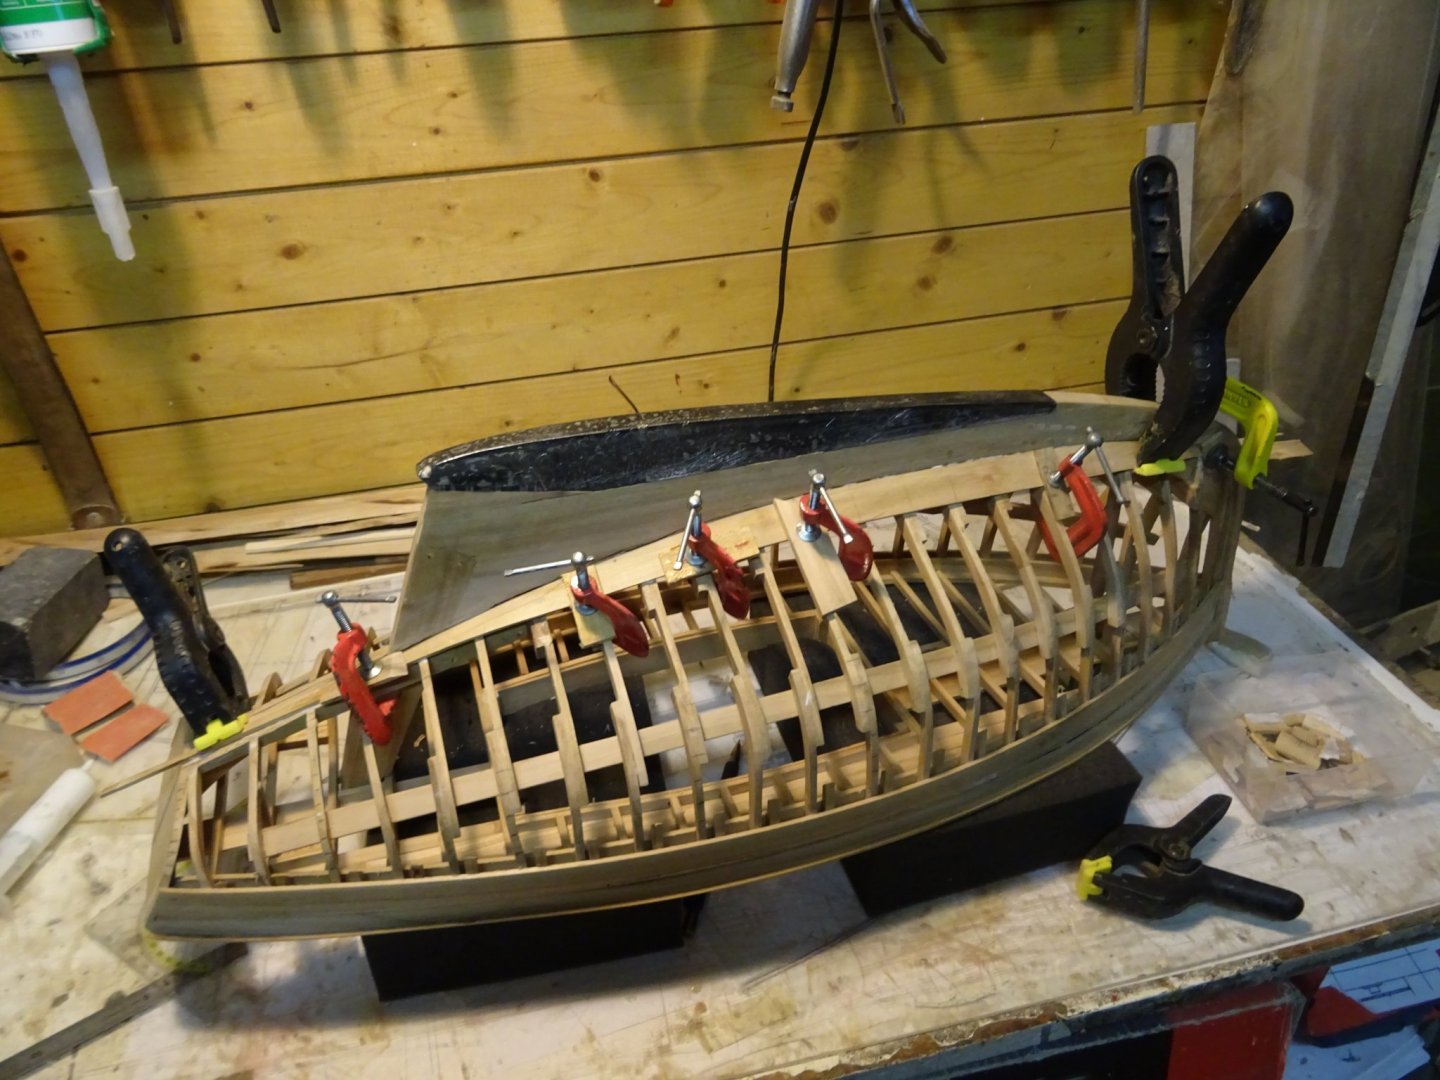
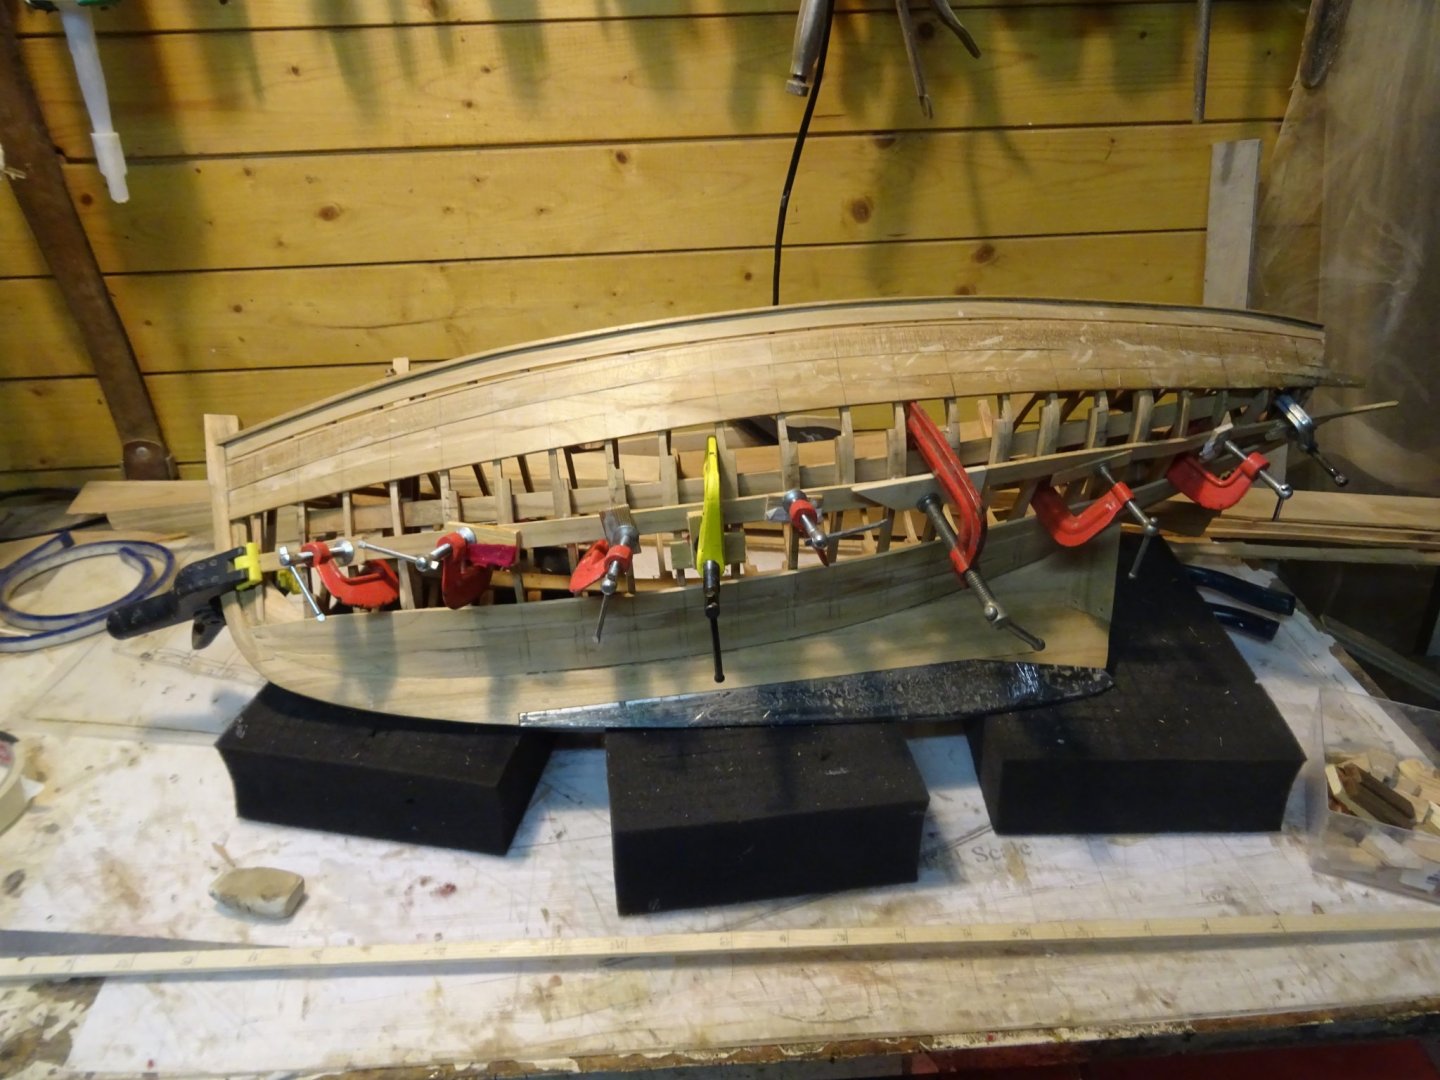
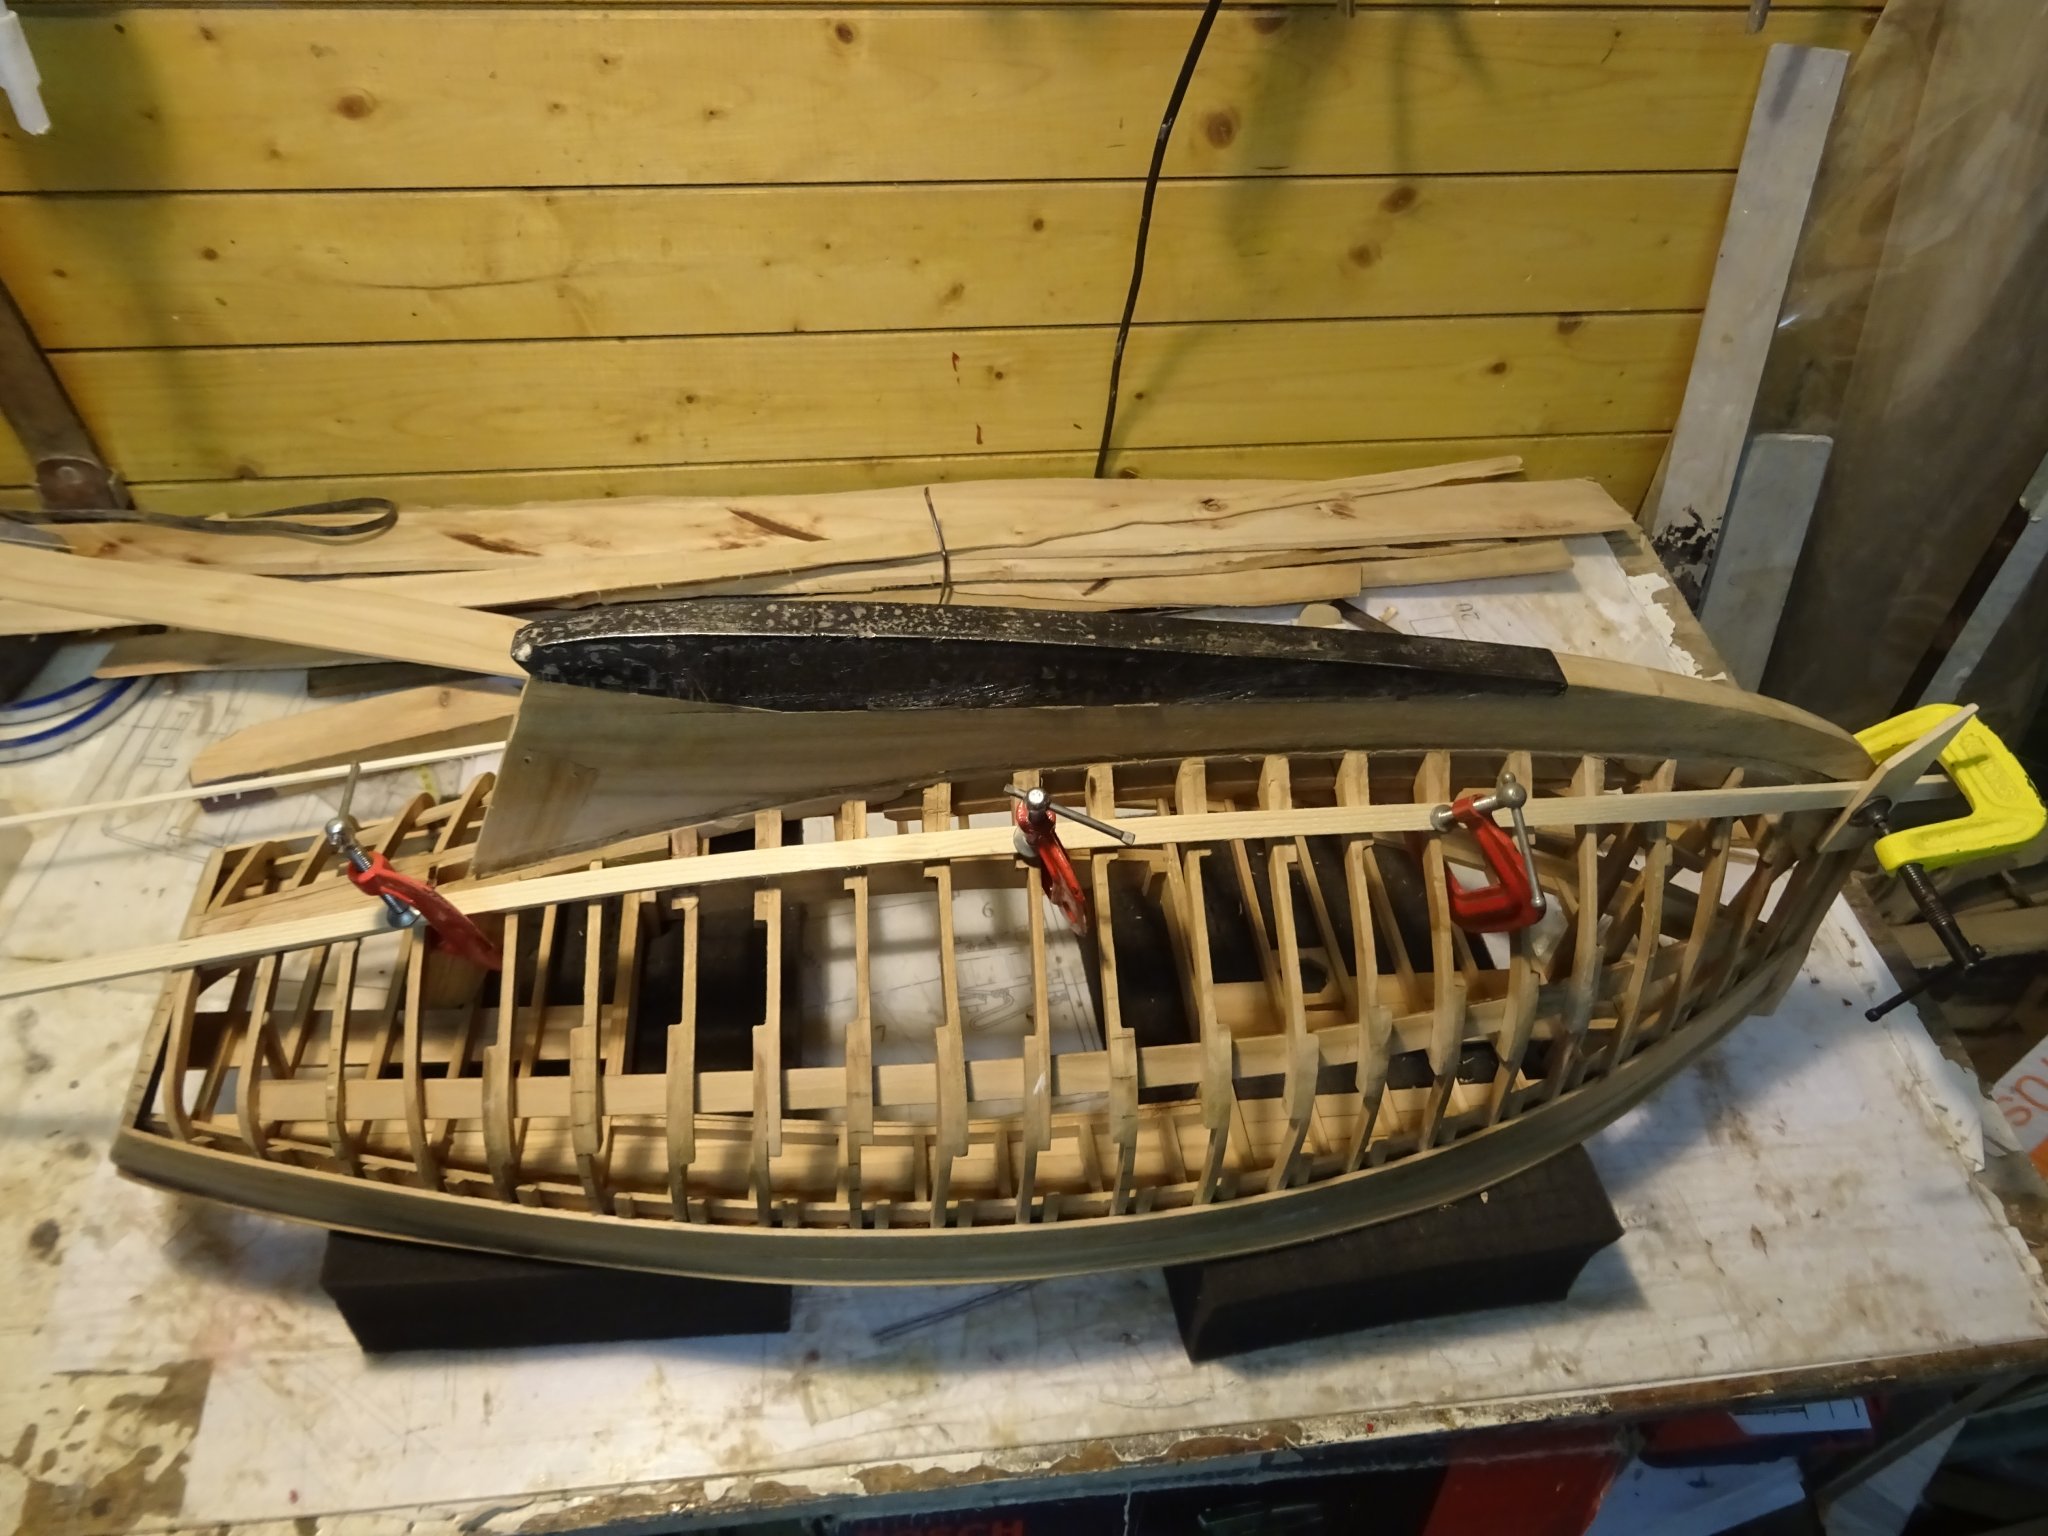
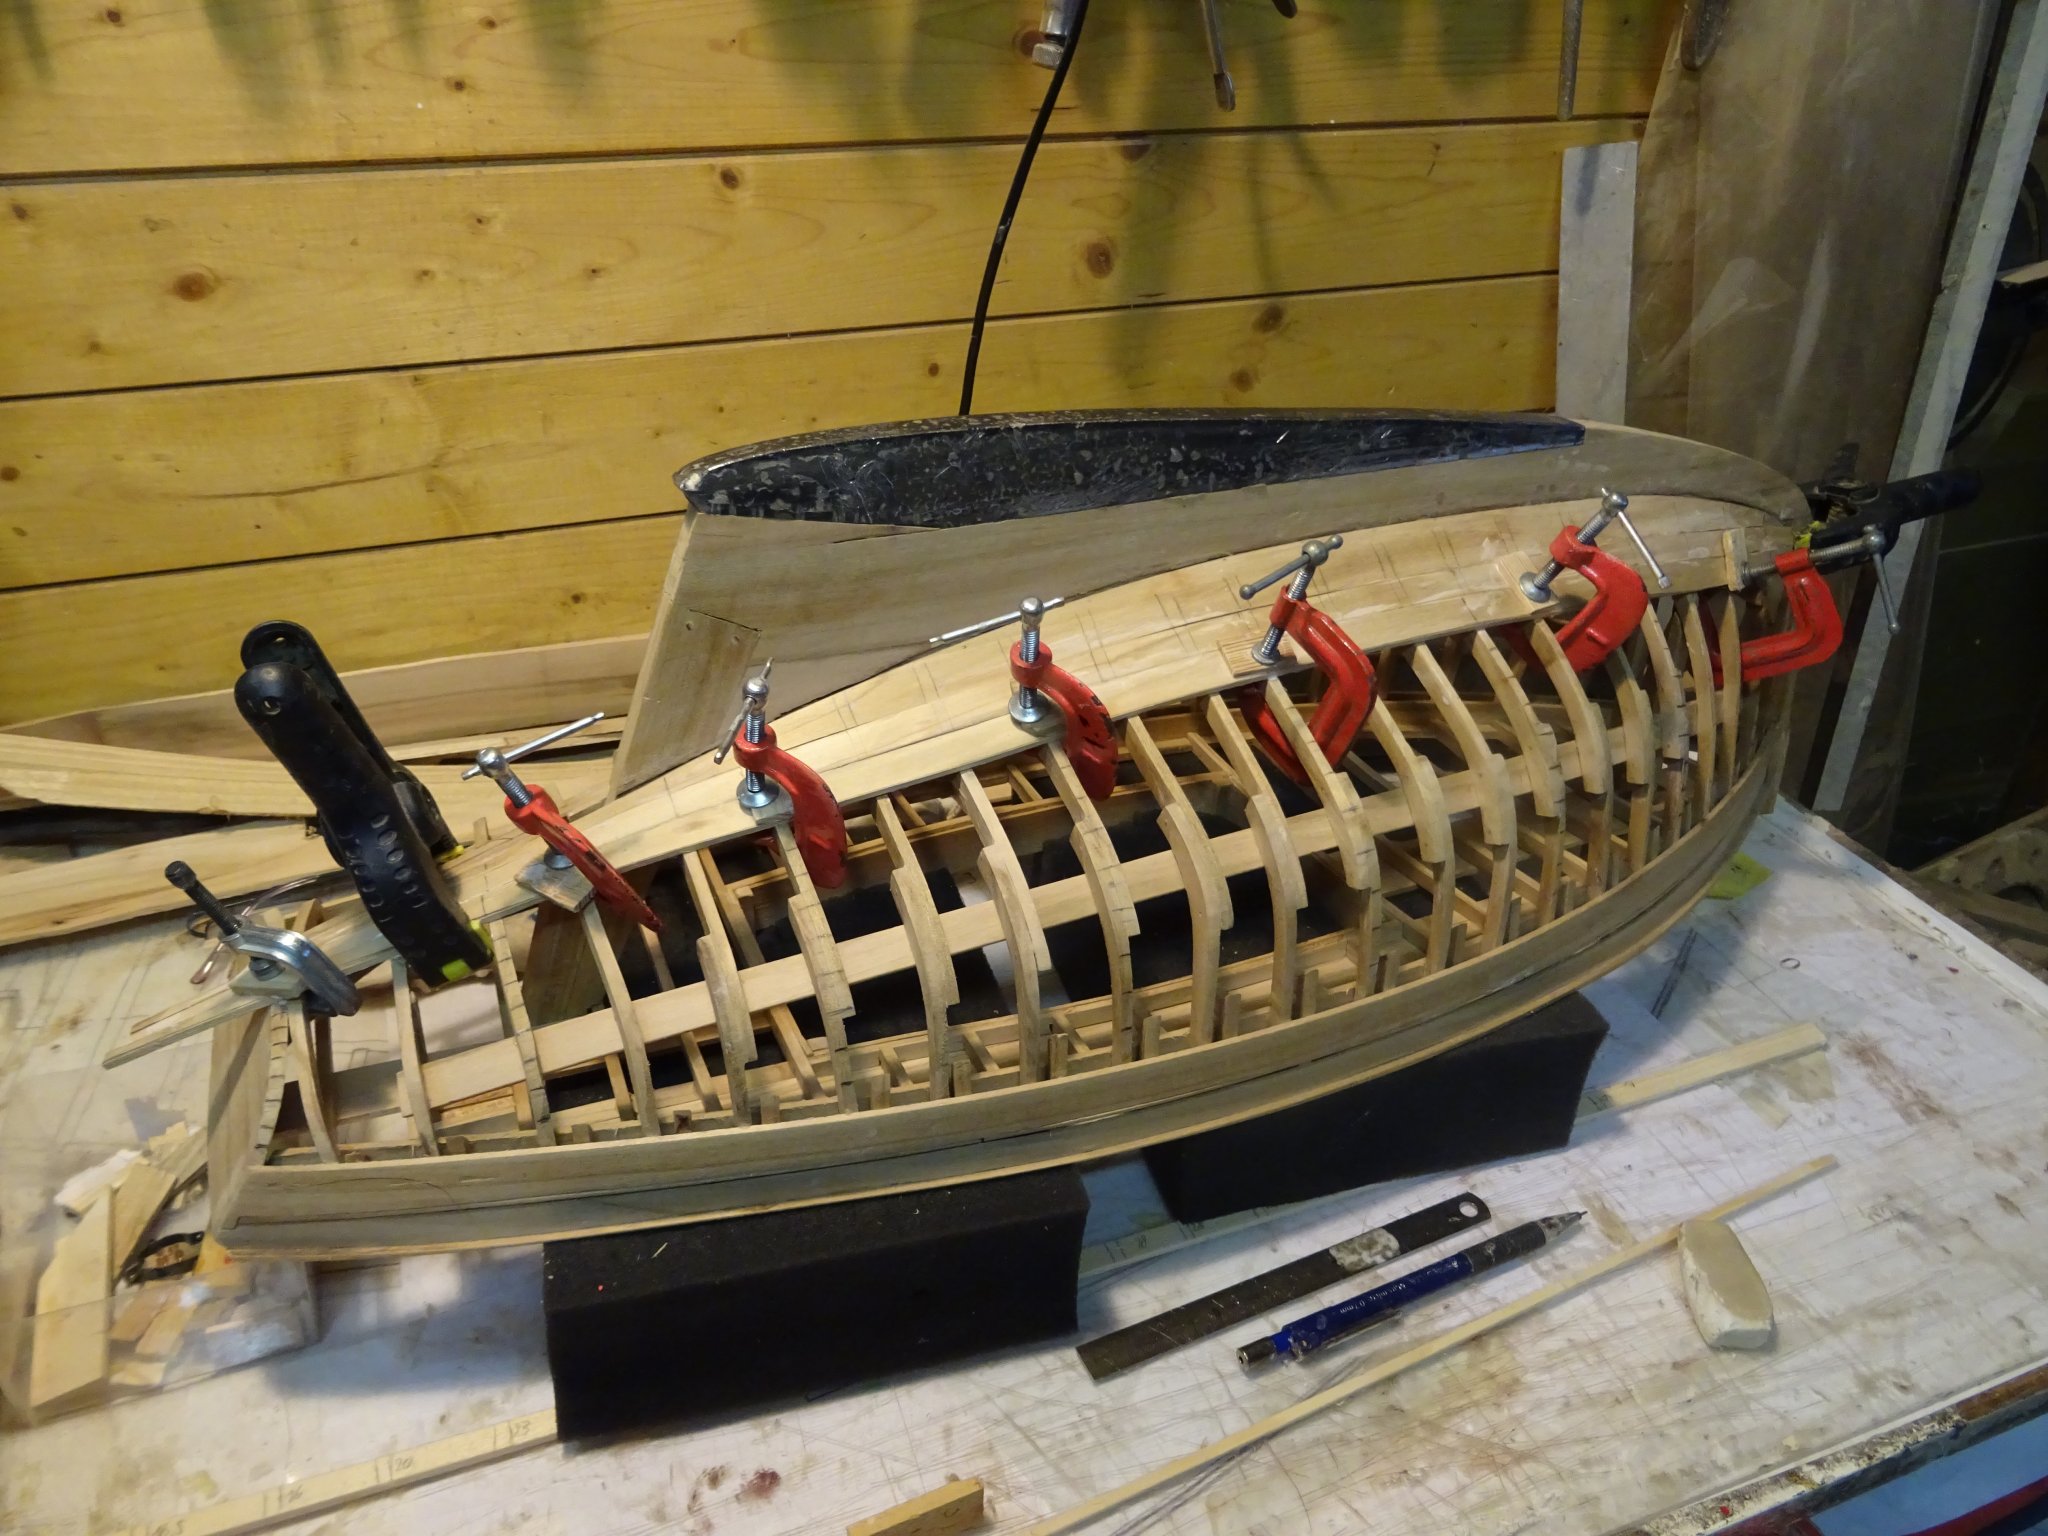
Now that we have to stay home a lot of time goes to the execution of small jobs with are waiting already a long time to be done and to modeling. During the last days I planked the hull:
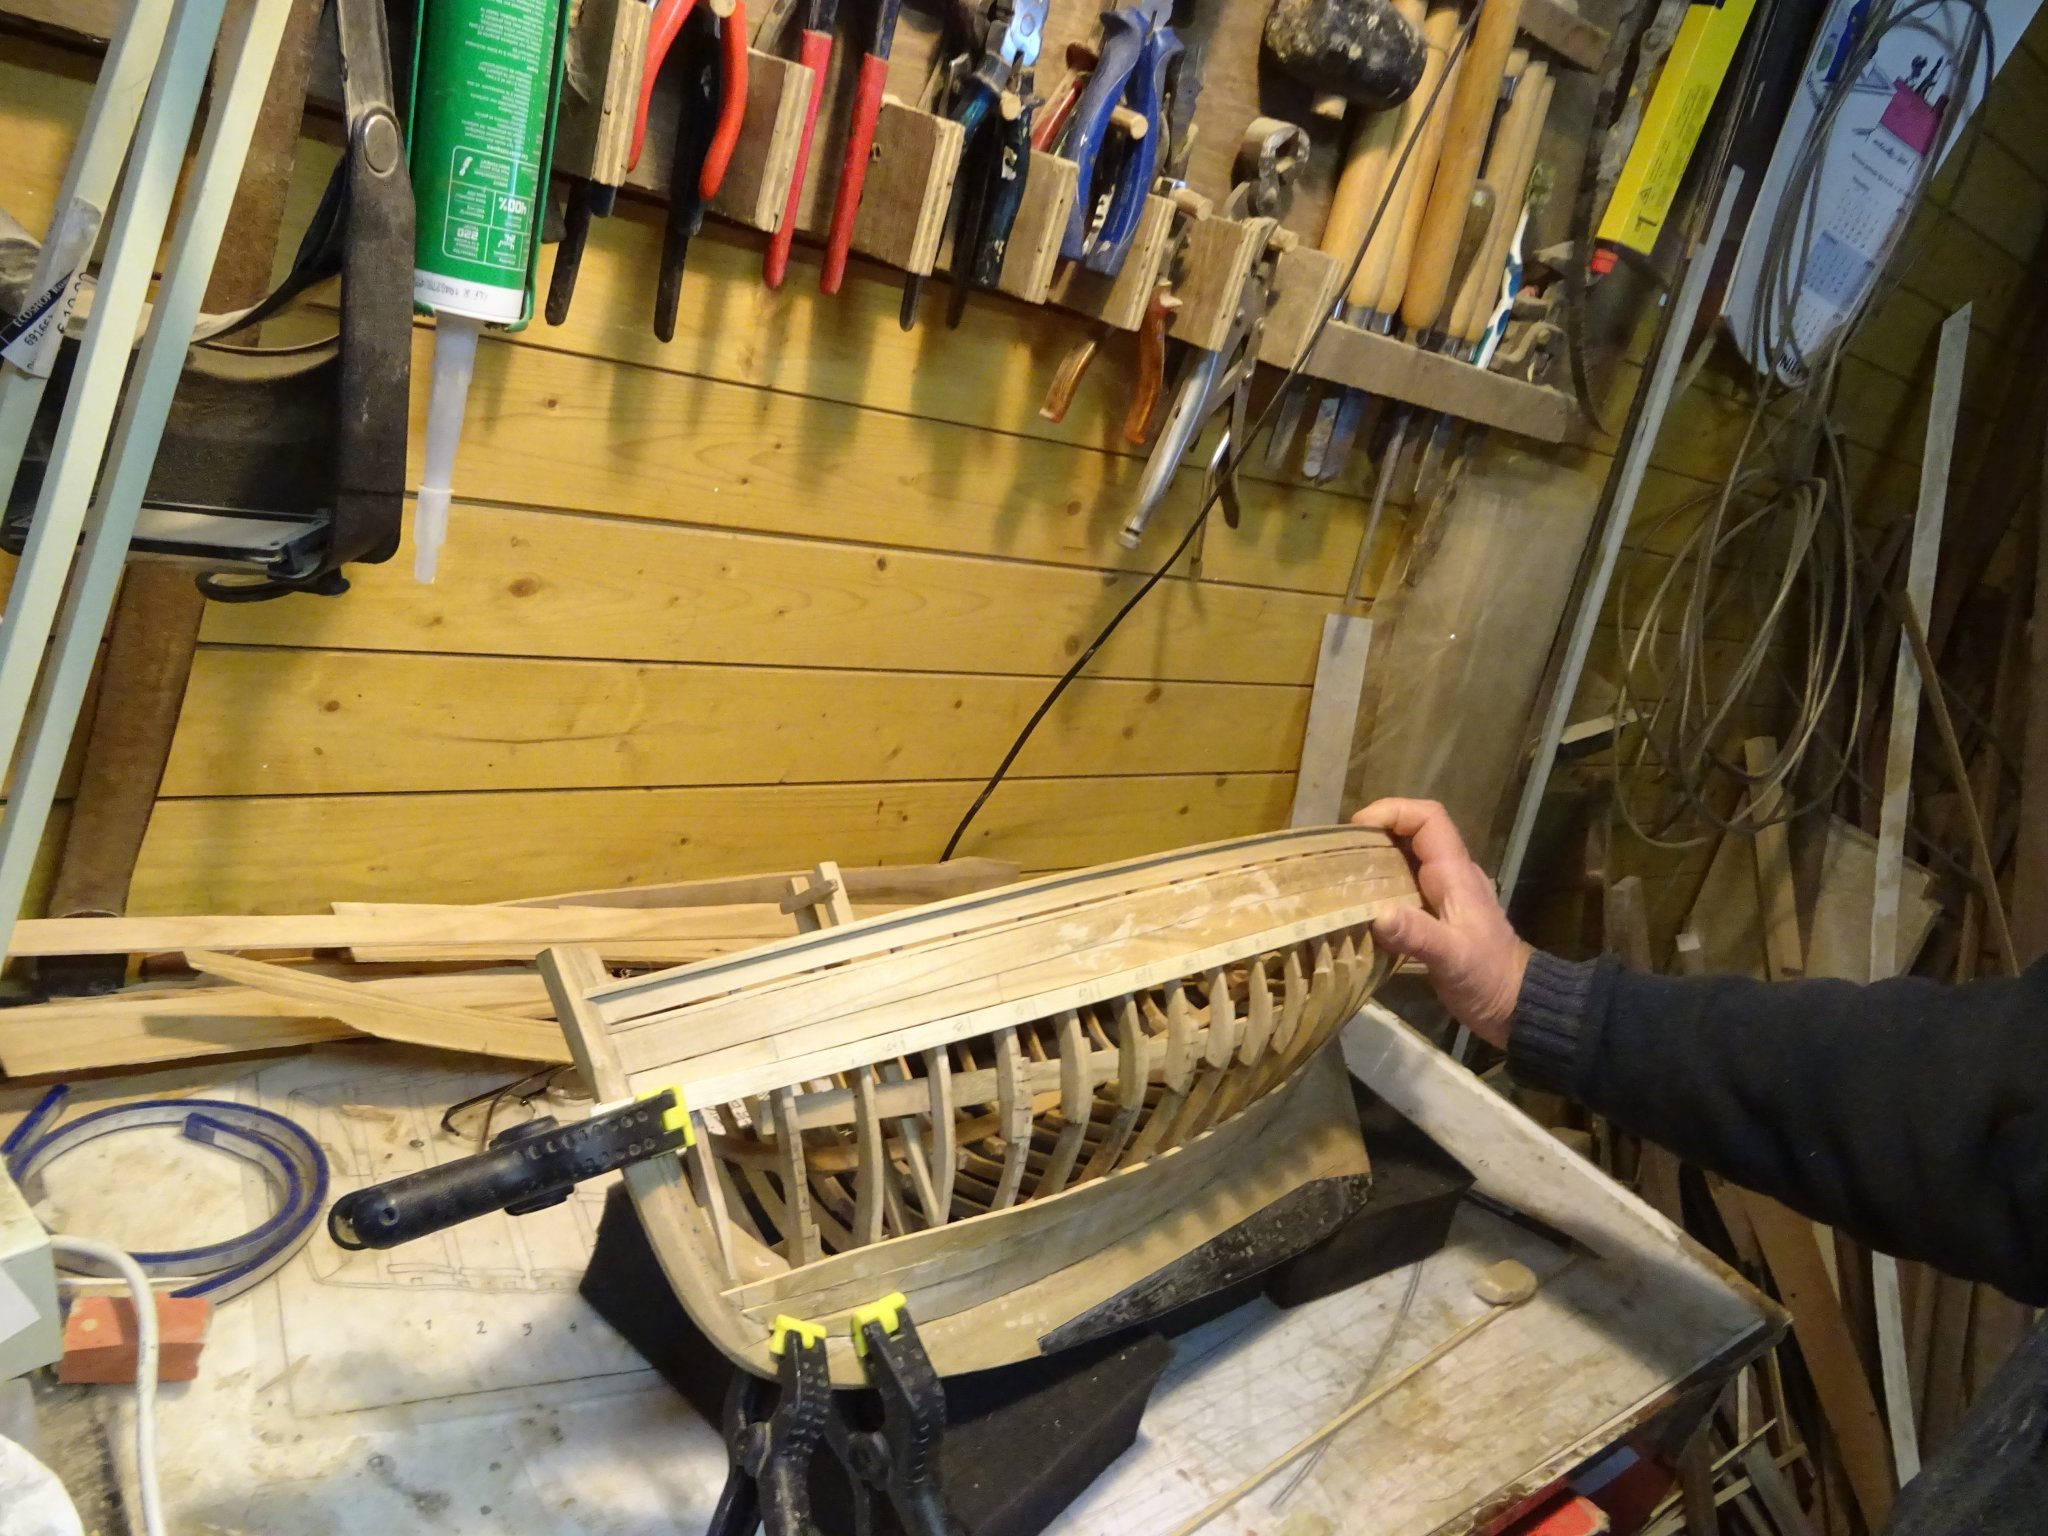
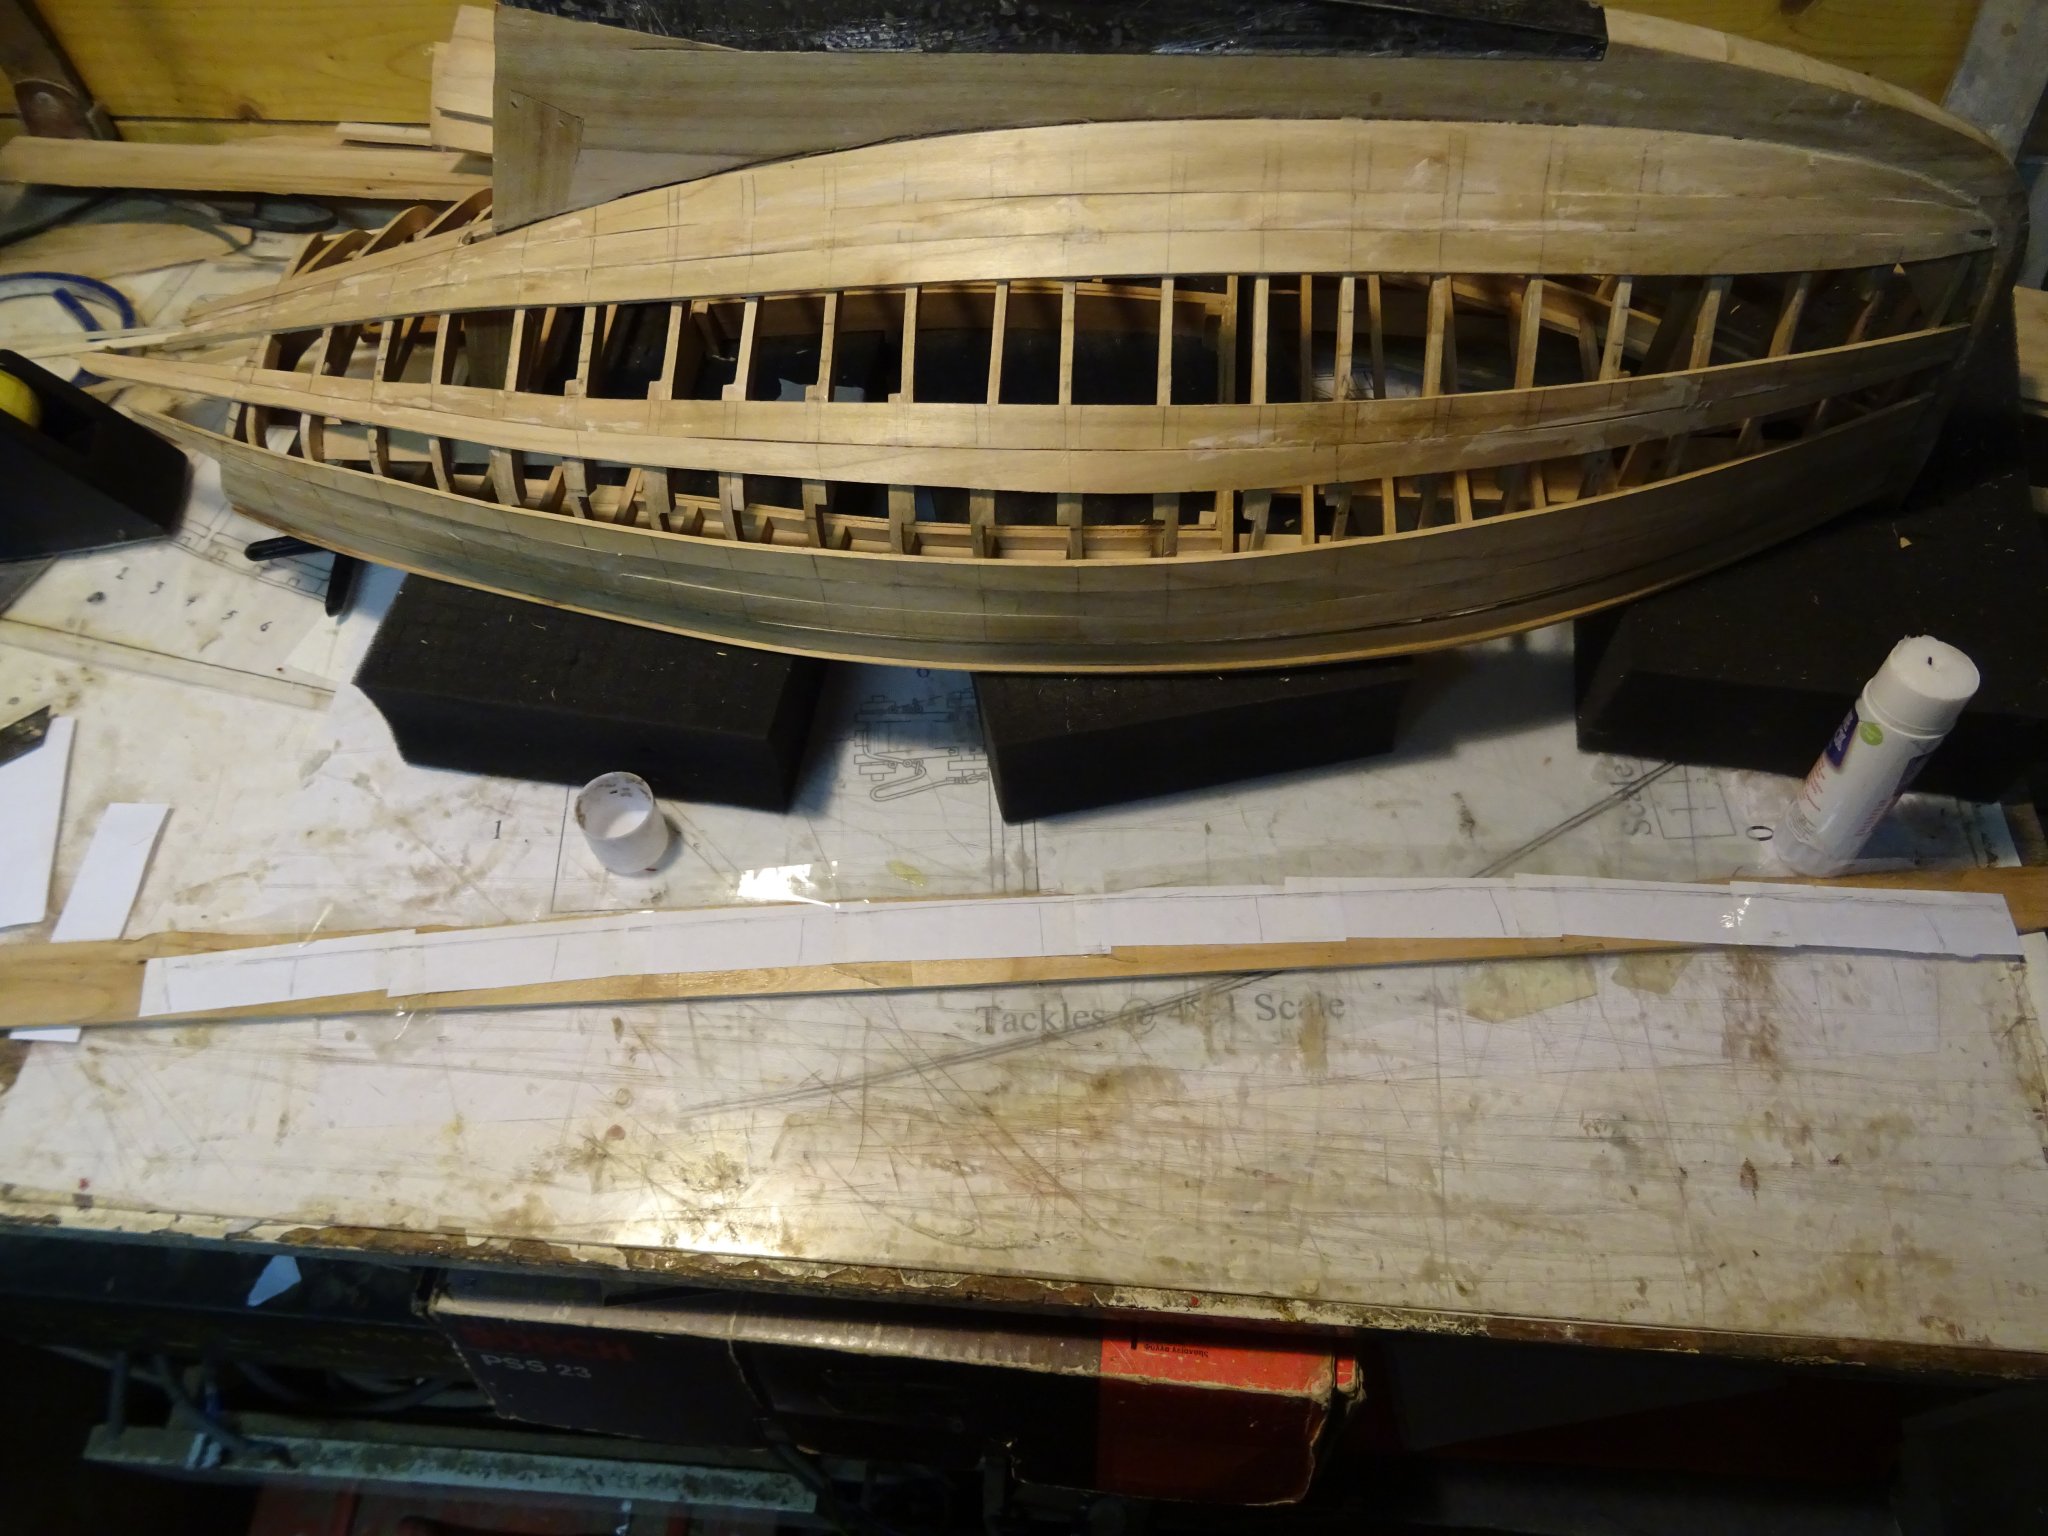
9. Planking the hull
Once again: this will be a dissected model, so only the portside will be planked and even in that port side I will omit some strakes.
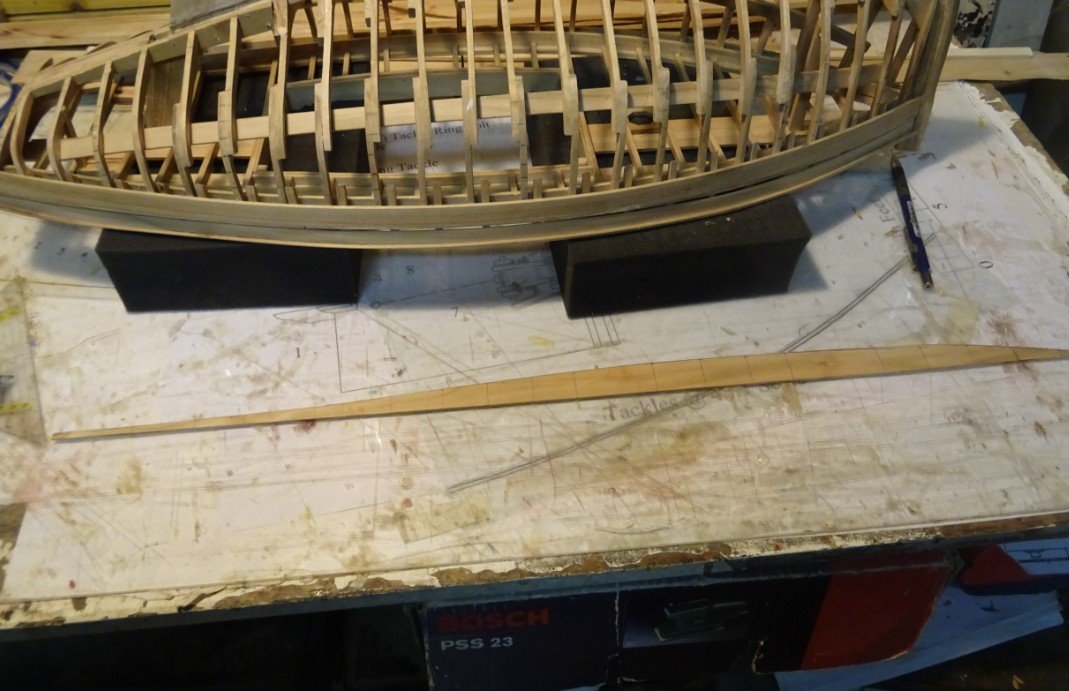
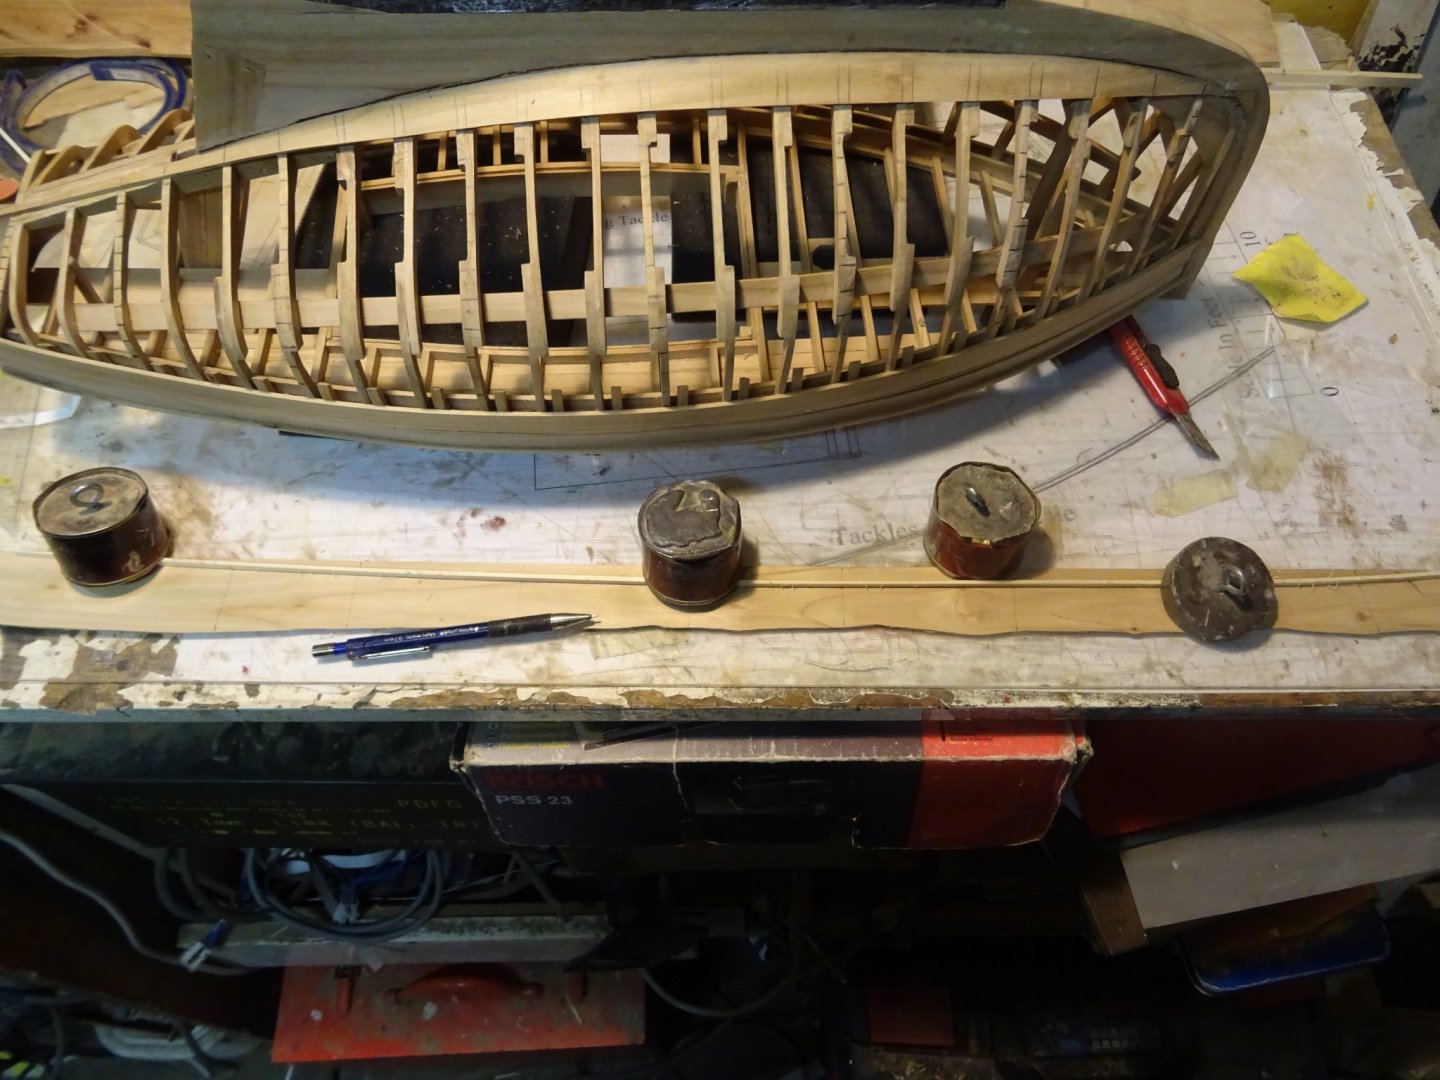
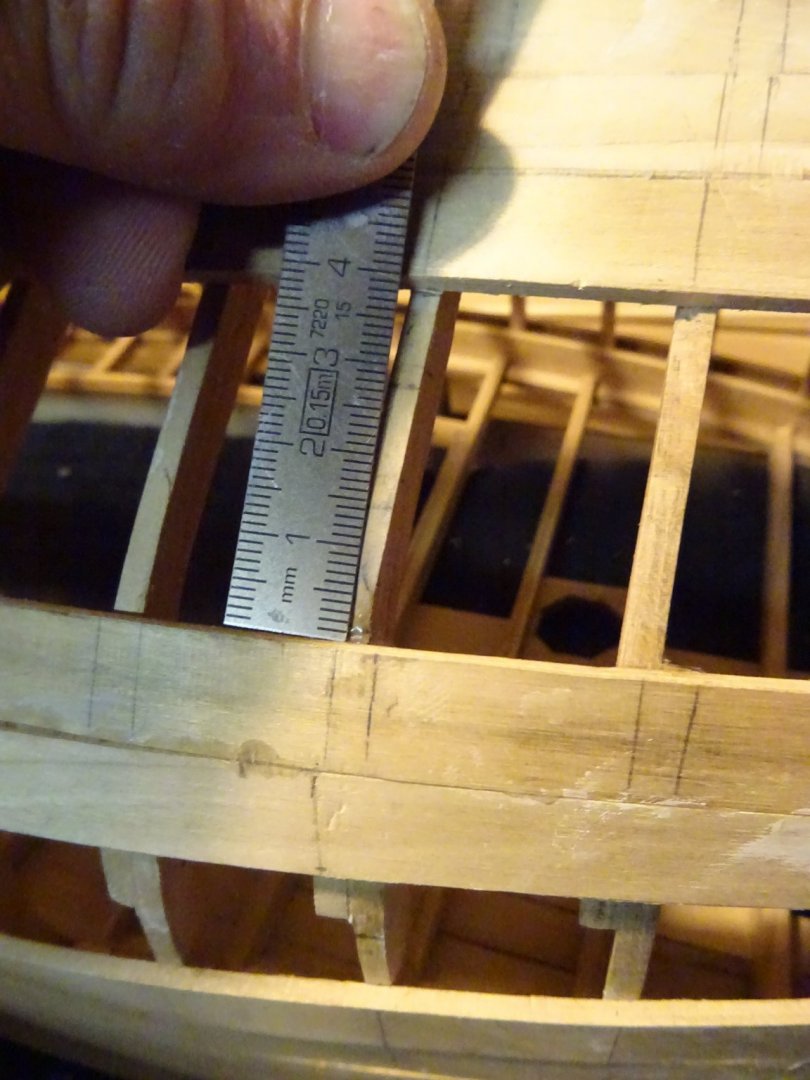
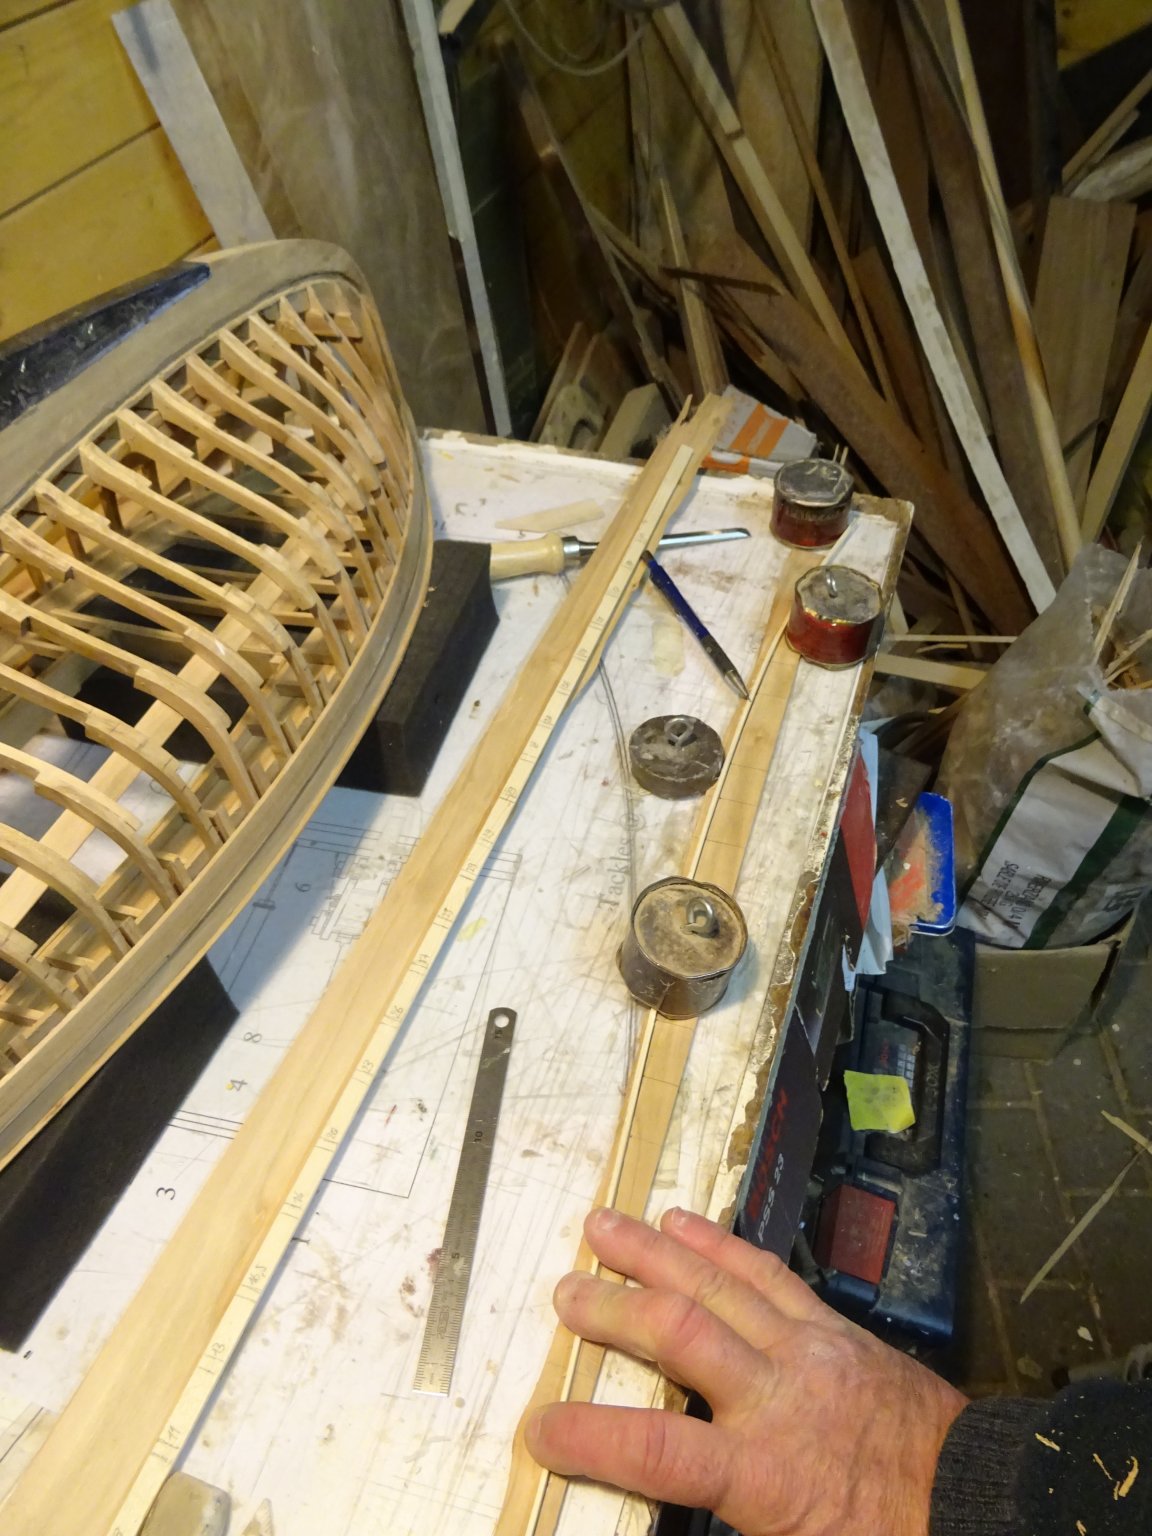
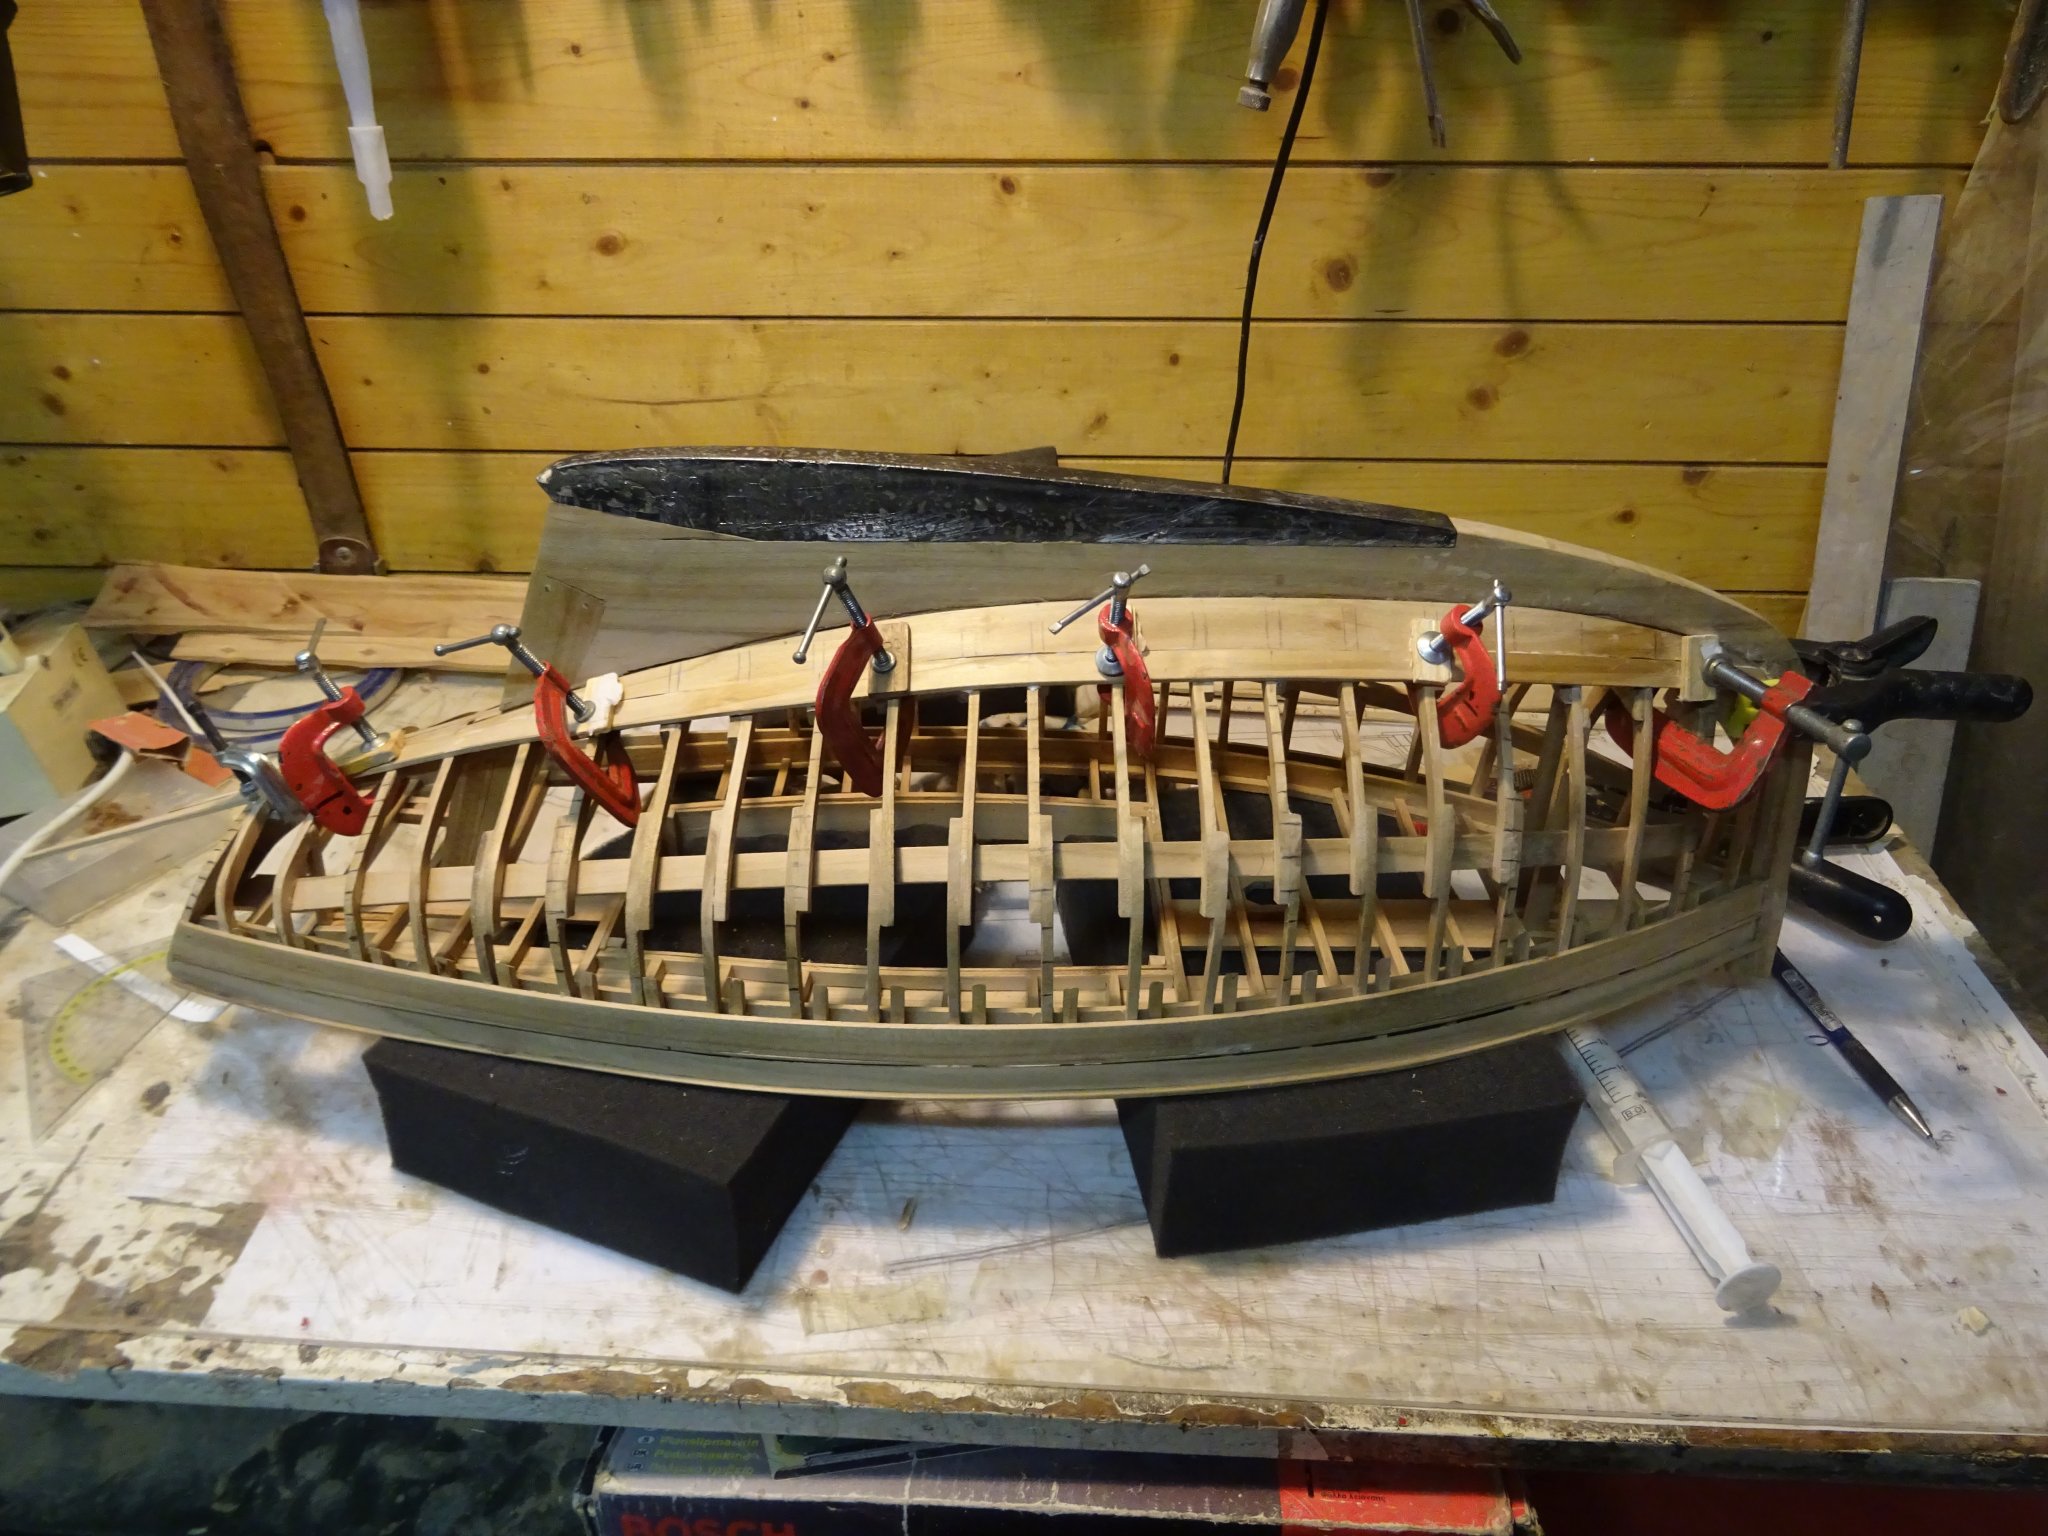
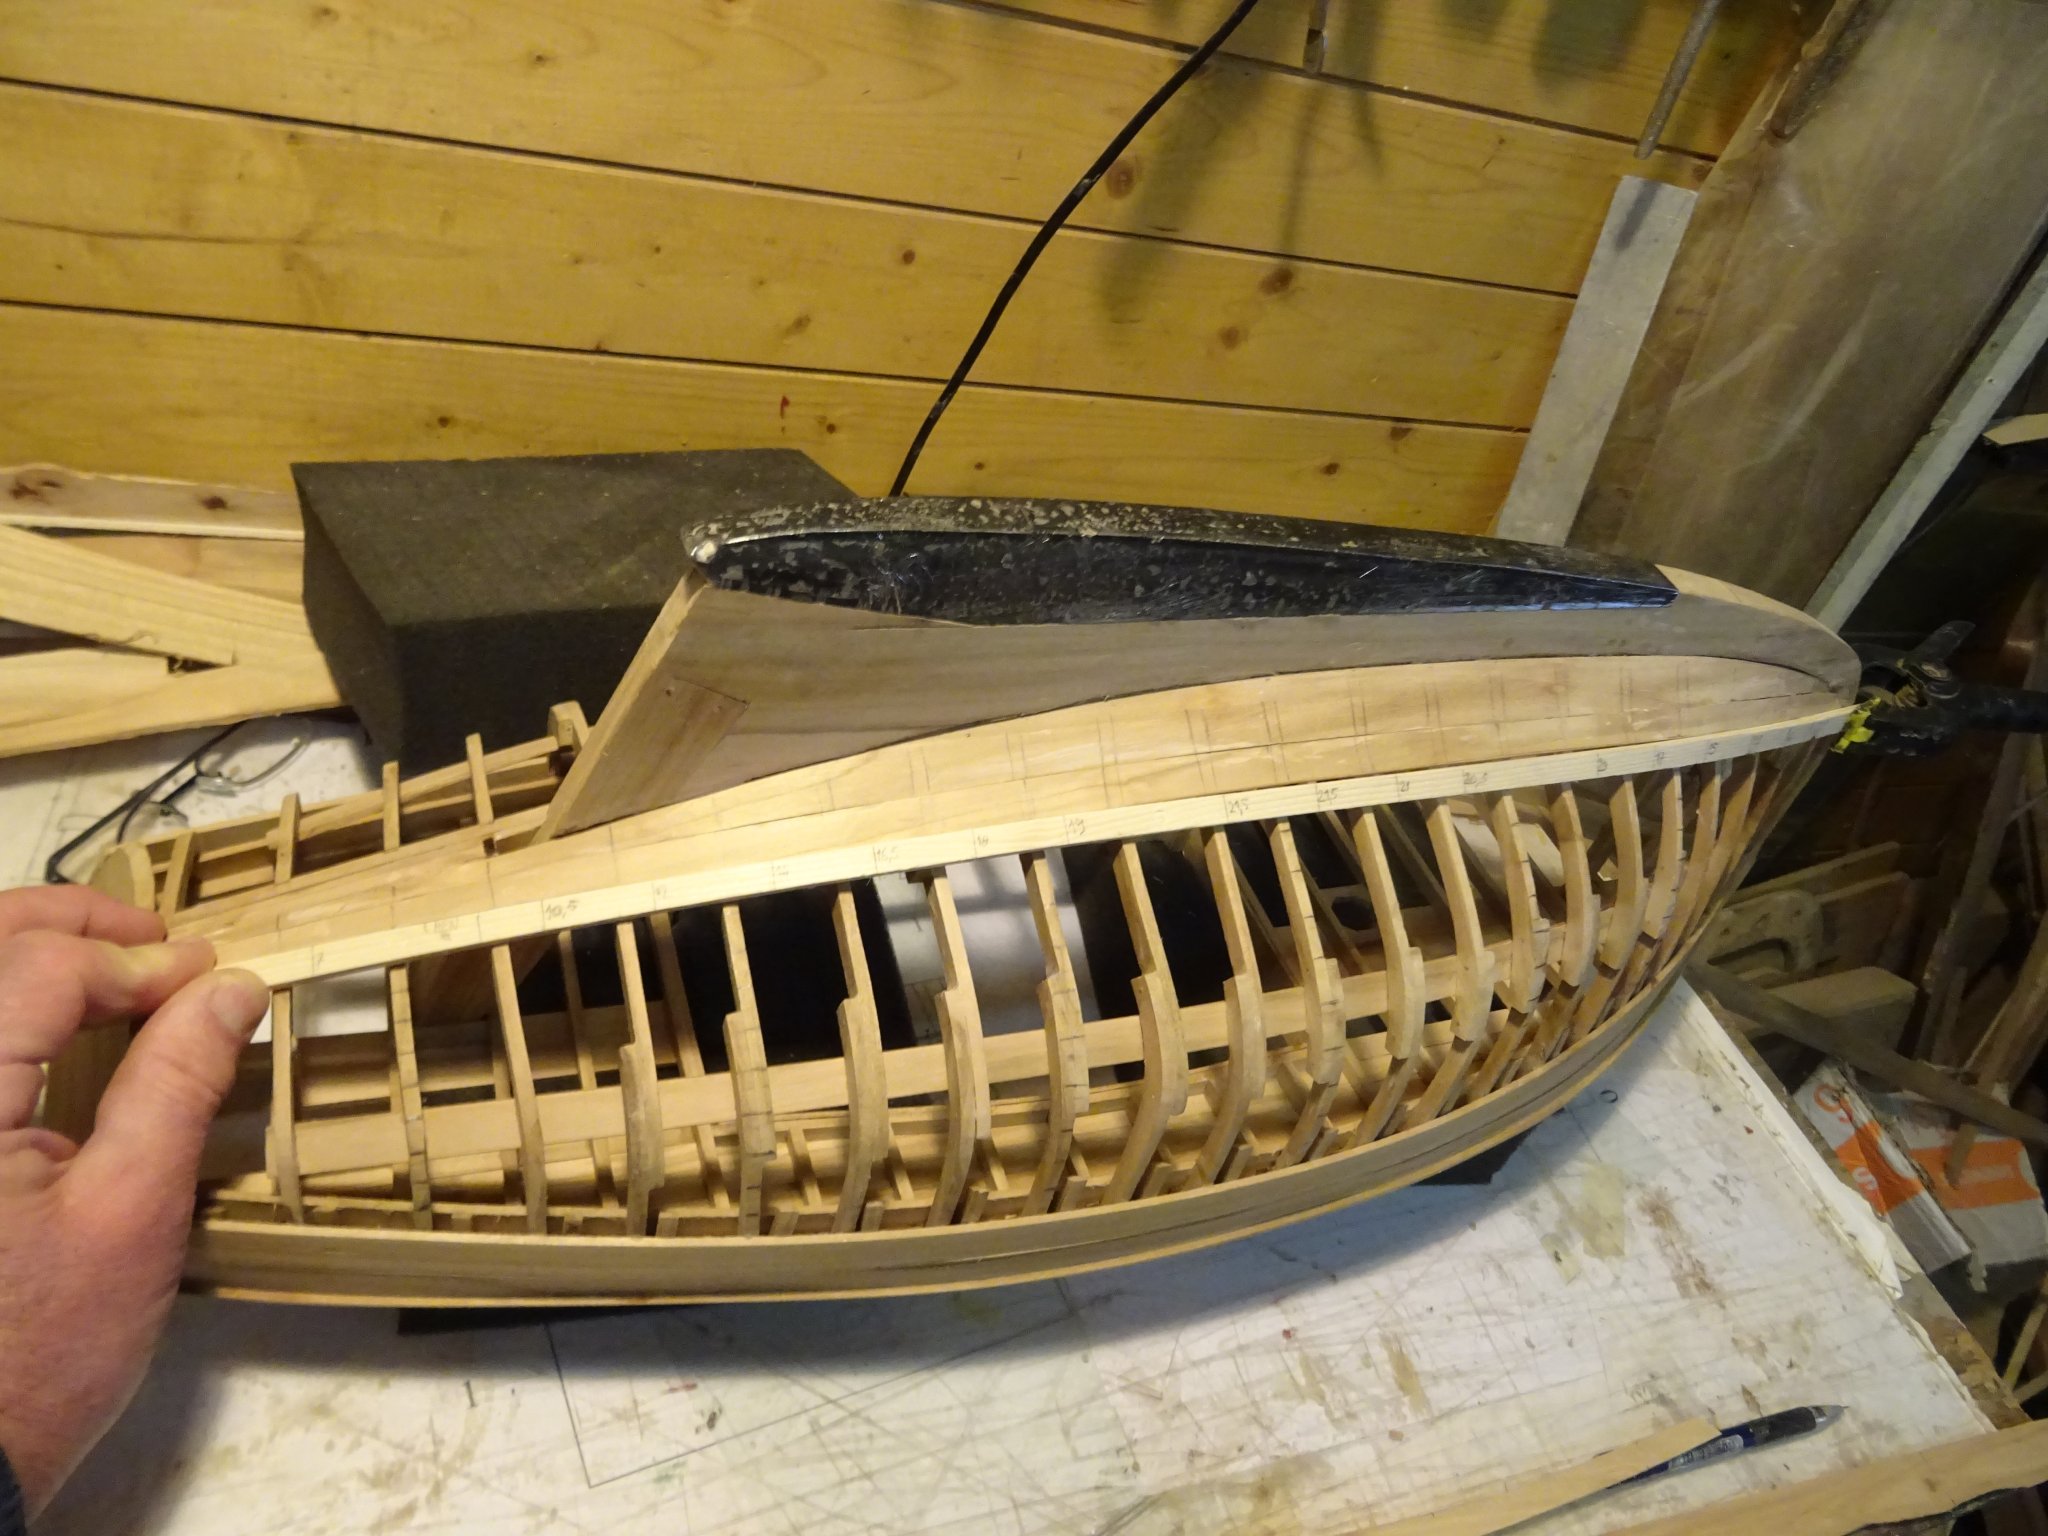
I start with the garboard. To determine the shape of it, I lay a straight and flexible lath around the hull at the height where I want the have the upper side of the garboard.
Then I measure the width of the space between the lath and the edge of the garboard notch in the keel along the frames and mark it on the lath.

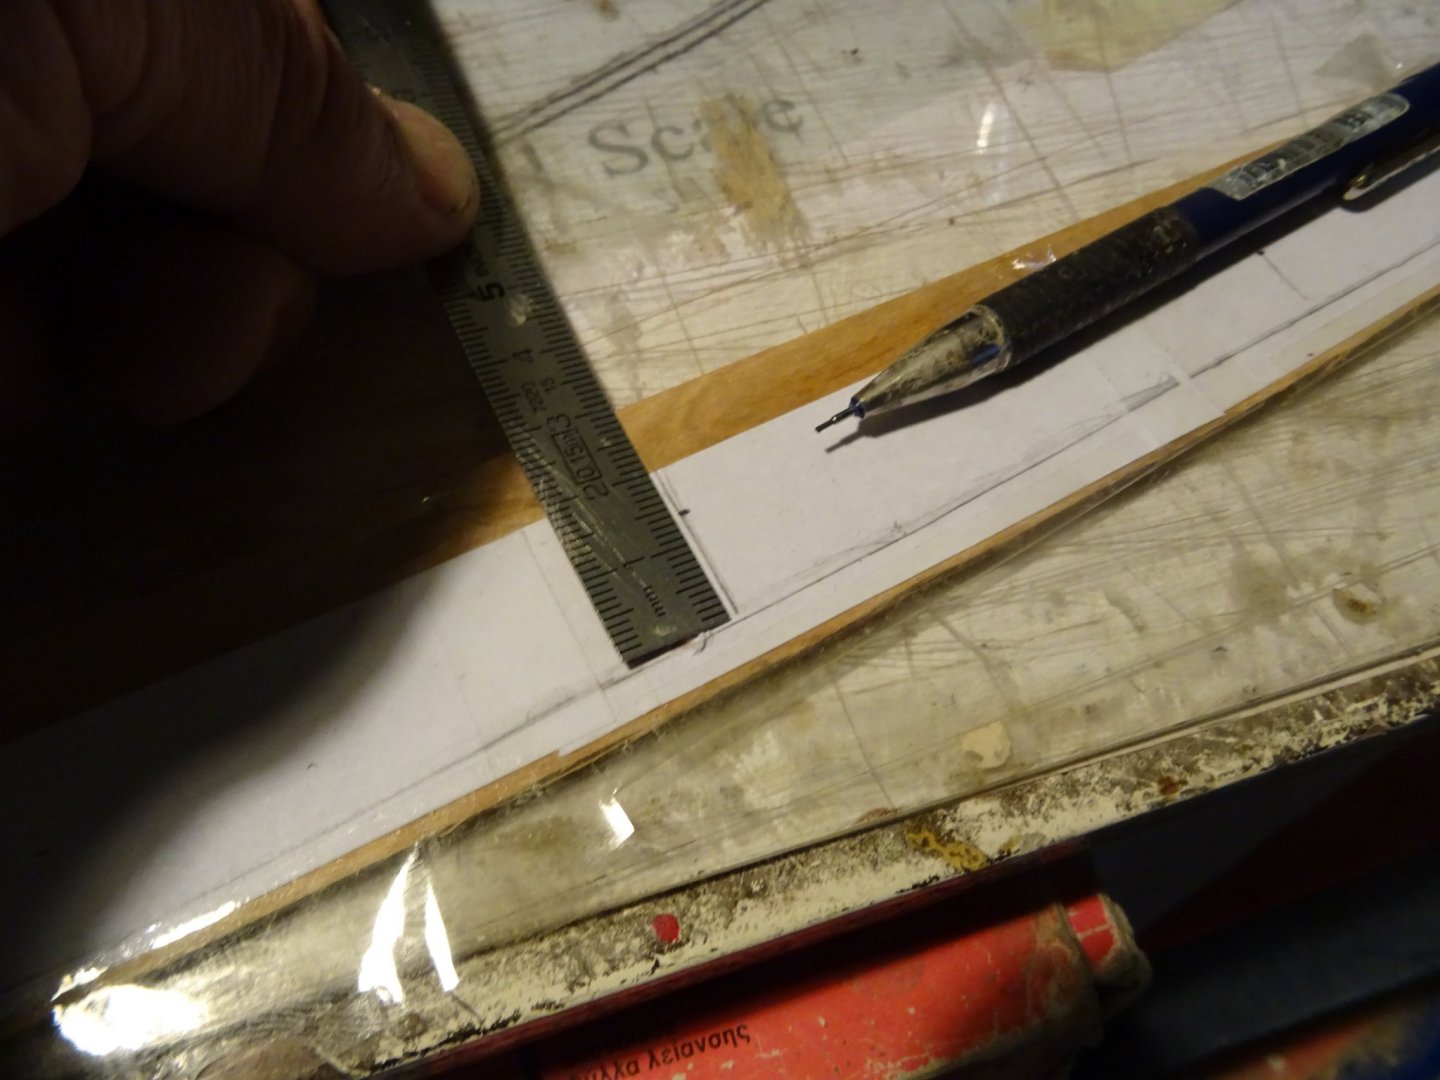
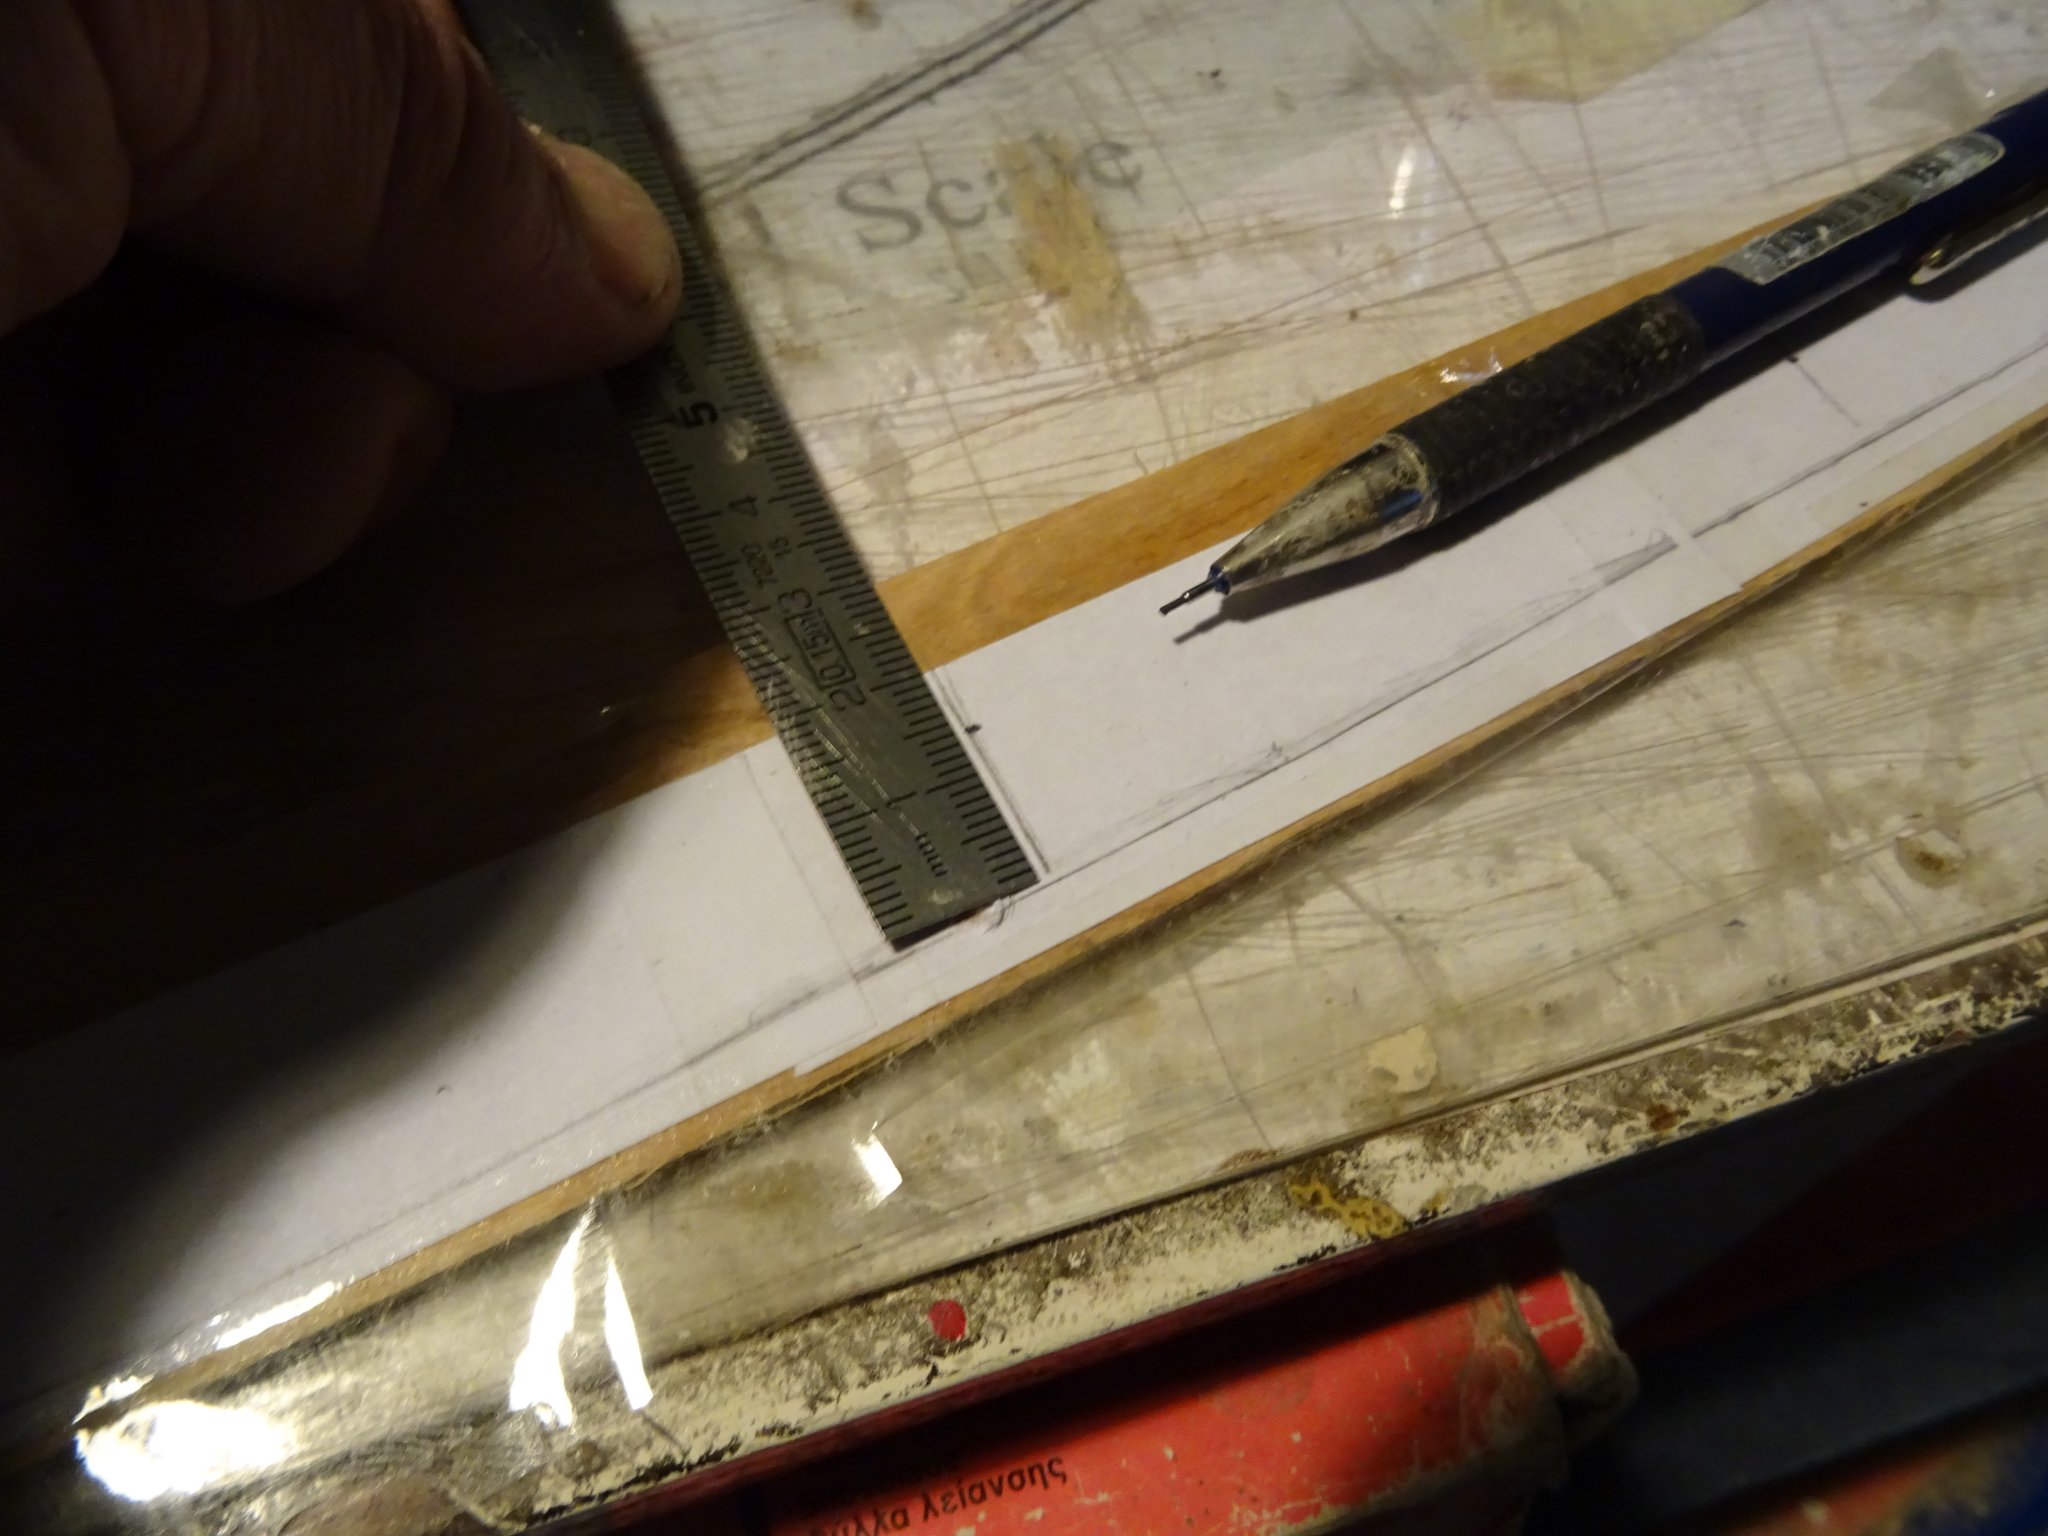
I draw the frame lines on the plank which will become the garboard. That plank has a straight side. From that side I mark the measured widths on the plank.
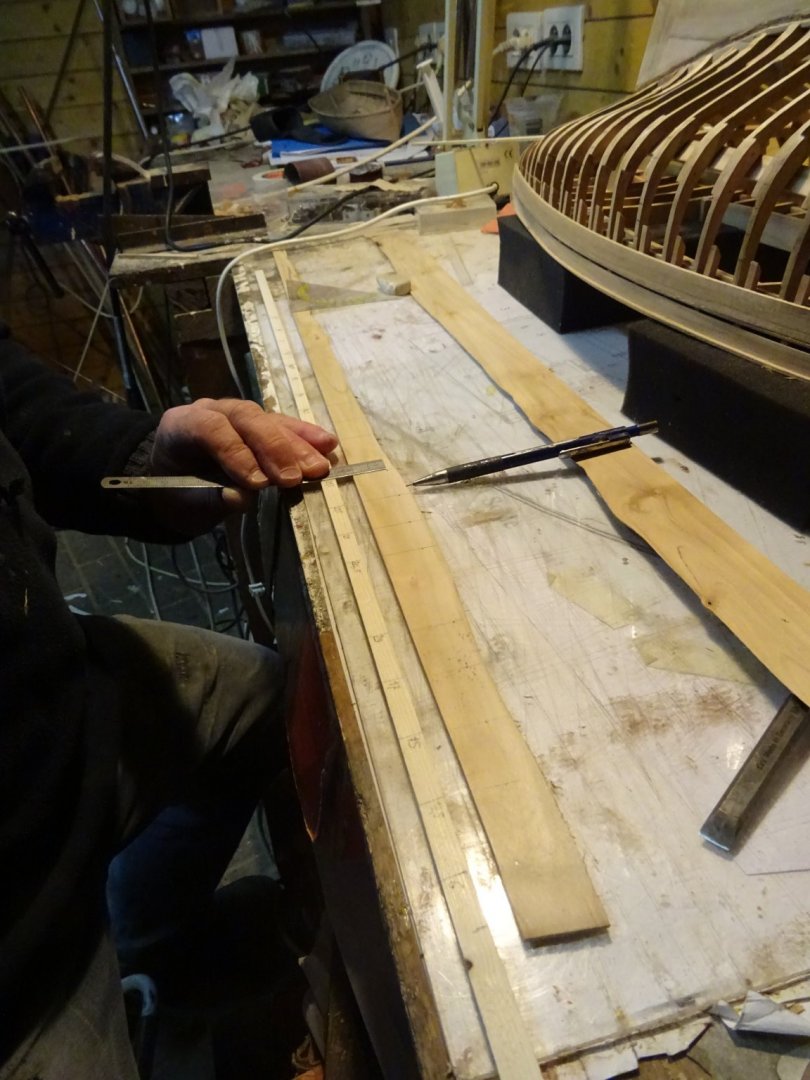
The edge of the garboard is obtained by connecting all the marks with a fluent pencil line. I use a flexible strip of wood and some weights to draw my line.

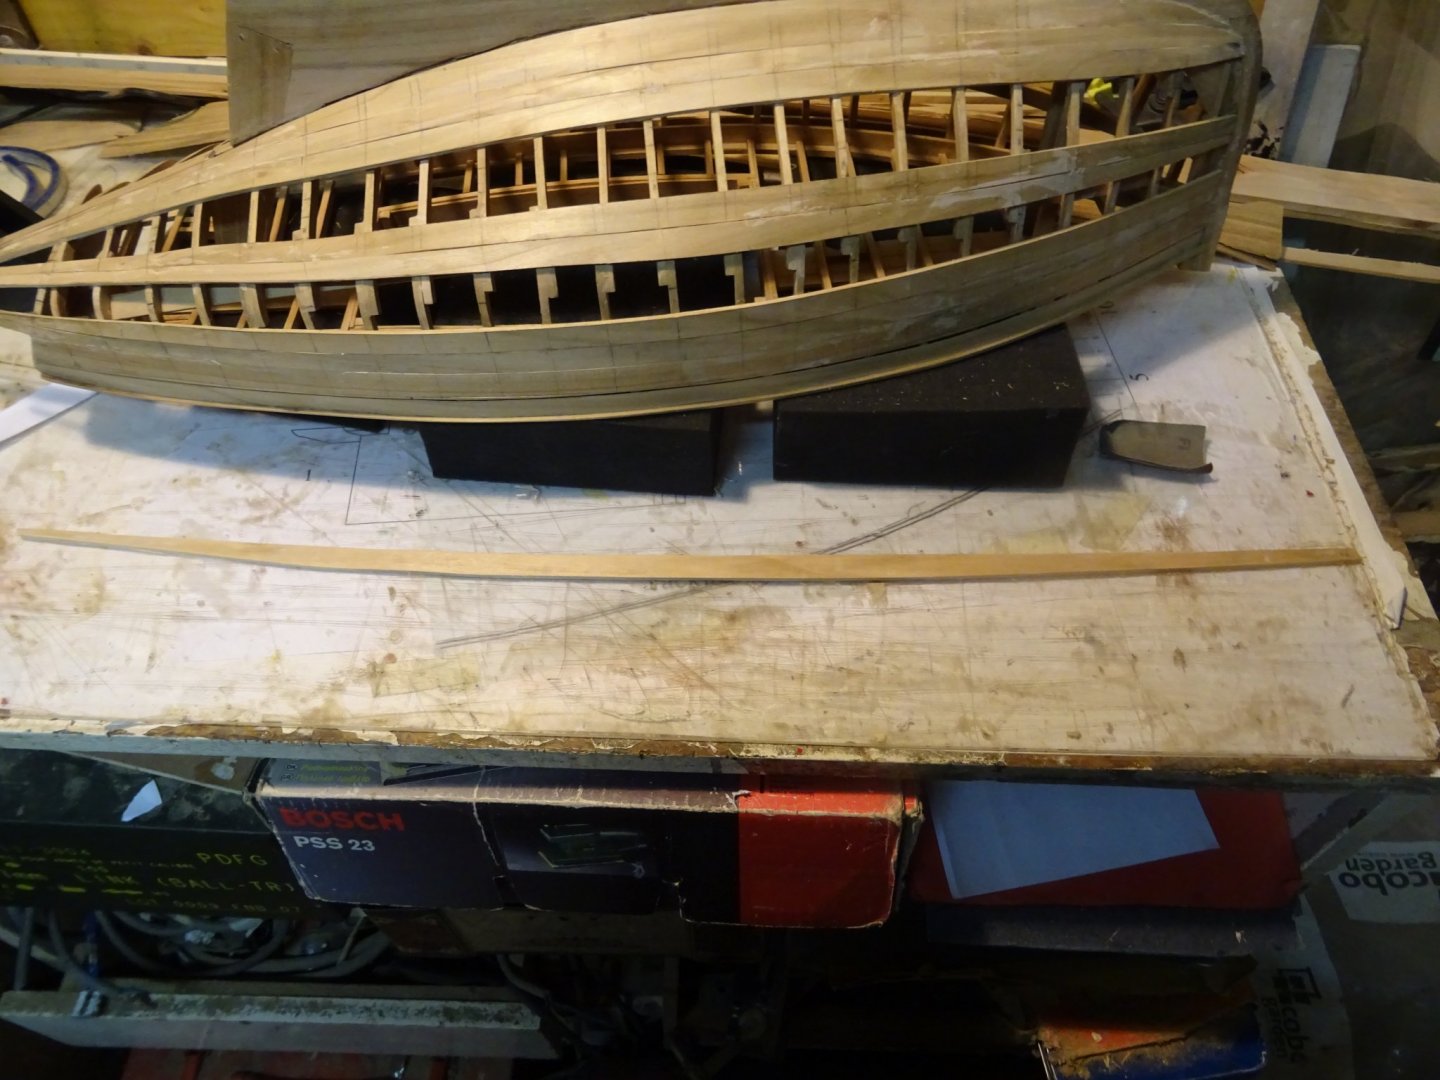
After being sawn an sanded.
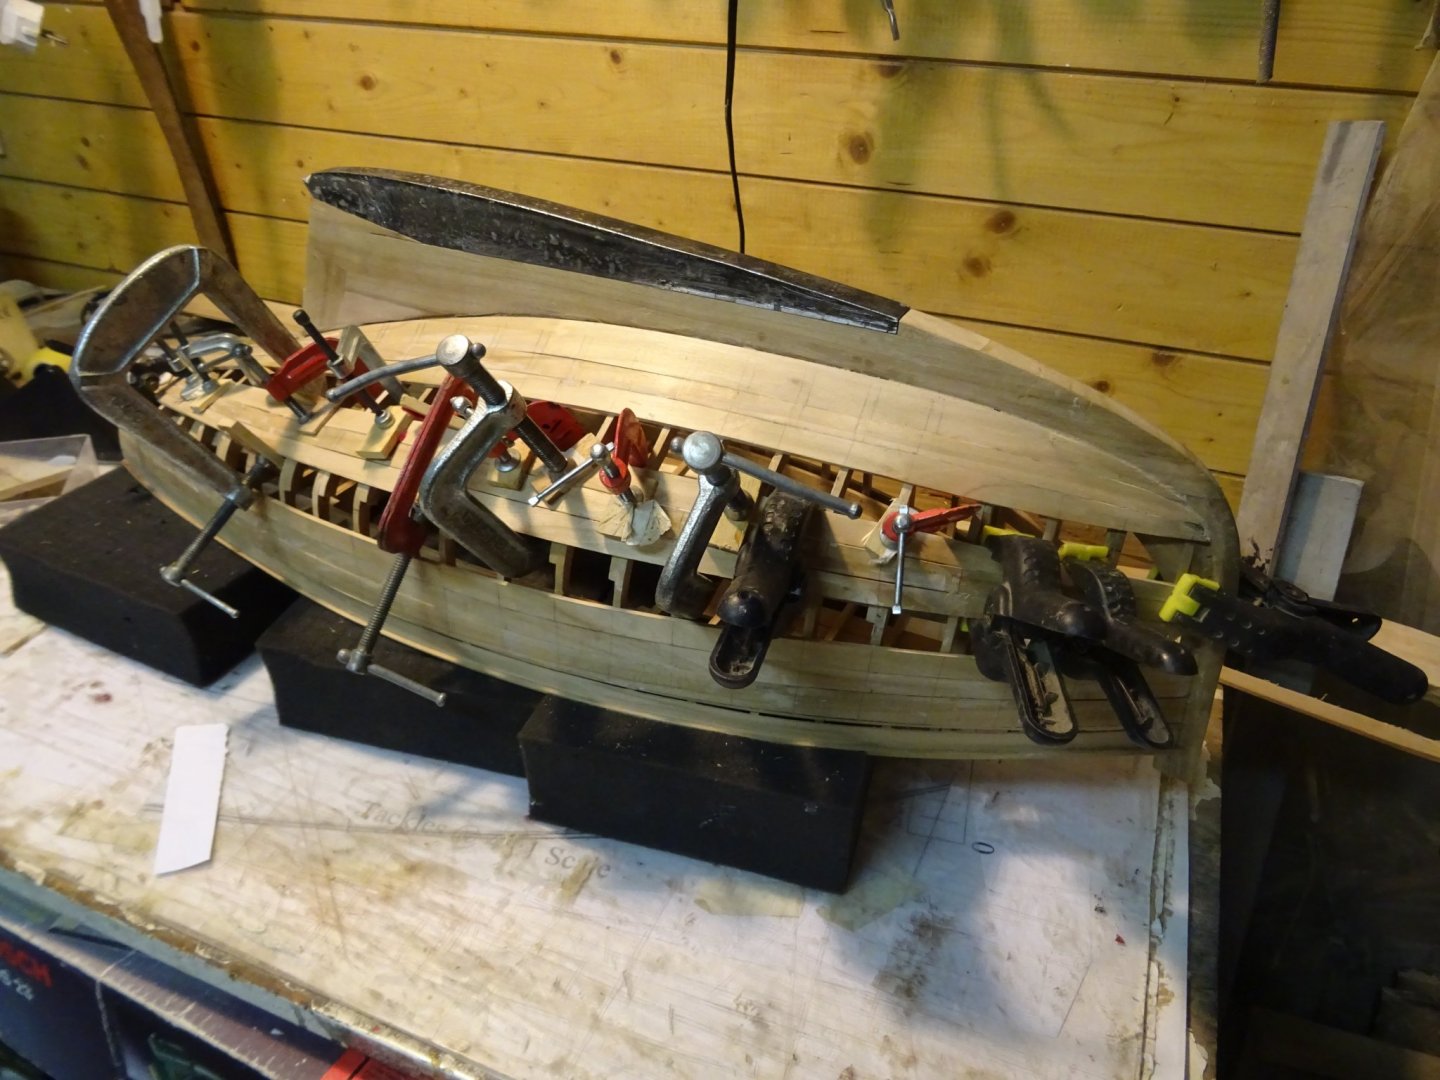
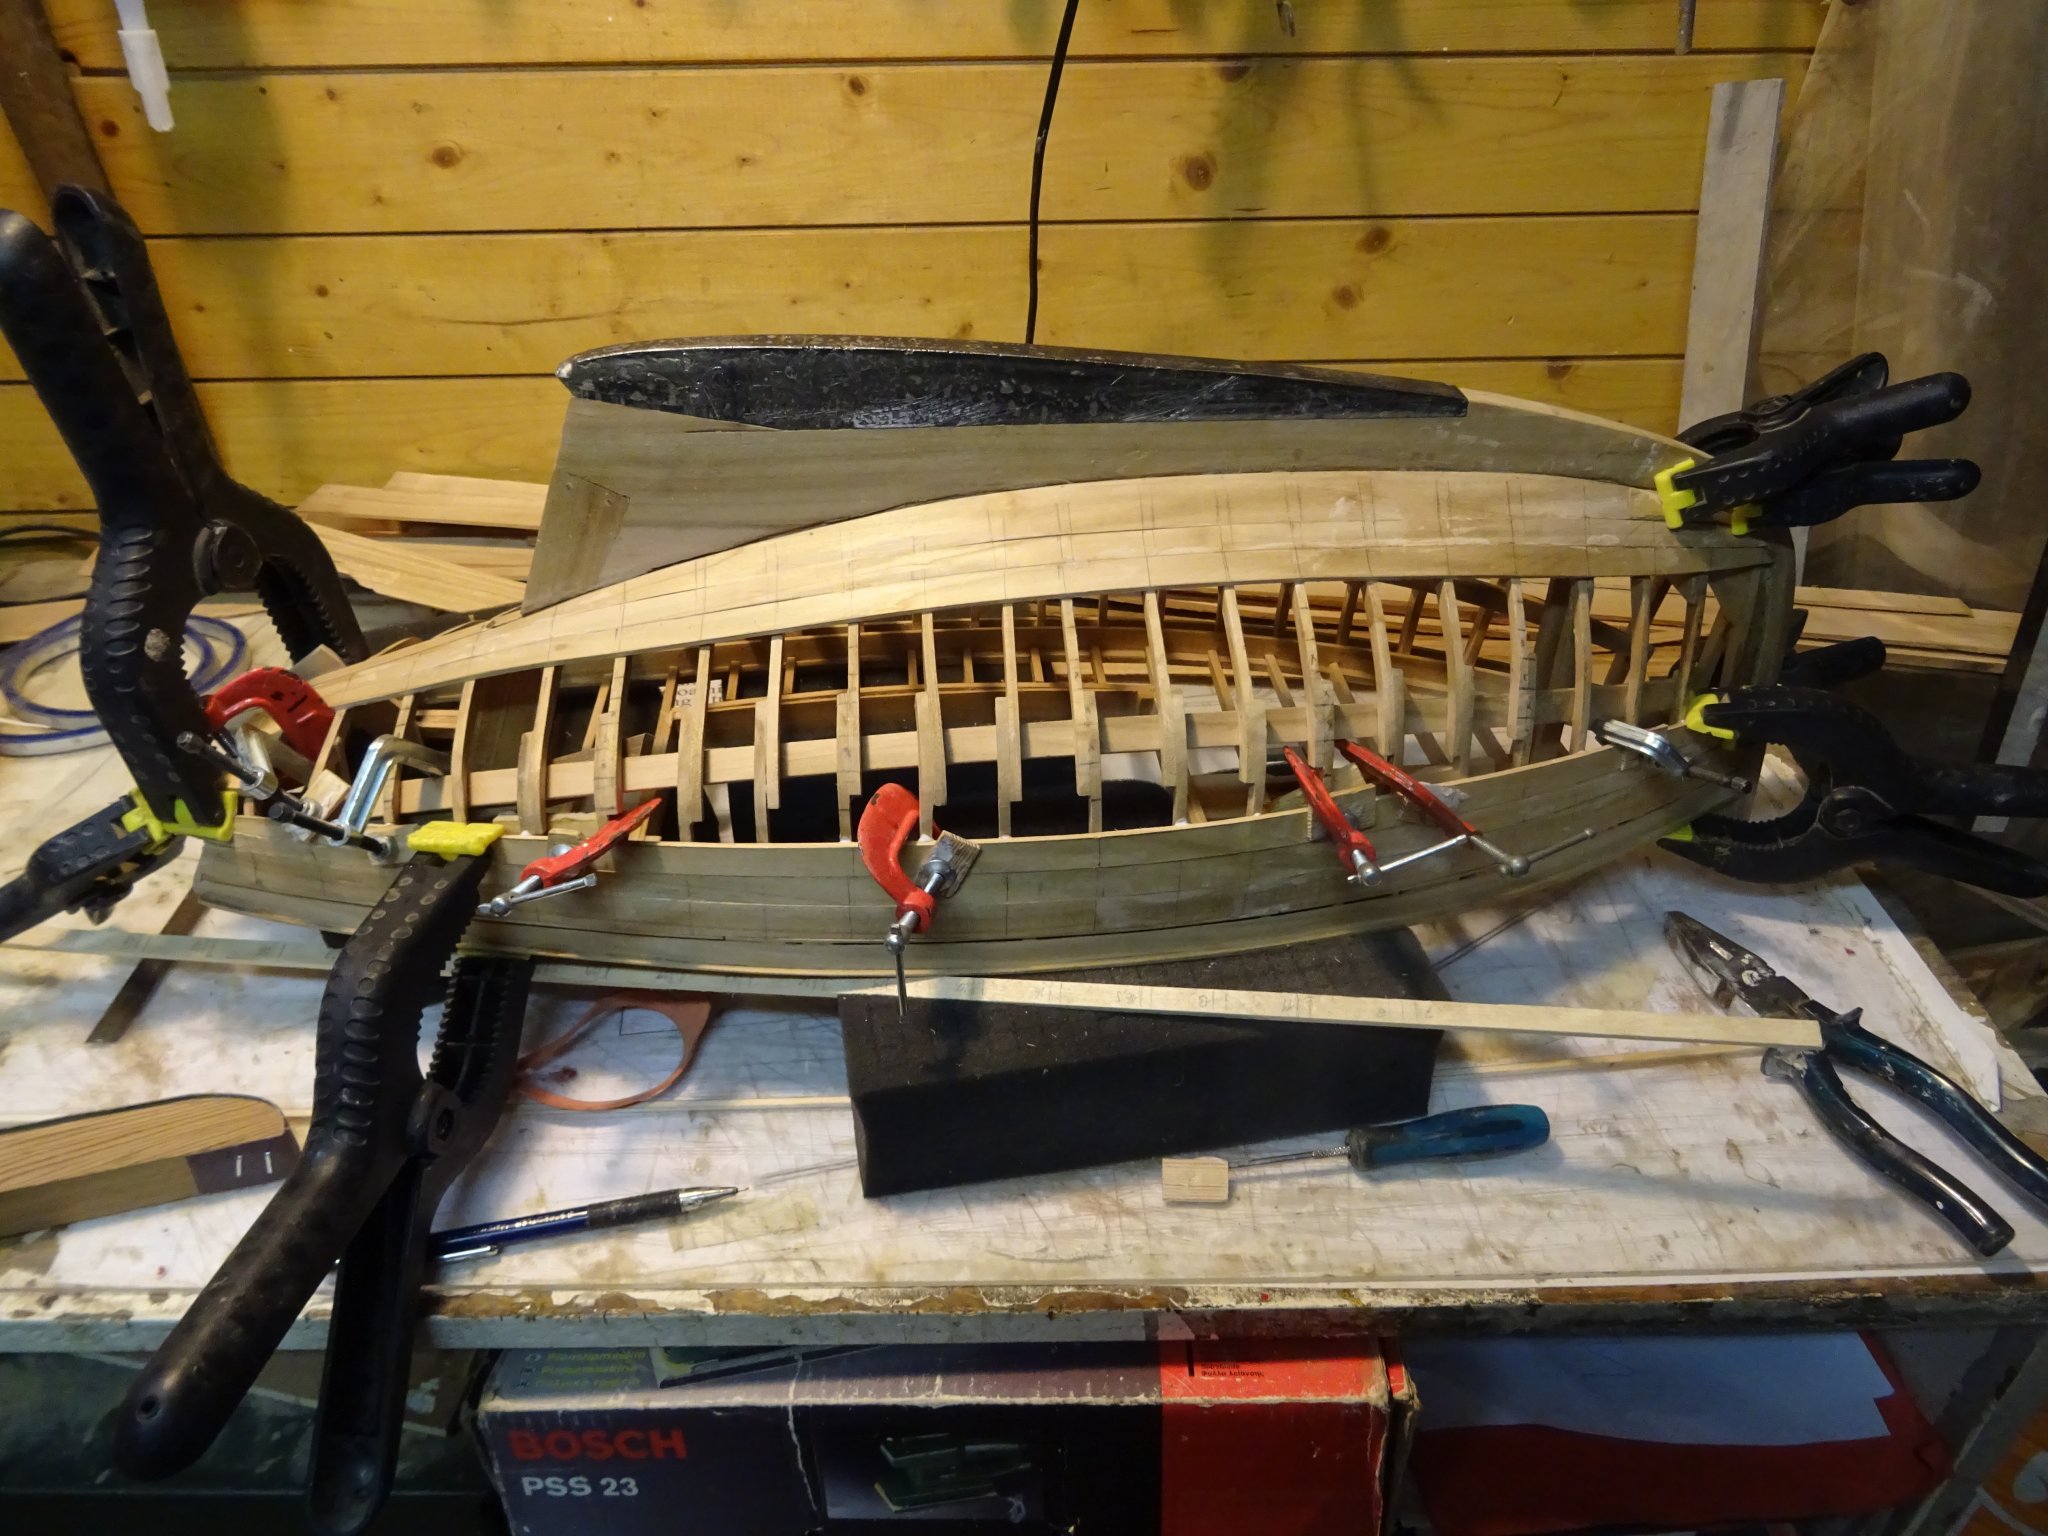
Gluing the garboard on the model.
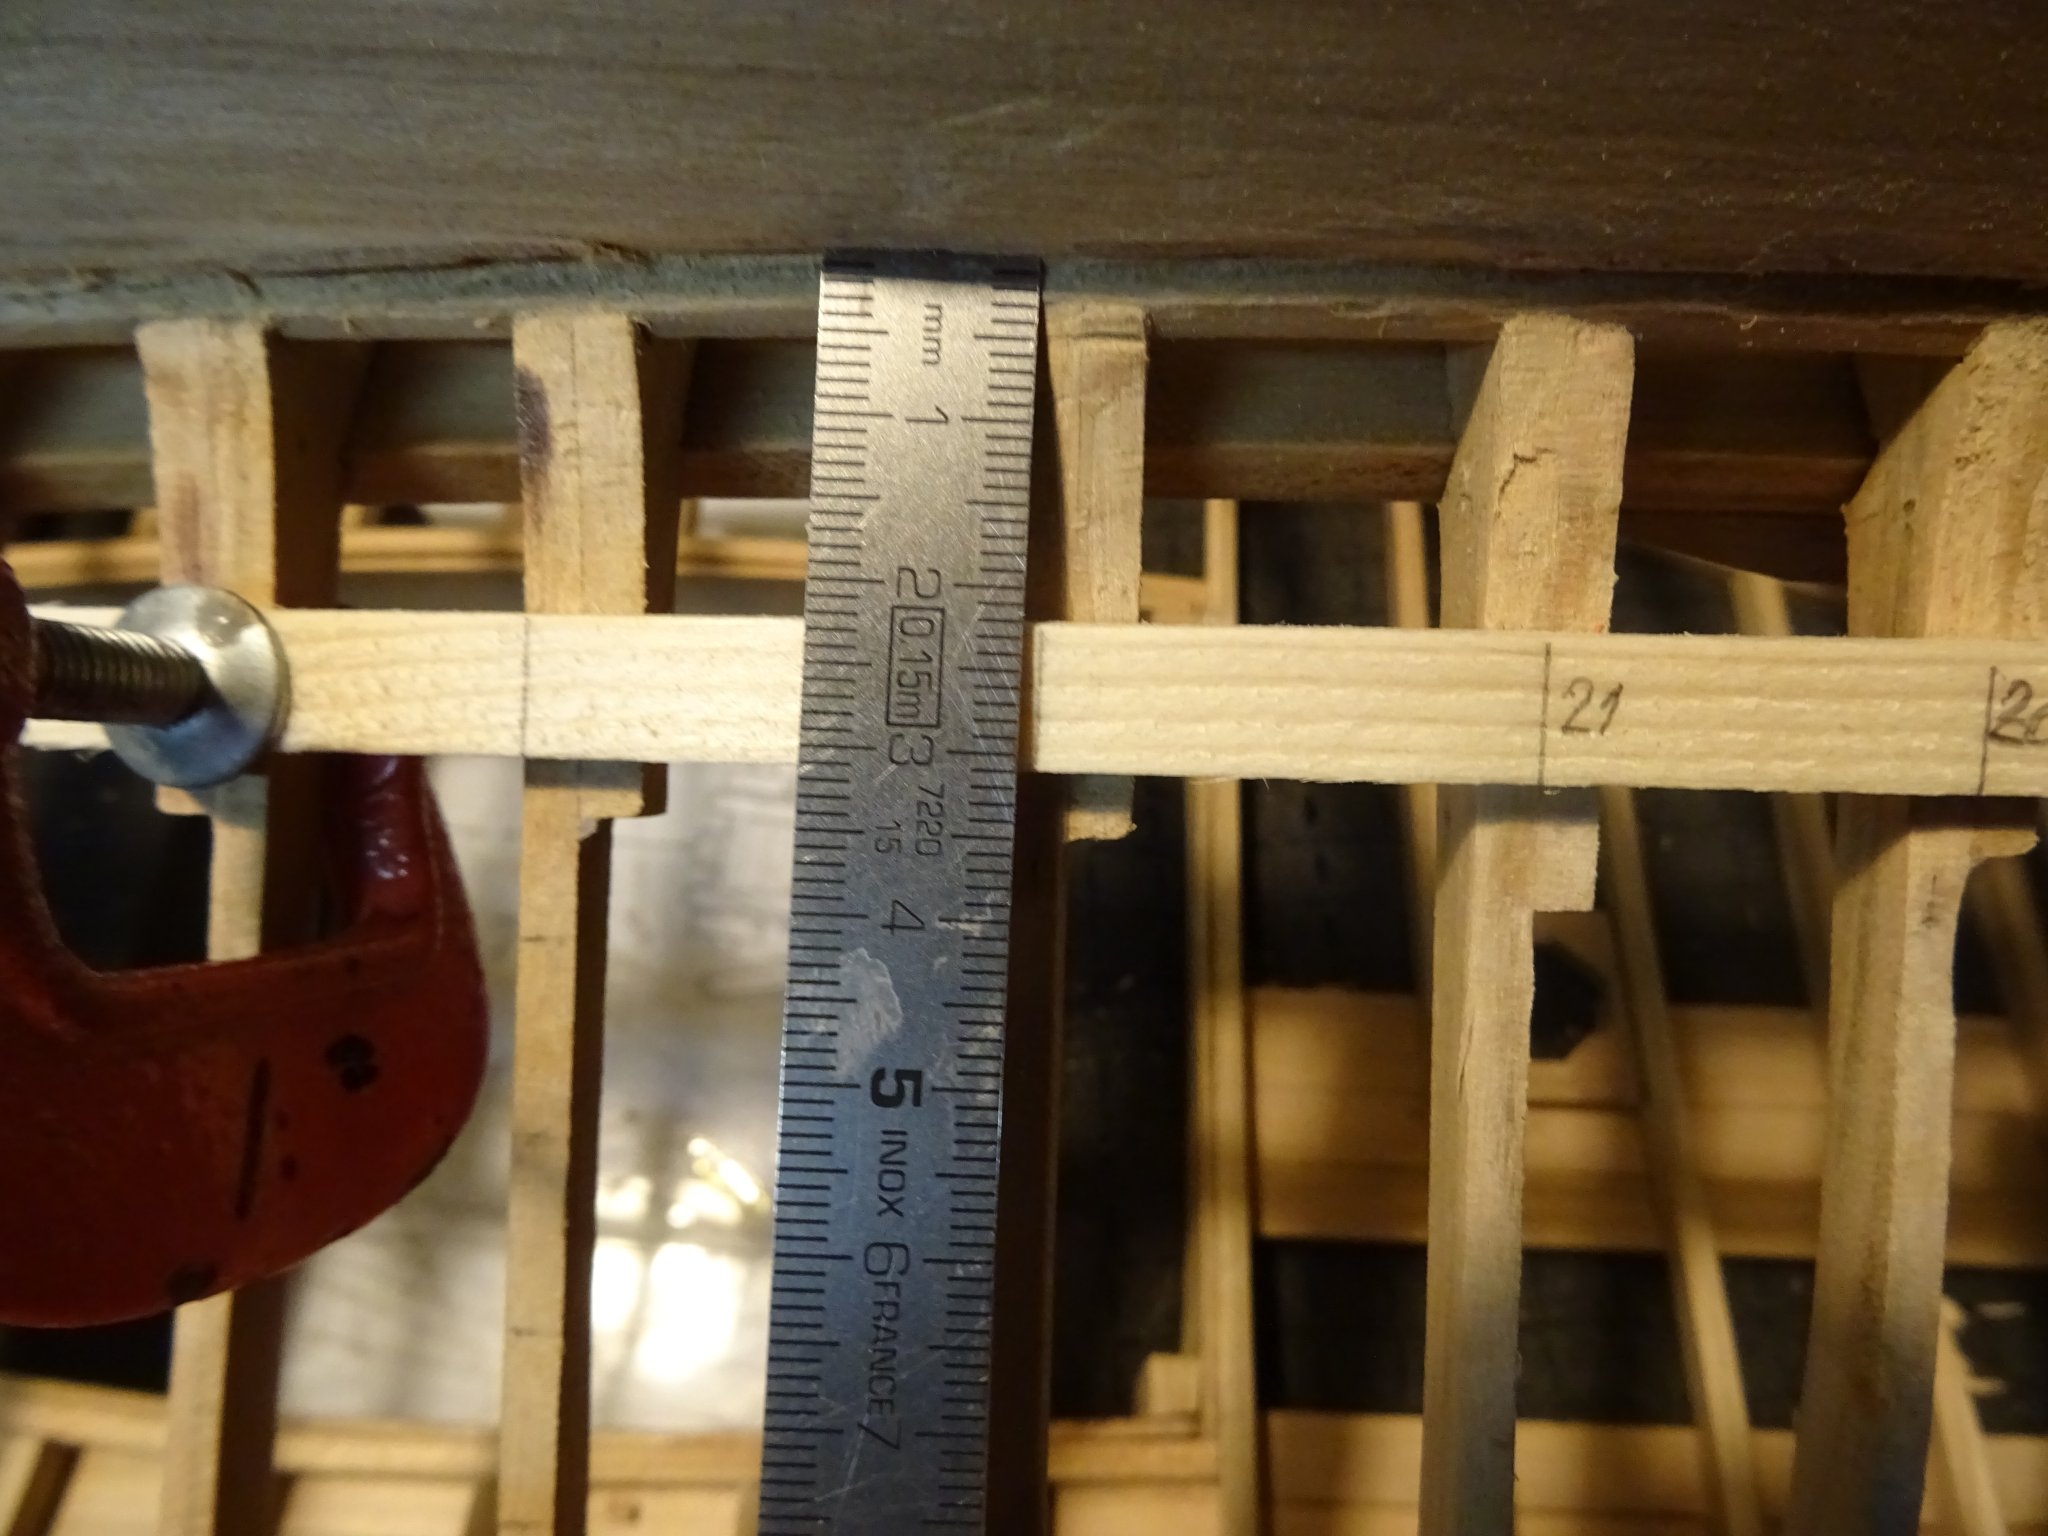
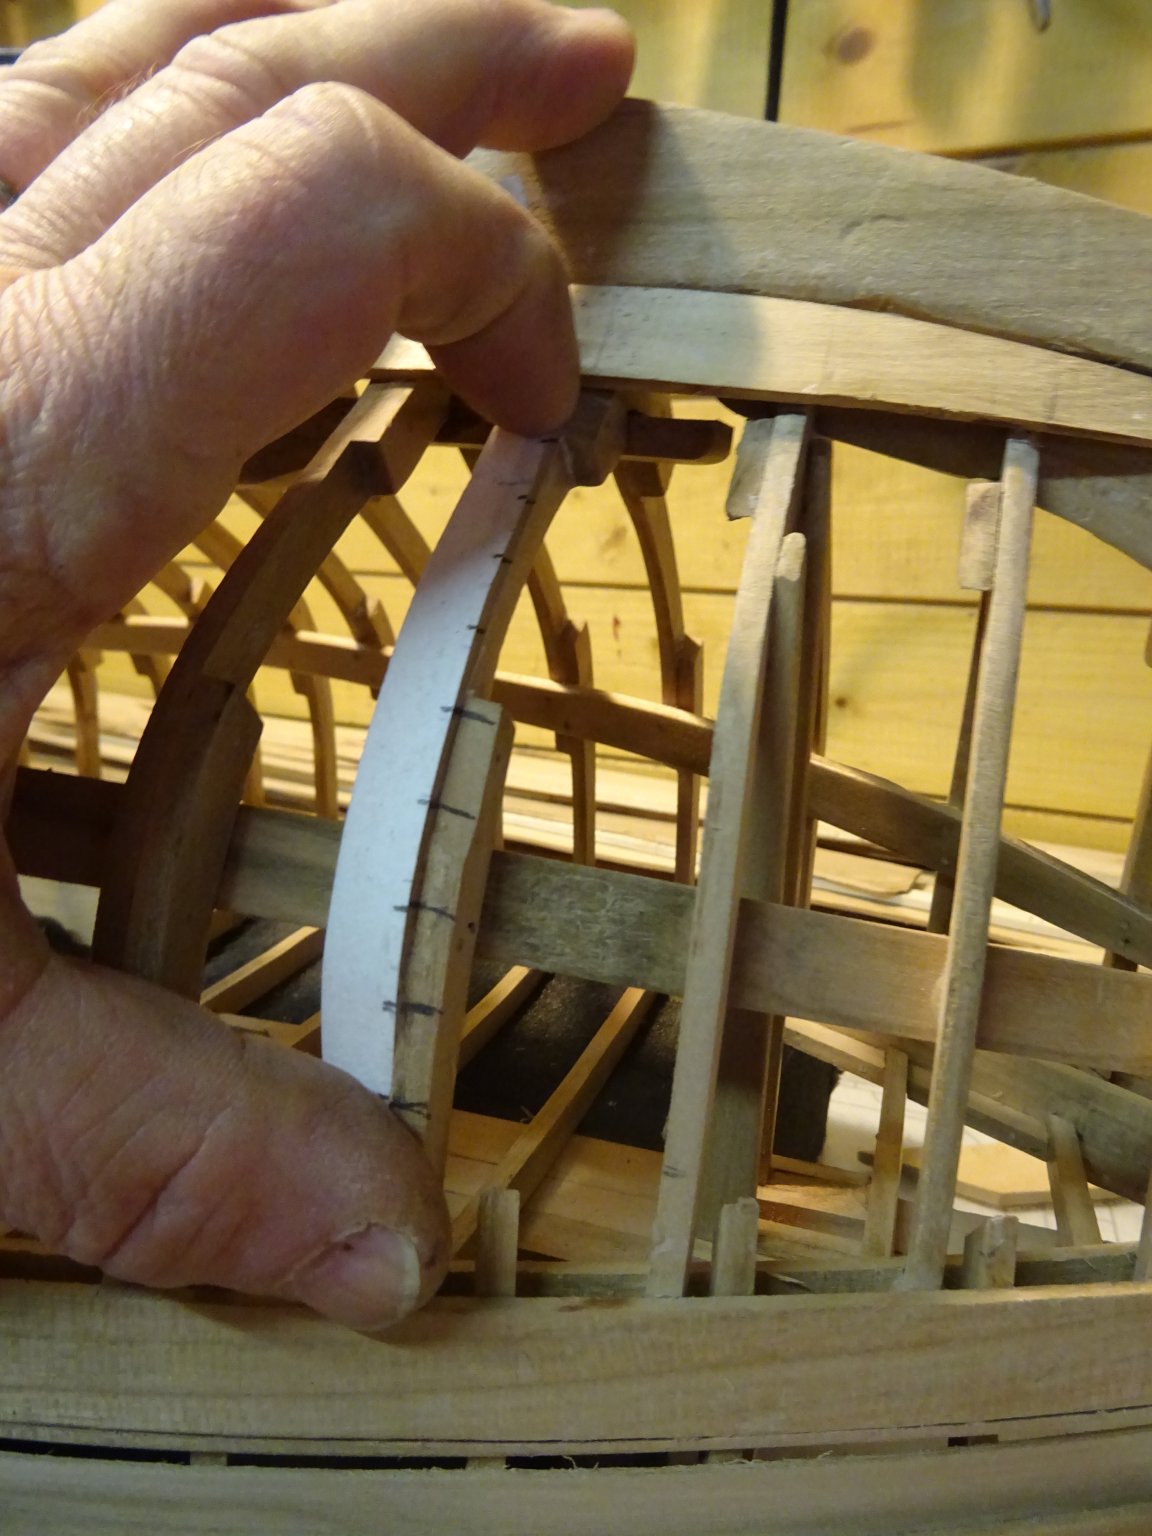
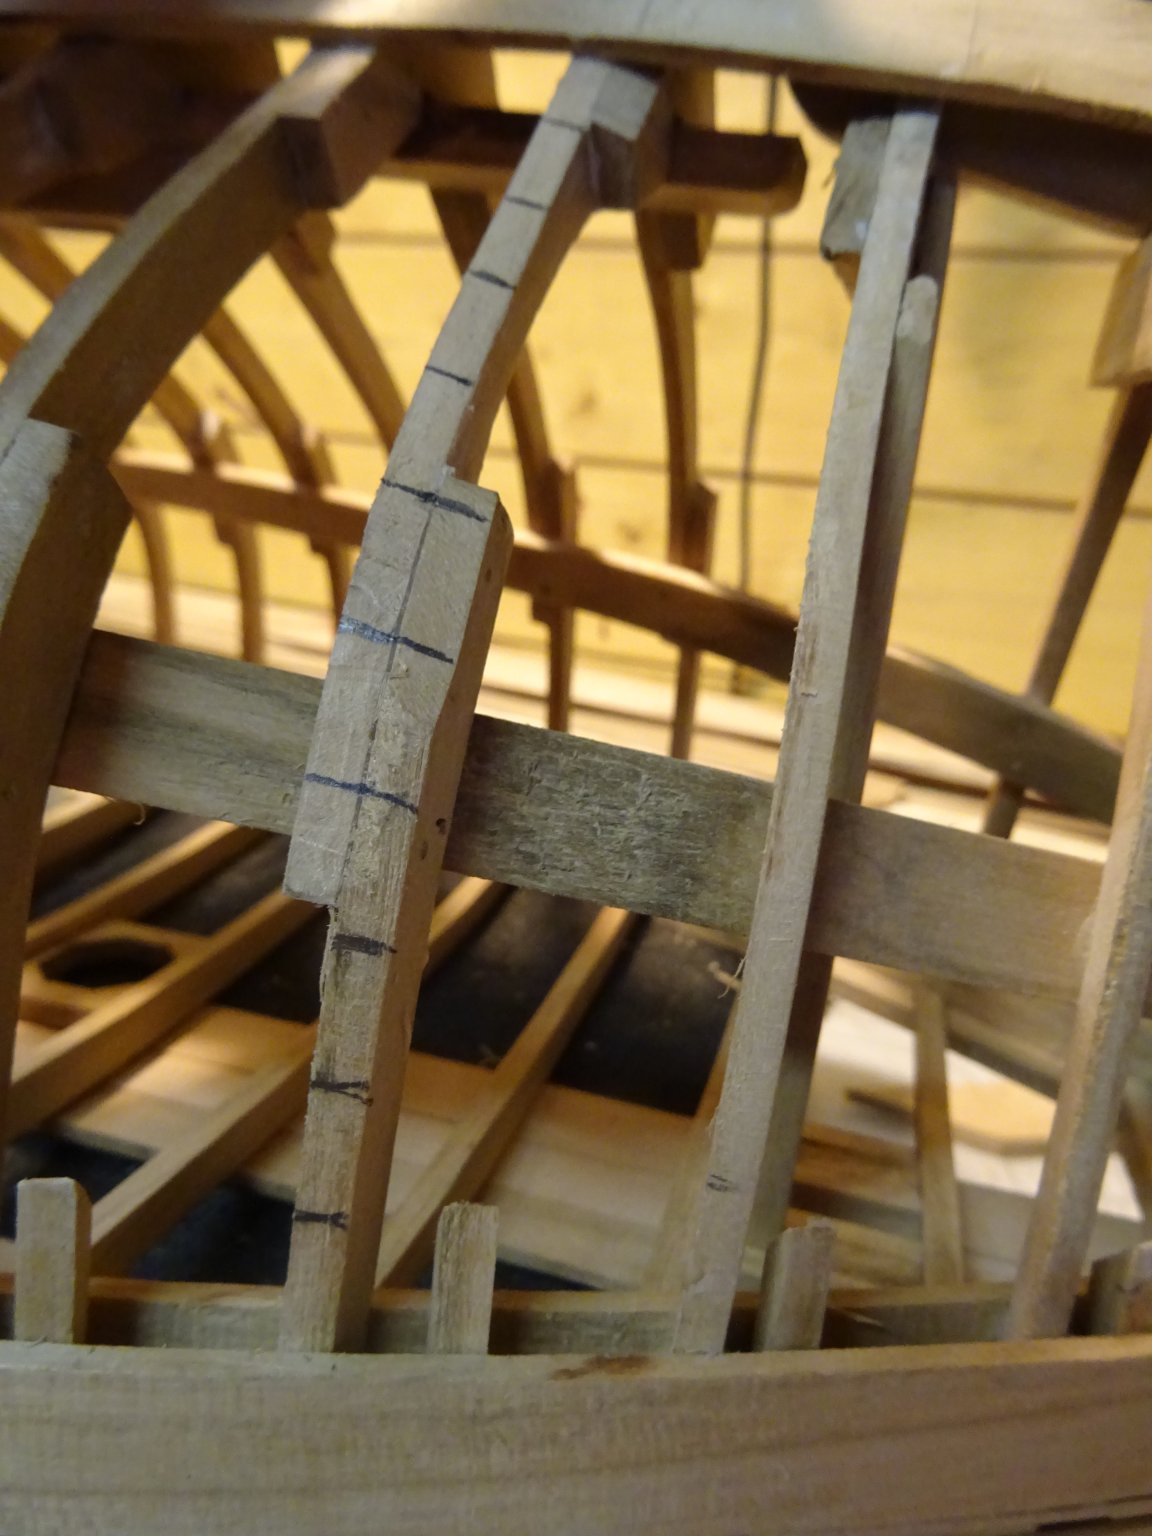
Between the wale and the garboard come eleven strakes. I mark the strakes on every third frame. Measuring the length of the frame between the wale and the garboard with a strip of paper.

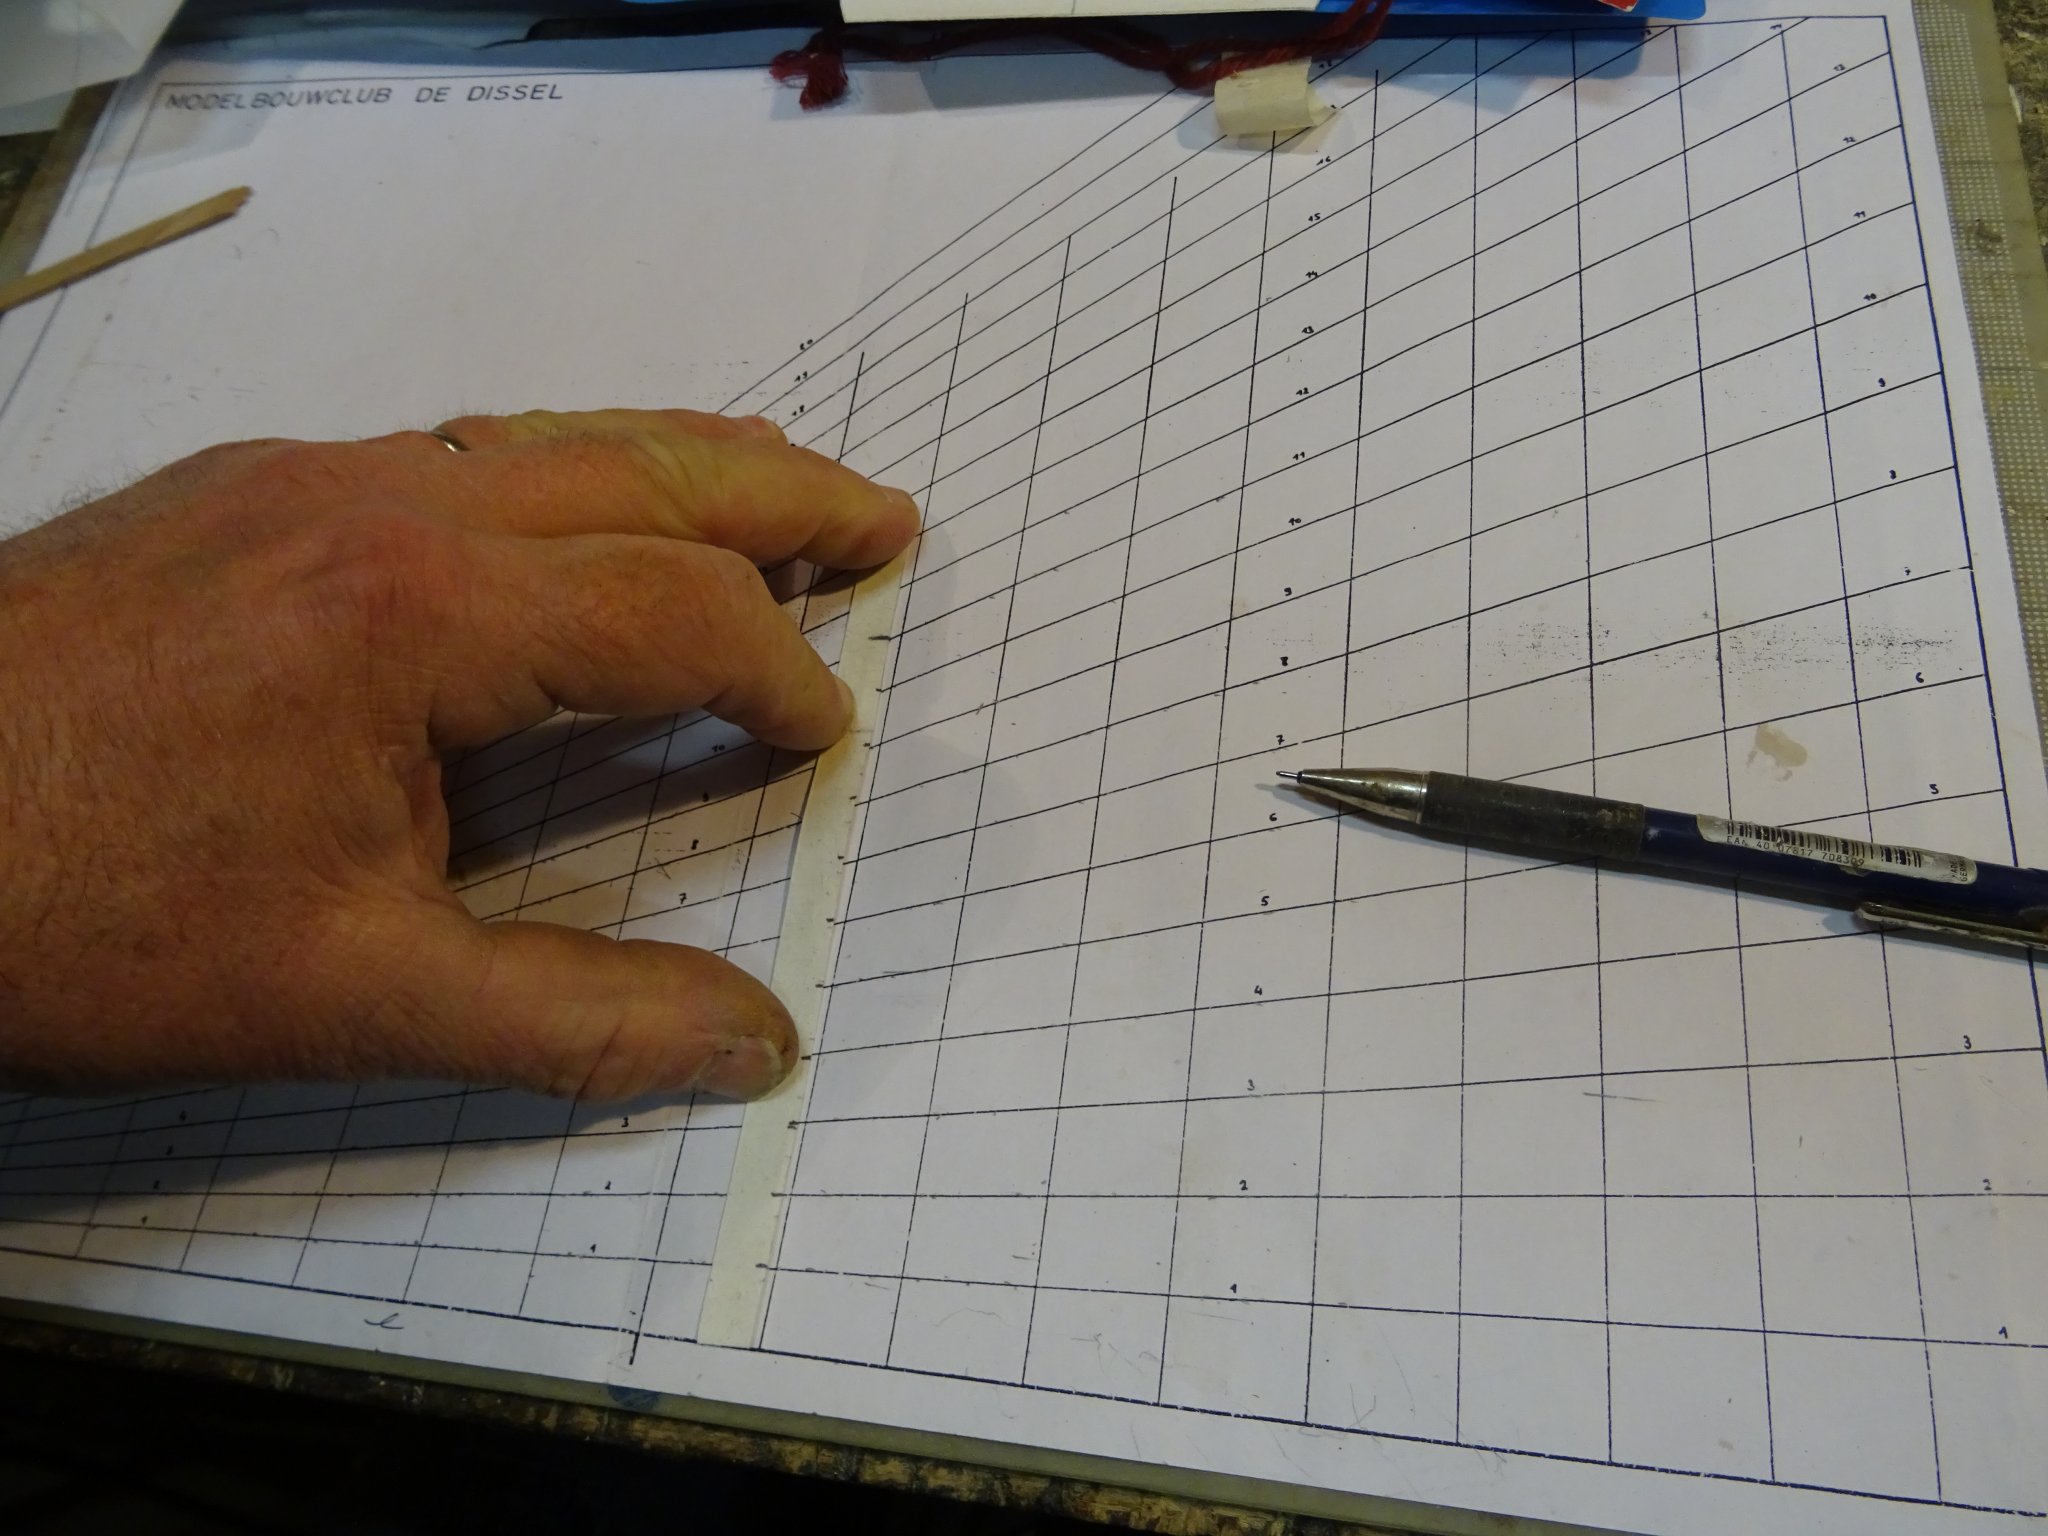
With the help of a proportion diagram I divide the strip in eleven equal parts...
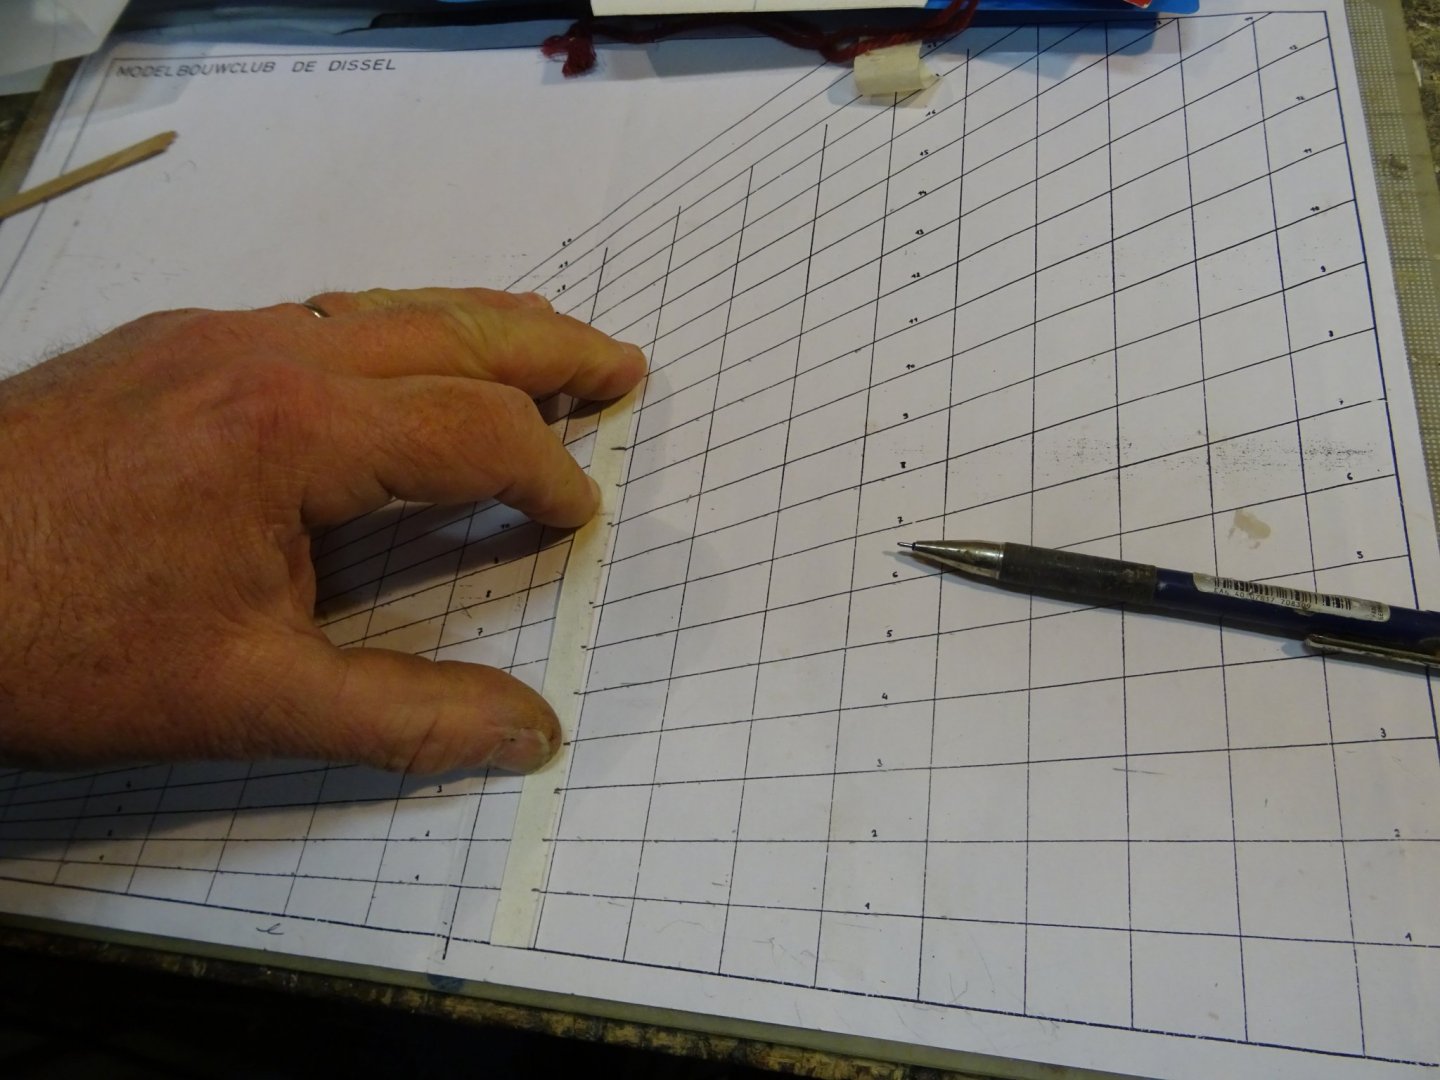
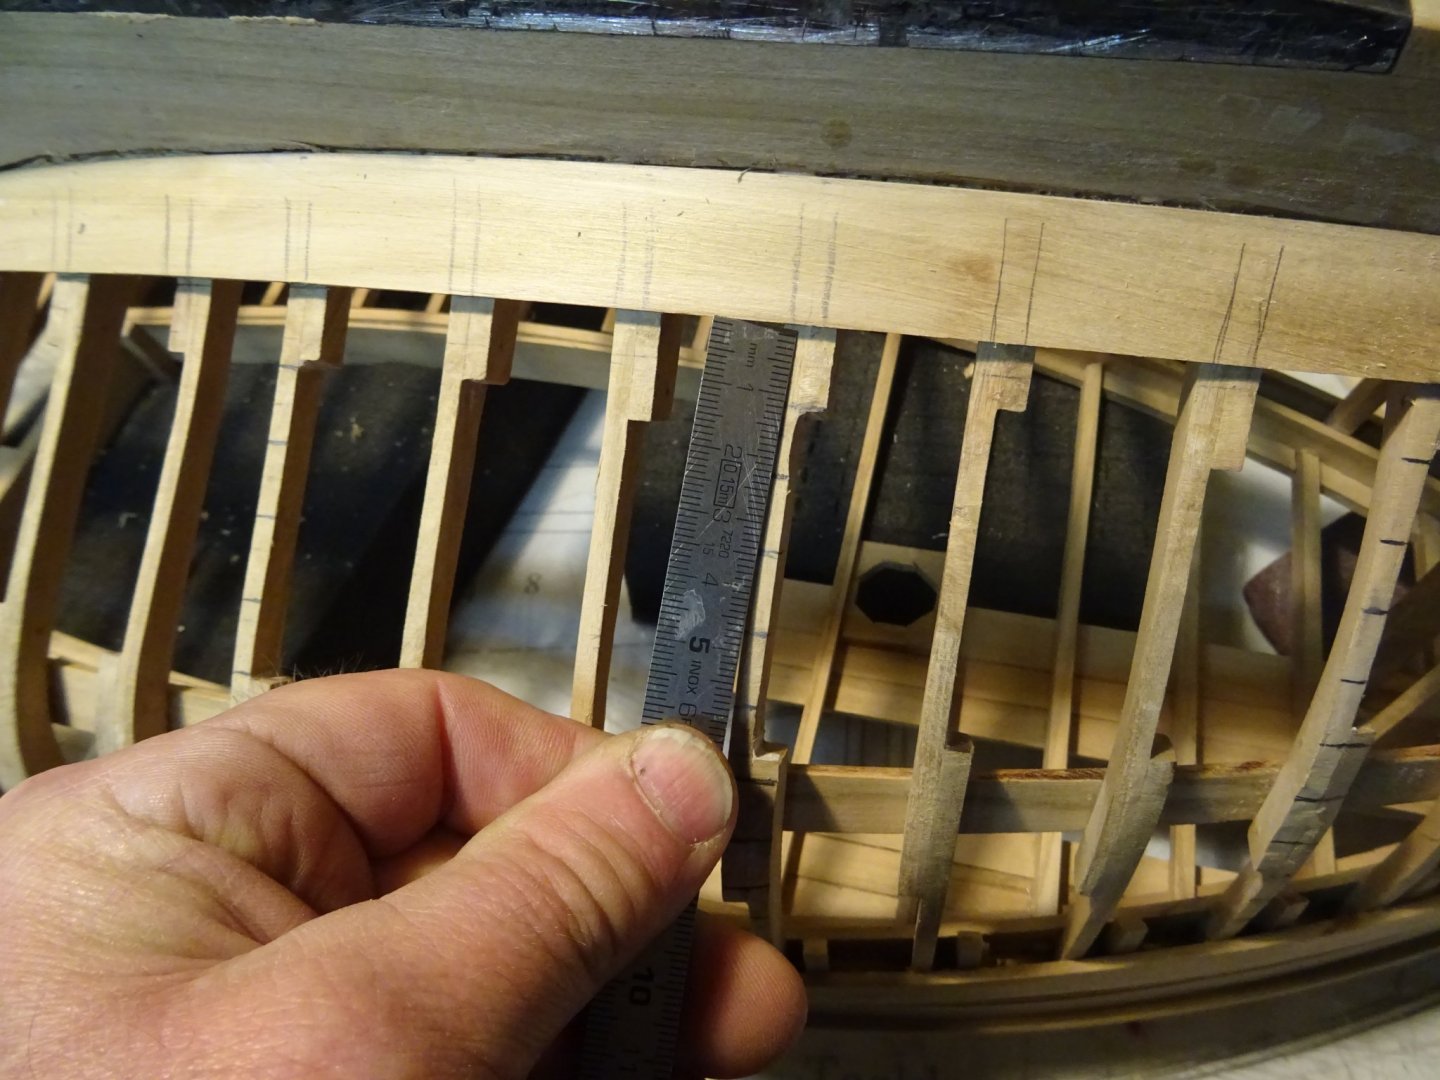
and I bring over the division on the frame.


The upper side of the garboard is straight, so I assume that I can put a strake beside it which has also a straight edge and a curved upper edge. To determine the curve I measure the strake markings on the frames and mark them on the plank, measuring from the straight side.
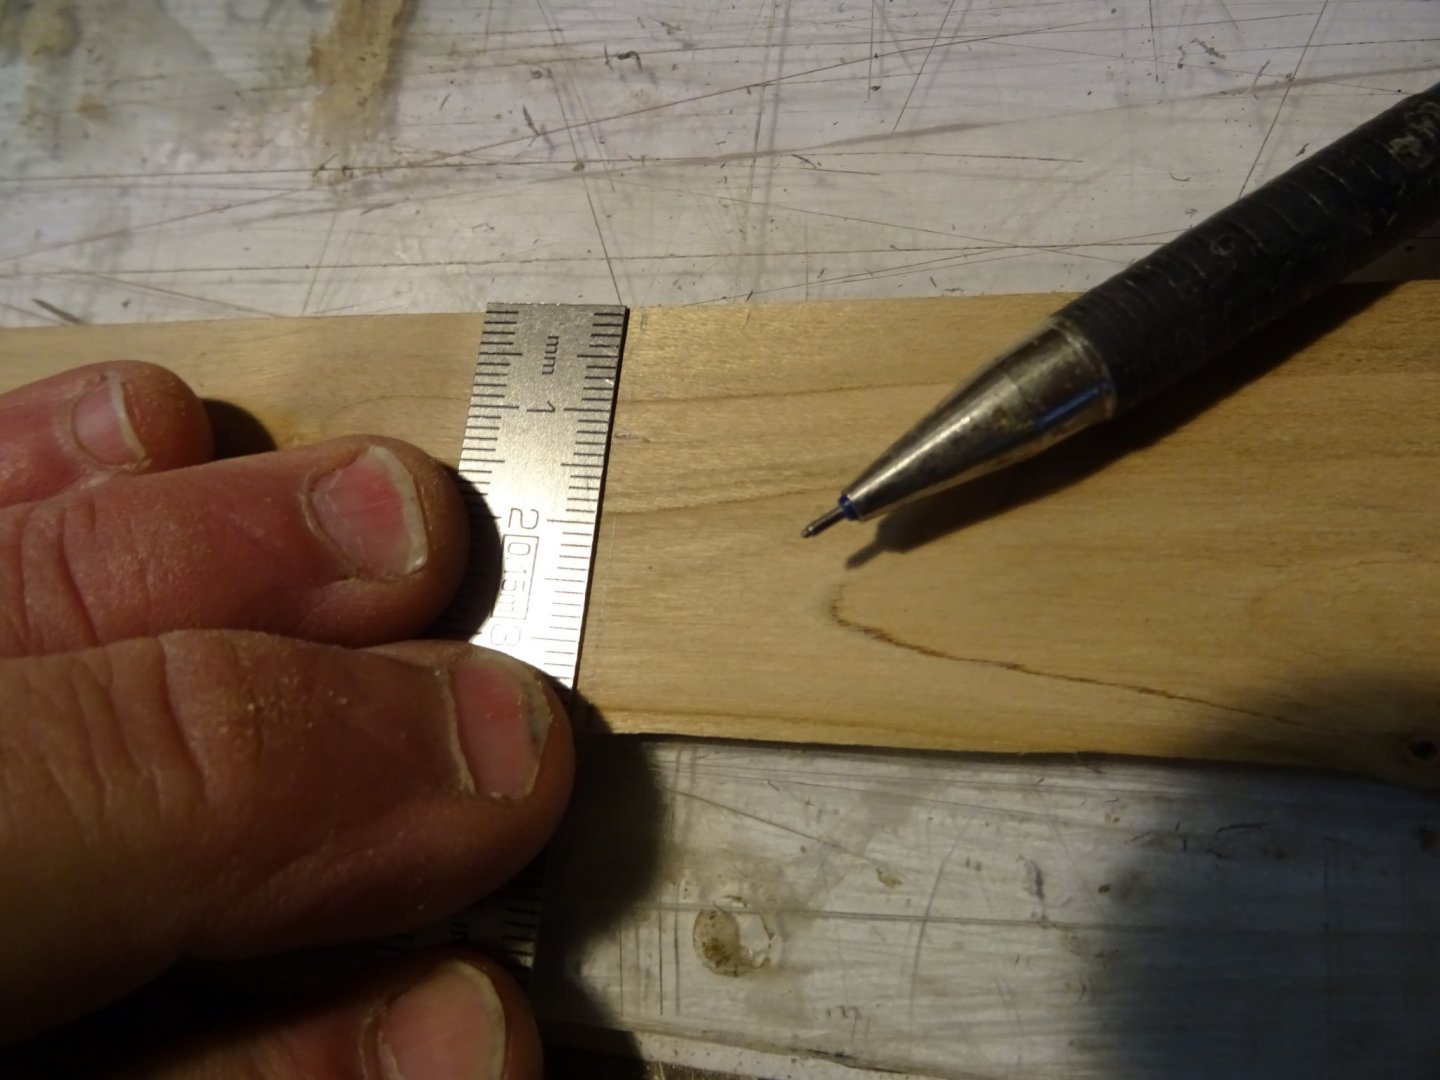
With the help of my flexible lath and the weights I connect the pencil marks with a fluent curved line.
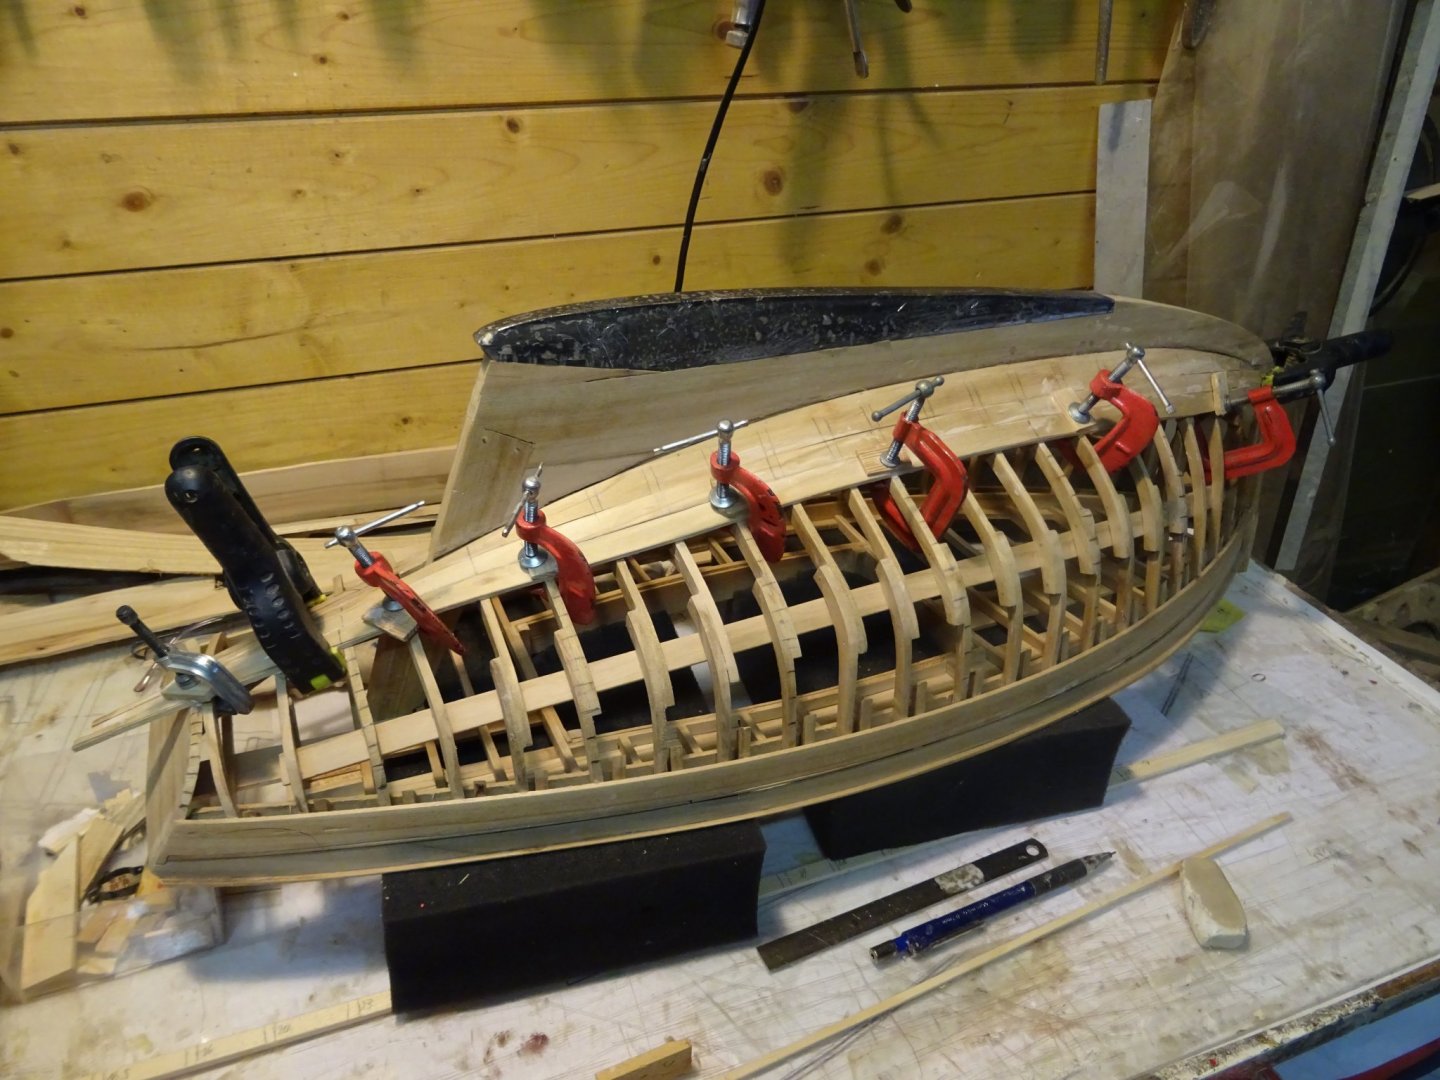
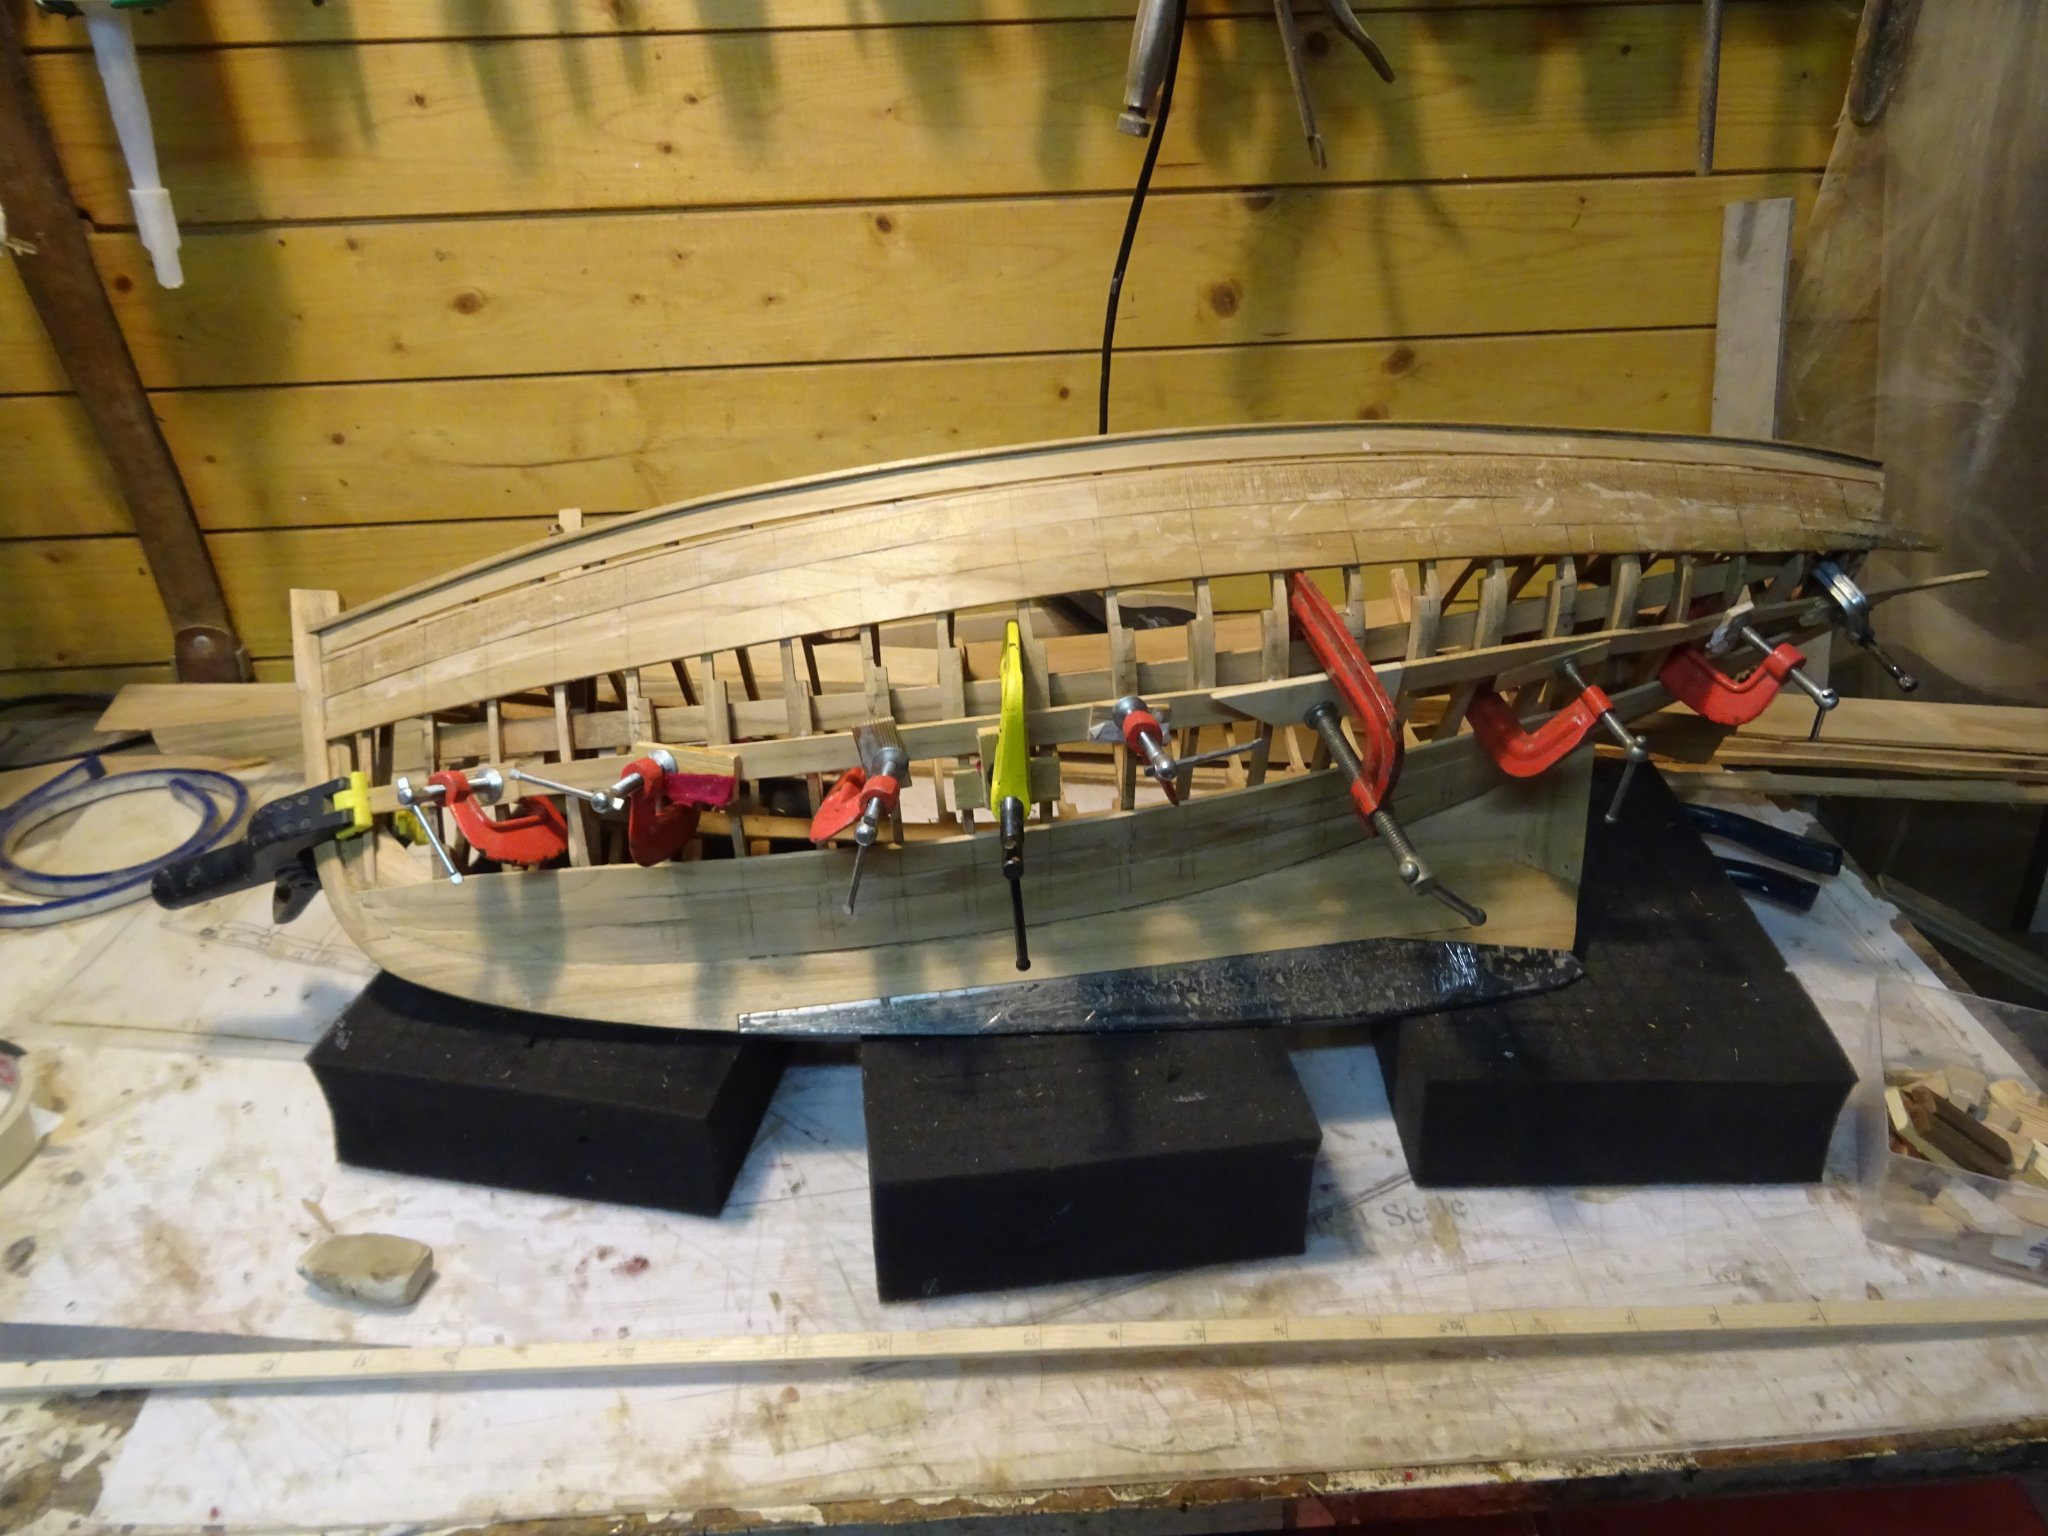
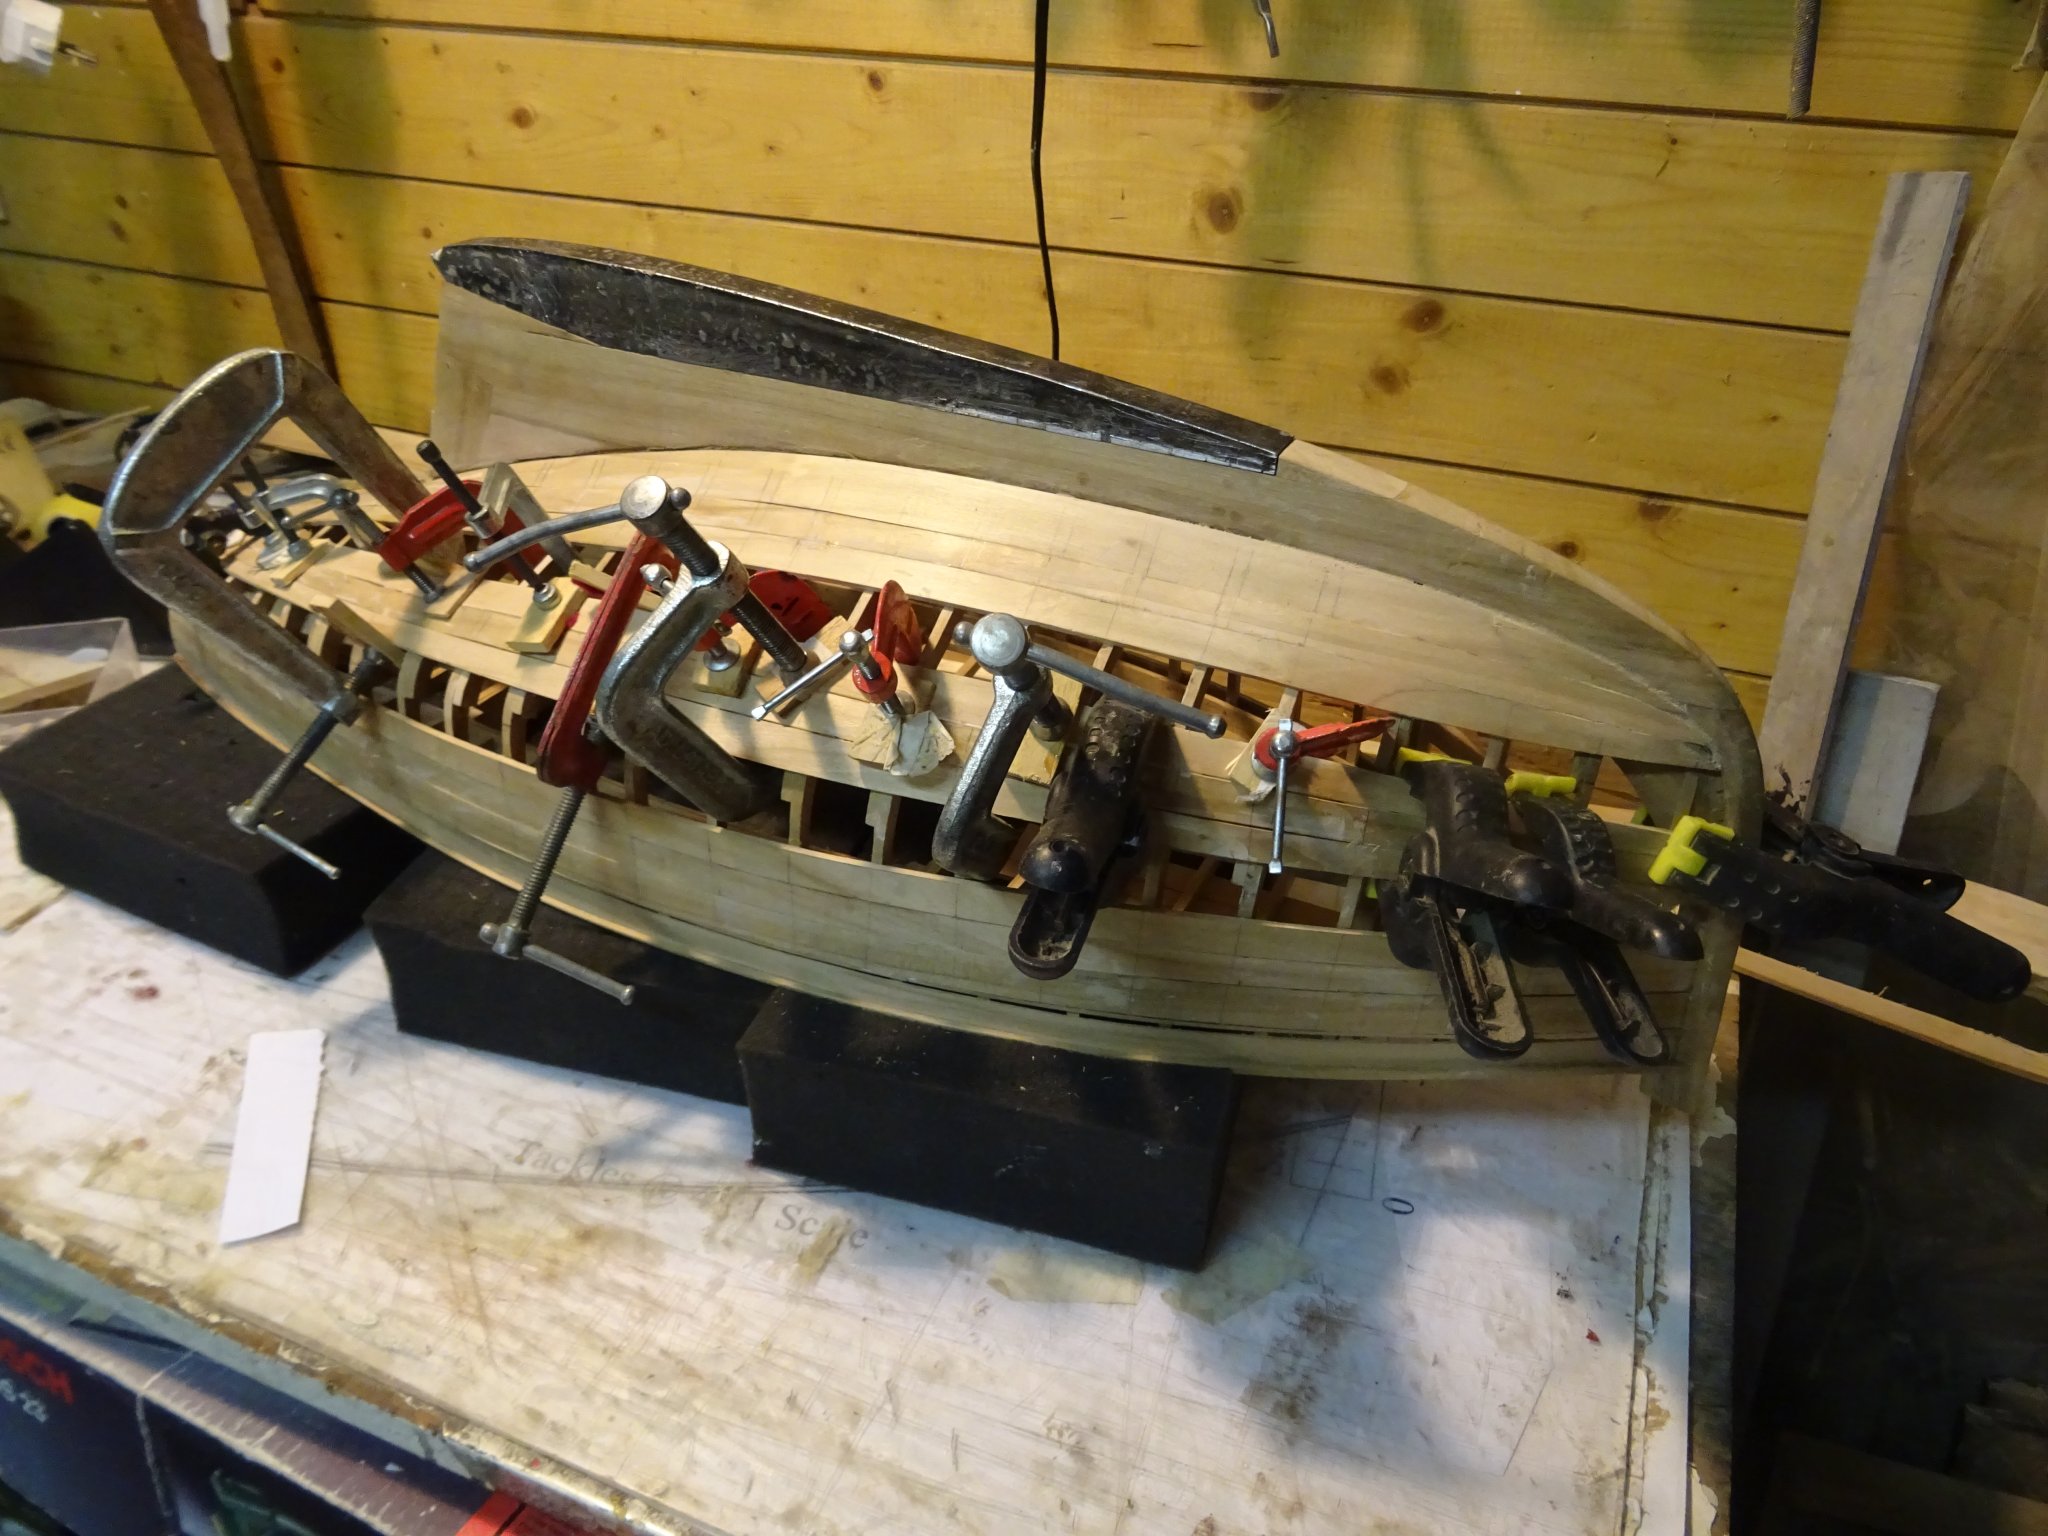
When the plank is sawn and the edge smoothly sanded , it can be glued beside the garboard.

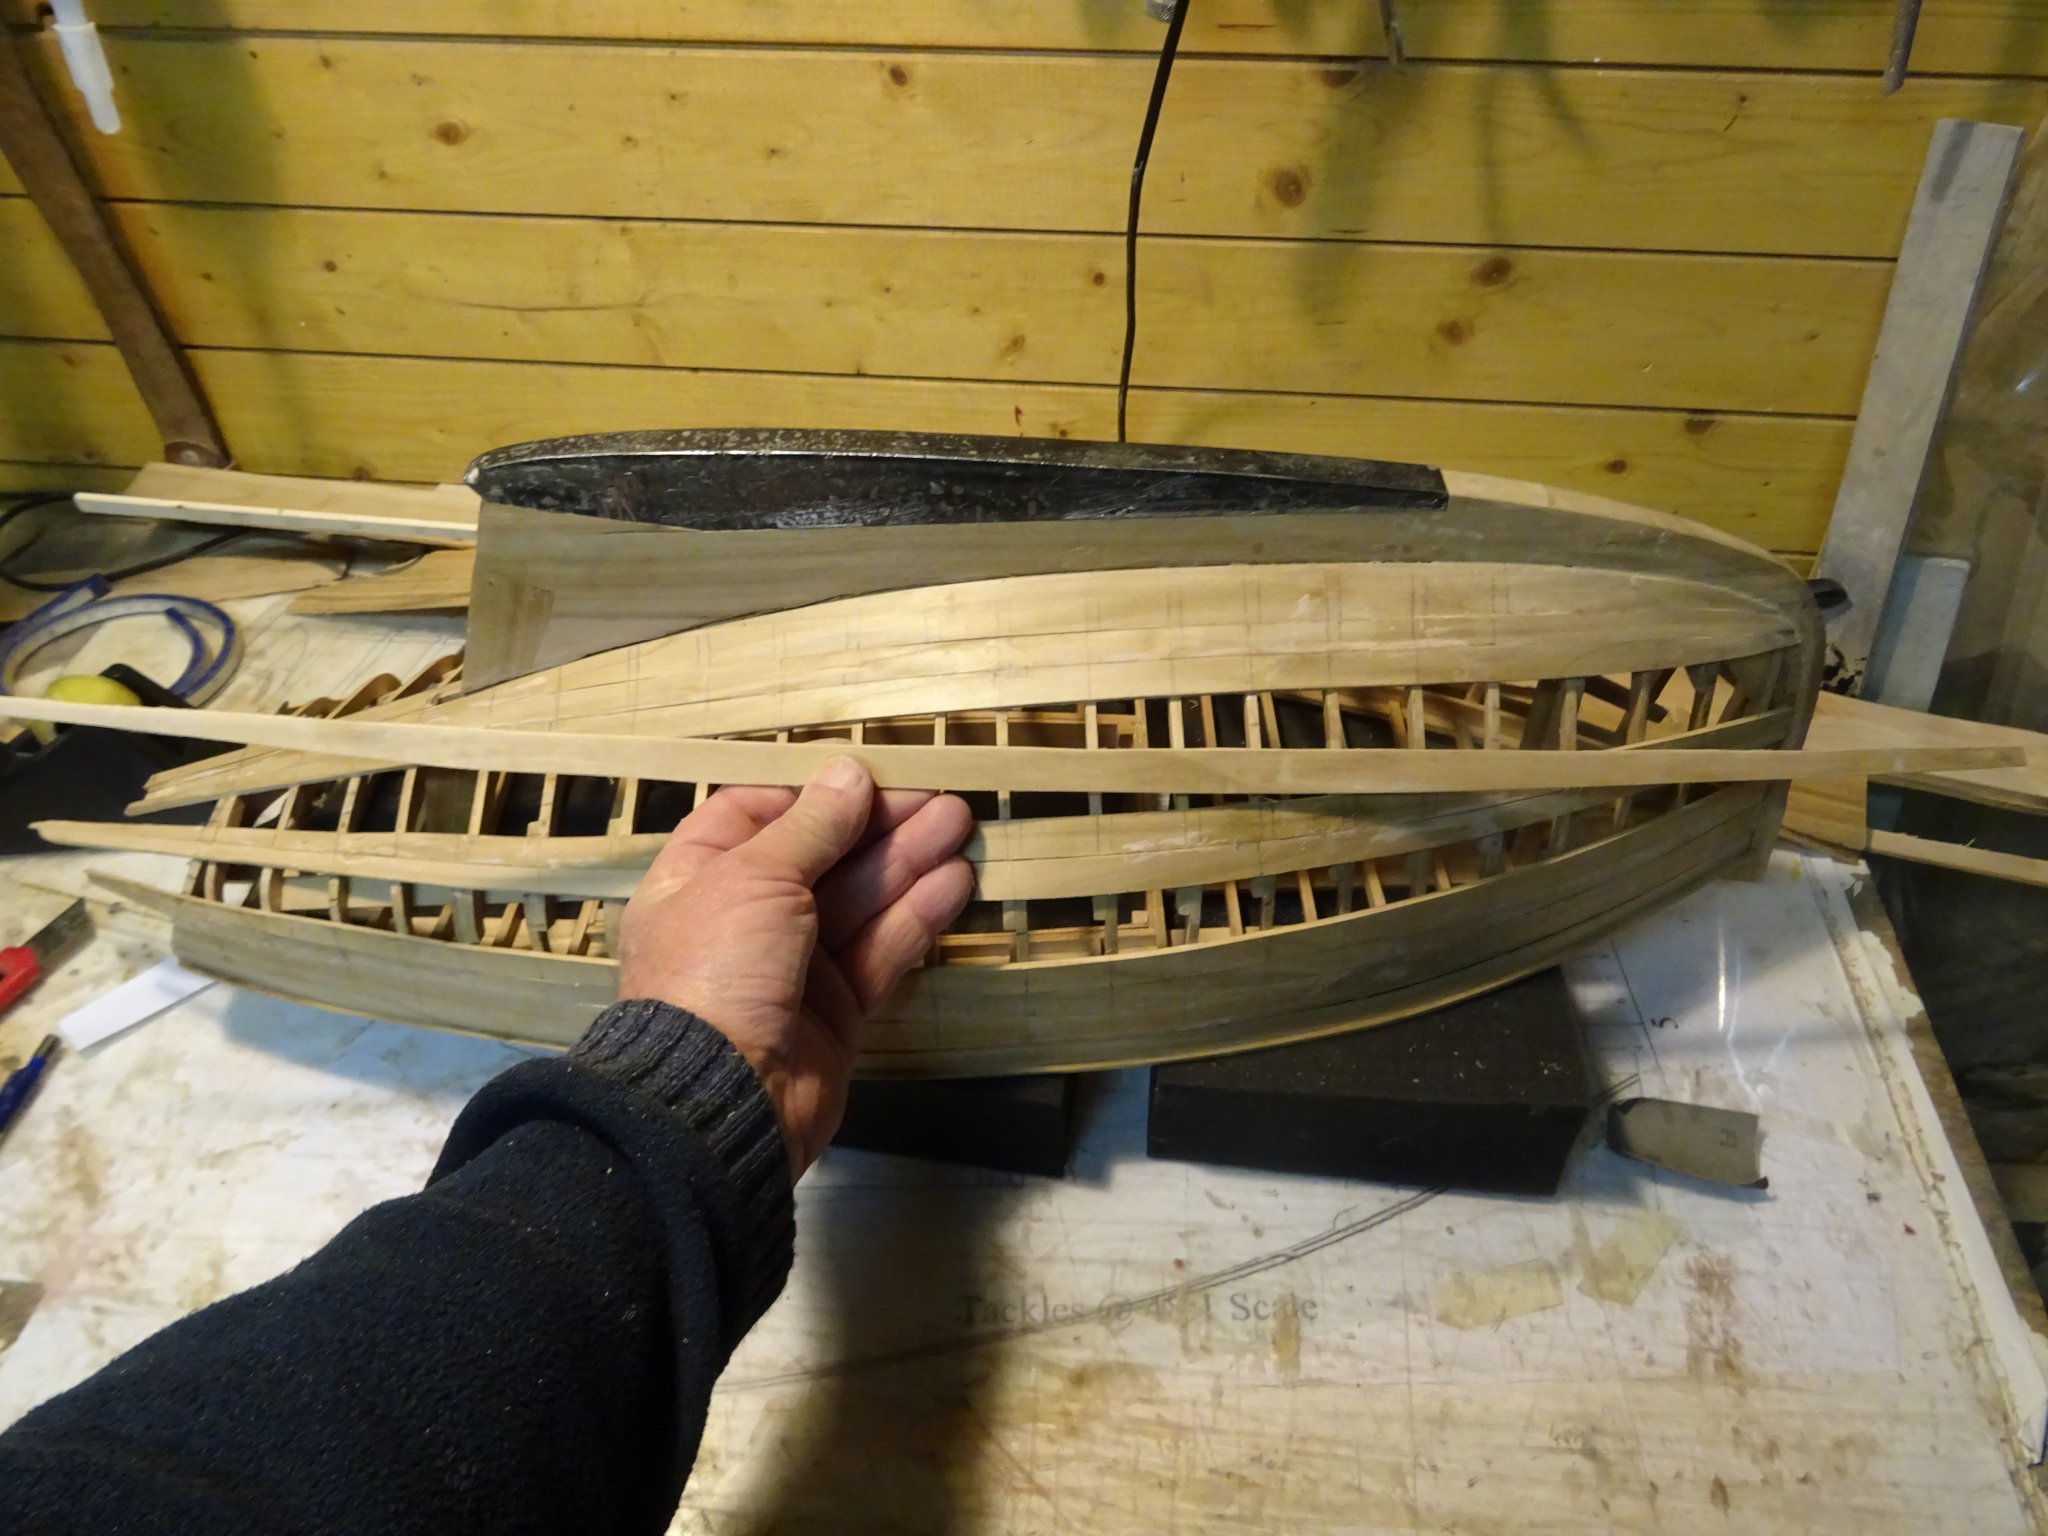
When I lay my straight lath besides the edge of the just laid plank, I am pleasantly surprised to see that I can make next strake again with a straight side.

And here it is also glued.
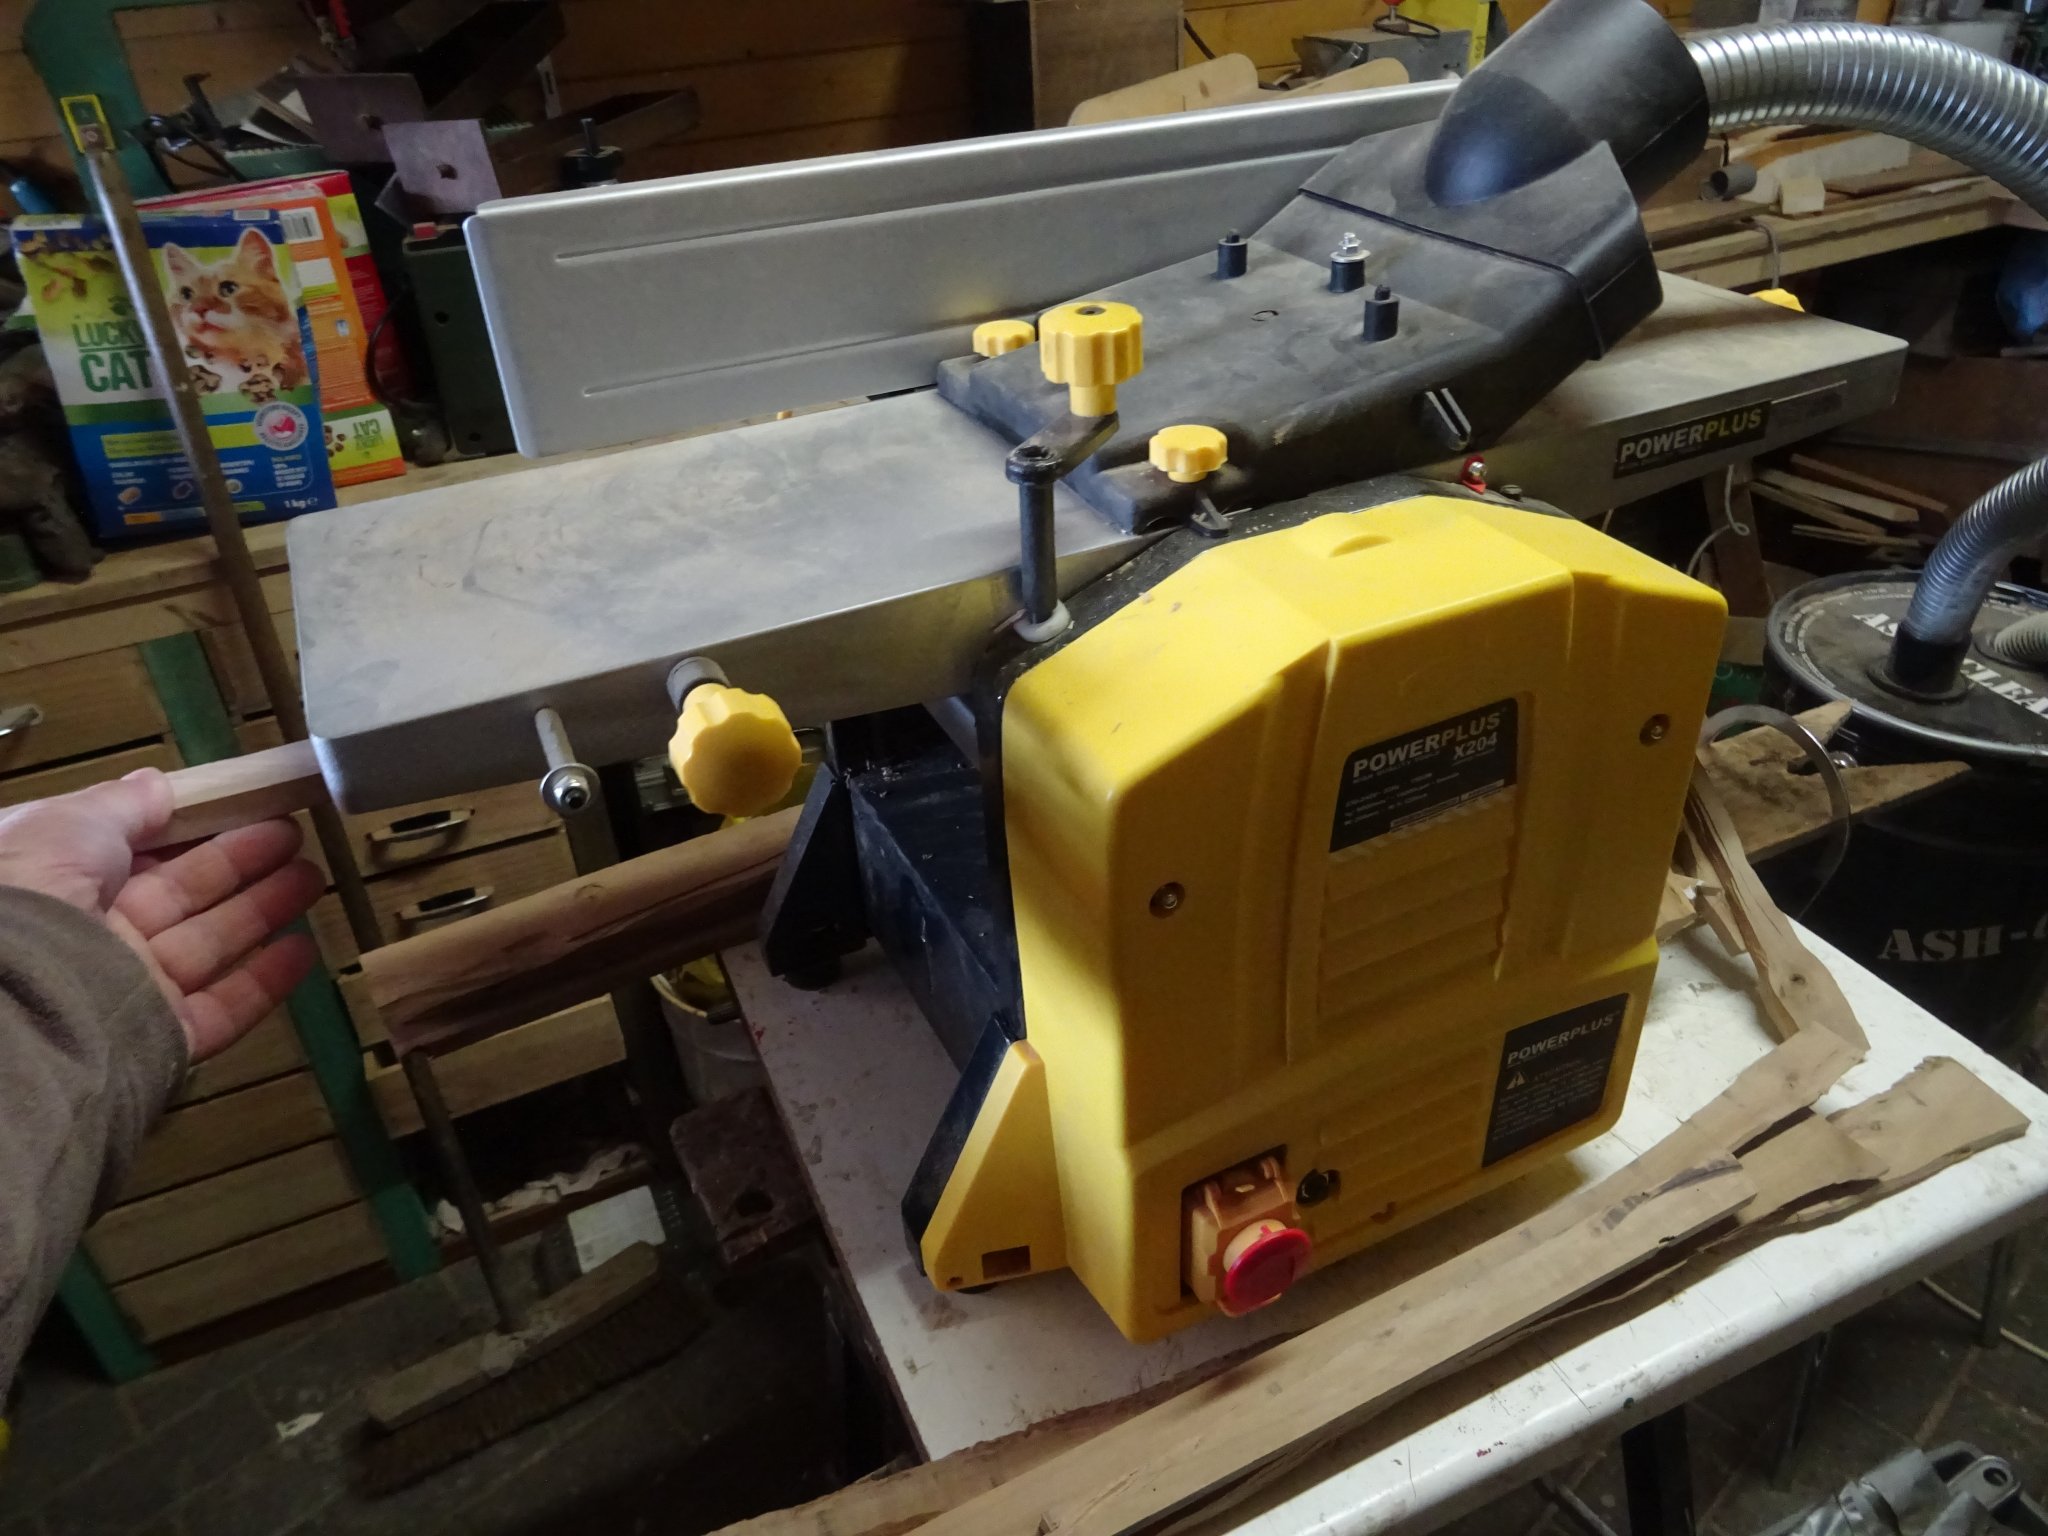
I am out of long planks, so I saw some and plane them to 2.5 mm. I have no dust extraction system on my table saw therefore the sawing is done outside in a corner of the garden where no one is bordered by the noise and the saw dust.
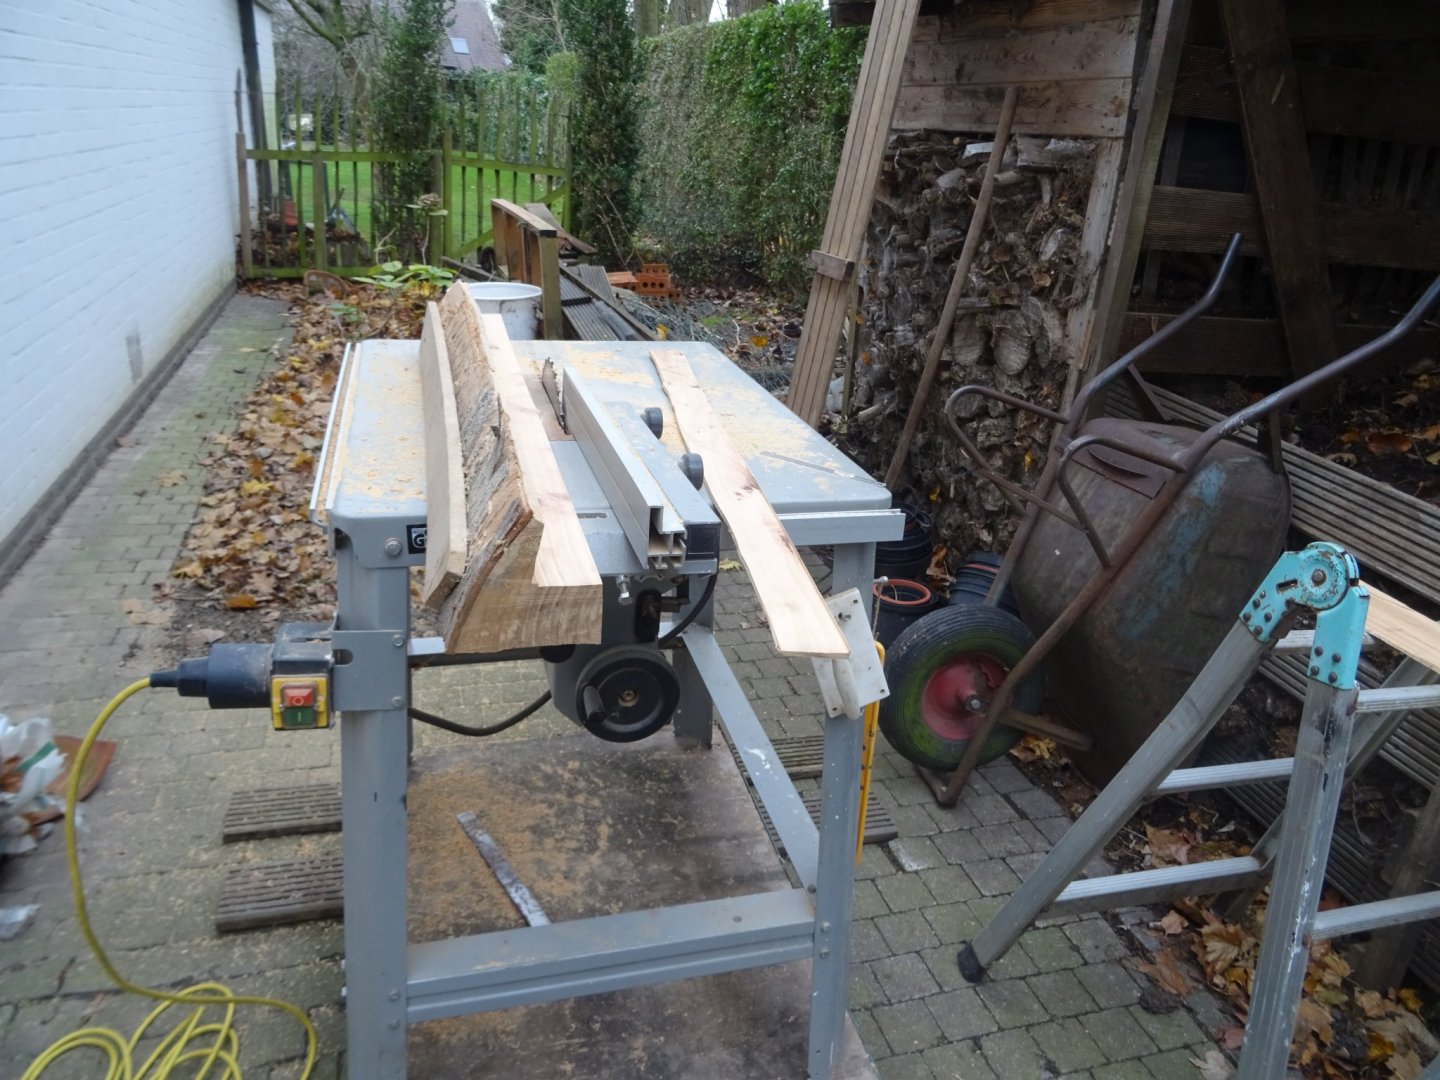
Planing them to 2.5 mm thickness.

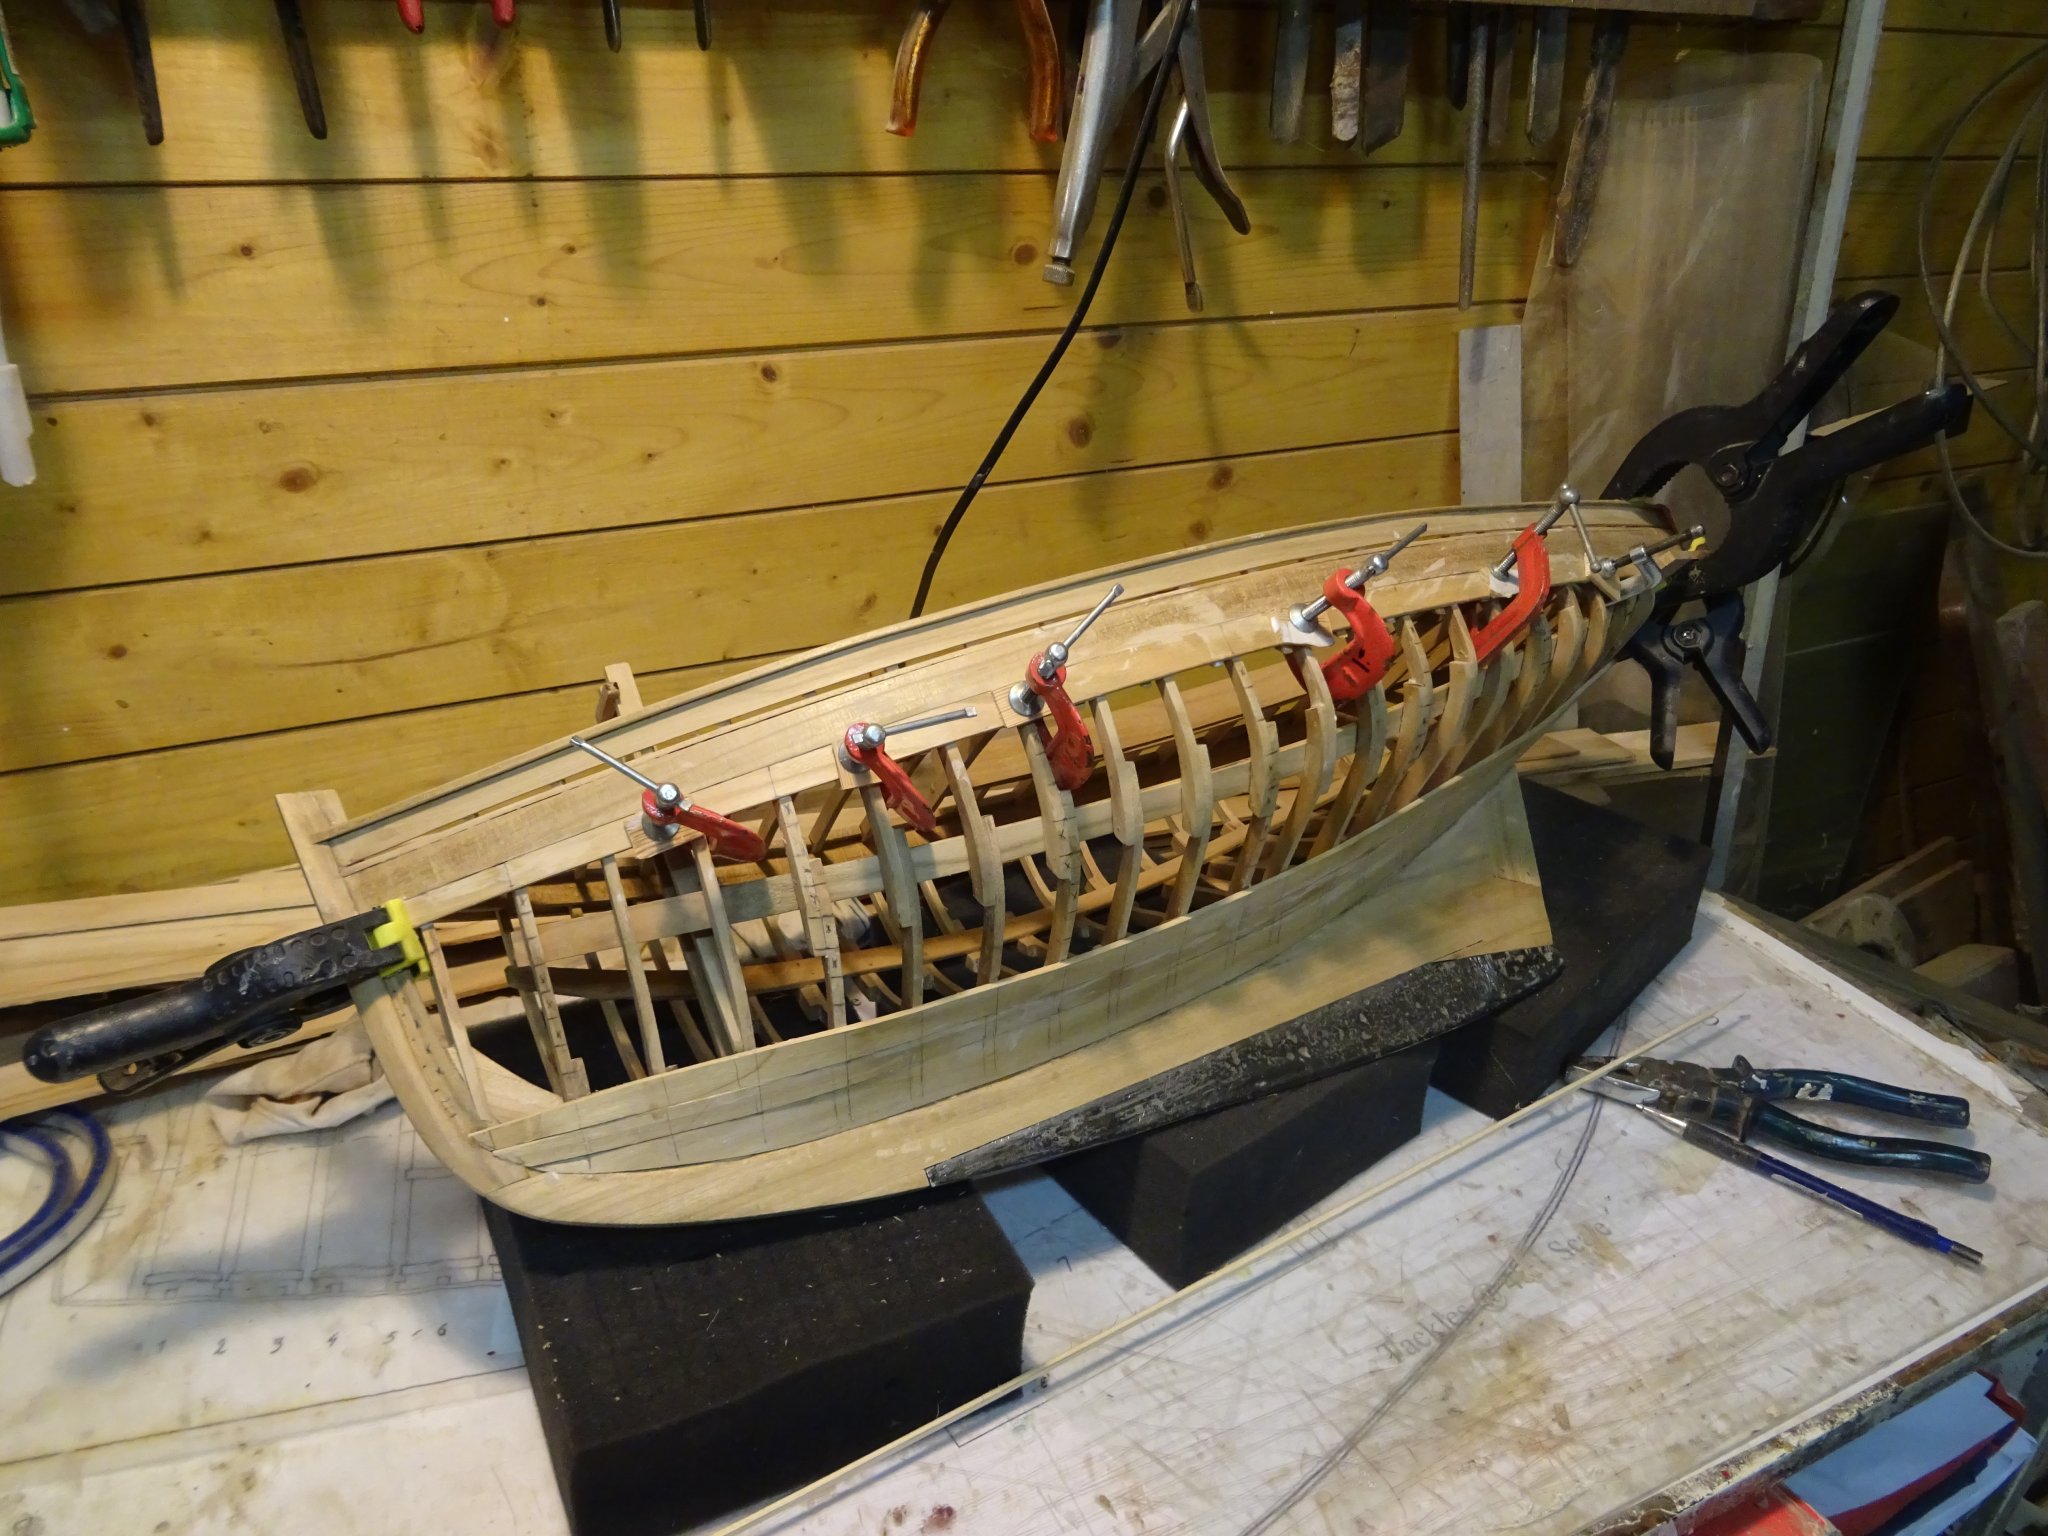
At this side I stop the planking of the bottom side of the hull. Between the last placed plank and the floor heads thick stuff there will be left open two strakes. I now start the with upper side. The wale is a straight plank so the upper side of the new plank will also be a straight side. The lower side is tapered according to the subdivisions on the frames. On the pictures the plank is sawn, sanded and glued.


Almost unbelievable: Next to the tapered side I can place again my straight lath so the upper side of the next plank will again be straight with a tapered side at the bottom. Below that plank I will leave again two strakes uncovered.


The floor head thick stuff (on this vessel that plank is as thick as the other planks).
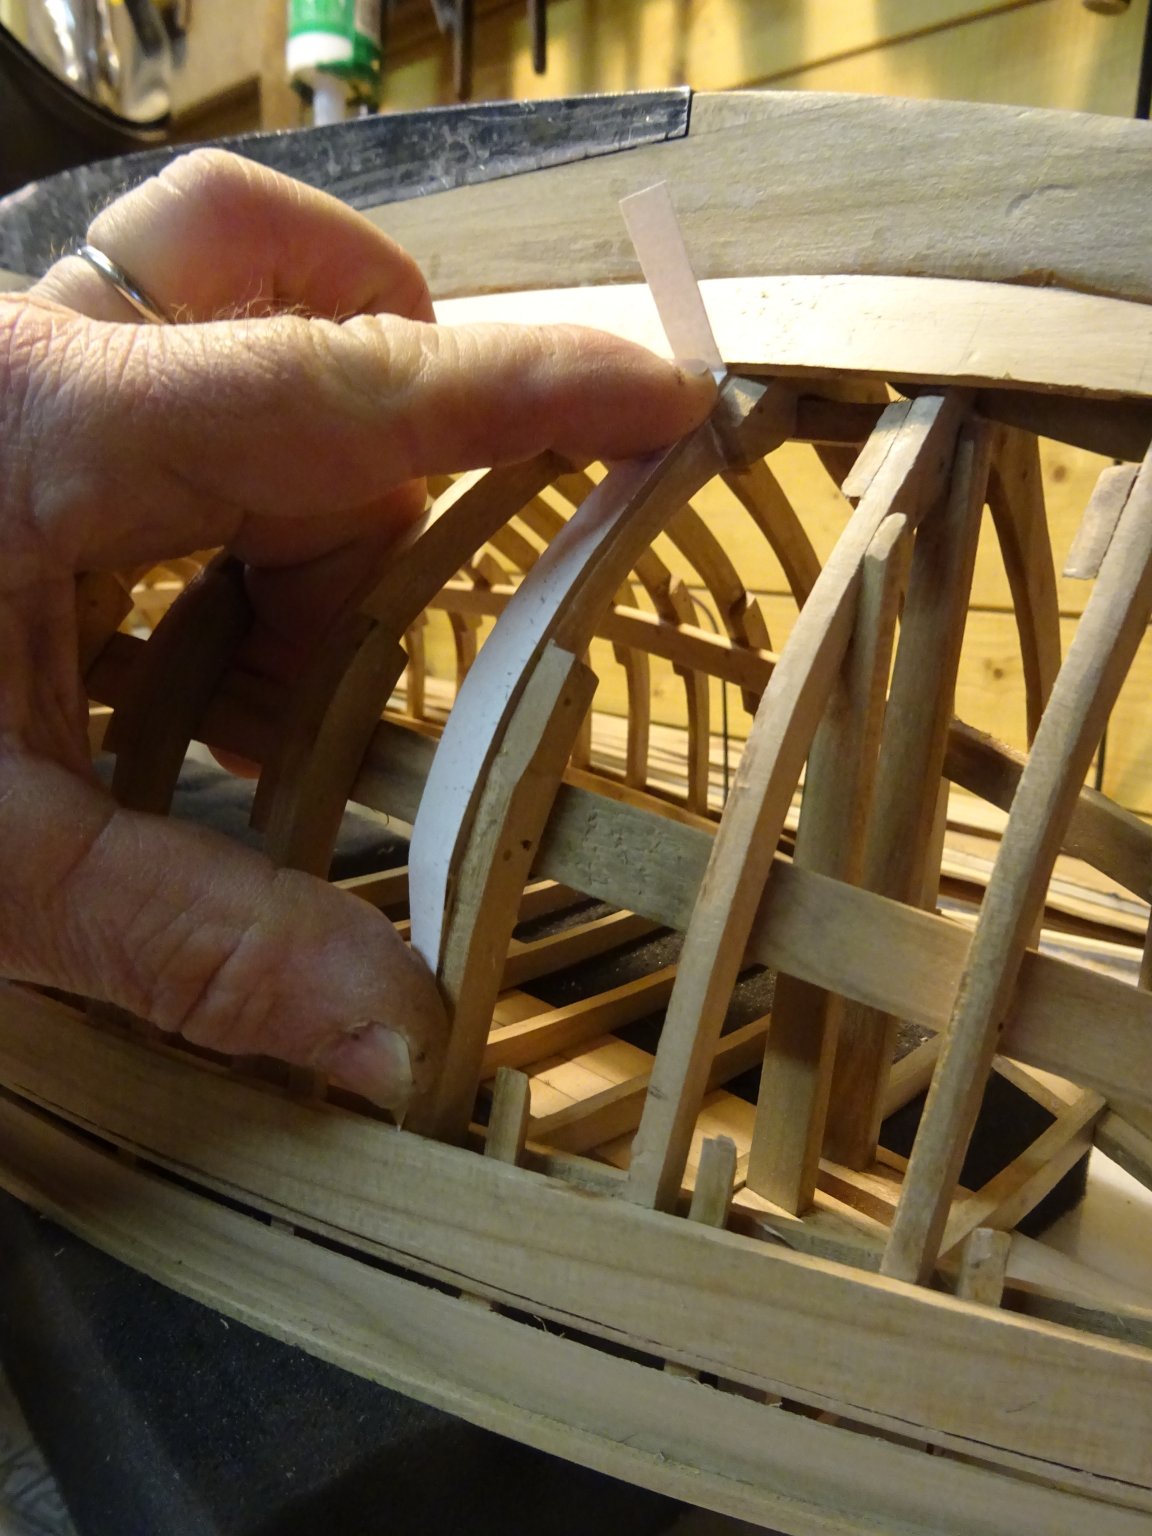
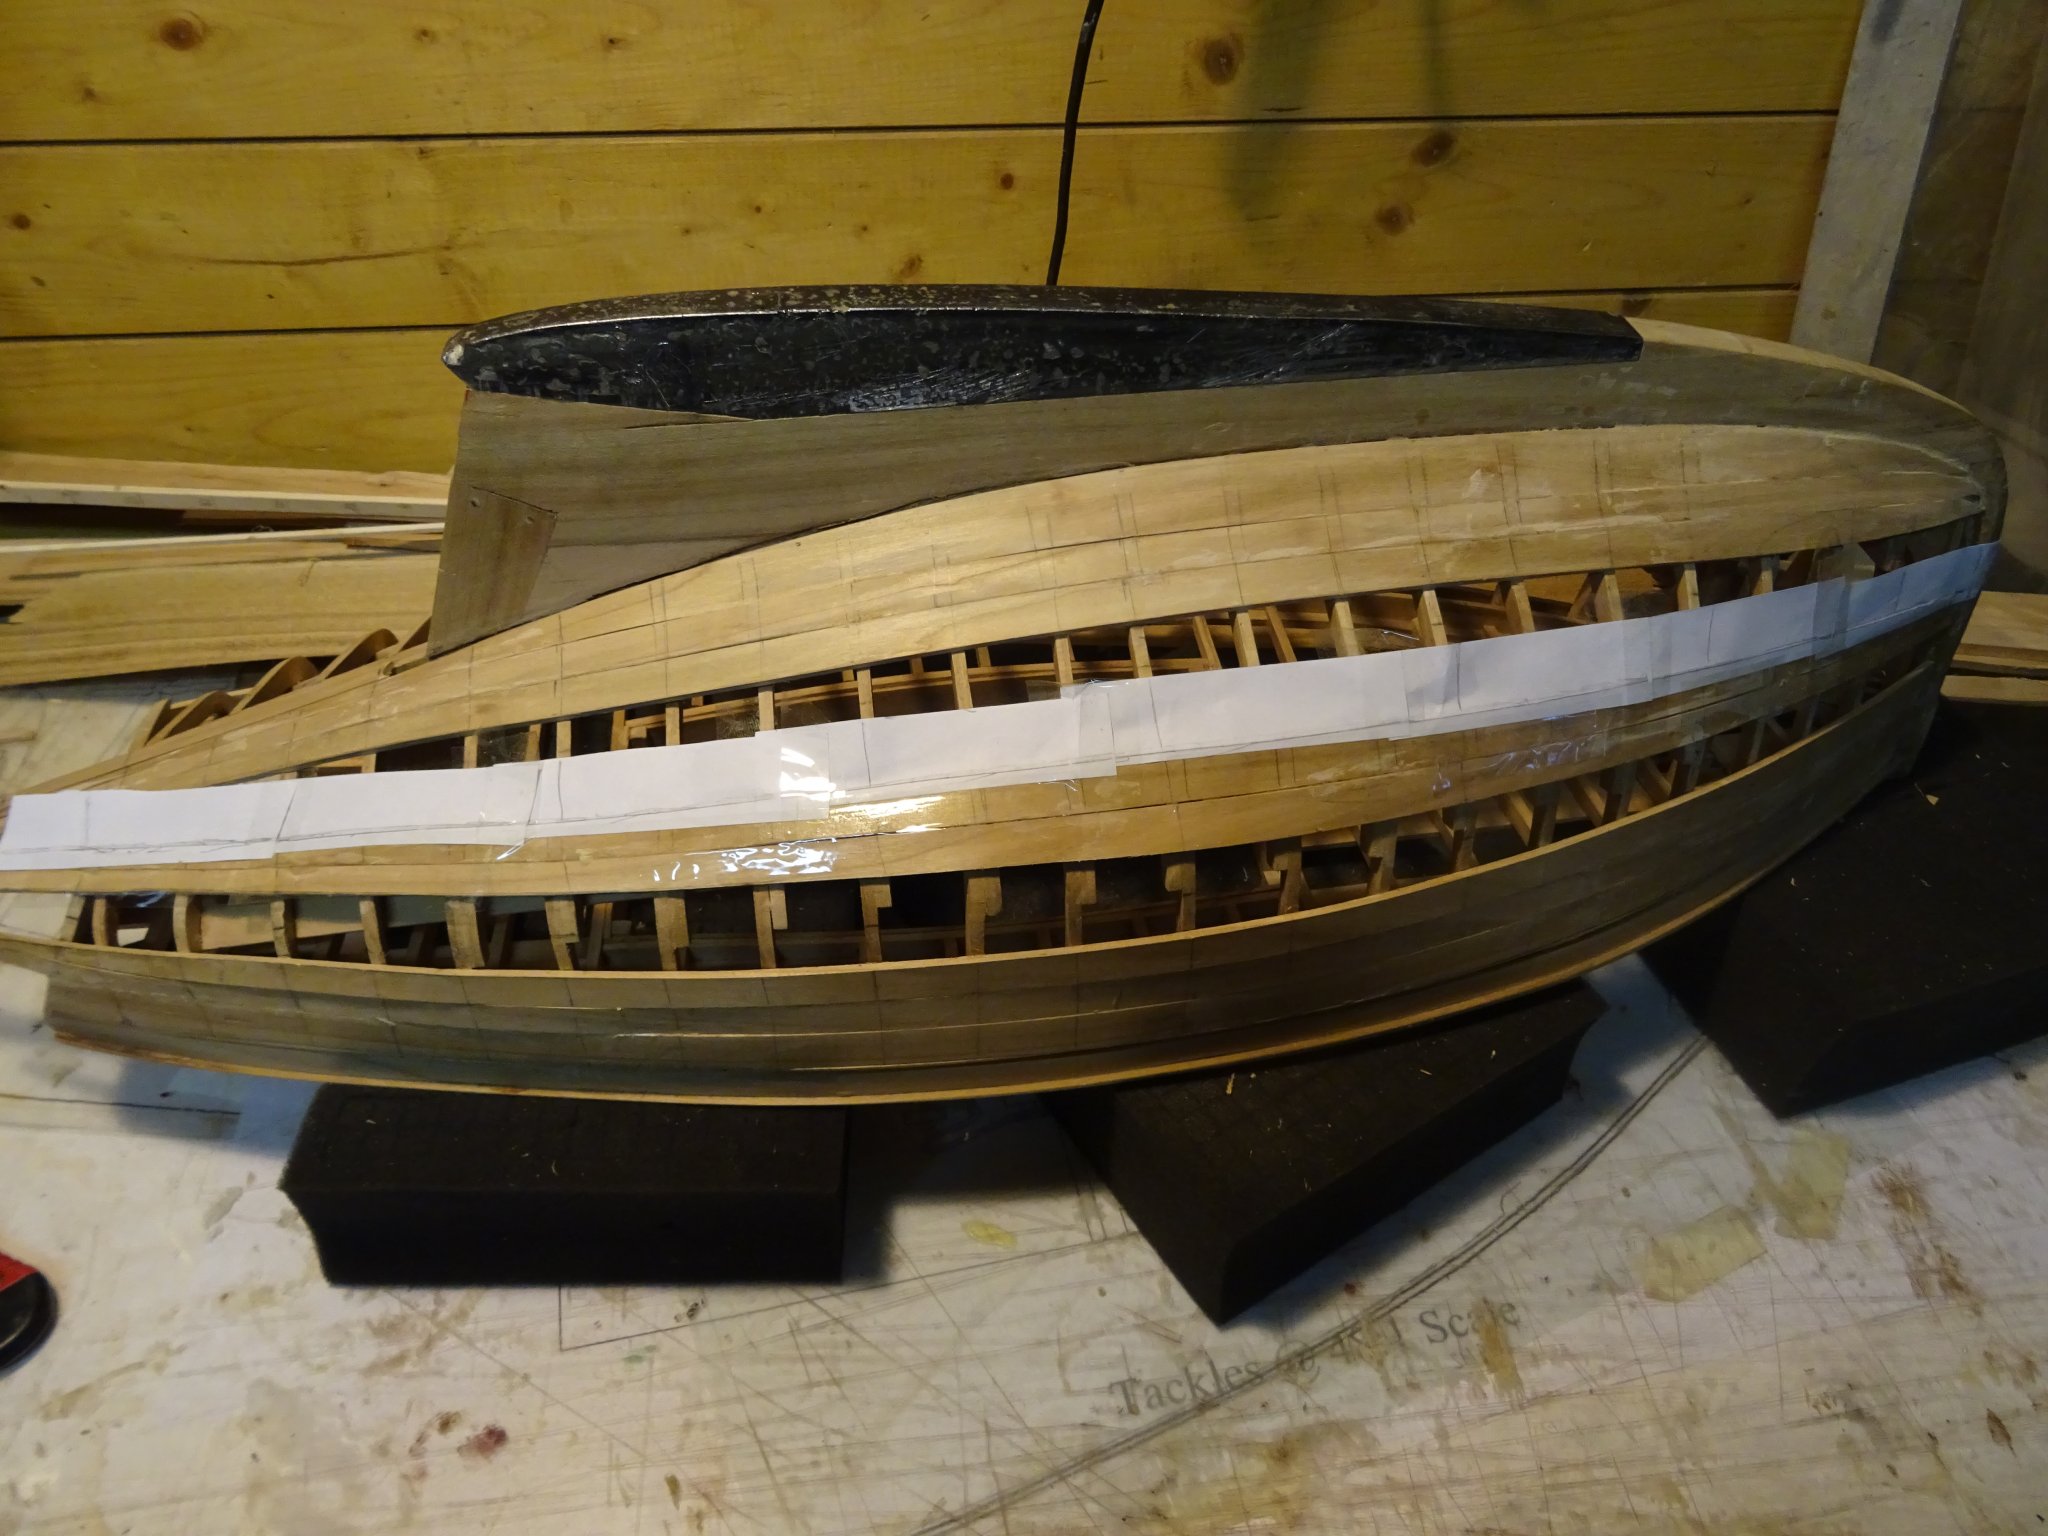
The adjacent planks at both sides have to be lofted (my luck cannot last forever). Below a summary of the lofting process of the bottom plank. I use the method as taught by Tony Levine in the Half Hull Planking Project. Instead of tape I use short paper strips to tape along the strake (I am afraid that a 70 cm long strip of pieces tape will deform too much when taking it off the model). Here I tape the paper strips on the model and mark the edge of the strake as well as the frames with a strake subdivision.
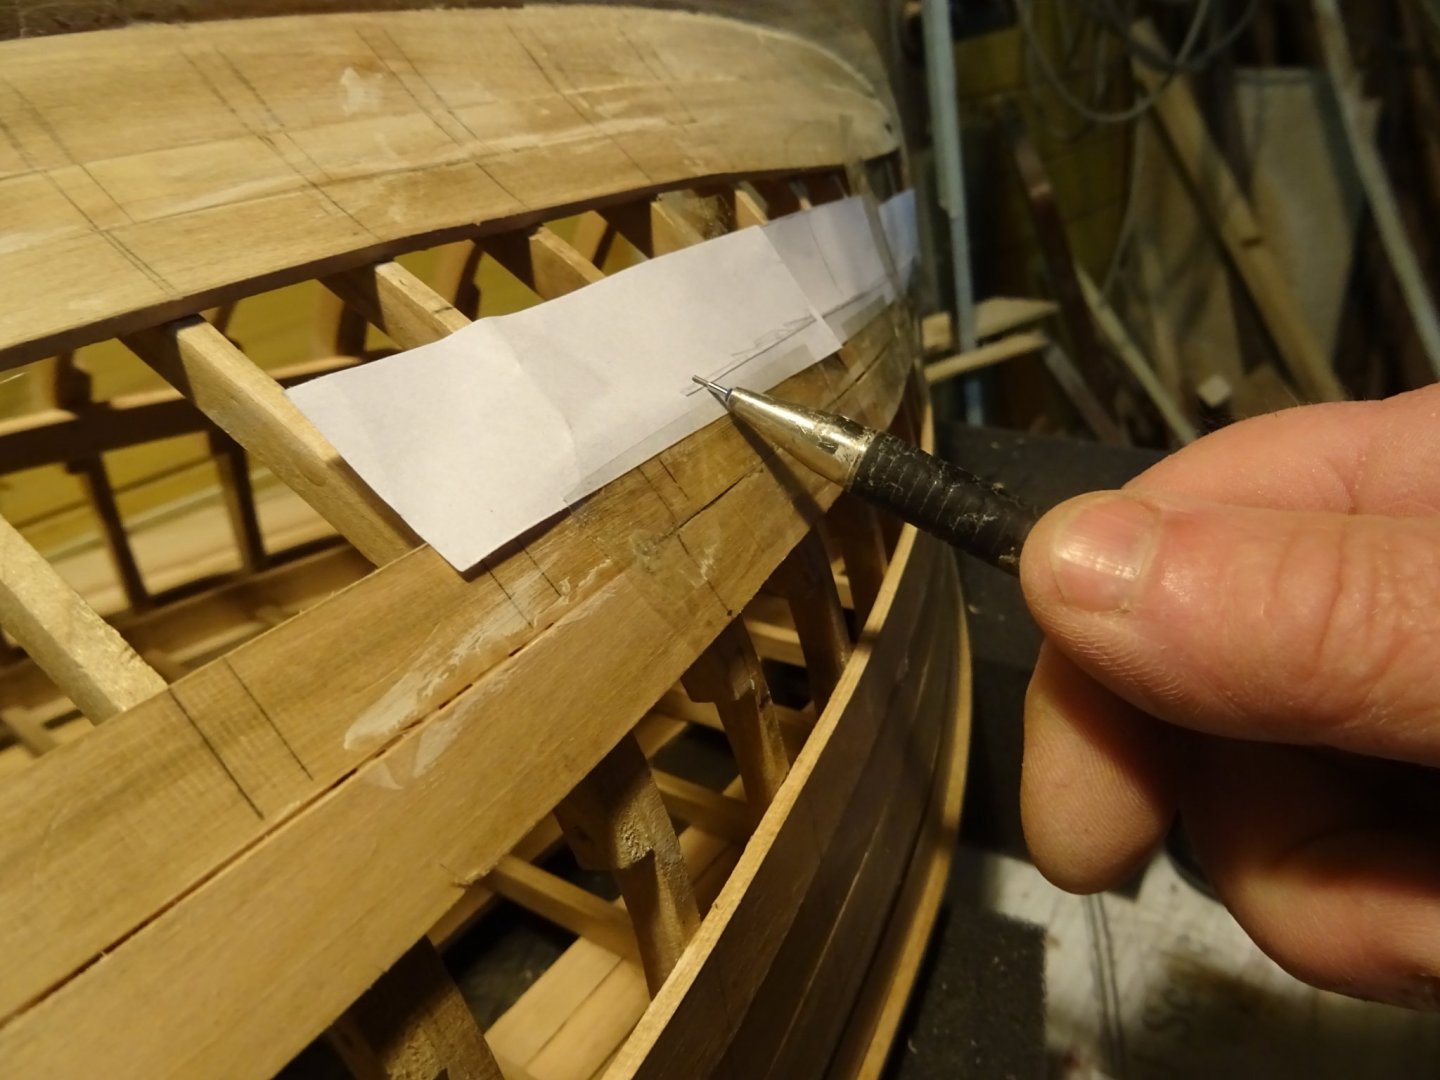
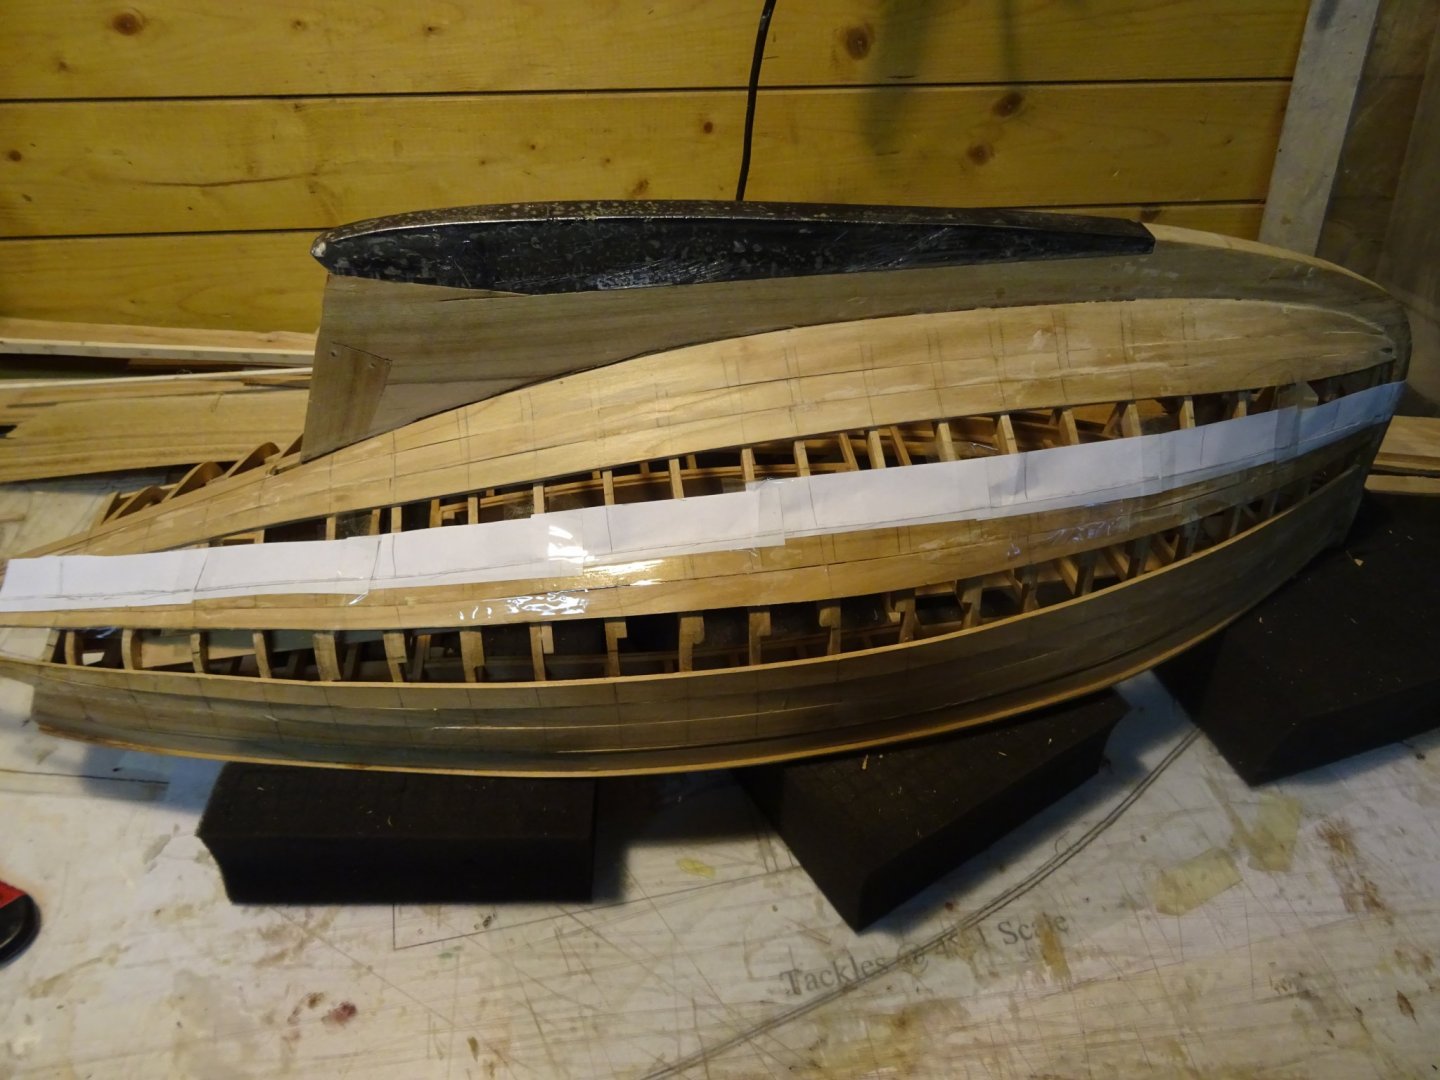
The strip is taken of the model and glued on the plank which will become the strake.
Measuring the strake width on the model and marking it on the paper strip.
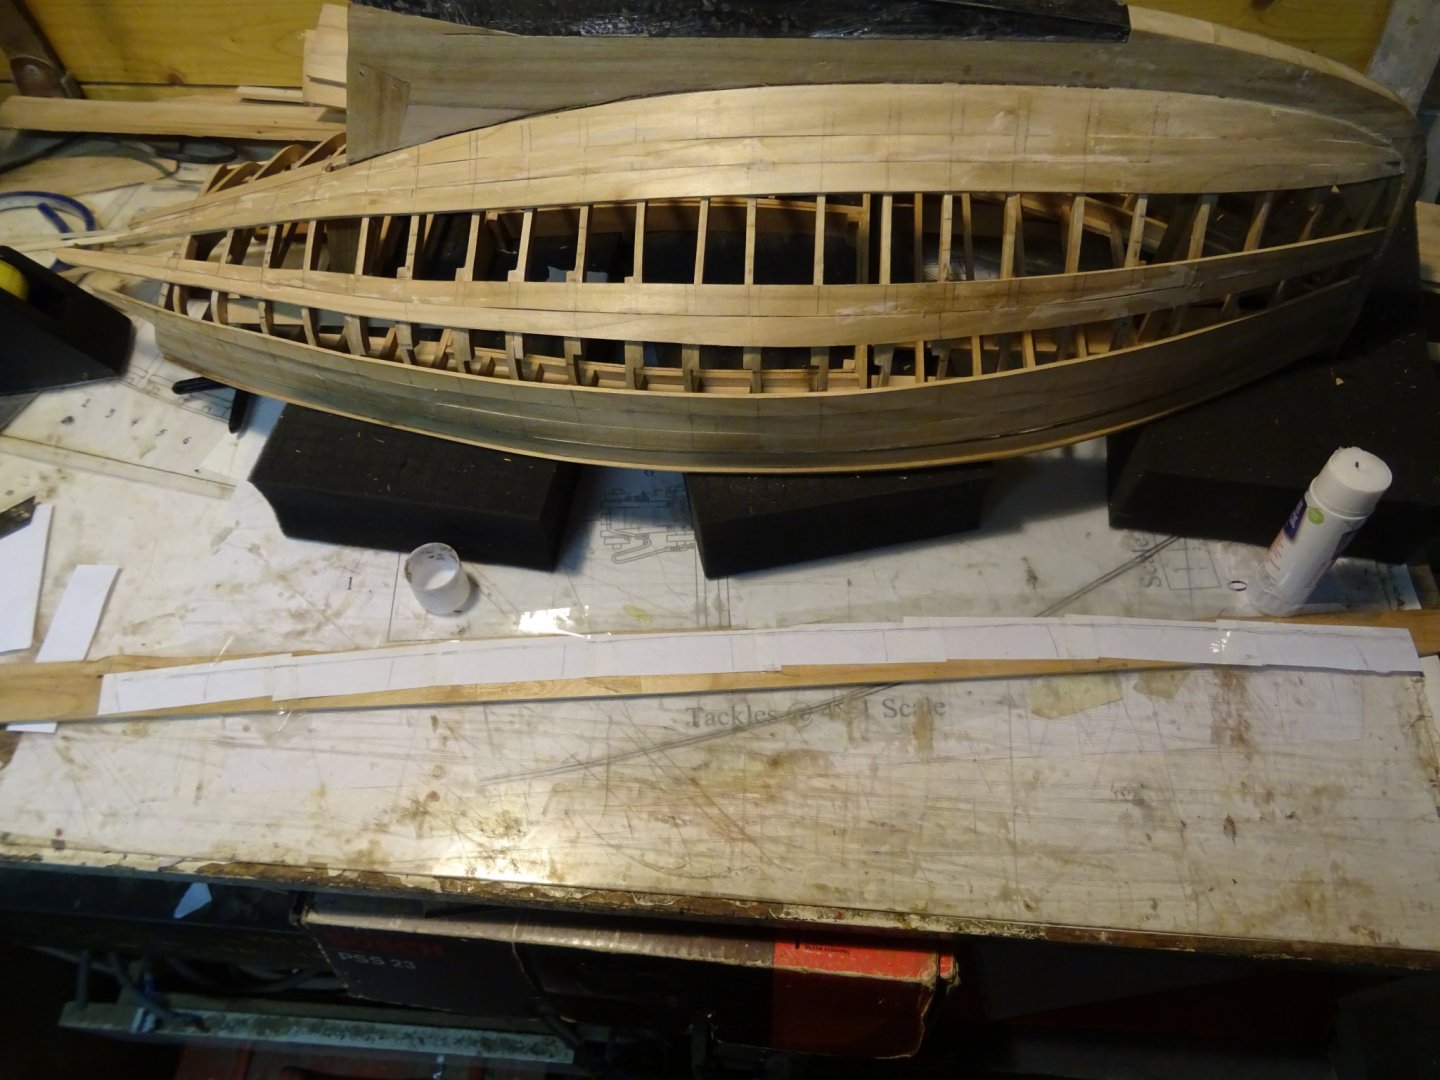
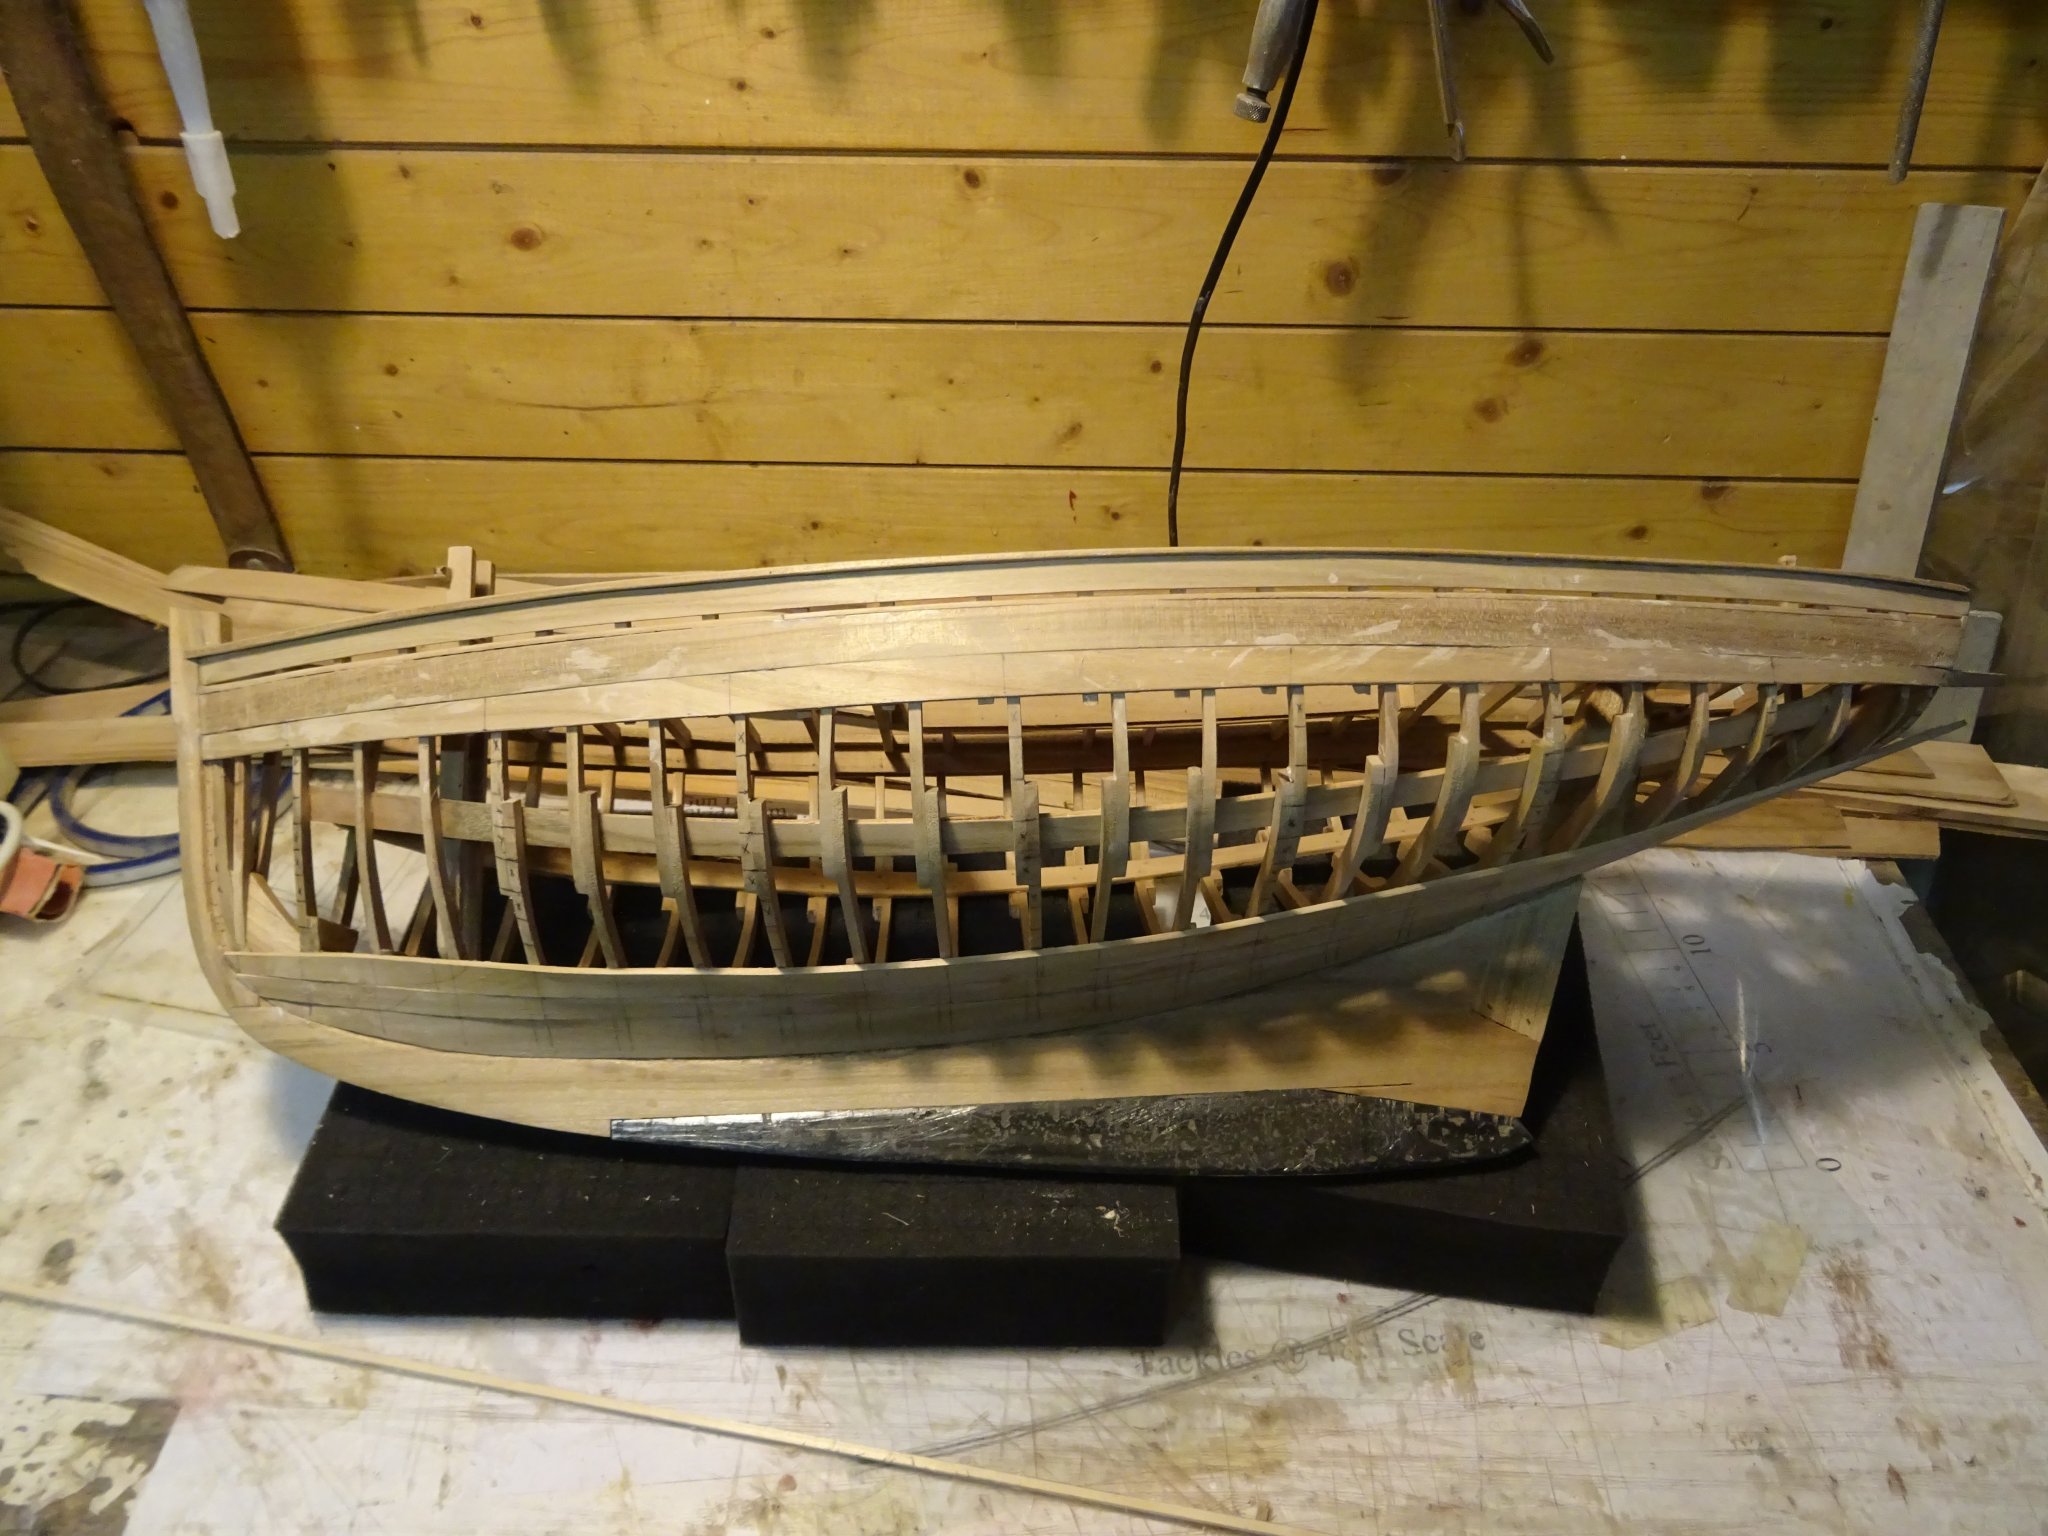
All the marks are connected with a curved line and that is the shape of the final plank.

Now it is sawn and the edges are smoothly sanded.

Gluing the final plank.
Thank you for reading
Thank you to follow
Thank you for the likes
and thank you for your constructive comments,
Till next week and keep it healthy!
- coxswain, Retired guy, coalman and 10 others
-
13
-
I have the impression that you are going more and more into detail during the manufacturing. It is wonderful to see how you are able to make all those beautiful deck components. When you started this project, was it your intention to go so far into realistic detail or did the elaboration grow during the build?
You surprise me with every post you make. -
Jorge, she looks nice in her colors and with her copper plates.
- mtaylor and Jorge Diaz O
-
2
-
Yves,
Years ago I visited the type VII submarine in Laboe, Germany, but now, thanks to your log, I really discover that boat in all its details.
- popeye the sailor, lmagna, mtaylor and 4 others
-
7
-
-


 !
!


Marie by G.L. - FINISHED - scale 1/10 - POF - SMALL - St Malo mackerel cutter
in - Build logs for subjects built 1901 - Present Day
Posted
Thanks Richard.