Seventynet
-
Posts
797 -
Joined
-
Last visited
Content Type
Profiles
Forums
Gallery
Events
Everything posted by Seventynet
-
 Great work Jason. Stunning really. Ian
 -
What a truly beautiful piece of work. Thanks for sharing it! regards, IAn
-
Don we are enjoying the 32 degree heat here in Saville just fine thank you! Keep up the great work.
- 653 replies
-
- 3
-

-
- trabakul
- marisstella
- (and 1 more)
-
Nice work Don. Lines look good; did you use your rope walk to make them? Well I have been debating what model I should build next. One set of rat lines per side might just tilt the decsion towards the Trabaccolo! ian
- 653 replies
-
- 2
-
-
- trabakul
- marisstella
- (and 1 more)
-
I'm enjoying this work of yours Mike, especially your use of ebony. Lovely model. Ian
-
A masterpiece and the rest Nils! Thanks for sharing your immense skills and your museum. Ian
- 2,625 replies
-
- 5
-
-
- kaiser wilhelm der grosse
- passenger steamer
- (and 1 more)
-
Thank you so much for looking in and the compliments Hal, Simar, John and Nils. Much appreciated. It feels good to be finally done with this guy although I will say I enjoyed almost all of it. Now it's my turn to watch your build logs and continue to learn about this incredible hobby. Ian
- 107 replies
-
- 2
-
-
- brazzera
- marisstella
- (and 1 more)
-
Very nice Zoran.These boats are so unique and beautiful. I'll be back for more! ian
-
Just beautiful Chuck. I can't wait til you get this thing launched! ian
- 269 replies
-
- 5
-
-
- Queen Anne Barge
- Syren Ship Model Company
- (and 1 more)
-
Thanks for the overly generous praise Rony. Much appreciated. Keep up your nice work. ian
- 107 replies
-
- 1
-
-
- brazzera
- marisstella
- (and 1 more)
-
Very nice clean work Rony. You do nice work. ian
- 91 replies
-
- 1
-
-
- artesania latina
- Virginia
- (and 1 more)
-
Zoran you are too kind. You have put together a lovely kit! ian
- 107 replies
-
- 1
-
-
- brazzera
- marisstella
- (and 1 more)
-
Thanks a lot Doug. I look forward to,following your build while I am away. ian
-
Thanks Don, She is thrilled indeed but I've made her agree to me helping her locate and mount it in her house away from her crazy snapping dog and whatever else might threaten it. Yeah and sorry about not including you on the memo . We will be in Europe for a real long one. The admiral will be checking out relatives, both alive and not and a large portion of the trip will be devoted to sites of military interest in France. Ian
-
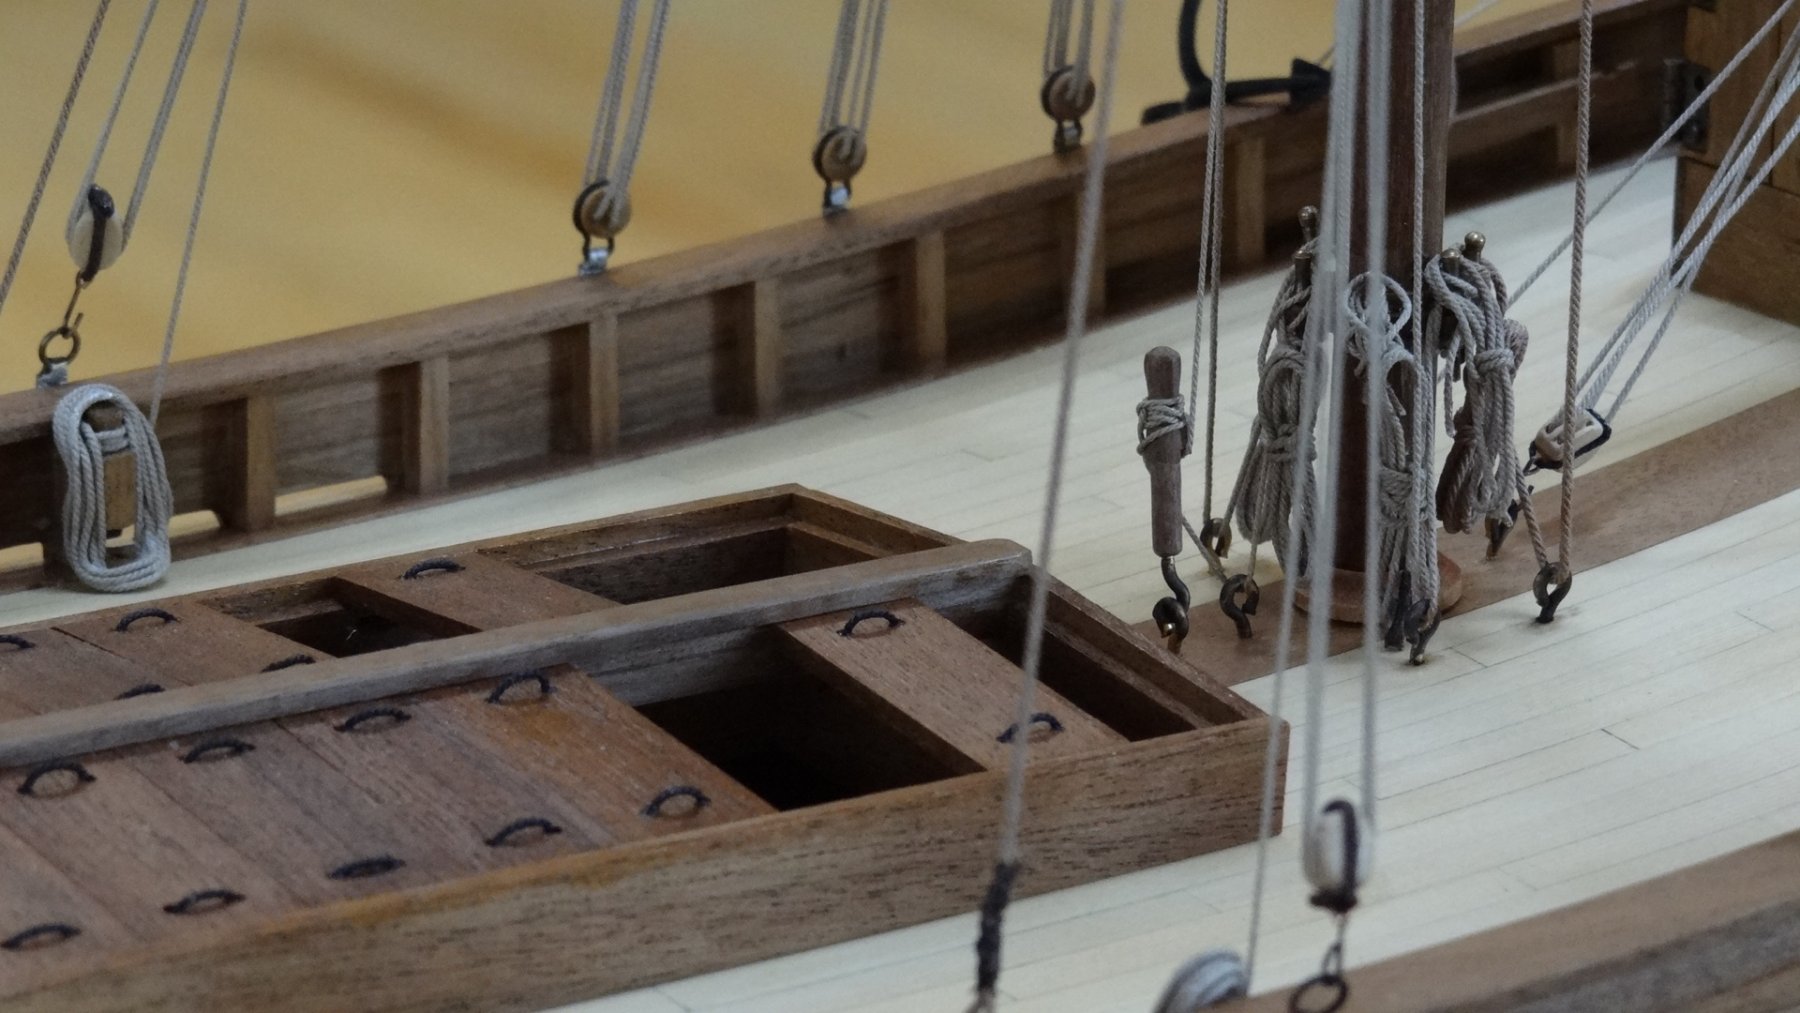
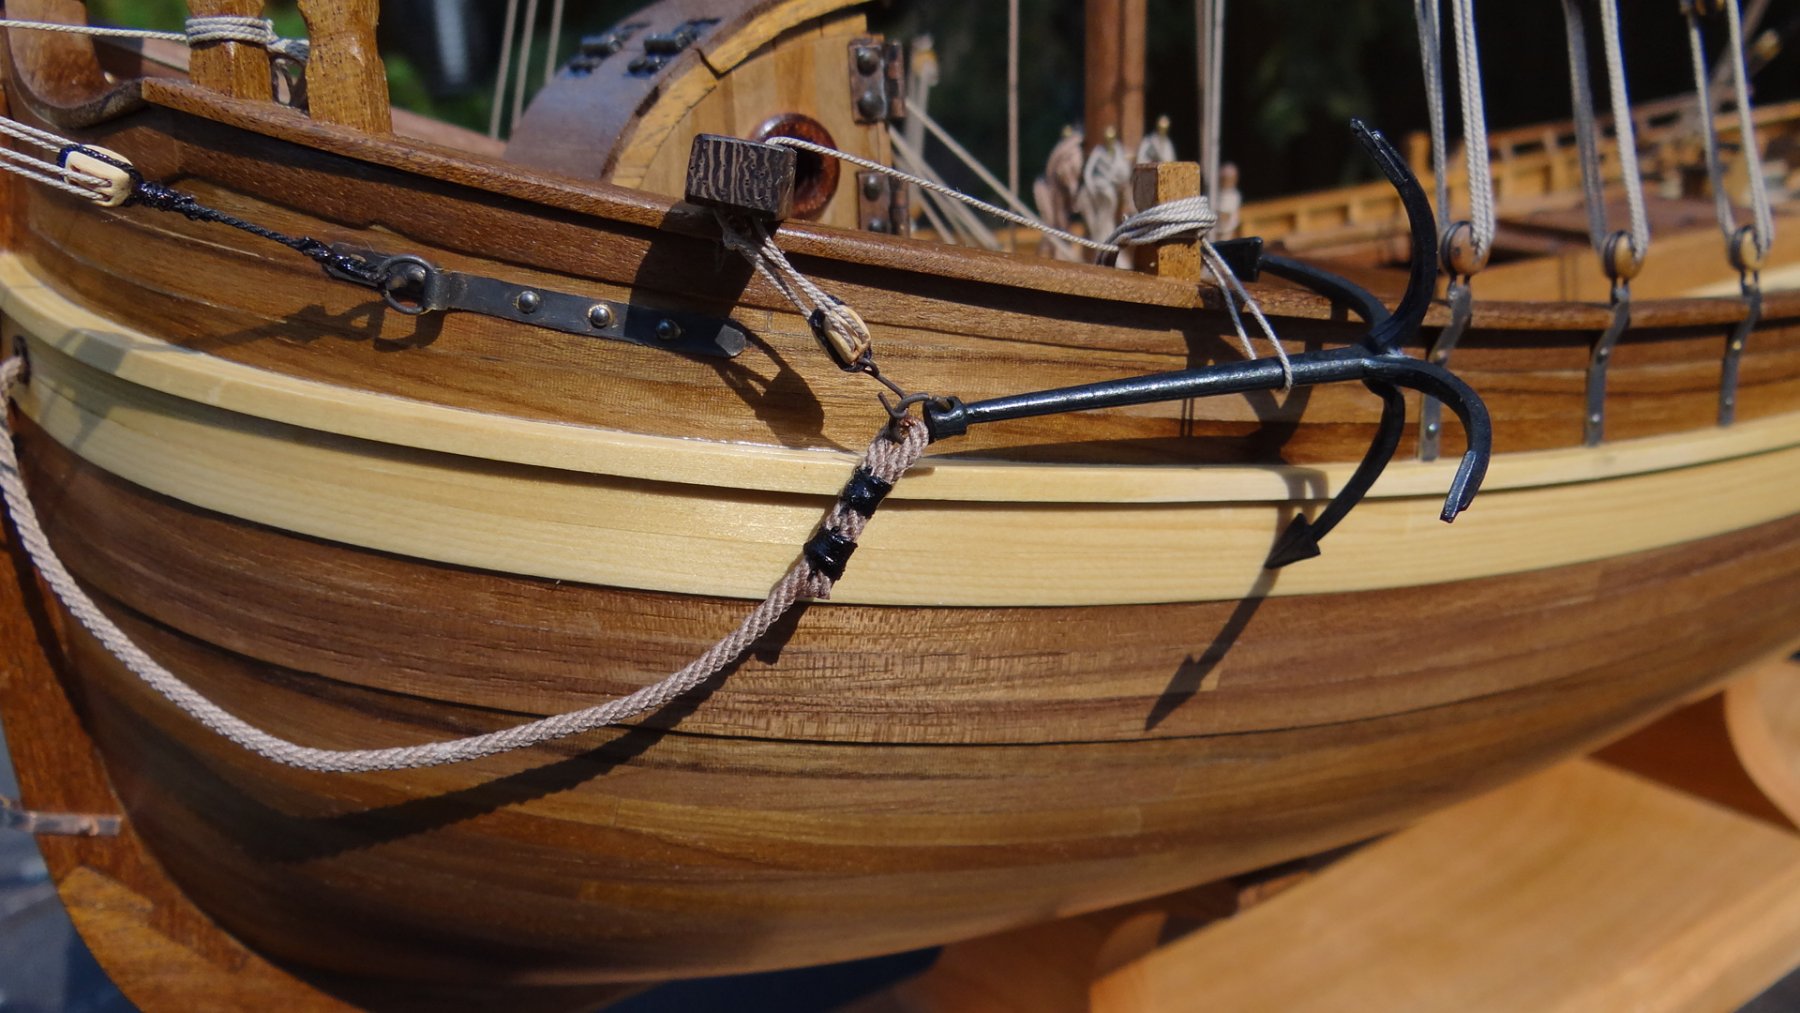
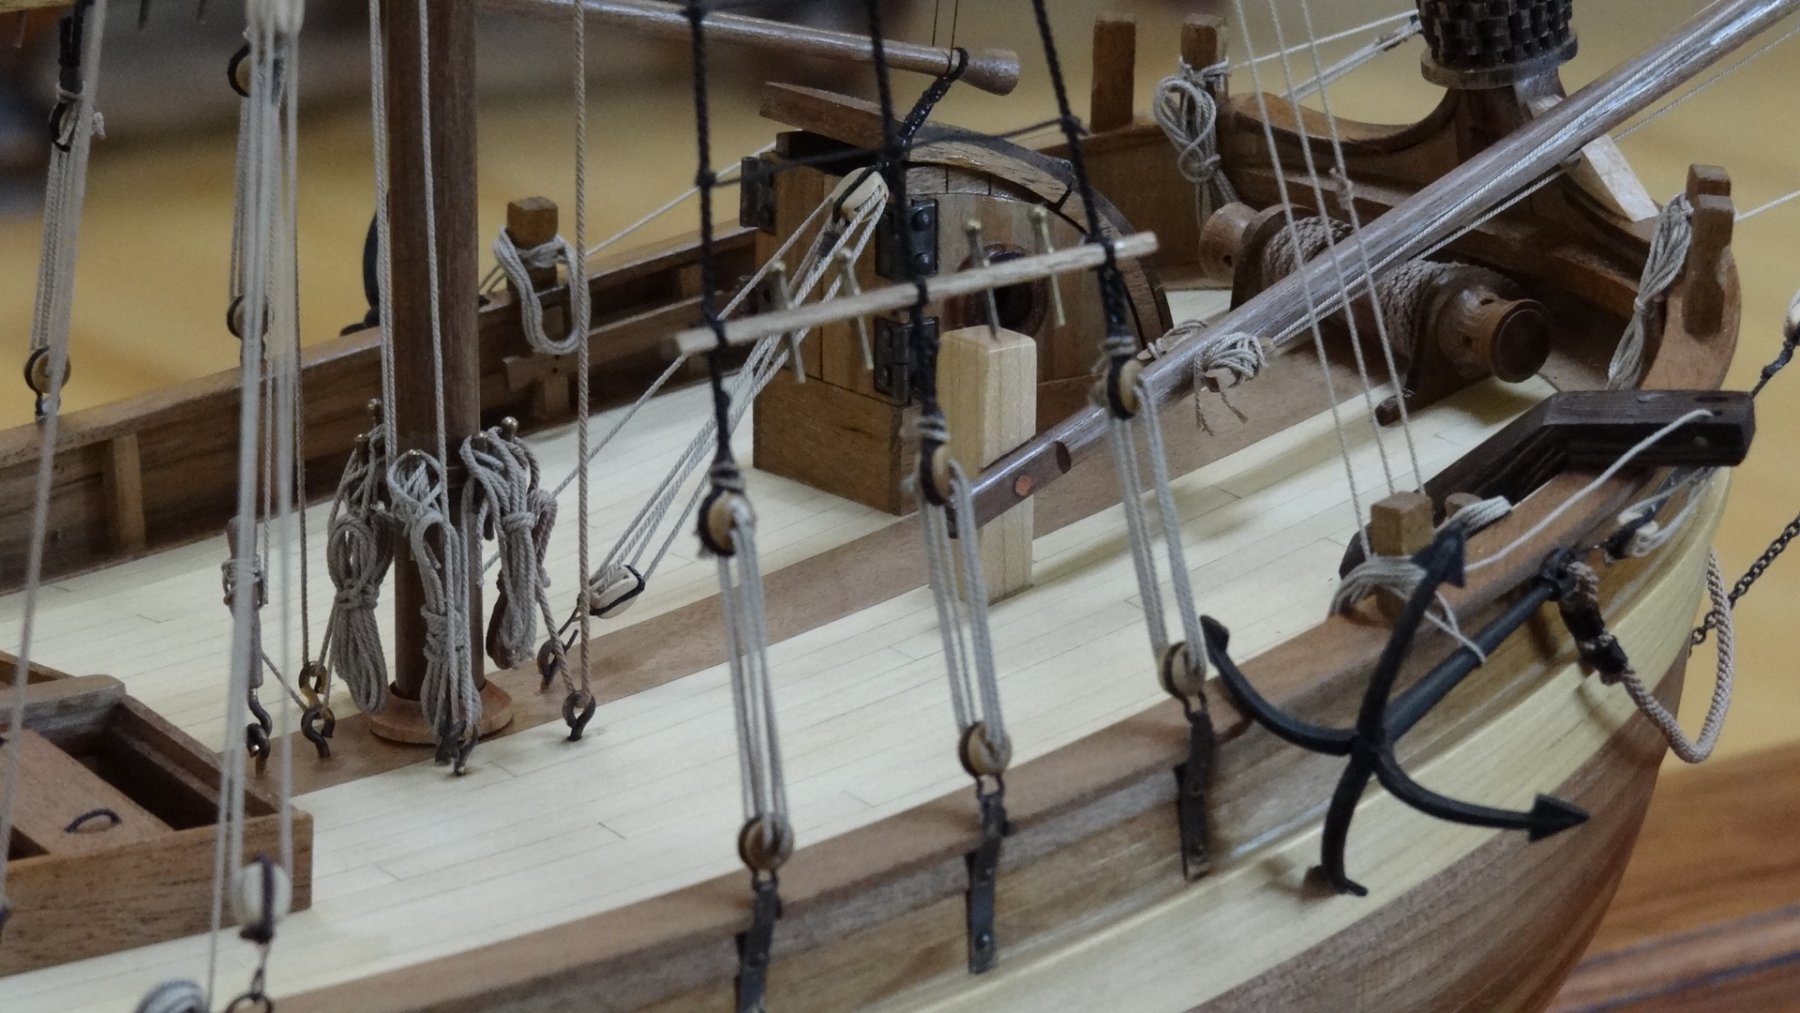
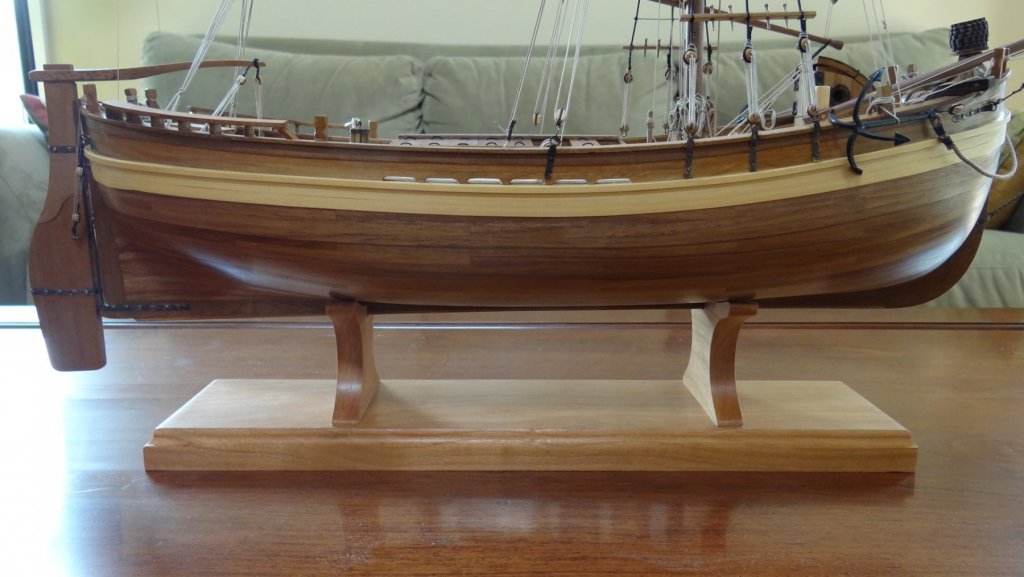
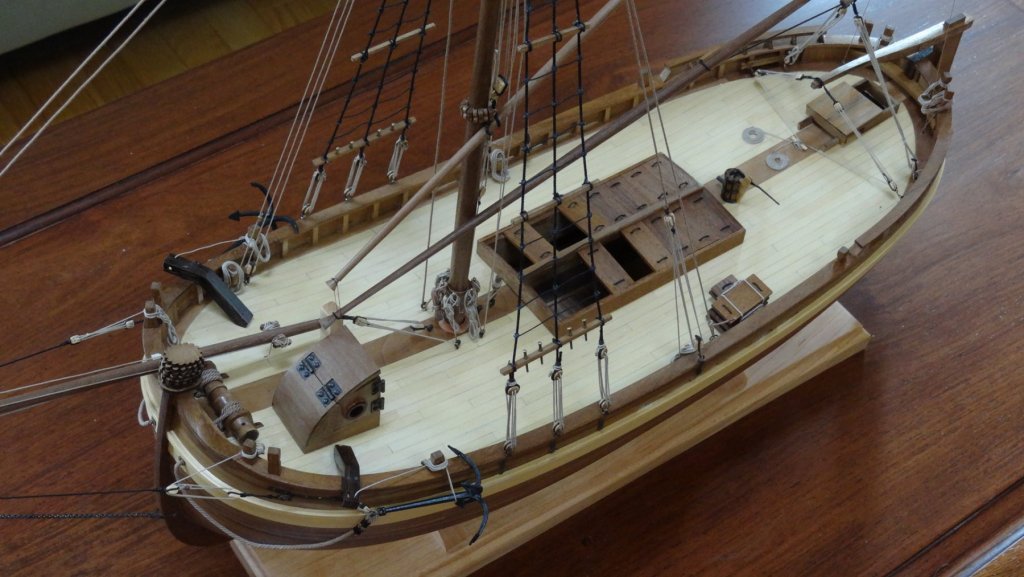
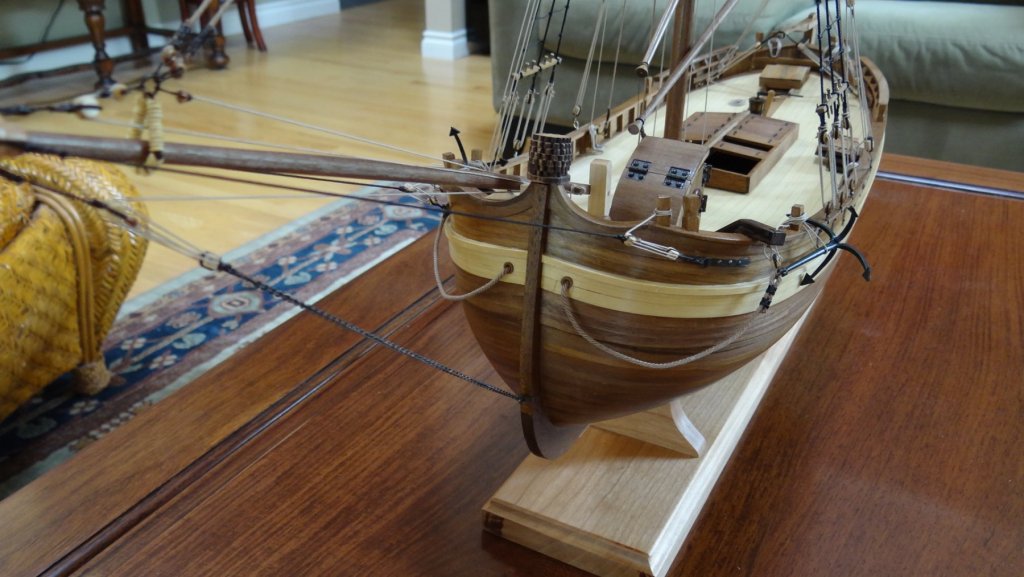
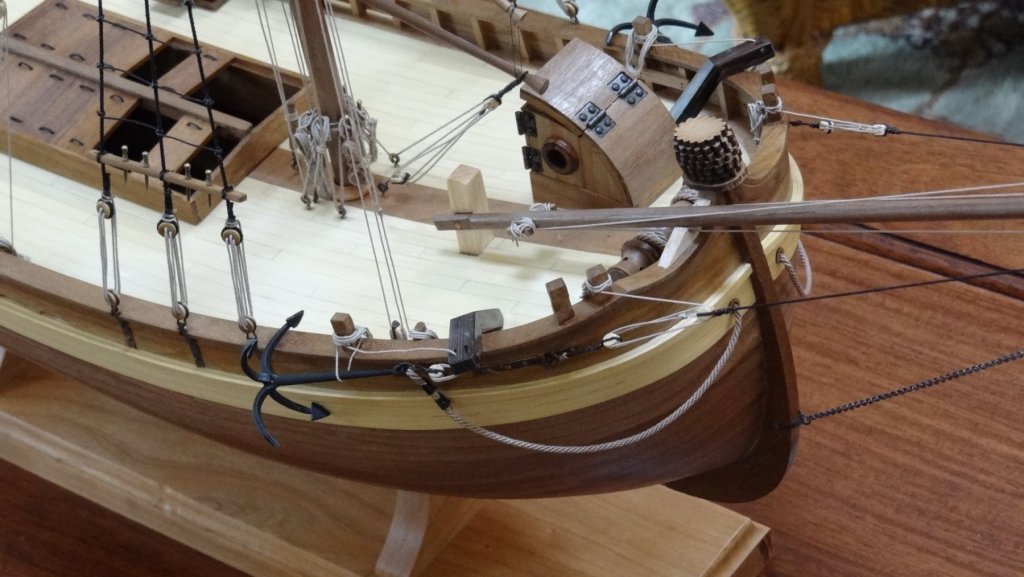
Good Day, This post marks the completion of this build. Although the photos have shown me there are a few things to alter, including the oars and oar locks and those unique eyes on the bow, I won't get at that for at least a couple of months so I am calling it now. I thank Don Robinson and Zoran for their help with my rather dumb questions. Other than the things I mentioned above, I am aware of the things that I have not included. If there is anything that I have done that insults this ship's tradition or you cannot live with Zoran, please let me know and I'll address it if I can. While this ship has been quite a challenge it has turned out to be my favorite build to date. I'd definitely build another MarisStella product. Cheers, Ian


- 107 replies
-
- 10
-
-

-
- brazzera
- marisstella
- (and 1 more)
-
I bought the kit directly from Maris Stella in Croatia. They are an advertising sponsor of this site. The link appears to be broken but you can easily do a search. I think I should mention that it is definitely not a kit for beginners...just in case. Ian
-
Sorry Rony, I can't answer your question. I like the poly because it is tough and protects the wood well.
-
I quite like it. I always wipe it on except where I can't get into corners. I use the oil base WOP. But beware, all glue must be absent.
-
Hi Don, The only reason I will pass you is that I have much less rigging with only one mast and I am not putting the sails on. Just a word on that though. The pre-stitched sails that come with the kit appear to be first rate and if I had the time I would put them on in the furled position. But I will be out of the shipyard for quite a while starting on Saturday and I don't feel right about making my daughter wait for this boat any longer. At least that's my best excuse. Best, Ian
-
Hi Rony, thanks for looking in. I used Minwax Wipe on Poly (clear satin) on all surfaces. Ian
-
Welcome Matt! ian
-
That gives me a good place to start Doug. I am not thinking of a scratch build at this stage, but who knows, I'm really just dreaming. I need to finish other things in the dock first. Ian
- 107 replies
-
- 1
-
-
- brazzera
- marisstella
- (and 1 more)
-
Doug, The piece, if it is still available to me, is about 4 feet long and about 3*3 inches. I think it would be enough. I've never worked with it but the one thing that struck me immediately was how resinous it appeared. That may be more of a challenge than the hardness. You need to tell me what kit I should buy? Ian