michael mott
-
Posts
5,200 -
Joined
-
Last visited
Content Type
Profiles
Forums
Gallery
Events
Everything posted by michael mott
-
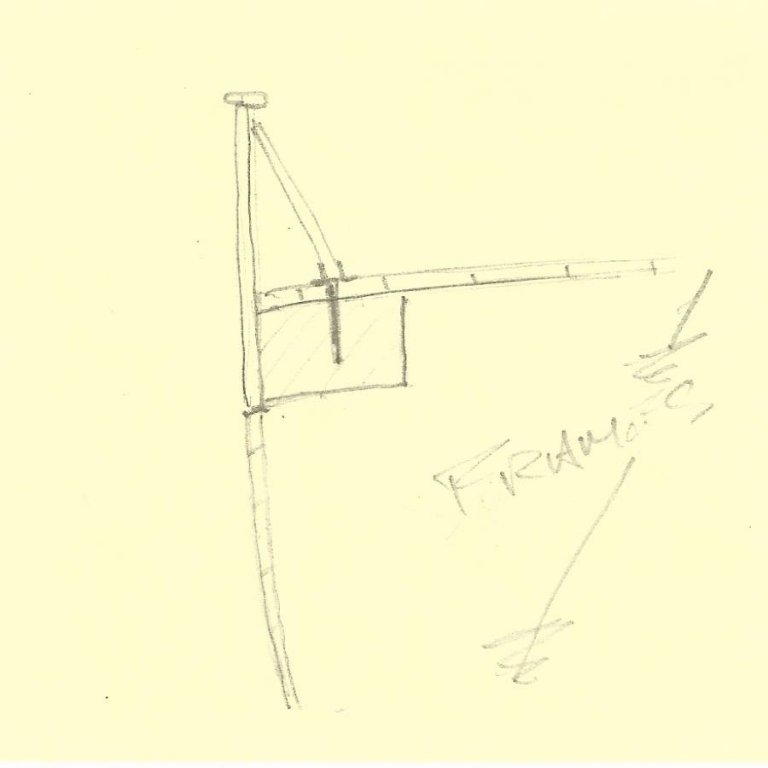
 Hi Steve I am starting with the bow lamp. I have begun the drawing, I will be using brass sheet. The lamp is 5 inches wide at the back. The king plank is 4 7/8ths wide according to Roger. Michael
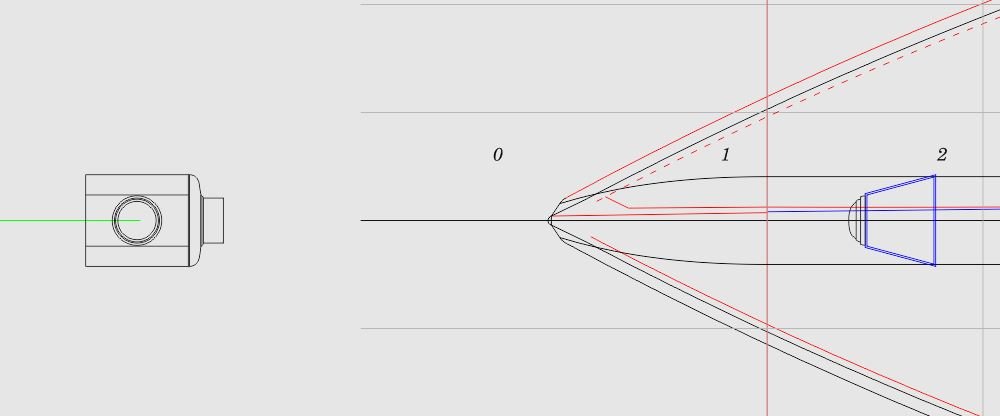
-
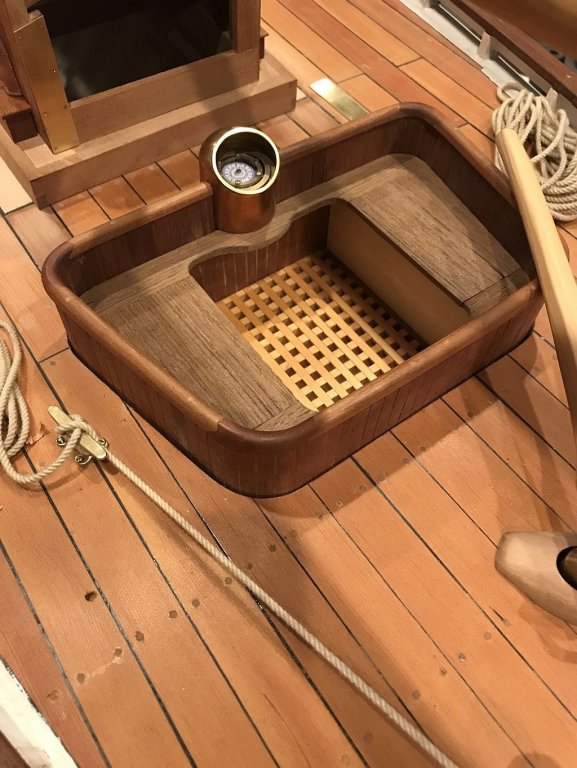
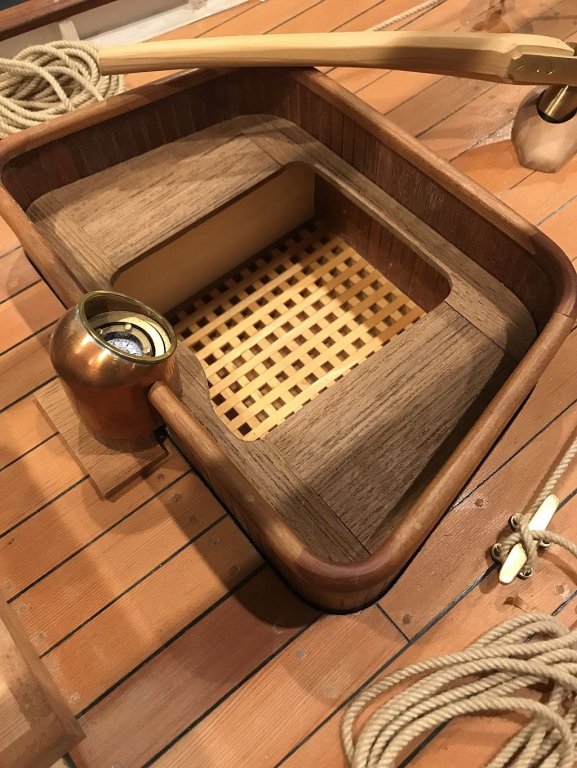
Hi Vaddoc, yes you are right it is actually rather a challenging one. It was only recently that I learned that Yellow Cypress (which is what this launch was planked with) is also called Yellow Cedar. And I have a local supplier. I think I might take a page out of Keith's book and make a few of the little items that are part of the overall deck fittings, I think that this shot of the bow deck is ripe for all sorts of fun. These are such interesting details. I also Noted that Roger has lined up the screws. (Roger Dyment is the present owner) Michael

-
Thank you Johann that is very helpful. Michael
-
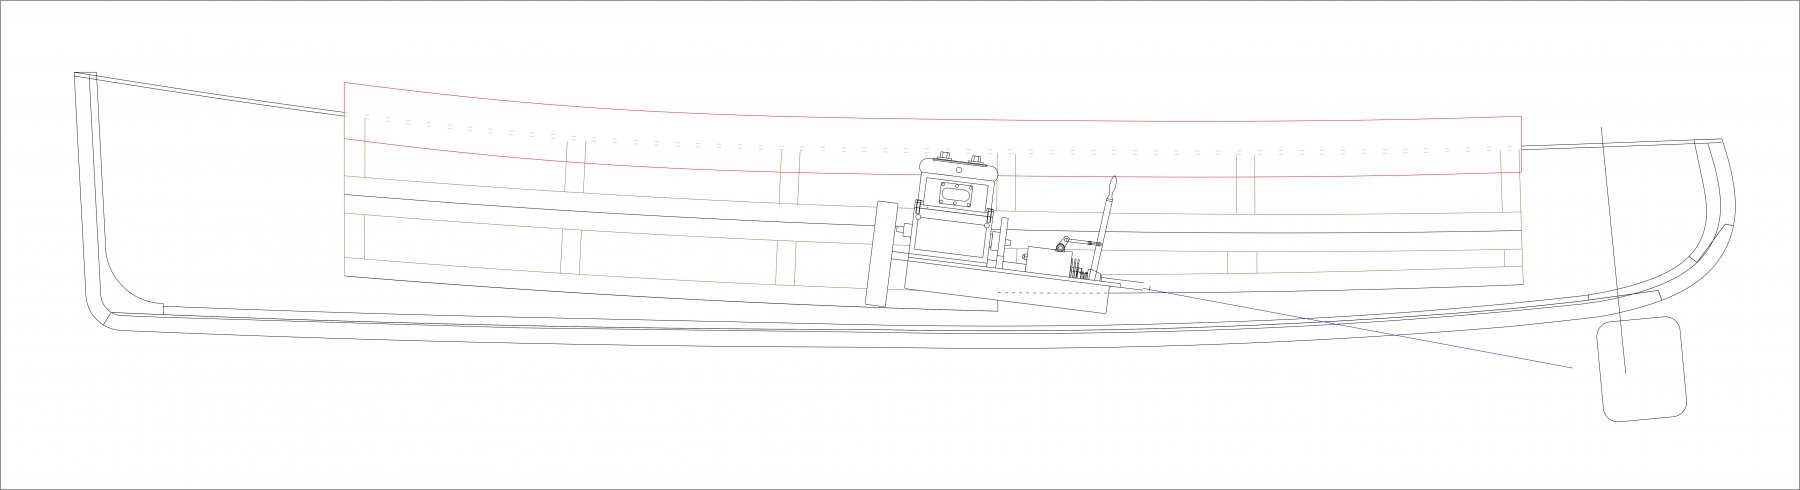
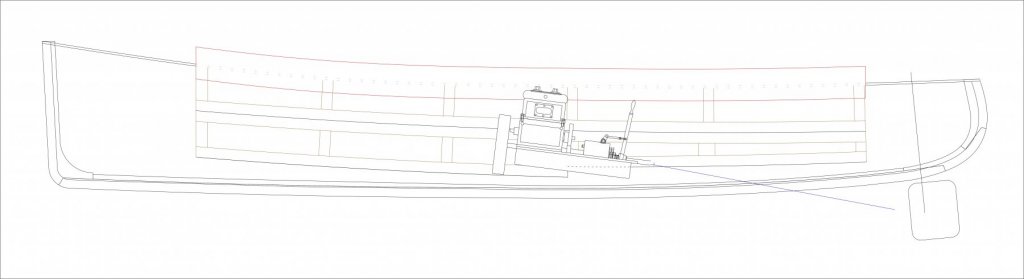
I have been working a little on the drawings and trying to sort out the Corel files and putting together some new information. I needed a break from the cold and so have spent the last couple of day re-orienting myself with this little project. Here is a sectional drawing I started on Friday, still a ways to go. I have been studying the photographs that Roger sent me a few years ago. working out the panels for the seating and positioning the motor. Michael
-
Johann would it be possible to include a picture of the other side of the spool traveler. I am interested in how it is supported on the steel rod. Beautiful work on the worming and serving. Michael
-
Keith I would suspect that it will be much easier to deal with the bulwarks after the deck has been installed If you install a cleat along the edge of the deck that is wide enough to accept the end of the braces and the bulwark is below the level of the deck at the edge and set back just the width of the bulwark thickness then it seems to me that there would a great deal of strength. Michael
-
Big is good! makes seeing those little bits much easier. Ah That makes a great deal of sense, I had either not noticed or realized that. Michael
-
HMCSS Victoria 1855 by BANYAN - 1:72
michael mott replied to BANYAN's topic in - Build logs for subjects built 1851 - 1900
Pat the top view look great, nice clean work. Michael- 1,021 replies
-
- 4
-

-
- gun dispatch vessel
- victoria
- (and 2 more)
-
Very nice, very nice indeed! So my question is if you glue all the frames to the baseboard then add the planking when it comes to removing the hull from the build board, How will that work? Also there is the section that is attached to the build board that would stick up from the hull after it is planked. Are you going to partially cut the frames before you glue then up so that there is then only a small cut to make to remove the bulk of the support structure? Michael
-
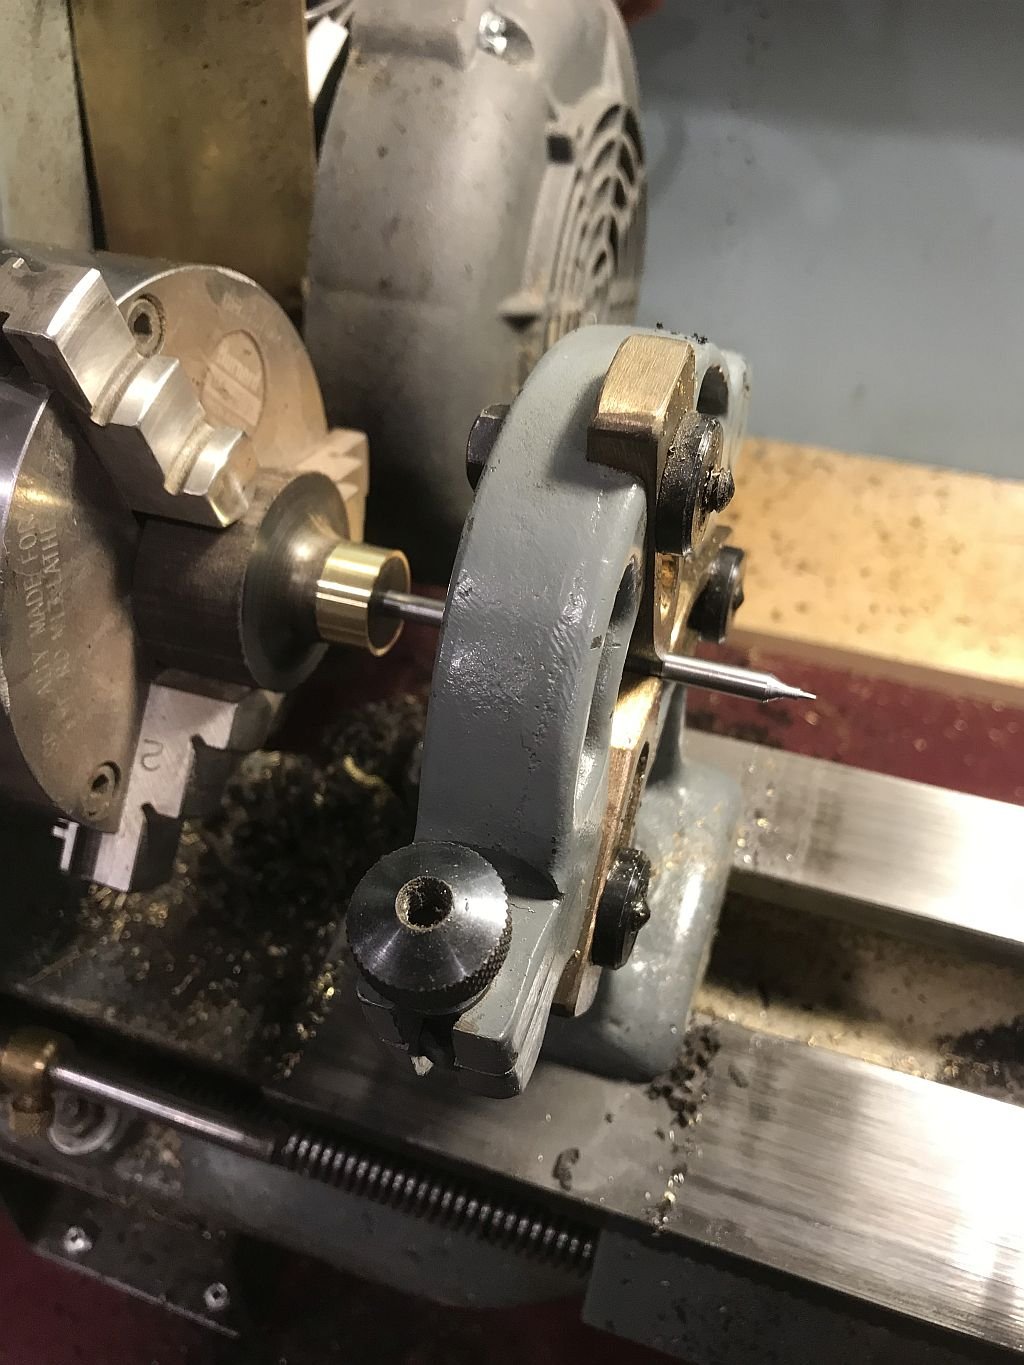
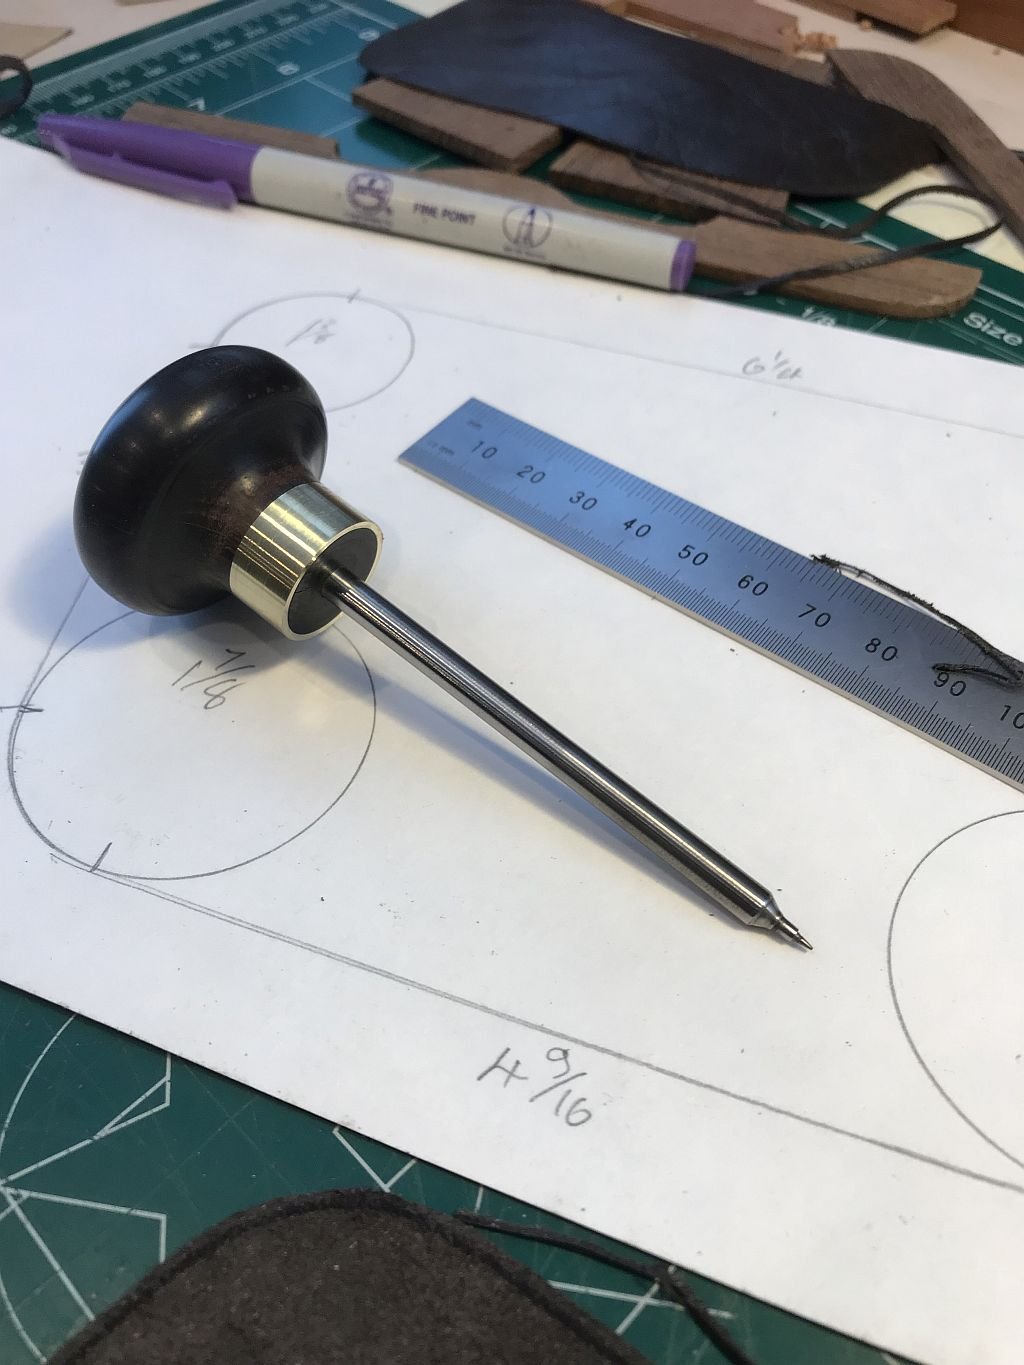
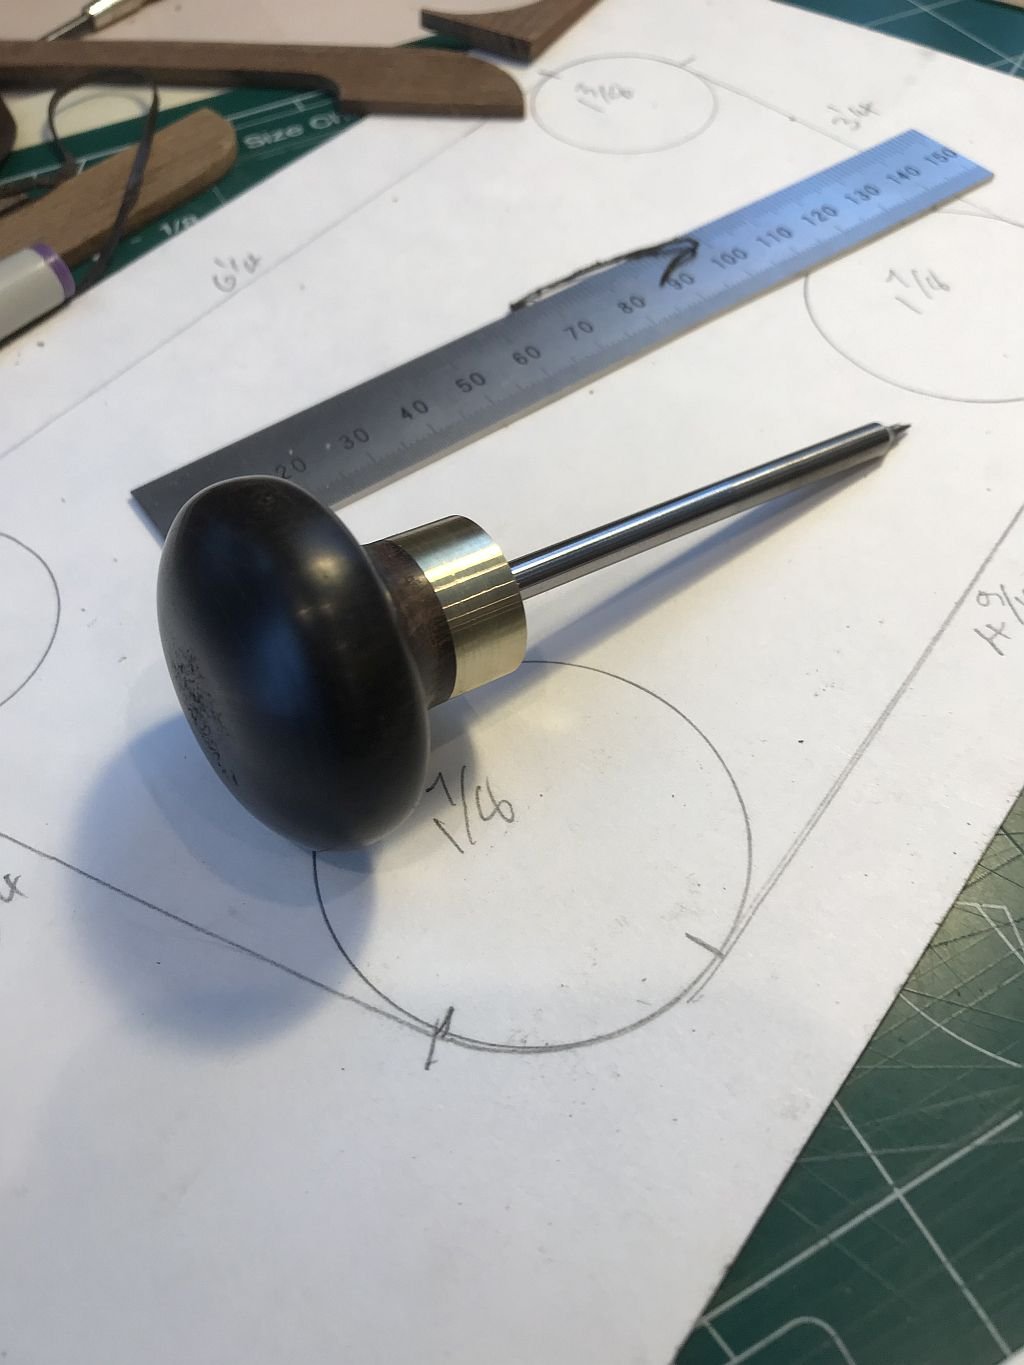
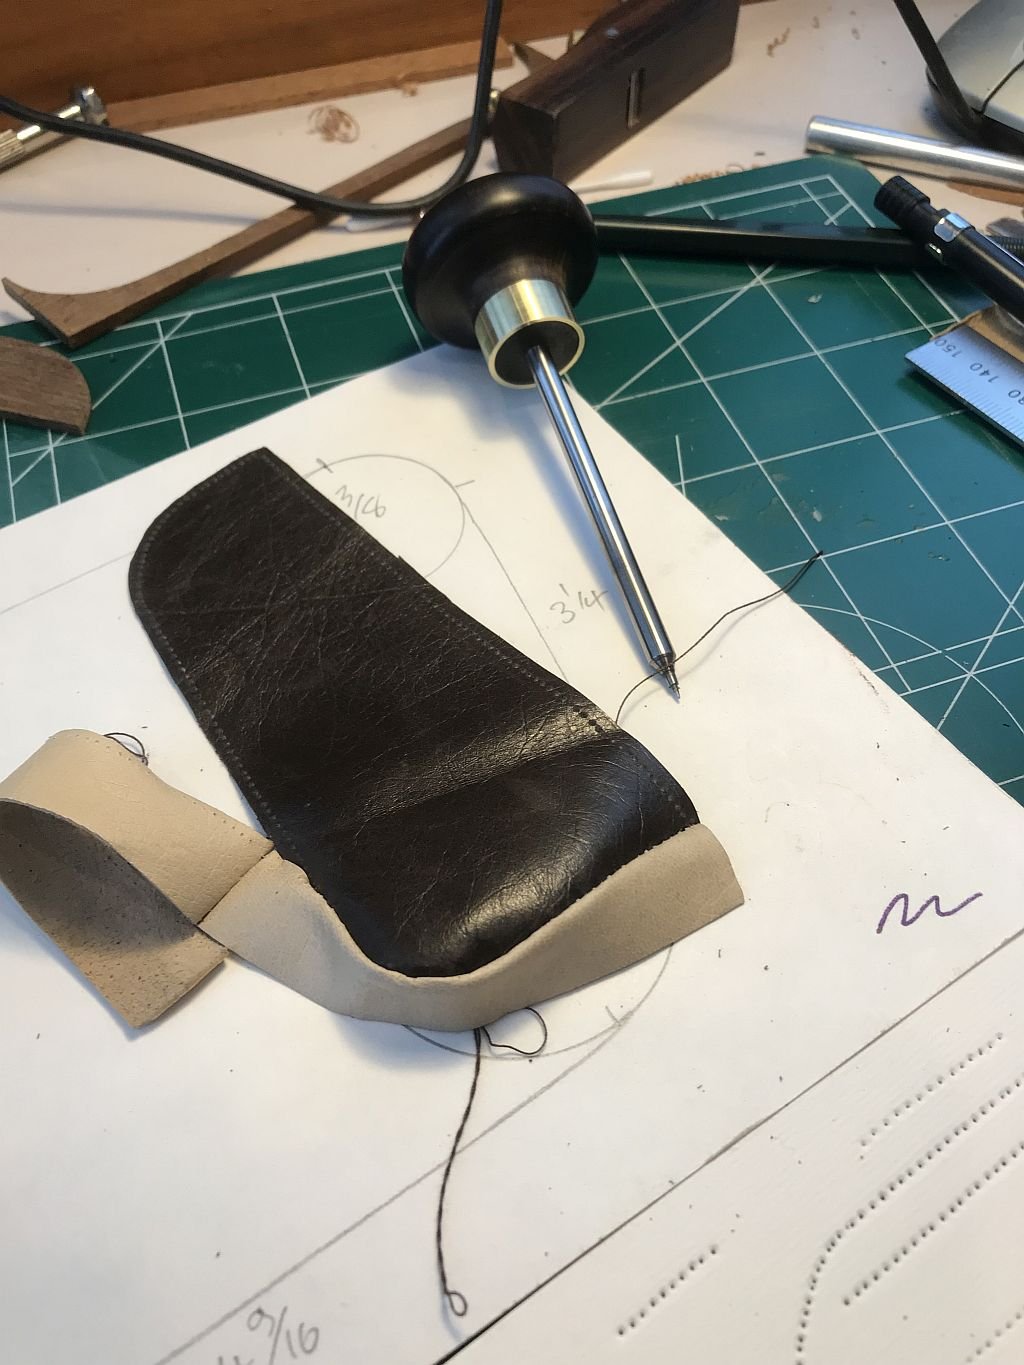
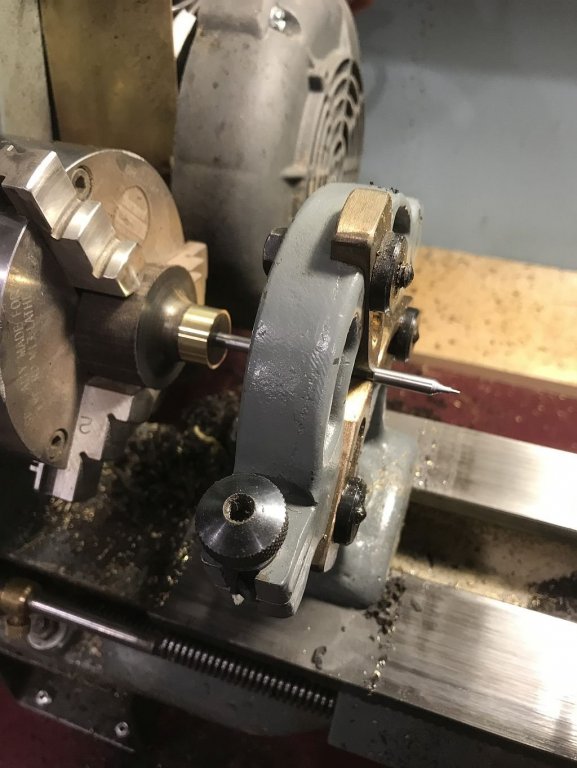
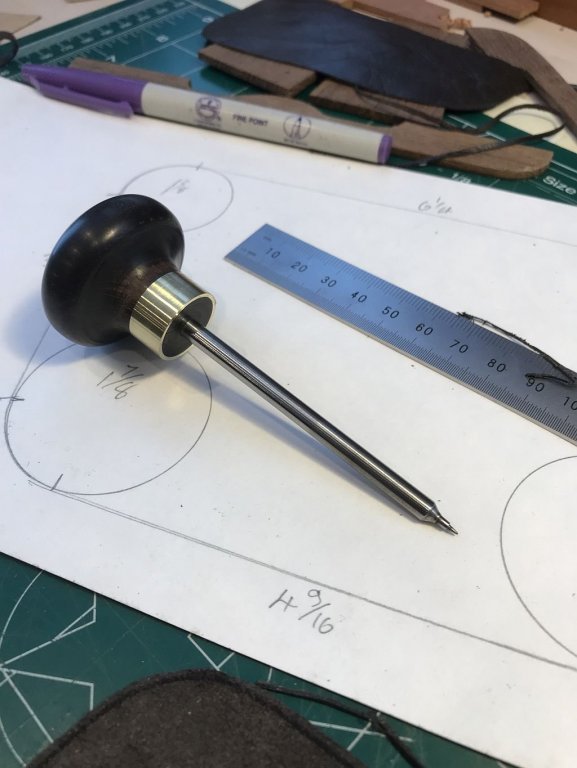
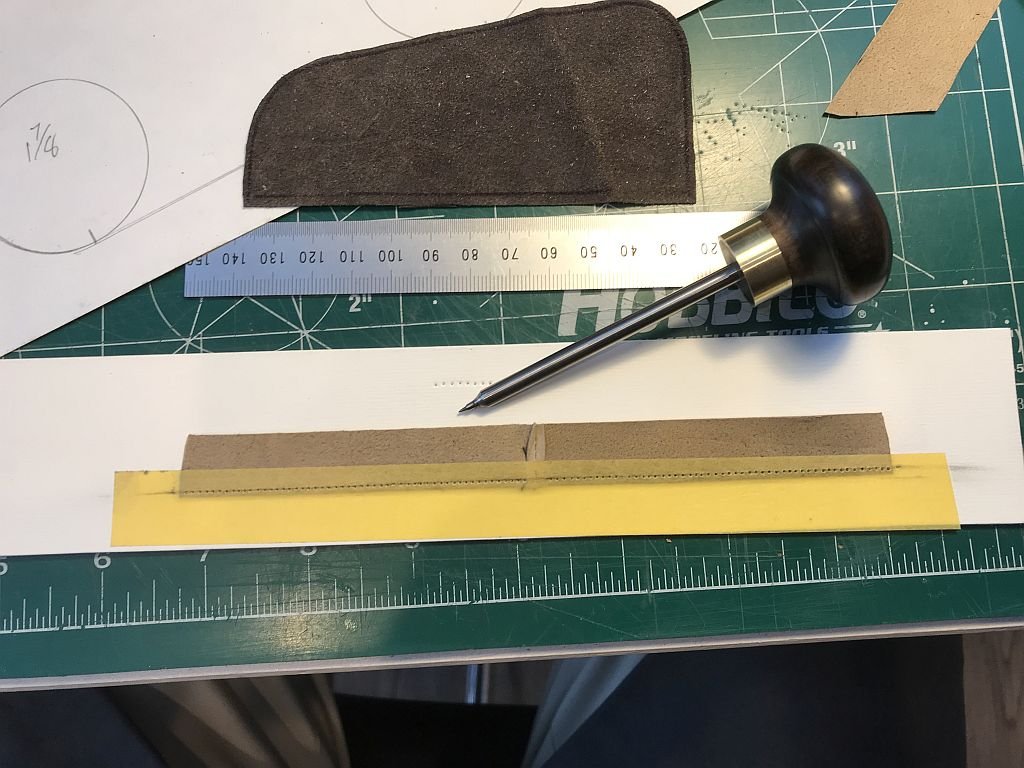
I have a whole new appreciation for quilters. First a new tool to punch holes in the leather, using some scraps of ebony, brass and Drill rod. The tip was polished and hardened and tempered to a straw colour, and the very tip left flat about .010" Next the holes were punched along the edges. Then hand stitched, with a dull needle. I think this will work out OK Off to pick up my new hearing aids and play with the grandkids this afternoon. Michael


-
Kortes, Your workmanship continues to delight me and i have to agree with Dave's assessments of your skills. Michael
-
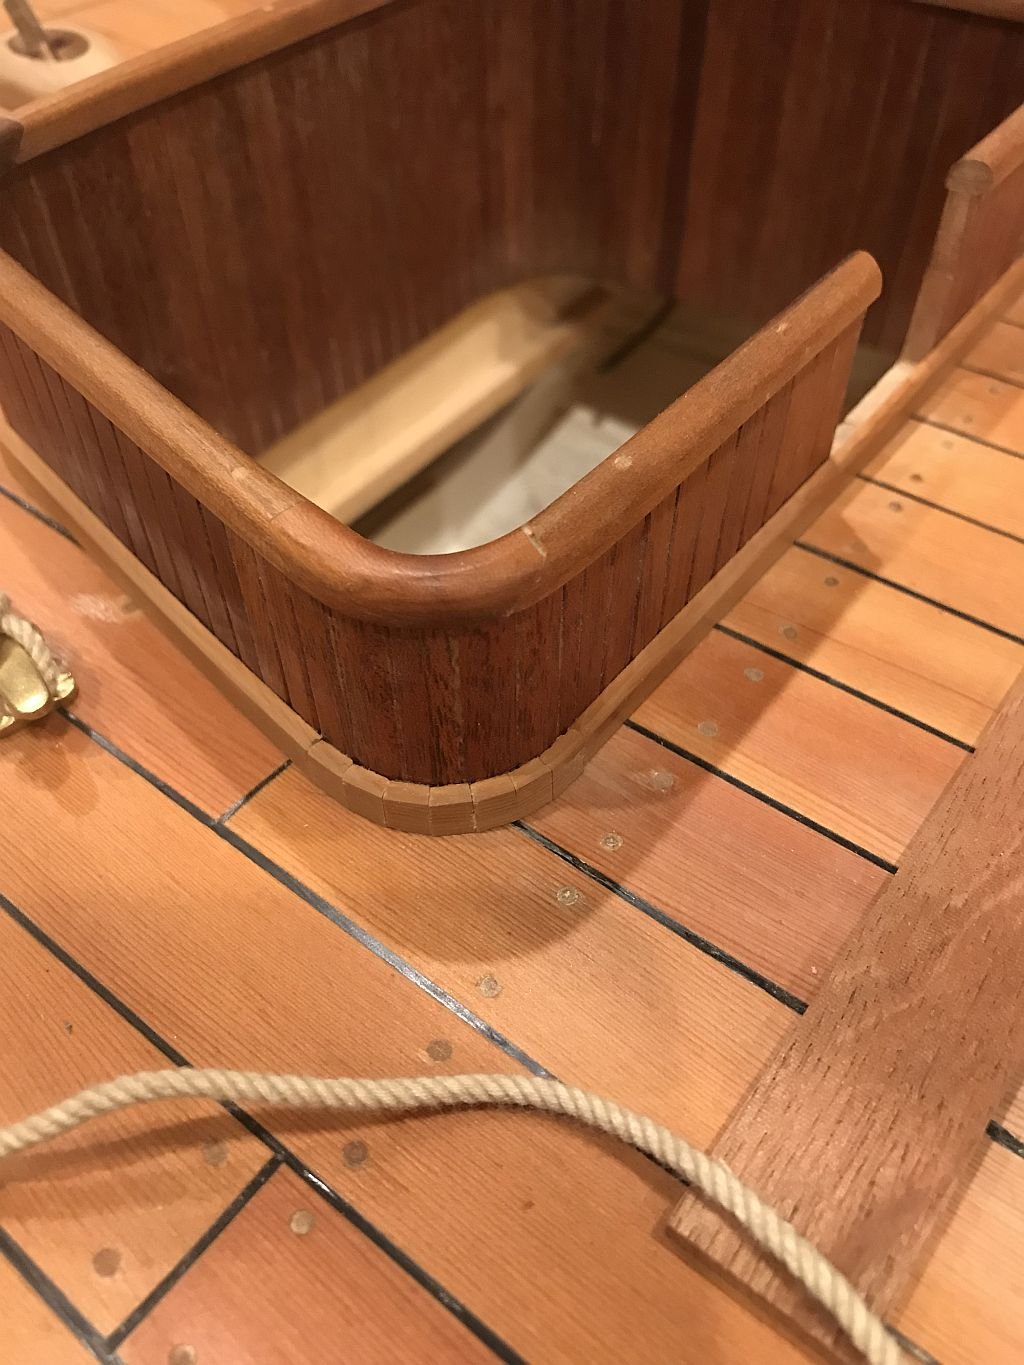
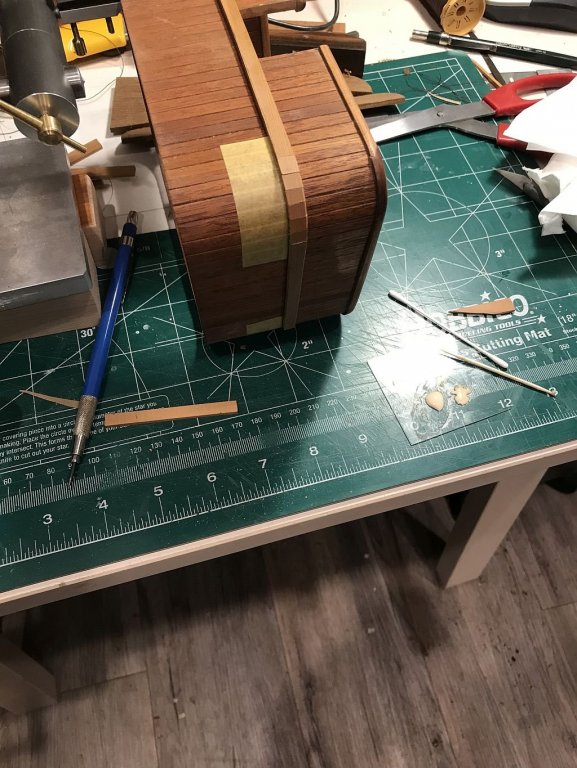
Thanks for all the information about the leather. Griphos, I shall check out Tandy because there is an outlet not far from me. Greg, I went to the Site you linked to and I was not able to find the size of the sheets that they are selling and at $50 per sheet I am thinking that there might be some better solutions. Eberhard I did also note the device that Johann made good for narrow strips, I am not sure about wider sheets though. Pat, Thanks. I am starting to glue the corners on the outside of the cockpit now, once they are all glued i will do the final finishing all round then ad some Teak oil to finish. Michael

-
It looks very sharp Patrick, you have done an amazing job on the boat, the style is not really my "cup of tea" but your model does do the full size one justice. Michael
-
Hi Keith, the old thin ladies leather cloves are the perfect source for the thin leather. that is where I got the tan leather from. the brown leather came from a ladies leather shirt that I picked up at a thrift store for $20 a few years ago. Michael
-
Hi Antony, the model is coming along very well and your workmanship shows in the clean execution so far. Nice solution for the deck beams on the bandsaw. Michael
-
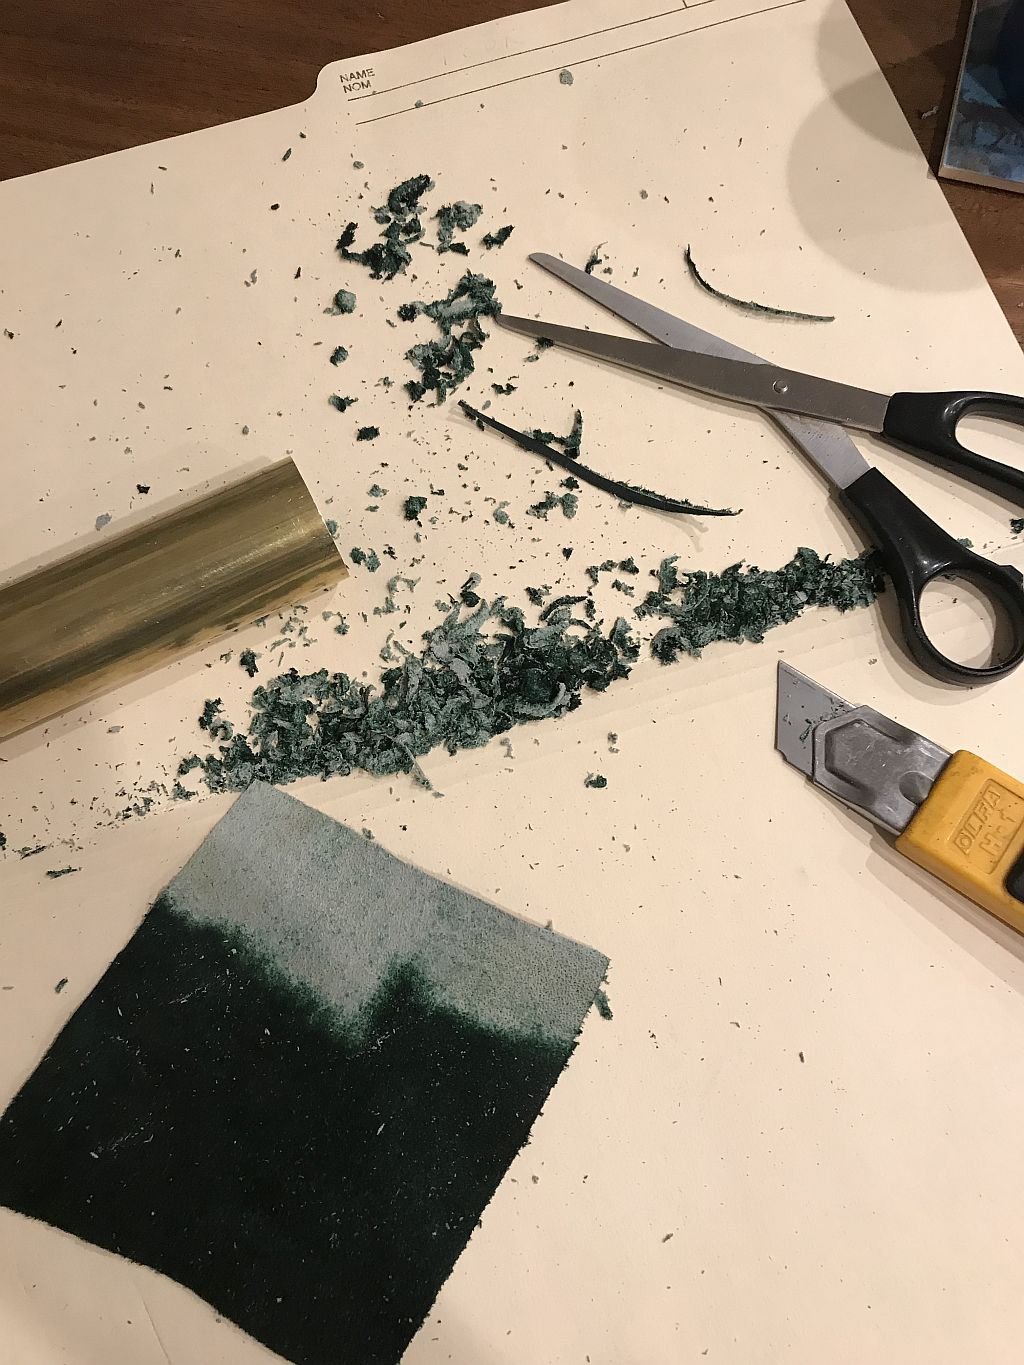
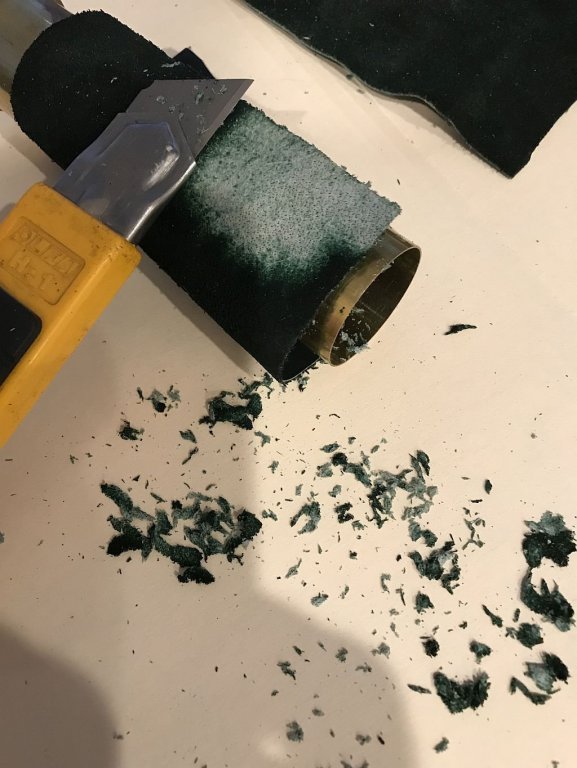
Ah...... yes because I am not simulating it, these cushions will be soft just miniature versions of the same. Paul I used some apple wood and cut the wood out from around a knot when i did this because I did not like the first attempts Ken, thanks for this I will check them out. Hi Tom, My Brother who is in the film industry in special effects, taught automobile upholstery in England before he came to Canada told me that the process is call skieving (Spelling?) and that they have machines to do it. before he told me that yesterday I did it like this with a utility knife by laying it over the short bit of standard brass plumbing tube and slicing it down. So I know it can be done for small amounts, but as I noted earlier the brown is a more compatible colour for me. That said, I would be OK with Burgundy. But I have brown and tan so depending on how it turns out, I'll see. Eberhard, I do enjoy these little side trips that this model takes me on. Michael

-
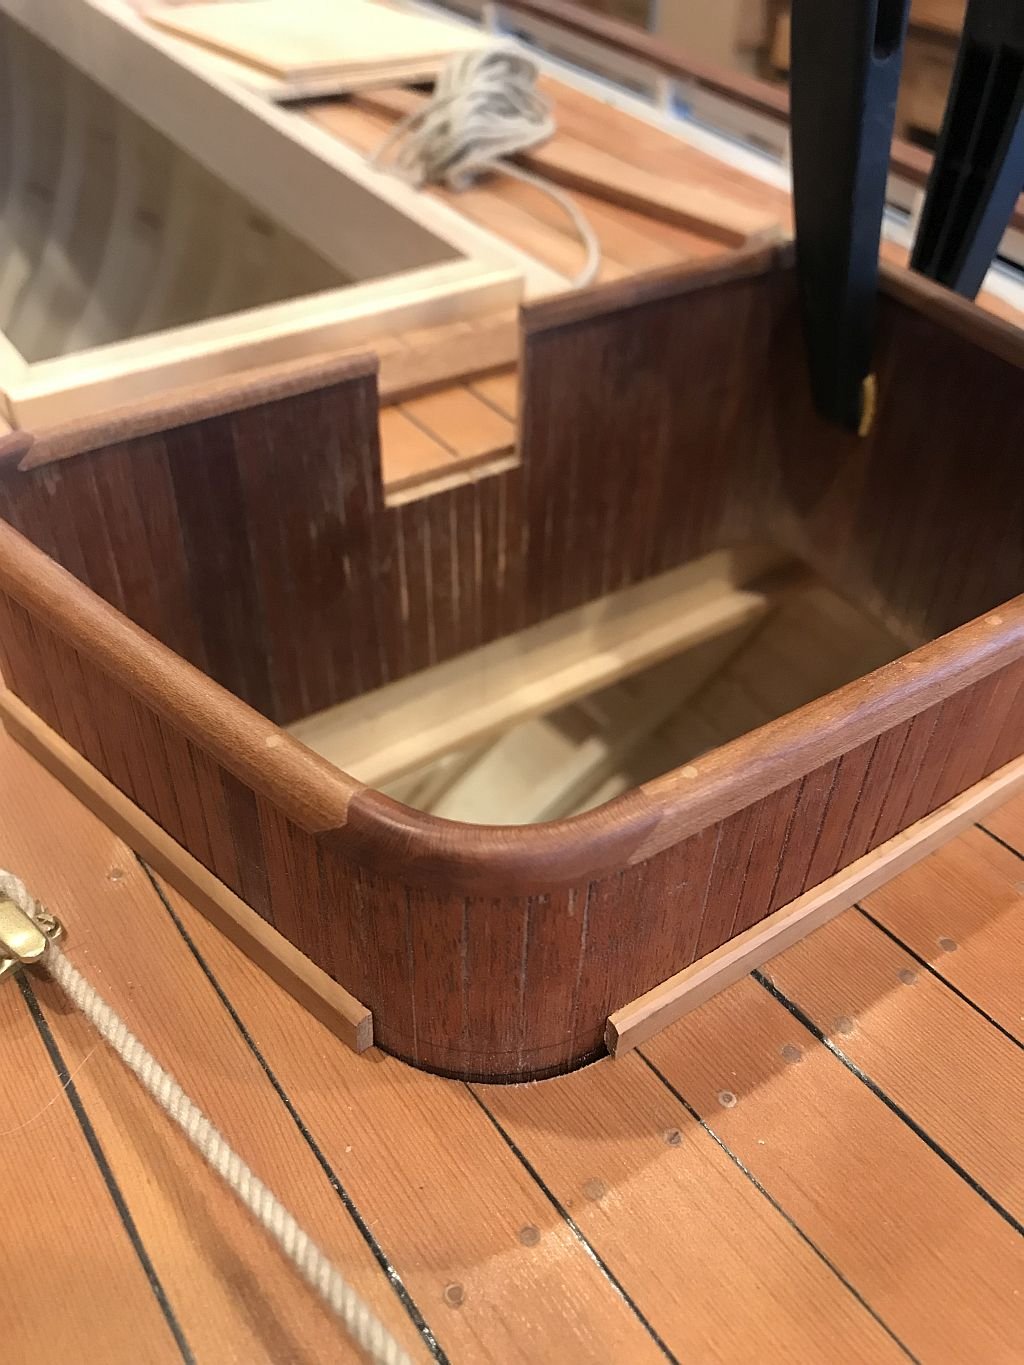
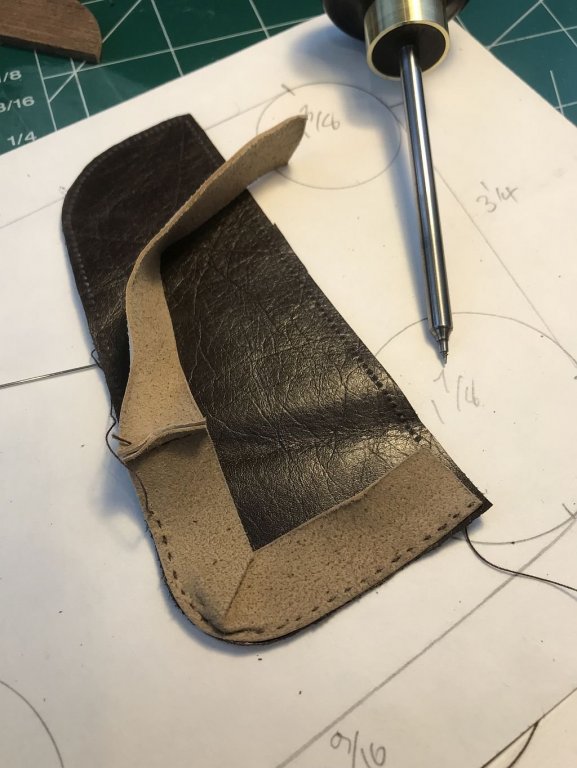
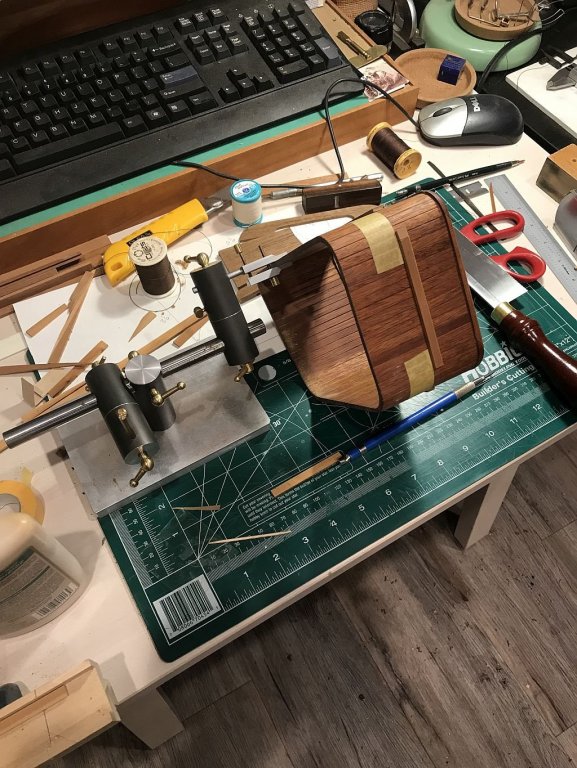
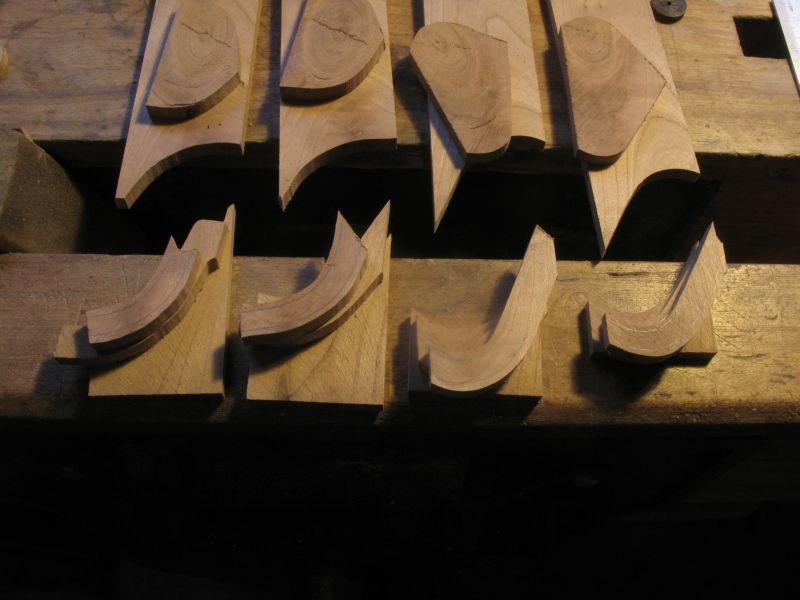
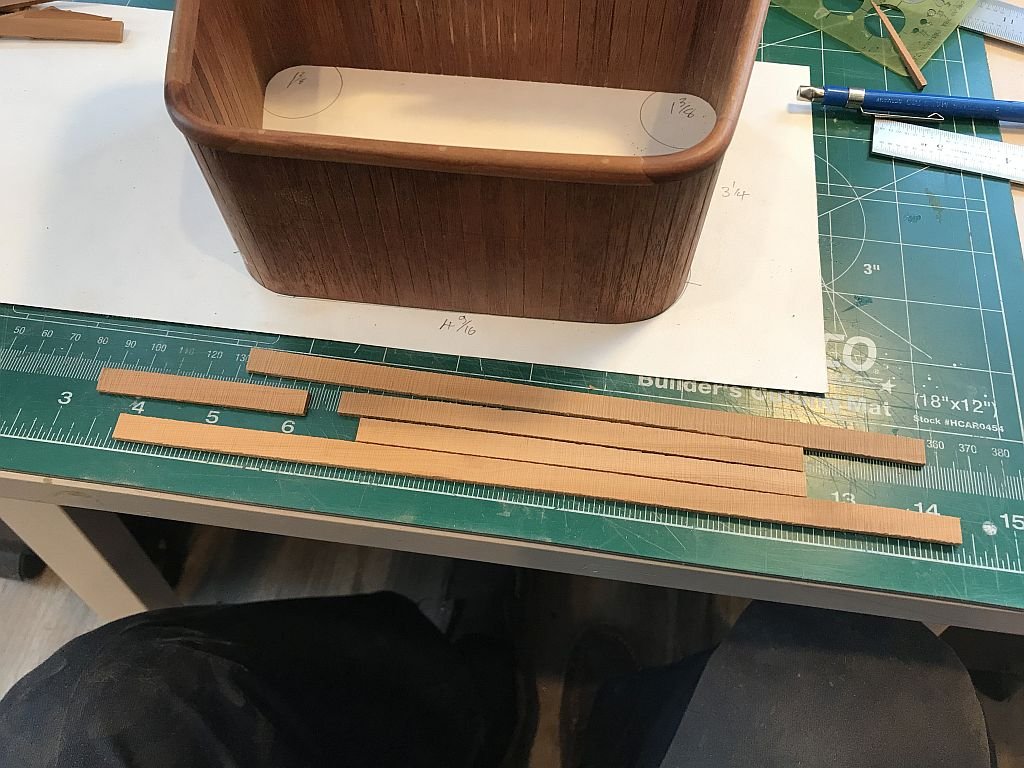
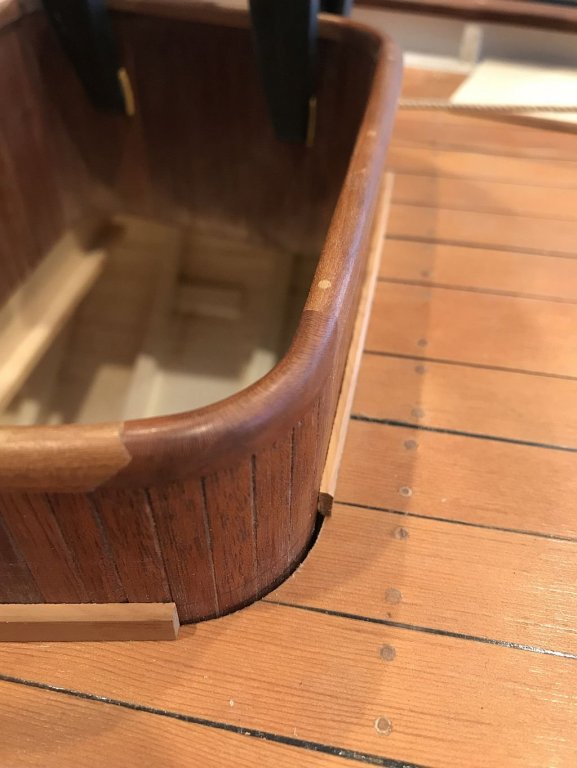
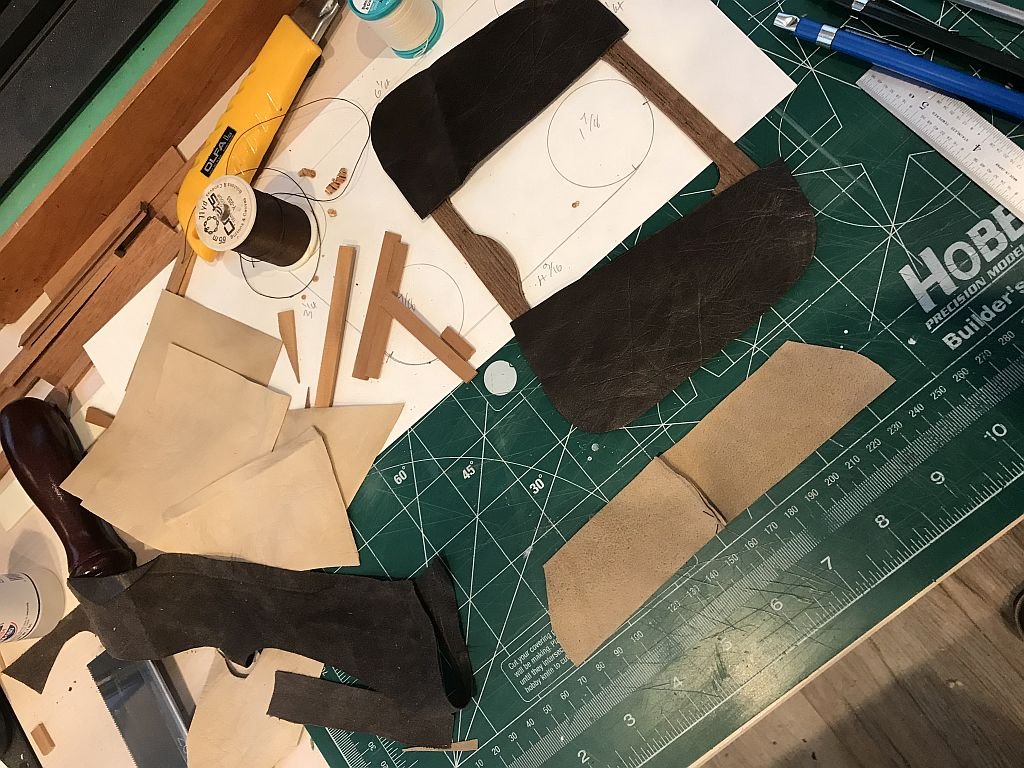
I have been gluing the base retaining strip around the cockpit shell, once it is finished being glued I will add the screws to give it some shear strength. I was originally thinking of bending the strip but did not want to lay up a number of layers and so opted to build up the corners with segments. The test experiments with bending through the sharp curve with Mahogany proved to be a failure. 1/32 yellow cedar bent beautifully but it is the wrong colour. I cut some strips of Pacific Yew, I had some nice tight grained stuff, the profile is approx 2 inches high by 3/4 (1/4 x 3/32) I put a small bevel on the top with the mini plane. After the four flat pieces are glued I will add the corners. I did do some work thinning down a piece of Green leather and after an hour where I did get about 4 square inches down to .022" but decided that the green was the wrong colour. I am doing some tests with some very thin Brown and tan coloured leather. The plan being to make the tops and bottoms brown with tan sides. Testing the method of stitching. Michael

-
I also prefer the left side example. Michael
-
Hi Mark, I have never heard that expression, so being the curious chap that I am I did a search and found some surprising answers, it seams that it depends on who you follow. the watch and clock folk or the fine woodworkers. So Thanks for asking the question. One learns something every day. For myself it was basically an aesthetic decision. Michael
-
Looks good Rob, I also like the method of setting up the alligator clamps, with the series of holes. Michael
- 1,208 replies
-
- 6
-
-
- great republic
- clipper
- (and 1 more)
-
Kurt you would not like the winters here! I had a chunk of Teak salvaged from a friends Columbia 8.6 meter sailboat. So decided that the seats needed to be teak so stipped up a little and thicknesses it with the block plane thickness jig down to 1/8th. but as I was loading the pictures into the cockpit folder noticed this picture from 2013 The cockpit has gone through a number of iterations since then but I think I am on the home stretch now. I am wondering about bleaching it......or using some teak oil. Michael