MORE HANDBOOKS ARE ON THEIR WAY! We will let you know when they get here.
×


michael mott
-
Posts
5,195 -
Joined
-
Last visited
Content Type
Profiles
Forums
Gallery
Events
Everything posted by michael mott
-
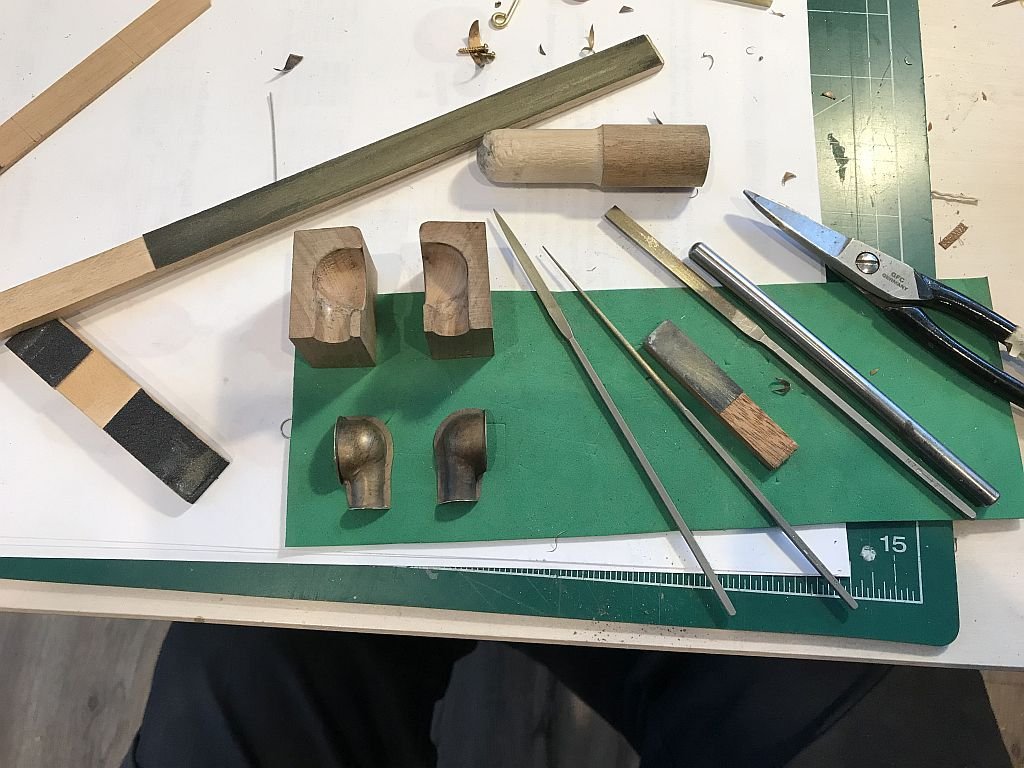
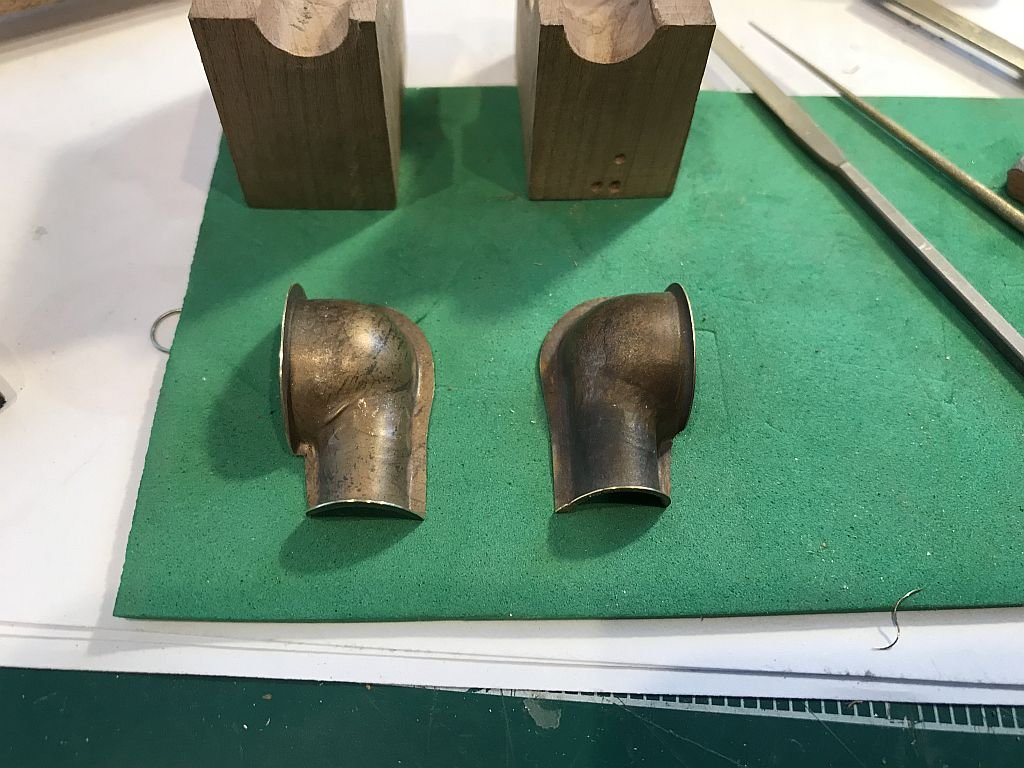
 Thanks for all the likes and visits. I finished forming the 3 other dorade vents today. The forming required 4 annealings time for an afternoon nap with the kitties. michael
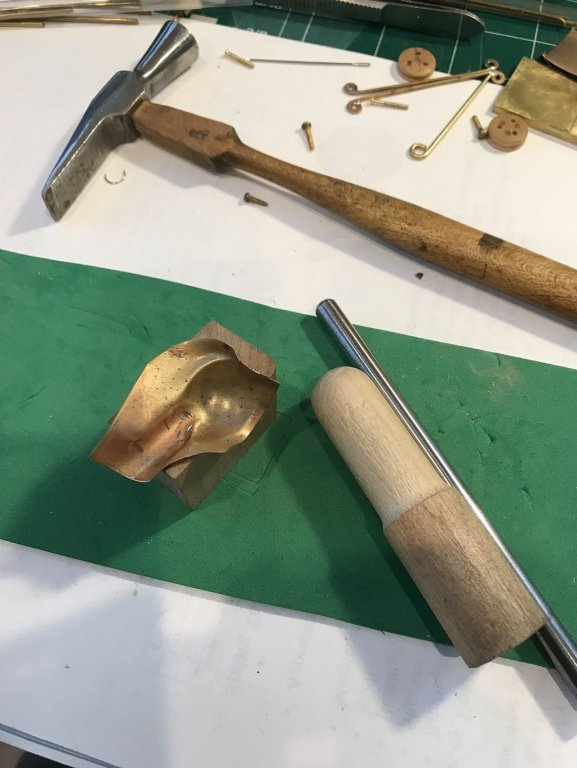

-
Javier she is looking beautiful. I have a question, are you using copper or brass or something else for the tiny metal parts? Michael
-
Interesting you should say that, I have been looking for more information, than is in John's book about specific aspects of rigging. Vaddoc nice work on the jaws and a sweet gift for your daughter. Michael
-
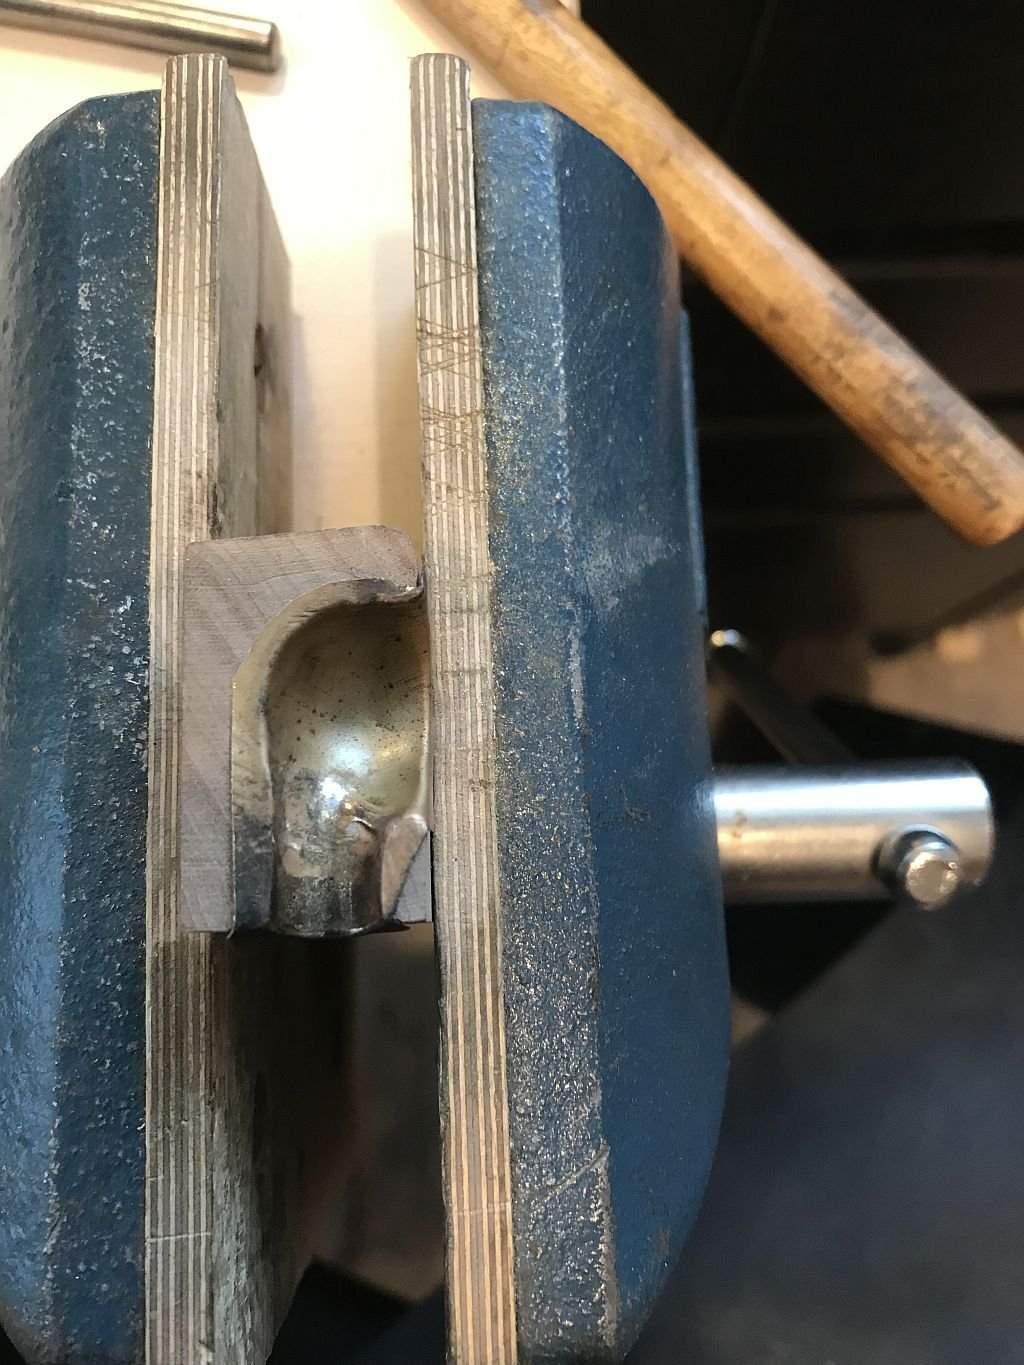
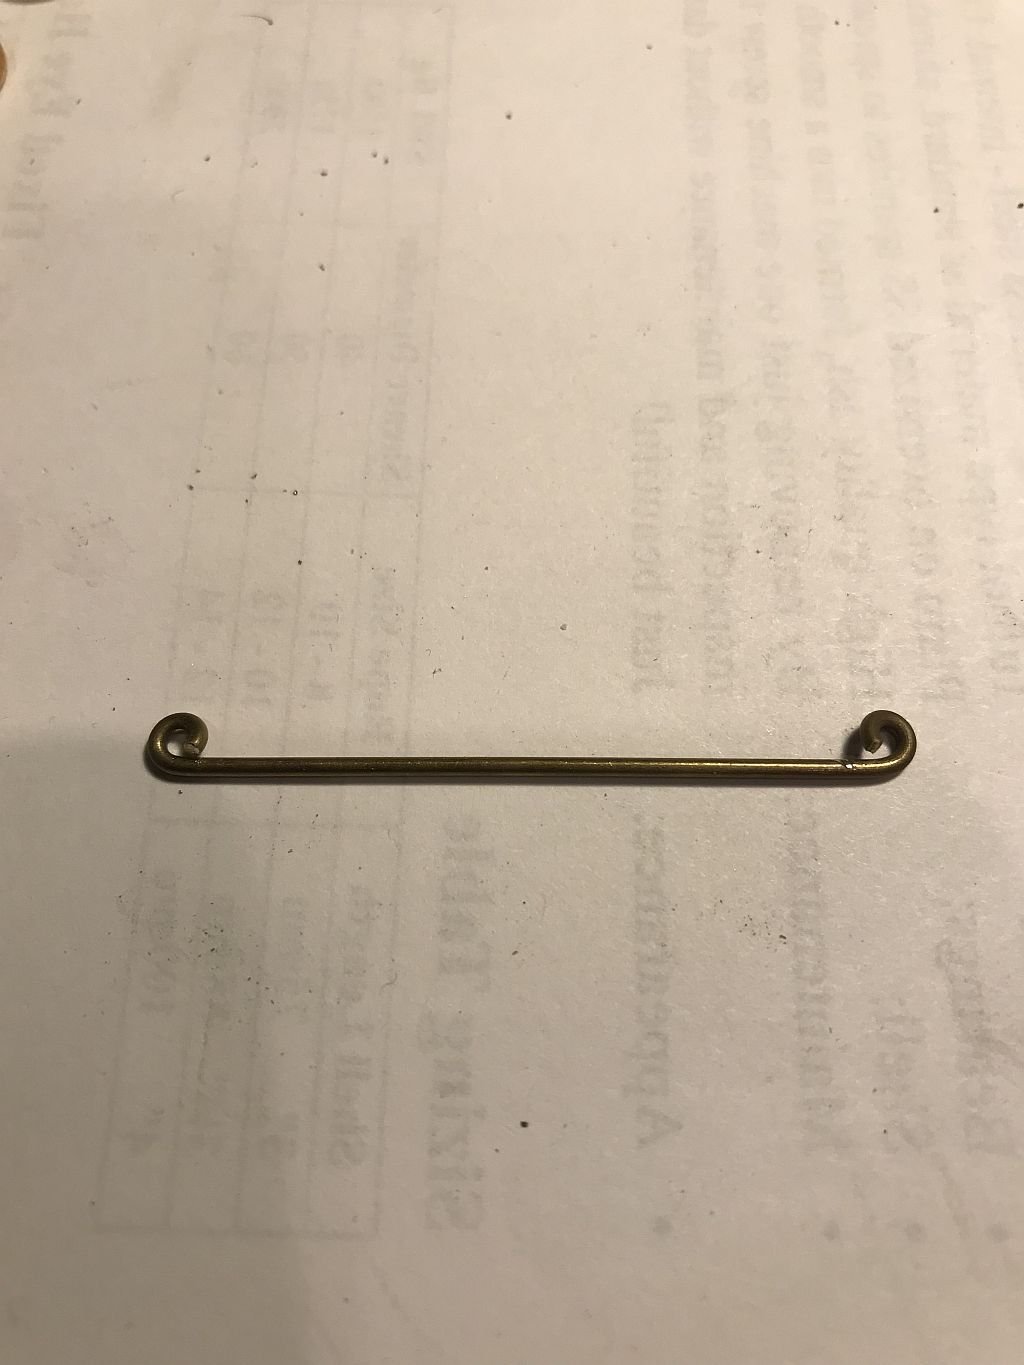
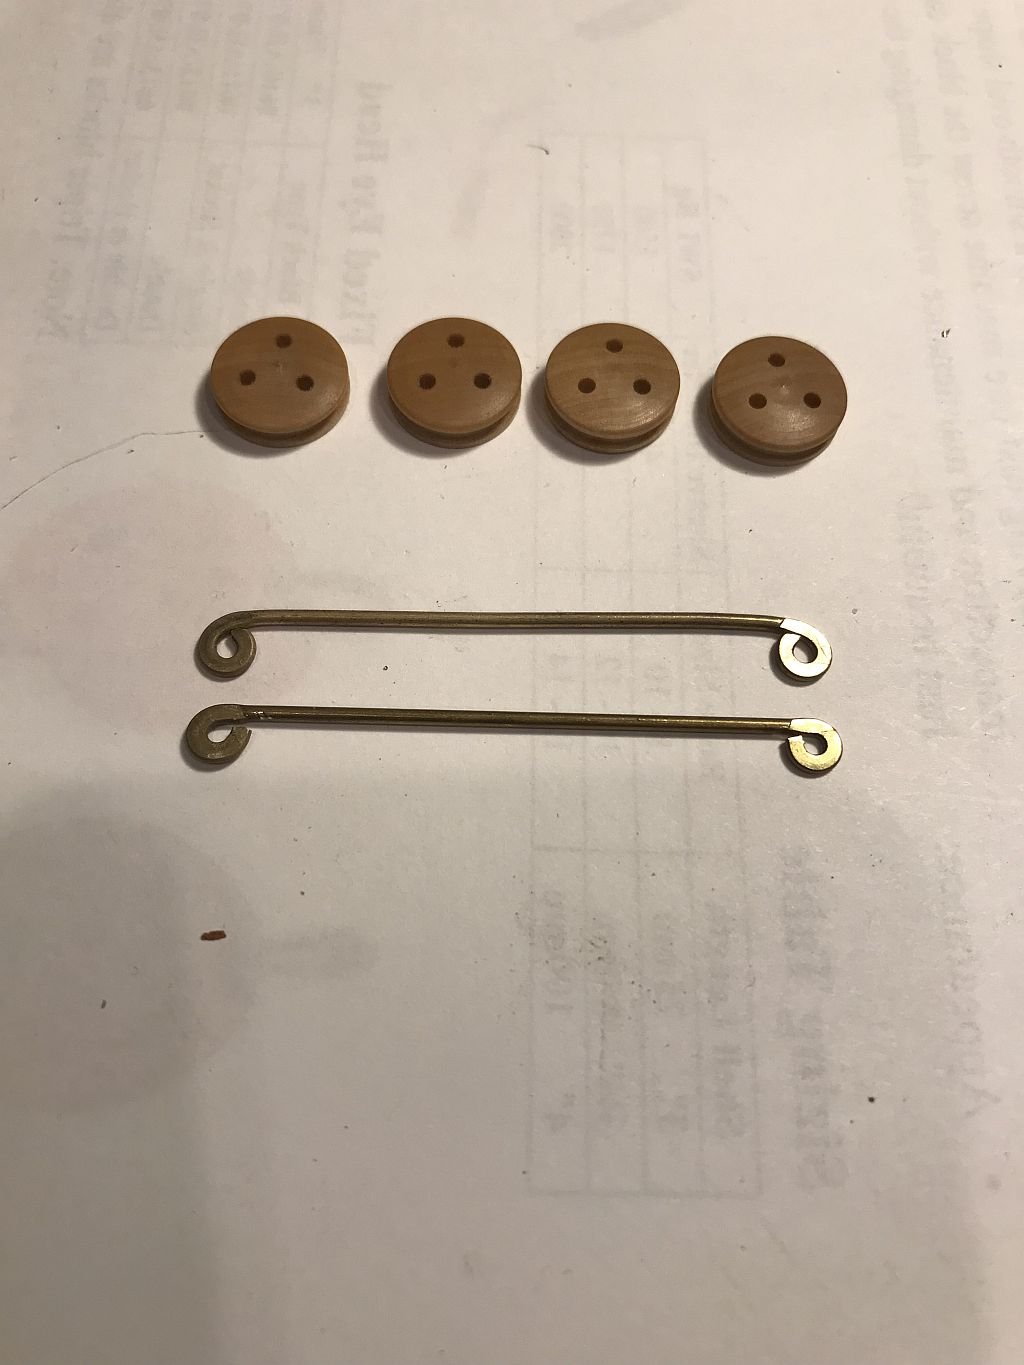
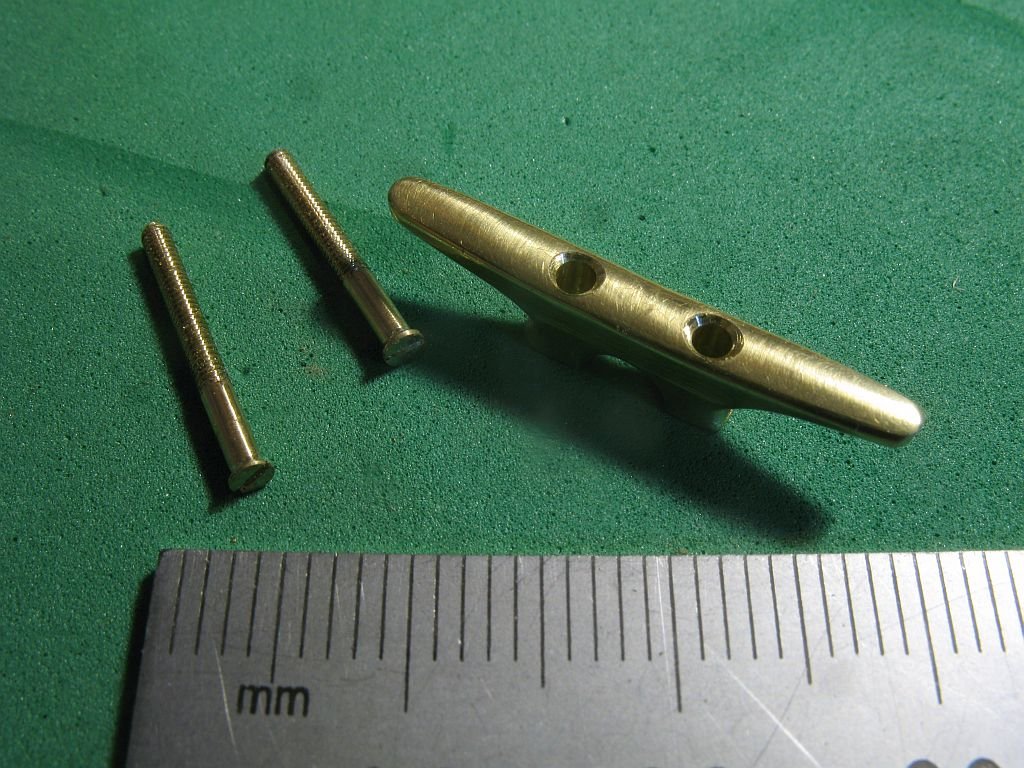
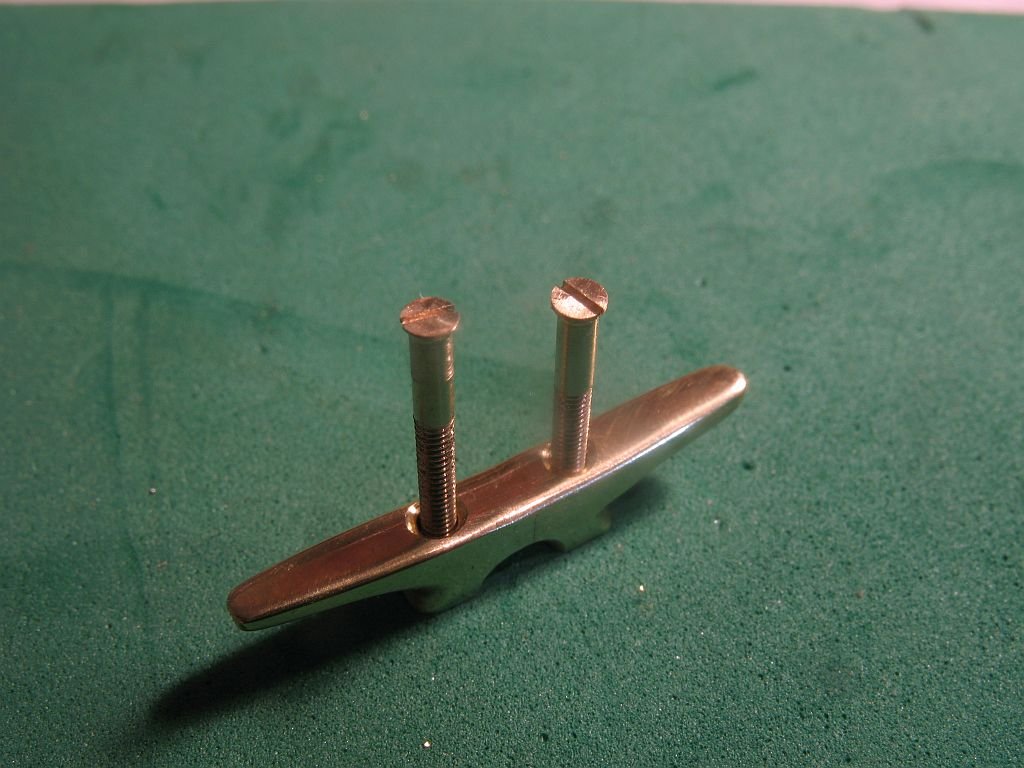
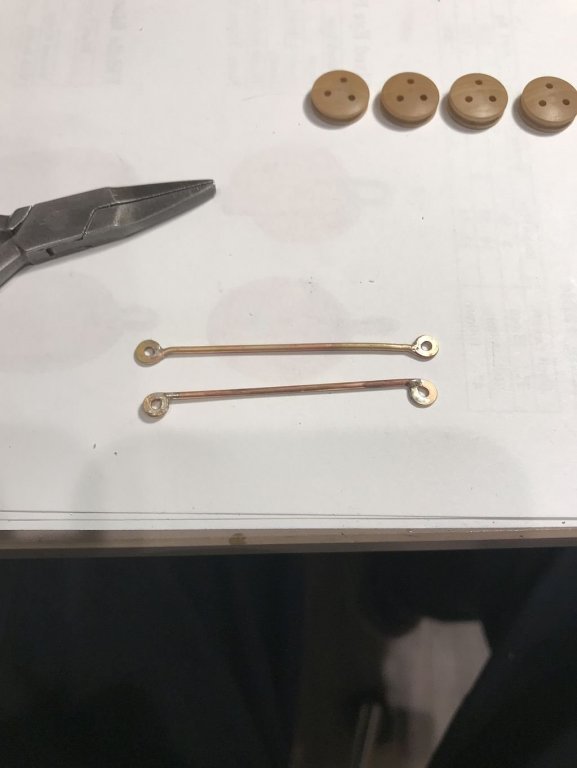
another short update today I made a small 8 inch cleat to fix the topmast forestay. A piece of 1/8 inch brass strip that was 1 inch wide was drilled for the mounting holes in the mill then the bottom was shaped while still attached to the strip. I made it the same way as this earlier one. The new one slightly different obviously acquired from a different manufacturer. the screw were turned out of some of the home depot 3/16 brass rod it is free machining and I like to use the 3/16 because I can turn down to the final diameter in one pass because the work is supported as reduce the diameter. I ground the parting tool to the angle of the countersink. in order to cut the head. they are 0x80 threads again the slot was cut with the jewelers saw. It is a lot of fun making these small bits and pieces. Michael

-
Spy, I did but only on the whippings on the port side which took a long time to undo with the repeated soakings. I sealed the knots after the repair with some tight bond III instead. As Much as I would like to build one at 1:1 I am a bit long in the tooth now, and not living waterside where I could learn from the masters I'm afraid it will need to be an Essex or Gloucester type smack. Although I do like the Thames barges as well. let me see now The Thames Barge Will Everard at 1:8 would be 32 feet long. I do have the Modelmaker plans for the Will Everard at 1:96 and it is 32 inches overall they came with a small booklet there are 5 sheets of plans and the model was for a bread and butter hull. It would be 64 overall at 1:48 It would also be an interesting model to build with a proper metal hull. A brass hull. Michael
-
Ah now I understand. The method that I used was in fact similar to the one described. The mistake that I made was to not set the height above the deck of both shrouds at the same time. I put some tension on the port shroud, worked to set the height on the Starboard one which pulled the topmast over too far so I added more tension to the port shroud which then came to close to the bottom dead eye. This was the one that I had already fixed. The whole problem was ultimately caused because I did not pre stretch the shrouds which I made from rope not cable. Thee are things we learn from experience. All the book learning in the world is helpful but the learning from experience is greater in my view. This cutter will eventually be to the point where I will be ready to say it is complete and then move on to the next one. All the experience from the present work will be invaluable on the next cutter. Michael
-
Spy I am not quite sure I understand what you are asking? Thank you Doris, I appreciate your opinion. Michael
-
Worked on the topmast shrouds and finished the dead eyes for them. folded up some .051" rod Flattened them Silver soldered them Bent them up and fitted them The port side shroud was too long and I had set the whipping with crazy glue... an hour later with multiple soakings in acetone I was able to get the whippings off and re position the upper deadeye. it was a tedious job. Michael


-
Stunning work Alex, the video of the Cumberland was impressive regarding the detail that you have accomplished. Michael
-
I would think that to own a yacht this shape you have to be an eclectic Art collector, the yacht itself alluding to this habit. Michael
-
Looking really sharp GL. I smiled at the portable belt sander set up as machine. A good Idea I shall try at some future date. Nice work on the bulkhead. Michael
- 219 replies
-
- 1
-

-
- smack
- cross-section
- (and 2 more)
-
Good morning Tony, I just finished reading through your build log. Nicely done and well explained I shall follow along. There is always something to learn from following someone else's build. Michael
- 124 replies
-
- 3
-
-
- longboat
- Chaloupe Armee En Guerre
- (and 1 more)
-
Outstanding work Dan. I did not really understand this type of camouflage until now so thank you for adding all that information, it now makes sense to me. Michael
- 238 replies
-
- 4
-
-
- leviathan
- troop ship
- (and 2 more)
-
MONTAÑES by Amalio
michael mott replied to Amalio's topic in - Build logs for subjects built 1751 - 1800
Amalio The last Photograph show what an amazing craftsman and artist you are with wood! Michael -
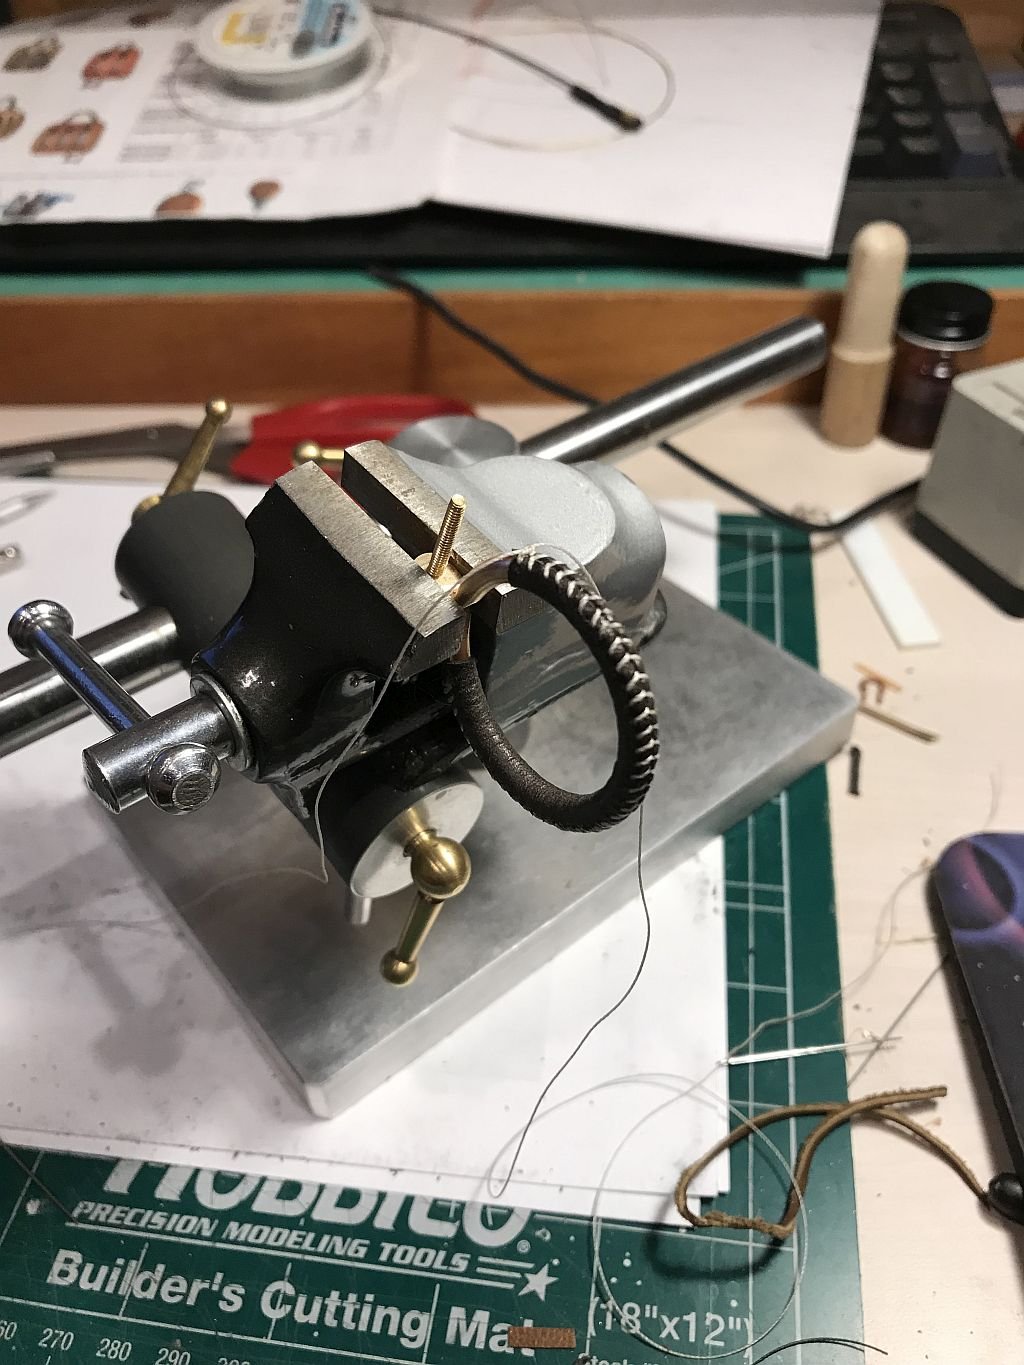
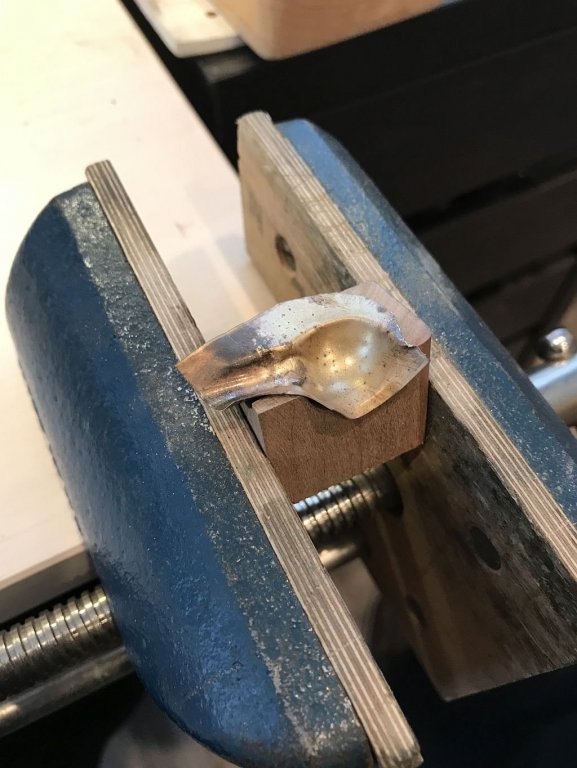
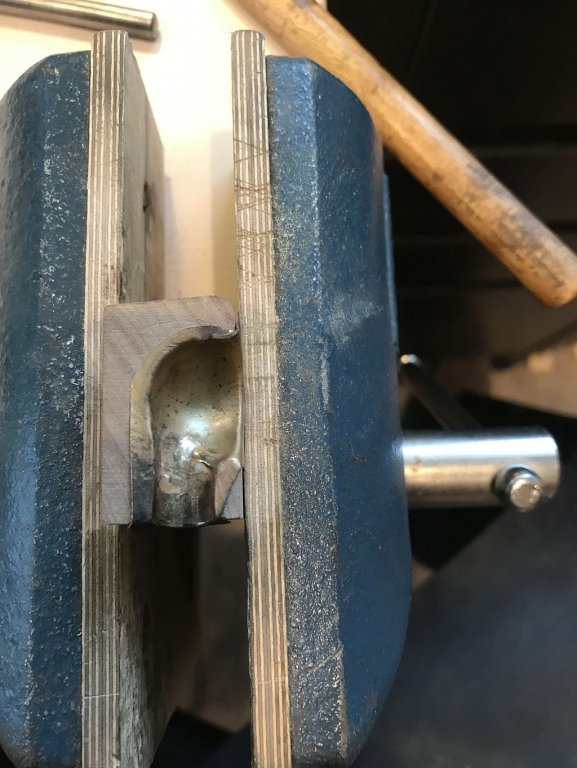
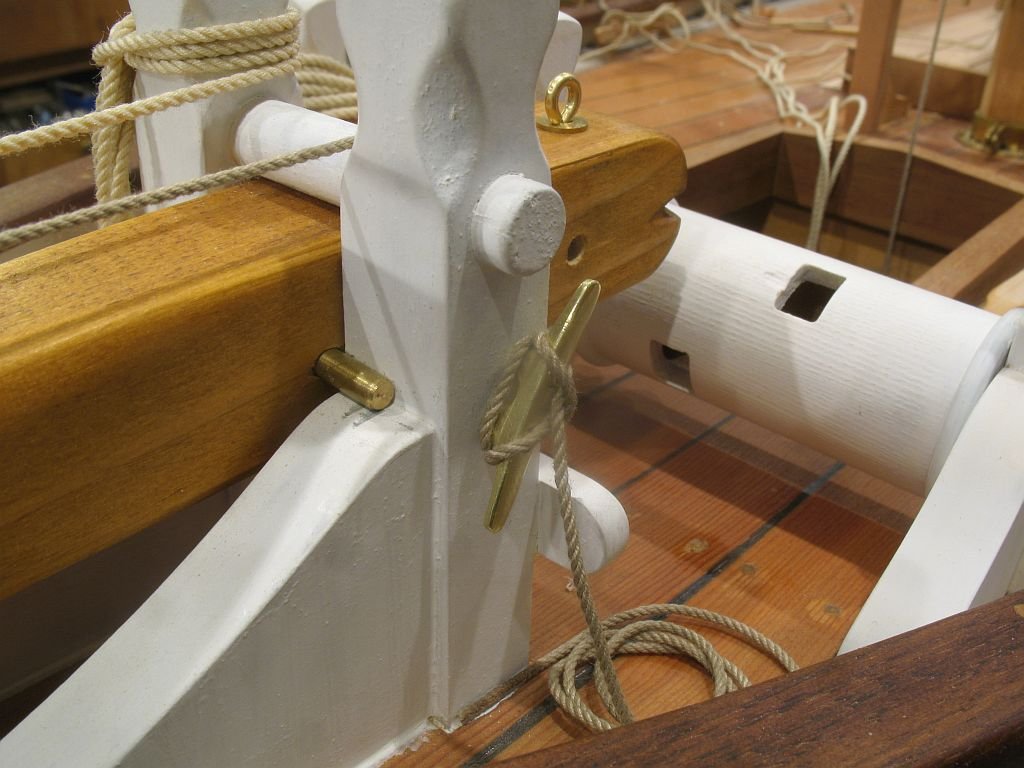
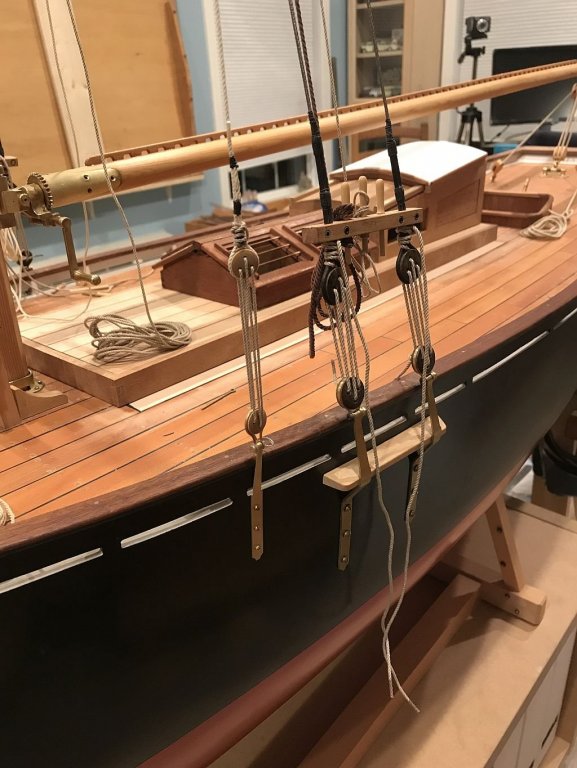
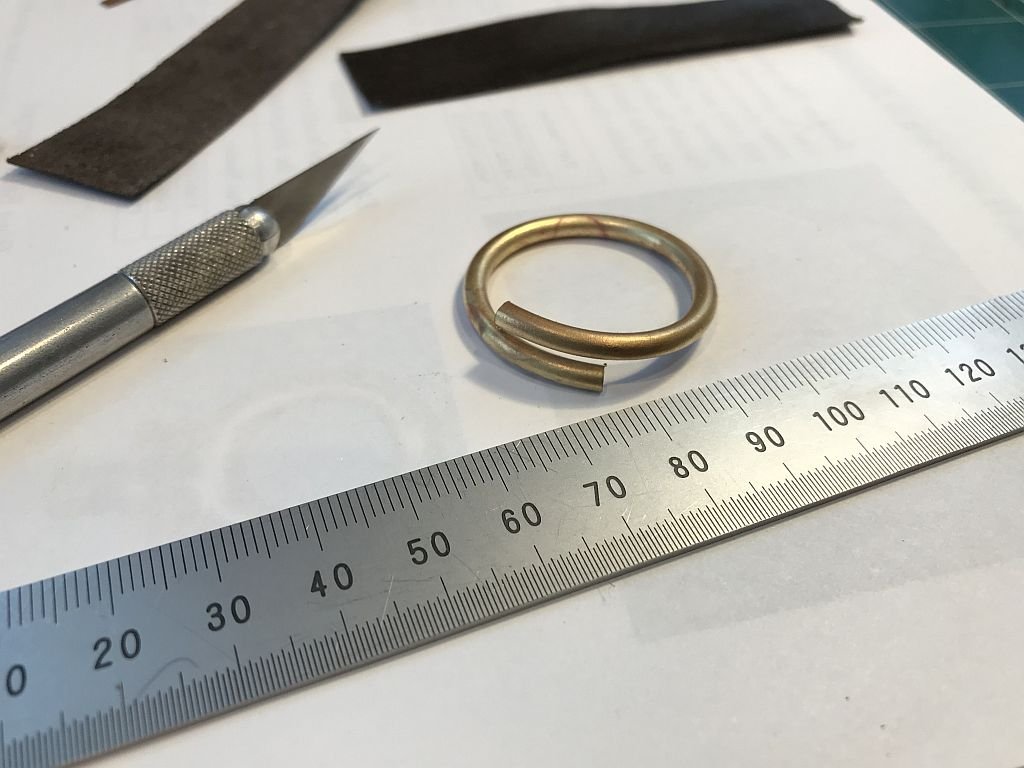
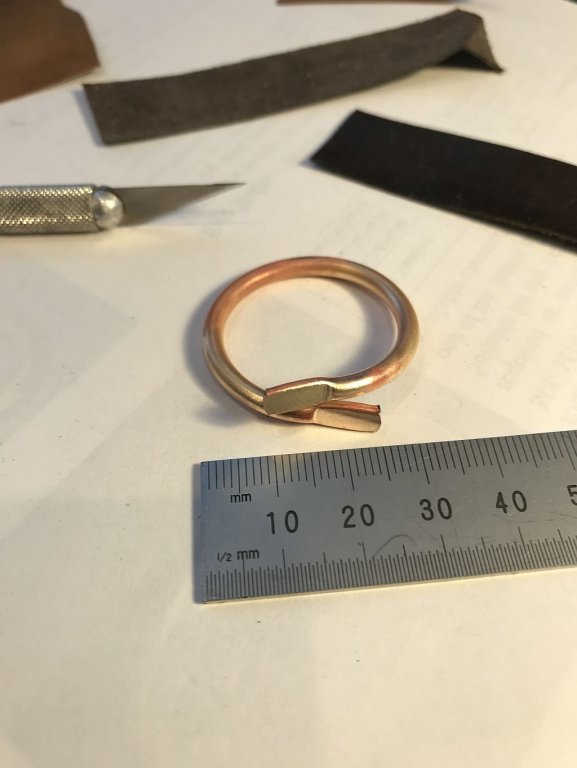
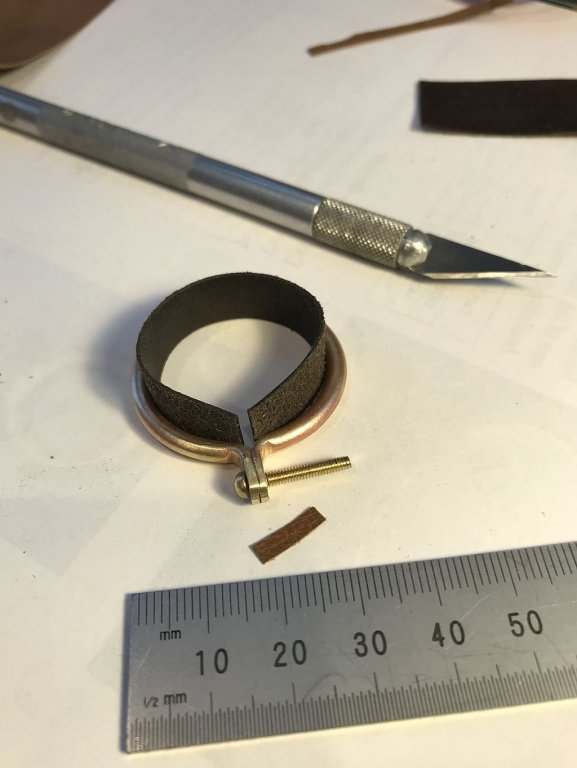
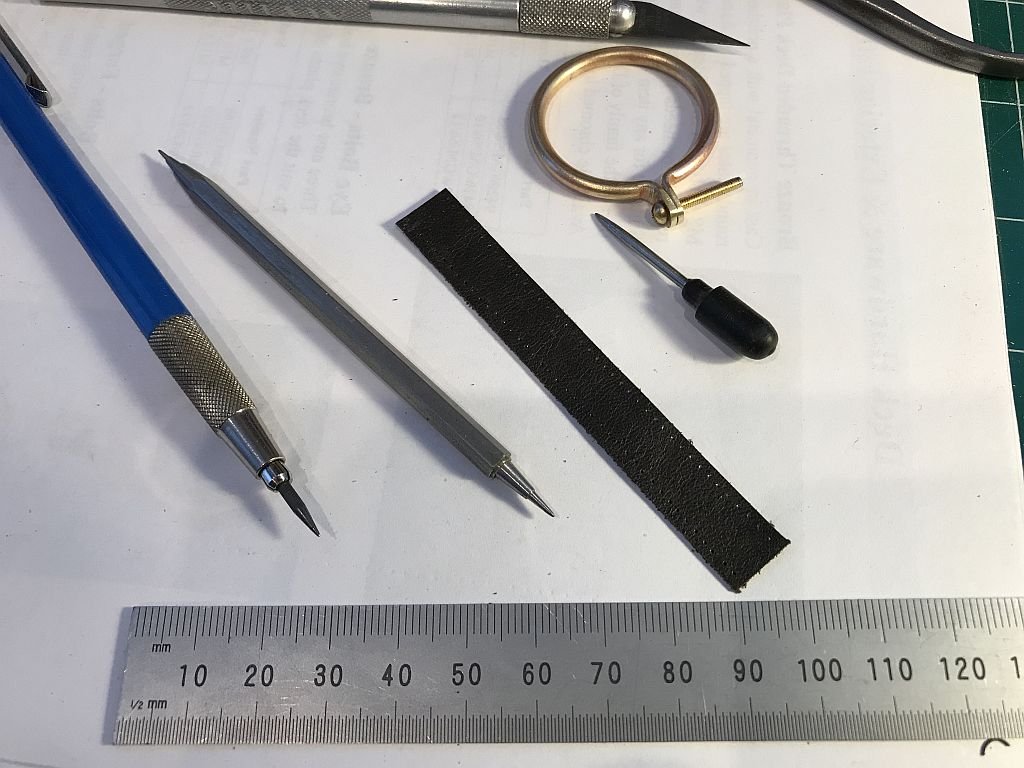
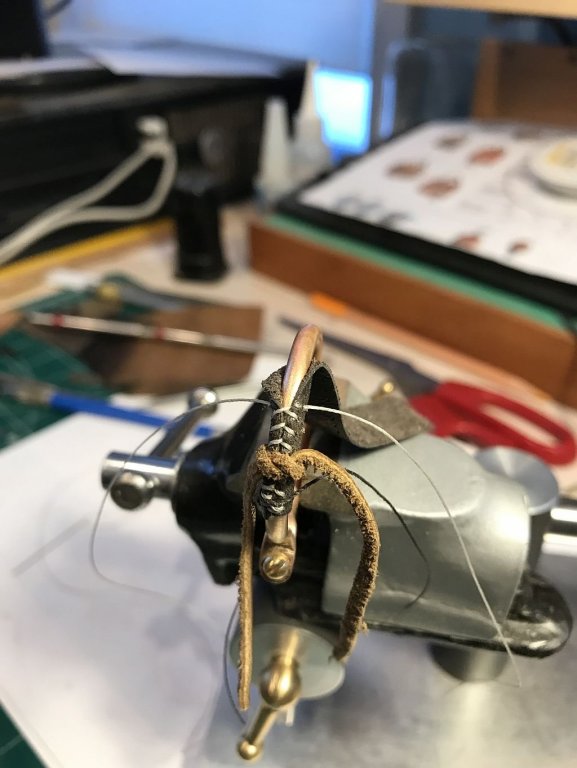
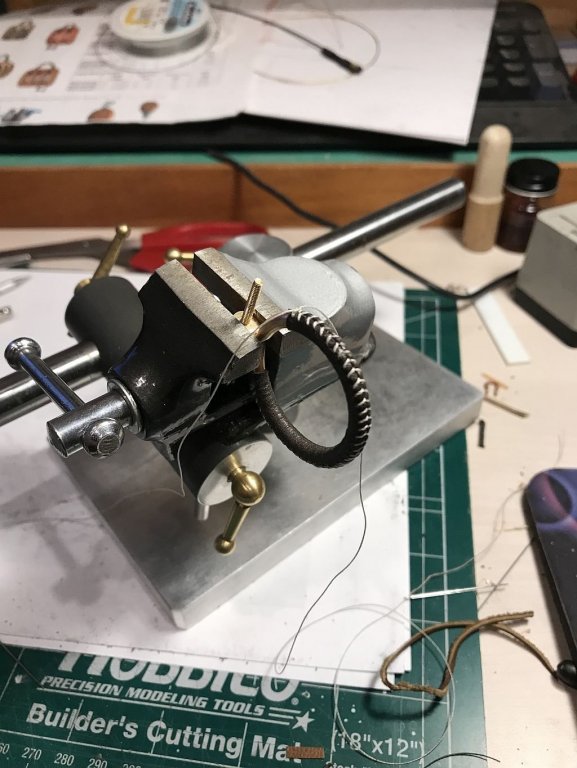
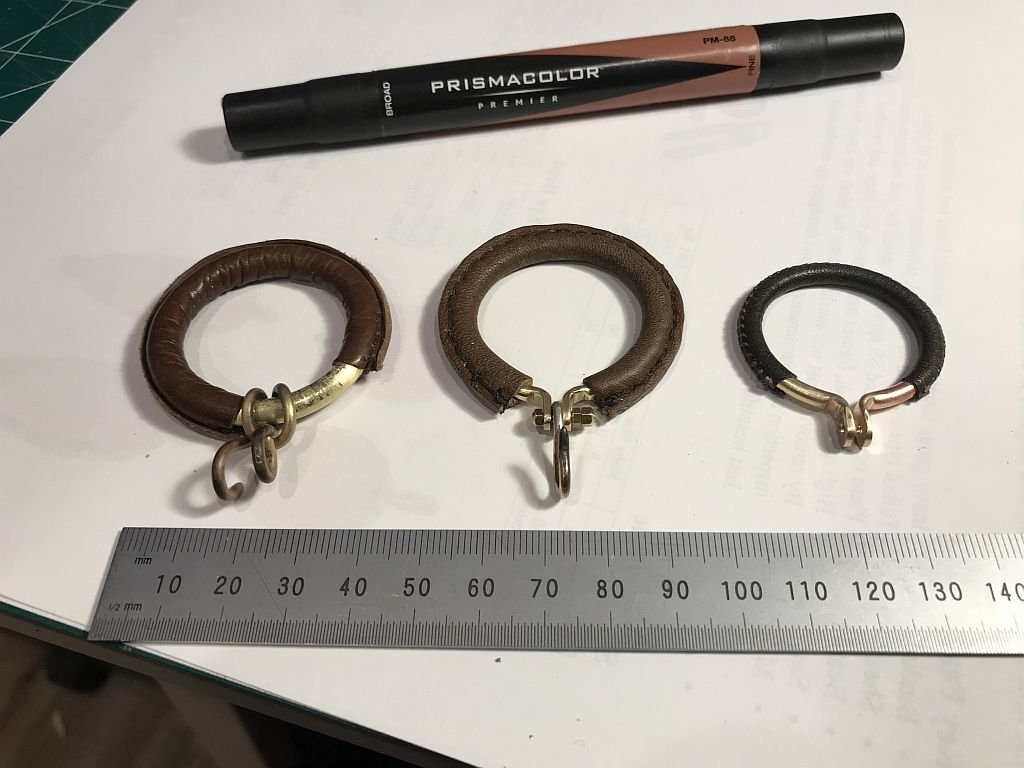
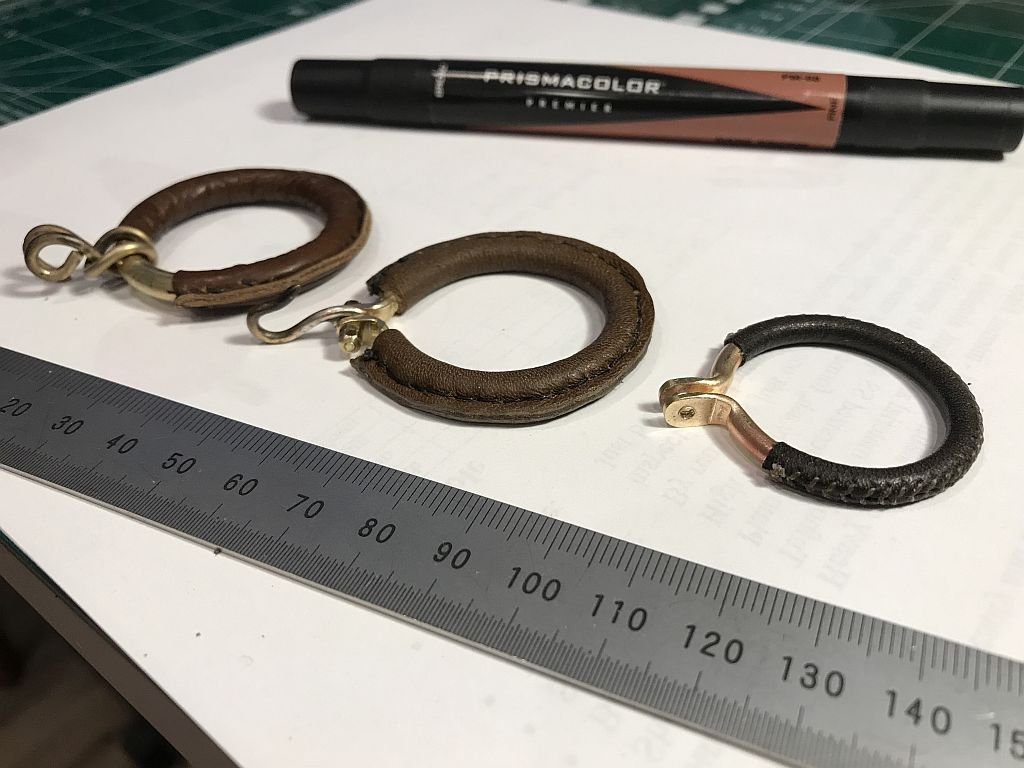
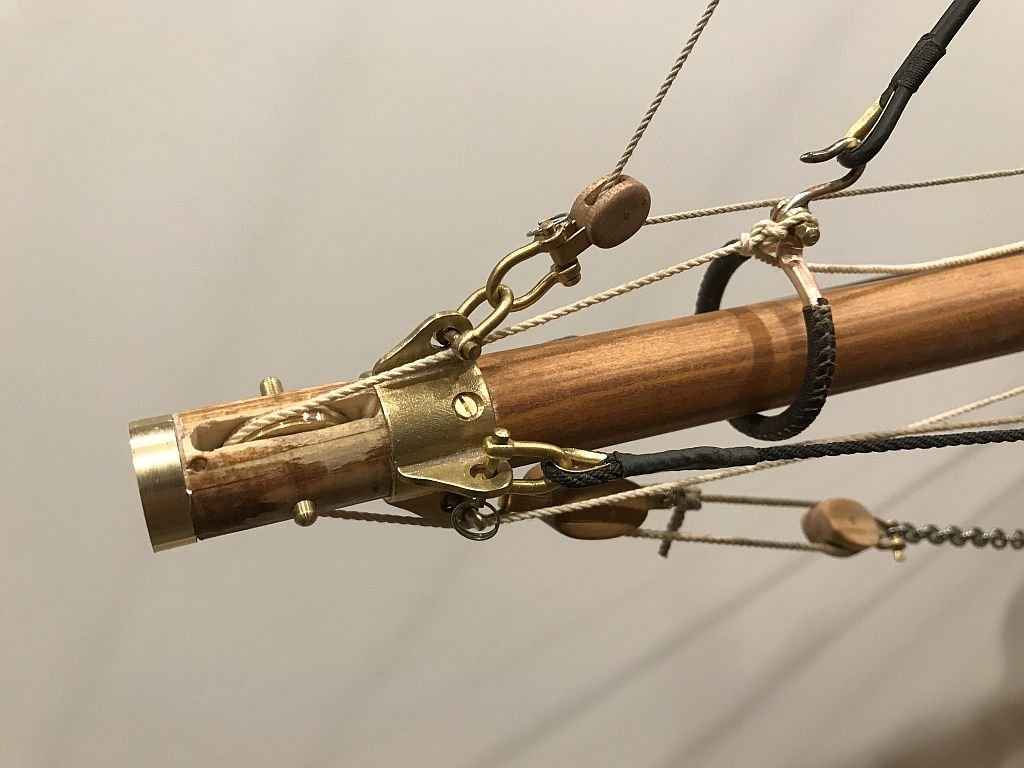
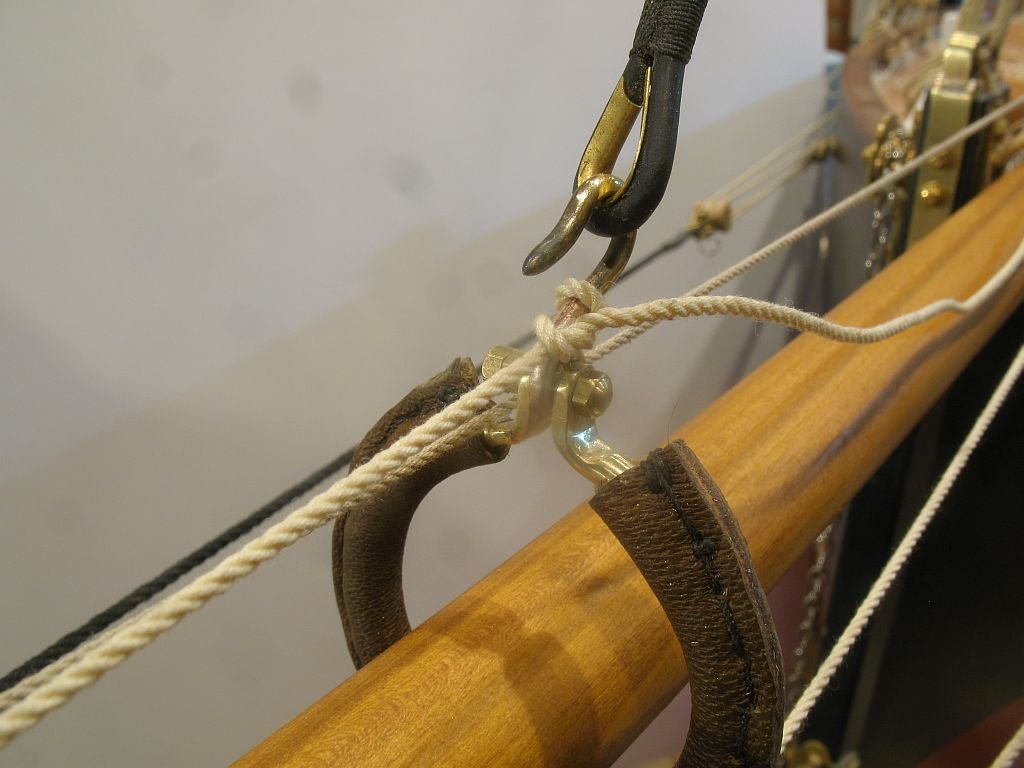
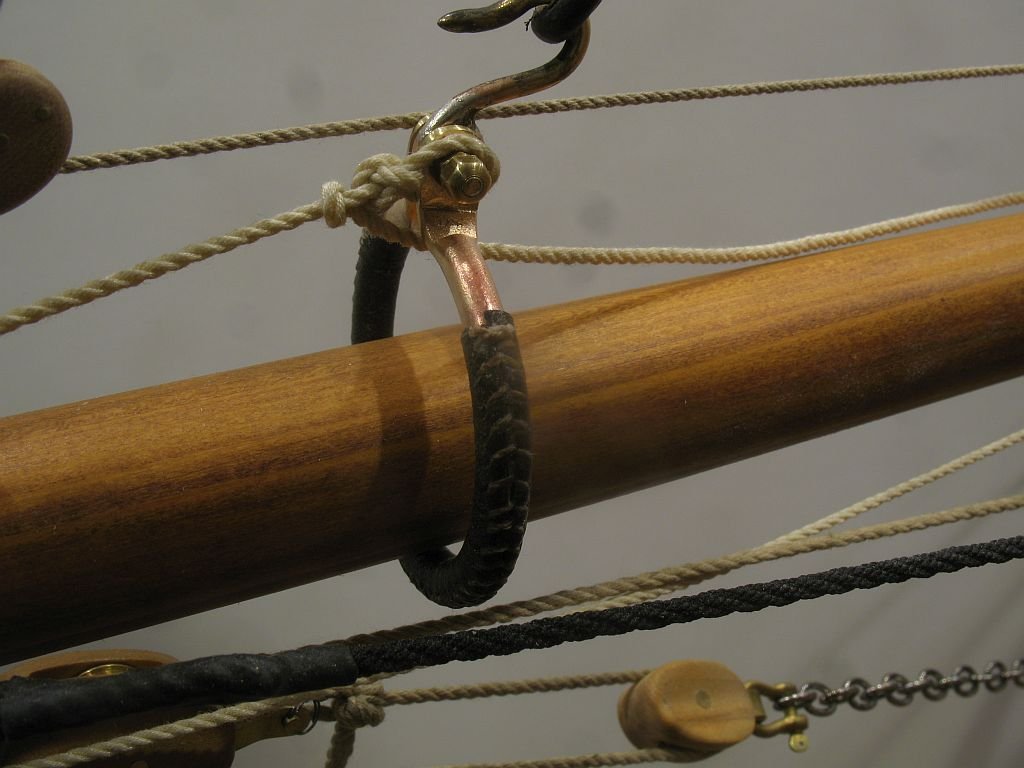
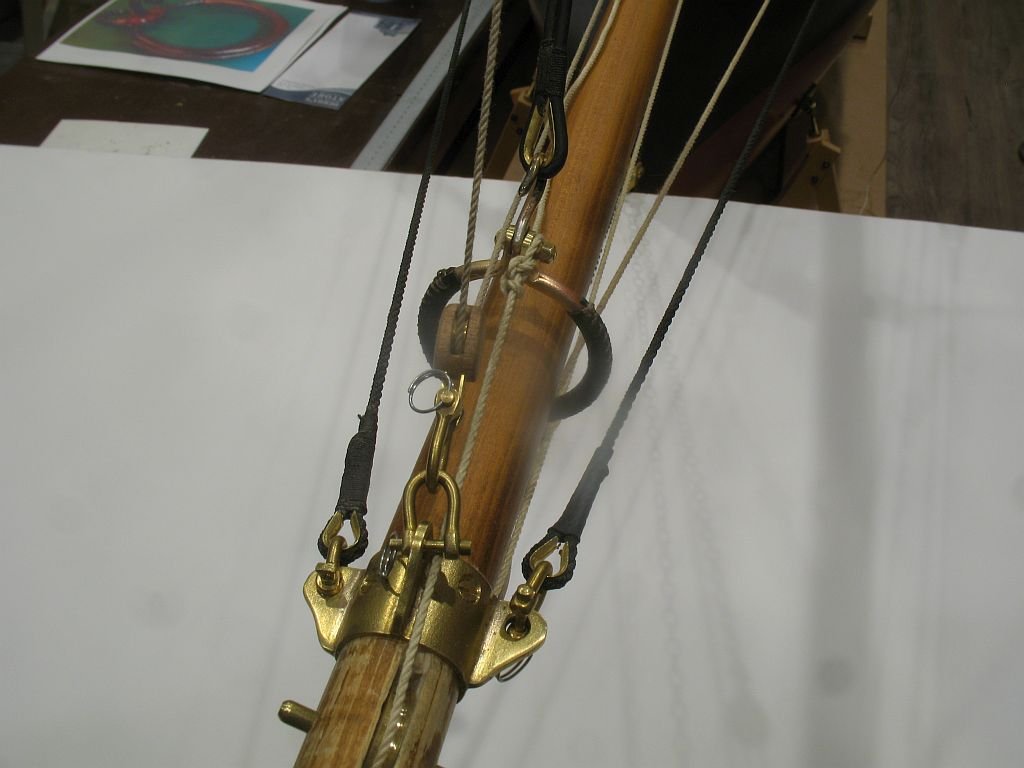
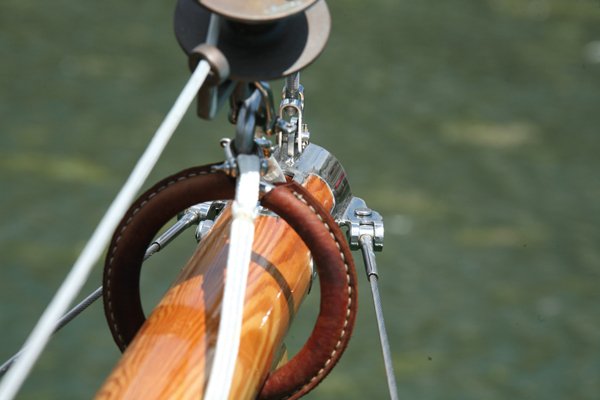
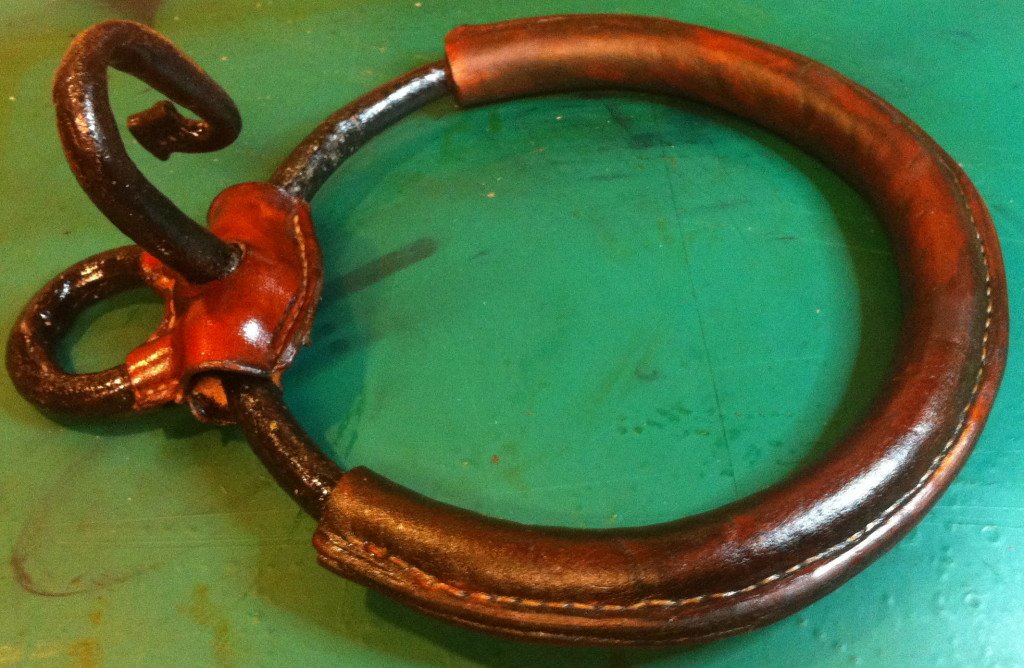
Thanks everyone for the informative and complementary input. Well somebody said at some time in the log way back that I was like a dog with a bone.....😀 The saga continues. I thought about the baseball stitching a lot in the last day, and gauntlets are always compelling so thanks for that Bob. A new ring slightly smaller in Diameter. After three times flattening and annealing Folding and drilling tapped 2x56 to clamp it together. and a strip of quite thin leather from a salvaged bit of clothing. to check the length. The strip was marked with 2mm increments and a small awl punched holes. After reading and watching some demos on the web I was ready to start, the one caution was to use blunt needles so I dulled a couple of fine needles for the job. First threading. Last and tied off. Mama ring, Papa ring, and Baby ring. I used the hook off the second Traveler on the new one. The leather and threads have been waxed I stained the treads a little to tone them down. Reinstalled And here it is clear of the bowsprit shrouds. I'm done with this puppy and will be movin' on. Michael
-
Marvelous work Javier! One does not realize how tiny some of these parts are until the model is in your hands 28 belaying pins for example. Michael
-
Hello Patrick I like the sculpture that is in the living room. Of course all the other furniture is amazing as well. Michael
-
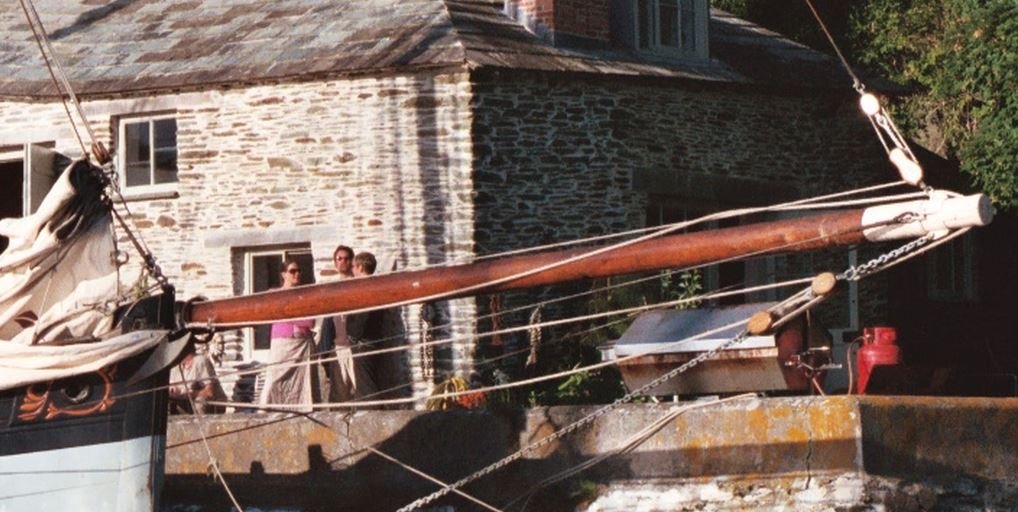
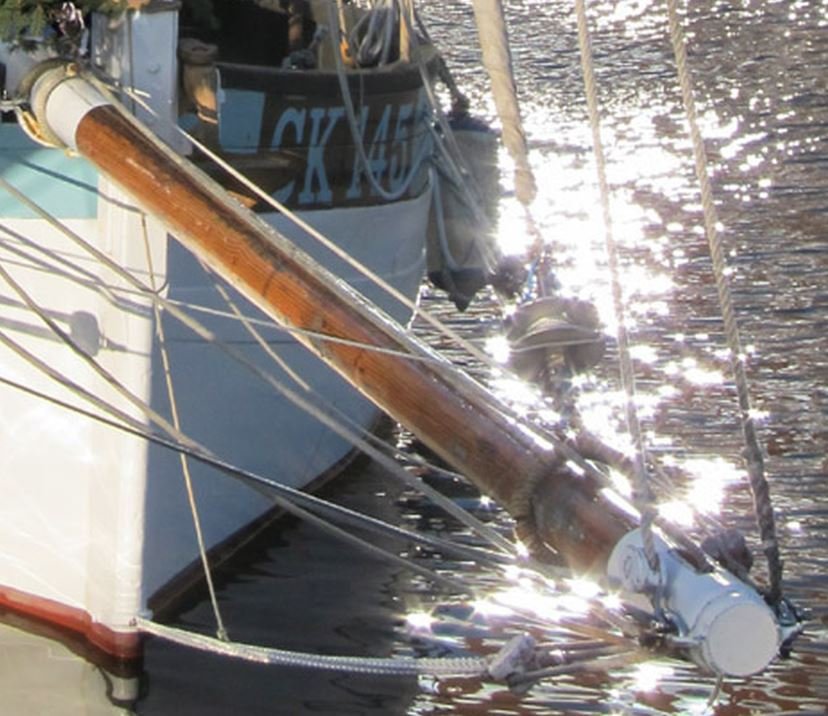
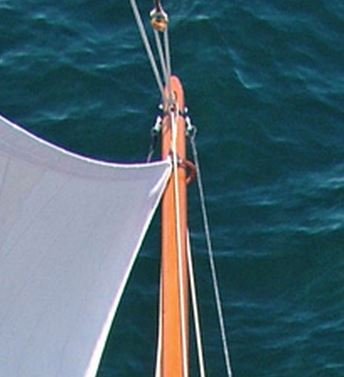
Bob thanks for the compliment about the quality of my work I appreciate it a lot. I'm afraid you lost me here bob. I am a visual type learner and a picture of what you are explaining would be really helpful. In making my decision to do the leather the way I did was basically because all the examples that are clear on the net and the Commercial travelers for sale appear to be done this way. as these are from the net sorry I don't know how to shorten the address without using the link in the header https://www.google.com/url?sa=i&rct=j&q=&esrc=s&source=images&cd=&cad=rja&uact=8&ved=0ahUKEwjn_Yf57ITfAhU9CjQIHettDjEQMwhFKAowCg&url=http%3A%2F%2Fwww.unlikelyboatbuilder.com%2F2015%2F06%2Foil-or-varnish.html&psig=AOvVaw0EGuwX9M6x0i_Yv6PWhW_u&ust=1543967409551916&ictx=3&uact=3 https://www.google.com/url?sa=i&rct=j&q=&esrc=s&source=images&cd=&cad=rja&uact=8&ved=0ahUKEwjn_Yf57ITfAhU9CjQIHettDjEQMwh8KDQwNA&url=http%3A%2F%2Fwww.blackwaterleather.co.uk%2Fre-leathering-a-bowsprit-traveller%2F&psig=AOvVaw0EGuwX9M6x0i_Yv6PWhW_u&ust=1543967409551916&ictx=3&uact=3 And in the second picture you posted the ring is covered in leather the same way. Again Bob I used examples that I have looked at on the net for my inspiration as in this example on Polly Agatha relaxing at Cowes or in this example of Betty in Amsterdam or in this example on Integrity built by Stirling recently. and finally this well crafted example on White Rose from ClassicBoats I certainly agree that there is a possibility of chafing of the leather as it gets close to the end of the bowsprit perhaps I need to make the ring a little smaller as in the example above. what is interesting about this example is that the sheave is on the bow side of the cranse iron whilst in the other example it is ahead. I don't need to say much about the way the leather is stitched although the baseball stitch would possibly be more aesthetically pleasing. Perhaps I shall try it on a smaller ring sometime. Michael

-
Fabulous images Rob, I cant imagine what coming about would have been like with all that sail up. Likely easier to gibe. and of course running before or just off the wind would no doubt have been how these ships followed the trade winds anyway. Michael
- 1,208 replies
-
- 2
-
-
- great republic
- clipper
- (and 1 more)
-
Wonderful Doris and thank you for the step by step tutorial. I am sure that the earlier modellers would have liked to have had the modeling clay that you are using. Michael
- 1,035 replies
-
- 8
-
-
- royal katherine
- ship of the line
- (and 1 more)