
HOLIDAY DONATION DRIVE - SUPPORT MSW - DO YOUR PART TO KEEP THIS GREAT FORUM GOING! (Only 20 donations so far - C'mon guys!)
×


michael mott
-
Posts
5,197 -
Joined
-
Last visited
Content Type
Profiles
Forums
Gallery
Events
Everything posted by michael mott
-
 So Dan instead of mounting them on mirrors would it not be easier to make them separately and then glue them together as one? it would save a lot of masking and fiddling I think. Michael
- 287 replies
-
- 3
-

-
- michelangelo
- ocean liner
- (and 1 more)
-
Lovely work Johann. Michael
-
Dan, great to see the Michelangelo closing in on the launch. Your new project sounds extremely challenging I wonder perhaps building the model as two halves so as to avoid becoming schizophrenic. Michael
- 287 replies
-
- 4
-
-
- michelangelo
- ocean liner
- (and 1 more)
-
Interesting project Daniel. I couldn't help smiling at the date of the receipt because it happens to be my Birthday, 71 next year. Notions counter aka sewing store. or (Michaels). Michael
-
Brass - Shining Small Parts
michael mott replied to Koa4225's topic in Metal Work, Soldering and Metal Fittings
When you say too small (your name?) how small are they and what boat are they for? Perhaps a picture of them and size would be useful. In order to polish anything there is a need to use some form of movement with a medium, cloth, felt, with a polishing compound. This can be as simple as some toothpast on a piece of Matt board and rub the item back and forth. Sometimes after brass has been polished and then cleaned with alcohol it is sprayed with a clear laqueur. Michael -
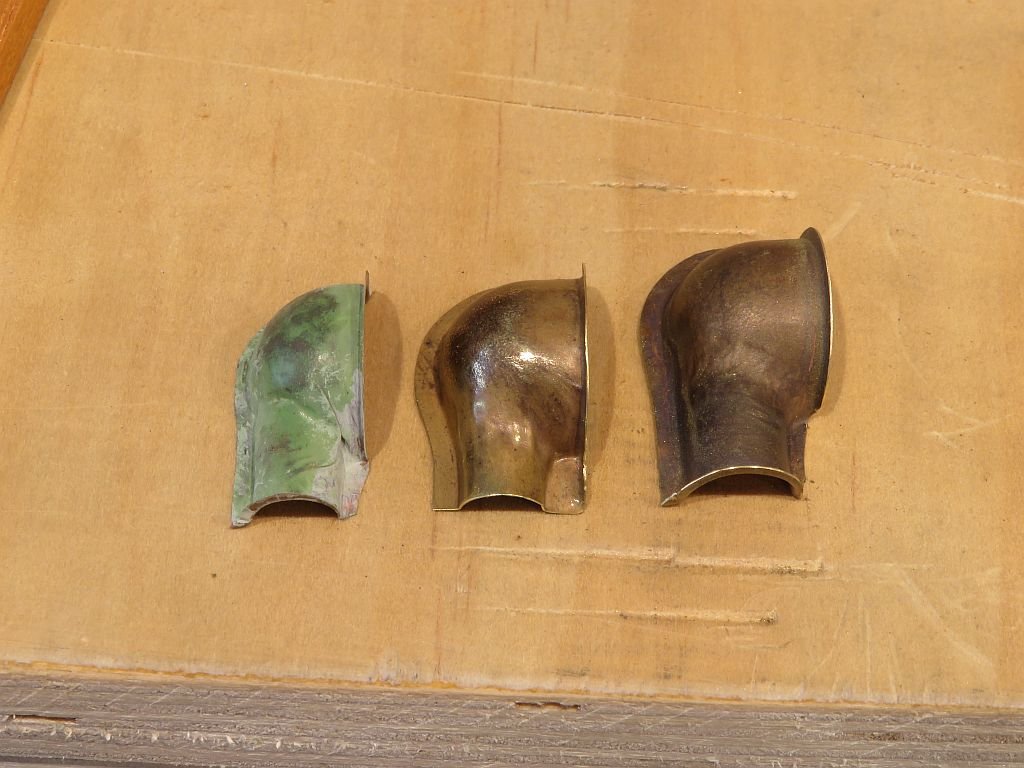
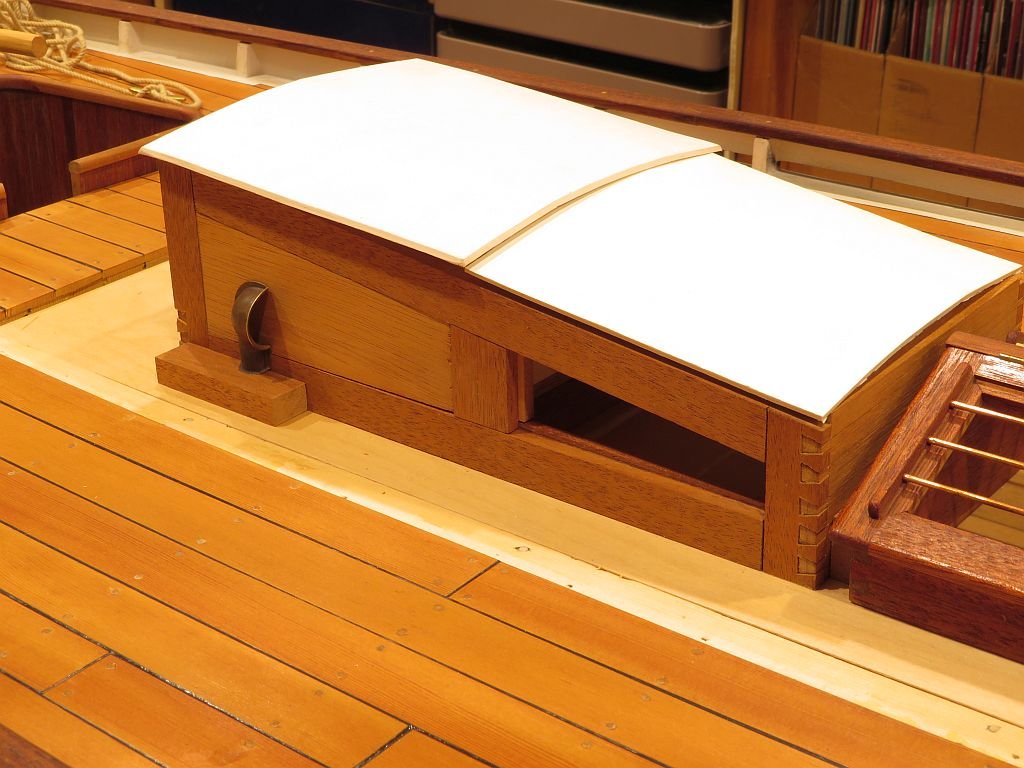
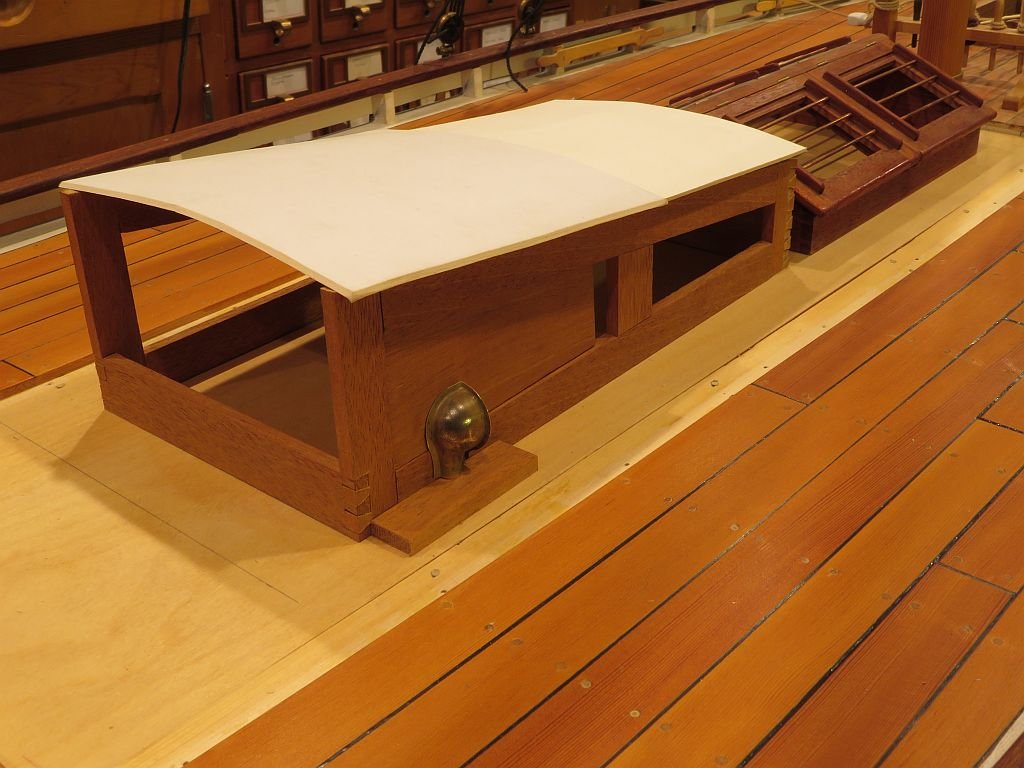
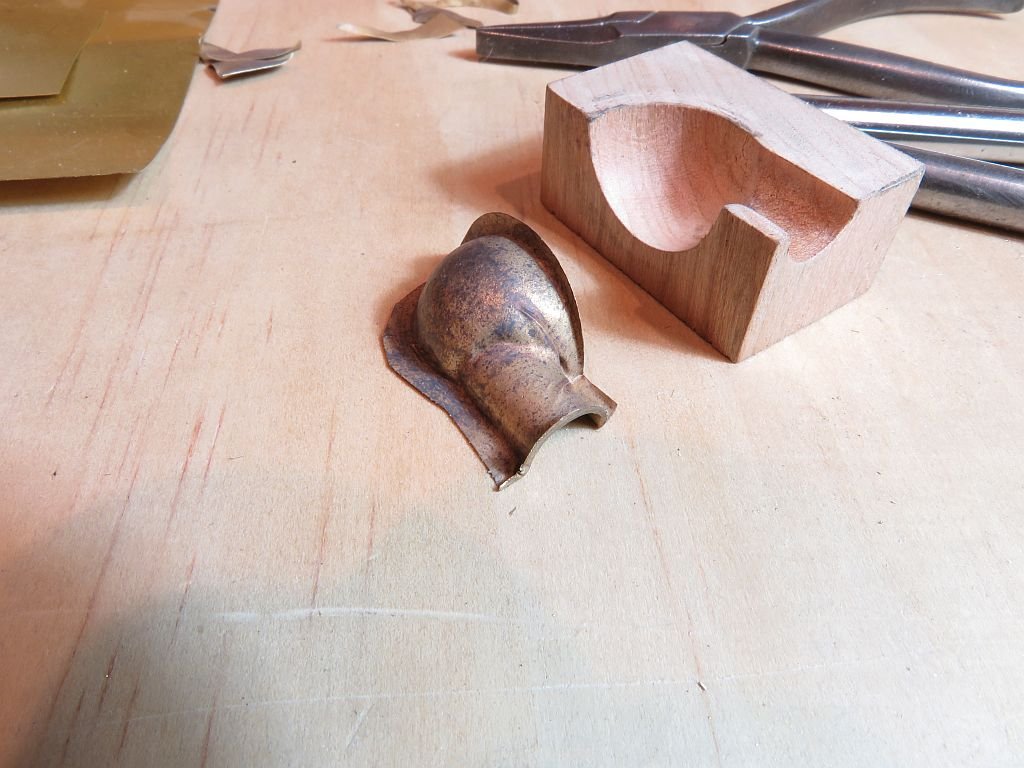
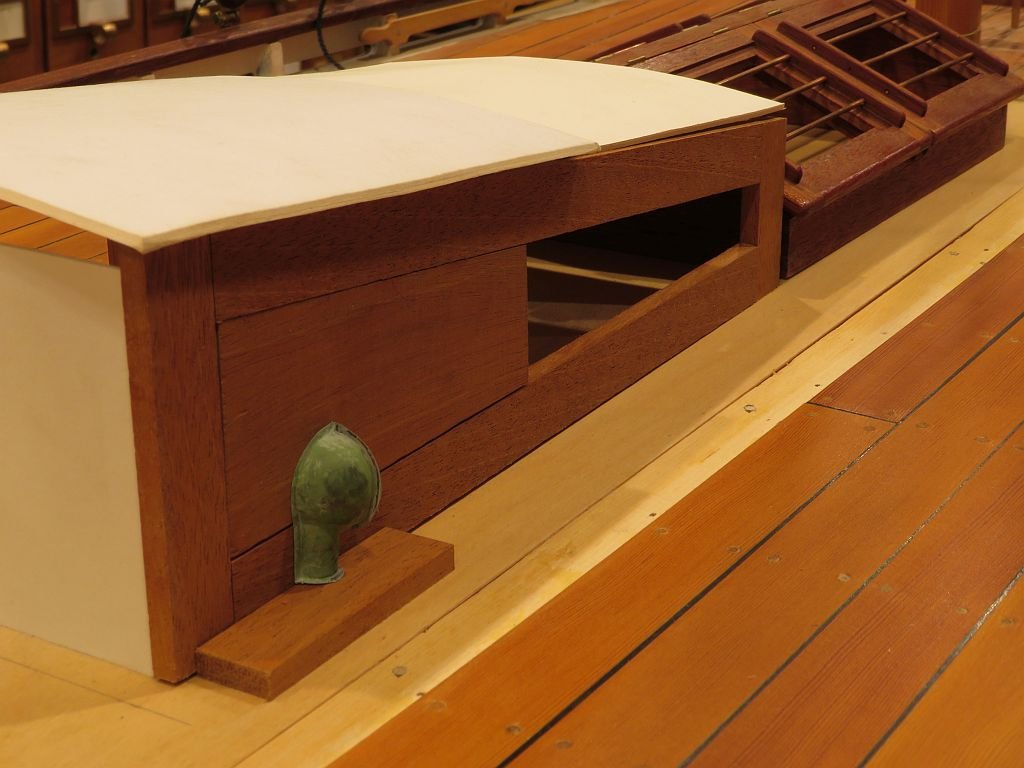
Thanks Bedford. Here is a shot of the progression of the vent. I have been working on the structure of the companionway it is basically dry assembled at the moment. I keep leaving the card on the top, because I actually like the contrast between it and the sides. Michael

-
Mark super work on the horse, These details are really bringing this beautiful model of this boat to life. Michael
-
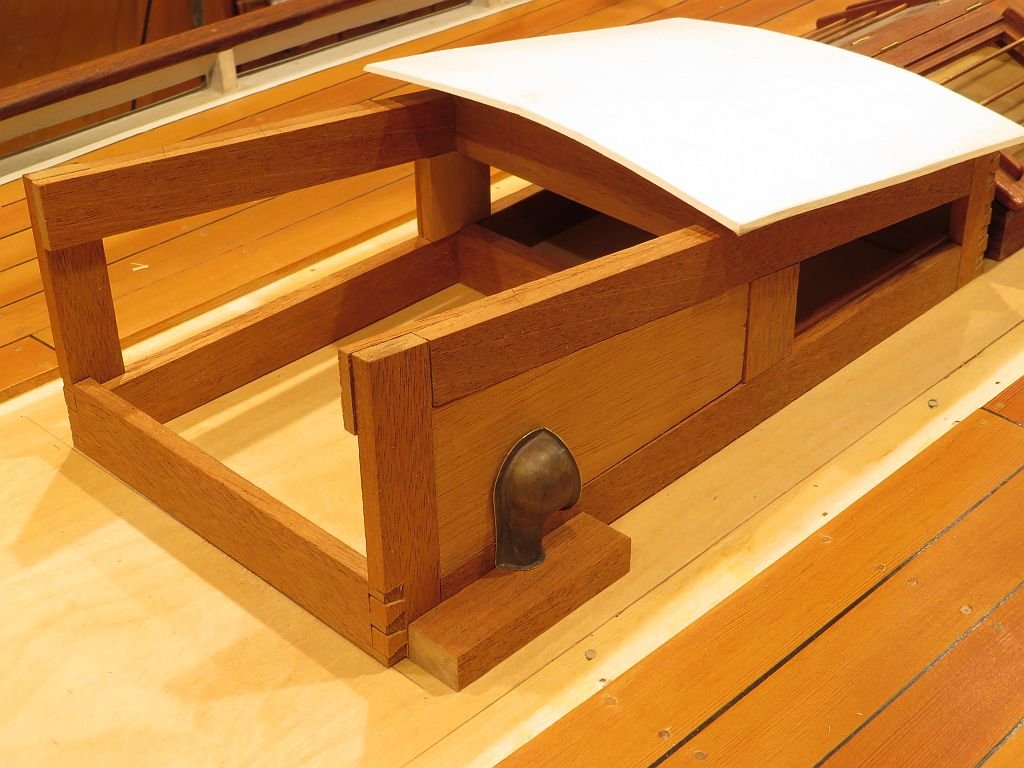
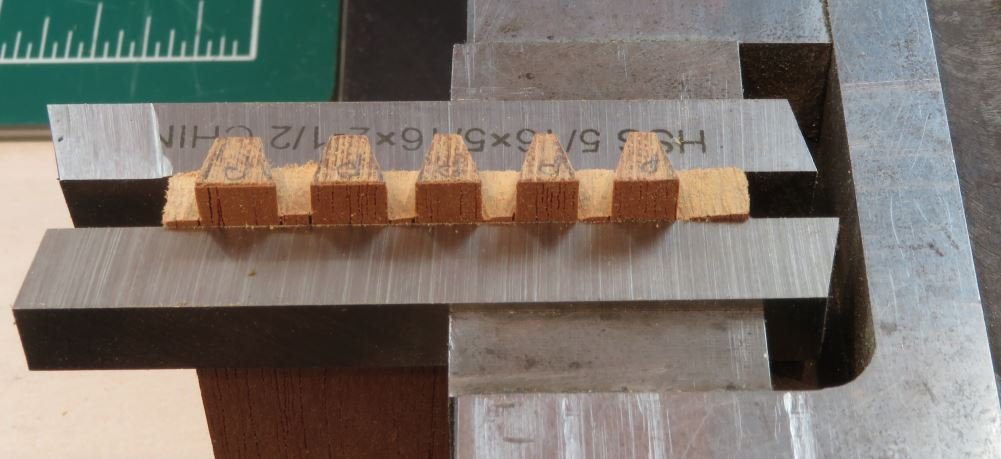
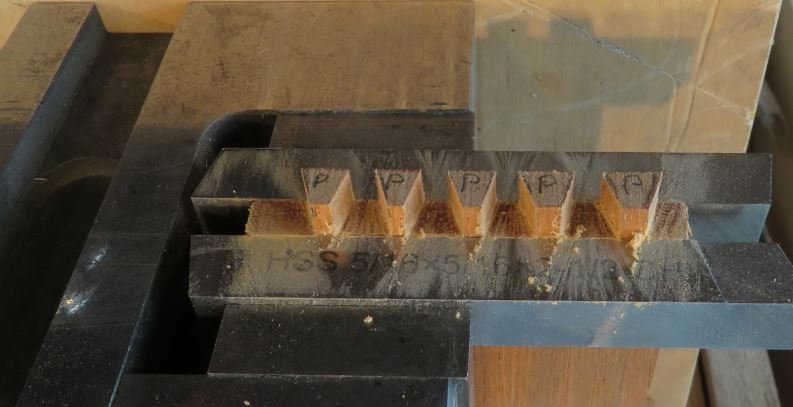
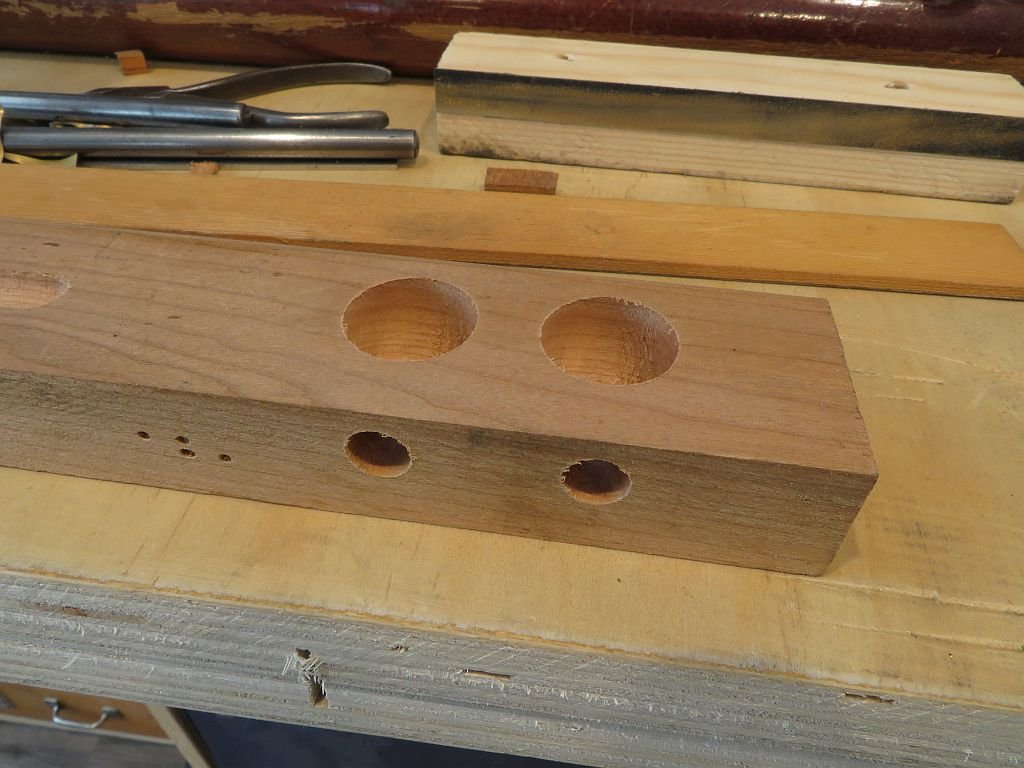
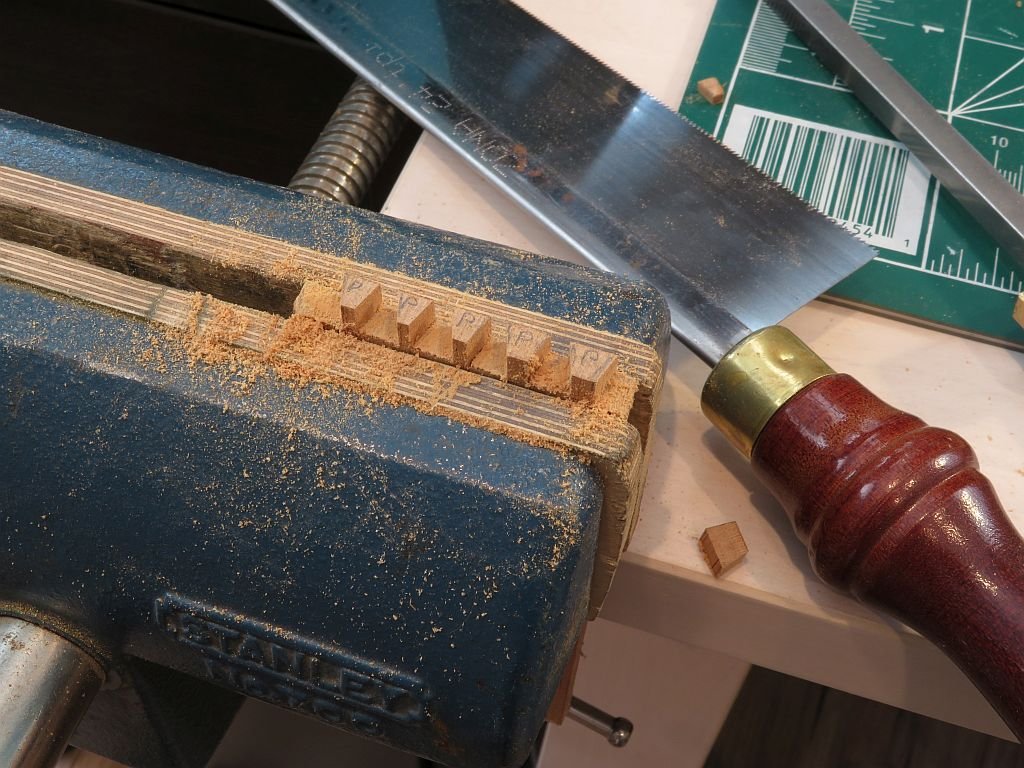
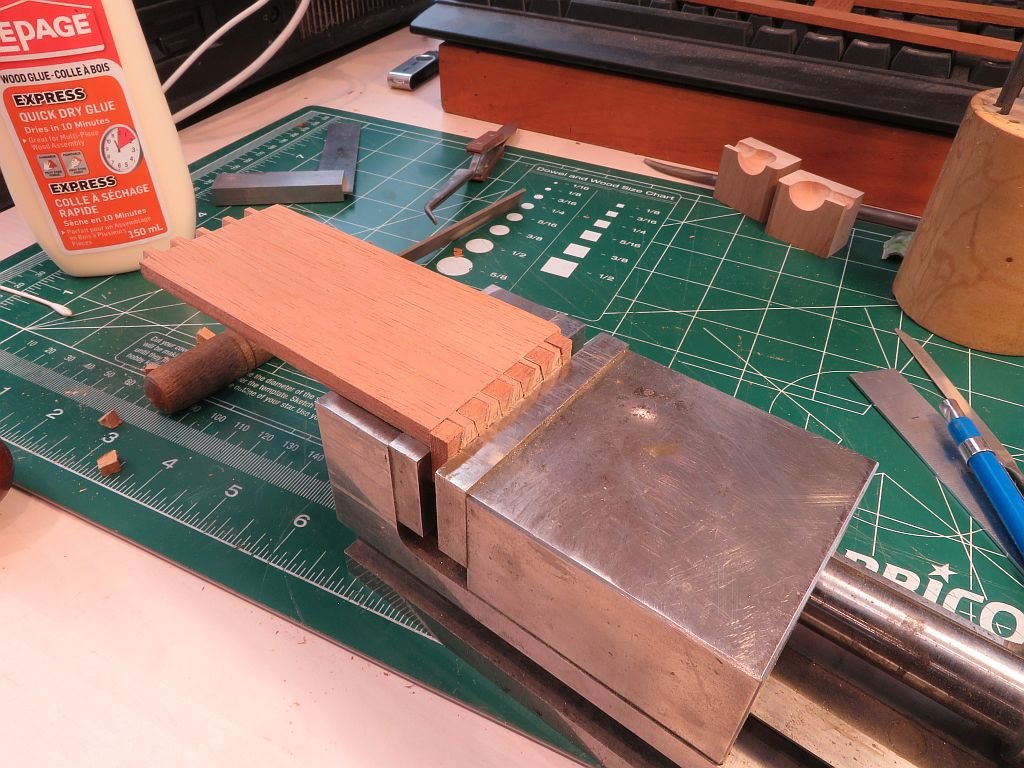
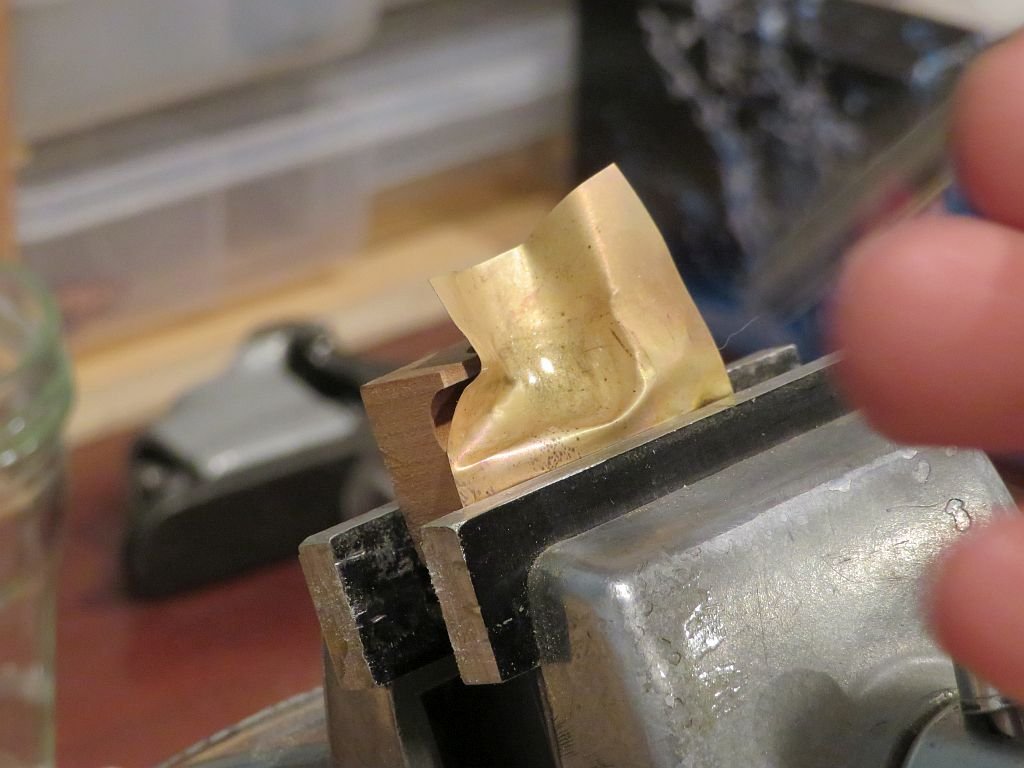
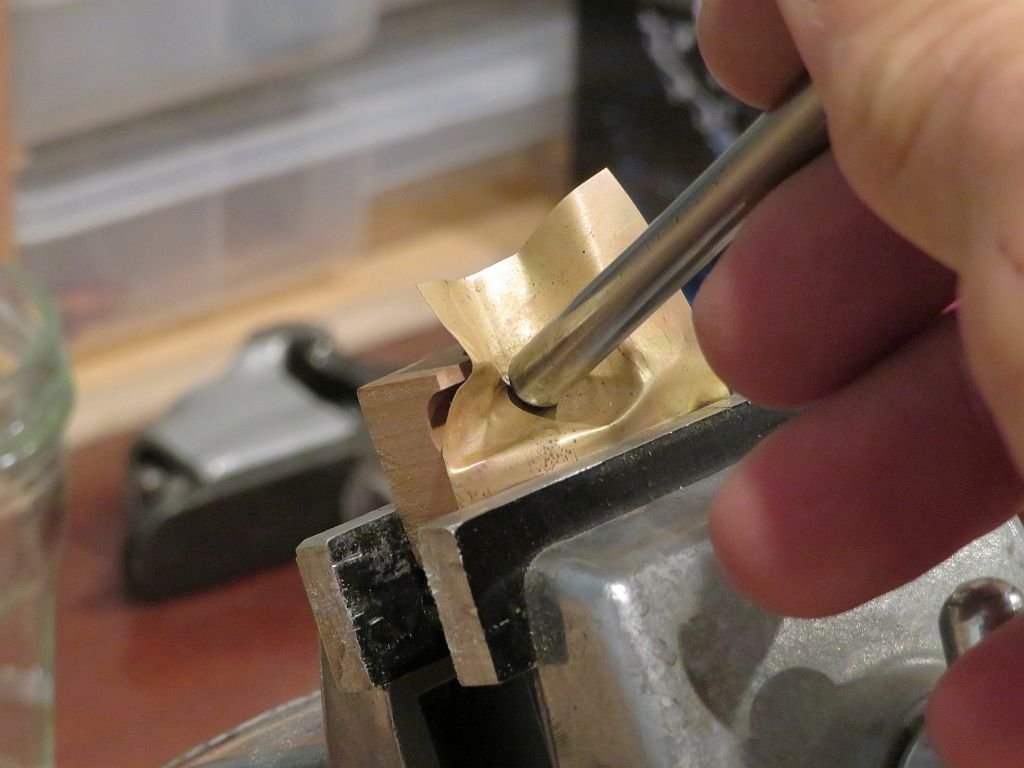
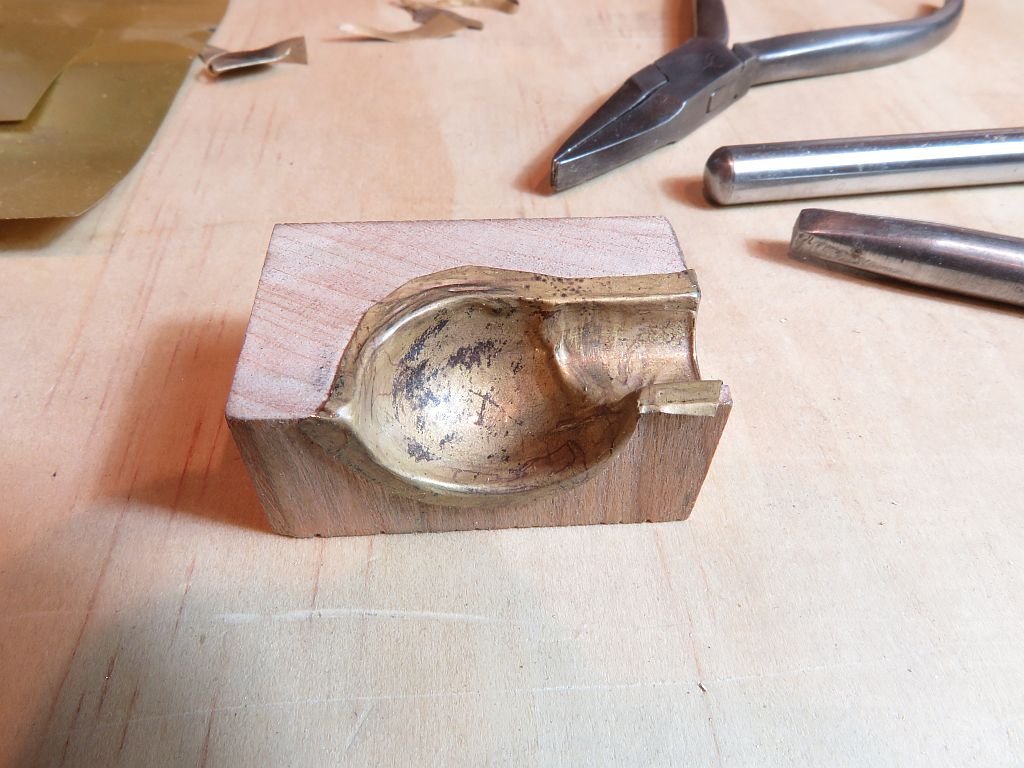
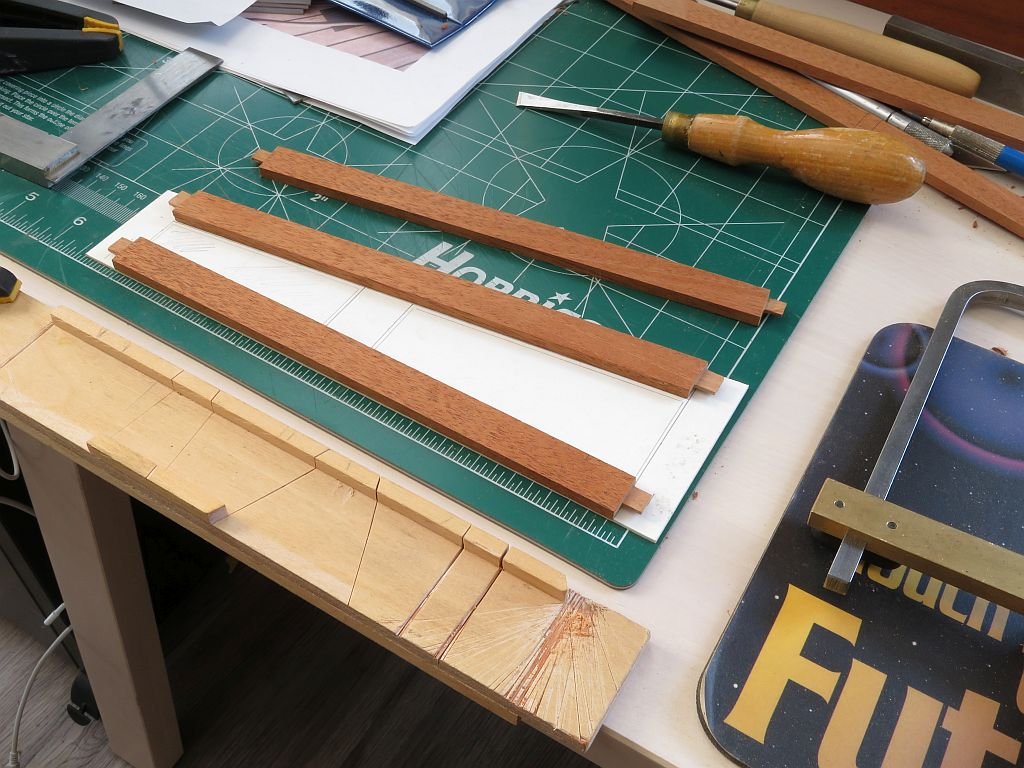
Thanks for all the likes and fine comments. A bit more work today first order was to make a couple of left and right Dorade vent forms first a 3/4 diameter end mill then into the side with a 5/16 these were then cut to create the right and left sides. Switching gears to the companionway the side panels needed to join with the front and rear cross panels, for this i chose dovetails the same as the skylight. The initial cuts for the pins were done with the small back saw and the jewelers saw. Next they were clamped in the vice with some tool steel guides and cleaned up with a few files. Then the pins were transferred to the sides and the dovetails marked and cut with the jewelers saw and cleaned up with the files. the front panel required the most dovetails. you can see the primary vent forms in the background I worked on the starboard form first using some .008" brass and also made a domed plug from maple to assist with forming the main bowl section. Here is a shot of the companionway dry assembled with a scrap panel to see how the new vent looks. It is much more durable in the thicker brass, but I think I need to work the form a bit more, the tube section down to the box will need to be opened up a bit to form a better flow it looks a bit restricted. I will also keep it polished. Michael
-
Thanks for the info Chuck. Michael
- 421 replies
-
- 5
-
-

-
- medway longboat
- Syren Ship Model Company
- (and 1 more)
-
very nice Chuck Are you using curved sanding sticks with the 220 adhered to them? Michael
- 421 replies
-
- 5
-
-
- medway longboat
- Syren Ship Model Company
- (and 1 more)
-
Carl the process of annealing allows the metal to stretch as it stretches it work hardens and so each time it is annealed it allows for a bit more stretching. I would not be able to form the brass or copper into such an intricate shape without the annealing. Michael
-
The thing that I do like about this scale is the many options for experimenting with processes. Today I made a small form for making the dorade vents and used some .003" brass shim stock to see how easy the shape would be to replicate. here are the results. The first annealing second annealing After 4 more annealing s it was looking promising A bit more trimming with some small scissors and a dab of paints So now I know that they are possible I think some heavier shim-stock say 006 or 008 might be better then some proper patina. Michael

-
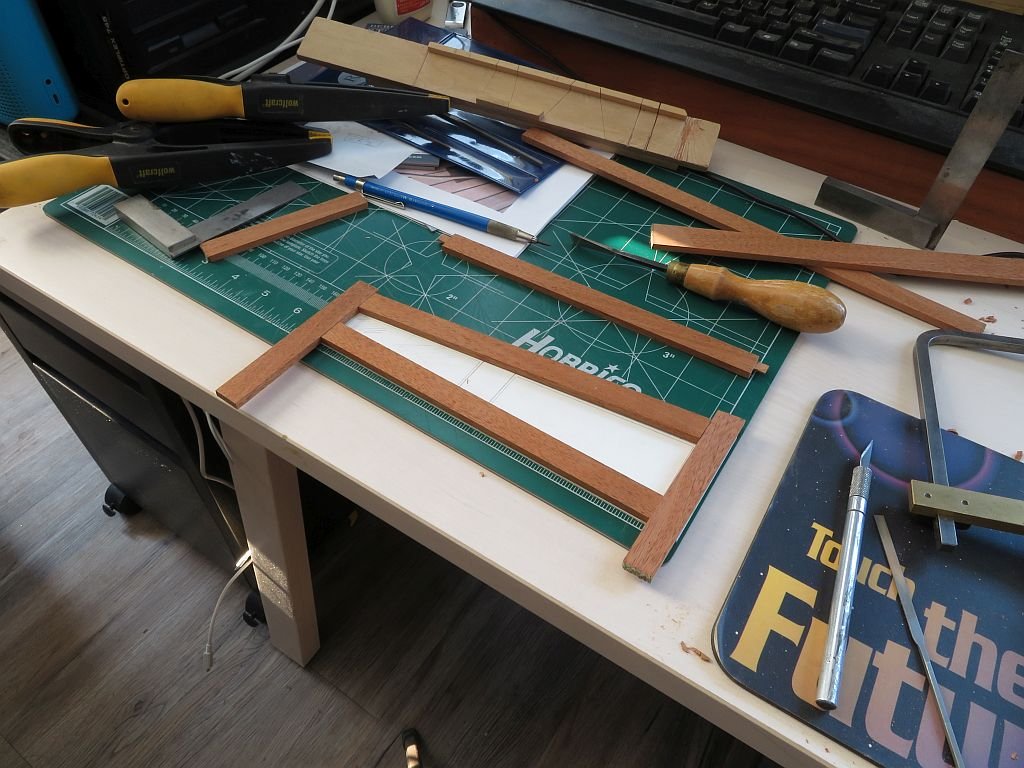
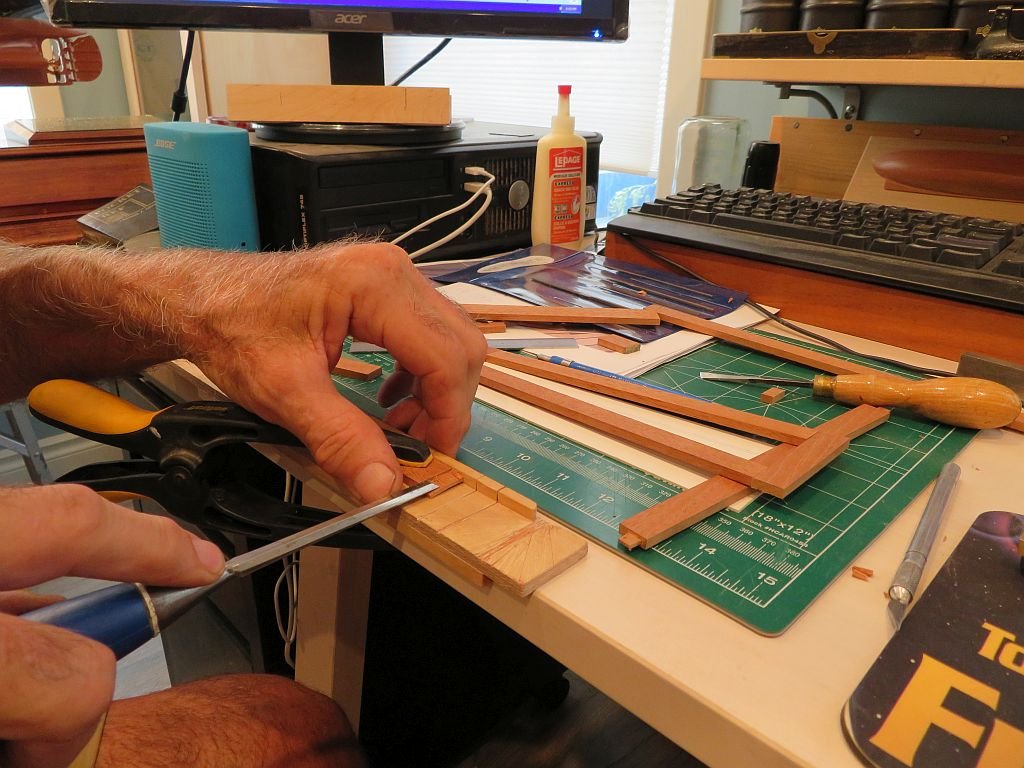
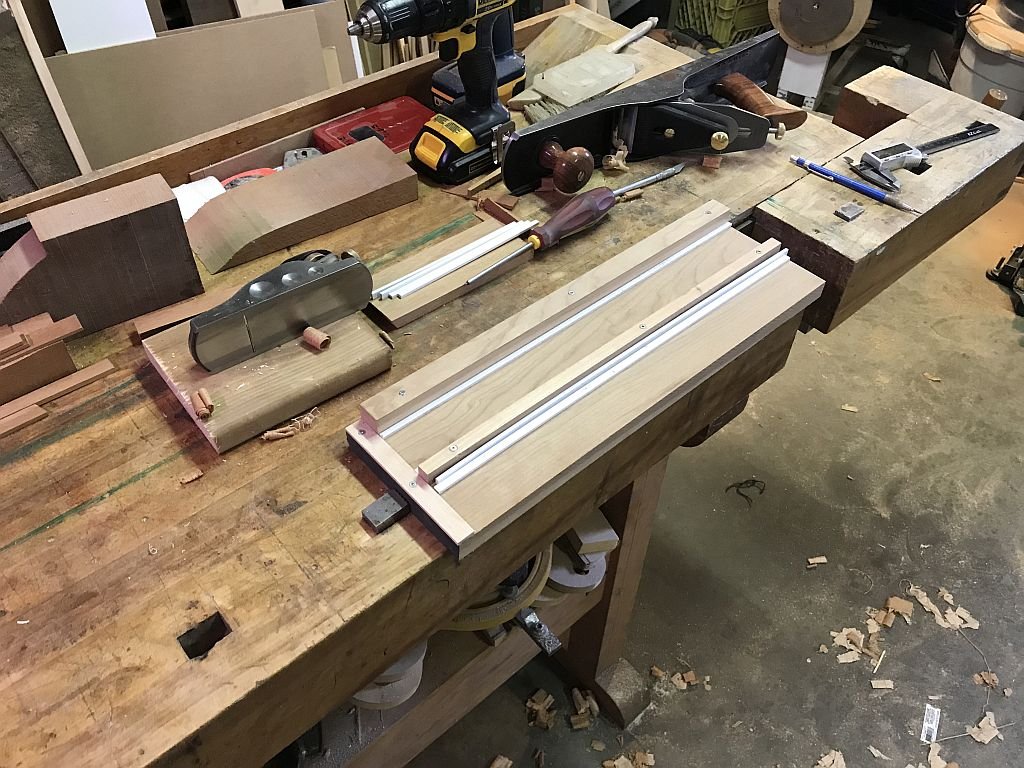
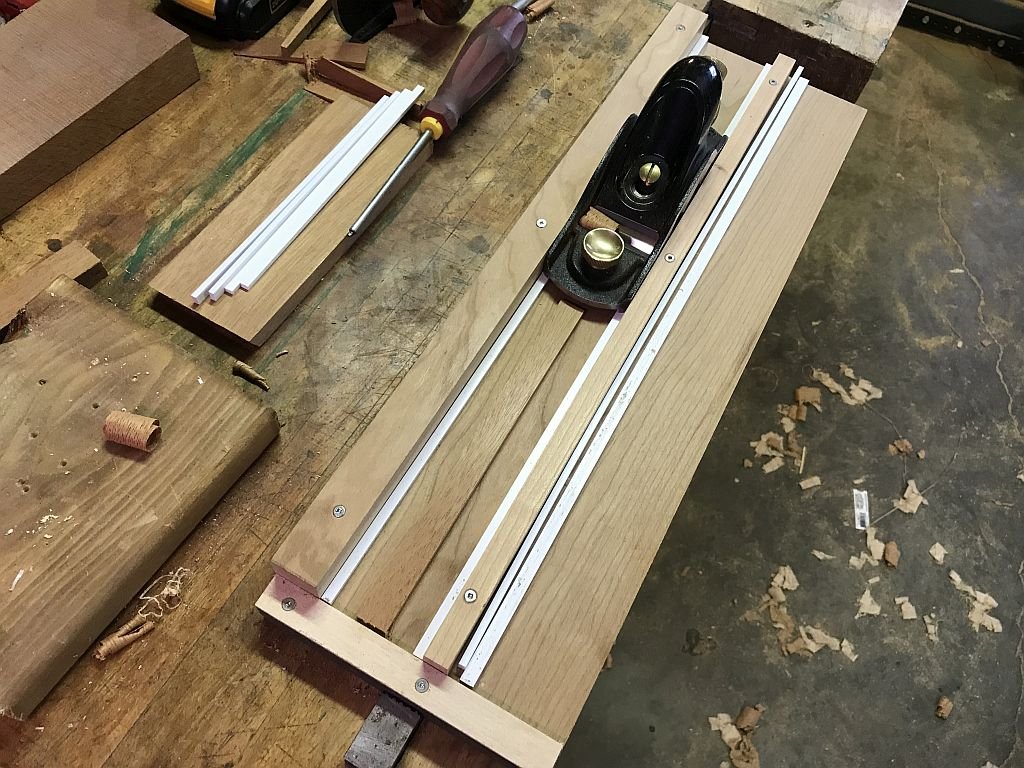
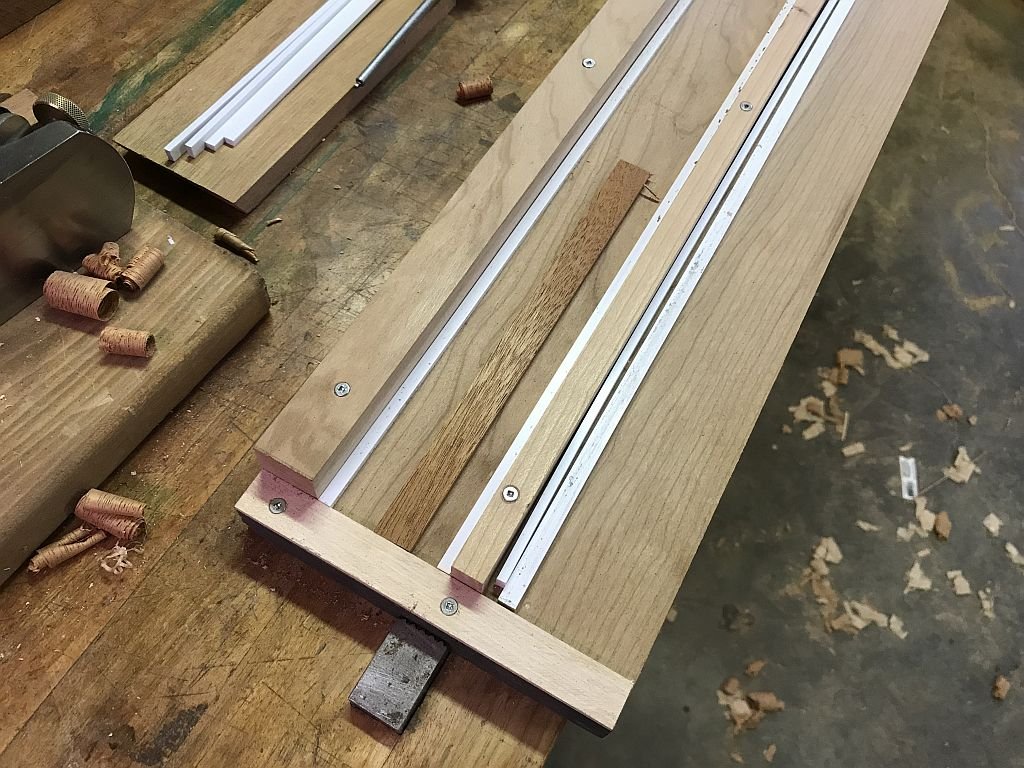
Thanks Pat. I needed some 1 1/2" mahogany so cut some a tad over thickness then thickness planed it down with a simple jig and a block plane. by using some 3/16 x 1/8th evergreen strip and placing them in the corners of the jig i can plane either or thickness by flipping them up or flat. I then cut the strips to width with the table saw. Next was to lay out the wood over the template to mark the angles and decide on the joints, tenons seemed reasonable. They were formed with the usual assortment of saws and chisels. And a test to get a feel for what the new companionway will look like. Michael
-
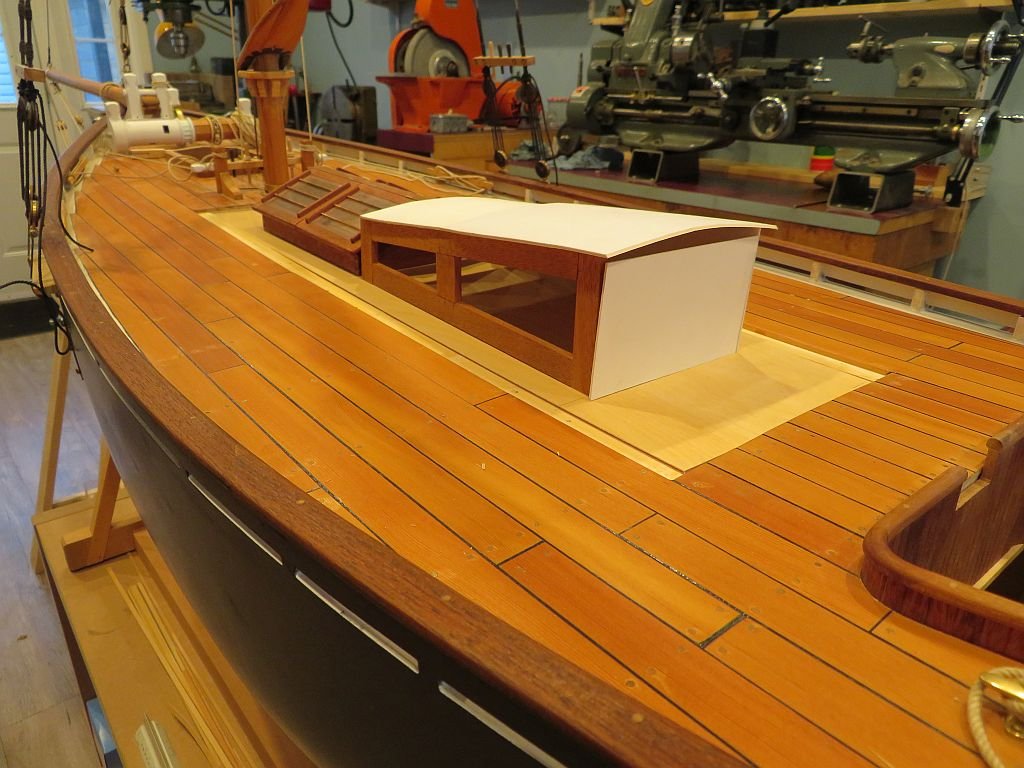
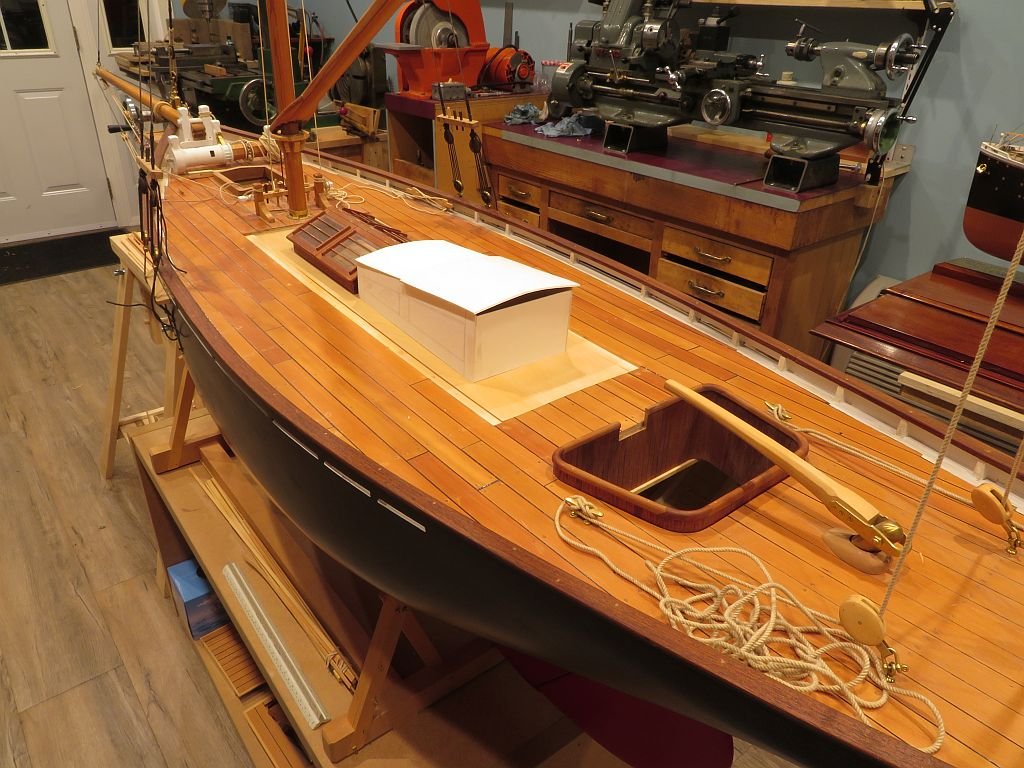
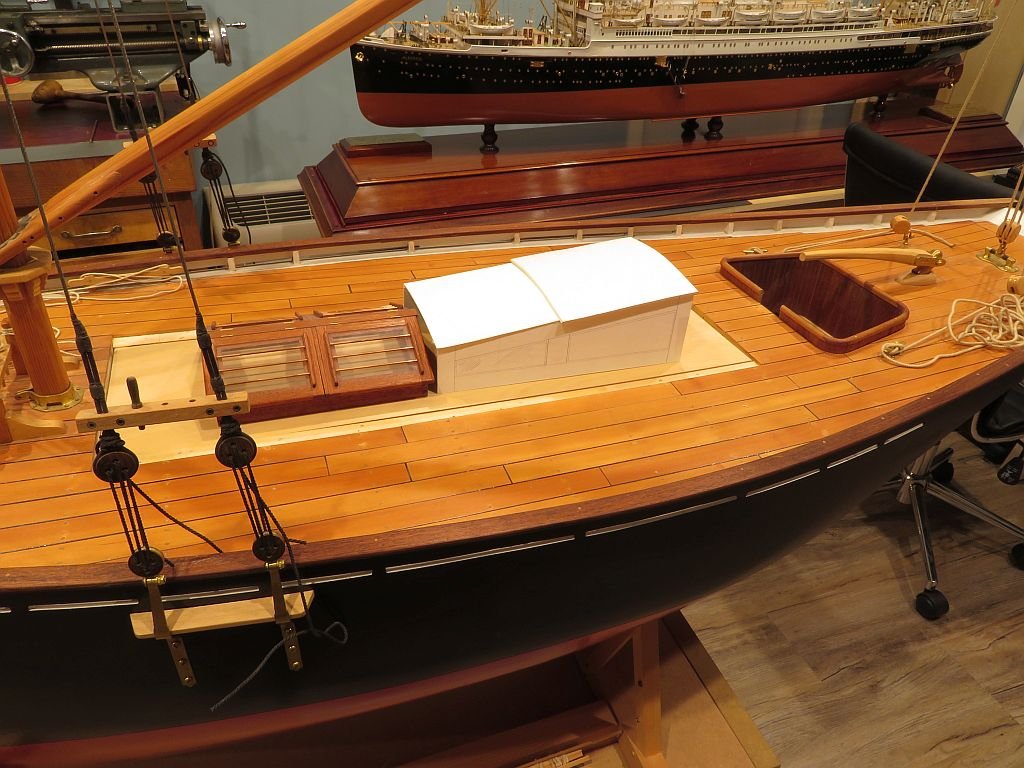
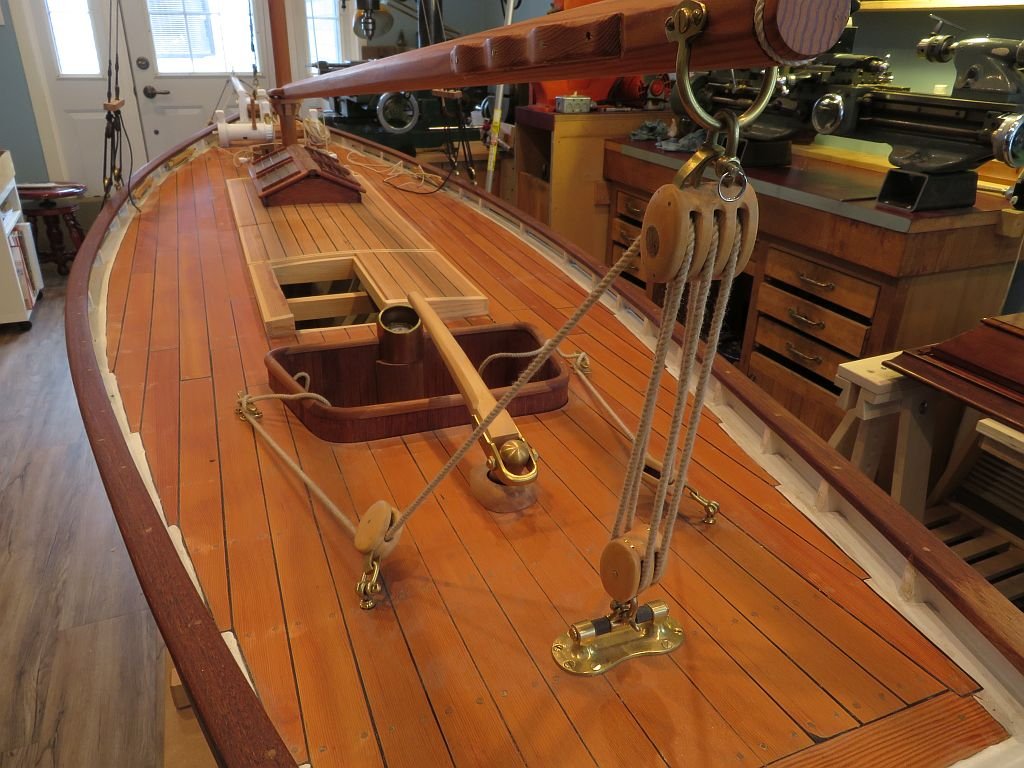
Had a nice visit with Jeff (Chasseur) last evening when he stopped by to see the Albertic. More reworking of the companionway. I am reworking the area that opens up to the hull. The opportunity to rework the position of the skylight which was a bit too close to the mast will be able to be sorted as well. I am going to widen the companionway to scale 36" (4.5"actual) so that it aligns with the skylight similar to the one on the Polly Agatha. So just to save mahogany I made a prototype out of some cardstock. I will make a new deck piece by laminating the deck fir planks over the 1/8th aircraft ply sheet once it is properly curved and the cut outs for the companionway and skylights are done. I actually spent a good part of the day working on upgrading the drawing that I first made when this project began way back in 2012. so a lot of measuring and fixing the drawing which was rudimentary at best. Michael
-
Yes Mark they certainly are I am thinking that a small form tool and making them out of some annealed brass. Michael
-
Many years ago I built a glass and mahogany case for a model of the Sea Witch that a friend owned his model was very well made. so I shall follow along. Michael
-
Chuck that shot of the stern with the planks fitted to the curves needs to be pinned so that we are all reminded of what beautiful planking looks like. Michael
- 421 replies
-
- 9
-
-
- medway longboat
- Syren Ship Model Company
- (and 1 more)
-
Thanks to all who have made fine comments about me getting off my seat and beginning work again on this project. I went sailing yesterday and today so no work done in the shop. But with the temperatures hovering around the 30 Celsius, I prefer 20 ish and the shop being air conditioned, I can see that time in the shop is time well spent modelling and keeping cool. I rather like the companionway on Polly Agatha I also like the seats in the cockpit. Michael
-
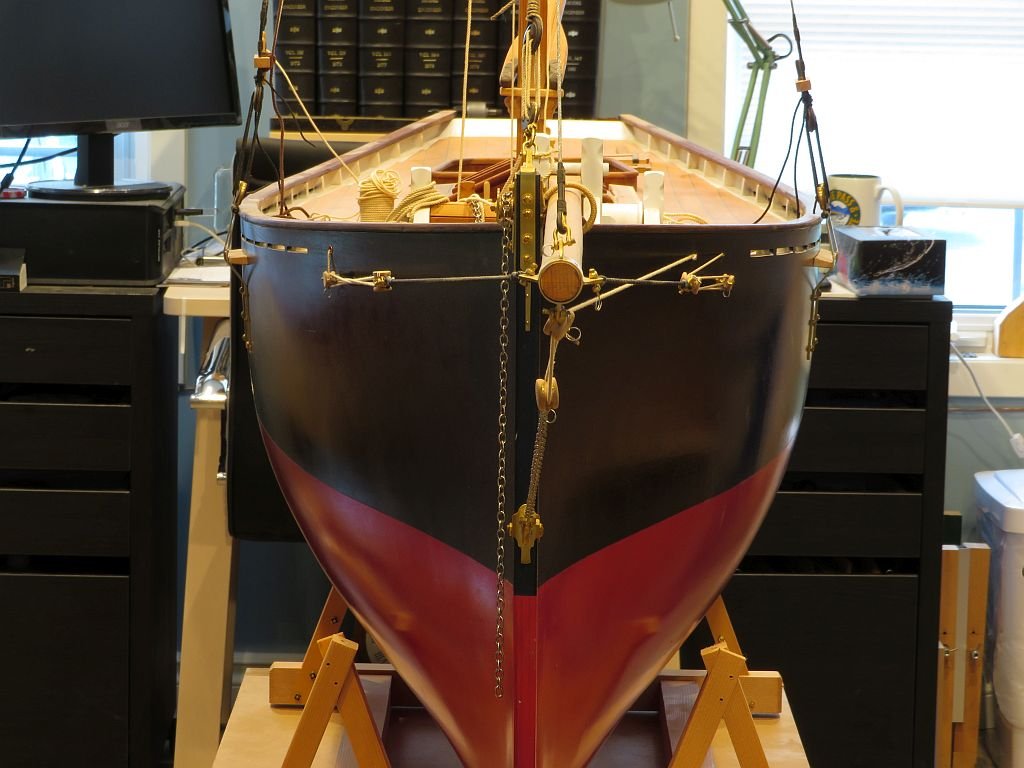
Thank you all for your kind remarks about this model. She has been sitting there waiting for me to get serious about finishing her. The first area that I want to get sorted is the access to the interior and the companionway. I have been struggling with this area for some time on and off and now it will get done. Chuck the fid gets pulled from the topmast and then she will just clear the doorway at 73 inches, no worries. Michael
-
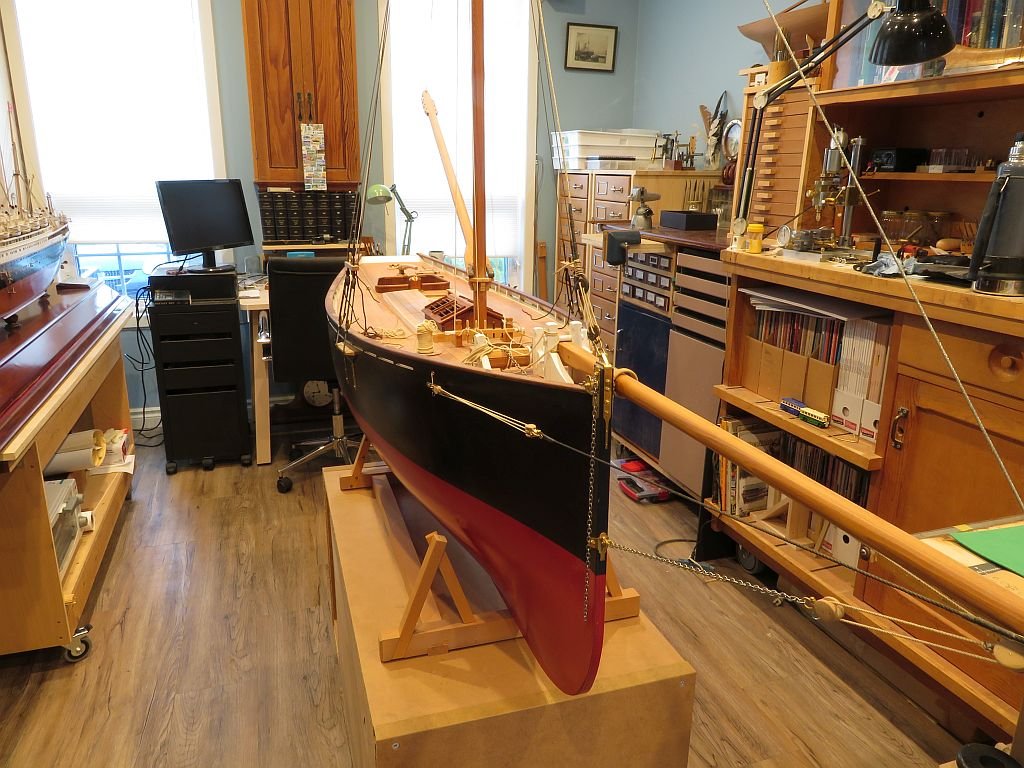
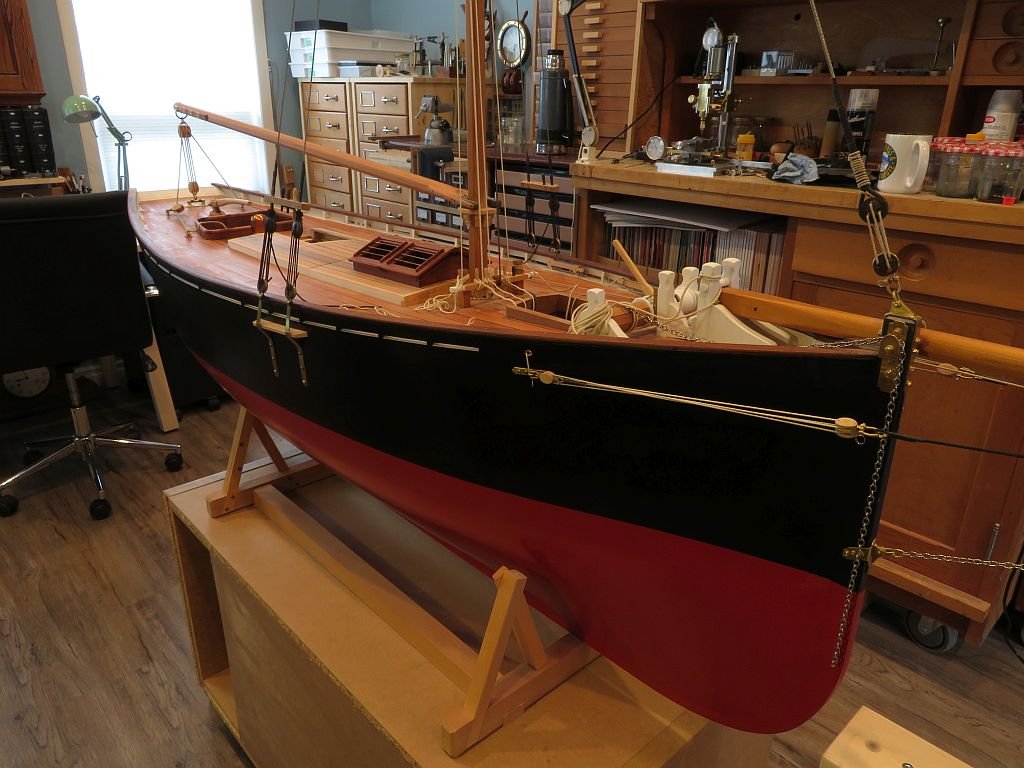
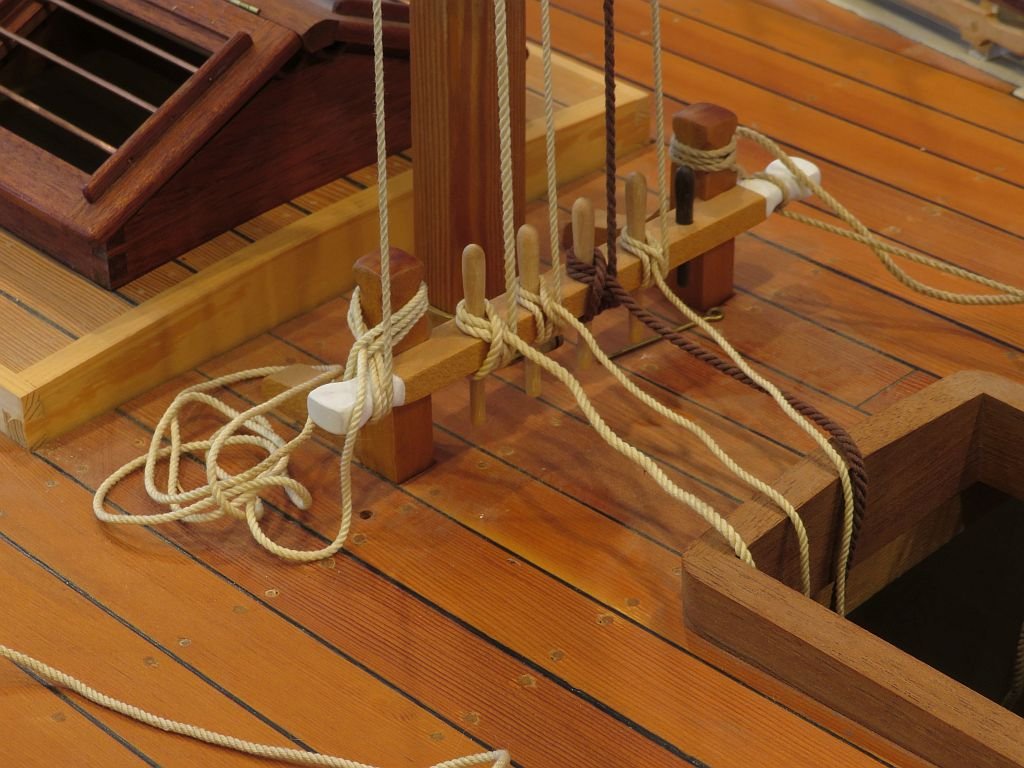
She is back in the centre of the shop, ready to be worked on. I whipped up a new portable stand from a surplus IKEA wardrobe. I did some tidying up and put the main-sheet back together. Now who can spot the poorly belayed rope. It really feels good to get the cutter back on the shipyard floor. Now off to have some supper with Judy. Michael
-
15' Dinghy by Bedford - FINISHED - 1:1 scale
michael mott replied to Bedford's topic in Non-ship/categorised builds
Ah Steve what a beautiful boat, that bow shot with the brass fittings really shows the craftsmanship you have brought to this project. Michael -
Hi Steve, Great to hear that you are still building. I am curious about your plan to change the Bedford. Also Look forward to seeing some pictures of you 1:1 Ian Oughtred boat I was given a book of his design work for Christmas a few years ago. I shall look up the boat design when I get home. Michael