


donrobinson
-
Posts
1,909 -
Joined
-
Last visited
Content Type
Profiles
Forums
Gallery
Events
Posts posted by donrobinson
-
-
Wonderful work, I've just caught up on your build after months of being away from the forum. Looking forward to seeing more
- mtaylor and Louie da fly
-
 2
2
-
I use a metal primer after cleaning the parts, then paint with acrylic paint
- RussR, thibaultron, Canute and 1 other
-
4
-
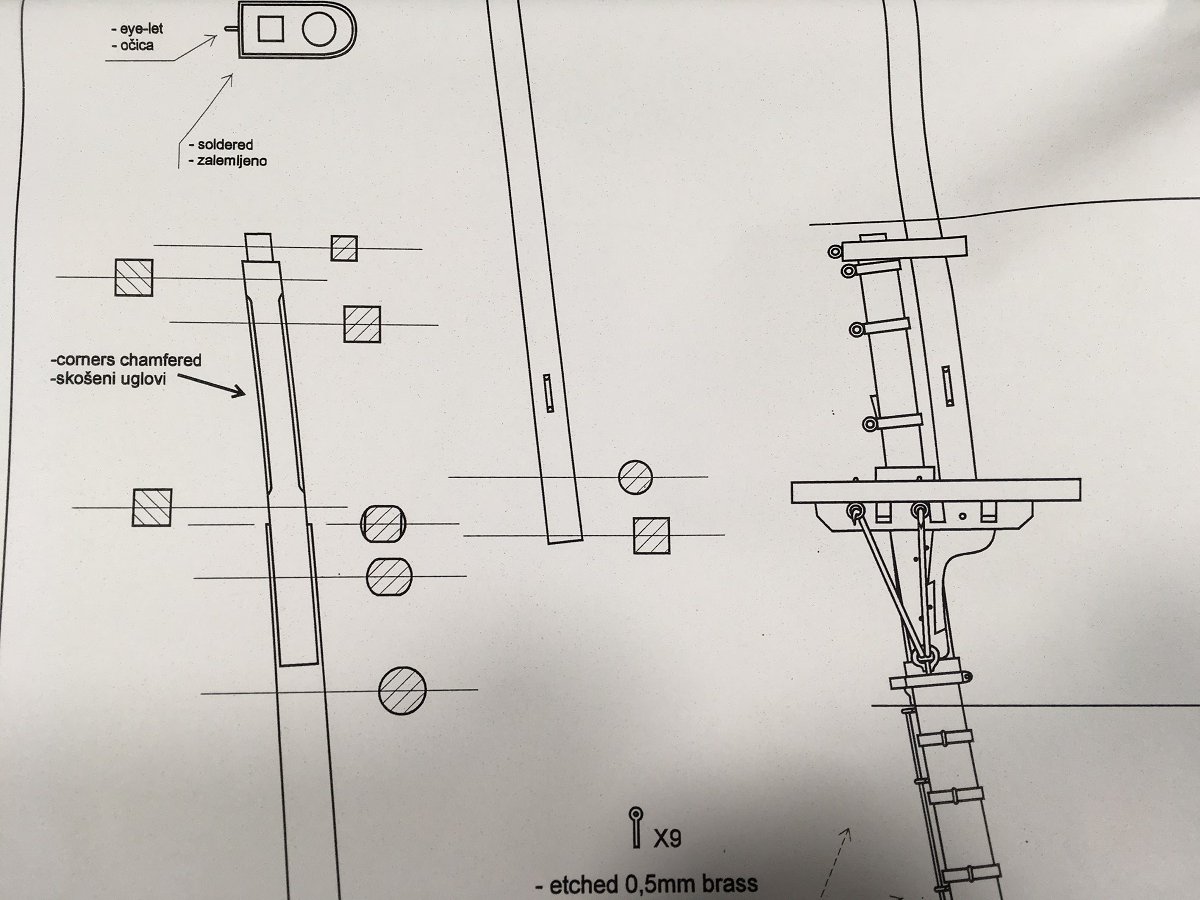
Looks good Ian, where are you getting boxwood from? Typically the area on the mast where the cheeks are attached to the mast is squared off or at least flattened off on two sides for the cheeks. Check out the plans for the Stefano foremast.
As you can see two sides are flattened off for the cheeks to sit on. It looks like in the picture the top end of your mast is squared off, do the cheeks not sit there?
-
Amazing! Beautiful ship's boat
- Canute, John Allen, mtaylor and 3 others
-
6
-
Beautiful work, I can only imagine how easy those would be to find on the floor!!
- mtaylor, Hubac's Historian, EJ_L and 1 other
-
4
-
Wonderful, wonderful build Messis. You can be very proud on this one! Congratulations and I will be watching for your next build!!!!
-
That's an incredible difference!! I am not sure how strong it is but you may want to add a horizontal piece of wood on the front and back of the bulkheads to further strengthen the laminated pieces to prevent them from breaking off during fairing. Just a thought
-
-
Oc: Thanks for stopping in
Dave: Thanks Dave
Frank; So good to hear from you Frank, Thanks so much
David: Thanks David, it is about the same size as your Titanic which you will have loads of fun with
Gary: Thanks Gary, they really are fine kits that are very well thought out. I highly recommend them
Ian: Thanks, there is a Massive amount of rigging coming, but not until after the massive amount of copper plates that is coming sooner!!!
Jim: Thanks. The sensitive drilling attachment is, in my mind, a must. It helps things go along so much faster and easier when using smaller bits. It would be a toss up as to whether I would buy the DRO or the sensitive drilling attachment first. I would say if you are serious enough to have a Sherline mill a/o lathe you should really have both. Christmas is coming, spoil yourself!!
-
-
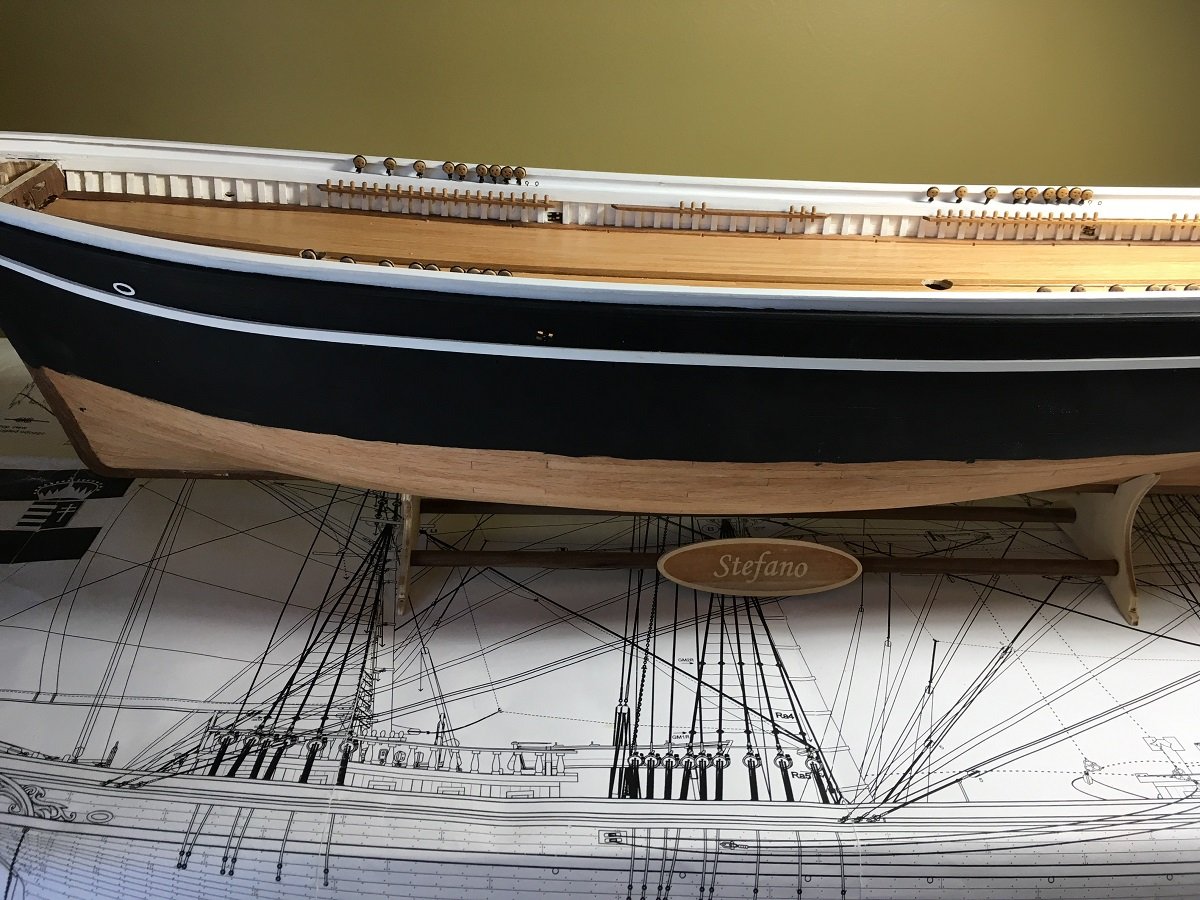
Thanks to all for stopping in. the likes and comments all are much appreciated. While not a lot got done this past while there is a little to report;
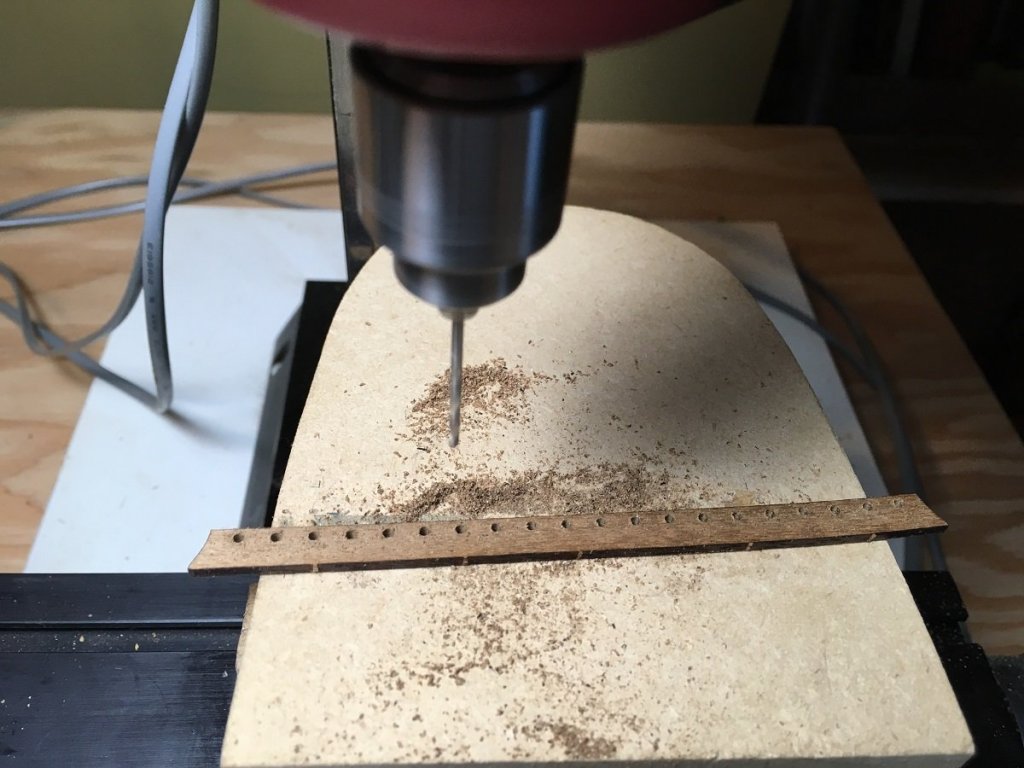
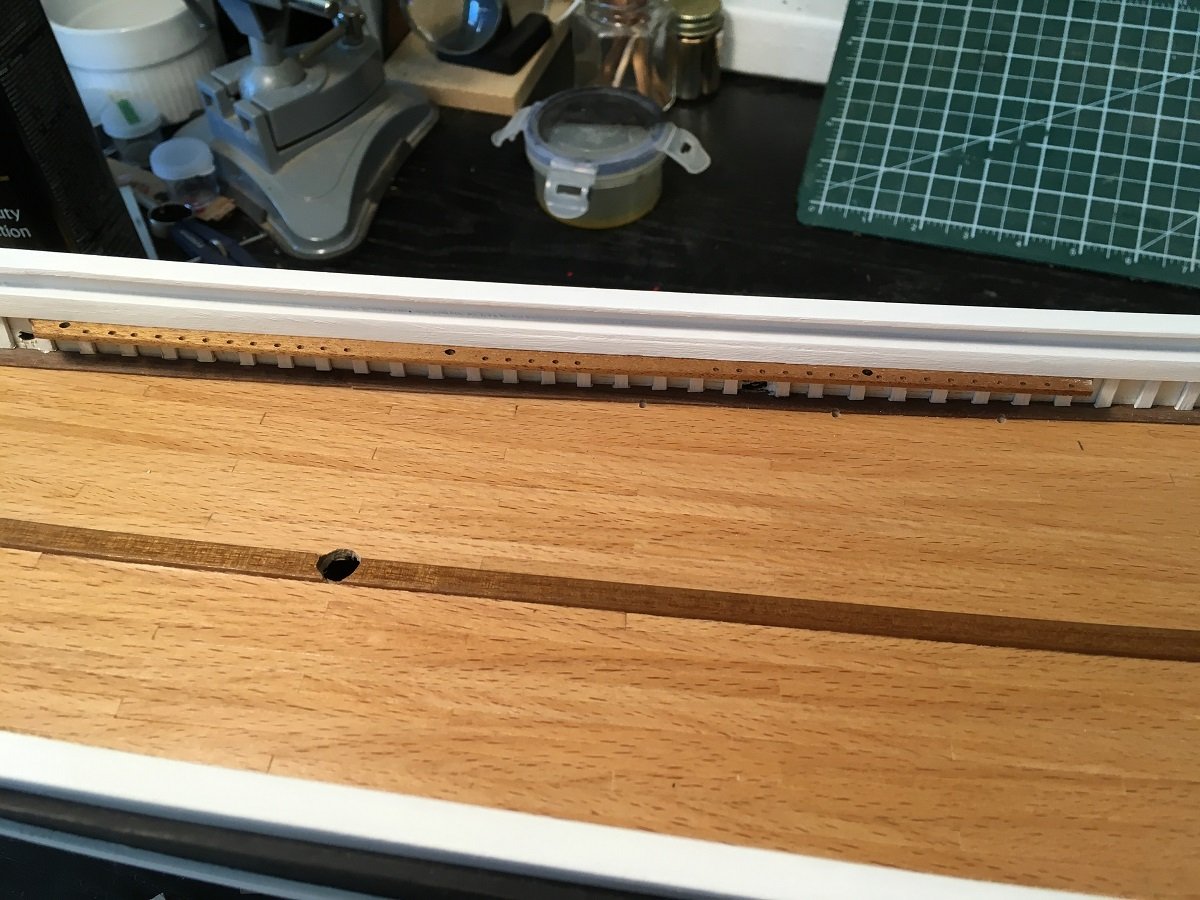
Drilling out pin rails, actually just slightly enlarging the existing holes using sensitive drilling attachment on Sherline mill
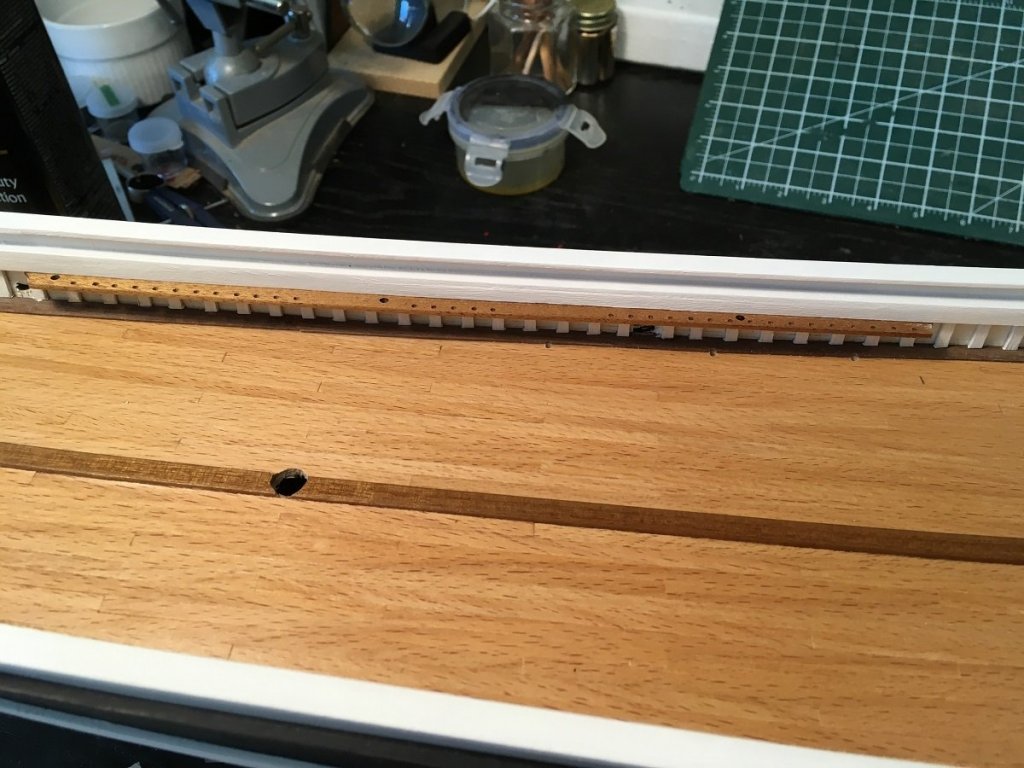
Pin rails installed
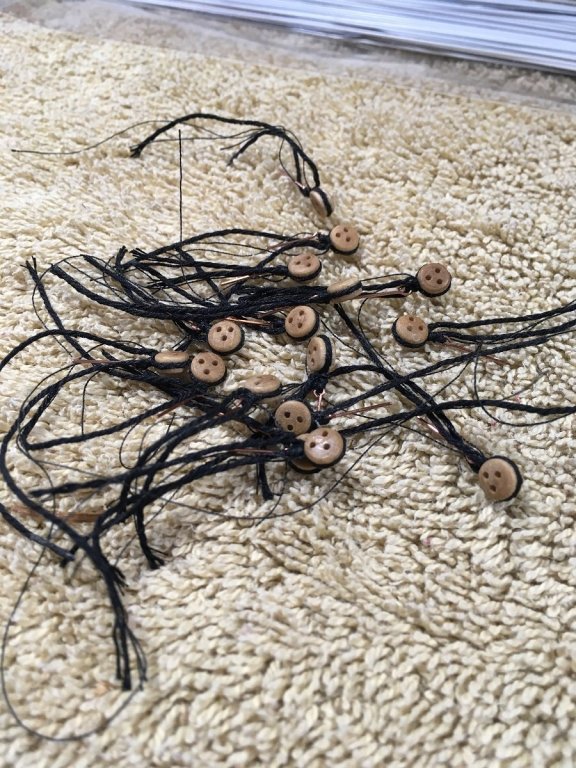
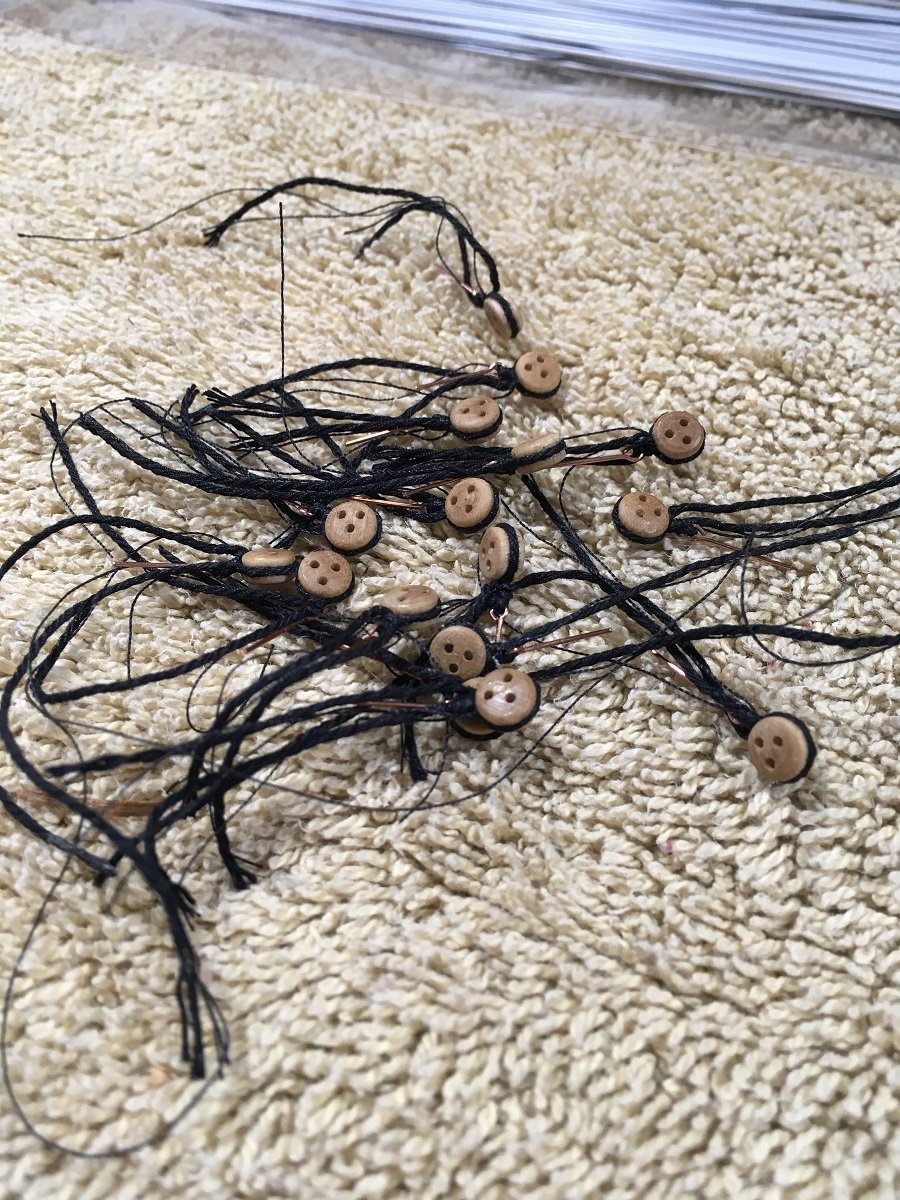
Starting to strop the deadeyes
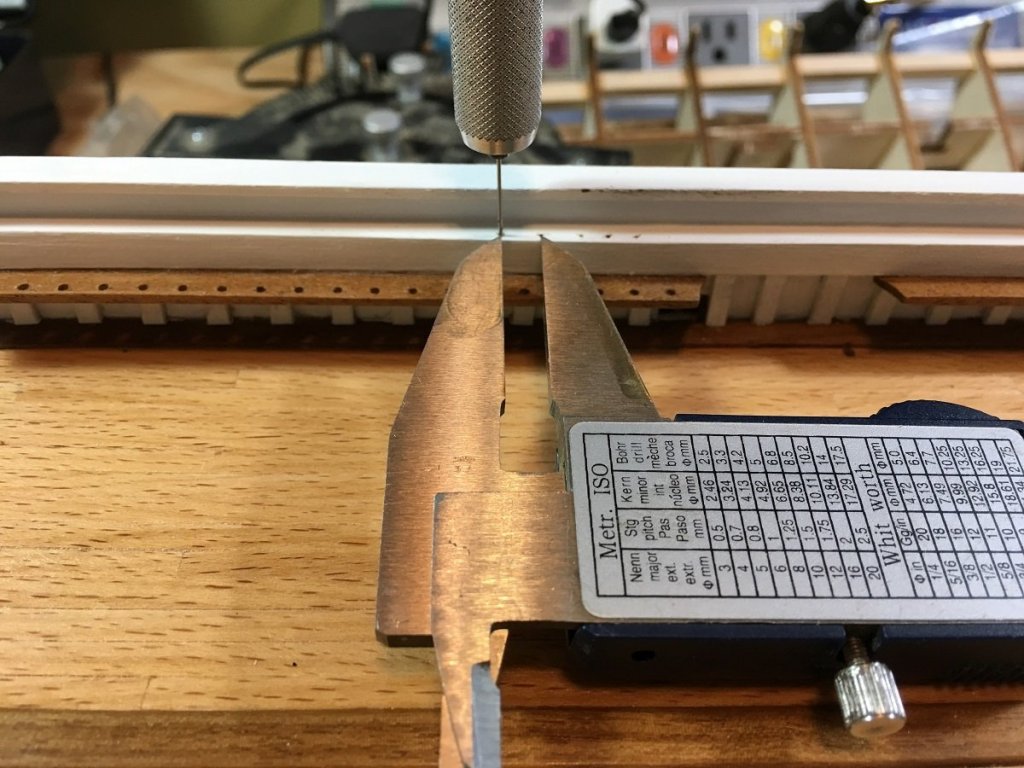
Drilling holes for deadeyes, all measurements taken from plans

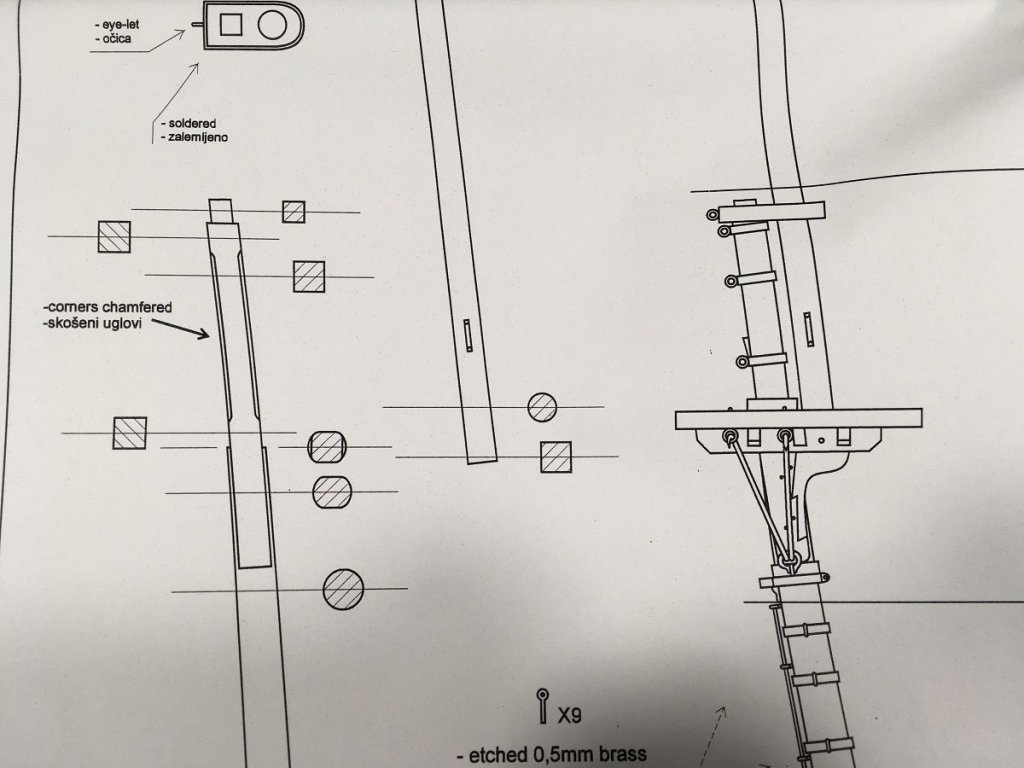
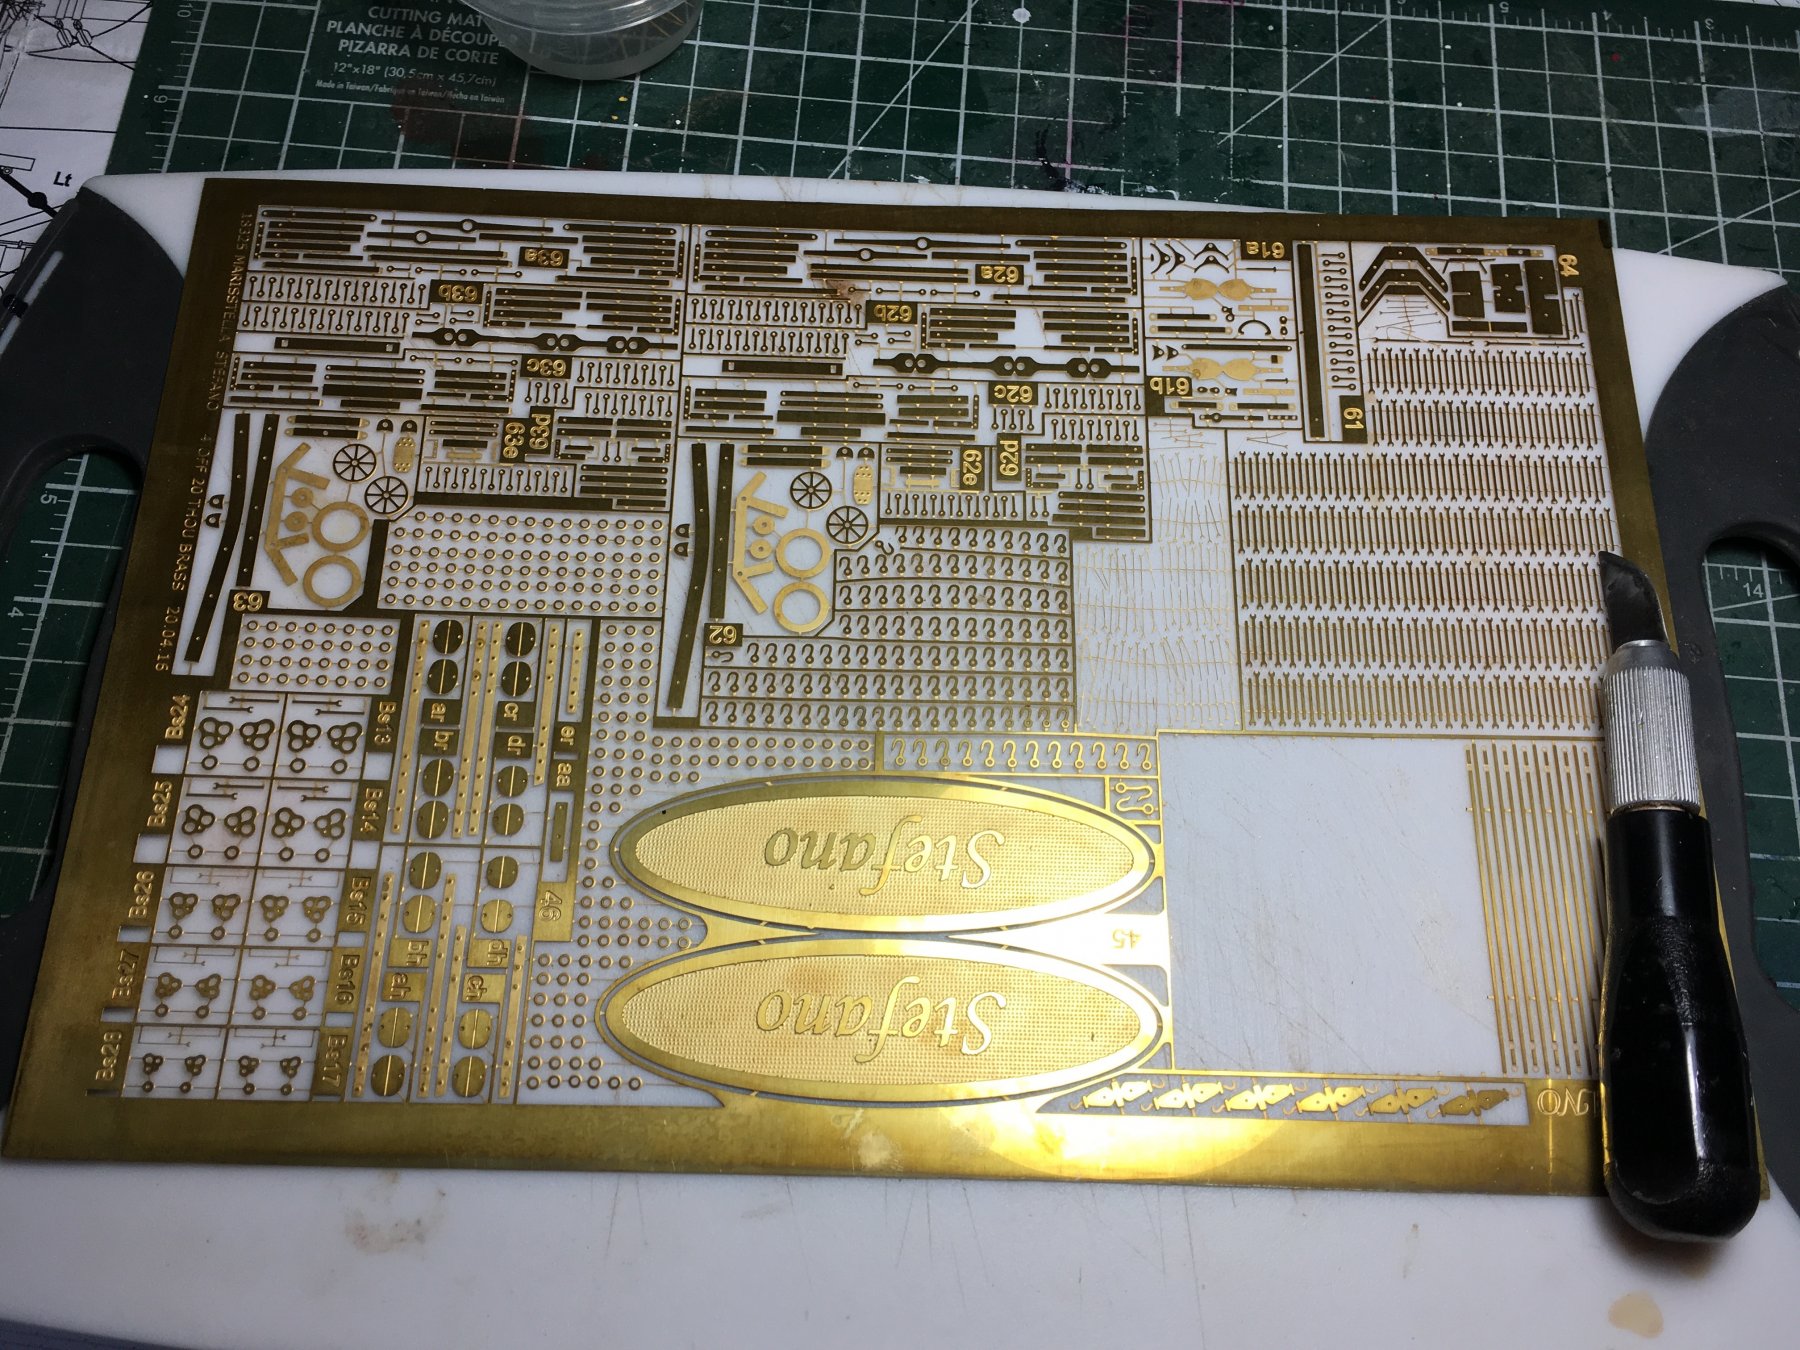
Cutting chain plates from photo etch sheet
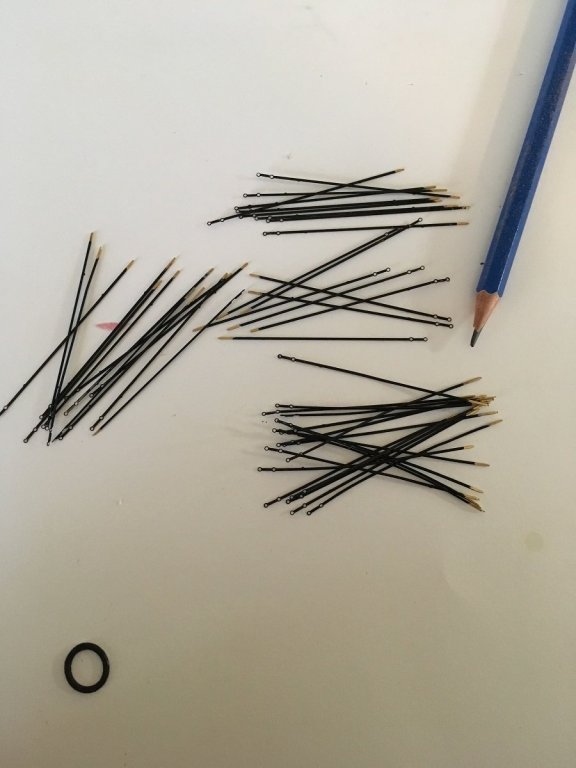
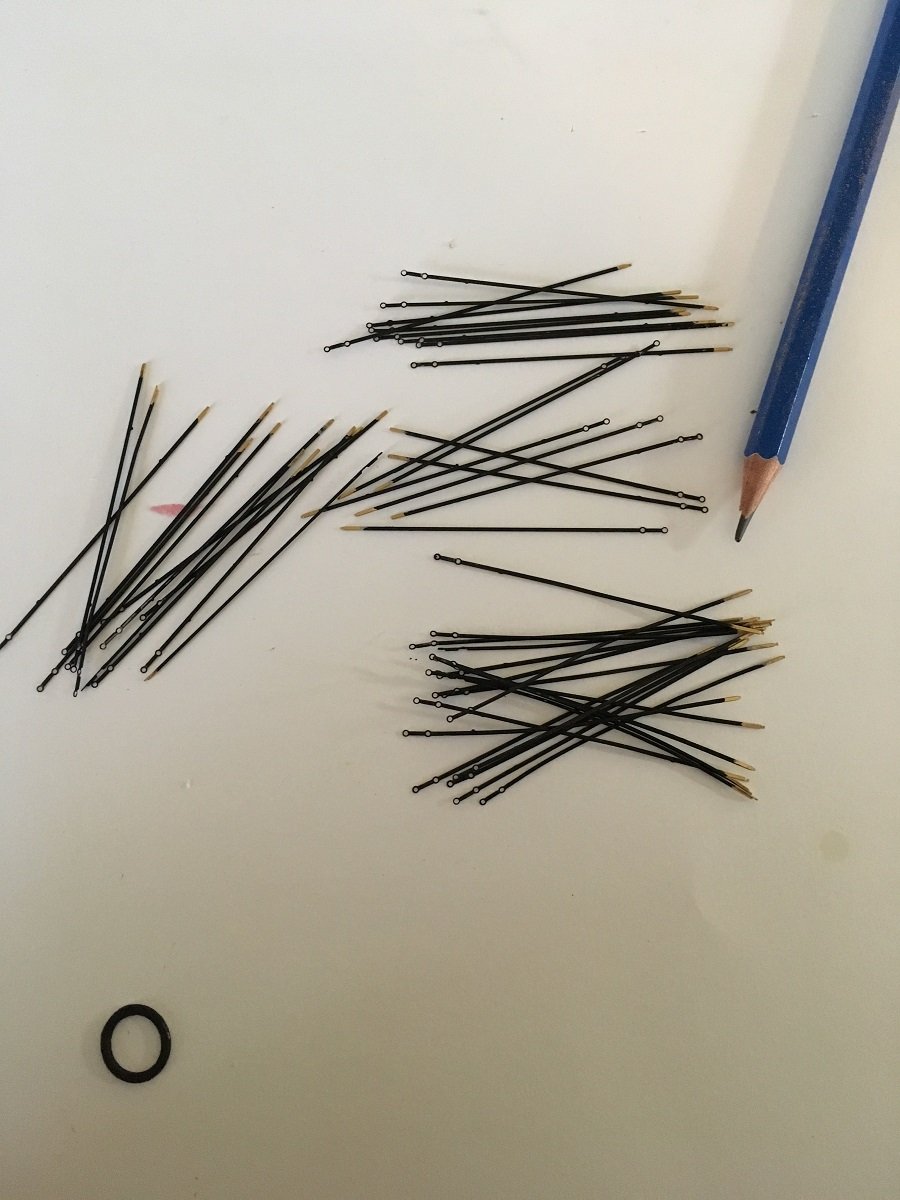
Although I cleaned and prepped the chain plates for blackening in the end i went for painting instead. They were first primed with metal primer then painted with acrylic paint, there are no severe bends on these so paint cracking should not be an issue. The black ring is for the rudder opening on the bottom of the transom.
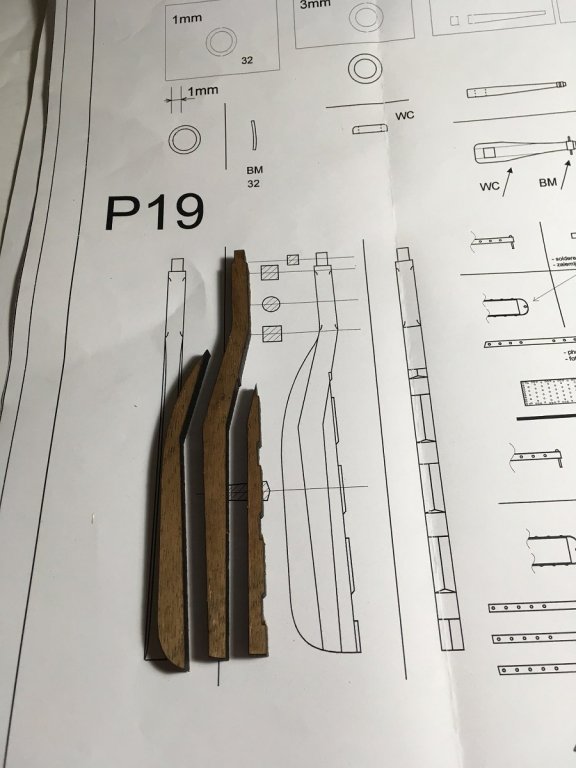
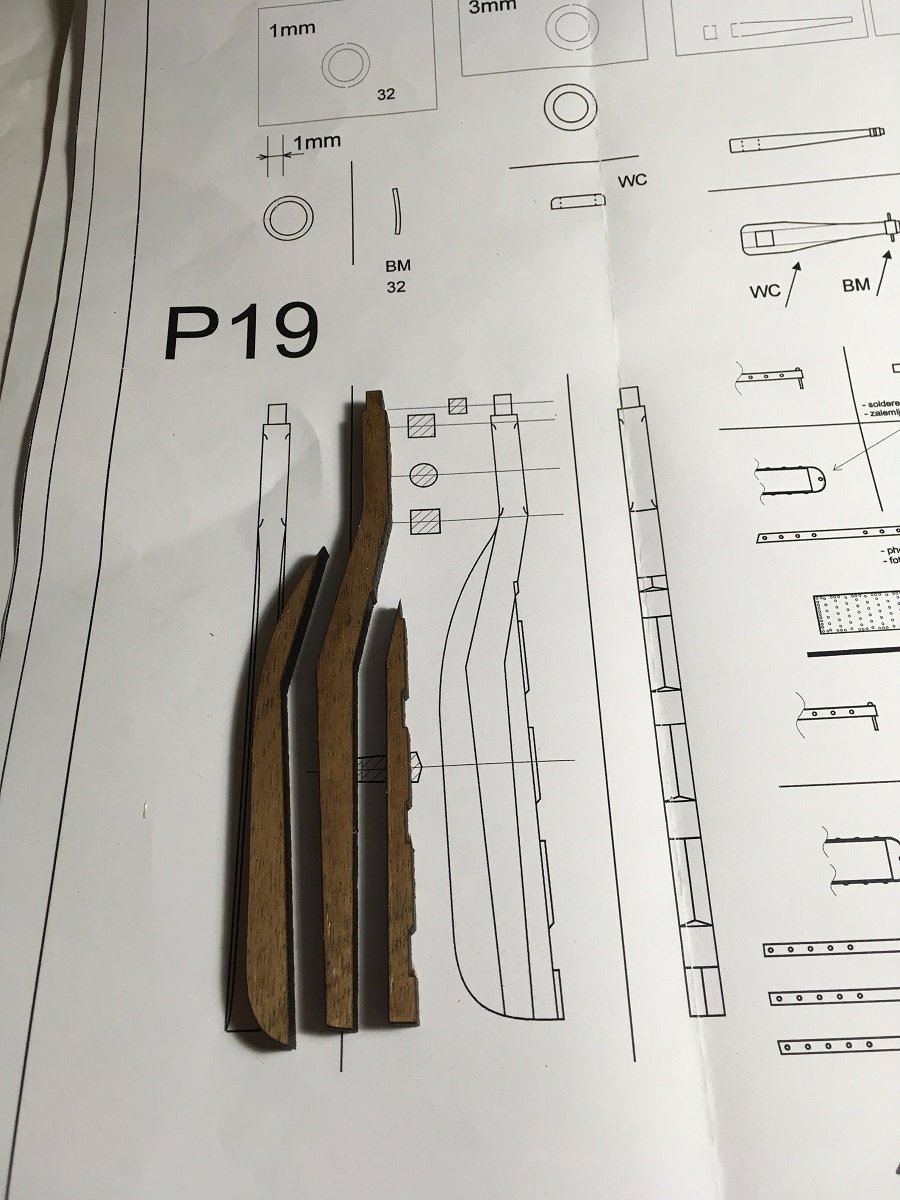
Rudder hole is up next so I thought making the rudder would be a good idea

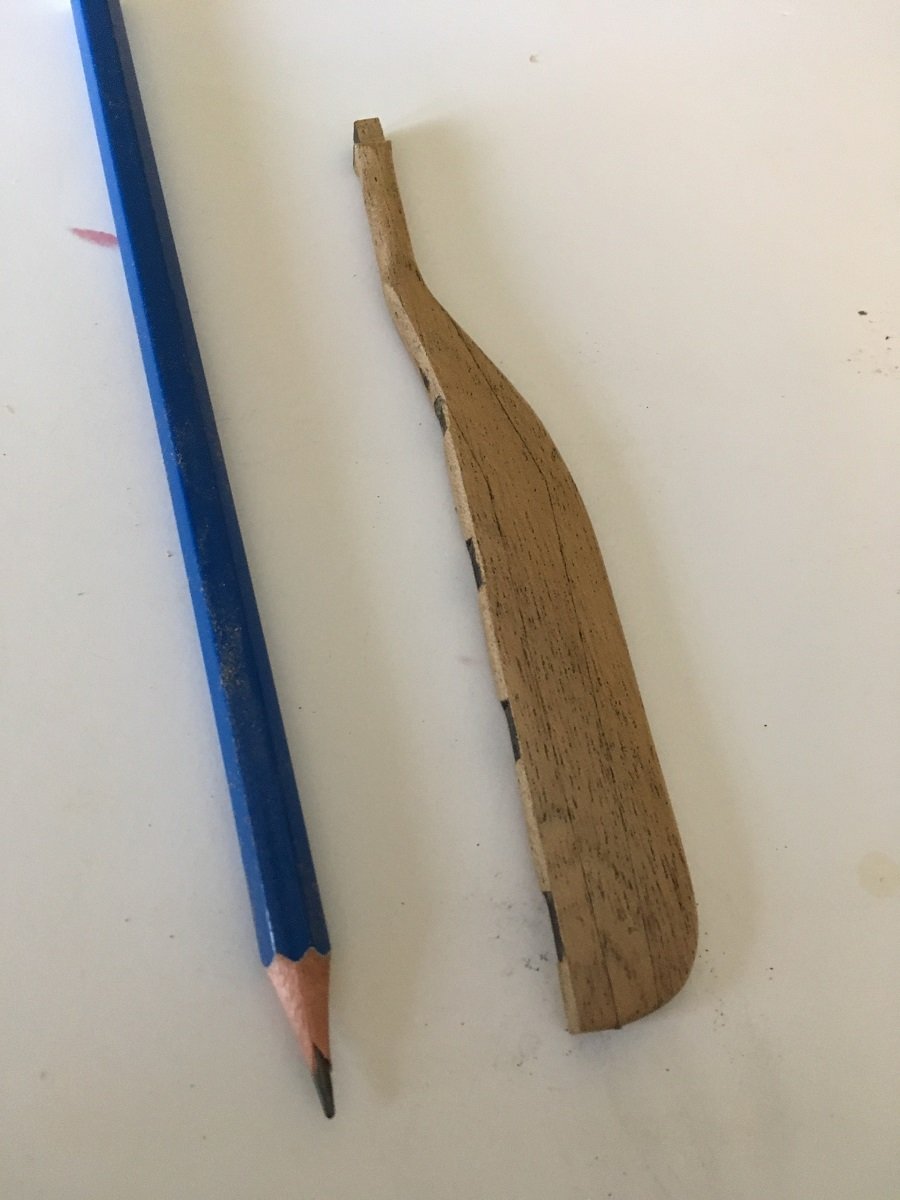
The completed rudder
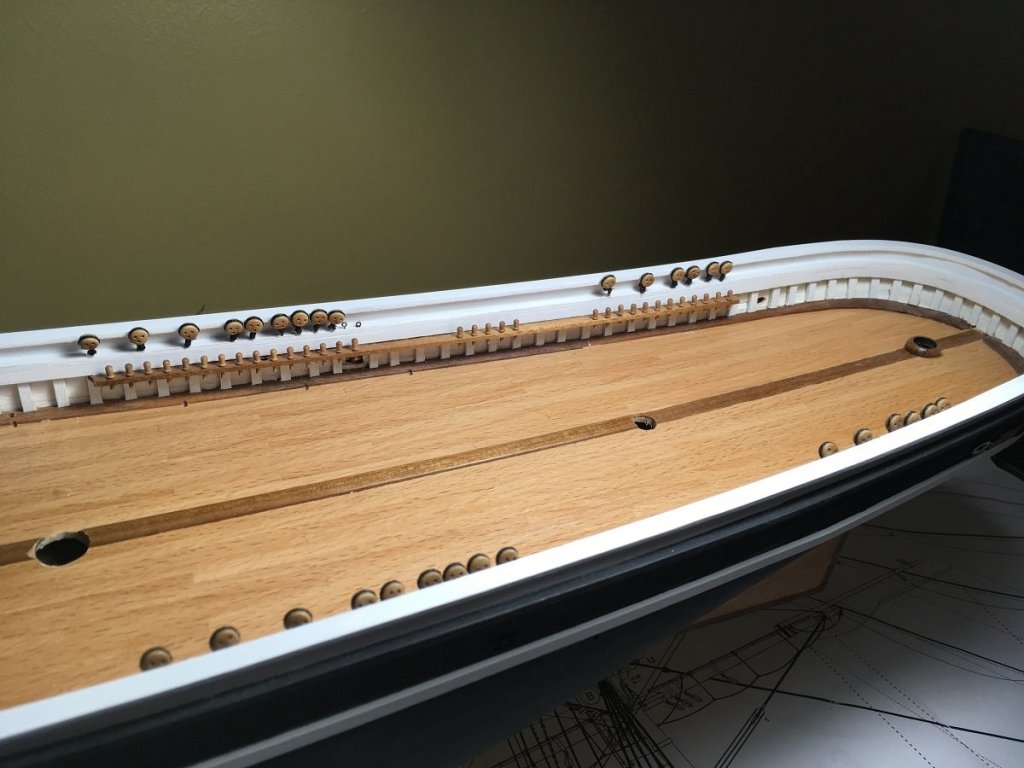
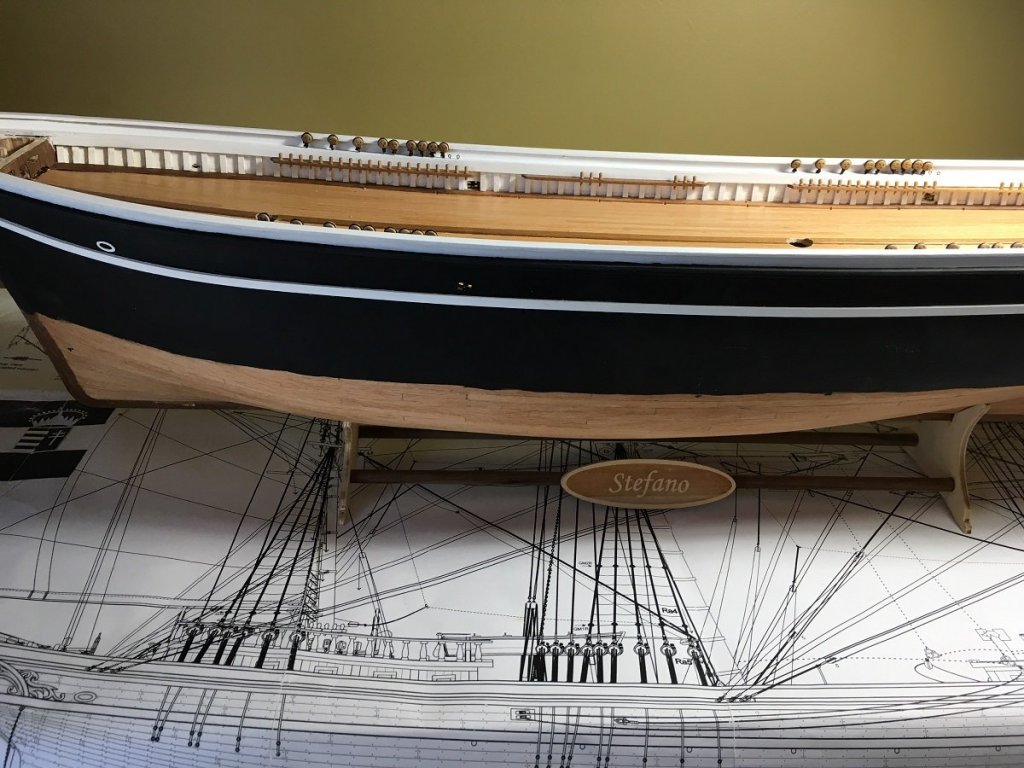
And how he looks now. Belaying pins are installed just for the picture they are not glued in place.
Thanks for stopping in.
- riverboat, JpR62, marktiedens and 16 others
-
19
-
Should be a good one to watch David, what is the finished length?
- CDW, Fright and popeye the sailor
-
3
-
Beautiful build Ian, love what you are doing with this kit
-
-
Great build David, Congratulations
- drobinson02199 and Martin W
-
2
-
Thanks Ian, I am kind of pondering the dragon's eye. The more I look at it something does not seem right, Too big?? Not sure but I may have to change it
-
All is looking real good Messis. That would look incredible if you could simulate those sails.
-
Thanks for sharing that Stephen, extremely informative!! That was a lot of research.
-
Hi Chris, many find the planking the most difficult part of a build, you seem to have done a real good job for your first attempt. For filling gaps the glue and dust method has never worked that well for me others seemed to have mastered it. Depending on the size of the gap slivers of wood can be used, or even shavings from a plane for the smaller gaps.
-
Nice progress Steven, the framing looks fine. Have you tried inserting an oar through the hatches yet? In the pictures they seem as though they maybe a little small for the oars to get through.
-
-
What a beautiful build Ian, did you make those carriages? I see they are in your mill vice and was wondering if that baby is getting utilized
-
Hubac; Thanks for stopping in and for the gracious comment
Ian: I never really left the shipyard, I put the Stefano aside to build the Liburnian Novilara but it is done now so Stefano is back in the shipyard again. Thanks for dropping by
-
Dave: Thanks so much
David: Thanks David, not going as fast as your Fly( great work by the way) but it is at least back on the bench now
Bob: Thanks Bob, I am still trying to remember what I was doing, my mind is a little slow trying to grasp what the heck is going on


Sir Winston Churchill by Messis - FINISHED - Woody Joe - 1/75
in - Kit build logs for subjects built from 1901 - Present Day
Posted
Beautiful build Christos, great workmanship and at lightning speed too!!