


donrobinson
-
Posts
1,909 -
Joined
-
Last visited
Content Type
Profiles
Forums
Gallery
Events
Posts posted by donrobinson
-
-
Yah Man Awesome!!!!!
- robdurant, Heronguy and John Allen
-
 3
3
-
Keep practising the bending, you will need it when it comes to the waterway or "covering board" on the Stefano. It only involves bending a 1.5 x 7 mm board laterally almost 90 degrees at the stern!!! Check it out. I'm thinking I'll start soaking the board now and wait for you to catch up then see how you tackle this.
")

Have a Good One
-
Looks good Doug. I too would have thought the swiss pear was going to be the hardest to shape.
-
This is a real sweet kit, you're doing a great job!!
- Nirvana and drobinson02199
-
2
-
Hey Mike, Zoran beat me to the punch here but this was bothering me so I gave it a try using my curling iron method and here are the results. I used 3 x 3 mm walnut stock, the same as you would be using. Please do not think I am trying to make you look bad, I am not
 . I just hate seeing someone getting frustrated, as I do, I'm only trying to help.
Forgive me for taking over your log and erase pictures if you wish:
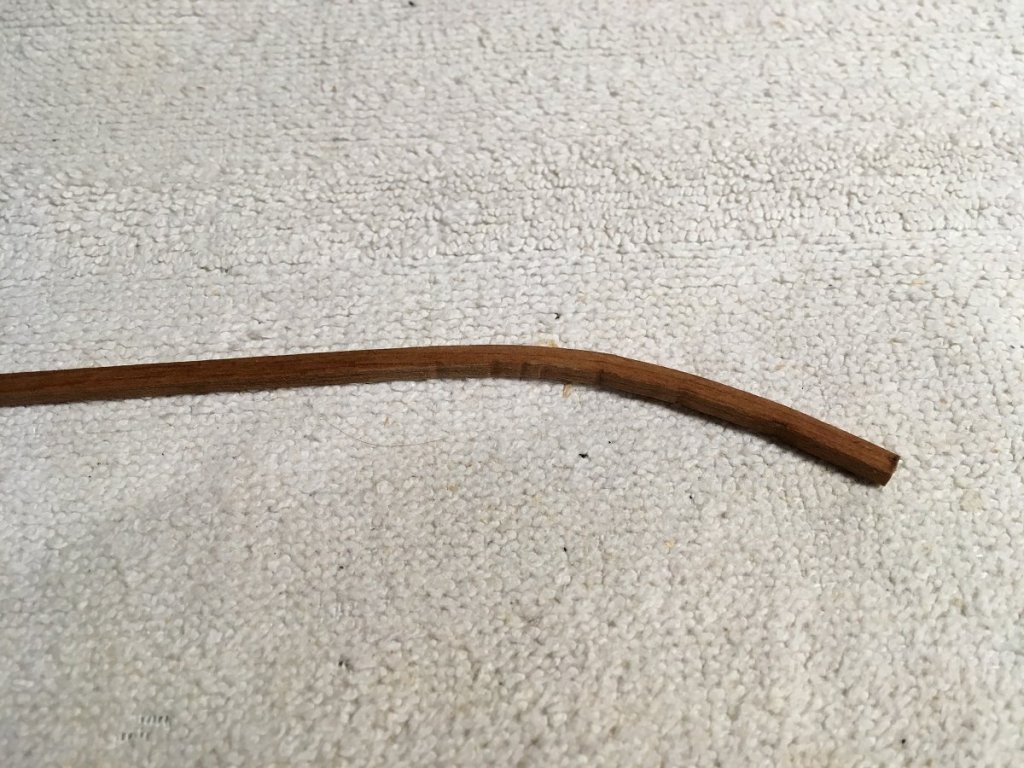
This picture is showing the result of 30 min. soaking and a light bending. Notice the creases, I use a curling/straightening iron, when the final bending is completed I will dip the piece back in water and lightly use the iron again to help steam the creases out.
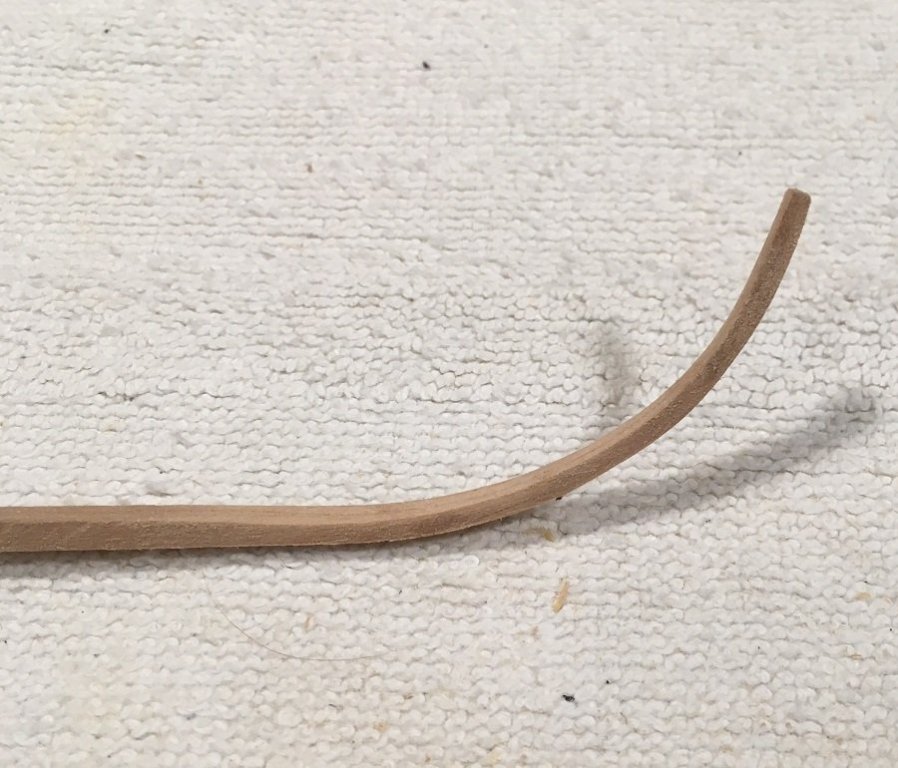
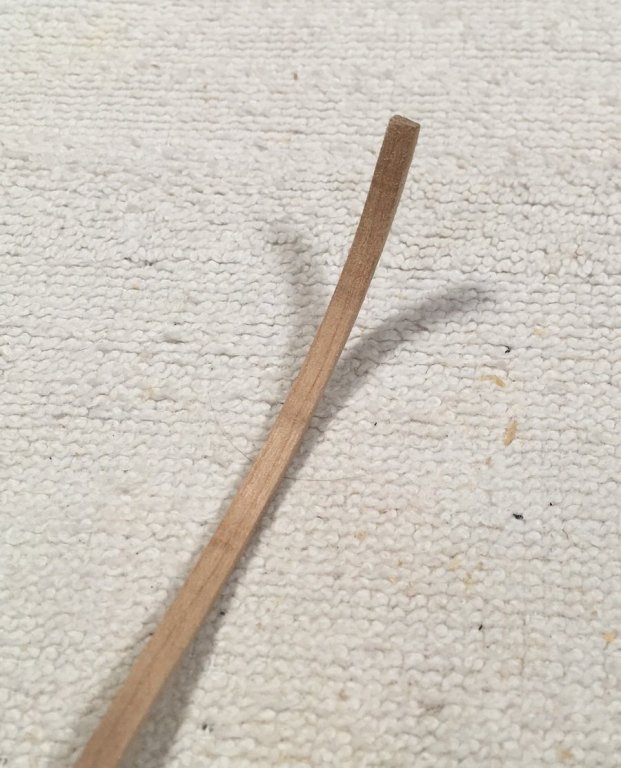
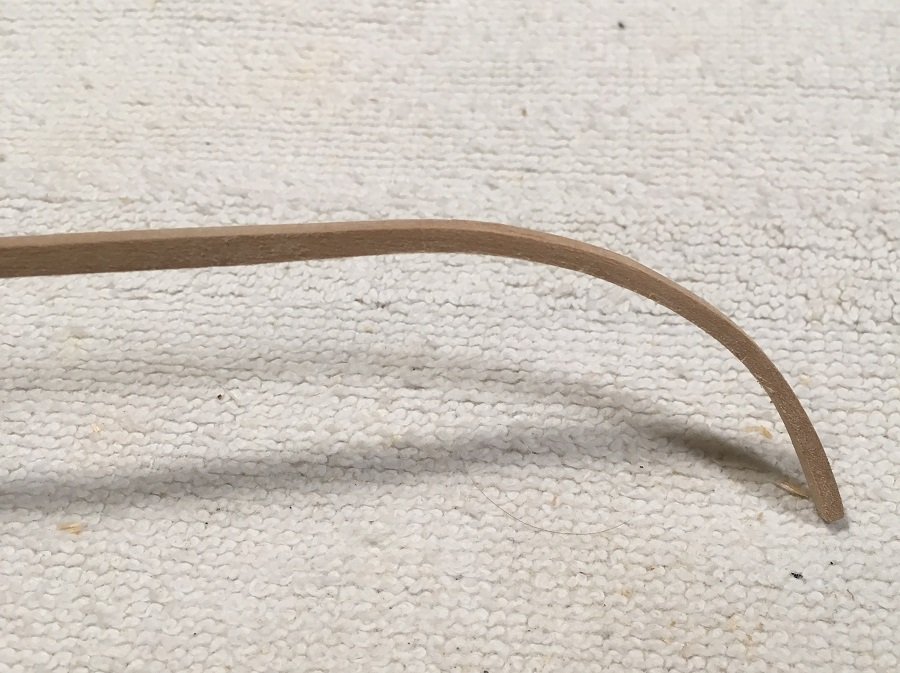
Here is the final product. The process I use is to lightly bend until wood is dry then put back in water for about a minute, then bend some more. In this case I did this probably 8 or ten times. Trying not to force the wood to bend is the key to success, and unless it is a complete break it will splinter from the bottom and can be easily repaired with some ca glue. Note the creases are gone with some steaming(using curling iron) and some sanding. I could have done more sanding but this was just for demo purposes so I rushed through it
") . Total time this bend took from start to finish was a little over an hour.
. Total time this bend took from start to finish was a little over an hour.
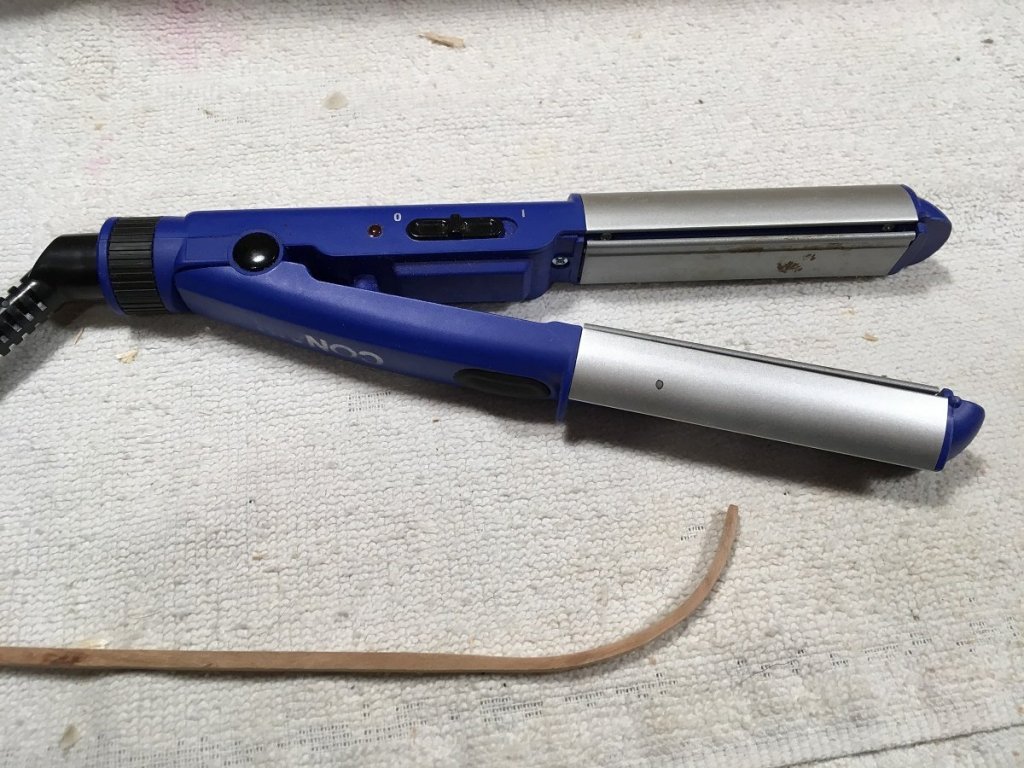
Here is the tool I use, a cheap Walmart curling/straightening iron, it was less than $20.
I again apologise for taking over your log
- Seventynet and Heronguy
-
2
-
Nice work Dave, I just bought the plans for this model so I'll be watching close to what you are doing
- Canute, EJ_L and thibaultron
-
3
-
Looks like you are getting it done, good stuff.
-
Do you use ordinary household bleach? Those sails look good. As you say the deck will be fine once filled up with furniture and everything else.
- marktiedens and zappto
-
2
-
Sorry to hear that, losing a dog is very painful. I feel for you. Take care
- Piet, John Allen, popeye the sailor and 6 others
-
9
-
Thanks to Mike I also put supports under mine. I used "T" supports to strengthen mine
-
-
-
Planking looks great, I'm interested in seeing how it will look with a coat of finish
- md1400cs and marktiedens
-
2
-
Looks very sharp, good work!
-
-
-
Hello everyone, I'm hoping you are all having a good day and your shipyards are active.
I have been busy planking the hull and now the deck, two layers, for what now seems a eternity so yesterday I decided to turn my attention to something required further on in the build.
The aft cabin has a rail on top of it that needs to have stanchions, these are made from 3 mm dowel and then shaped accordingly. Although nothing real fancy or anything, I thought you may want to see how I made them.

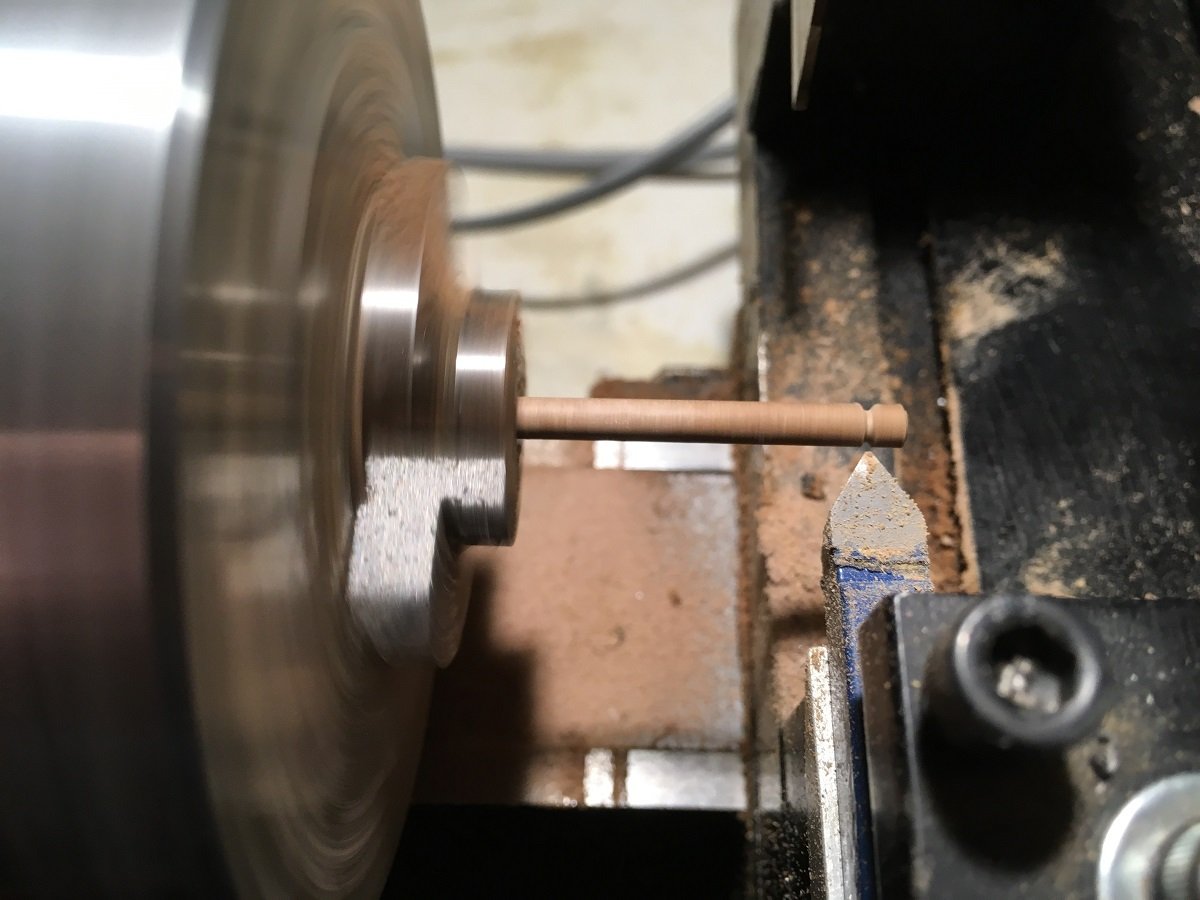
3 mm dowel in chuck
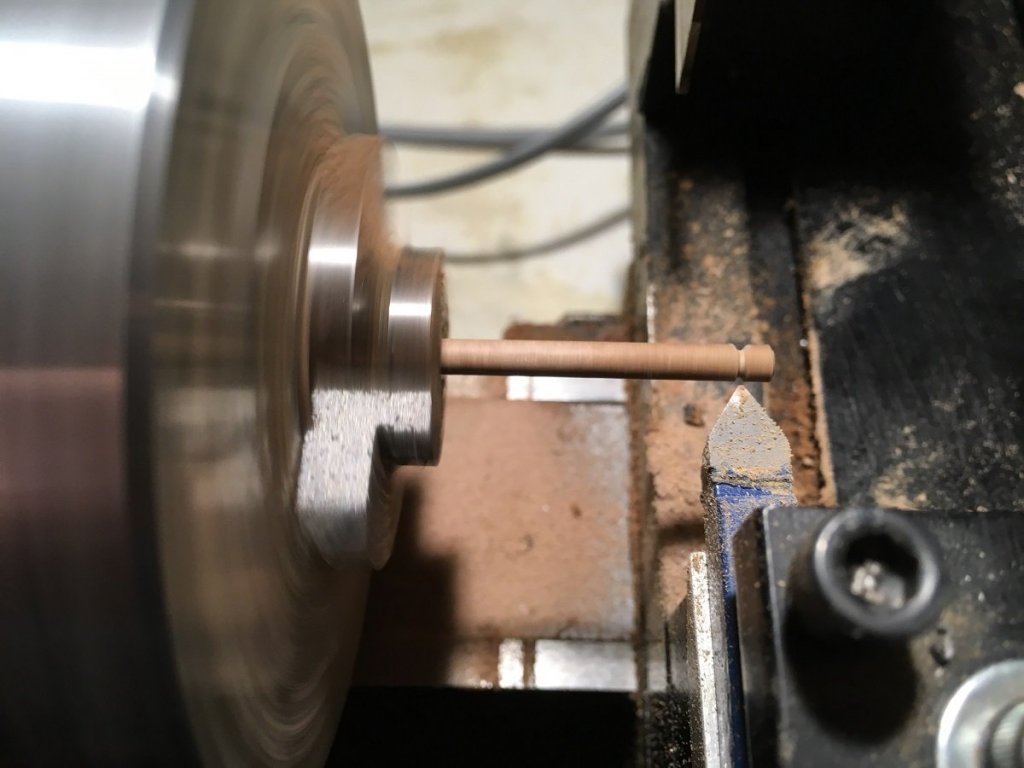
First cut is made, .100 from the end and .021 deep

second cut made, .460 from the end and .01 deep
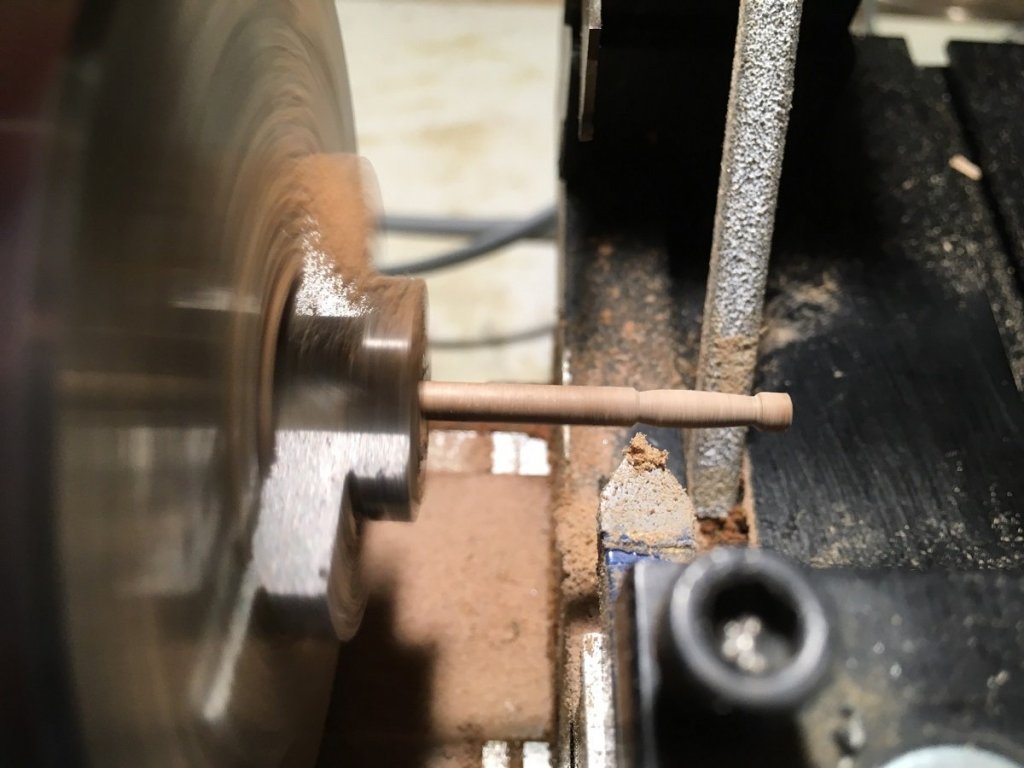
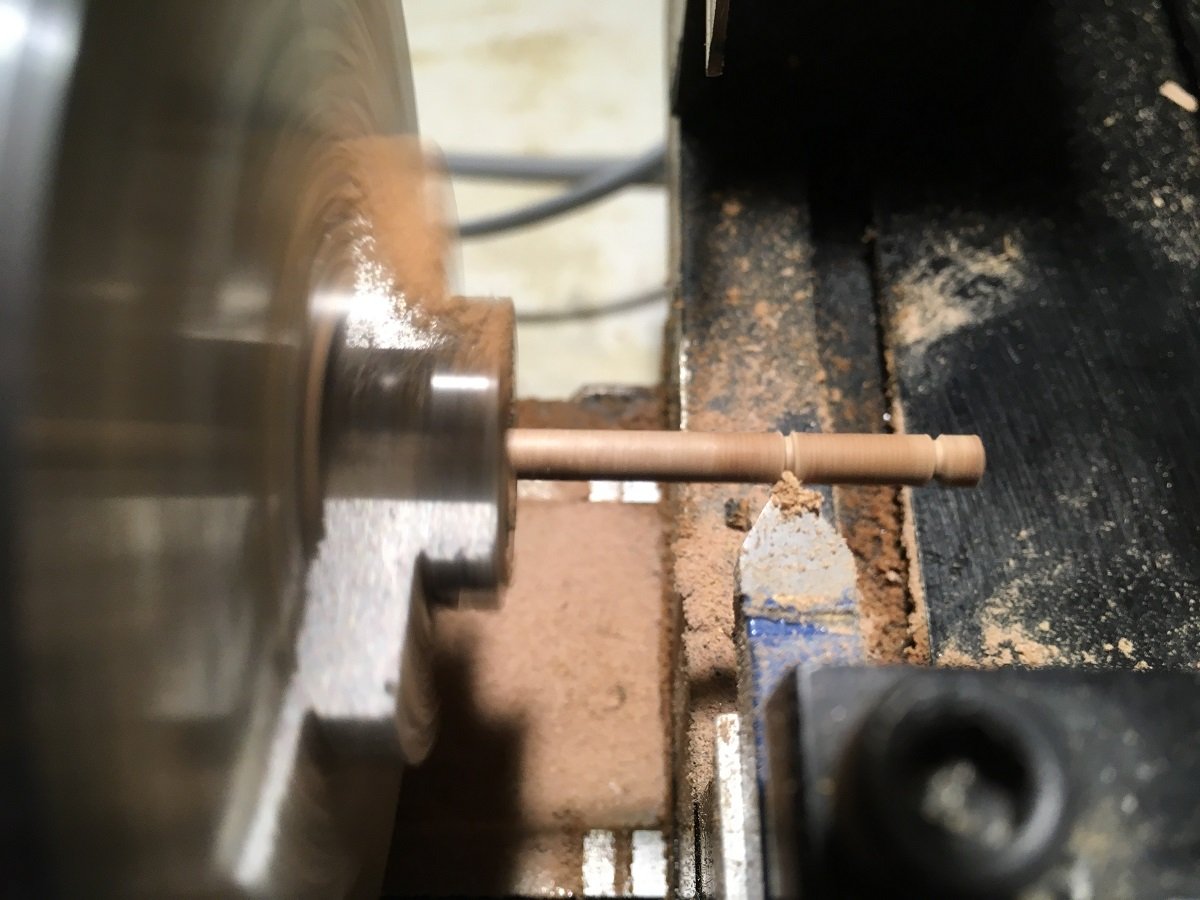
Shaping is done using a sanding stick on the backside
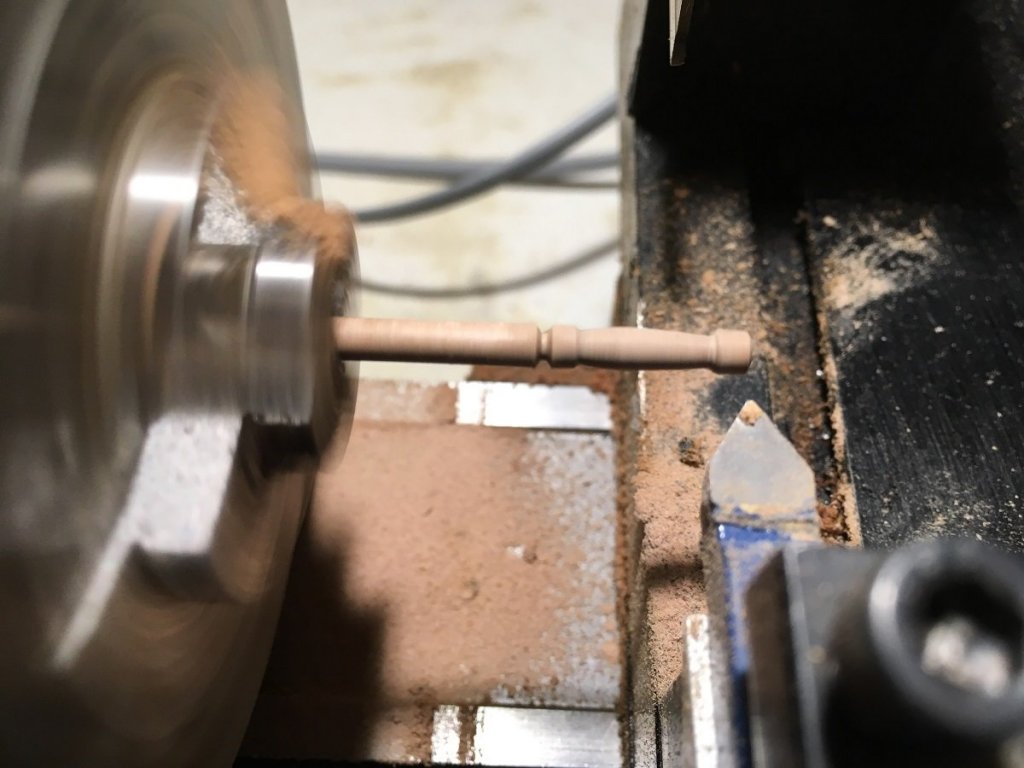
Final shaping done and parting groove is cut at .560 from the end. Final parting was done with a razor saw, with lathe turned off
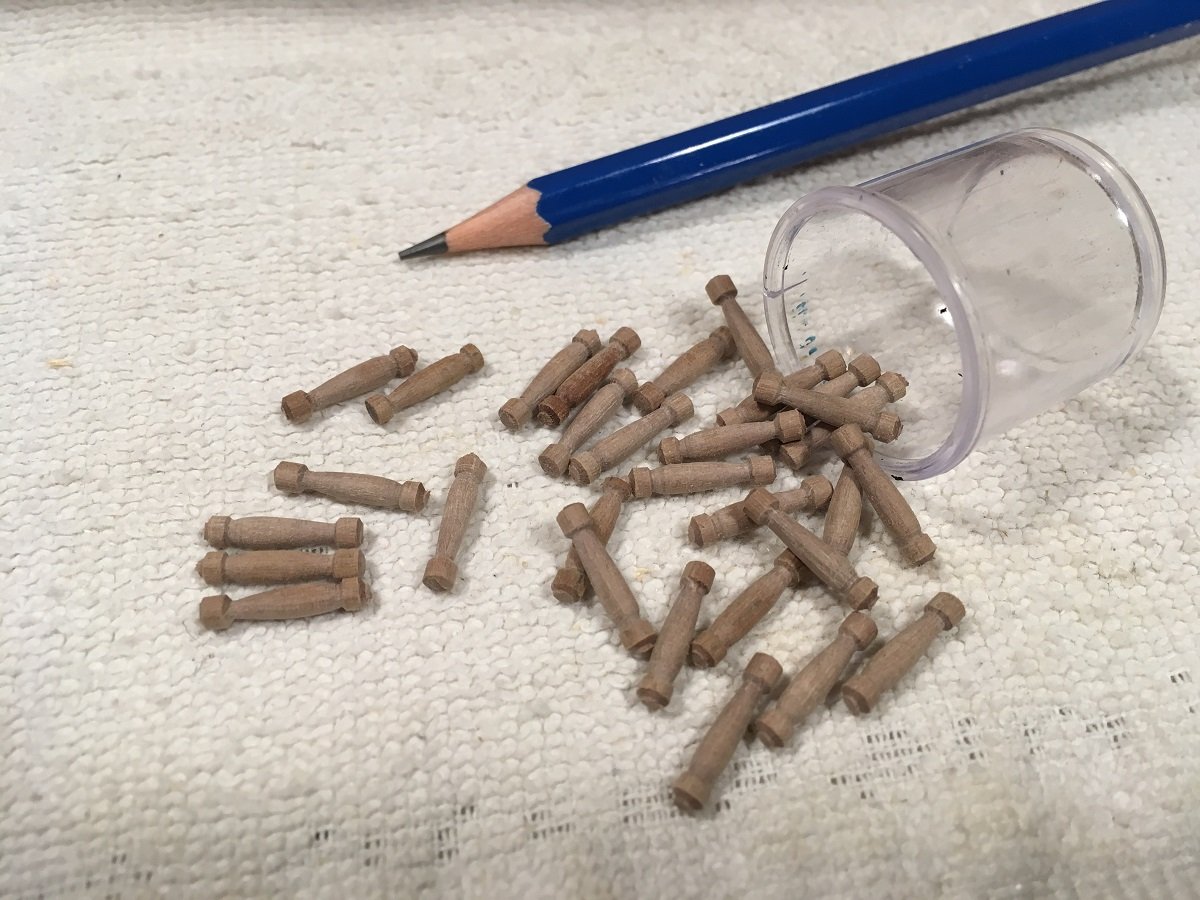
Culling out the rejects, on the left

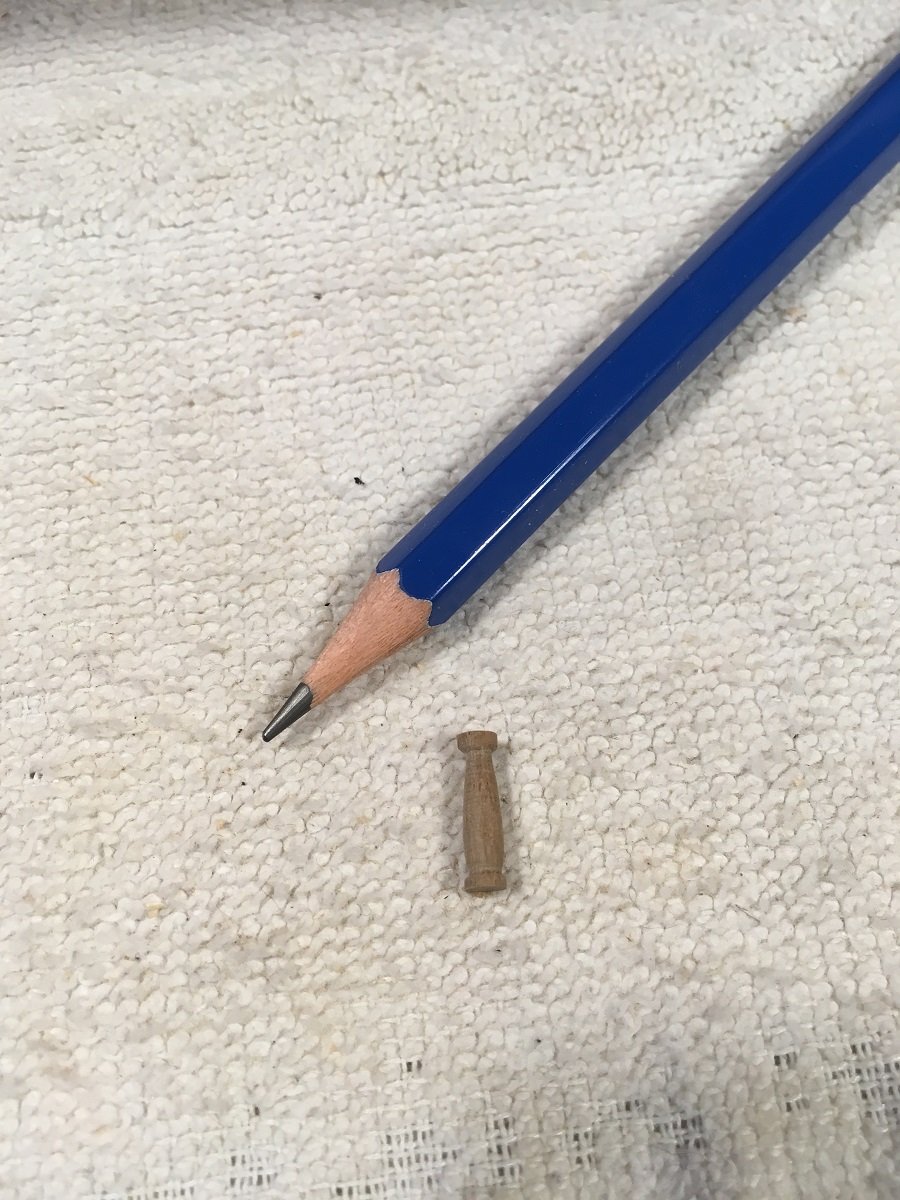
Length when parted from lathe is .560 inches or approximately 14 mm, which allows for 1 mm to be sanded off each end to arrive at a final measurement of 12 mm. When I tried to make these at the exact length the 1 mm collar would chip or break so making them longer prevented this. I used a Byrnes disc sander for sanding the ends which made this part of the job very easy.As you can see nothing out of the ordinary but it was lots of fun, and Doug(Heronguy), if you are reading, this is the reason you NEED a lathe
For anyone considering buying a mill, having a DRO(digital read out) really helps for something like this when there are repetitive cuts. It saves on mistakes and time, I would defiantly recommend buying one when ordering a mill.
You all have fun and enjoy the weekend. It's snowing here now so it looks like I'll be storm stayed for the weekend
, luckily enough the food and refreshment fridges are both well stocked!!
- zappto, drobinson02199, Elijah and 16 others
-
19
-
Hey David, Thanks for looking things over. There is always room for more
- robdurant, Old Collingwood and EJ_L
-
3
-
Three updates in one day!! I'm feeling useless now! What kind of wood are you trying to bend? My method is to soak then use a hair curler/straightener iron, go slow and repeat soaking as necessary. I usually only soak for only a minute or two, just enough to create steam when curling iron is applied.
Looking good
-
This baby is really looking super fine!!
-
Great idea with the ear ring backs, I've had the same problem in the past
-
The stern is looking brilliant, great work
- marktiedens and zappto
-
2
-
Looking good, the colours are great
-
It all looks so fine Nils, fantastic work. So many things to look at and admire it's hard to find appropriate words to describe it all
- mtaylor, Piet, Landlubber Mike and 4 others
-
7


Trajta by mikiek - FINISHED - Marisstella
in - Kit build logs for subjects built from 1501 - 1750
Posted · Edited by donrobinson
Hey Mike, the ribs look great!! The iron does not give out steam. What I meant is the hot iron against the wet wood produces steam. What is the next step in the build?