CDW
-
Posts
7,750 -
Joined
-
Last visited
Content Type
Profiles
Forums
Gallery
Events
Everything posted by CDW
-
 I like it all, but the props look very convincing. Even better than some of the plastic kit props.
- 295 replies
-
- 4
-

-
- amatsukaze
- halinski
- (and 2 more)
-
She's big, beautiful, and impressive. Outstanding effort and really appreciate the way you hung in there to "getter done". You've got something to be proud to display. Looking forward to your future builds.
-
Very educational for me. Great primer on card models.
- 295 replies
-
- 5
-
-
- amatsukaze
- halinski
- (and 2 more)
-
It's amazing how quickly your lungs will restore after you quit smoking. A year after quitting, it will feel like you never smoked before. It's been over three years since I quit and am so happy I did. Just decided one day I had enough and made my mind up to do it. Never looked back. The benefits of non smoking outweigh any brief urge to light up. The major down side of quitting is weight gain. Be careful with that.
-
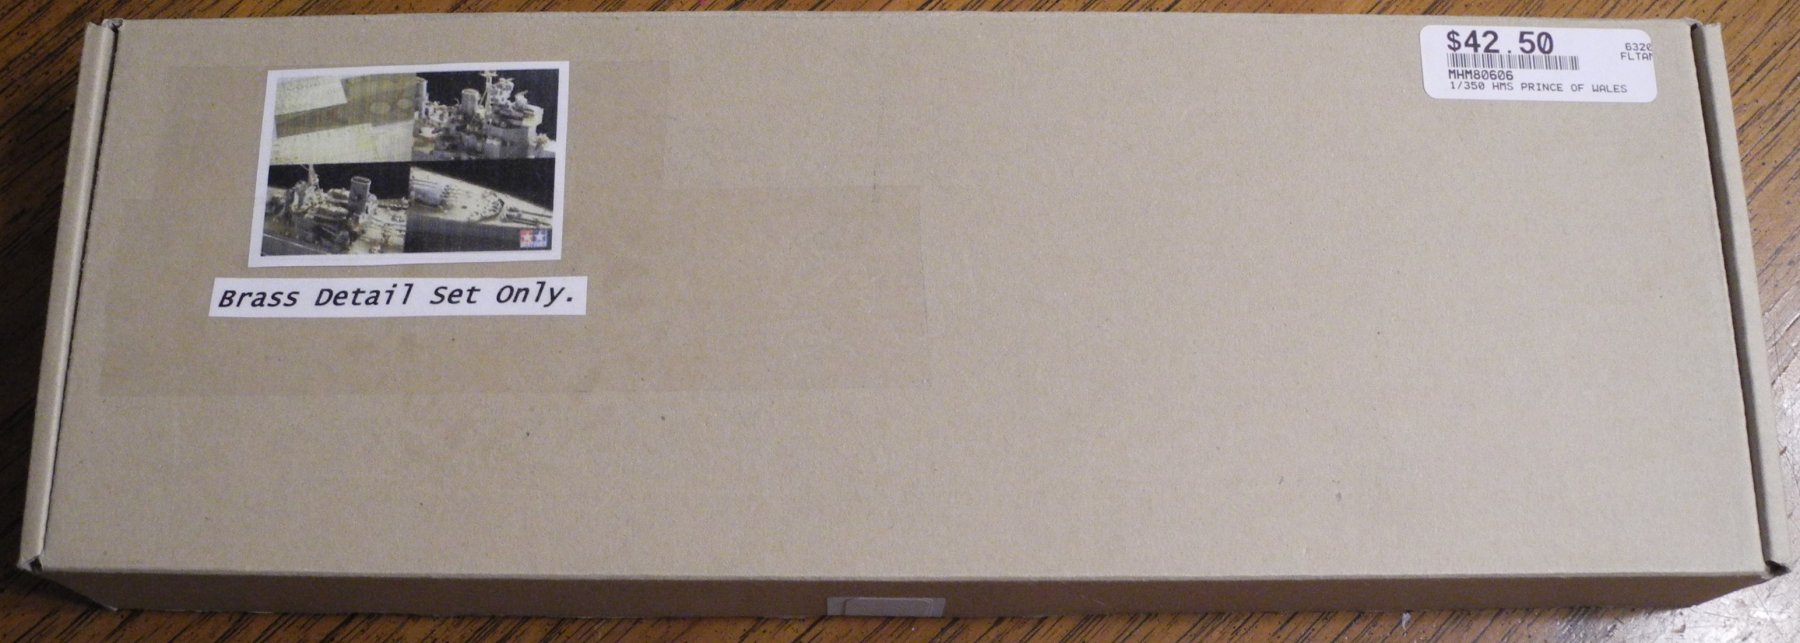
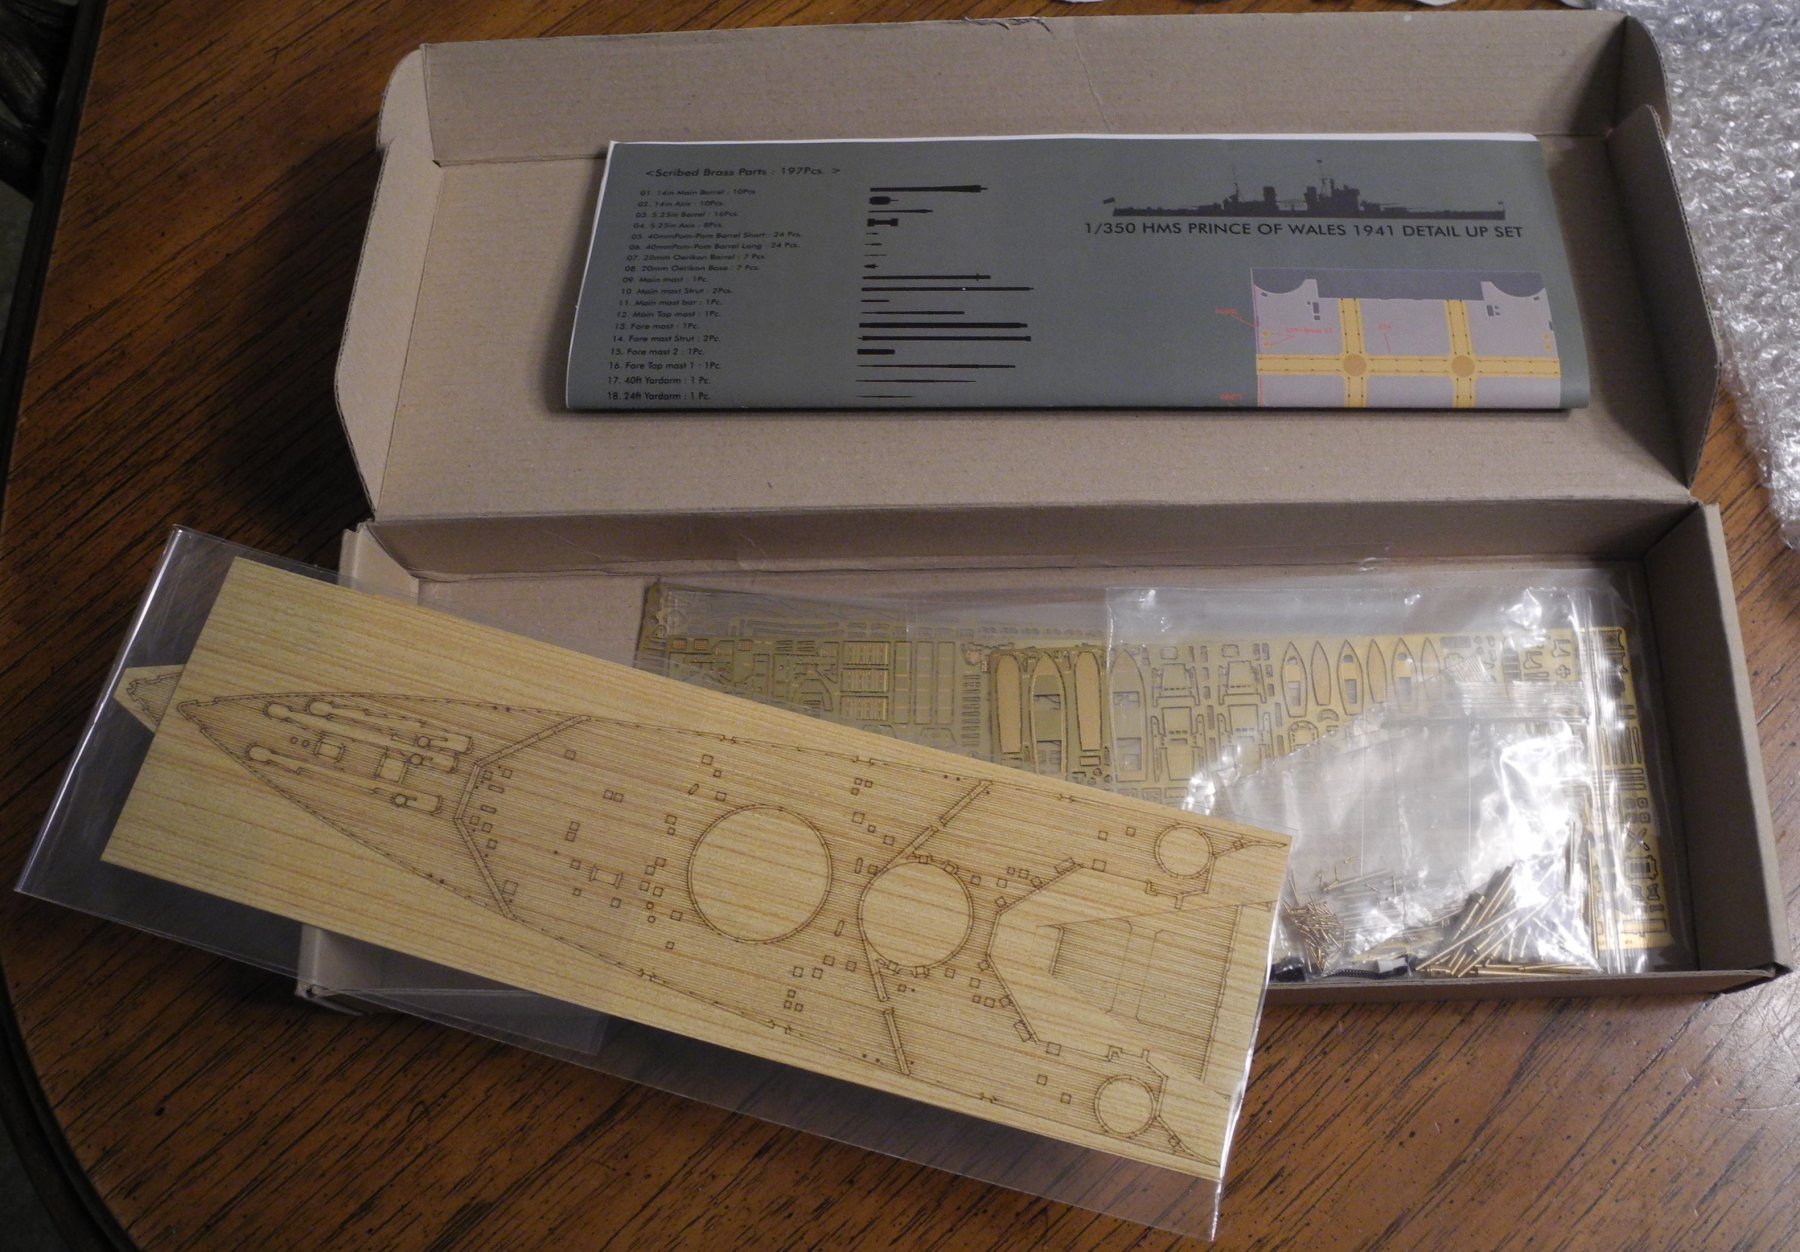
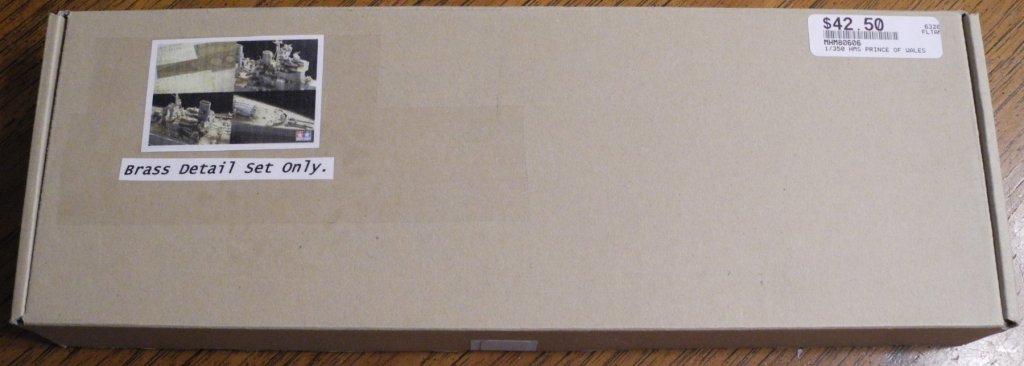
Passing by my local hobby shop on other business, decided to stop by to see if anything new had come in. Looking in their locked glass display case, spotted this Pontos Detail set boxed up for sale by Tamiya. It seems that Pontos detail sets are labeled for sale by Tamiya for certain of their ships. This one is for the Prince of Wales. It normally sells for around $150. The hobby shop had this set marked down to $42.50 so I succumbed to the arm twisting and bought it. The set contains almost everything that was in my Duke of York set, only this one specifically includes the Prince of Wales items that make it different from the DoY. So I guess at some point I shall acquire a Tamiya Prince of Wales kit and do that one to go along with my DoY.

- 151 replies
-
- 9
-
-
- duke of york
- tamiya
- (and 2 more)
-
Fokker Dr.I by Torbogdan - FINISHED - Model Airways
CDW replied to Torbogdan's topic in Non-ship/categorised builds
This is a beautiful Fokker. However, once you add up the cost of the individual parts for this 1/32 scale version, one could kick in just a little more $$ to buy and build this 88 inch wingspan museum scale piece and really fly it. http://www.proctor-enterprises.com/products/museum/dvii/dvii.htm -
Totally impressed with the way the model is looking and the speed with which you are accomplishing it all. It's a strong encouragement to those who may be contemplating their first card model build.
- 295 replies
-
- 6
-
-
- amatsukaze
- halinski
- (and 2 more)
-
It's a little late in the game, but I want to do an ocean base for this model. Have never done one before now, so started watching various videos on how others are doing it. Doesn't look too awfully difficult to do, but will probably take trial and error to get results I would like. The North Sea where this ship encountered the Scharnhorst was often rough, so will start think high seas with waves and froth (or was that, Frost ). We shall see what we shall sea.
- 151 replies
-
- 5
-
-
- duke of york
- tamiya
- (and 2 more)
-
ancre Chebece 1750 by Jeronimo - FINISHED
CDW replied to Jeronimo's topic in - Build logs for subjects built 1501 - 1750
Just found your build thread. I love the Chebec. Yours looks awesome. -
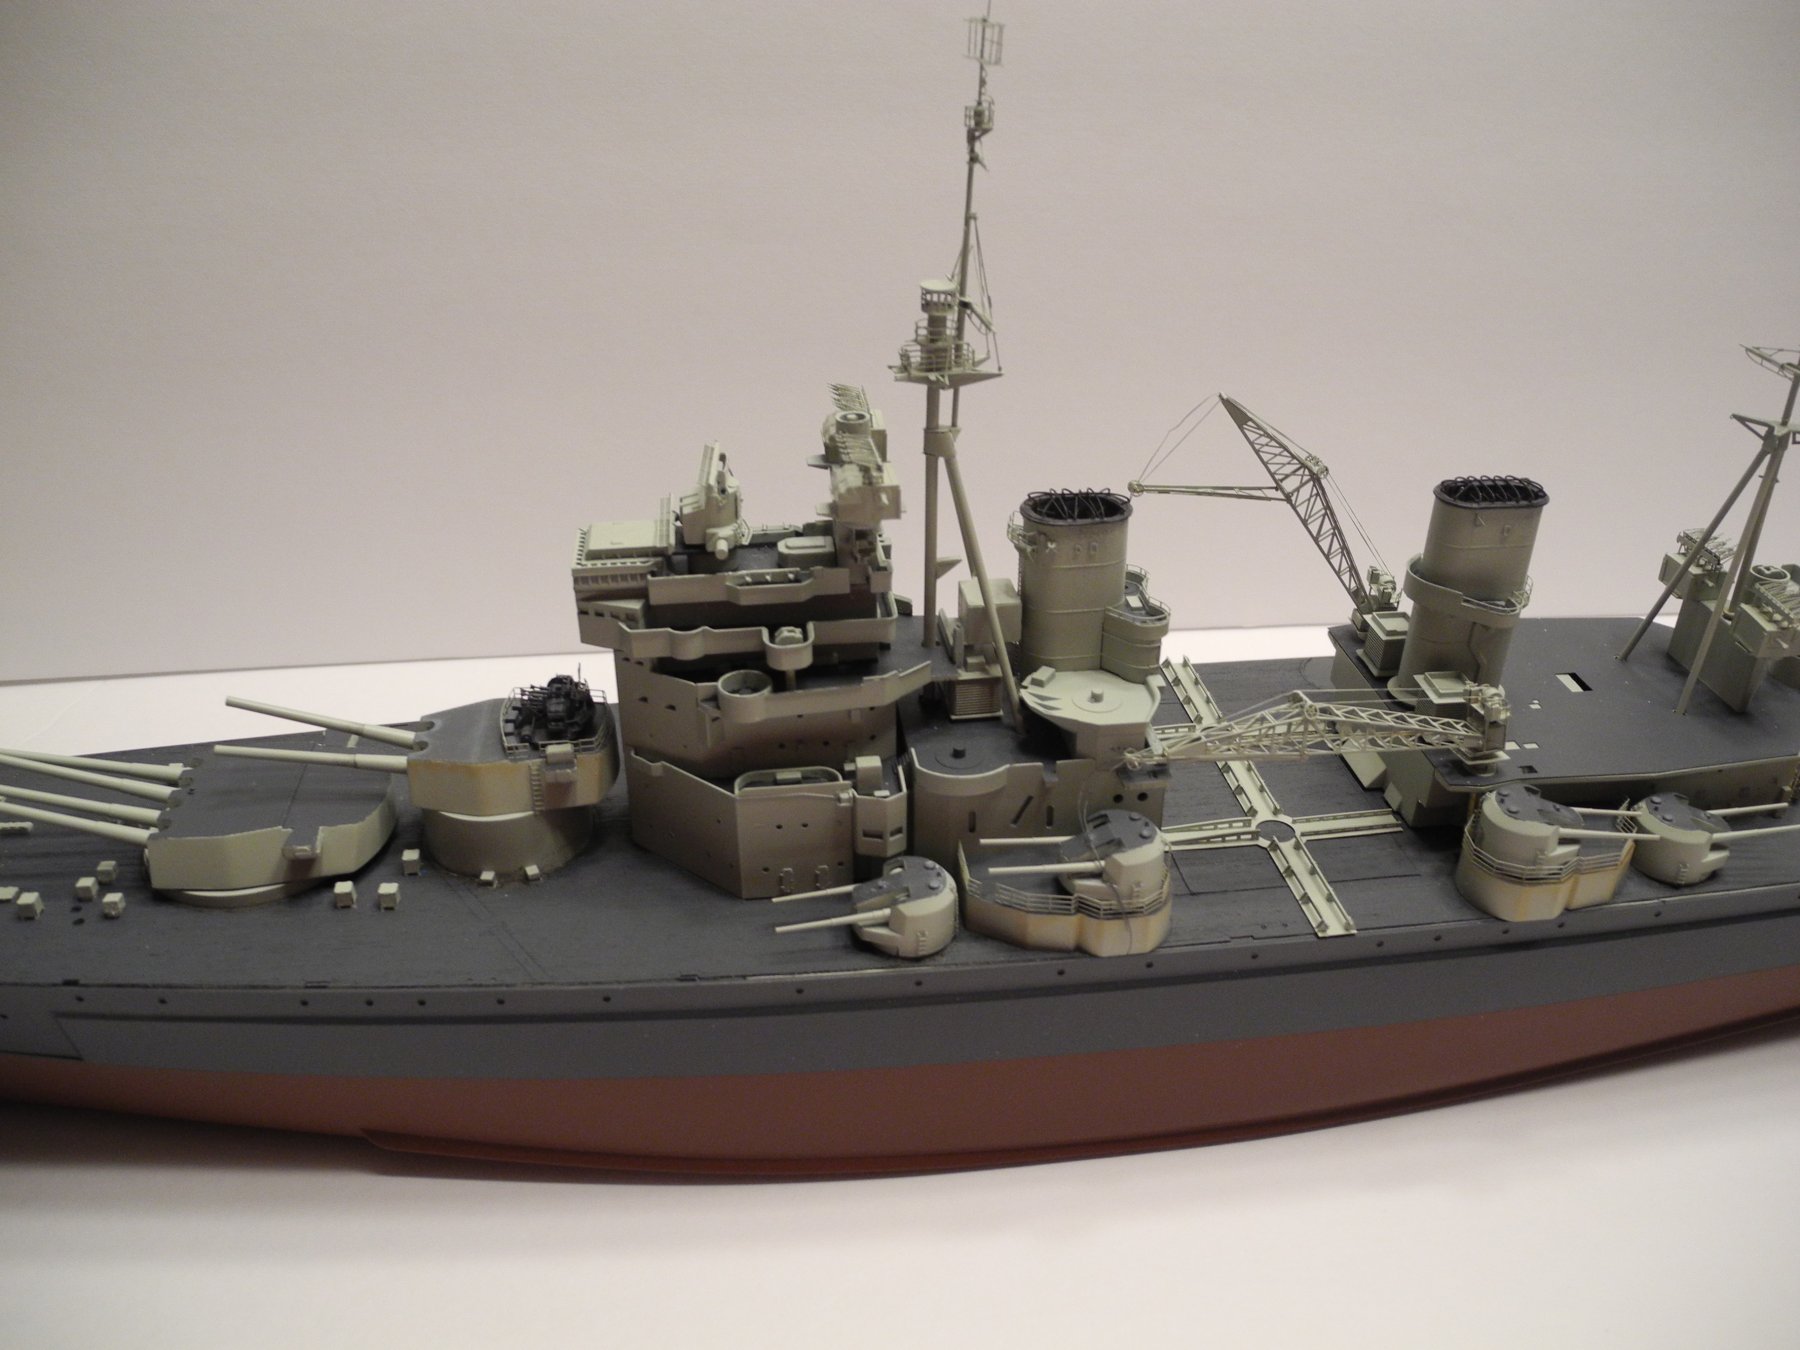
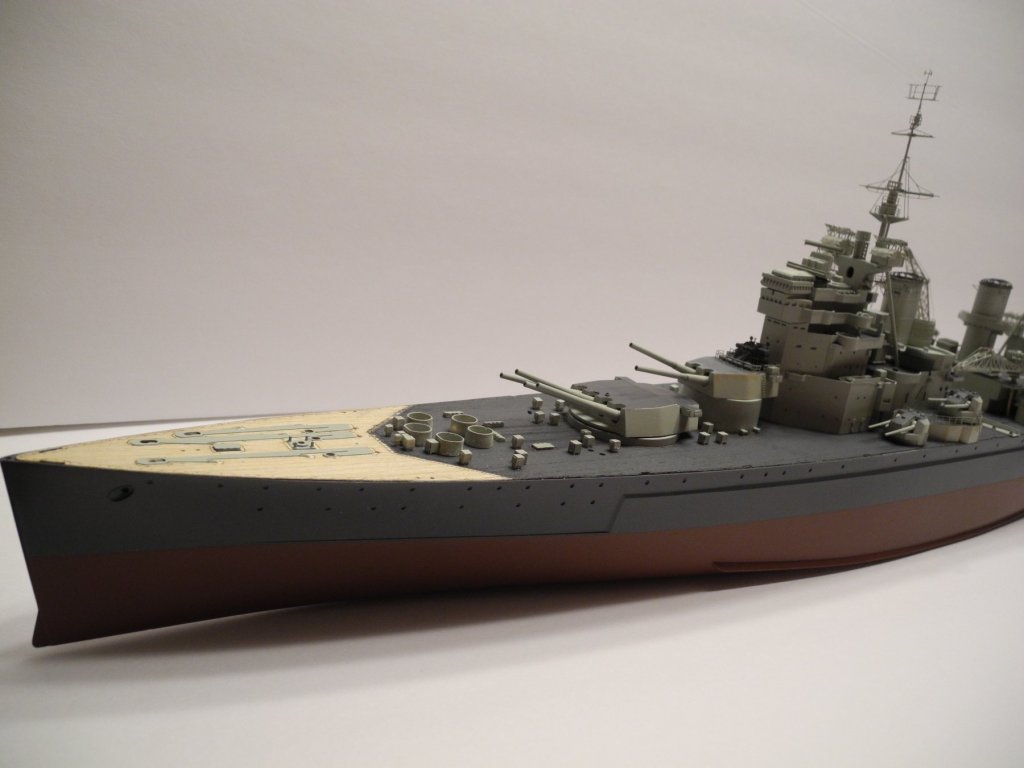
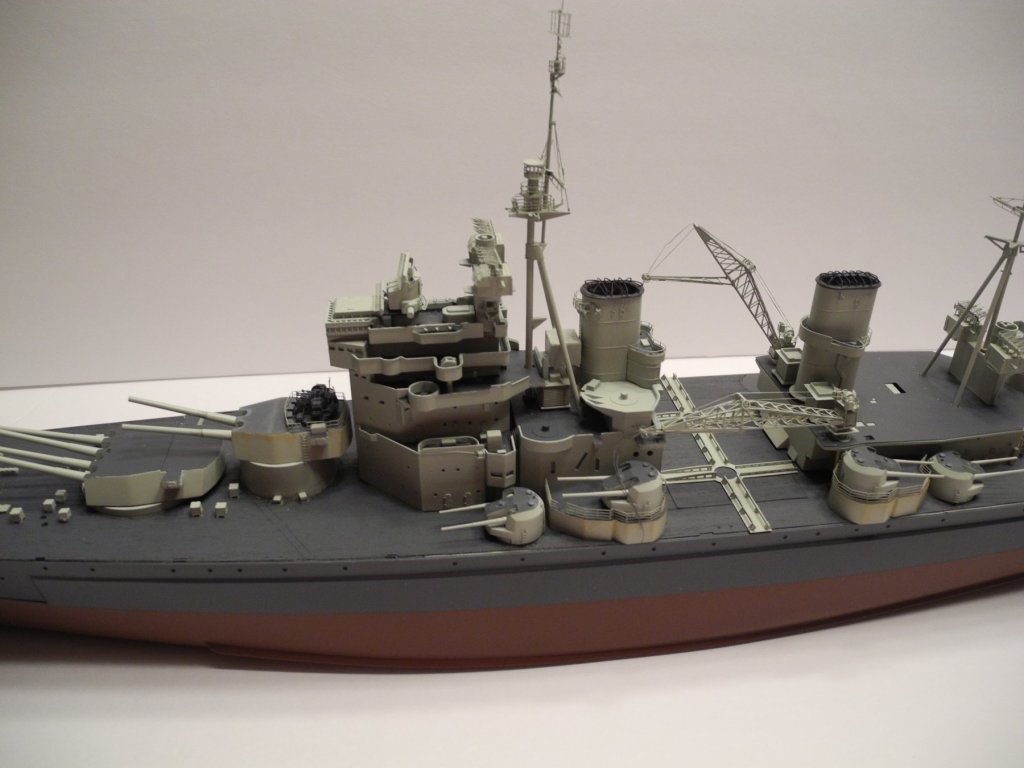
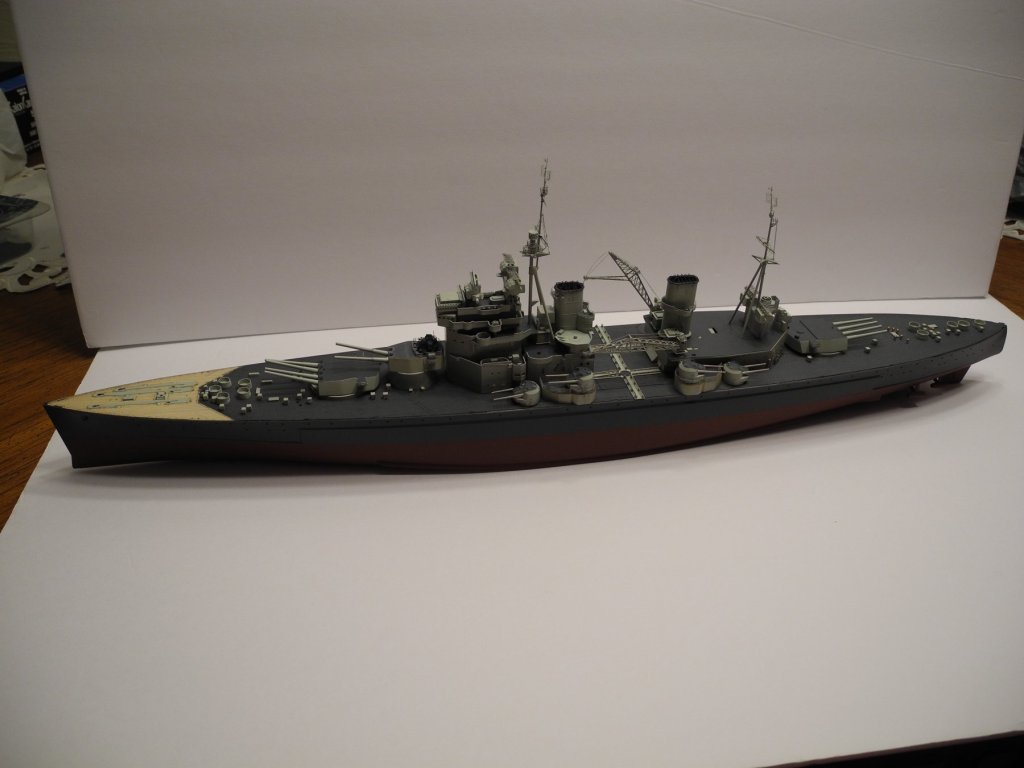
A little more assembled, a little more painted, a little more dry fitting, and miles to go before I sleep. (a little Robert Frost mixed in there).

- 151 replies
-
- 10
-
-
- duke of york
- tamiya
- (and 2 more)
-
I might try some of the laser cut details for this model. Either that or photo etch. Also, can't see myself rolling all the paper into gun barrels. I suppose it's possible to do, but man, it looks intimidating.
-
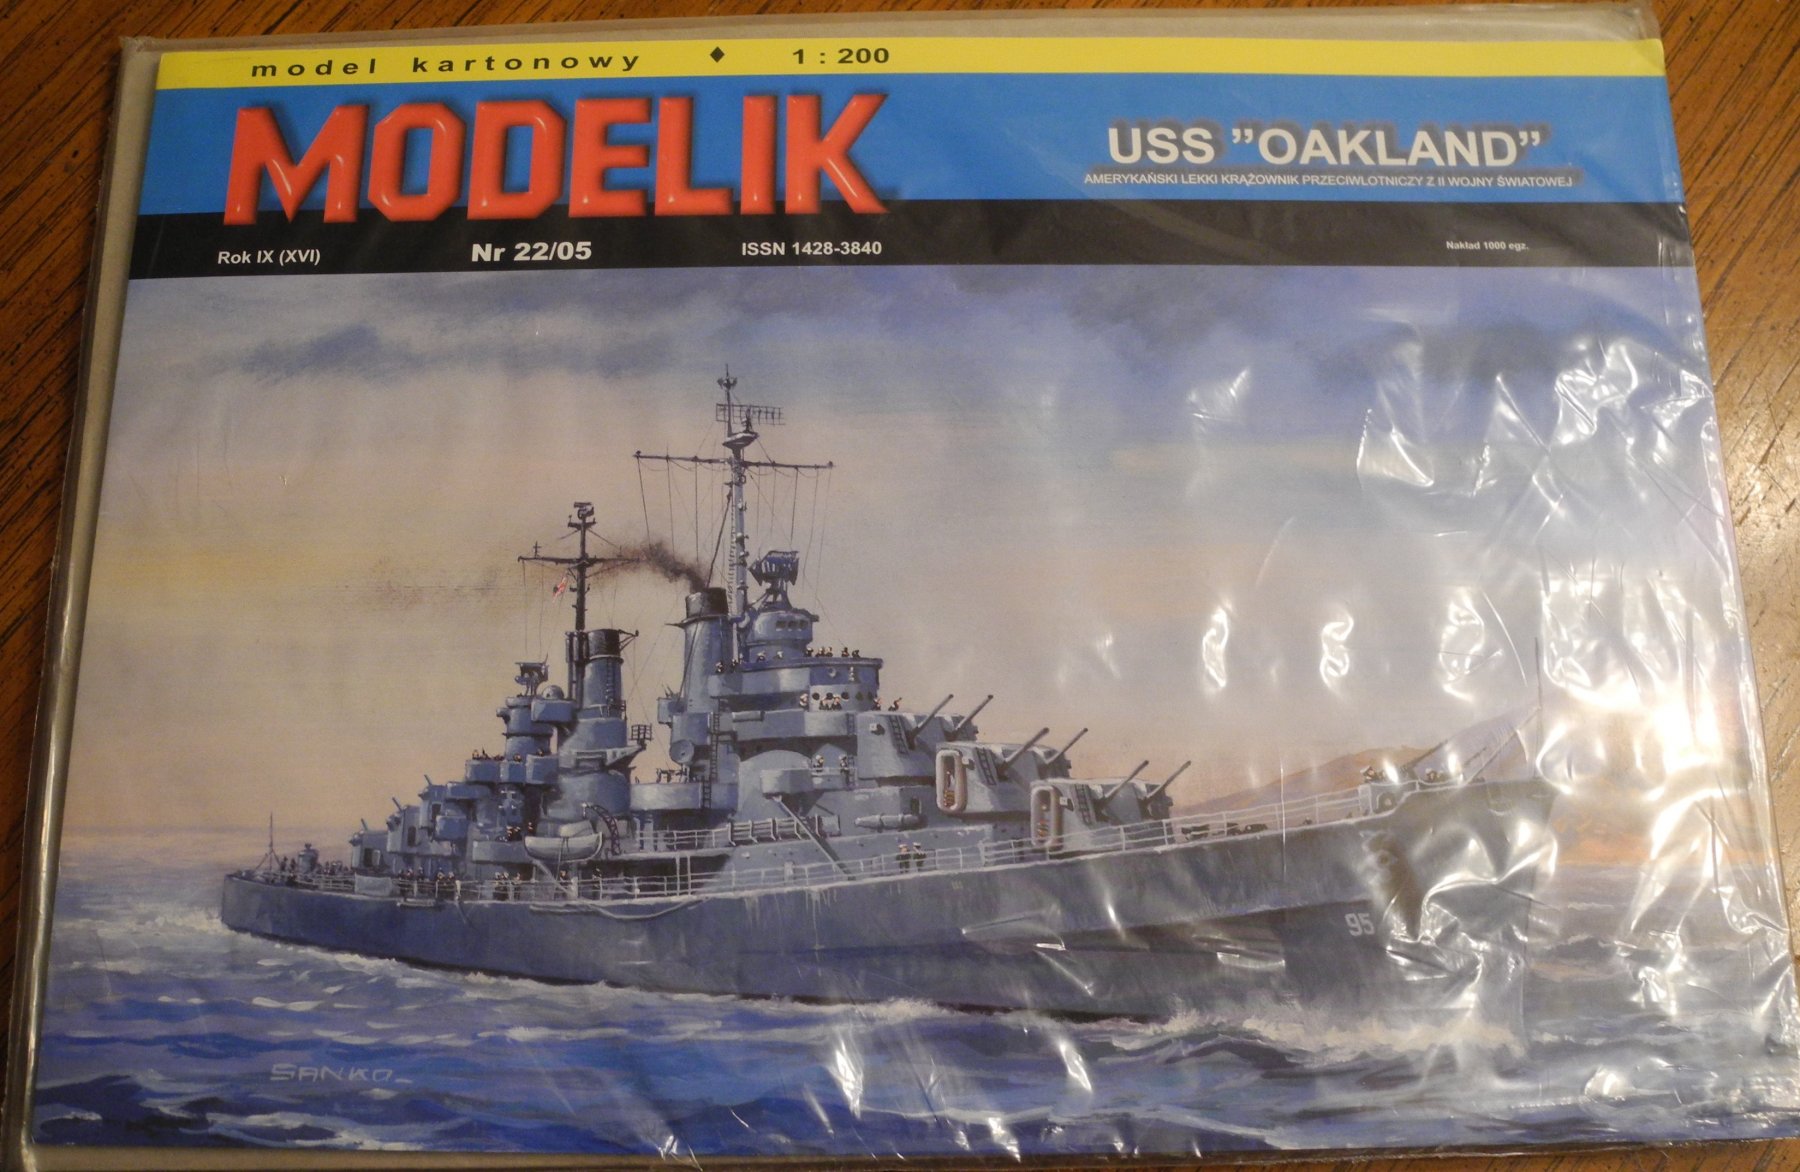
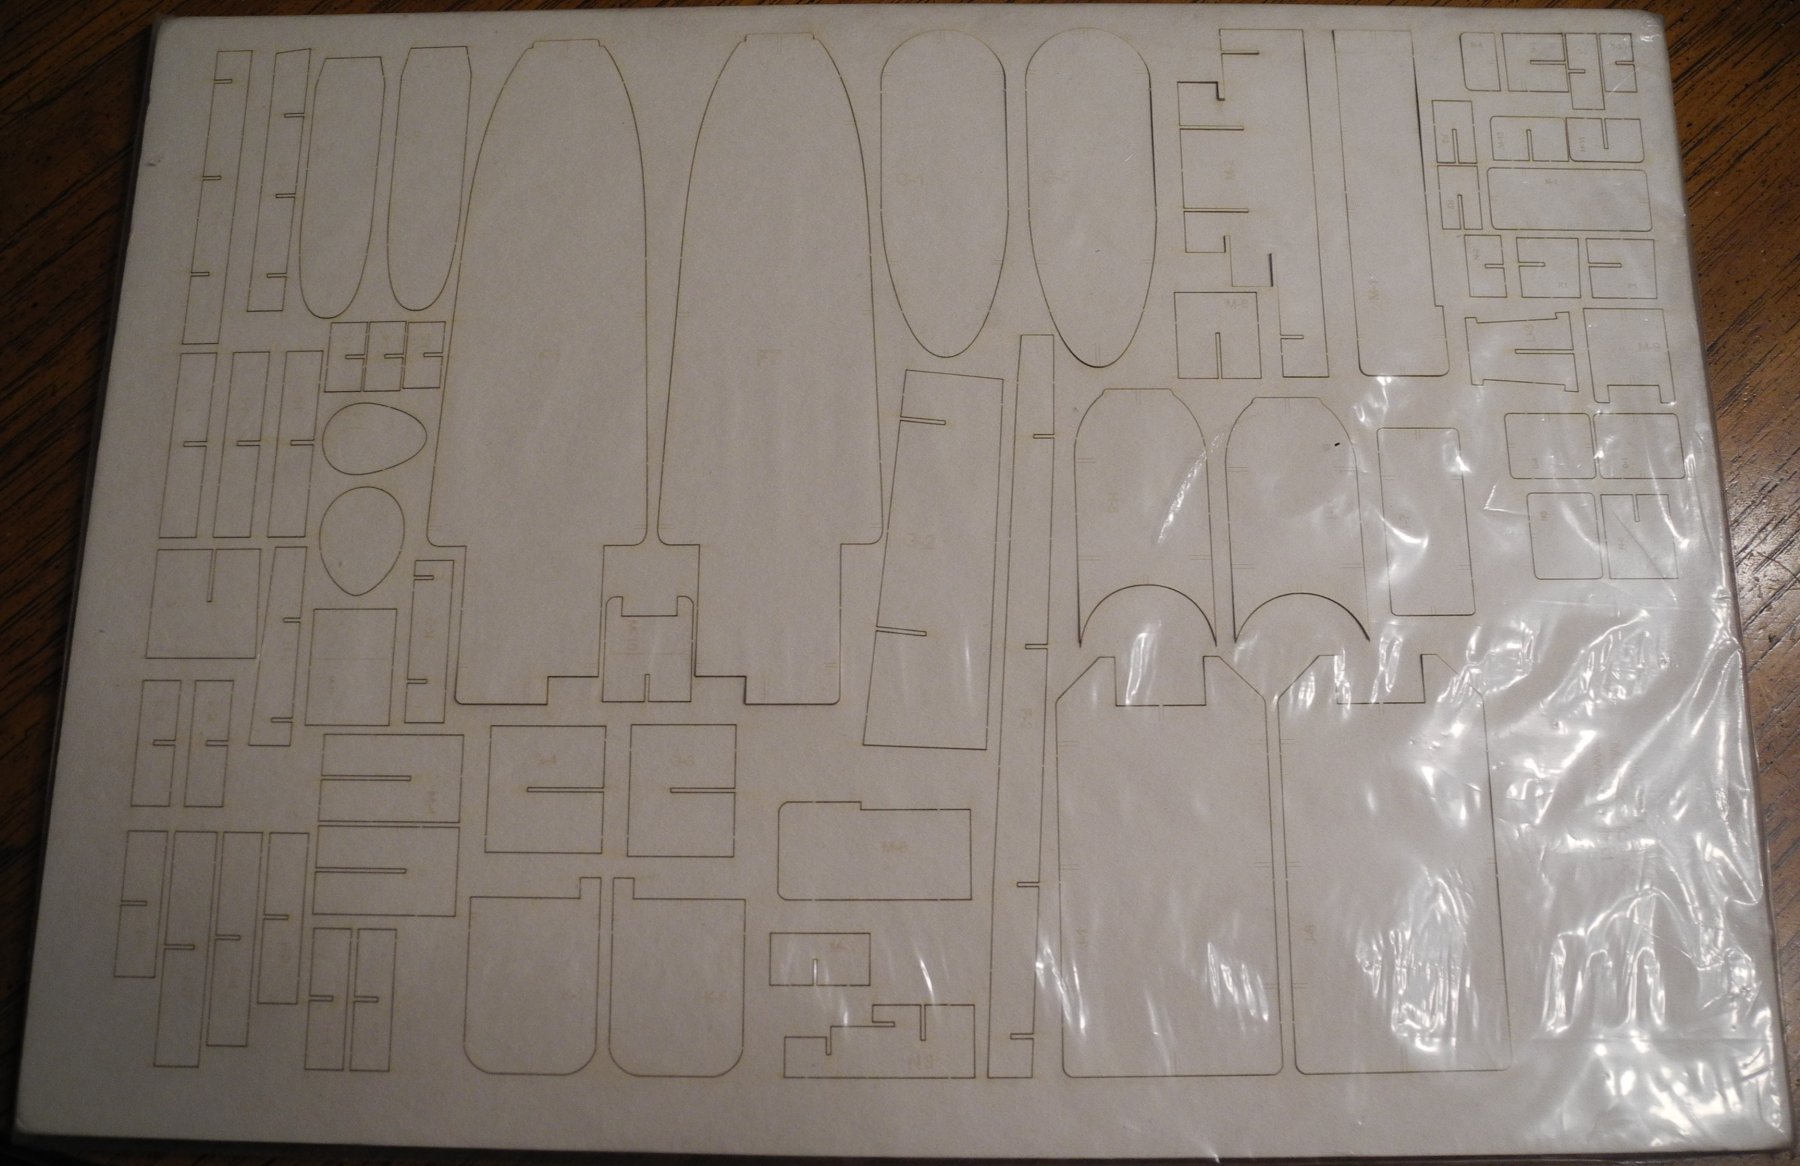
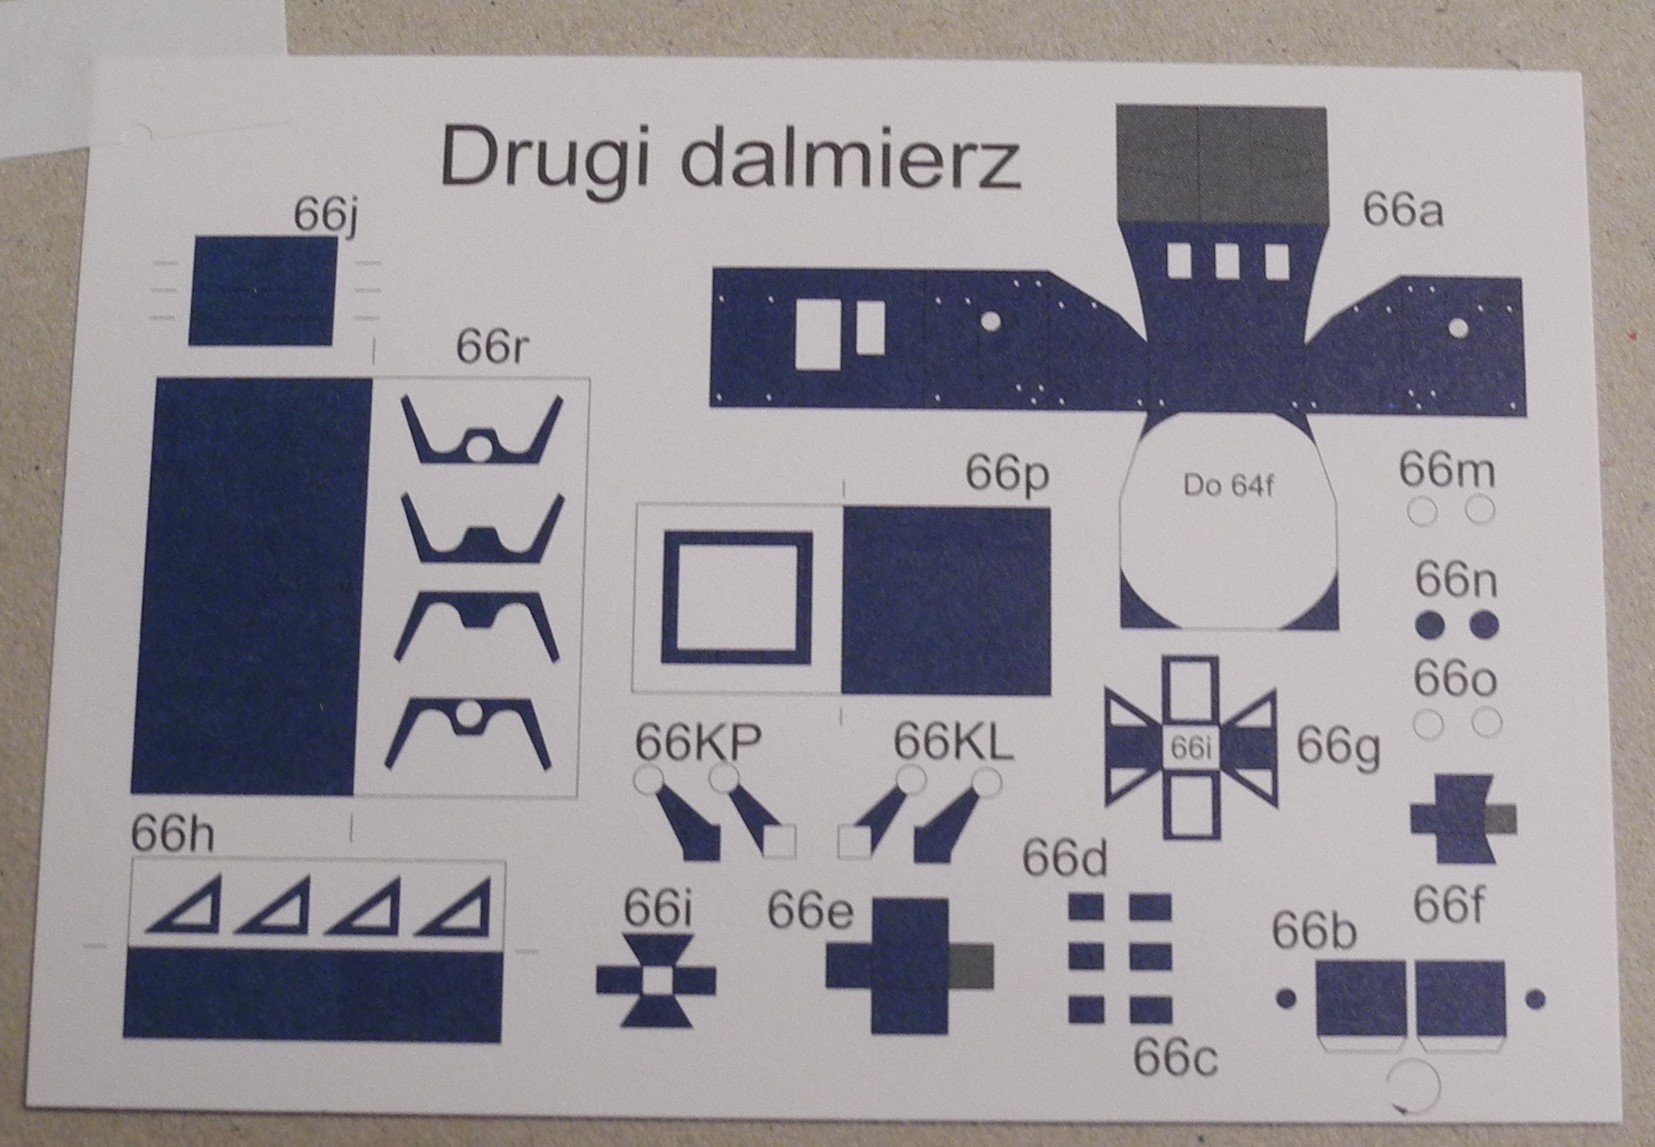
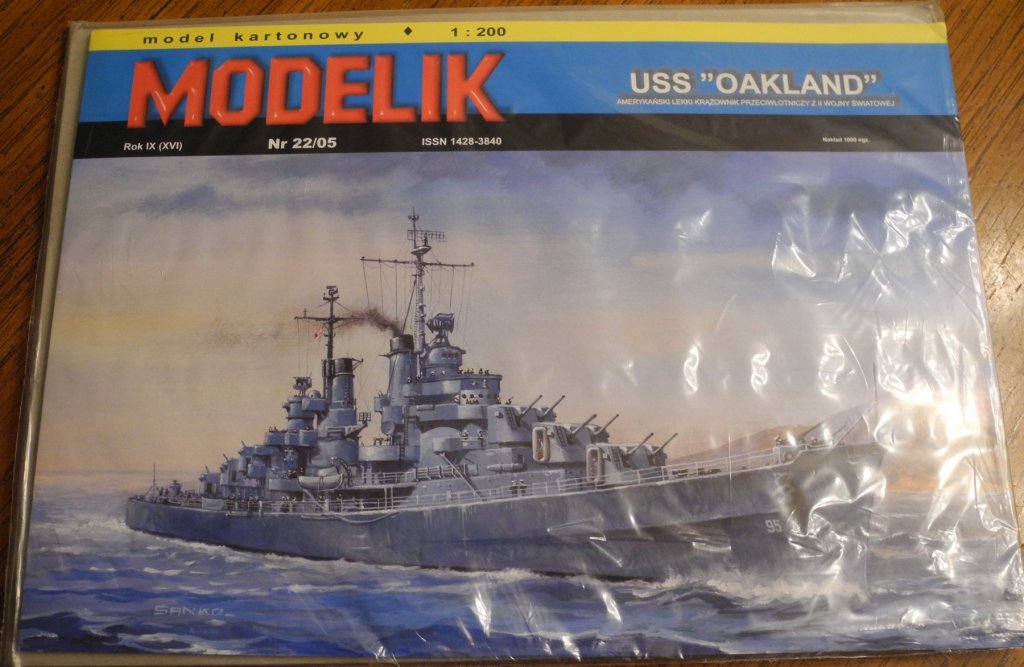
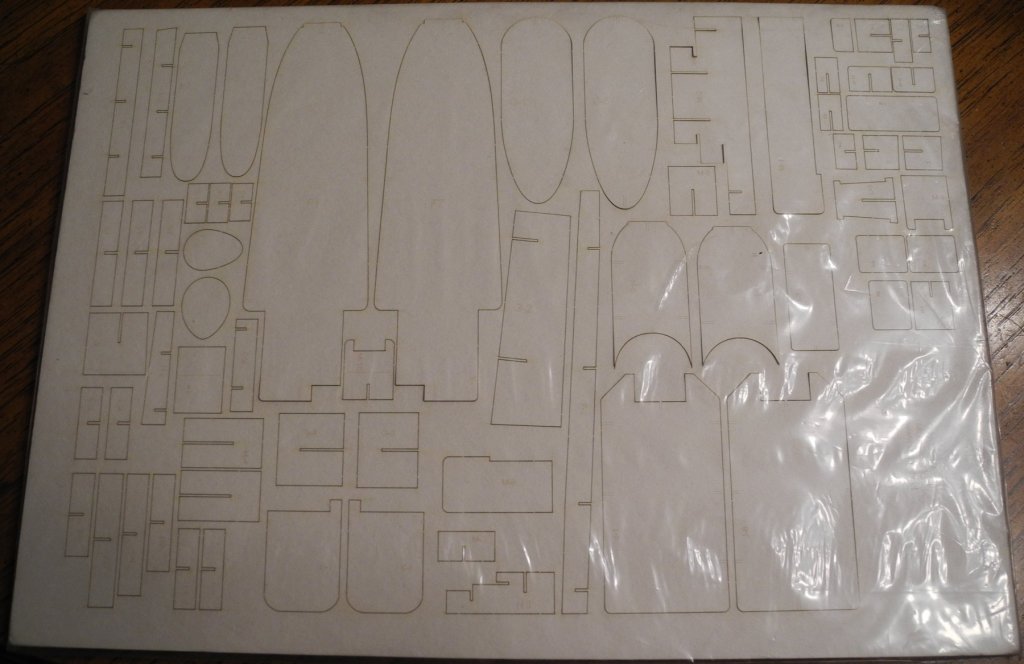
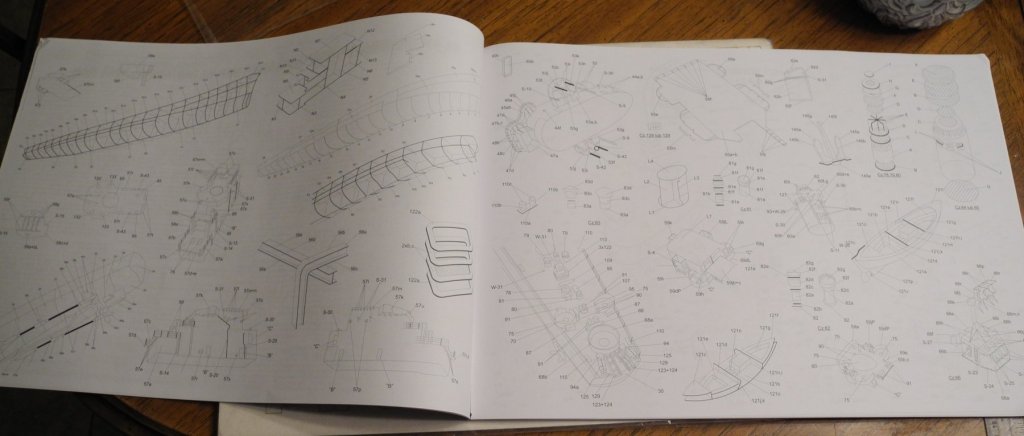
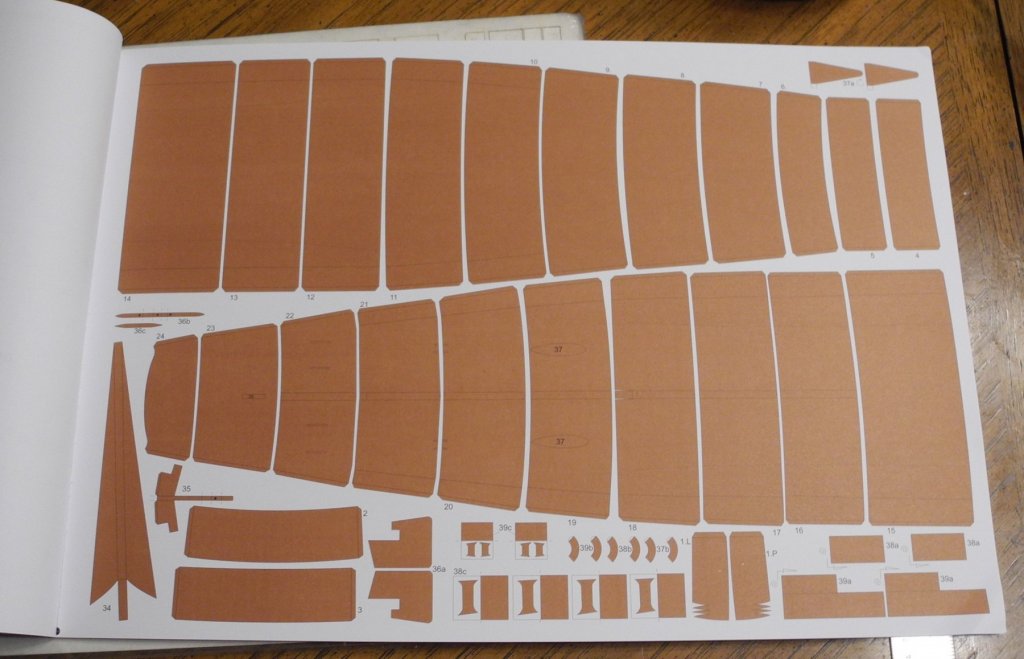
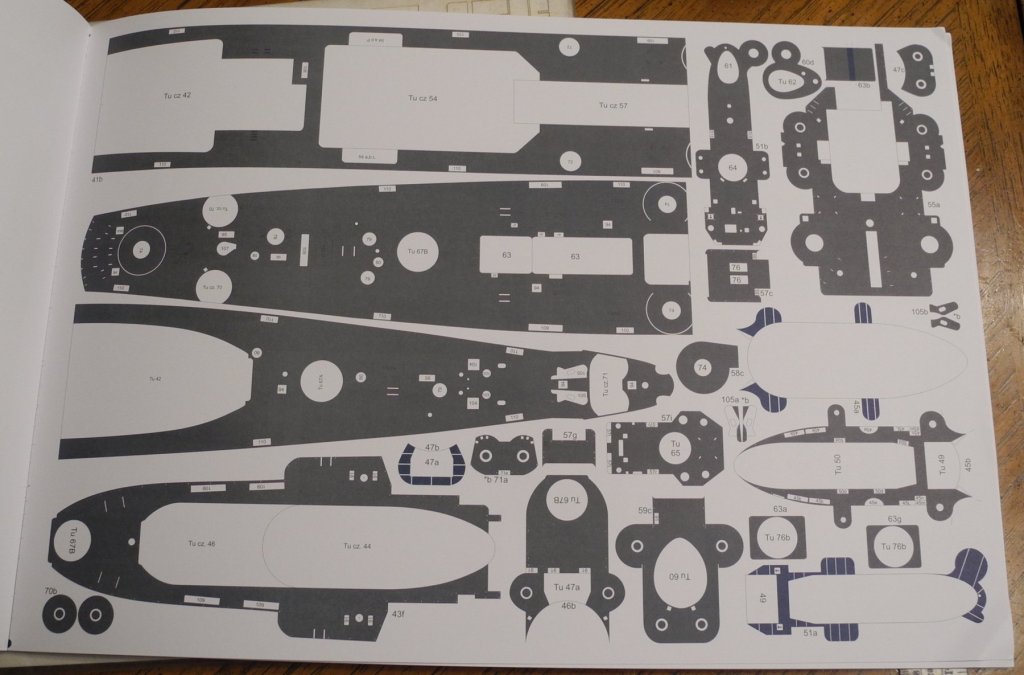
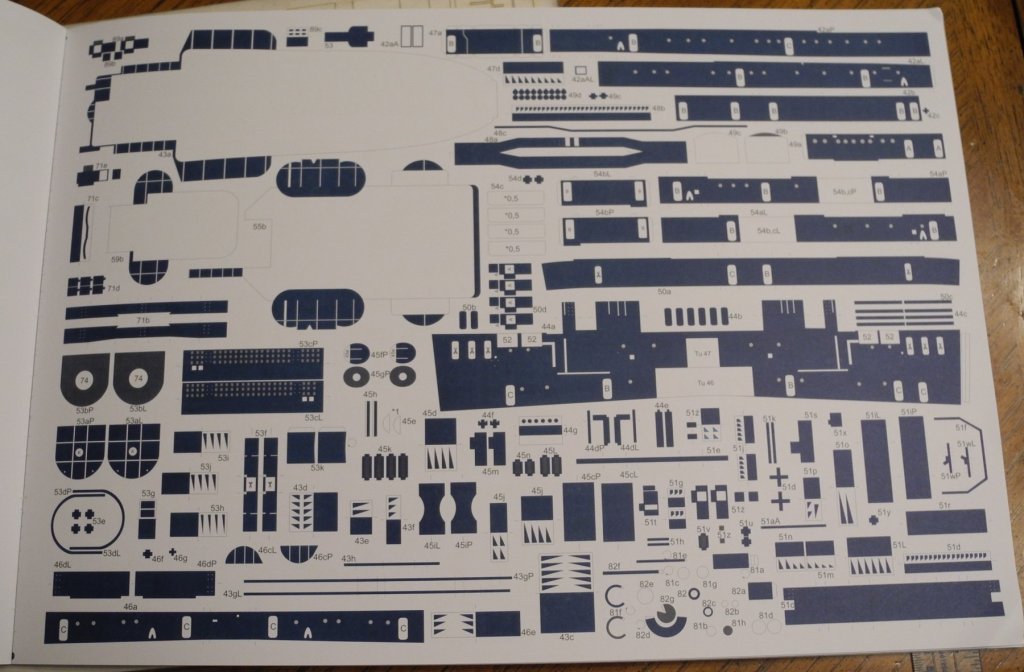
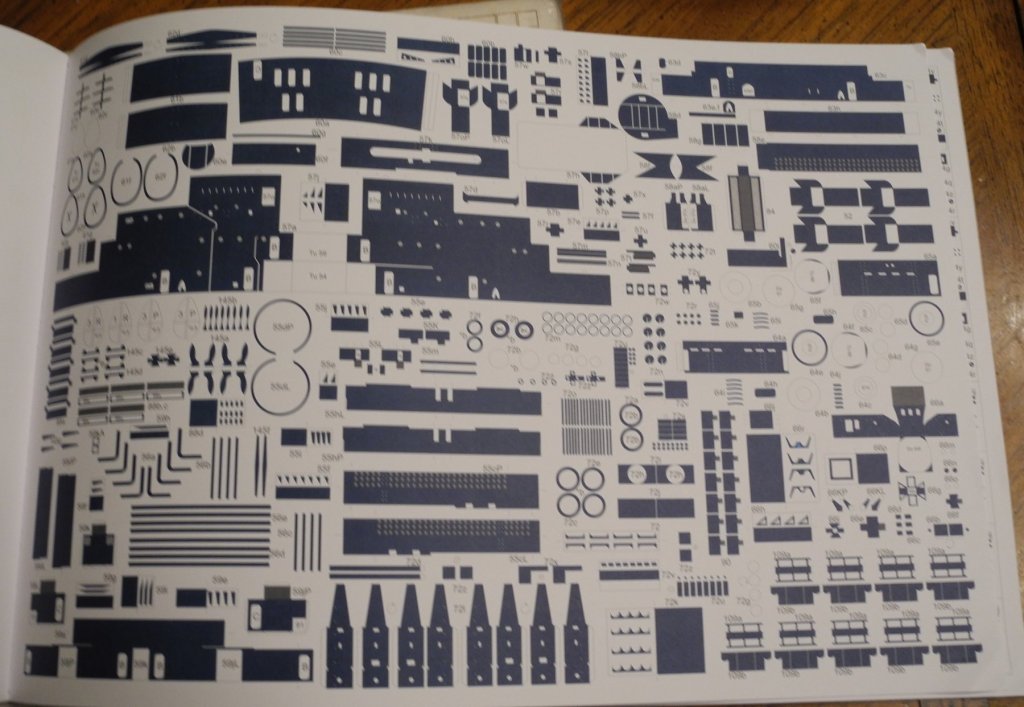
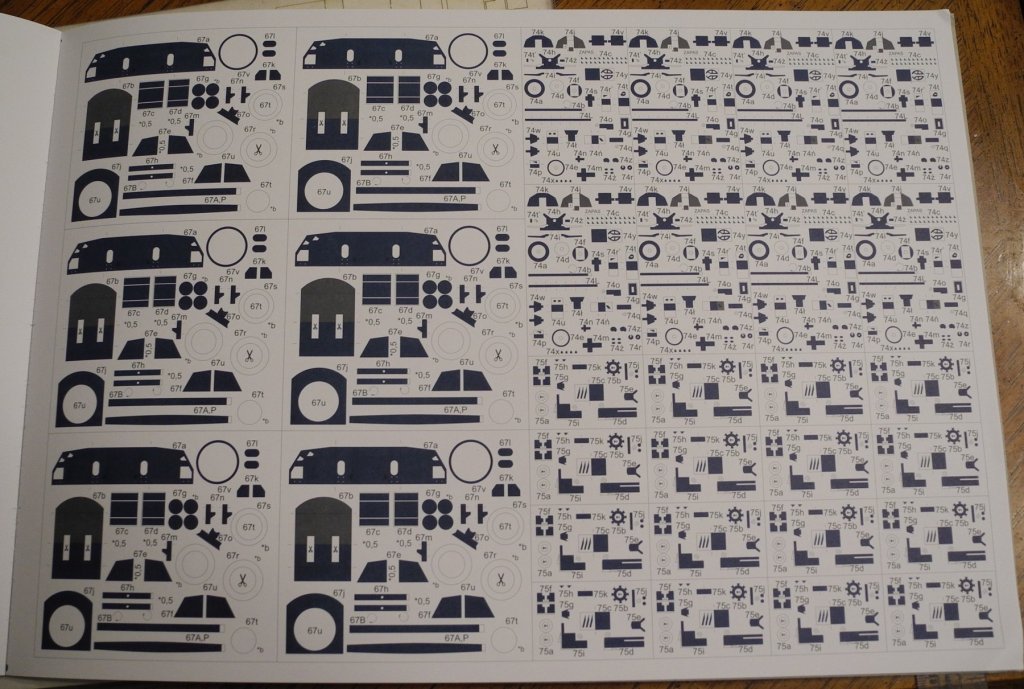
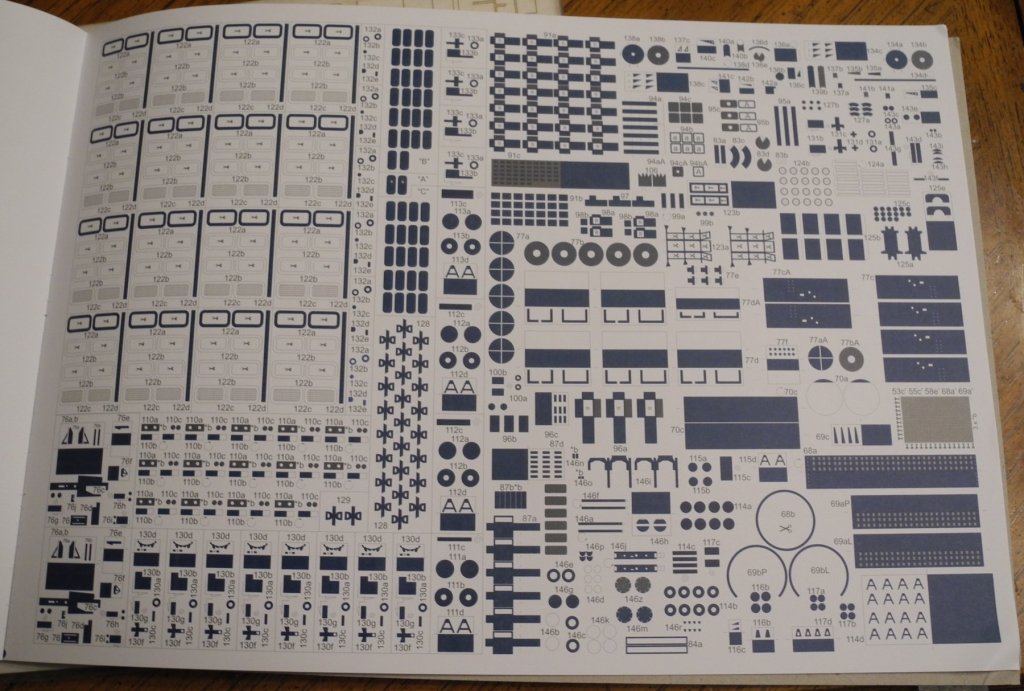
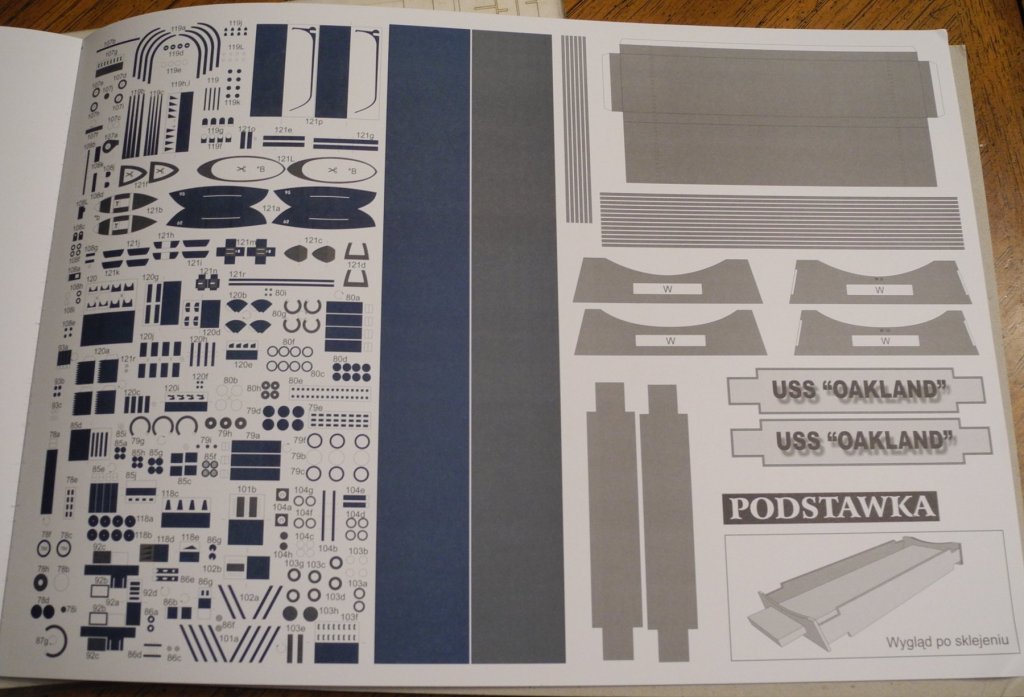
Watching the beautiful work of others on this forum, decided to try and build my first card model. Searching Ebay, found a seller in Germany whose models were reasonably priced and the shipping charge quite fair as well. This particular model cost me $29 USD, plus $5.59 USD for shipping. It arrived quickly (about 1 week from ordering). Some have asked me to post a review of the model, but I don't know enough about card models to give a fair review at this point. So I'd rather just share some photos and give a basic description of what I received, then let you be the judge of it. The model came with laser cut frames that are cut from what appears to be 2mm chipboard. There are four chipboard sheets in total, measuring approximately 12 inches by 17 inches. The booklet measures the same dimensions and contains nine pages of instructions and reference drawings. The color ship parts are printed on eight sheets of heavy card (less than 1mm, probably .5 mm or less). Following are some photos of what it all looks like. A lot of little parts to cut out, that's for sure. Don't know exactly when I'll start construction on the model as I have two unfinished projects I want to complete first. Maybe another month or so.

-
The camera exaggerates and distorts the situation sometimes. What appears glaring in a photo is next to nothing in eye contact with the 1:1 model. At least that's what I have noticed from time to time. My bet is once you have everything painted, you won't see a gap.
-
A question about these card models...when you buy a card model with laser cut frames, are the frames all that same grade of heavy card stock, or is that specific to the company who sells the model?
- 295 replies
-
- 6
-
-
- amatsukaze
- halinski
- (and 2 more)
-
That spreadsheet right there is true dedication and determination. Great job figuring out how to navigate and correct a challenge.
- 295 replies
-
- 6
-
-
- amatsukaze
- halinski
- (and 2 more)
-
Nigel Just found your build thread. You've done very well for your first wood planked model ship. It looks real nice indeed. You are going to learn a lot with this first model and will treasure it in the years to come as you think back on your experience building it. Outstanding! Craig
- 121 replies
-
- 2
-
-
- bounty
- constructo
- (and 1 more)
-
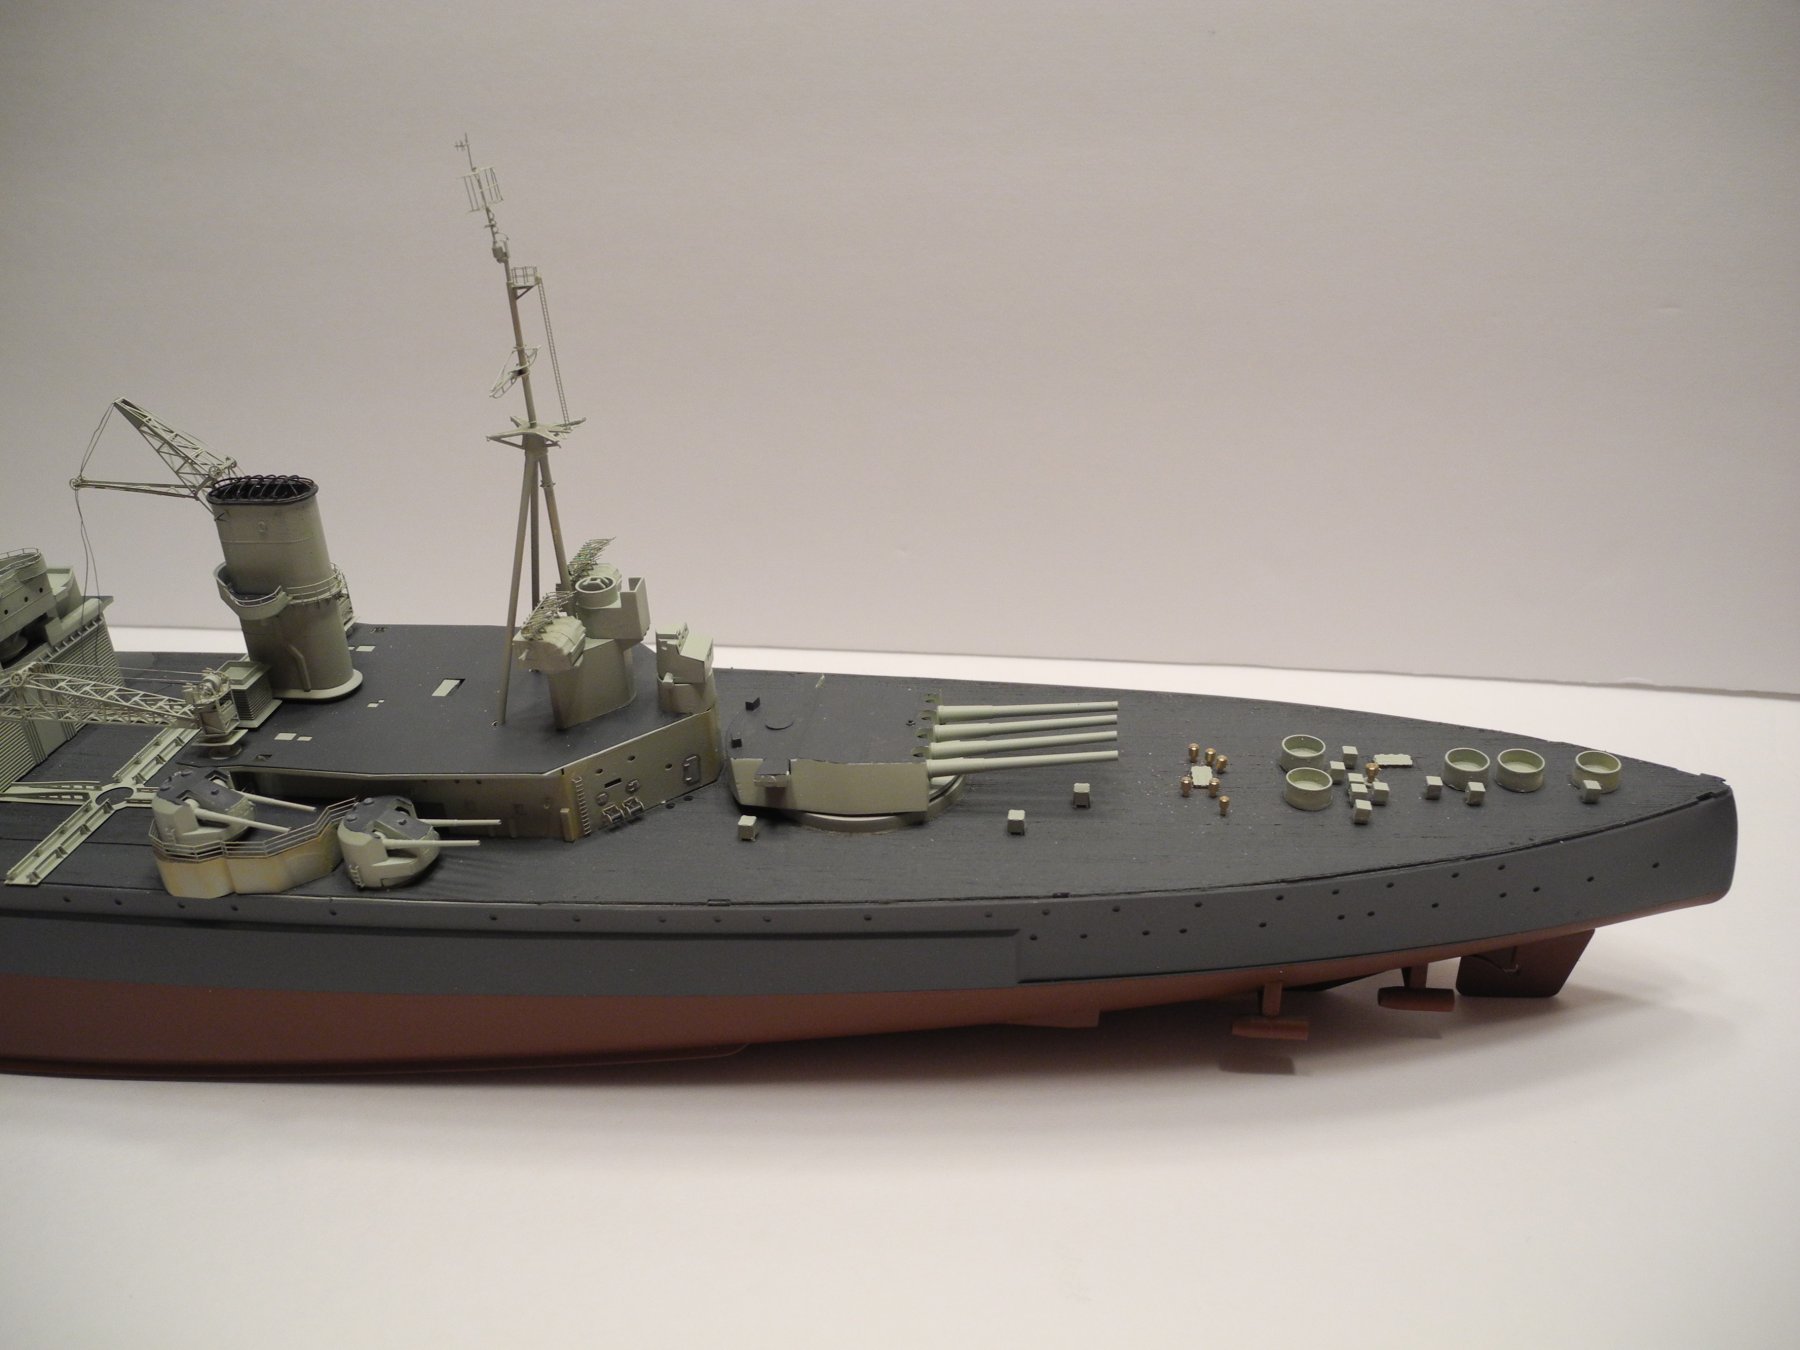
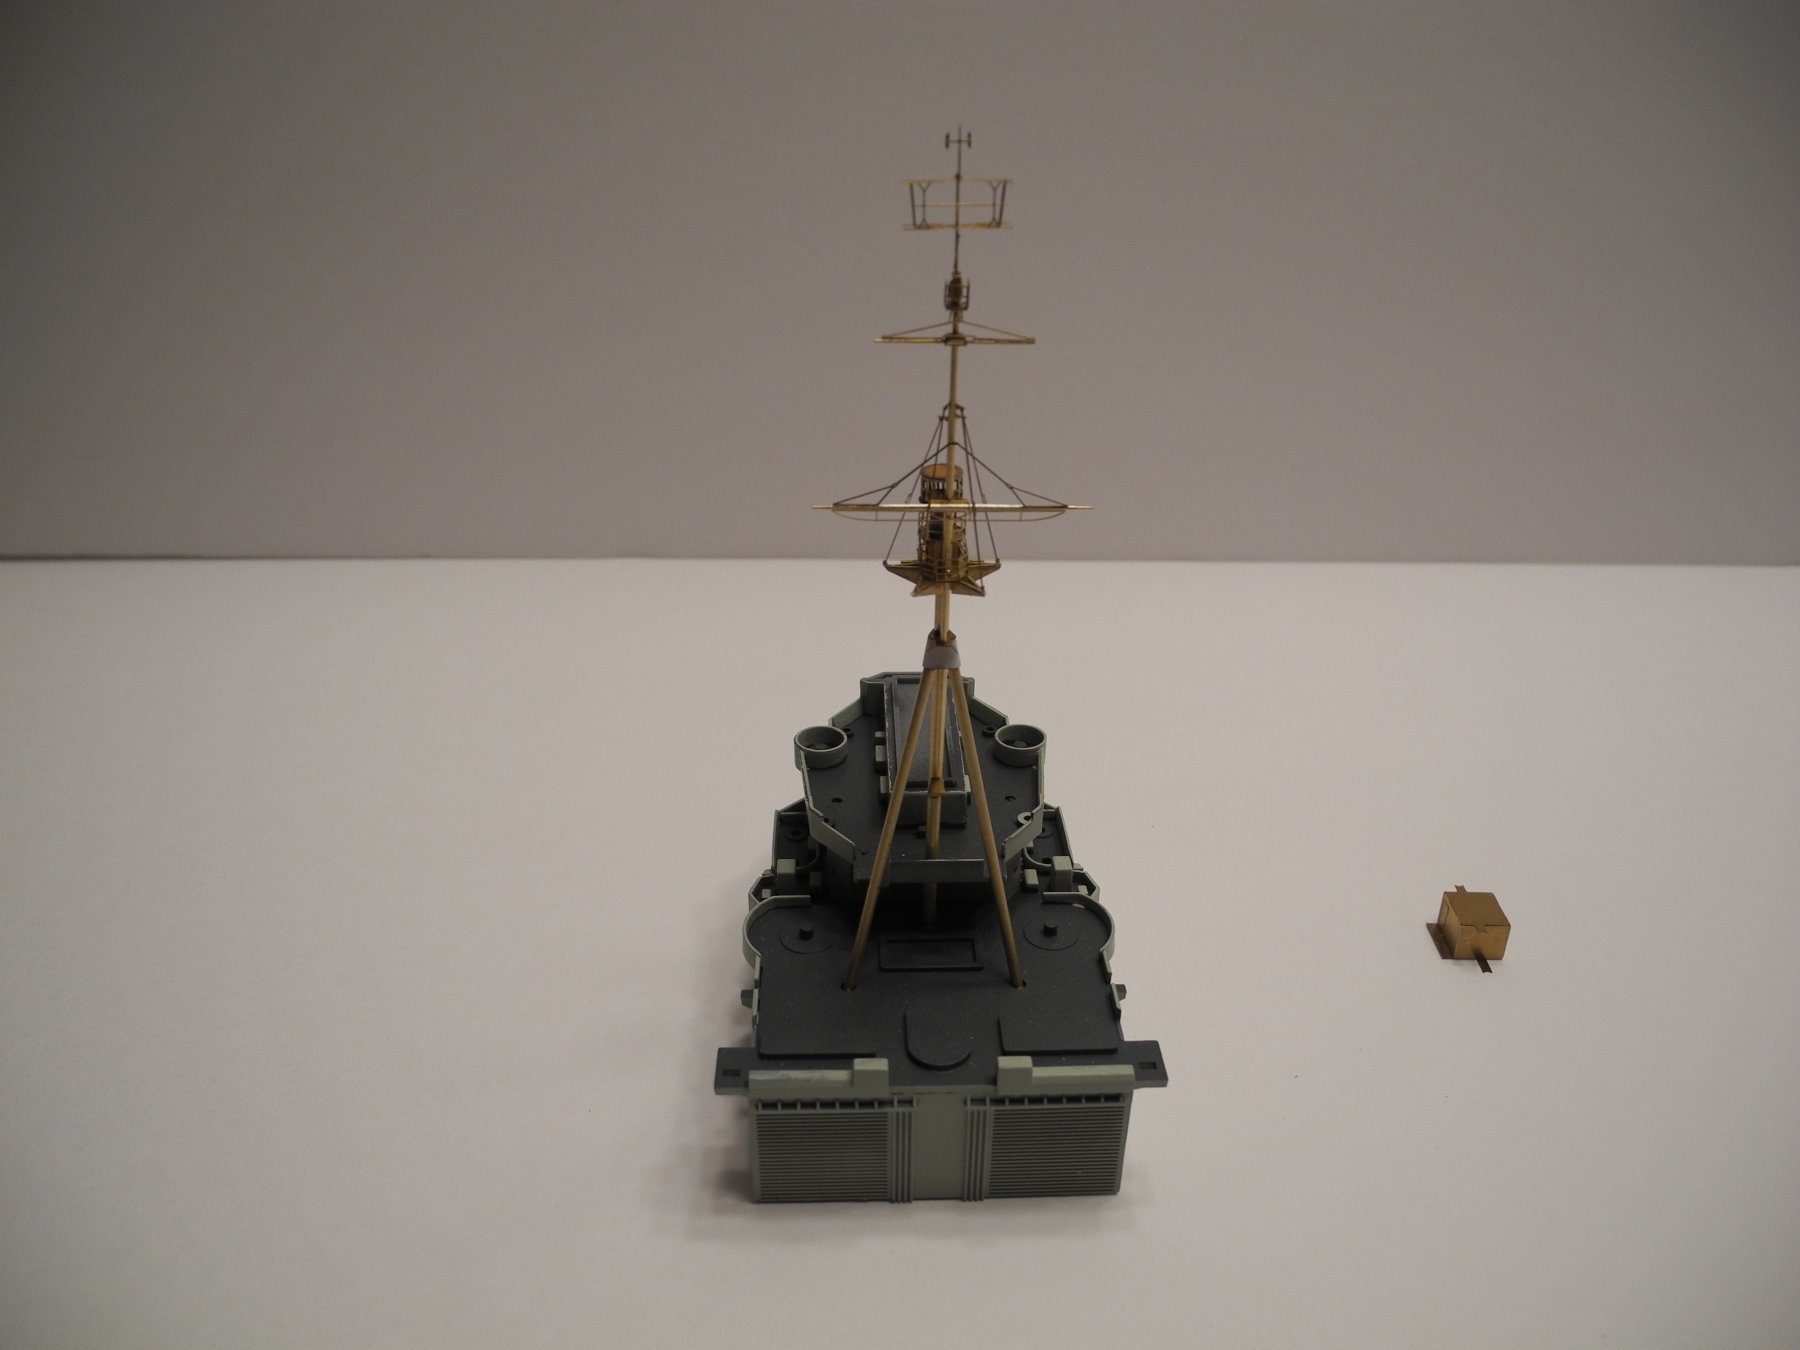
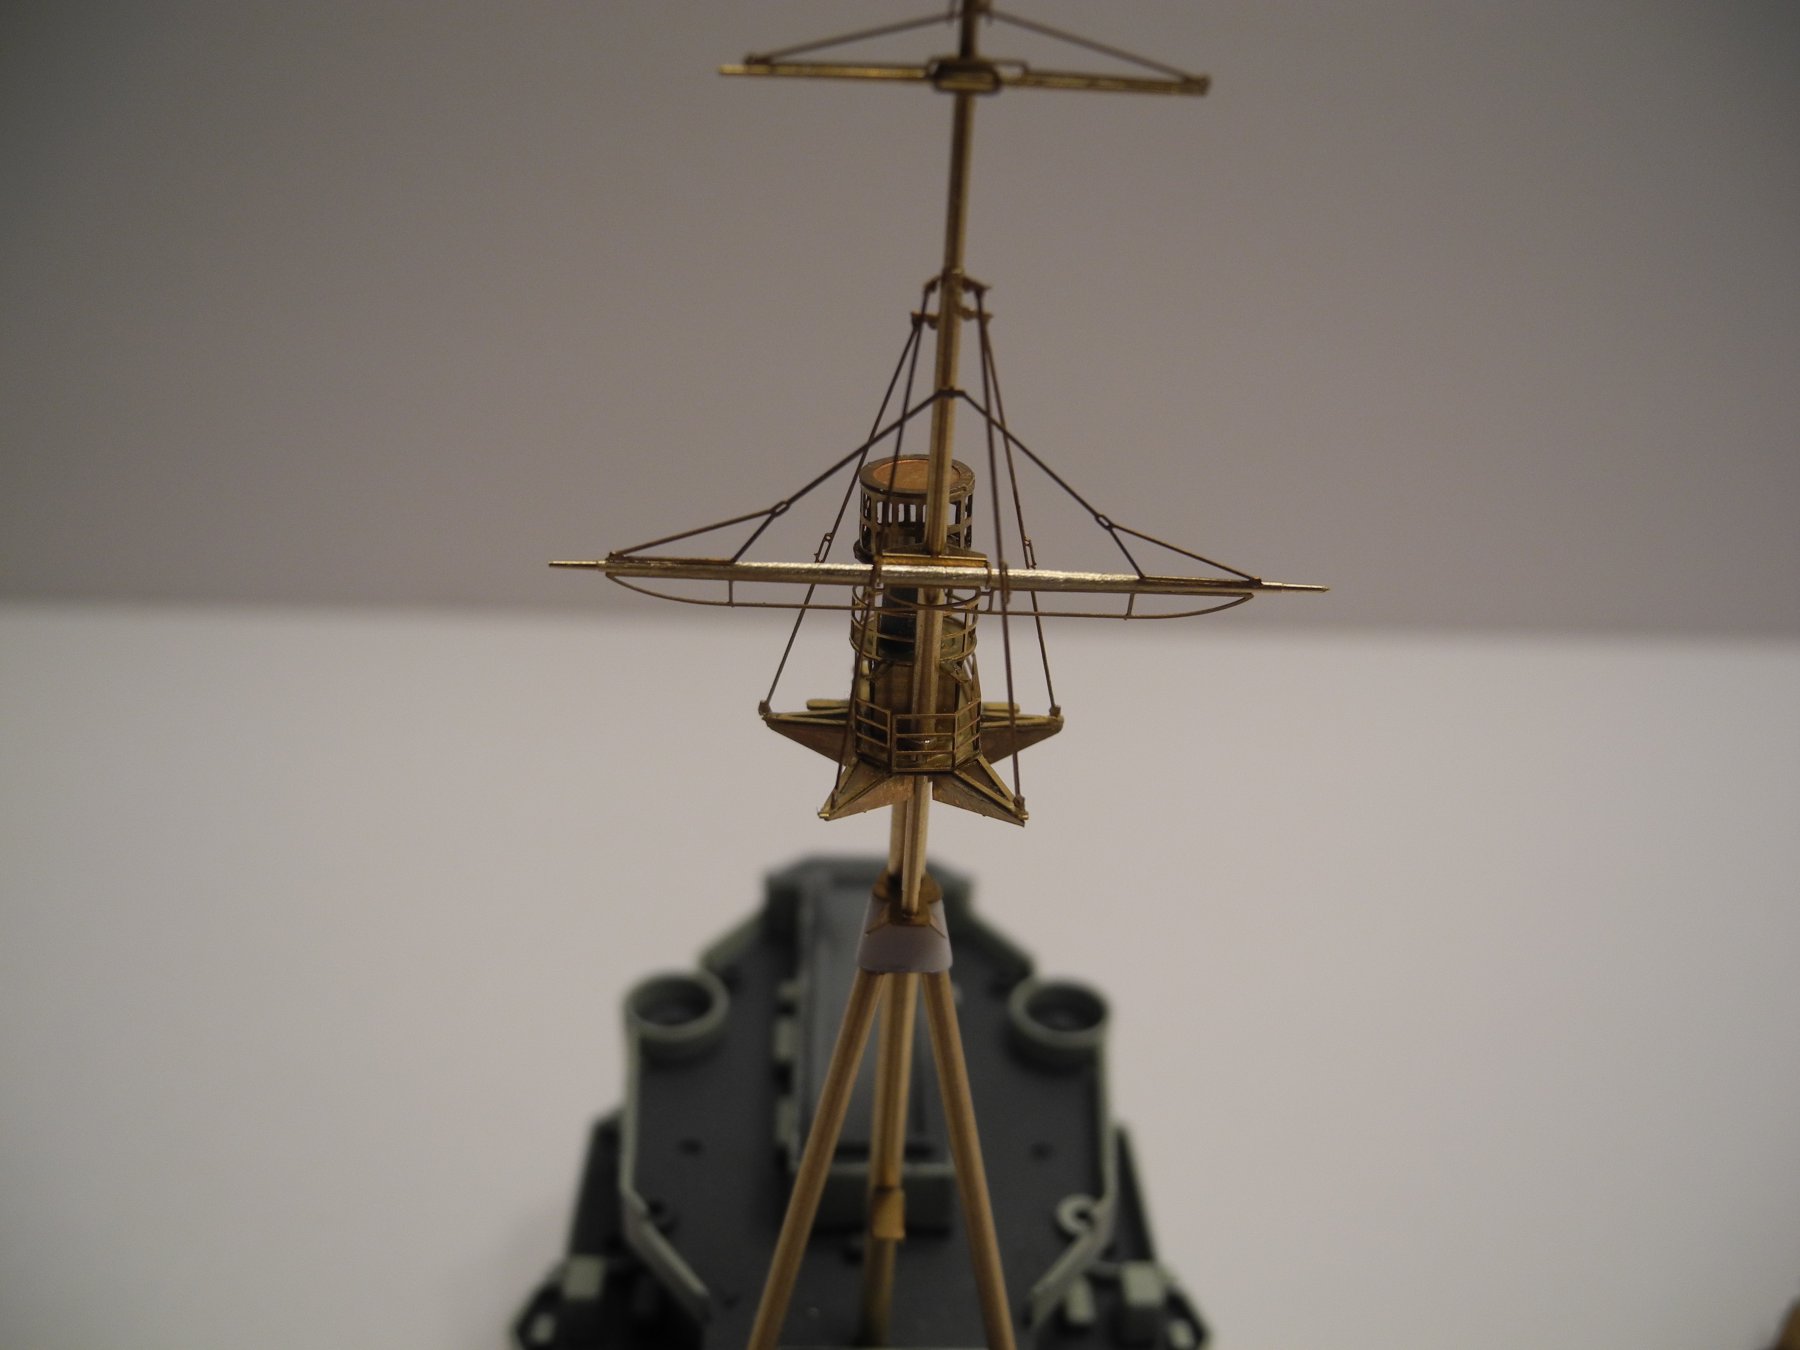
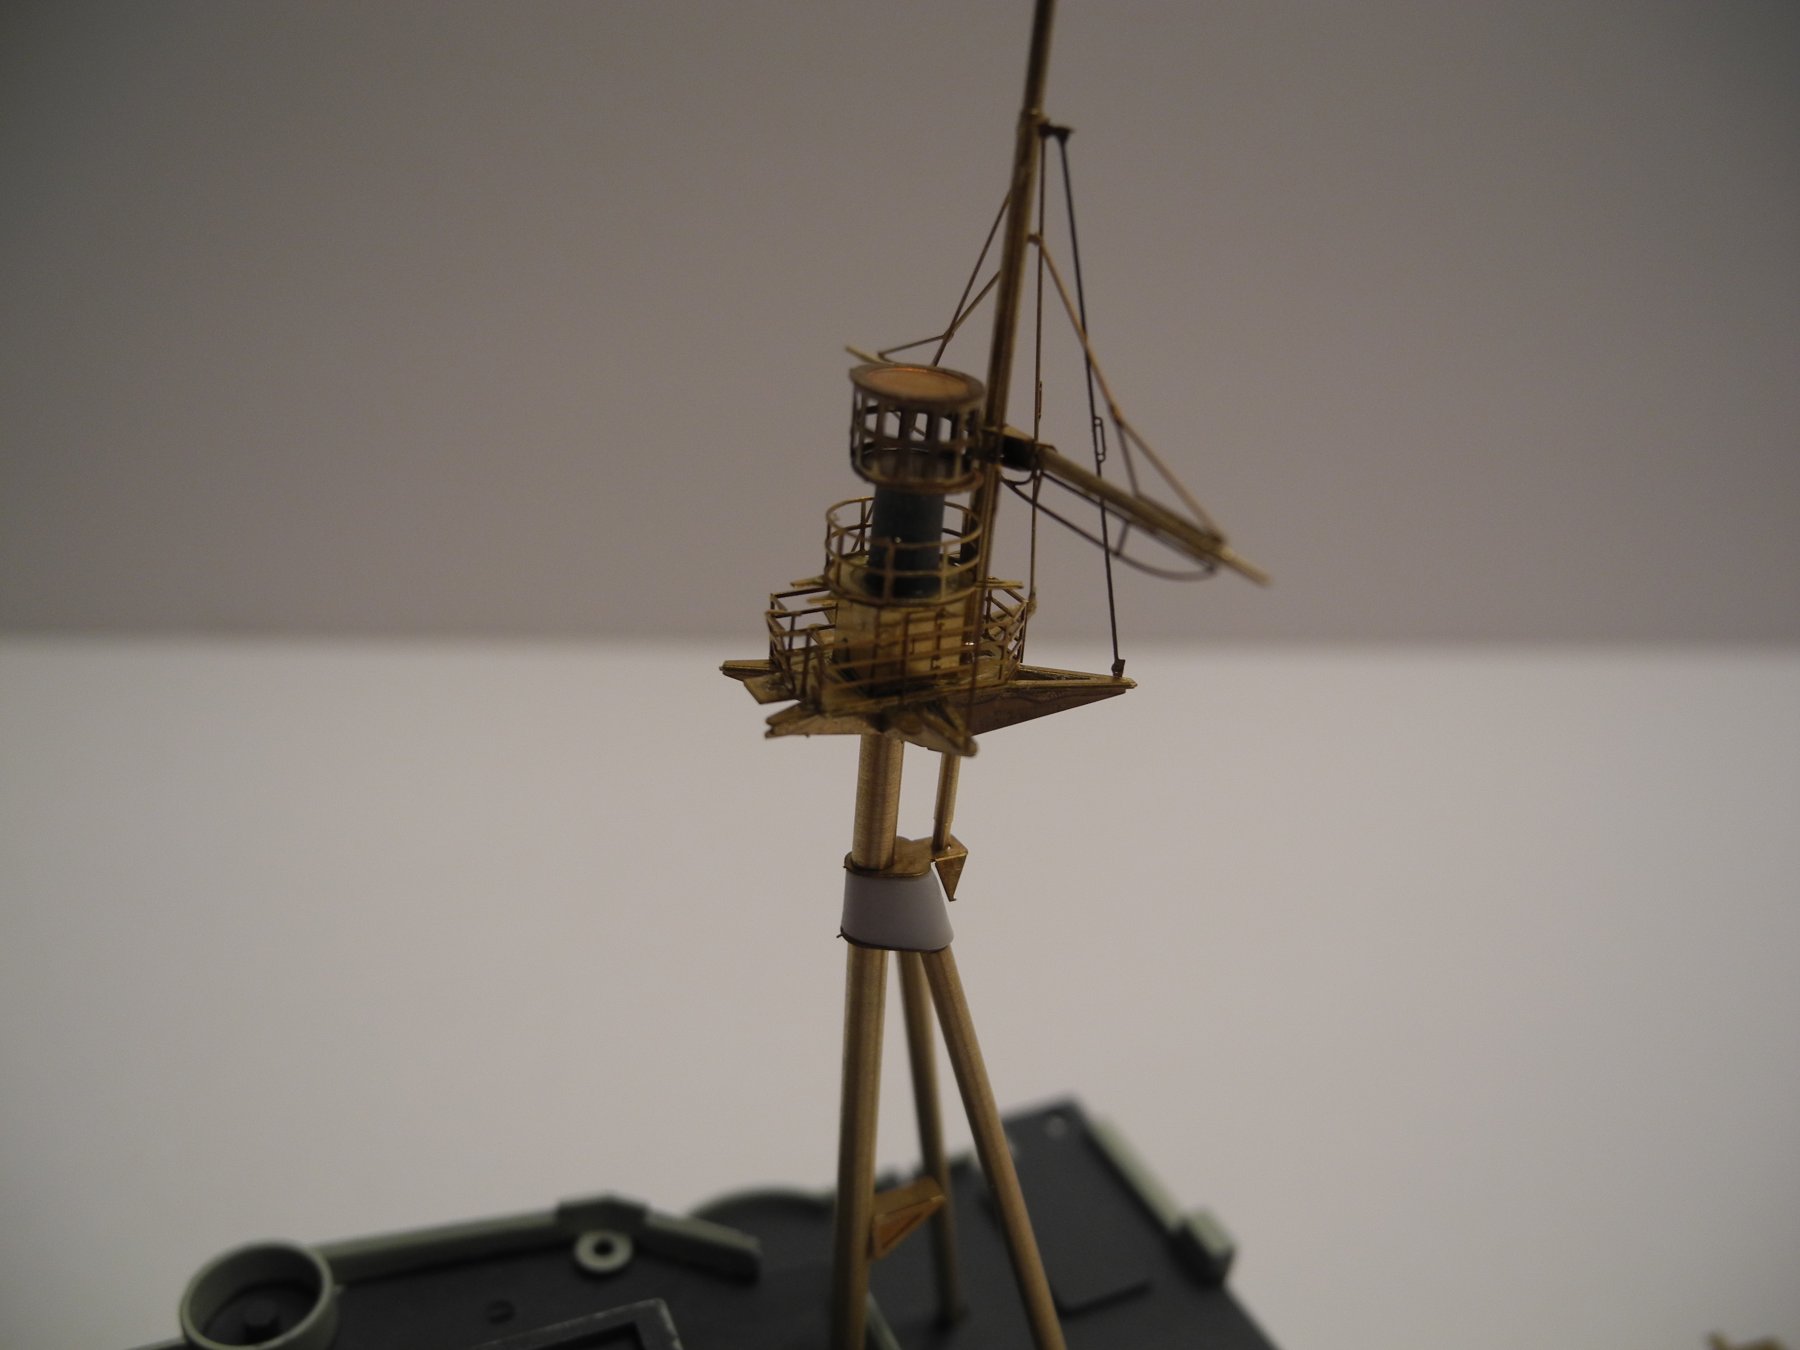
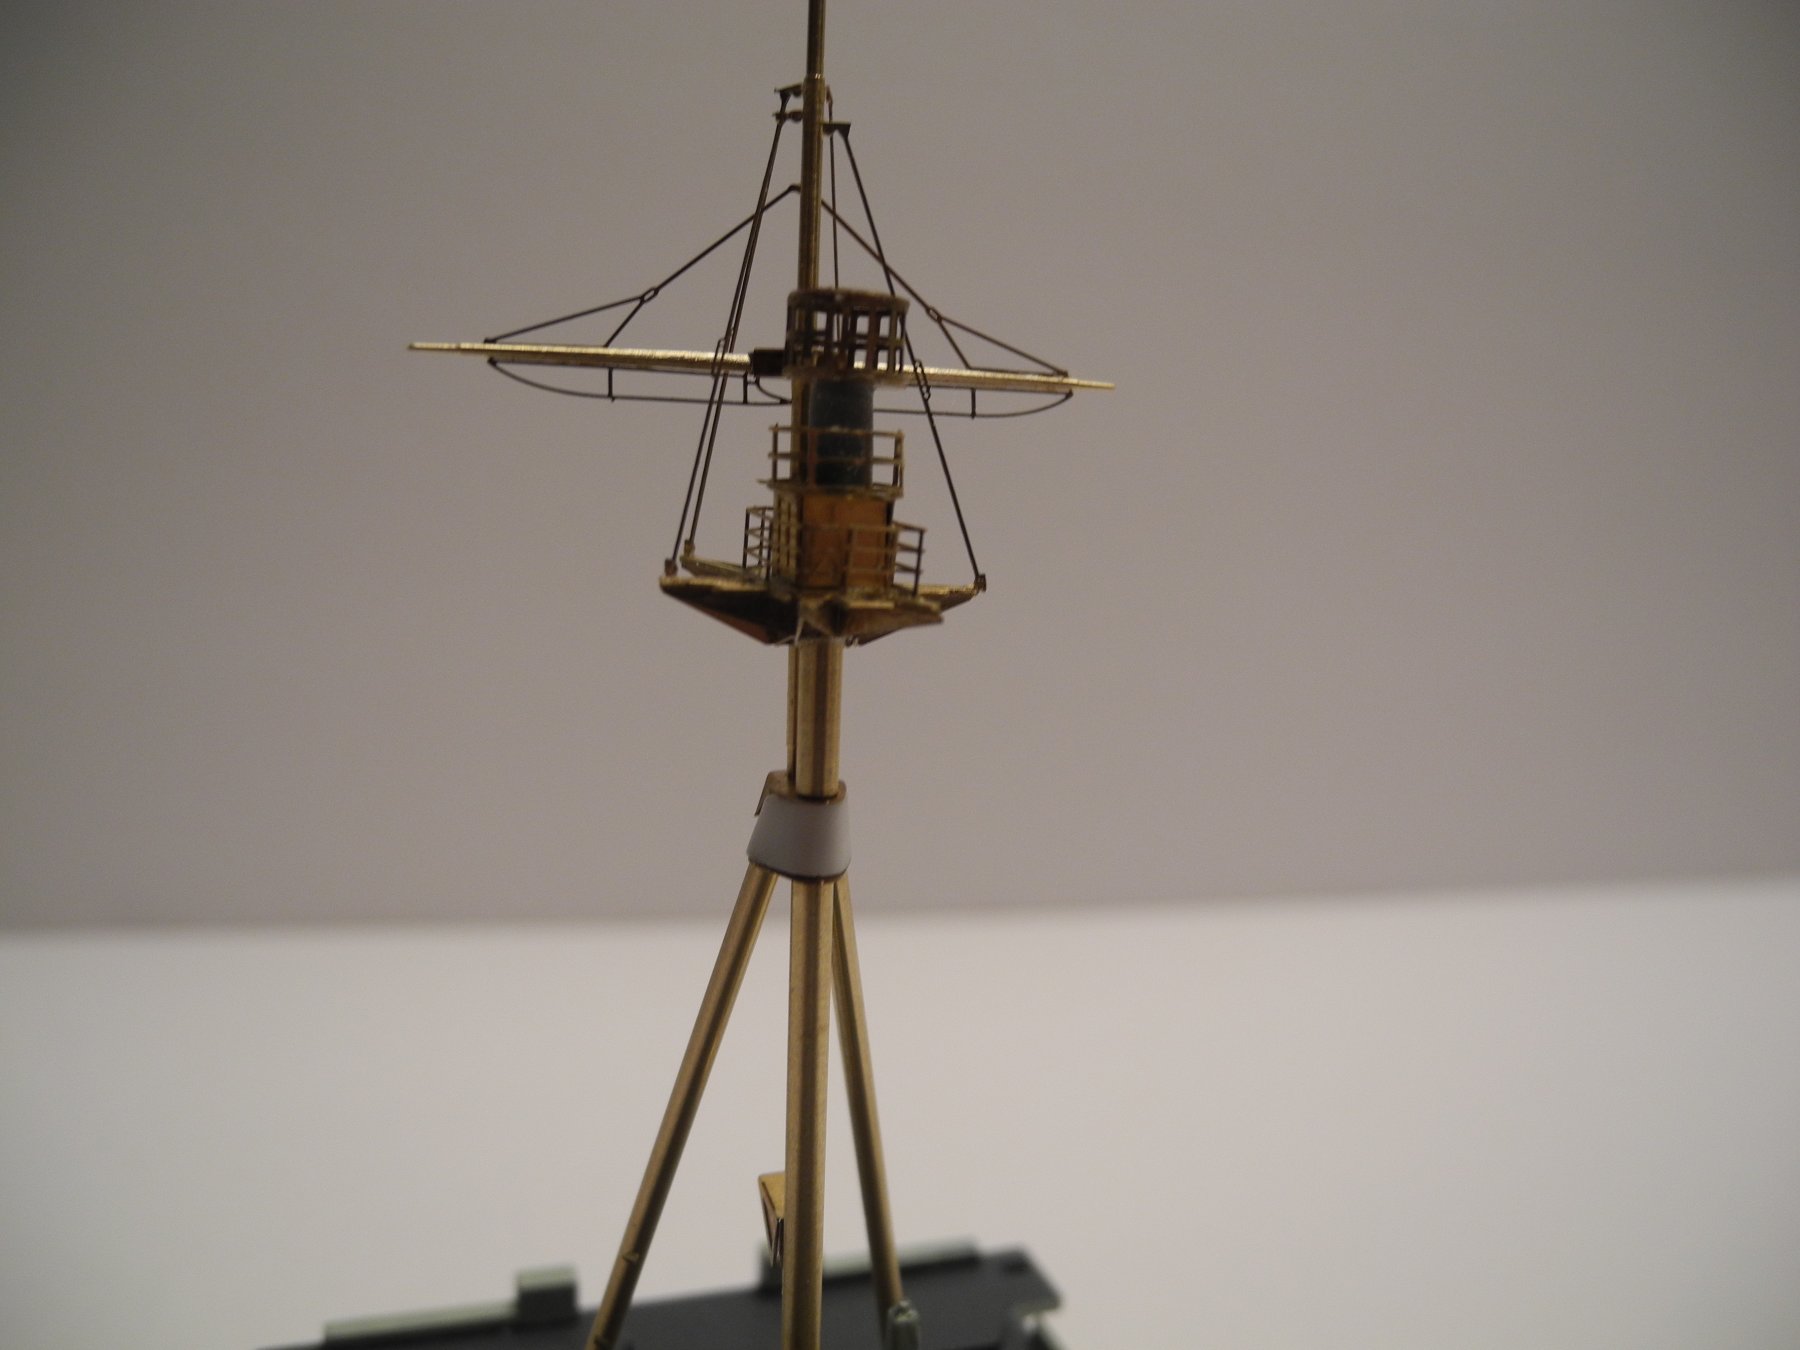
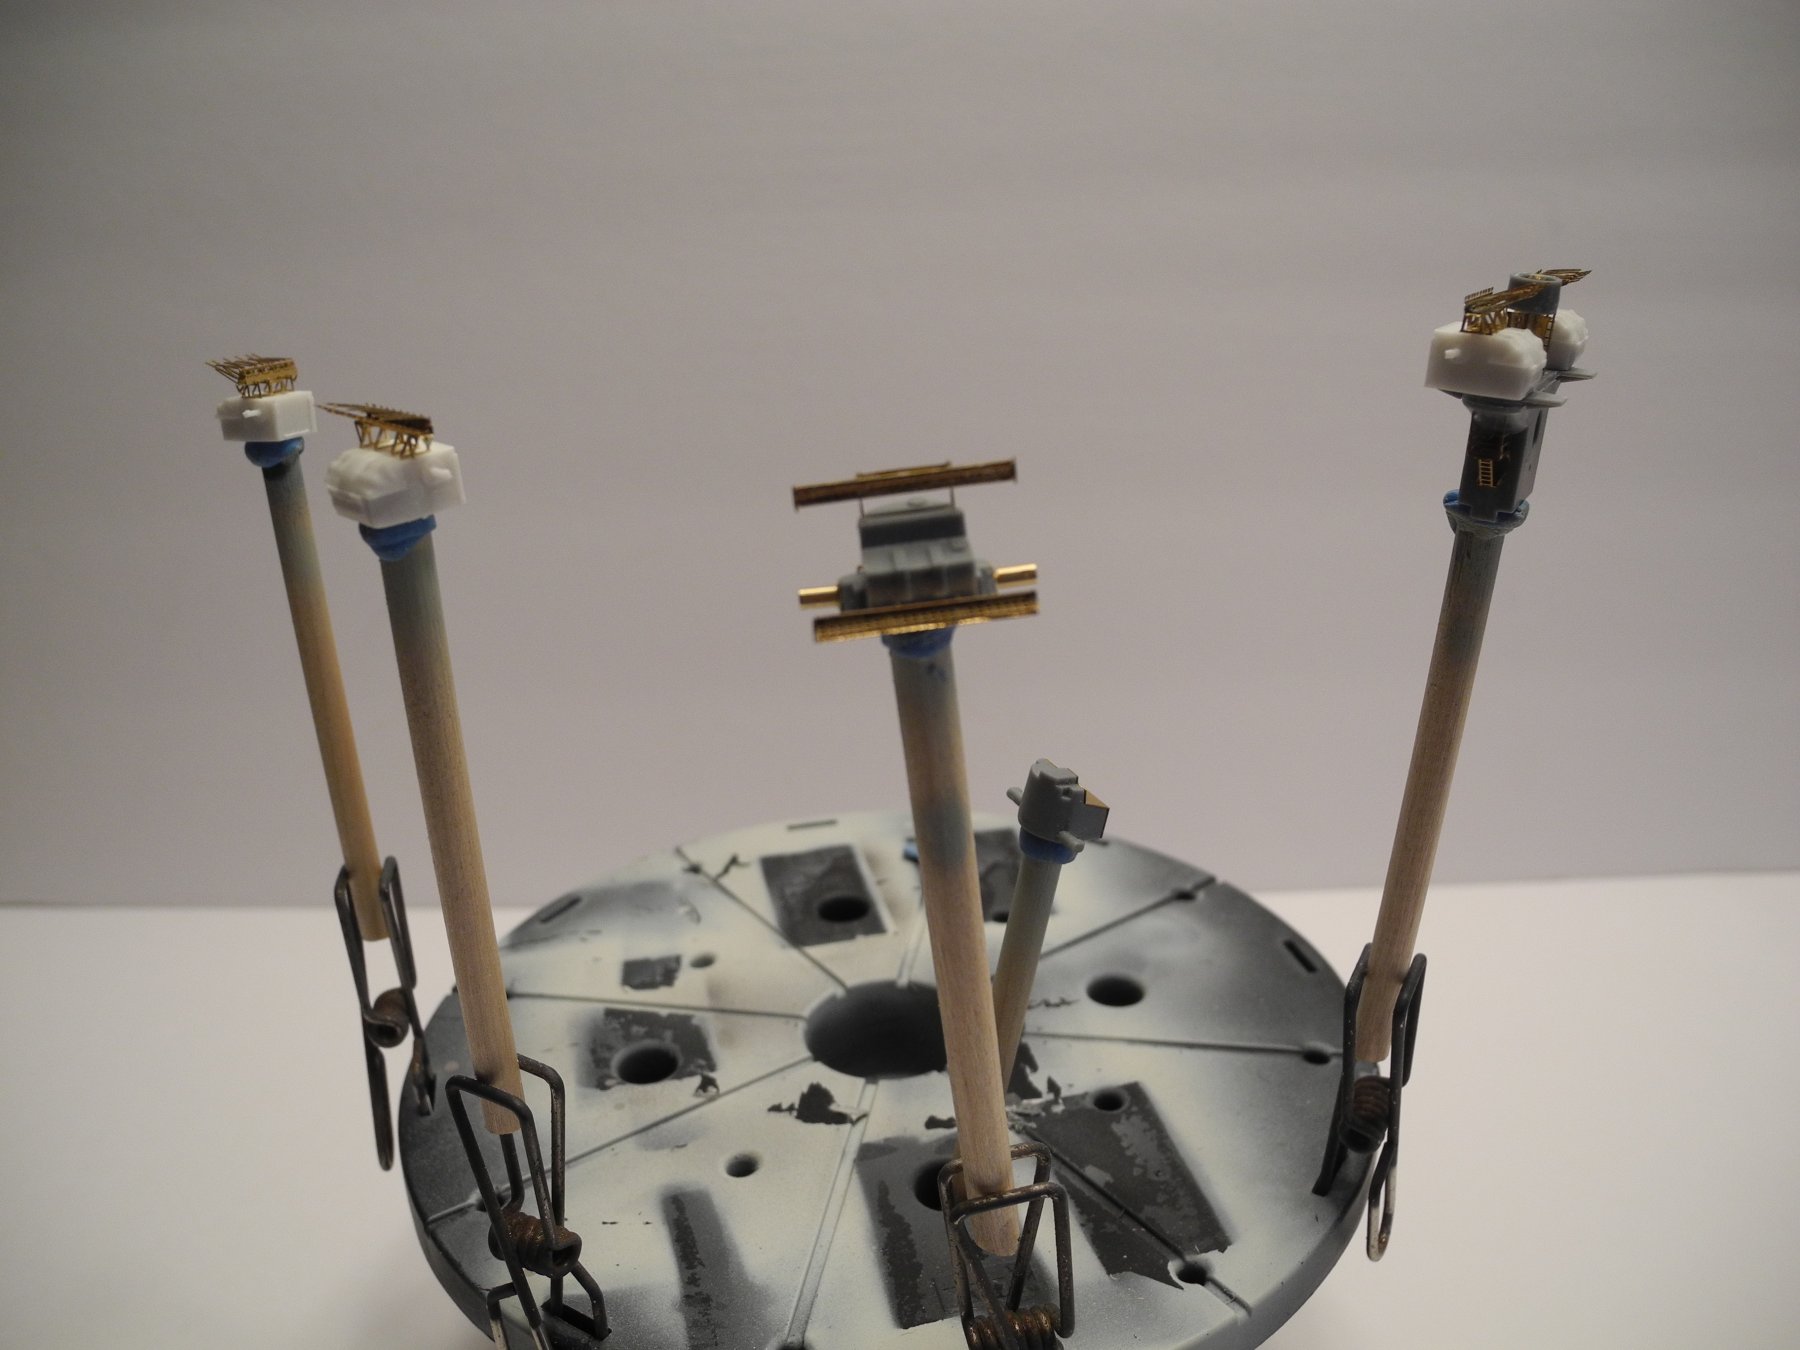
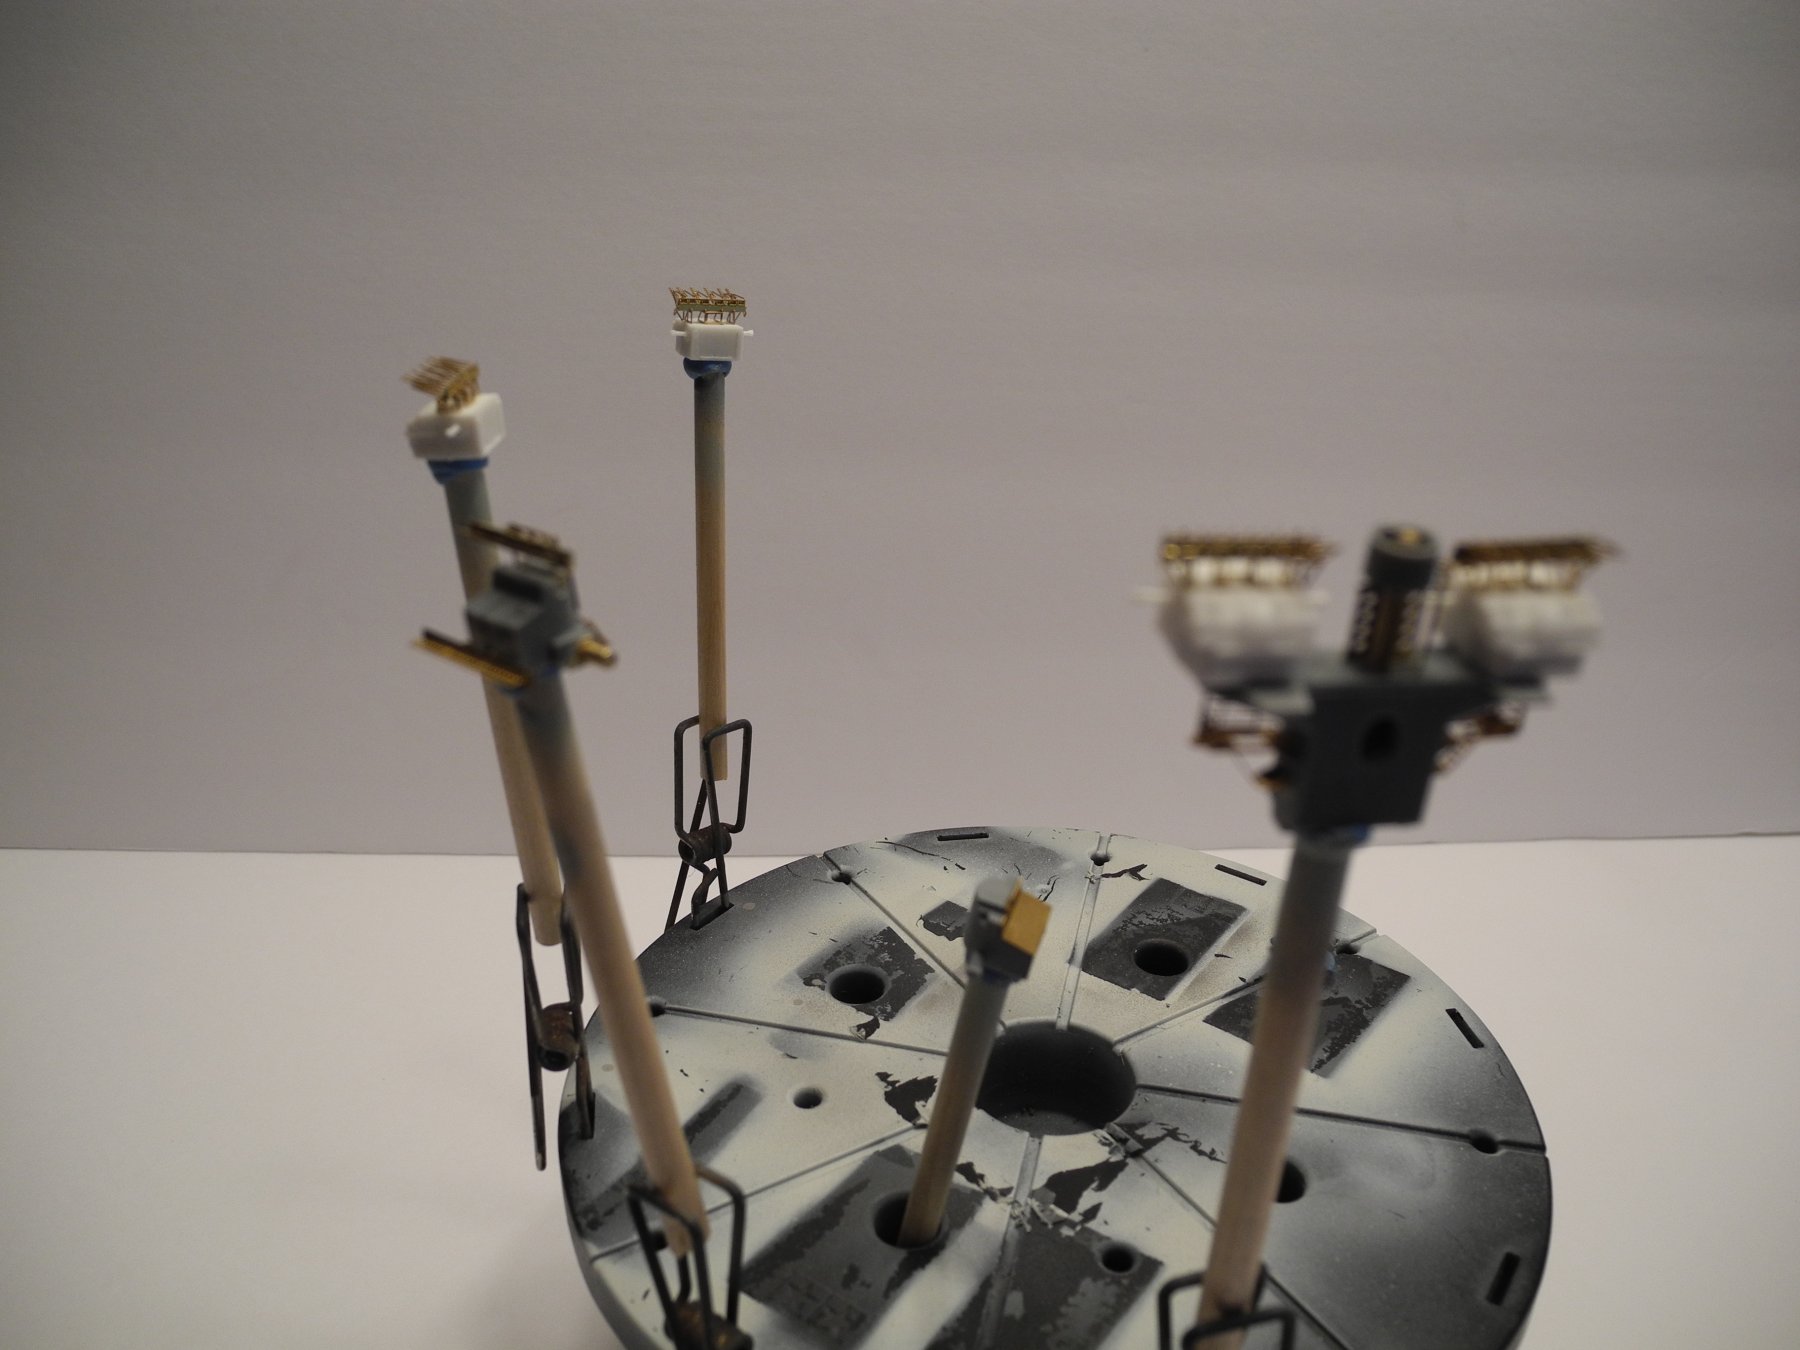
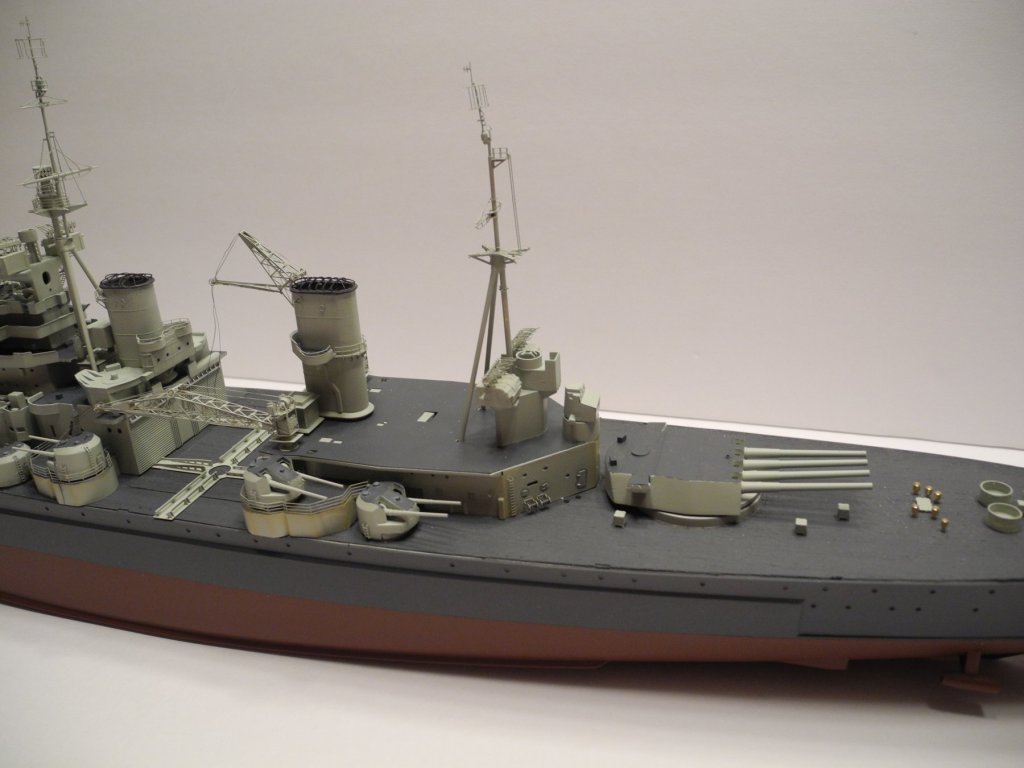
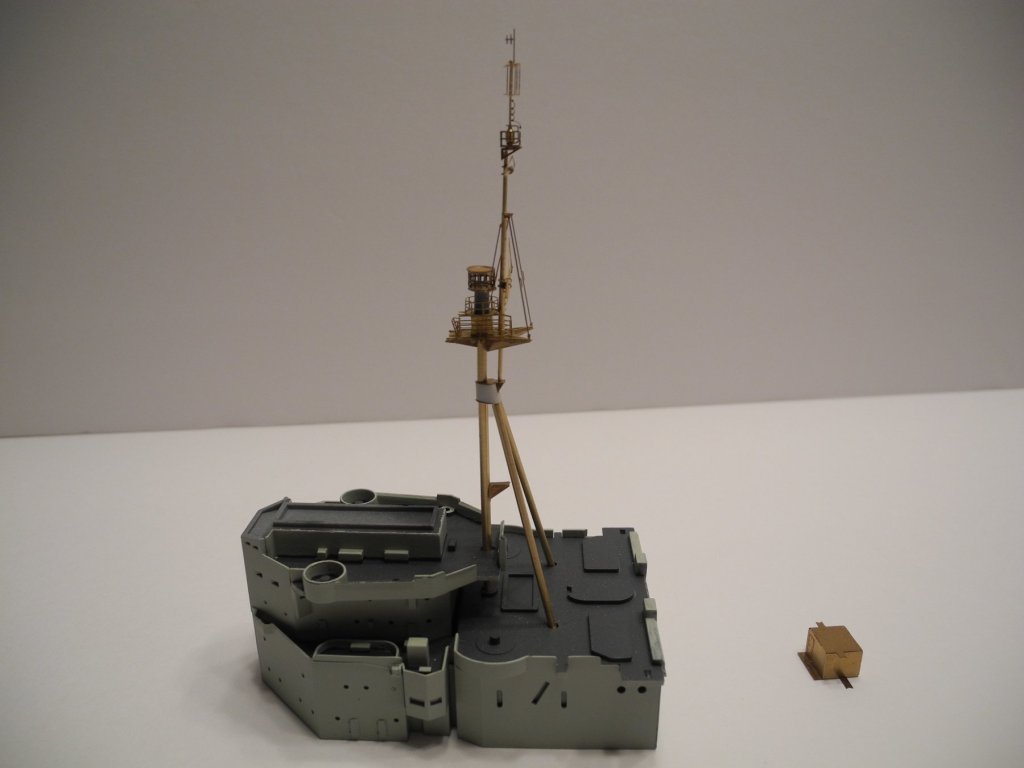
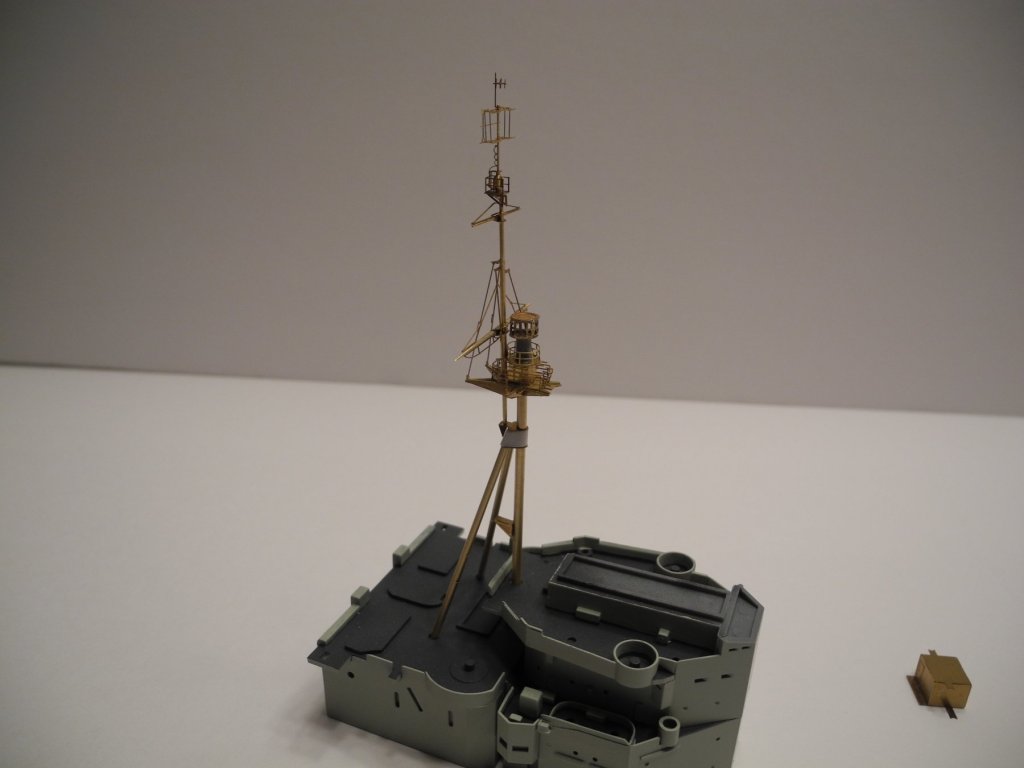
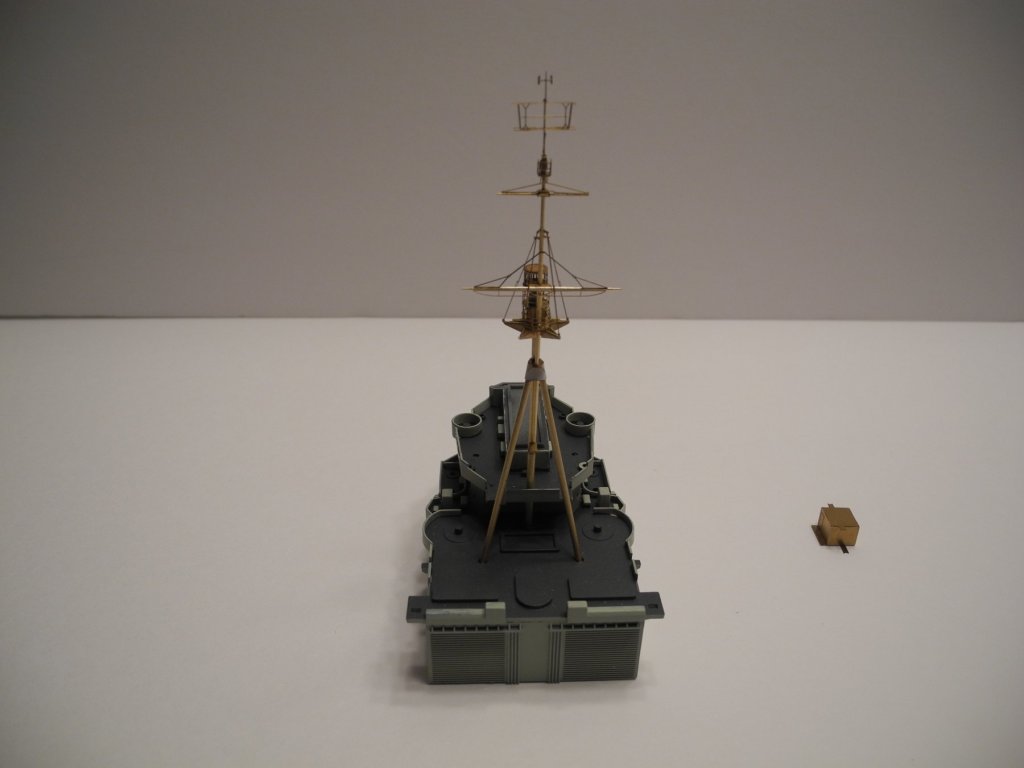
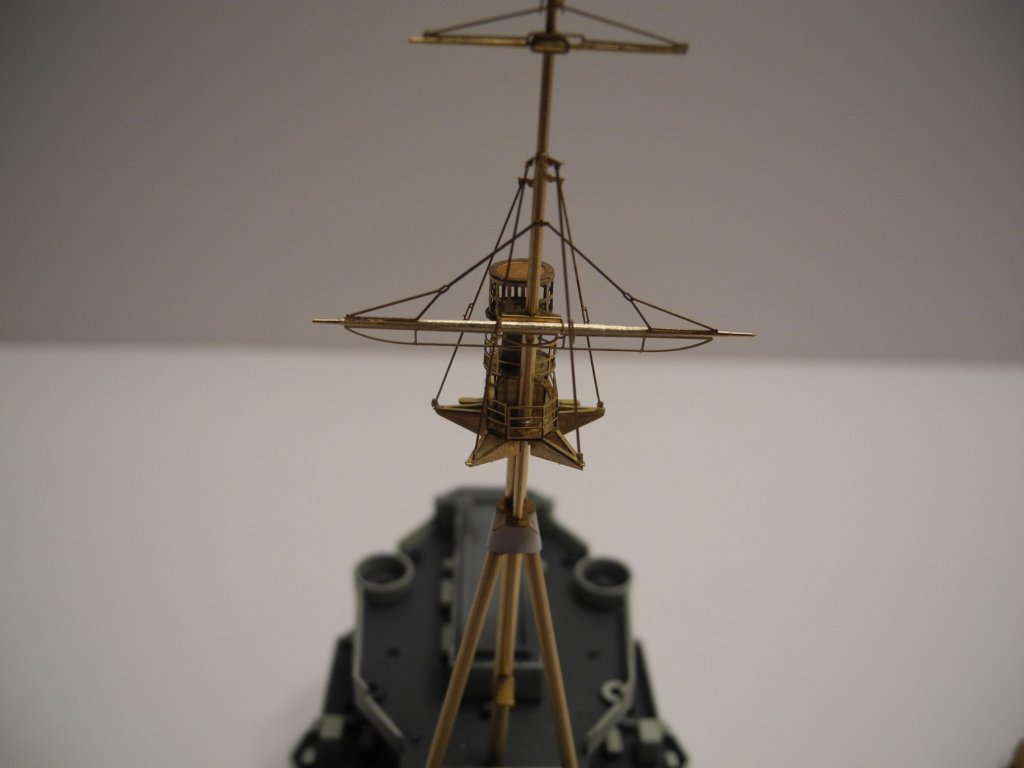
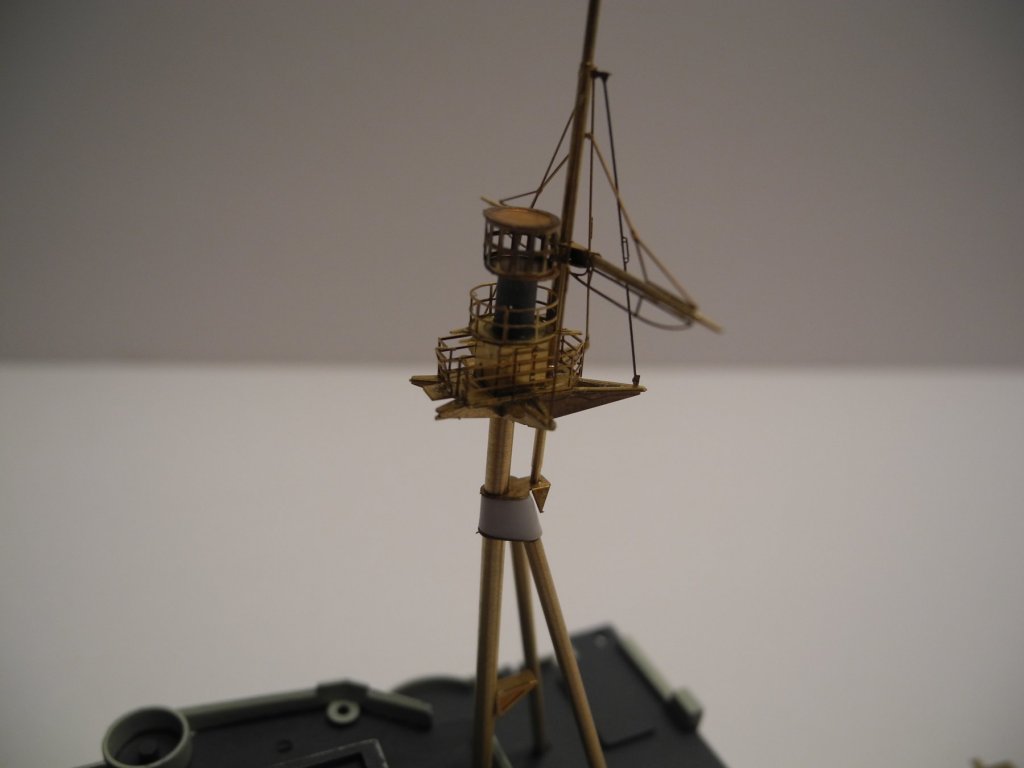
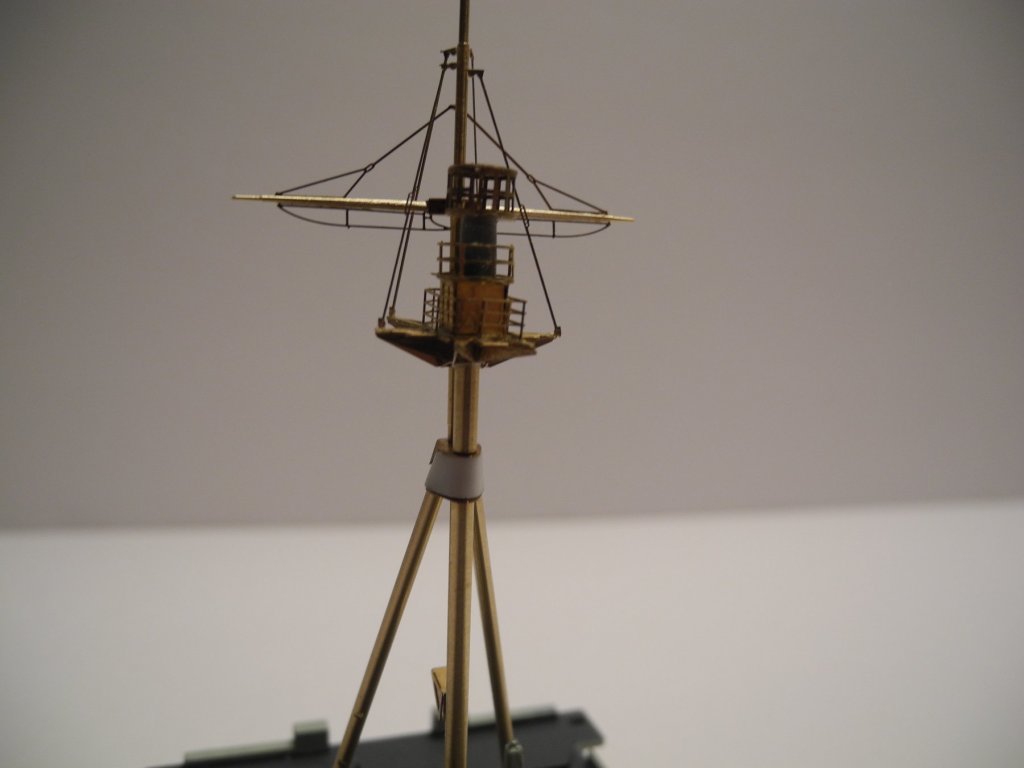
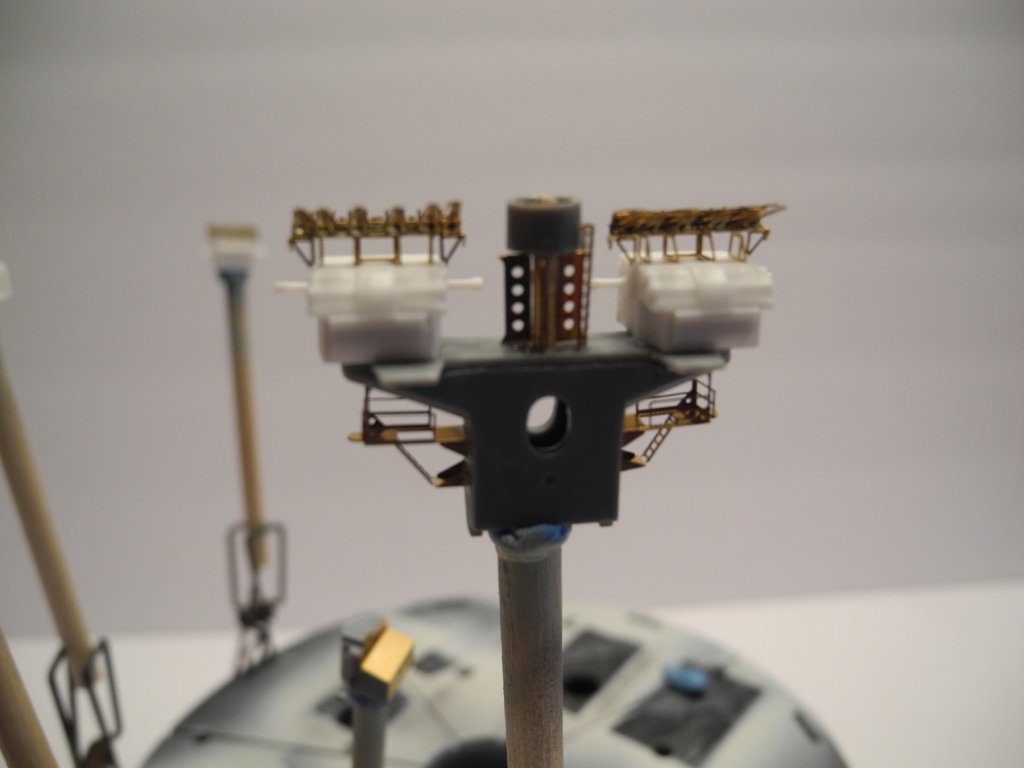
Dry fitting the fore mast and trying to determine where to add anchors for rigging that must be done later. That little brass box that can be seen in the lower right hand side of some of the pictures must be glued to the rear legs of the mast. Each of the legs have little relief cut outs that were machined into each leg to correctly position the box. I must say that the mast parts are far better engineered and rendered in this set than they were in the USS Essex mast set. Those were much more difficult to assemble whereas these have been much simpler even though more complex.
- 151 replies
-
- 11
-
-
- duke of york
- tamiya
- (and 2 more)
-
Got me chair pulled up and a bag of popcorn. Ready to watch this show. Great start!
- 295 replies
-
- 5
-
-
- amatsukaze
- halinski
- (and 2 more)
-
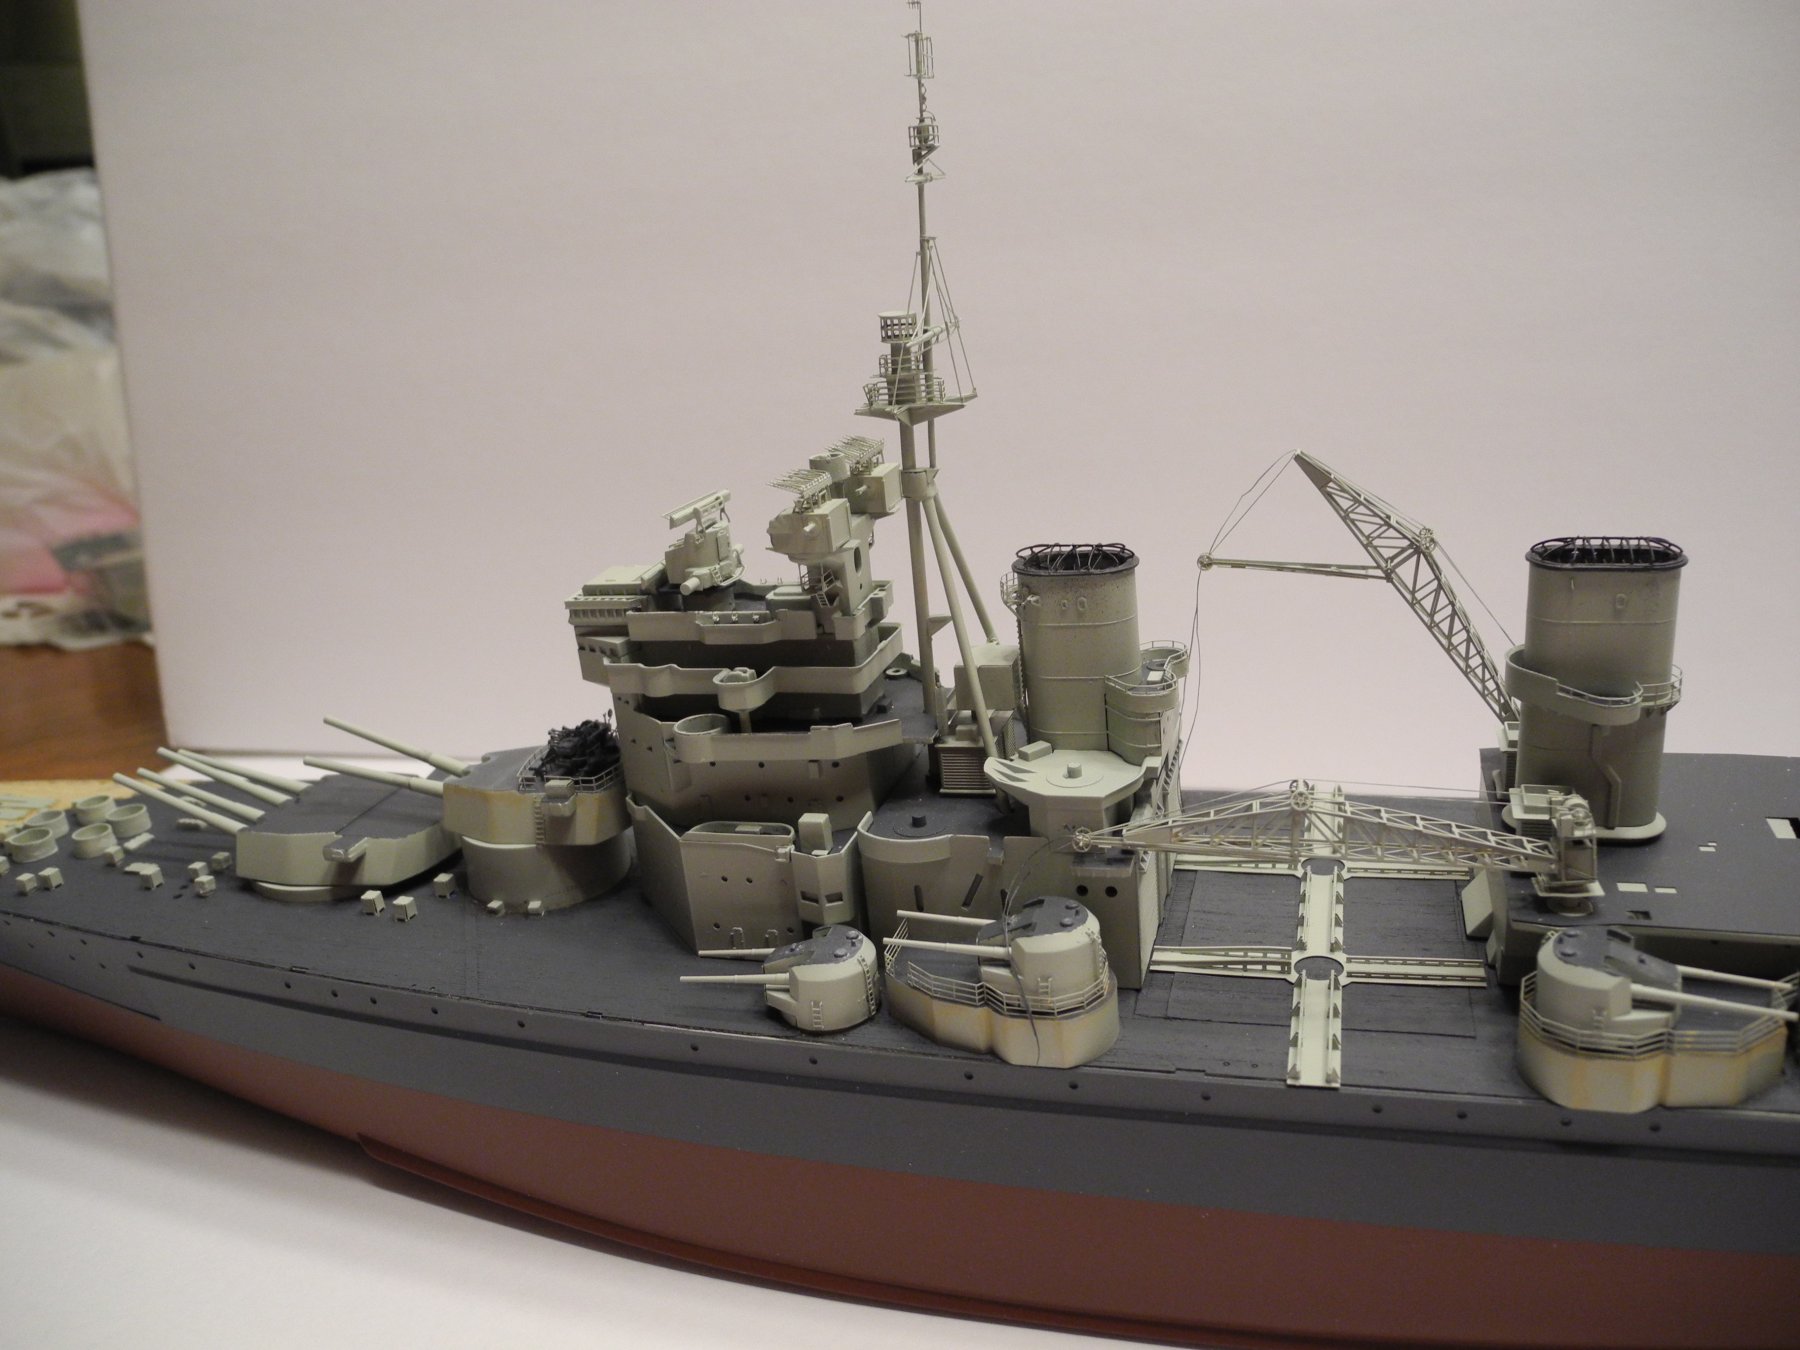
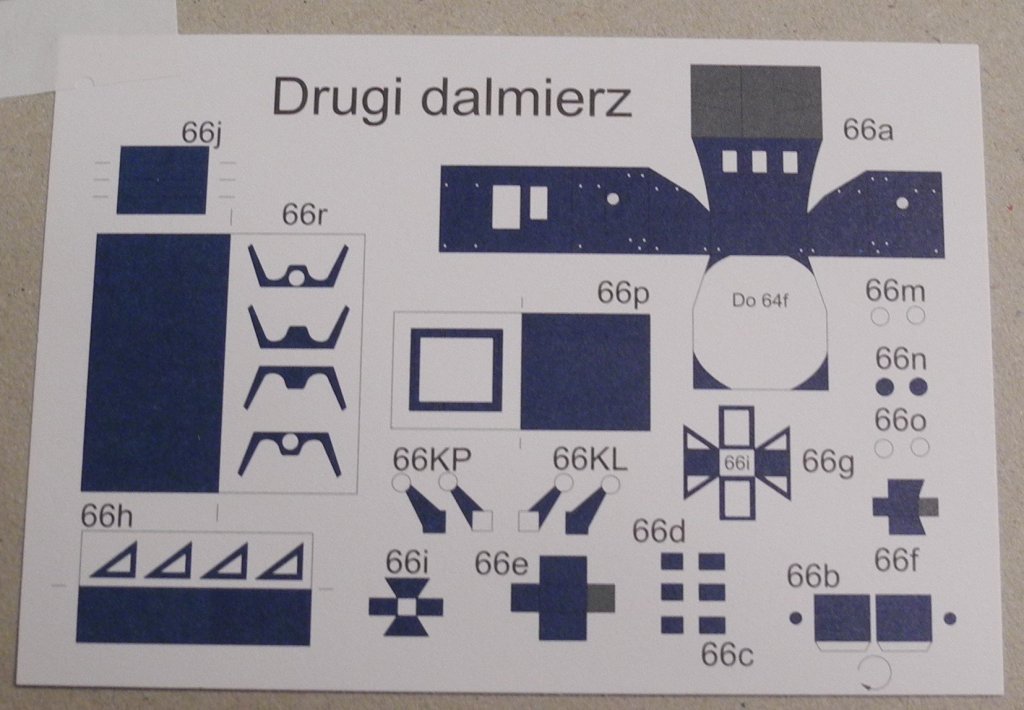
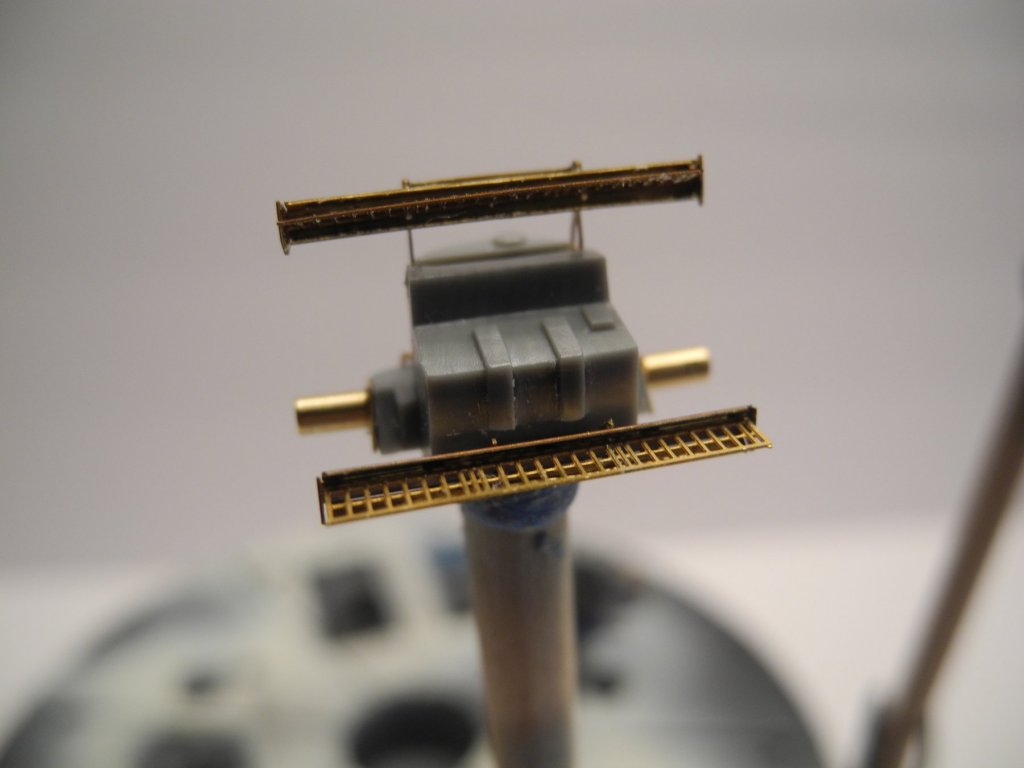
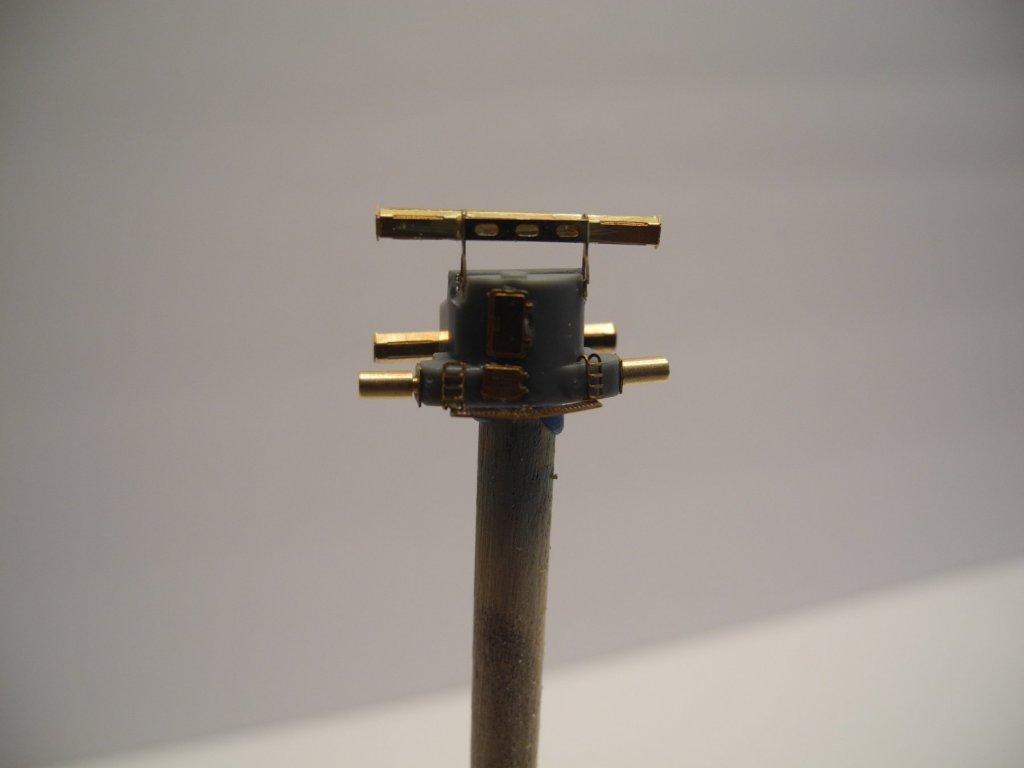
Thanks Piet. Can't wait to see the Java, and at 1:35 scale, should offer a good opportunity for detail work. Seems like the fiddly stuff takes a lot of time. Most of it is figuring out ahead of time how it all folds and goes together. I've never detailed a British ship like this and the range finders are quite a bit different than other ships from the same period from different nations, not intuitive for me at all. Interesting antennae arrays in any event.
- 151 replies
-
- 4
-
-
- duke of york
- tamiya
- (and 2 more)
-
Sorry I didn't find your post until now. Your model looks magnificent. And by the way, I LOVE plastic models. Have been building them myself for more than 50 years, so if there is any bias, mine is toward plastic models and certainly not against them. I hope you won't be discouraged to continue placing your build threads here. I will follow them when I see them. Regards Craig
-
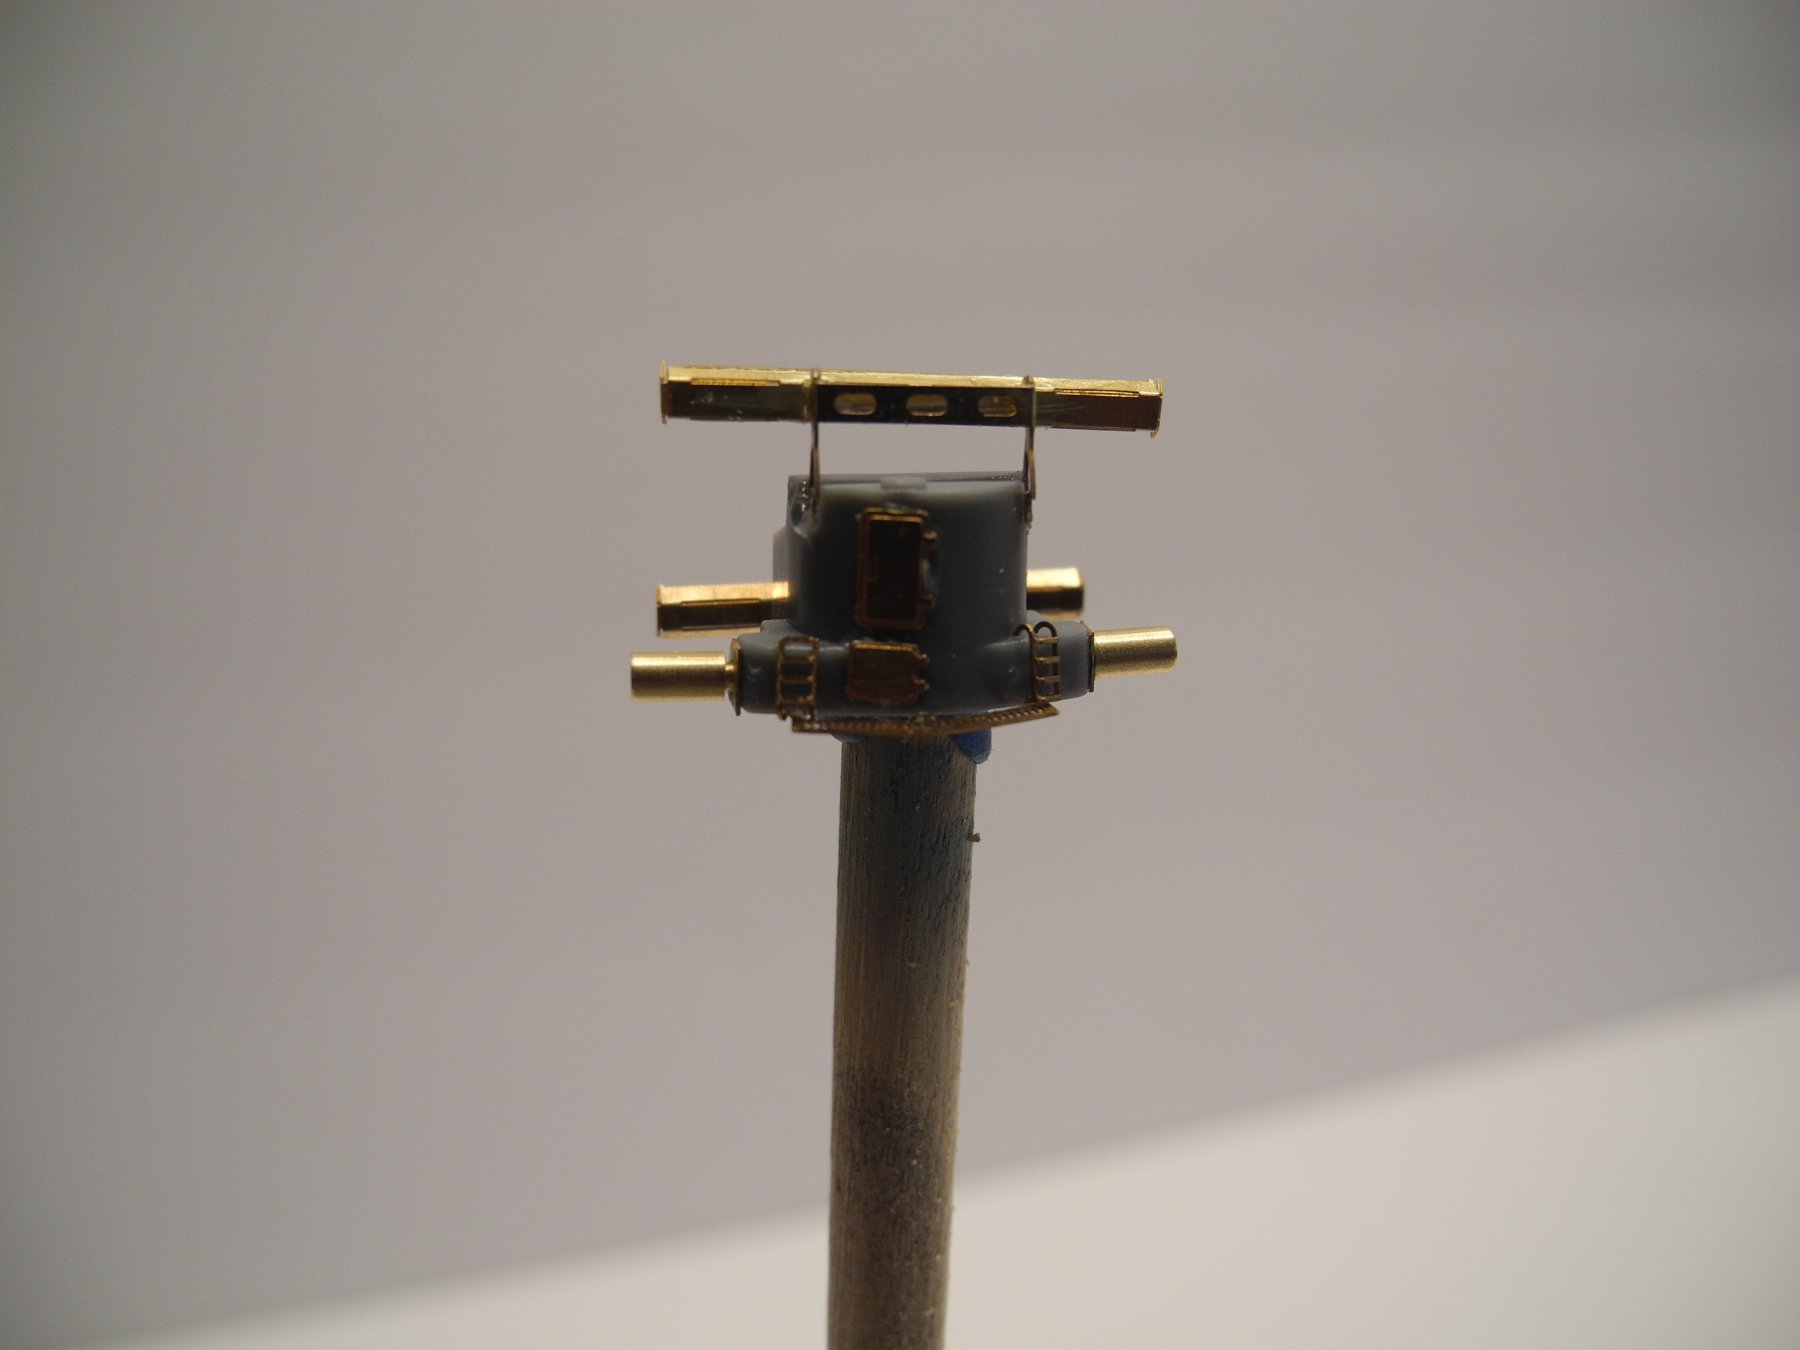
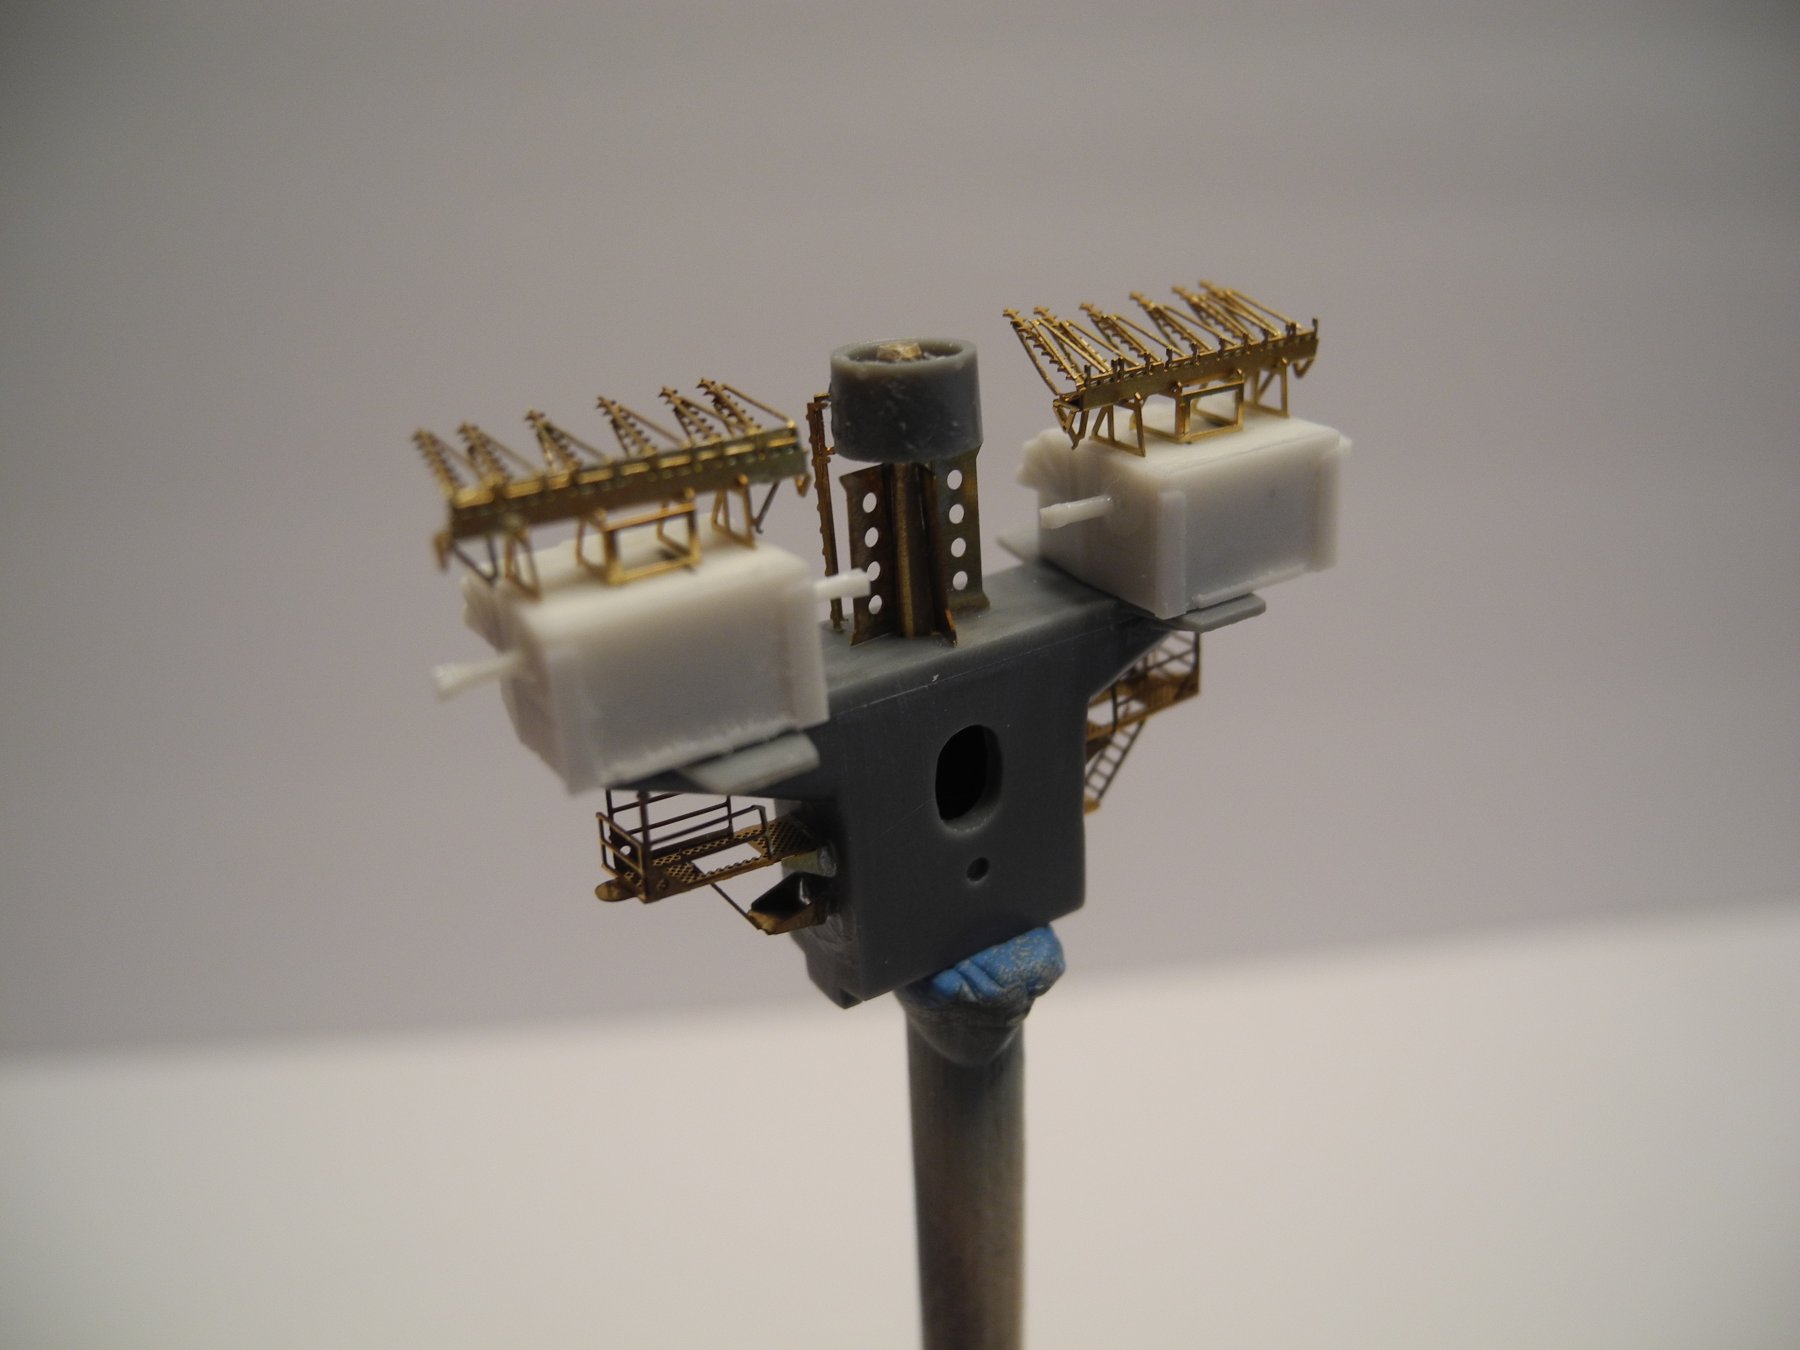
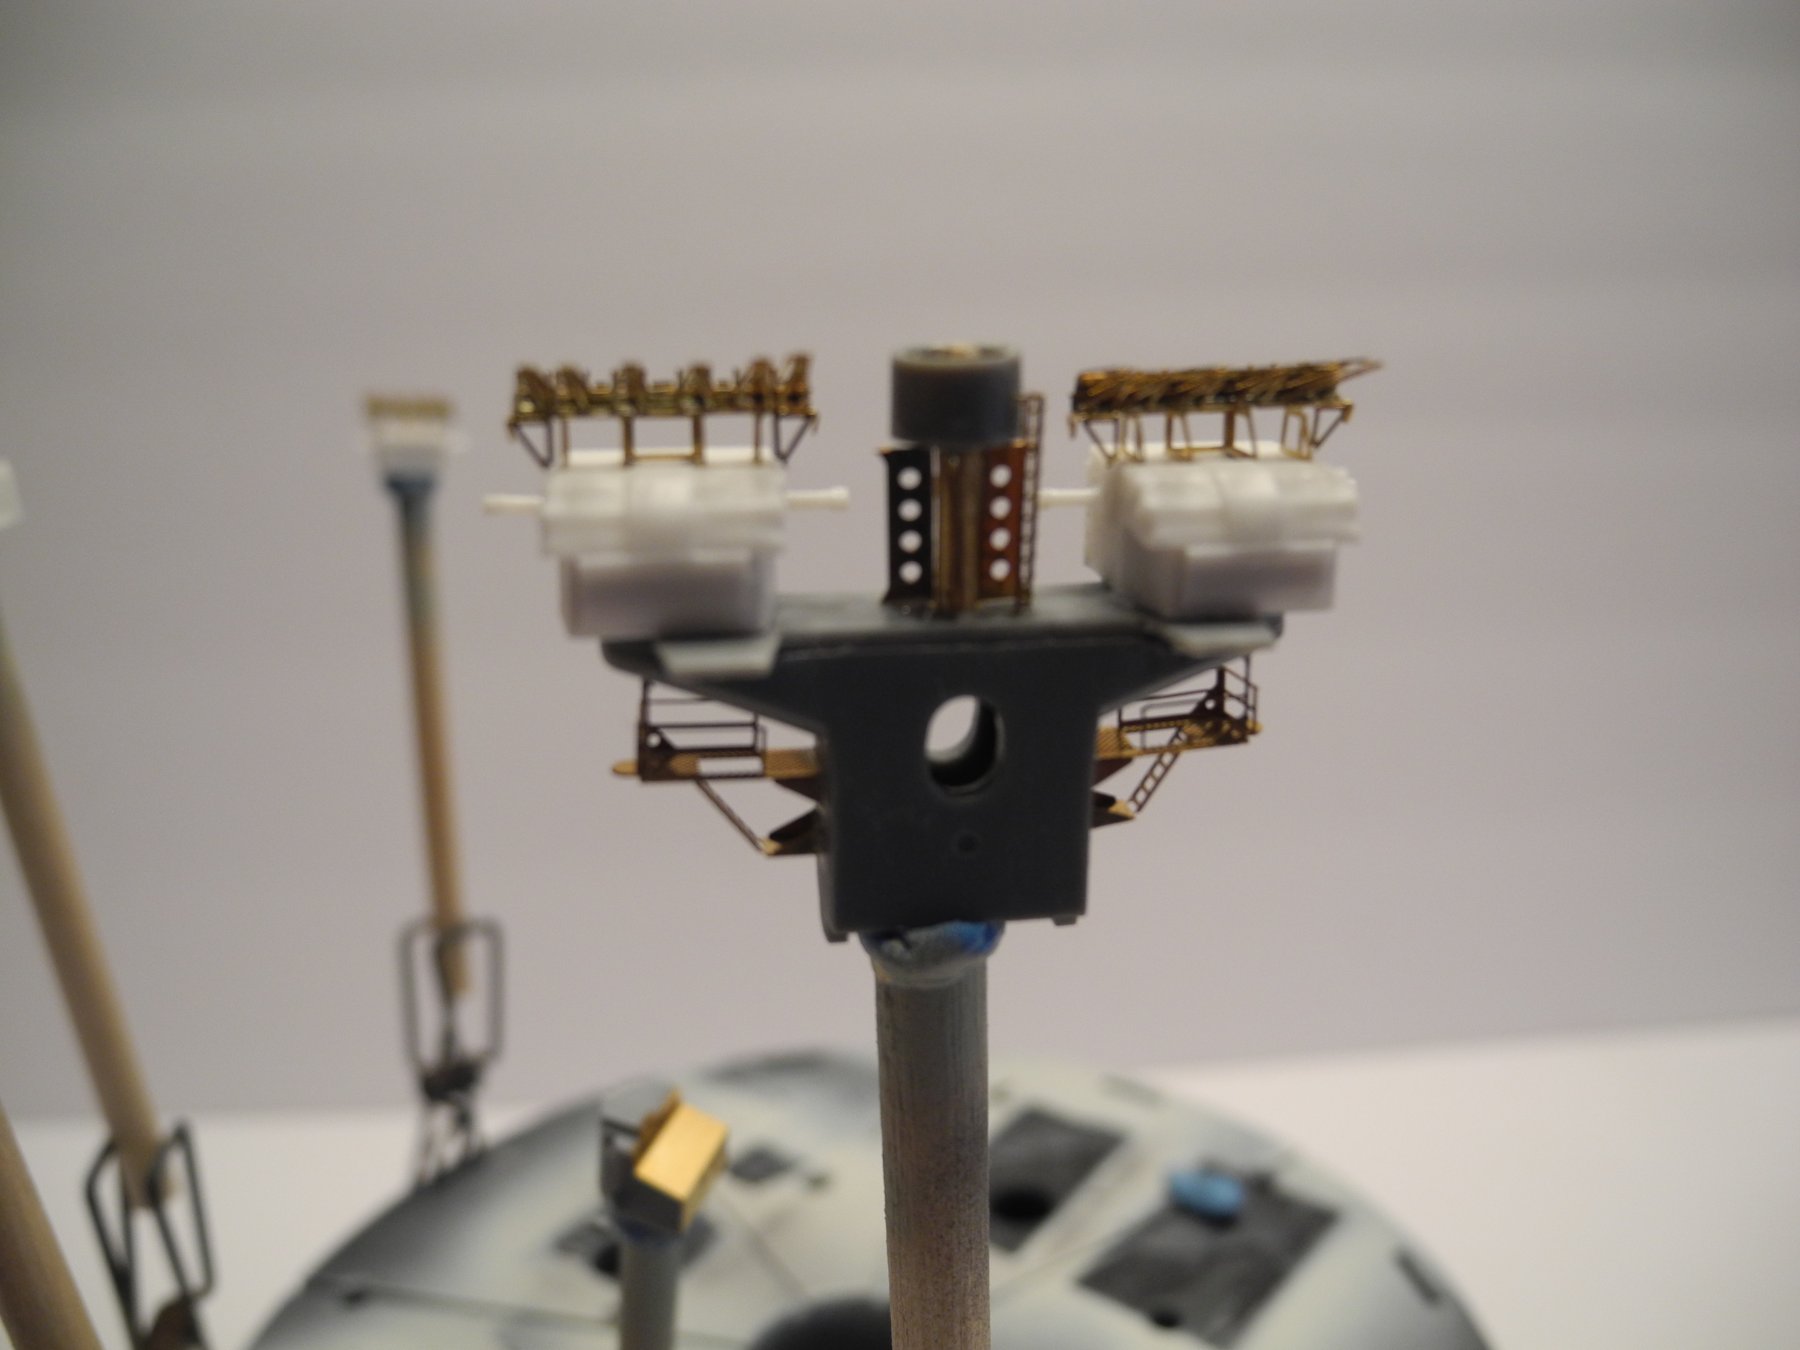
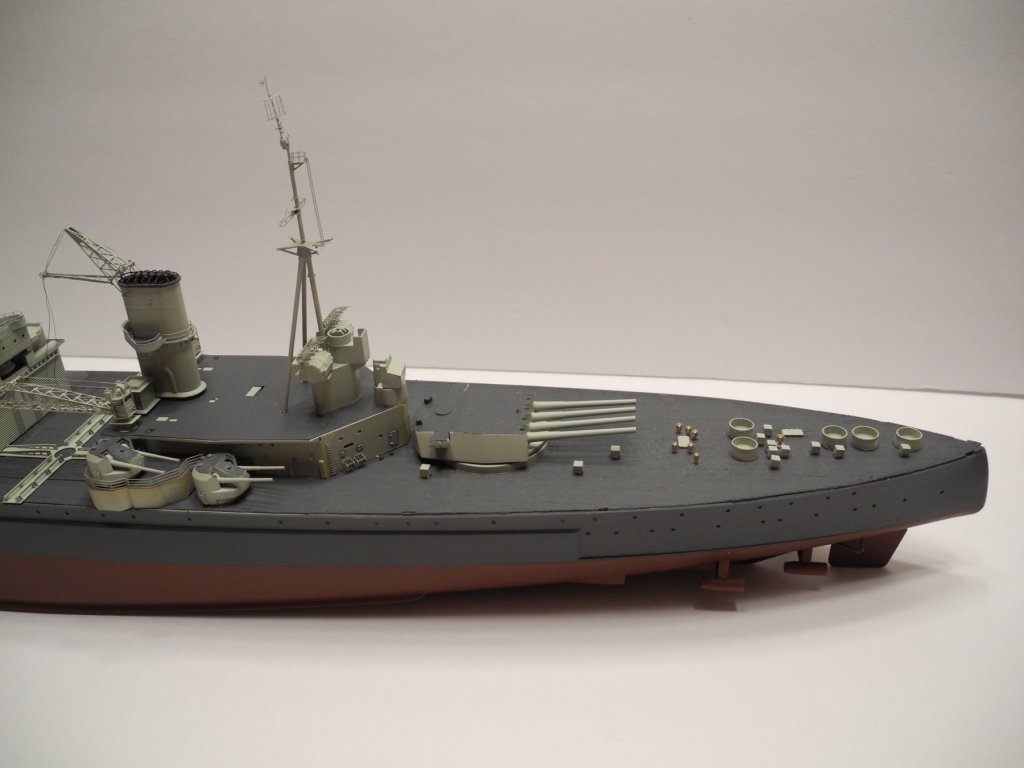
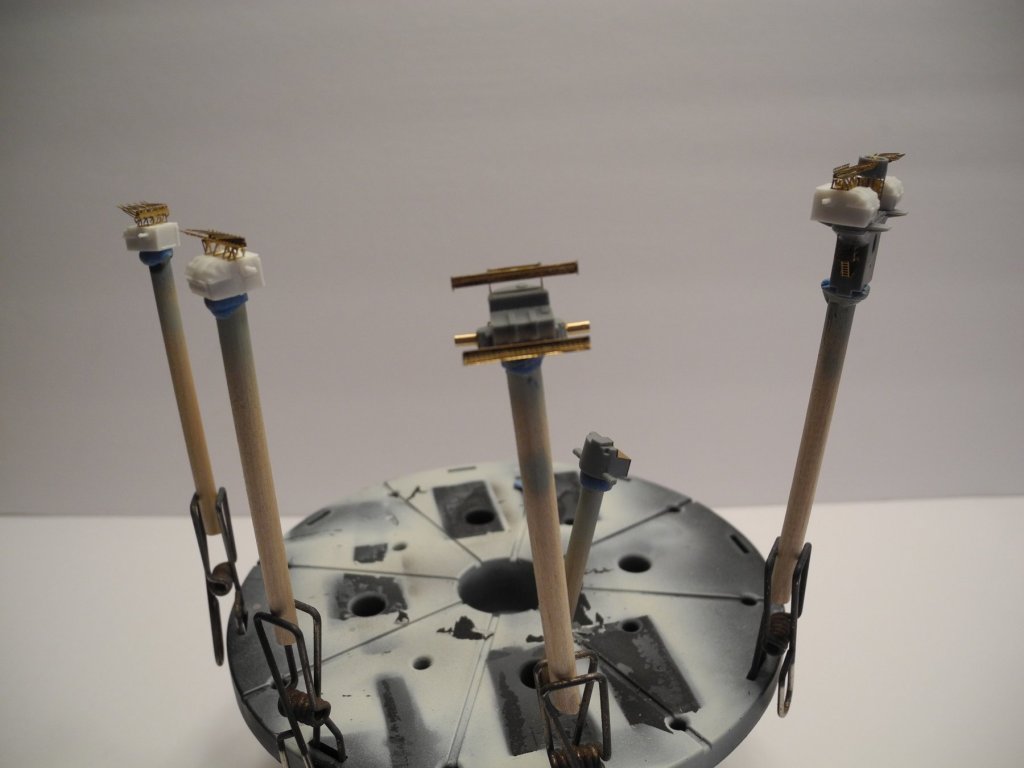
Fire control/Gun directors (some of them) Will start building the masts today


- 151 replies
-
- 10
-
-
- duke of york
- tamiya
- (and 2 more)