HOLIDAY DONATION DRIVE - SUPPORT MSW - DO YOUR PART TO KEEP THIS GREAT FORUM GOING! (Only 24 donations so far out of 49,000 members - C'mon guys!)
×

CDW
-
Posts
7,747 -
Joined
-
Last visited
Content Type
Profiles
Forums
Gallery
Events
Everything posted by CDW
-

Fokker Dr.I by Torbogdan - FINISHED - Model Airways
CDW replied to Torbogdan's topic in Non-ship/categorised builds
Really looks awesome at this stage. Very realistic. Does the jig your fuselage sits on come with the kit or is it something you fabricated for the build? -
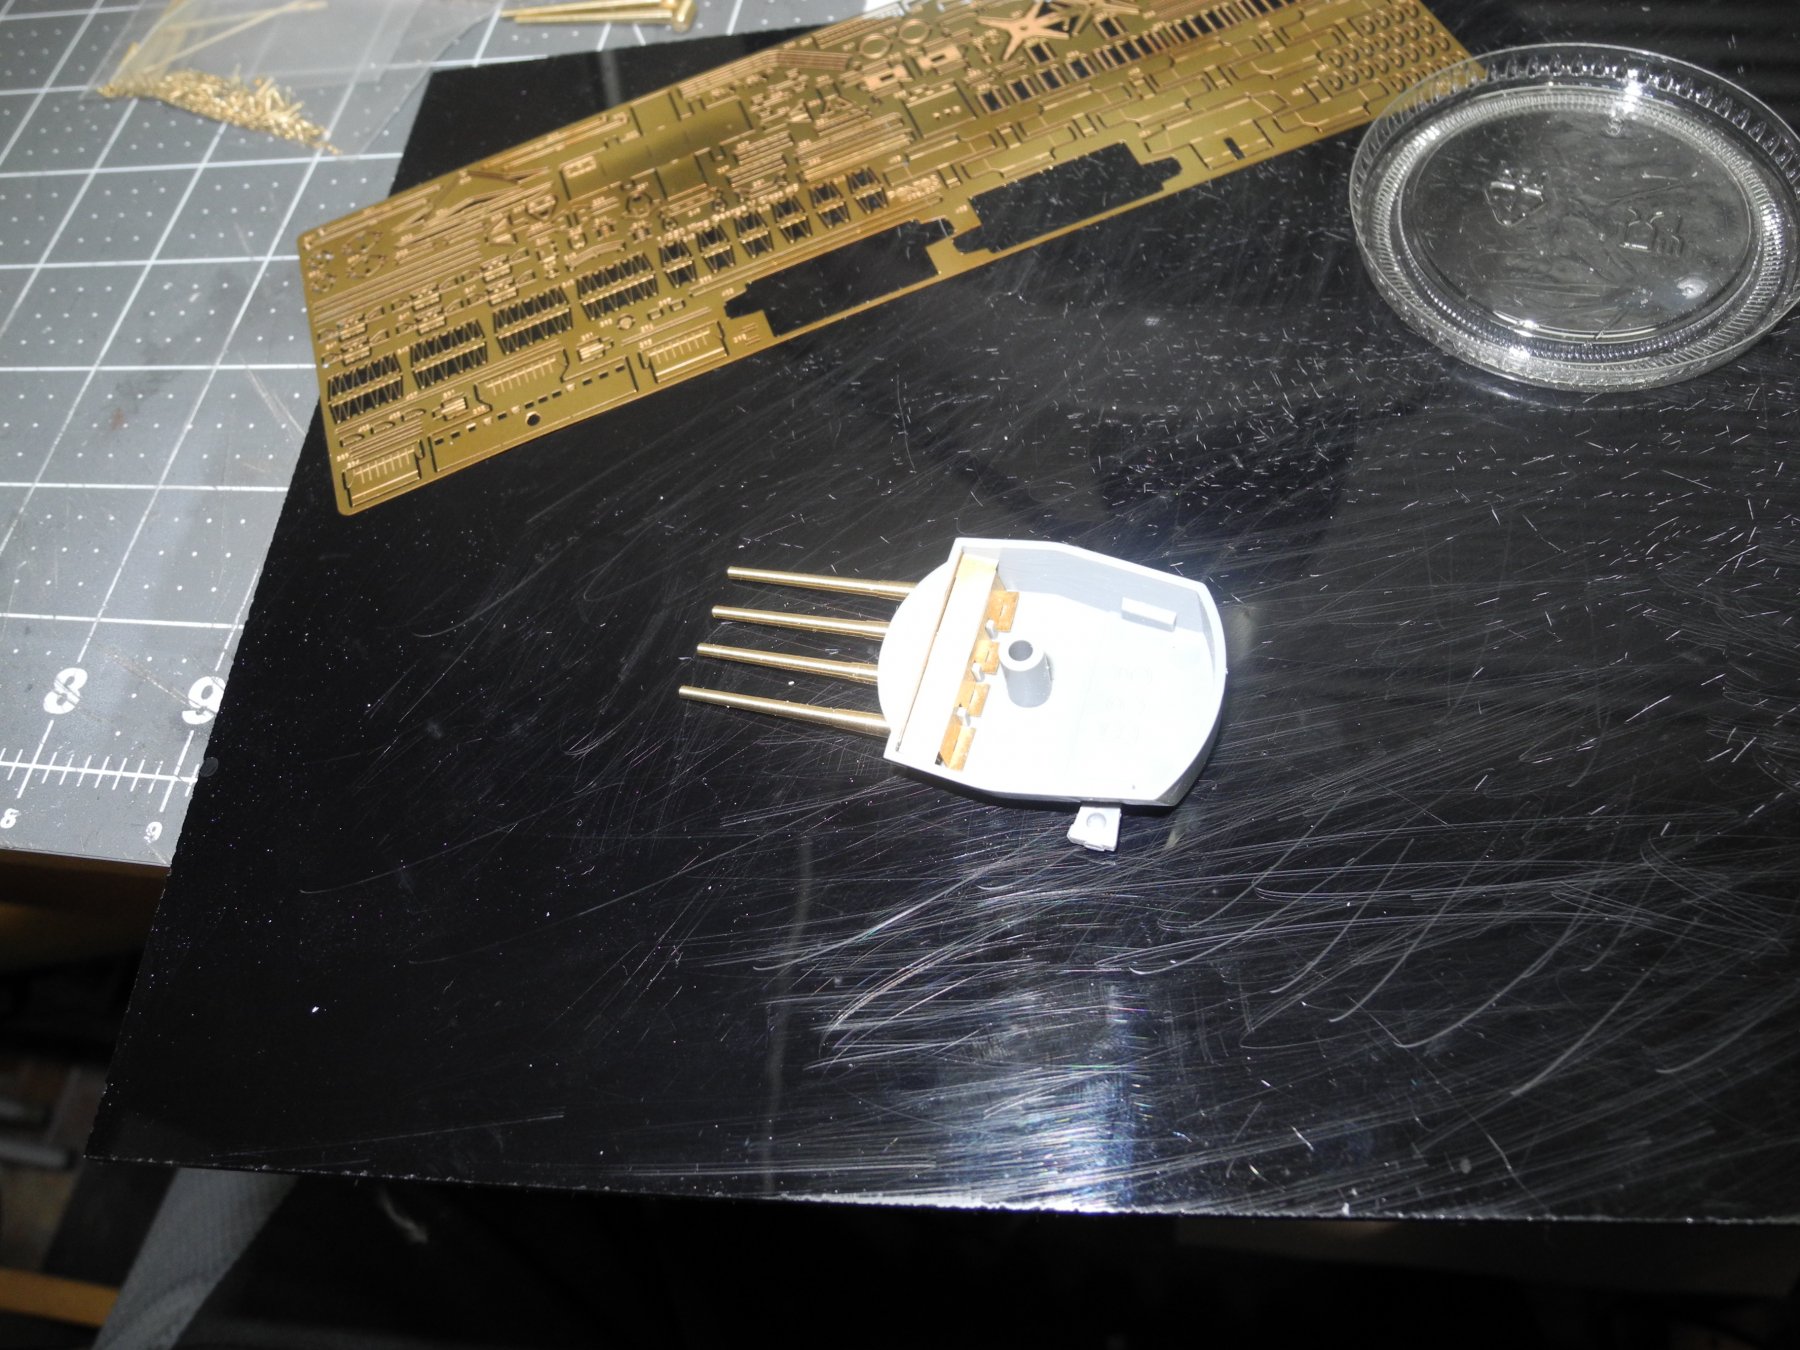
Hi Piet Thanks for the kind comments. I'll bet you are correct, they making those fine brass parts on some type of lathe equipment similar to what a jeweler might use. For glue of photo etch, I use both an acrylic glue called "Gator Grip", and a CA glue, specifically Gorilla Glue with the blue cap. Every now and then, I might use a thin CA glue as well. For example, the entire pom pom gun was assembled with Gator Grip acrylic glue with the exception of the barrels which I used CA. Acrylic glue is pretty much invisible after it dries. However, CA glue is a little stronger join. Sometimes, I find the softer, more flexible joint with acrylic glue preferable over CA. There are also ways to make the acrylic glue even more invisible in the end by wiping away any excess glue with a wet (with water) paint brush and wicking away any left-over water with a dry brush. Can't do that with CA.
- 151 replies
-
- 5
-

-
- duke of york
- tamiya
- (and 2 more)
-
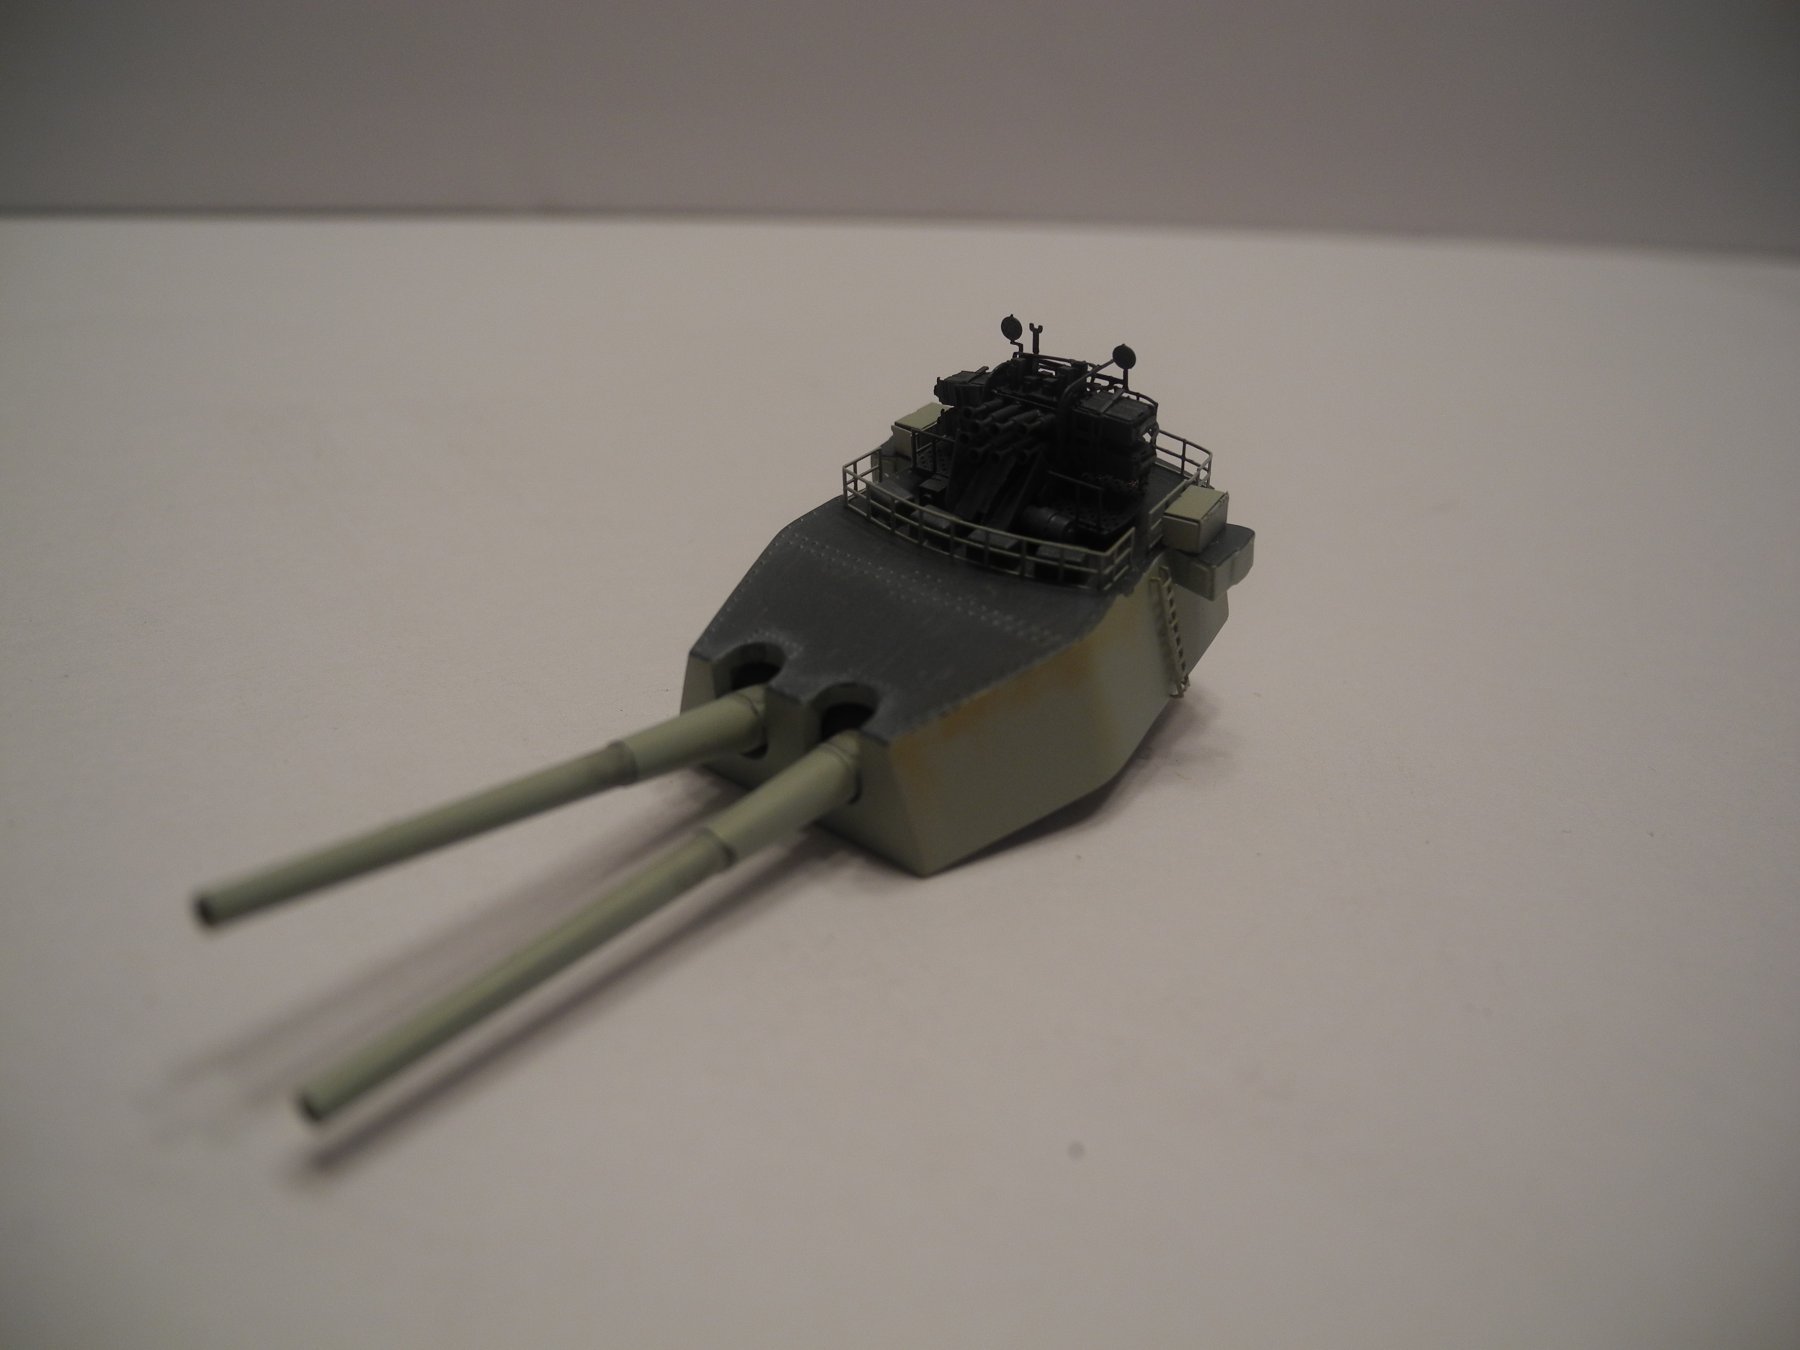
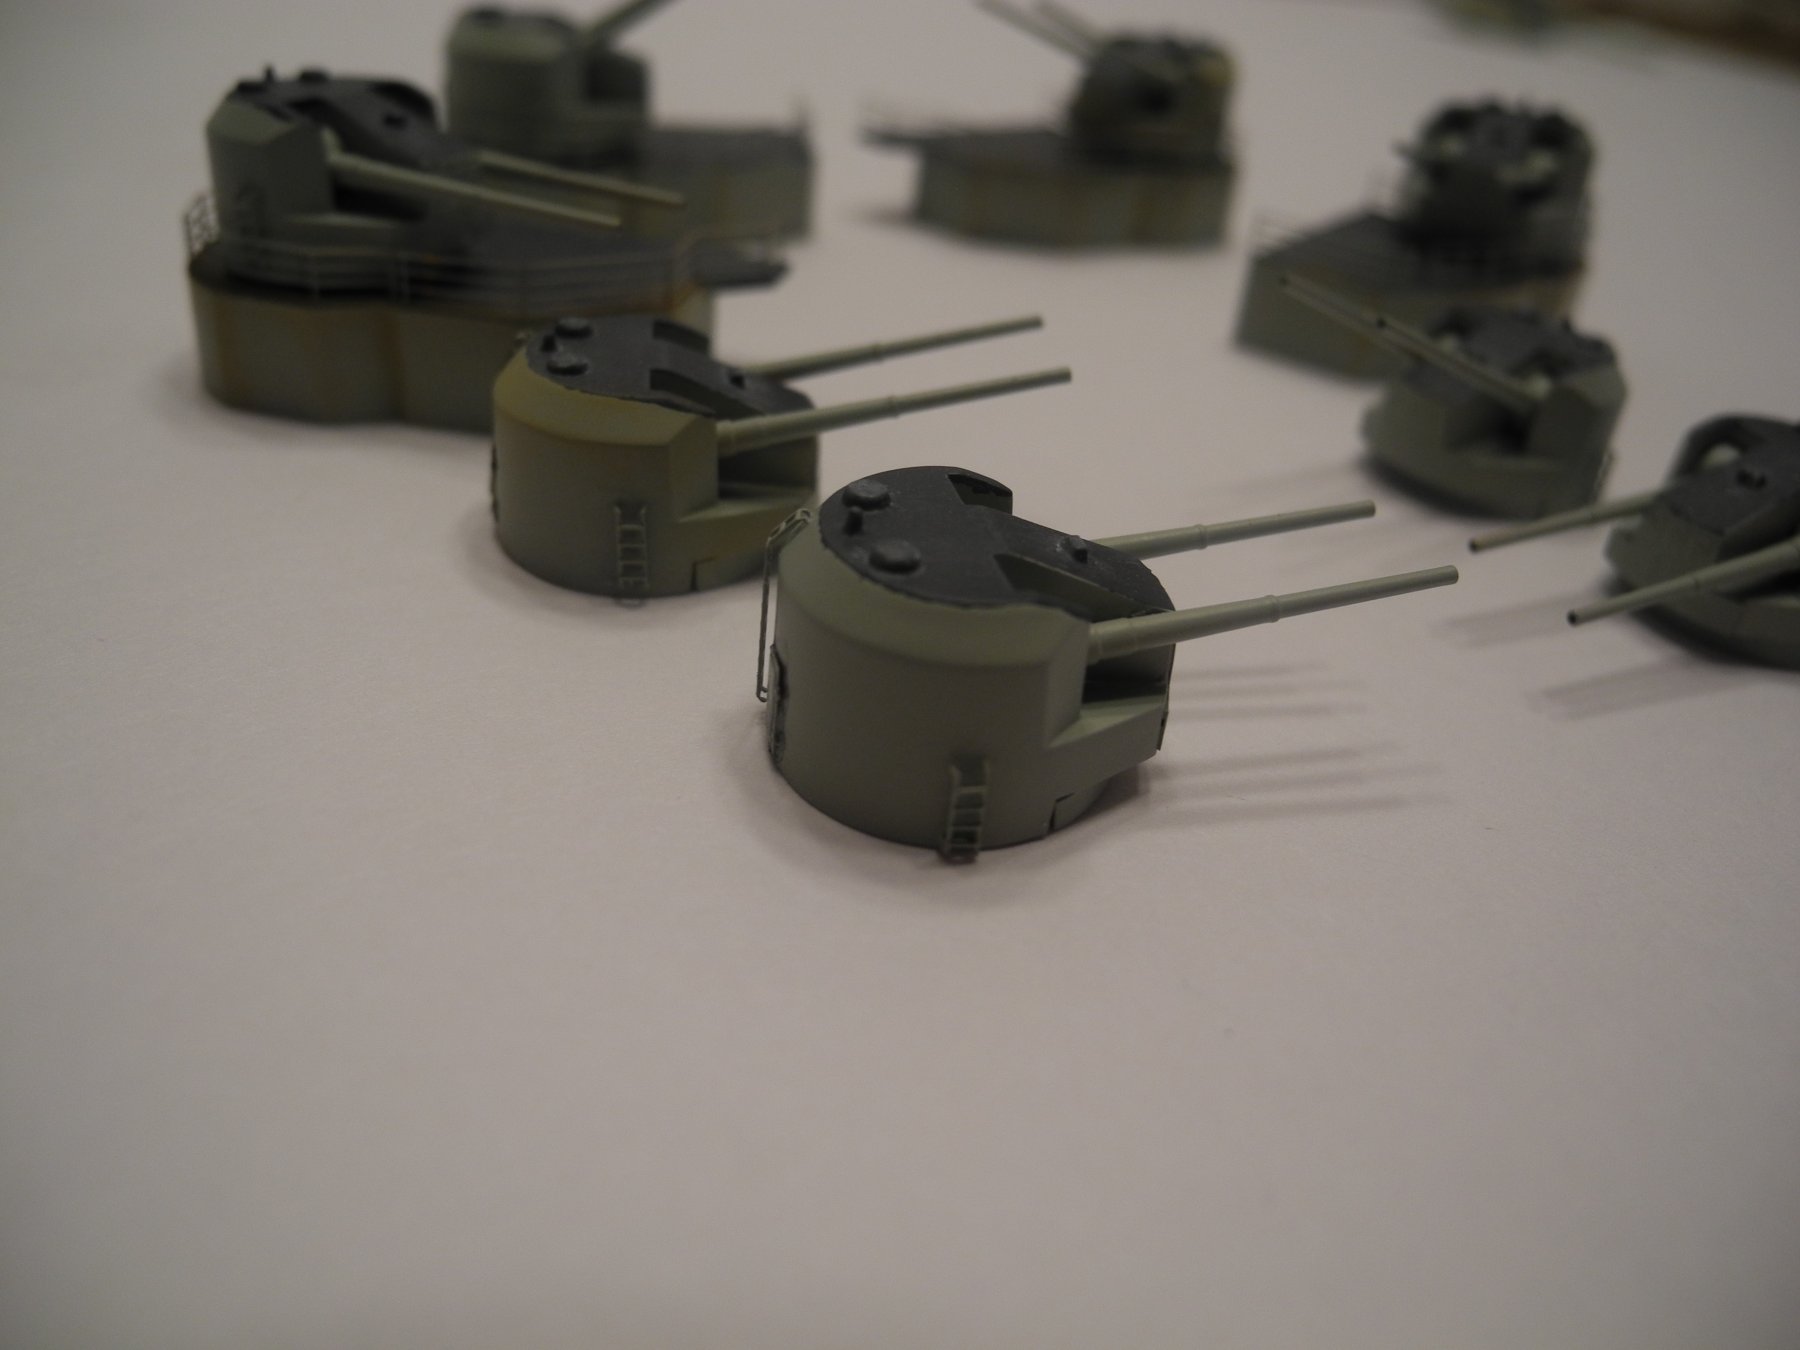
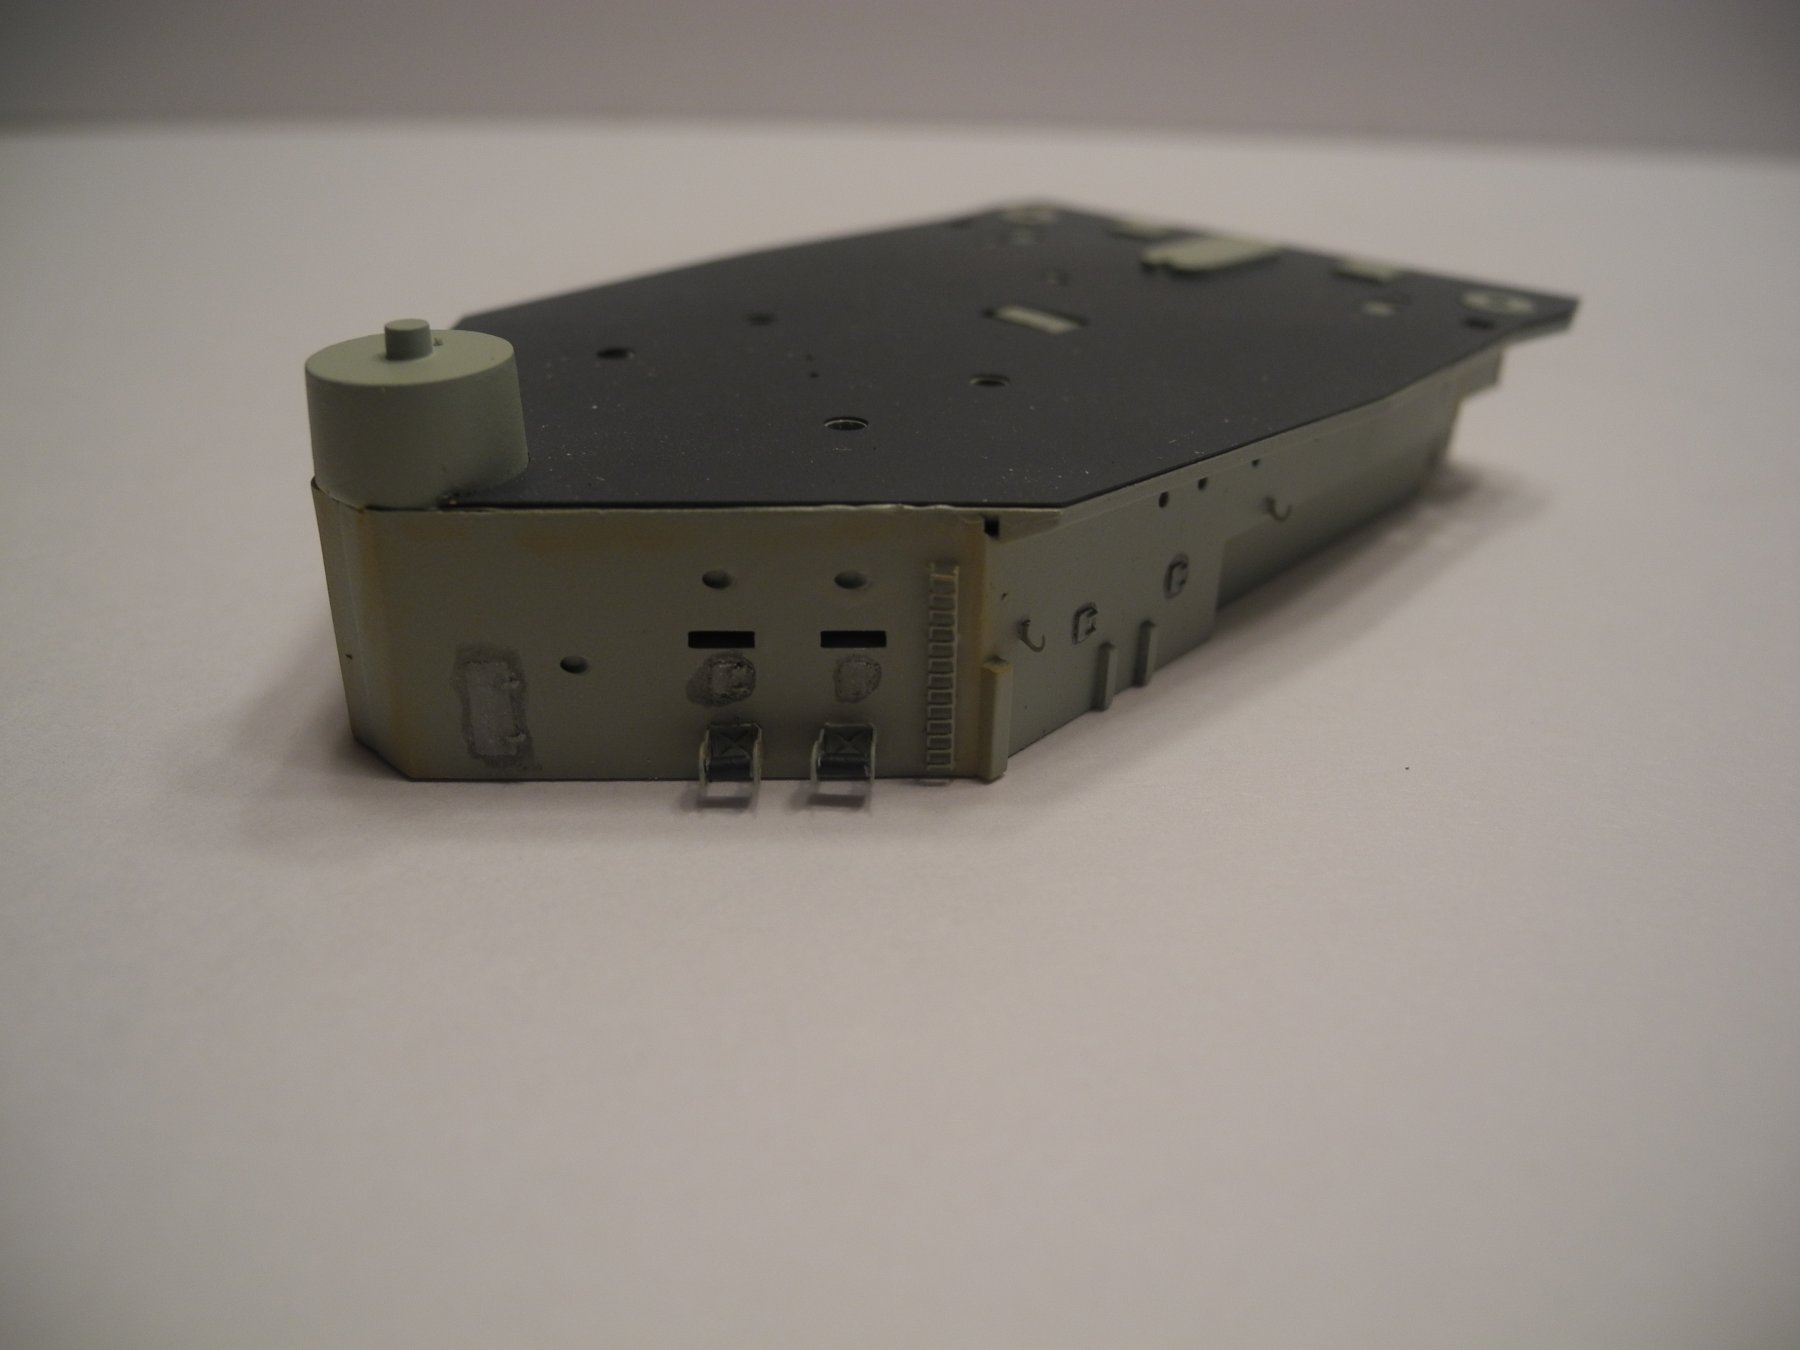
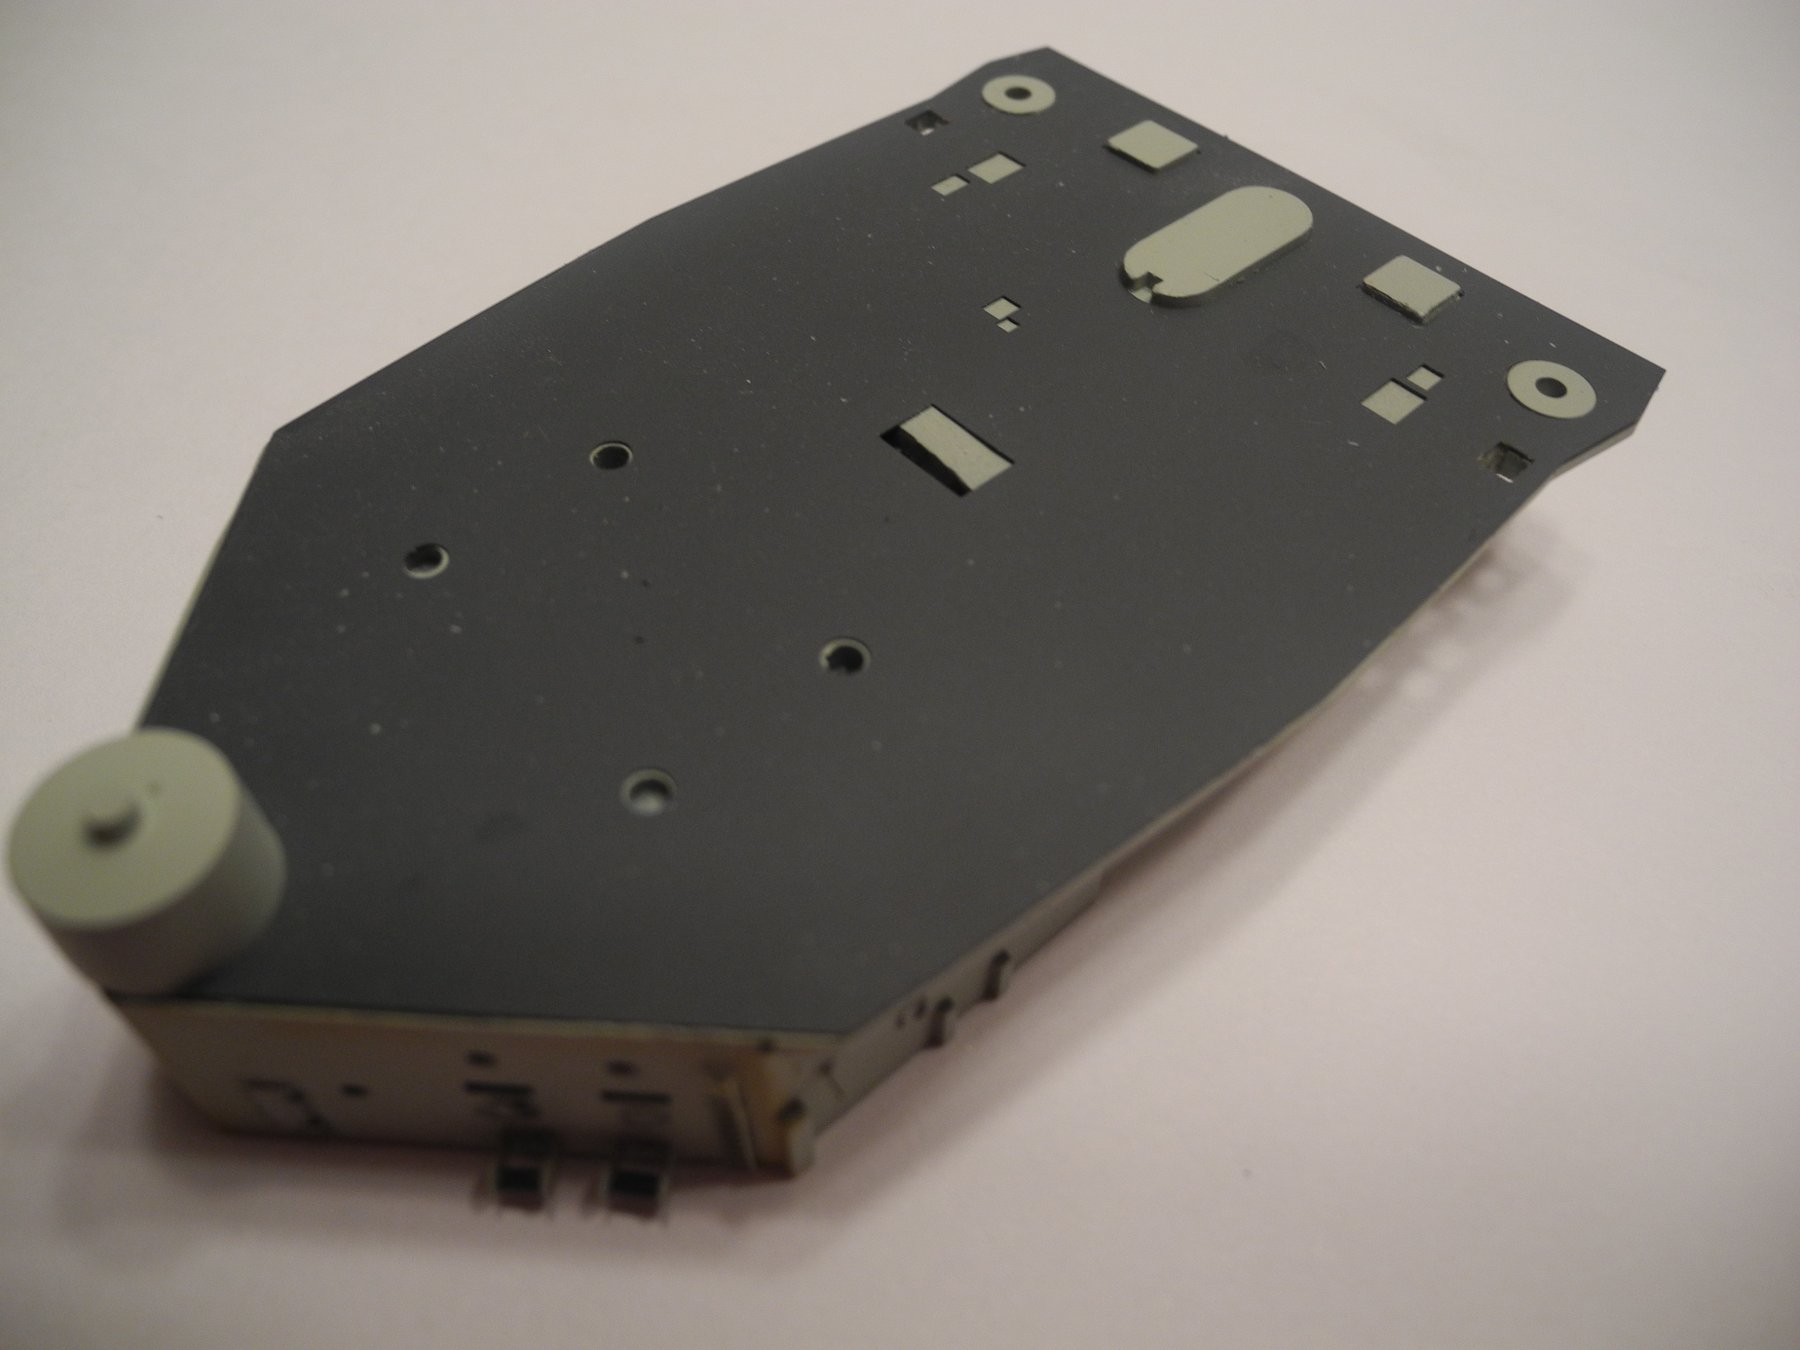
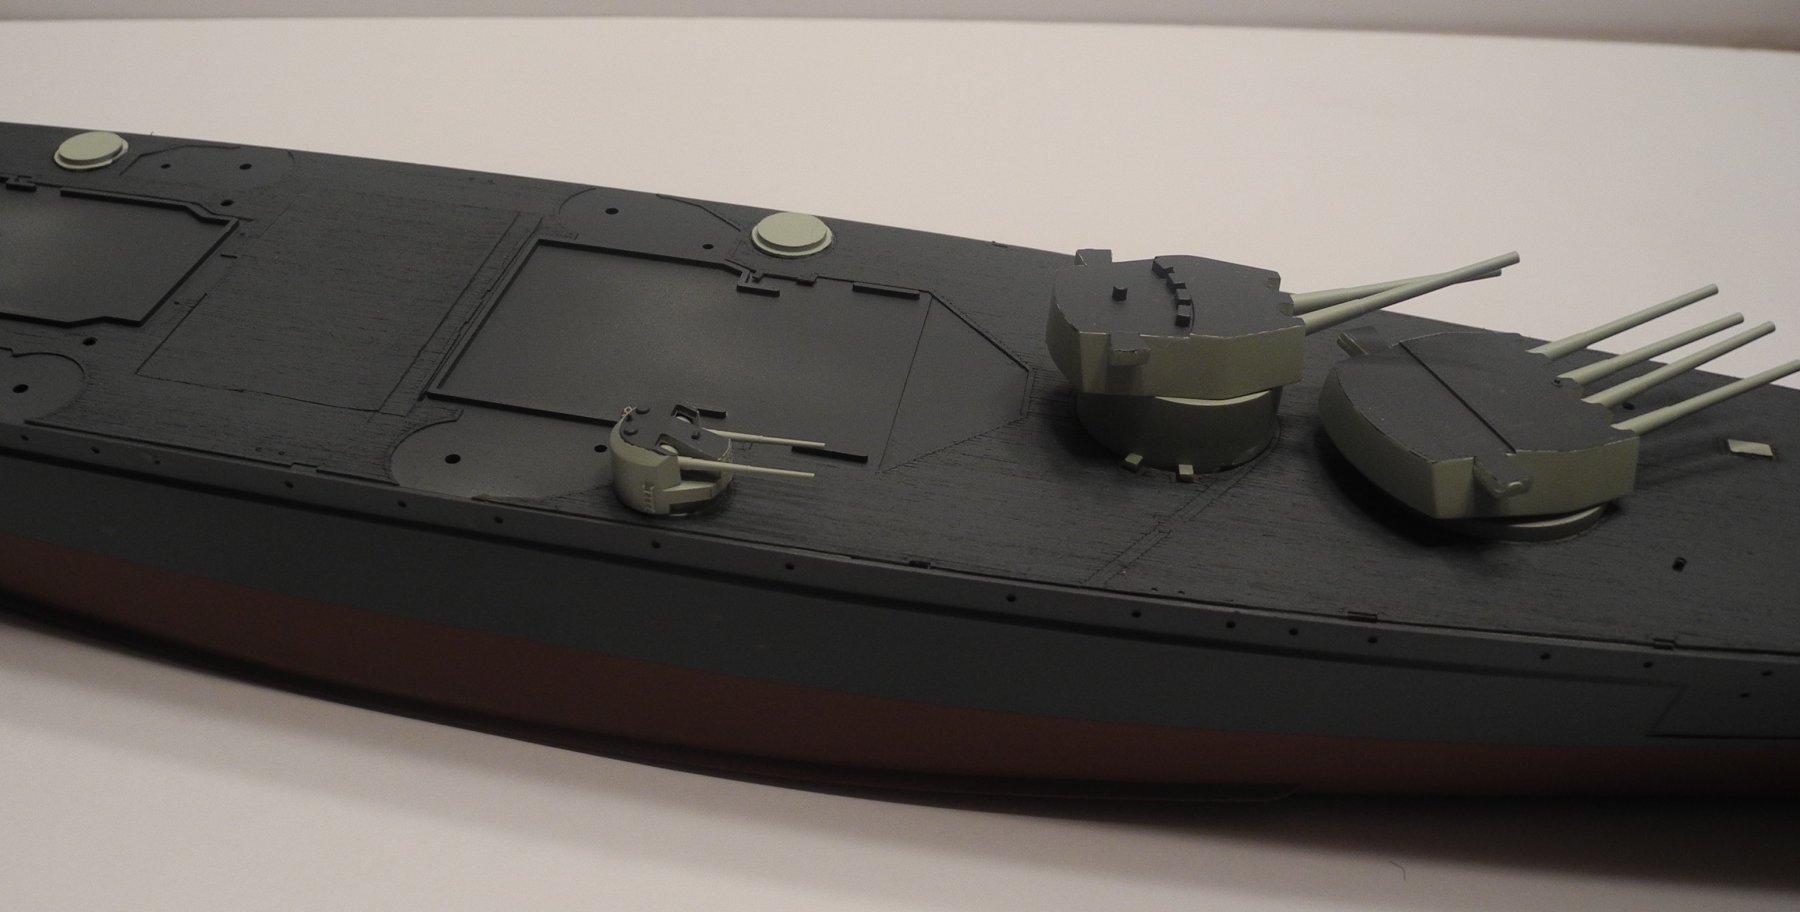
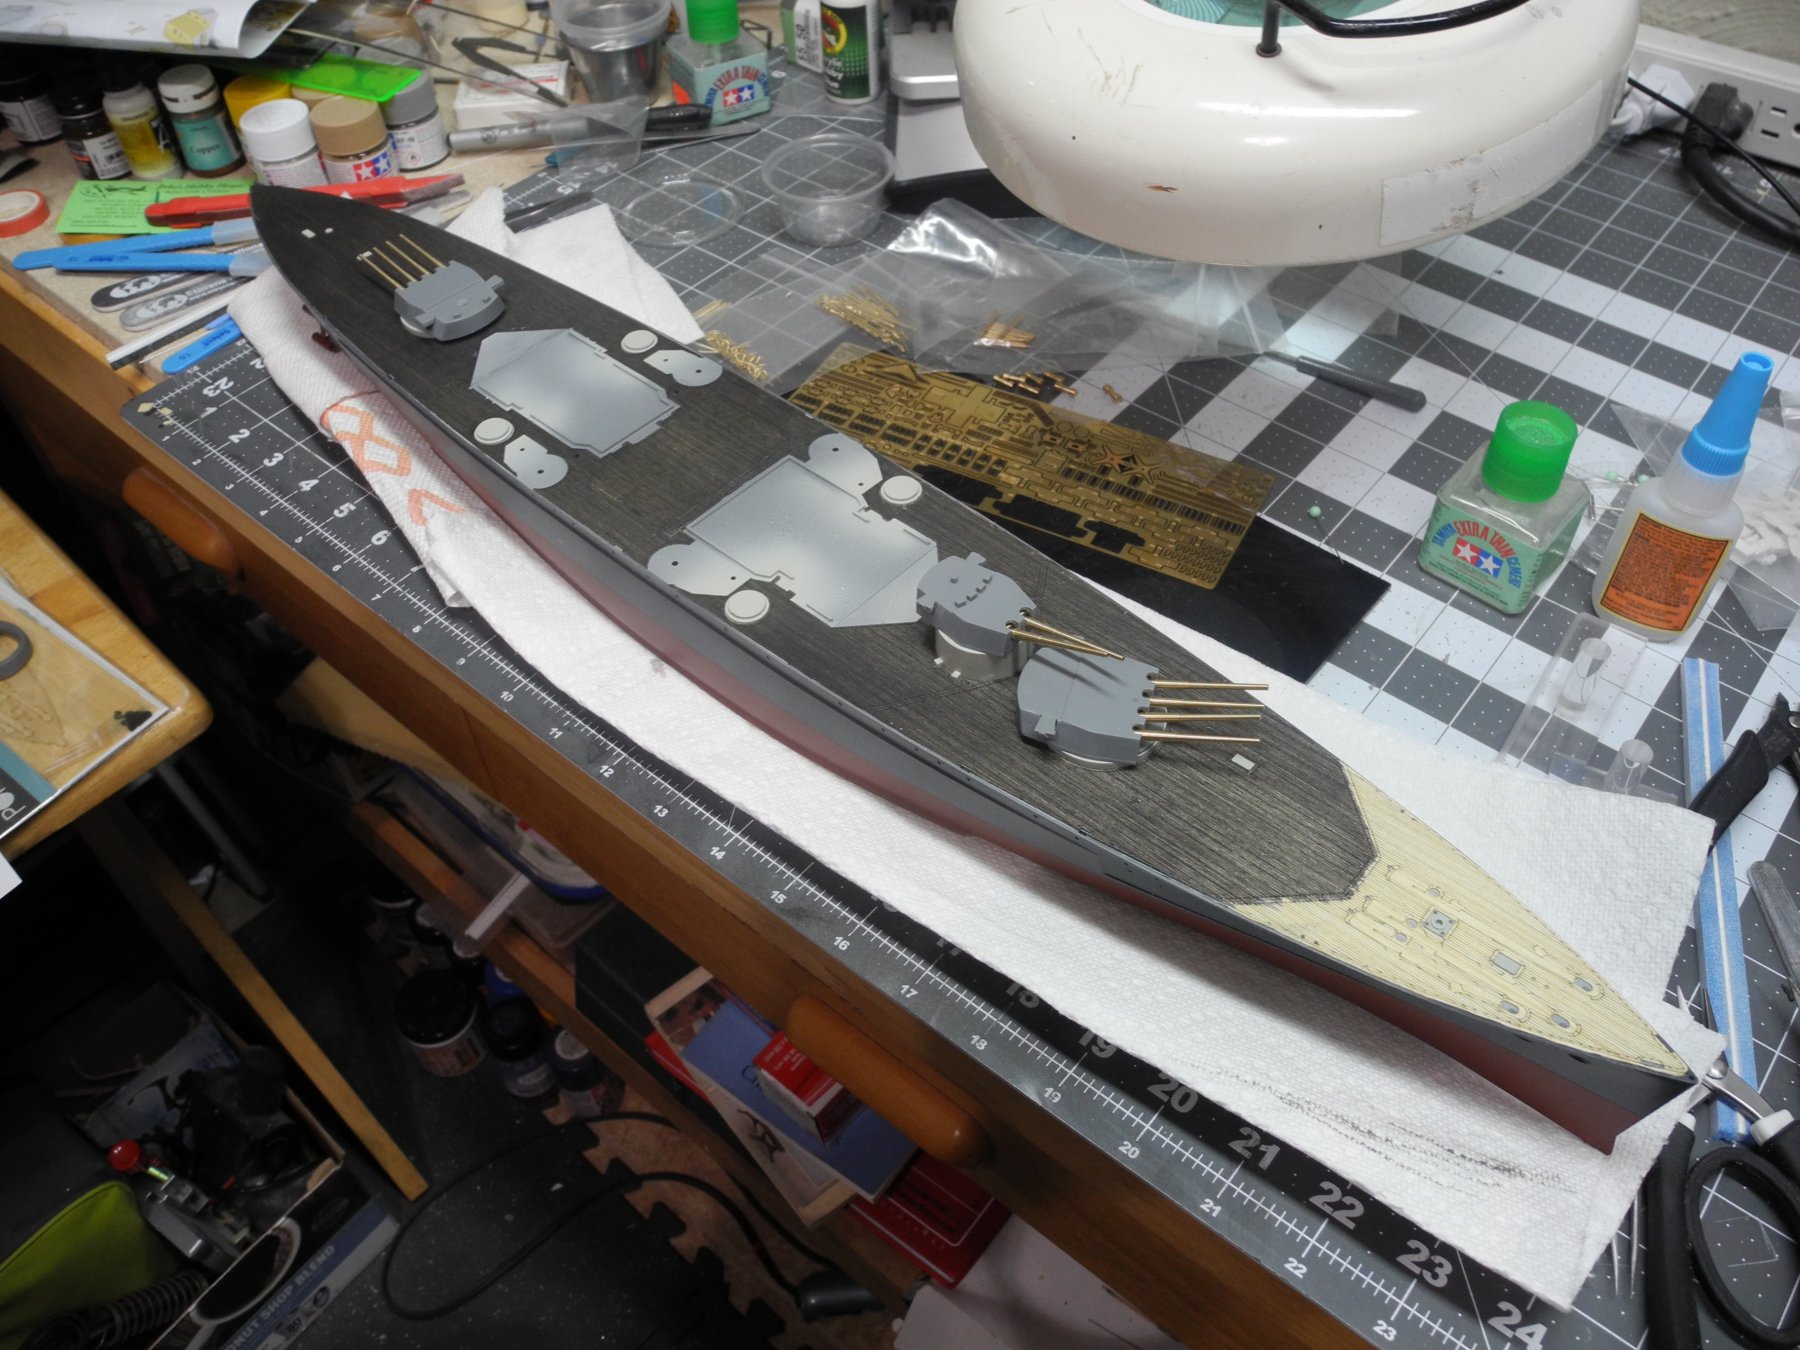
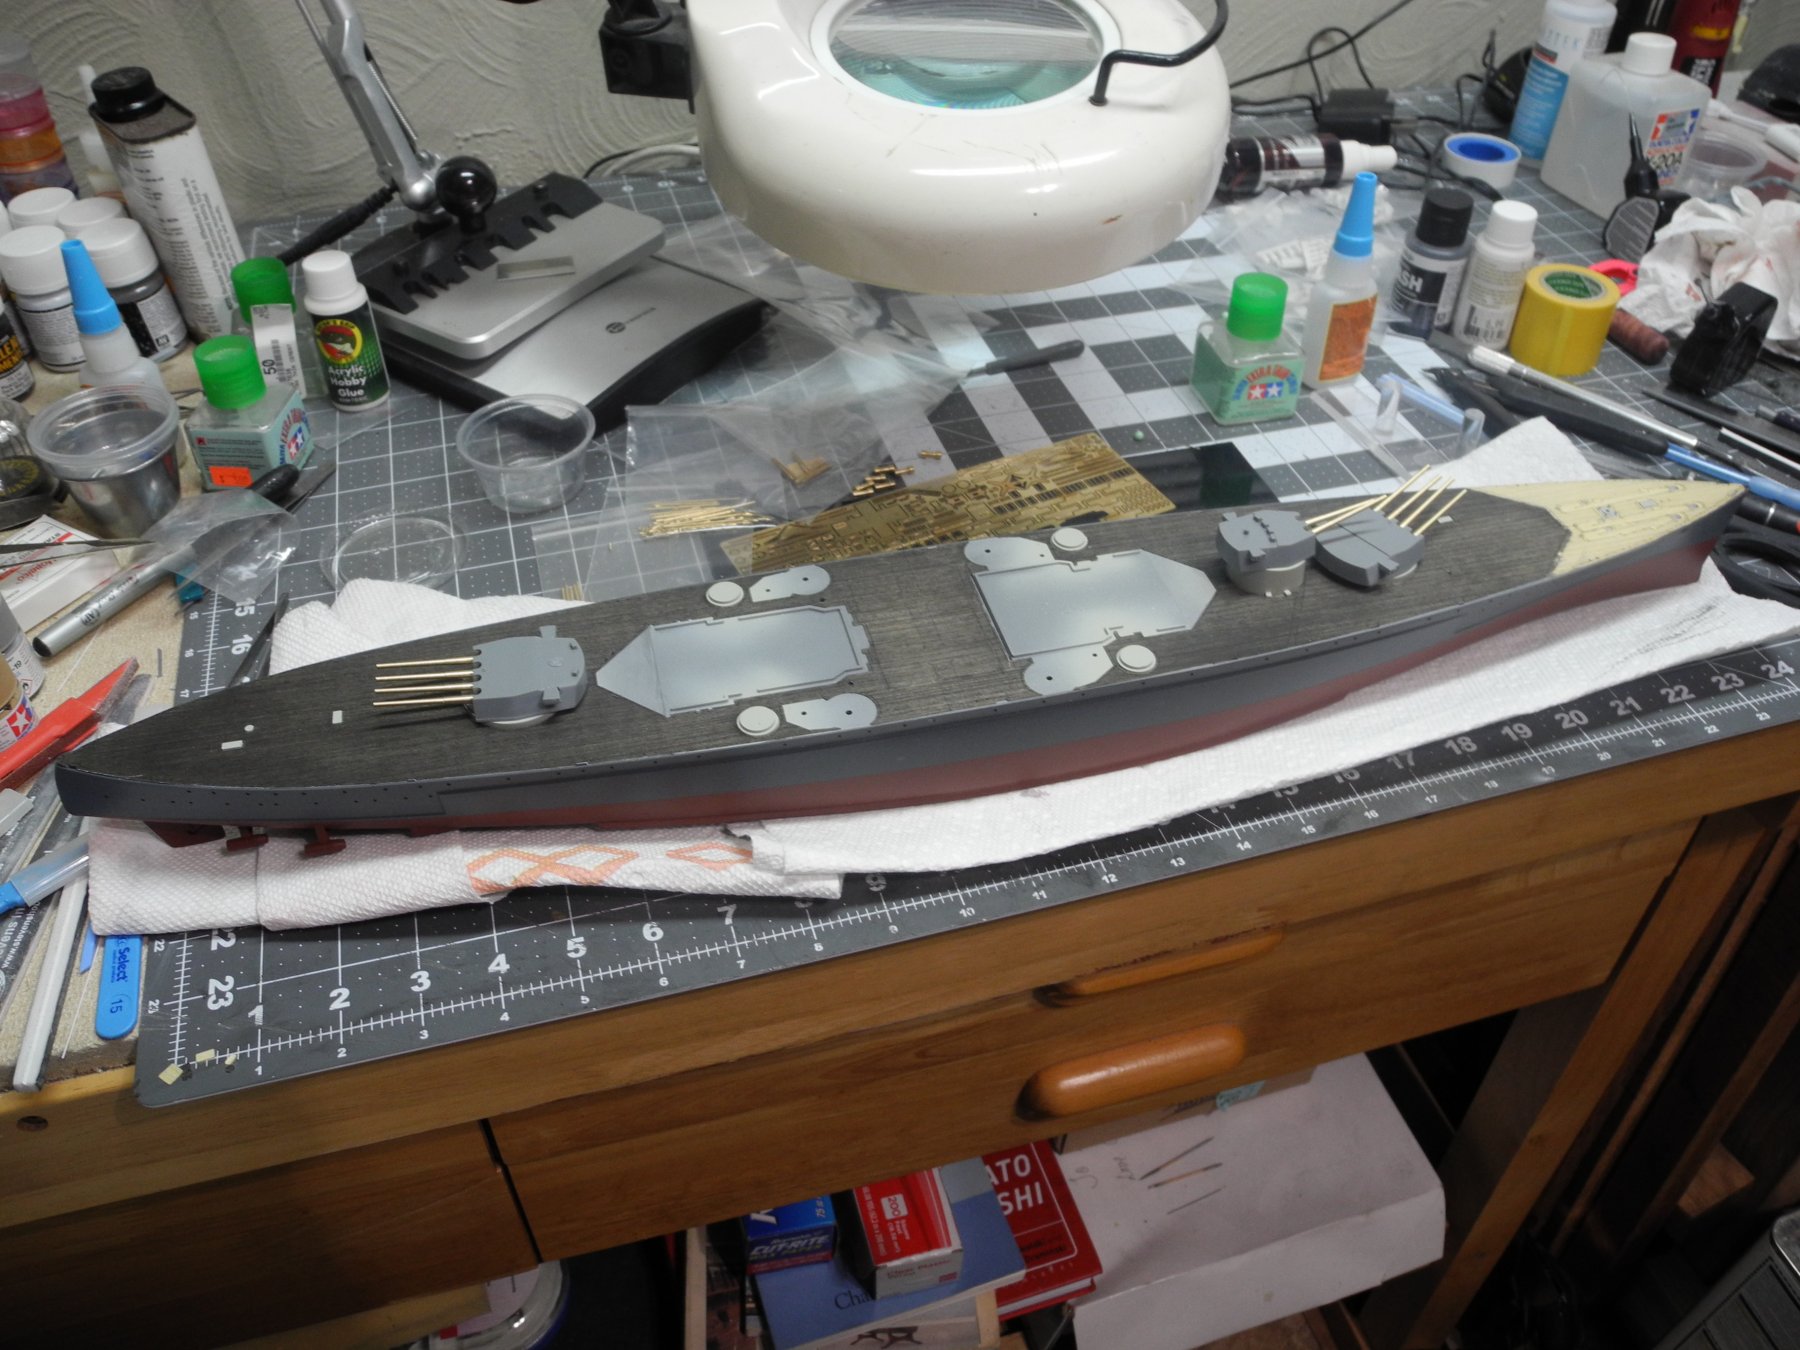
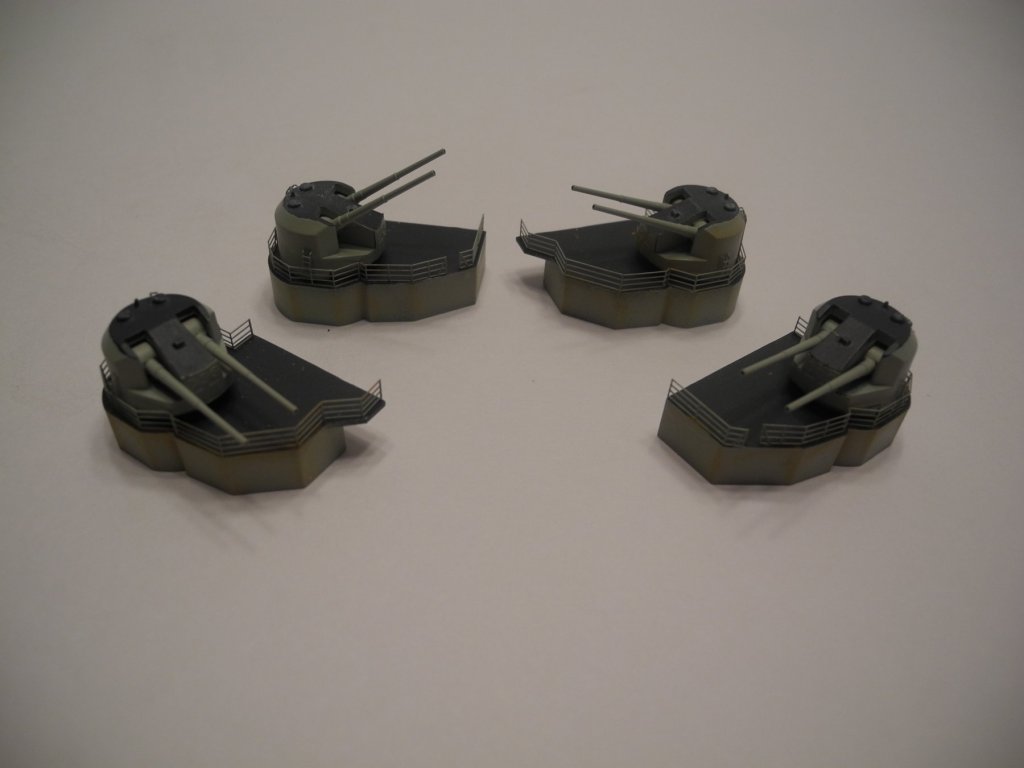
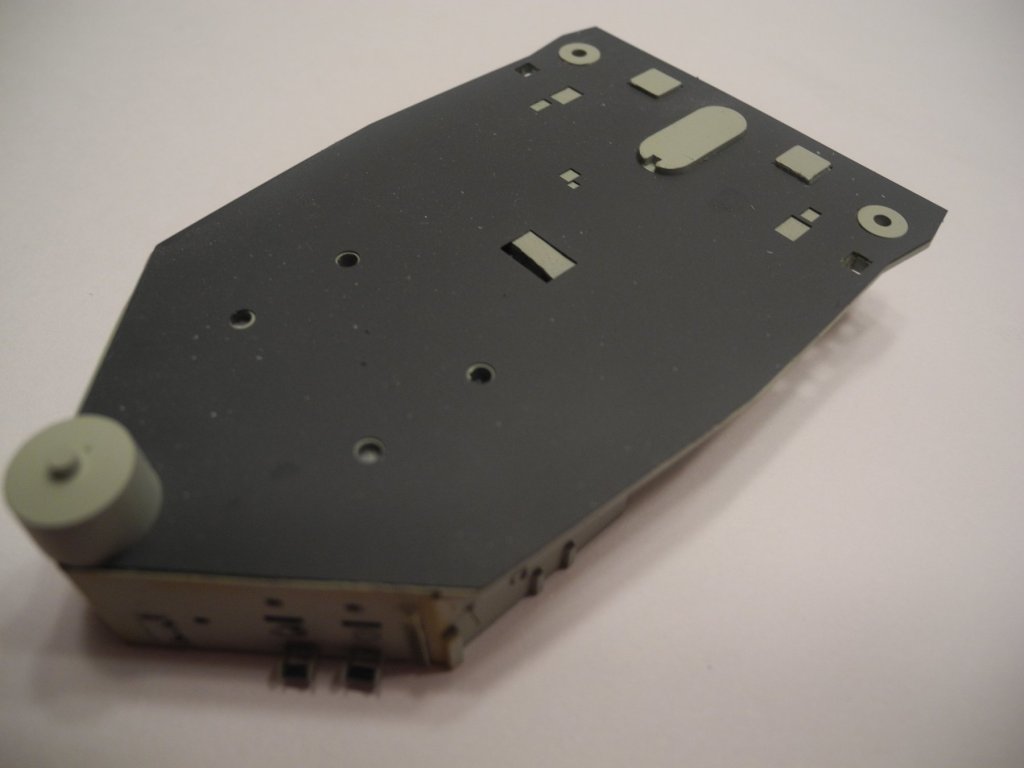
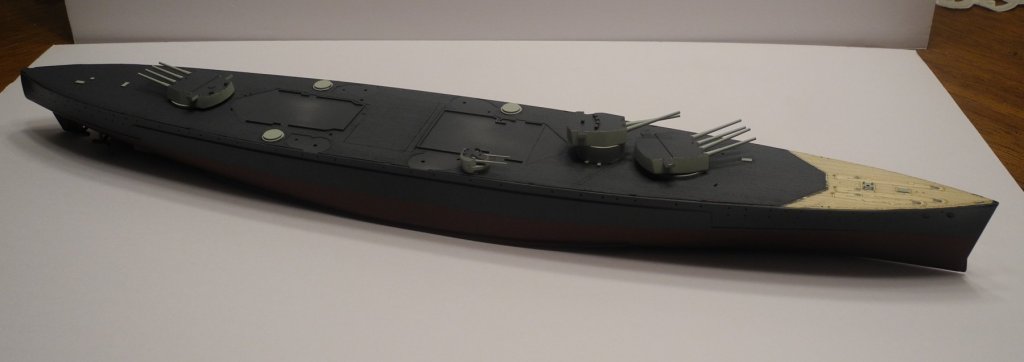
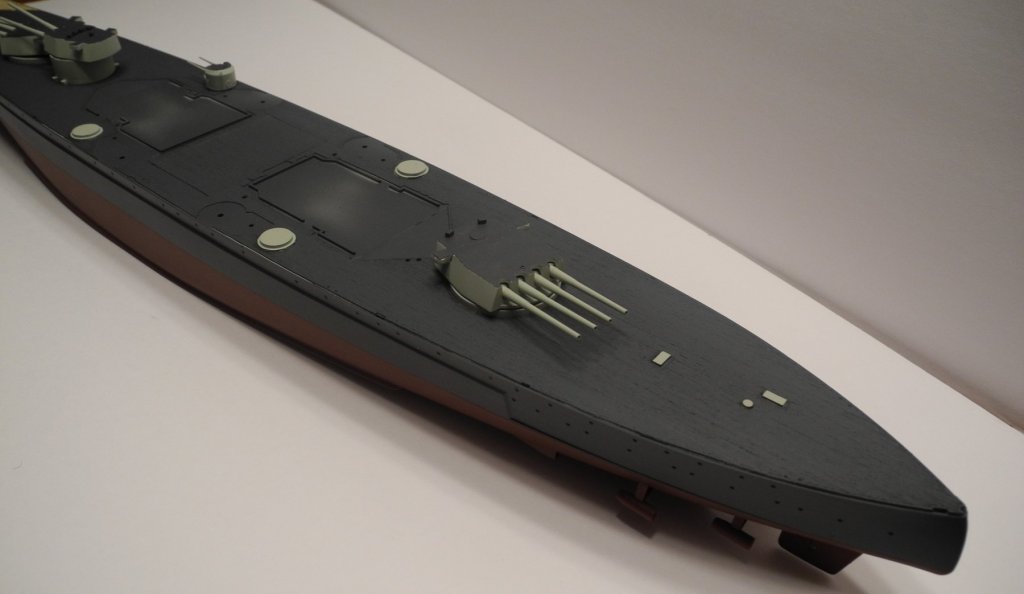
Not a whole lot to report at this time, but work continues on the DoY just at a little slower pace. The Admiral decided she wanted the back patio reworked for the summer and that has taken a high priority in the grand scheme of things. The good news is, it's mostly done now. Our youngest daughter turns twenty at the end of this month and my wife intends to throw a party for her, thus the patio priority. Now, to turn attention to the ship...completed is some work on one of the main gun turrets, and the eight secondary gun turrets. I am finding these Pontos instruction photos very difficult to follow, rendering them unusually time consuming for me. The problem is a lack of continuity between any logical construction sequence and the photos on the printed pages. One has to sift through the pages many multiple times to find the appropriate detail photos for the construction at hand. Currently, I am working on an area of the superstructure that gets reworked to accommodate the ship's boats and cranes. It receives a new deck, and completely overhauled deck fittings.


- 151 replies
-
- 15
-
-
- duke of york
- tamiya
- (and 2 more)
-
Old Floquil paints?
CDW replied to MEDDO's topic in Painting, finishing and weathering products and techniques
You will have to get used to painting with them, just like you would any other different paint medium. -
Stage Coach 1848 by Eddie - Artesania Latina - Scale 1:10 - WOOD
CDW replied to Eddie's topic in Non-ship/categorised builds
These last couple of pictures made me realize how large the coach model is going to be when finished. Somehow, I had it pictured in my mind's eye as a much smaller model than is actually is in real life. I like the progress you're making on it. -
This hull is going to look great when you get it finished. The preparation you're doing is key.
-
I'm certain he knows. Am just hoping he doesn't hold it against me or my goose is cooked.
- 151 replies
-
- 7
-
-
- duke of york
- tamiya
- (and 2 more)
-
Old Floquil paints?
CDW replied to MEDDO's topic in Painting, finishing and weathering products and techniques
One of my favorite Floquil colors used to be "old aluminum" or some title similar to that. Many of my model building friends freaked out when Floquil quit making paints and everyone made a quick run on all the available "old aluminum" paints they could get their hands on. -
Those MRP are enamel paints? Do they recommend their own brand of reducer, or will generic products work.
-
You are going to LOVE that H&S airbrush.
-
A tour in Marine Corps, never hurt my back. Seven years of boxing, never hurt my back. Years of high level football, never hurt my back. Years of lifting all sorts of very heavy objects at work, never hurt my back. A kids birthday party, while grilling hamburgers and hotdogs, our little puppy walked behind my feet while I was stepping backward. Tried to avoid stepping on the pup and awkwardly fell backward but caught myself and no damage done...or so I thought until the next morning when I could not get up out of bed and had to crawl to my car to go to a doctor. The moral of the story, you can do extremely hard. heavy work all your life and a five pound puppy can end up wrecking your back. Go figure. Hope you get that back straightened out, Carl. I know first hand what a painful aggravation it can be.
-
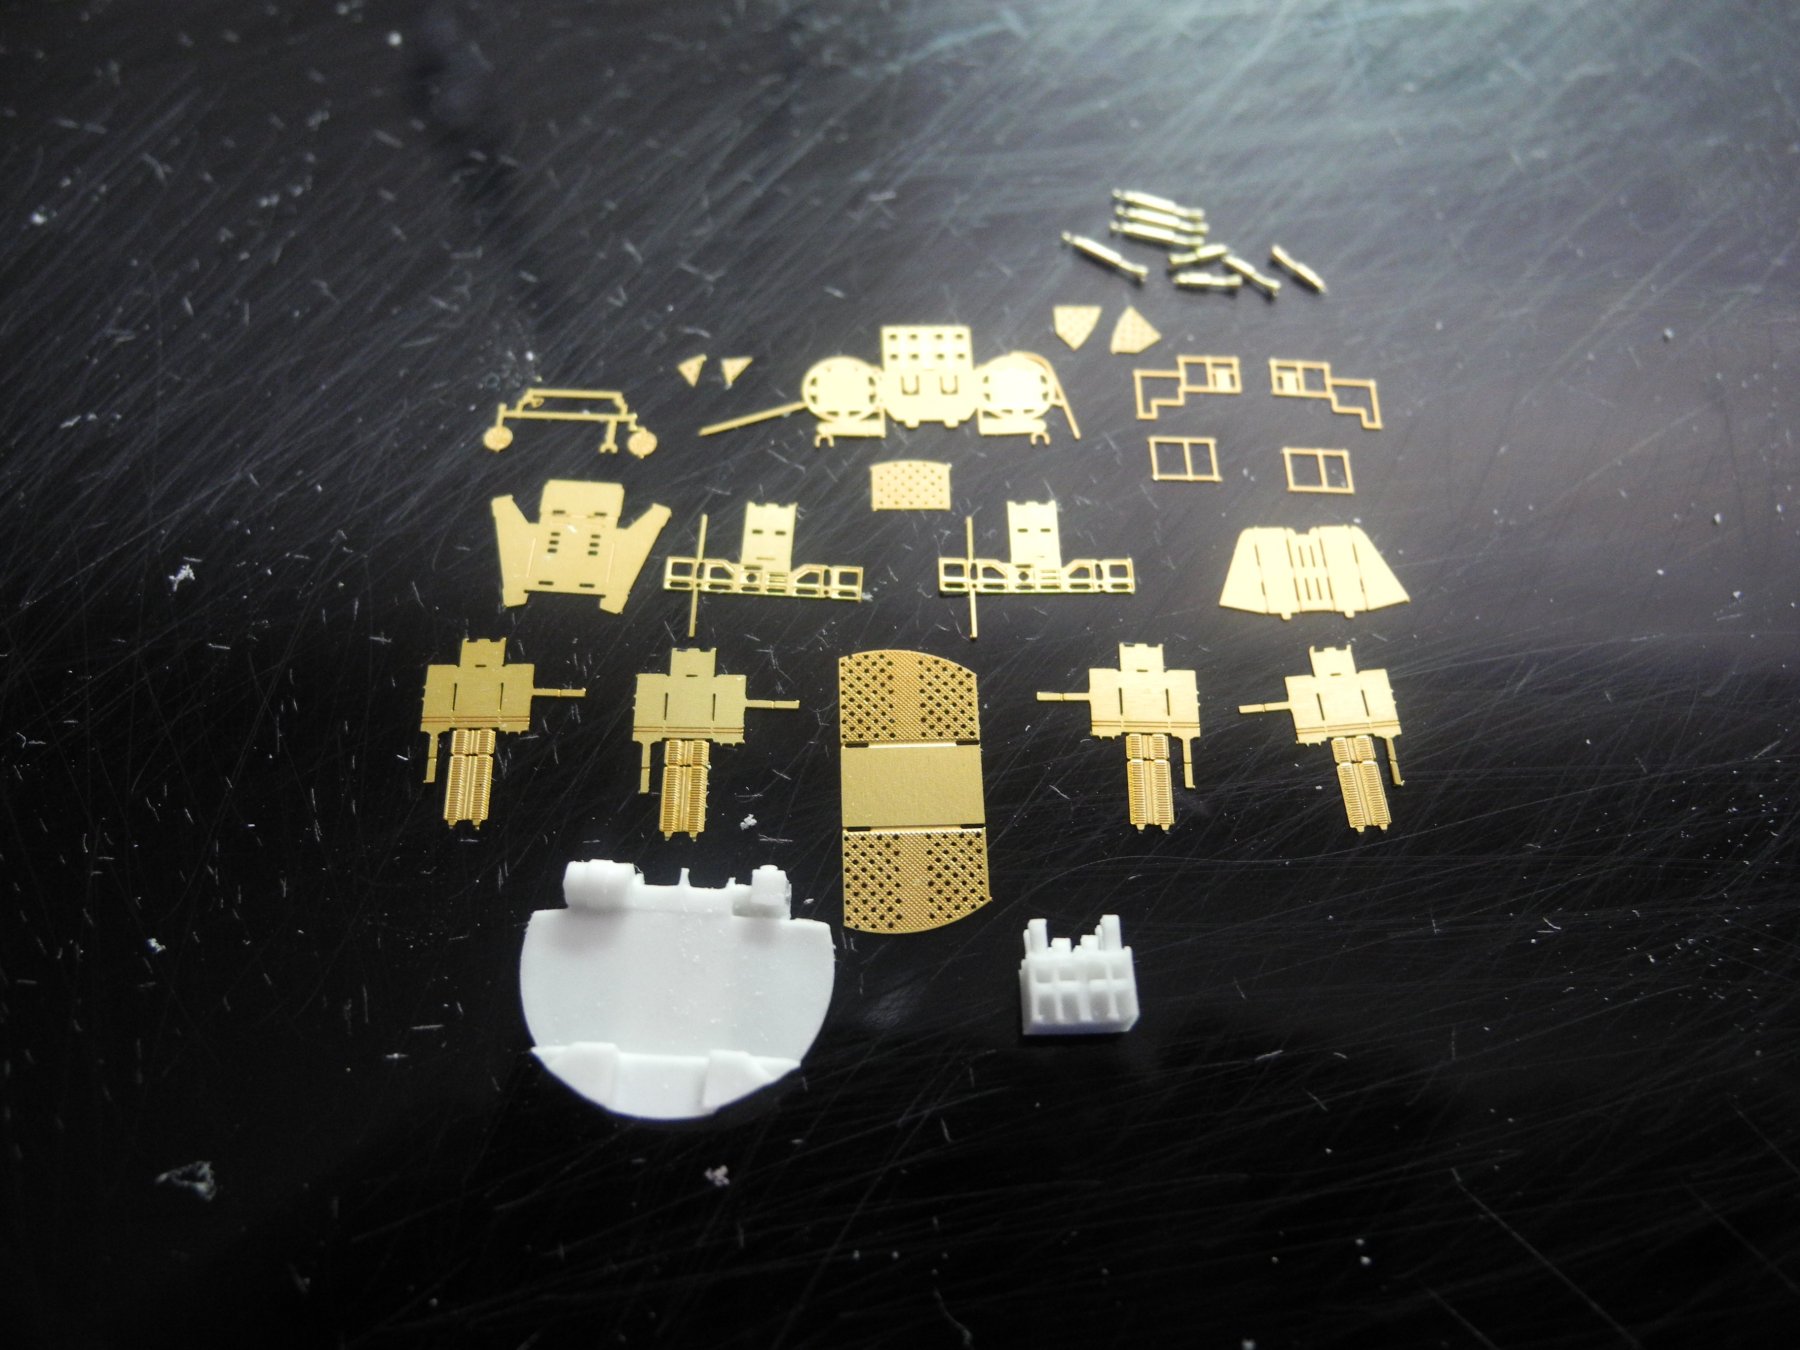
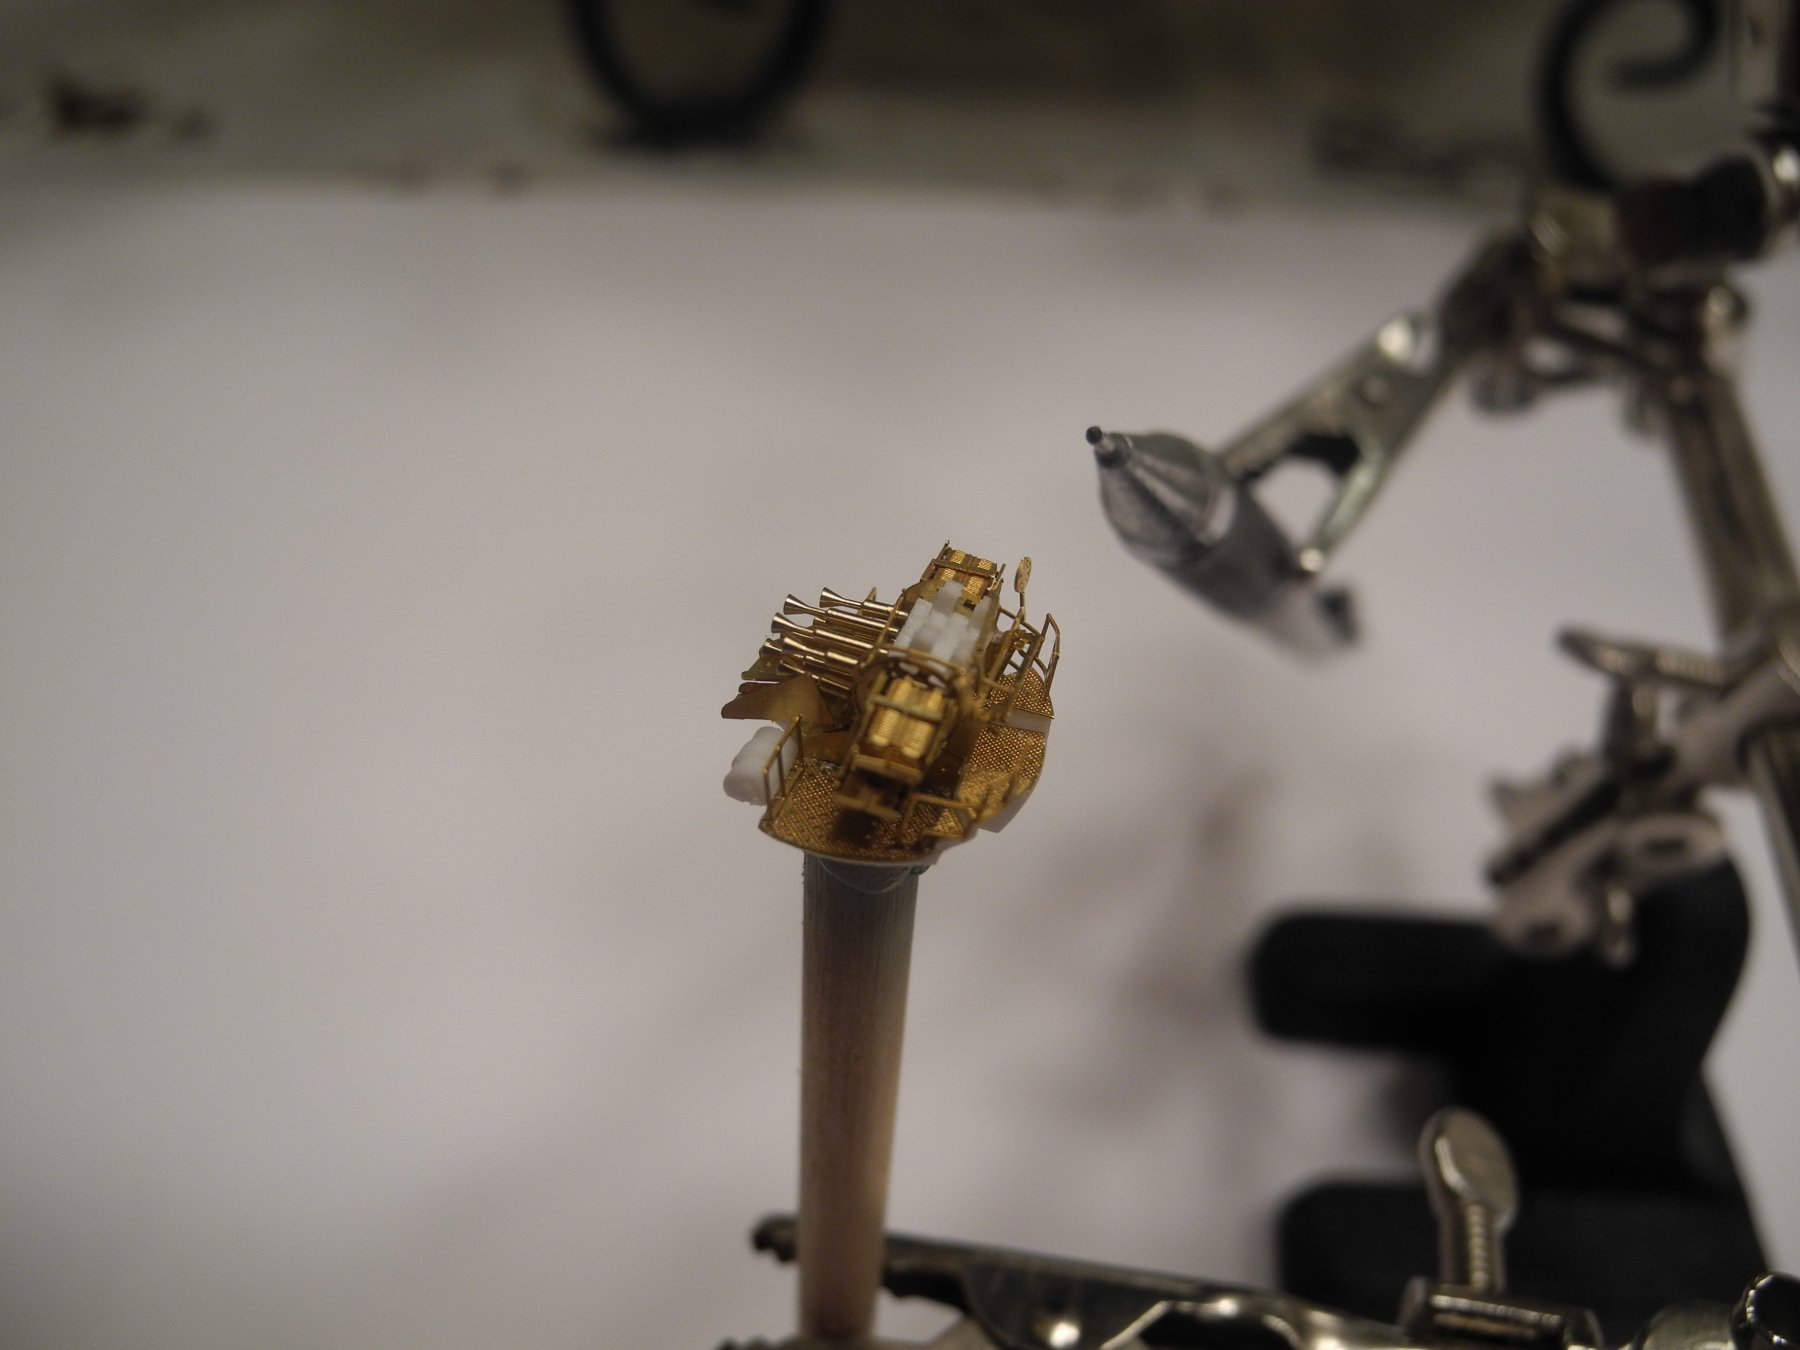
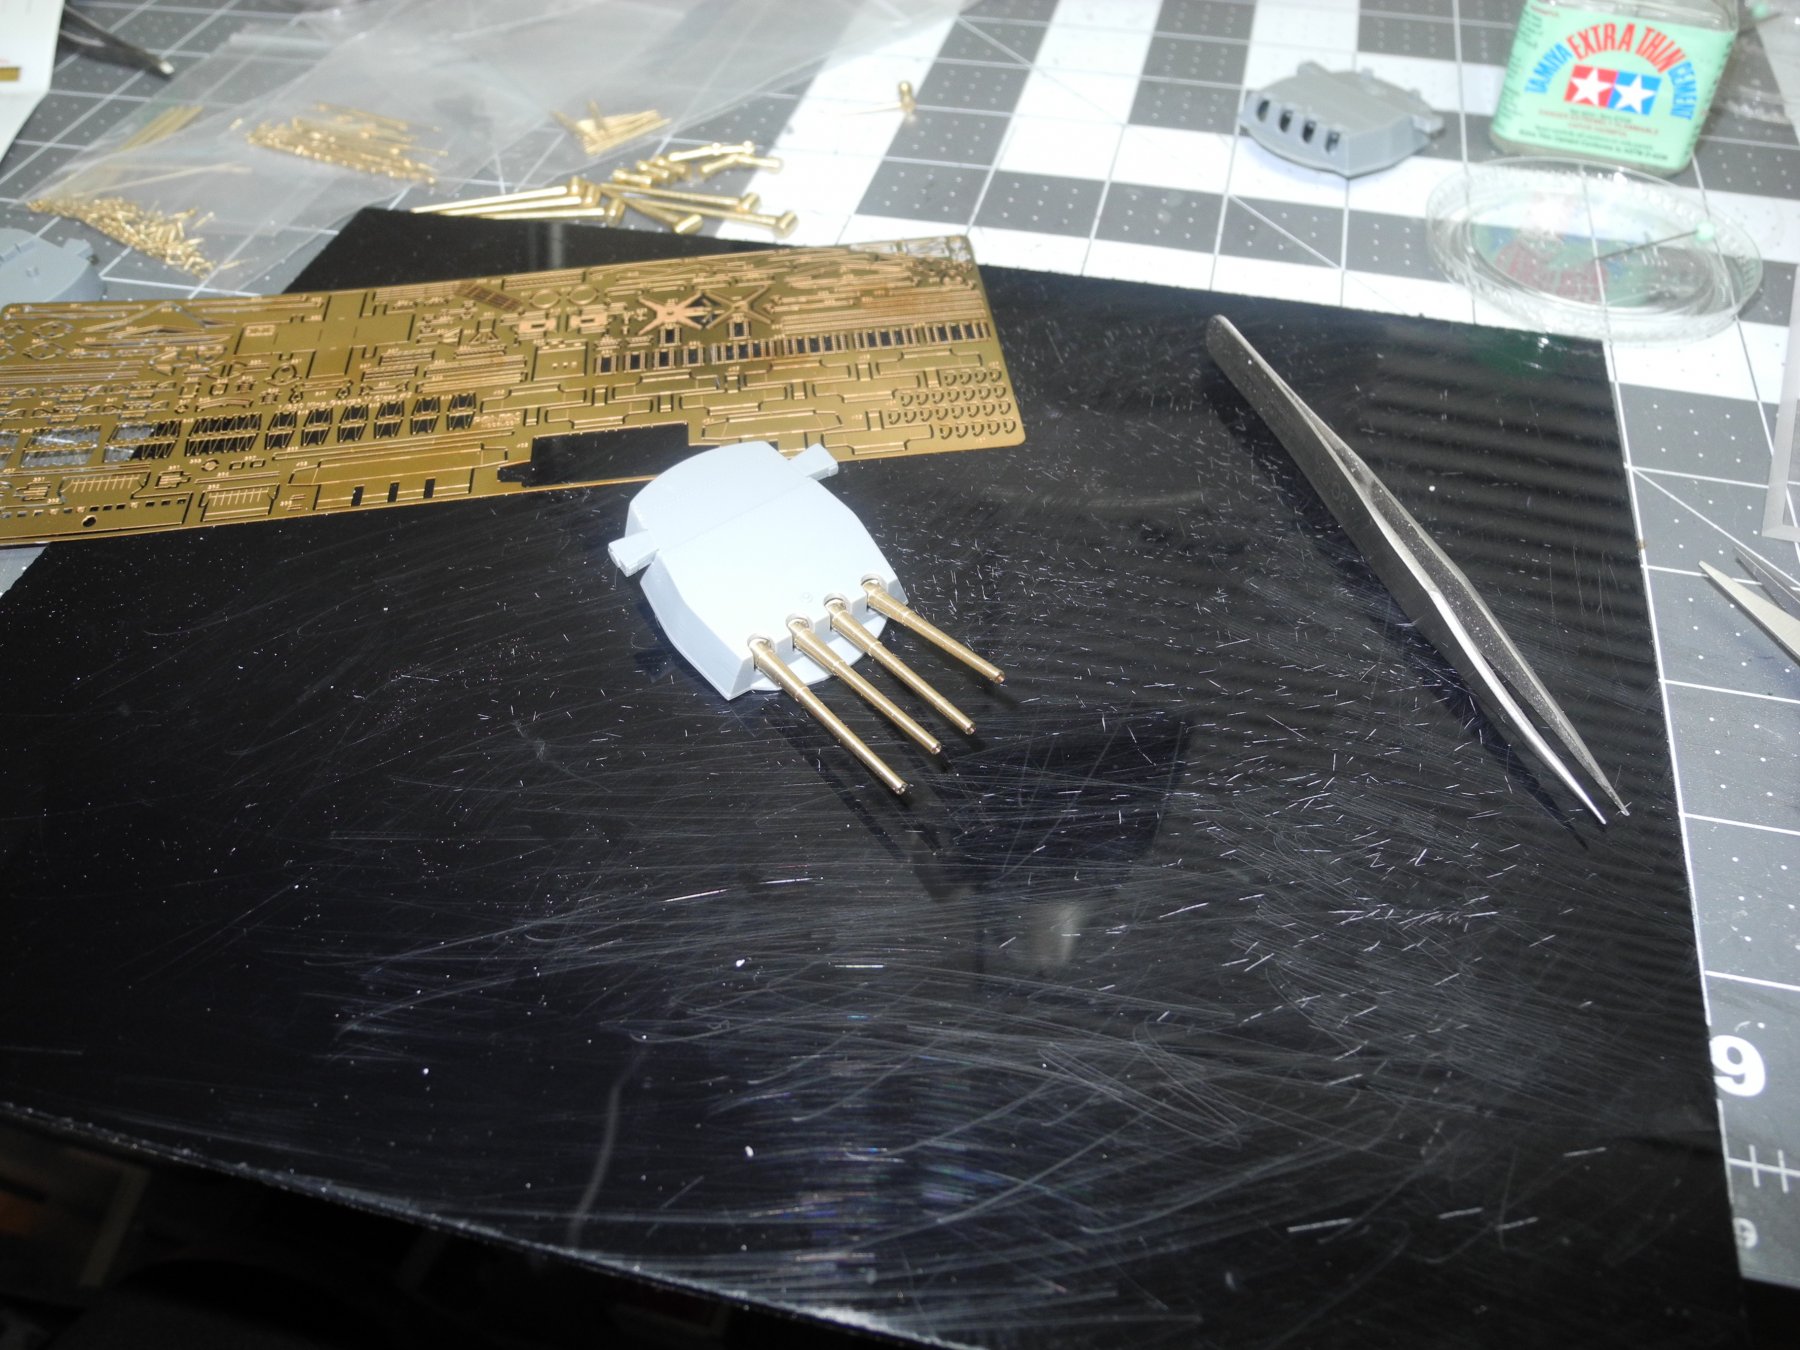
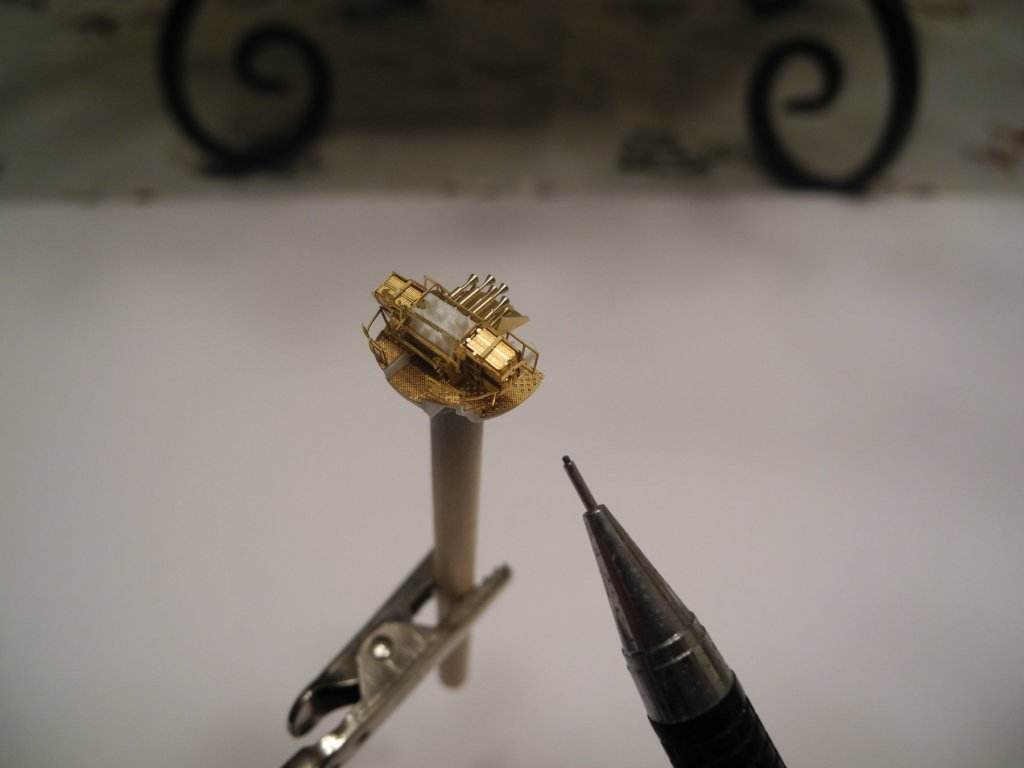
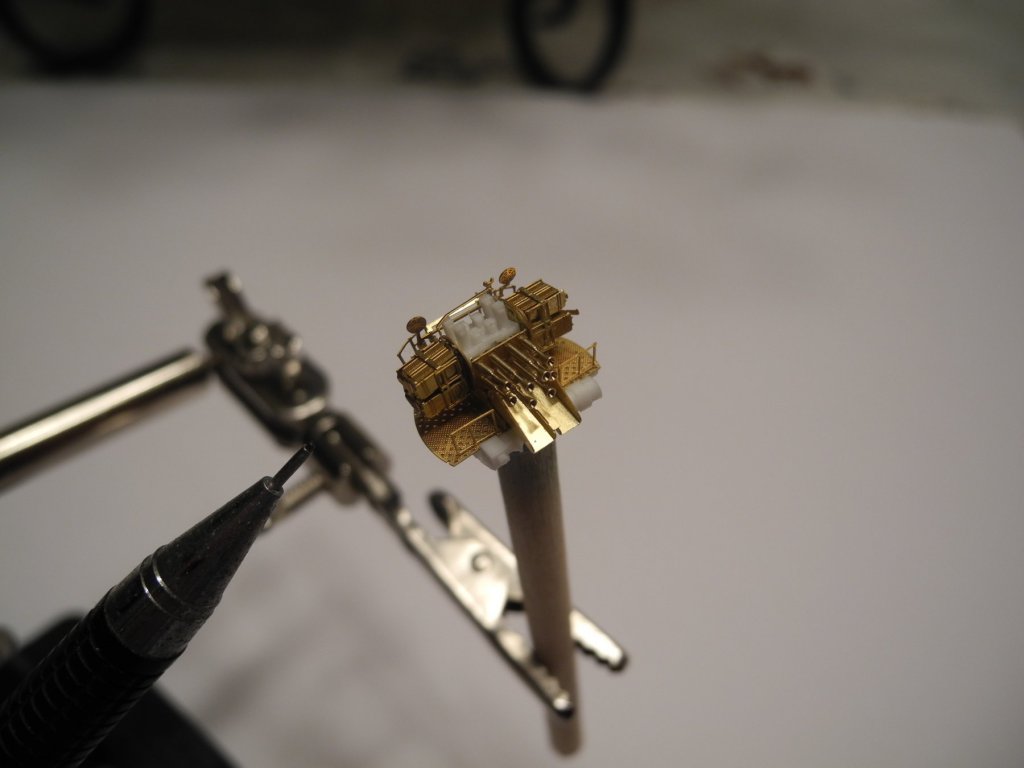
When I first began building ship models (or any other type of model), there were no parts like these, either. Maybe it was the 80's when I first began to see photo etch parts, I can't remember for sure. Verlinden was making them back then, and other cottage industry parts. But they were very thick and crude by comparison to today's photo etch. The same with cast resin. Very crude at first, but today's top quality cast resin is amazing. What's just as astounding to me is the quality and precision of the turned brass parts. Take a look at those pom pom barrels and I ask myself, how the heck do they do that? It seems like something that small would just break apart during the machining process.
- 151 replies
-
- 9
-
-
- duke of york
- tamiya
- (and 2 more)
-
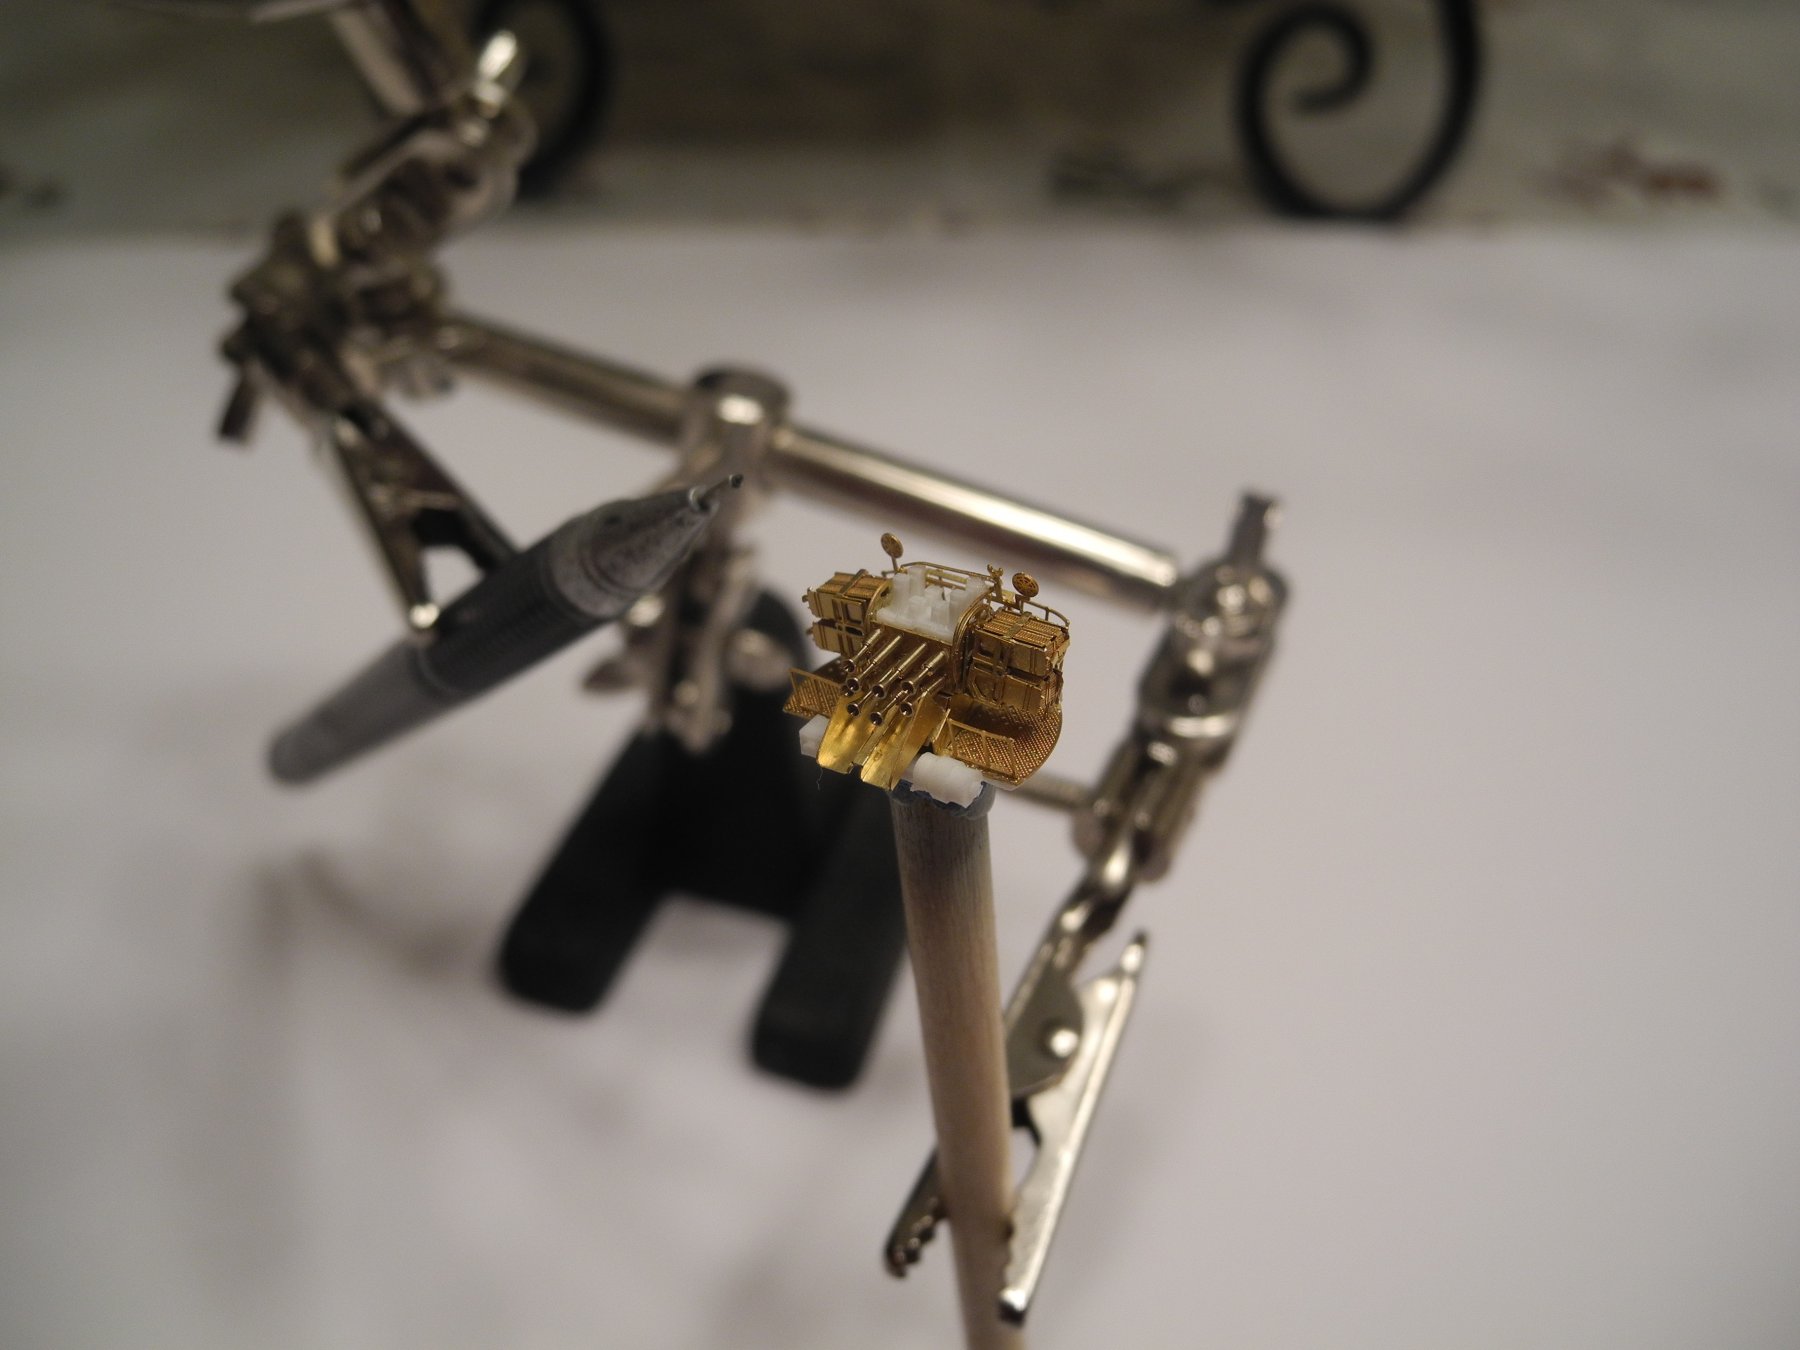
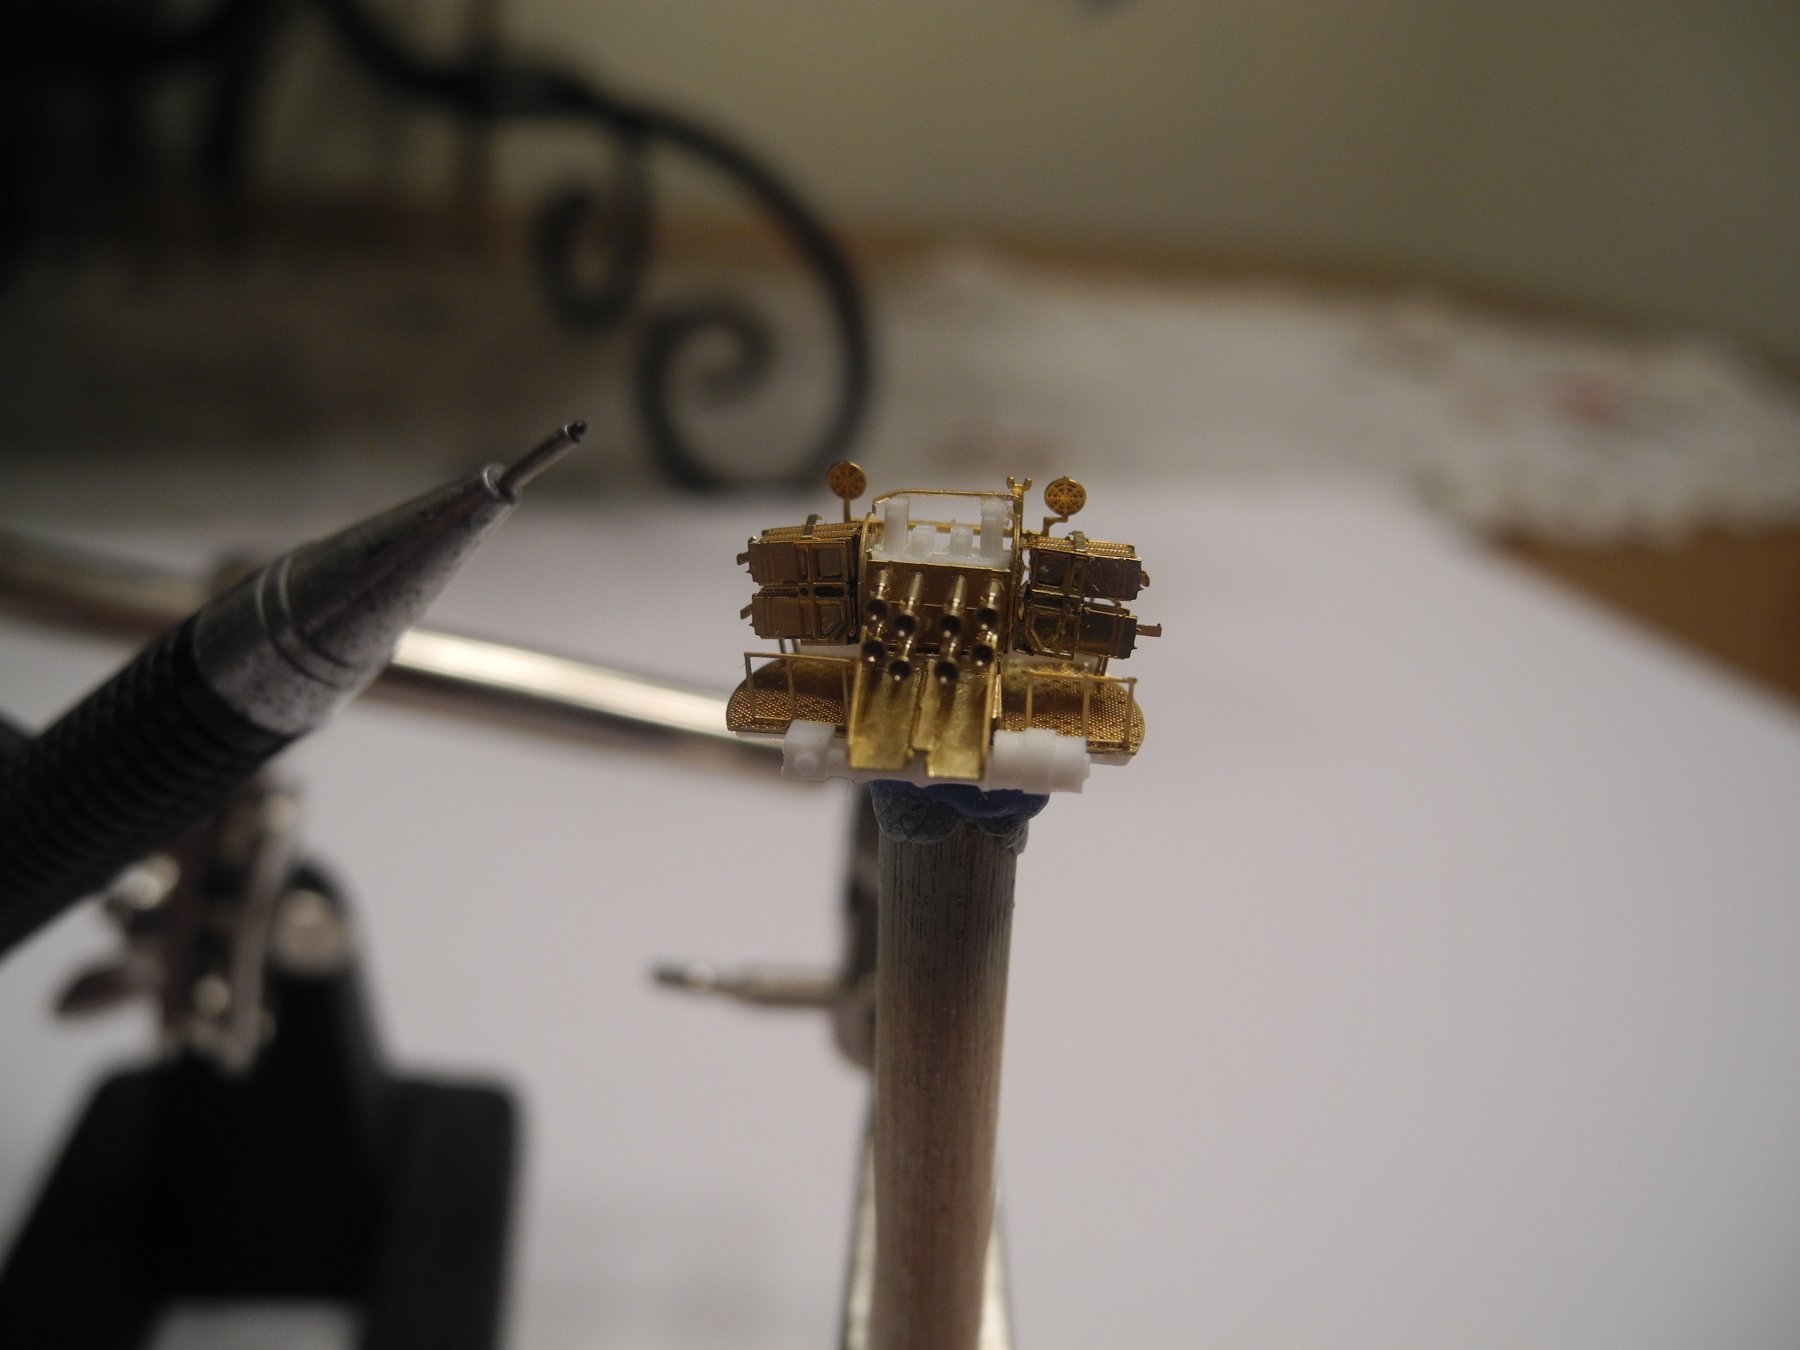
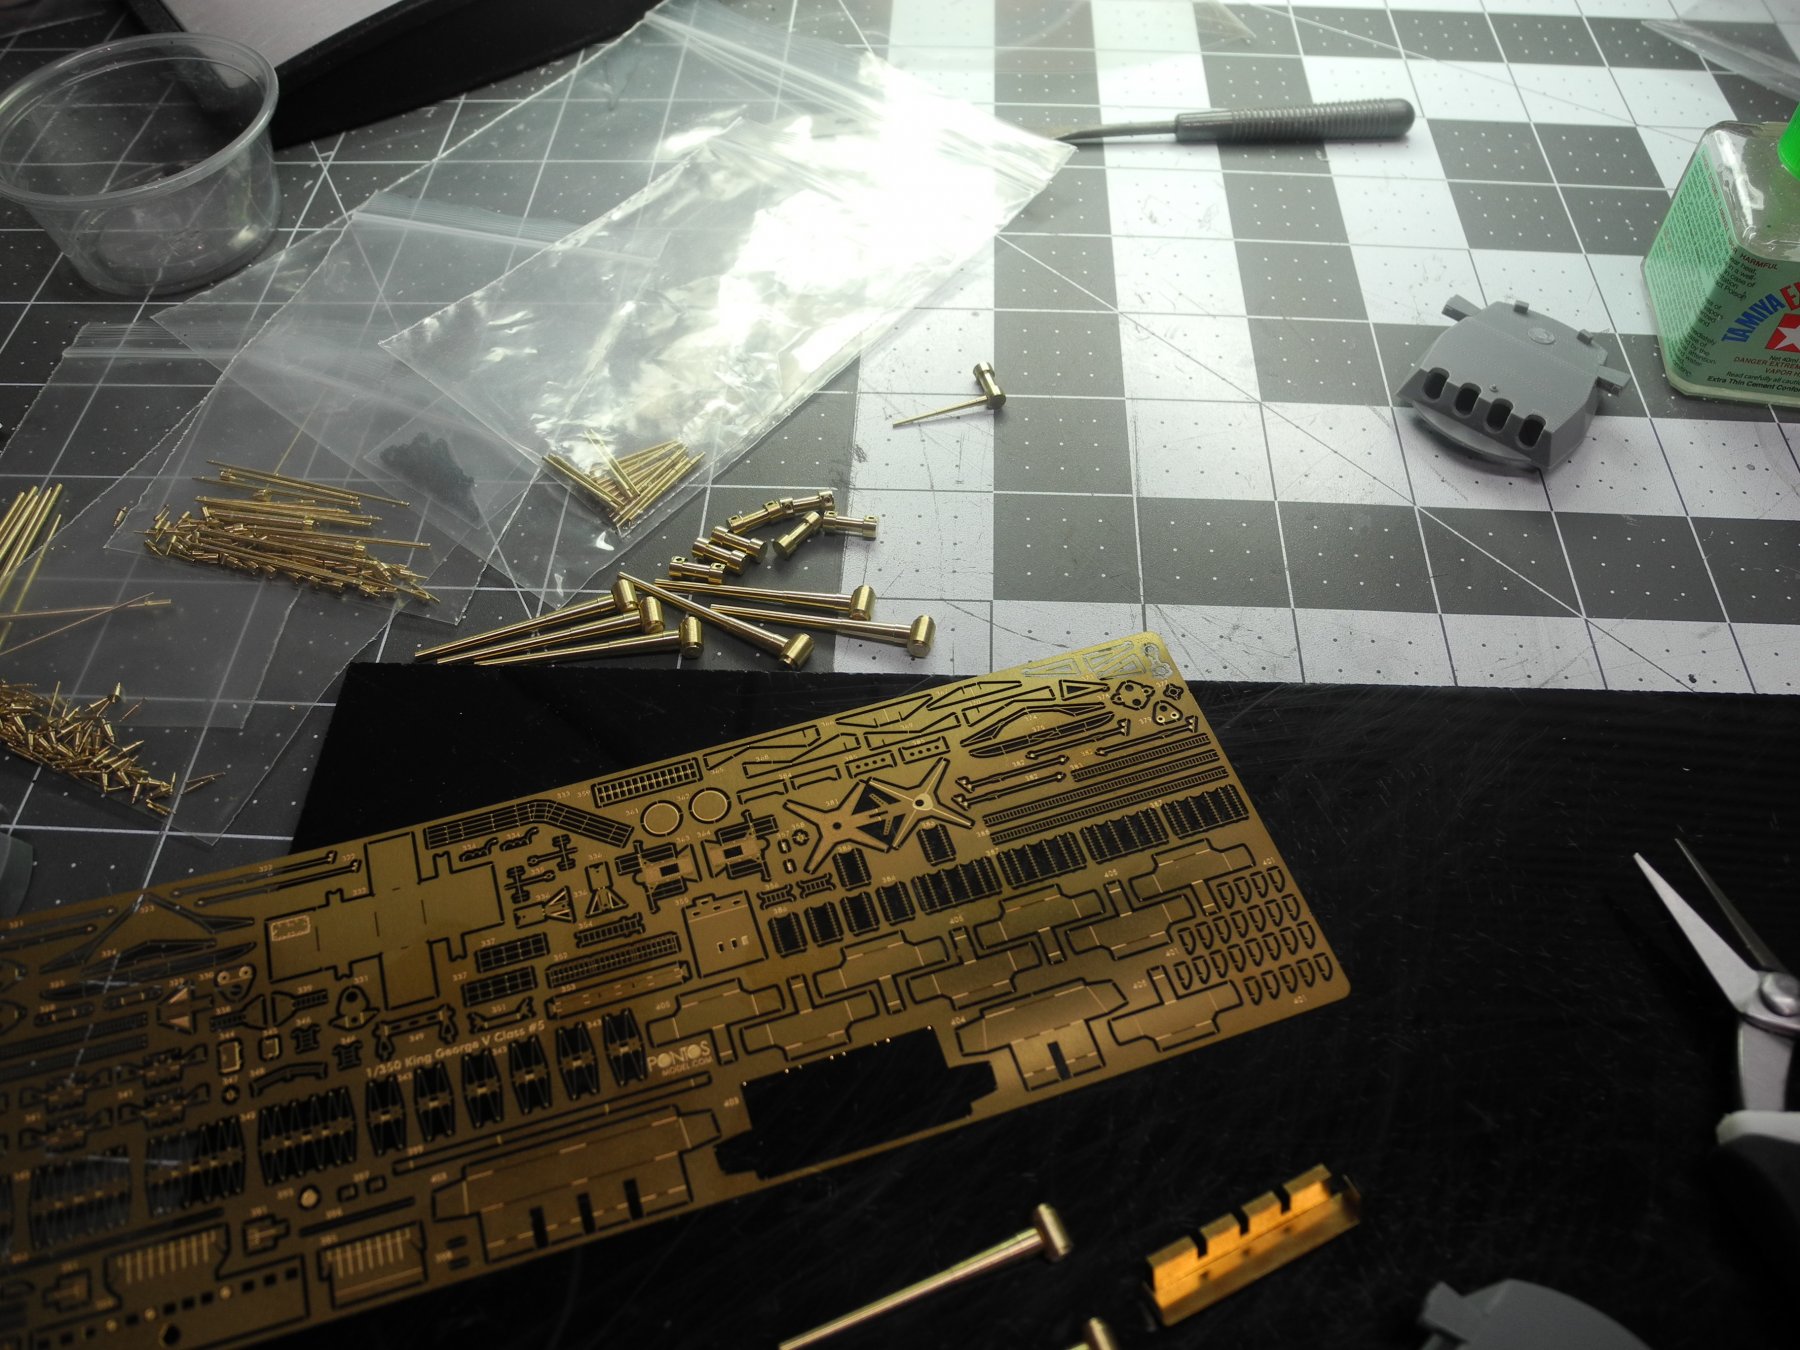
Just for the fun of it, I took this snapshot of all the parts that go into the building of one single pom pom gun. At first glance, it's hard to see how this could possibly end up as a pom pom gun. But it does.

- 151 replies
-
- 15
-
-
- duke of york
- tamiya
- (and 2 more)
-
Thanks again to all for your kind comments and encouragement. I must soon begin a project to build a larger display cabinet as my ship collection keeps growing.
- 151 replies
-
- 6
-
-
- duke of york
- tamiya
- (and 2 more)
-
Just a month ago, I was looking through a search on Amazon for Woody Joe models (and they offer a wide selection) and found a 1:250 Yamato kit for $289! Because I have been receiving the monthly installments from DeAgostini and am currently at month 8, didn't quickly move to buy it though I should have. My remaining 4 installments will cost me more than the entire kit from Amazon. When I looked for it again after a week or so, it was gone. Not surprised really, someone got a fantastic deal on the complete kit.
-
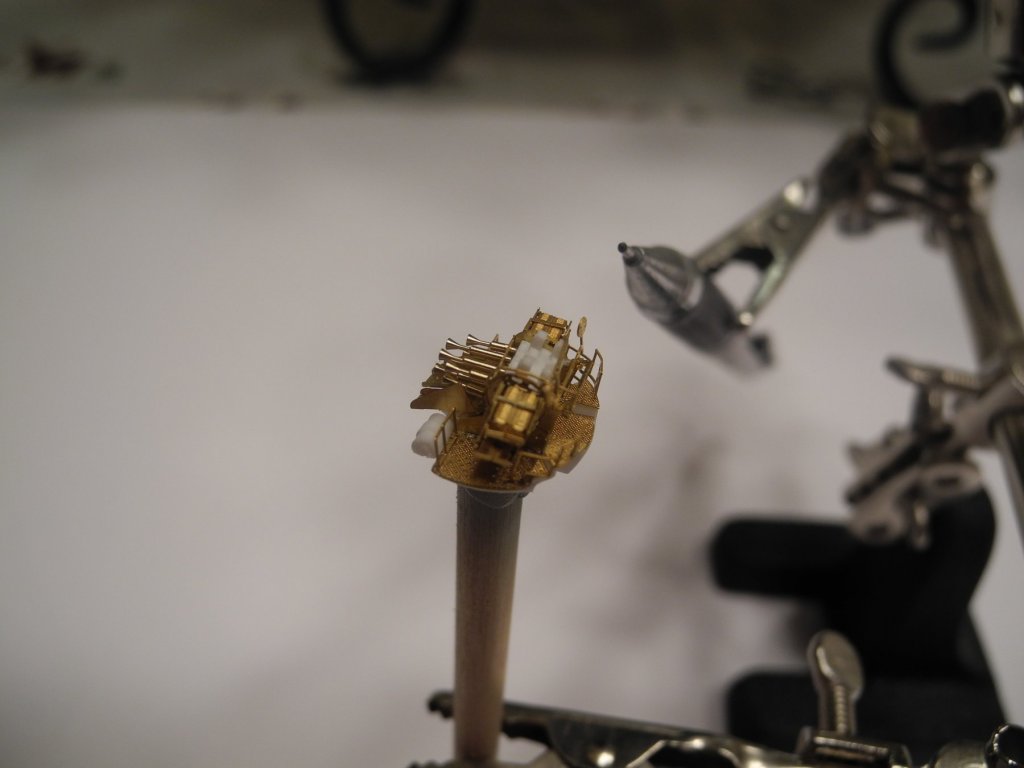
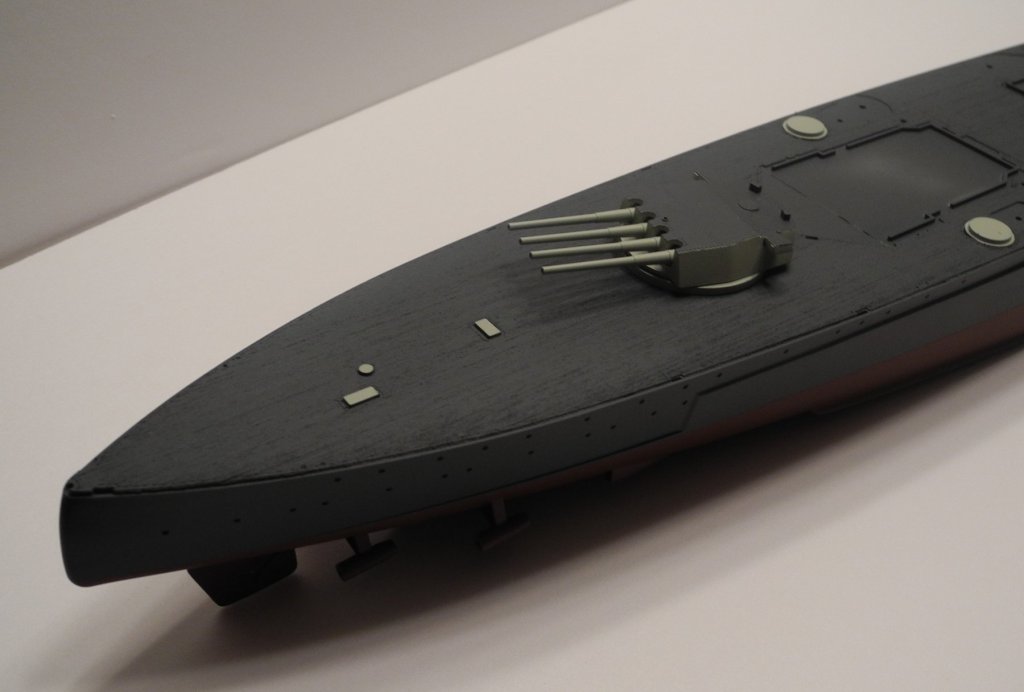
Those chutes on the front of the gun remind me of the copious amounts of spent shell casings that must have fallen from an AA emplacement with 8 guns when it was all fired up!
- 151 replies
-
- 7
-
-
- duke of york
- tamiya
- (and 2 more)
-
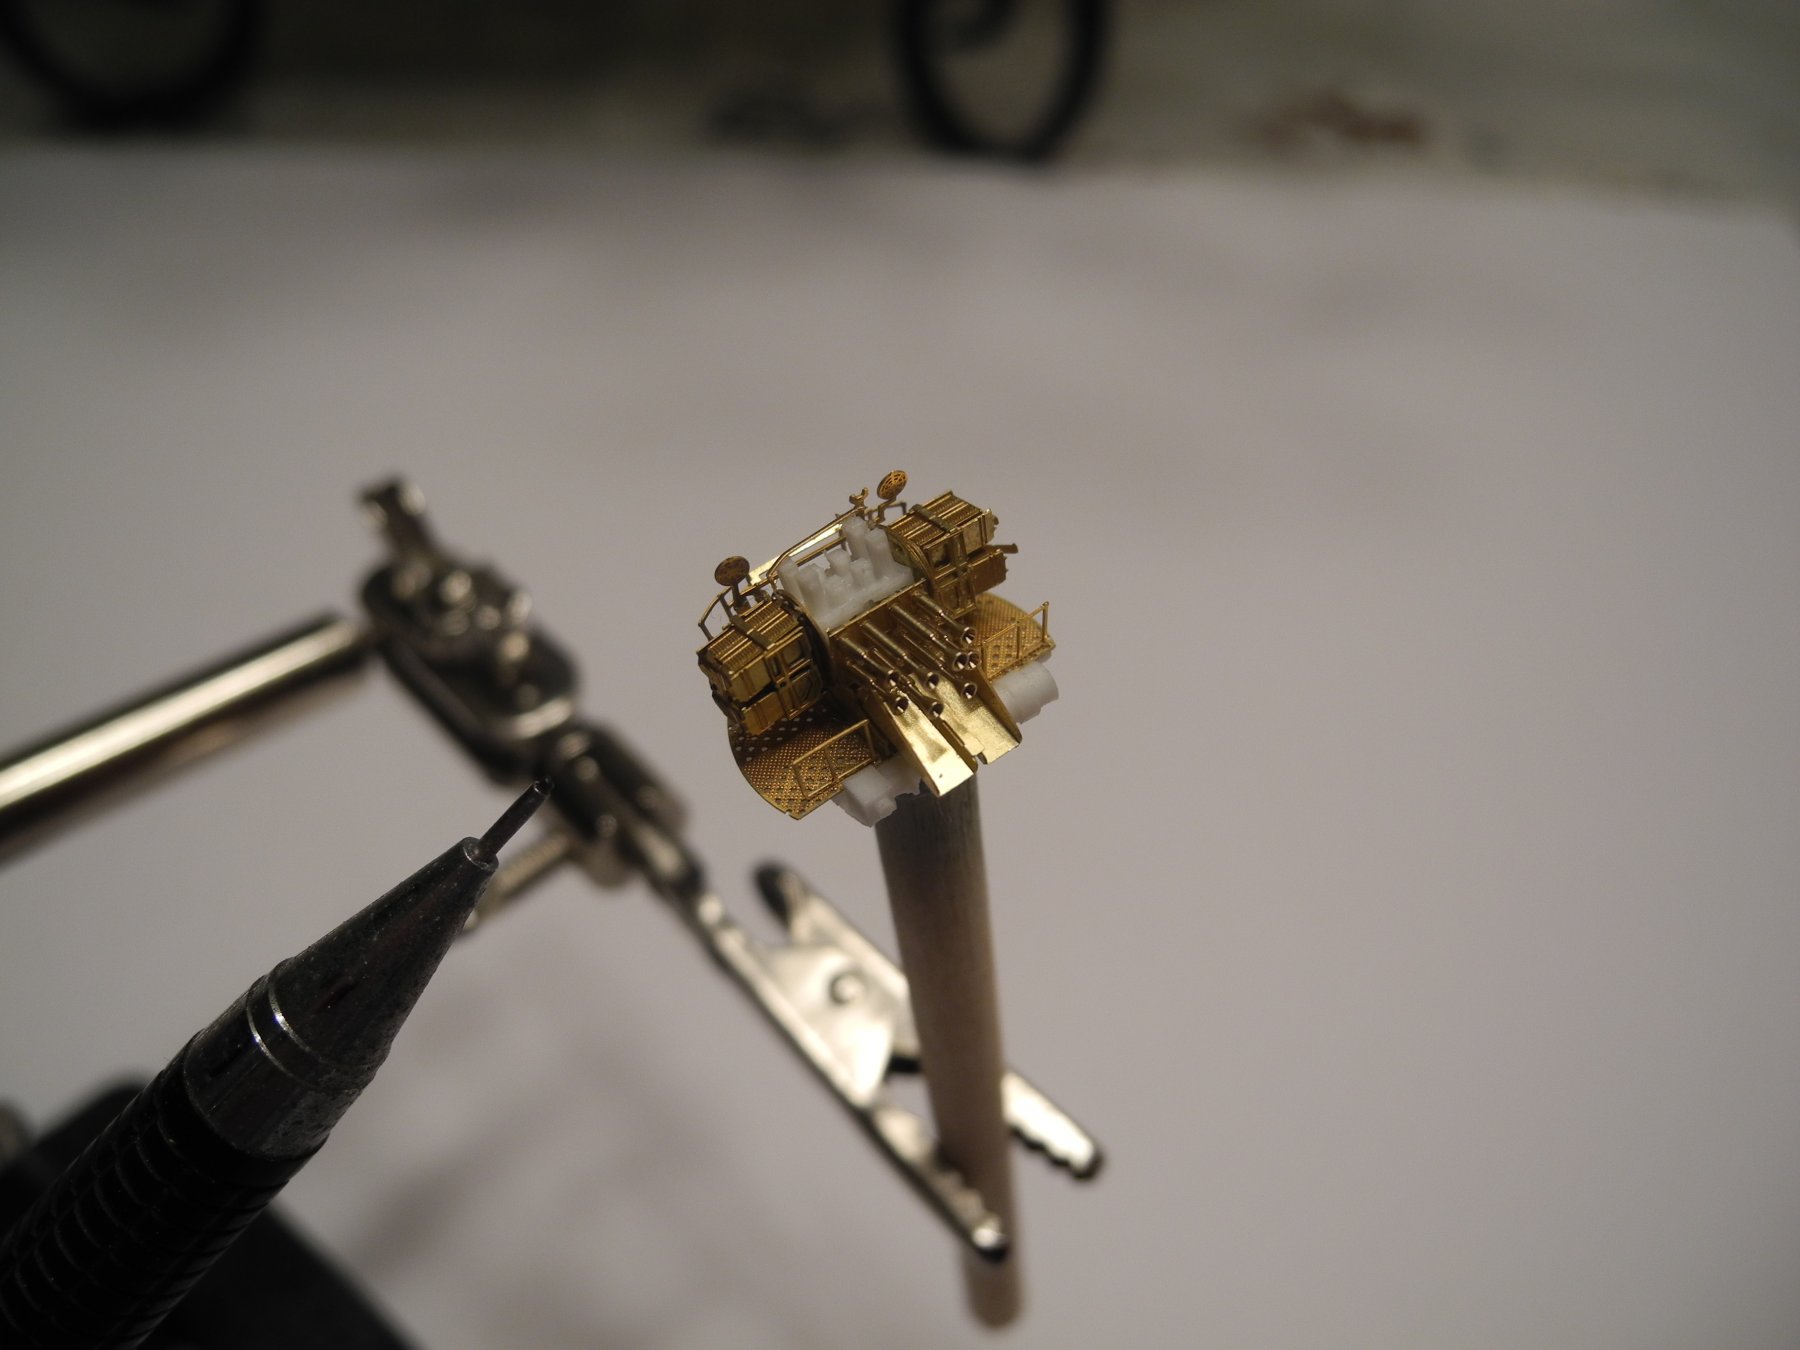
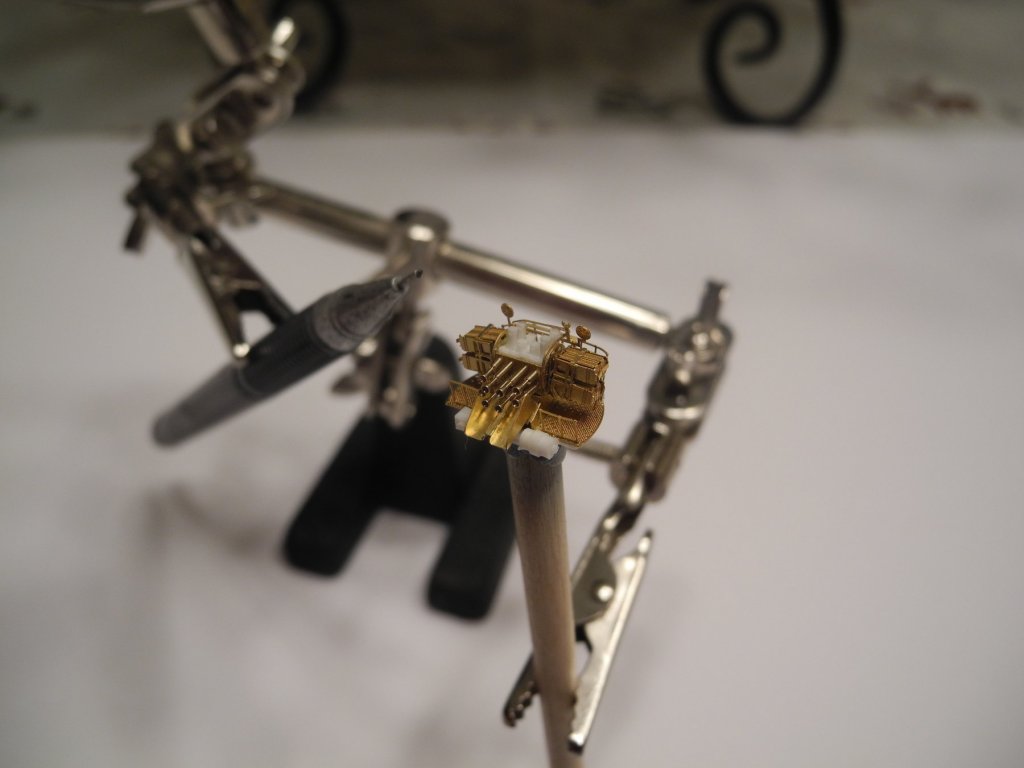
You might have jinxed me. Just about the time someone mentions I'm making quick progress on this model, I run into the British 2 pdr. pom pom guns. Seriously, I spent several hours just building this one measly gun! The gun consists of more than 30 separate parts, and a lot of them must be bent/folded to shape. I struggled to read and focus on the printed instruction sheet photographs. And that was with magnifying aids. Unlike some Pontos sets, this one does not have their instructions on pdf file at their website. As a result, I cannot zoom in to get a good view of what they are trying to show me. But all's well that ends well, and I managed to get the first of 6 of these built today. it should go faster tomorrow as now I know what folding I need to do and where each part goes.

- 151 replies
-
- 18
-
-
- duke of york
- tamiya
- (and 2 more)
-
Oh wow. With parts so small, this is going to be a real challenge. Such beautiful detail in a small model.
- 83 replies
-
- 7
-
-
- o16
- pacific crossroads
- (and 2 more)
-
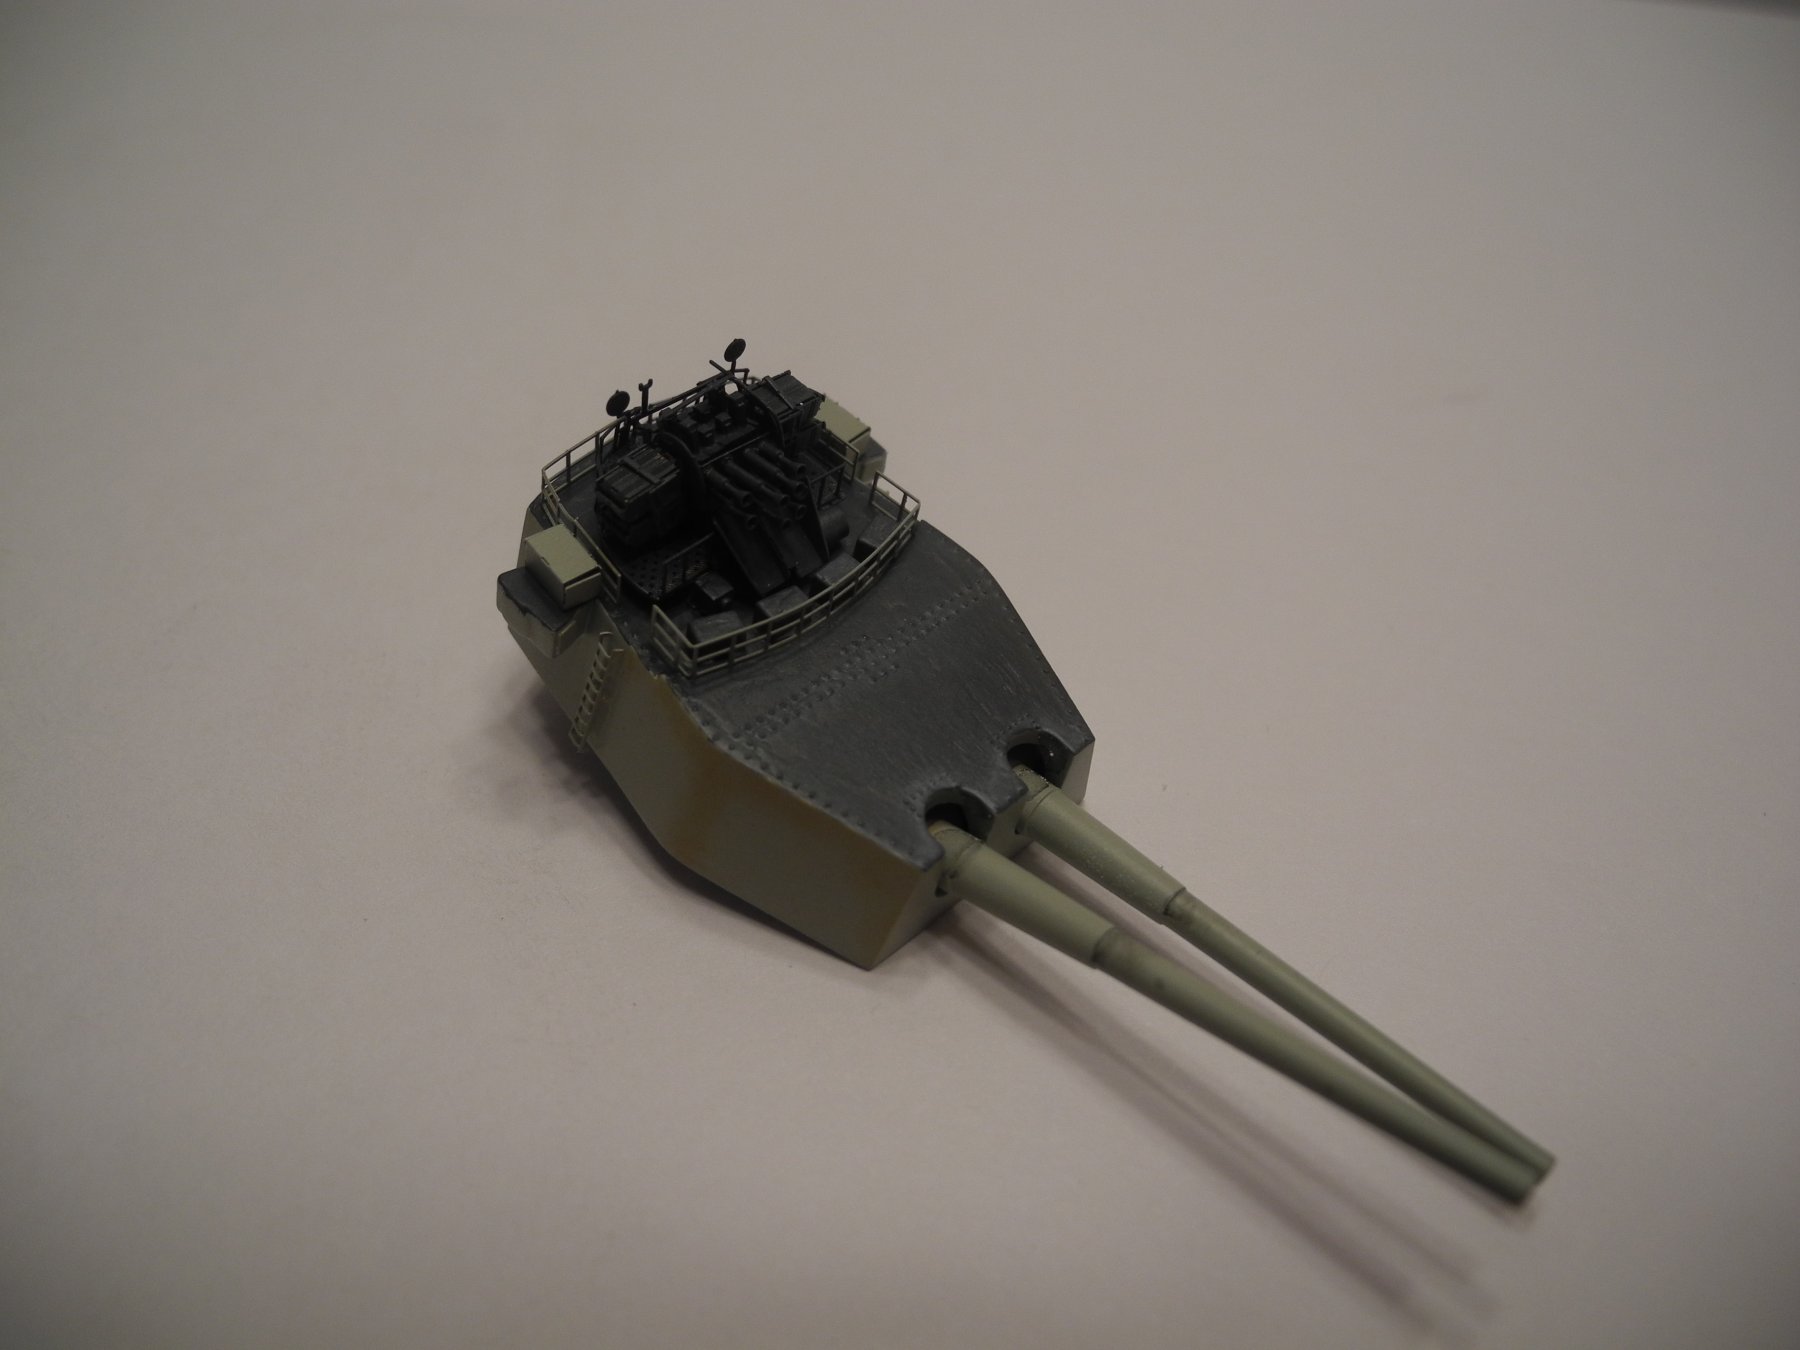
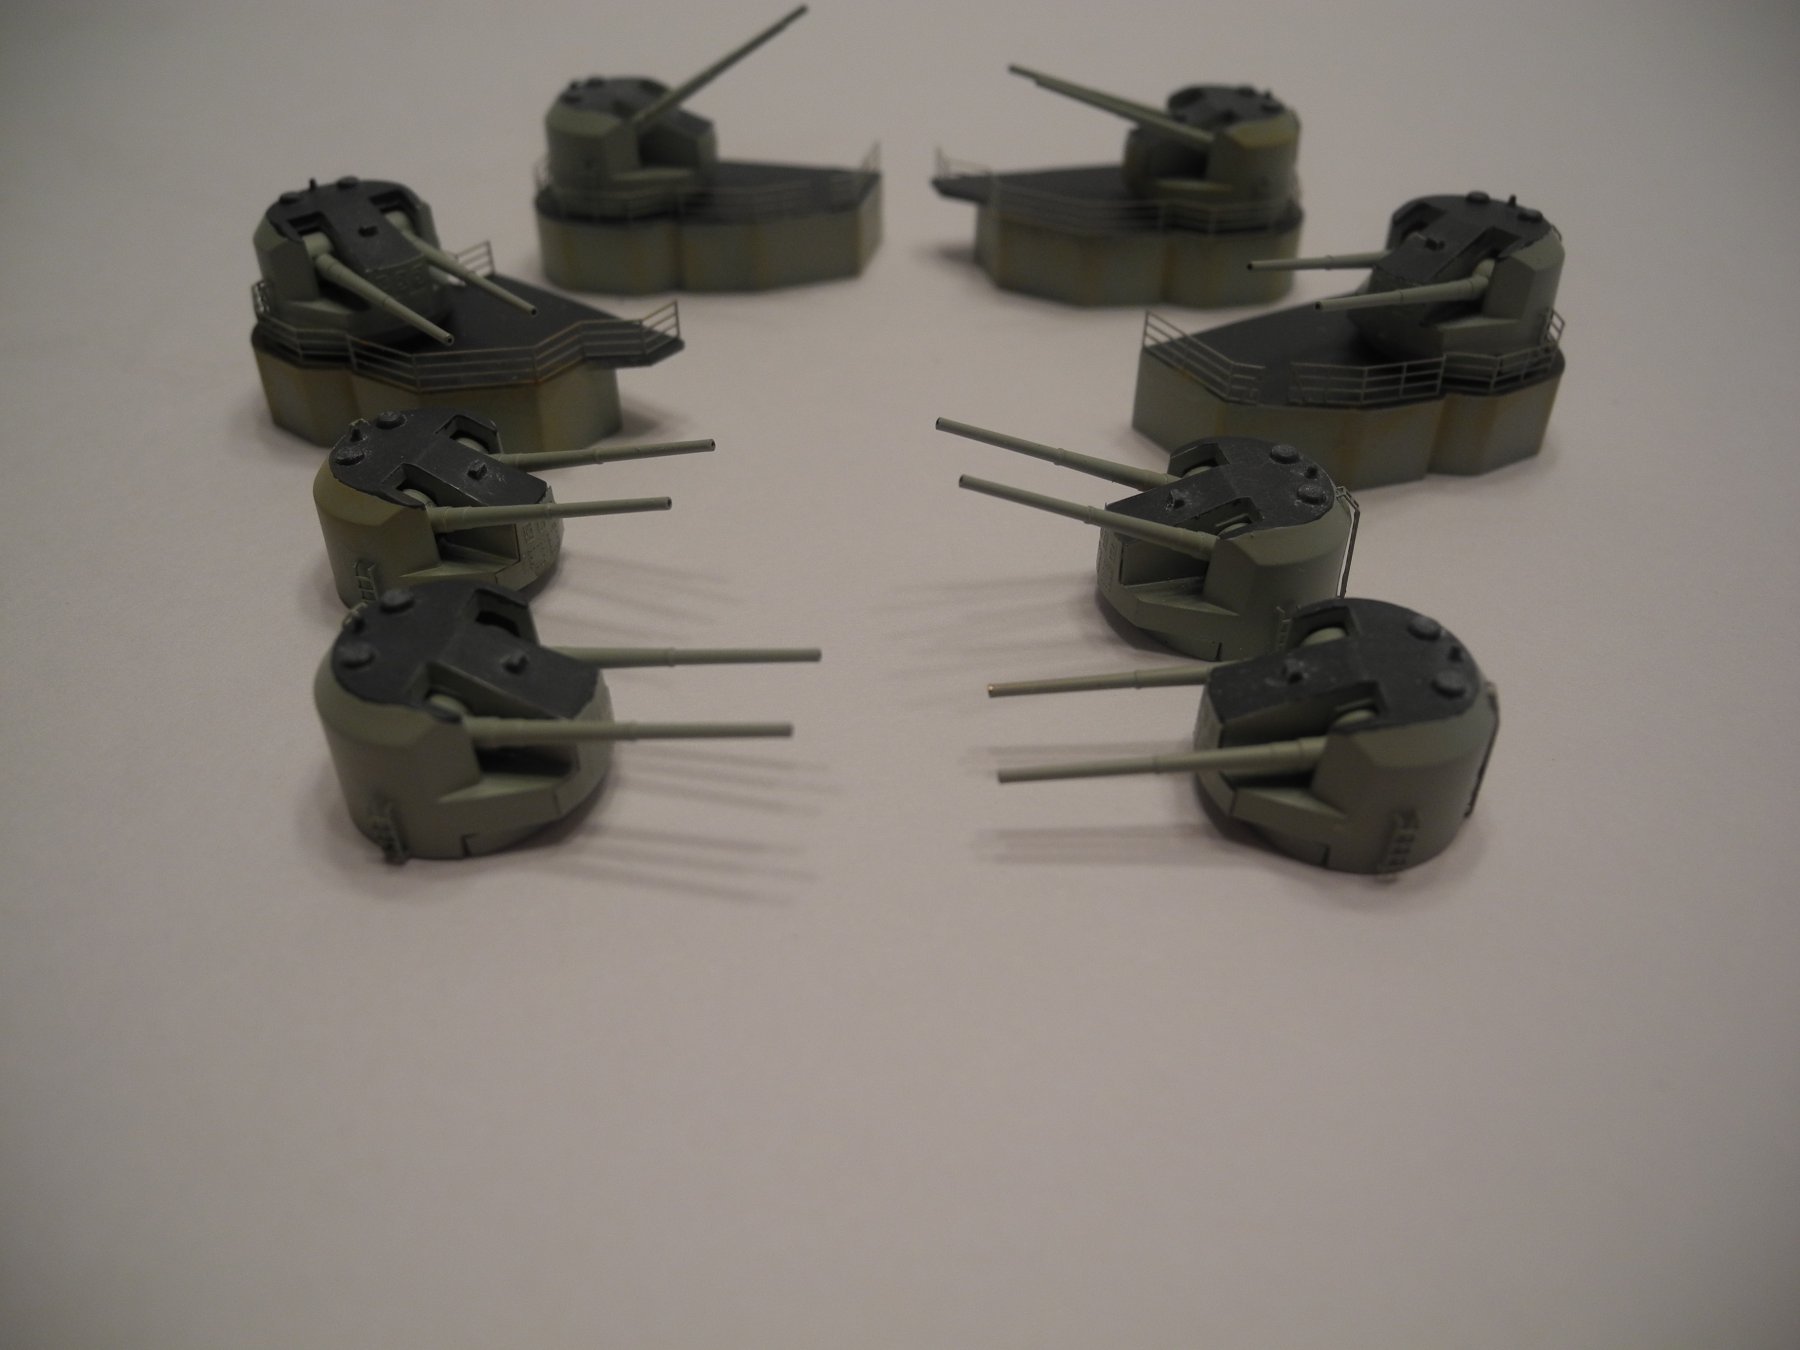
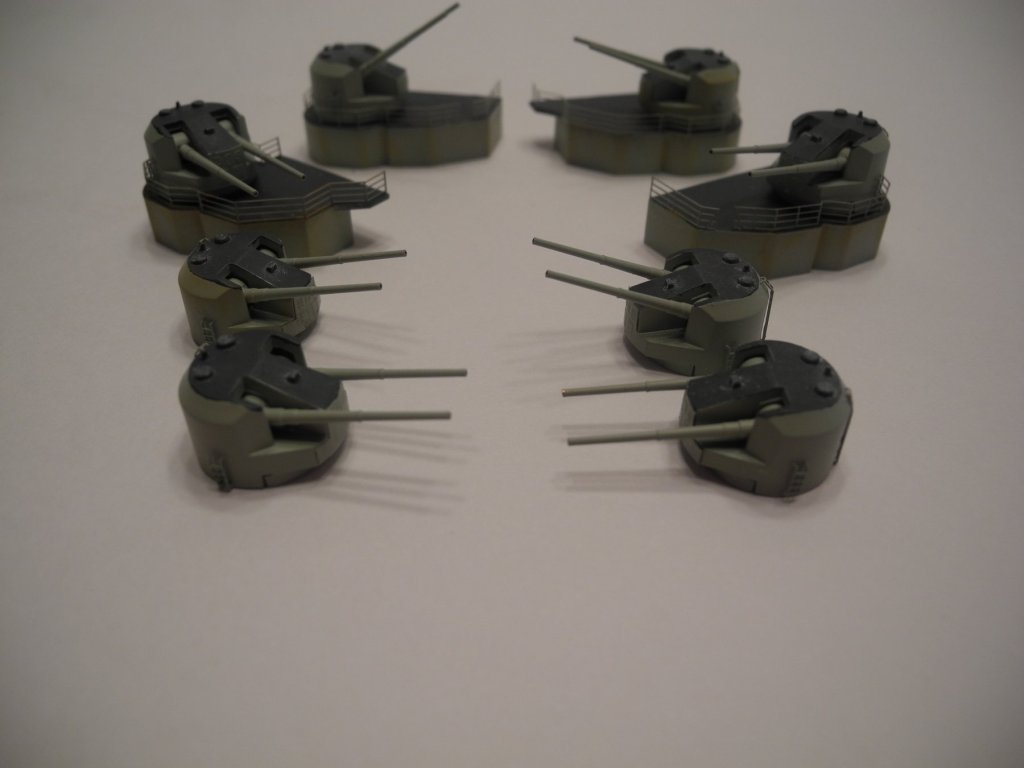
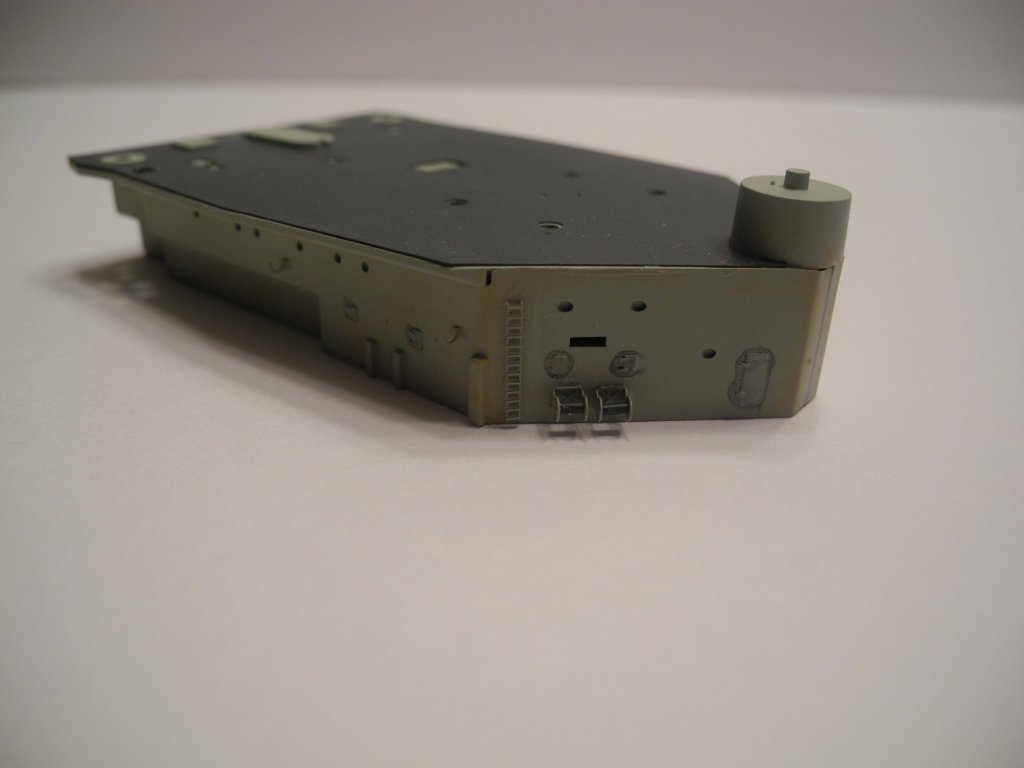
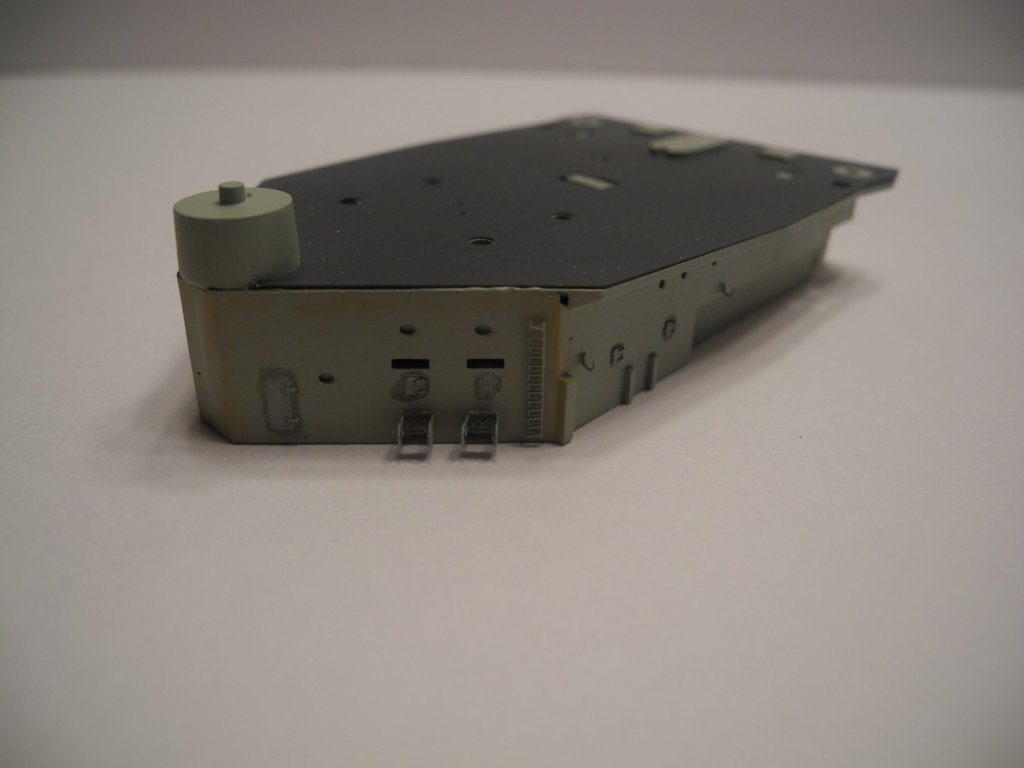
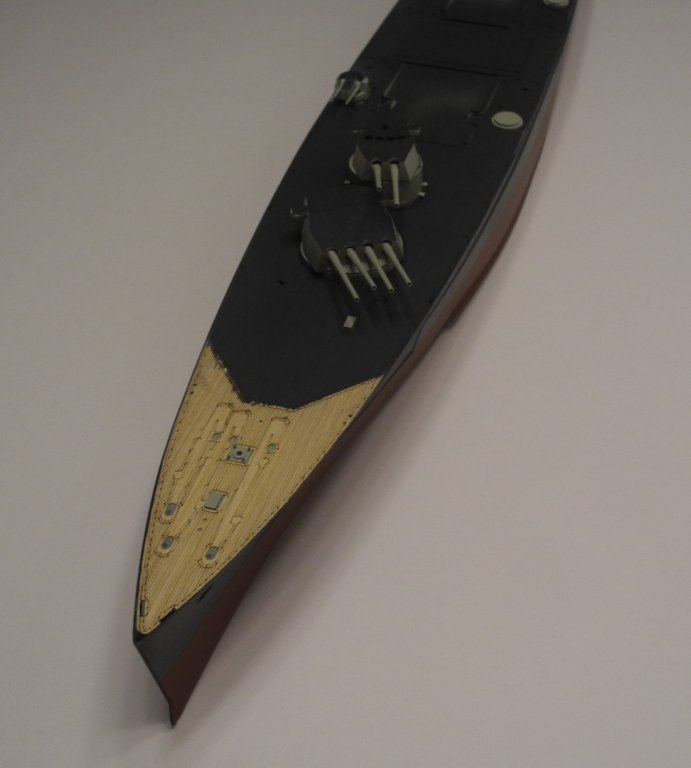
This is some of the photo etch and paint work completed today. More to come tomorrow. Thanks for following along.


- 151 replies
-
- 15
-
-
- duke of york
- tamiya
- (and 2 more)
-
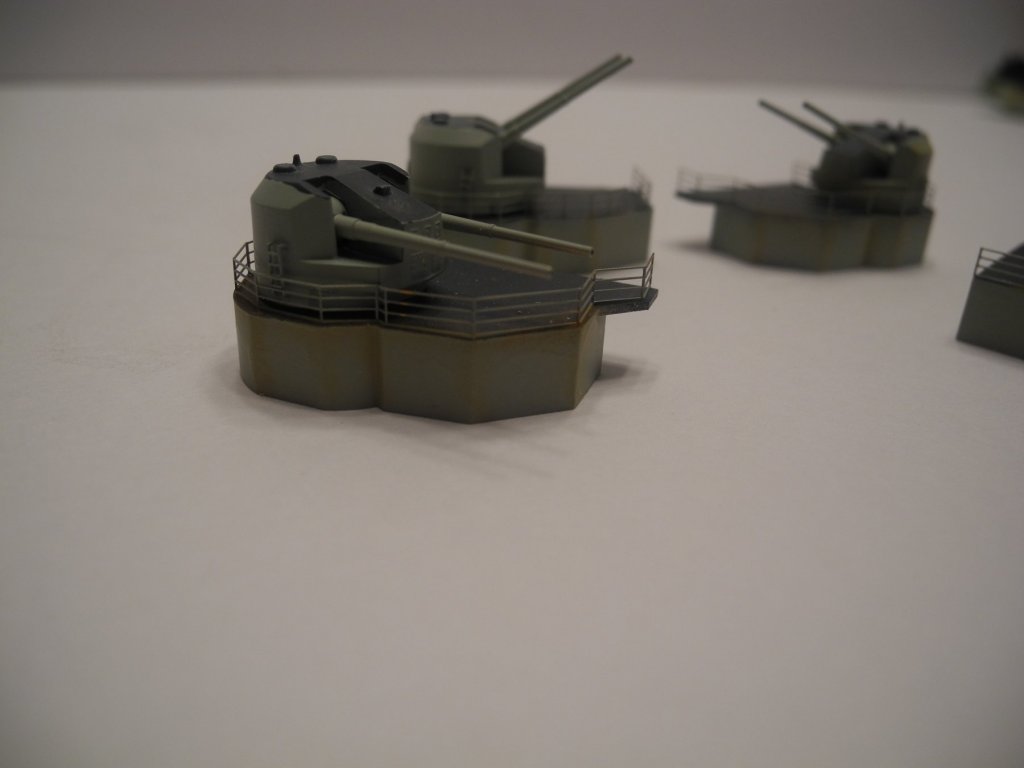
Very nice. Am going to enjoy seeing this model take shape as you overhaul and rework it.
-
Thanks to all for the kind comments and encouragement. This kit and detail set falls in the correct range for my liking - not extremely difficult, but not too simple, either. Work seems to go faster when one enjoys what they are doing and I am enjoying this build.
- 151 replies
-
- 9
-
-
- duke of york
- tamiya
- (and 2 more)
-
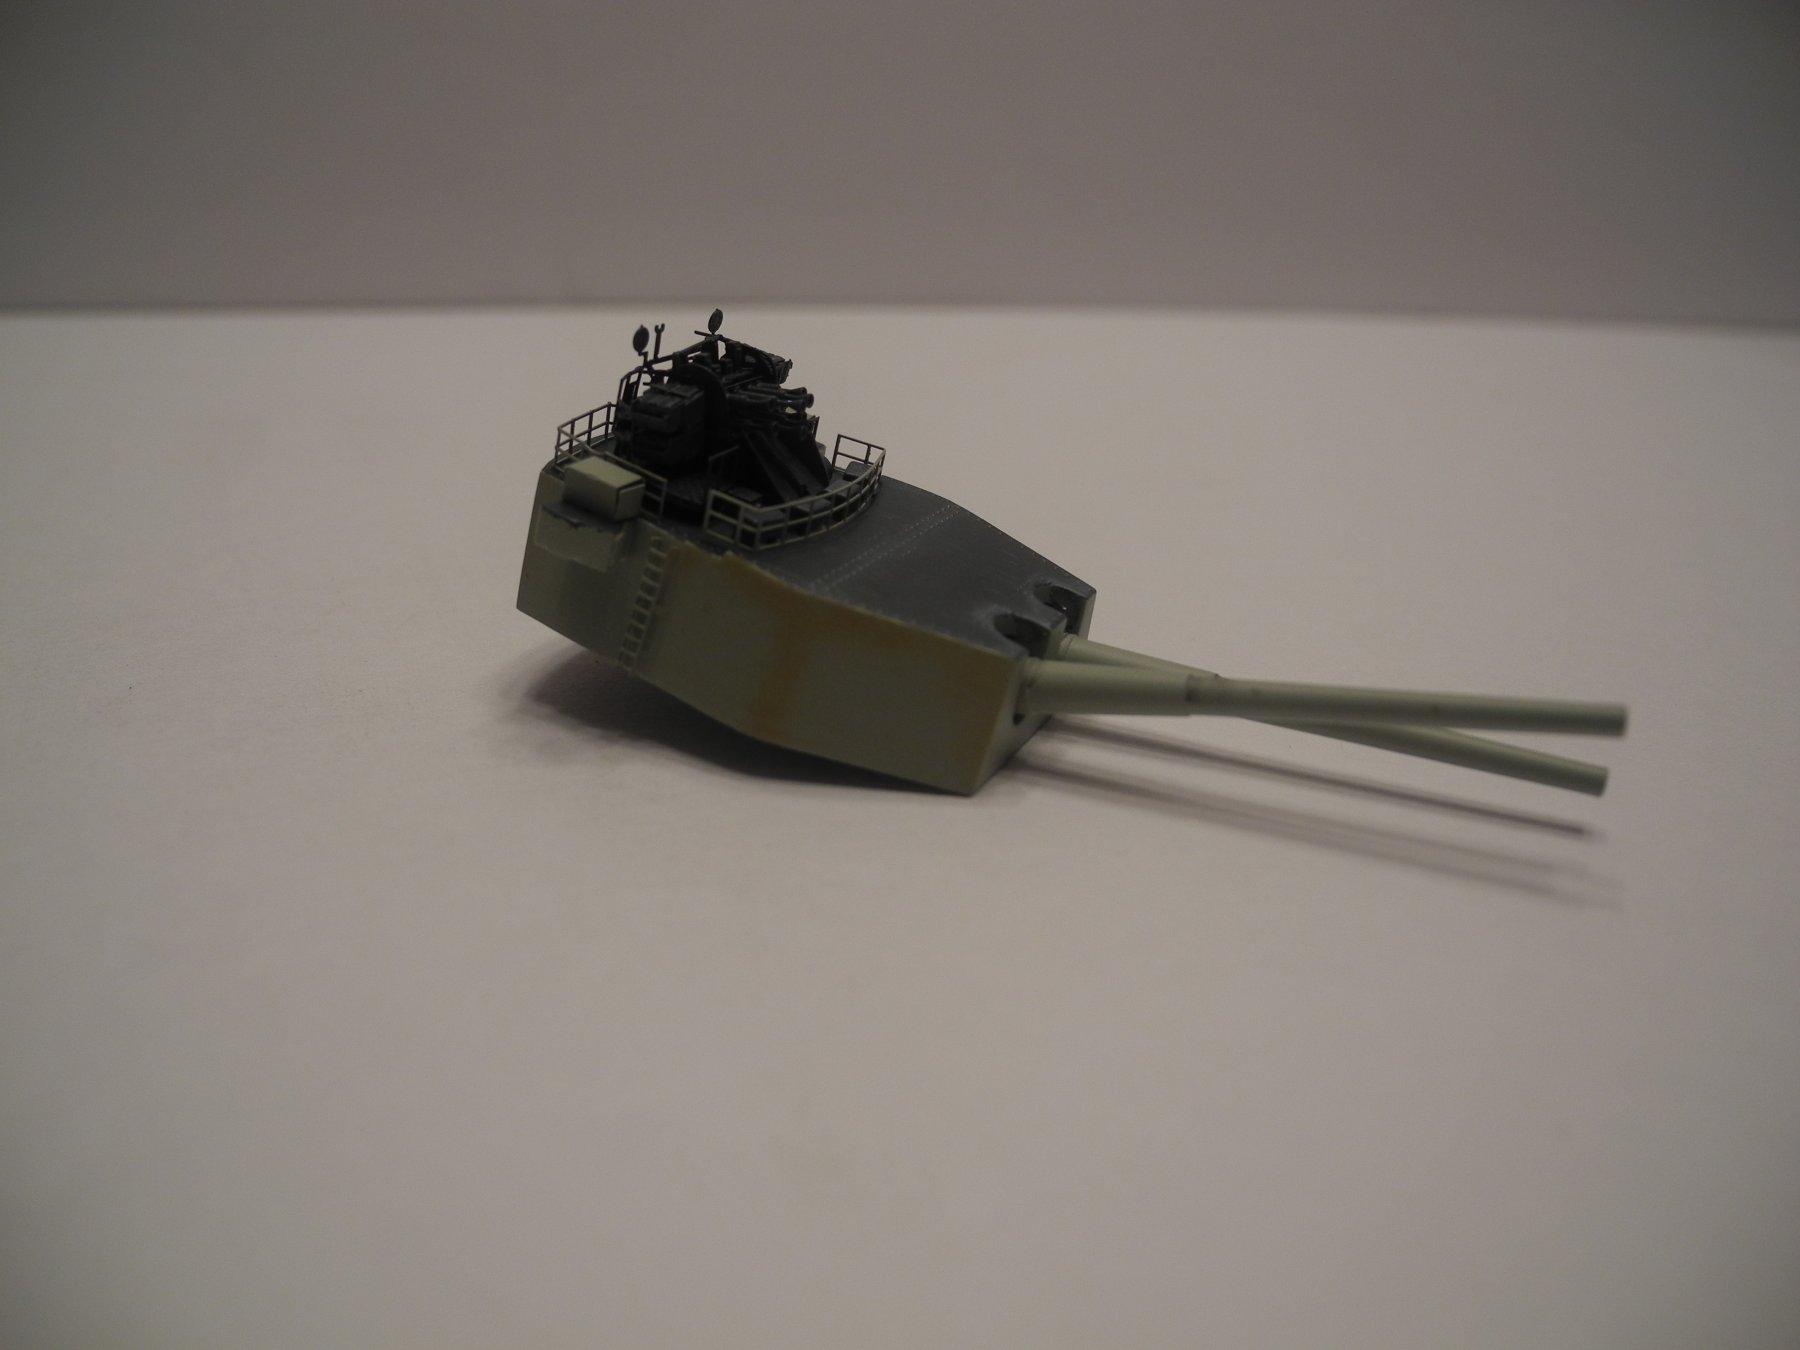
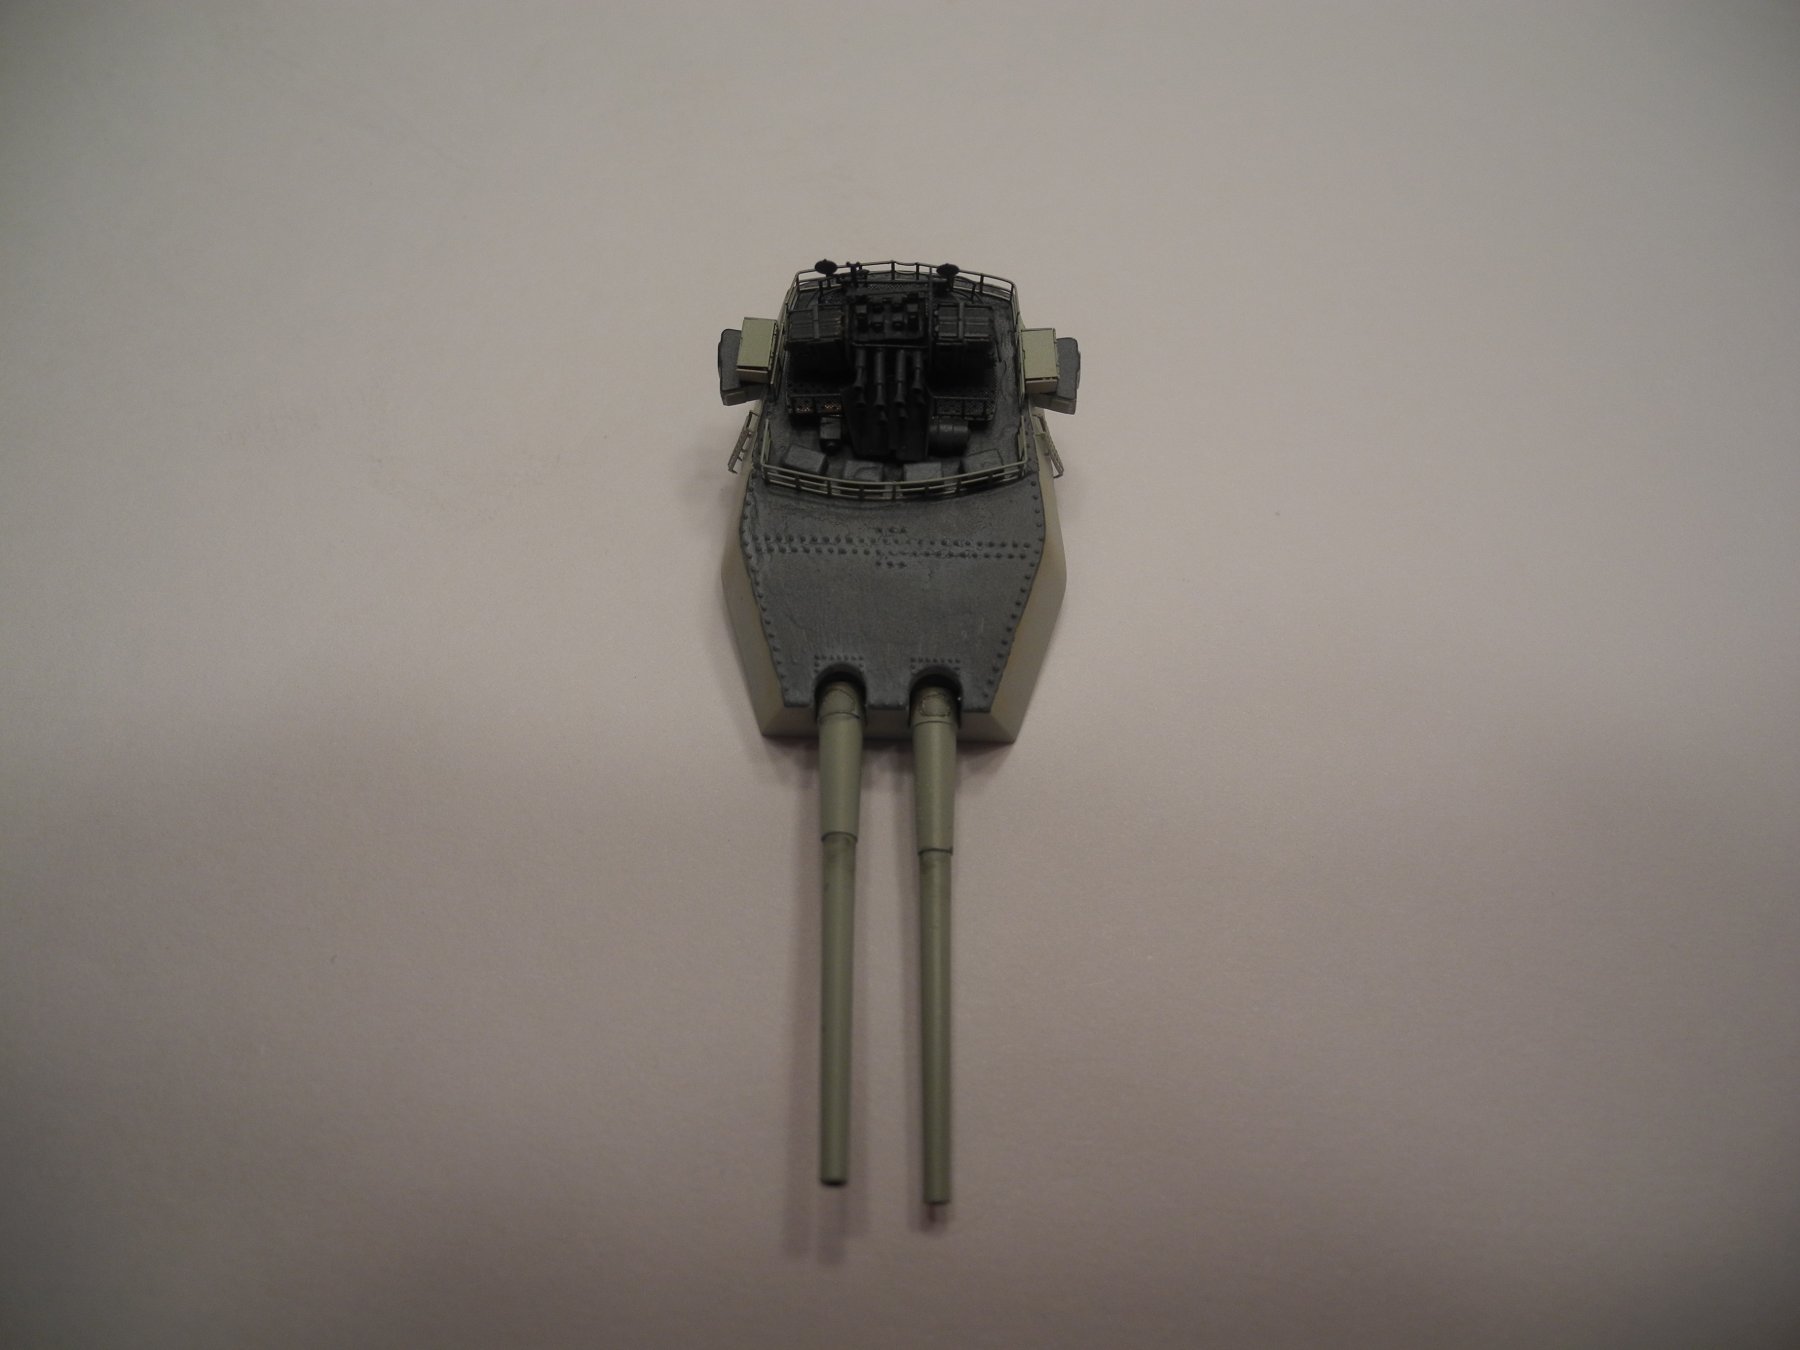
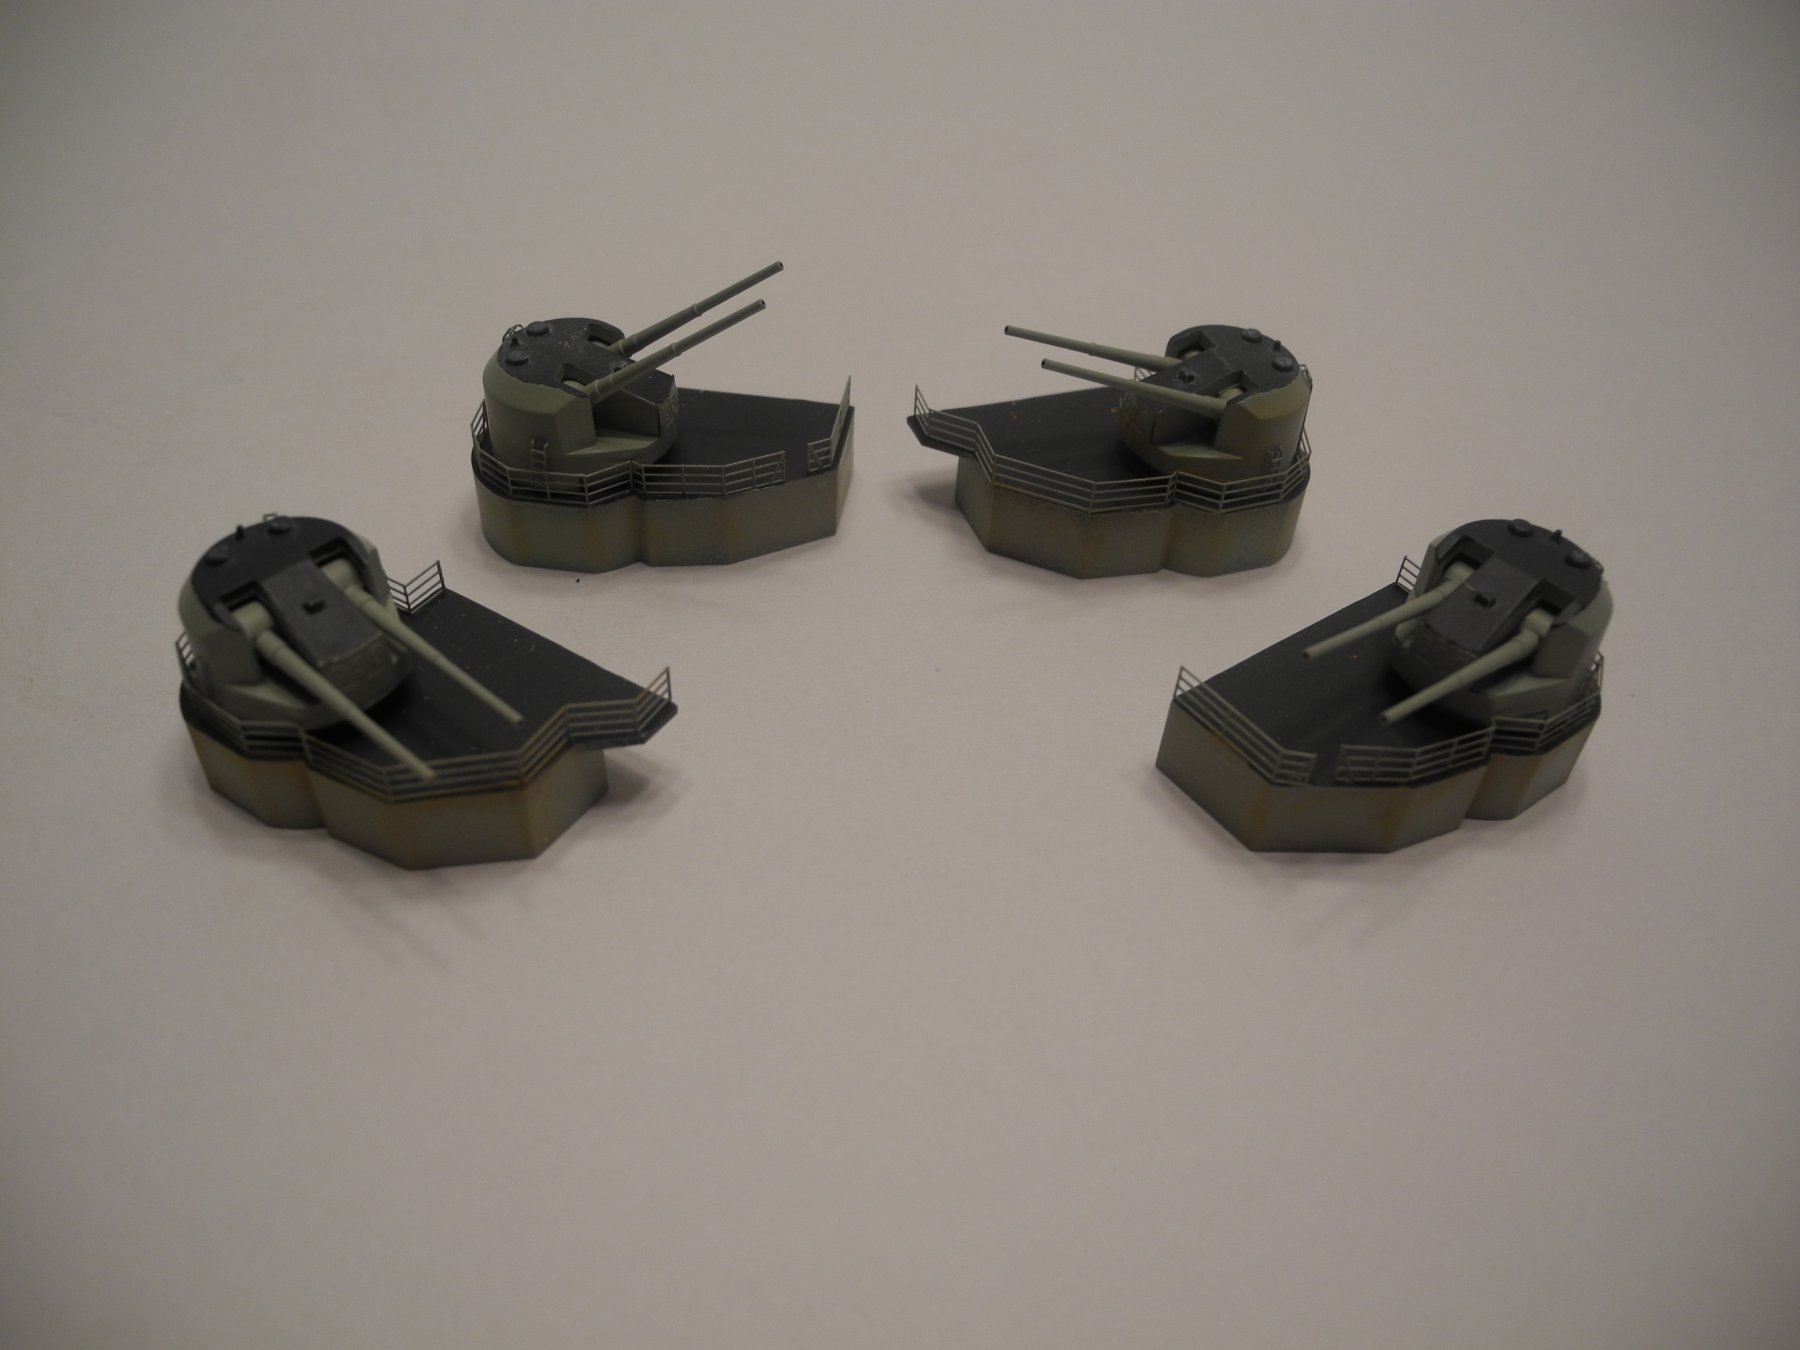
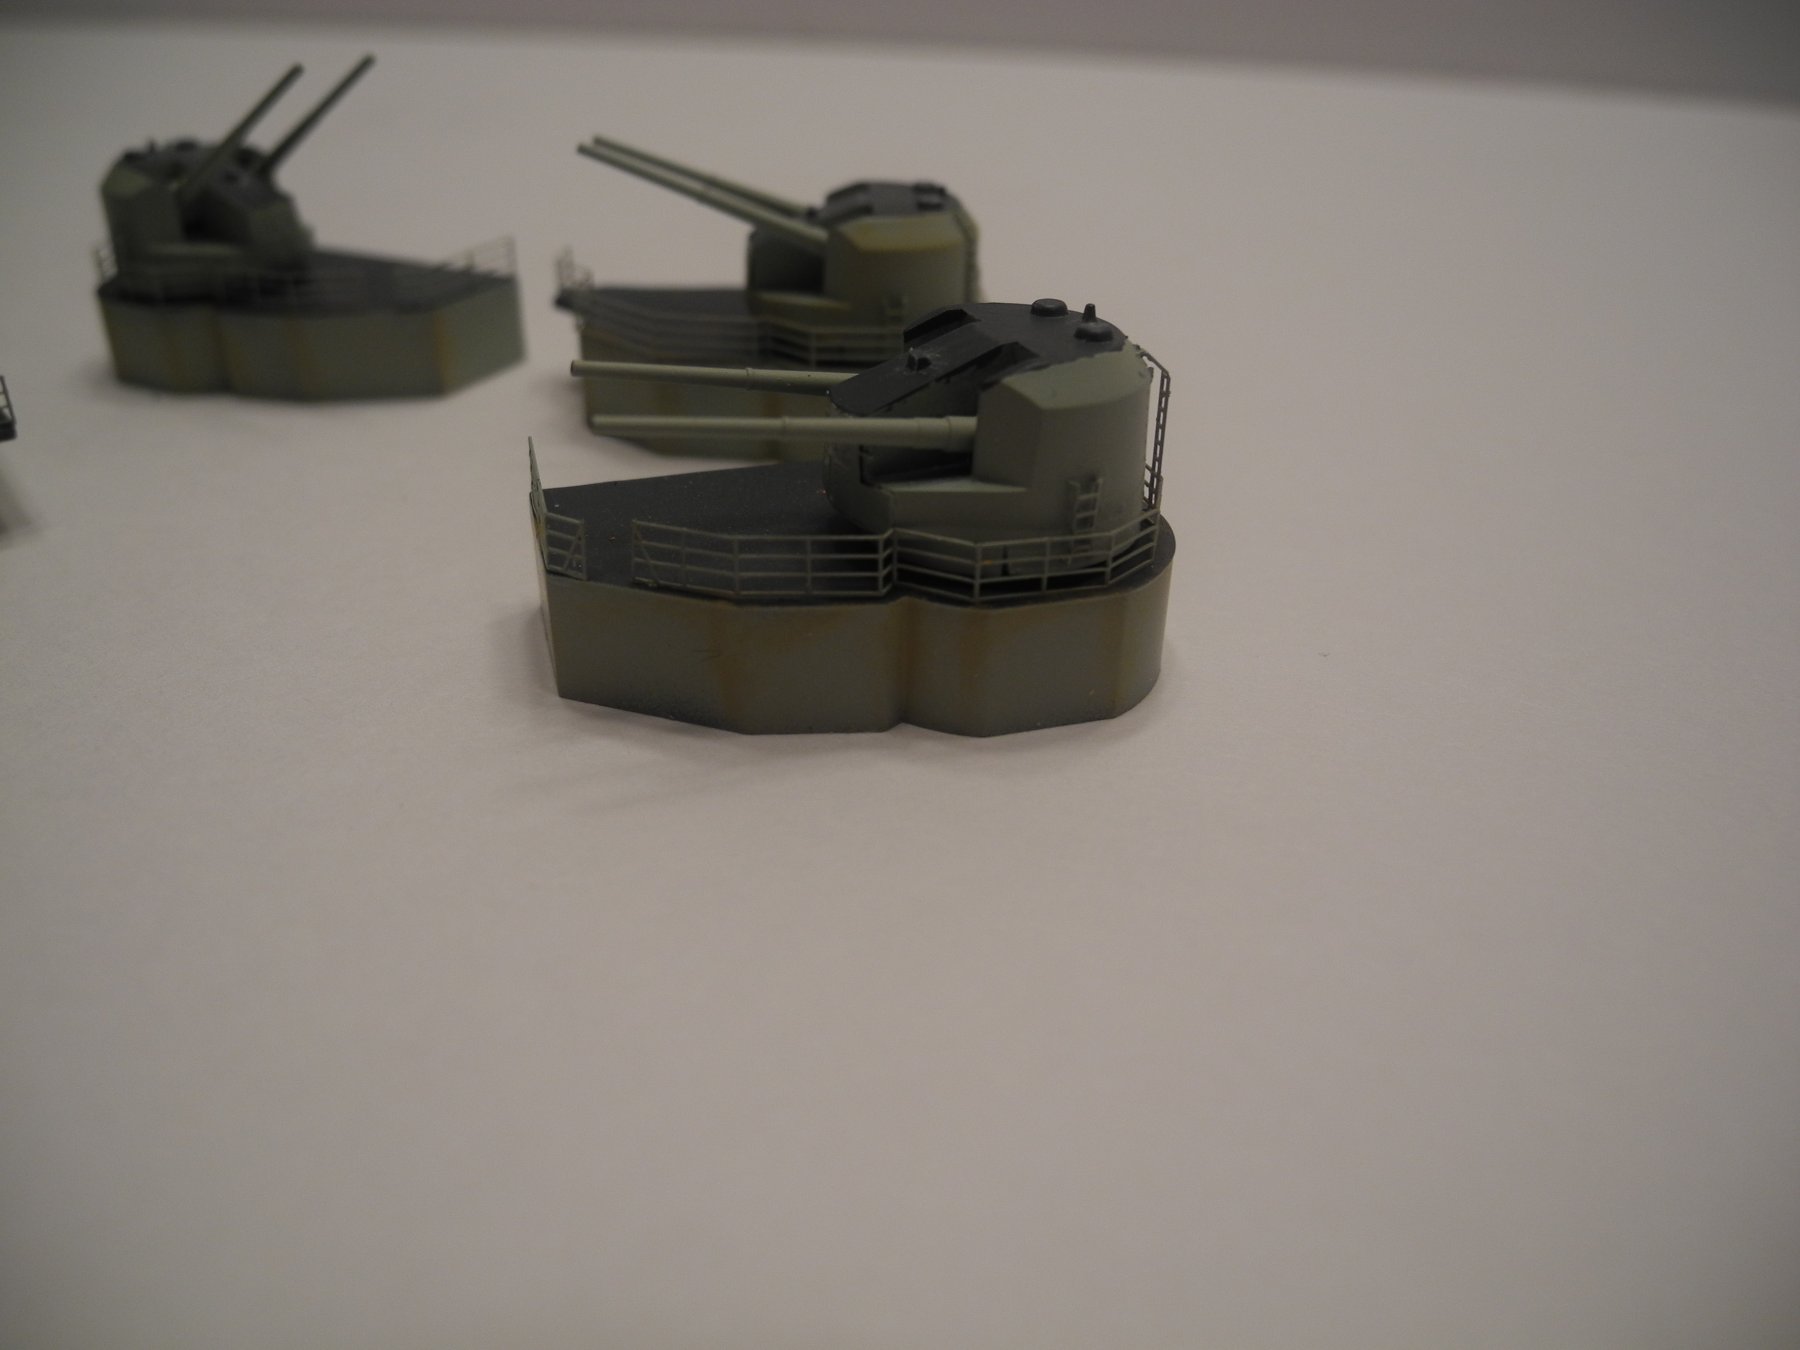
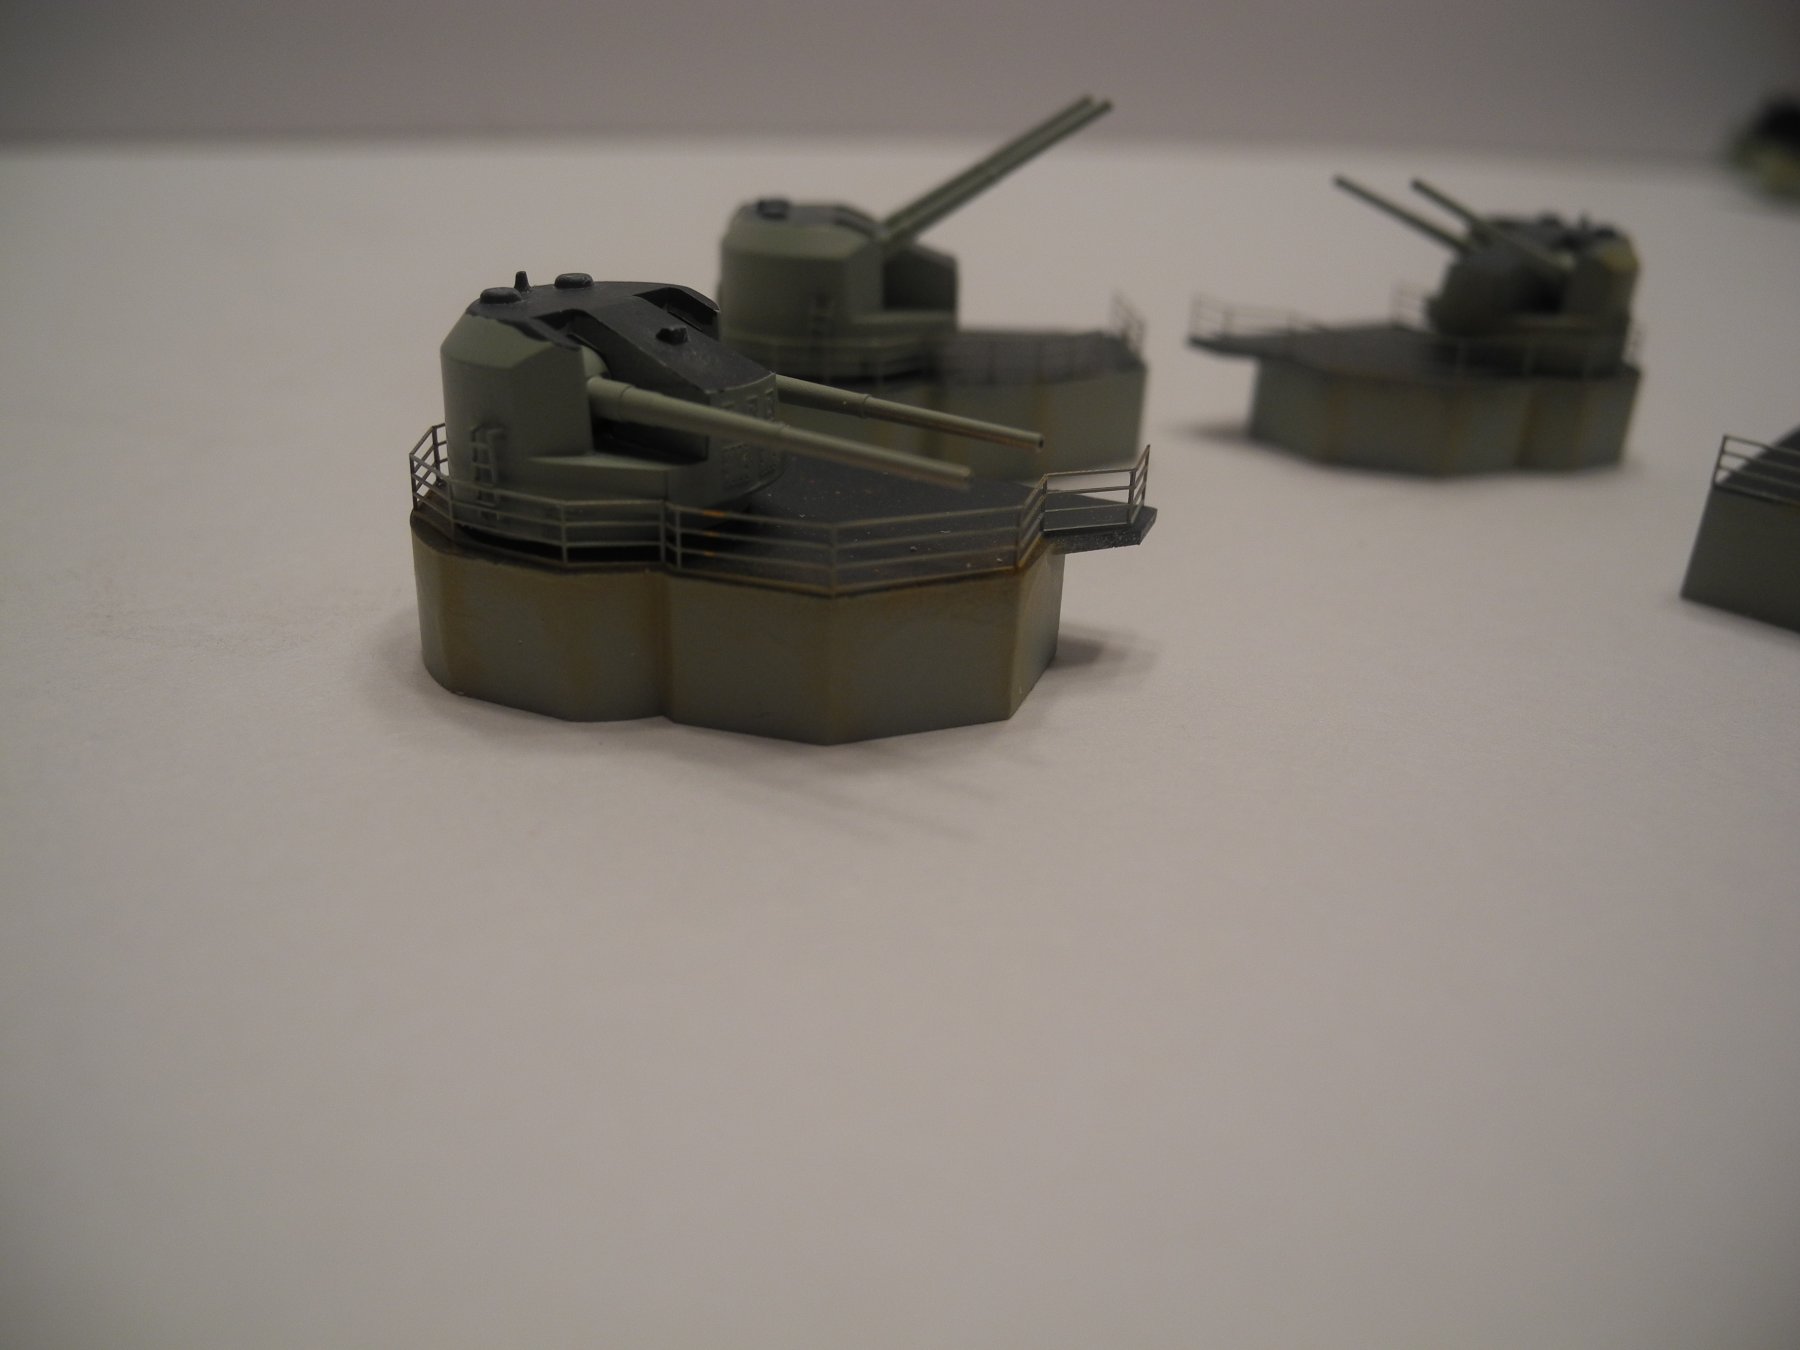
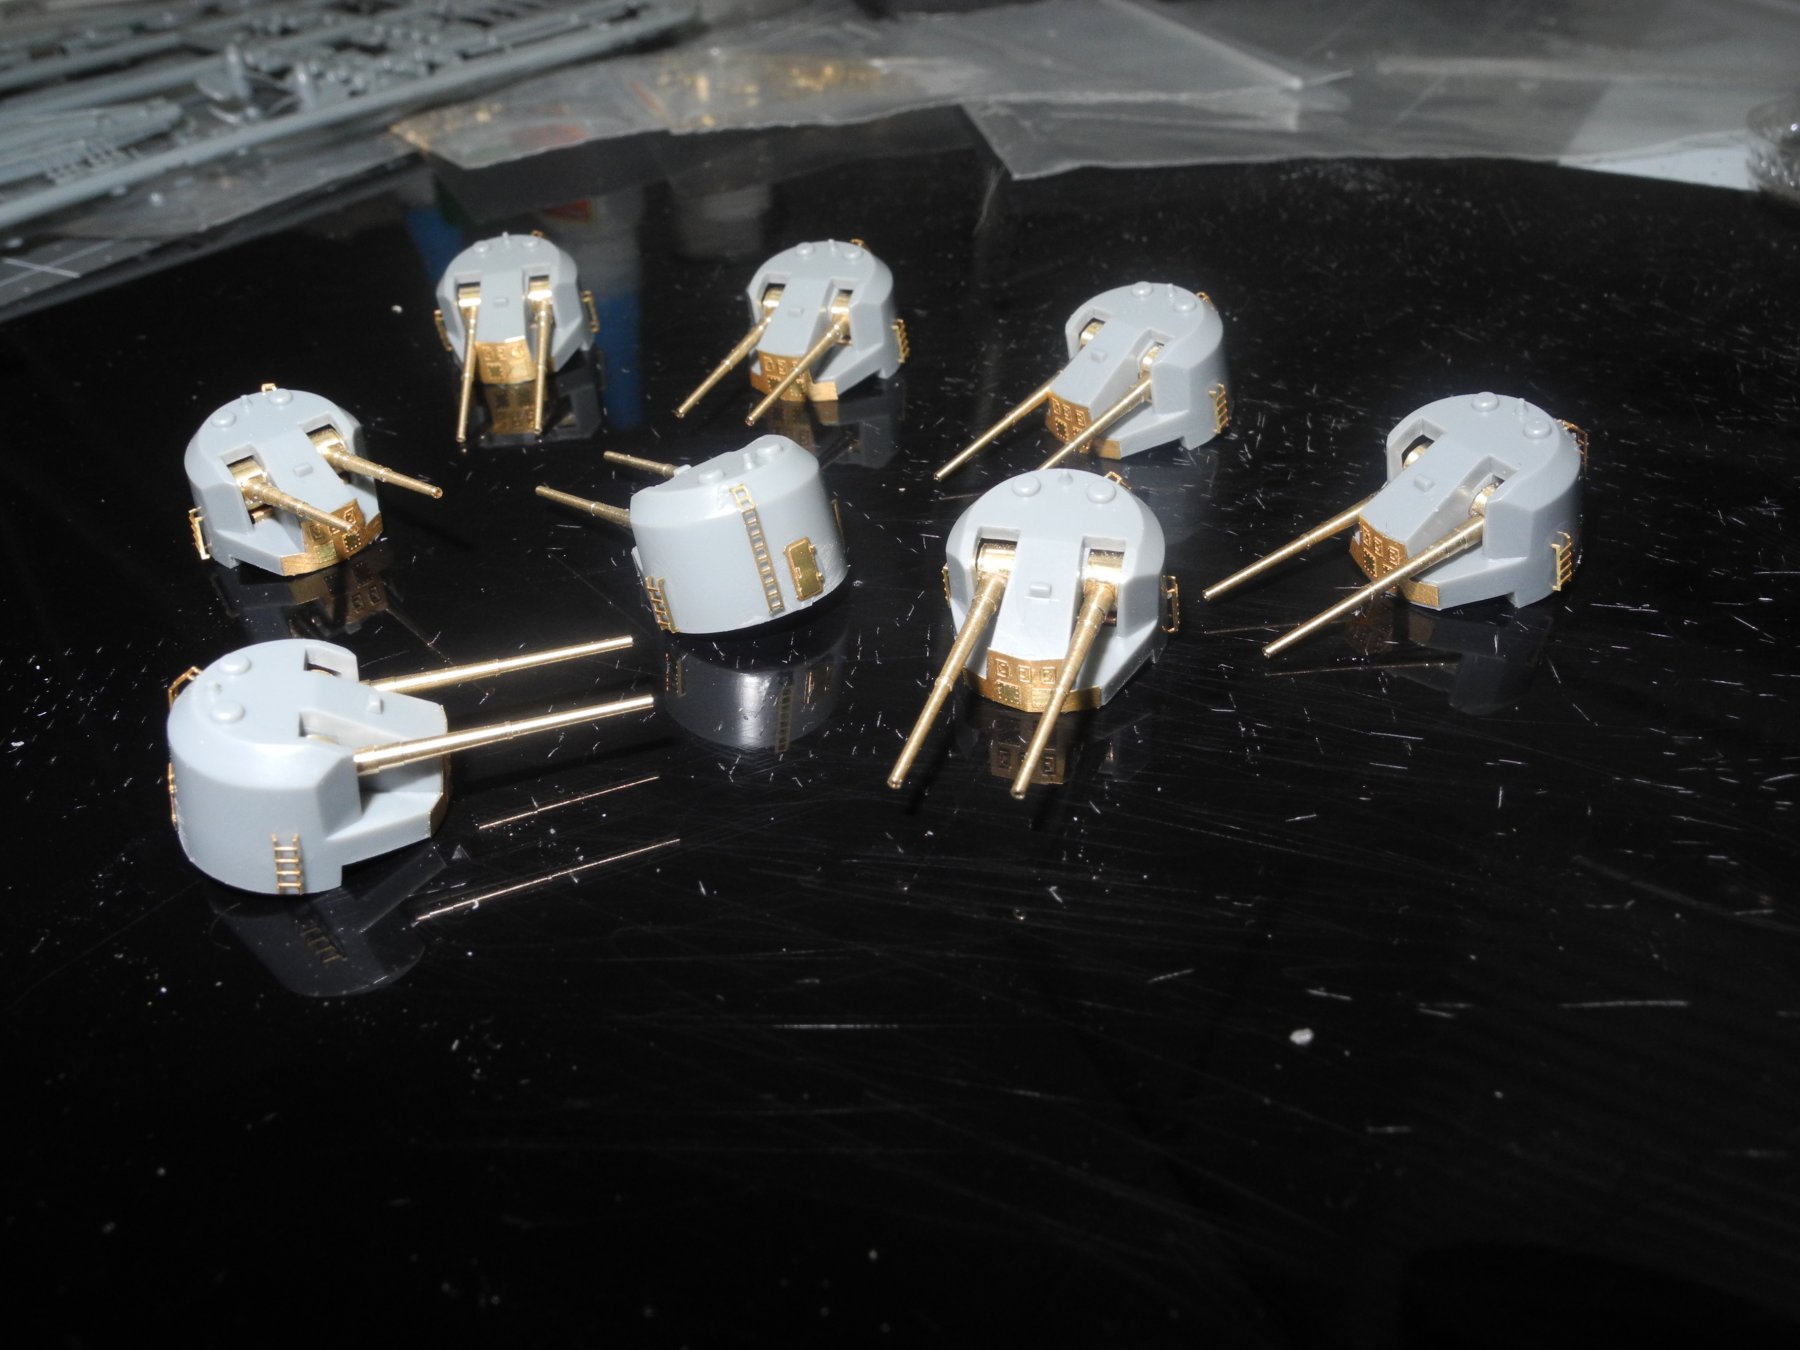
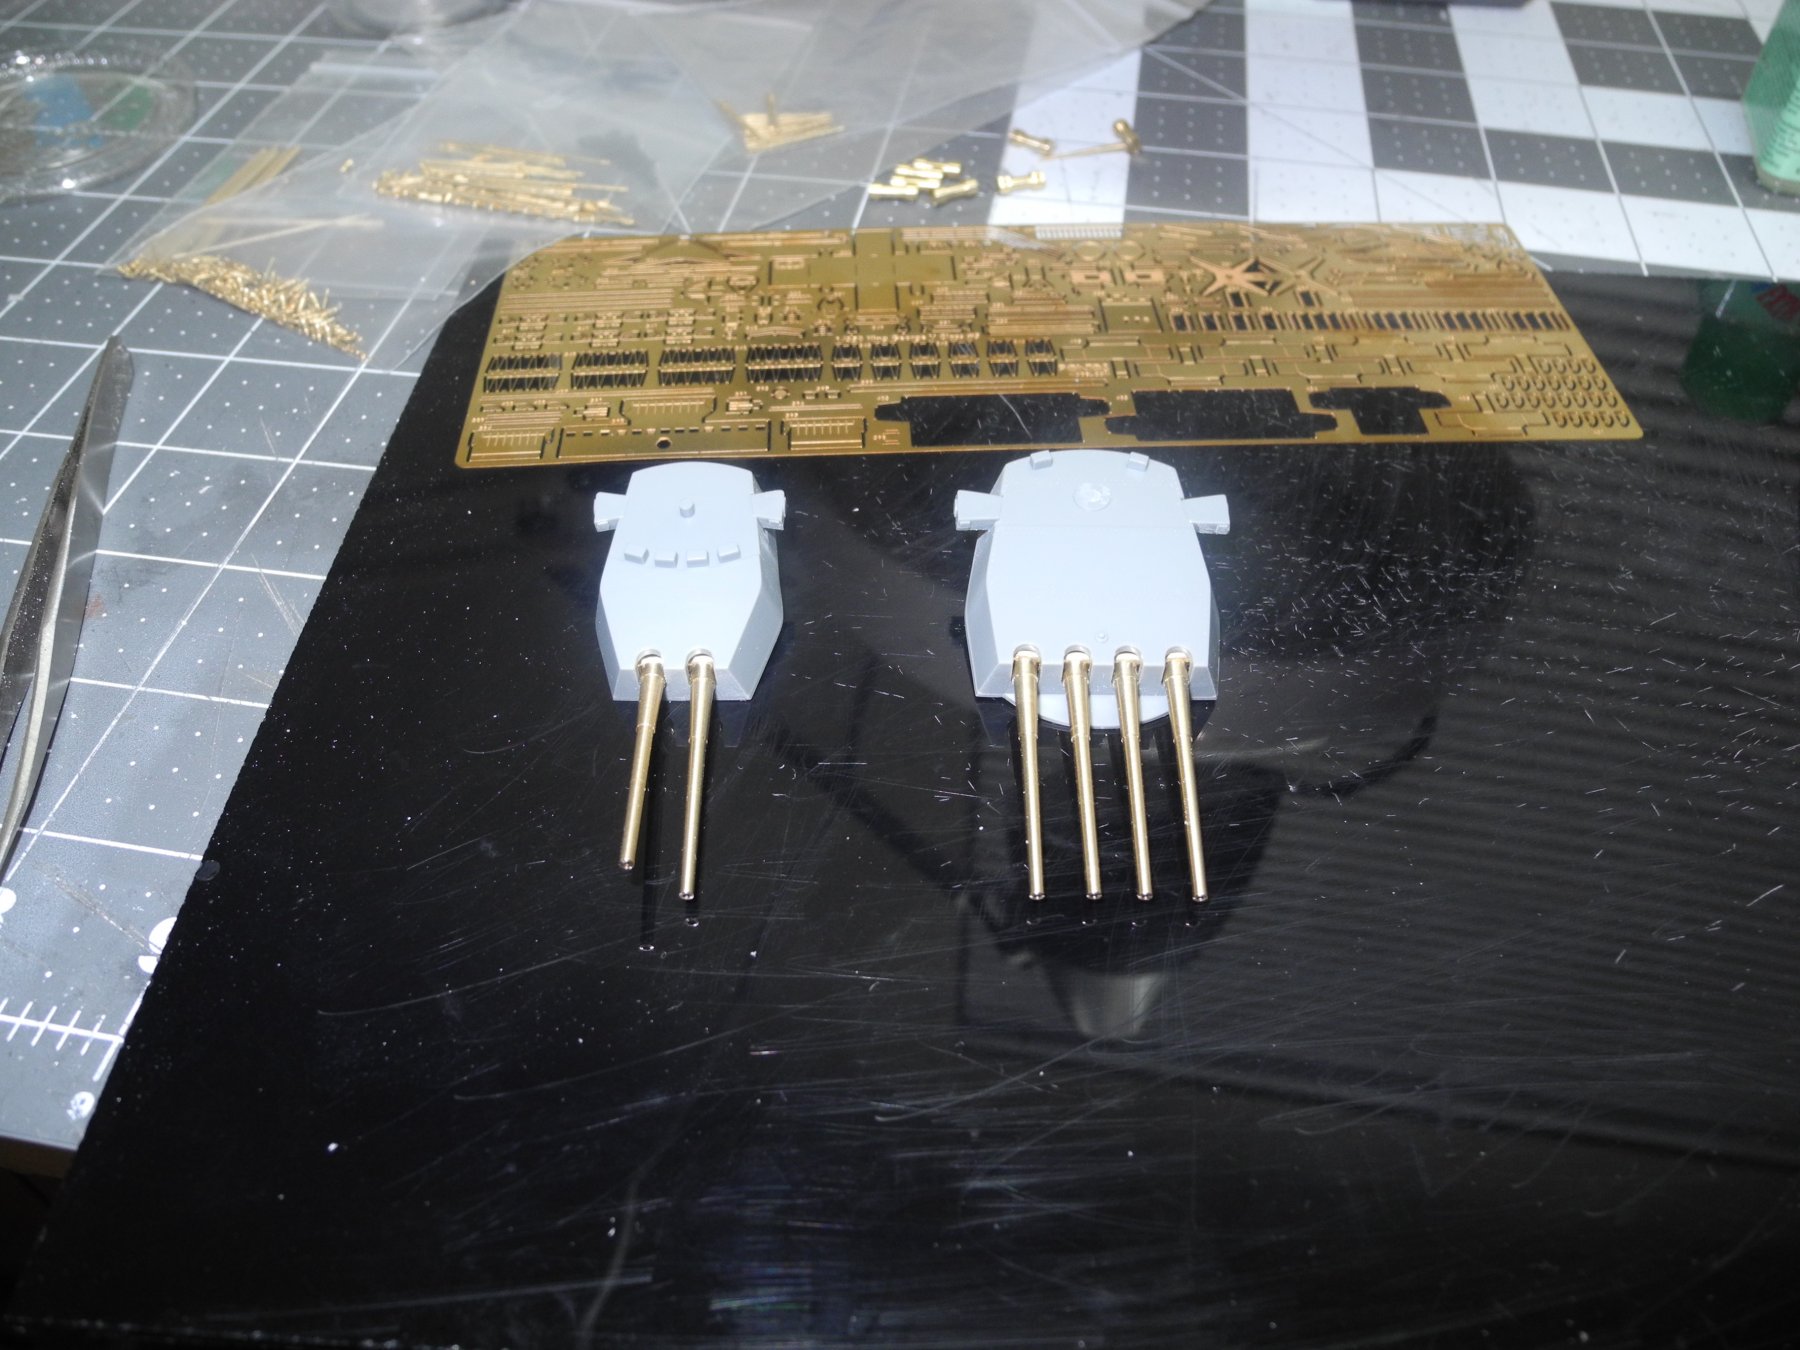
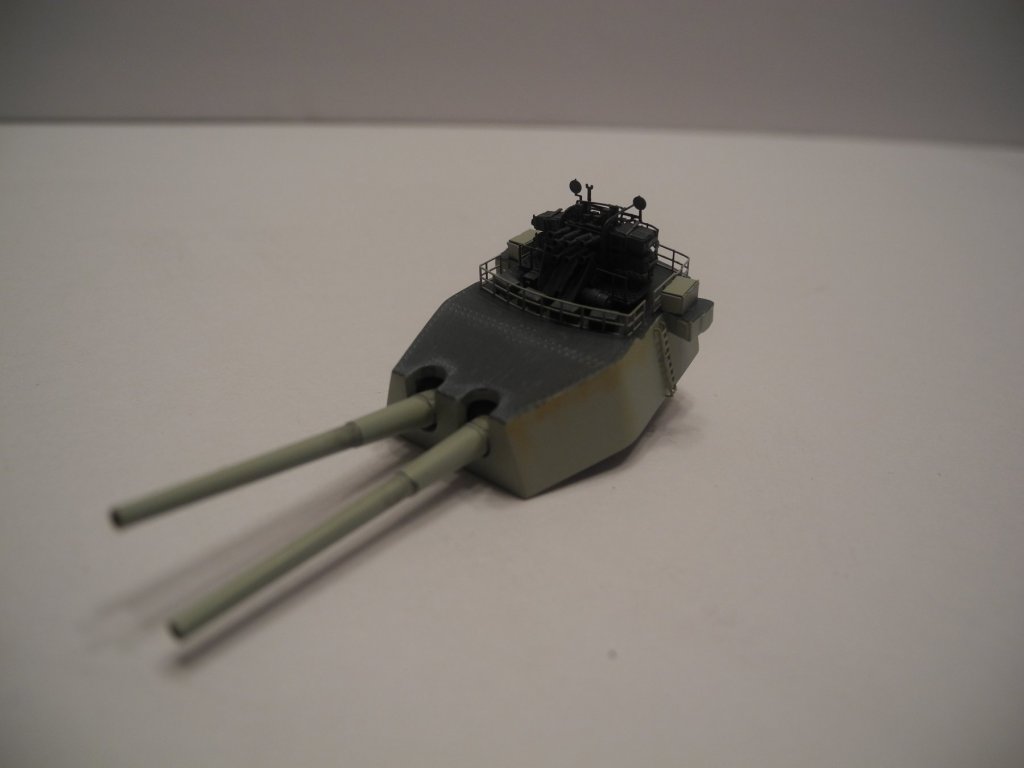
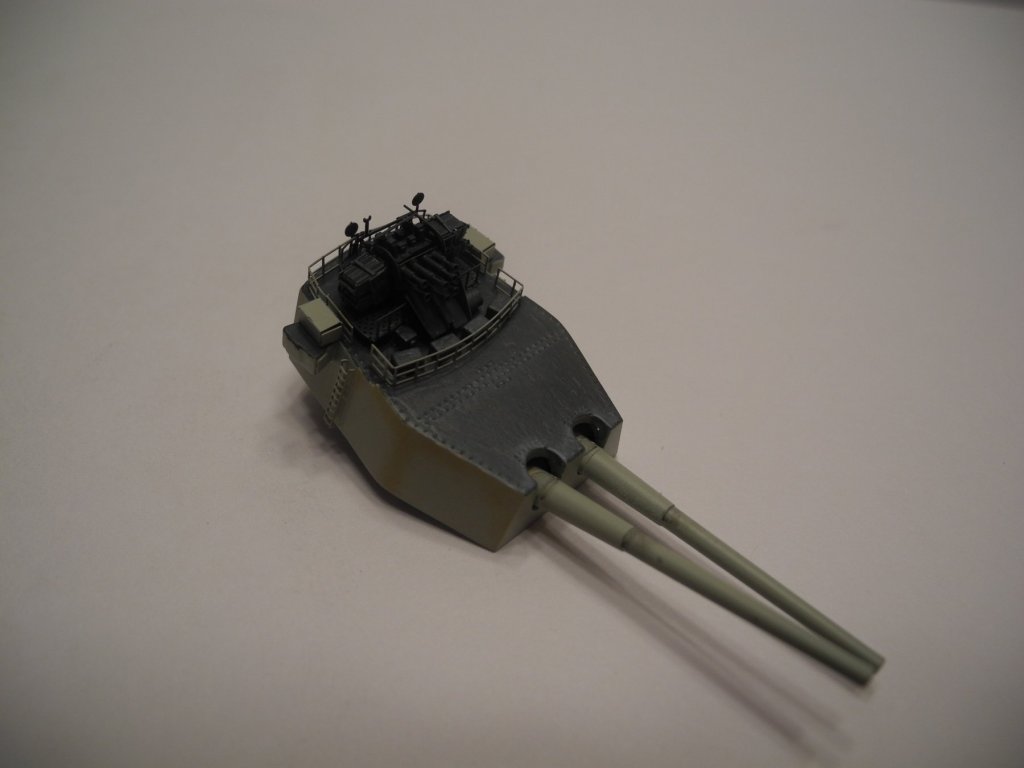
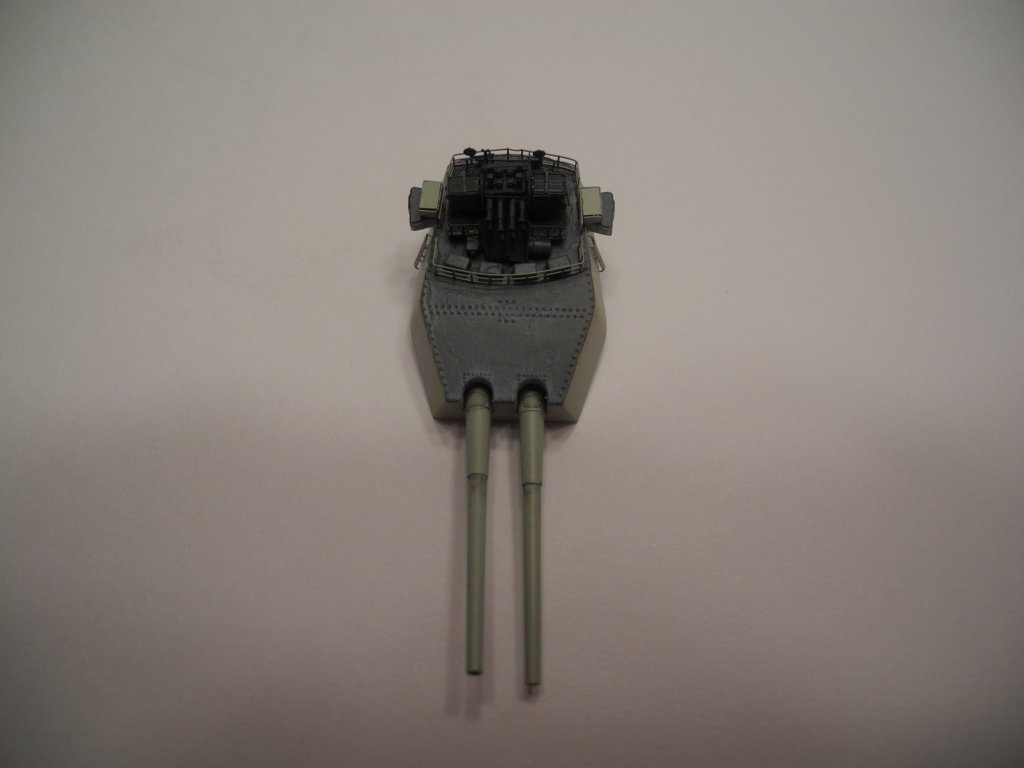
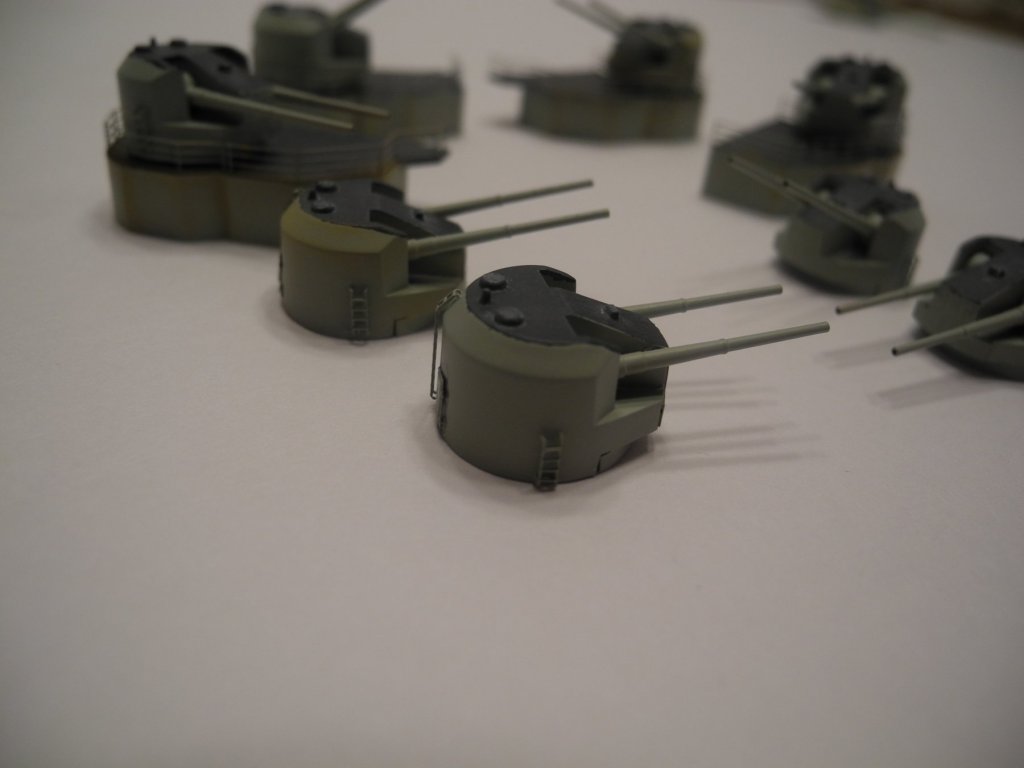
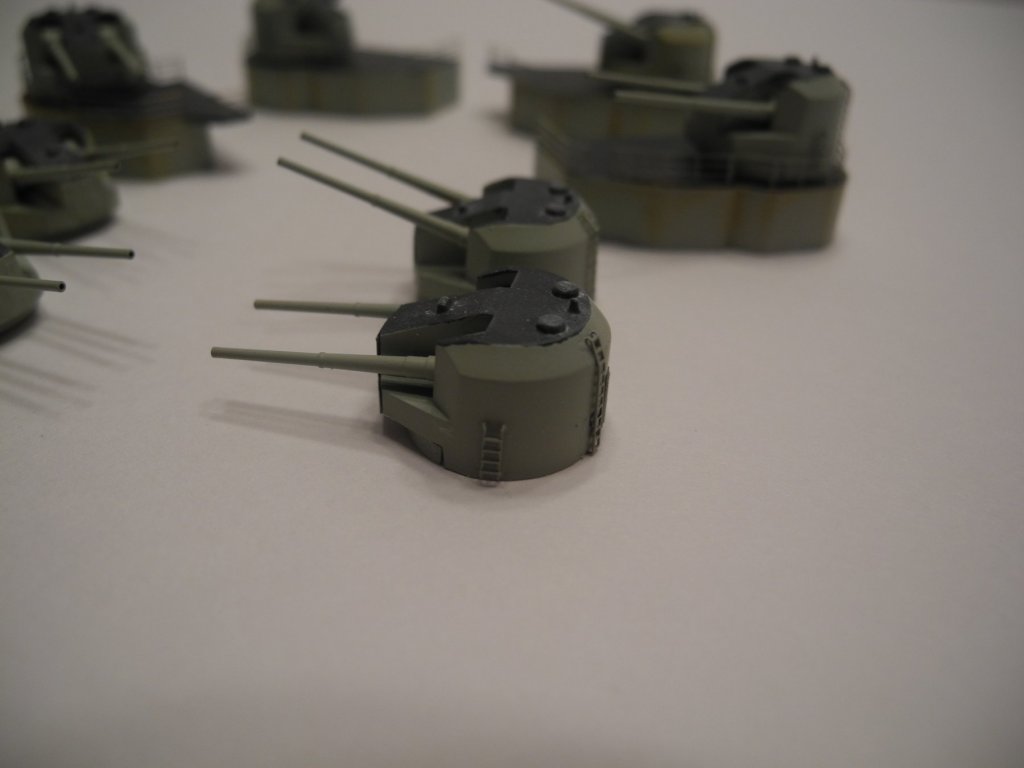
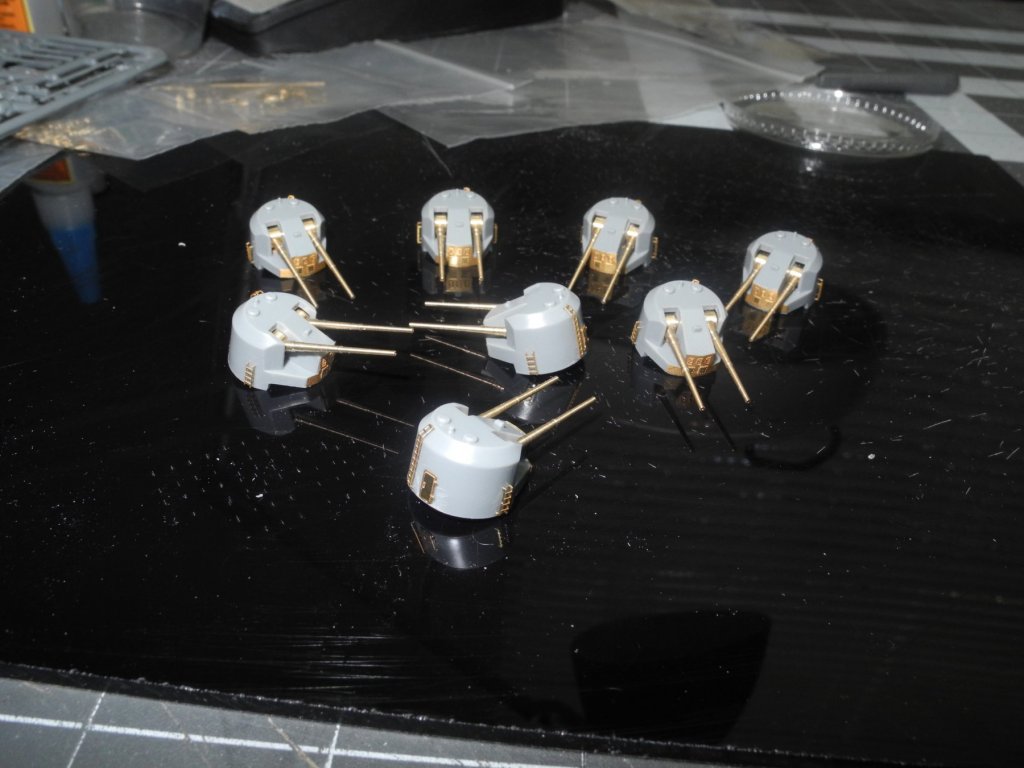
Almost ready to paint these and the previous gun turrets.

- 151 replies
-
- 16
-
-
- duke of york
- tamiya
- (and 2 more)
-
OC I hope you find a way to get that problem taken care of, soon. Are there any Chinese herbal specialists in your area? Don't know if they have any recommendations for the problem you're having, but would not be surprised if they do.
-
Hi Piet You may call me by my first name, Craig. Regards
- 83 replies
-
- 7
-
-
- o16
- pacific crossroads
- (and 2 more)