HOLIDAY DONATION DRIVE - SUPPORT MSW - DO YOUR PART TO KEEP THIS GREAT FORUM GOING! (Only 20 donations so far - C'mon guys!)
×


AntonyUK
-
Posts
1,190 -
Joined
-
Last visited
Content Type
Profiles
Forums
Gallery
Events
Everything posted by AntonyUK
-
 Hello Jzwel. Your English is good by me Nice to have you aboard. The work so far looks brilliant. Regards Antony.
 -
Hello Vorons. Pear should look very nice. The frames are a pain BUT it's worth the hard work and time. Regards Antony.
-
Hello Daniel. I had a old piece of kitchen work surface which had MDF on the bottom. I turned this over to show the MDF which I can drive screws into. Then I have a sheet of Poleycarbonate 10mm thick. This is pulled into the camber by putting the correct packaging at the edges and using countersunk screws to pull the centre down. Plans can be held in place tith the edge packing. As each deck has a different camber all I need to do is reduce or increase the edge packing for less or more camber. And of course if you lammanate timber it will hold its shape with little or no spring back. I hope this is the information you wanted Regards Antony.
-
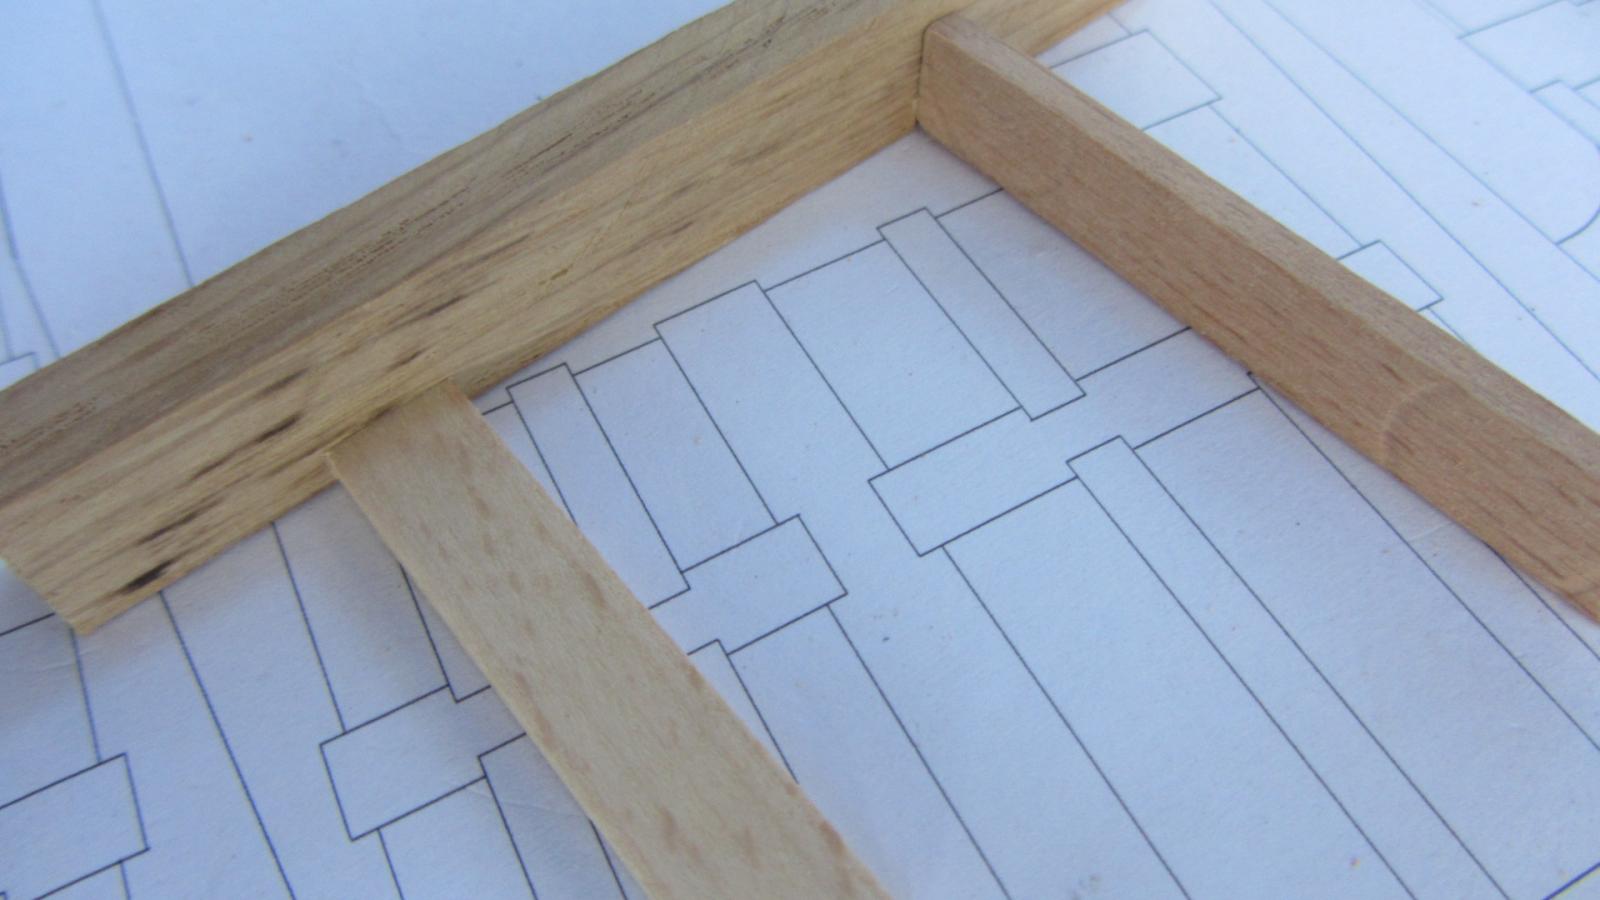
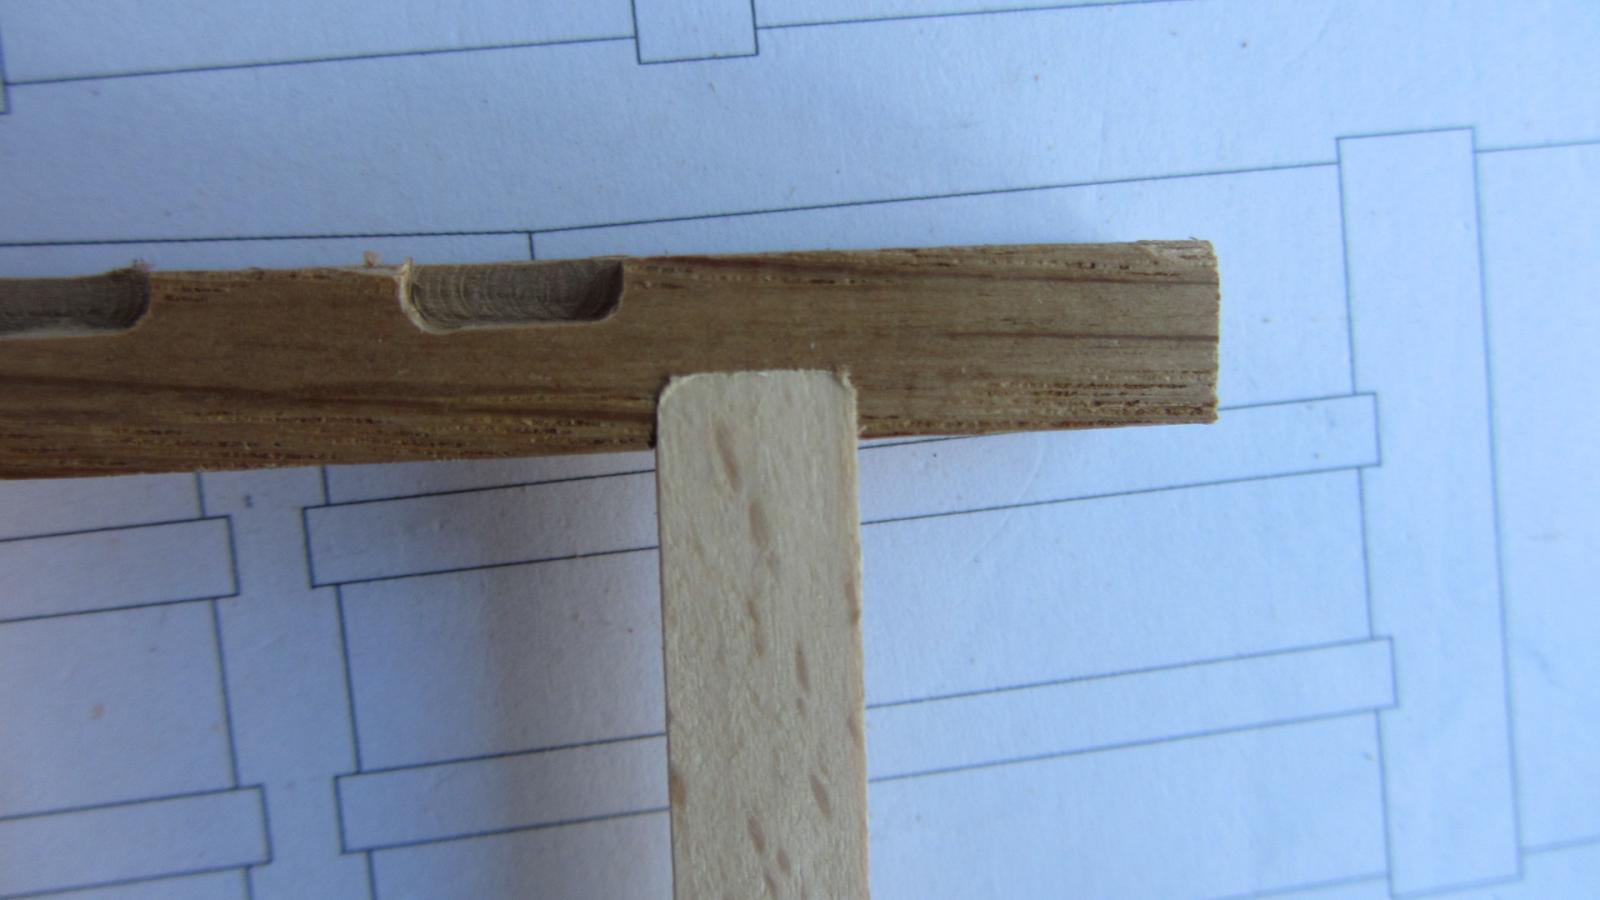
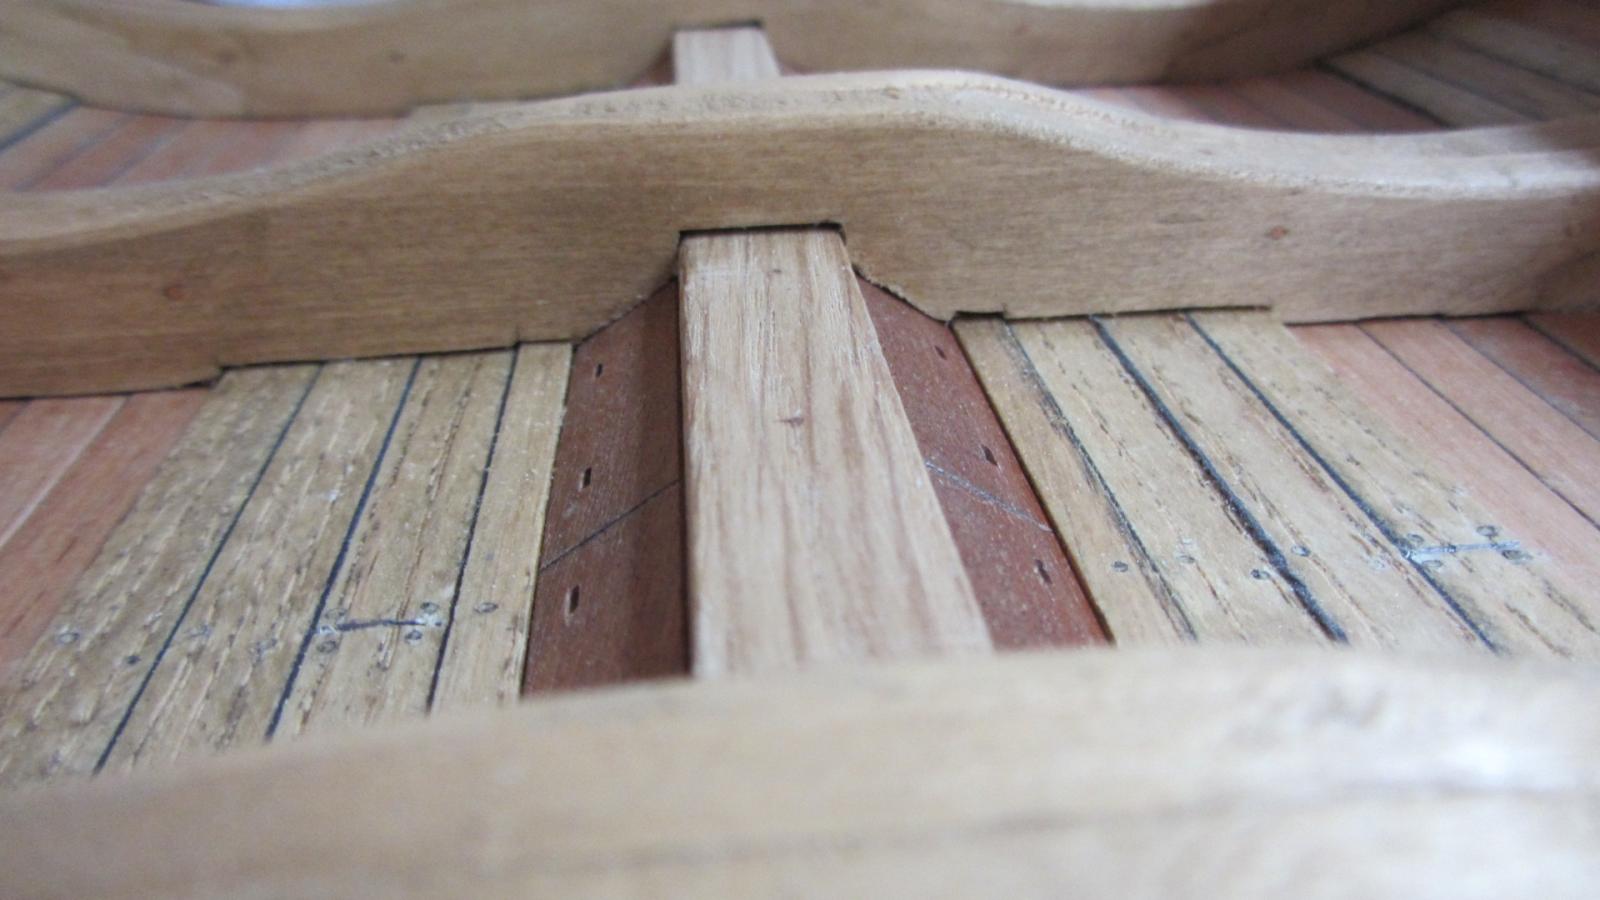
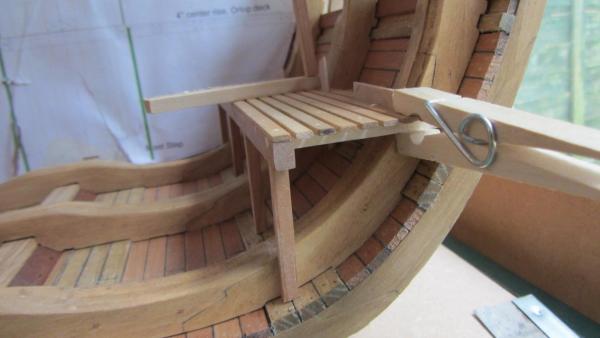
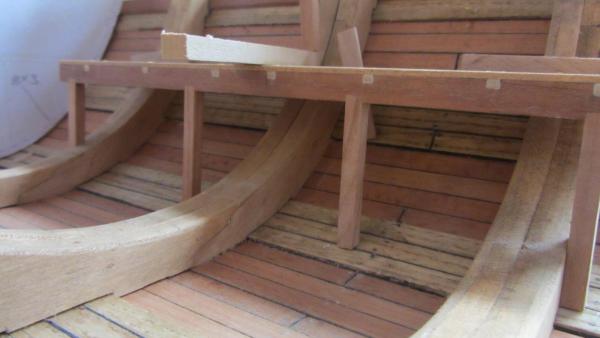
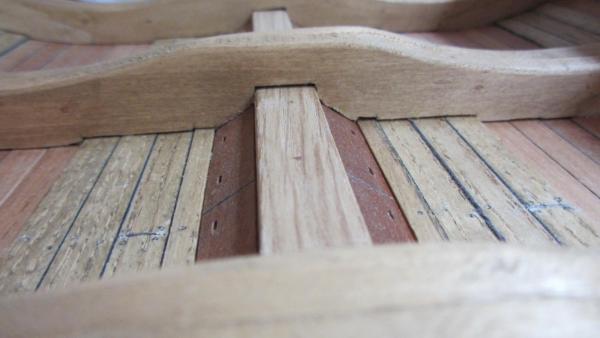
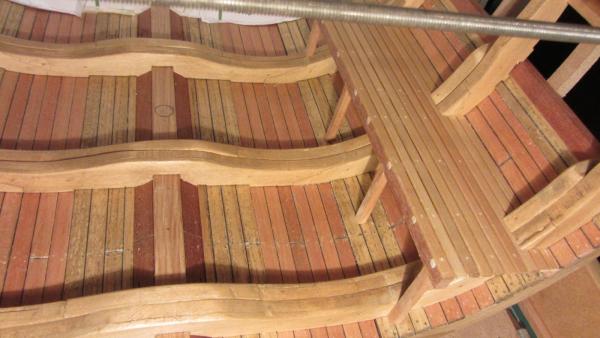
Hello Shipmates. Finished making the main beams for the Orlop Deck. The beams were made up by laminating 2mm thick pieces of timber and assembled on the plan which is curved for the camber. Close up of the joint (not yet cleaned up ) And before anyone with a sharp eye spots it I am building the Deck upside down. (It’s my method) Regards Antony.
-
Hi. A photo shows what a painted joint looks like Every other Joint is Painted. Close up photo. Regards Antony.
-
Hello shipmates. I painted the top edges of the wedge before assembling with Matt Black paint to show the joints a little more. Worked for me Regards Antony.
-
Hello shipmates. Thanks for showing me that. The only issue I had was the cutting of the wedges to the correct angle. But I have that sorted now Produced one today and it turned out spot on. Just need to adjust the size a little and I have my barrels/cask/kegs. Thanks again. Regards Antony.
-
Jim Byrnes Model Machines
AntonyUK replied to Mahuna's topic in Modeling tools and Workshop Equipment
Hi Jim. HAPPY BIRTHDAY. And again thank you for everything. My Brynes saw is producing excellent quality timber and I hope you have a Quality birthday. Regards Antony. -
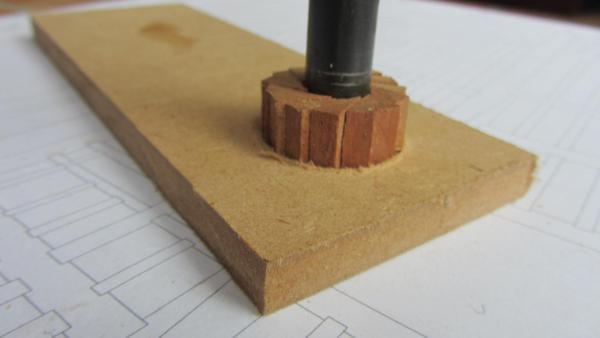
Hi shipmates. Nigel.... You are spot on with you're analyses of the idea. I put the test piece in the lathe tonight and turned and polished it the put some Danish oil on to show the joins. The joiners are ALL curved the same way. So made another set up slightley bigger with mat black paint between the wedges hopefully to look as if they have been sealed. And I will NOT spiral them Update tomorow. Regards Antony.
-
Hi. Photos of Method. Barrel shape not yet done. Regards Antony.

-
Hello Shipmates. That's basically the methods I was looking at The only diffarance being is I cut my wedges to form a compleate wedge and I spiral'ed my wedges onto a mandrel. Thanks for the replys. Regards Antony.
-
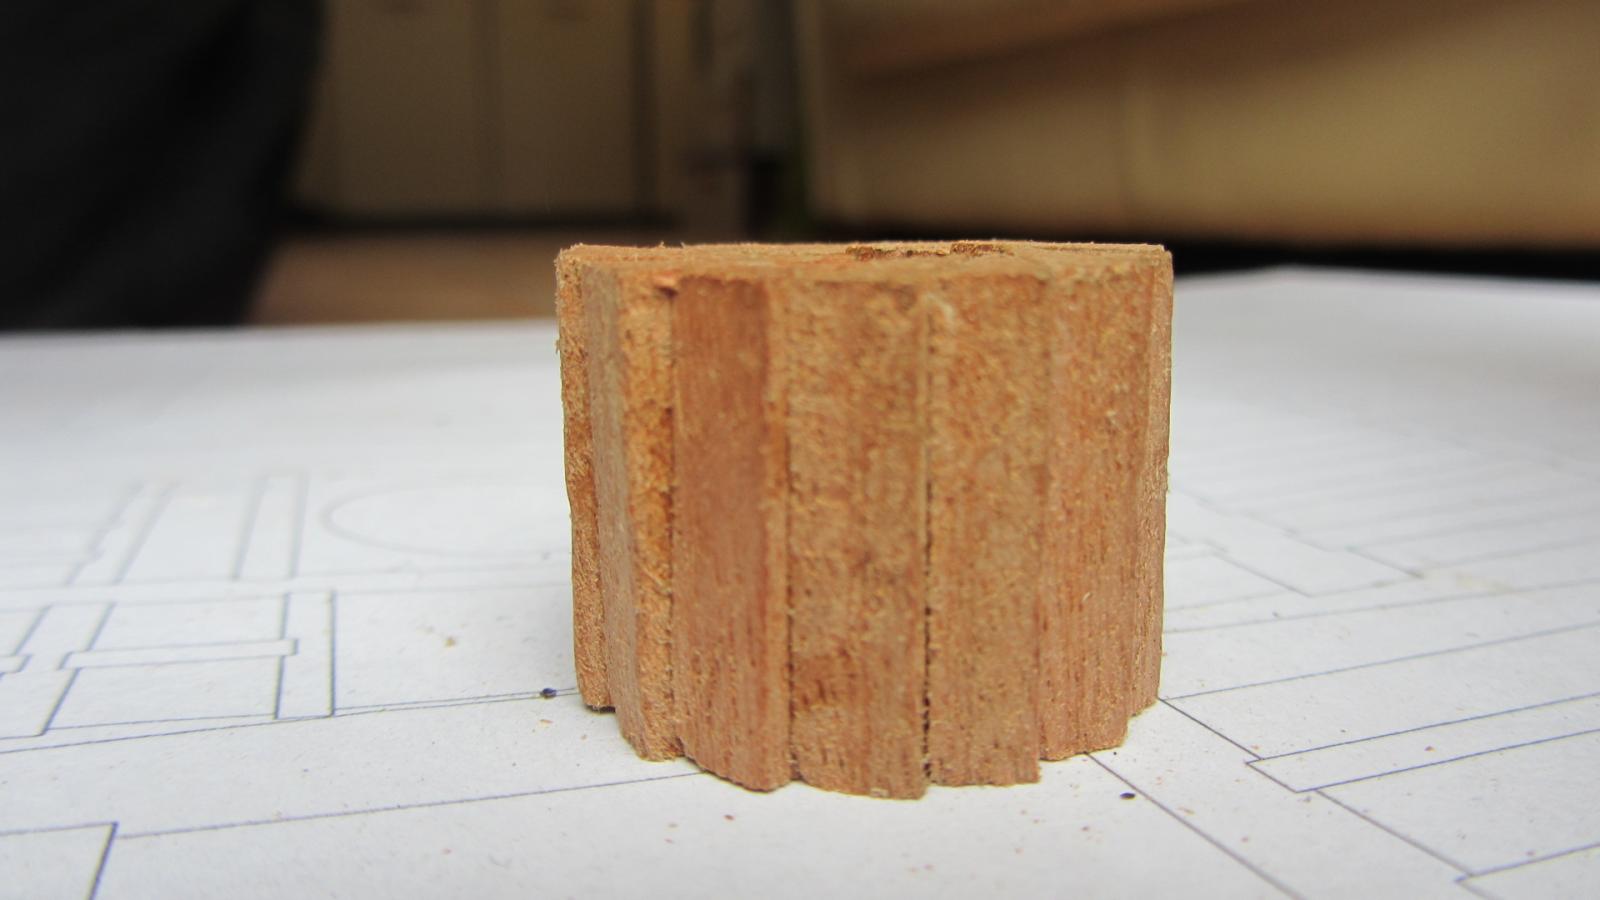
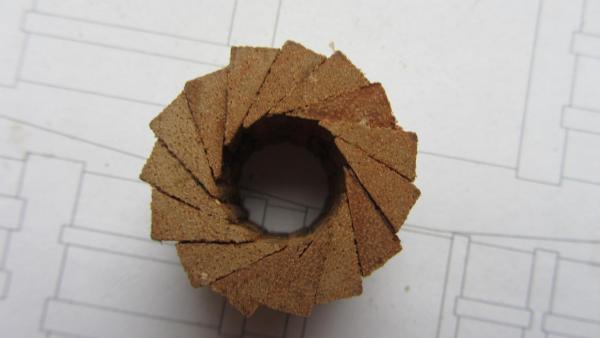
Hi. I have done a search on the forum looking for methods of making wooden barrels/ kegs. The only result pointed me to :- http://modelshipworld.com/index.php?/topic/300-le-bonhomme-richard-by-jeronimo/page-7 Post 105 I do have a lathe and a bench saw and I would like to make my own. My question is :- is there a method that we use ?. As I need something like 8 barrels I would like to jig it up and do it properly I am able to cut my timber @24 degrees and to spiral join them to give me 18 segments to make each in barrel. Will post a photo tomorow when they are dryed. Regards Antony.
-
Hi Jeff. I would go with the timber idea. BTW love the build looks very clean and tidy. Regards Antony.
-
Wow. That is digging into the archives with so much history coming to the surface. You can add another skill to you portfolio of skills. Master historical researcher. Your drawing look real nice. And it's nice to see that the timber is being prepped for the model Keep it coming ..the resurch is fascinating to read. Regards Antony.
- 346 replies
-
- 1
-

-
- terror
- polar exploration
- (and 2 more)
-
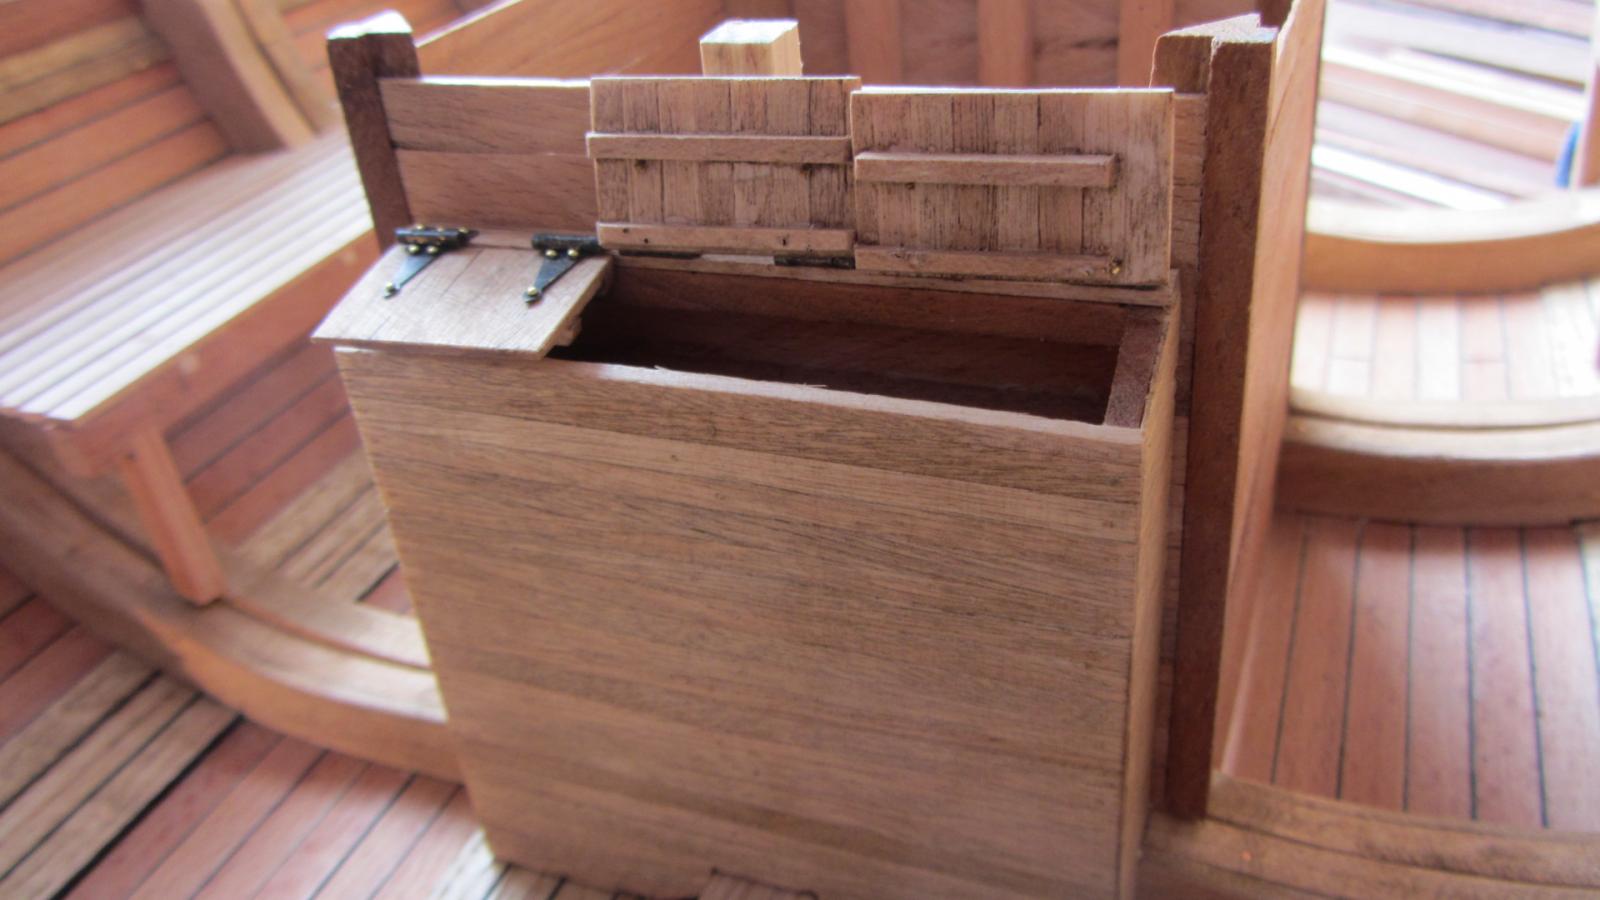
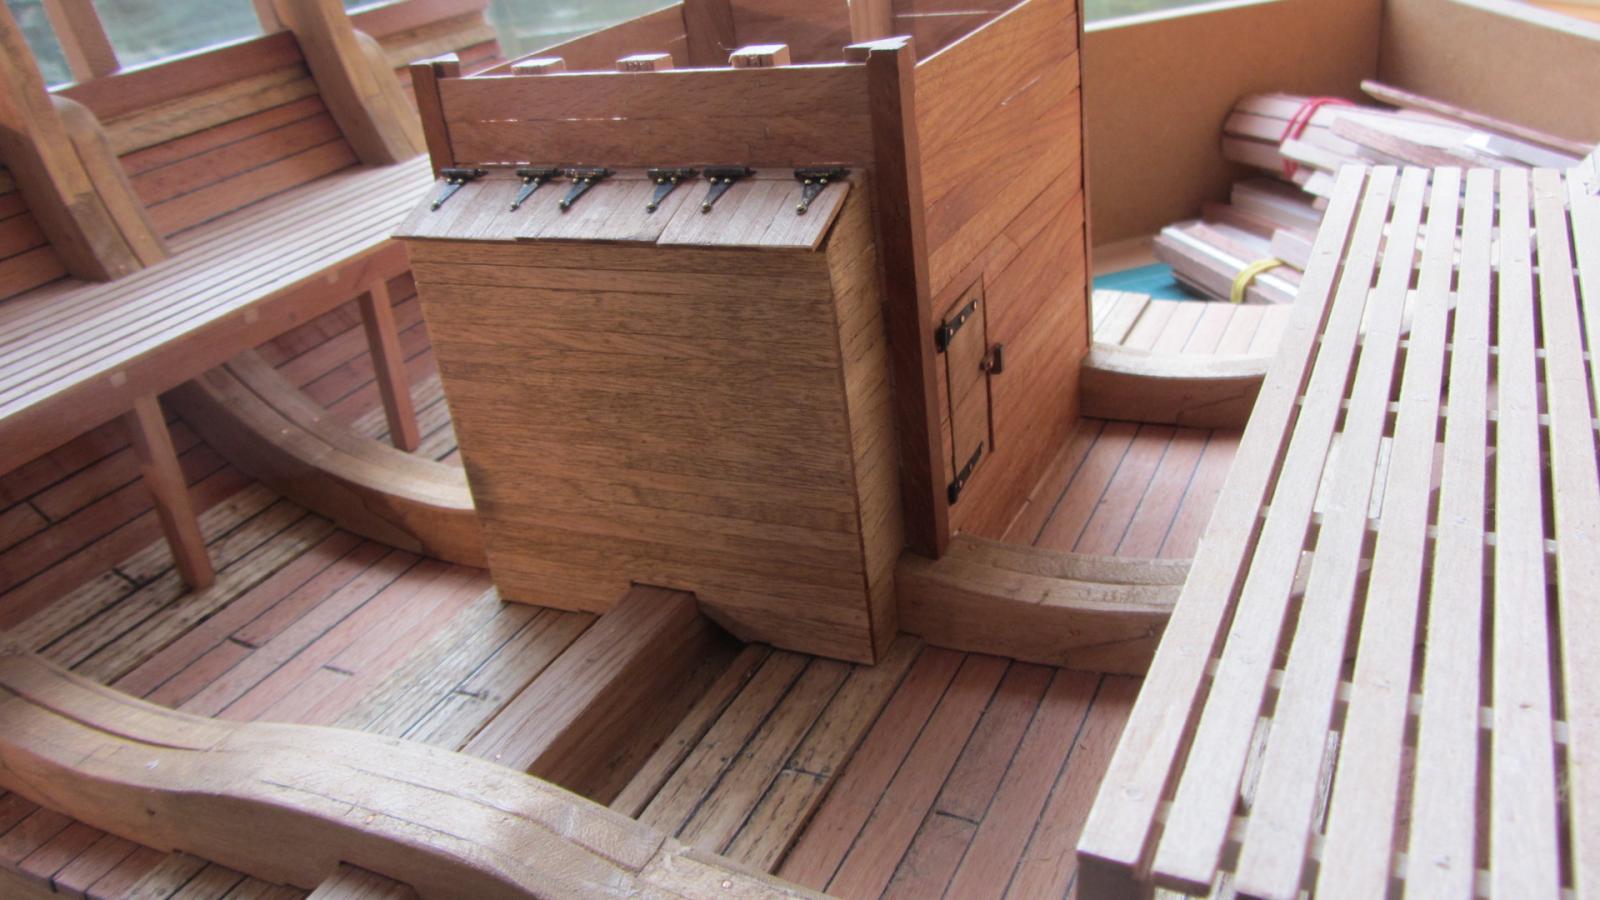
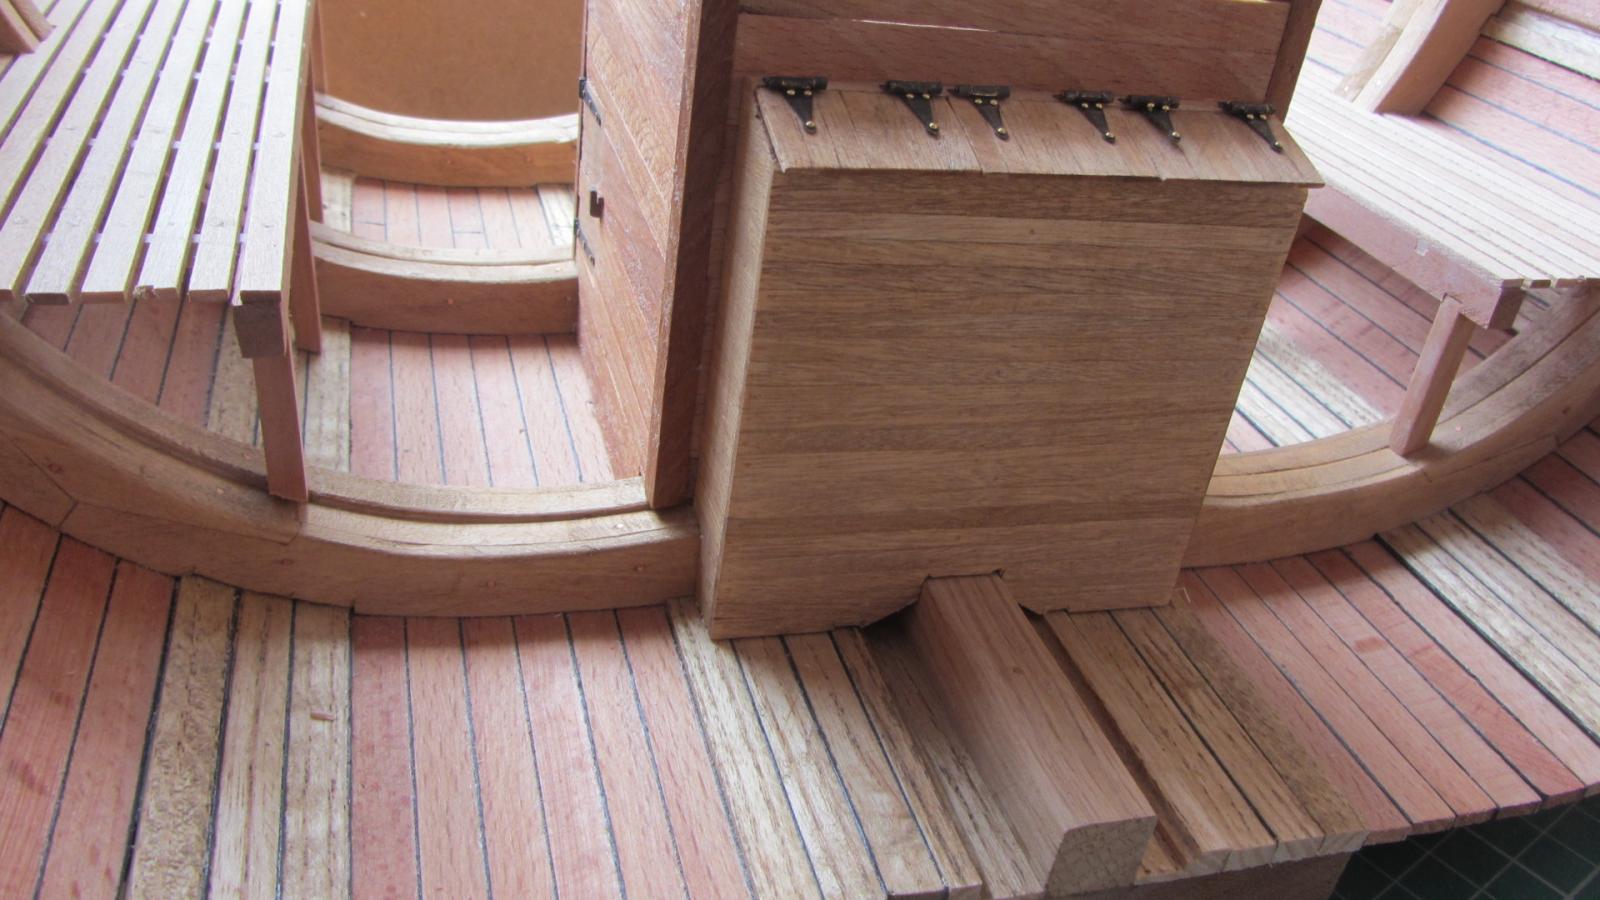
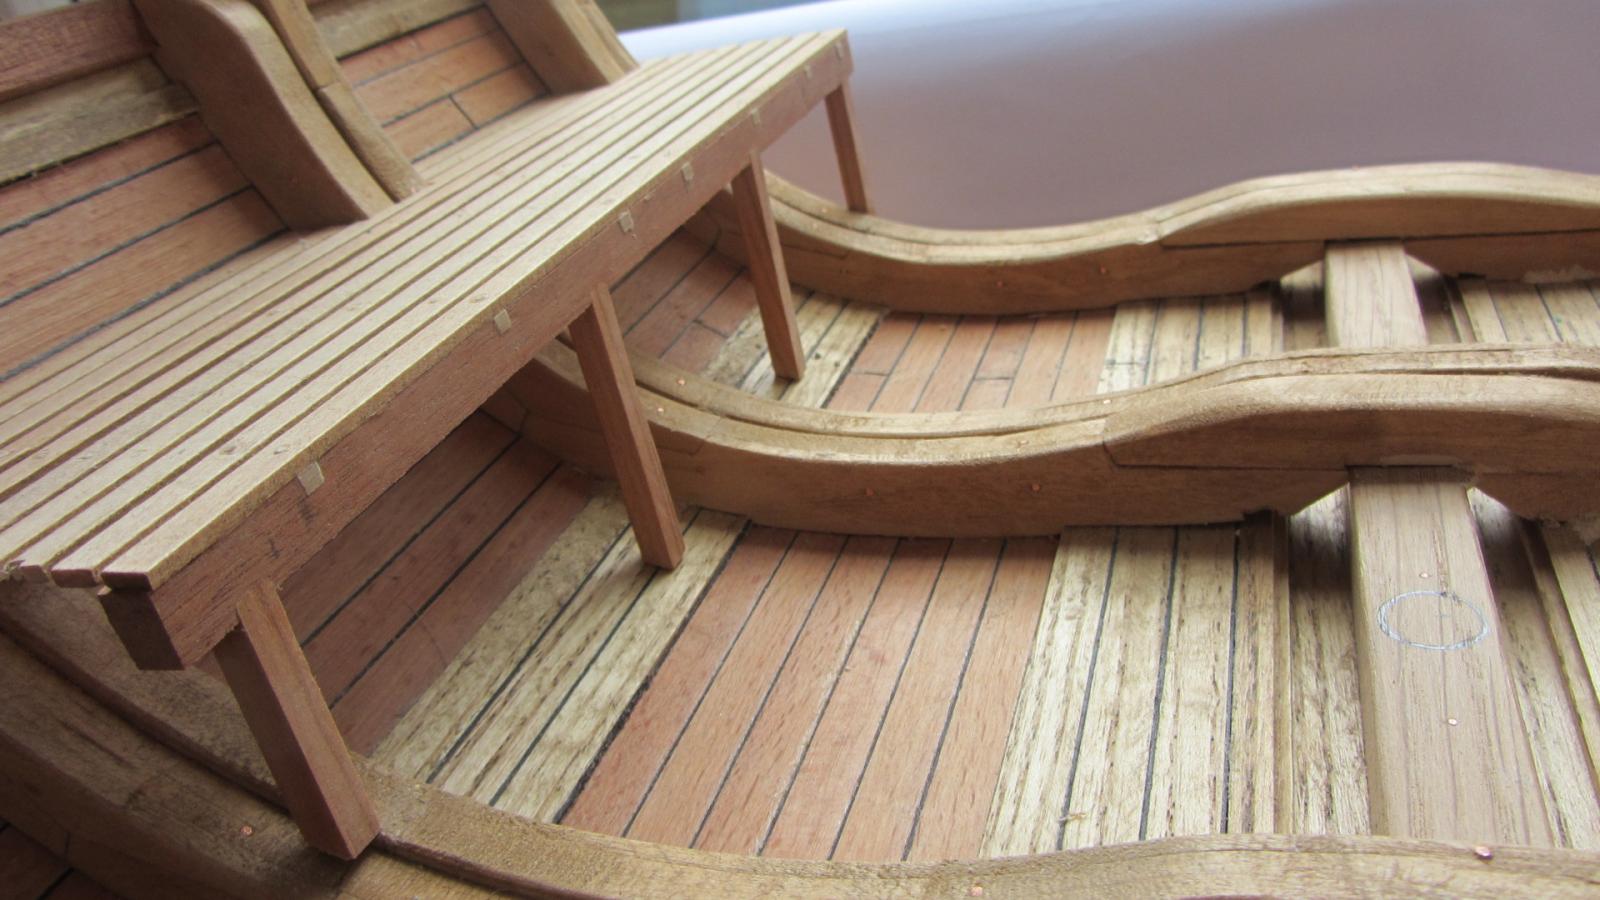
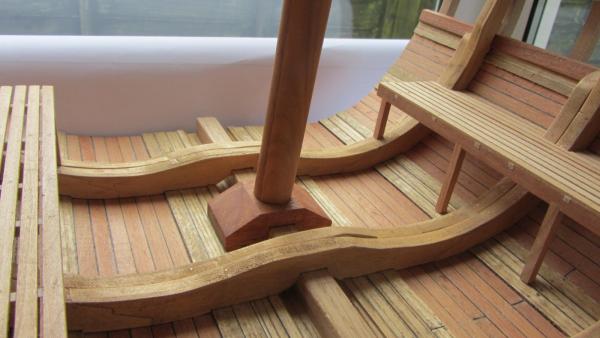
Hello Shipmates. Another small update. The pumphouse with the shot lockers in place BUT not glued because I will trim the height after fitting the Orlop deck into place. Front view. Other side still the front. View from the rear. Shot lockers lids raised. The next two photos are prepping the Orlop deck construction. The mill I used is a Proxxon . These are only test joints on some scrap timber. That’s about it for now. Thanks for looking in. Regards Antony.


-
Hi. Another link for you. http://modelshipworld.com/index.php?/topic/2806-flickering-lights/ Can use very small surface mount LED's for that scale. Remember to keep the lighting quite dim as it would have been on the real ship. Regards Antony.
-
Hello Jeff. Looking very nice. As the others have said Very nice planking. A interesting cross section. Regards Antony.
-
Hello Shipmates. Thank you all for your very nice comments. It is a very nice encouragement to continue and improve my skills. I really am enjoying this build as there is so much to do. The new bits so far I have learnt are :- Drawing up plans and resurching details. learning to use my saw. (Never cut wood before with a power saw.) The planning of a method of construction. So important.( planning ahead) What timbers are available to me. And where I can use them. This list just shows what a newbie I am to Scratch building model ships LOL Just started cutting timber for the Orlop deck so will post a few pictures tonight of my progress. And will post a photo of the completed hold. Regards Antony.
-
Hi Nick. I wish I lived neer Portsmouth. Then I would just pop in to the Victory for information that books don't show or describe. So glad you are enjoying it. So an I. It's my first scratch build and it's really interesting and satisfying to do something from from making the drawings to building. Regards Antony.
-
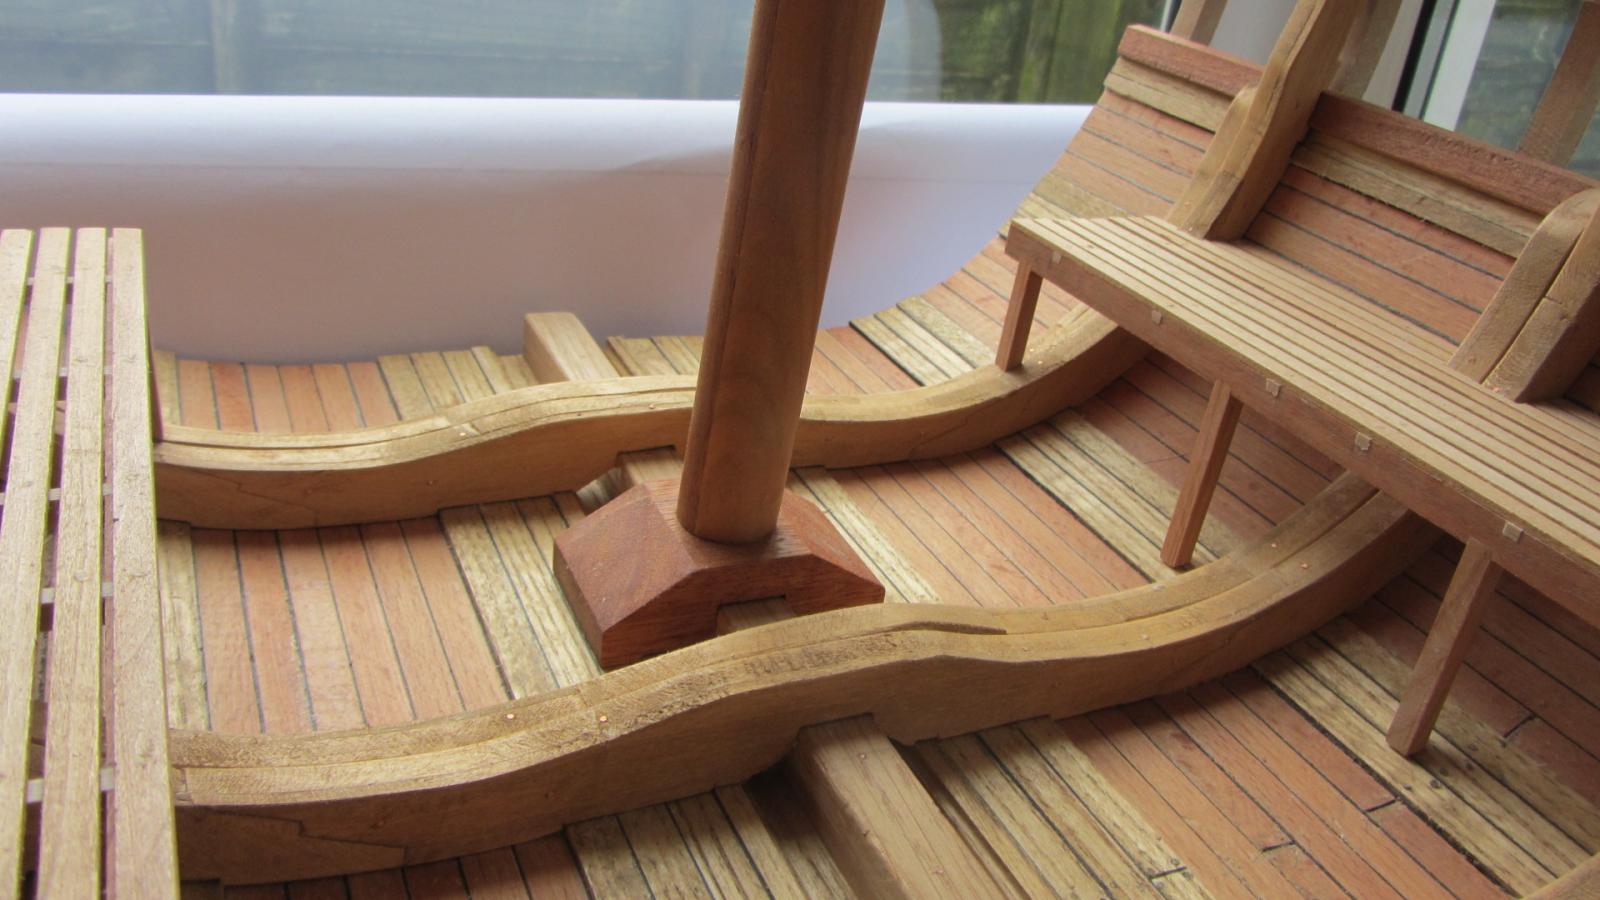
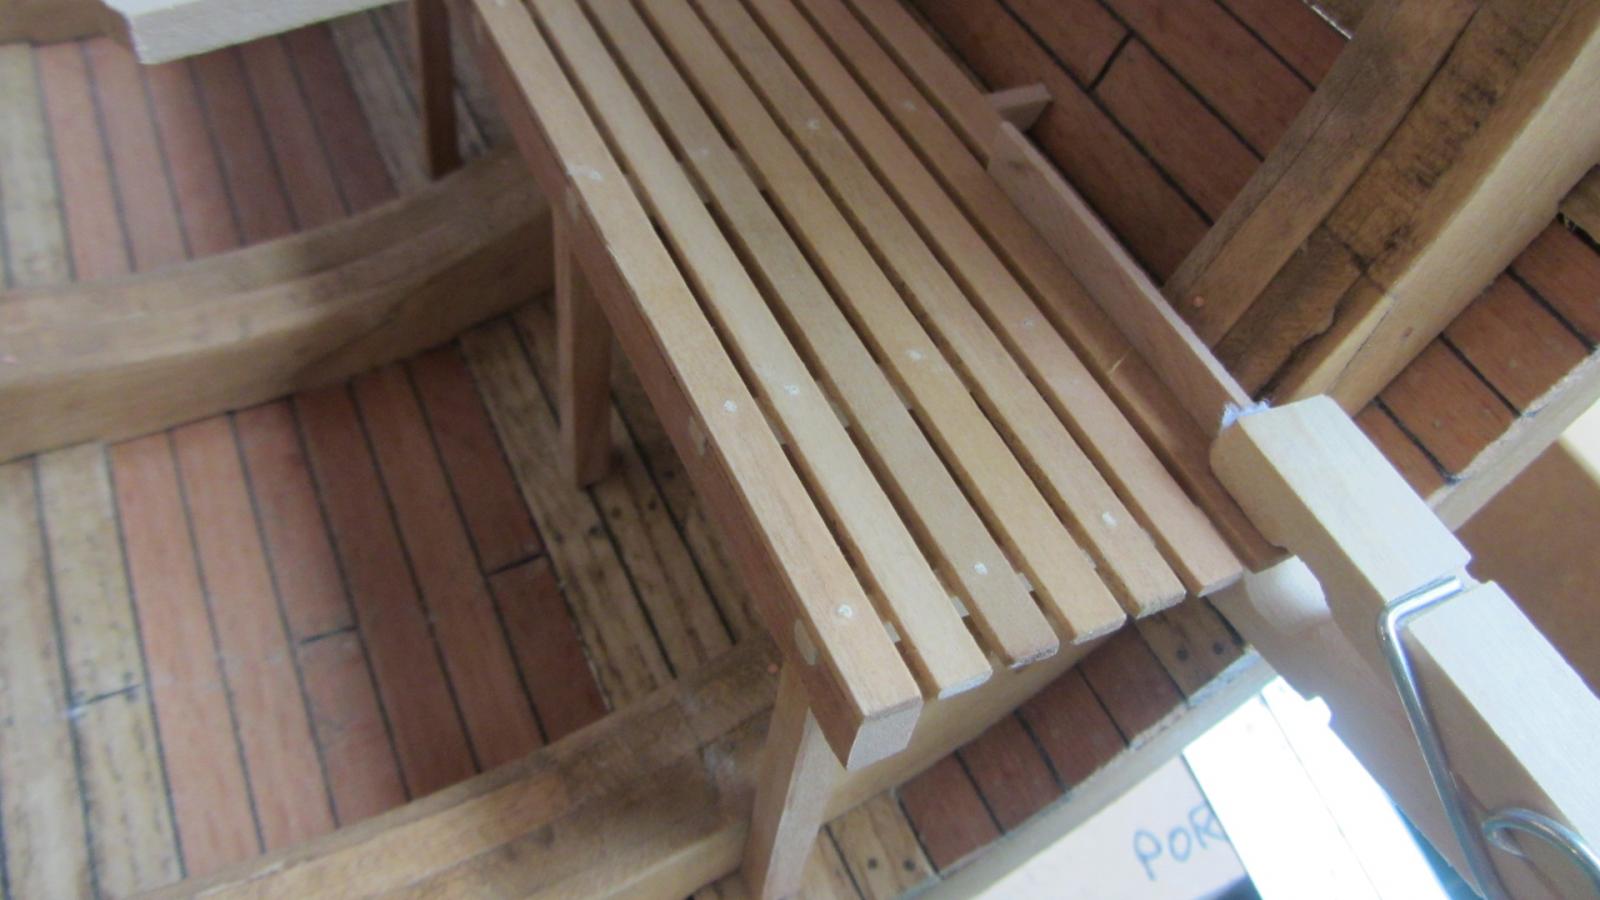
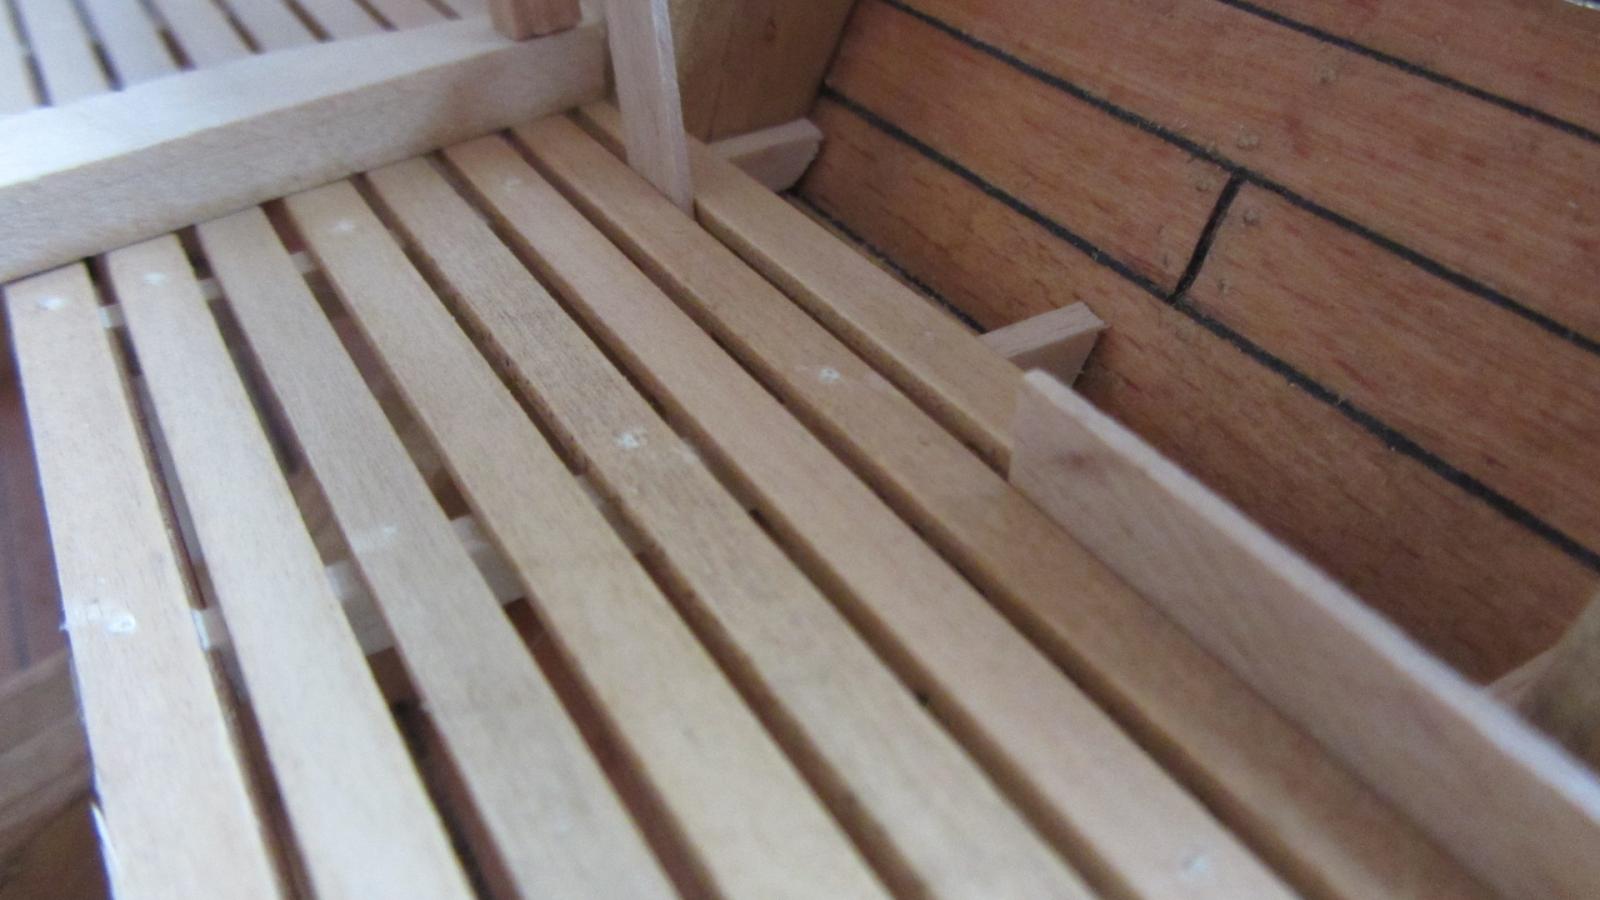
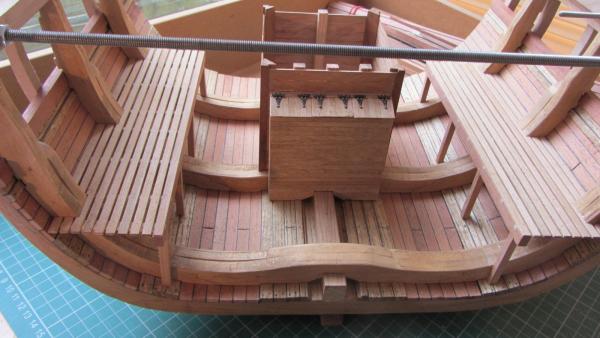
Hello Shipmates. Another update. Have removed the Ship from the Build Jig temporary to Fit the Rear shot locker. Been working on the Hold racks and fitting the Shot lockers to the pump house. First a few pics of the Racks. The covers are now complete. The Hold. Rear view of the Hold. And the other side. Will post another update over the weekend when Pump house with Shot lockers are fitted. Regards Antony.


- 209 replies
-
- 14
-
-
Hi. Great to have you aboard. Is it possible for you to edit your build title to include your name and scale you will be working to.( have a look at the way other builders have done it) A name would be very nice Please. We like to be able to address fellow builders by name if possible You will find some brilliant builds here and most of us are first time scratch builders. Your workmanship looks really good You can find the files in the next Tab down marked Triton Download Section. This was not visible to you before being granted access. Now you have the job of downloading the files and printing them. All the best. Antony.
-
Hi Andy. You have made a nice job on this kit. Yes keep messureing many times. It works. I have not seen this kit before keep posting and Ile keep watching. Regards Antony.
-
Hi ? If you go into the top post labeled " Keel Drawing - first drawing for Trition Cross-Section - And Access Request" There is a PDF file. Download it and this is the drawings for the keel.keelsom ans the false keel. Make the parts and post a photo of the completed parts in this build log. Then you get access to the full drawings. Regards Antony
-
Hello shipmates. Thanks Floyd and Michael for your nice comments Have been a lot longer fitting the ryders than planed. I wanted a good fit and I have kept them A little rough finish as they would not have spent in the hold making things look nice. Started to fit the ryders last night so will post more photos tonight. Regards Antony.
-
Hi. Nice build. It's a nice kit and you can do so much with it should you wish. Keep the pictures comming Regards Antony.