


Overworked724
-
Posts
1,264 -
Joined
-
Last visited
Content Type
Profiles
Forums
Gallery
Events
Everything posted by Overworked724
-
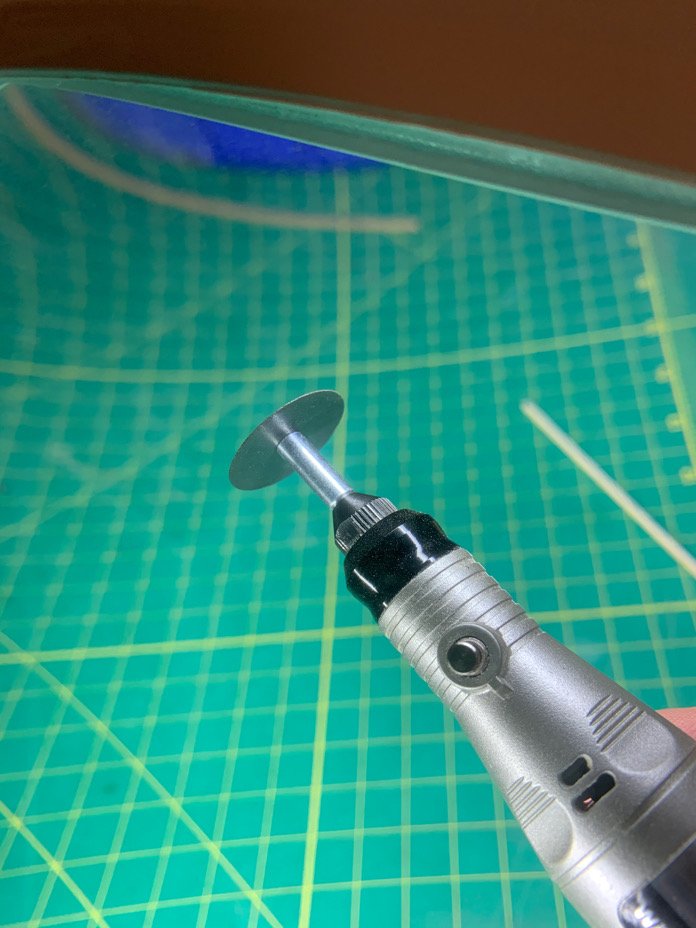
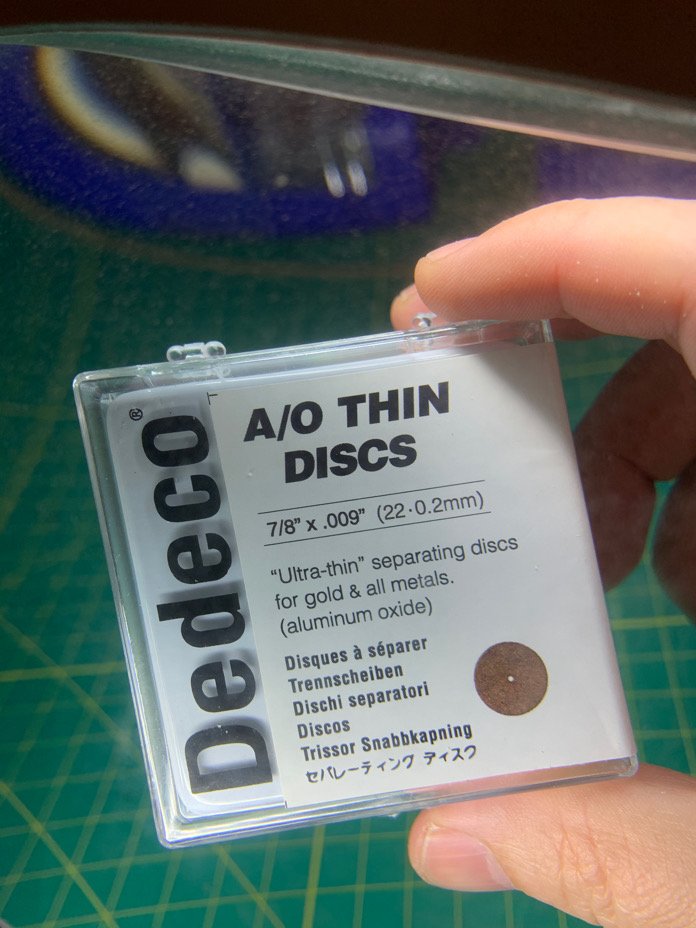
 Awesome! Just be careful. They are carbon discs and very brittle. Any lateral force on them, especially while they are rotating, can make them break. Actually, explode is more the effect. I have first hand knowledge! So wear safety glasses and ensure you are cutting edge on straight. And these will slice everything...so safety first!😁!
 -
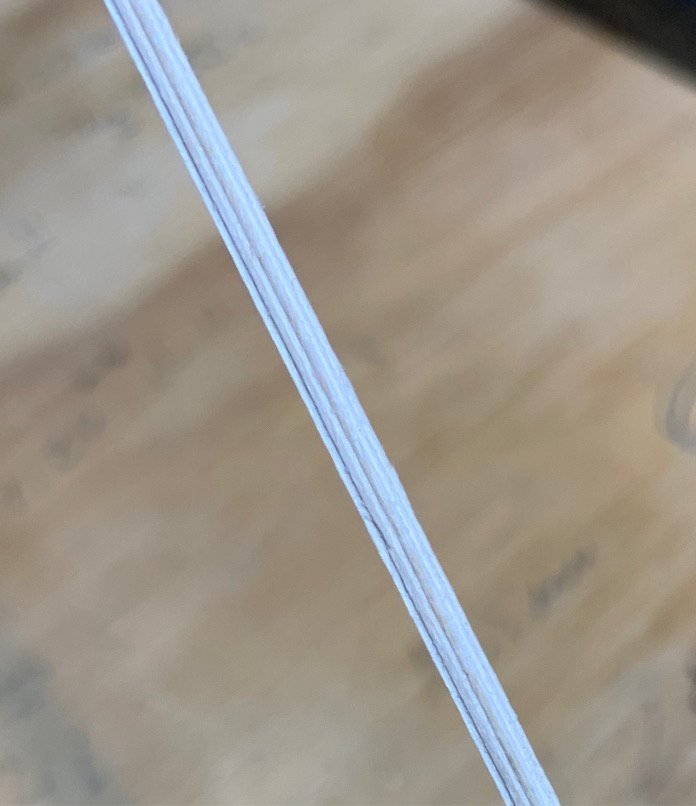
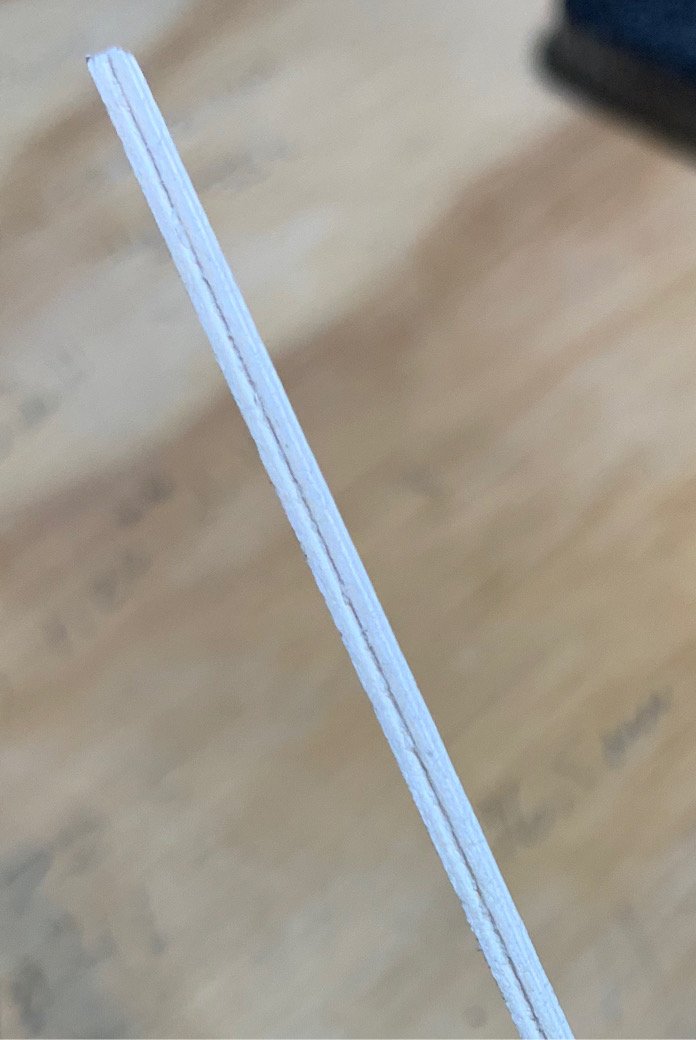
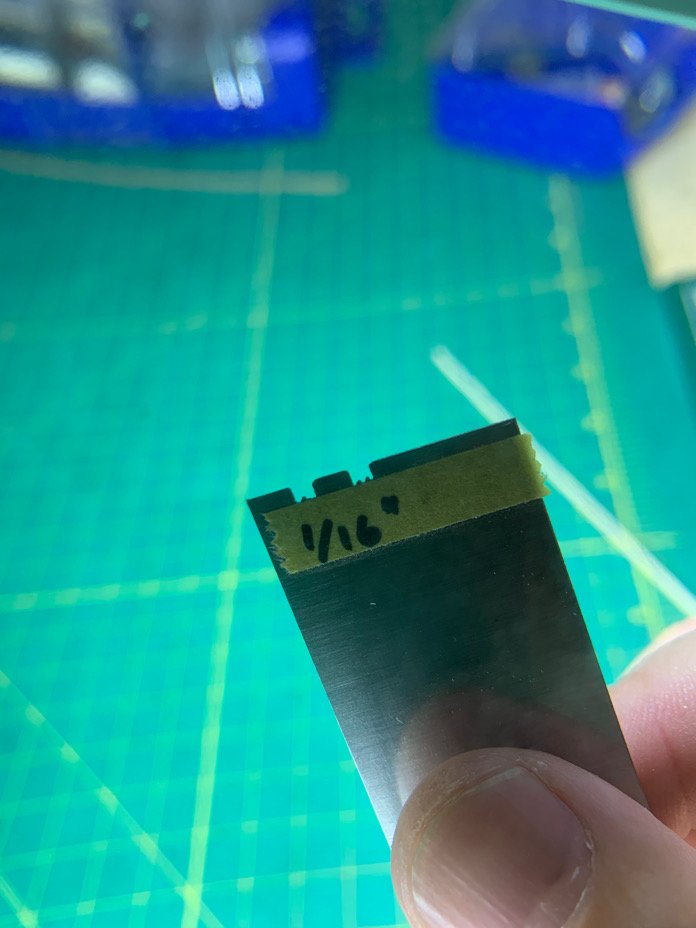
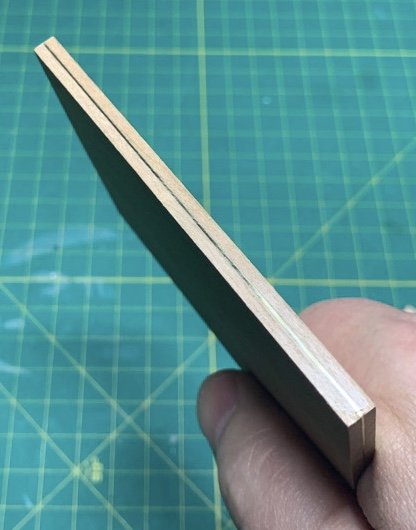
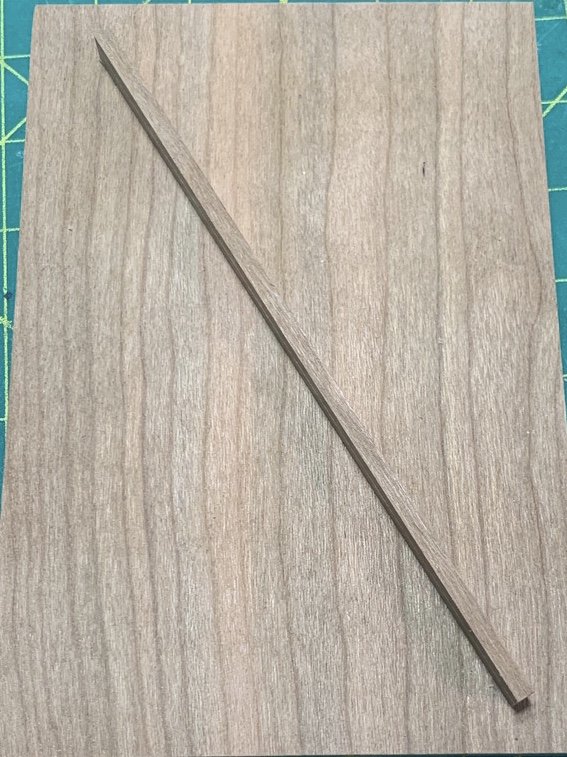
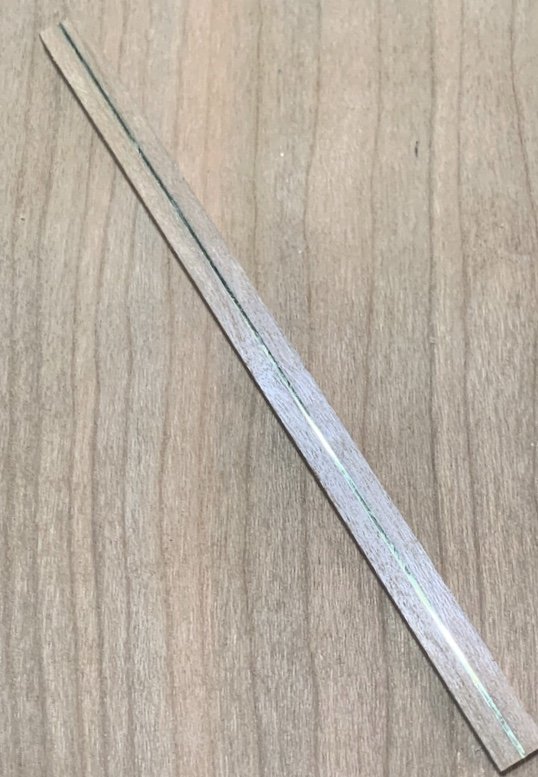
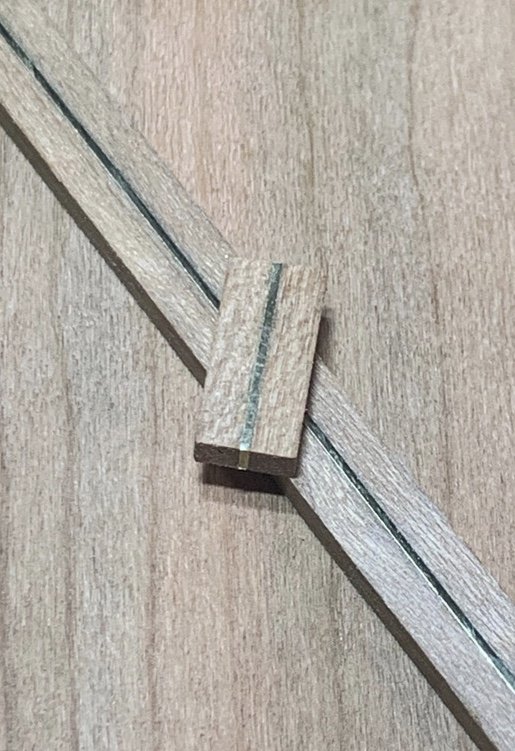
Ok. A quick aside. Something I couldn’t do on Sultana since I had no know how was to make a good scraper to make the detailed wood moldings on the ship. However, I was a bit more prepared this time. The metal to make the molding scraper can be a straight razor blade, a metal scraper, or any piece of thin metal with a stiff back bone. The problem is how to make the scraping shape. A Dremel or rotary tool was my choice. I used some metal cutting discs which are absolutely awesome. A fellow modeler put me on them...they are very thin (carbon disc). A package of 22 are bloody cheap. This makes quick work of a metal edge. I was able to make two scraping edges (a single and double depression) in about 5 minutes. Pretty nice result on a 1/16” square dowel! I think I like the double depression! 👍🏽 Moving on...
-
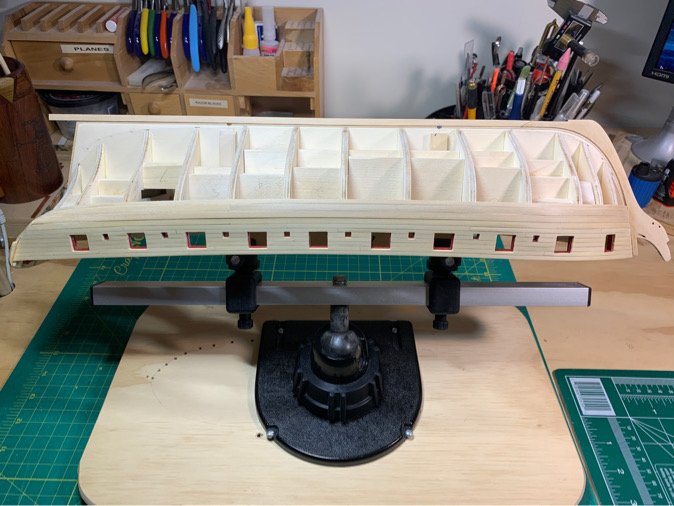
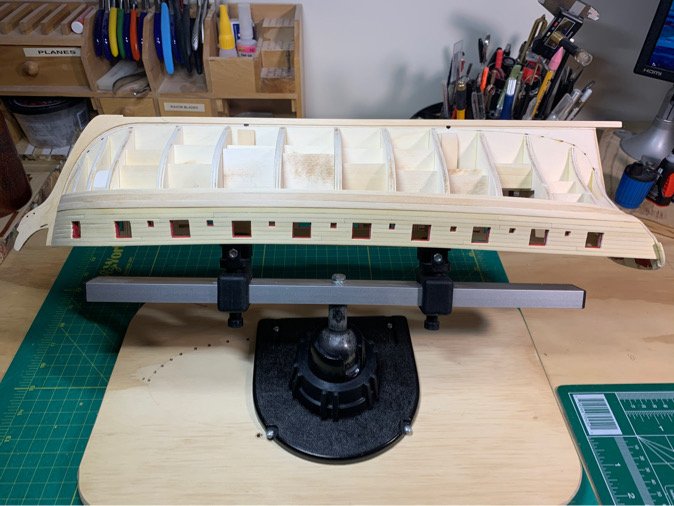
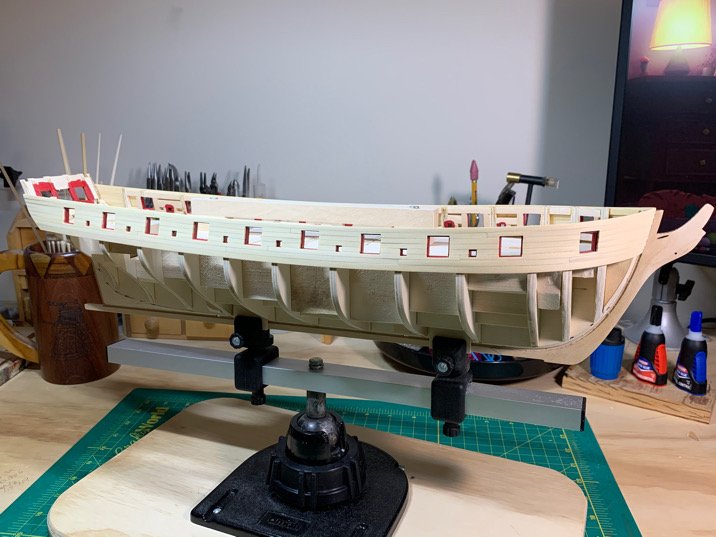
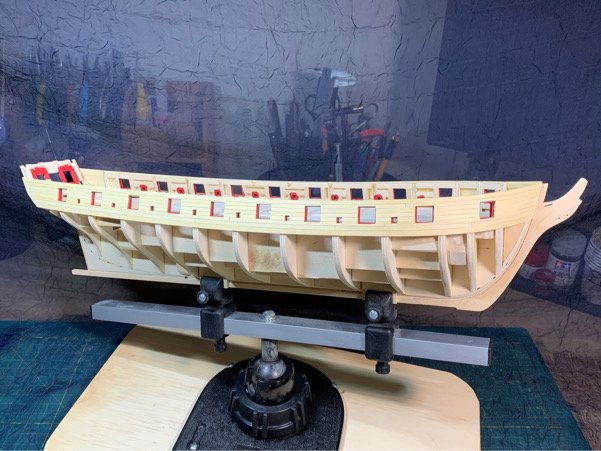
A bit of weekend progress. Basswood strips for the remaining 2 wales and the first plank below the wales are in on both sides. I realized after getting these first few in that the stern isn’t as ‘filled in’ as I’d have liked. Hoping it’s not going to cause any issues, but I take solace in the fact I have wood filler/sanding/painting/copper plating in the future which can hide my awful mistakes. 👍🏽😎 And some pics... I’ll even out the surface after the planking is complete. So far it look ok for a newbie. Moving on!!!
-
Love your avatar pic!😆 Pulling up a chair! Great to see another Syren build! Will look forward to your journey. This forum provides a lot of great resources from others building the same kit...so you are most definitely in good (and plentiful) company.
-
Thanks, Will. Much appreciated!!!
-
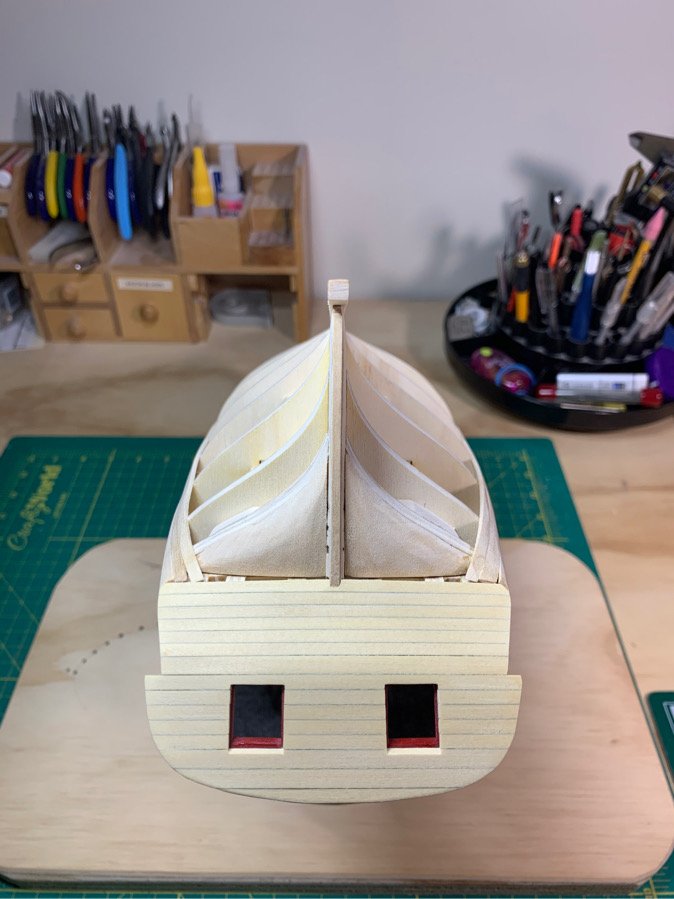
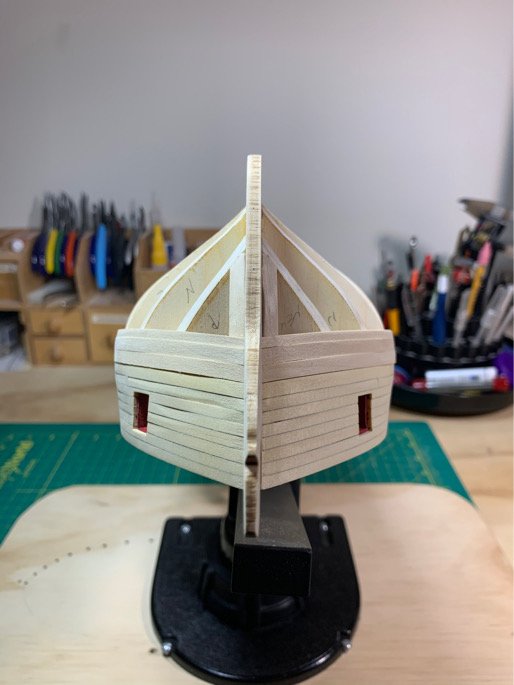
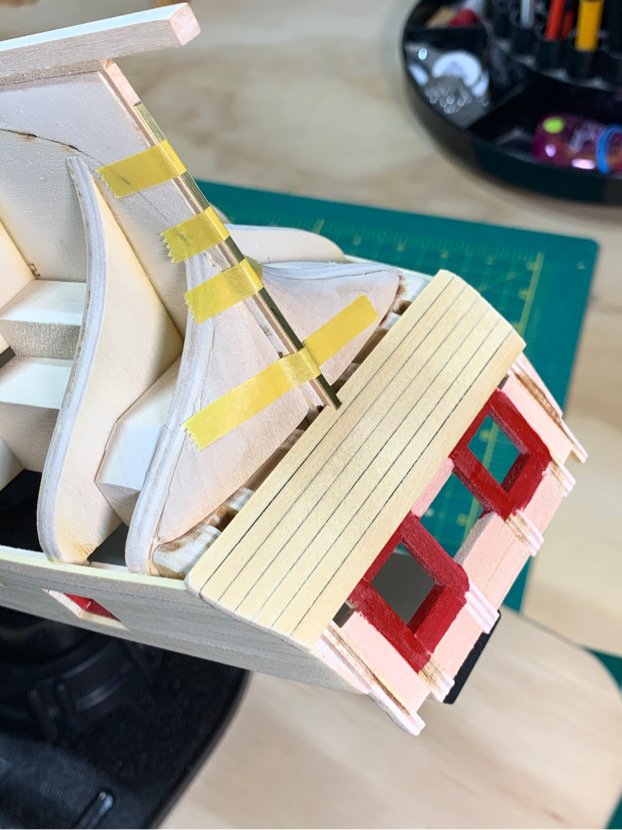
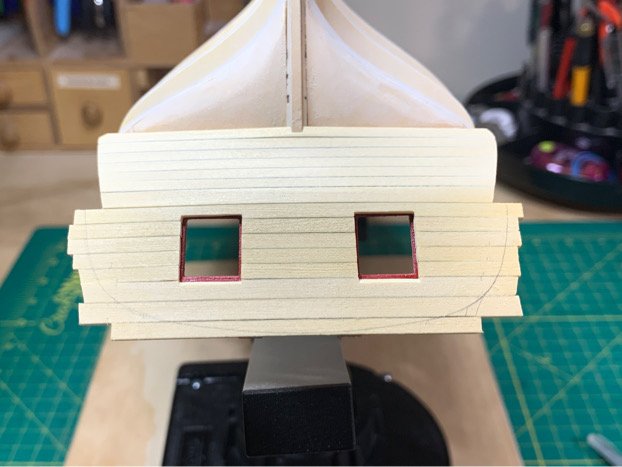
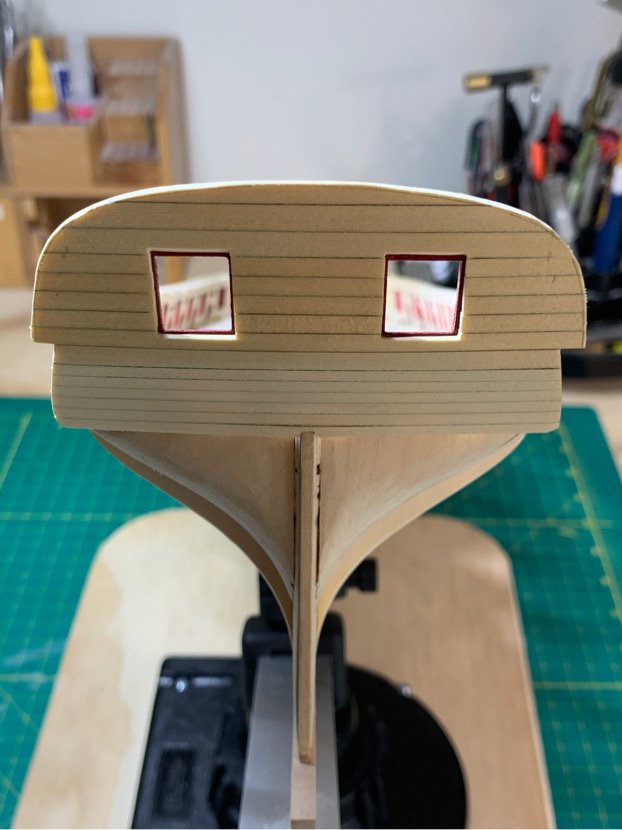
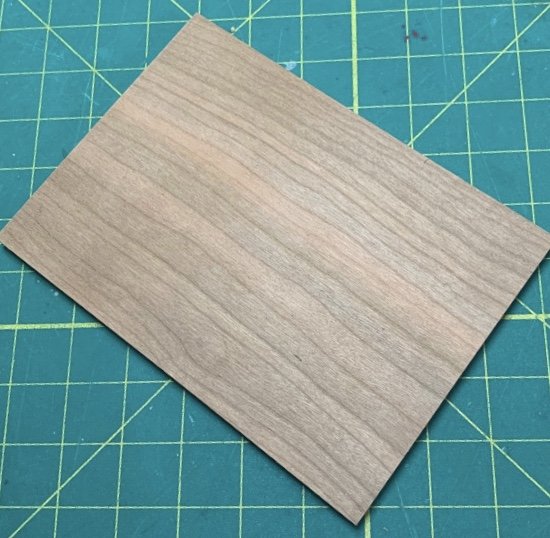
Decided to plank both counter and transom. Again using Alaskan cedar...cut my own from stock sheet of 1/16” wood. I figured this would also be easier in ensuring a good fit of the window sills/lintels as well as look cleaner. I used a piece of the brass strips I made and temporarily coverEd the stern rabbet during sanding. I cut the lumber arbitrarily since I was going to shape down the transom later. After initial shaping and sanding, I thought the transom and counter looked to be in good shape. Also double checked the stern post aligns well and is not interfered with...and it’s all good as far as I can see. Also decided to finish up my faux deck with cedar tree nails. Moving on!!!
-
Really love how crisp your planked transom turned out. Very clean! Think I’ll take your example and attempt to plank mine as well. It looks much more authentic. A lot of the builds that follow this look so much warmer than the preformed transom piece.
-
Hi Elijah! Yes, I'm waffling between the two.
-
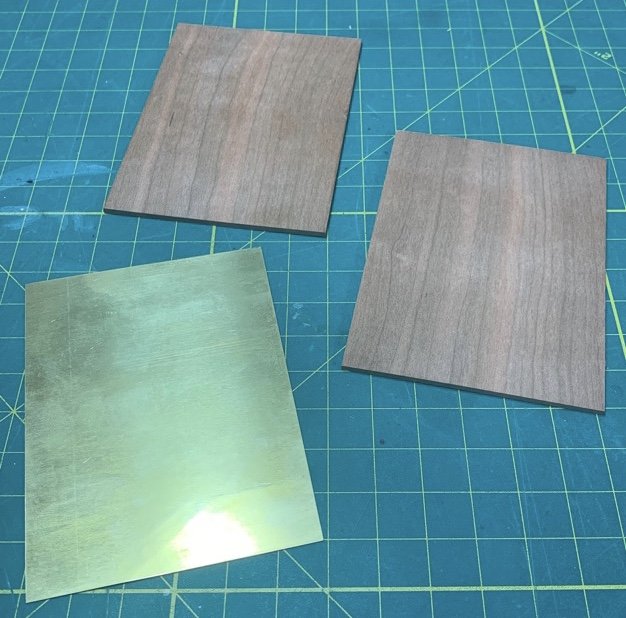
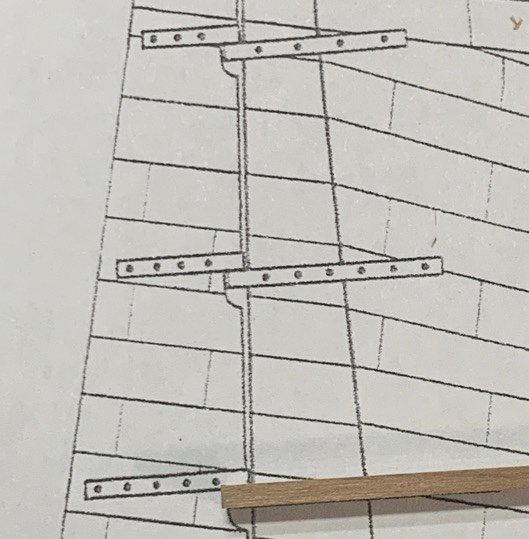
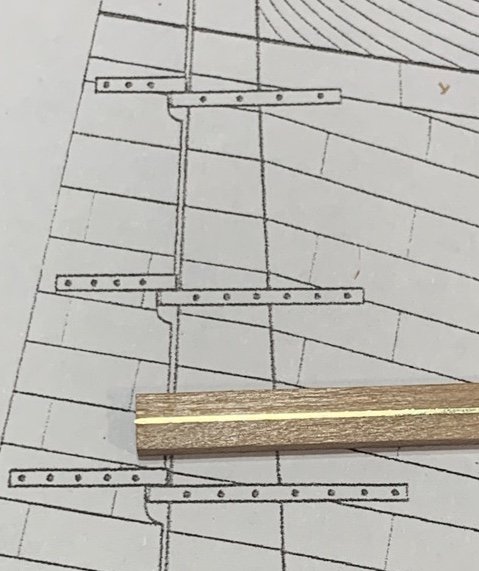
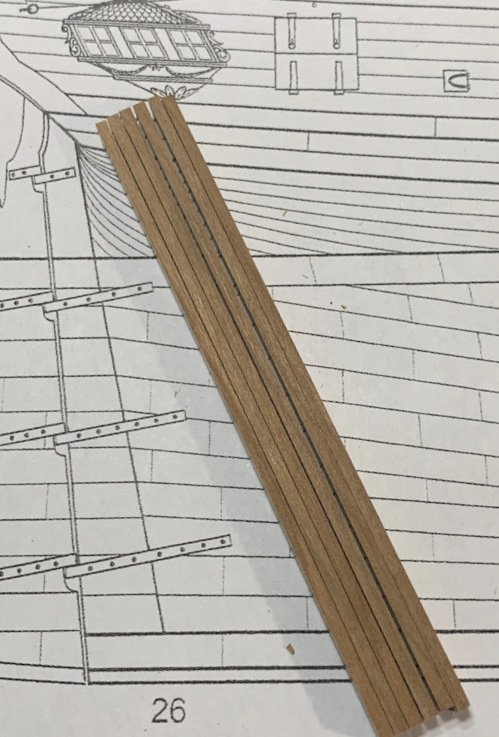
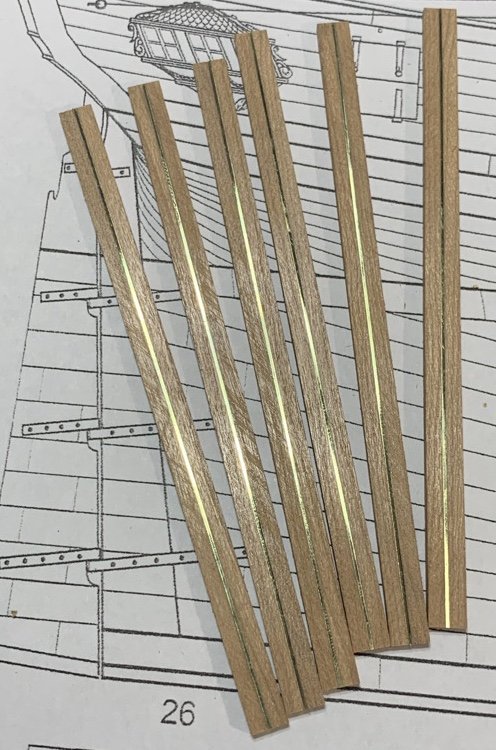
That explains it...I don't see a tube in my kit. And thus begins..."The Tale of My Pintles and Gudgeons..." hereafter referred to as P&G's Part I. Ok...my Sultana had paper P&G's because I simply had no knowledge of how best to make the darned things. This time, a shipmate from my modeling club advised me on how best to cut my own. So we will start there. Cutting a metal sheet straight up requires some fine blades and it will still leave a burr. The way I was advised was to use a harder wood to sandwich the sheet of brass, then cut using a fine tooth blade on a table saw for a clean straight edge. I had a sheet of 1/16" cherry wood - but I think walnut would work just as well. I ordered a 0.015" (0.40mm) brass sheet from Amazon. I precut cherry wood sections (about 3x5") and rough cut a section of brass sheeting using my mini-table saw (3" blade, 110 teeth). I had to deburr the rough cut side of the brass sheet using a sanding stick (220 gr). I took my 3M spray adhesive (got it at Lowes) and sprayed on one side of each of the two cherry wood sheets. Waited about 60 seconds until the sticky stuff did not stick to my fingers (per directions)...then sandwiched the brass sheet between them. Adhesion was immediate...but I gave it five minutes before I started cleaning up the edges with my table saw. The edges after cutting were nice and clean....and no metallic burr. I could easily cut a section of 1/16" strip without issue - and as required per the plans. Nice thing here...cross cutting the strip also gave a clean edge. So I cut about 6 strips - because I screw up a lot and tend to try things multiple times before I screw it up on my model! I still have a stock sheet if need to cut a bunch more. More importantly, the wood sections give you solid purchase to drill holes if you desire. My goal was to "try" and make the P&G's as authentic as possible...including bolts consistent with the plans. I got some nail polish remover (acetone) to immerse and dissolve the strips to separate the wood/glue after the P&G's are ready. This is only Part I...there are more chapters in this little side project which are yet to be written since this is my first time attempting this... But it's a pretty good start! Moving on...
-
Question: Did anyone else in their Syren kit note the absence of materials to make the pintles and gudgeons? I do not see any brass strips in the kit to create the P&G's. (Not that it matters - I already had intention to make my own and have the materials...but still)
-
Very kind of you and much appreciate! Well, if there is such a hobby that reinforces failures as a learning experience, ship modeling is it! LOL. If you really want a great tutorial on my past challenges and solutions, read my Sultana build log! That reads like a comedy of errors.
-
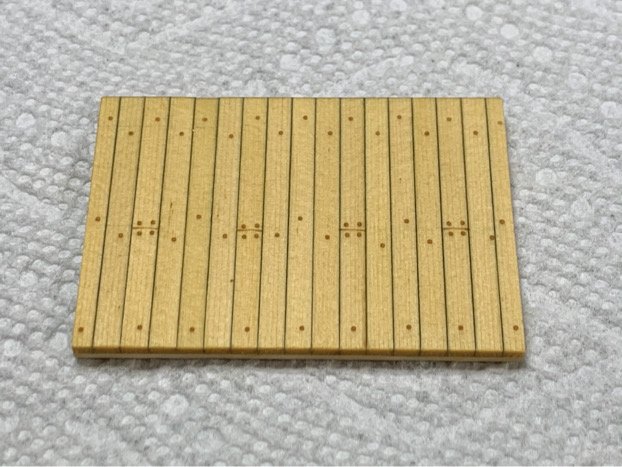
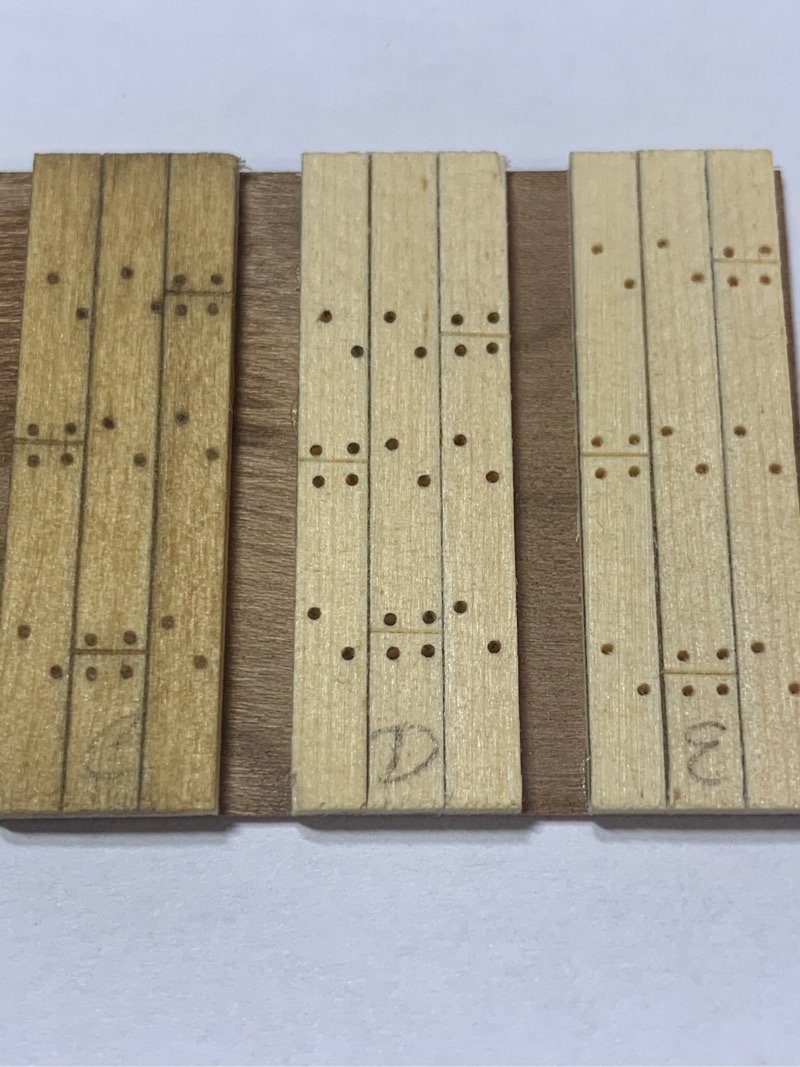
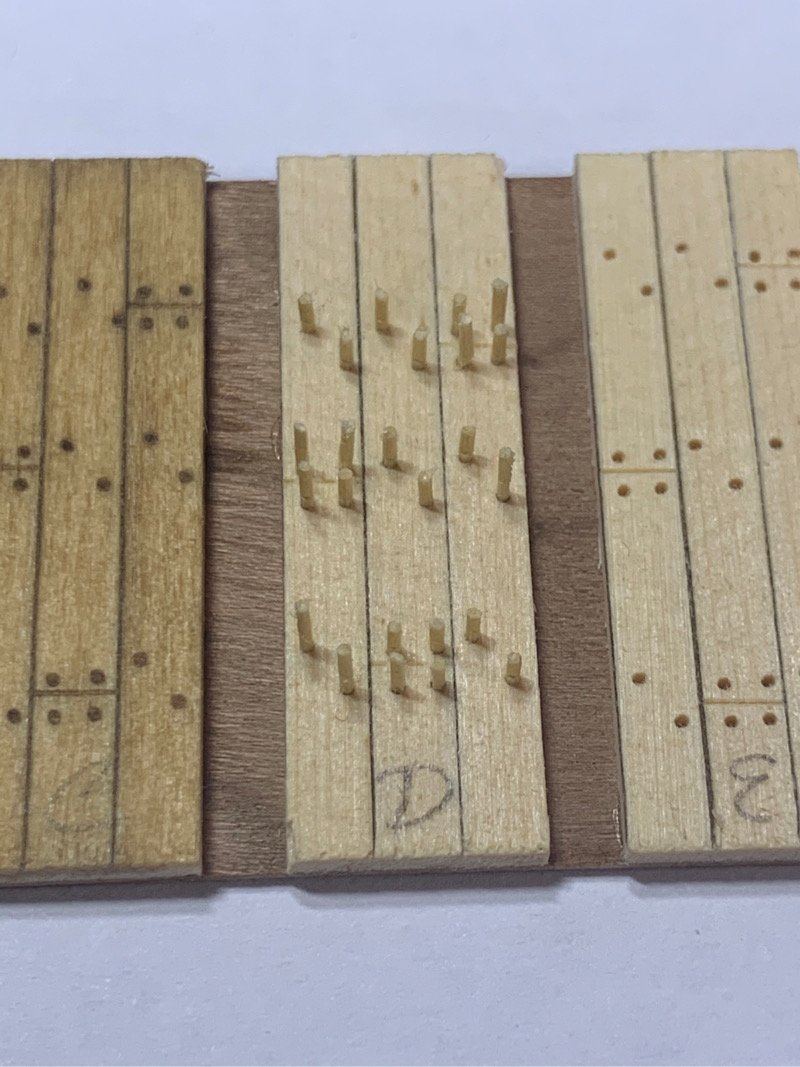
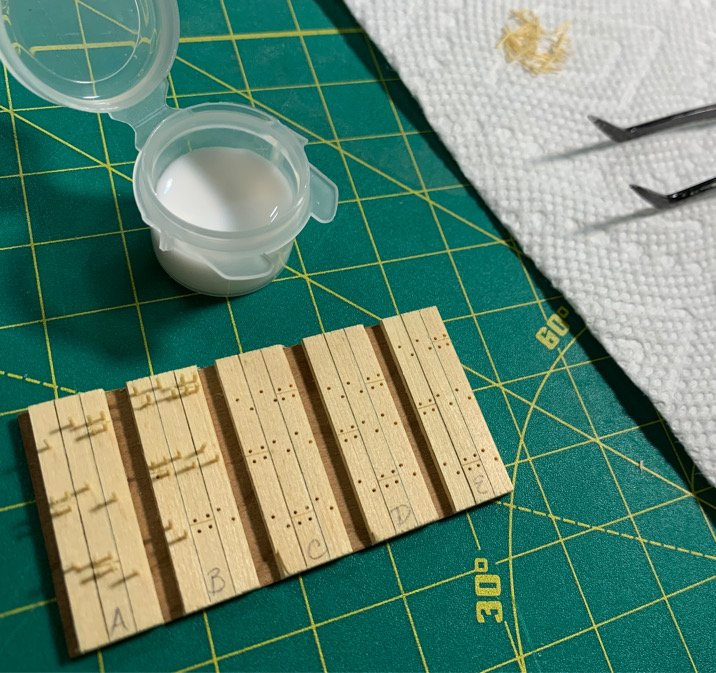
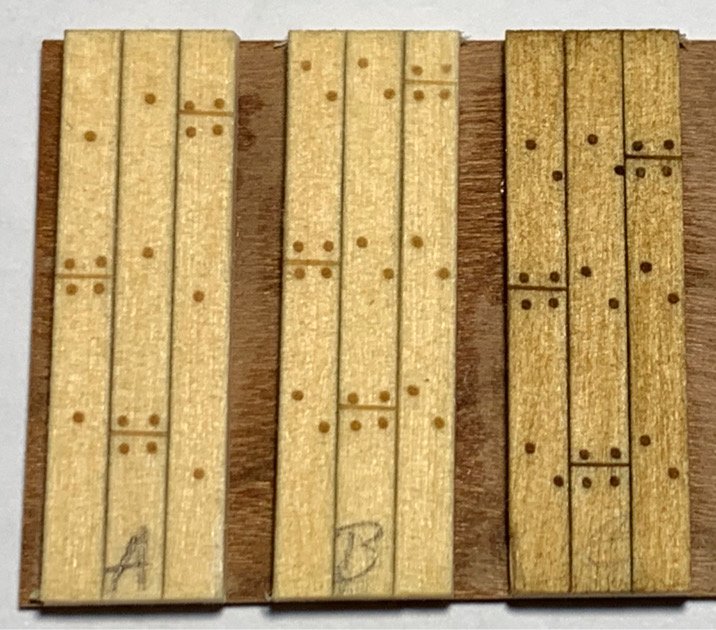
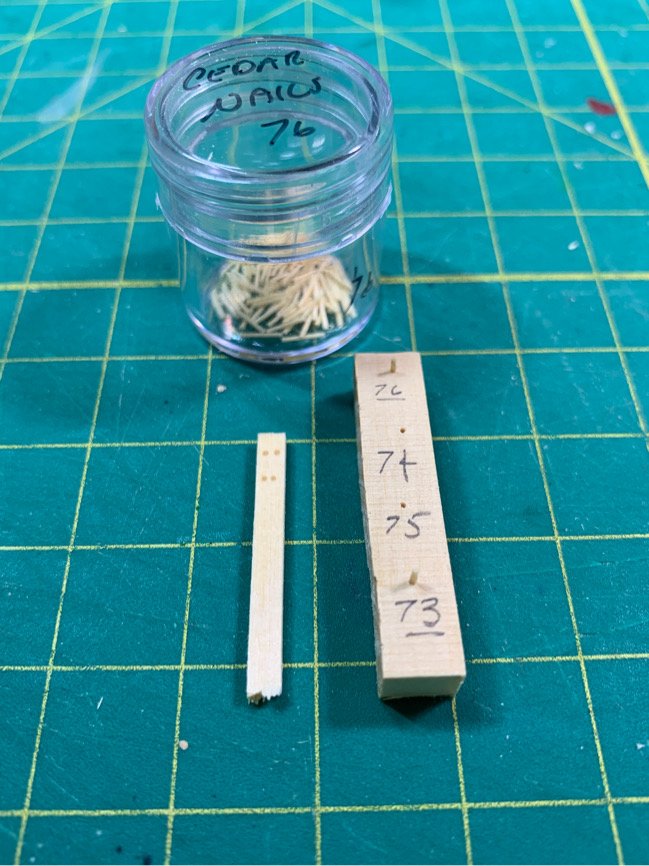
Thanks, Dave/Robin/All! The kind words, advice, and kudos keeps me motivated!!👍🏽 Just a bit on the drill...the #75 measures approximately 0.50mm. I believe Chuck’s example in his practicum used 0.55. So these are only very slightly smaller. Moving on to swatch #D. I decided to try a technique a friend from the Rope in Japan uses. He takes sharp (narrow) pencil lead to color in very slightly the nail holes before putting in the tree nail. After sanding and staining, the effect is a slightly darker nail with a halo around it...simulating some caulk. So...here I used a sharpened architect pencil and twirled the lead once in each hole. Added my tree nails...cedar. Gave the nails a haircut and sanded smooth. Followed by some natural stain. It worked pretty good! Upon close up you can see a bit better. I’m sure when the stain dries the nails might look a bit more subdued. I had given swatch #A and B a natural stain touch up to compare A/B/D with wet stain. I’ll update this tomorrow with some pics after the swatch panel dries to see the difference in the nails. My favorite right now is #D. Moving on!!!
-
True that...and a superb job! I'm both looking forward to and dreading my first plating job... But I deal with my anxiety by procrastinating as much as possible!
-
Looking really sharp, Steve!!!! Getting that plating on nice and straight must be a relief!
-
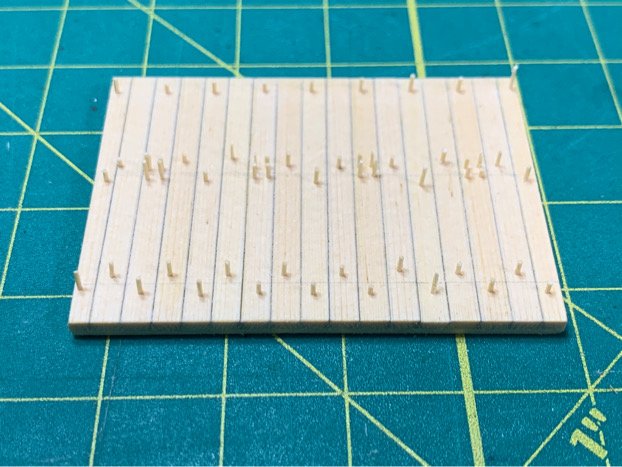
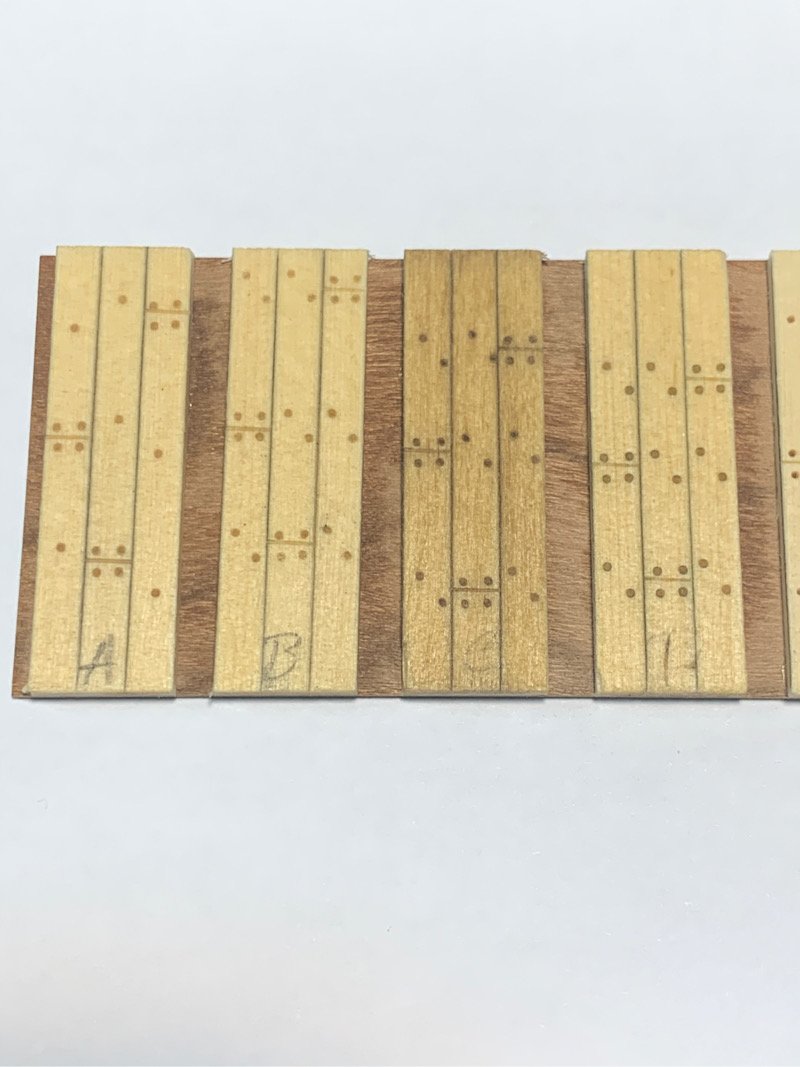
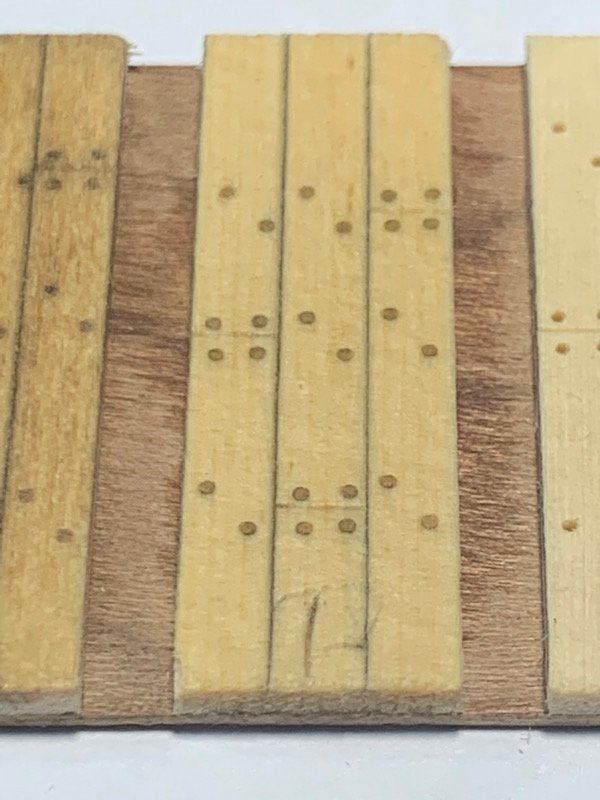
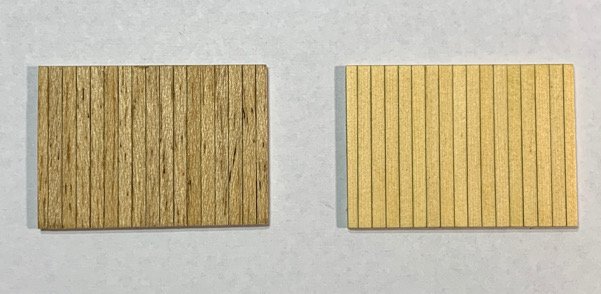
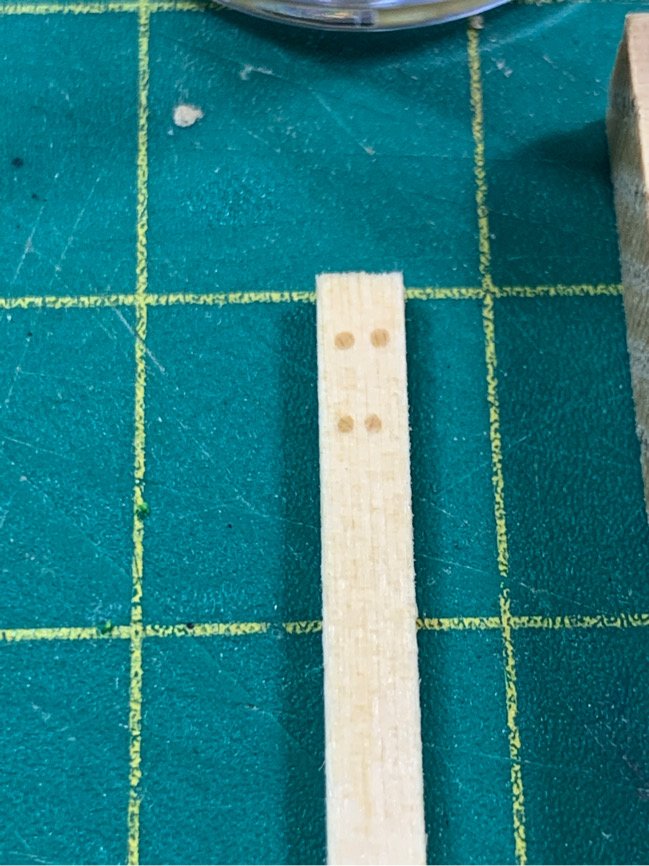
Decided to make a few quick plank swatches to futz around with the nails/glue/stains. I found using a flat pair of tweezers to dip the tip of the nail in some glue solution (2:1 water:glue) worked best. The cedar nails have some backbone and don't tend to break. Good to try now...the #76 drill bit hole was too tight a fit and didn't give enough room to play. No issues after moving to a #75. It was amazingly quick work. I made some 3 plank swatches and simulated the butt ends with a razor blade cut. I wasn't trying to be neat with the alignment of the nails...just wanted to see the size perspective. I think the small nails work well. I tried some natural stain (A/B) and some Golden Oak by Minwax. The cross grain of the nails really soak up the Golden Oak stain and truly stick out. The cedar planks absorb the stain very evenly...very little grain interference. I like the more subdued effect of the Natural stain. I might try some more later using basswood treen nails, but at least I have some clear idea of technique. The nail pattern for B and C are identical. A bit on the fence on the double nail pattern. Did some light sanding on the bulkheads to even out the bow...no issues. Moving on!!...
-
Howdy, Bill. See my 2 cent answers. Nice to watch your BLOG!
-
I totally agree with you on the basswood. It is very hard to work with and get and edge, Sanding makes it extremely hairy as well... Regardless, you have done a stellar job with the kit supplied wood!
-
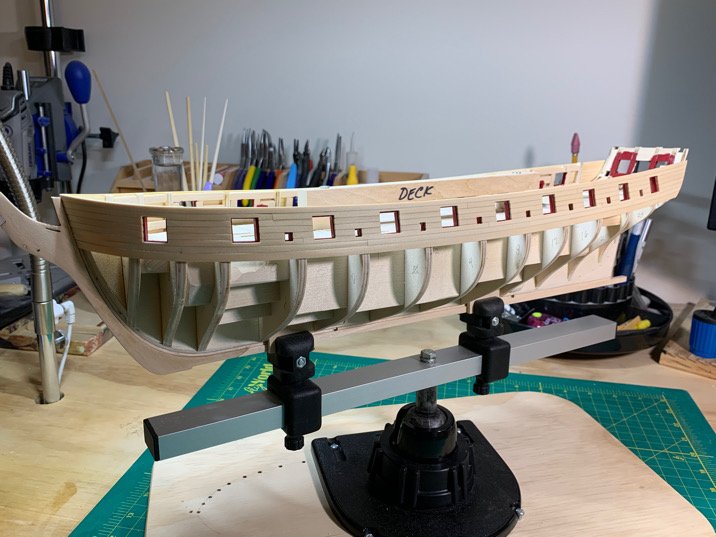
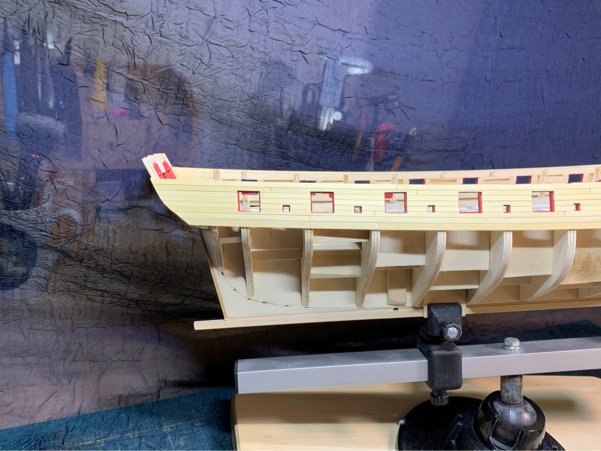
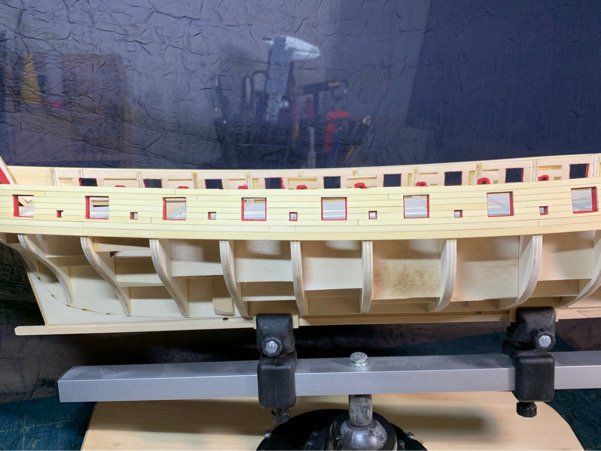
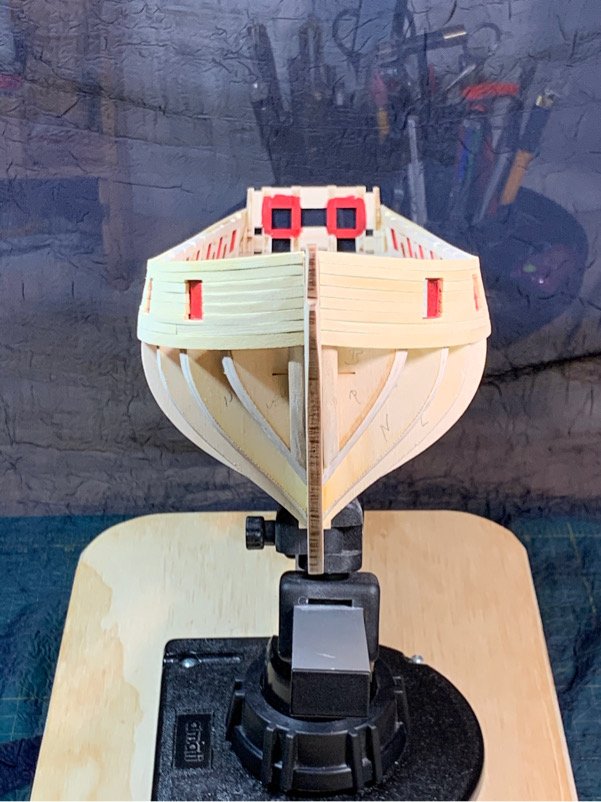
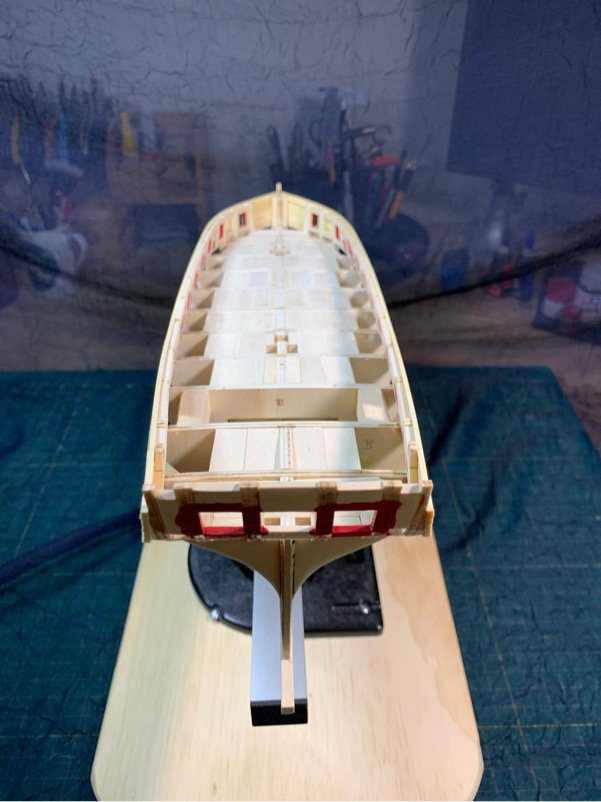
My fourth of July update...was able to overcome my irritation at the stem nearly popping off, only to replace it with another (hopefully minor) irritation. I bit the bullet and completed the bulkhead planking on the starboard side. Overall, it looks ok. However, that slight 'up sweep' at the bow did cause some issues more on the starboard side than the port. You can see from the pics that the bow planking has a minor 'stair stepped' look as it progresses up the bulkhead. This is from that curvature which I should have (lesson learned) corrected when I initially put in the wales. Even so, I think I can remedy with sanding (fingers crossed). Everything else looks pretty good. I also decided to redo my false deck. The original false deck was basswood stained with Golden Oak - and it was really bugging me. It just looked trashy. So I took some spare cedar stock from my bulkhead plank leftovers and remade the deck with pencil to simulate caulking and natural stain. I love the cleaner look...call me picky. Moving on...
-
Well...that’s the goal! 😁 We shall see if I keep up my internal promise!
-
Happy 4th! Took some time to continue planking the Starboard side bulkheads. Not as clean as the port side but hoping sanding will level out some of the rough spots. Pics on this later. Created another nail punch using a smaller gauge needle. Worked well. The new nails fit a #76 drill hole. Meaning I can get 2 tree nails into one plank without it looking too oversized. Although I’m sure it is still over sized!!!! The tree nails on the bottom are a better choice I think. Decision made. 👍🏽 Moving on!!!
-
Just FYI that my mini drill press and x-y table/clamp assembly I got from micro mark. It was very reasonable. I’m sure the Proxon model is similar and gives the same results. I use mine all the time. 😊
-
That it 1000% better than the metal pieces. Nice job!! Isn’t it great taking pics of your own great work?!
- 950 replies
-
- 4
-

-
- syren
- model shipways
- (and 1 more)
-
Robin, your build is inspiring me. Not sure what my advice means! I’m very much a novice! 🤣
