


RGL
-
Posts
5,106 -
Joined
-
Last visited
Content Type
Profiles
Forums
Gallery
Events
Posts posted by RGL
-
-
So you should get it finished then! A whole week!
- cog, Piet, popeye the sailor and 2 others
-
 5
5
-
So did I, but a career and kids killed that. A 10 year build of the endeavour and moving several states did as well.
- Canute, Eddie and popeye the sailor
-
3
-
Hahaha, you'll eventually come to the dark (plastic) side Danny. Feel the force.
- Captain Slog, Eddie, Canute and 1 other
-
4
-
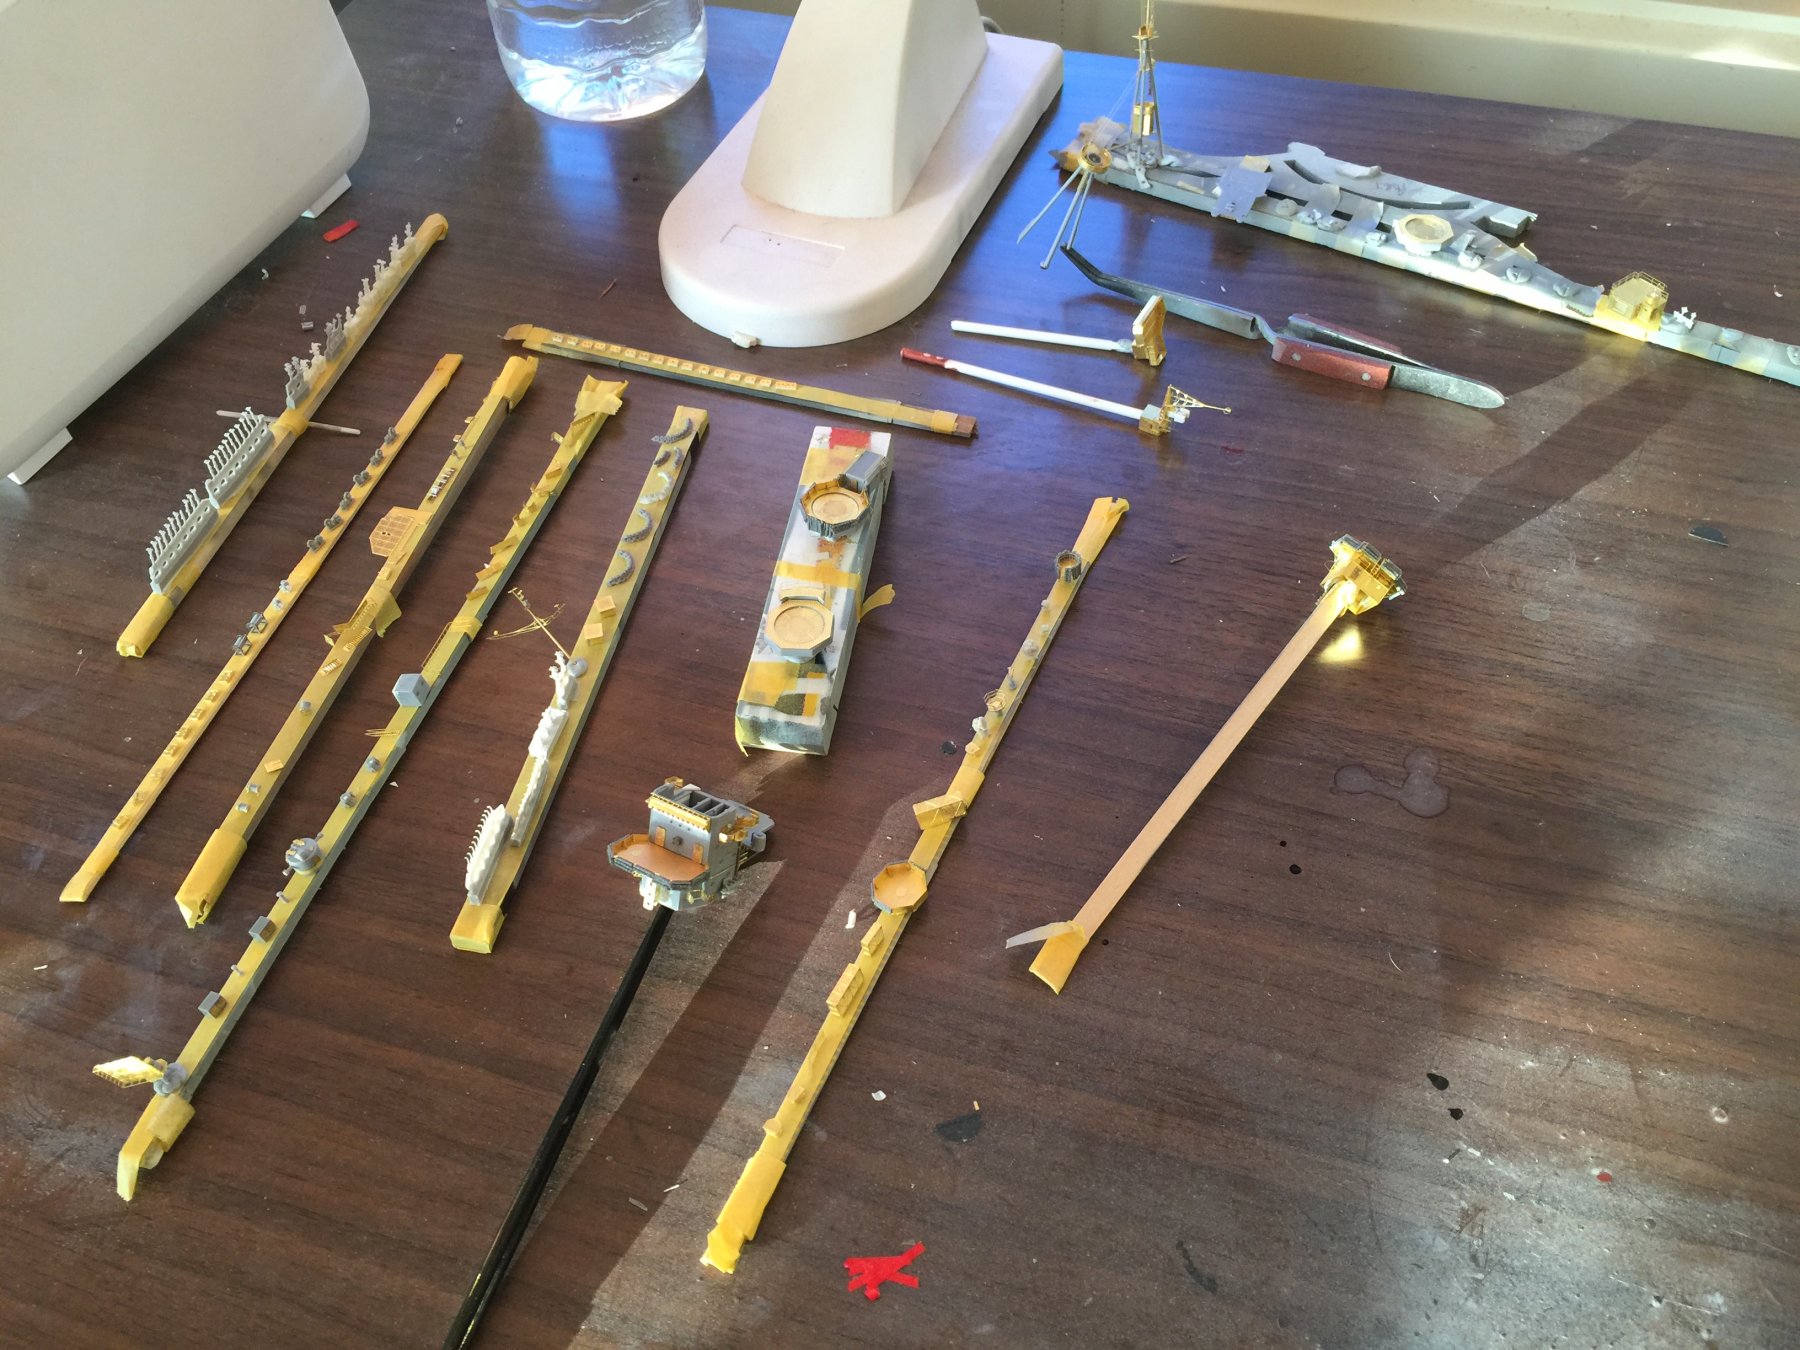
About 60% of the deck fittings ready for the primer coat. It's amazing how all the detail gets away from you. Not included (nor started), lots and lots of guns and vents, 3 stacks, davits, stanchions and awning stanchions, depth charge stuff.
Airbrush comes out tomorrow......

-
-
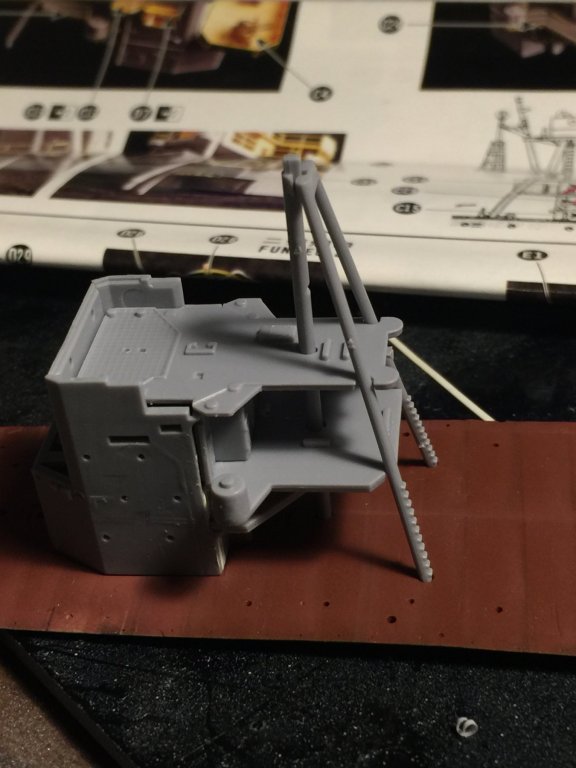
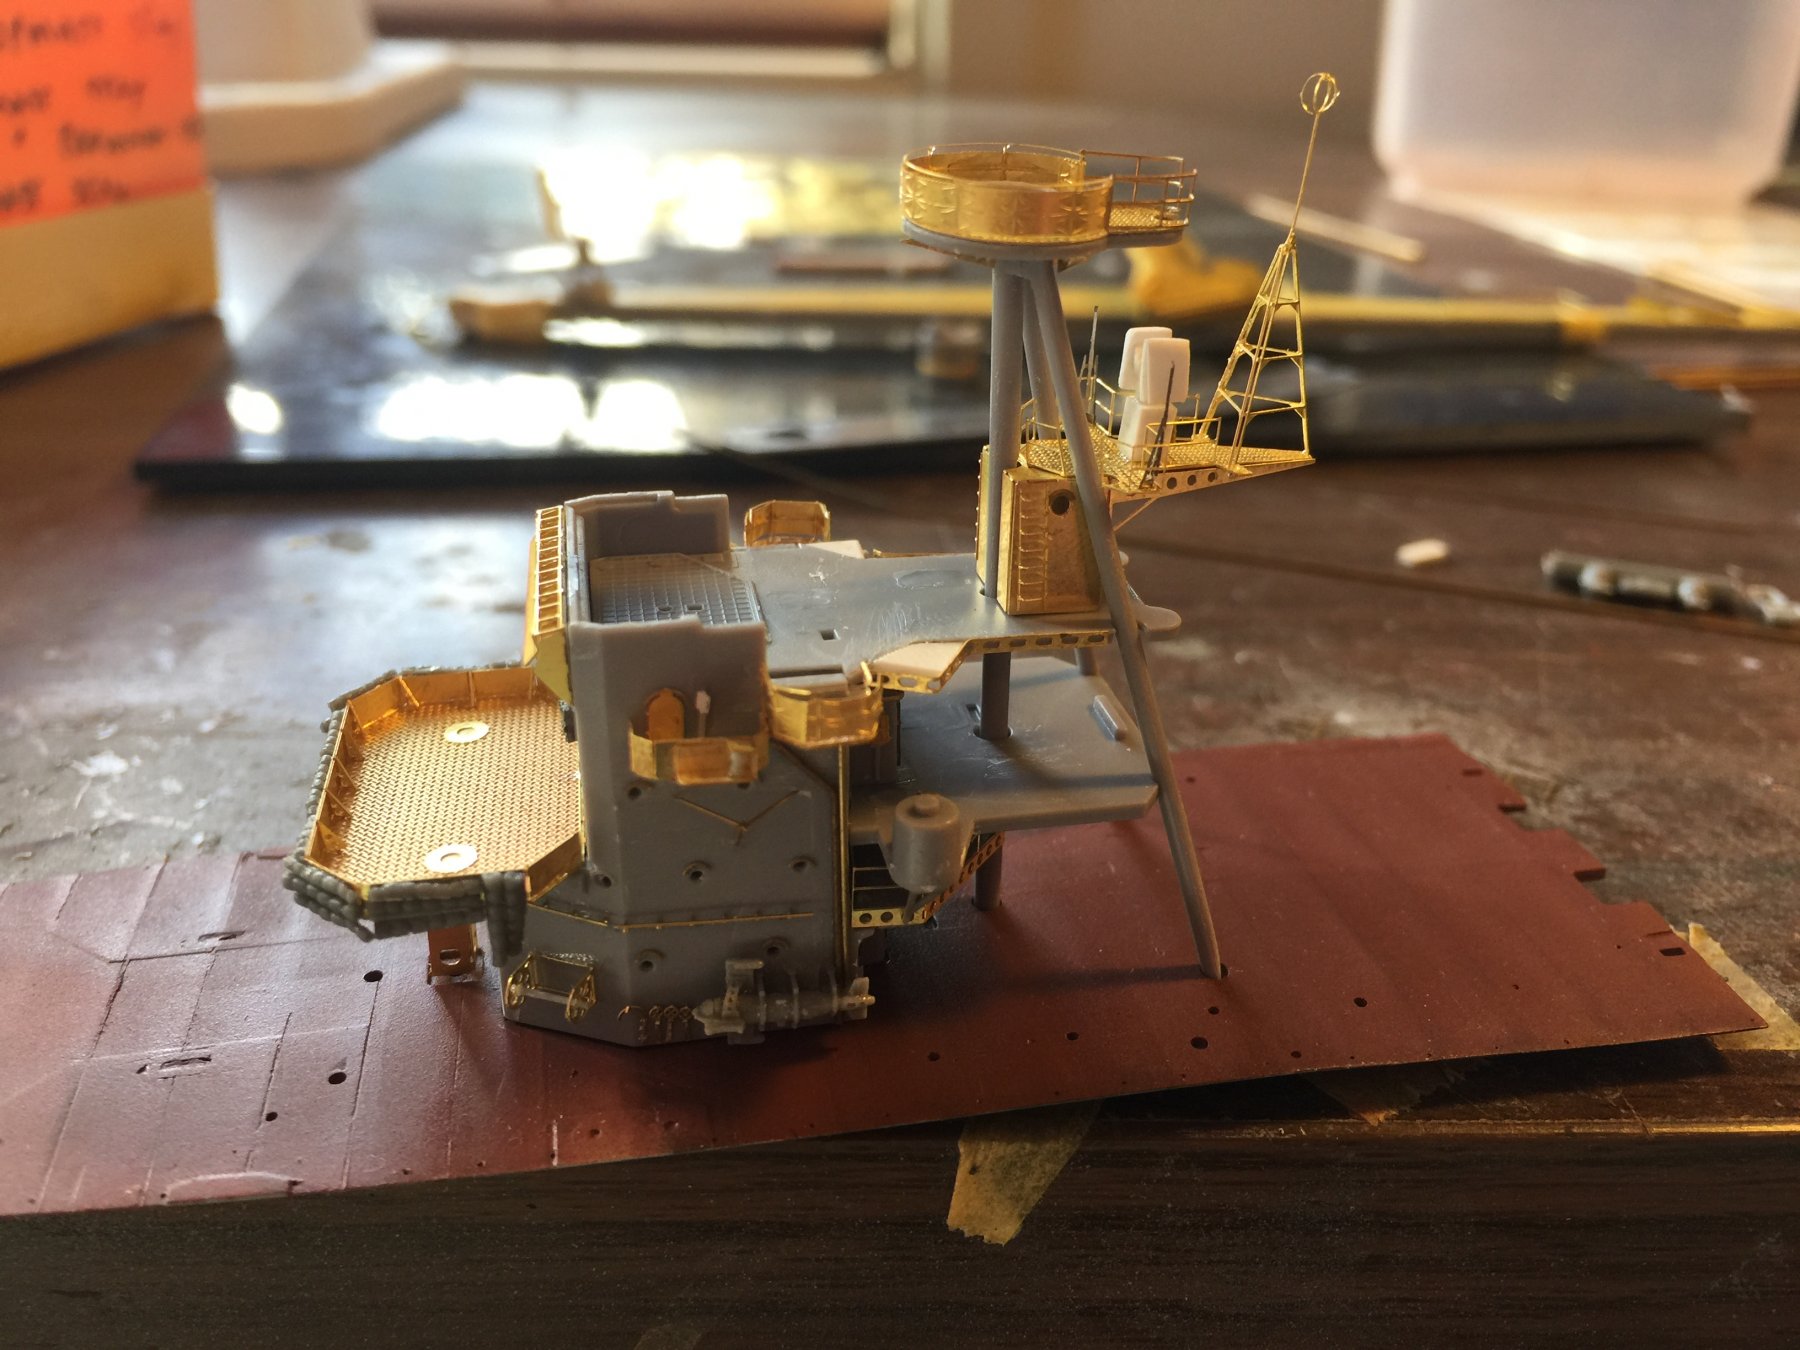
I'm sorry to bore people cluttering up your feed, but..it's a build log! Dryfit of the forward tripod mast to see how the balance is and I'm pretty happy, sanded off the ladder rungs which I will replace and the radio mast to go (which, I have lost or didn't get so I replaced it with a spare brass mast.
Starting to come togeather.

-
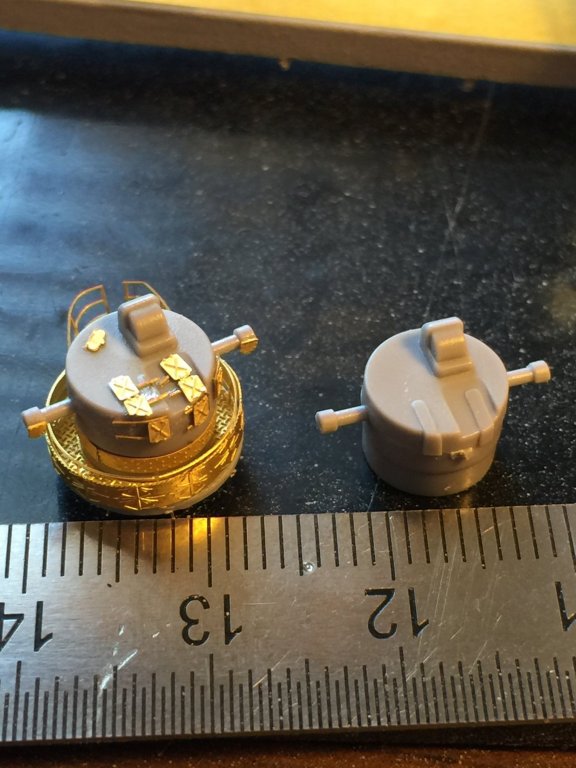
Yes mate, they are the pedestals for the fire controllers that I will plonk on top when I paint them. I have added hatches behind them otherwise one could not climb into them!
I think EW was pretty rudimentary at this stage in 1945 as the IJN was struggling to keep its head above water!
-
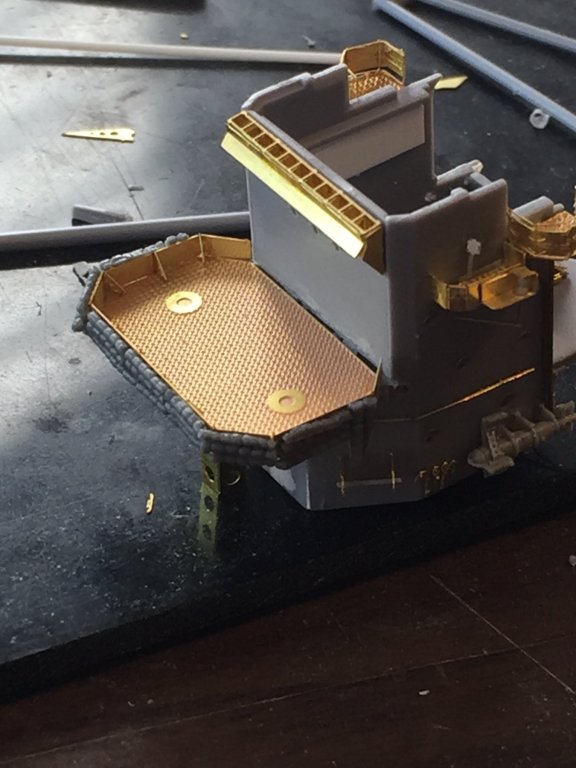
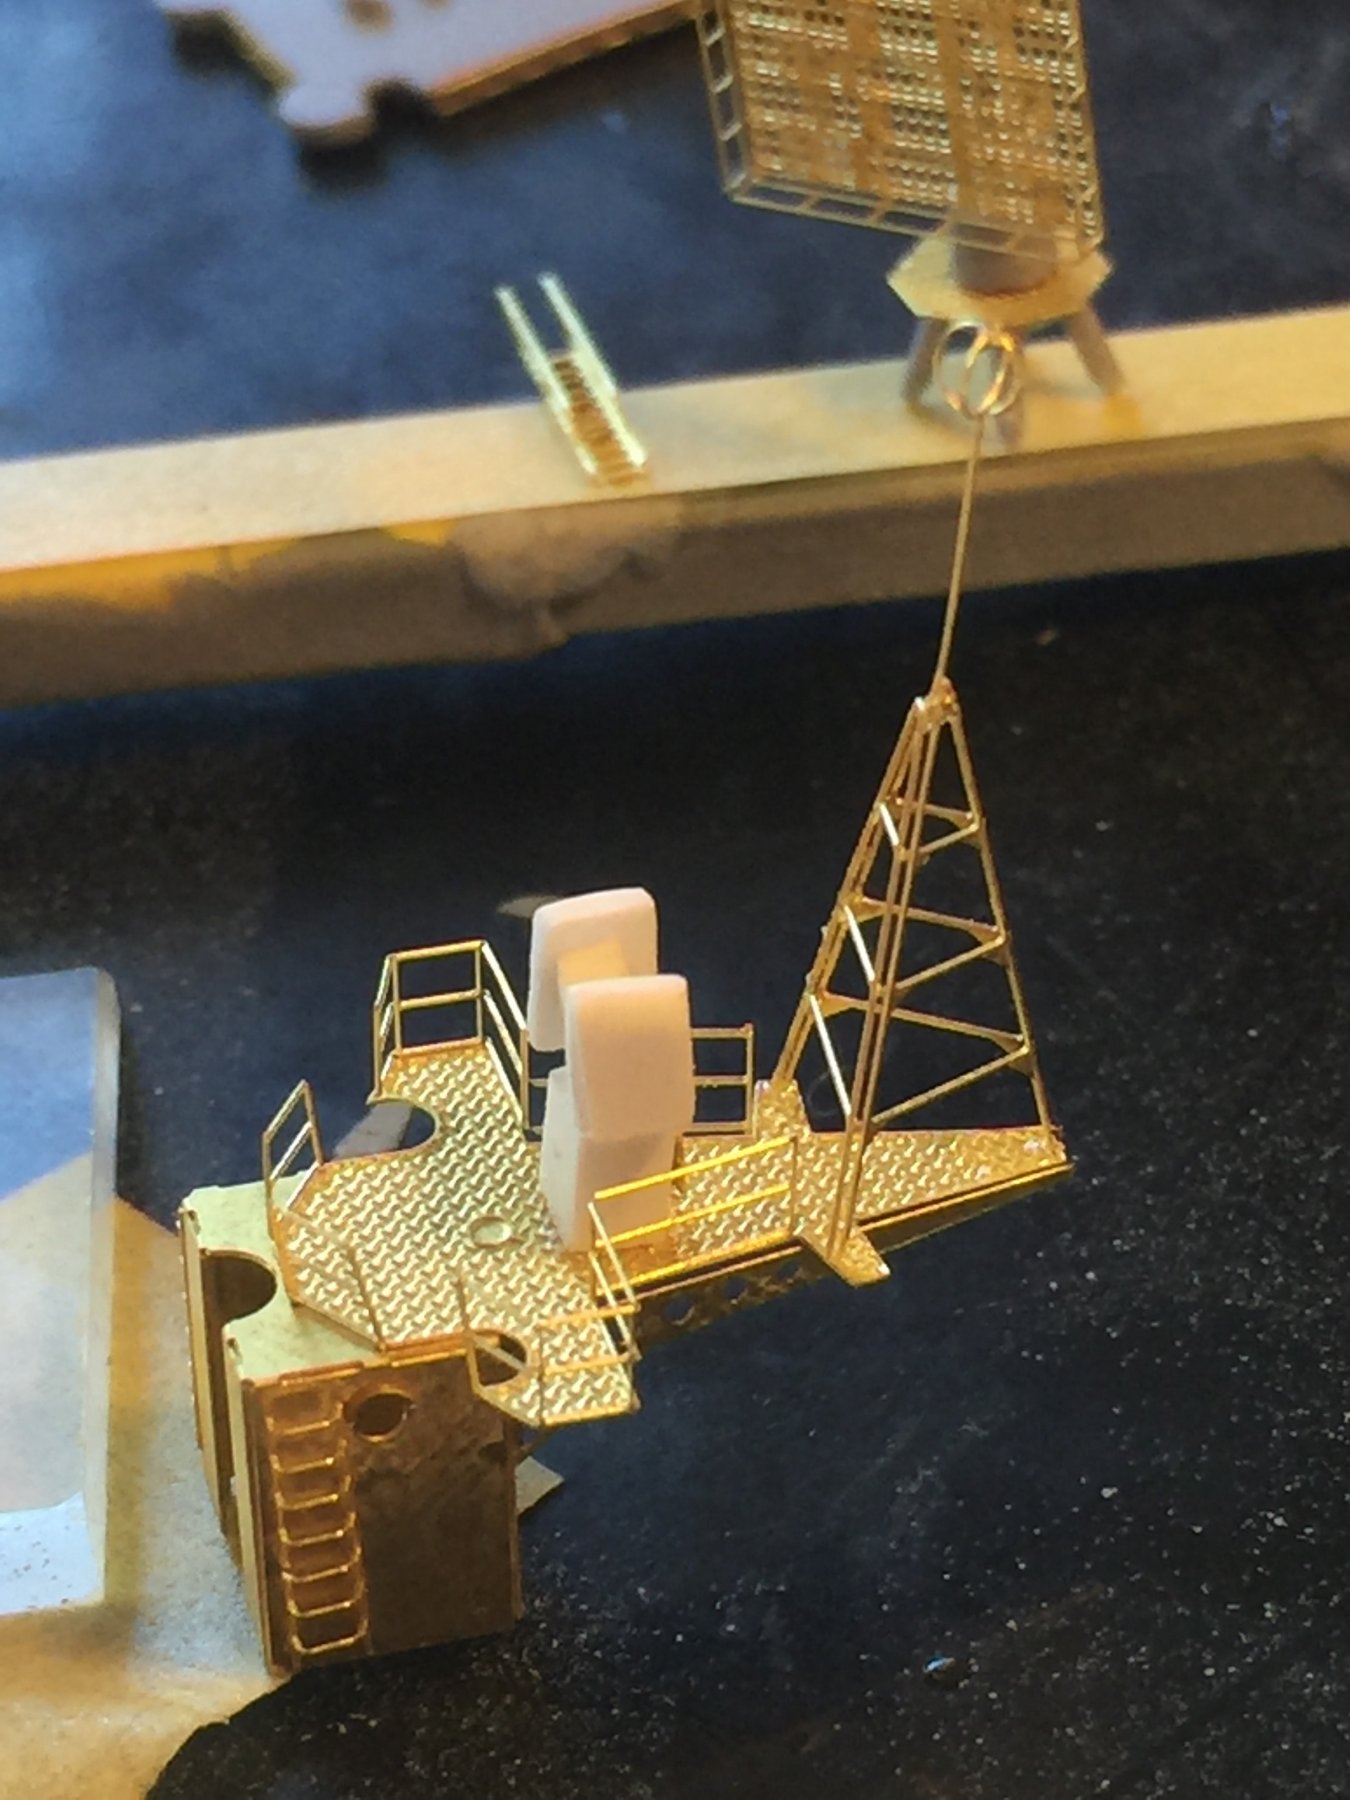
Foremast range controller and platform complete. Added a few details to make it look a little better.
The platform itself has a PE deck and rails as part of the upgrade, with triangular gussets underneath it, and the railings sand additional gussets were shaped on brass rod to make the circle.
- src, Captain Slog, WackoWolf and 8 others
-
11
-
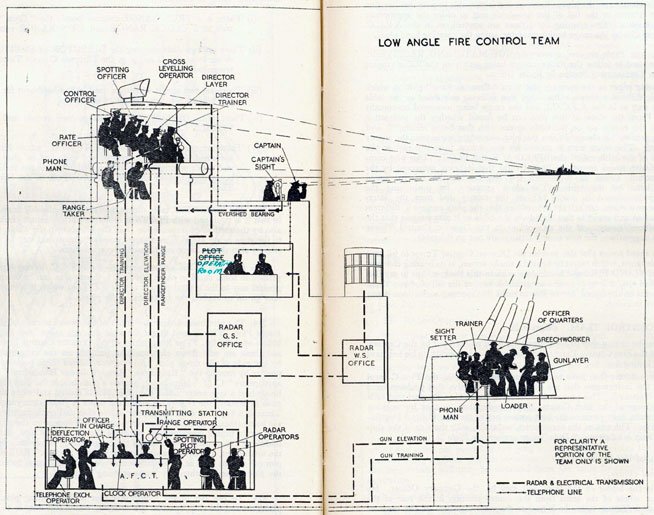
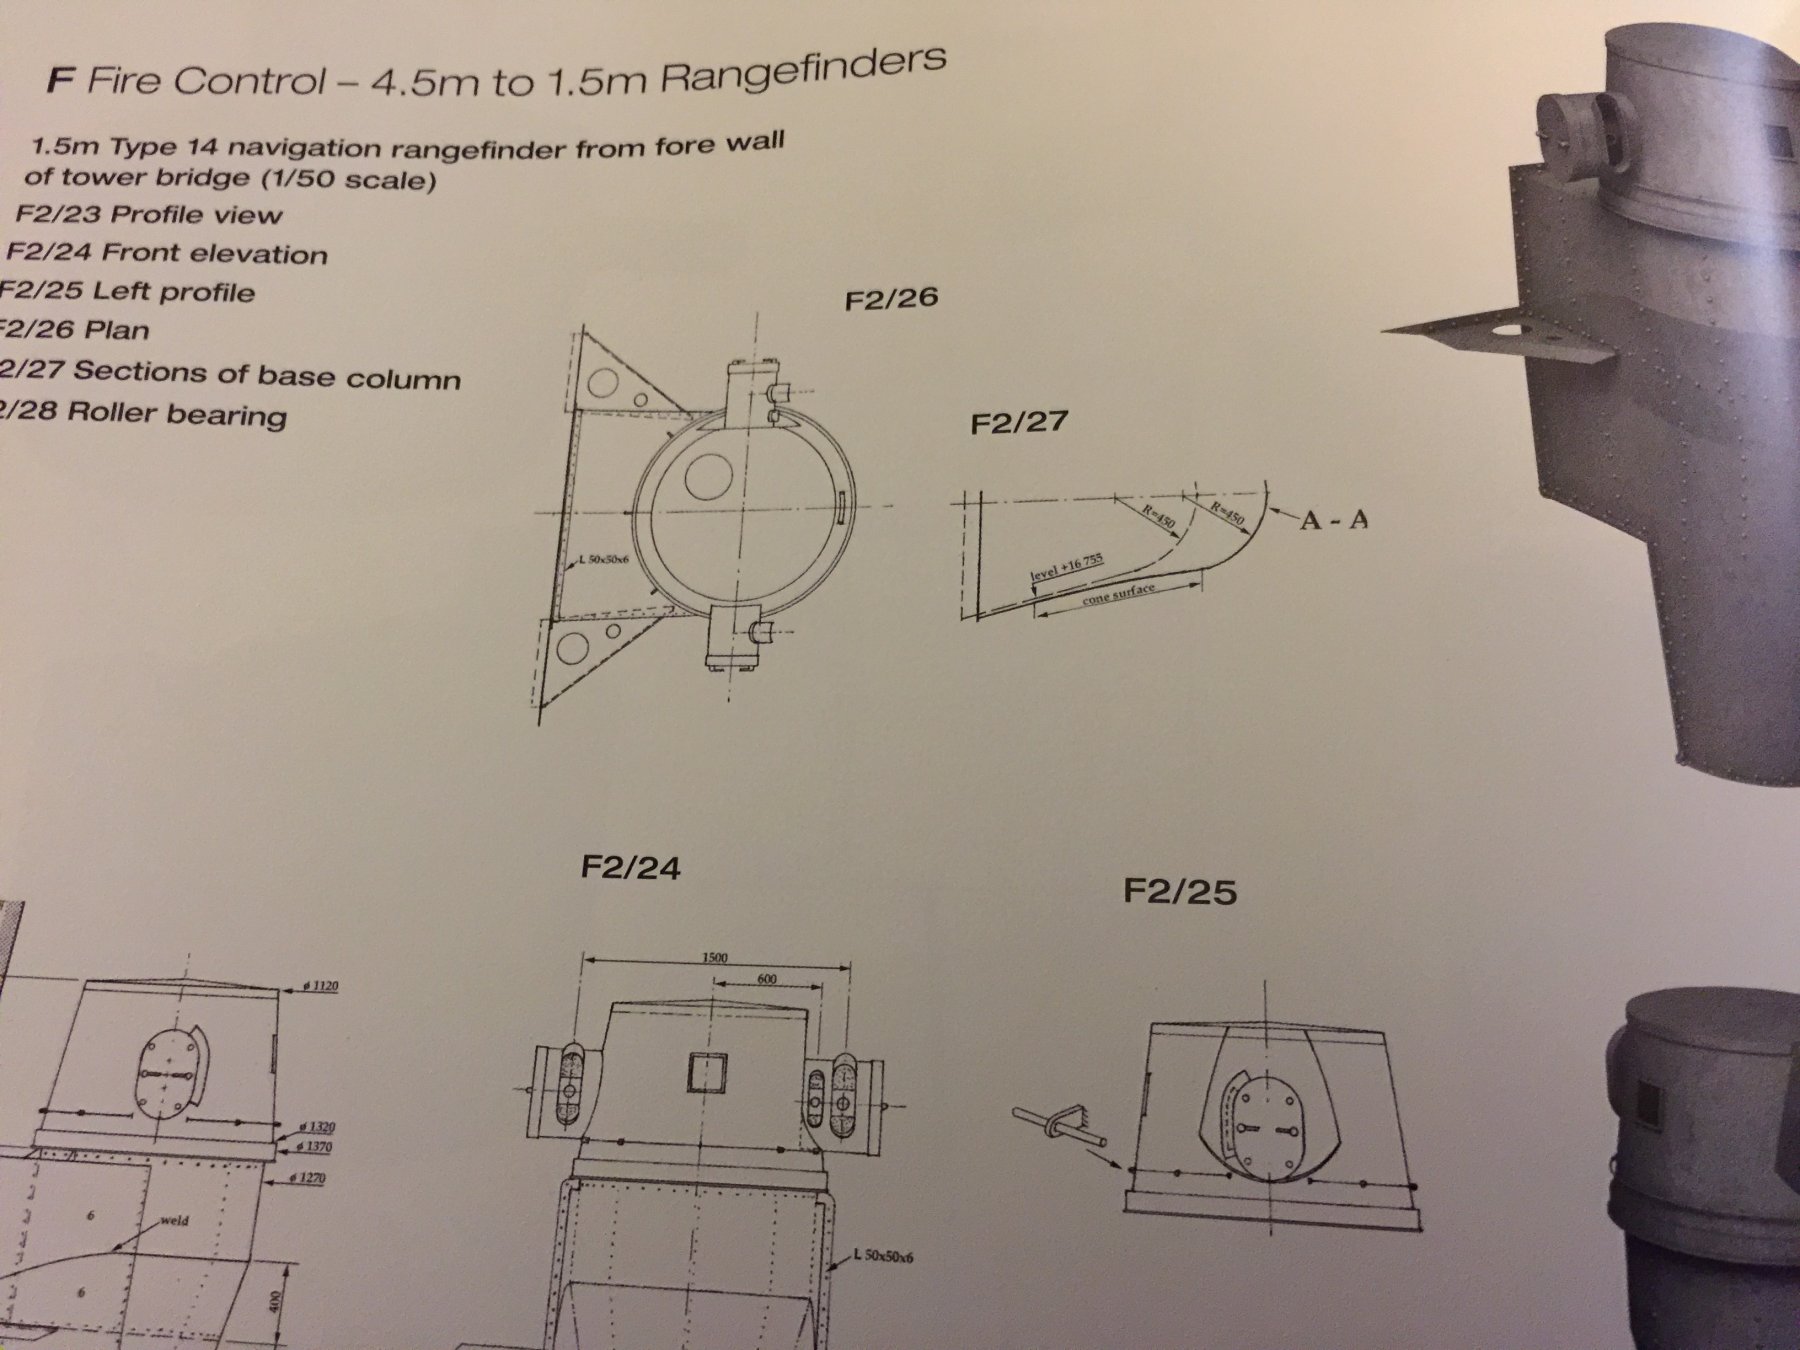
Pat, is this what you meant? I included a picture from one of your Navy text books.
- WackoWolf, cog, popeye the sailor and 3 others
-
6
-
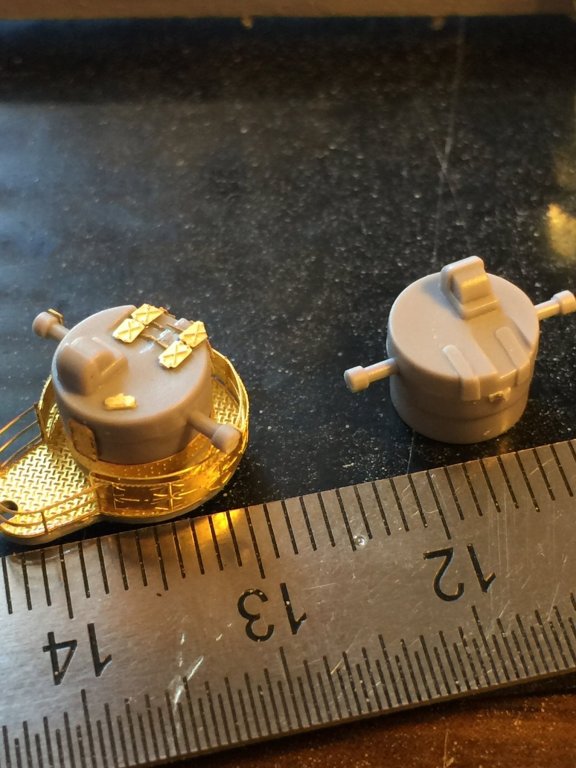
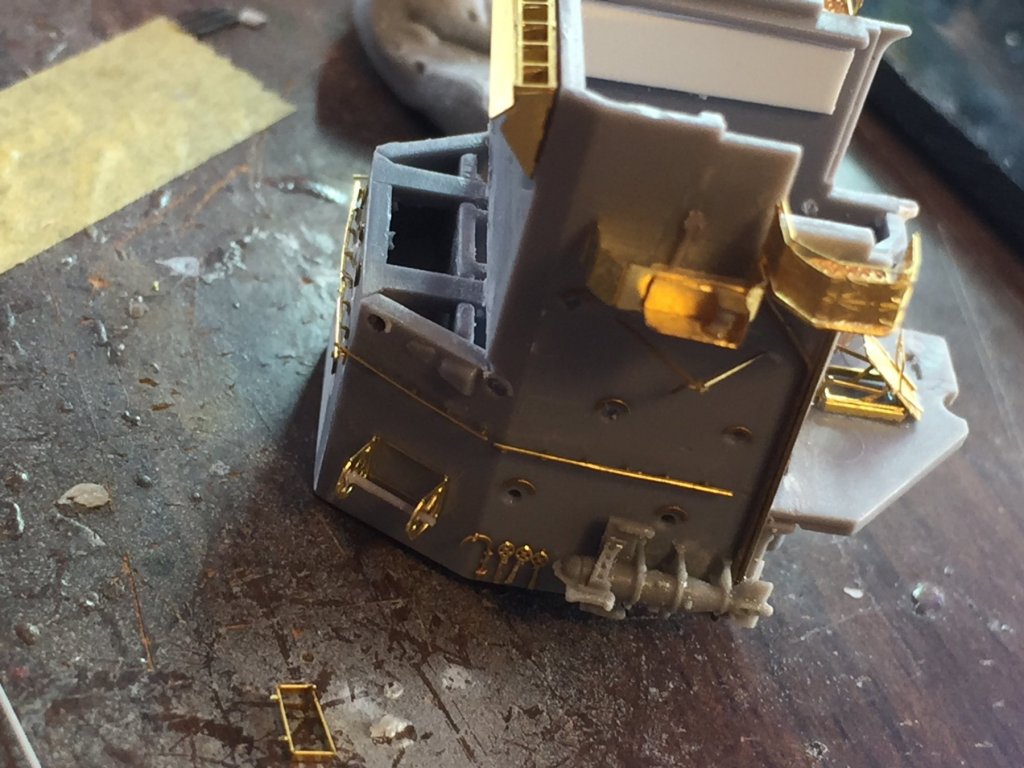
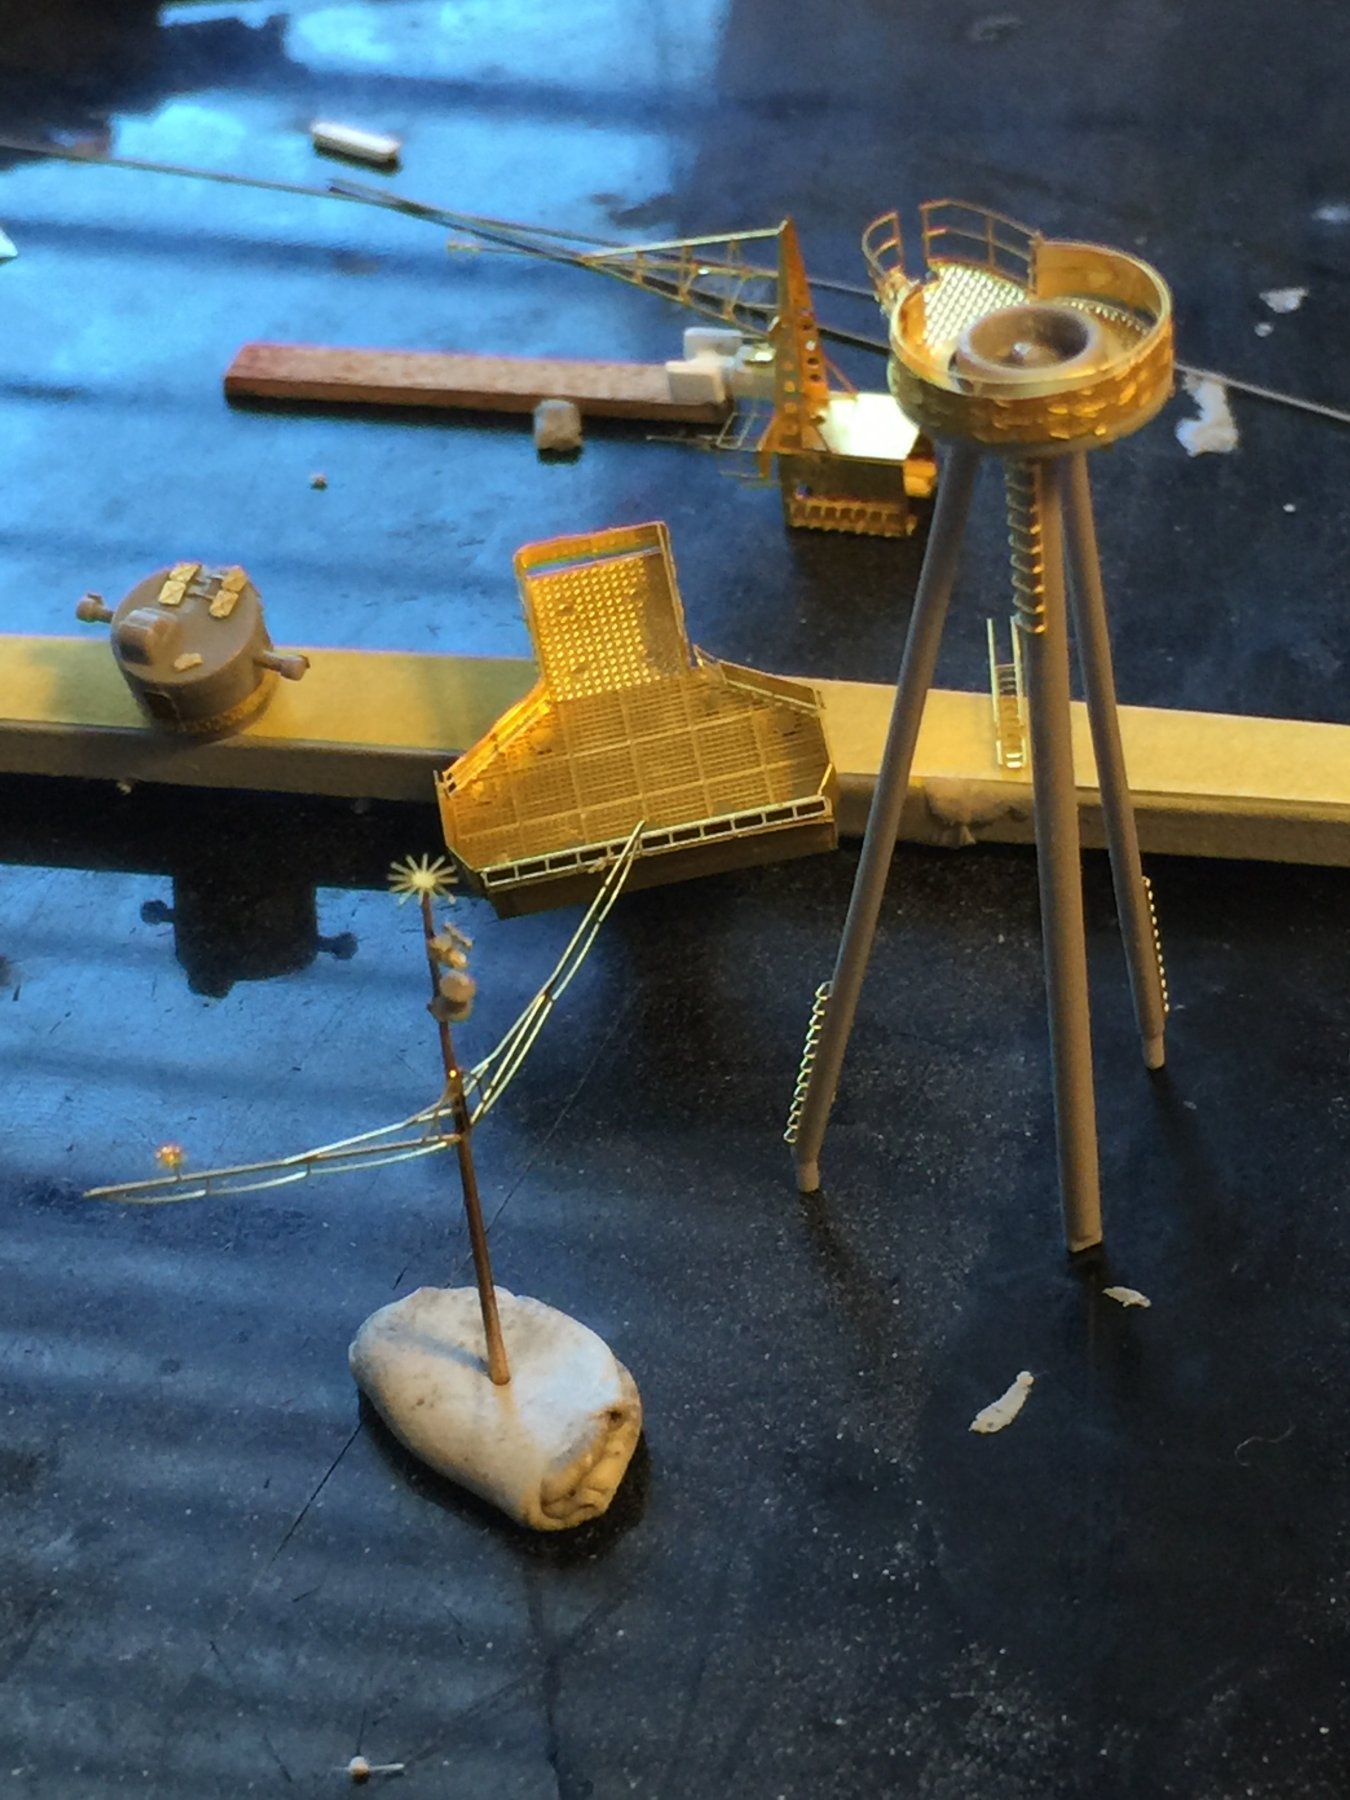
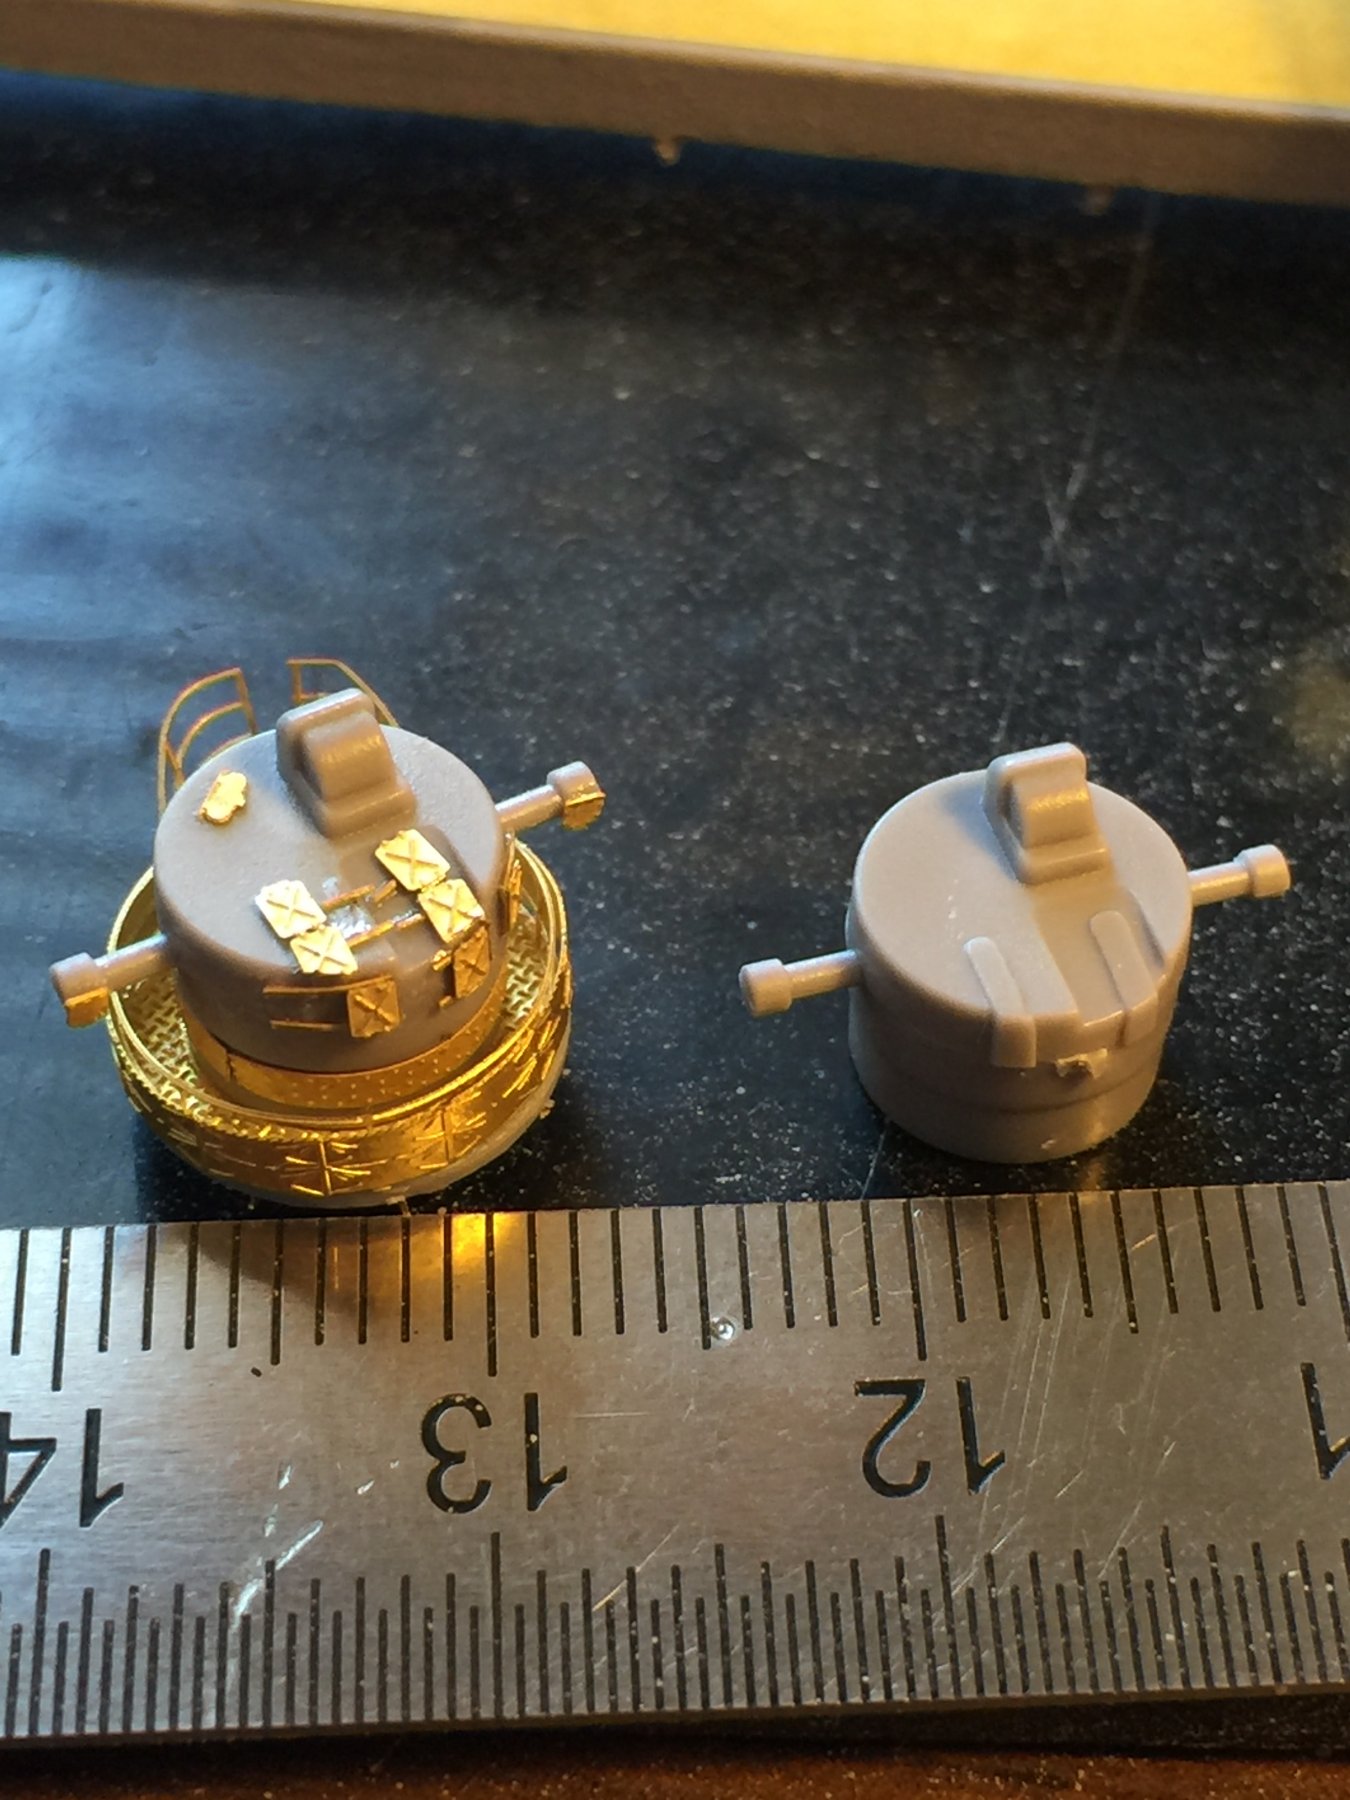
Pat, they aren't covered domes, they are just platforms that will have binoculars behind them (I think that's what you mean), the radio DF finder is above it, and I've scratch built a vent that appears on the Morskie plans. The radar is in the back ground and the top bridge is done (if that's what it's called).
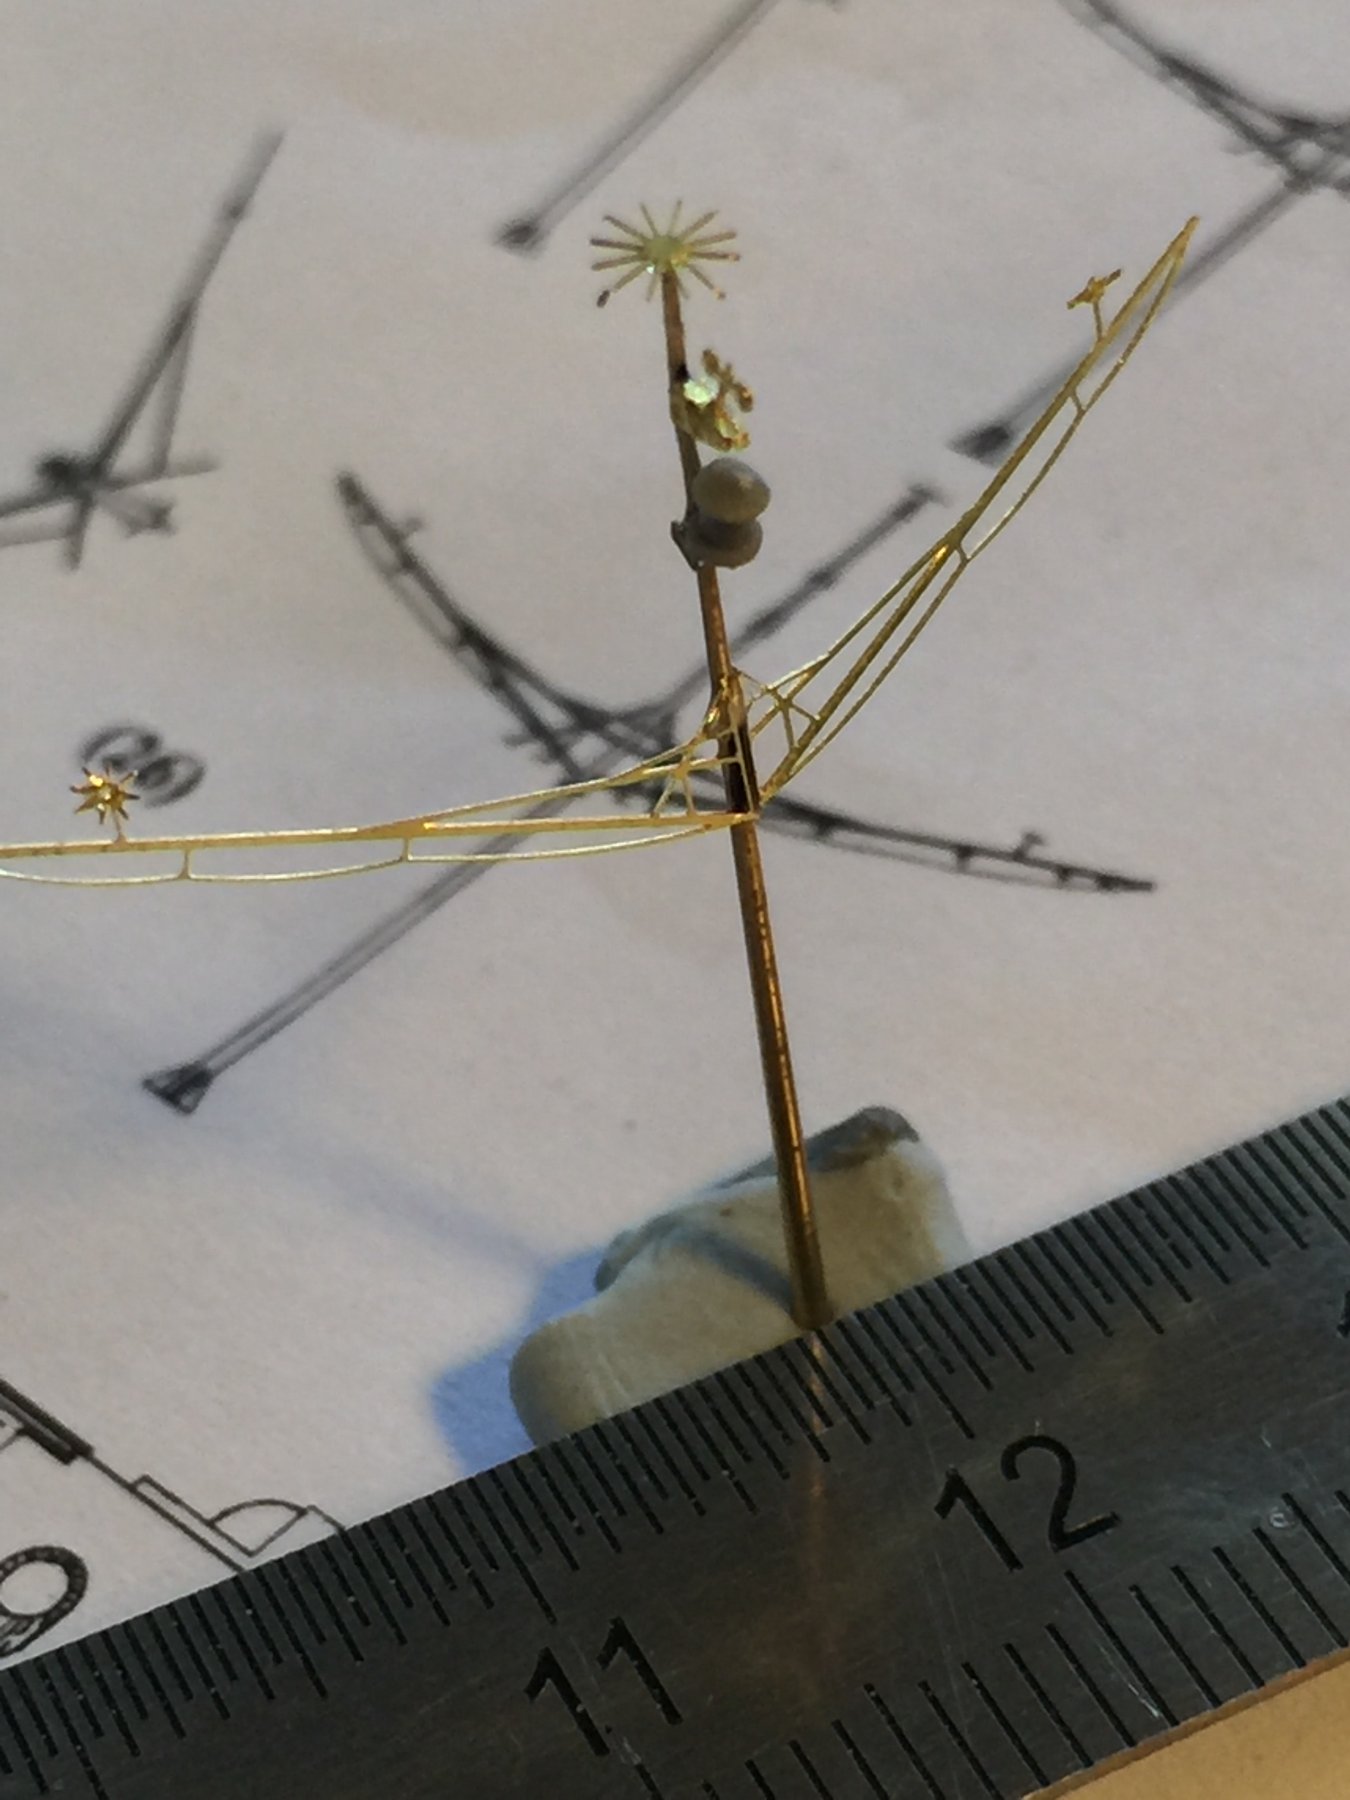
Im now working on the very top range director that will go on the tripod mast, once that's done I'll fix up the mast itself and I think it'll be ready for a lick of paint.

- WackoWolf, hexnut, Ryland Craze and 8 others
-
11
-
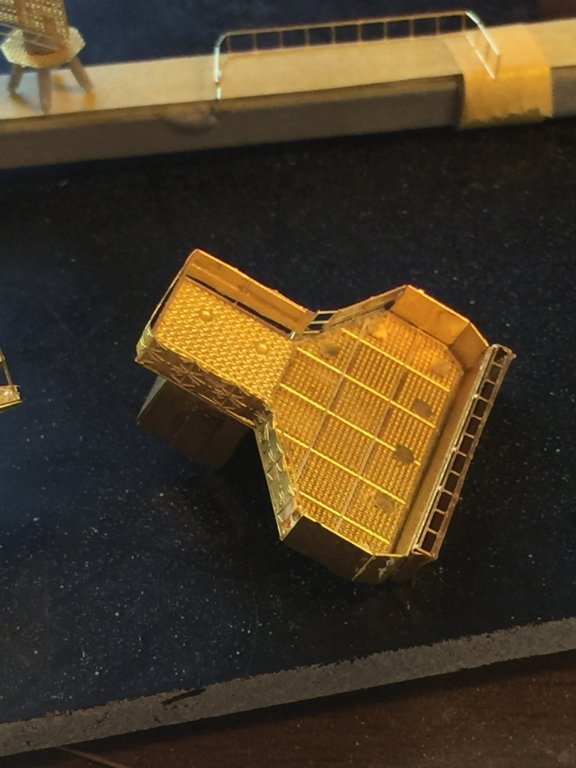
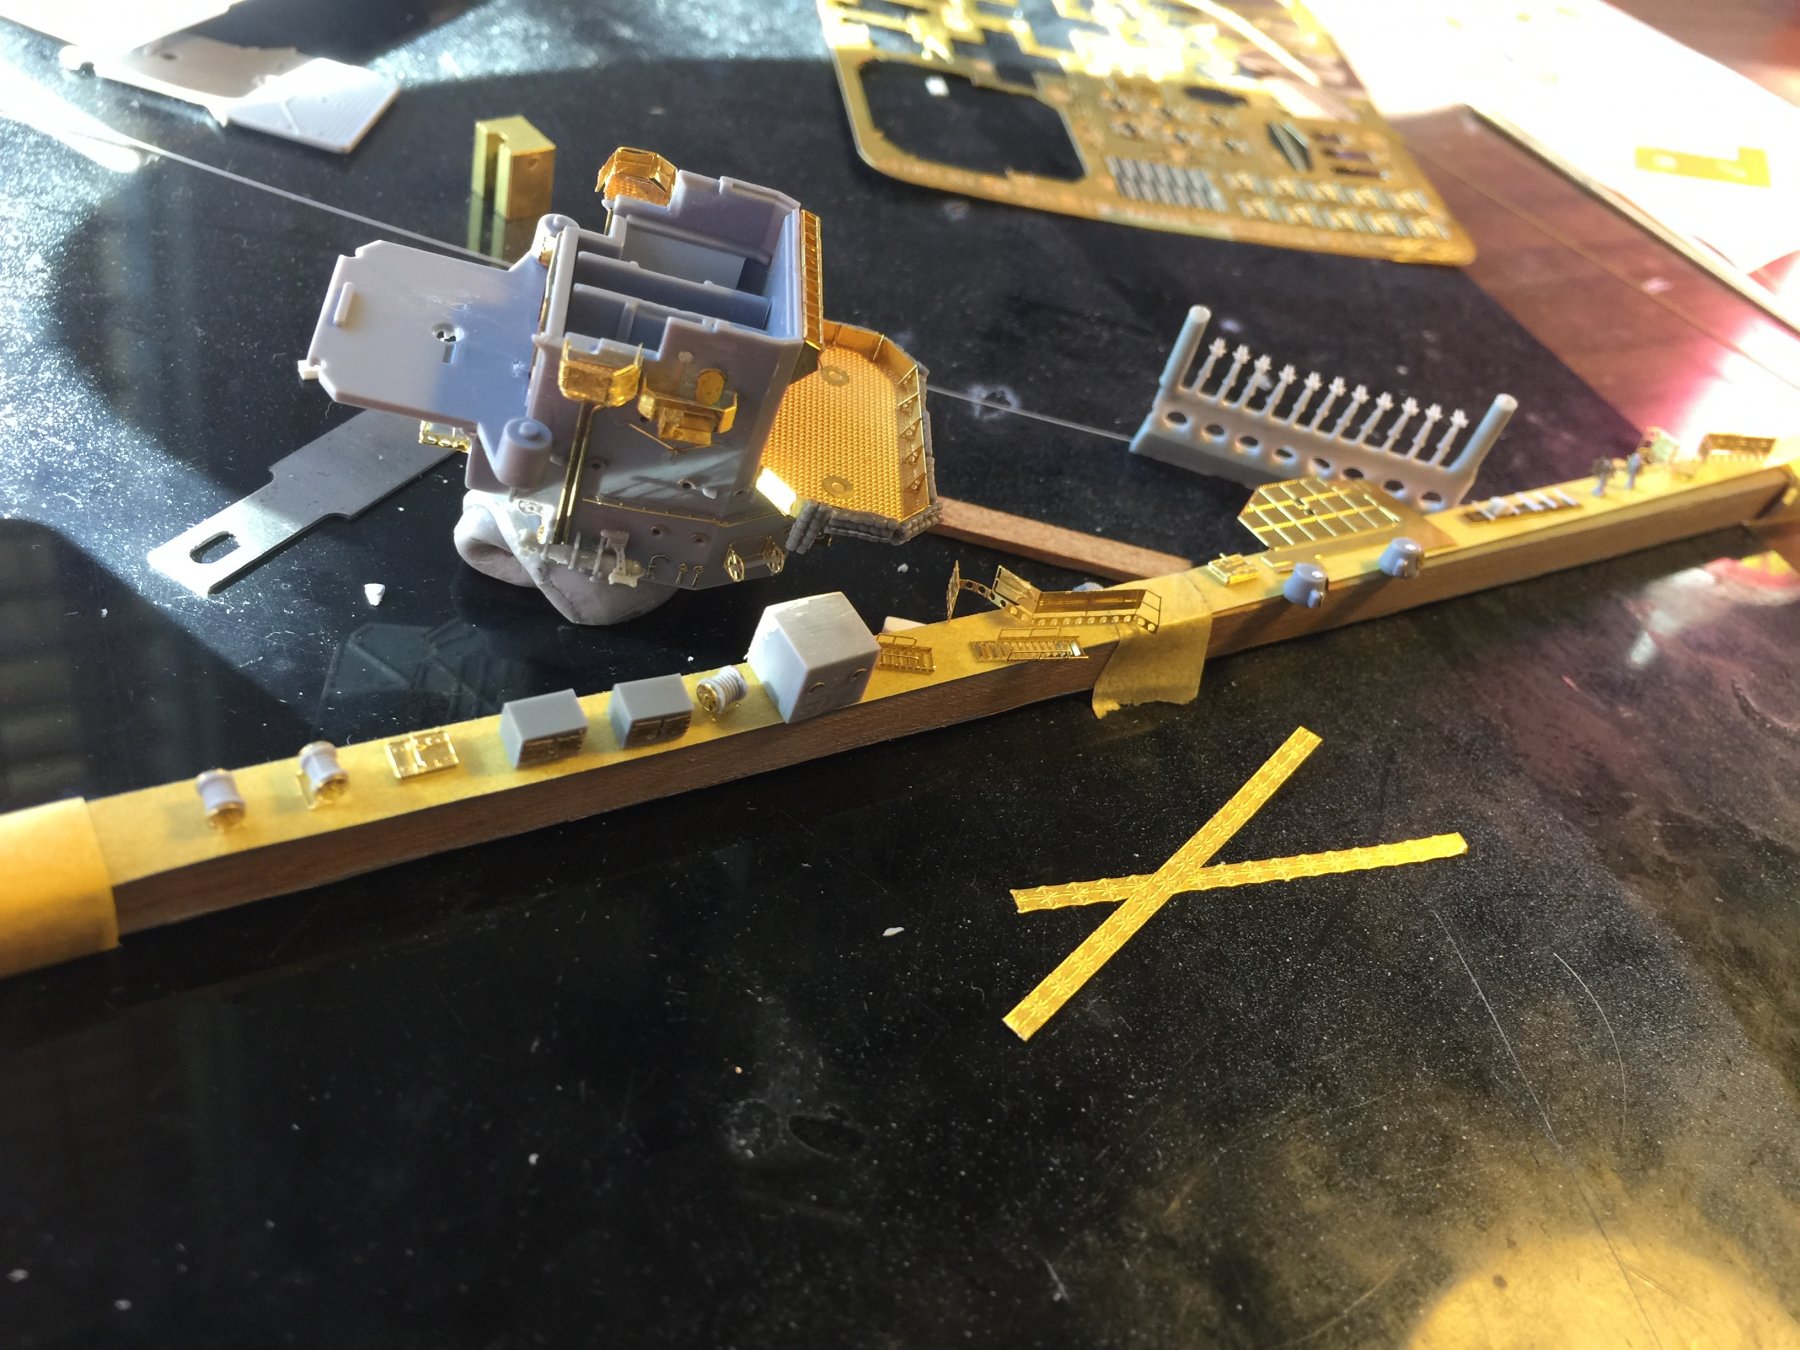
Only 2 decks to go on the bridge! If you zoom in on the original photo, you can see 2 doors at the platform with the 2 triple 25mm's. No one seems to have noticed this small detail. The two small range finders on the 1st deck have support struts (added),and there is a cable from at the rear on the edge of the first deck.
Everything is now done for deck 1, 2 and 3, Just needs painting. As the deck will be brown and everything else grey, it will have to be piecework.
The railings and dodgers (you can see some offcuts that are glued onto the rails in the foreground on the black cutting mat, whiched will be painted off white), will be added last to ease handling once I figure out how to get the tripod mast done.
2 to go.


-
-
Well done, that was a horrible part of my build.
-
-
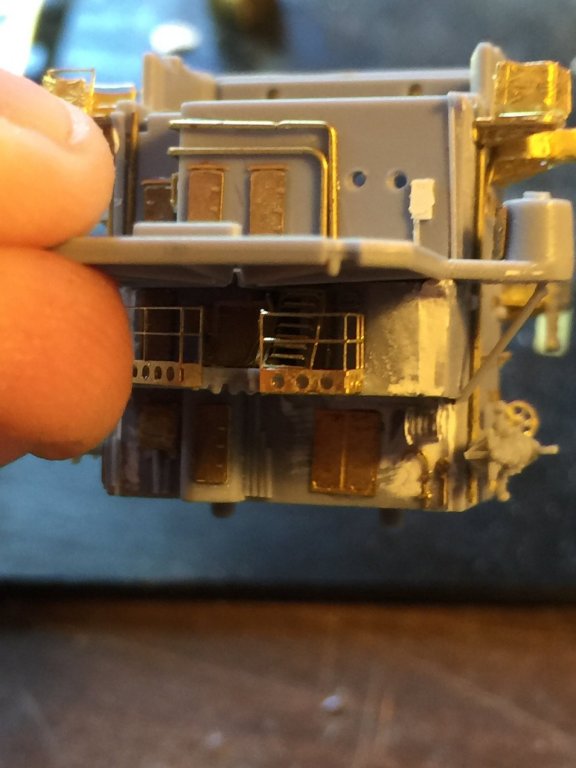
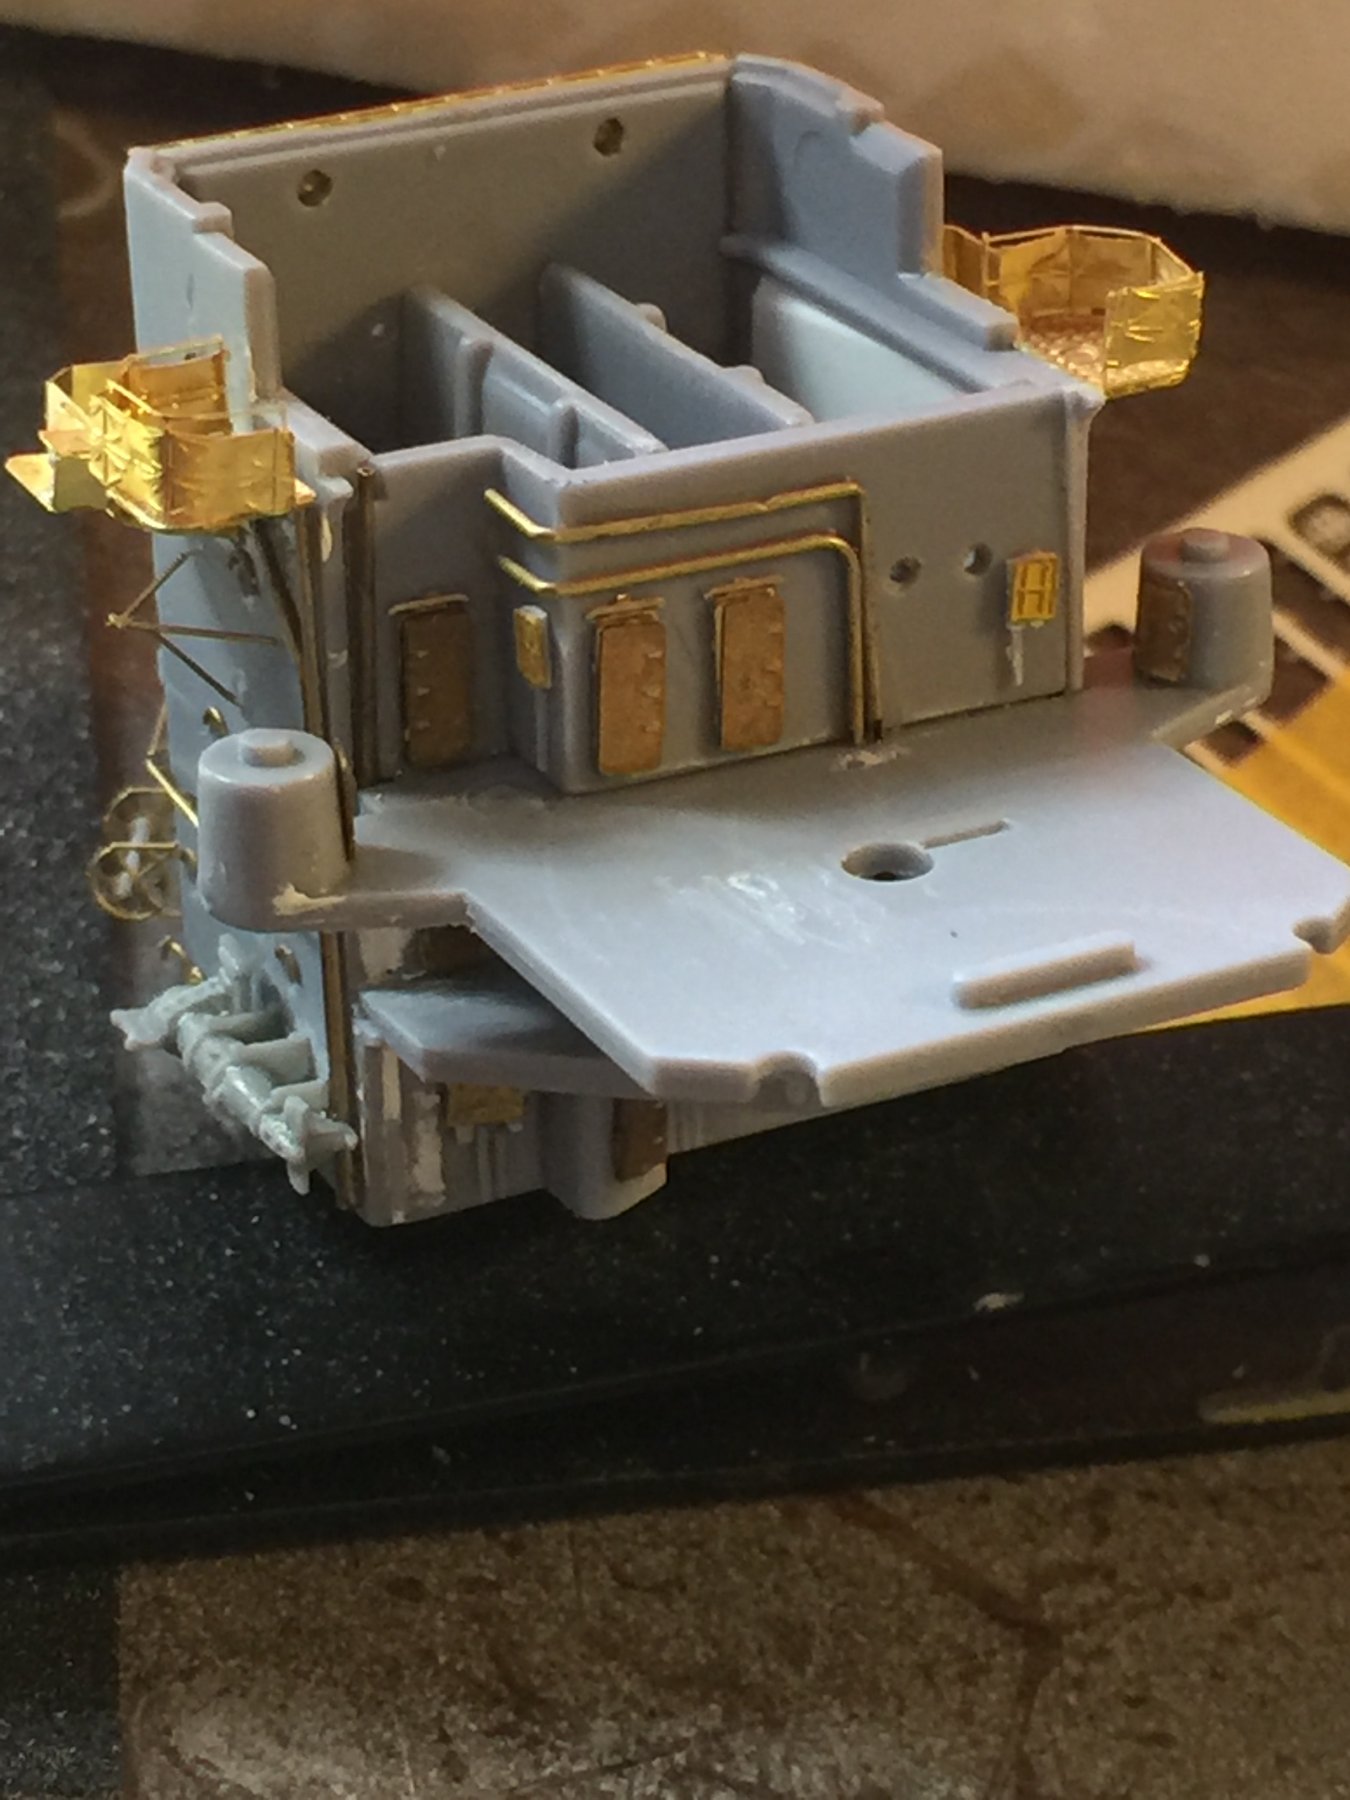
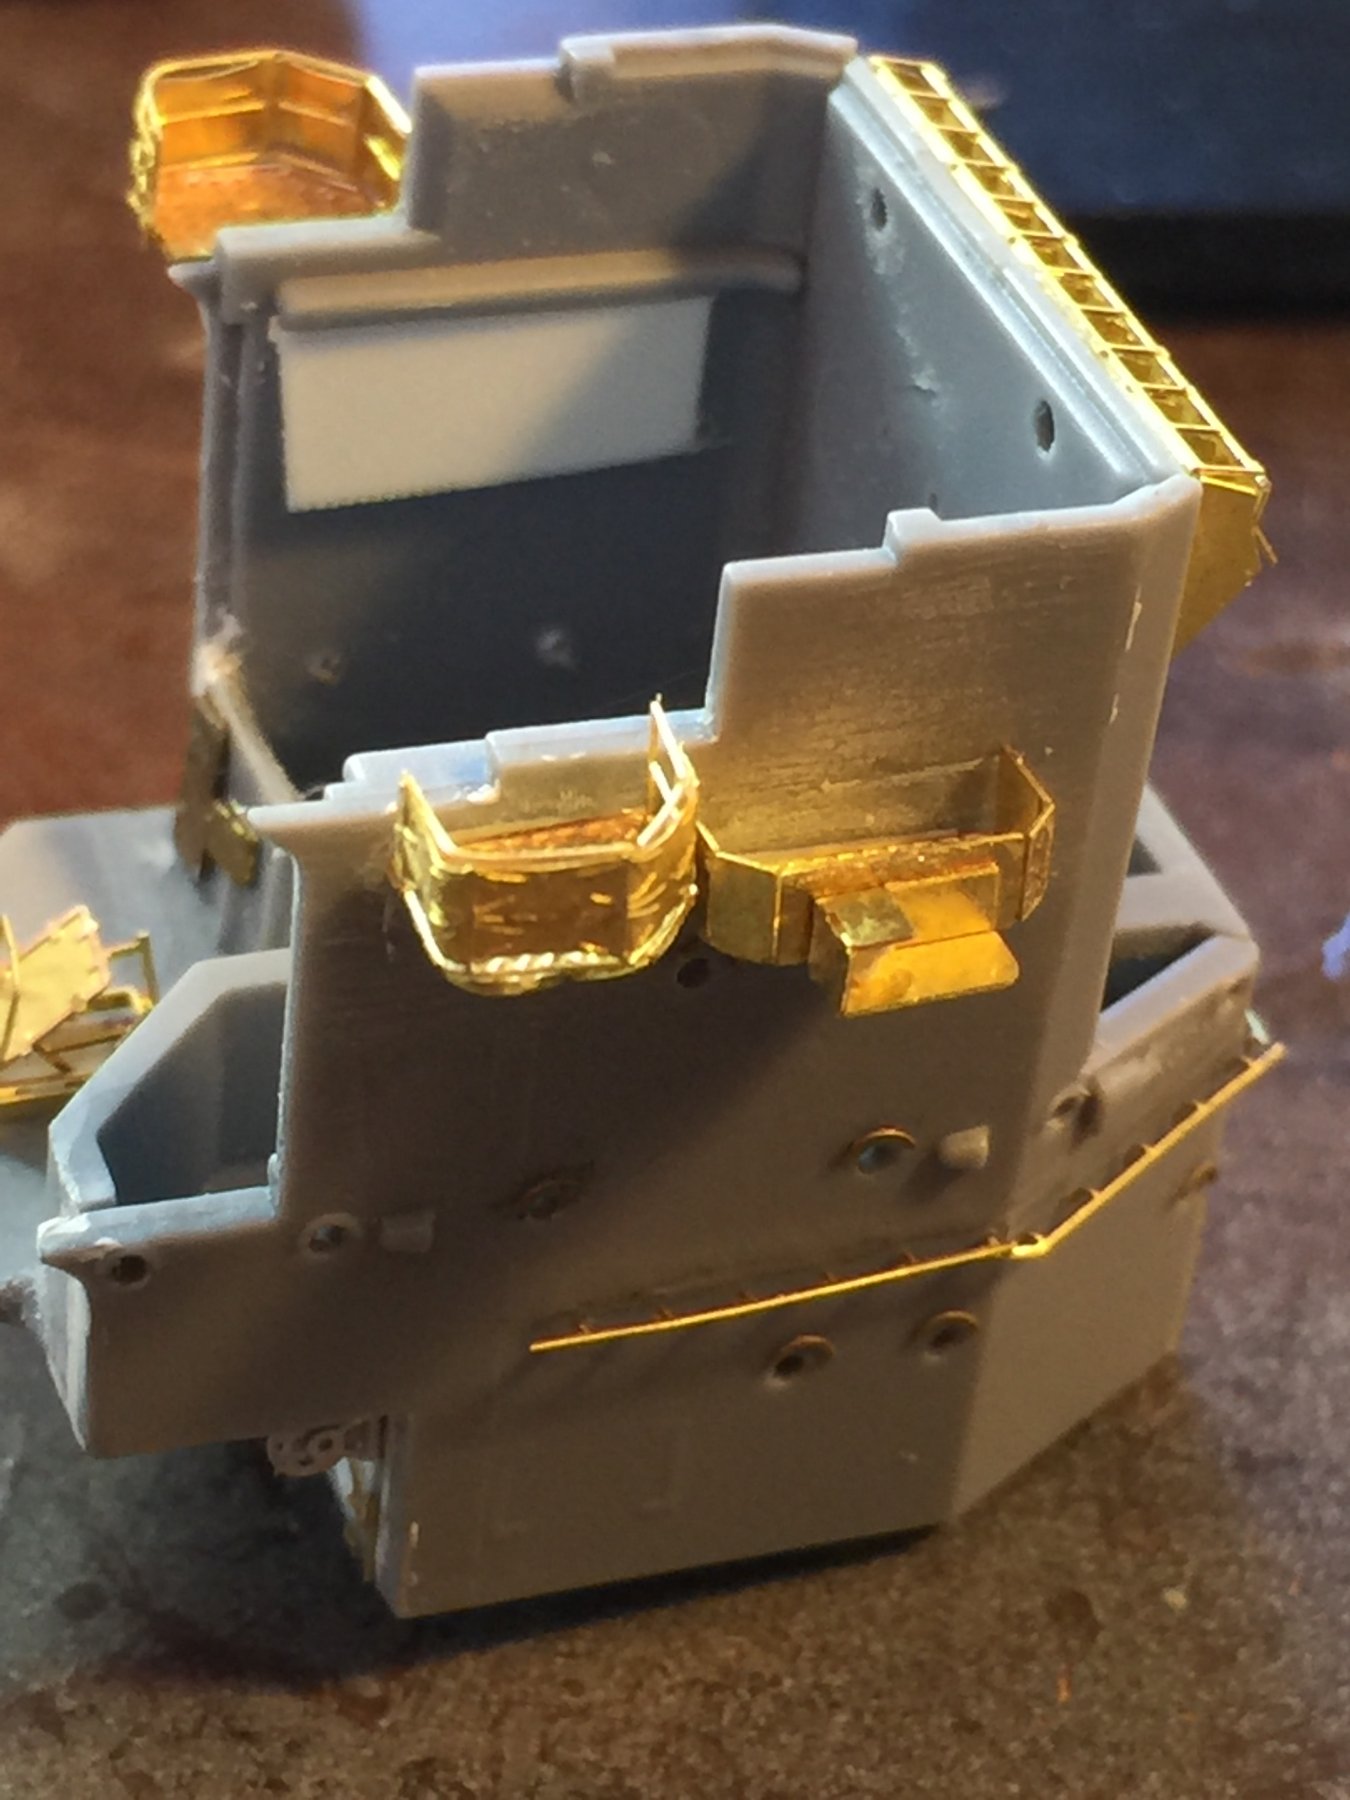
About 1.5 Cog. After a good 6 hours, I'm about a third of the way through the the bridge. I scraped off the handrails, ringols and pipes and replaced them, added the spotters nests, Arial and search light platform (with added dodgers over the top), a couple of cable reels (but wait, there will be more!), some water pipes, voice boxes and water pressure controls. Also some after market resin paravanes and Nav lights with proper lanterns. Later I will put voice pipes everywhere probably in brass rod.
Finally, a dry fit of the forward twin triple 25mm platform ( whilst the instructions don't say sso, there will have to be some chain lockers below that and a door or two (otherwise how the hell would they get the ammo to it!!!).
Fiddly.

-
A tiny update. After studying the plans from Profile Morskie, the instructions from Aoshima and the instructions from Flyhawk I was so confused as they all conflict I went to the 1 (yes 1), photo available of this ship which basically says some of the instructions are correct.
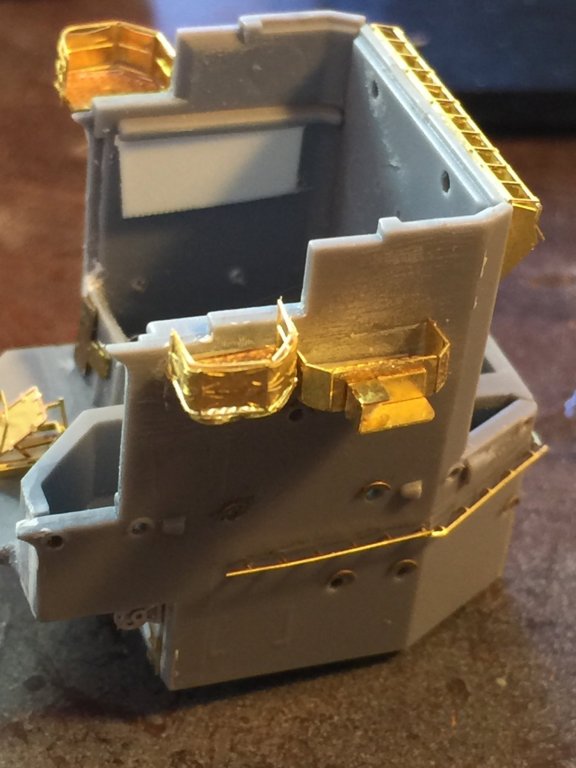
Next, how to detail? How to paint a multiple layered cake? As much as I love this scale, the few warships I have been on have multiple pipes and panels everywhere.
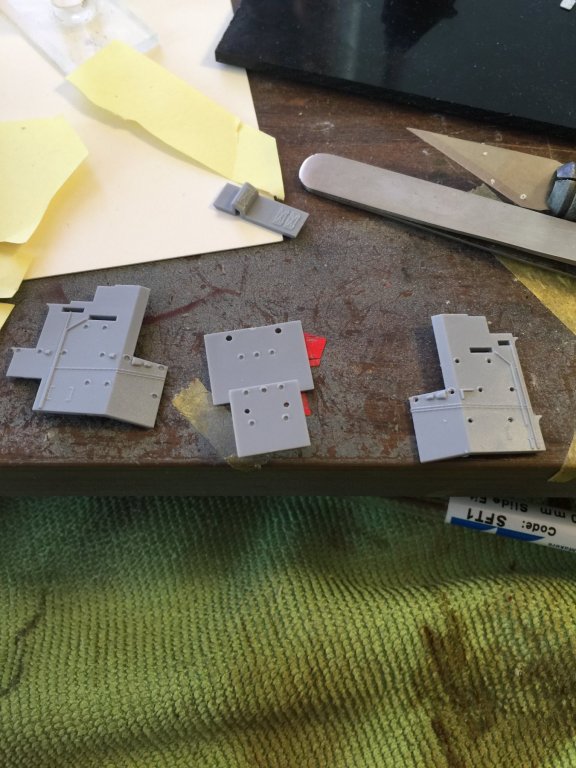
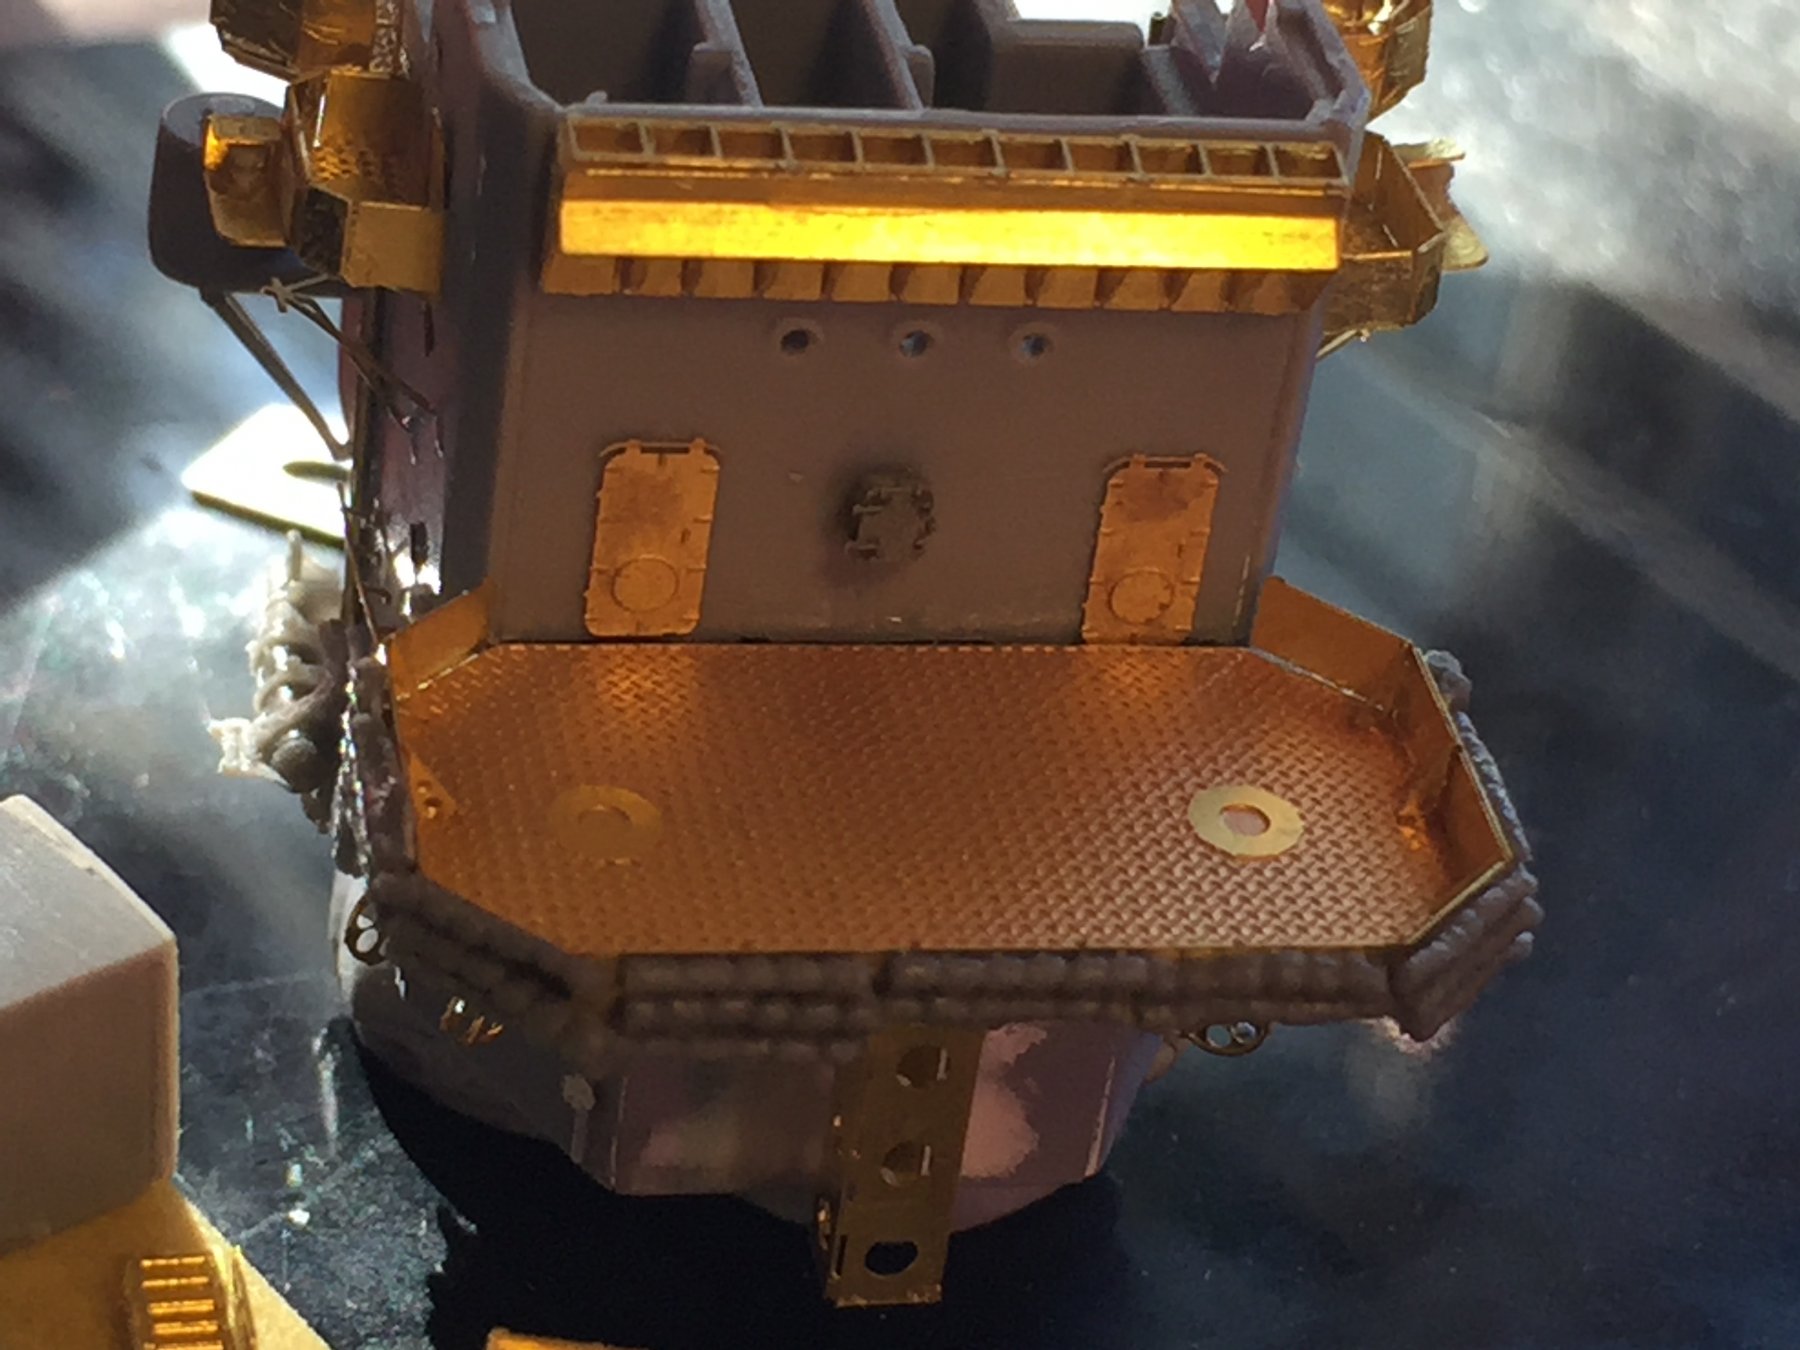
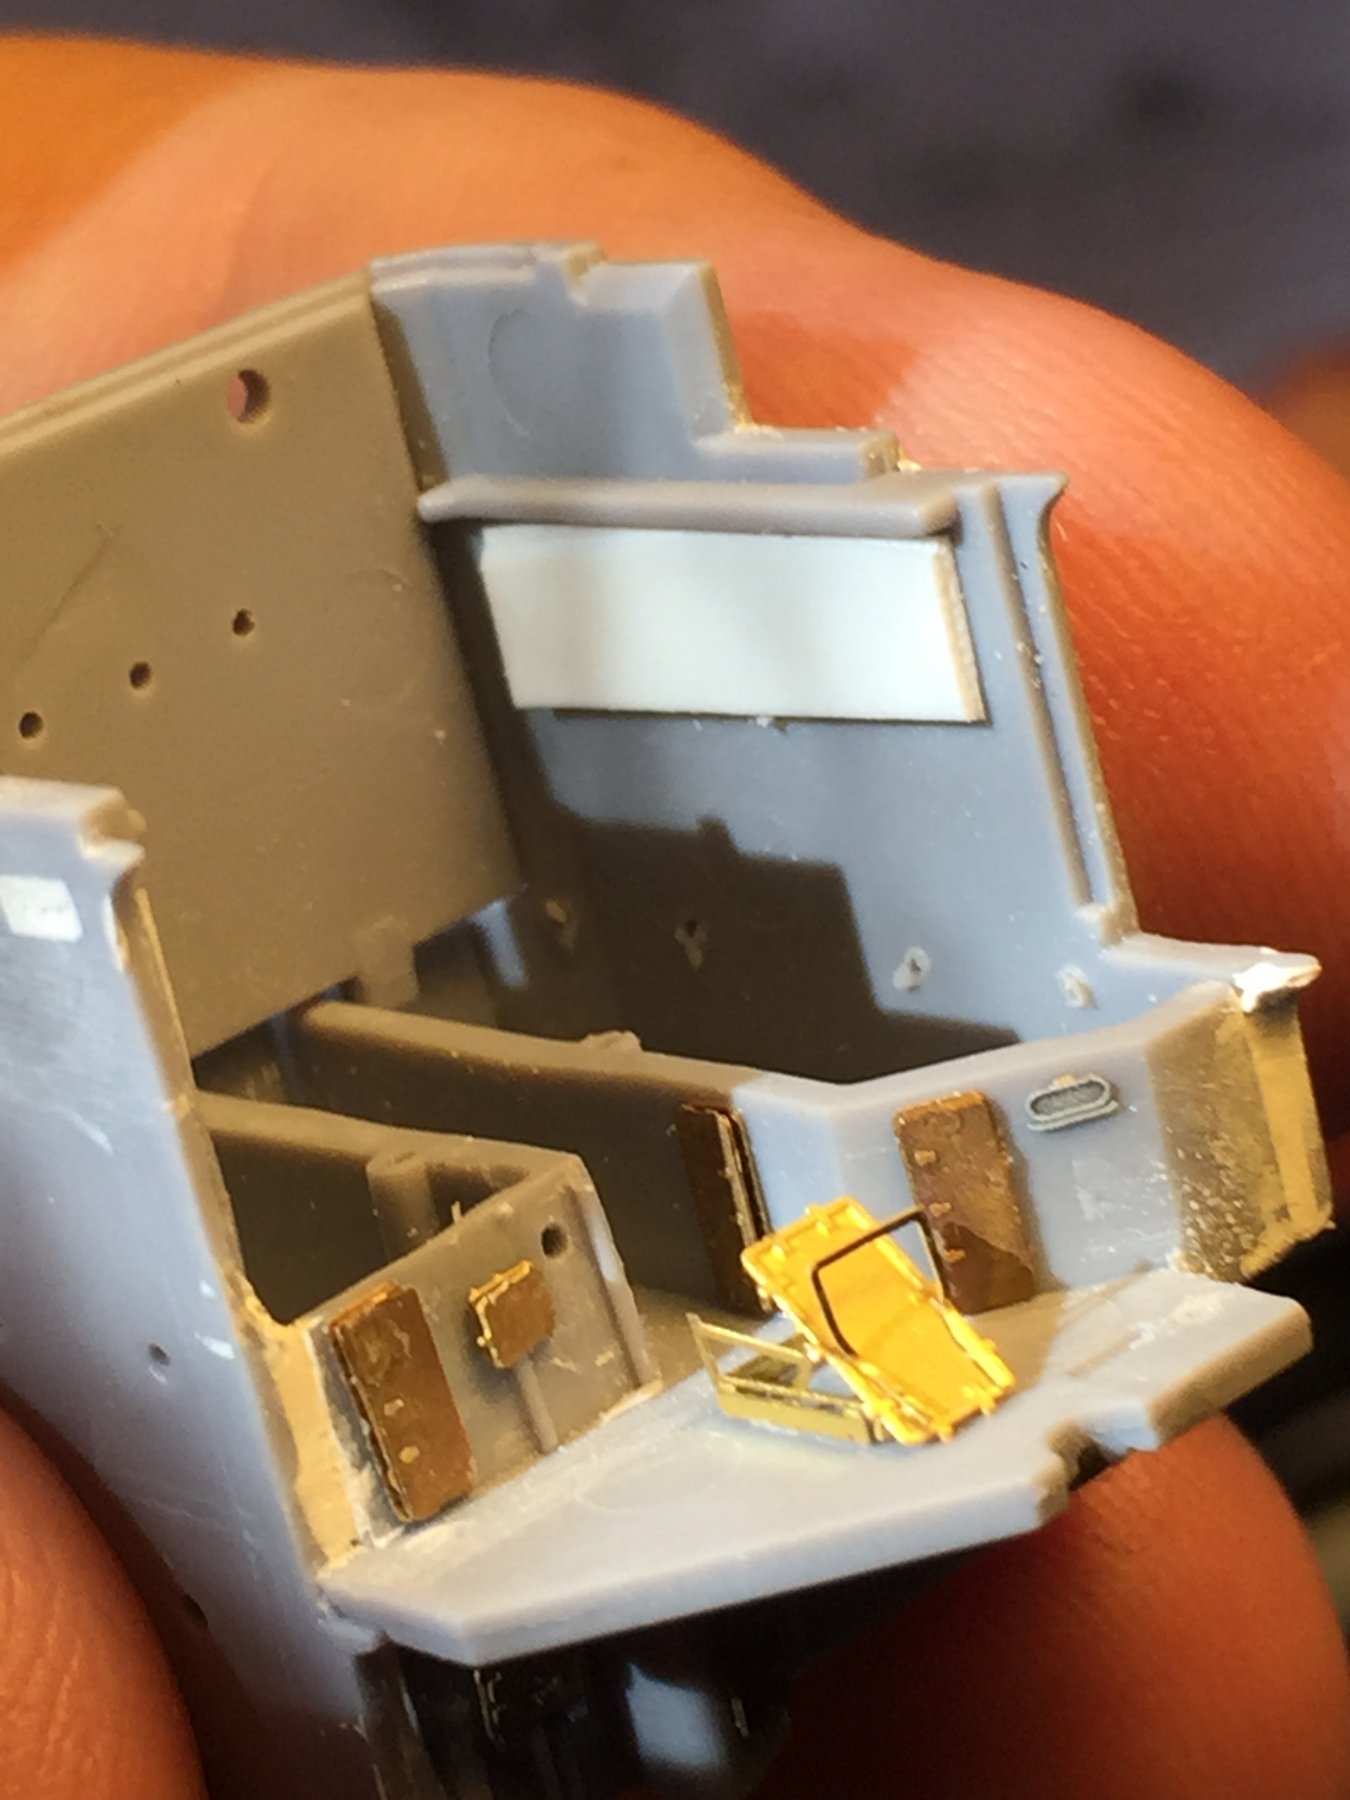
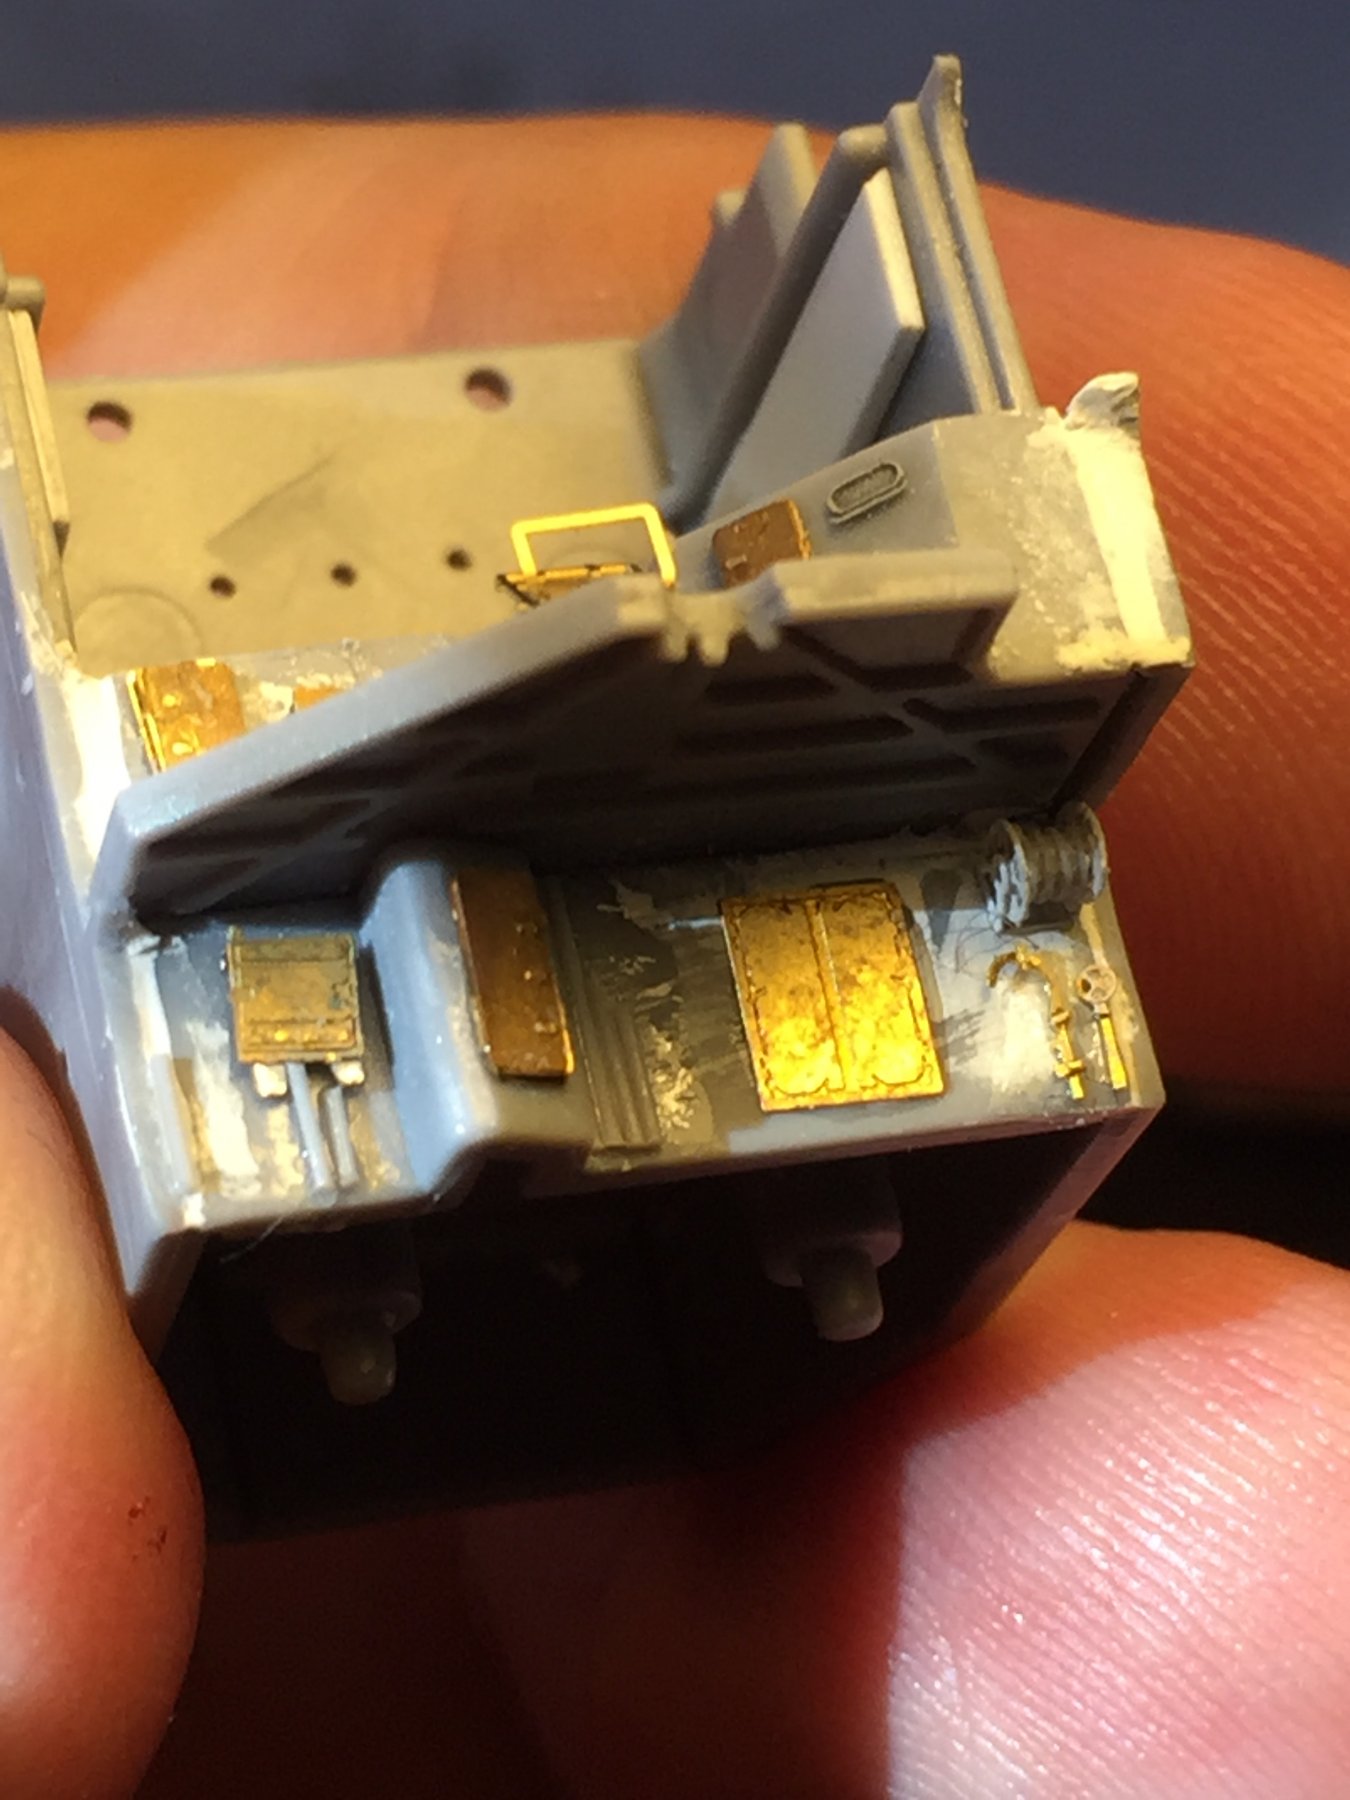
The bottom 2 rear sides of the rear of the bridge which will not really be visible after I add railings covered in canvas and maybe some Sisac rolls.
the white plastic card is to cover up the enormous holes that platforms are plugged into by replaced by PE.
When you zoom in on the 1 original photo there are all these fuzzy details which I have to deduct mean something nautical which I'm not qualified to guess, but need to fabricate.

- Captain Slog, BANYAN, Canute and 9 others
-
12
-
Nice. I'm tempted to do this ship (in plastic as I'm scared of paper cuts: almost as bad a man flu). So much detail can be added given her (his, the Russians use male) rigging.
- Captain Slog, Canute, CDW and 1 other
-
4
-
And one set per kit is never enough......
- Captain Slog, CDW, Piet and 4 others
-
7
-
-
Sounds like a police boat then.....
- EJ_L, Steve 12345, Nirvana and 2 others
-
5
-
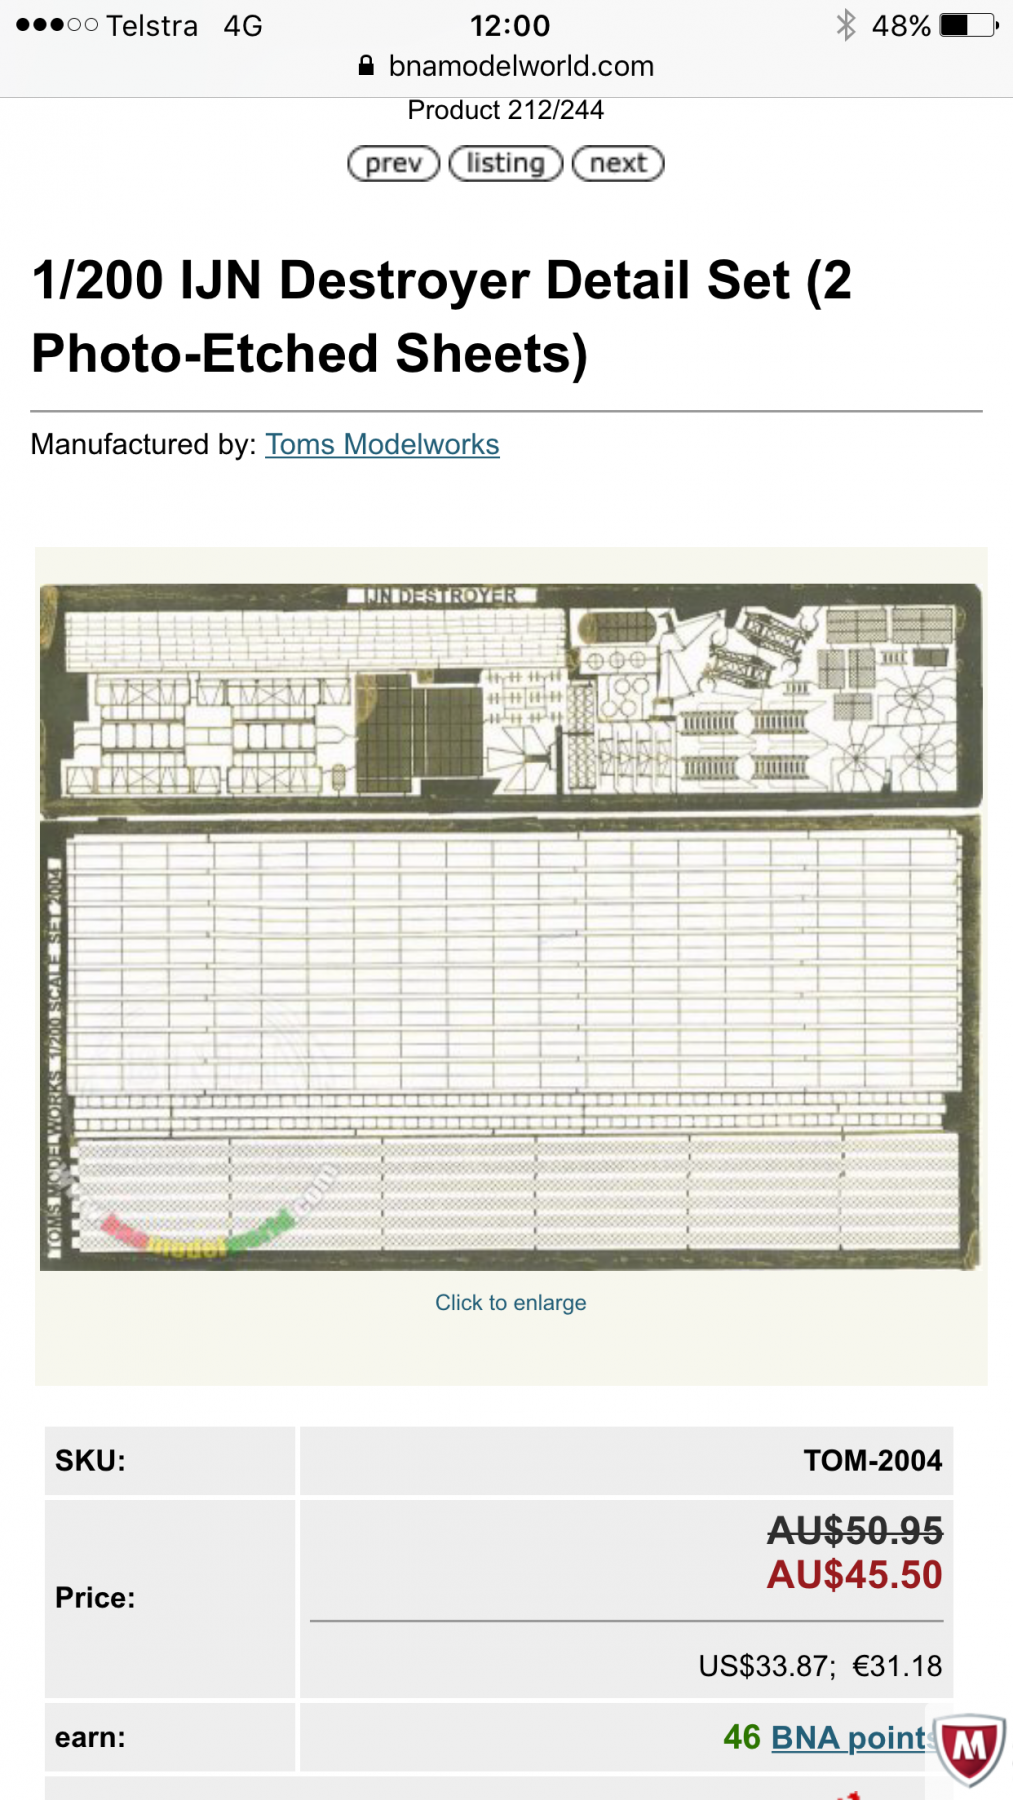
I'm pretty sure it's available in paper, there are a lot of 1/200 extras becoming available, have a look at BNA modelworld (Oz), or Hobbyeasy (HK), or even Cornwall (UK).
Whilst GMM is nice, it's dated and very expensive for what you get, Toms Model works is OK, but anything from the US is very expensive here.

-
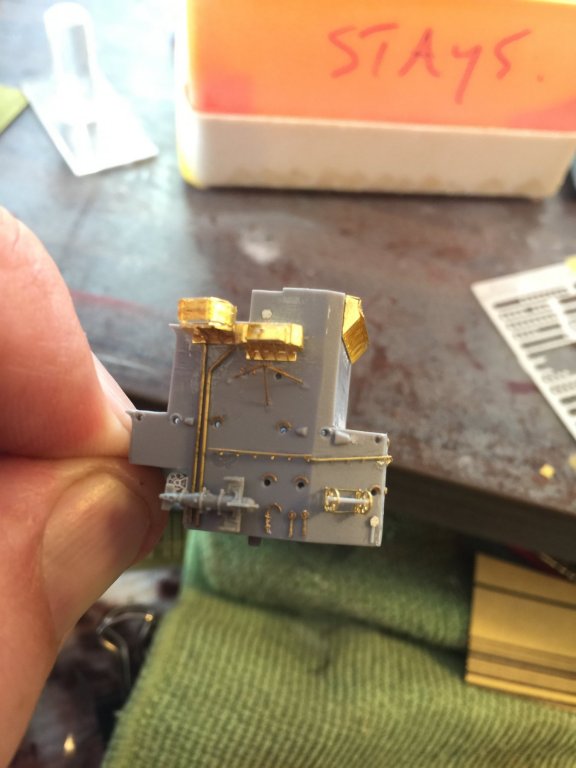
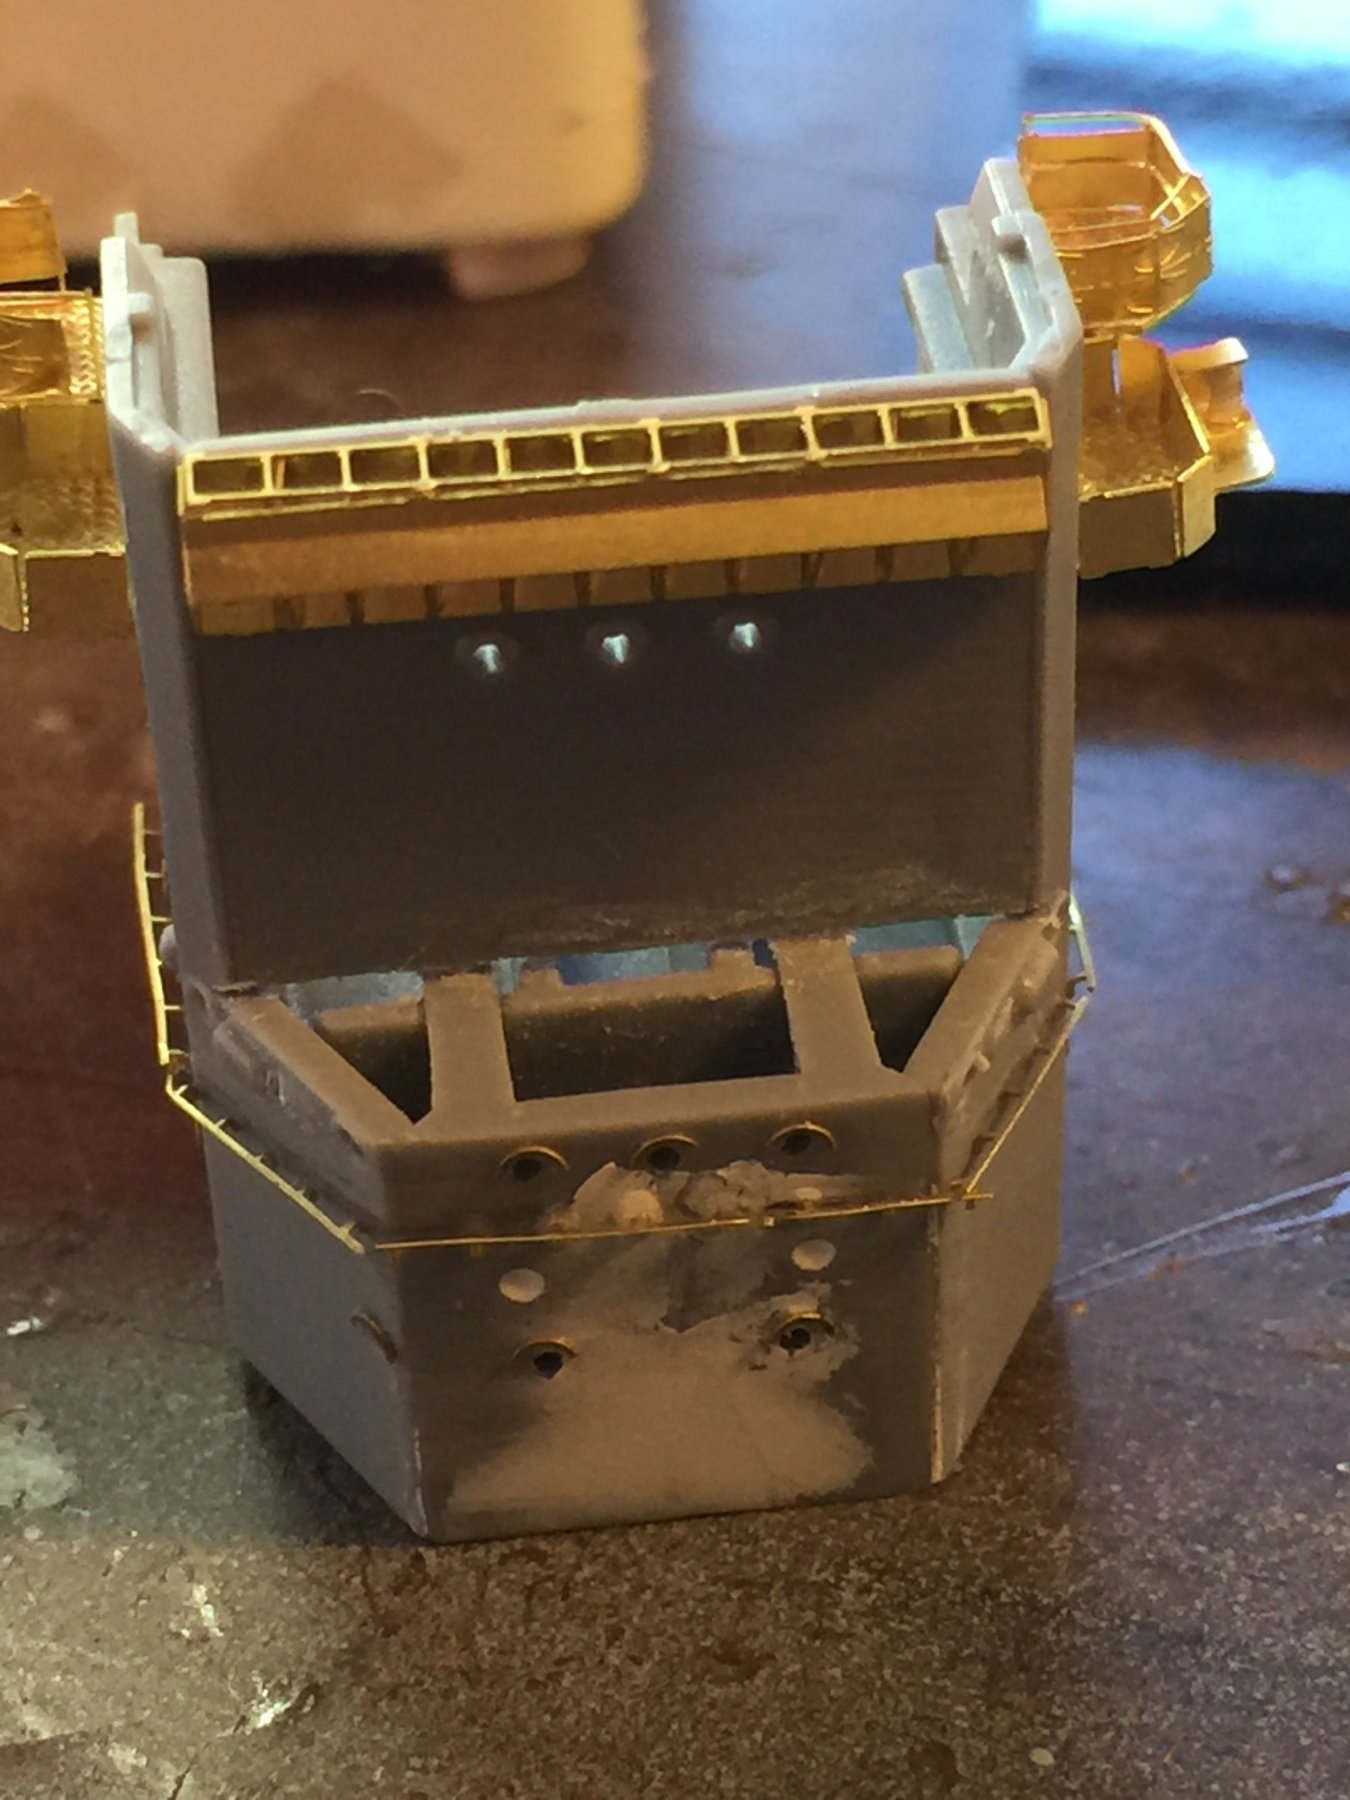
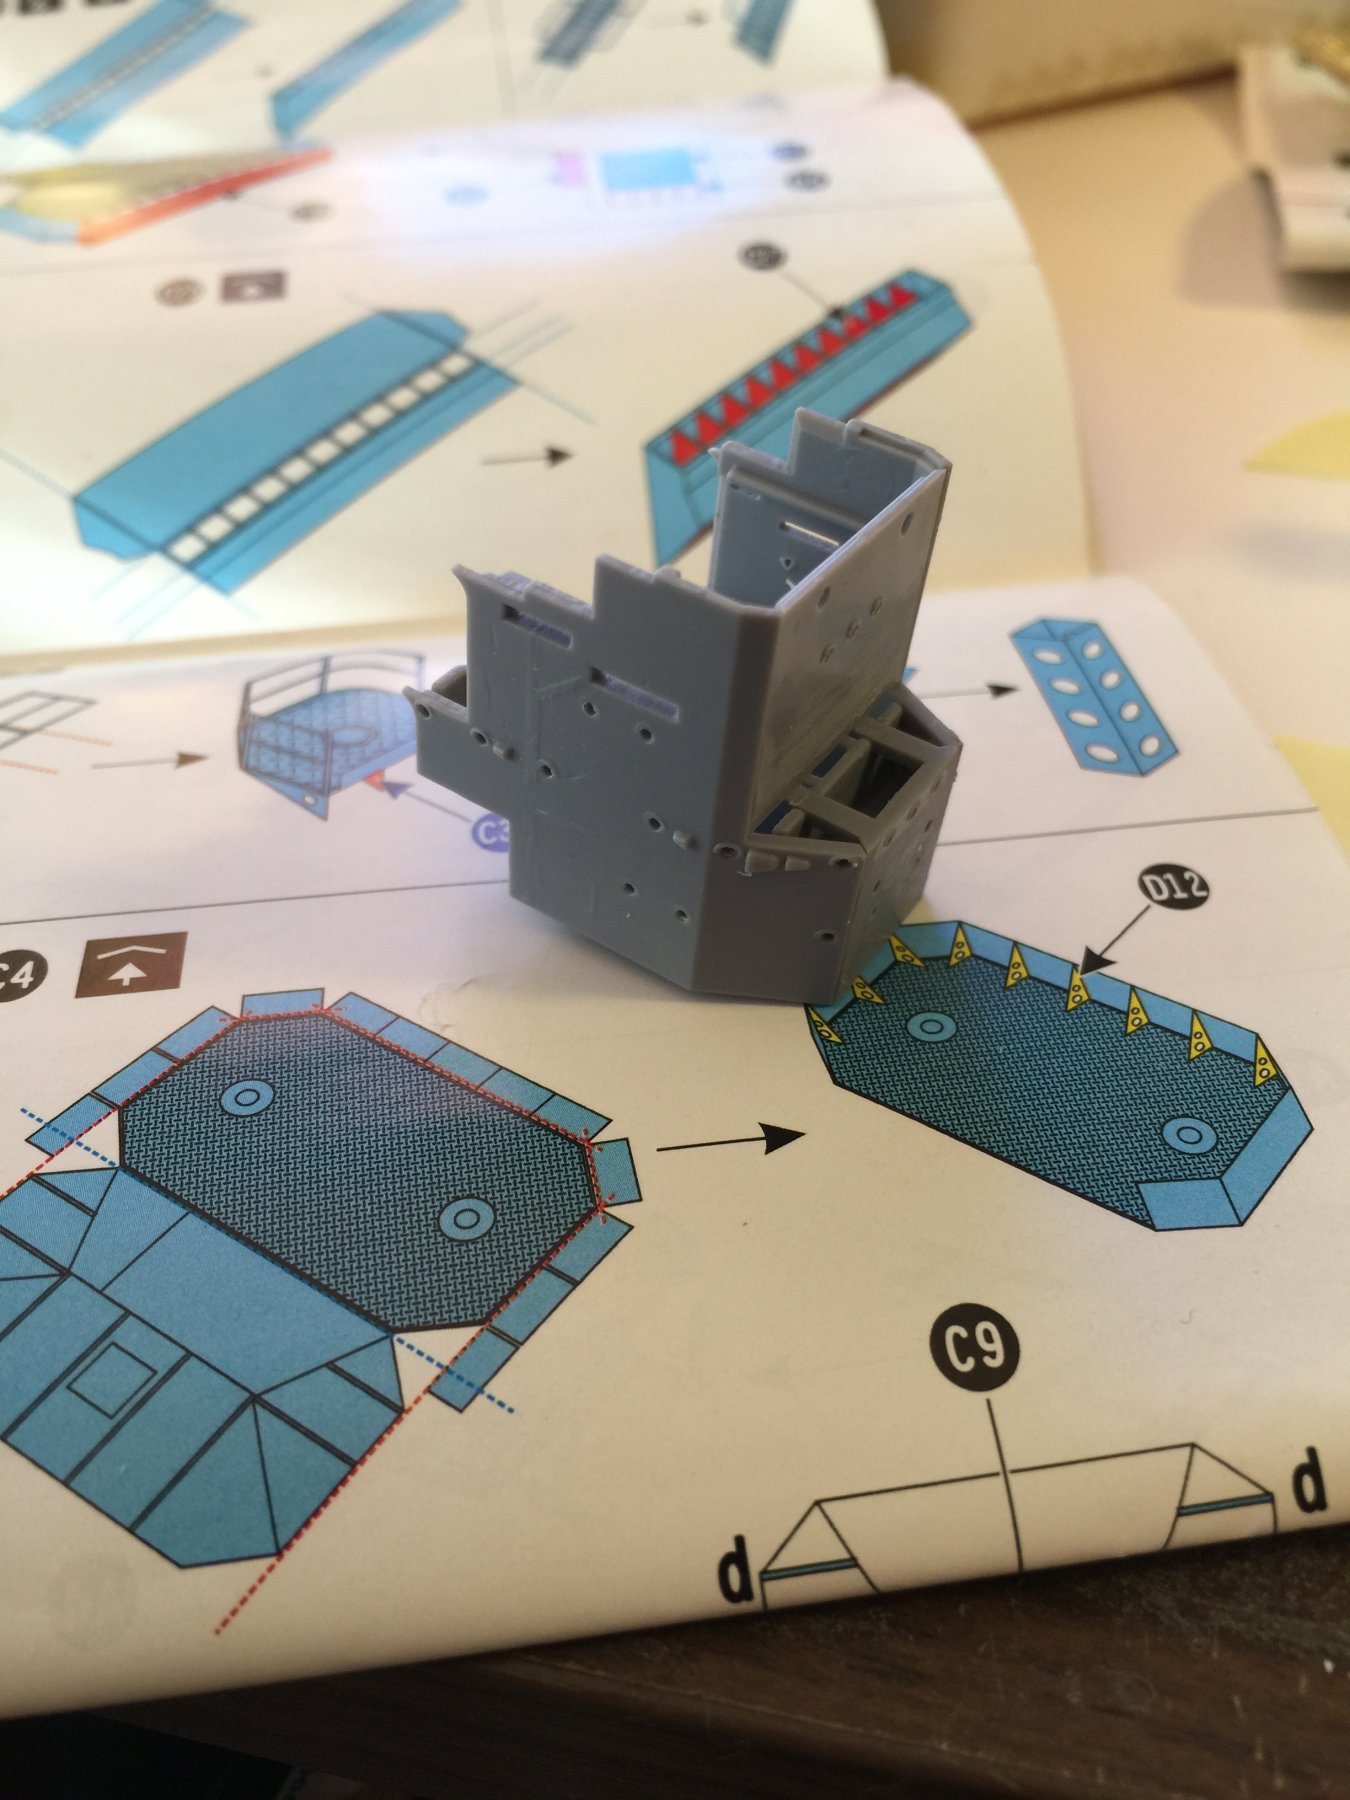
The bare bones of the bridge, all the detail will basically be sanded back, and start from scratch adding everything from Flyhawk and a fair bit more.
There are are some huge gaps even with a dry fit, but still a lot of room for improvement as Flyhawk leaves a lot of small structural details out that will need to be added or scratch built. Quite enjoying this as most other PE sets are just follow the numbers.
Even better, as there are NO decent references I can't be proven wrong!

-
Welcome back Cog! The paints are Mr Hobby and Tamiya as they work well in the airbrush. I'm pretty much going to do up all the deck structures first before painting again as the hull painting will take a fair bit of time. The bridge is somewhat complex, and there is so little reference material apart from builds that seem to make a lot of stuff up.
-
Welcome back Cog! The paints are Mr Hobby and Tamiya as they work well in the airbrush. I'm pretty much going to do up all the deck structures first before painting again as the hull painting will take a fair bit of time. The bridge is somewhat complex, and there is so little reference material apart from builds that seem to make a lot of stuff up. My plan is to make it as detailed and weathered as possible.
- cog, Canute and popeye the sailor
-
3


IJN Musashi by cog - Tamiya - 1:350 - PLASTIC - old tool
in - Kit build logs for subjects built from 1901 - Present Day
Posted
I think the air fares would be a bit excessive....