


RGL
-
Posts
5,388 -
Joined
-
Last visited
Content Type
Profiles
Forums
Gallery
Events
Posts posted by RGL
-
-
Aaaaaaaand you’re back! That’s a lot of work done, the PE looks sharp mate, well done
- CDW, Canute, Old Collingwood and 5 others
-
 8
8
-
-
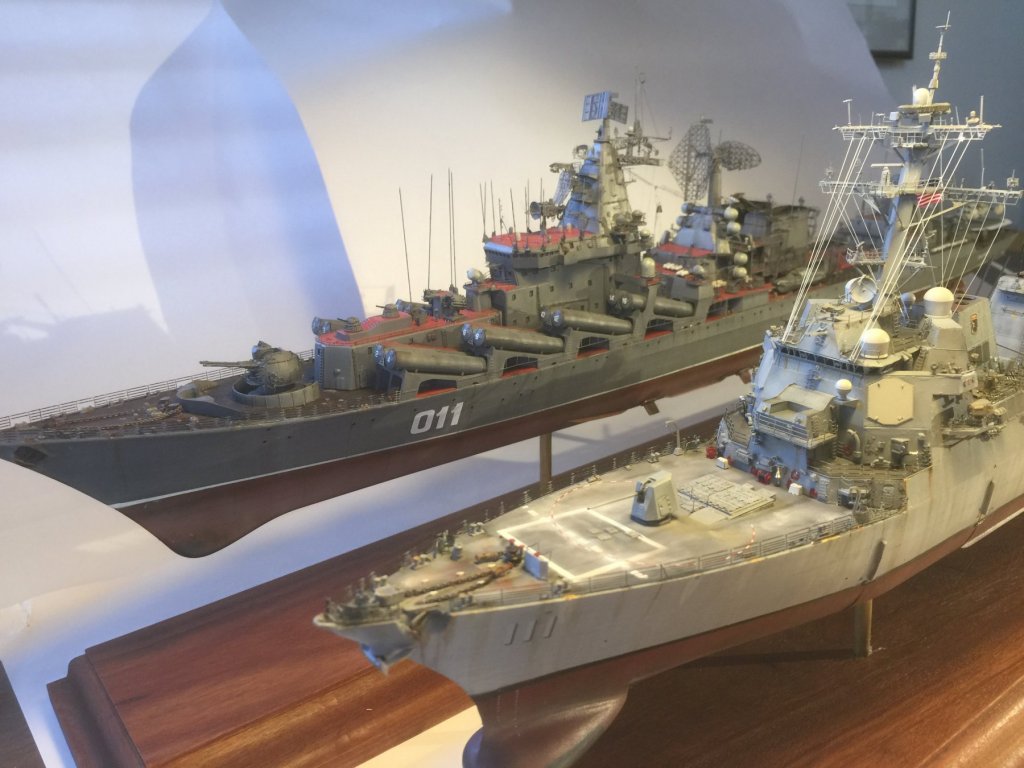
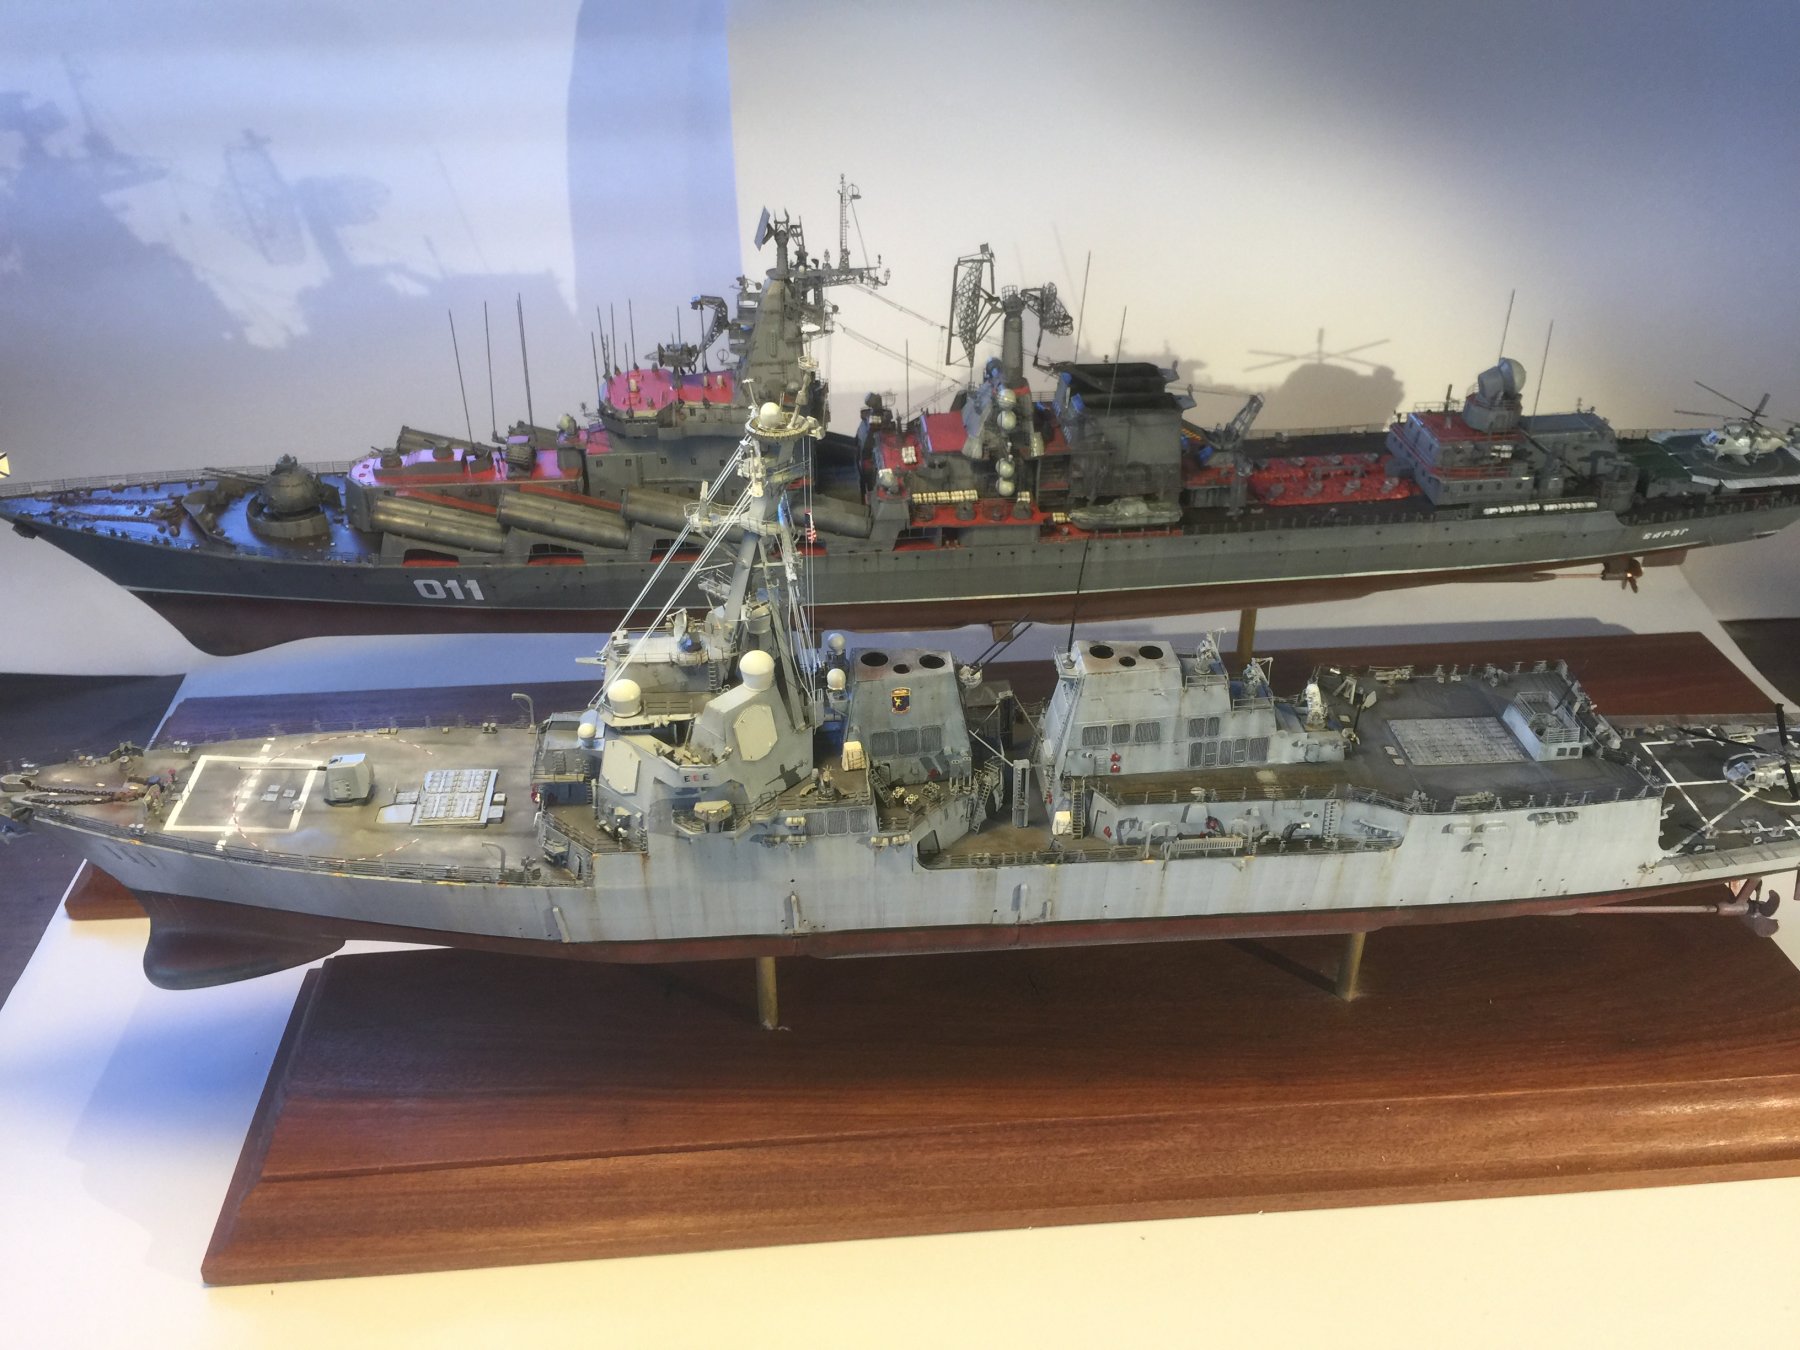
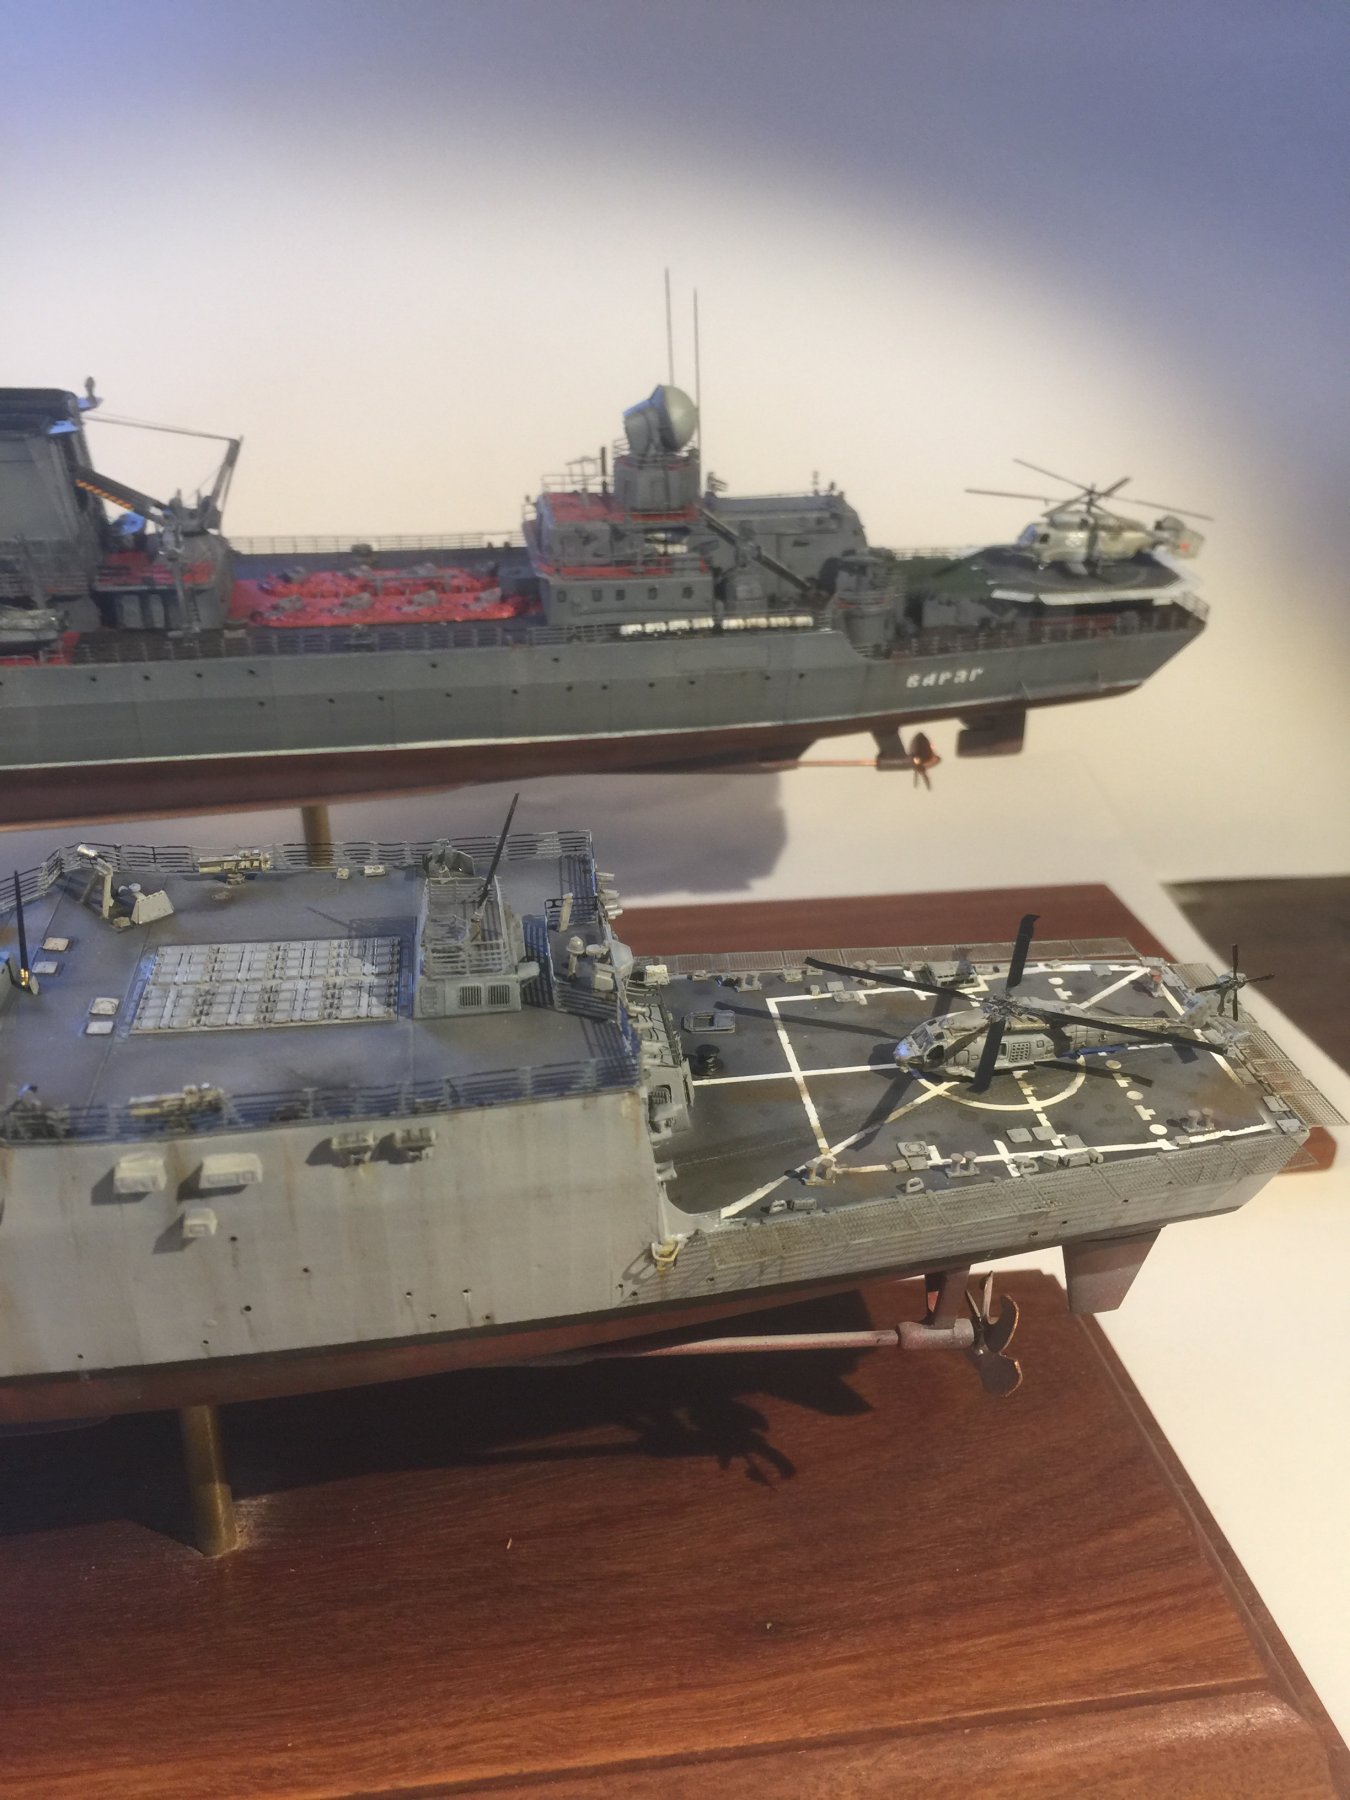
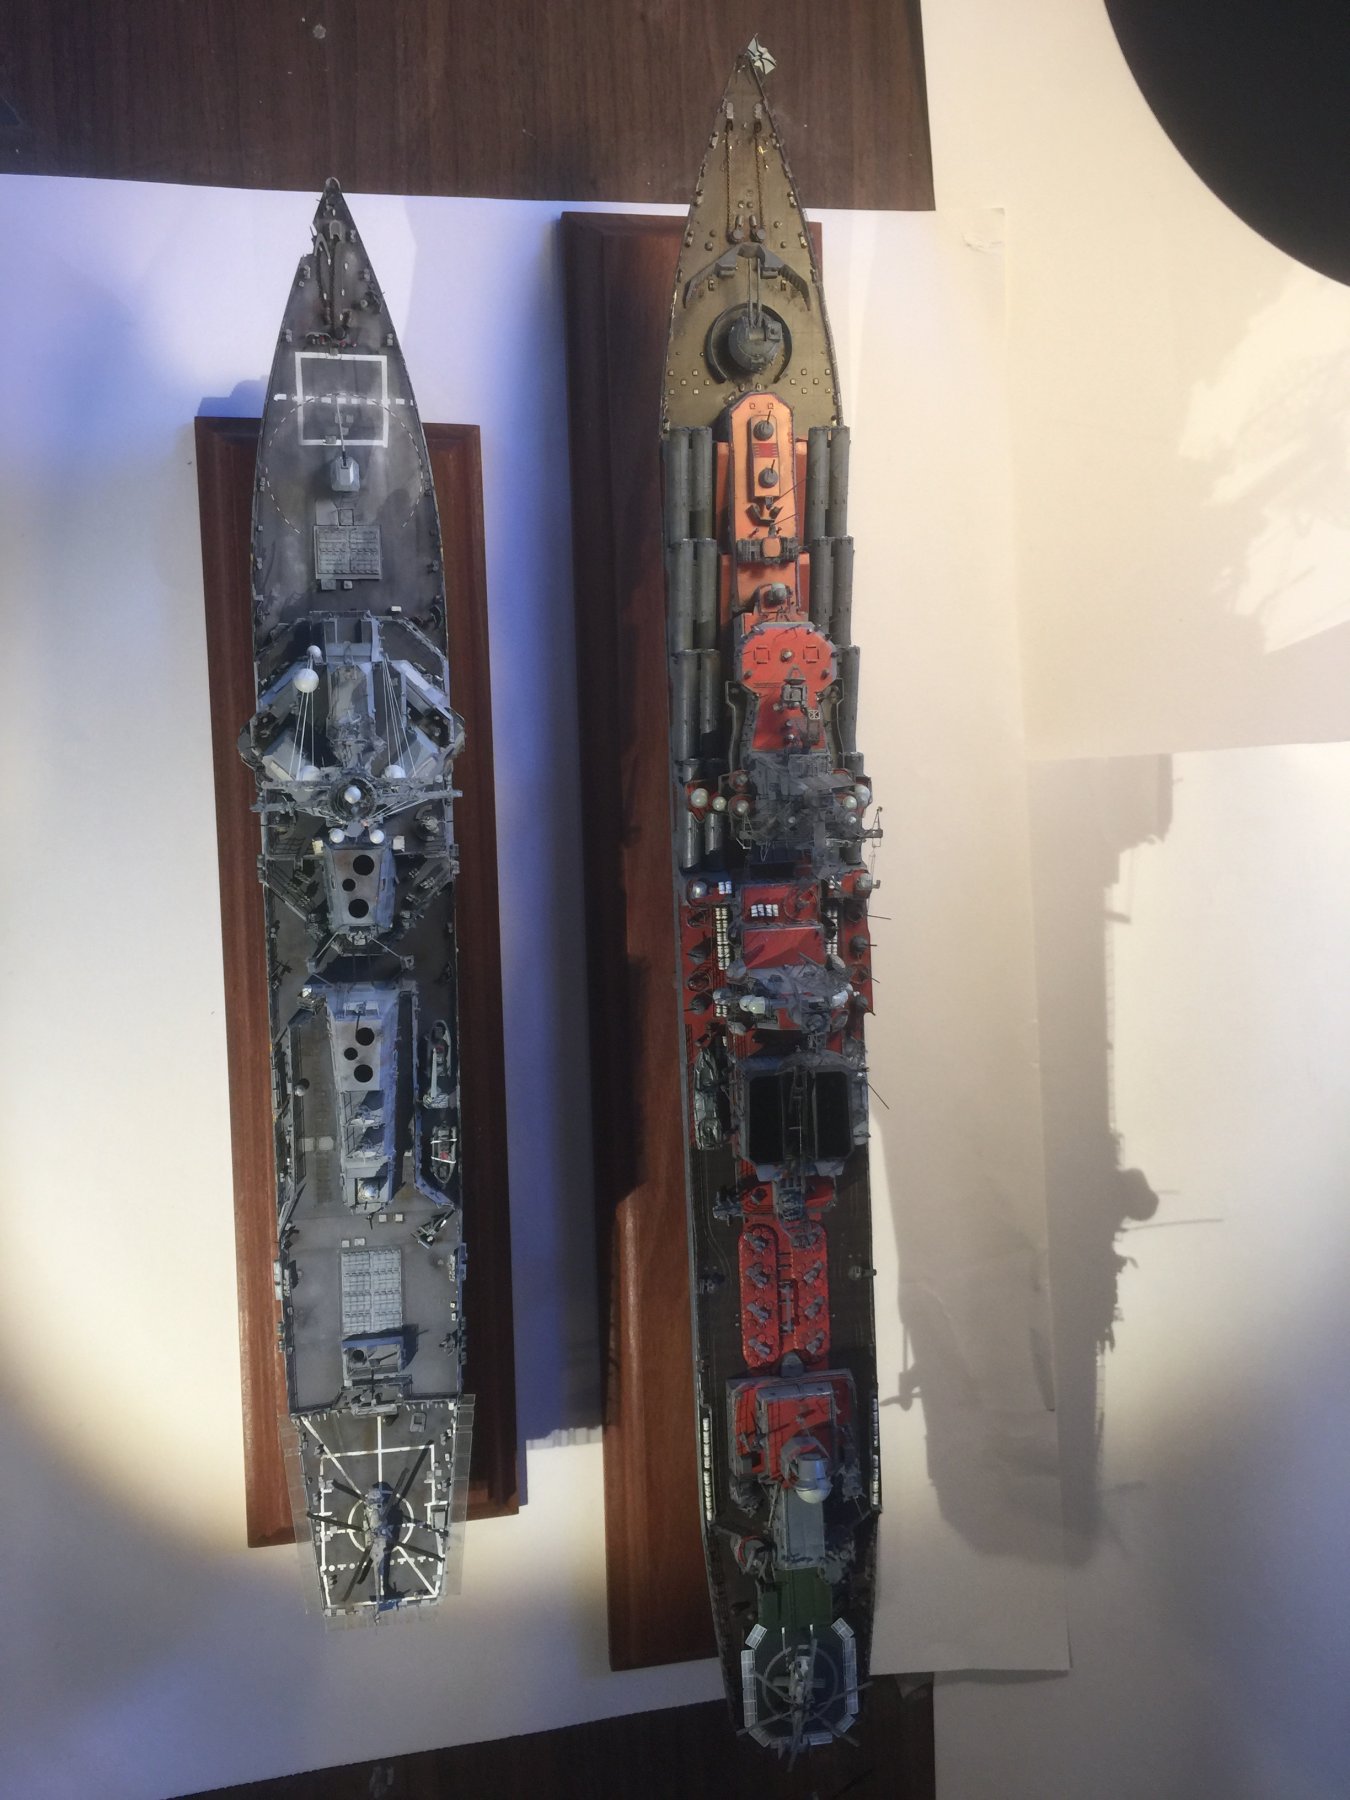
OK, another one done. A final few photos to show the wolf and the sheepdog depending on what side you're on.


- Tim Curtis, Tigerdvr, Canute and 13 others
-
16
-
-
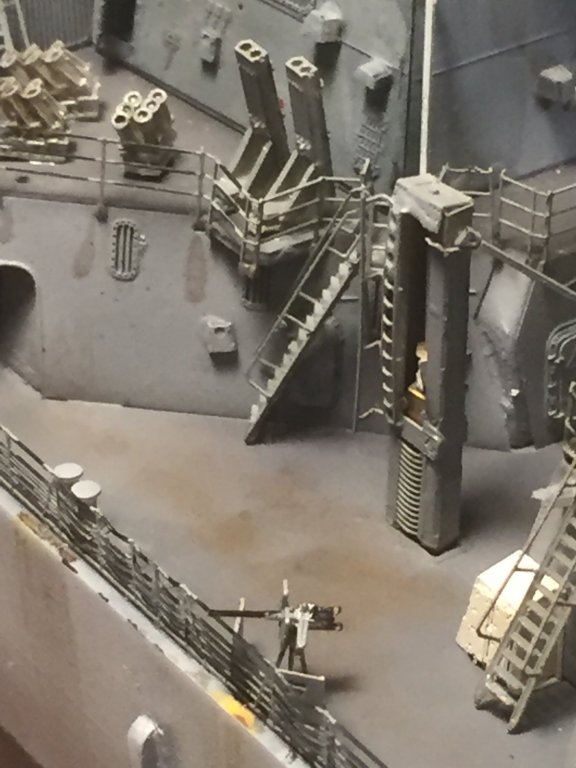
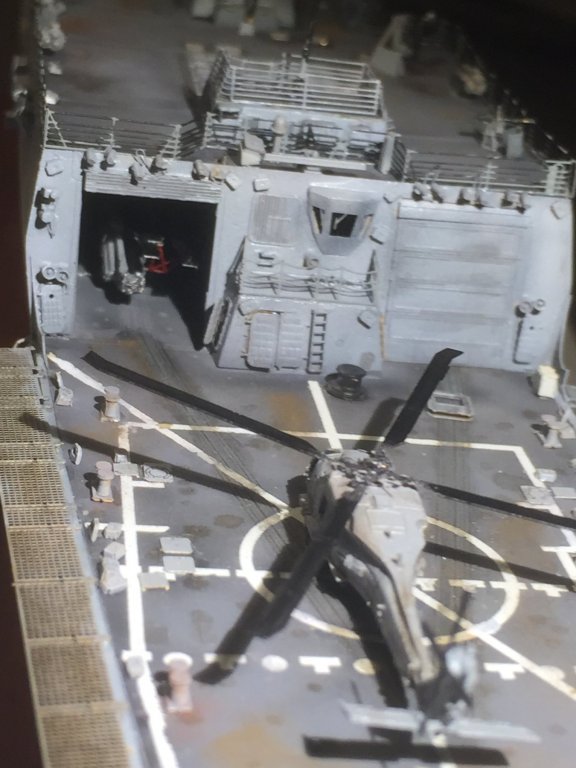
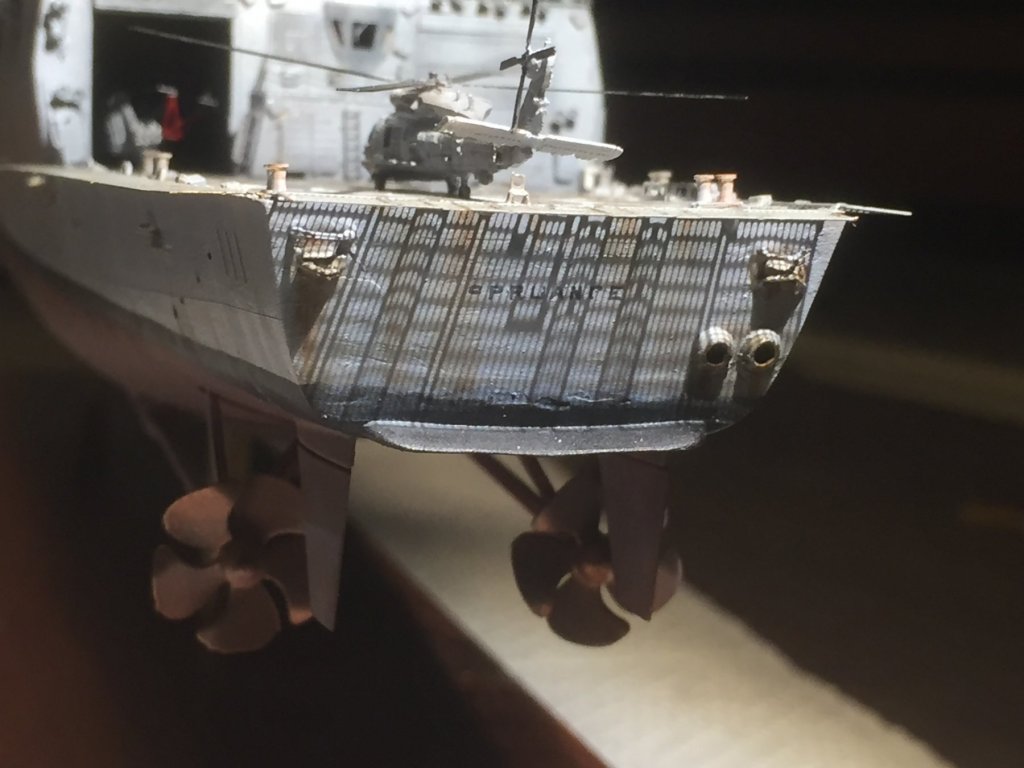
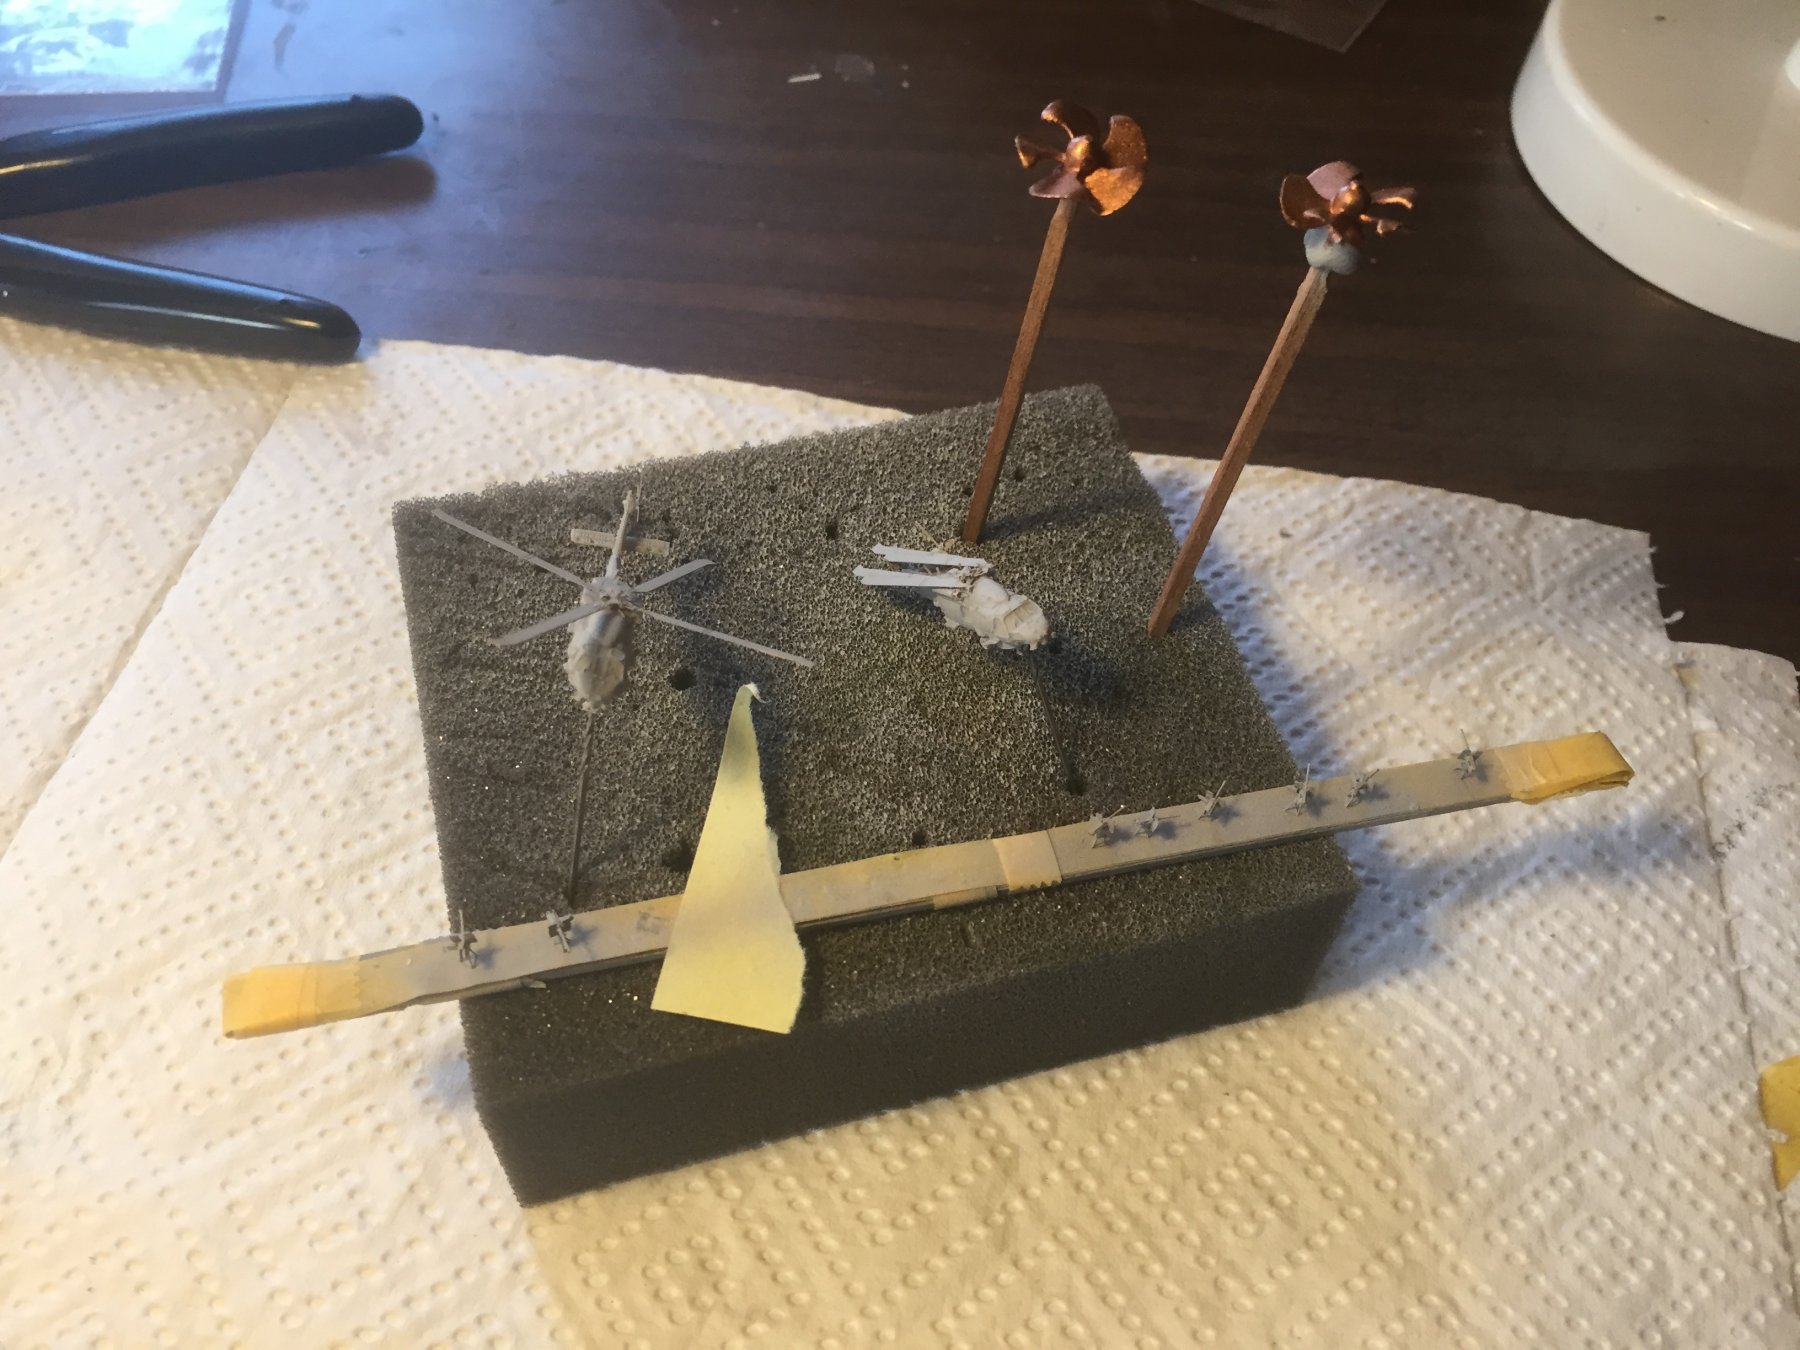
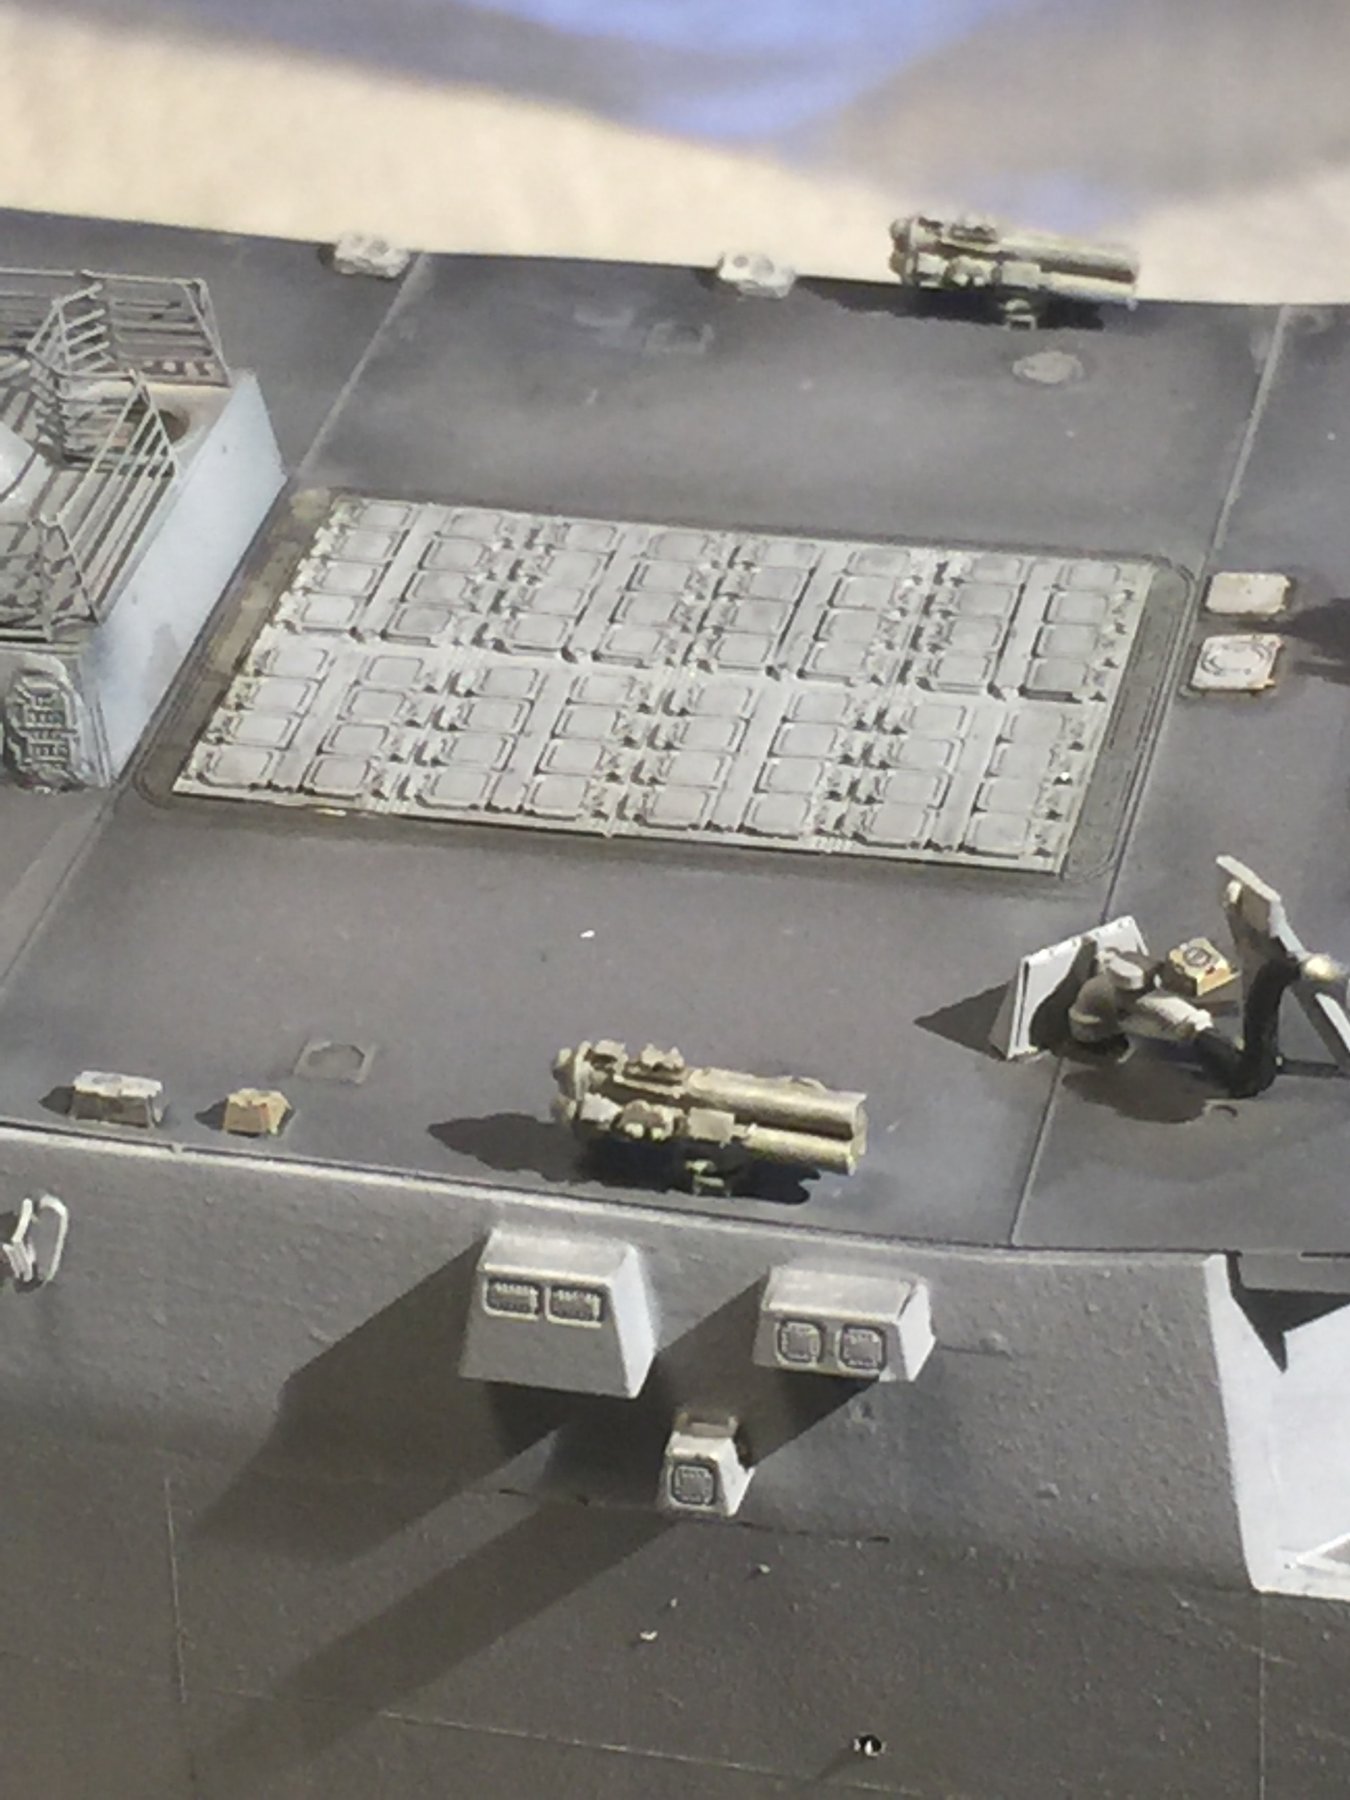
Last bits, 50 cals, screws and choppers

- pjofc4, hexnut, harvey1847 and 9 others
-
12
-
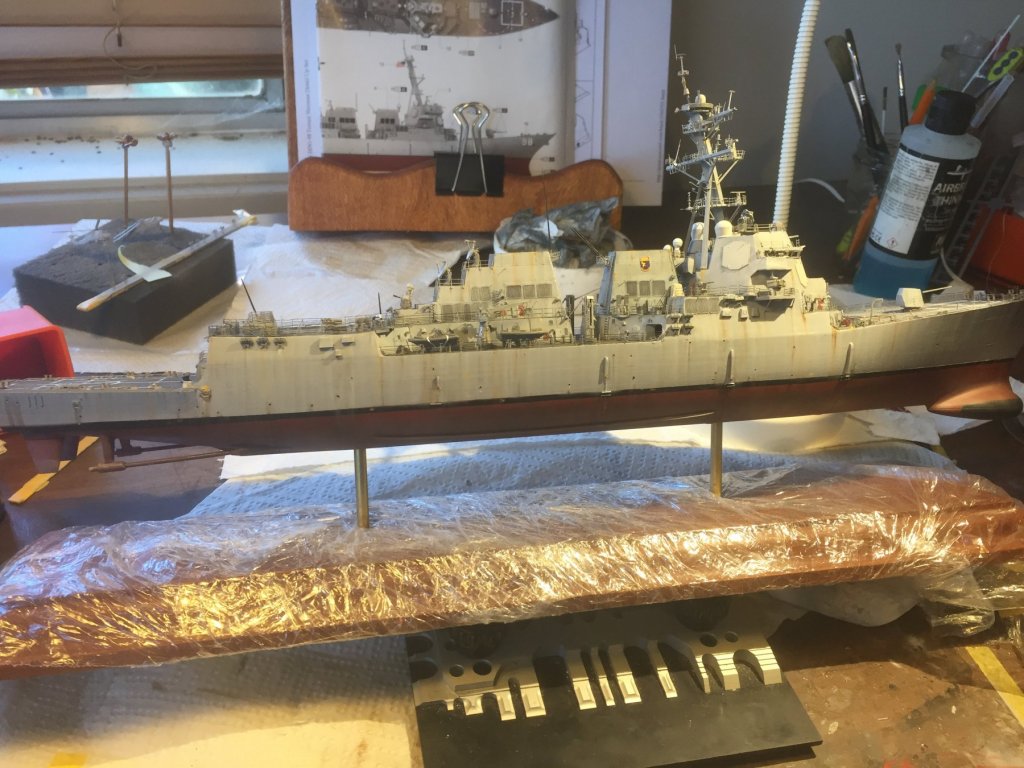
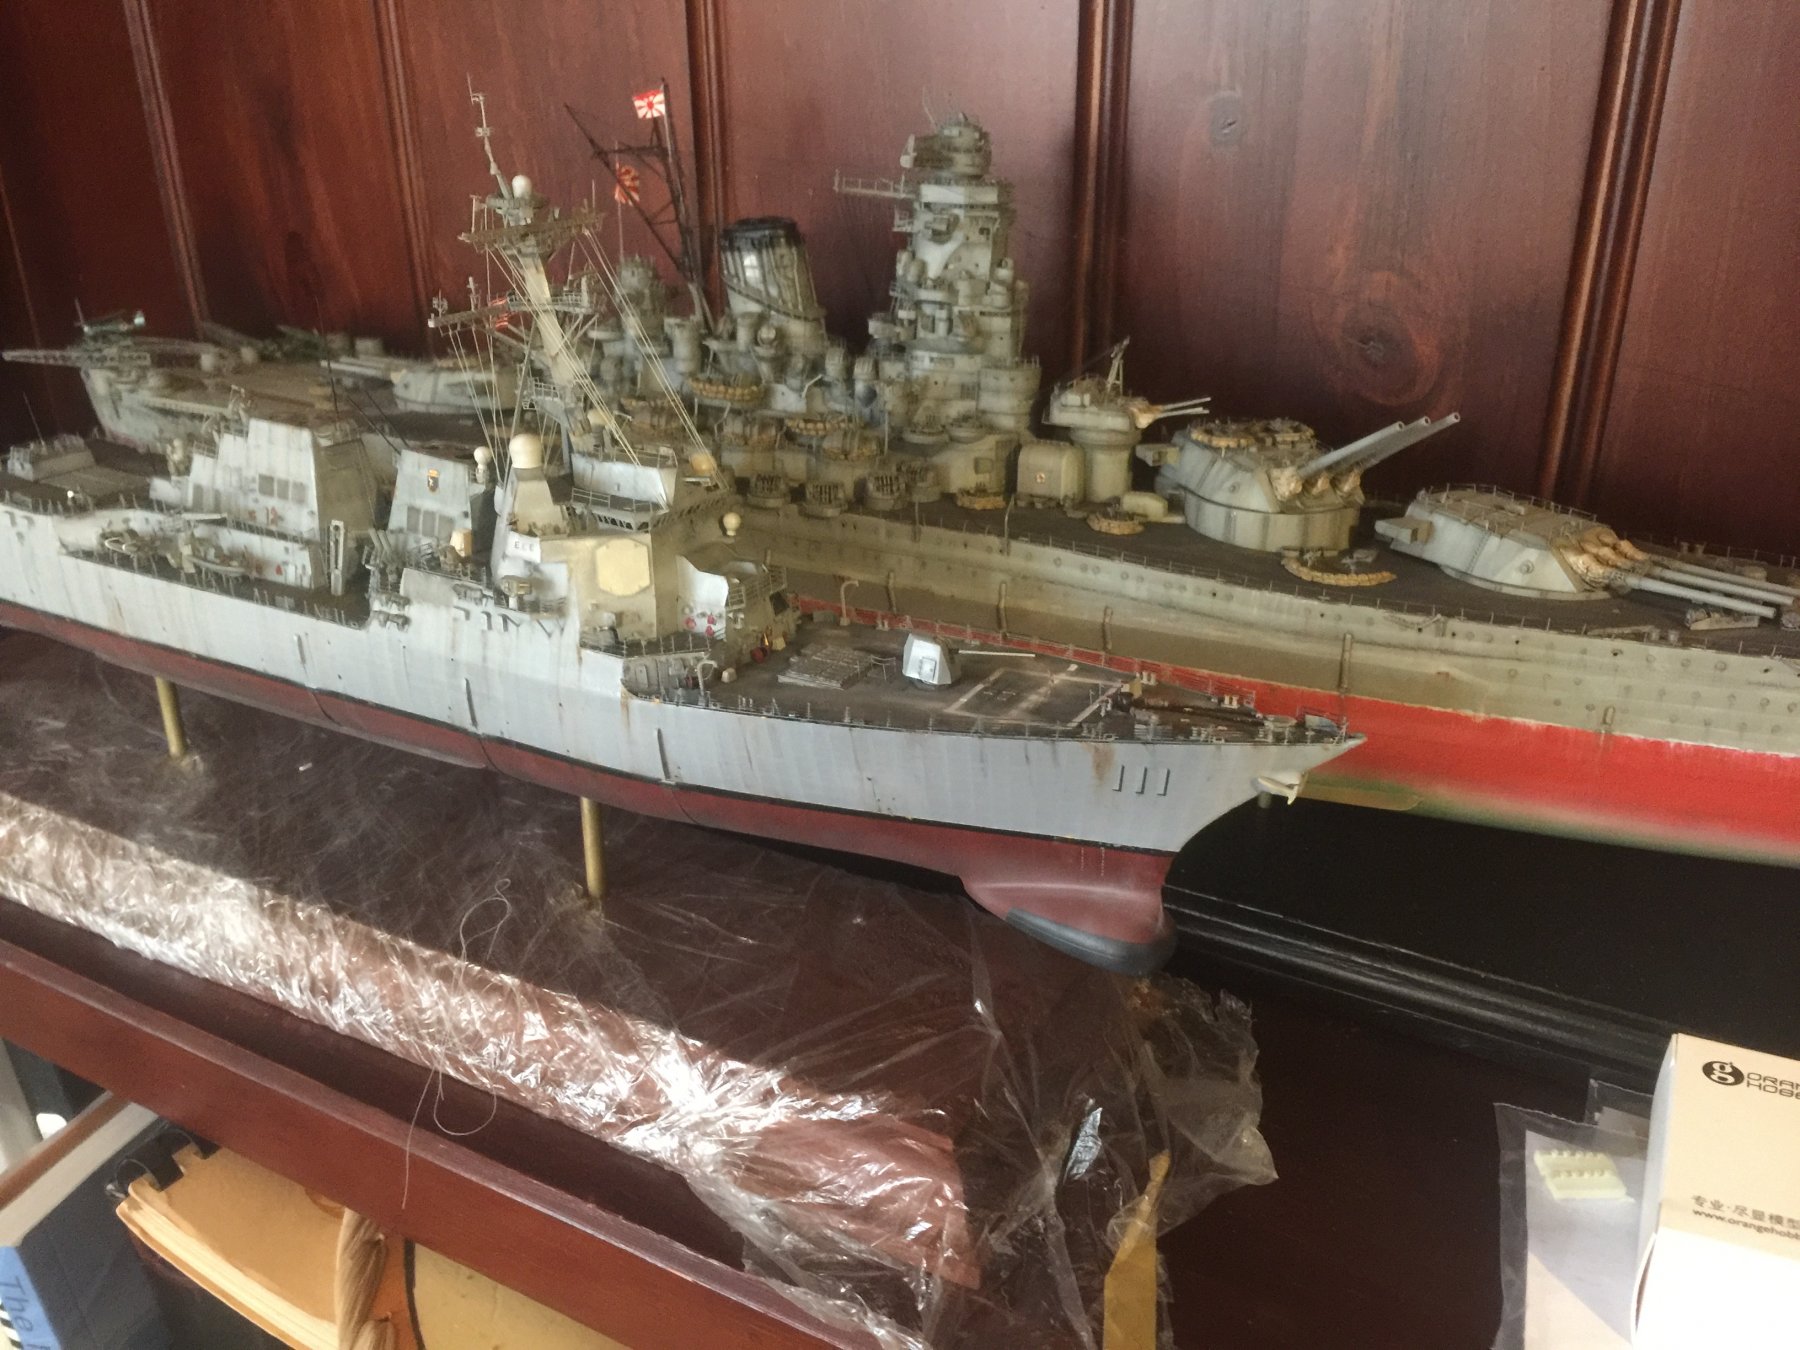
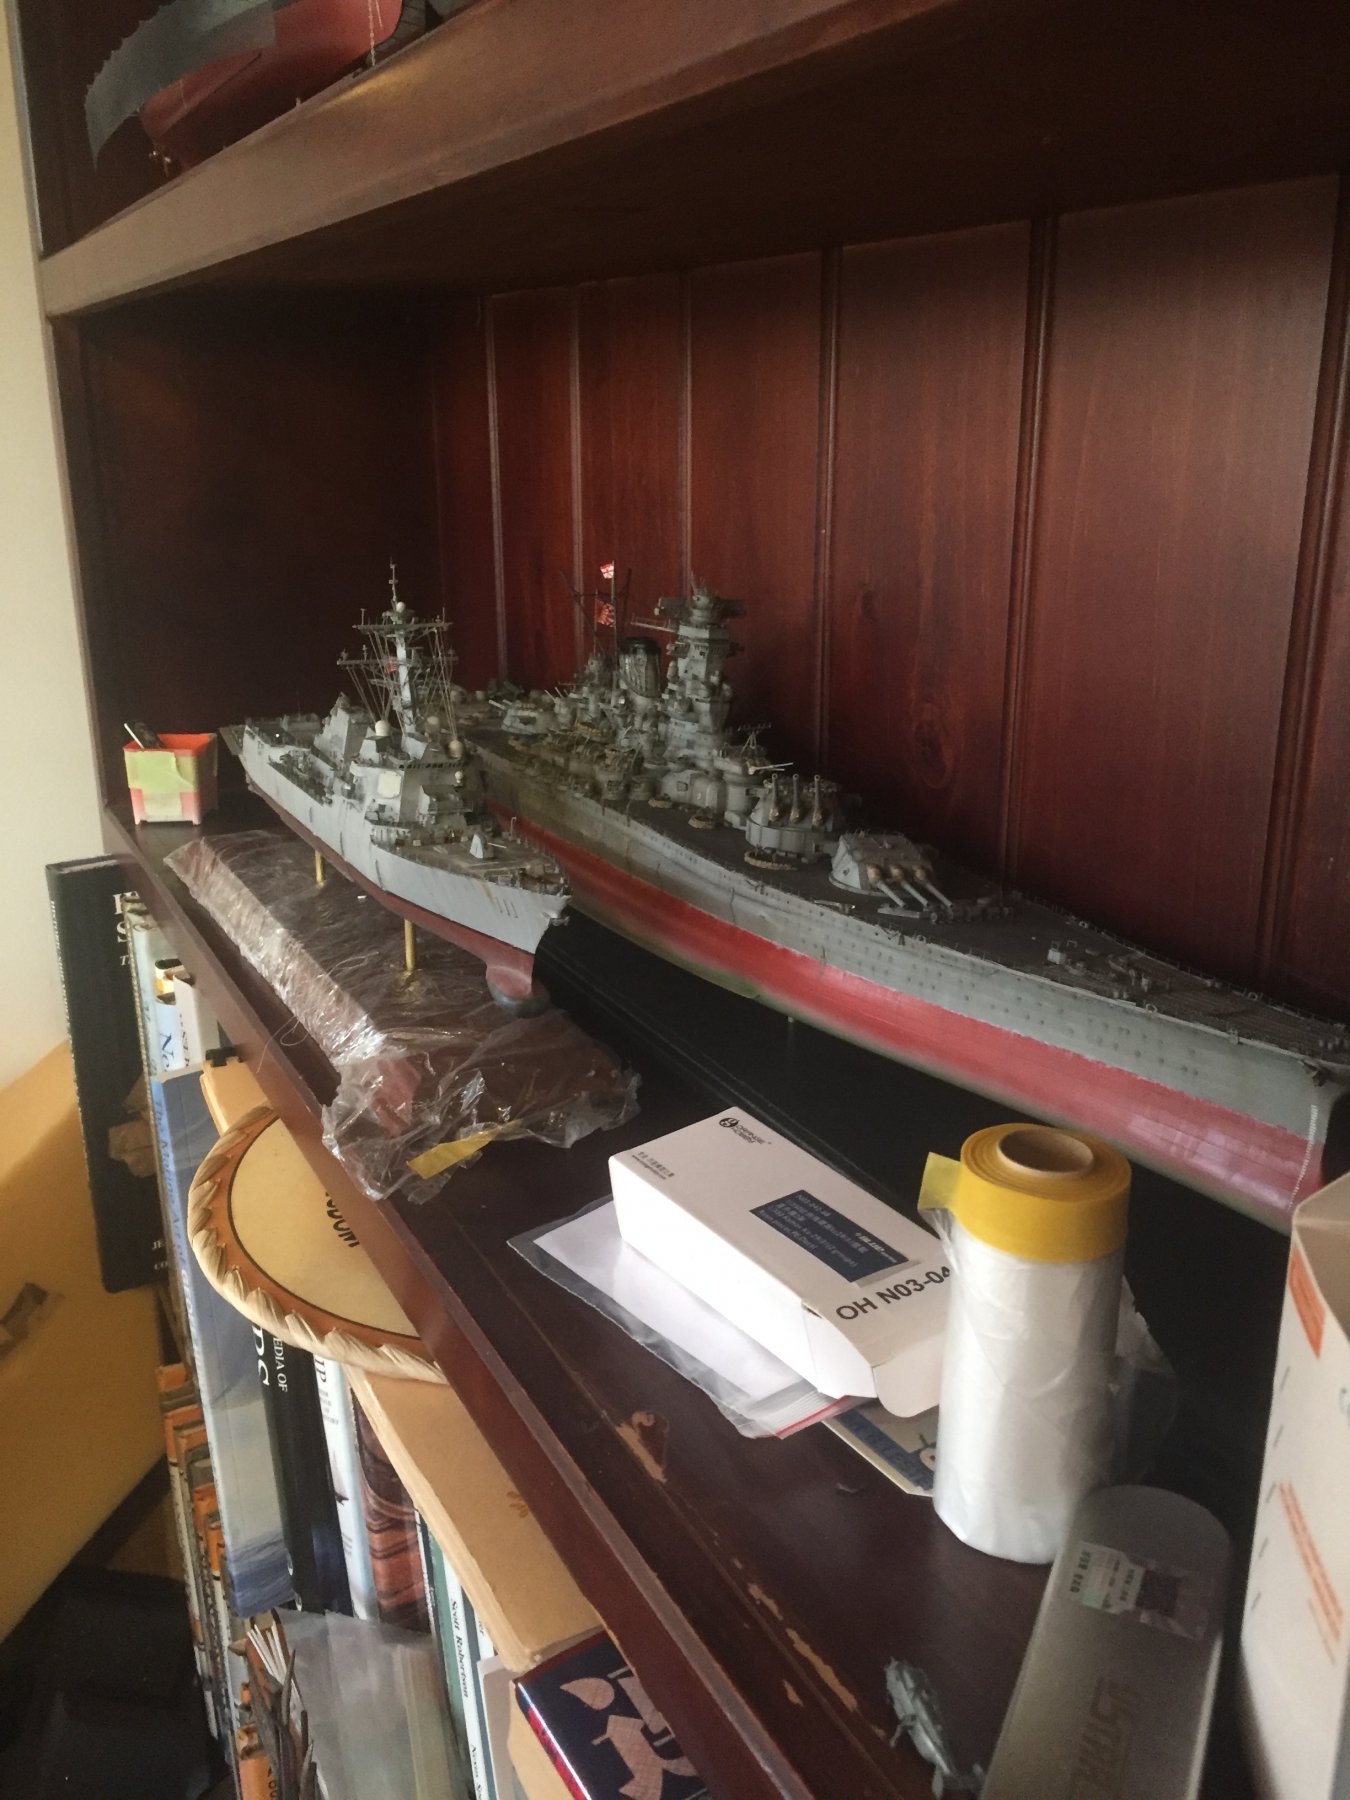
Yes, they are both 1/350, I just find it hard to believe that the DDG looks so big compared to Yamato.
- mtaylor, Canute and popeye the sailor
-
3
-
Should be 100 metres longer, or 28cms?
- mtaylor, popeye the sailor and Canute
-
3
-
I’m still not convinced about the scales....

- hexnut, Haliburton, Canute and 6 others
-
9
-
-
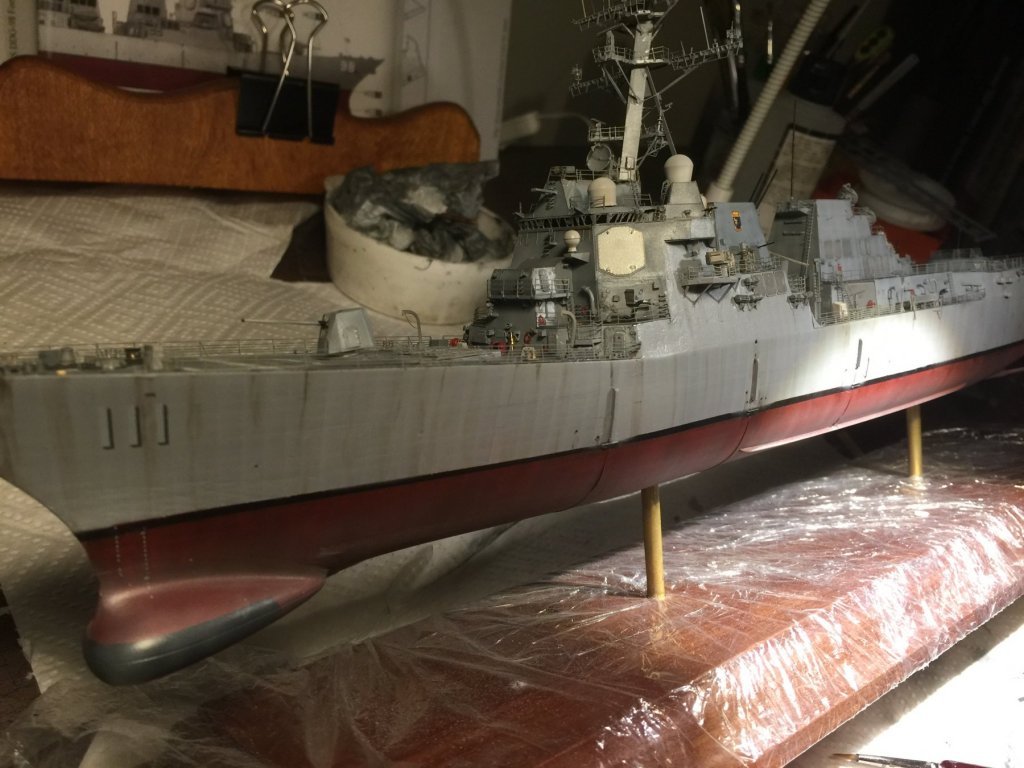
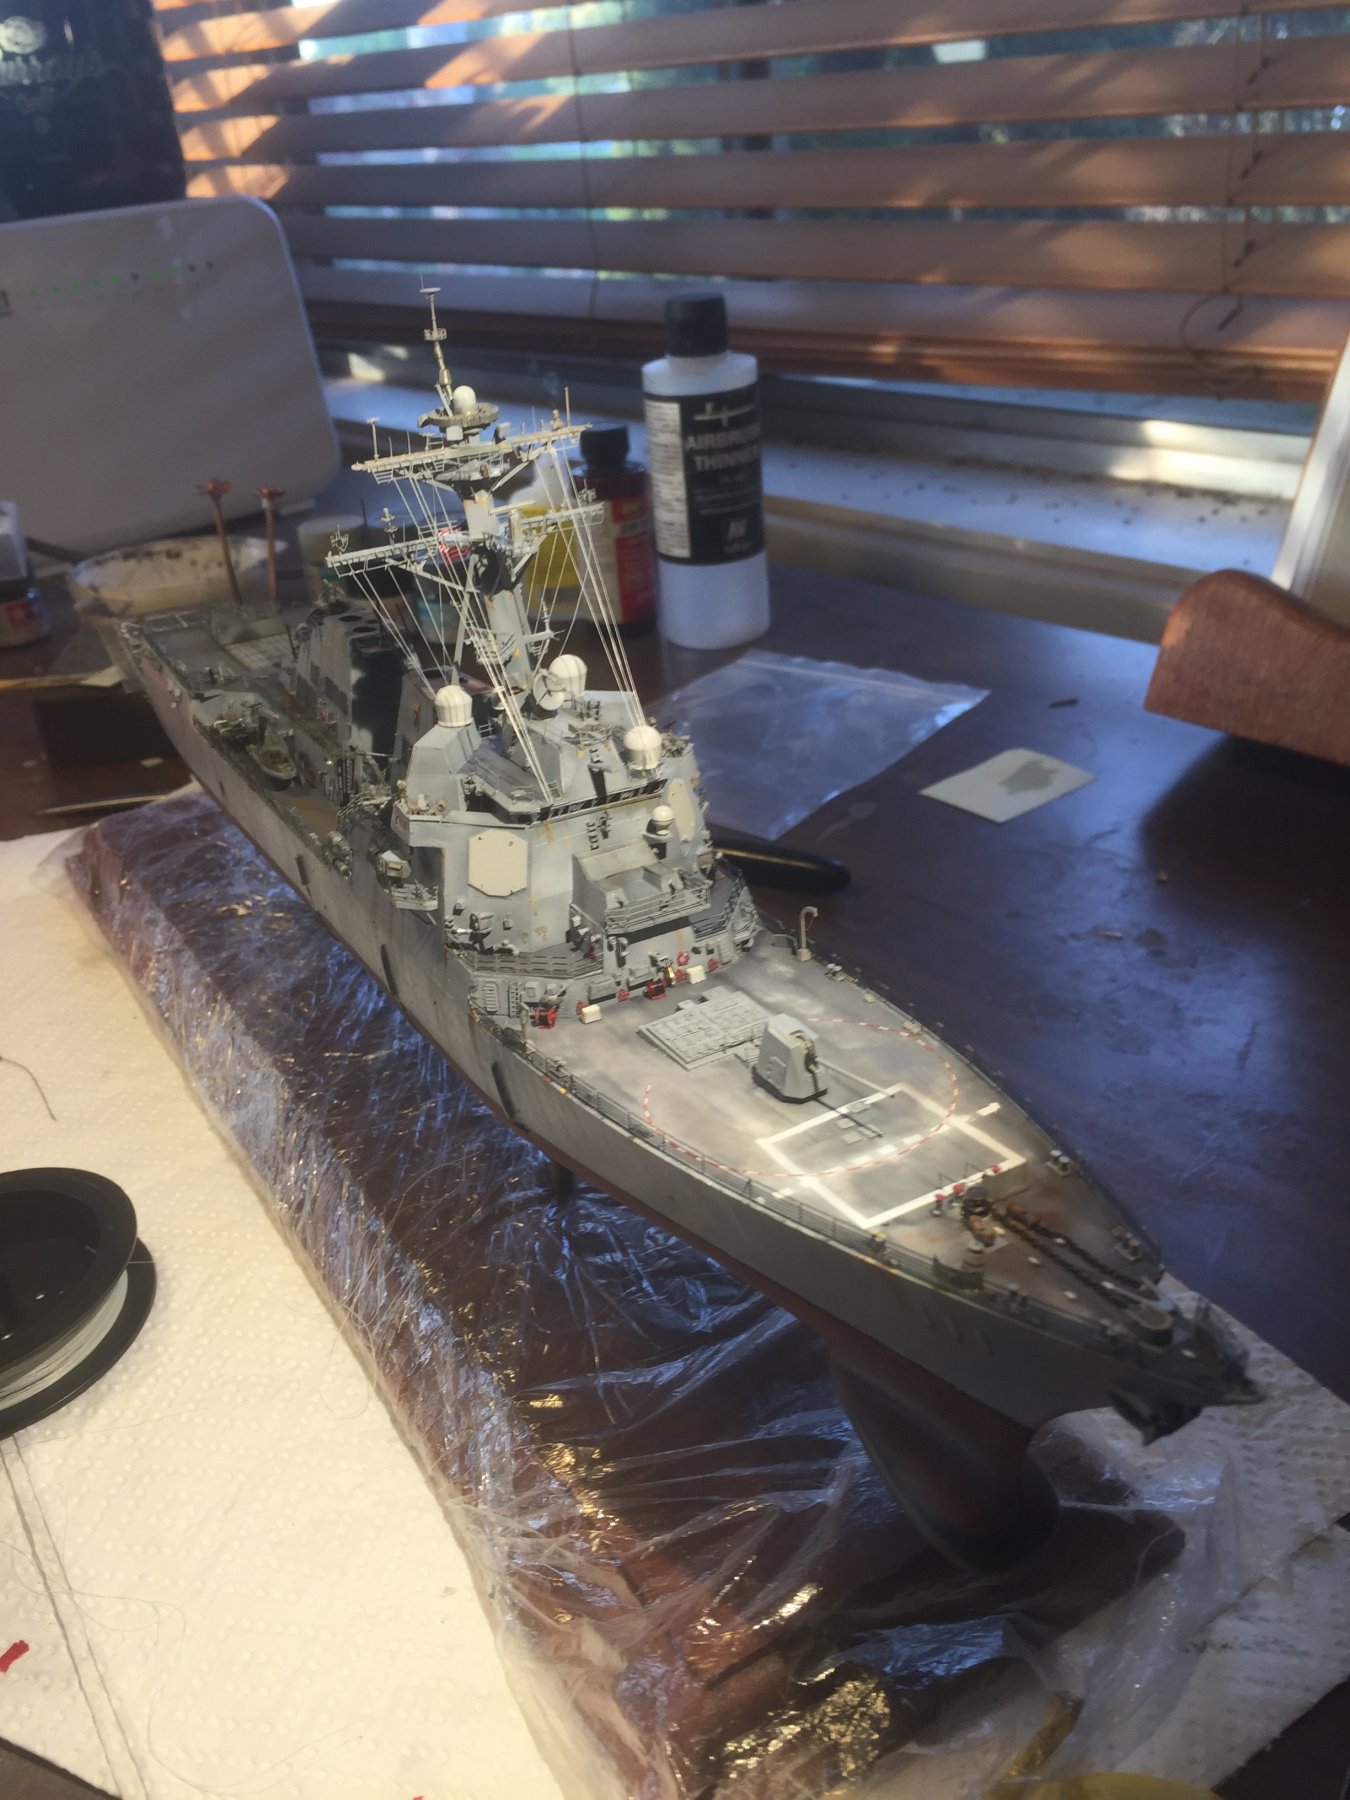
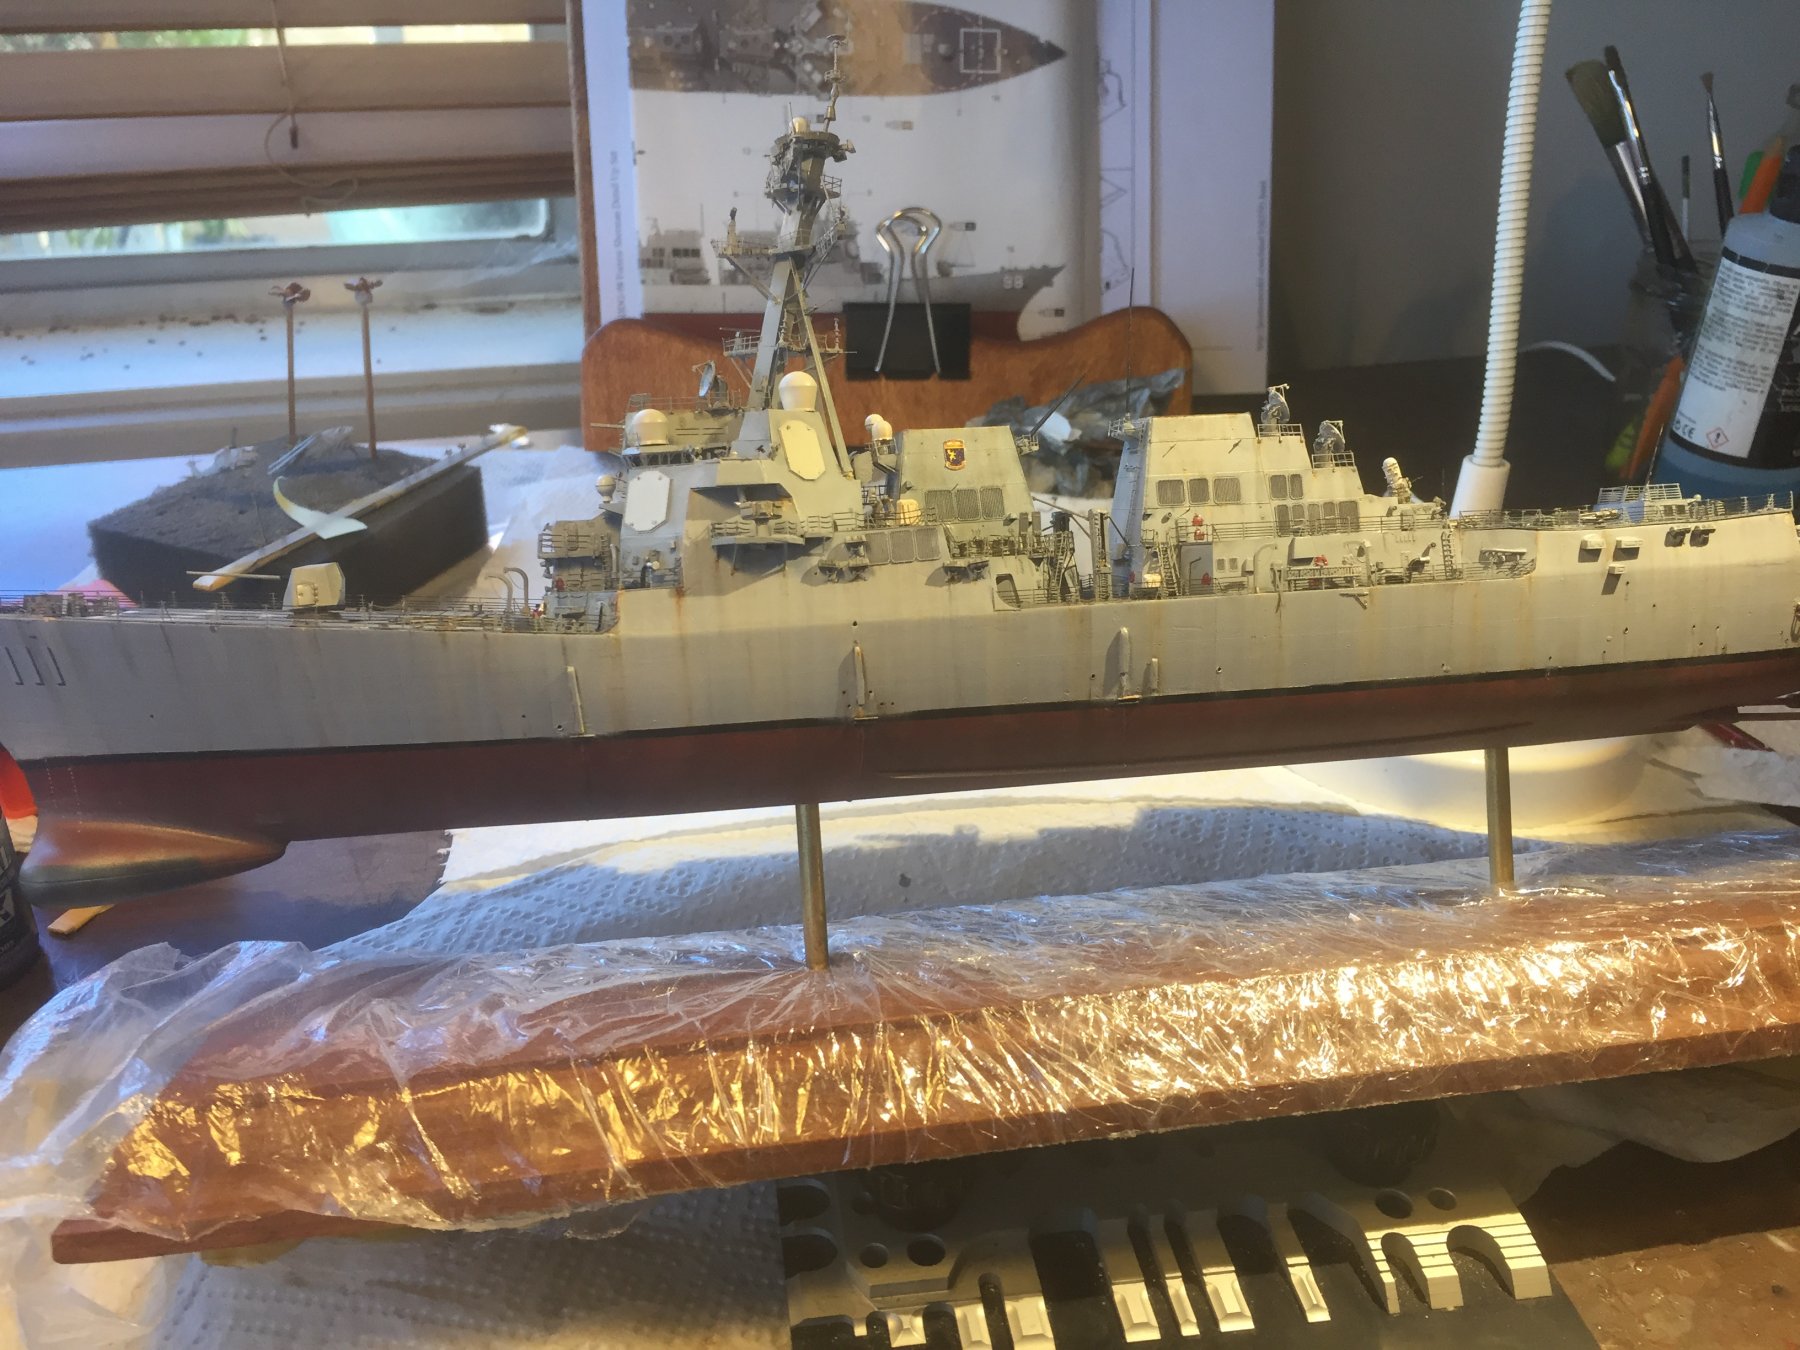
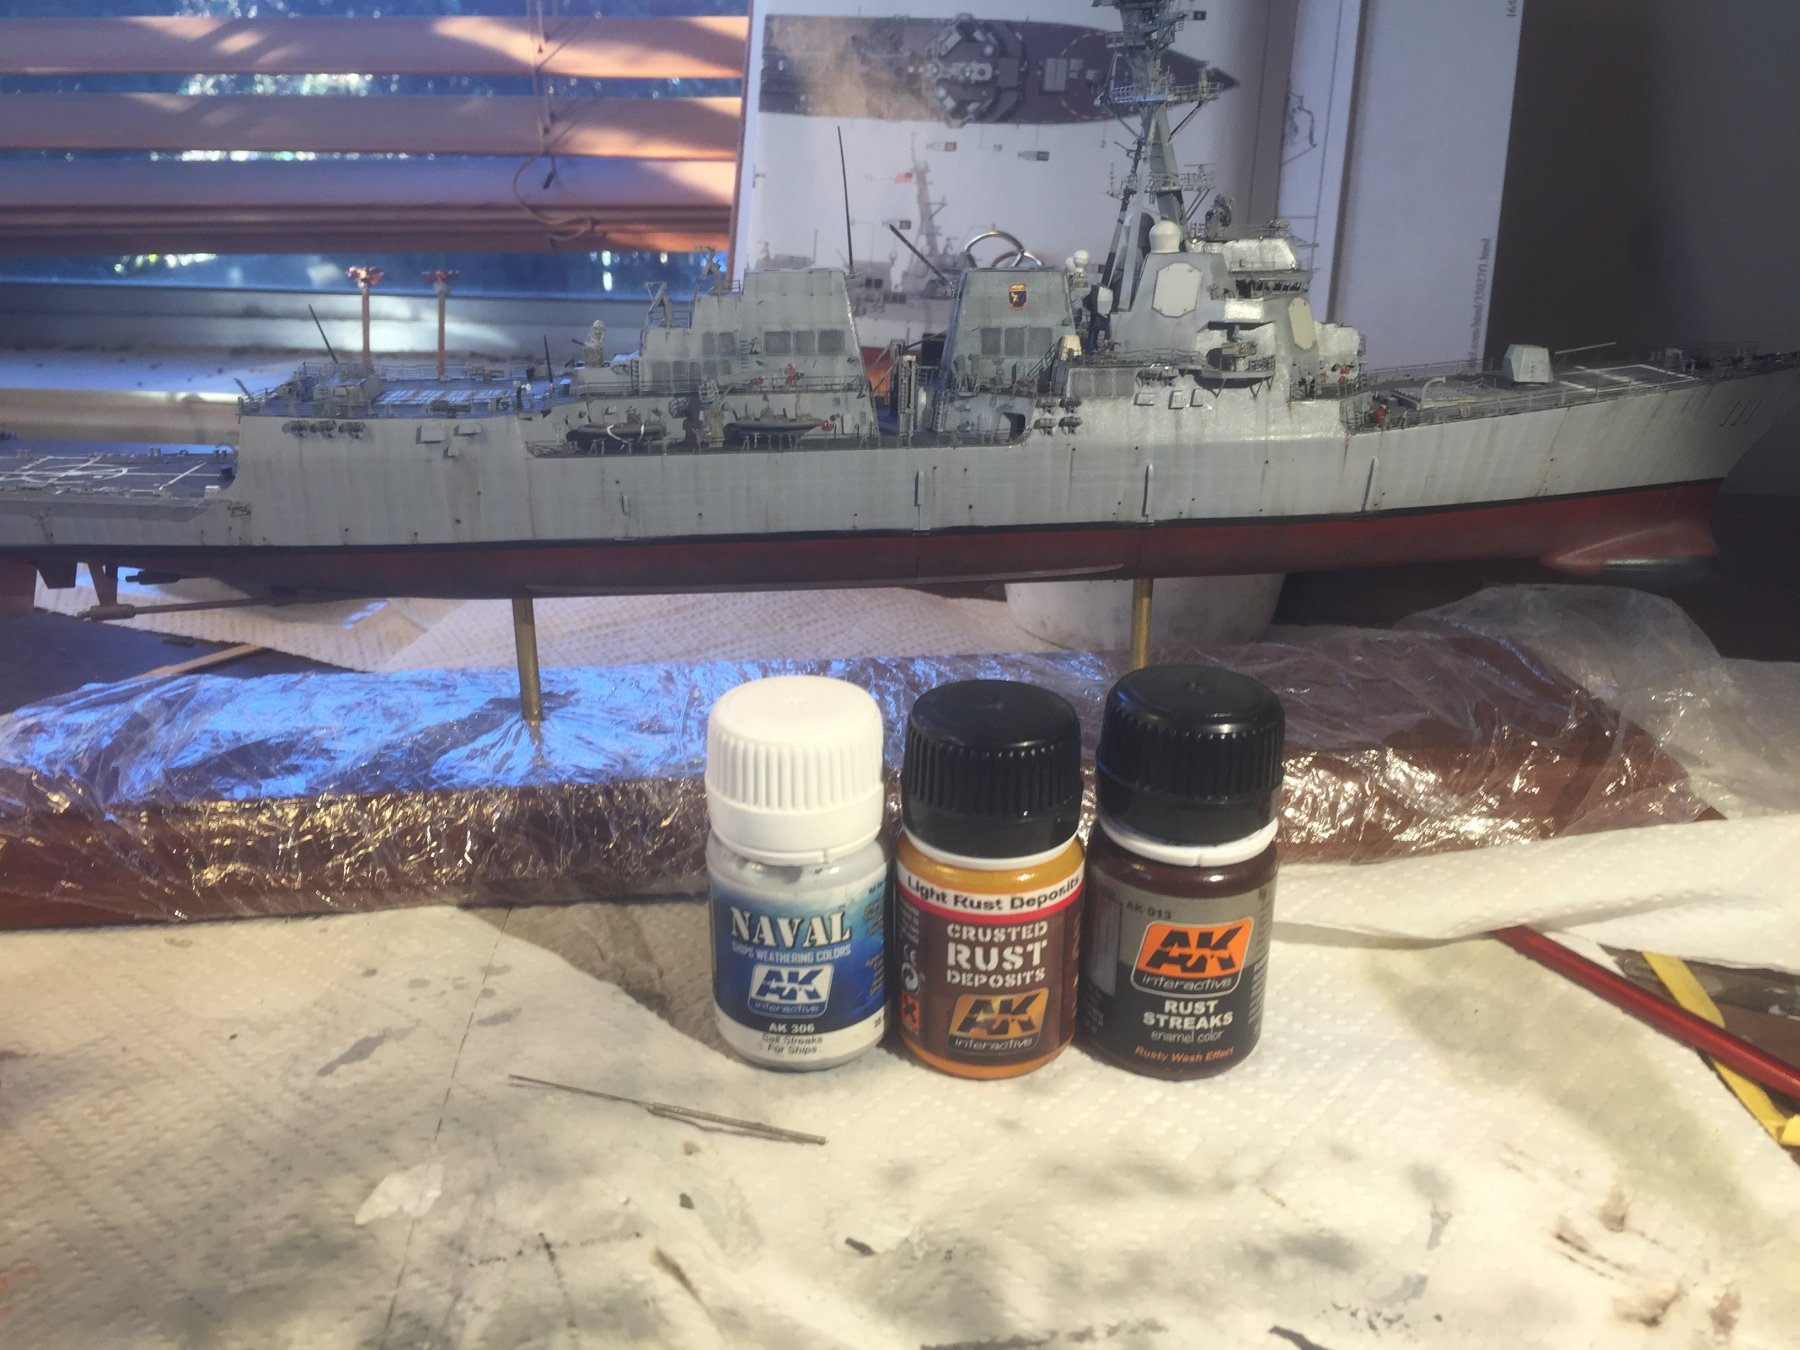
Rust and salt streaks done, bit of grunge powder on the deck and tops of the stacks. Bit of rigging next.


- popeye the sailor, Canute, hexnut and 8 others
-
11
-
Grunge streaking done, 3 more types of weathering to go on the sides, I’ll use pastels/ Powders for the decks

-
Weathering begins, grunge first, then some salt and later a few rust spots and rusty streaks. I’m going to have to paint all the railings Black to represent wire keeping the posts grey.
I feel its it’s starting to look a little less like a toy now.
- Dan Vadas, fnkershner, BANYAN and 10 others
-
13
-
-
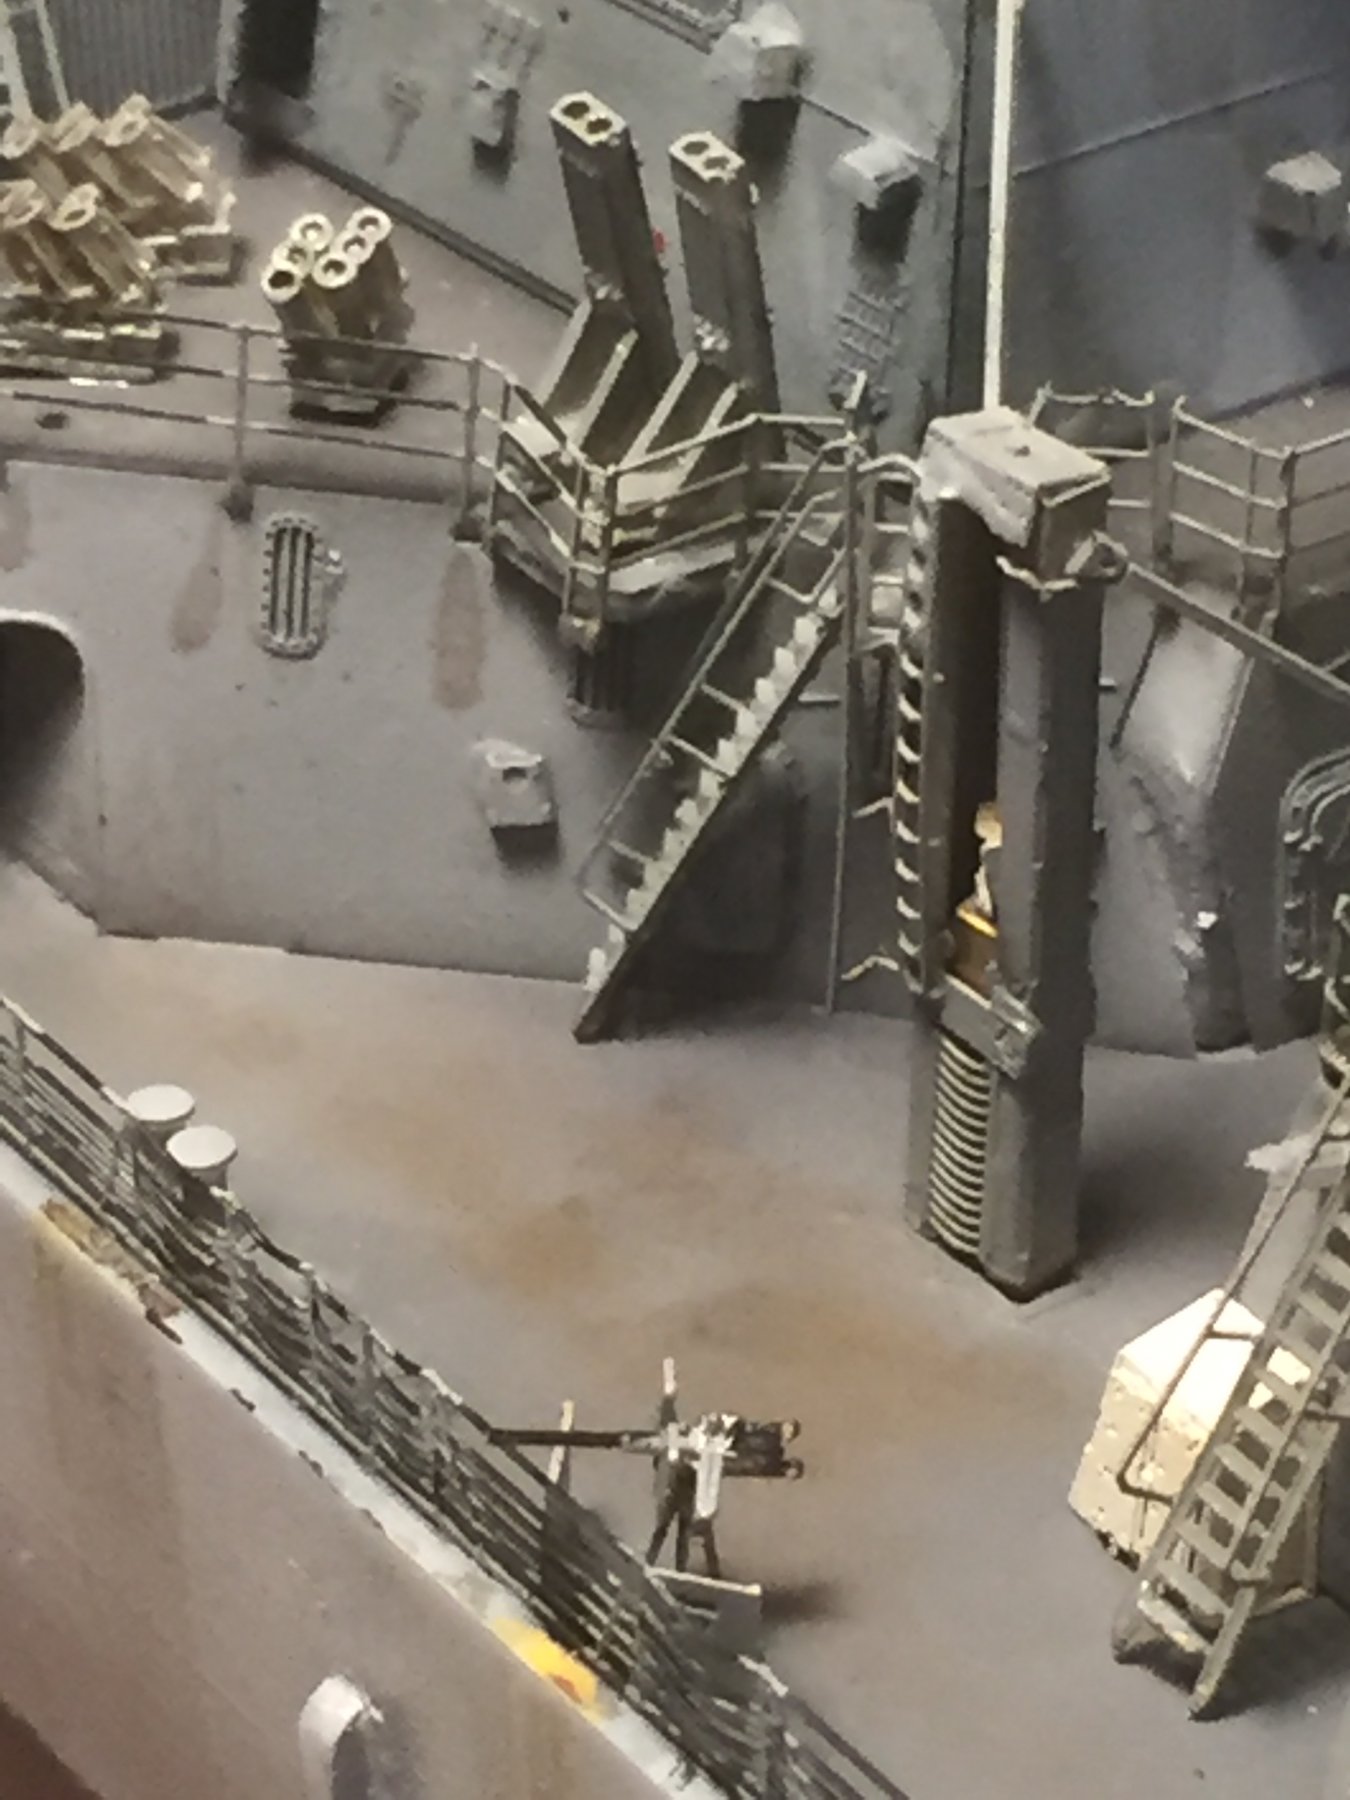
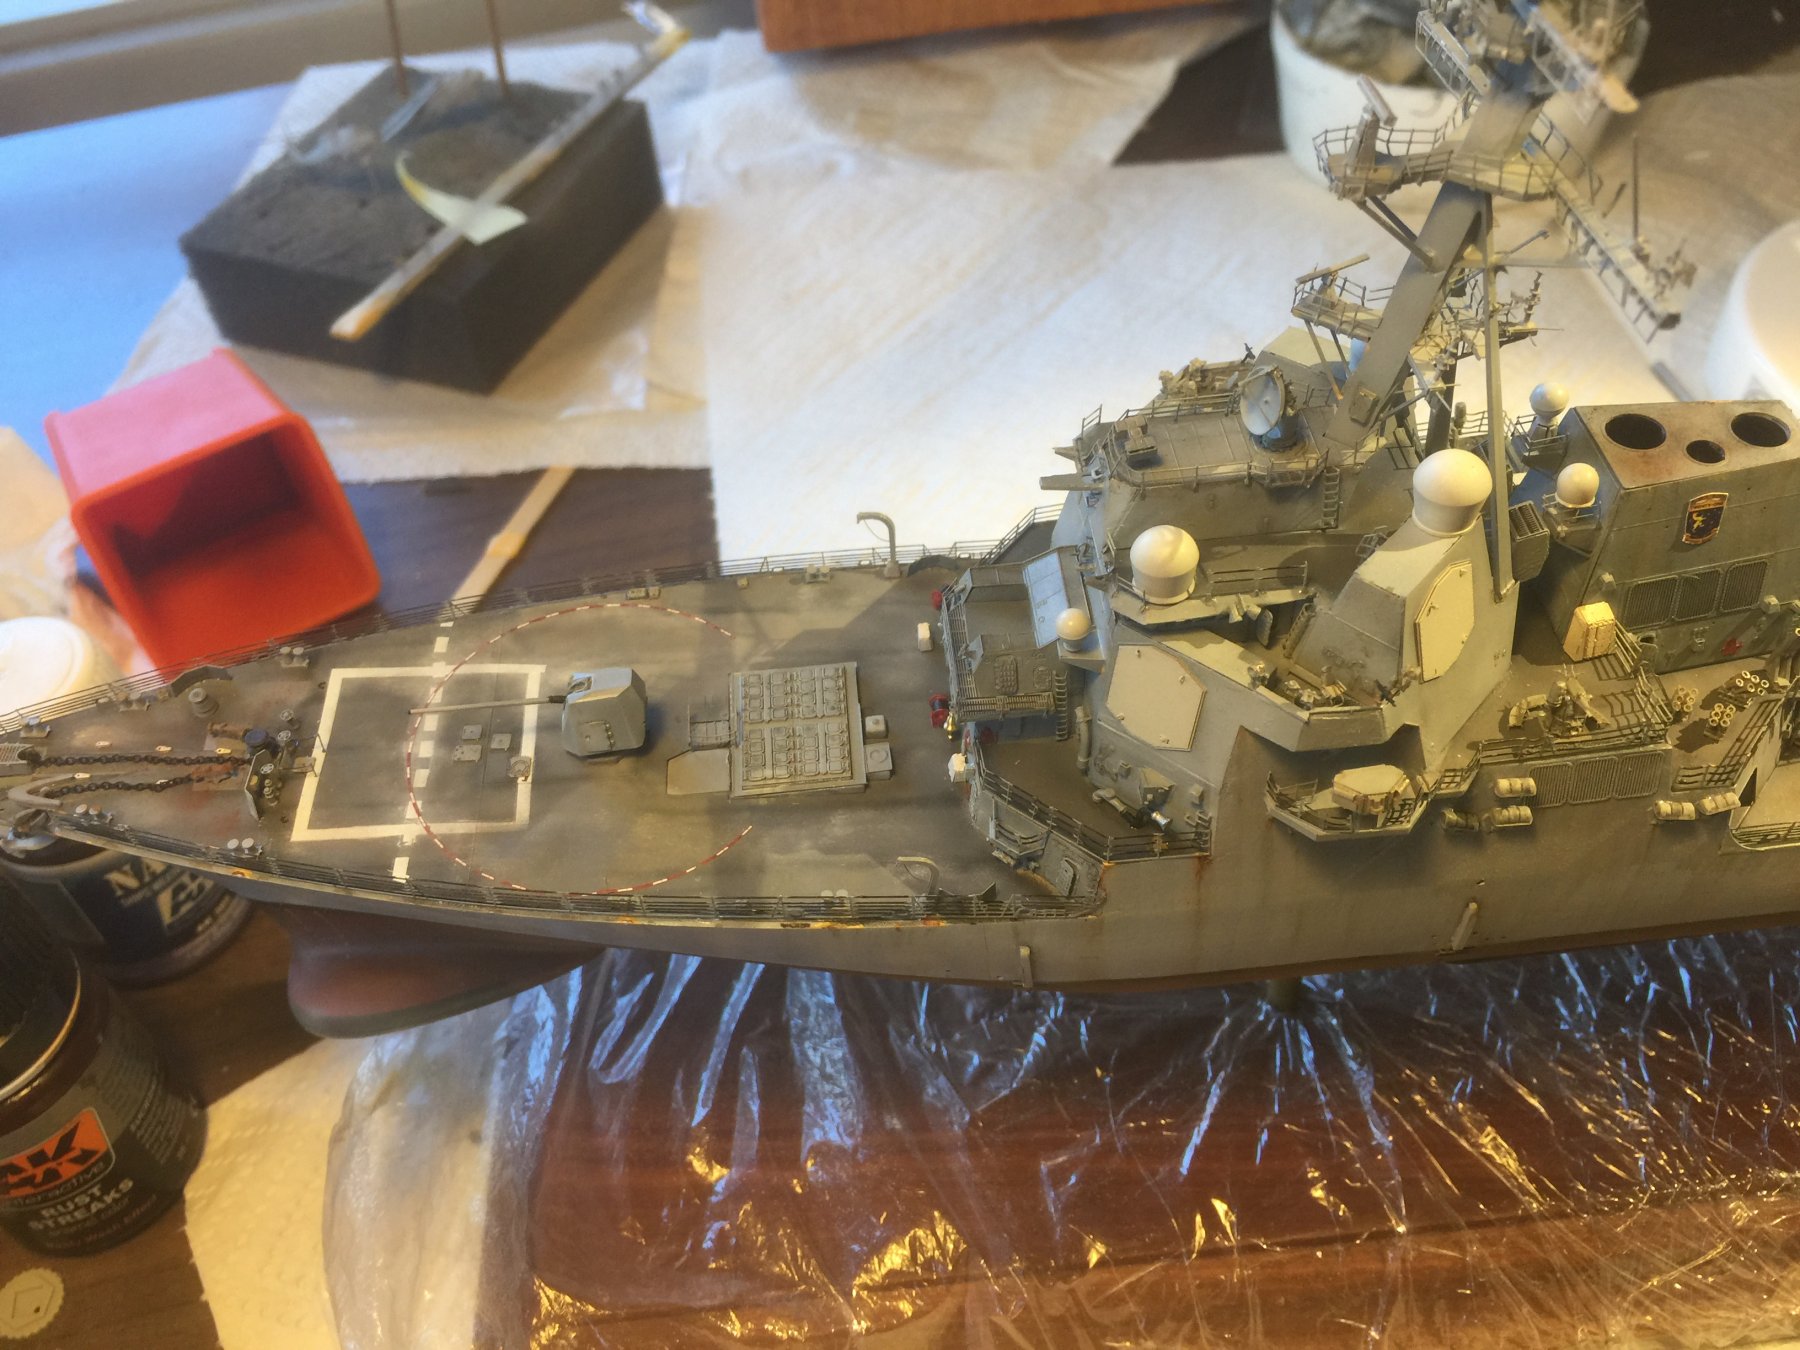
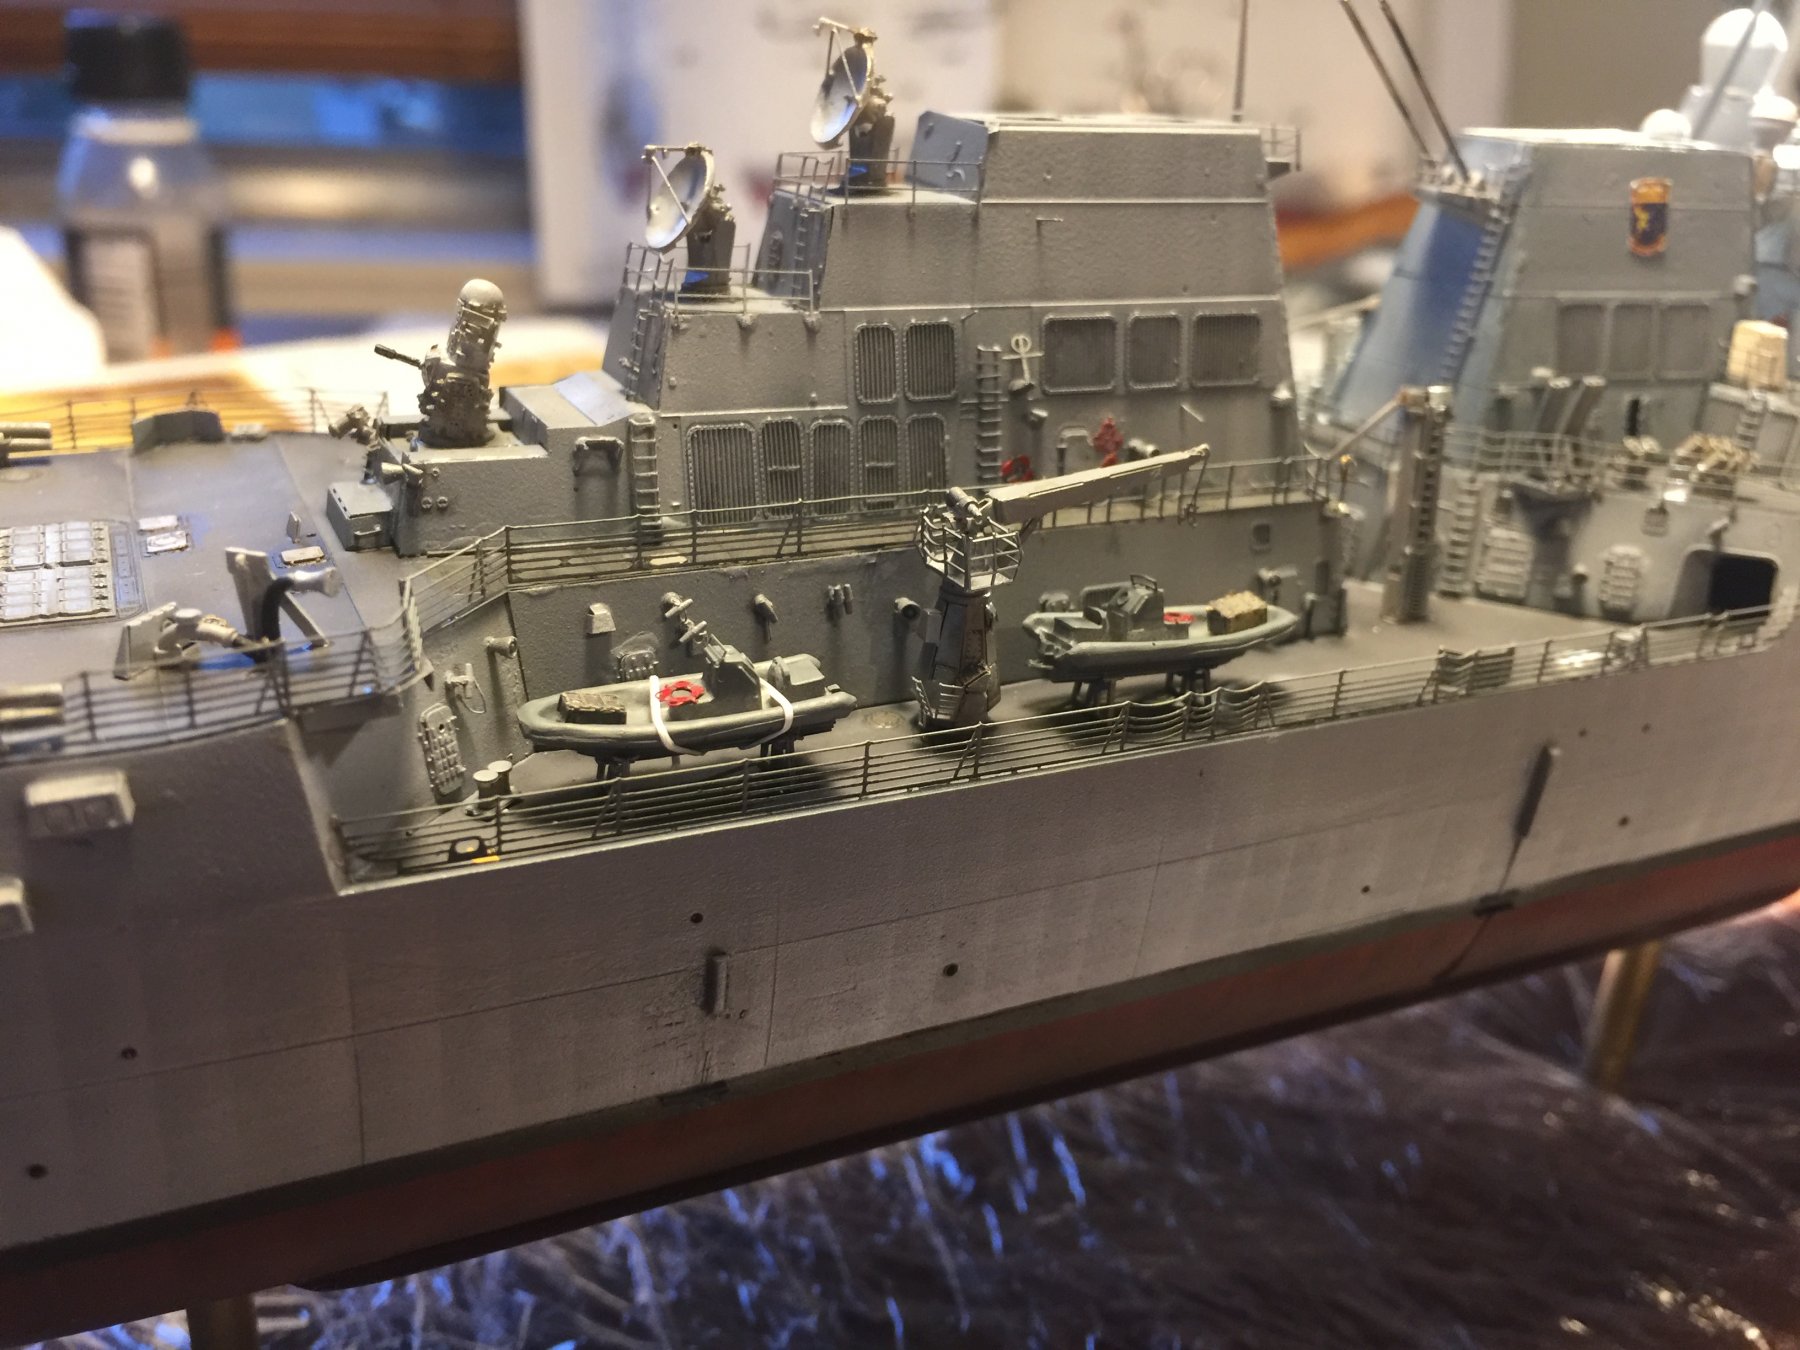
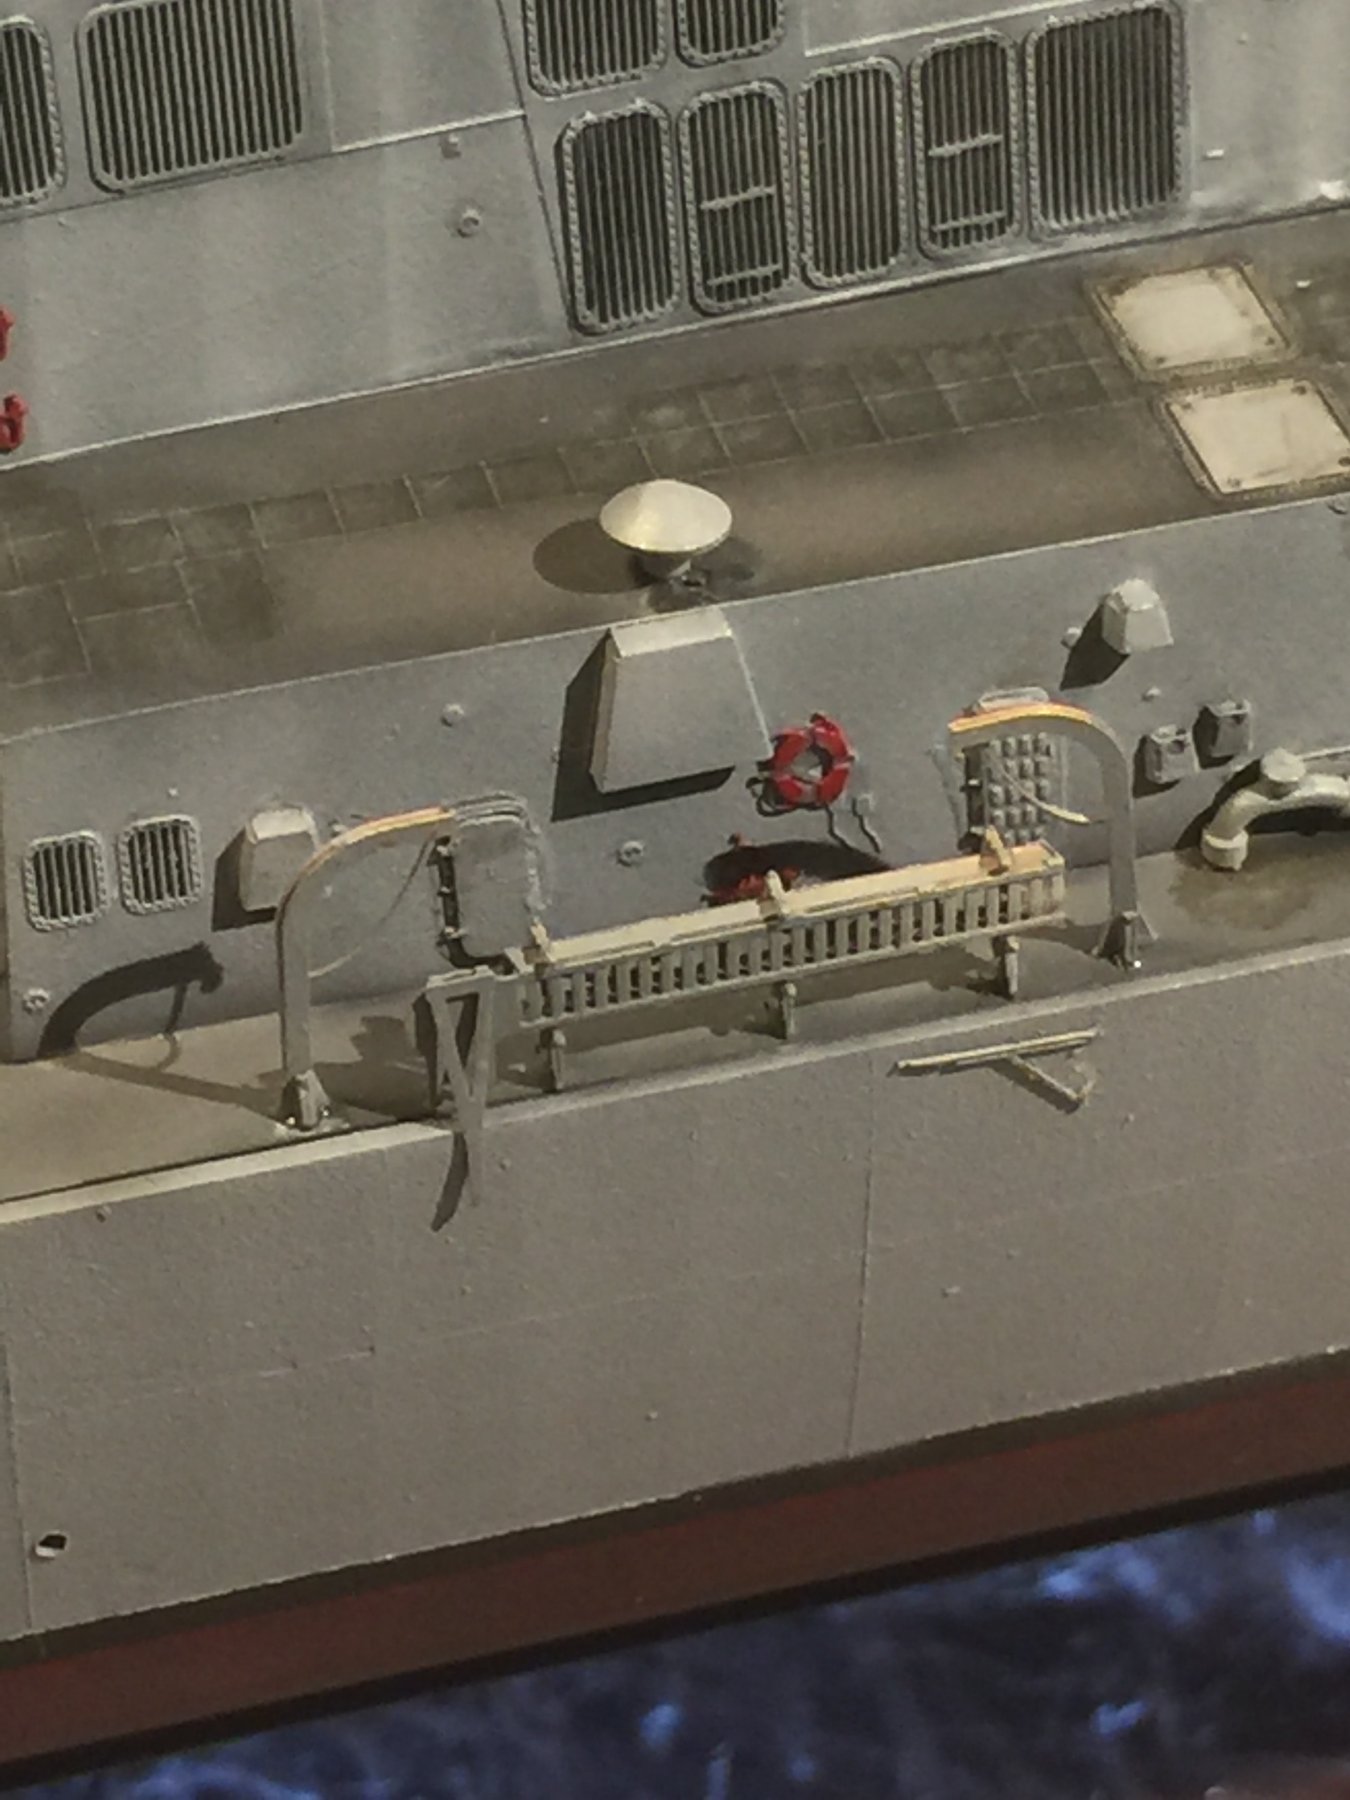
The last of the railings are done, and the ships boats added.

- Haliburton, Dan Vadas, pjofc4 and 11 others
-
14
-
-
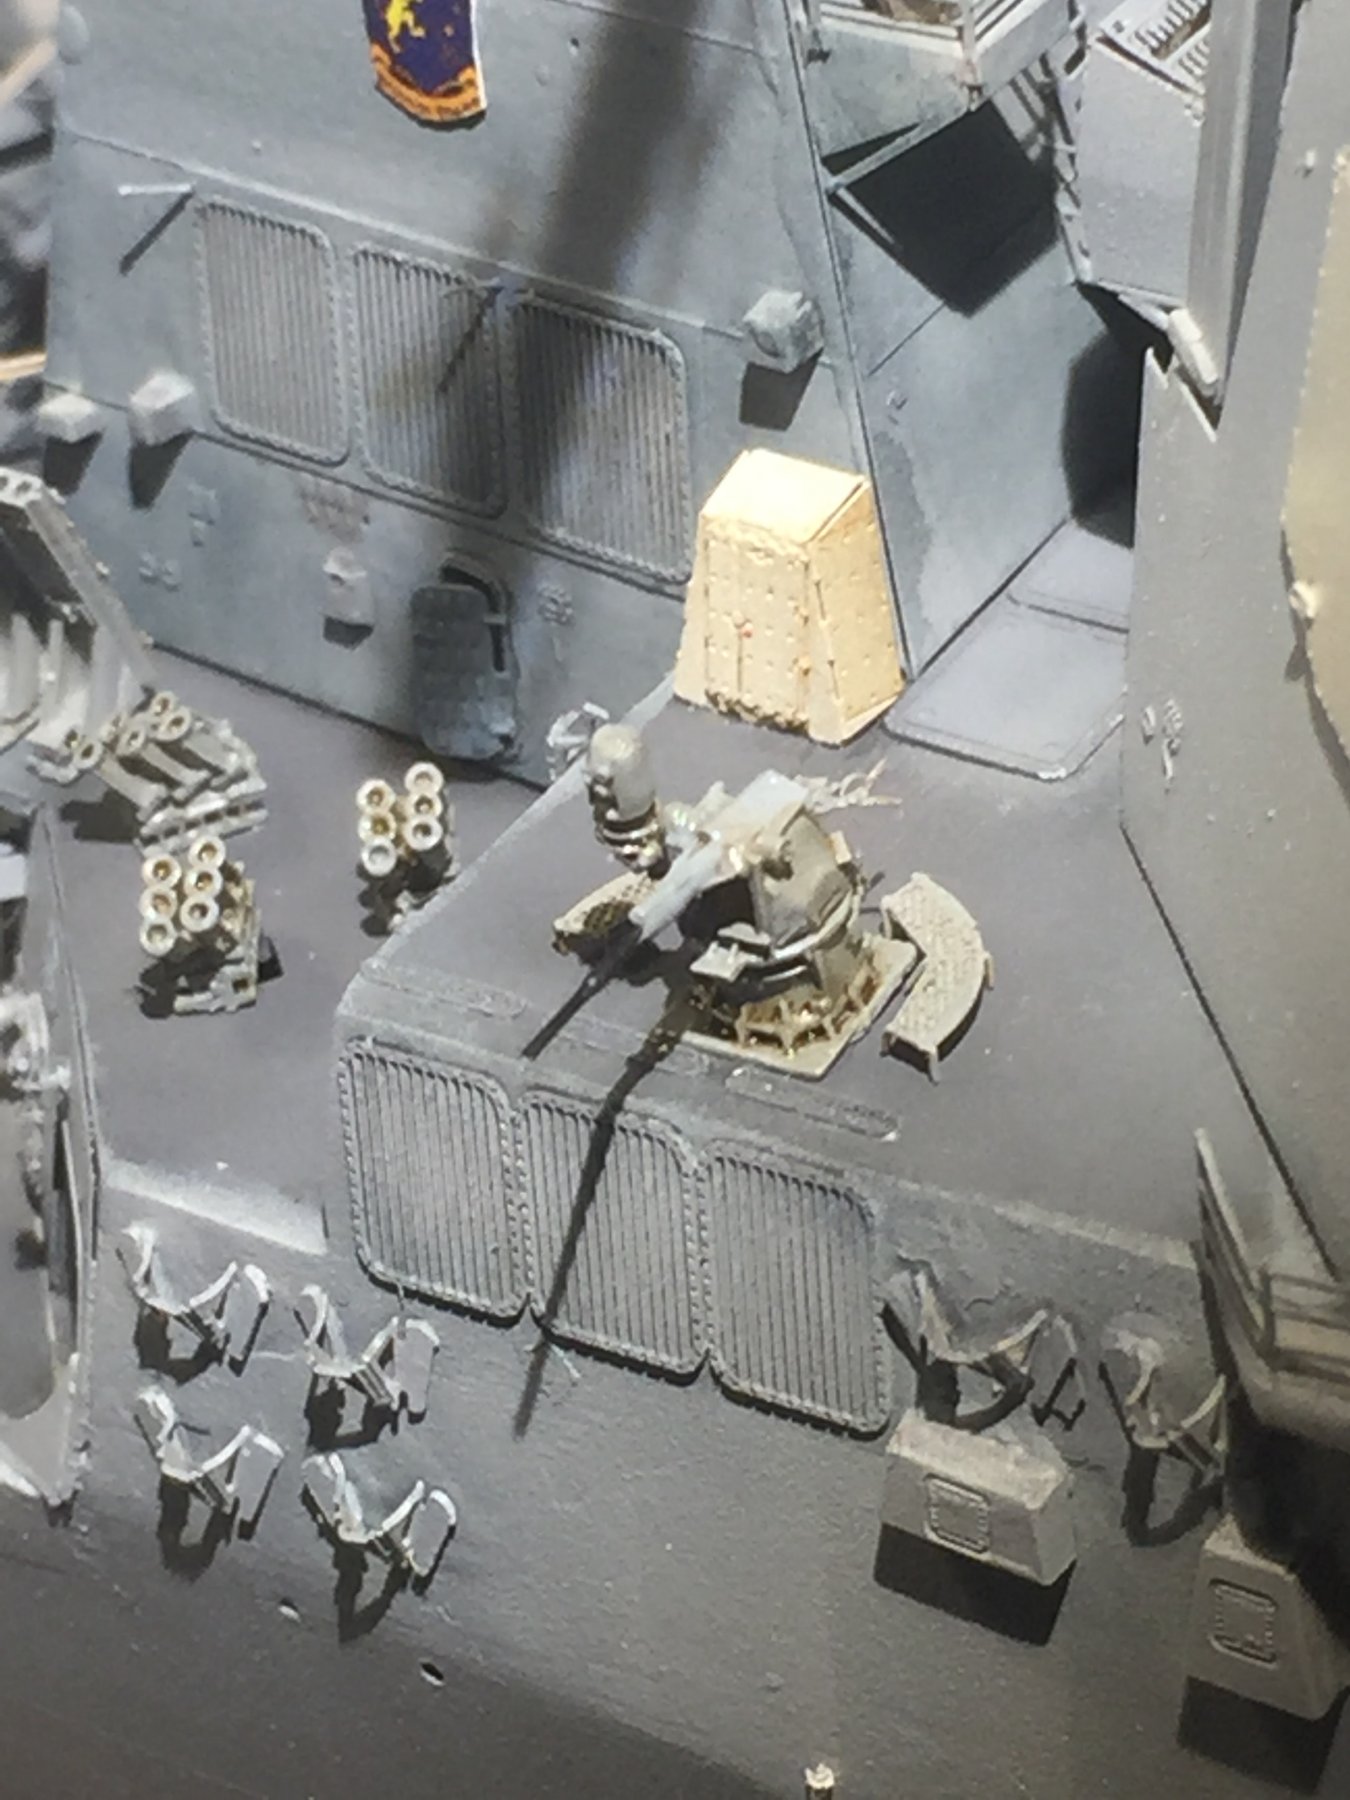
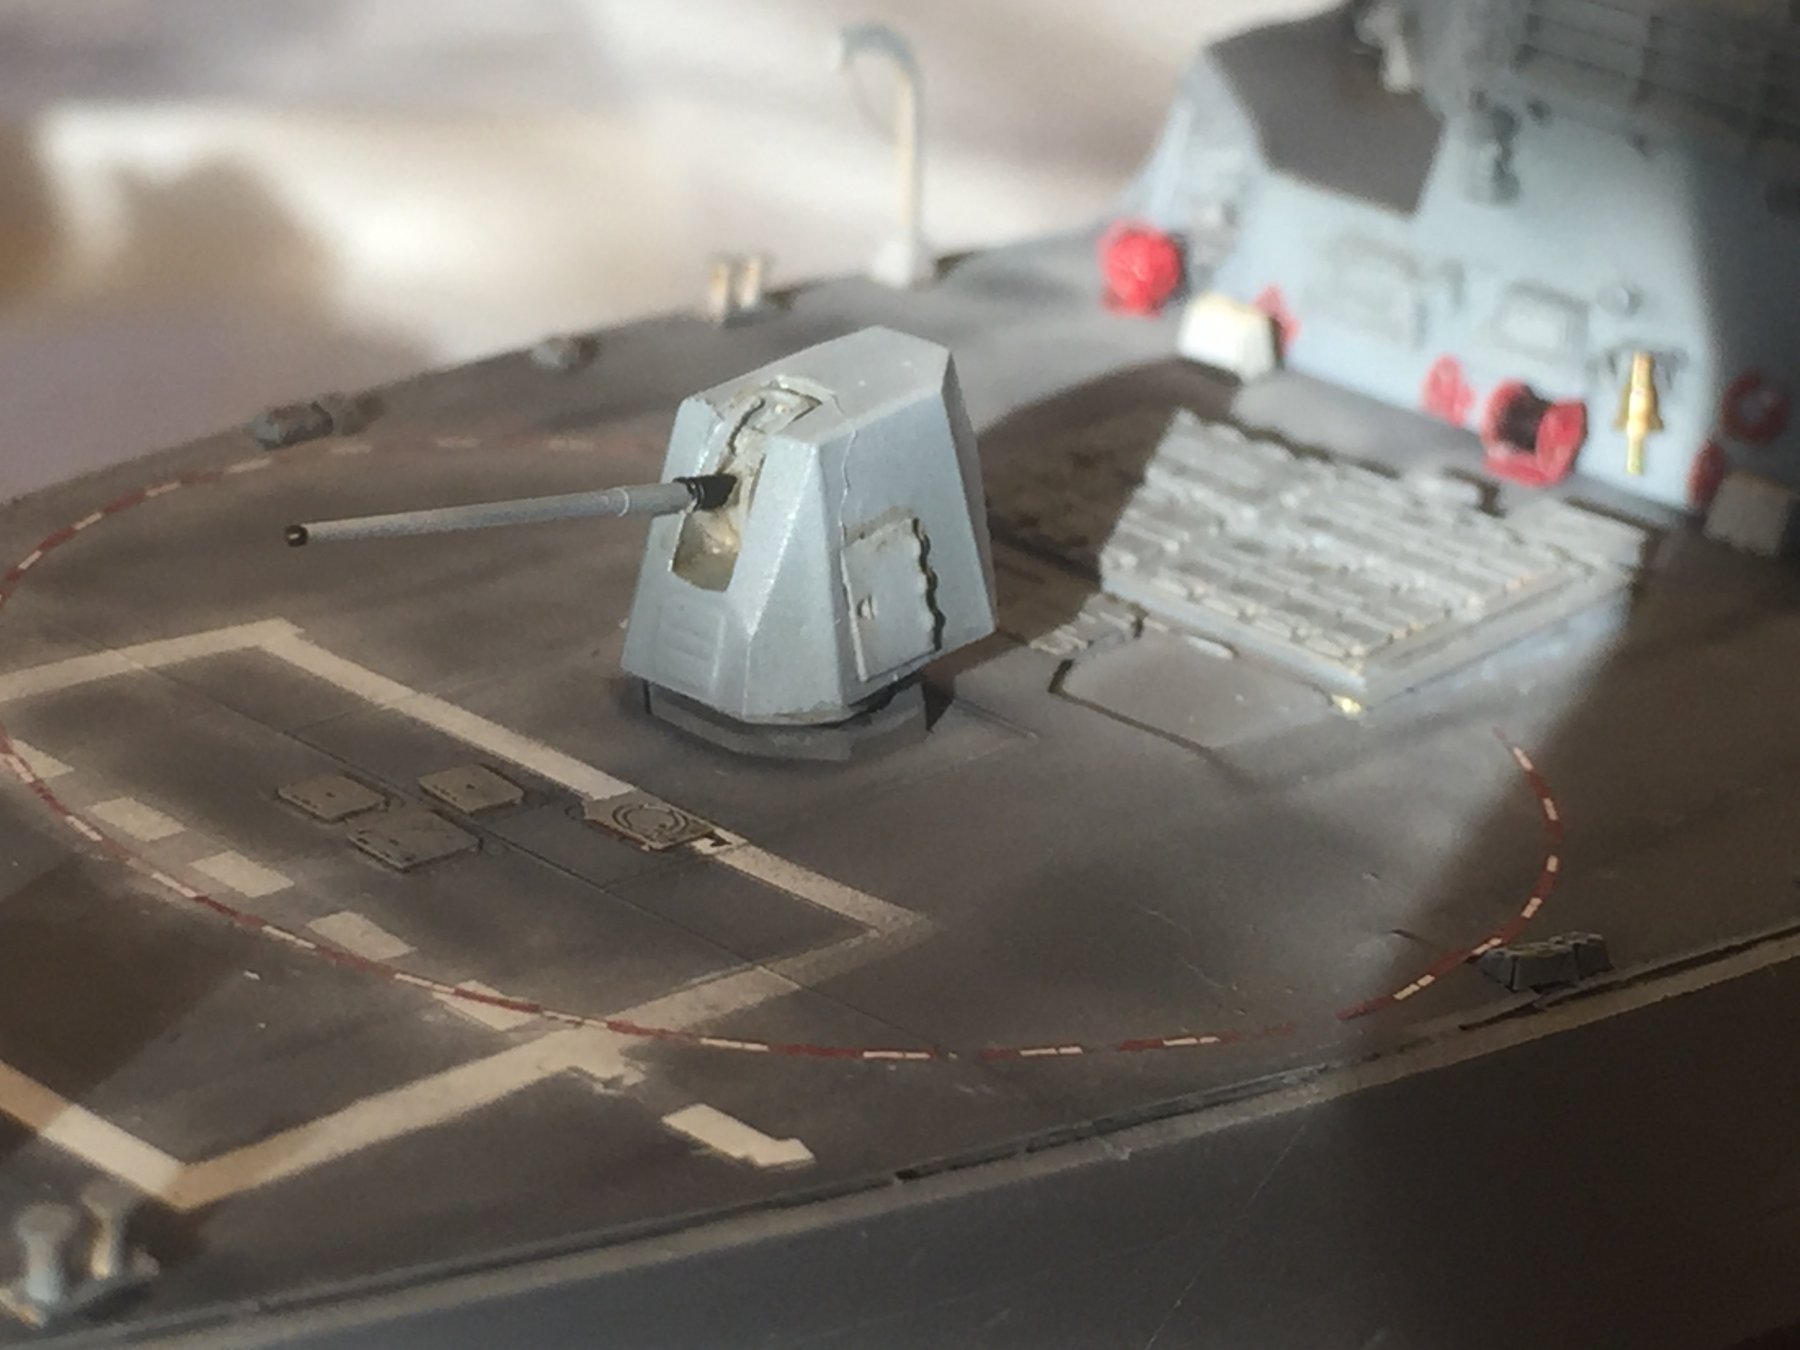
Well the mount is there, any answer?
- popeye the sailor, mtaylor and Canute
-
3
-
All good Cog, ‘Our’ next build will be less complicated.
One batch of painting to do.
- popeye the sailor, Canute and mtaylor
-
3
-
10 hours ago, chj said:
Question, please. How do you know what each of the small parts represent? Tamiya identifies many of the parts, but it seems to me that Trumpeter neglects to do so. I bought AOTS
You might have to narrow it down as to which piece you want to know about, but I reckon ChaB probably has it covered! I have the entire collection of AOTS but I doubt they will make any more. Profile Morskie has some excellent plans of a lot of WW2 ships.
- Canute, popeye the sailor, mtaylor and 1 other
-
4
-
-
-
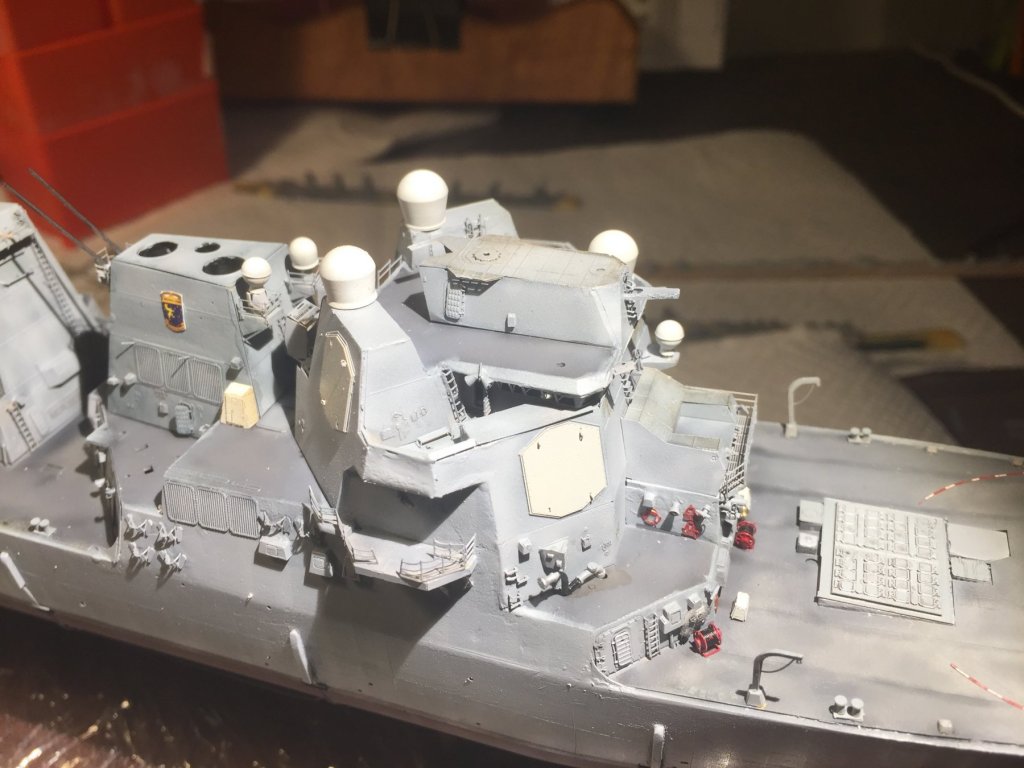
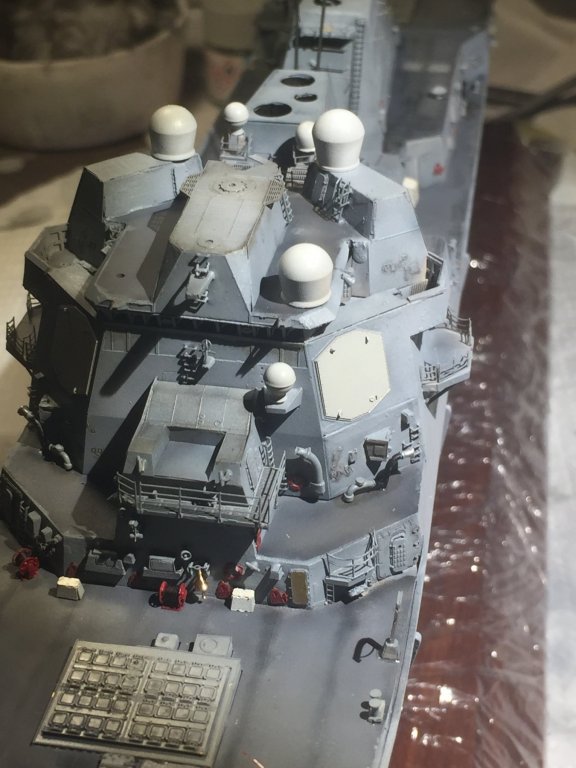
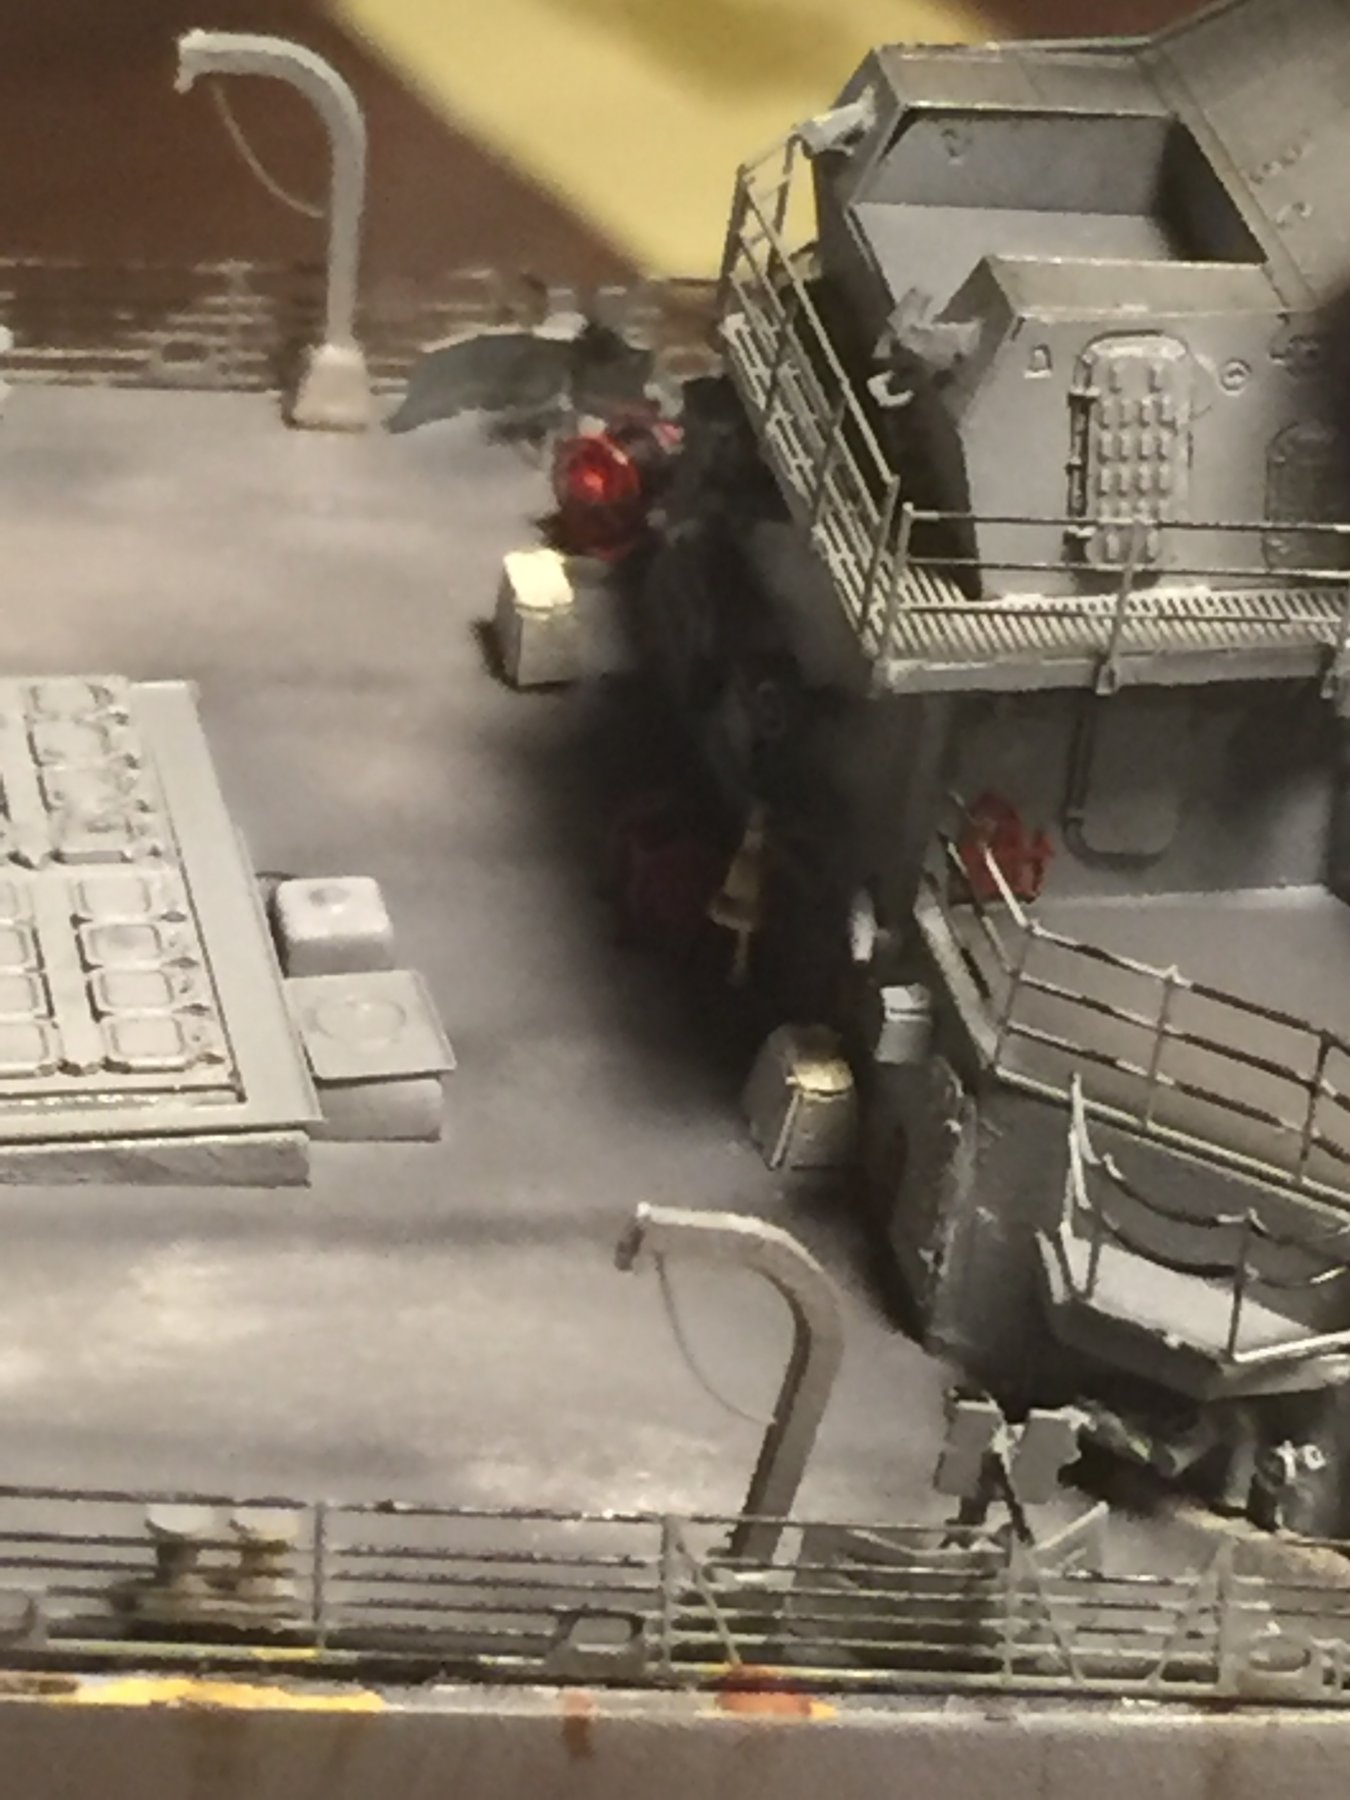
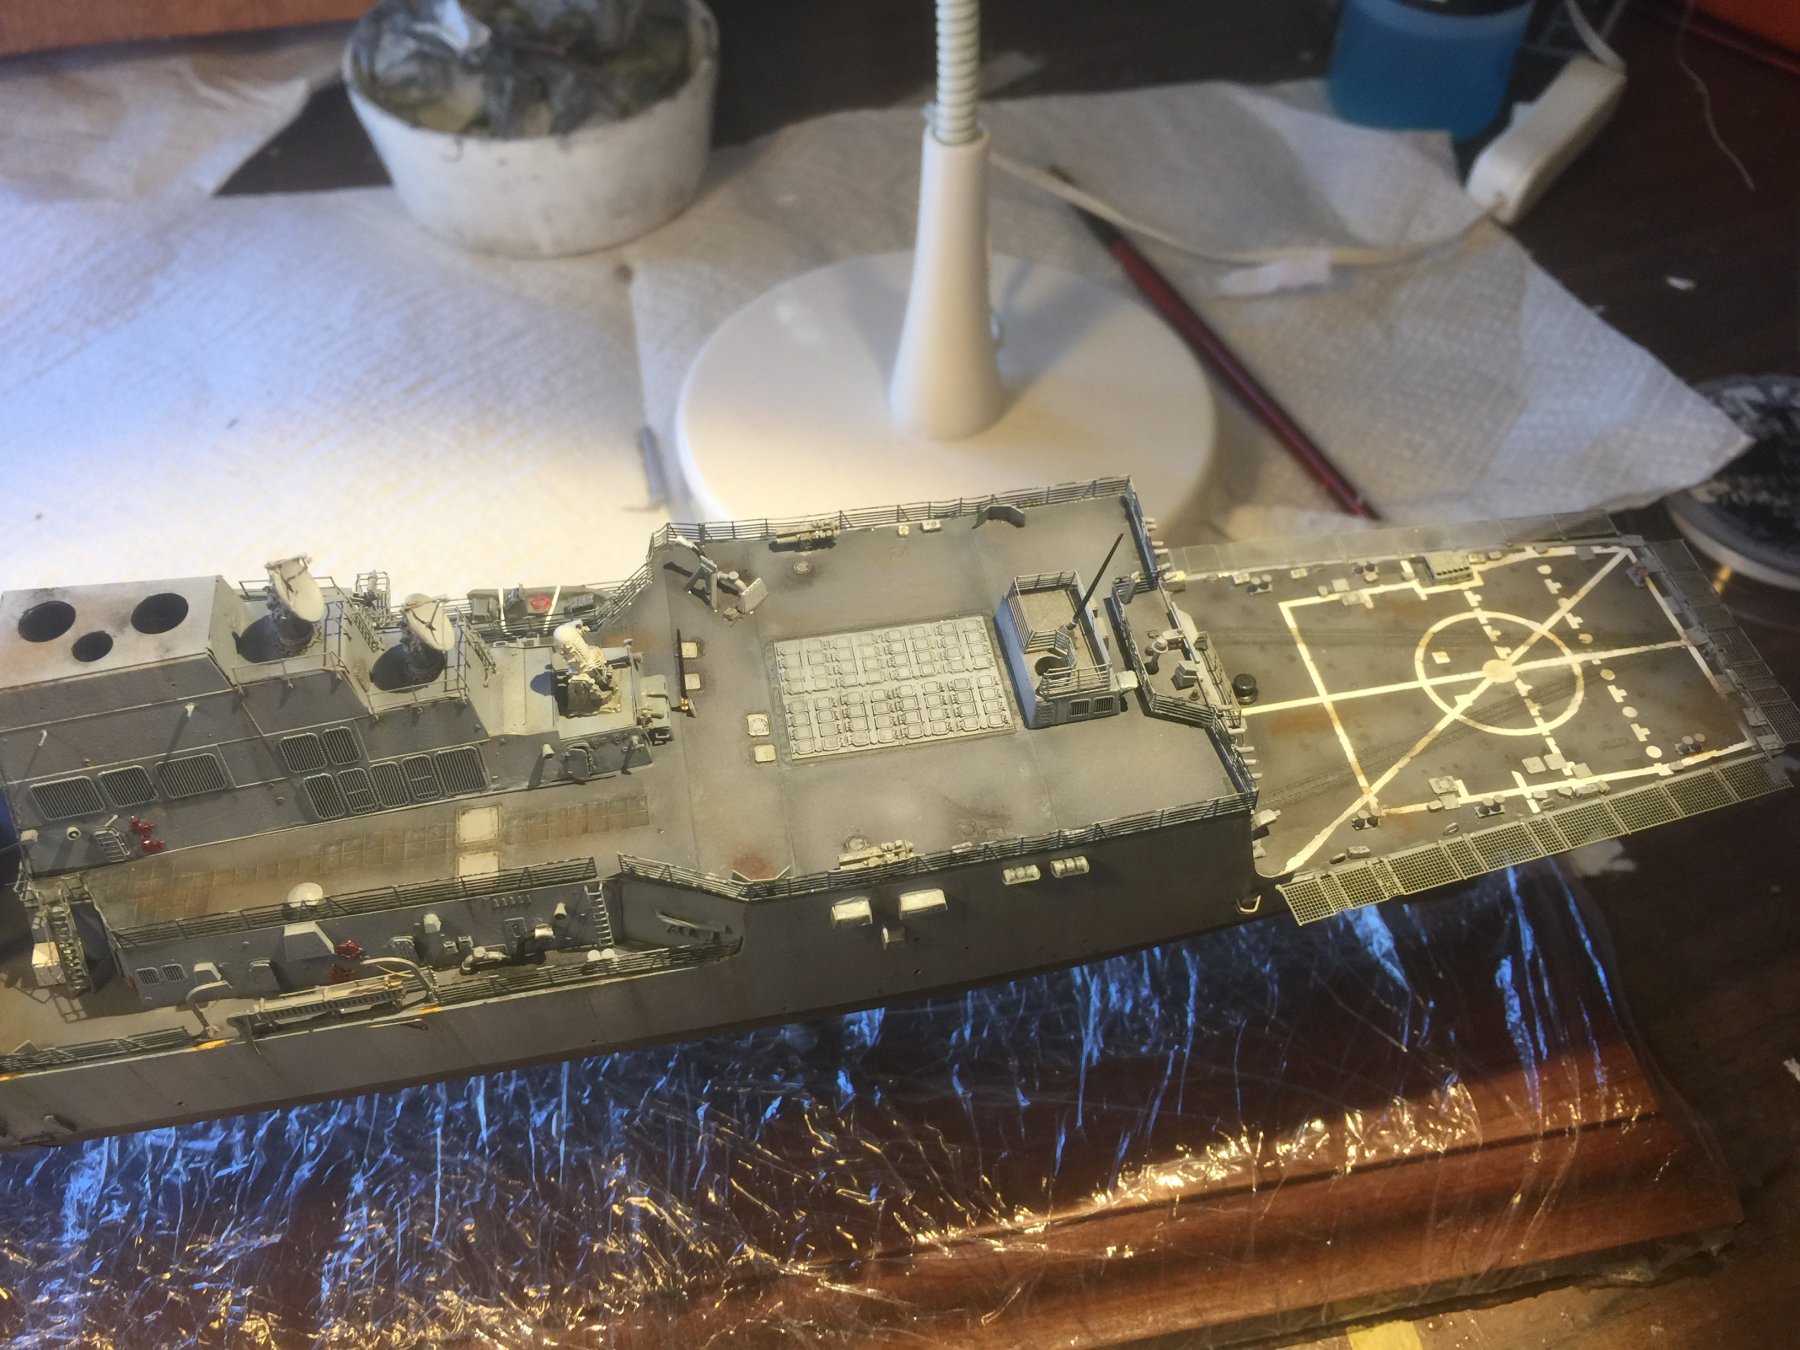
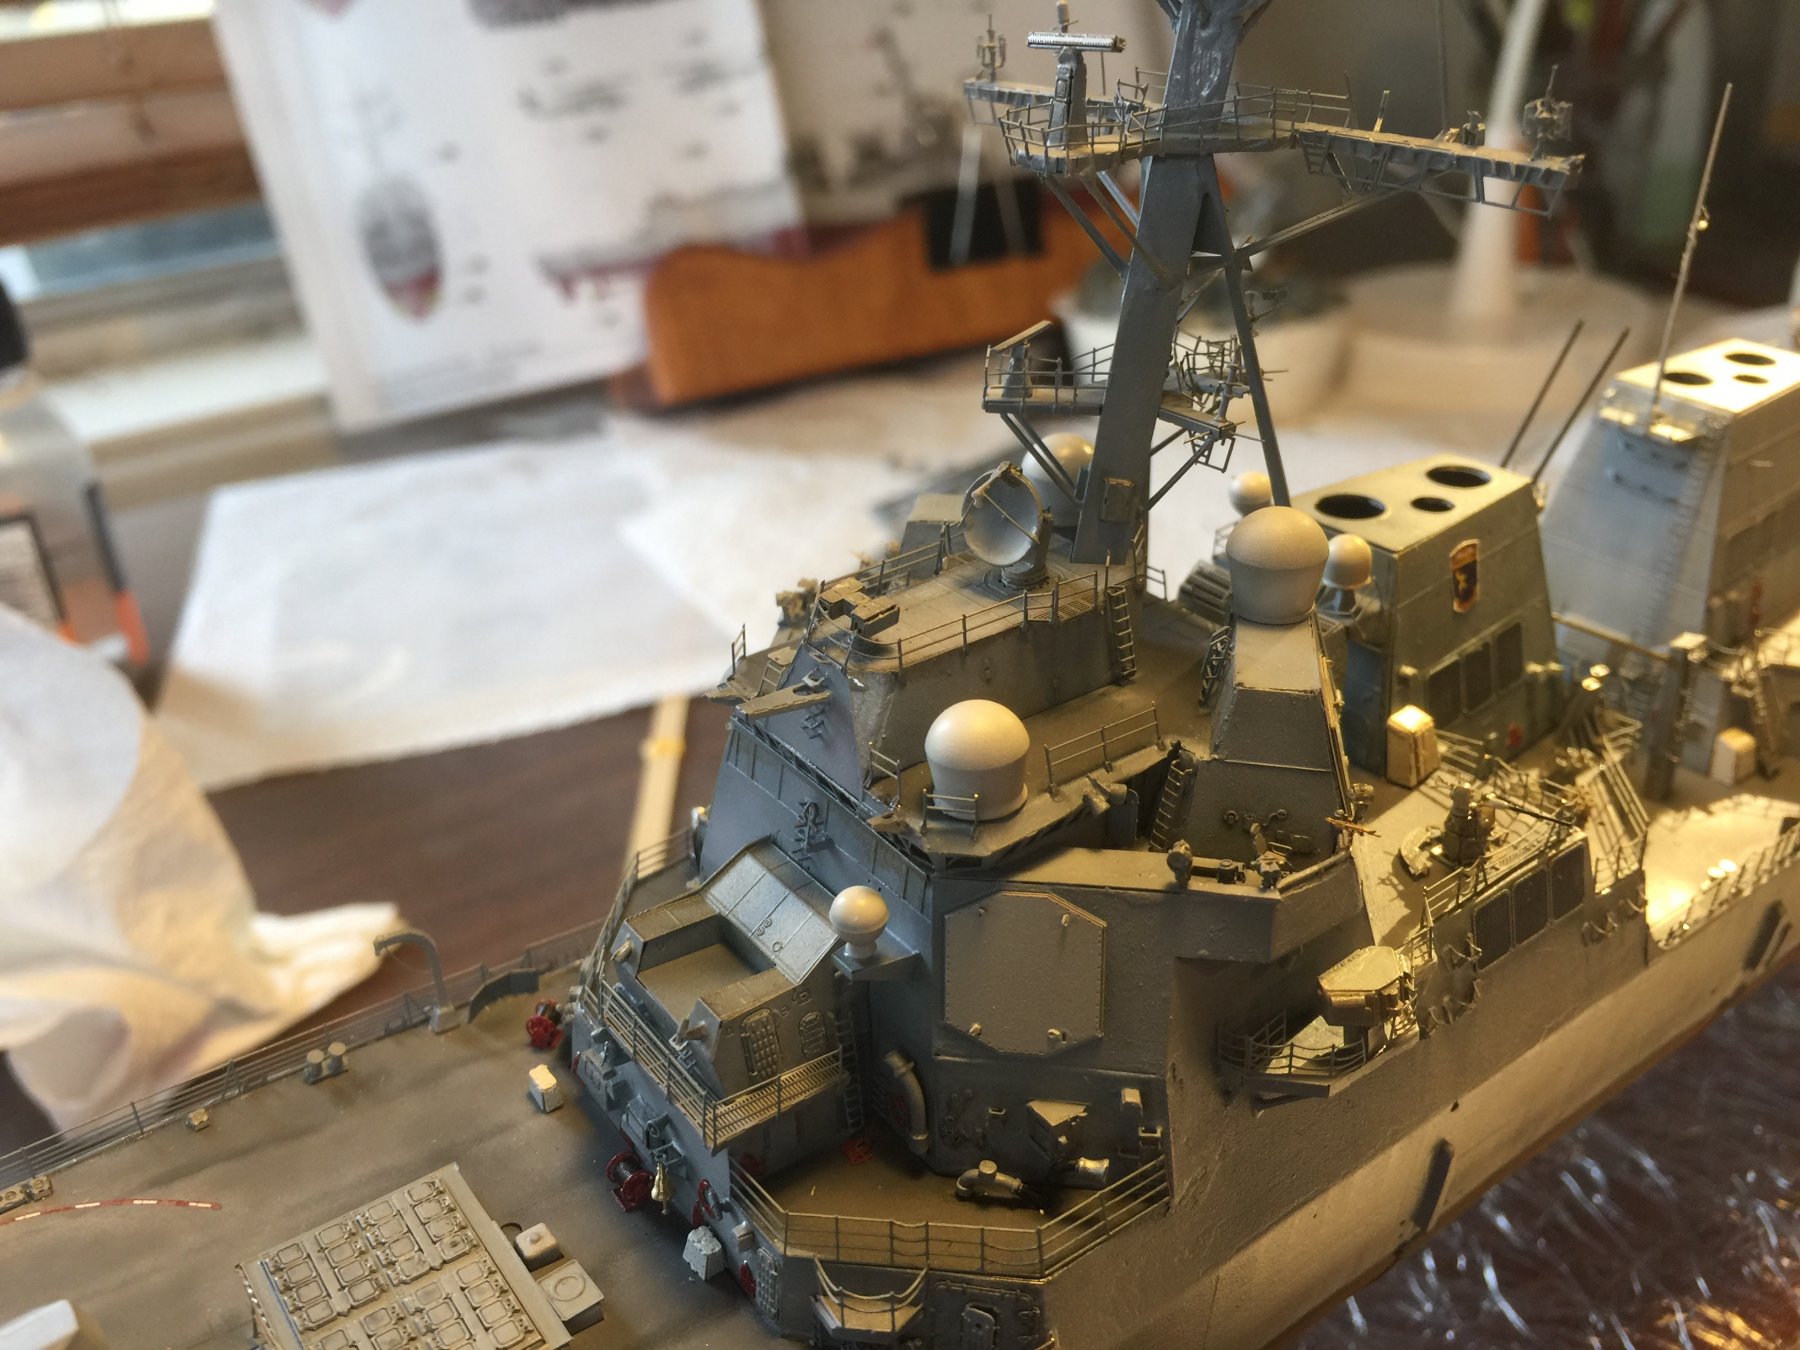
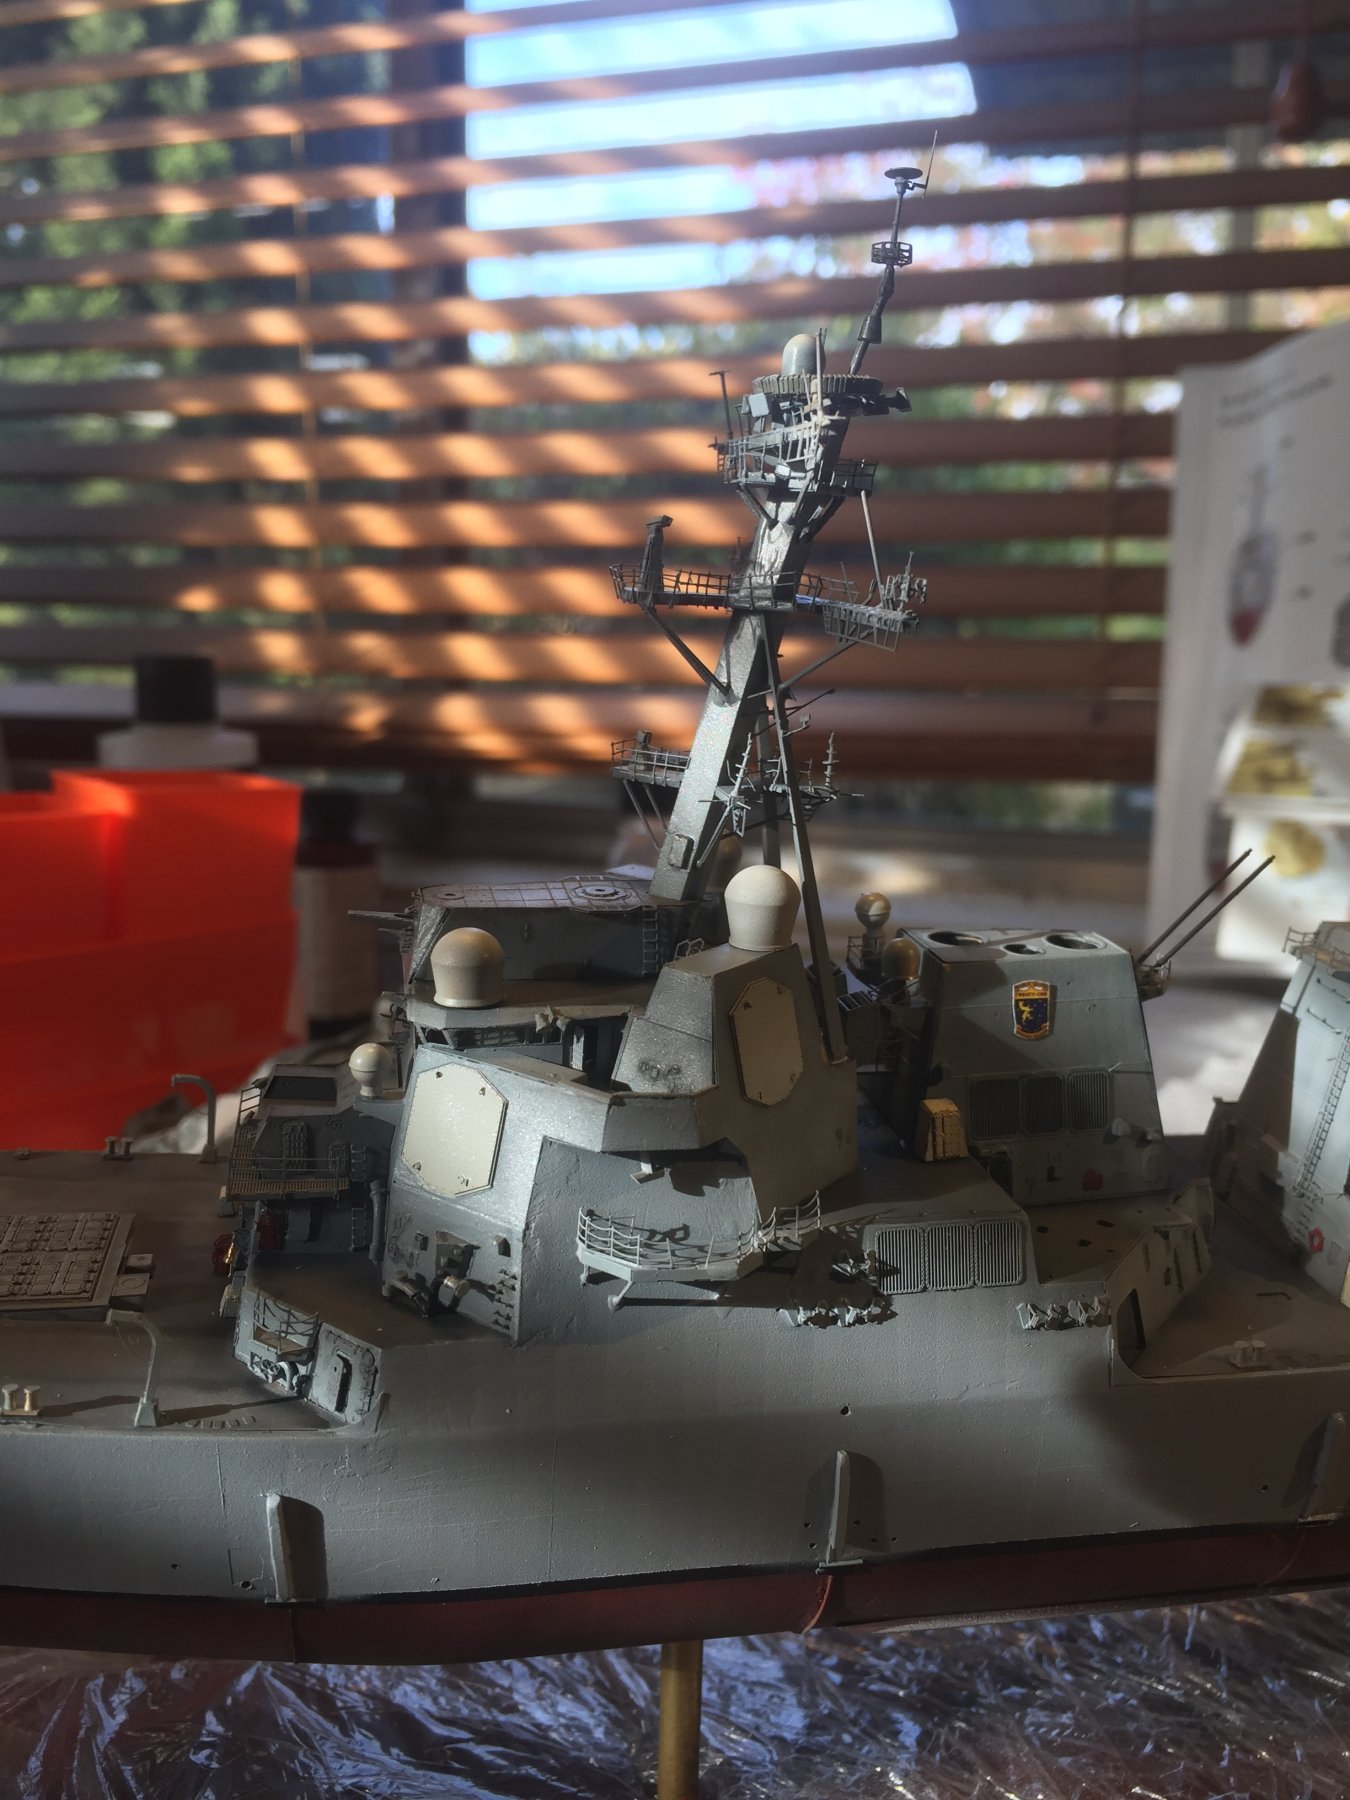
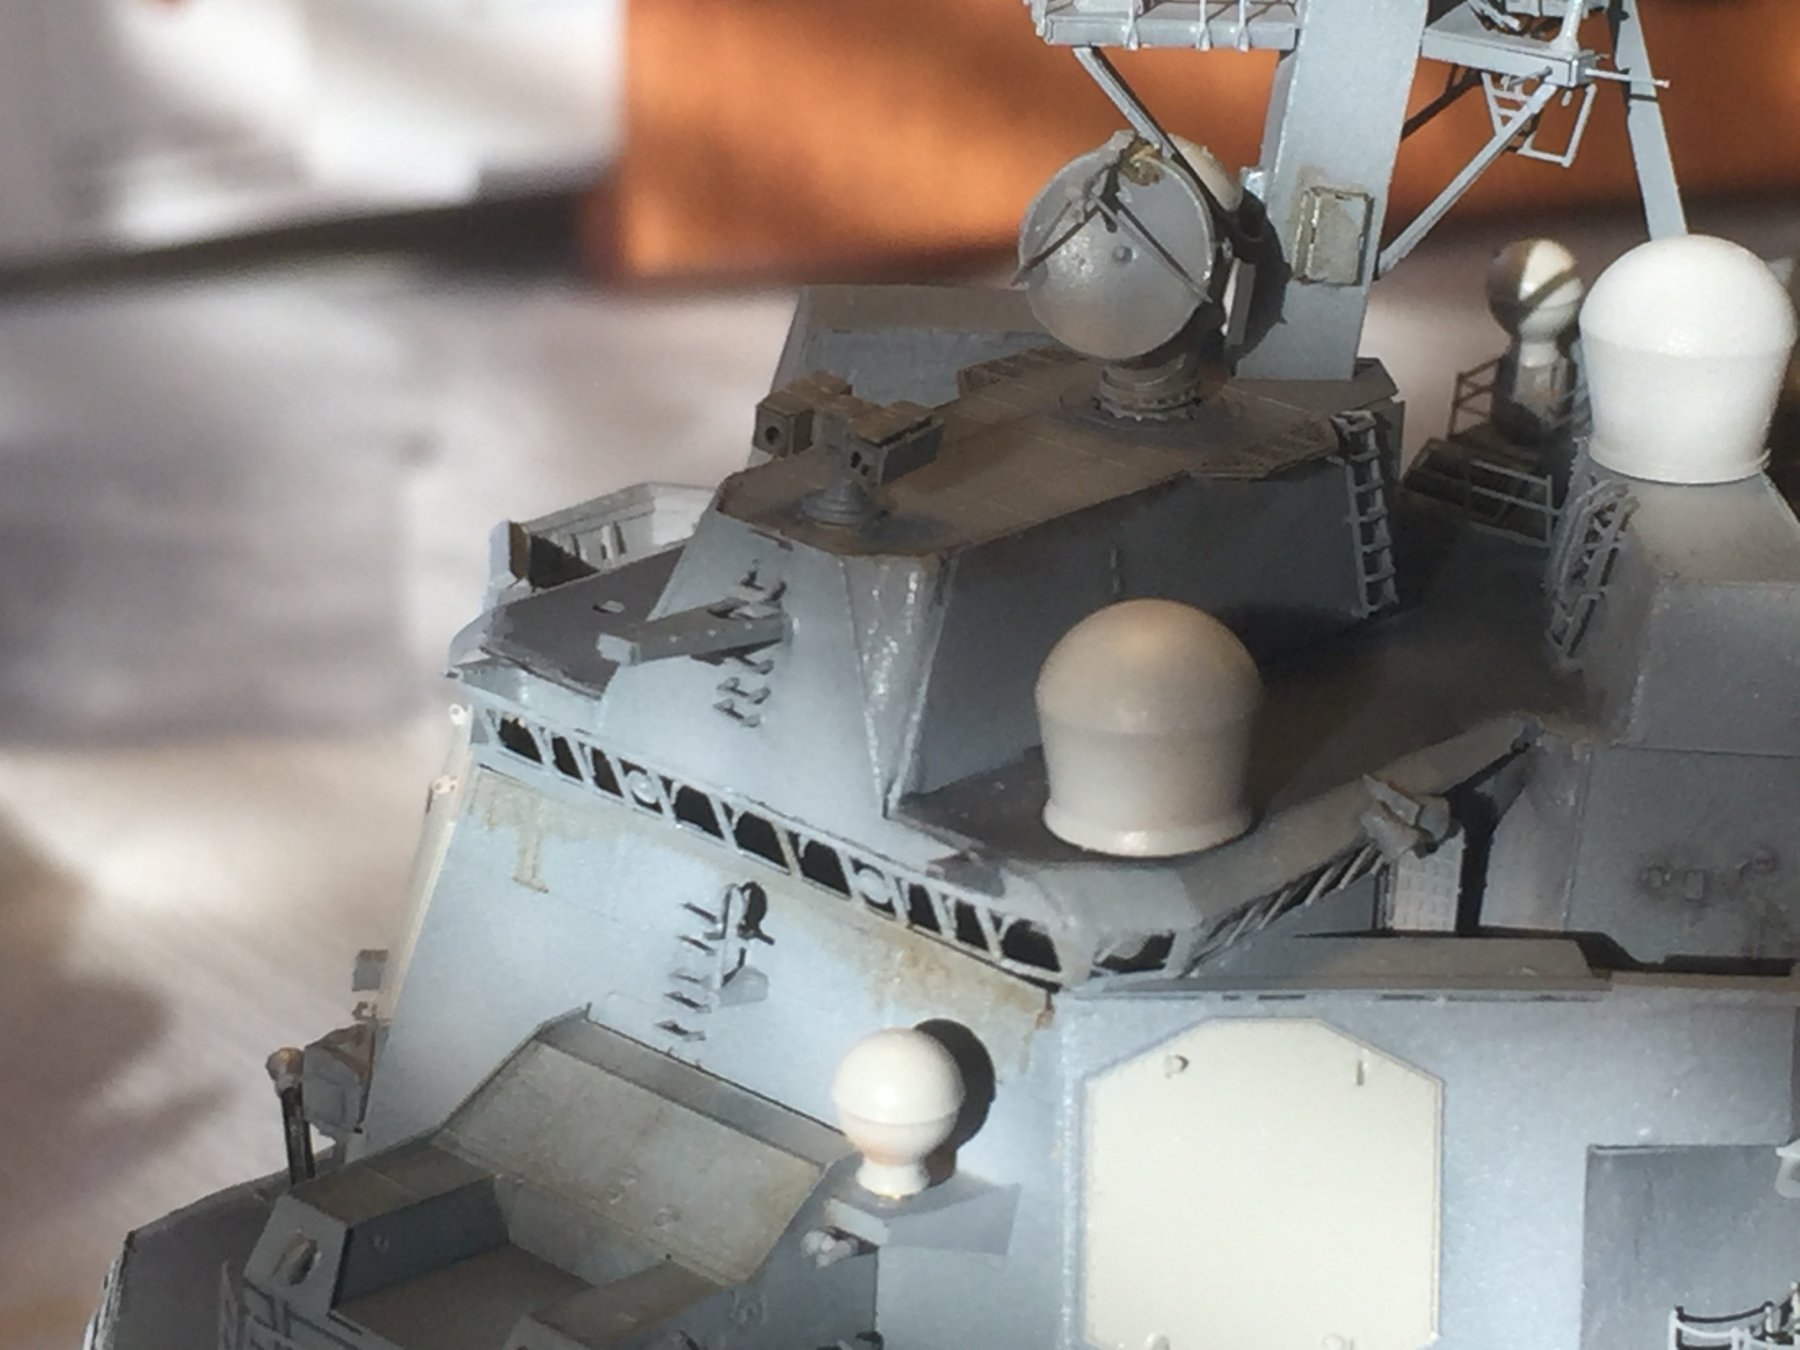
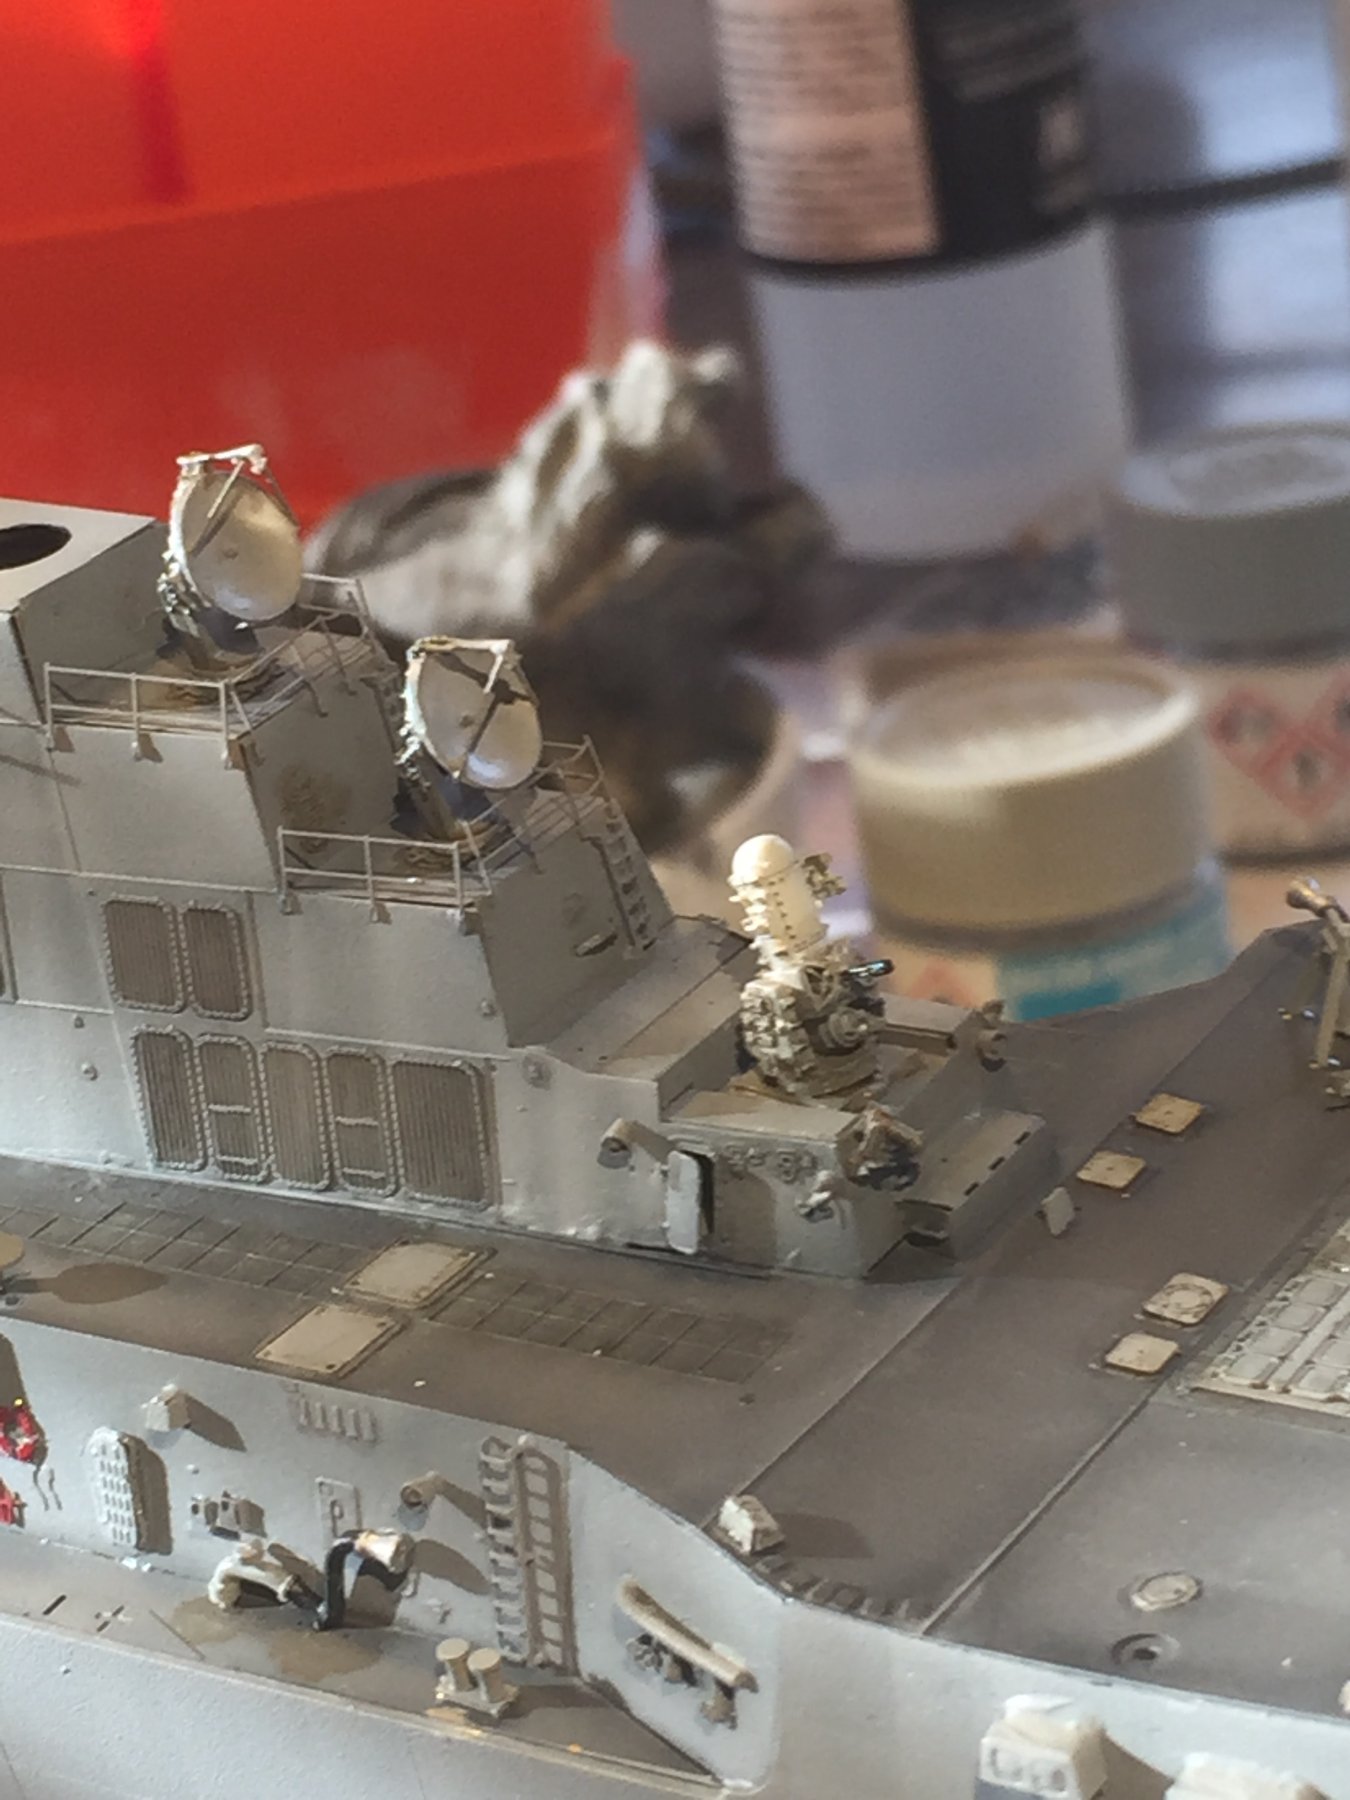
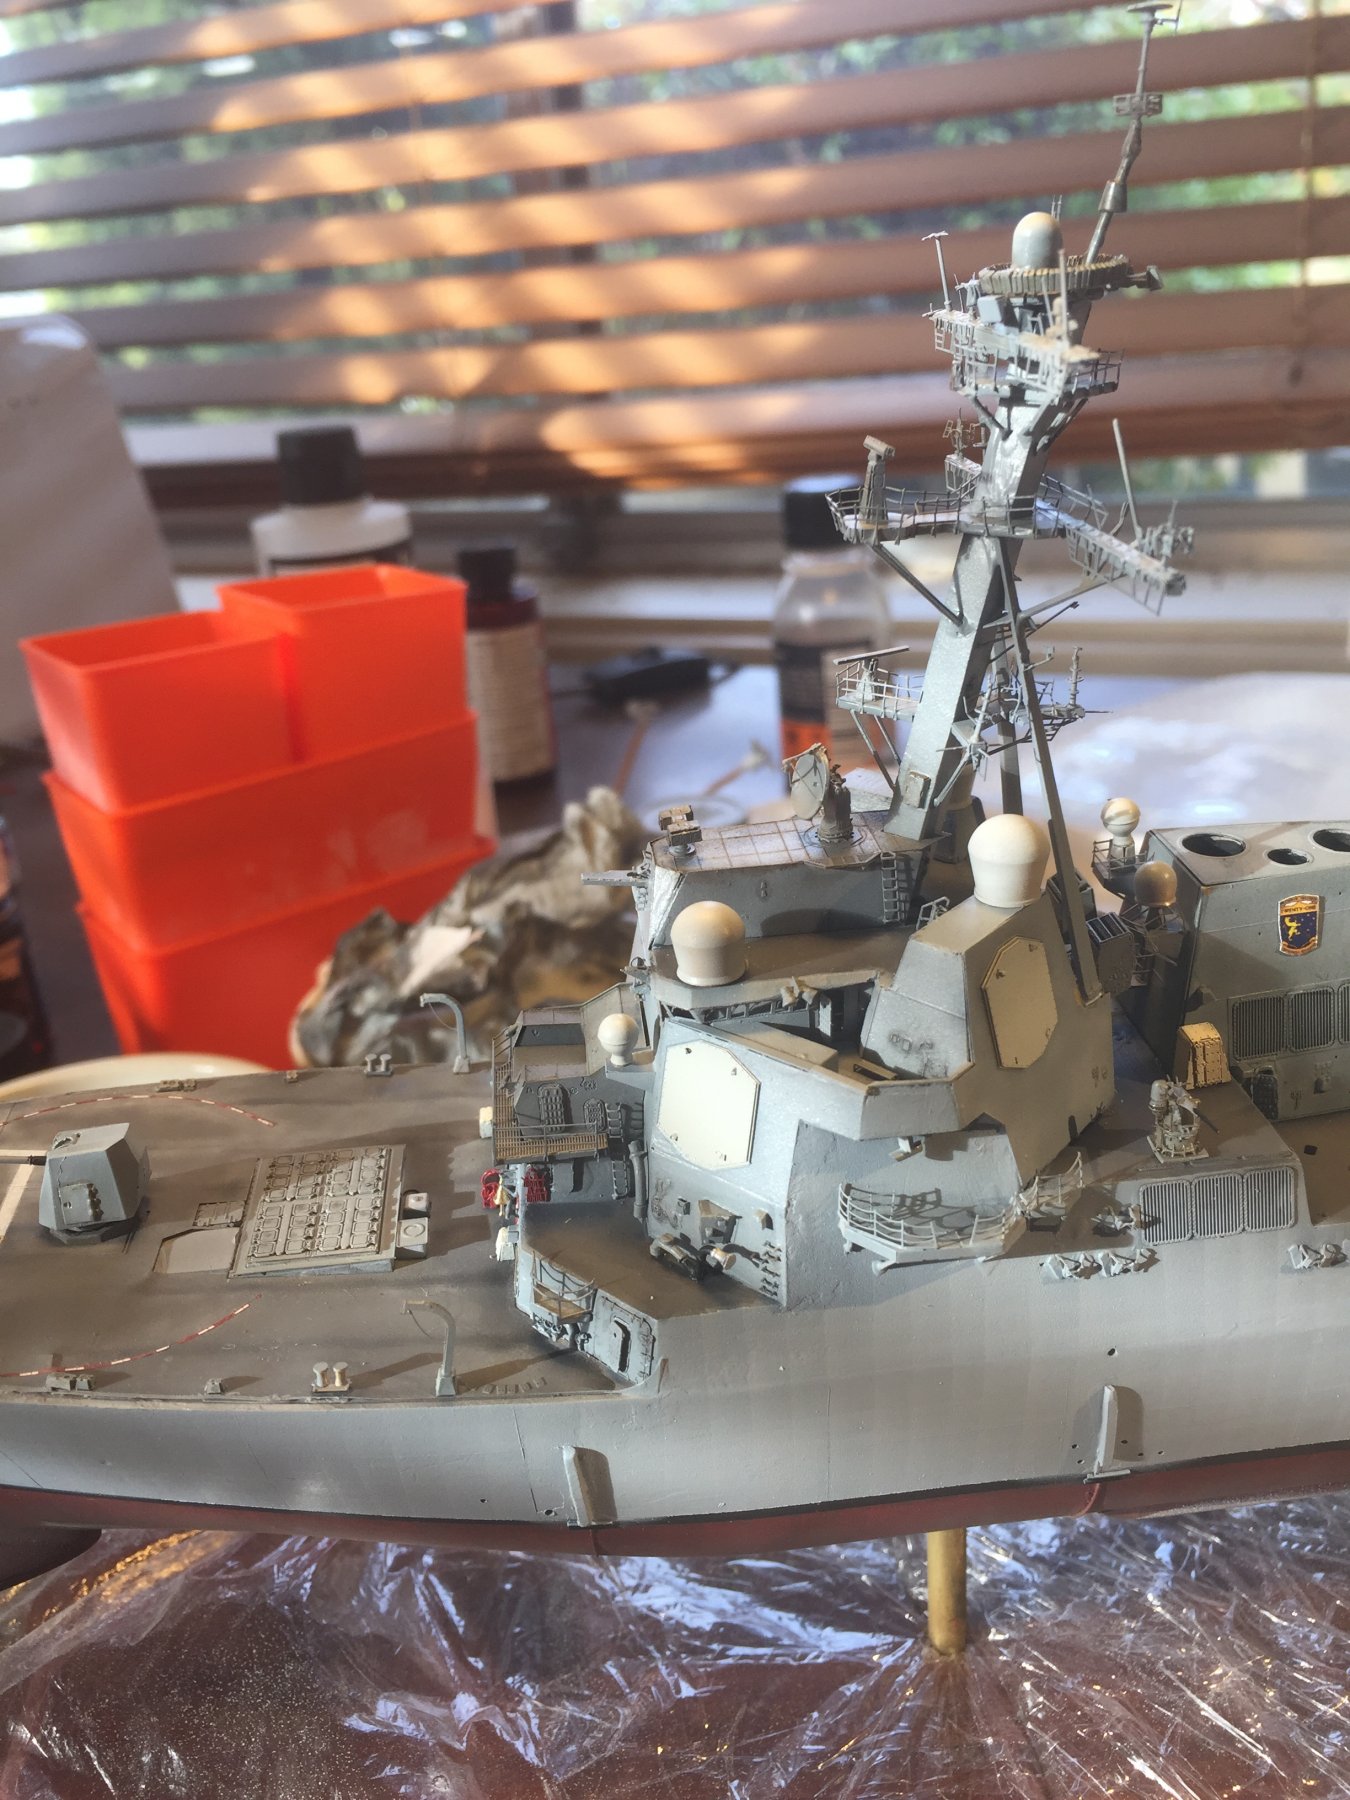
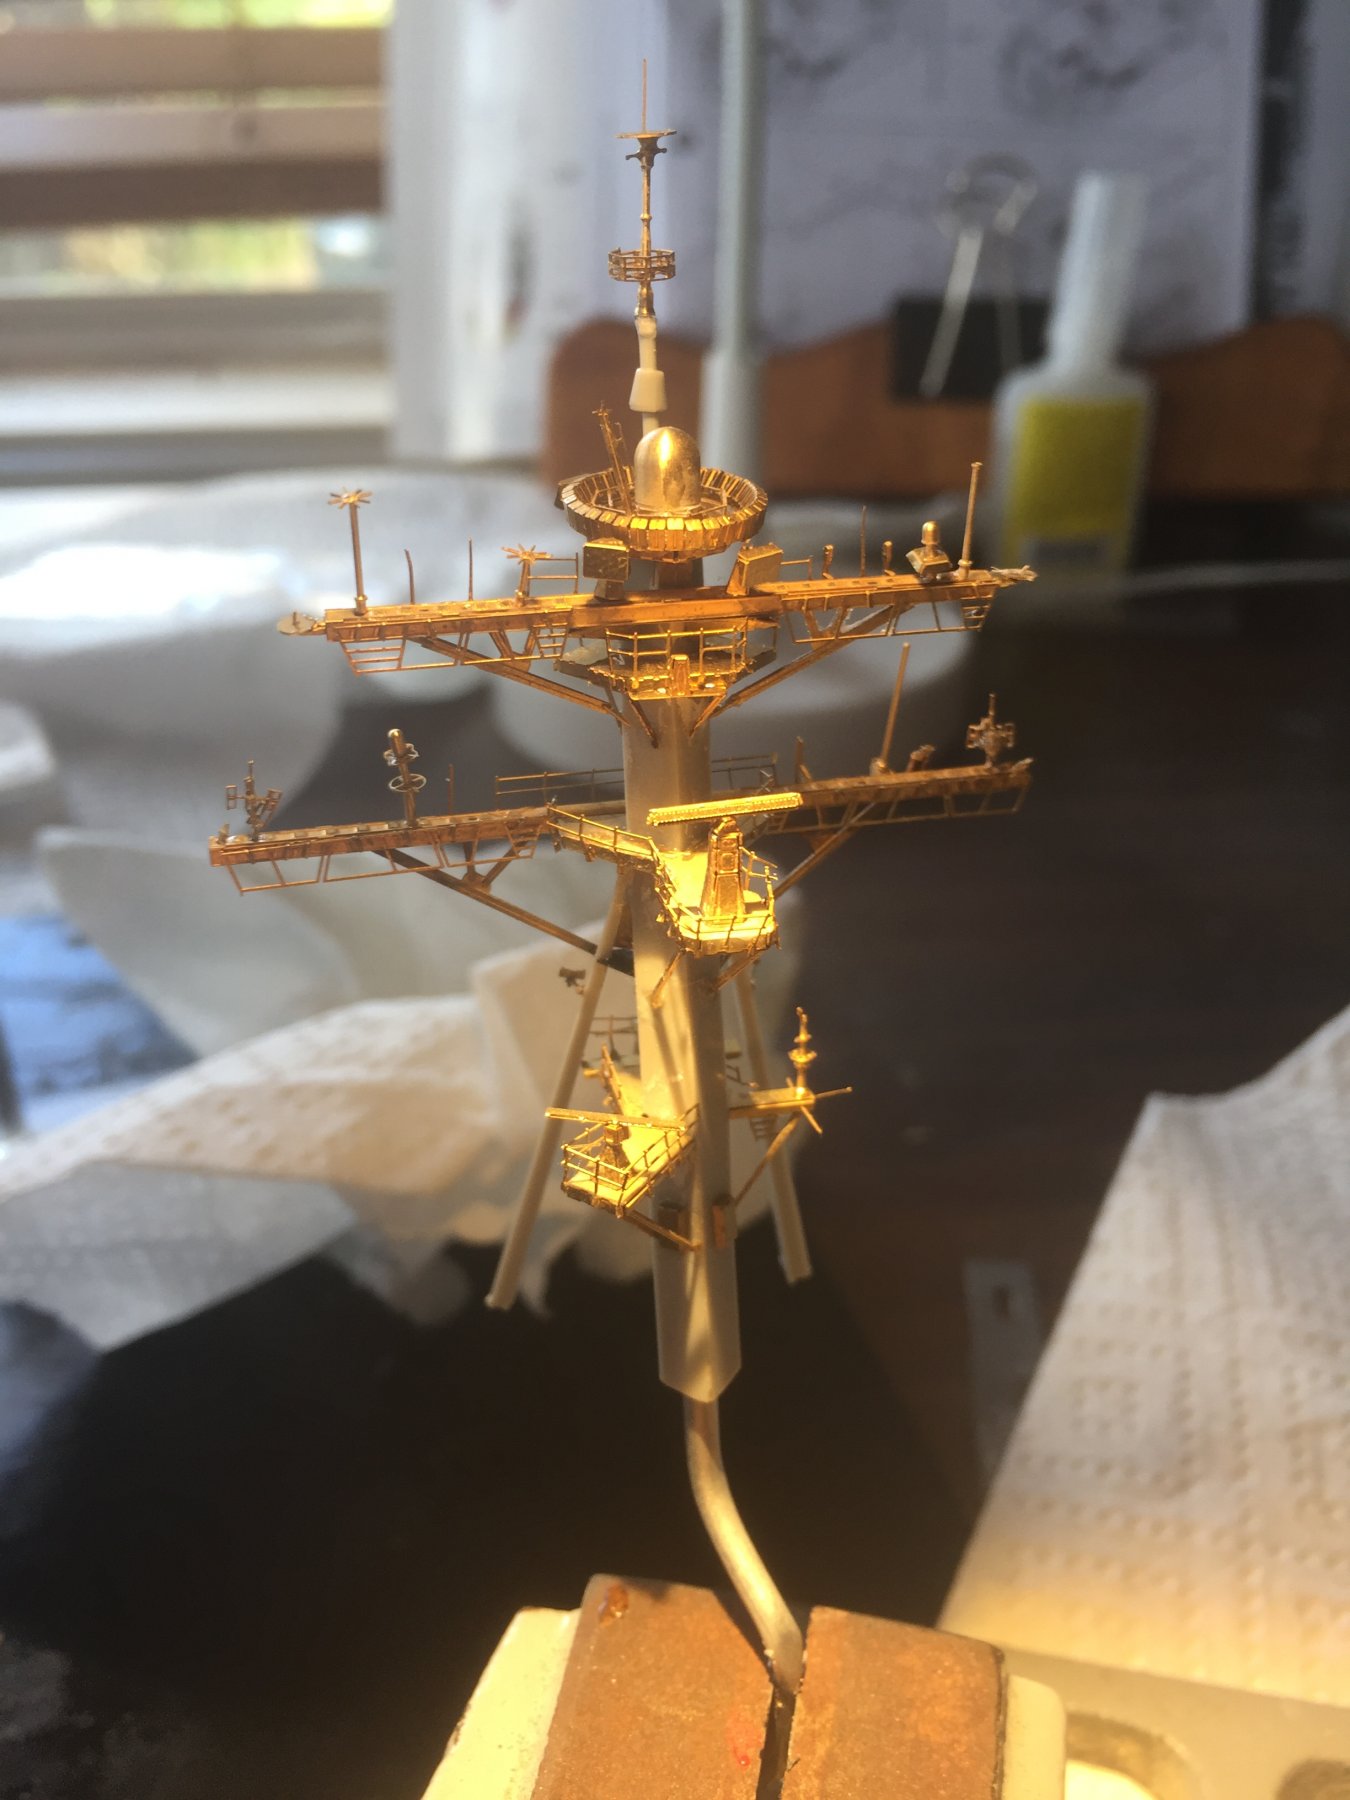
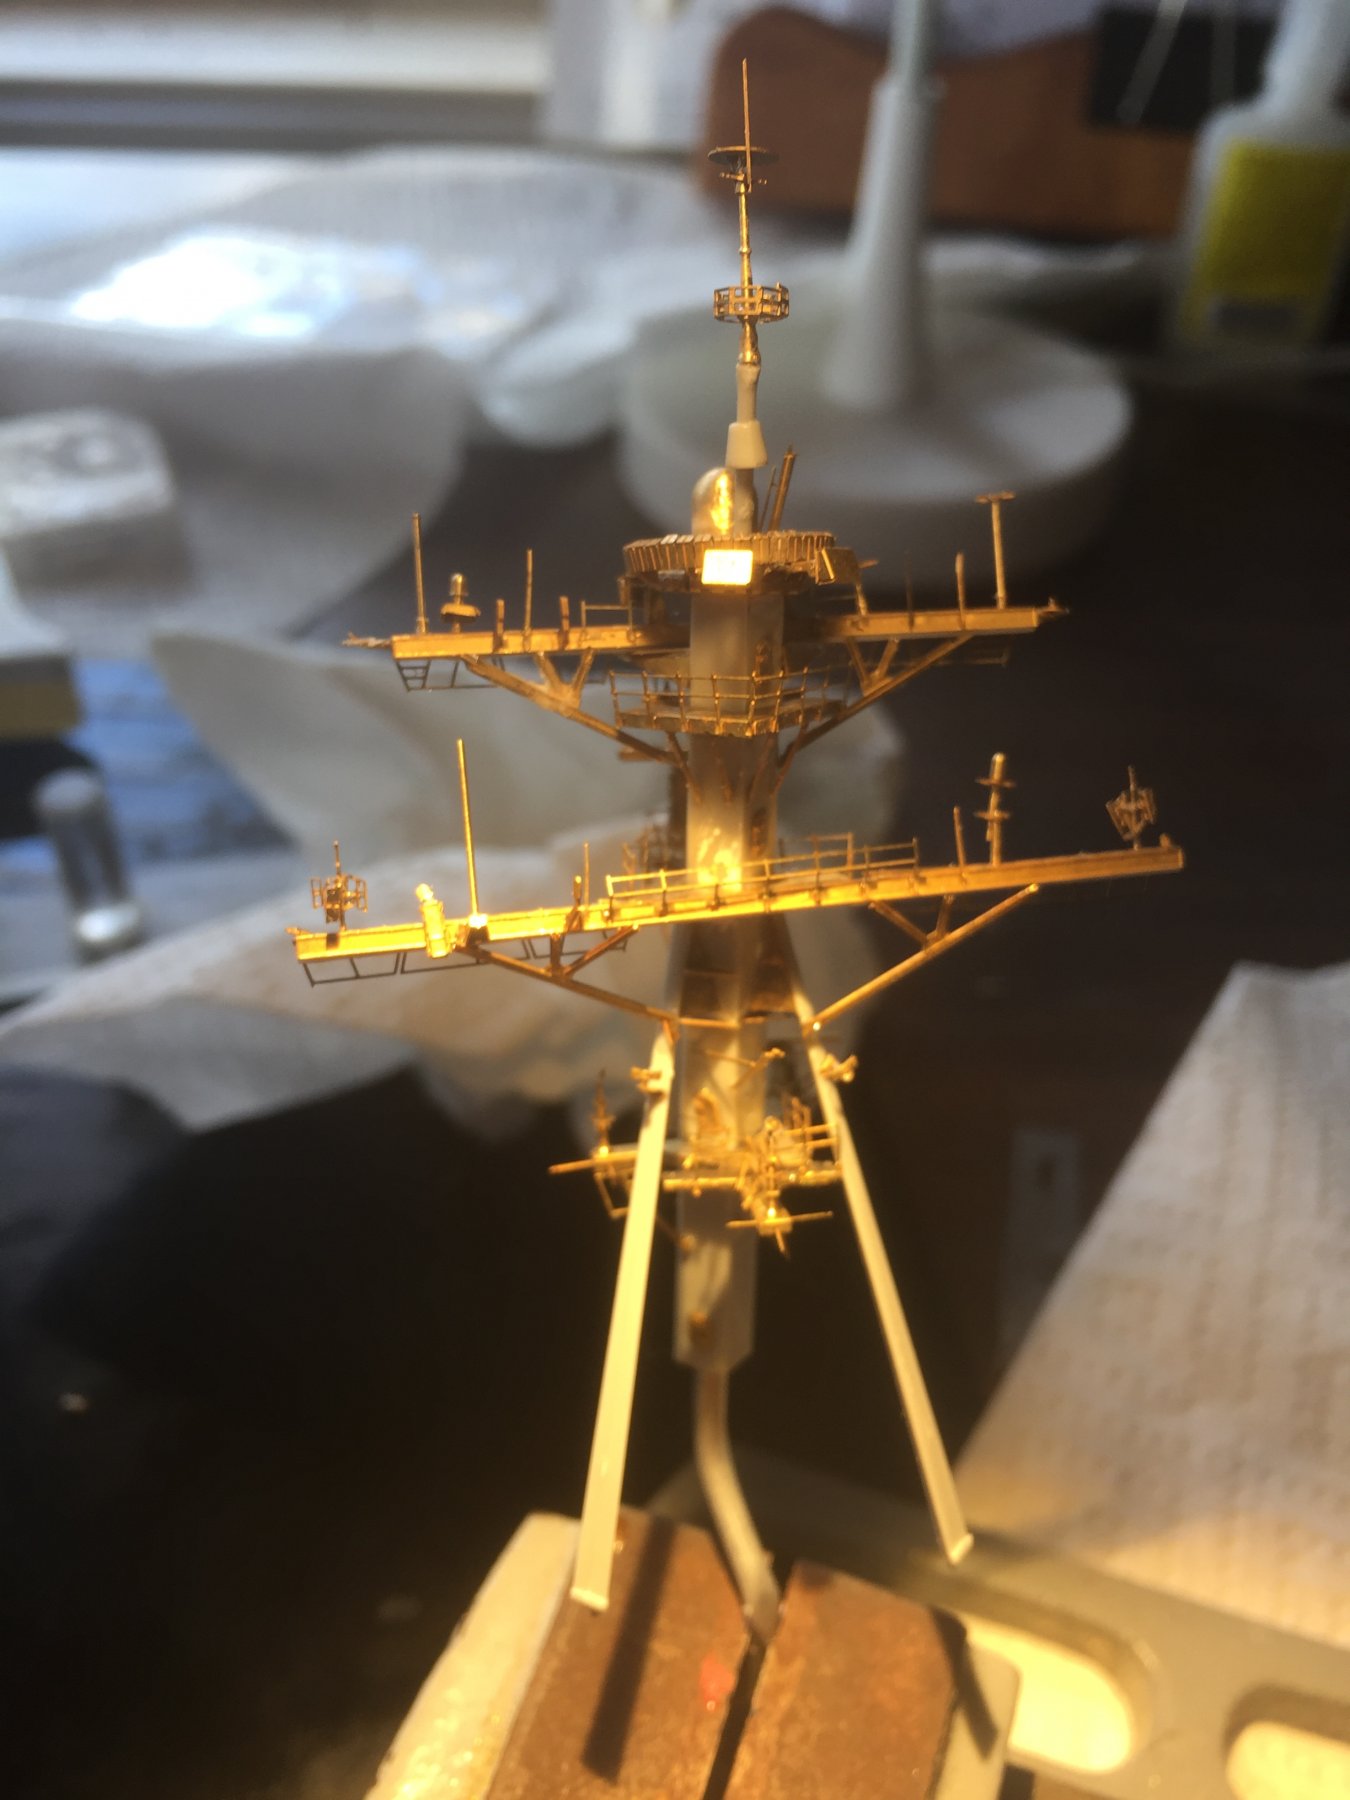
Satcom domes and SPY panels added, bling tower painted

- Canute, BenF89, Haliburton and 15 others
-
18
-
-
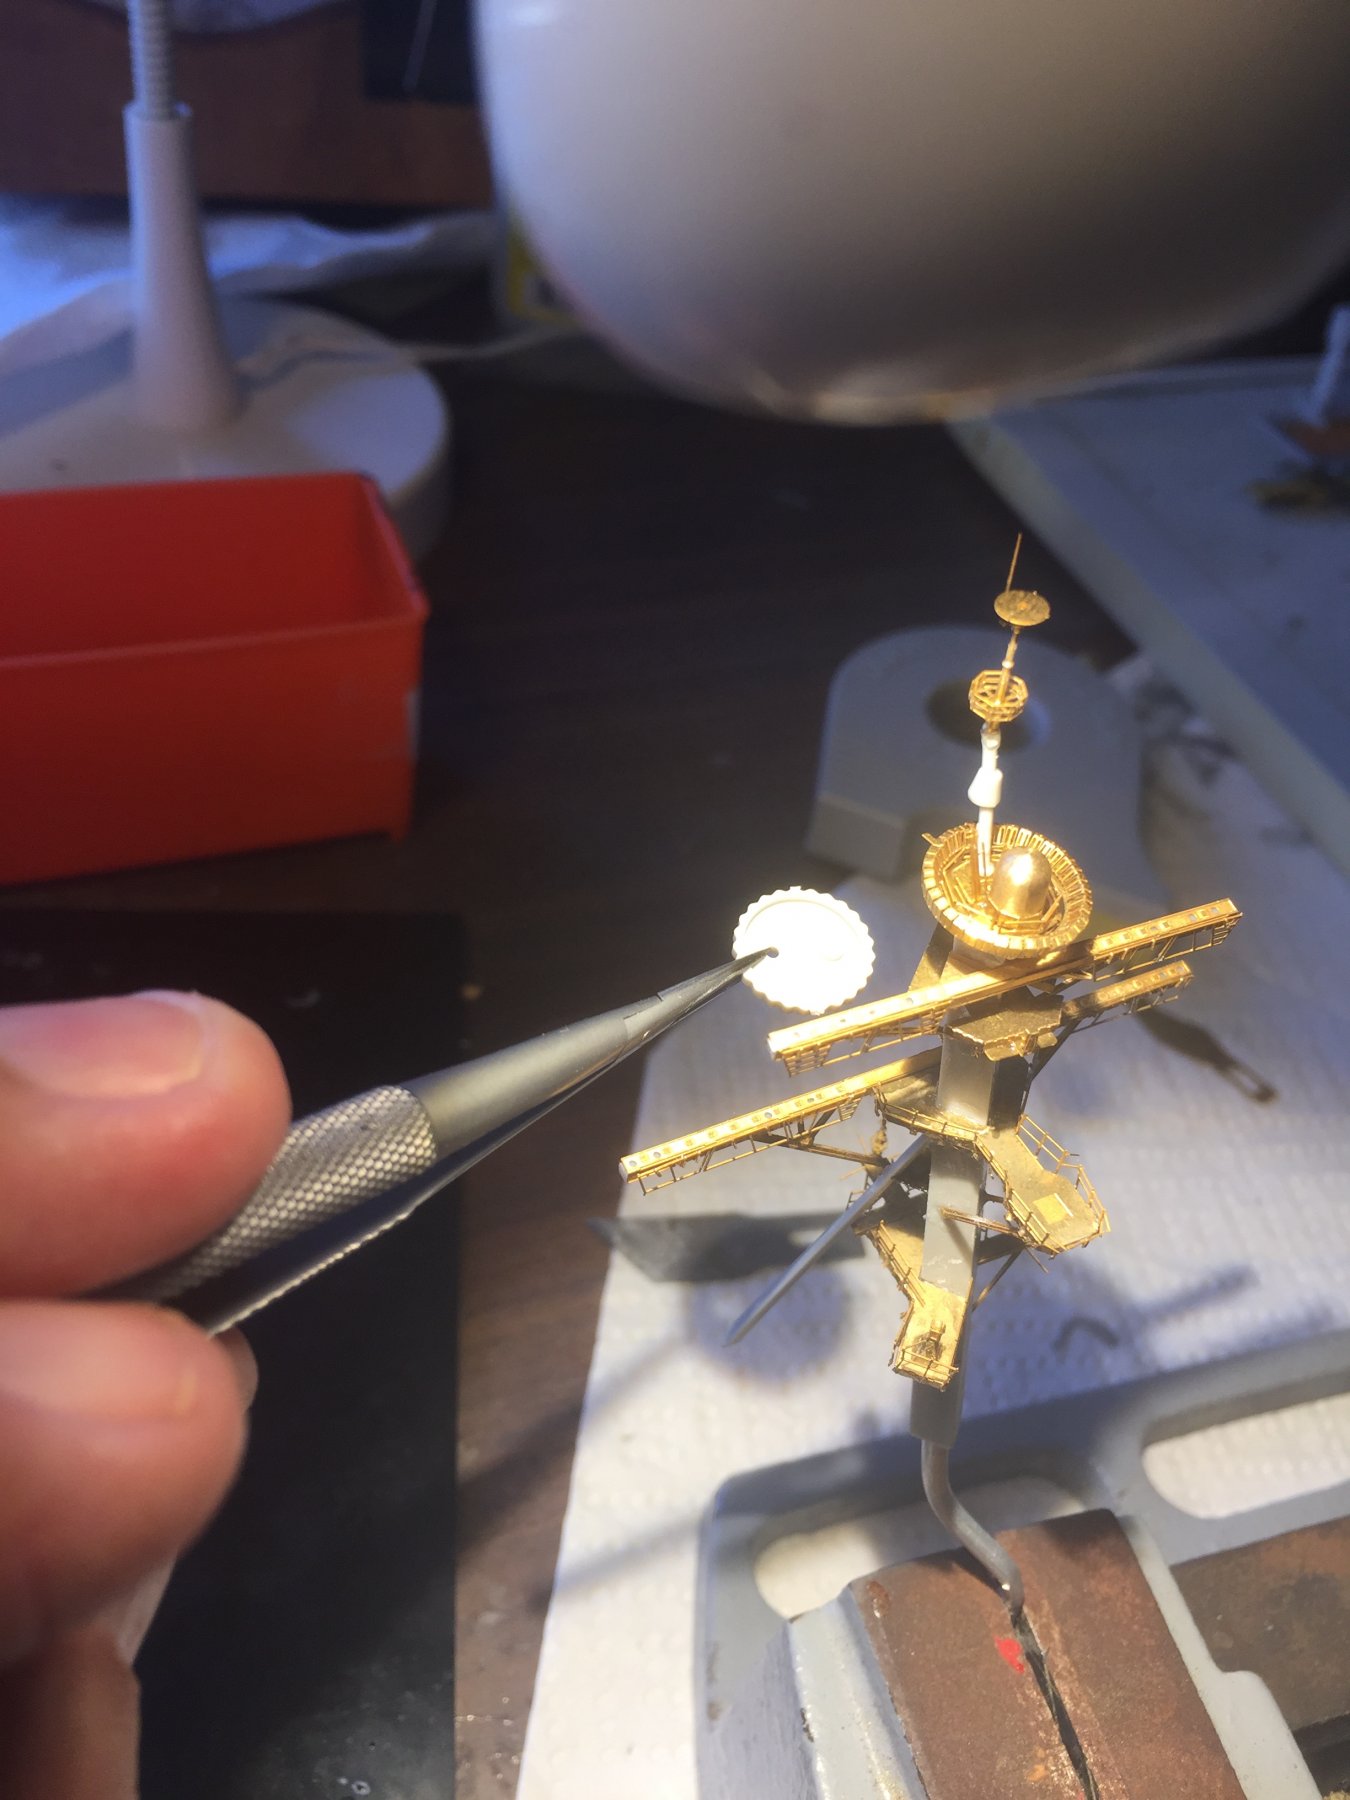
The beauty of metal on metal is I can put it to the flame and restart, not so much met on plastic
- Canute, lmagna, popeye the sailor and 1 other
-
4
-
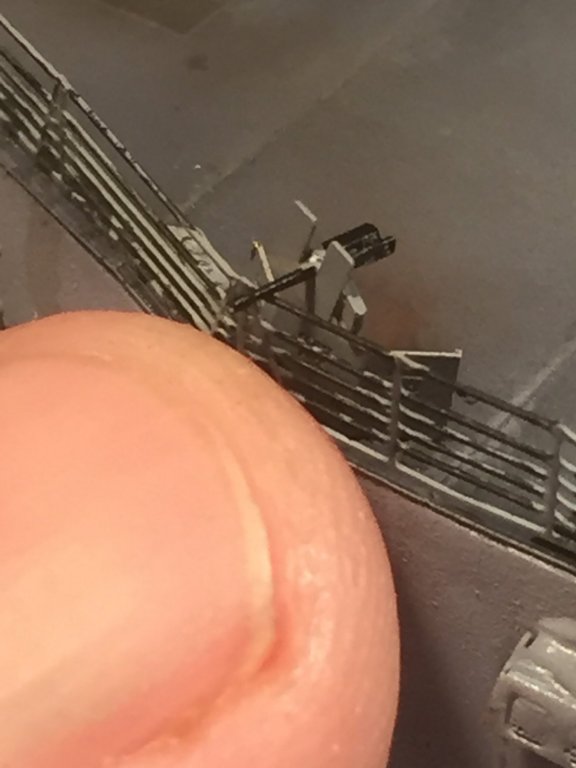
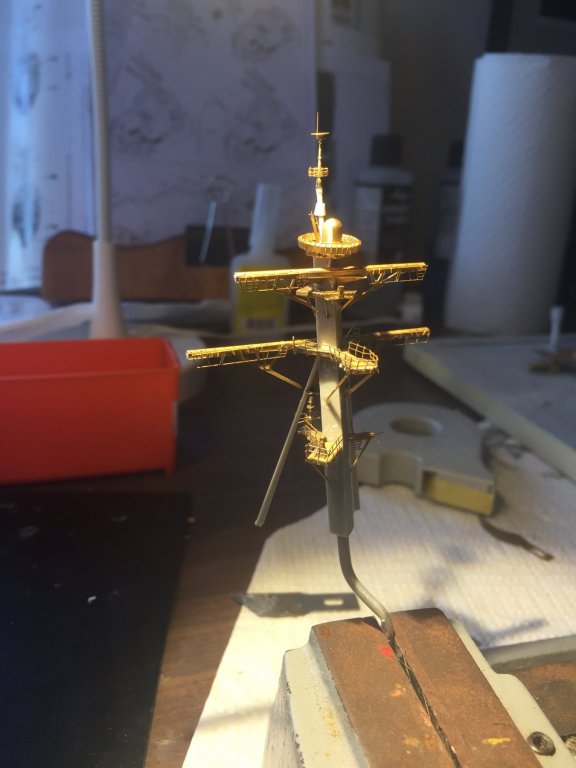
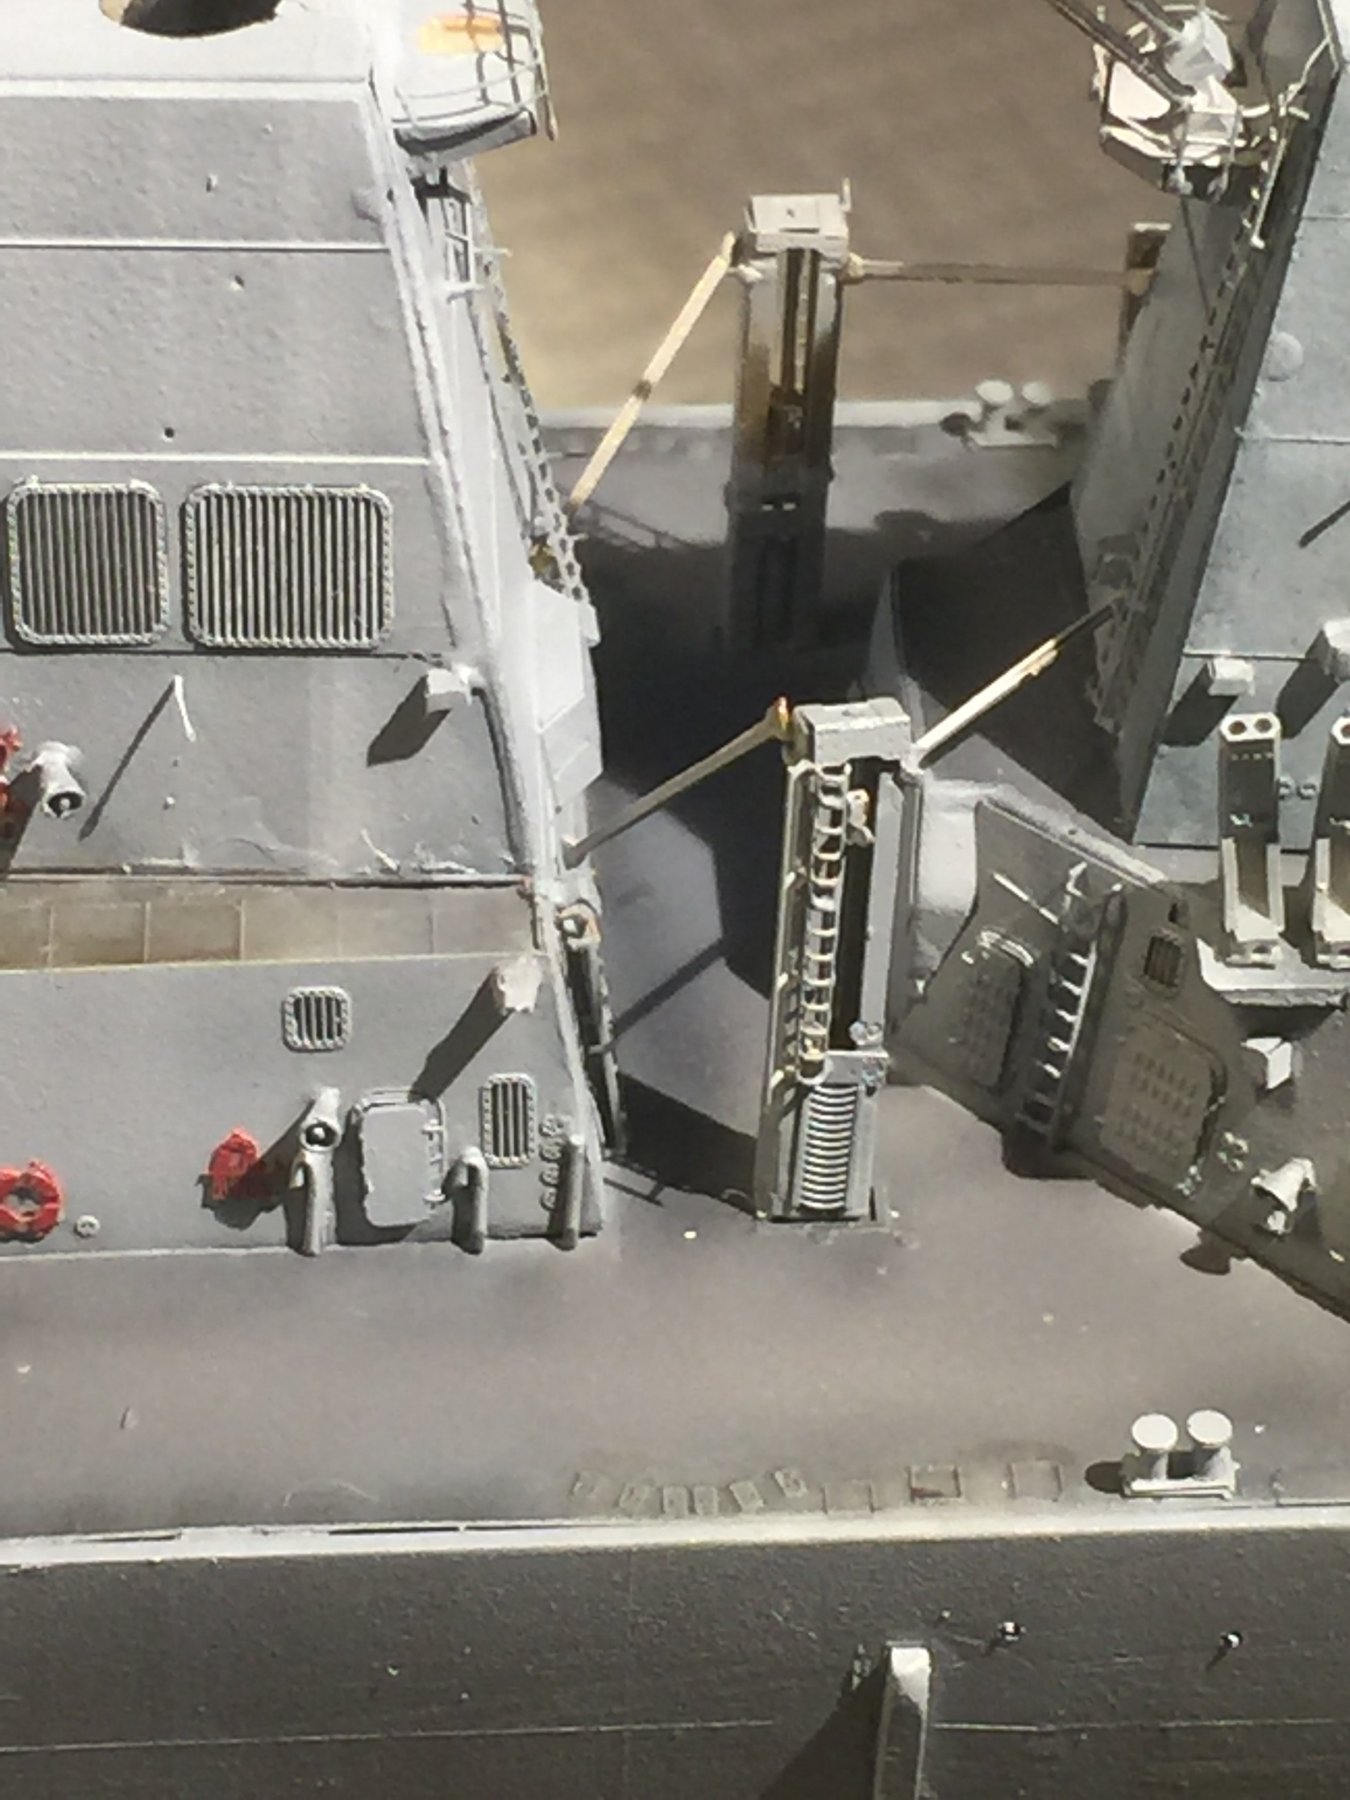
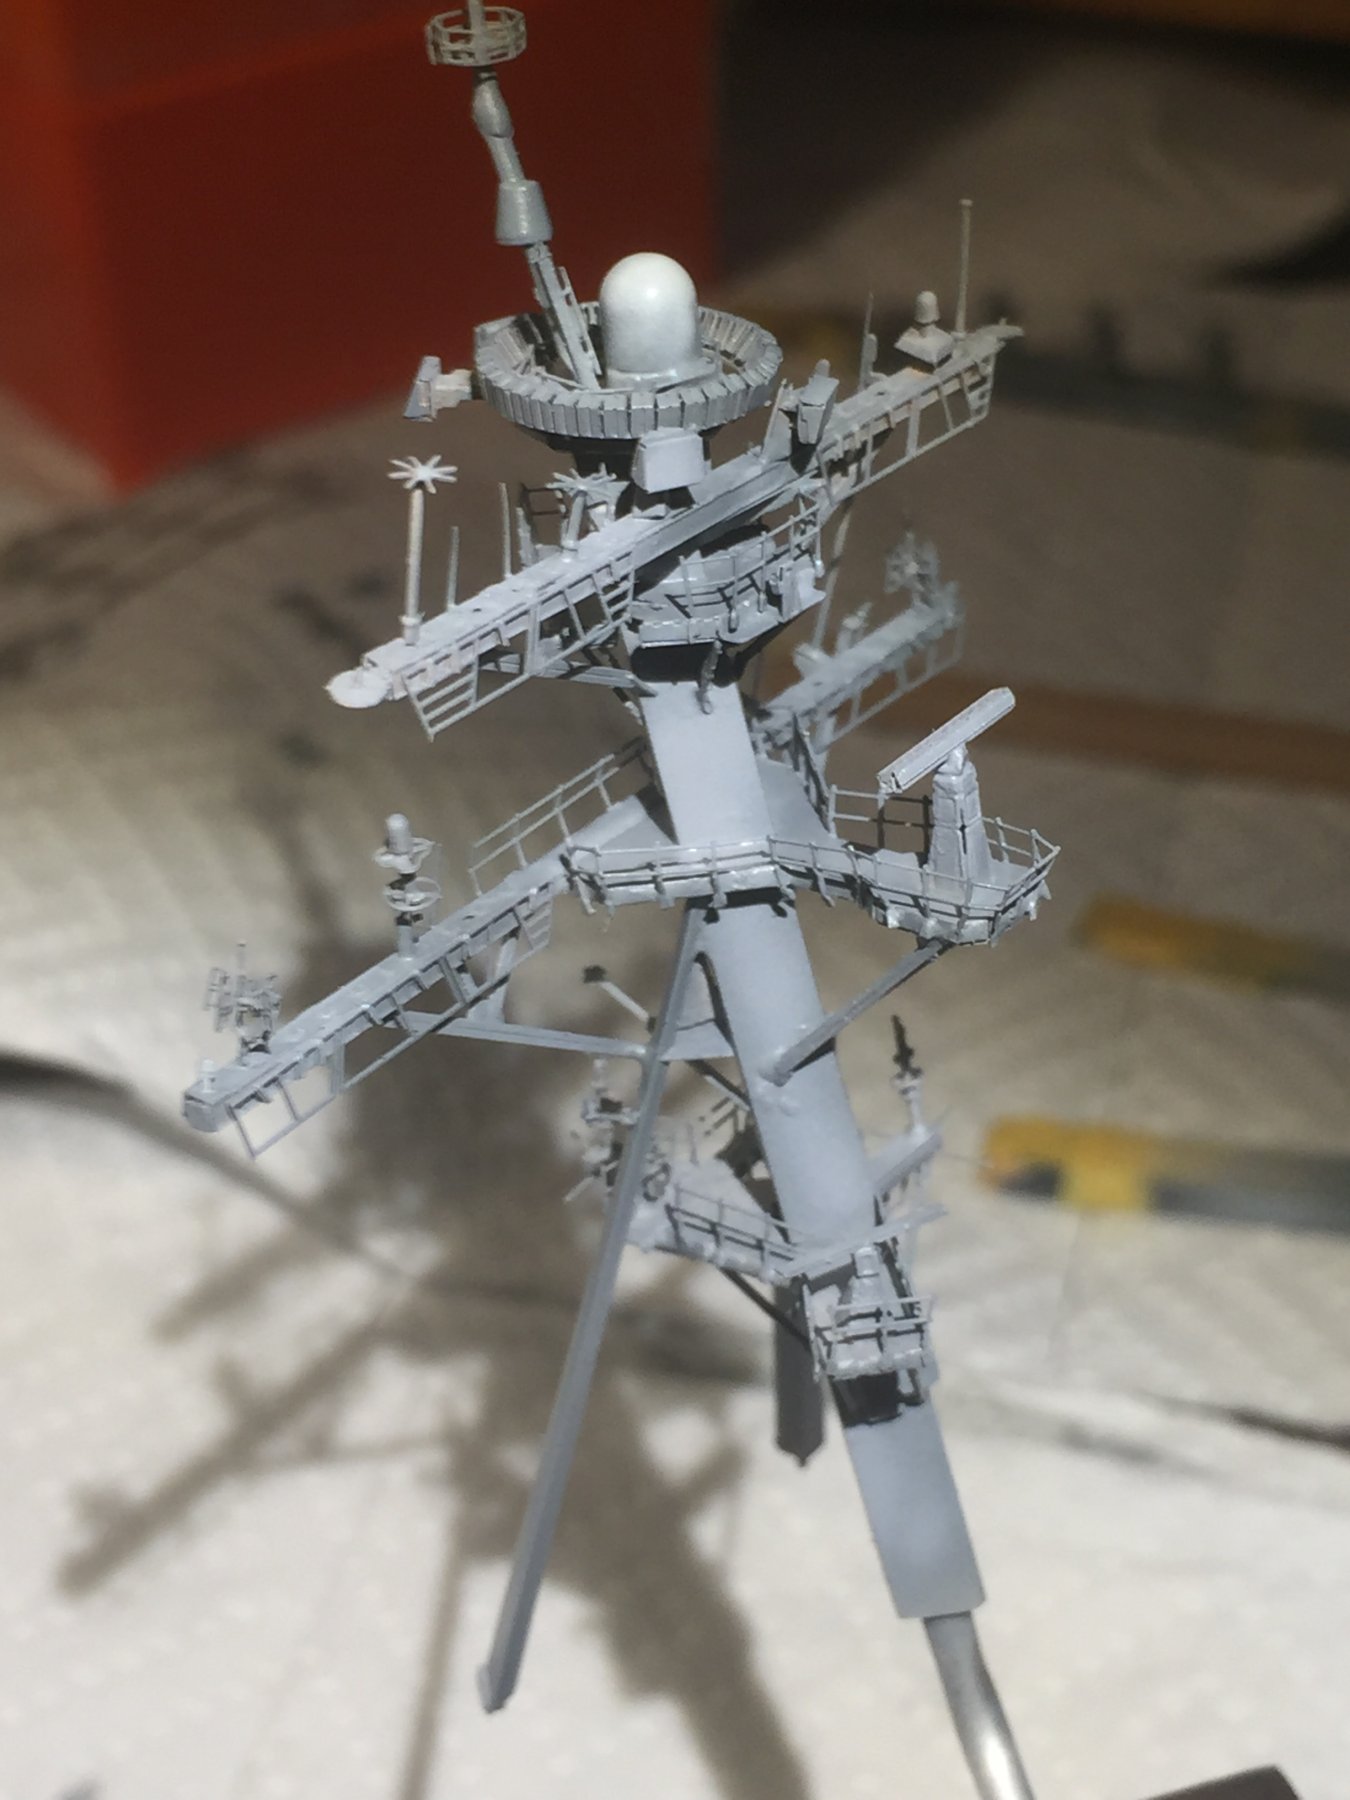
Now I’ve done a fair bit of PE over the past few years and this would just be the hardest/ most horrible piece ever. I think if the whole thing was metal it would be easier as it would align properly.
Anyways, that’s the main structure done, lots of bits to add to the yard arms, but you can see the difference with the little grey circle in the pliers to what Pontos provides why I keep taking the pain.


IJN Musashi by cog - Tamiya - 1:350 - PLASTIC - old tool
in - Kit build logs for subjects built from 1901 - Present Day
Posted
And you can keep searching for that number that does not exist on the fret....