HOLIDAY DONATION DRIVE - SUPPORT MSW - DO YOUR PART TO KEEP THIS GREAT FORUM GOING! (Only 13 donations so far - C'mon guys!)
×
BenD
-
Posts
477 -
Joined
-
Last visited
Content Type
Profiles
Forums
Gallery
Events
Everything posted by BenD
-
 Really great work you're doing here, The wind filled sails are really bringing her to life. 👍 Your home made rope is also fuzzless and tight! Looks like you got the hang of it quick.
 -
That's a pretty good launch, It's smaller than your thumb 👍
-
Another beautifully done HMS speedy. It's a perfect office decoration! Cheers
- 91 replies
-
- 2
-

-
- Speedy
- Vanguard Models
- (and 1 more)
-
I'm fairly sure the plans are showing the full length. The cleats would be far to high otherwise, The crew would be around 26-28mm in height to scale, they couldn't reach 44mm to belay. I've been building a Caldercraft kit and had wondered this myself when going over the mast and yard lengths. You can check against the other rigging plans in your kit and measure the mast on them, you should get the definitive answer there.
- 65 replies
-
- 3
-
-
- Ballahoo
- Caldercraft
- (and 1 more)
-
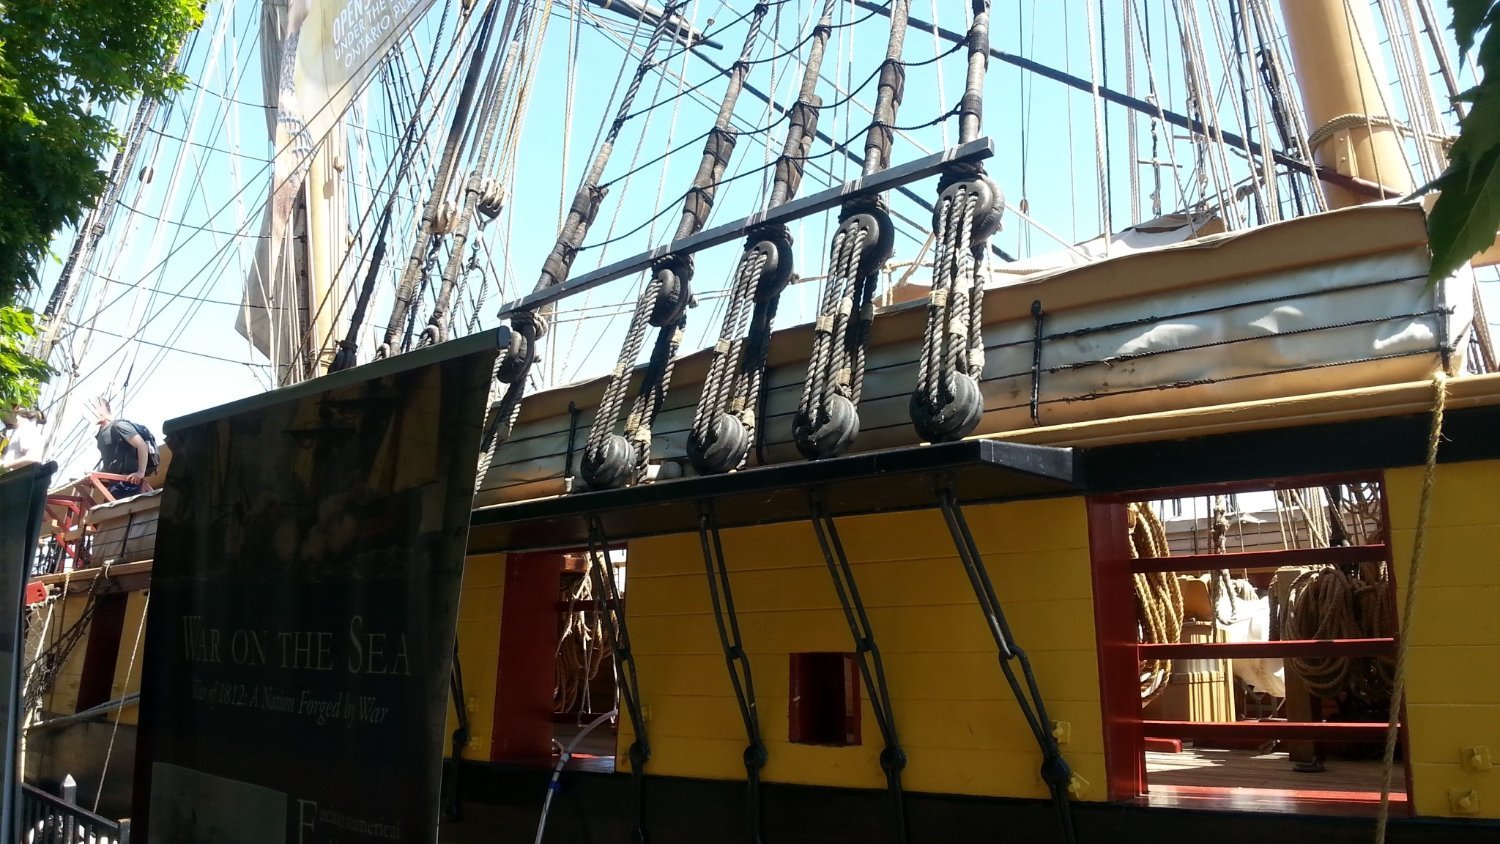
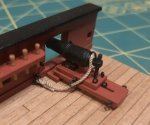
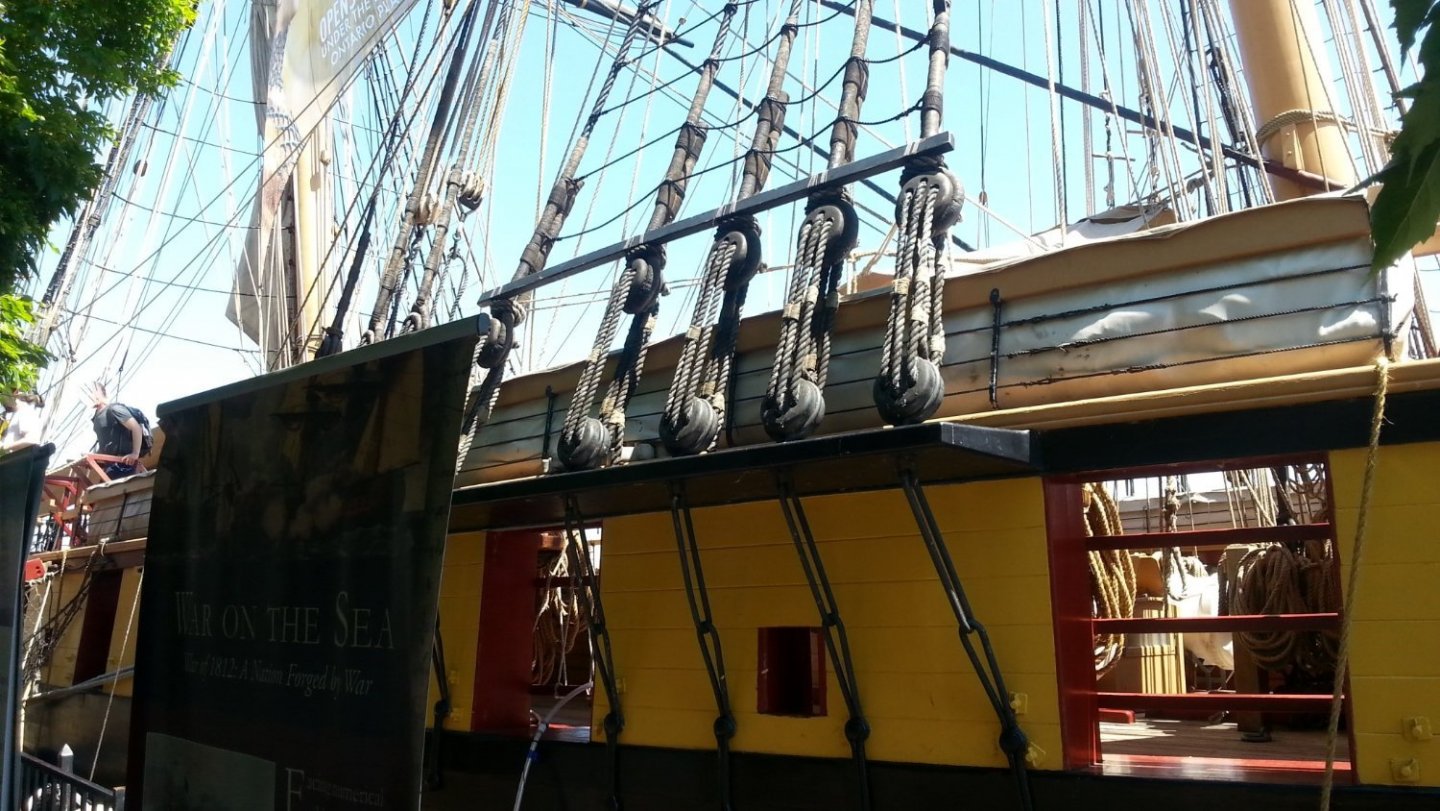
Deadeyes twisting is something that happens on real ships, cordage under strain tends to twist. As far as I know, the fix for this is called a sheer pole. In the picture below is the Niagara. You'll see the metal bar above the deadeyes. Most examples you will find on the internet have a metal rod that sits a little lower not this square bar. I've seen some ships where the bar was up too high and the deadeyes ended up misaligned anyway...
-
This is looking like a very detailed kit! To be honest all of the MK kits are this detailed. I'm also looking forward to the Mercury and Venus developments. They will no doubt be as detailed and intricate.
- 216 replies
-
- 7
-
-
- masterkorabel
- ships
- (and 3 more)
-
Cleaning these ships is a real pain in the behind. It requires lots of gentle brushing and damp cotton swabs. Riggin line can catch dust and never really get clean. I got a custom case from https://www.acrylicjob.com/ and it has looked great for years and keeps my HMC Sherbourne dust free.
-
The rigging cord you used was probably Cotton. Moisture will make it sag. Did it rain near you recently? Also Cotton will relax/loosen after rigging so It needs to be rigged fairly tight. Another culprit could be that some of your siezings got loose.
-
Well done so far! I love it when people use bright gold on the decorations.
-
Welcome to the wooden model addiction club!
-
Found this gem about the HMS Warrior. I visited her back in 2014 along with the Victory, both incredible ships.
-
This isn't some easy kit to copy that has 6 bulkheads and a hand full of pre cut parts + White metal castings. I bet they would try though...
- 488 replies
-
- 6
-
-

-
- Indefatigable
- Vanguard Models
- (and 1 more)
-
I have seen some yarns out there that do have a decent rope like texture but they are honestly only marginally better looking than kit "Rope". Then there would be the trouble of finding all the sizes one would need.
-
I've tried Crochet yarn before and it doesn't make the best rope. The DMC stuff in the smaller sizes is ok but good luck finding some of that. Gutermann Skala makes perfect fuzzless rope. Colors 464 tan and 696 Dark brown can be found on Wawak.com Another amazing thread to use is Gutermann E thread. It is hard to find so I order it directly from A&E. I plan on making it available for sale on my website hopefully soon. shipping this stuff is going to be costly... If can be found on https://www.toko-kurzwaren.de/ but it can take over a month for them to ship it to you. That site also sells Serafil thread in all sizes and colors.
-
If you look on Crafty Sailor you will find the MK blocks range from 2mm - 7mm. They are missing 6mm blocks but you can find that size at https://vanguardmodels.co.uk/ I do plan on making them myself someday. If I can make them quickly with the help of a CNC machine I will sell them on my site. I also wonder if they can be 3D printed with Dark brown resin and look decent.
-
You can make glue out of Horse hooves. https://en.wikipedia.org/wiki/Hoof_glue
-
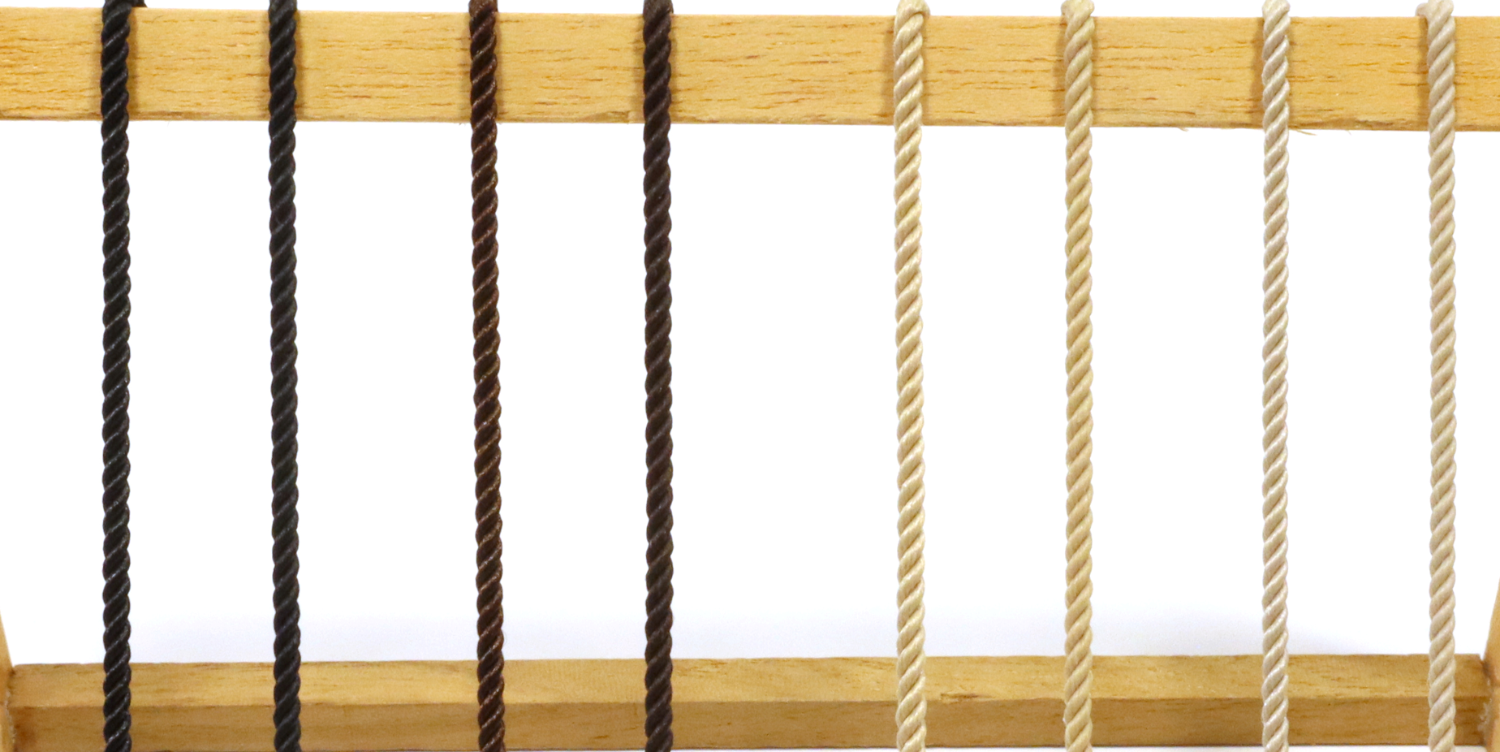
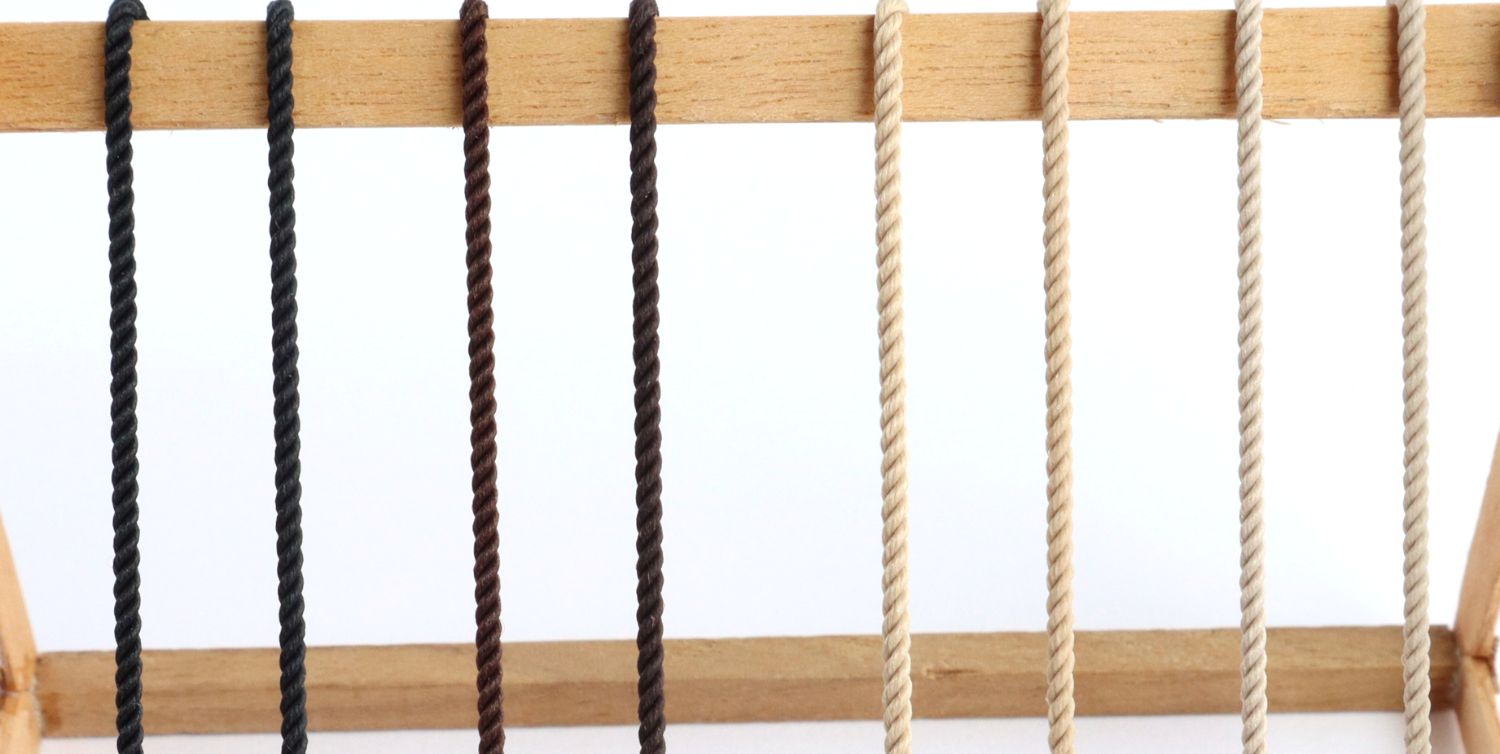
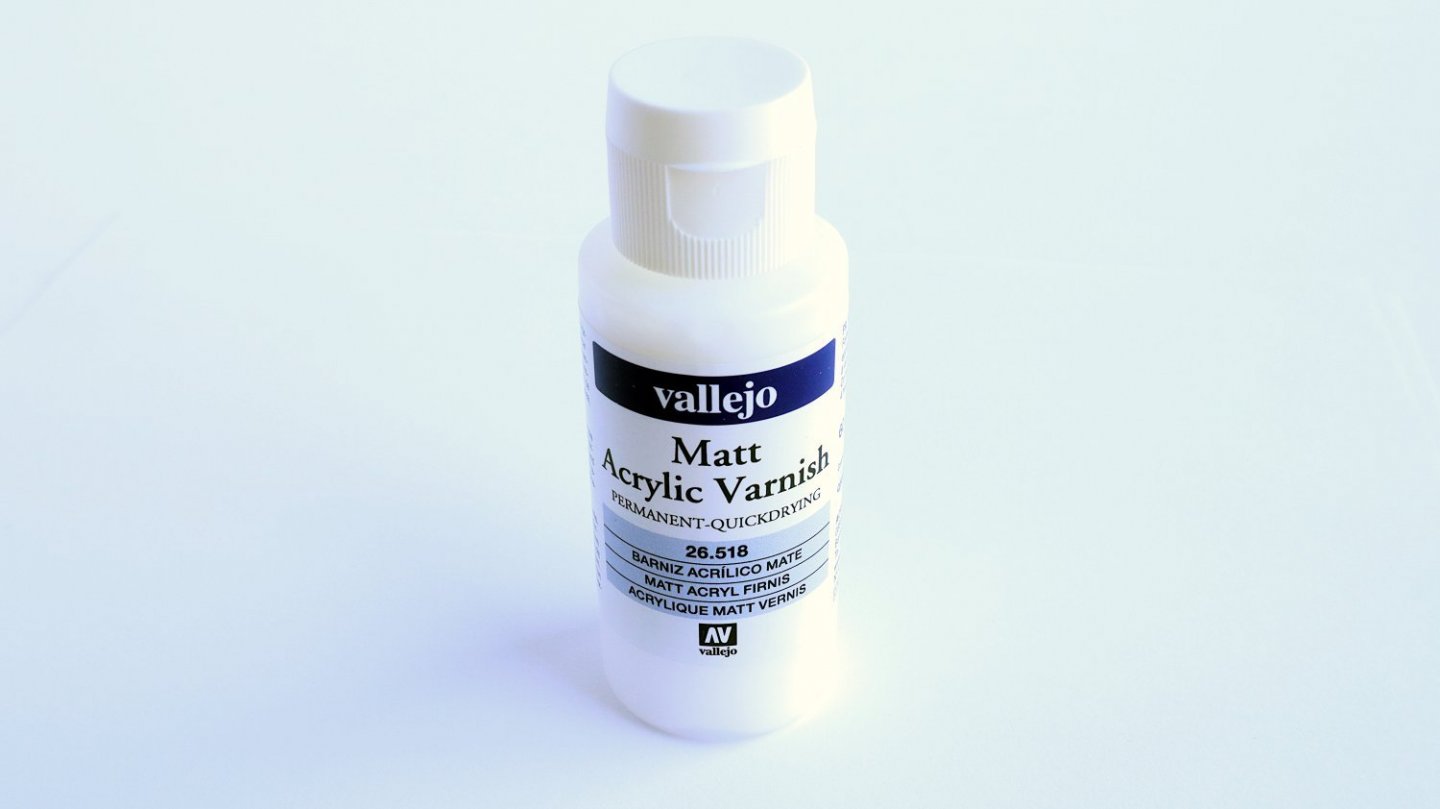
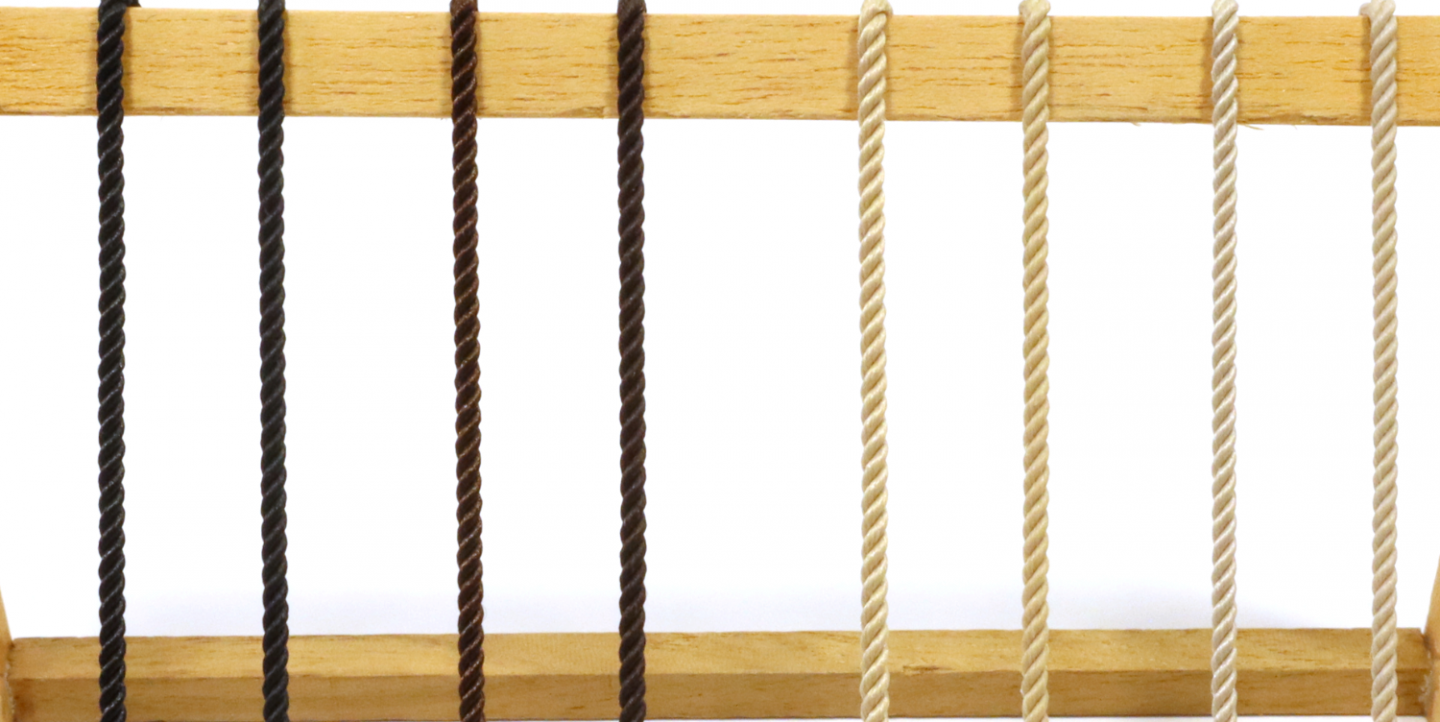
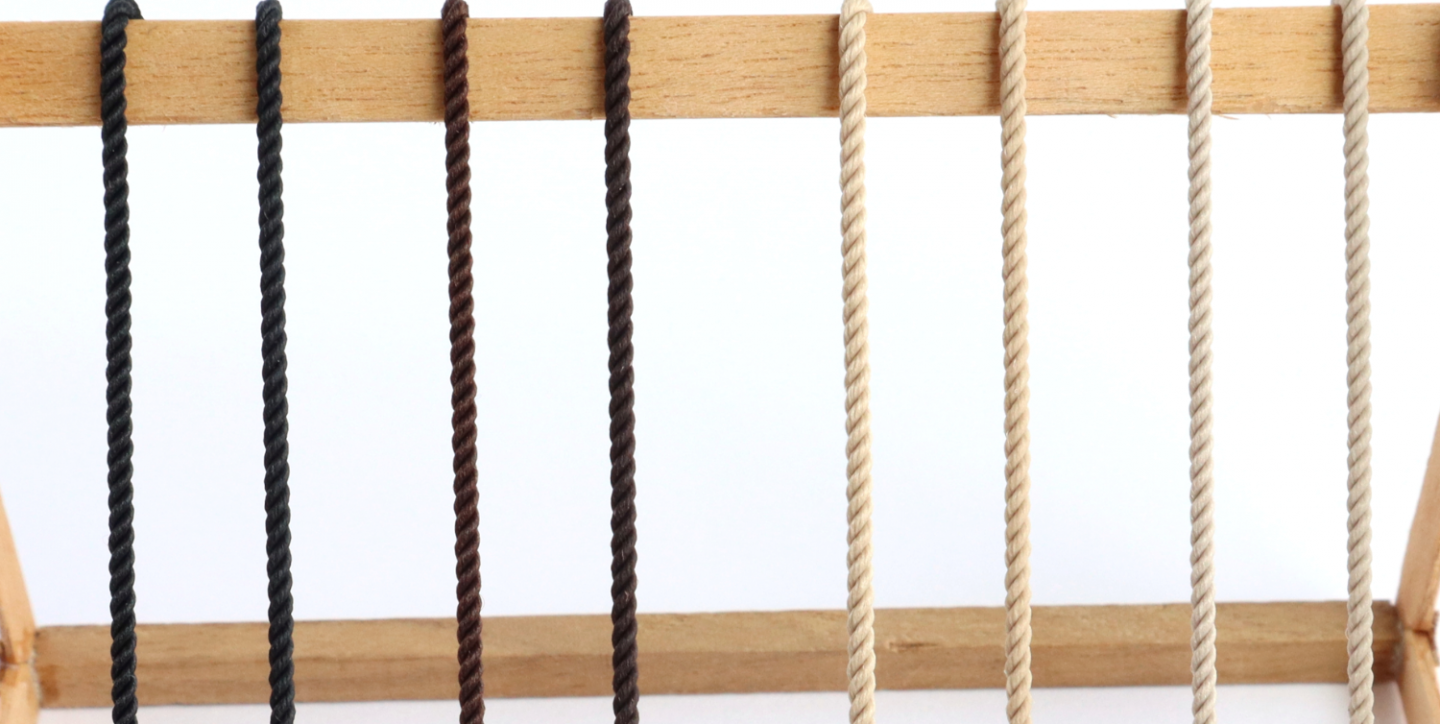
Greetings everyone, I've been asked a few times about dealing with the shine on my Polyester rope. My answer every time is that they use diluted matt varnish after rigging. Why after you might wonder? After using varnish the glue will no longer seep into the rope and stay at the surface making weaker knots and seizing's. I've done some testing and was surprised to find that thin CA and even diluted PVA will permeate into the core of this rope. As you see below the untreated sample is on the left and the varnished sample is on the right. From left to right we have Black, Dark Brown, Tan, and Light Beige. Vallejo Matt Acrylic Varnish was used and two coats were applied. One coat was enough as the second didn't make a noticeable change. The dilution was 1/2 water and 1/2 varnish. It was very easy and quick to apply. This picture was taken under bright desk lamps. Direct lighting really brings out the shine. The picture below was taken with natural light coming through a window. The Dark Brown has the most change compared to the rest. Not only was the shine removed but it made it darker and more like the standing rigging I've seen on ships that use traditional Stockholm Tar. Another bonus for using Acrylic Varnish is that it will give some UV protection. This is especially important for people placing their models close to a window.
- 48 replies
-
- 14
-
-
What a massive heap of parts! Do you have enough space on the work bench for this beast?
- 488 replies
-
- 5
-
-
- Indefatigable
- Vanguard Models
- (and 1 more)
-
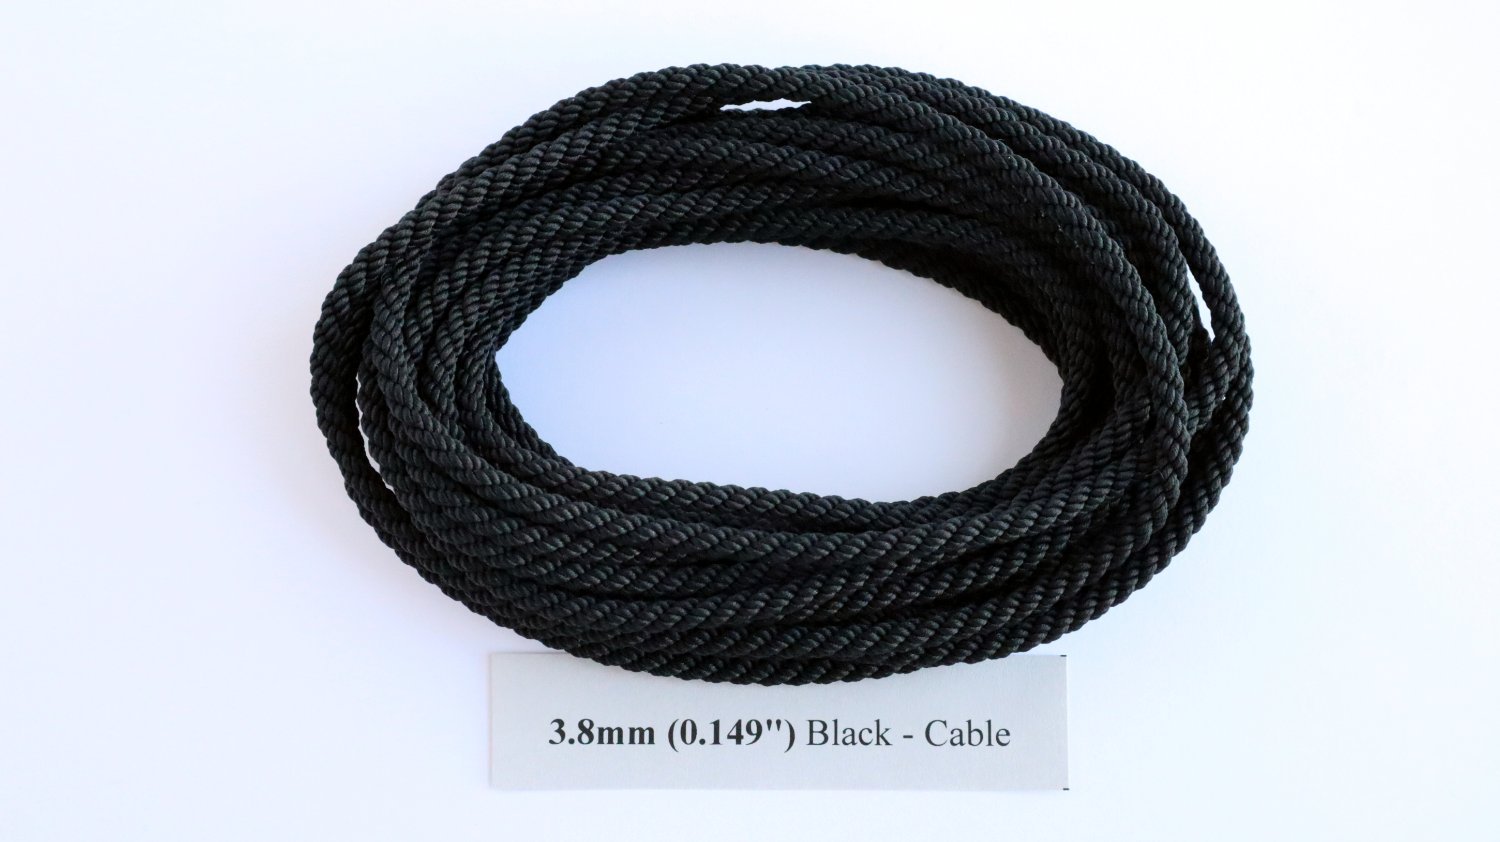
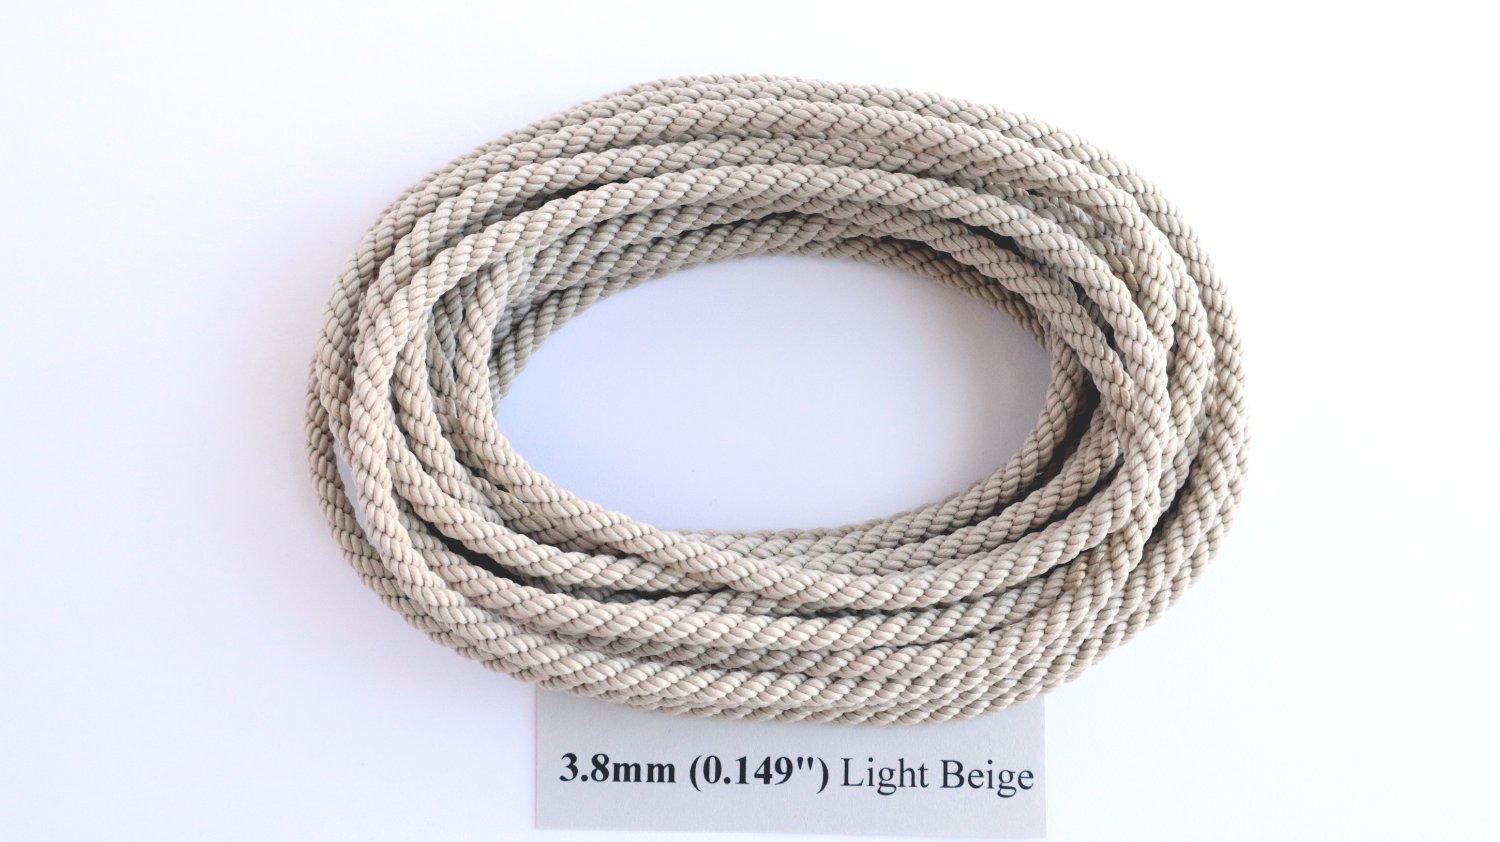
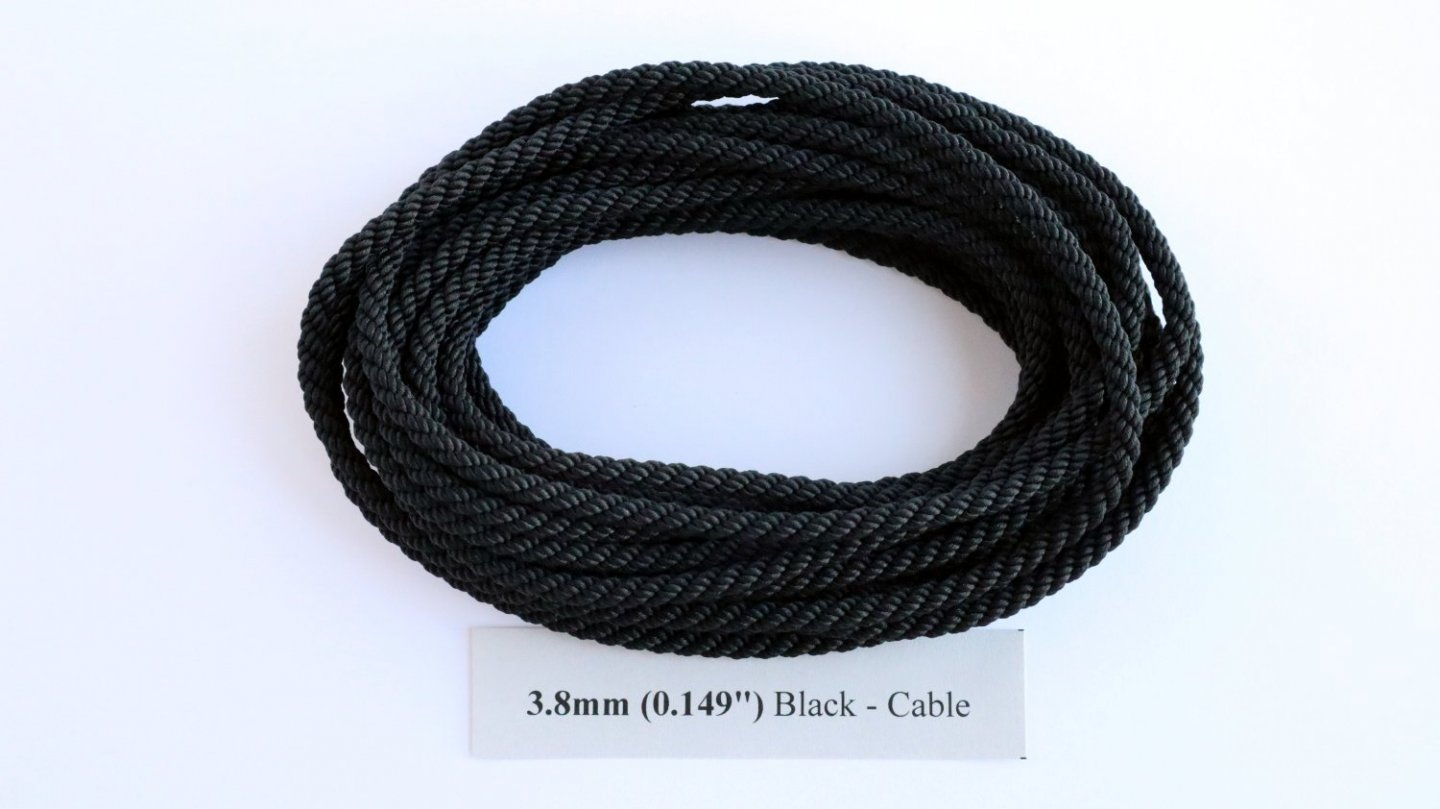
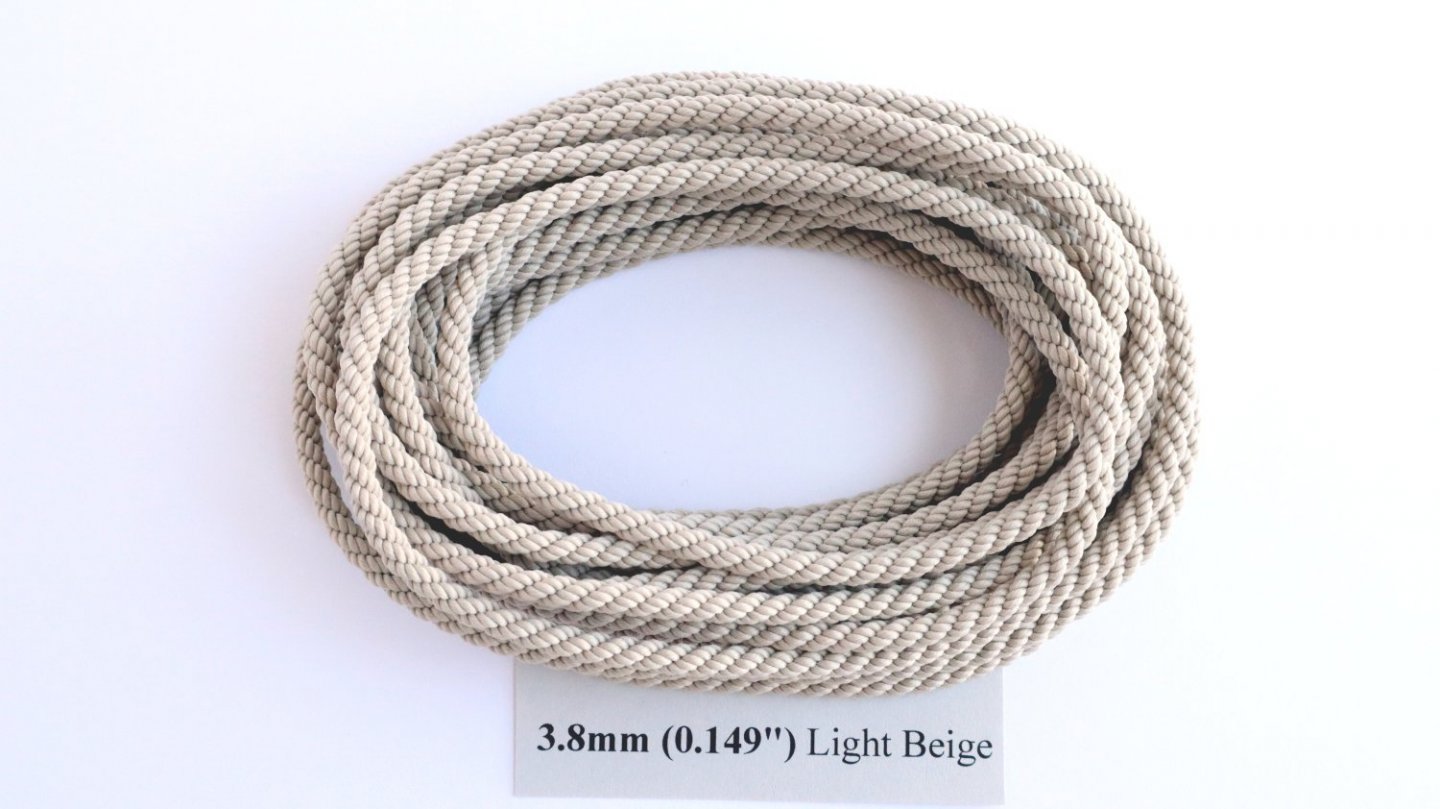
I've added Black and Light Beige cable-laid rope to my shop. They range from 1.1mm to 3.8mm like the last ones. As usual they are sold by the meter. The next product to be worked on is left-hand/S-laid variants for Black and Dark Brown. For those of you that didn't see @James H did a great review of some of my Polyester ropes. Check it out here > product review / Rope and cable - various sizes - Ropes of Scale https://ropesofscale.com/products/polyester-black-cable-laid-rope https://ropesofscale.com/products/polyester-light-beige-cable-laid-rope
-
Looking good! The 2.4mm cable does look better for this large frigate.
-
The kit has the planks pay on each other like the fist picture in that diagram. Difficult to add detail like that on a kit even at 1/24th scale.
-
WOW that is a huge ship! The Sphinx is so small beside this. The Inde has a quite a bit of width also, definitely has the bones of a ship of the line.
-
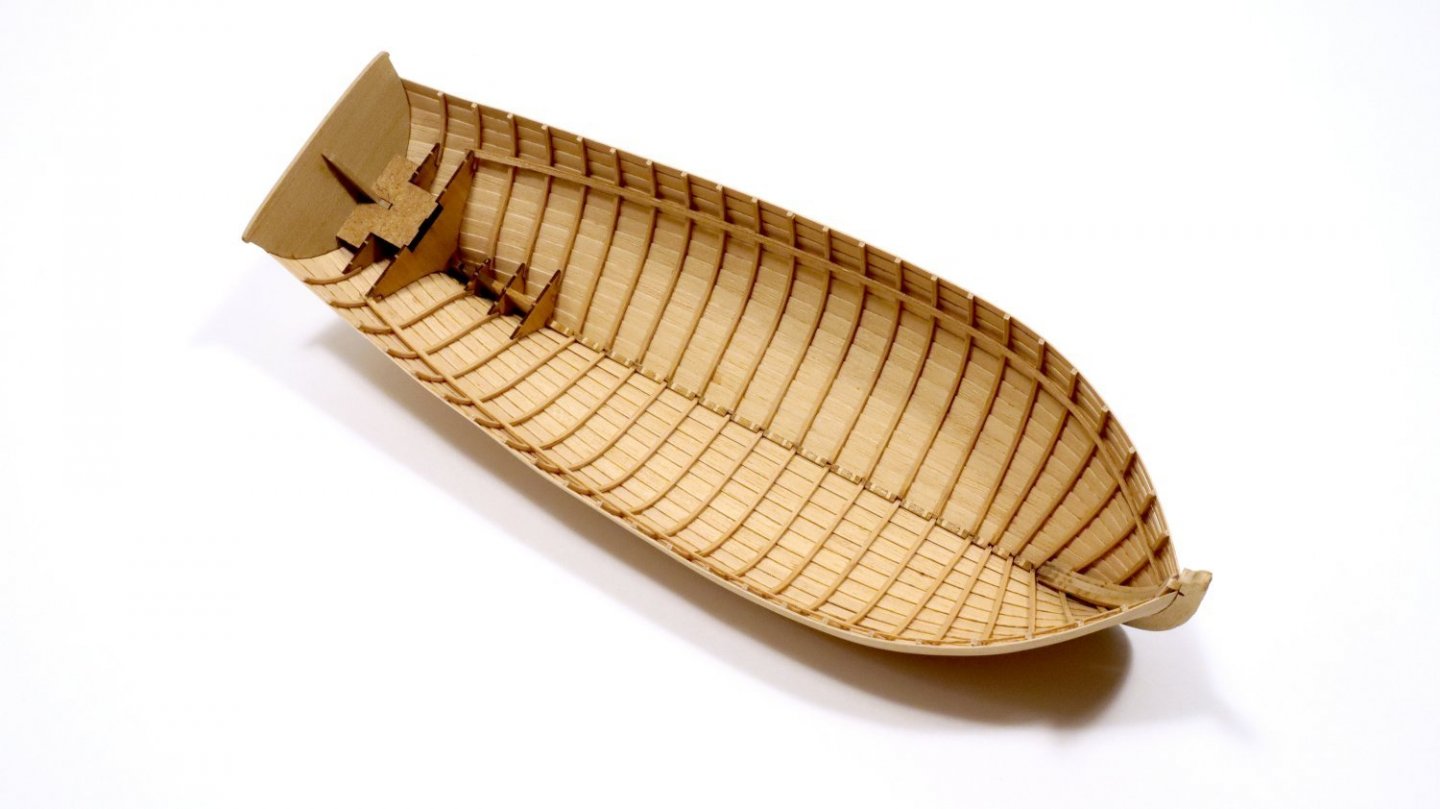
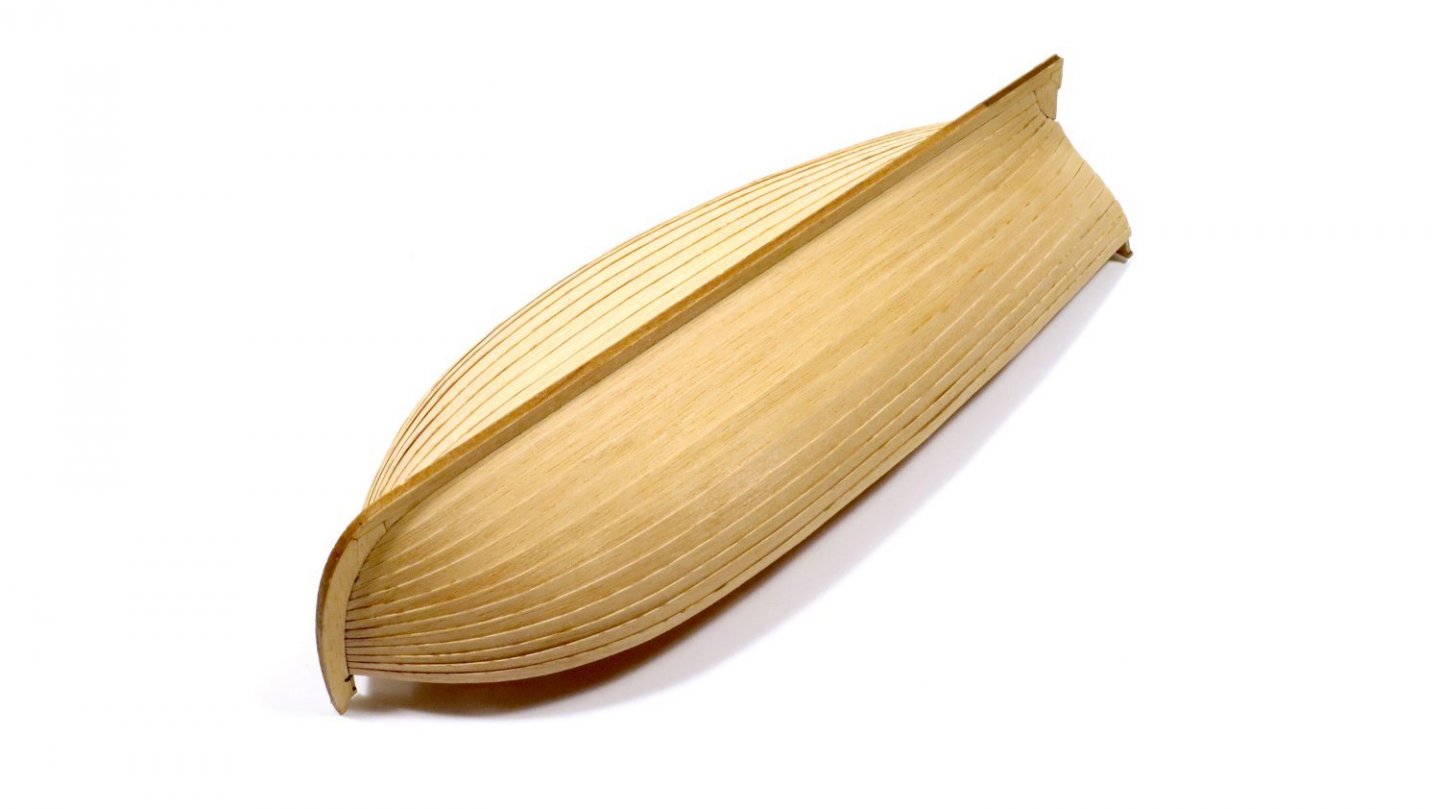
The planking is done and the hull is off the planking jig. Somehow I managed to glue some of the jig onto the hull but it eventually all came loose. Now it might be time for some wipe on poly! I think I'm getting the hang of my new camera. The photo editing software that came with the camera was also really decent. It's easy to white balance and sharpen up the images.