HOLIDAY DONATION DRIVE - SUPPORT MSW - DO YOUR PART TO KEEP THIS GREAT FORUM GOING! (Only 24 donations so far out of 49,000 members - C'mon guys!)
×


aliluke
-
Posts
1,359 -
Joined
-
Last visited
Content Type
Profiles
Forums
Gallery
Events
Everything posted by aliluke
-
 Hello Miniwax Wipe on water based Poly is a favourite here on MSW. You can not get it in New Zealand for reasons I don't understand. You can get oil based Miniwax products here but not water based - I can't figure that out. Is there anyone who is willing to assist me by selling and shipping to me - at my cost of course - this product? Thanks.
 -
I actually really enjoyed making your wooden ship boats. It was a challenge that I relished. Until one of them gets hoisted onto HMS Fly, they are now casually displayed little models and undisputedly made of wood - except for the brass bits...which are painted to look like wood. That said, if I had to make another one I'd go for a 3D print - they look fantastic!
-
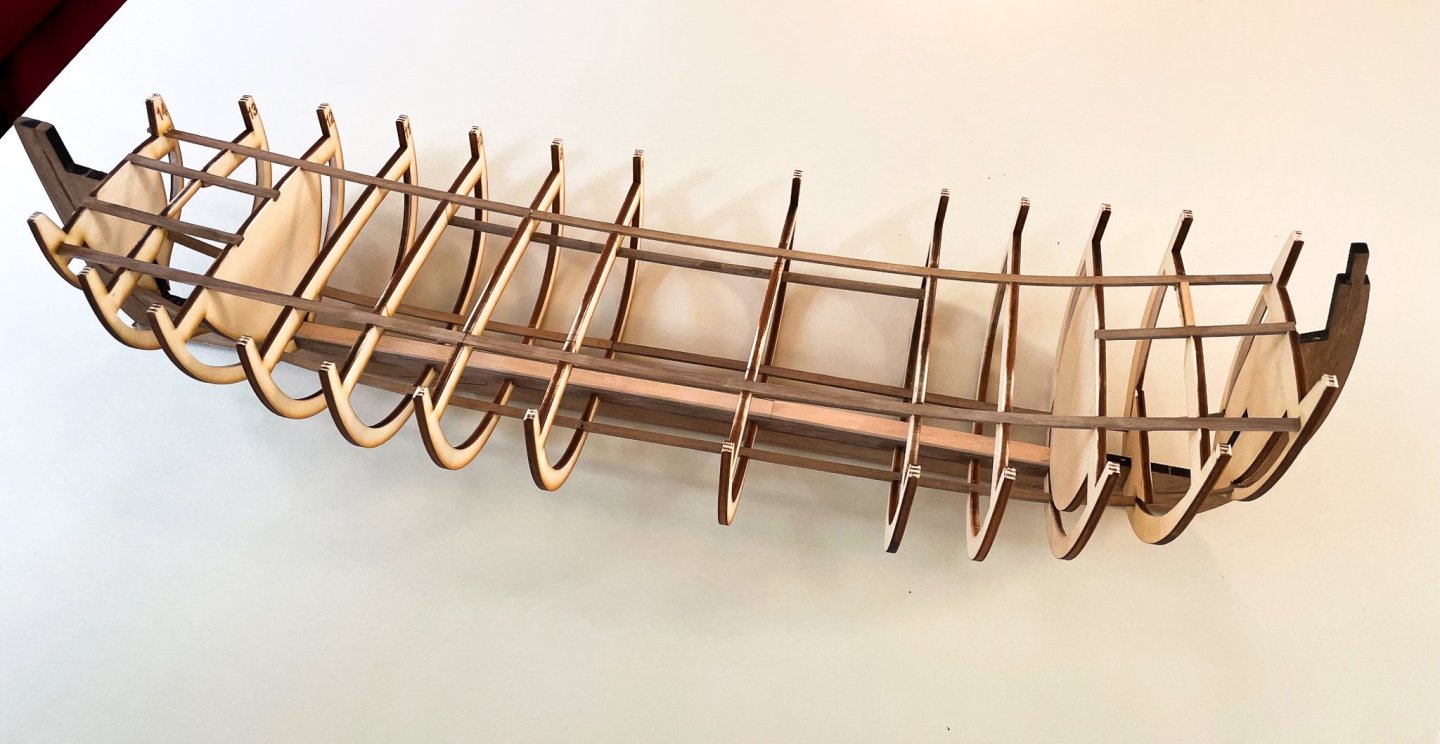
Completed the skeleton. Overall it is very robust, solid as a rock. Now it is on to lining the interior. This looks very, very fiddly...
-
Hi I'll be following along. Except for the deck planking, I didn't buy any additional wood for my AVS and just followed the instructions plus Hunt's practicum. I painted the hull but scored the planks above the wales to give them definition. The only other kit upgrades I did were the ropes (Morope - which you can't get anymore but there are plenty of other providers, including Syren) and the blocks (again my source for those is gone but plenty of other providers are out there). There are plenty of plank providers - milled to size - as well, among the sponsors of MSW. Boxwood is my favourite but it comes at a cost...
-
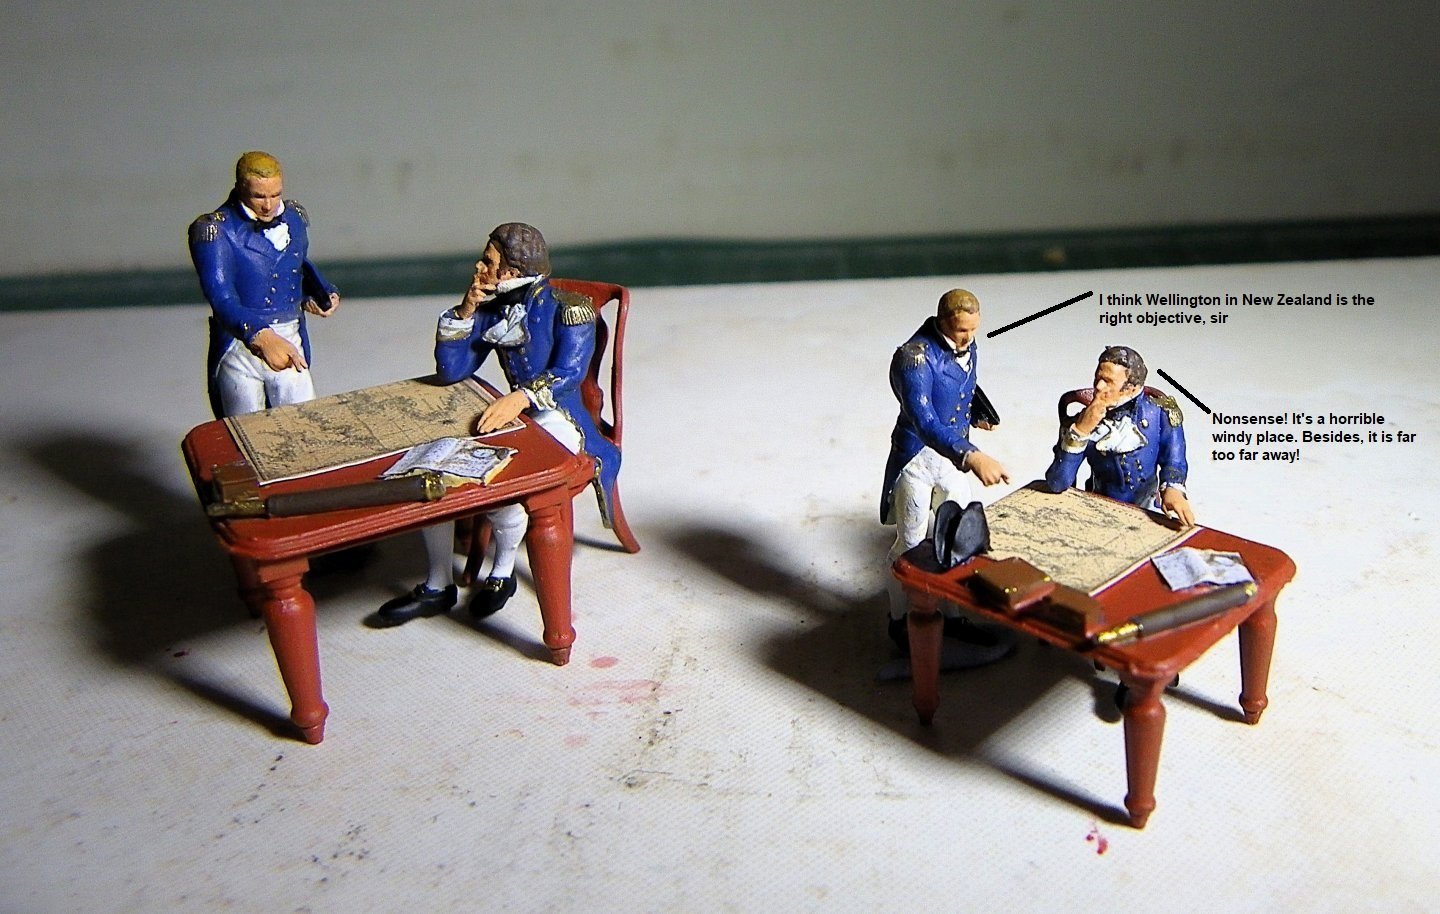
Lovely work as always BE! These are a great addition to a model to give a sense of scale and very well rendered at such a tiny (1/64) size. I wonder what they are talking about....
-
I just want to qualify my last post. The fit of the parts, the quality of materials of this kit are fantastic. The plan sheets are fantastic. It's just the photos of the build in the build booklet that completely confuse me...I'll figure it out.
-
I'm battling on with this but it is a really fiddly one. The instructions are very confusing. There are photographs in the instructions of things that aren't in the kit and then there are things that are in the kit but aren't in the photographs. I still think it is a really great kit but it's really doing my head in seeing pieces that don't exist, in the photos and then seeing pieces that do exist but don't appear in the photos. My guess is that Mariastella photographed a prototype build. Also the photos have empty arrows pointing to pieces but no indication of what the piece is. I think I'll just stop looking at the photographs...
-
I remember those kit supplied window frames being one of the trickiest parts. I was never satisfied with my outcome. Good on you for looking for a different approach to match the rest of your models colouring.
-
Just catching up with this build. Nice one! Hope you get better and back to it soon. Alistair
- 207 replies
-
- 5
-

-

-
- vanguard models
- Duchess of Kingston
- (and 1 more)
-
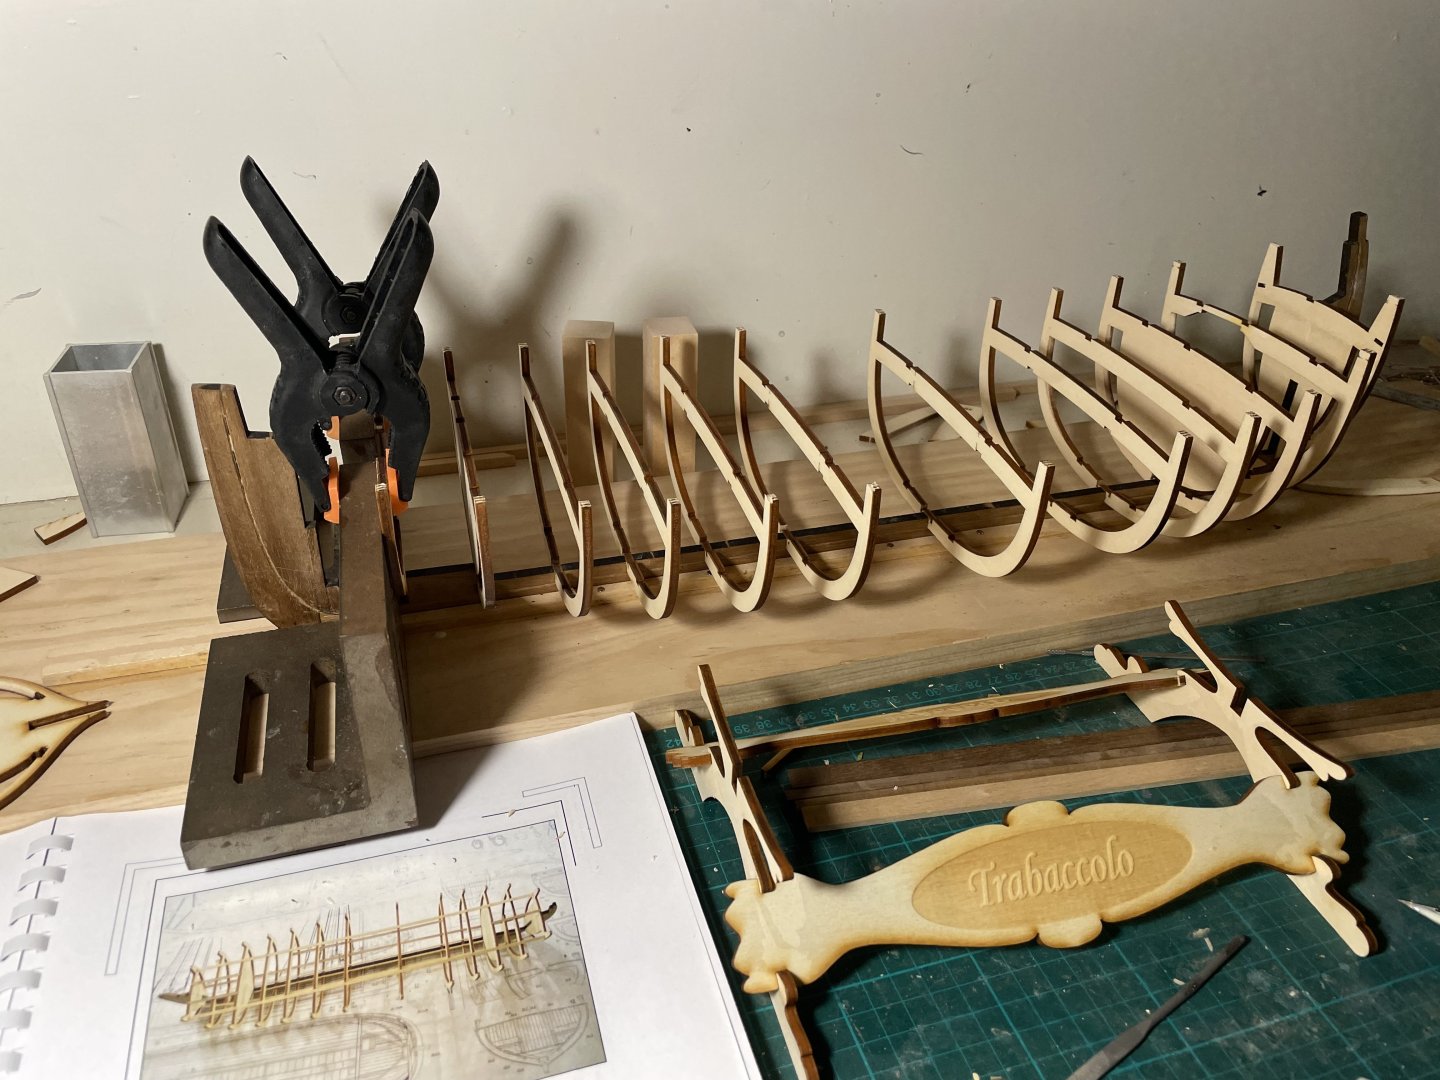
I have been away. Trips and such, Faroe Islands!!! Iceland. But now back to the Trabaccola. It ain't easy - a stunning kit with incredible precision but in no way a beginners voyage. Almost all frames are up and then you build the interior...I am determined in spite of it seeming very difficult. The kit quality continues to be really impressive in every way. It is just bloody complicated to build! I have probably spent more time reading the instructions than just getting on with it. Don Robinson's log remains a key reference. Hopefully my outcome will be just, or nearly as good...Time will tell.
-
I've been off line for a very long time - a big trip to Northern Europe. This is looking fantastic Cisco. Very painstaking but worth every single effort. Ali
-
Brilliant BE. Reminds me that I have to get back into my models after a long summer break. Your standards are well beyond me but it doesn't mean I can't have fun trying to emulate them! Thank you for another fabulous log. Alistair
- 648 replies
-
- 5
-
-
-
- Indefatigable
- Vanguard Models
- (and 1 more)
-
Almost wants to make me redo my AVS...but...no. Stunning work and incredible commitment to detail!
-
Awesome! Your work is, as always, inspiring and wonderful to behold. I have got a spare shelf here if you need somewhere to put it...😁
- 648 replies
-
- 4
-
-
-
- Indefatigable
- Vanguard Models
- (and 1 more)
-
Yeah, I'm going to have get into soldering. Some reluctance but it is skill you need in this ship building fun. I'm curious about how you are going to reconcile the walnut rudder to the holly planking?
-
Hey Chris I recommend a two part epoxy glue. It takes ages to set - 24 hours - and you can rock around with it for fifteen or so minutes at the very least. I use Epiglass Epiglue. You can change the setting times by the ratio of the two mixtures Downside is, that when it cures you'll never get it apart again but it gives you plenty of time to adjust pieces. It doesn't smell very nice but it is seriously strong when it sets. Standard wood glues will set much quicker. Epiglass gives you a lot of time to adjust things but then they can't be undone...I use it often. Toss a coin? But with epoxy you get all the time you need to adjust.
-
Nice fix. And as others have said, if your pinnace is anything to go by, the overall results should be amazing. I did the VM pinnace for my HMS Fly but yours is a master class! I'll be following your Flirt log while I battle the enormous size of the MarisStella trabaccola.
-
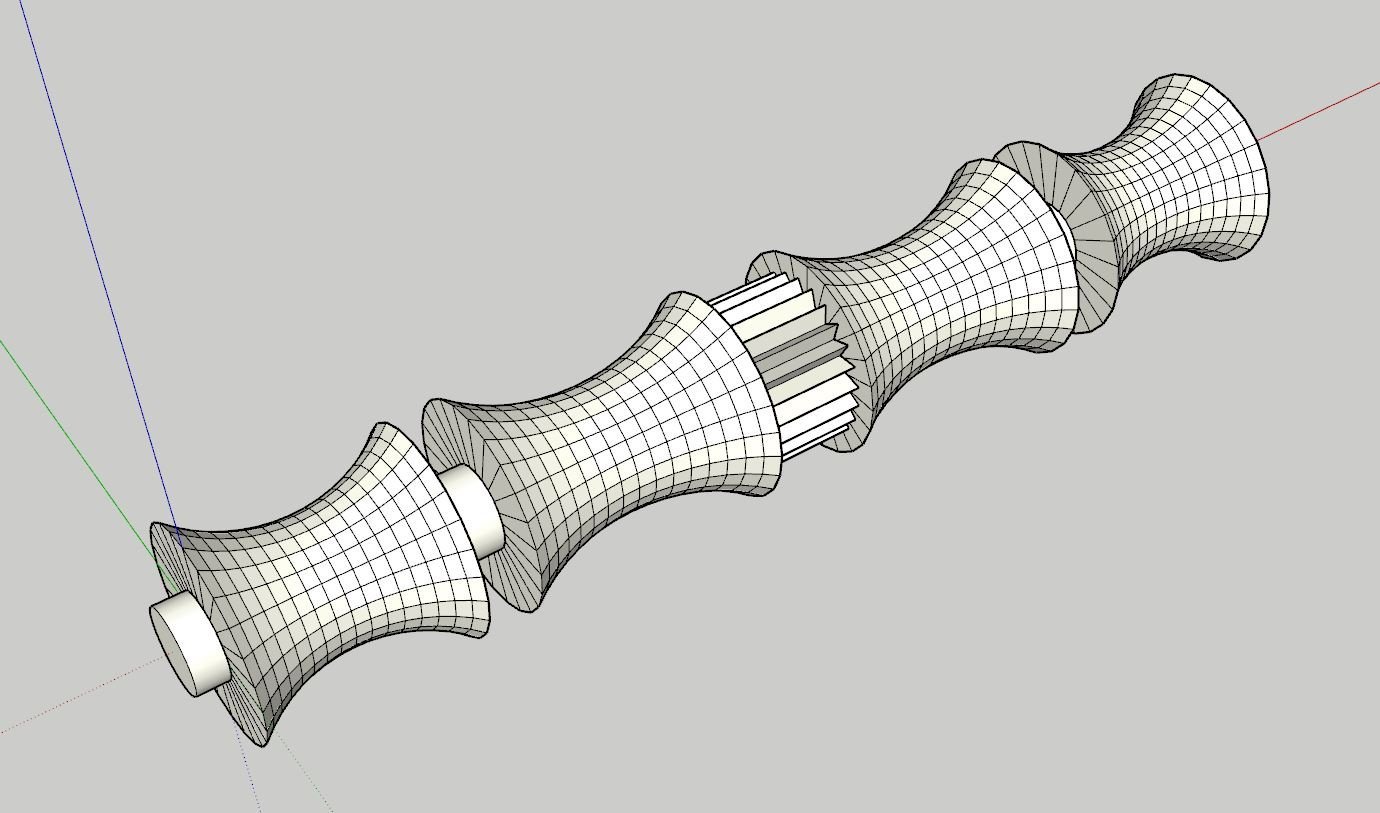
Thanks Bob and the likes As I delved into the kit I realised that I had to scratch build the windlass. Hmm, I don't have a lathe as Don Robinson had for his windlass, and my attempts at carving the dowel for this piece were rubbish. So I built a 3D model of the windlass and will get it 3D printed. Being summer here and most people on holiday, that might take some time...We'll see how it turns out. If any one wants a model of a windlass at 1/32 for a trabakul feel free to ask.
-
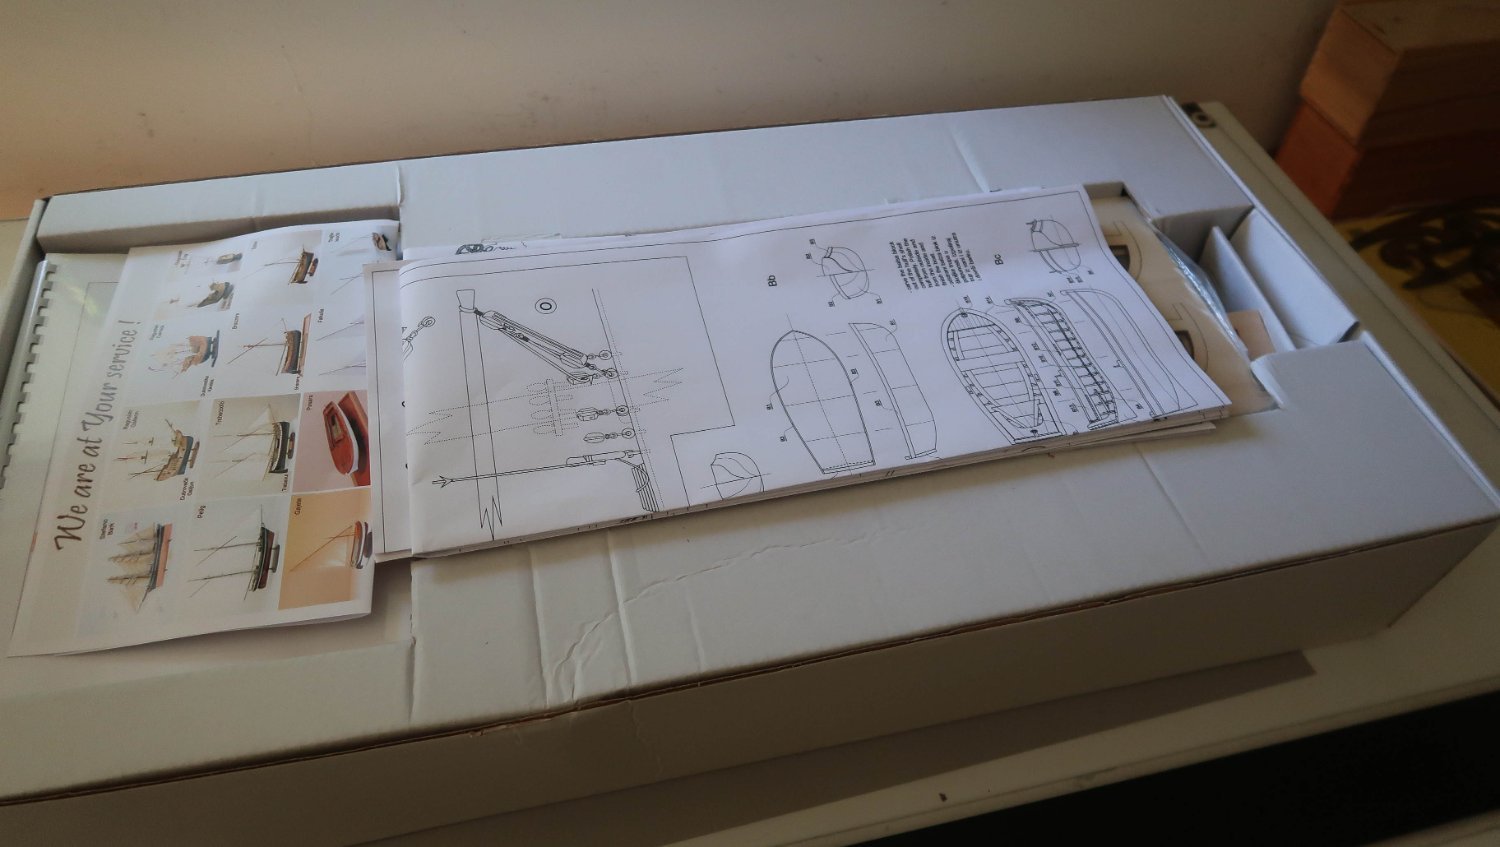
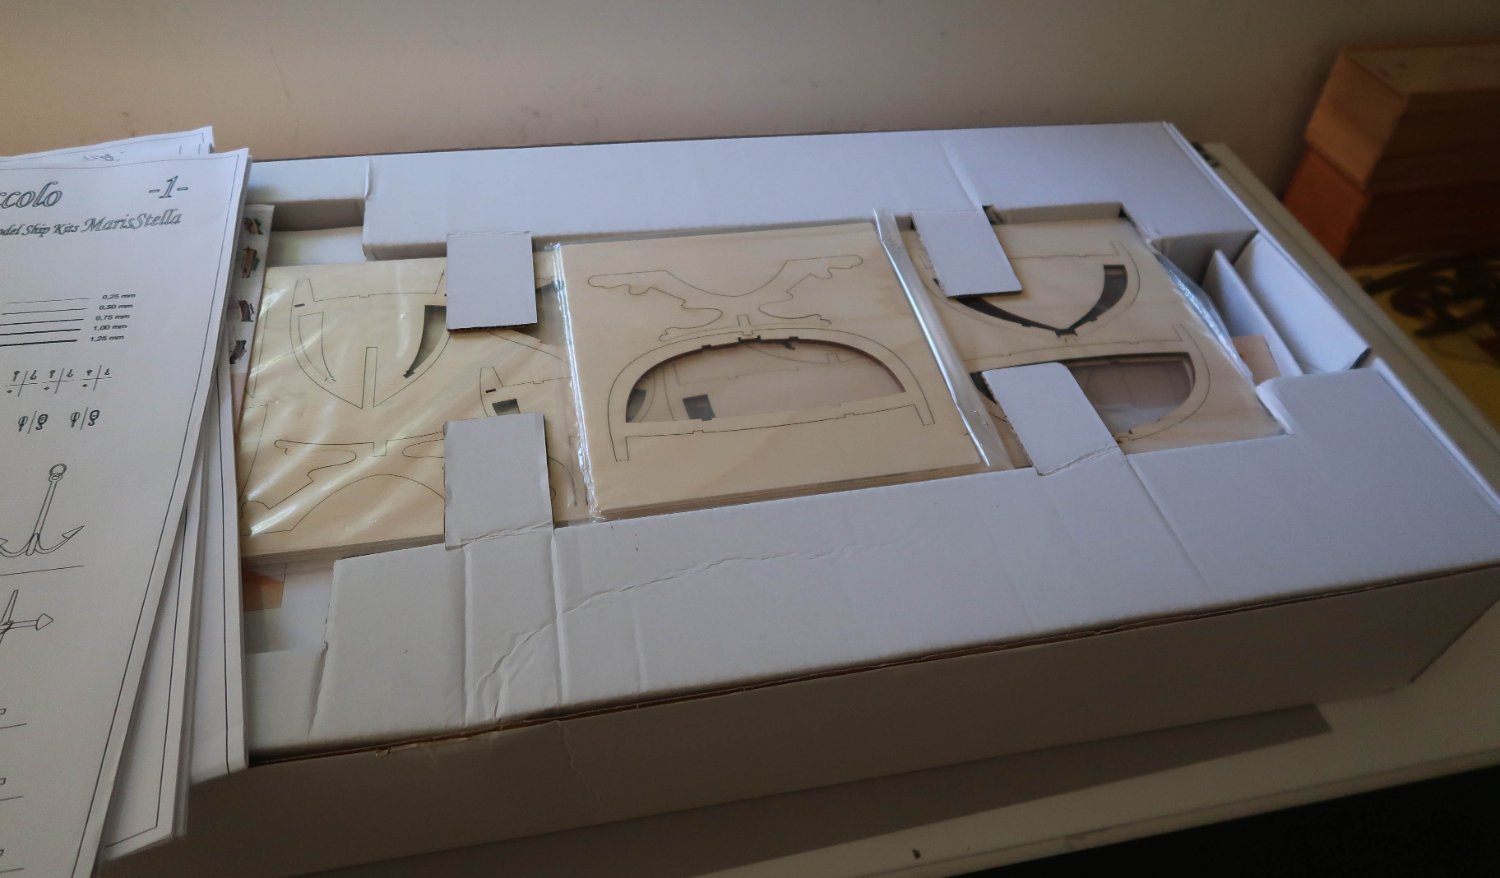
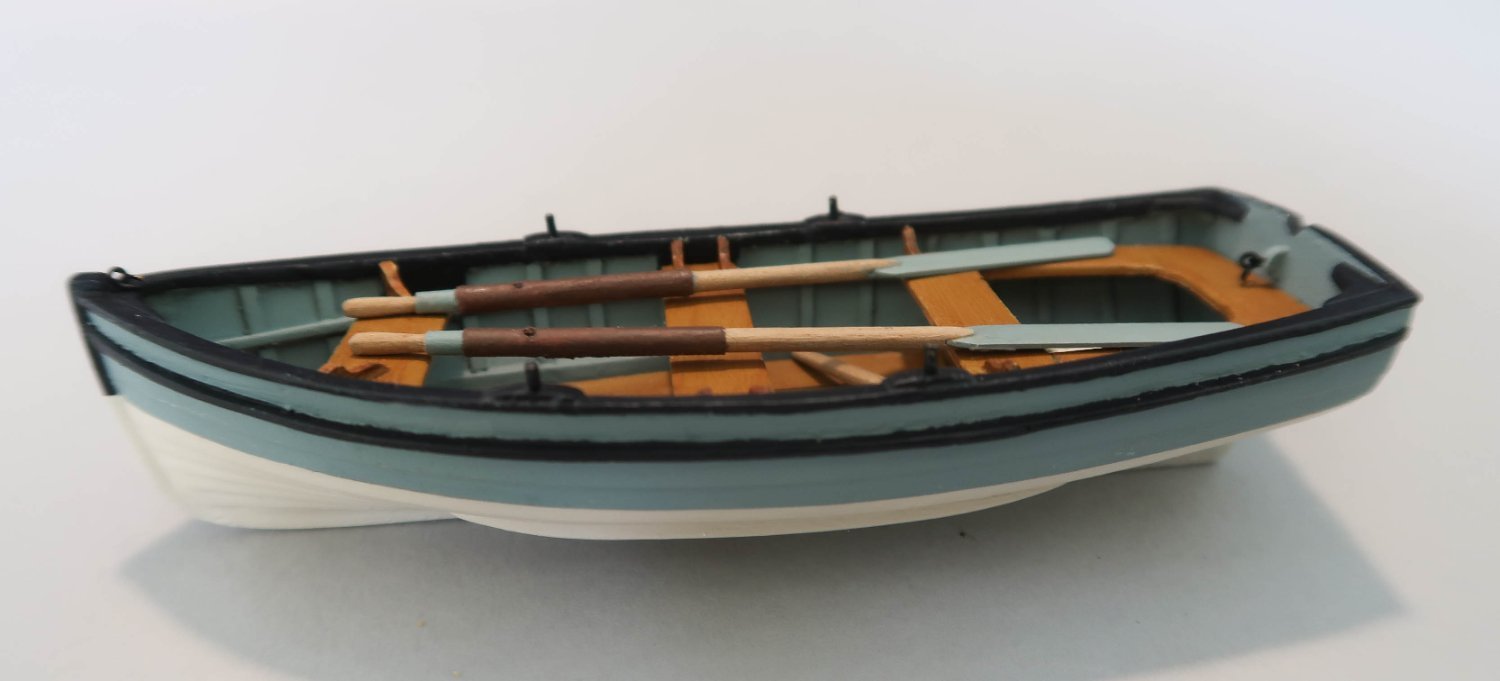
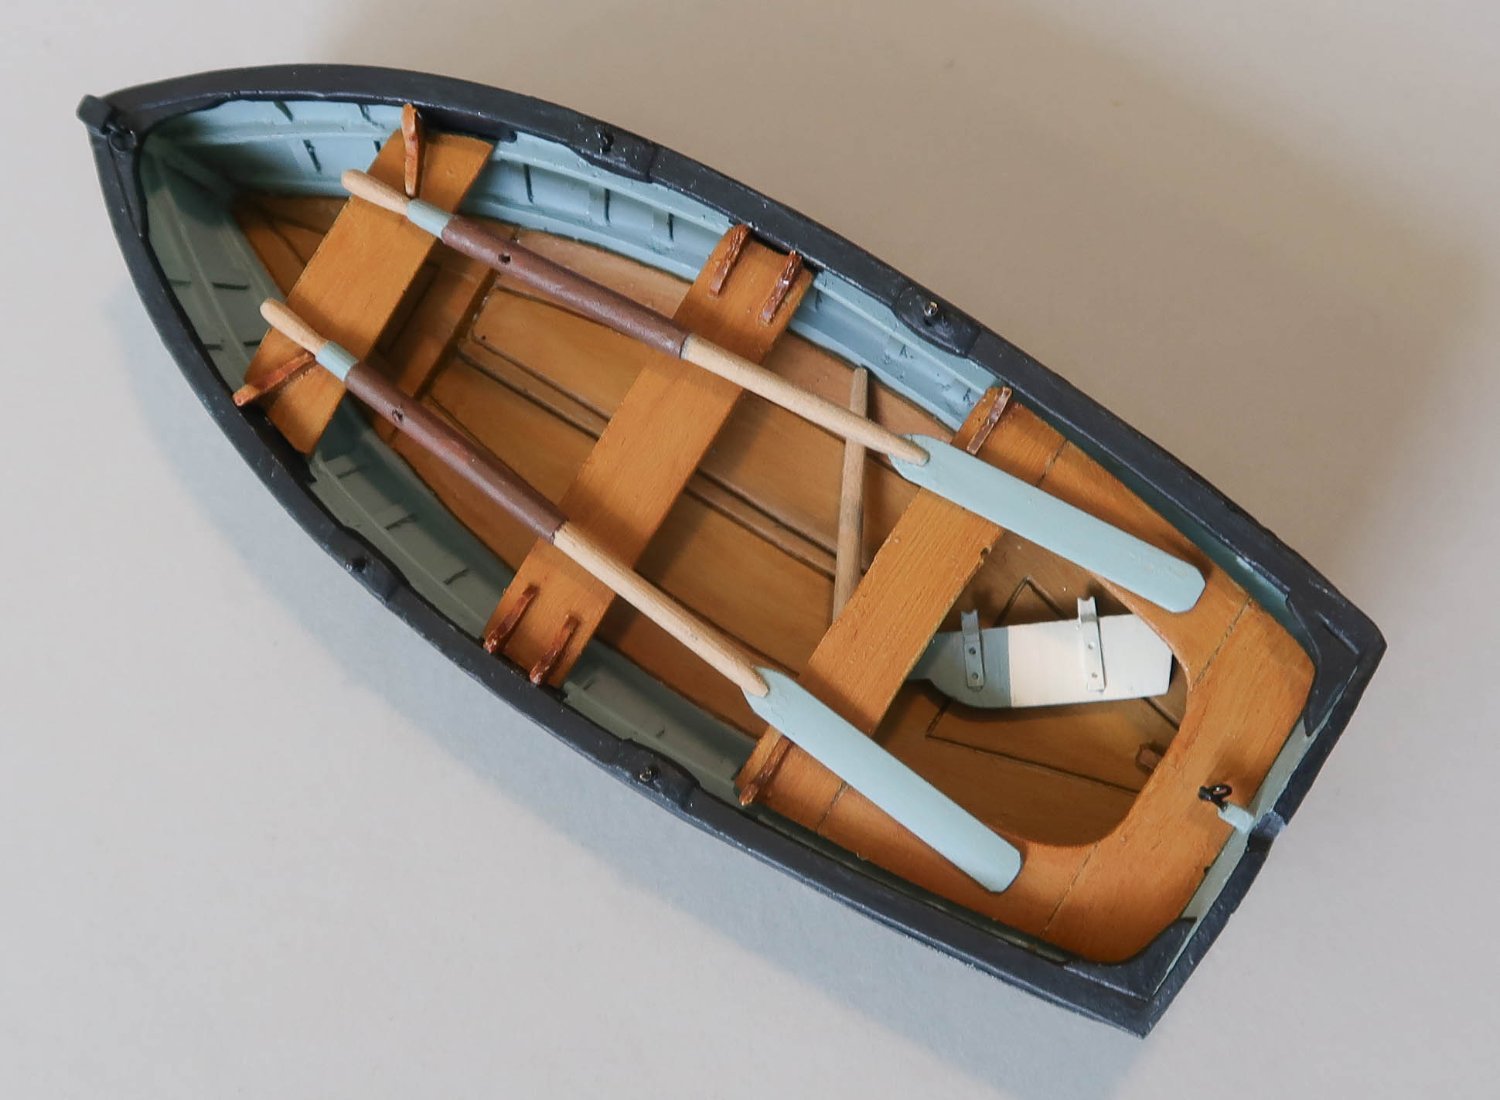
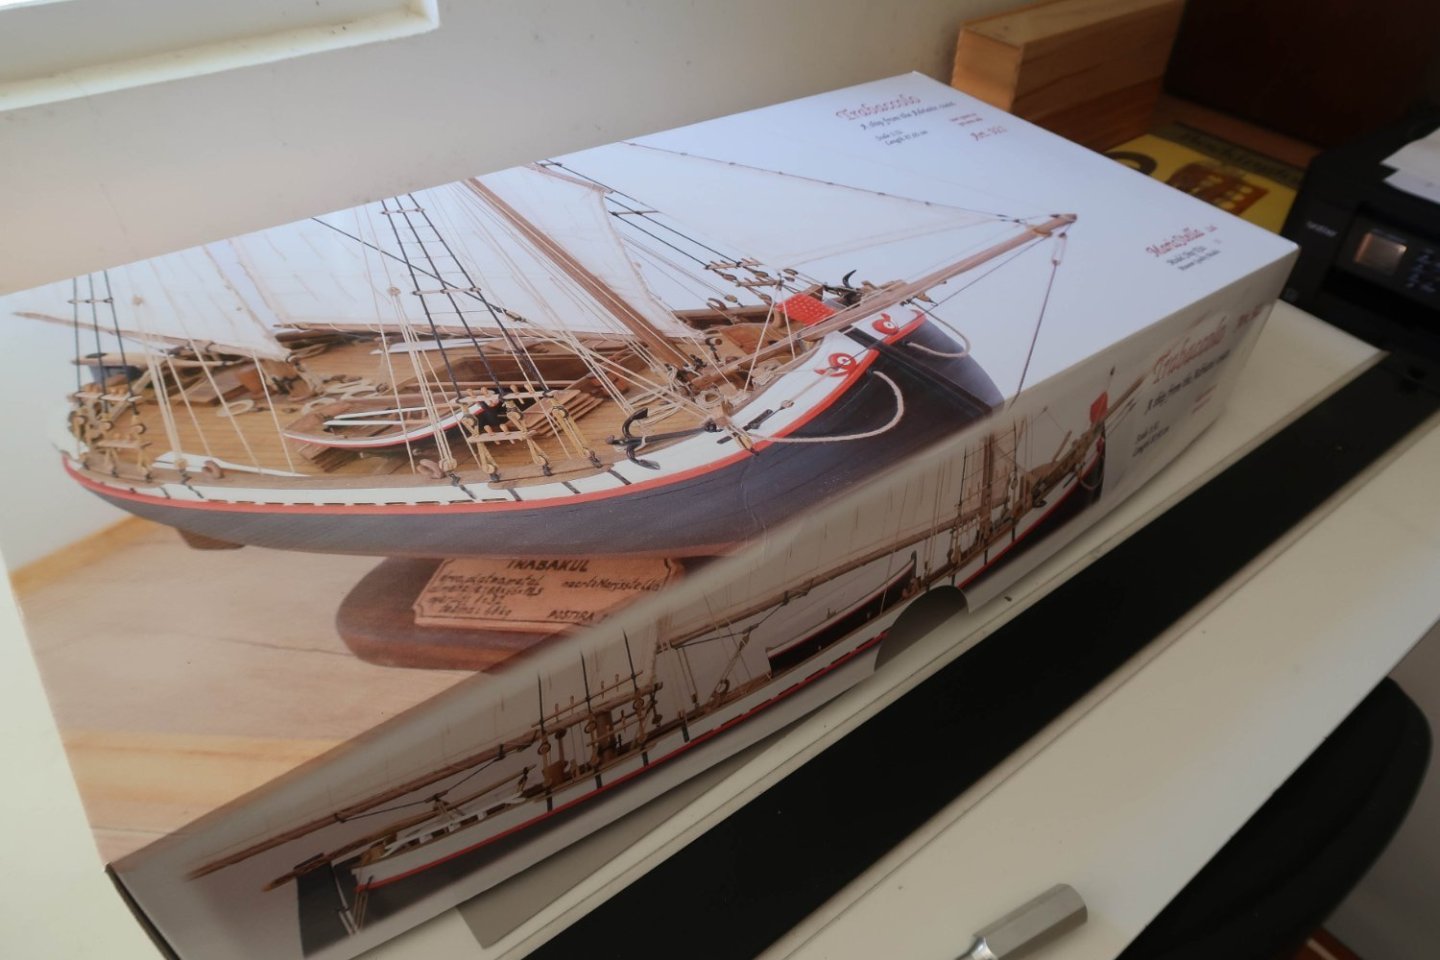
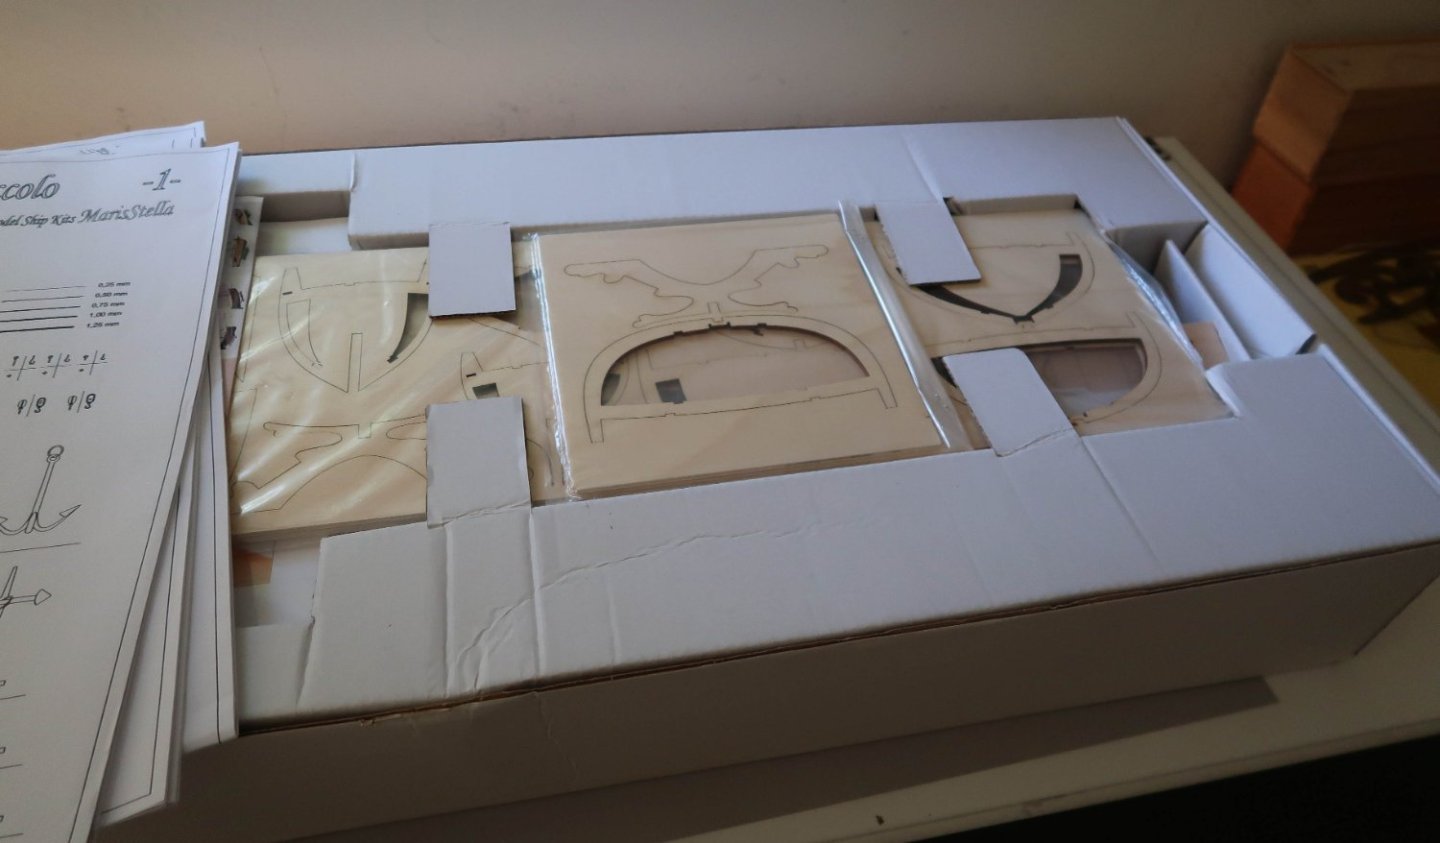
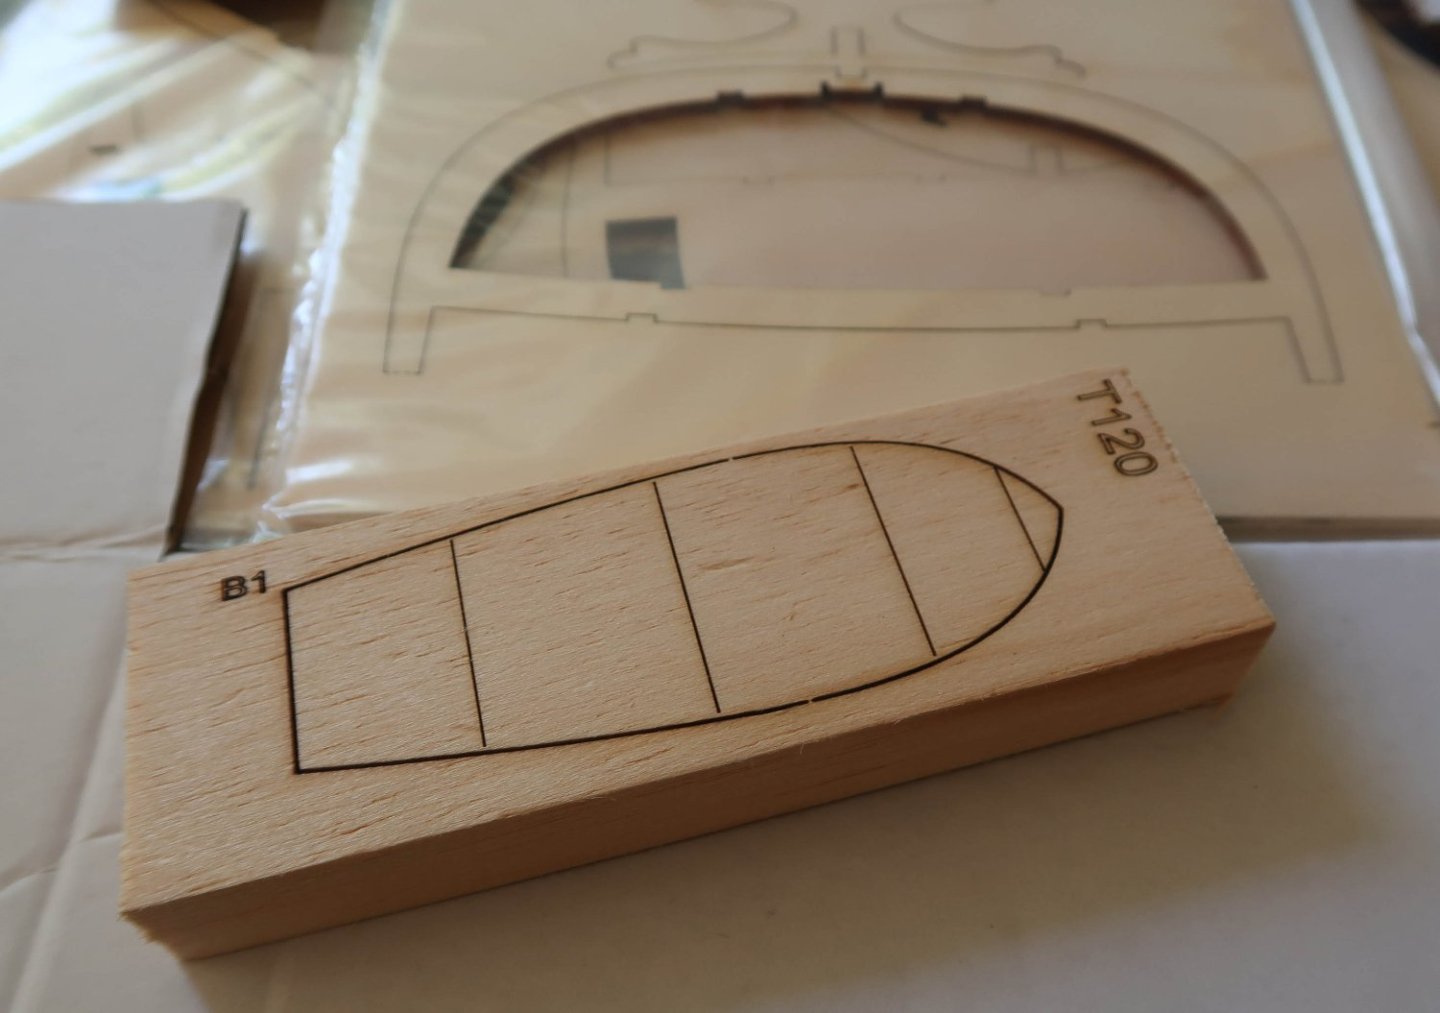
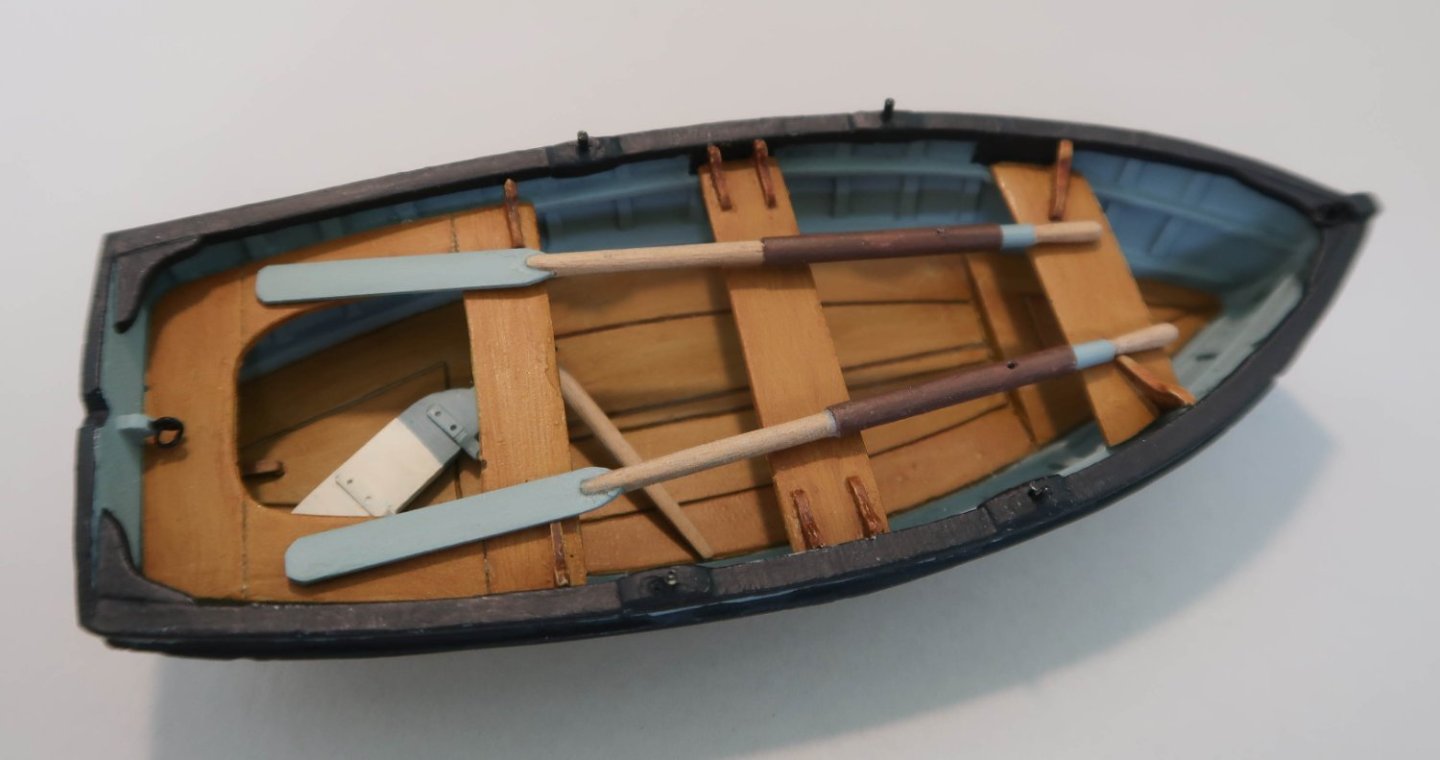
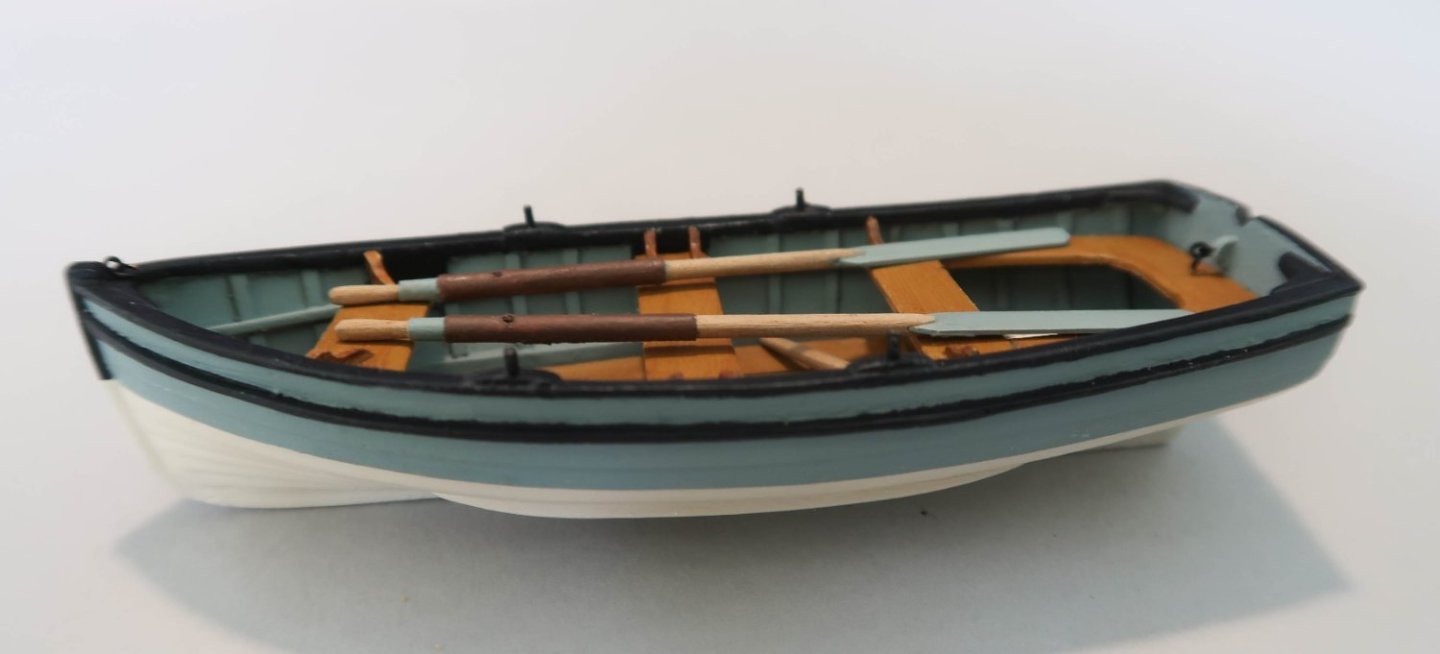
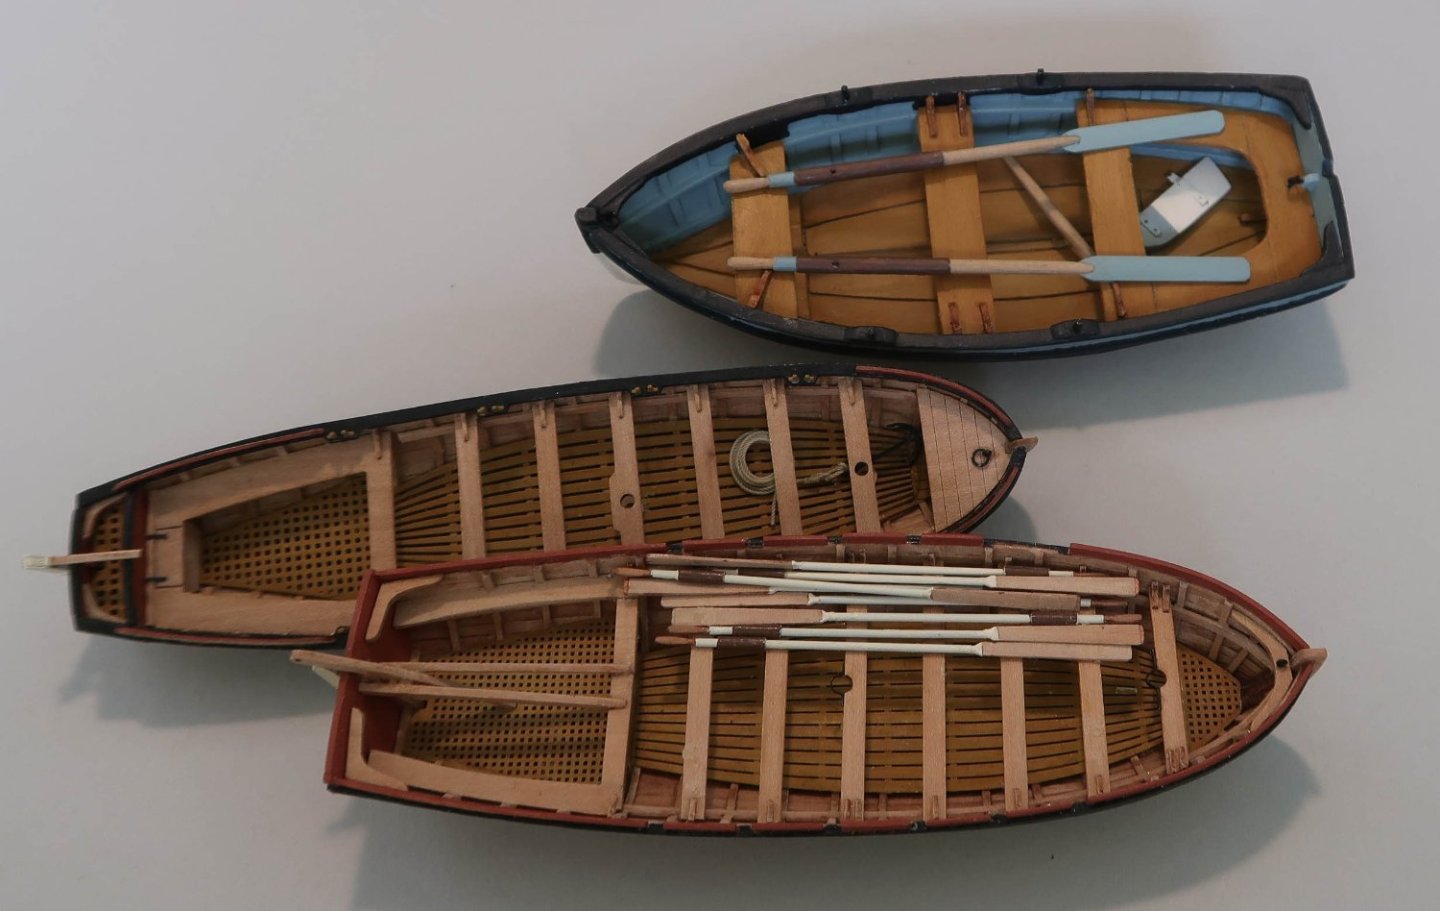
I have made a small start on the trabaccola by Maris Stella. Also known as a a trabakul, it is a coastal trading ship from the Adriatic - specifically Croatia. Maris Stella are based in Split, Croatia and I bought the kit directly from them. The support from Zoran at Maris Stella has already been amazing. I chose this ship for its likeable and unusual shape and for being, well, different. Plus being a freighter there are no cannons - yay! It is also a ship type rather than a specific vessel so I can paint it whatever colour I like and they came in many colours. There are existing trabakul, so plenty of photos online. The kit set looks beautifully made and comes with pre-sewn sails - whether I install these remains to be seen. Its not a common subject here with one log for the kit by Don Robinson, who did an amazing job, and one scratch build by Mfelinger (Matija from Croatia). There are lots of photos of the real thing on Matija's log. At 1/32 it is a large scale and a big model at 876mm long. It has plenty of challenges including a fully lined interior and single planking for a very bluff, rounded bow and stern. Nothing is as normal... To start, I examined the need for building the ships boat from a balsa wood plug which you have to carve. I was not really up for that, so I bought a Quay Craft resin 1/32 boat through Cornwall Models. It is almost exactly the same size as the kit version but with a slightly different seat configuration. It is also clinker built which I like. The Quay Craft kit comes with a huge number of parts i.e. four - one hull and three seats. The casting is a bit rough but cleaned up okay. You detect more roughness when you paint and it is hard to get a really good finish and even lines. I added oars, a rudder and bolts. I'll also add an anchor and rope at some point. I like to start with a smaller kit part to get my head around the scale and this is really big! It also gives me a chance to play with my basic colour scheme which will deviate from the box lid. In my case a pale blue grey with very dark blue trims but mostly natural timber (the boat seats and floor is just painted resin made to look like timber). I haven't given up on HMS Fly - I just got bored with it for the time being. The box - big! Inside the box - there are plenty of descriptions of content on the Maris Stella website. Inside the box The plug for the boat - no thanks... The Quay Craft alternative - more or less completed. Size comparison with the Vanguard Models launch and pinnace at 1/64.


-
Keen to watch this one. MK has long been on my list of intriguing kits. 17 years though...not sure if I have that many left in the tank.😁
-
Hi Bob Key point, you're enjoying yourself!!! That's all that counts! I enjoy your log for you having a laugh, at times, at yourself, and always look forward to your posts. You asked me to be free about pointing out errors - these are for future reference rather than change what is now: - Your anchor stocks are the wrong way around. The tapered sides should face the flukes, the straight side should be on top. Yours are the other way around. - The Amati anchors have the wood grain running in the wrong direction on the stocks. It should be along the stock, not up and down - which makes logical sense. An up and down grain is going to see the stock snap. Blue Ensign captures this in his Pegasus log. - Your wheel rig is incorrect and the rope size is better, to my eye, in photo "One" than the next. The right rope size is about 0.4 mm. I'm amazed that you re-rigged this as, blimey, that must of been hard. Plus sides, and lots of them, your model all comes together and the details mesh. Your anchor cables are of fit size to my eyes and lots of people underestimate their scale. From TFFM, I reckon them at 1.4 mm. If you're going full hog on rigging I urge you to look at Blue Ensign's log. There is a hell of lot of stuff going on around the main mast that is going to be really fiddly later but can addressed now to simplify. Look it doesn't really matter, there are things you can improve and there is always someone out there who knows more than you do. I'm only halfway there and I get pulled up on things that I didn't know - planking widths on ship boats - who would know? Someone does. The trick is enjoying it and you are motoring through this and clearly enjoying it!
- 254 replies
-
- 9
-
-
-
- Victory Models
- Pegasus
- (and 3 more)
-
Fantastic - looks like it is made of bone.
-
Add that Chris Watton designed it, And that's why it is a quality kit and why you should try his ship boats from Vanguard Models or anything else they make!
- 254 replies
-
- 1
-
-
- Victory Models
- Pegasus
- (and 3 more)