DONATION DRIVE - SUPPORT MSW - DO YOUR PART TO KEEP THIS GREAT FORUM GOING!
×


aliluke
-
Posts
1,359 -
Joined
-
Last visited
Content Type
Profiles
Forums
Gallery
Events
Everything posted by aliluke
-
 That is seriously cool! I've even changed my mind about the 'green' and like it now in the overall scheme. Grecian goes on my wish list from now on! Cheers, Alistair
- 80 replies
-
- 6
-

-
- Grecian
- Vanguard Models
- (and 3 more)
-
Hi Jason Just re-found this log and seems I posted on it way back in 2014 when you found a bowed frame. After a long hibernation from MSW, I return to find a stunning outcome to date. Absolutely superb model making - so very crisp and well detailed. No part of my Fly model would stand that level of macro photography and very few other kit models here would either. It looks 1:1. Thanks for sharing! I'll keep up from now on. A quick question - what diameter is your anchor cable? I'm guessing it is Syren rope? The answer may already be in your log...
-
I will post pictures when I get towards completion - so far any pictures would look just like the instructions excepting for a couple breakages! And adding masts and sails, as brilliant as yours look, is completely beyond me. @James - a dozen!? - no thanks - two will do!
-
That is a very dedicated redo. Will have to look at my gun carriages now and see if I got that wrong too - I'm not redoing them though even if I did! One little add I did for this and other parts was adding 0.7mm brass rivets - with the head painted black. You can see them on my Fly log. I got them from https://model-motorcars.myshopify.com/collections/small-parts-hardware I see the 0.7mm are sold out though. There is lots of other nifty stuff in their hardware offerings.
- 562 replies
-
- 5
-
-
- vanguard models
- alert
- (and 2 more)
-
Whatever the correct historical details , the result you have reached is stunning. I've just got the first strake fixed on the VM 26' launch and these are very fiddly little (but fun) kits. You have done an amazing job of your yawl and it is to be aspired to. Absolutely brilliant work! A
-
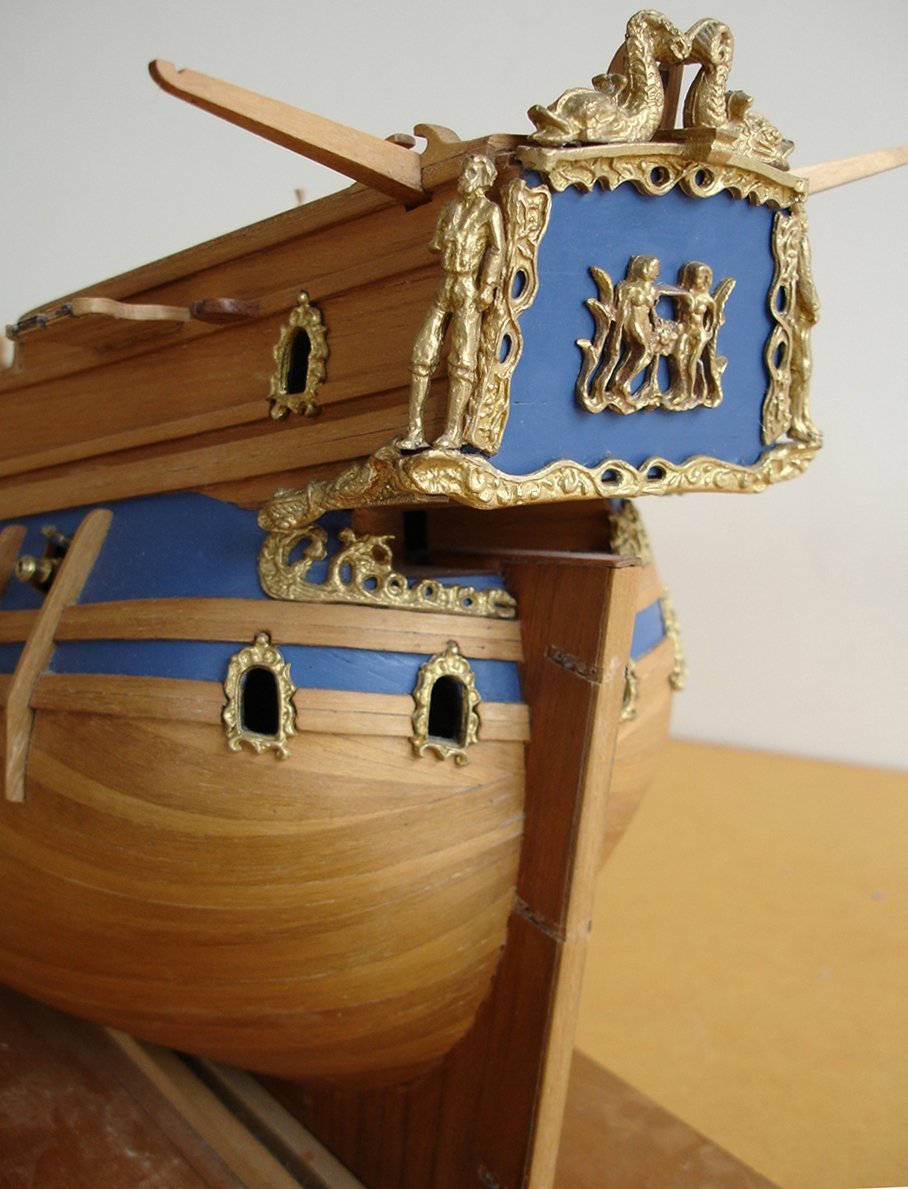
I have been following without comment to date. It is a stunning ship and an unusual subject with its shallow bow and deep stern and raffish look. Extremely well done! And model ship builders should be interested in the variety that this model adds. The green hurts my eyes but I think that's because the reds of the English ships is steeped into my mind. USS Constitution has that green but I still struggle with it, even if historically accurate. But no matter - I am fascinated to see how this plays out which I'm sure will be very well! cheers A
- 80 replies
-
- 5
-
-
- Grecian
- Vanguard Models
- (and 3 more)
-
Those are pretty cool little tools - are they too harsh to use on wood? How long do they last?
-
Yep Maurice, I have to get you down to New Zealand to do my first planking too and build me a building board while you are here! Wonderful work on both as usual and your innovations are very clever. Cheers, Alistair
- 648 replies
-
- 2
-
-
- Indefatigable
- Vanguard Models
- (and 1 more)
-
Soft pencil (A "B" lead - I think - it was a while ago) applied to both edges. Cheers A
-
Fascinating idea. I look forward to the results! I used holly on the decks for my Fly model which I have recently restarted after eight years. It does yellow a bit over time but that's to its favour. Holly is a beautiful timber and, if you pull this off - which looks extremely likely, then it'll make for a great rendition of the AVS. Cheers, Alistair
-
Looking really good. I trust with all this effort that the hull be clear finished. A
-
Indefatigable!!! Great planking and brilliant for a first layer. What an epic hull. I now have to plank a 26' launch at 1/64 - not an epic hull at all. Sand away! A
- 648 replies
-
- 2
-
-
- Indefatigable
- Vanguard Models
- (and 1 more)
-
Hi Chuck Loving looking at this but the timber, probable cost and skills needed terrify me. It isn't hard to see why England ran out of trees! The amount of wood needed for thousands of ships. Speedwell is a beauty and I might just buy the Seawatch books to admire the skill in small scale replication. A beautiful model! A separate issue for Strelok and hopefully not to divert this log; The imperial to metric scale conversion also drove me nuts. My equation is now simple: 1/4" to a foot = 1 divided by 4 = 12 divided by 0.25 = 1/48 3/32" to a foot = 3 divided by 32 = 12 divided by 0.09375 = 1/128 1/16" to a foot = 1 divided by 16 = 12 divided by 0.0625 = 1/192 Etc; etc... Cheers A
-
Fantastic work. The sails are extraordinary along with all the added ropework that they entail. A credit to the ship, the kit and to you! Cheers A
-
It seems when it comes to planking you are, in fact, fatigable 🙃 Great work - I'd dread planking a hull of that size. A
- 648 replies
-
- 3
-

-
-
- Indefatigable
- Vanguard Models
- (and 1 more)
-
Looking good as always B.E. As an aside - where do you get those yellow (brass?) inserts for the foldback clips you use? Looks like a nifty little clamping system. Cheers A
- 648 replies
-
- 2
-
-
- Indefatigable
- Vanguard Models
- (and 1 more)
-
Thanks for that Allan. We have a state of the art 3D printer at work and we can print in wood, metal and resin so I might give one of these barrels a whirl. I'm sorted already for the Fly cannon barrels with ones from RB Models but for the future... Cheers Alistair
-
Hi Brian I'm kind of anti power tools because of the space they take up, the mess they create and the COST. I had a vague look at a basic Sherline mill - in NZ$ + shipping and that's worth about four really good kitsets. And then, would I actually use it? Go figure! The only thing I use that plugs in is an airbrush and a light. I use a pin vise for drilling and get my bits from Drill Bits Unlimited https://drillbitsunlimited.com/ I do have some snap-offs which are a pain but it's always my fault. To my mind power tools are probably necessary for scratch builders but for well manufactured kits they are just a (miss-placed?) desire for a power tool rather than a need. Think of the space, mess and money you'll save! Just my opinion. A
-
Plastic or Wood models? Your Favorite?
aliluke replied to Bill97's topic in Modeling tools and Workshop Equipment
Hi Bill97 I come from a mixed background in plastic and wood modelling. Plastic is mostly airplanes and particularly WWI kits which require rigging. In my experience plastic is much less forgiving and it is harder to scratch build parts you want to replace. Gluing, painting and decals are the key things for plastic modelling while shaping and sanding, neither much needed in plastic, are key to wooden ships. Having done WWI aircraft which requires drilling the only add I'd make for wooden ships is needle files. Plastic models also introduced me to the airbrush - my only power tool - but I don't suspect I'll use it much now that I have returned to wood. I've recently bought some miniature chisels but haven't used them yet. HMS Endeavour is a difficult first up choice but one I looked long and hard at - being a New Zealander! If I tried it, the Caldercraft version would be my first choice based on logs here. But it is a very difficult hull to plank with the extremely bluff bow. My first wooden ship was Sergal's Dutch Whaler which also had a bluff bow and worse a bluff stern. My planking is wrong but worked in a crude way. I only made this to a hull as I realised the kit parts were completely out of scale and I had no idea what I was doing. Some photos of it are in the kit forum. So take care buying one of the most difficult hulls to plank (I'm sure you've looked at the logs). My second wood model was the Armed Virginia Sloop and as a relatively easy build containing all the elements of a more complex wooden ship. It was a very good choice and makes a really good looking finished model - sleek and speedy. That said, Endeavour is a fantastic ship and one I still eye. My advice would be choose one that you feel you can complete and one that you can live with afterwards! Cheers A -
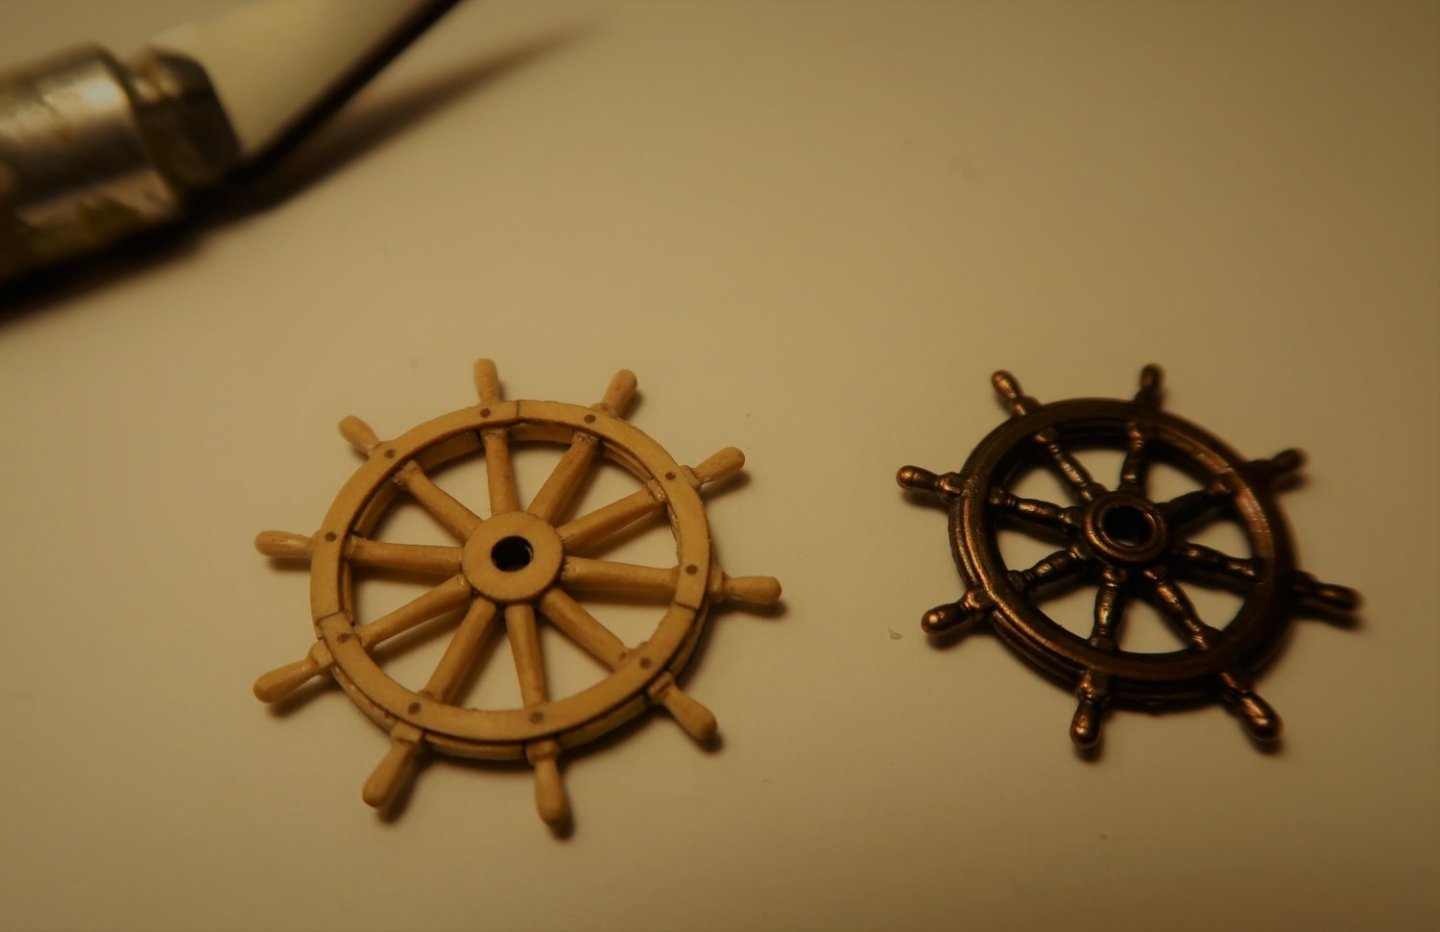
Hi BE - thanks for checking in. I'm probably a bit OCD.. I like things to be clean for the next task....but it does get messy in between. Waiting for various things. Shipping to New Zealand is wildly variable but I got Syren Model bits in quick time while waiting for other stuff from the UK. So I put together the ship wheel from Syren. A brilliant little kit but very fiddly to build - and the photo shows me that I still have a few bits to touch-up. The spokes are very tricky to do but overall I think I made an okay cut at it but, of course, nothing as good looking as the result in the excellent instructions. Here shown against the kit wheel. The kit wheel is circa 20 mm in total diameter. The Syren kit is 24 mm. The TFFM for Swan Class confirms 24 mm as about right. The kit wheel has more detail than I can add but still looks like less of a model part than Syren's version. Thanks Chuck! Cheers A
-
Exceptionally good work on Speedy all round. Very crisp and clean. I'm impressed by the kit too and glad I chose Vanguard for my next build. Cheers, Alistair
- 53 replies
-
- 1
-
-
- Speedy
- Vanguard Models
- (and 1 more)
-
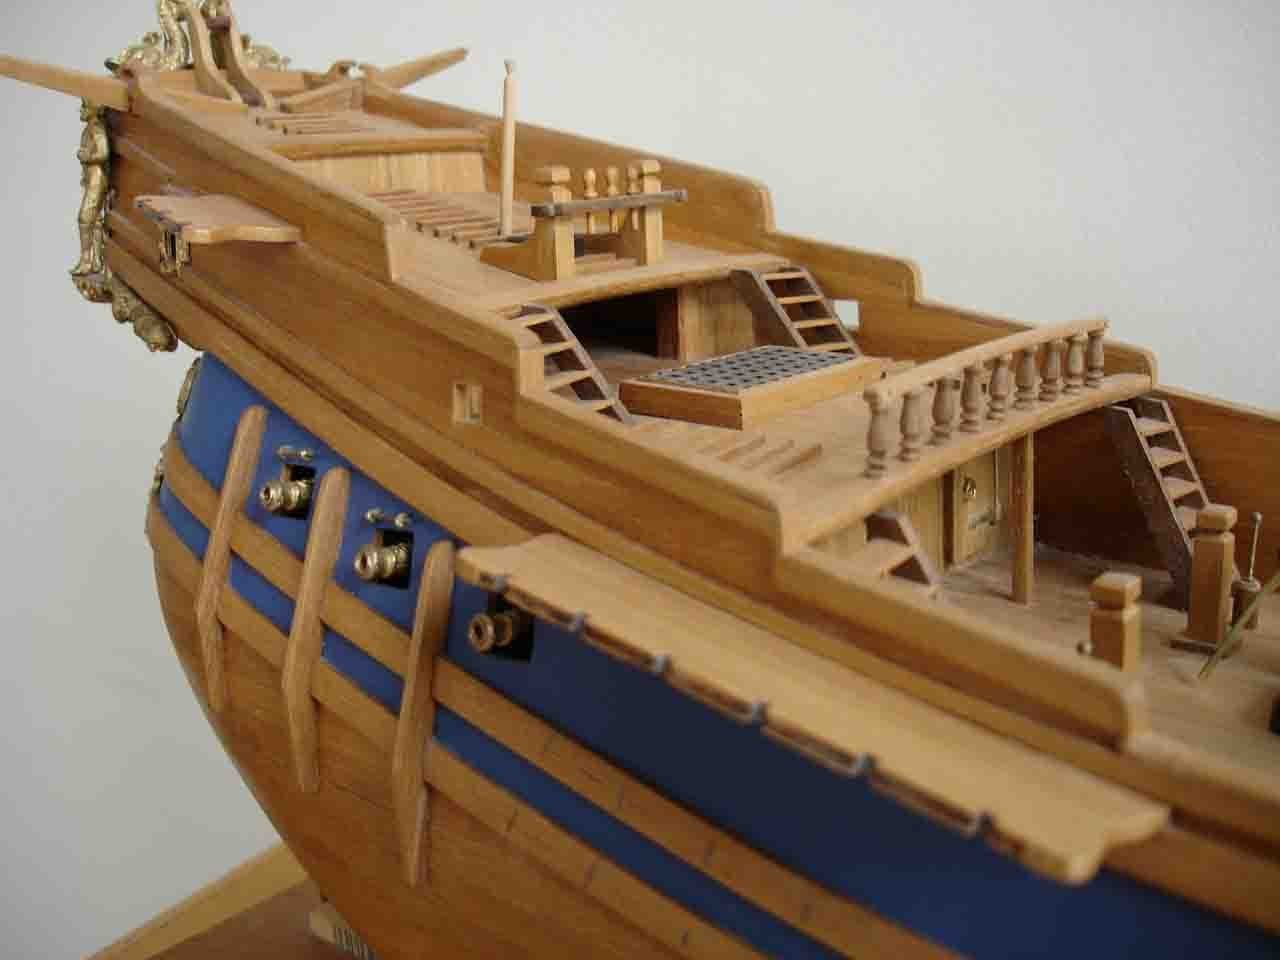
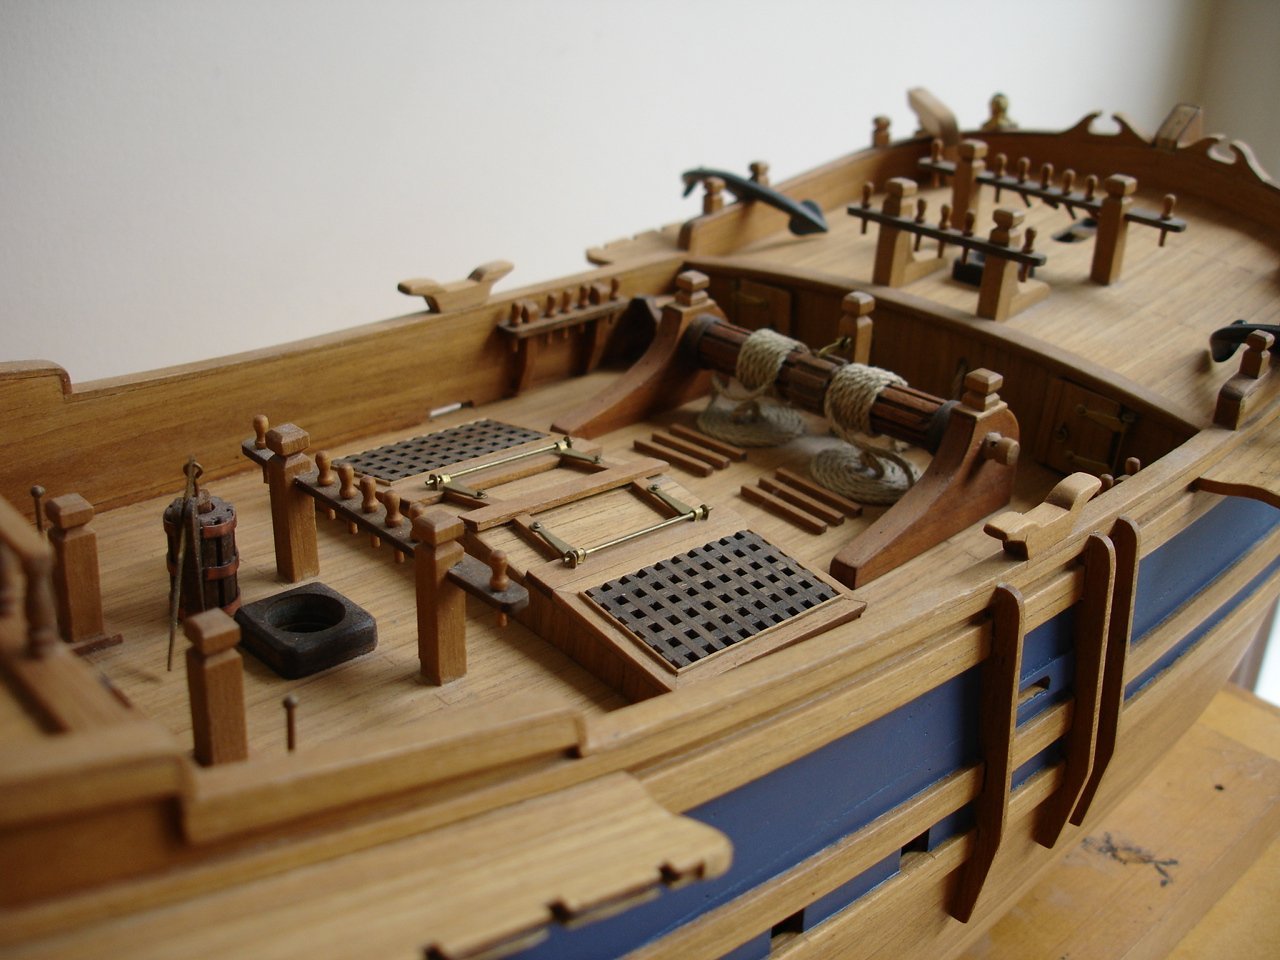
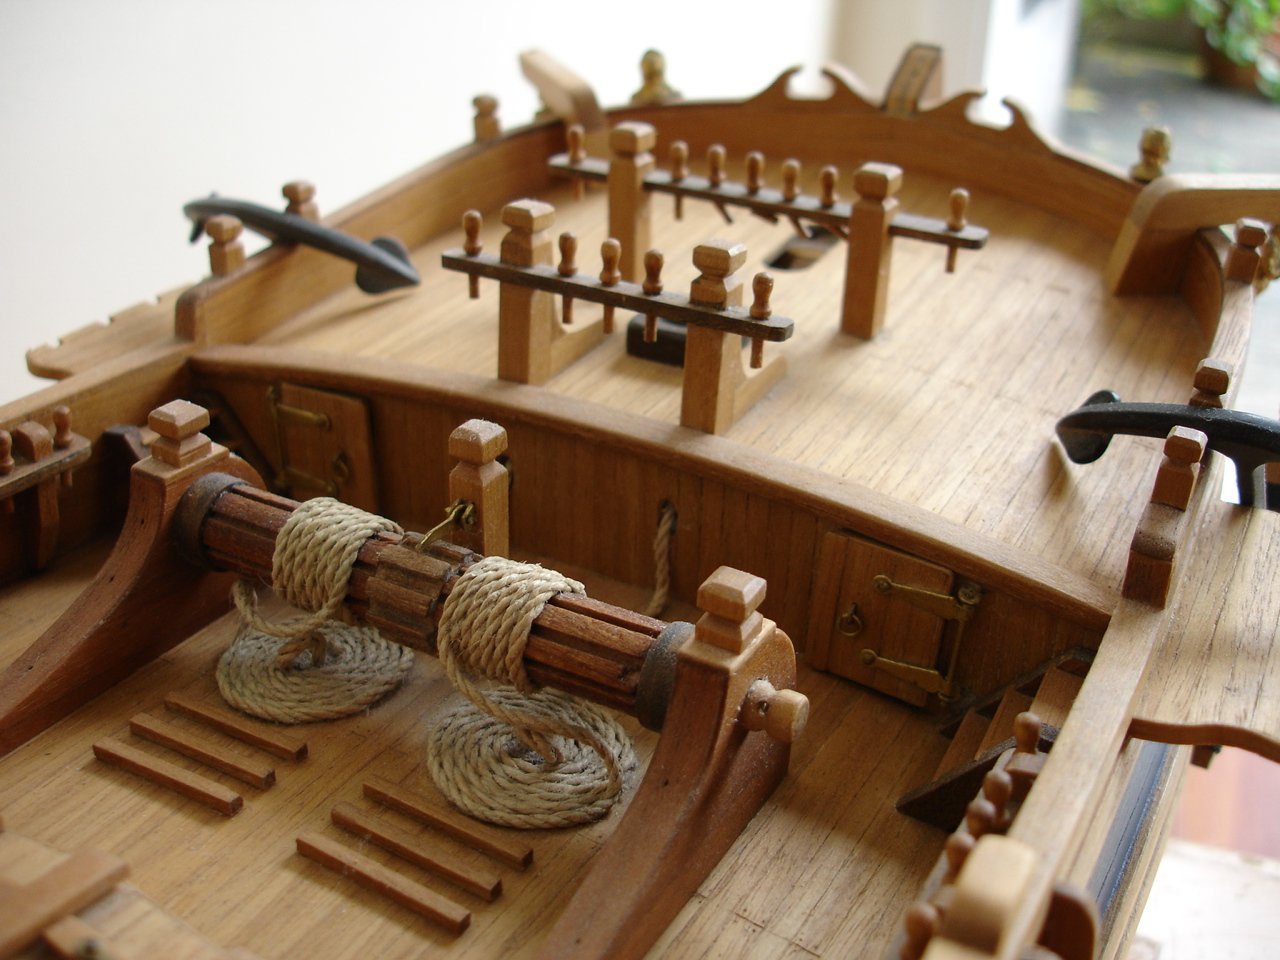
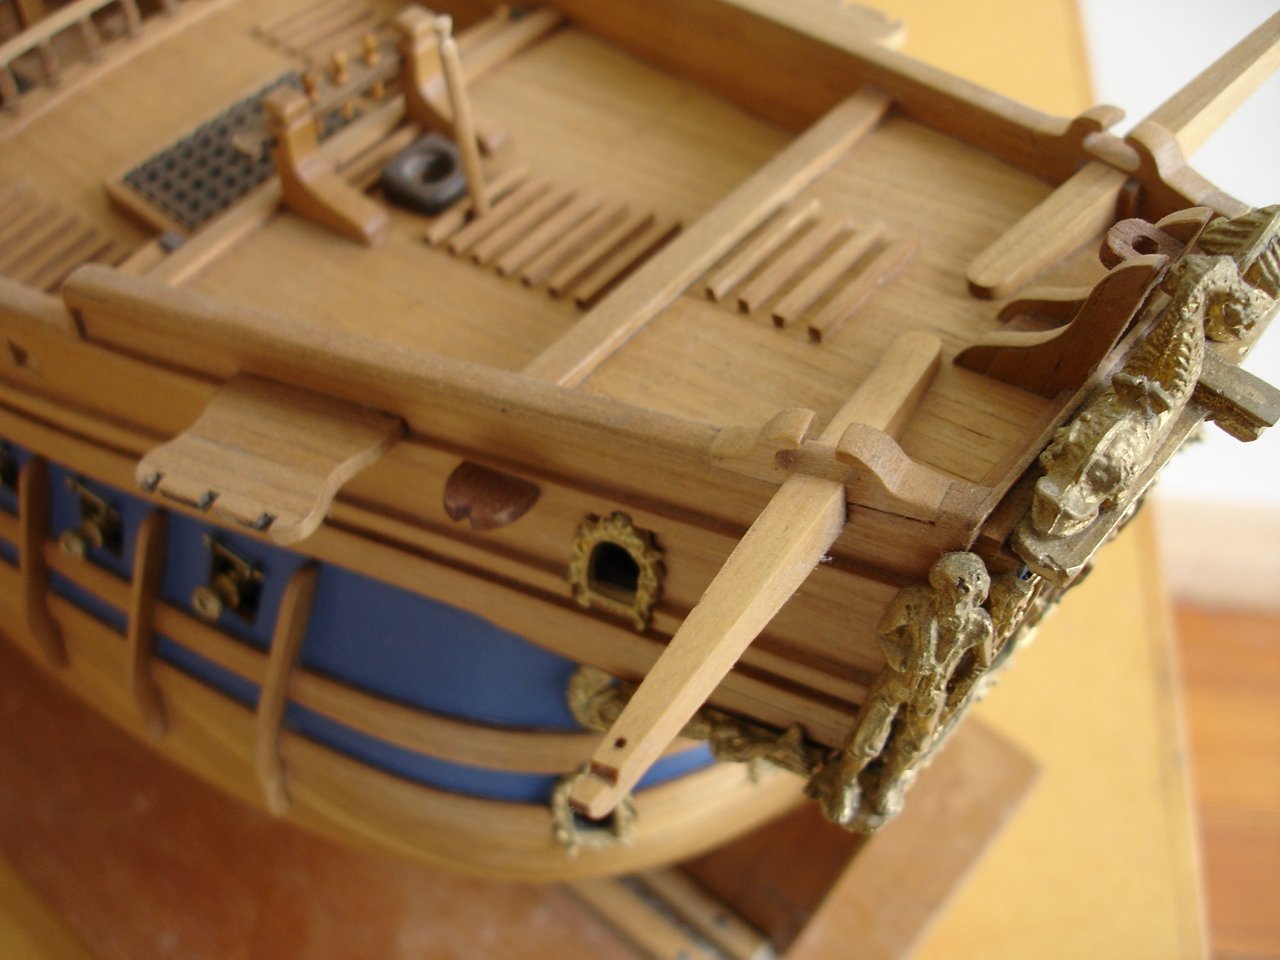
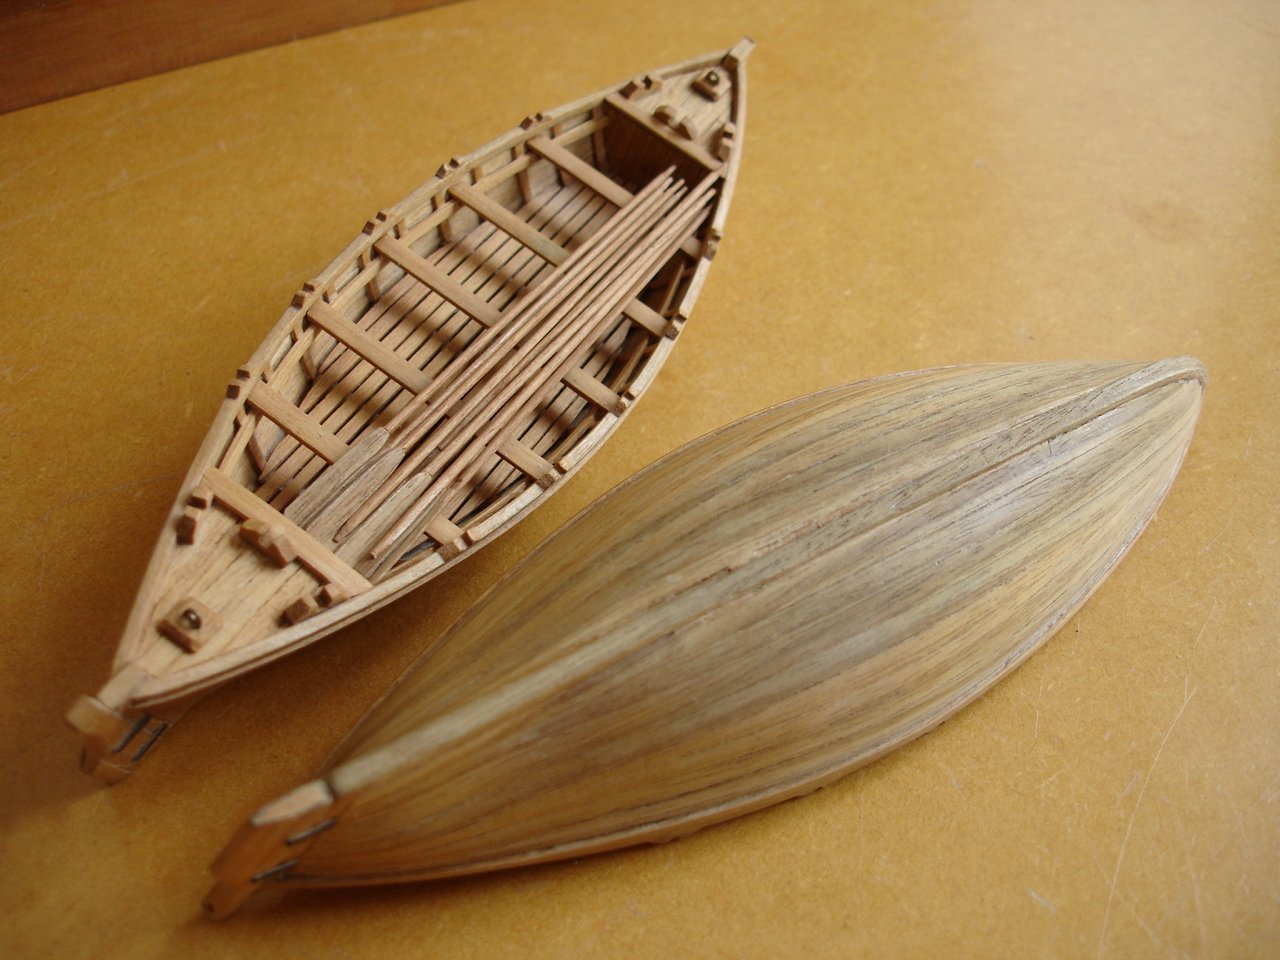
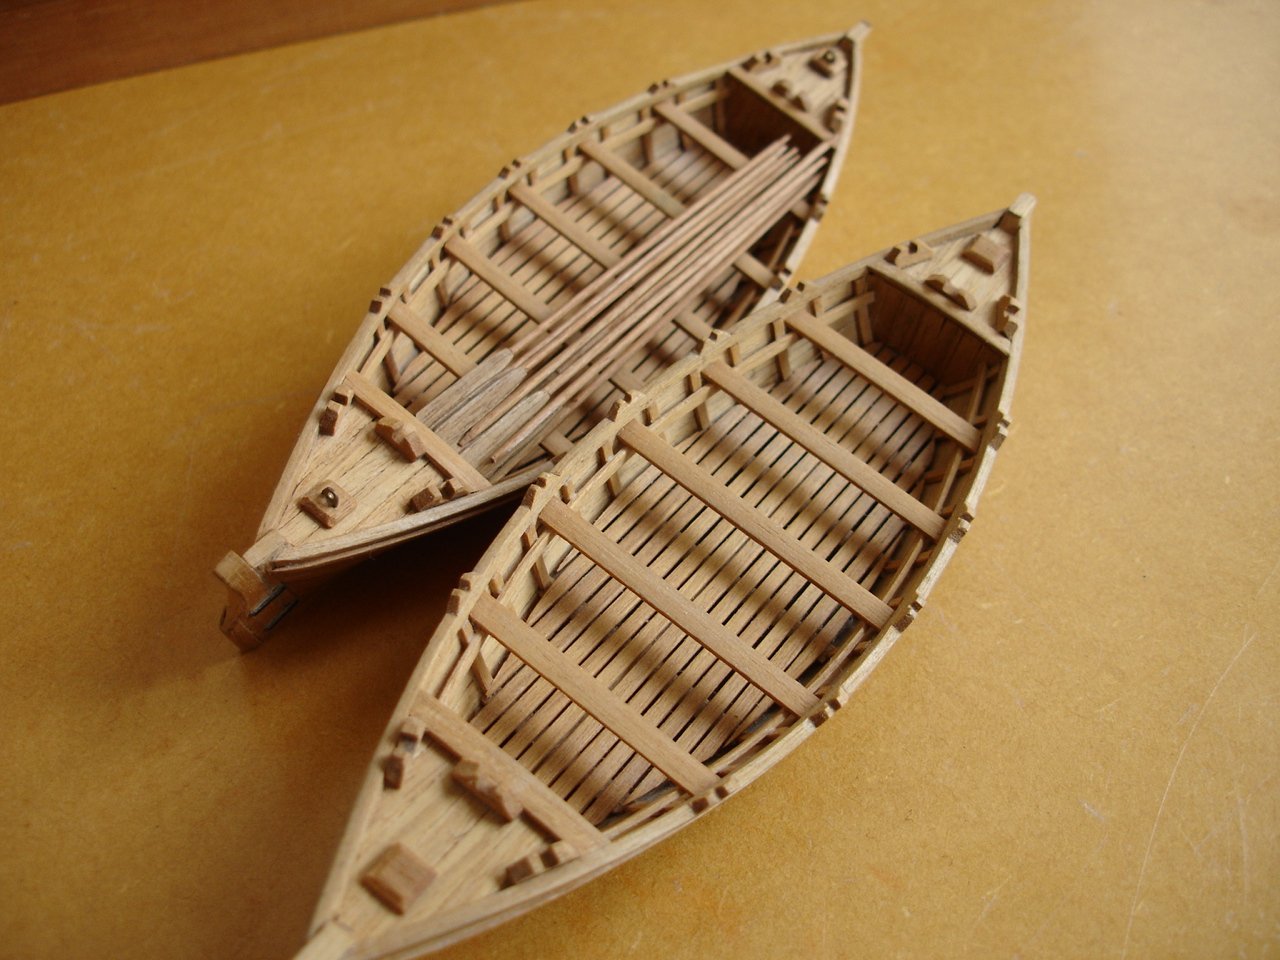
Hi I added this kit to my profile but have just found the photos. This was my first wooden ship build and indicates my naivety. I wasn't on a forum then but took on a vicious hull shape for planking with a blunt bow and blunt stern. I had no idea what I was doing and that shows - planks spiking up to thin points. The kit interested me as it was, more or less, equivalent to the two fluyt's that Abel Tasman sailed to New Zealand in 1642 - Heemskerck and Zeehaen which fascinated me. I suspect the original ships were more extreme in shape. I holiday in Abel Tasman National Park every summer - do not miss this place if you come to New Zealand! The fluyts are intriguing too. Their strange shape came into part because taxation in the Netherlands back then was based on deck area. So, they had bulbous hulls, for freight, and very small upper decks. Tax avoidance in the 17th century! Tasman came into Golden Bay and was confronted by Maori warriors in waka (canoes) and several of his crew were killed. Tasman named it 'Murderers Bay' (now called 'Golden Bay') and they never touched the shore. By then they were in trouble anyway with rotten rigging, dwindling supplies and in fear of the locals. Tasman beat a track back to Batavia but, on his return to the Netherlands, his mission was deemed to be a complete failure. That's tough given what he and his crew had been through. Interestingly they have recently detected the launching platforms for the waka in Golden Bay and these are the now considered to be the oldest surviving structures in New Zealand. And, of course, Tasman gave his European name to 'Neuw Zeeland'. We see it here both ways - New Zealand and Aotearoa. If you are interested in this subject, I can definitely recommend 'The Merchant of Zeehaen - Isaac Gilesmans and the voyages of Abel Tasman' by Grahame Anderson. I also recommend a novel, 'Tasman's Lay' by Peter Hawes, which really plants in you in the utter hell hole of 17th century ship board life - towing the last of their meat behind the stern to rid it of worms and weevils as they head north out of Murderers Bay... I don't know if this kit is still available but it was quite good. But, in hindsight, all the parts are over scaled and it is far from being a beginners kit - the bow and stern are just evil. It did provide the challenge of triple planking the two whale boats! My efforts back then seem very clumsy and ill-informed. However the hull, as far as I finished it, and the wee whale boats have found a proud shelf in our living room for better or worse. I have no intention of taking it any further but it stands as a model...of some sort anyway. Photos from way back when - 2005. That's all for this mini log. Cheers, A


-
It looks amazing Hamilton and I continue to be astonished by your bravery as taking this on as a scratch build. As for glues that craze acetate. I used Micro Clear Glaze on my AVS and it ended up looking like clear glue = dreadful. I used a very fine acetate sheet on Fly and then tested the glues. CA is out - it fogs the sheet. Best test was simple PVA but applied in very little quantities. Test first. The stern windows and quarter badges on Fly do look 'glazed' but you'd never know on my skylight - so you have wonder what the point was? I guess that's the modelers dilemma - no one sees this stuff except for us here... A
-
Hi B.E. Wonderful work as always. Except for size and cost...(gulp)...I'd take this on with your build as a reference just as your Pegasus still is. I look forward to your Indefatigable updates. Cheers A
- 648 replies
-
- 2
-
-

-
- Indefatigable
- Vanguard Models
- (and 1 more)
-
Wonderful planes Doug. I have heard of Guillows but was seduced by Wingnut Wings and the extraordinary detail that they produced. I tried a West Wings balsa kit years ago and still have all of the built frames but never papered it. I really enjoy the early years of planes and have made some racers from the inter-war period - Thompson Trophy and Schneider Trophy but all in plastic...Enjoying wood much more now. Cheers Alistair