
.jpg.4b9546914df2c235b4fe82d7c03670bd.jpg)

Worldway
-
Posts
628 -
Joined
-
Last visited
Content Type
Profiles
Forums
Gallery
Events
Posts posted by Worldway
-
-
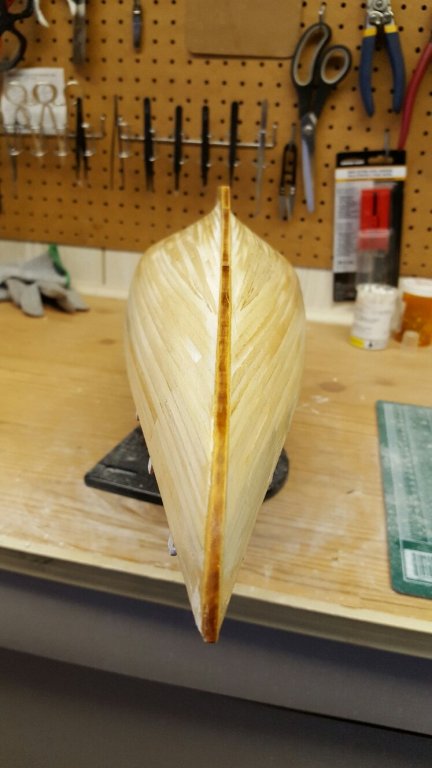
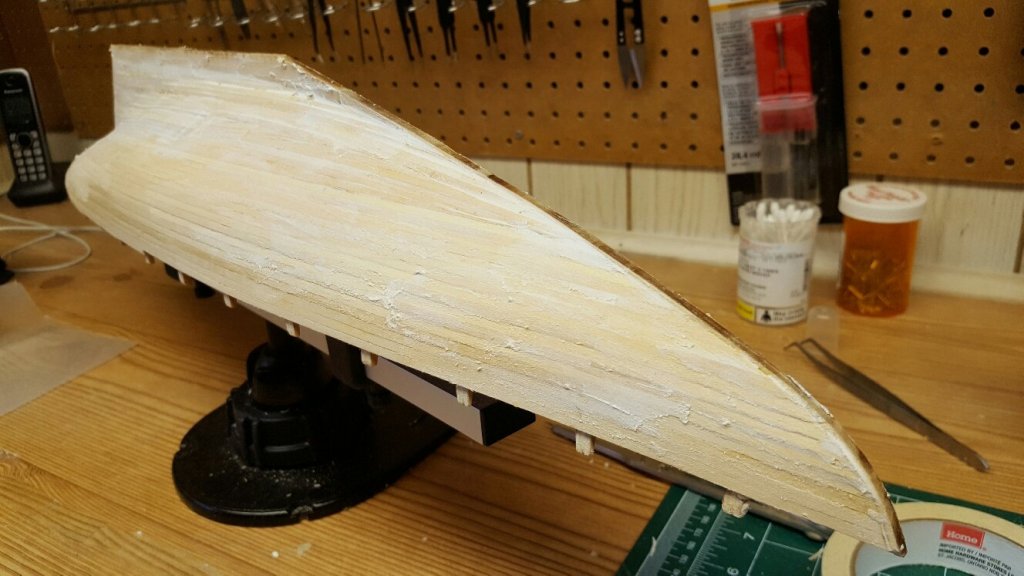
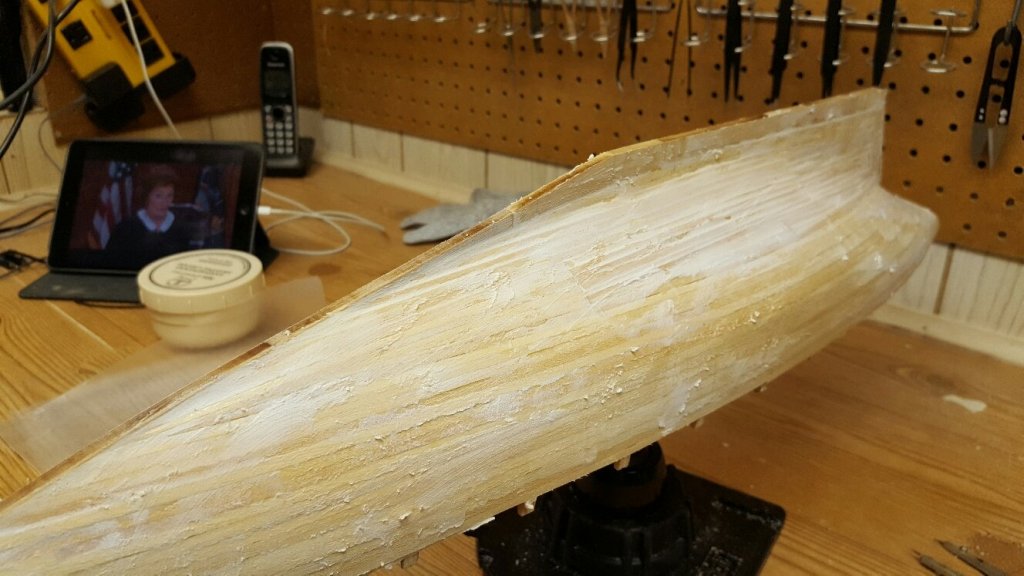
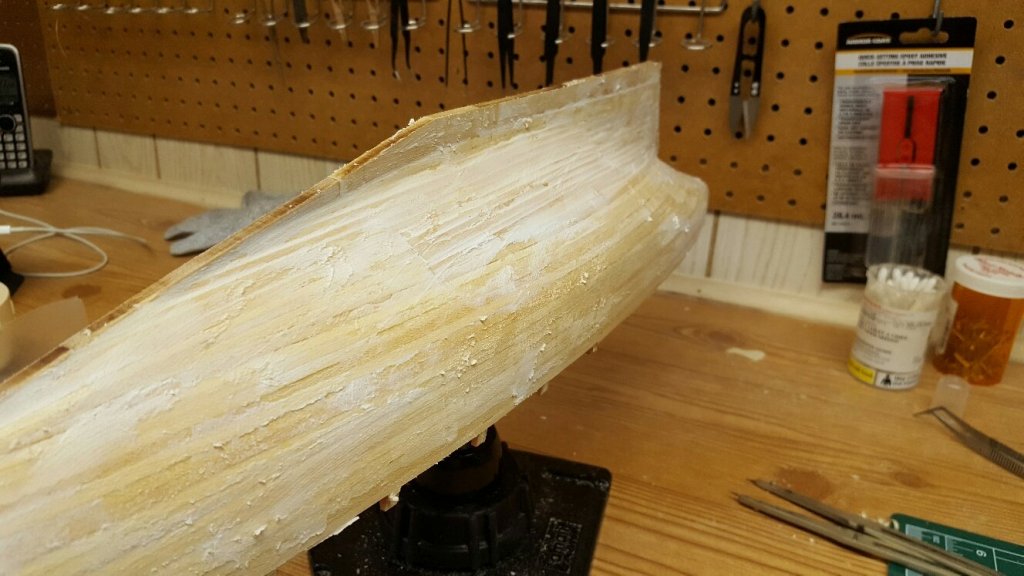
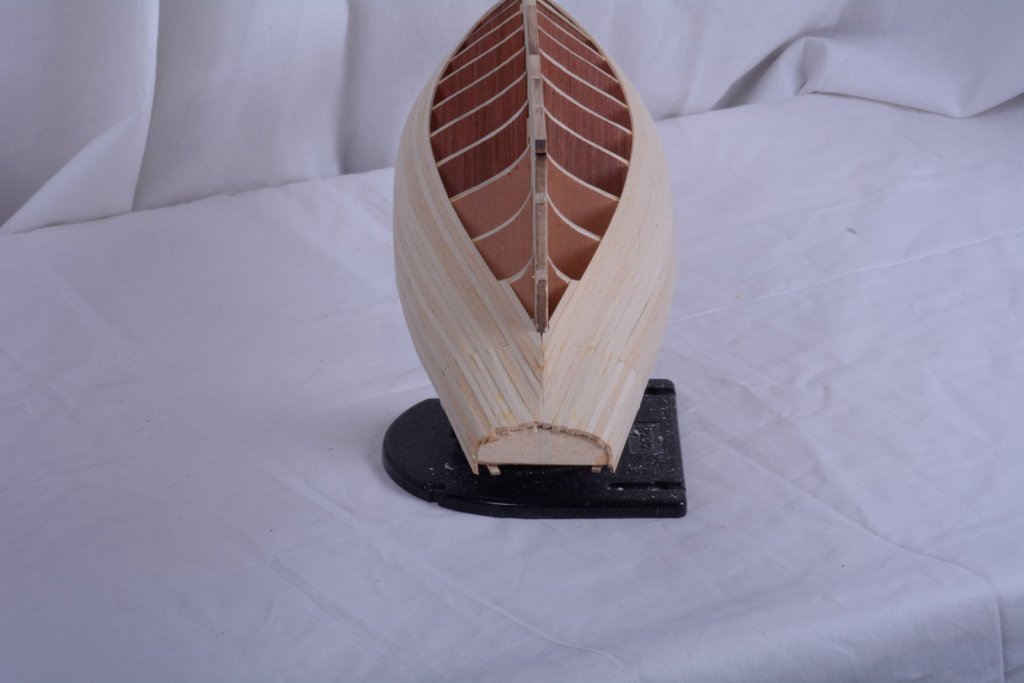
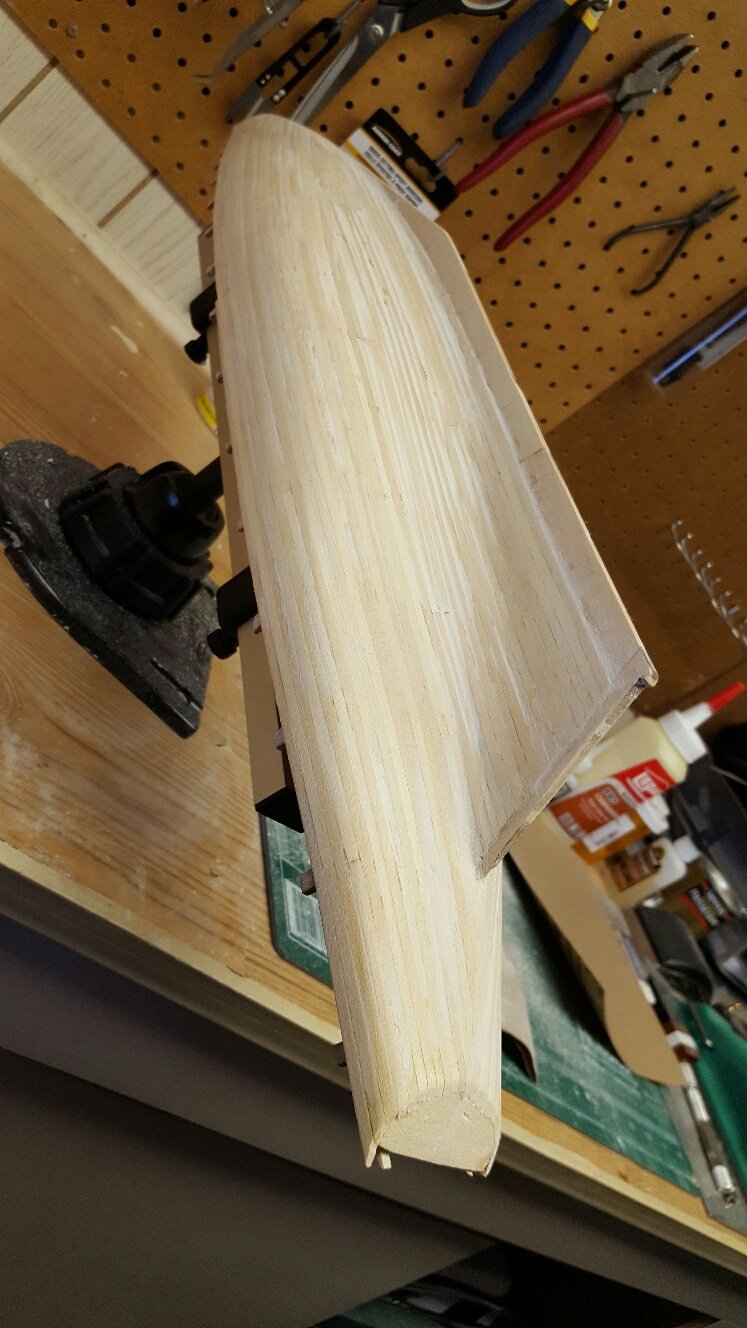
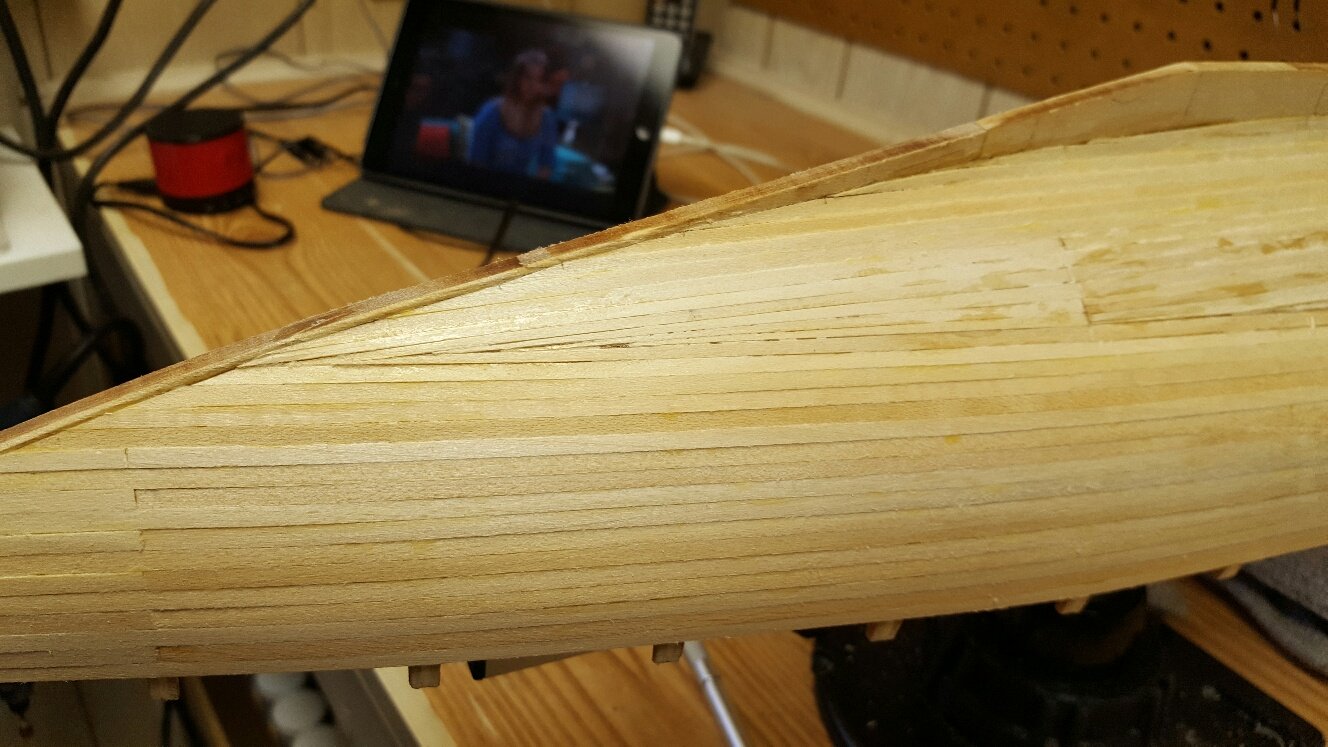
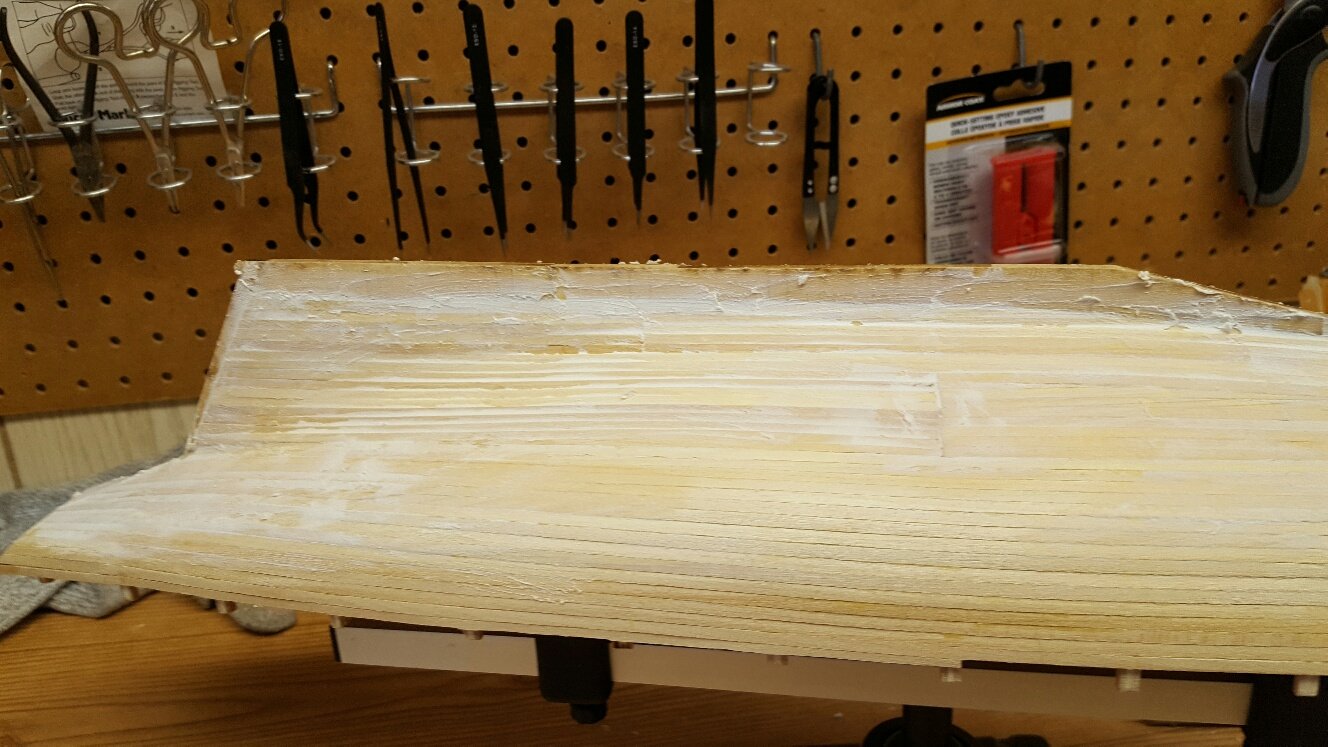
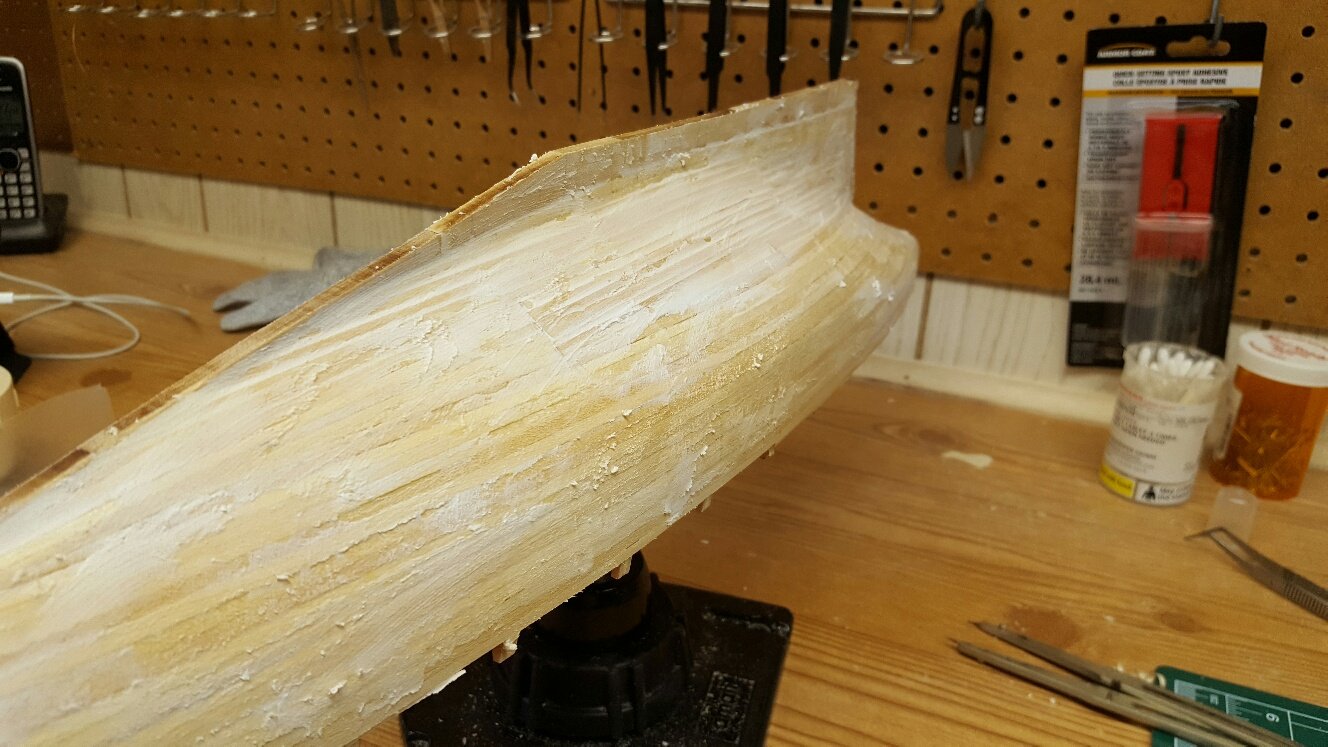
After sanding, filling and more sanding I think I finally have the hull where I want it.
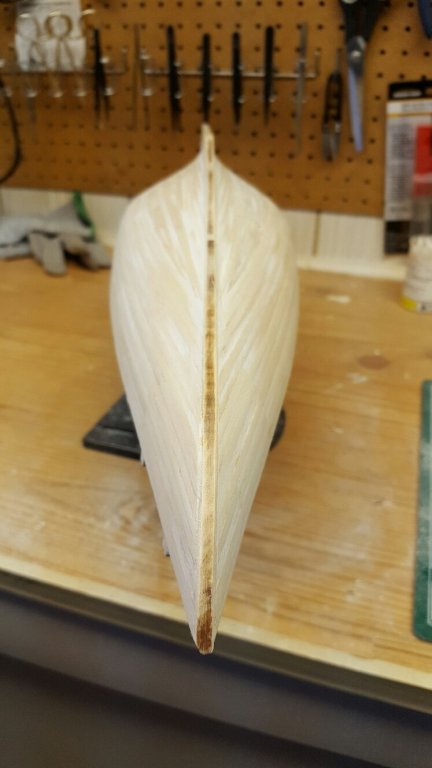

After which I though it might be a good idea to put on a layer of polyurethane just to seal everything before painting. However, painting won't happen for a while yet.
- Steve 12345, GuntherMT, Nirvana and 4 others
-
 7
7
-
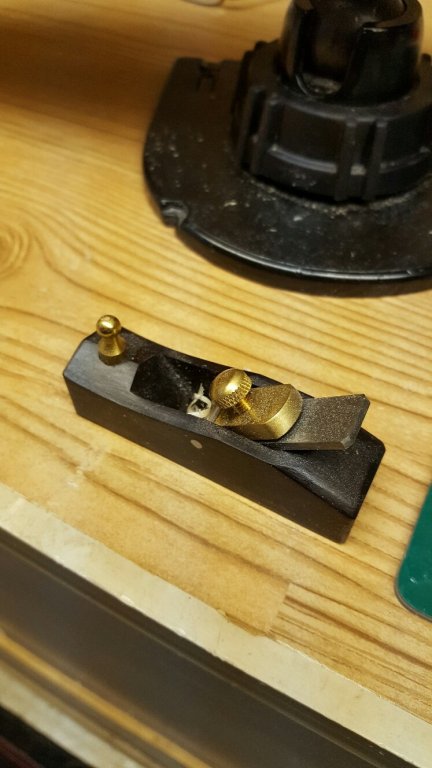
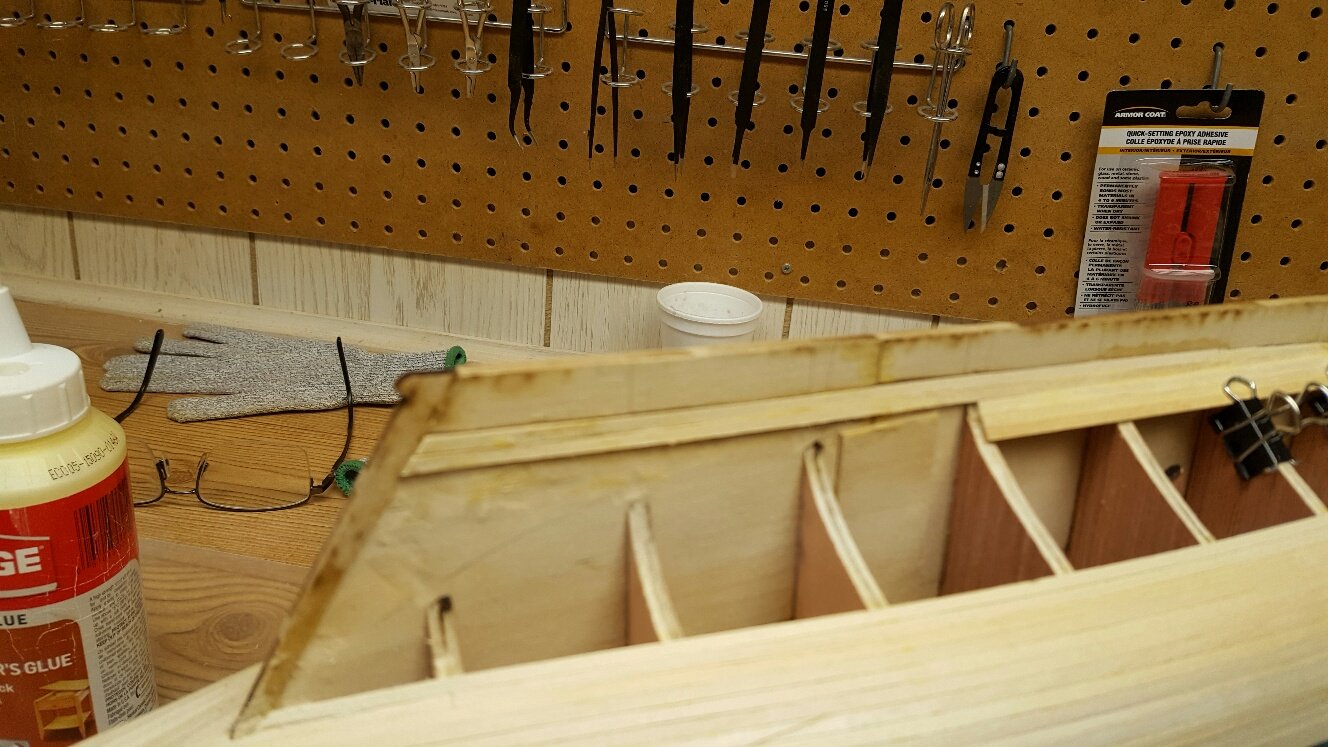
I do a lot of cooking and have had my share of finger cuts from very sharp knives. Because of that, I ended up buying a pair of cut proof gloves. I have since moved them into the dry dock after a nasty cut with my hobby knife, and will put one on now if I know my hand is going to be close to the blade, trying to predict what 'could' happen. Also, since snapping a couple of blades off, I now wear safety glasses when I'm working. I guess accidents are always inevitable but you should always think about what 'could' happen. Safety first.
-
-
Blighty, absolutely amazing, very impressive. Love the weathered look and love the lights. You obviously have talents beyond model boat building. Good job.
- Blighty, Mike Dowling, Nirvana and 4 others
-
7
-
-
It's funny Per, I actually debated about deleting that picture because I noticed Judge Judy in the background and I thought "I don't want these people to think I watch Judge Judy." I usually don't have her on, I was just so wrapped up in the boat I didn't bother to change the channel.

- Nirvana, Tigersteve and Jack12477
-
3
-
When I wanted to rename my Mare Nostrum I printed the name on some clear labels. The one problem I had was that the label itself showed as well as the printing. The label was glossy which I couldn't hide. I had thought that it might have worked out better if I put down a layer of Polyurethane then "buried" the label in the wet Poly then covered it was another coat of Polyurethane. Unfortunately I didn't do any experiments. However if you're thinking of going that route I would be glad to try a couple of different scenarios so you can see the results. However, I would have to think that clear decal sheets are a lot thinner than the clear sheets I used and may not be a problem at all.
- EJ_L, Steve 12345 and Eddie
-
3
-
It looked like you had the tape tight to the hull. I'm surprised you had some bleed-through. On advice from CDW on the "What Have You Received Today" forum I bought a few rolls of Washi Paper masking tape on EBay that was inexpensive. According to CDW it has the same qualities as Tamiya masking tape. I hope it works. Not a huge loss of money it it doesn't. However I'll be following the rest of your paint job closely to get ideas / advice for my upcoming paint job. Looking good Bulwark.
-
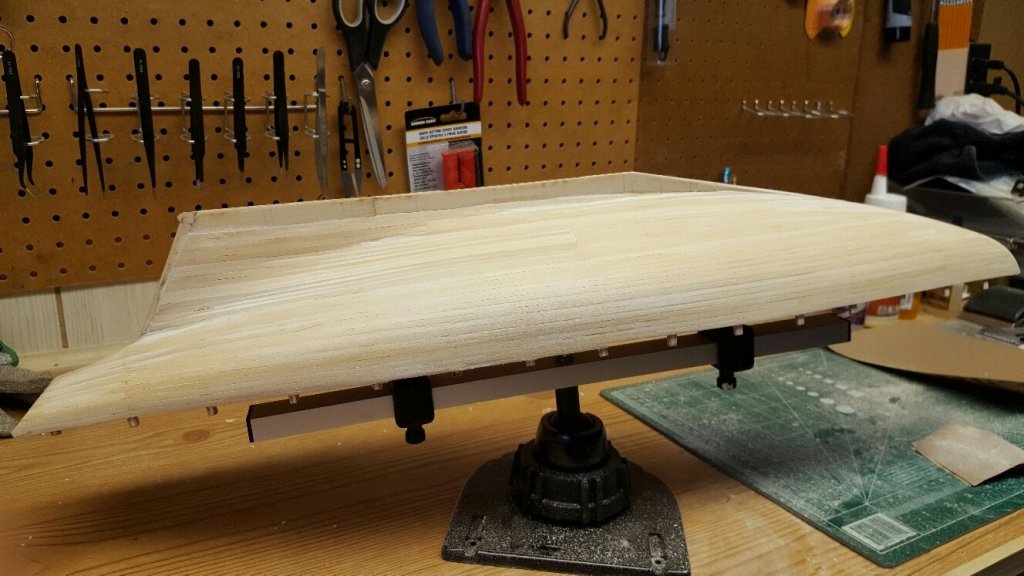
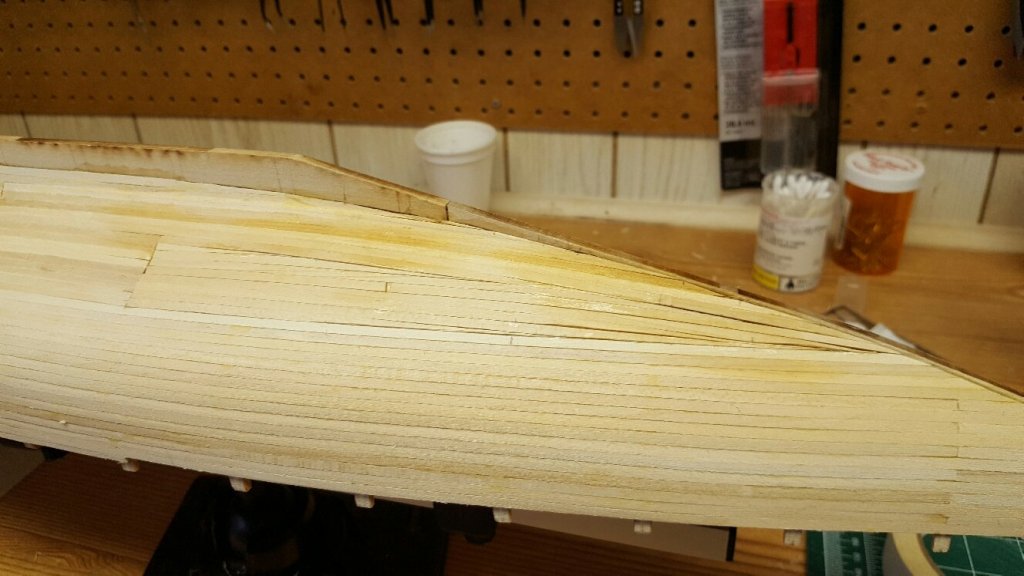
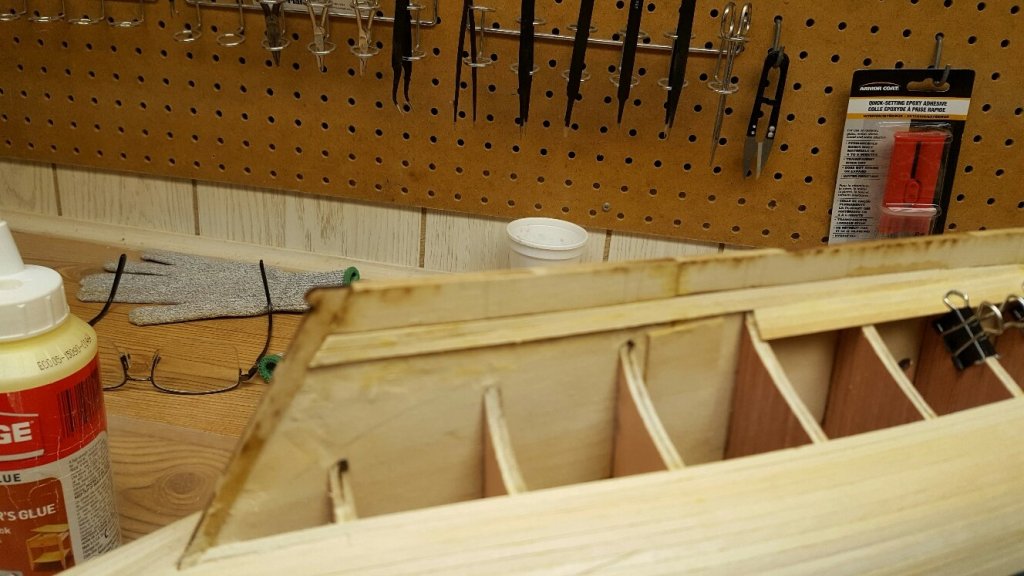
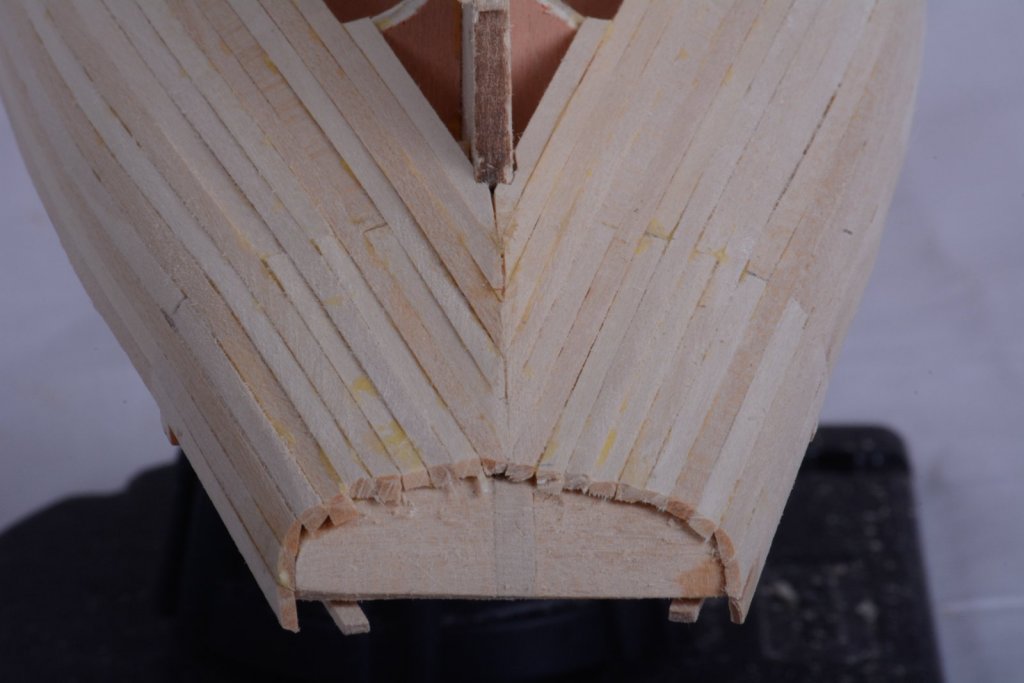
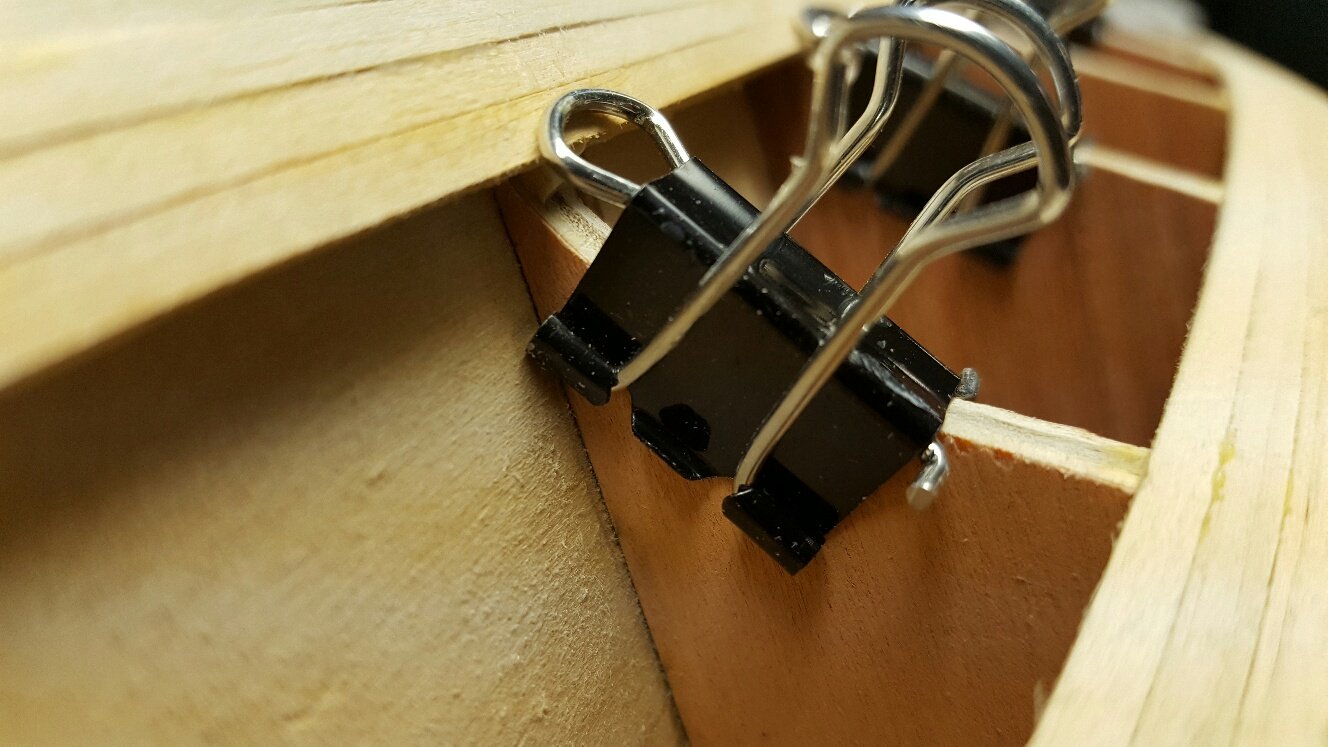
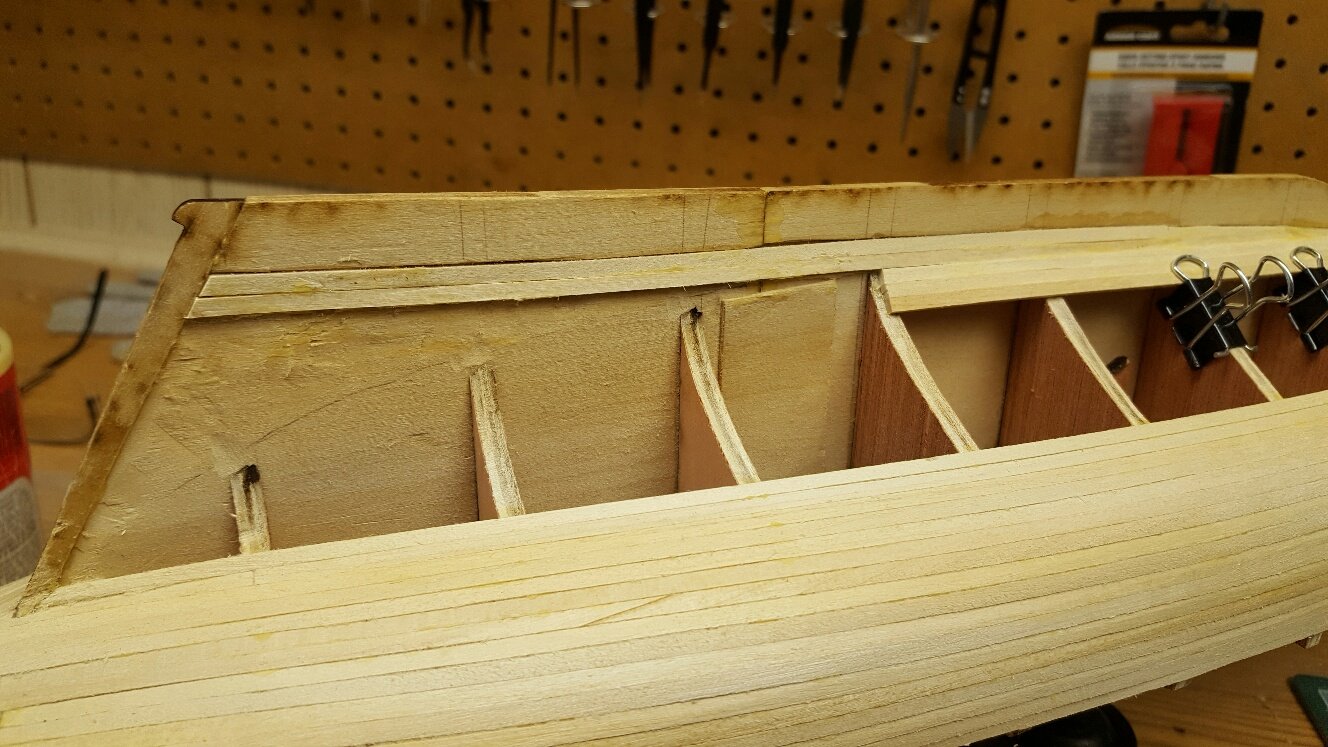
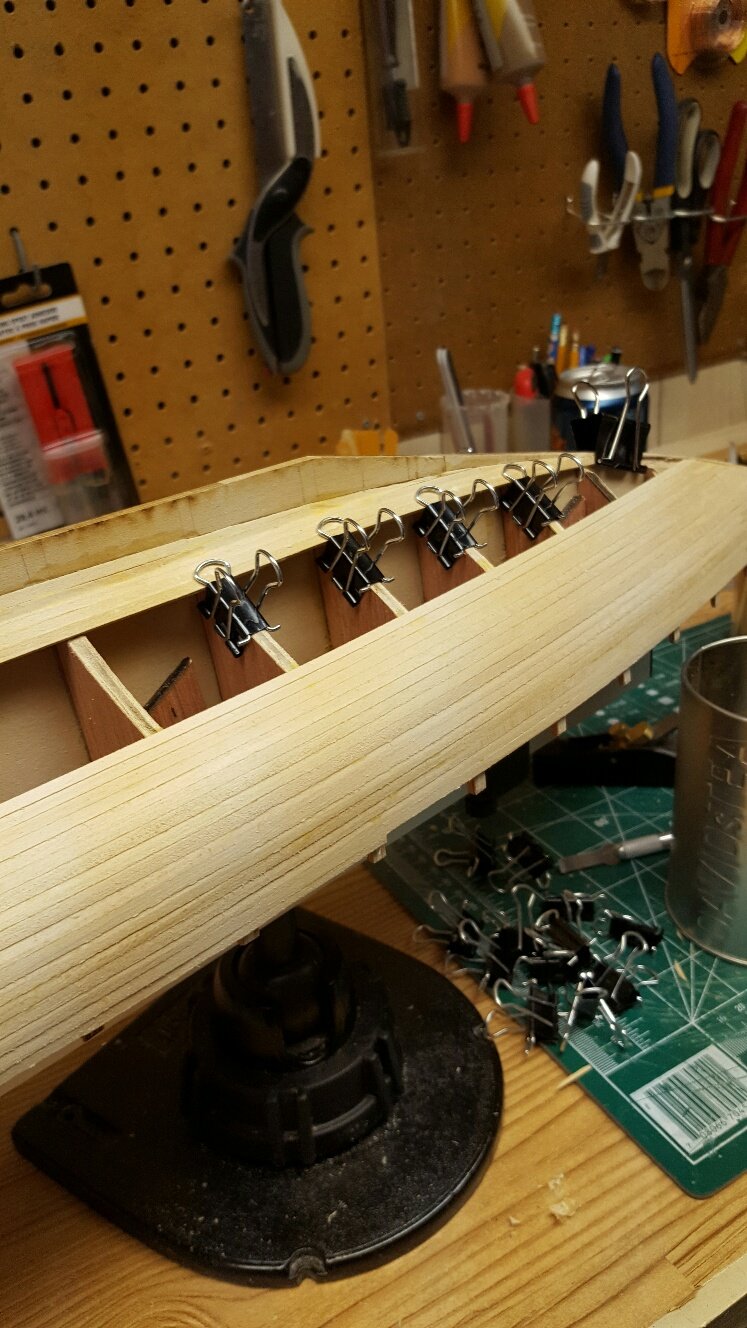
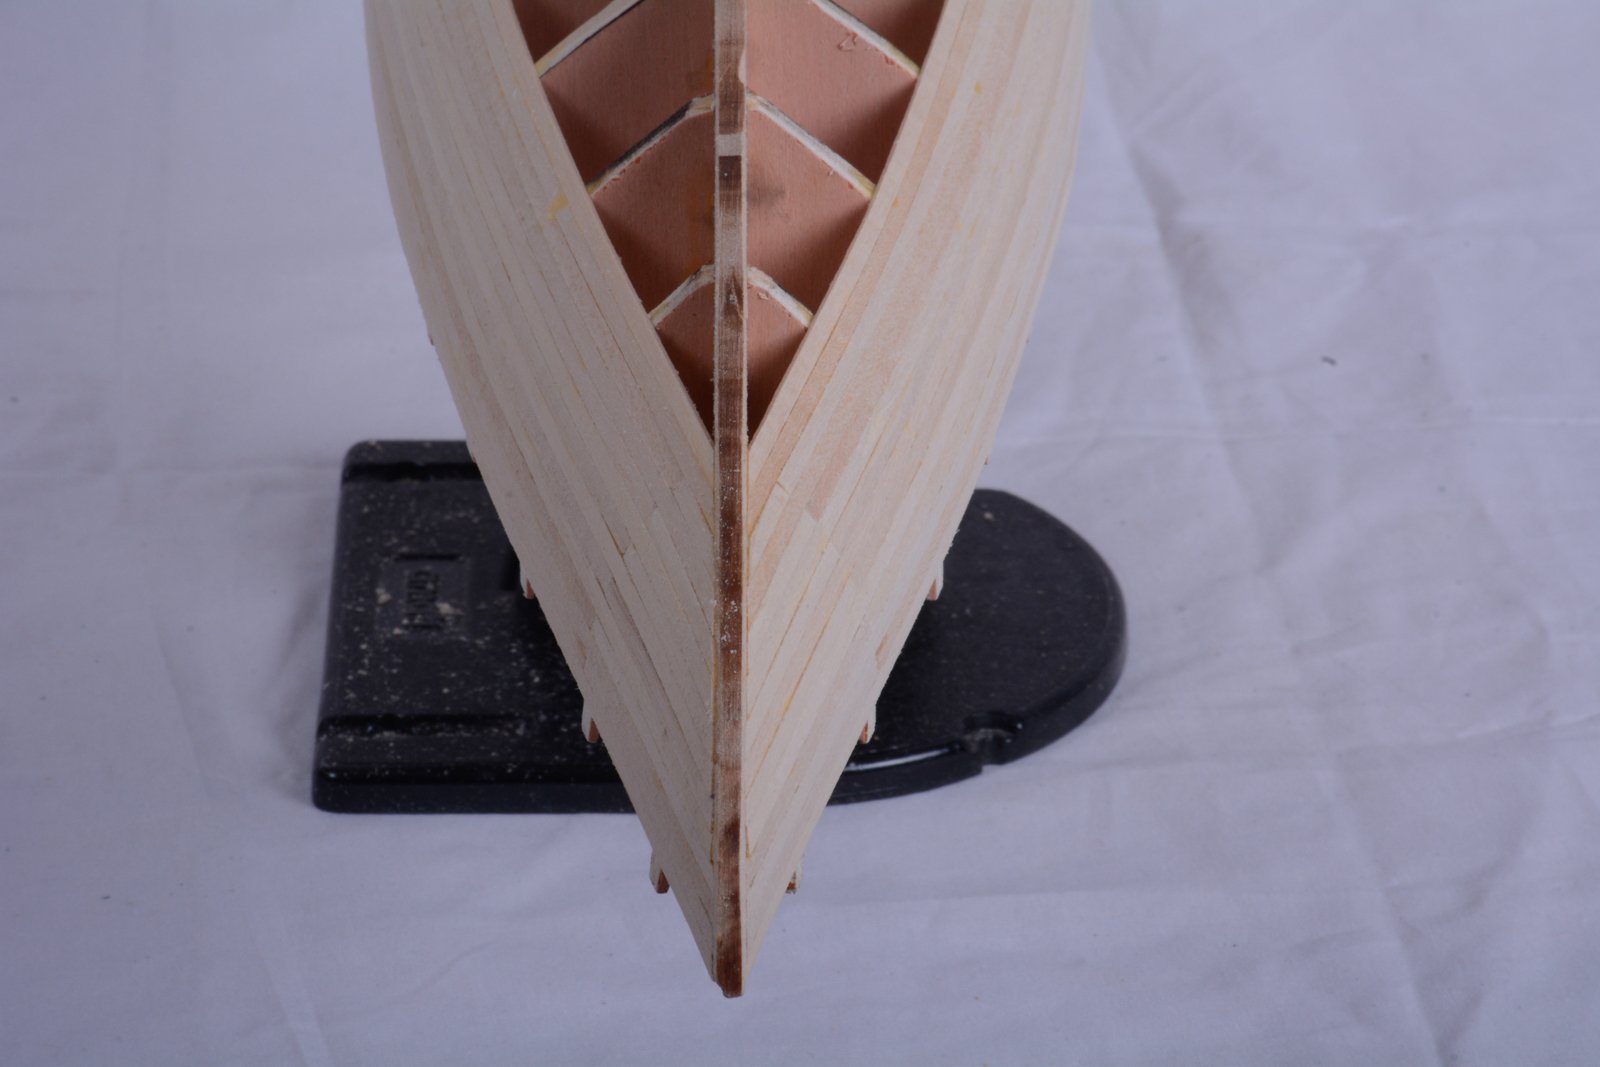
I thought the planking was going remarkably well but then of course it soon took a turn for the worse. I truly don't understand how to add sealers or belts or how to properly taper a plank so I ended up with a lot of tapered planks that tapered to a point. I really need to get this down pat because one of these days I'm going to do a single planked hull and it will definitely test my ability. I calculated that I had over 25 hours in planking the hull. Once done I gave it a light sanding then added body fill. I plan on adding fill and sanding a couple of times then sanding with finer grits until I have a smooth hull.


-
-
-
-
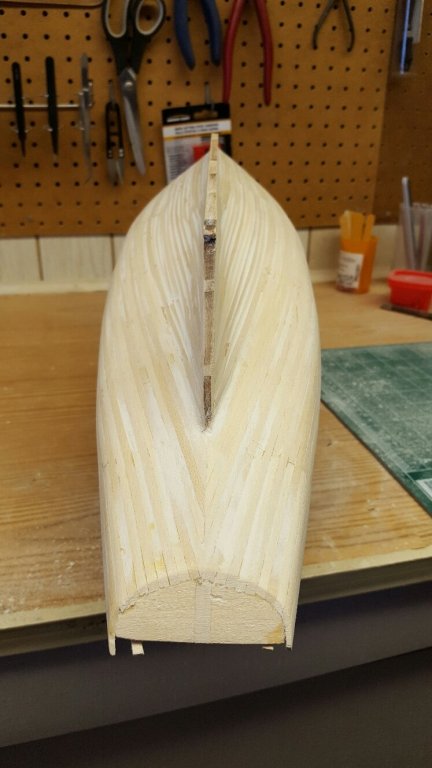
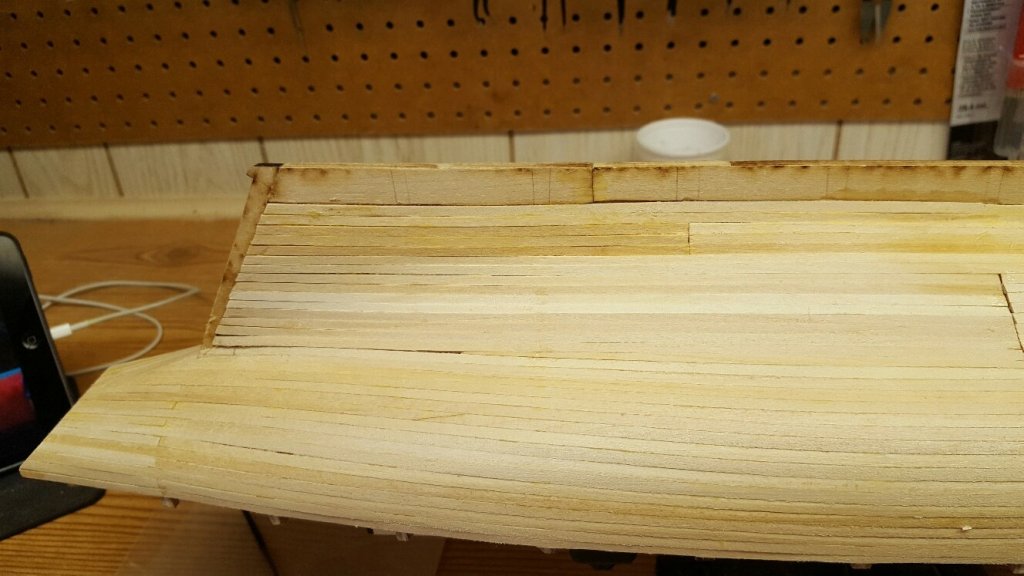
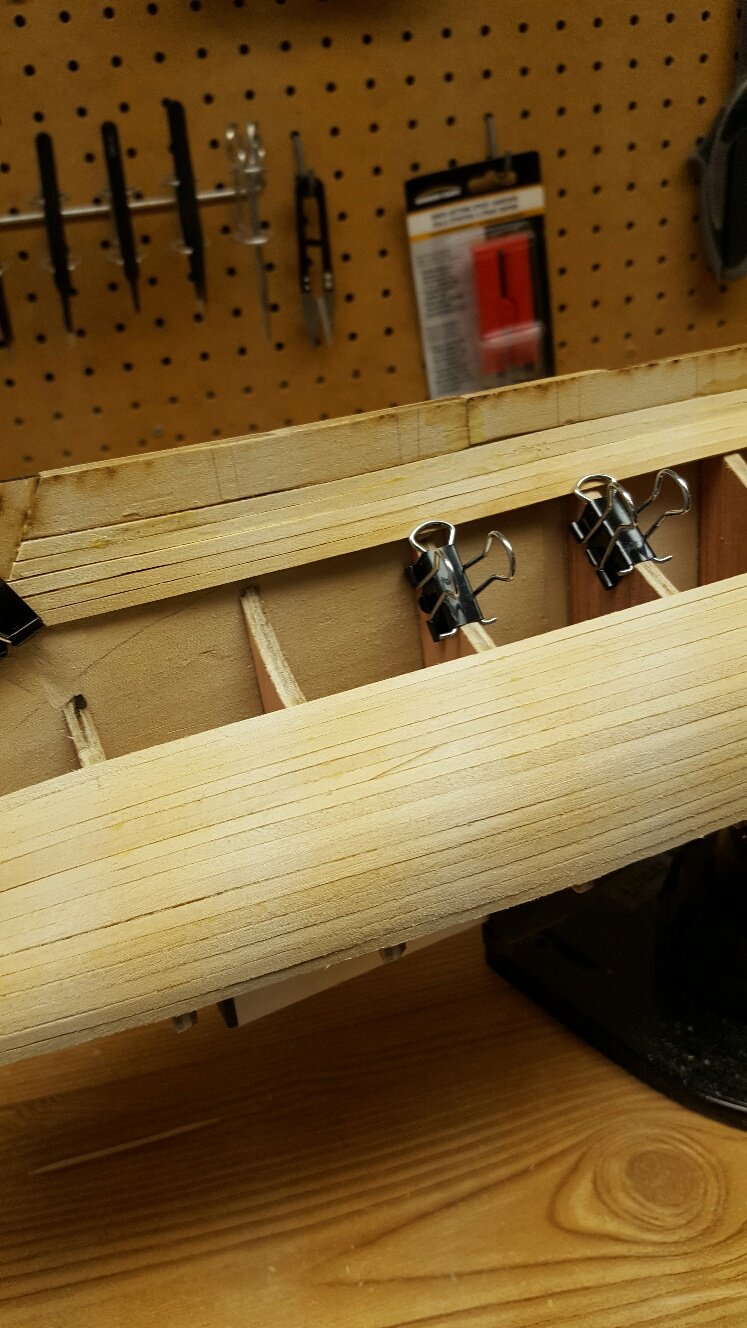
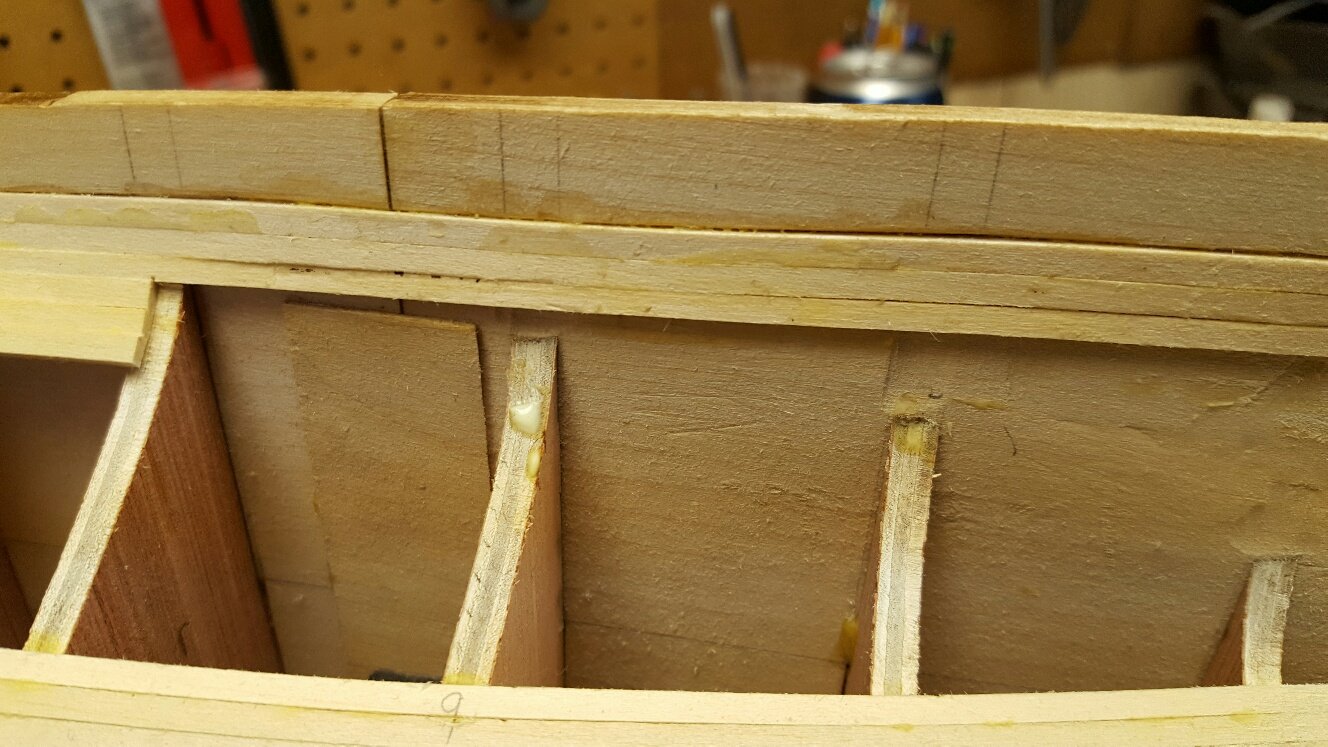
I thought the planking was going remarkably well but then of course I found a small problem. The planks were sitting proud of the stern bulkheads close to the garboard strake. I thought that to correct this I would add a shim. However, thinking into it a little longer I decided this wasn't the best approach because it would only cause me problems further down the line.

Of course, the best solution was to remove and replace. Which is what I did

I then reattached the planks and made sure they were fastened to the keel and bulkheads
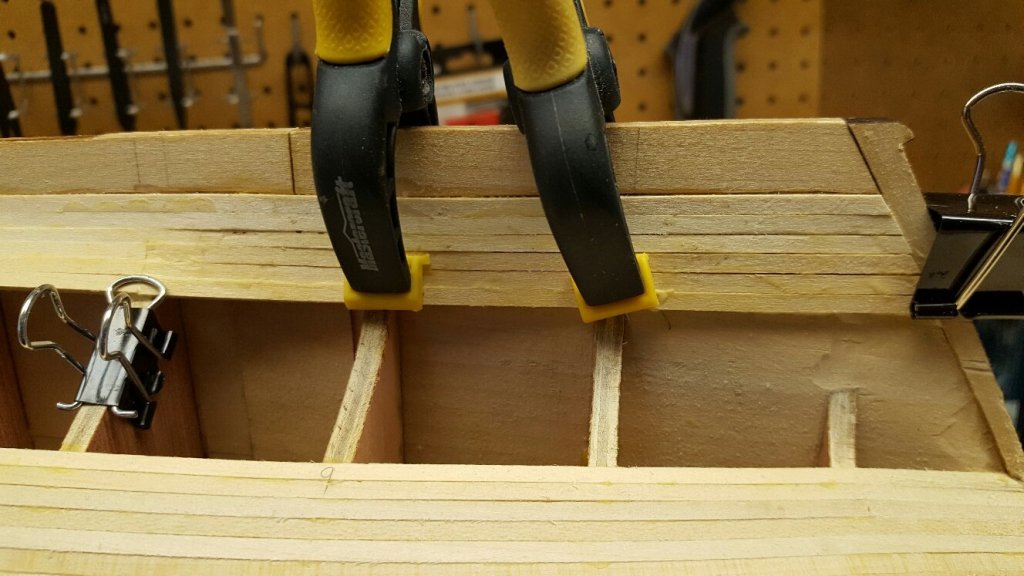
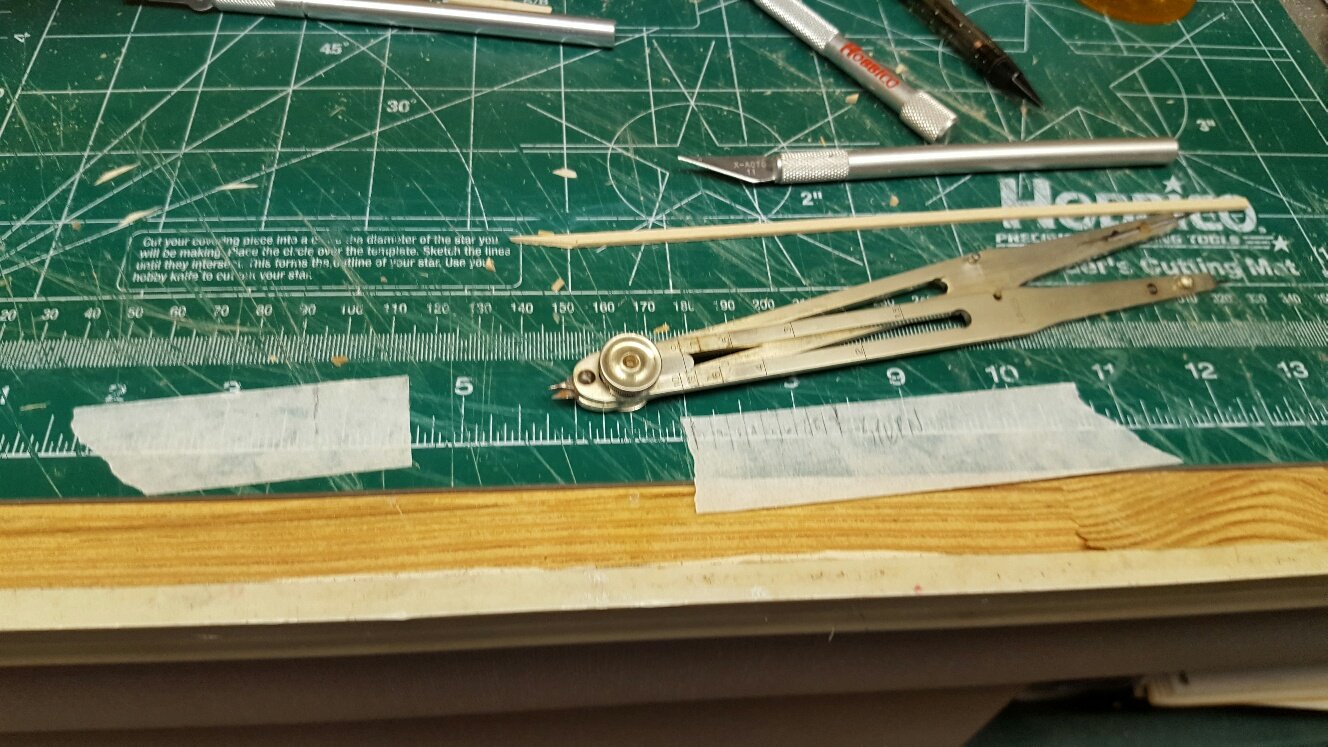
After which, I used my proportional dividers to determine that the plank on the forward part of the ship needed to be shaved down a bit so that it would match the stern.

I think I am now back on track (I hope).


-
I stand corrected, looking at some pics of BN2 they were missing. No idea why. Interesting. Great eye to detail Bulwark.
-
Looking really good. Can I asked why you skipped adding some scuppers?
-
-
So, it's not serious. In the immortal words of Monty Python and the Holly Grail "Tis but a scratch" (when the Black Knight lost his arm).
- Tigersteve, Don Quixote and Nirvana
-
3
-
Hey Bulwark, how did you make the scuppers??
-
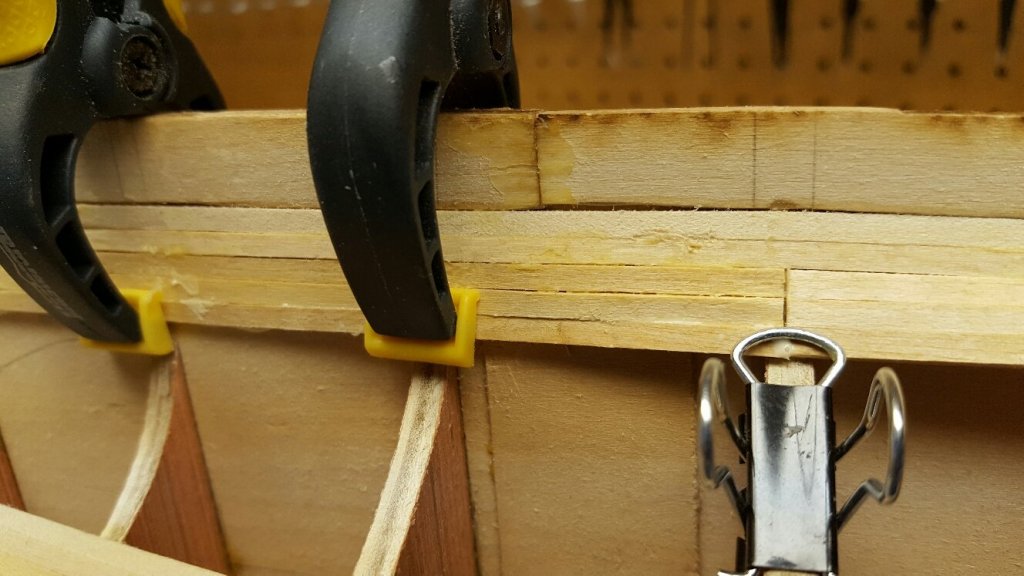
Thanks for all the kind comments. I wasn't happy with the one plank on the bow, there was too much of a gap between the plank and the keel.

So I decided to remove a portion and replace it with a tighter fitting plank. Anyway, long story short and not paying attention, I delivered a very nasty slice to my left index finger. Still debating if stitches are needed. The Admiral has me patched up for now but she wants to see if the bleeding will stop on its own first. Doesn't help that I take blood thinners.
Anyway, a good reminder of SAFETY FIRST. Always realize what you are doing and anticipate the worst to protect against it. I have a pair of Kevlar gloves which were moved to my workshop tonight for future use. After all, I did just order a scalpel handle and blades.

-
Wow, powerful story. I couldn't imagine.
- Jack12477, mtaylor, thibaultron and 2 others
-
5
-
Looking amazing Steve. Your attention to detail is second to none.
- EJ_L, Eddie and Steve 12345
-
3
-
-
Nice job. Wow you would think it was part of the kit.
-
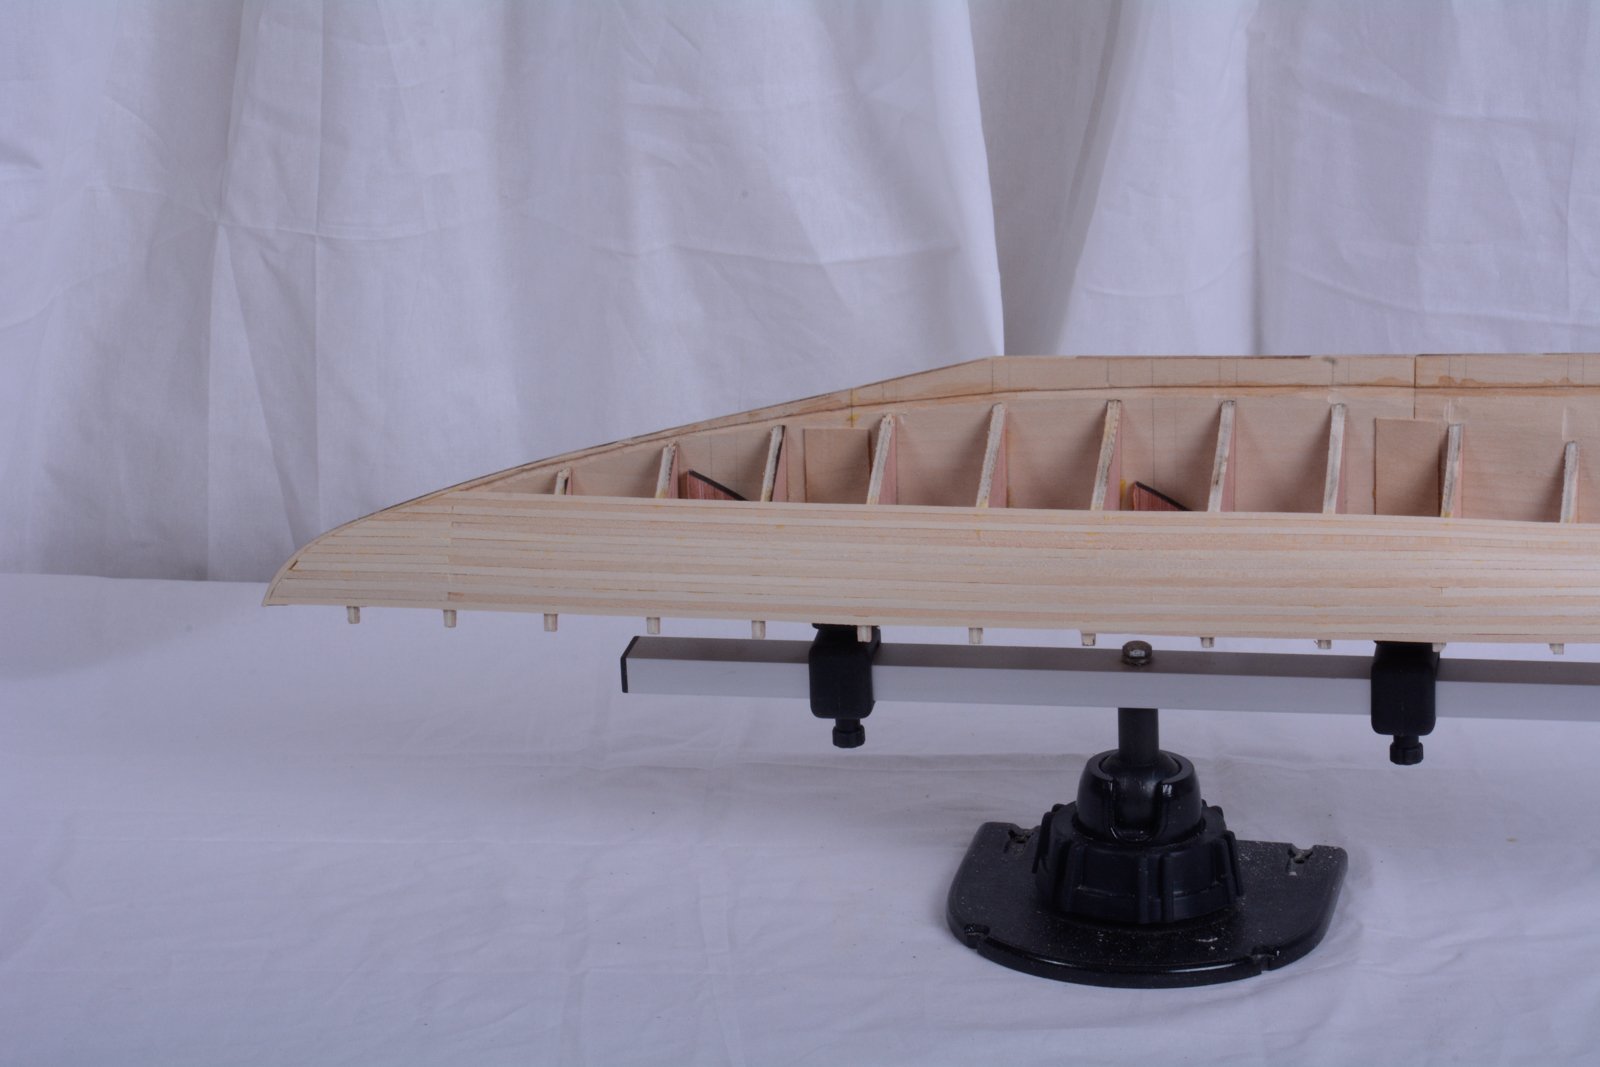
Latest update, I'm still planking the hull. I think part of the problem is that I am using carpenter's glue and it takes time to dry. I'm not a fan of CA glue so avoid it when I can. I get a row of planking installed then need to walk away until the glue dries. Maybe I should be doing some sub-assemblies while I wait. The planking has been very easy and I'm happy with the results. I'm almost at a point now where I have to reverse direction. I think it may get a lot more interesting from here on.

- Fright, Tigersteve, Jack12477 and 3 others
-
6


Bluenose by genericDave - FINISHED - Model Shipways - 1:64 Scale
in - Kit build logs for subjects built from 1901 - Present Day
Posted
Reading your build log and mmmm'boy I can't wait to carry on. Looks like there are a few challenges ahead. Seems you have overcome those though and things are looking great. I hope I have the same success.