
.jpg.4b9546914df2c235b4fe82d7c03670bd.jpg)

Worldway
-
Posts
628 -
Joined
-
Last visited
Content Type
Profiles
Forums
Gallery
Events
Posts posted by Worldway
-
-
Yes Doug you're right. But I think the biggest lesson learned and one that has been repeated several times over, READ AHEAD. Go forward in the instructions then assemble your own build plan. I've already skipped 4 or 5 steps in the manual, placed a post it note on the page to remind me that I'll eventually need to go back. For example, the instructions say to install the Knighheads and Hawse Timbers before planking the hull. But I think it would be best to plank the hull first prior to following those instructions. Reasoning is that I'll likely have to turn the model upside down during planking and those additions will cause the ship to sit askew and perhaps end up breaking them off during planking.
-
-
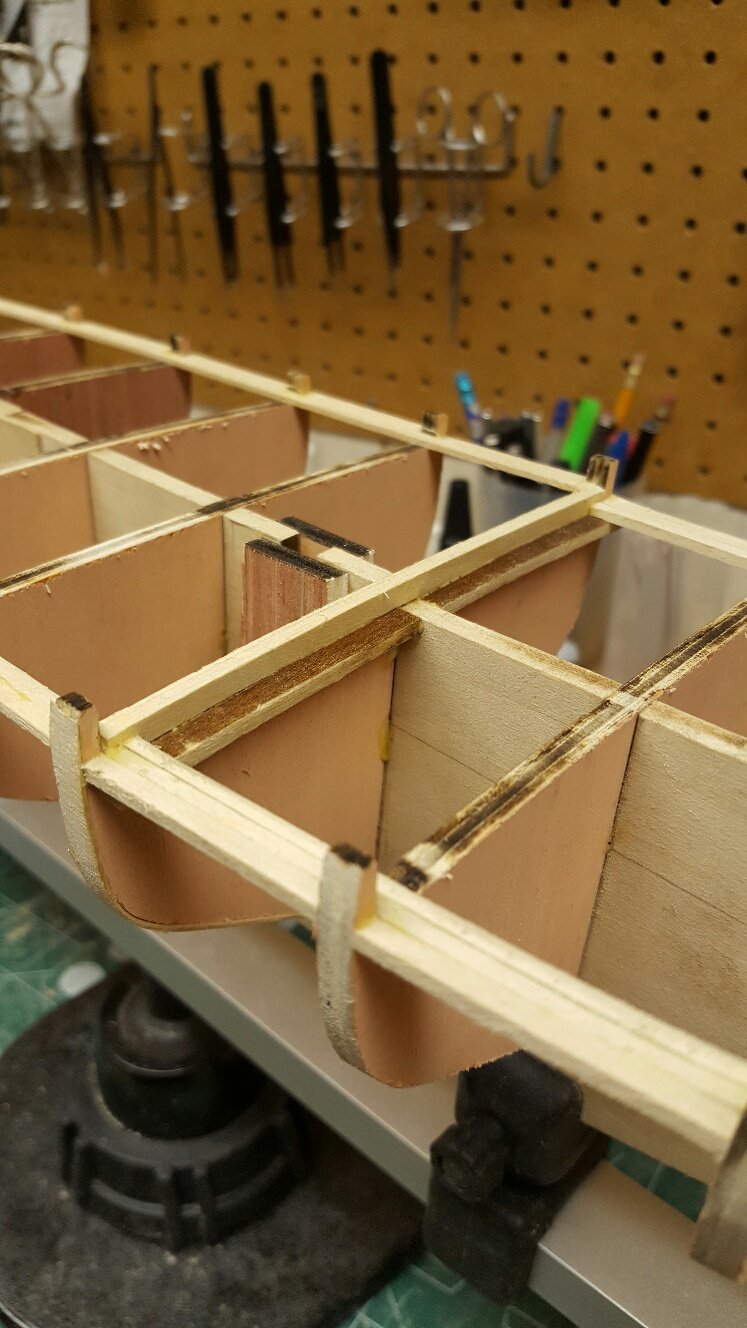
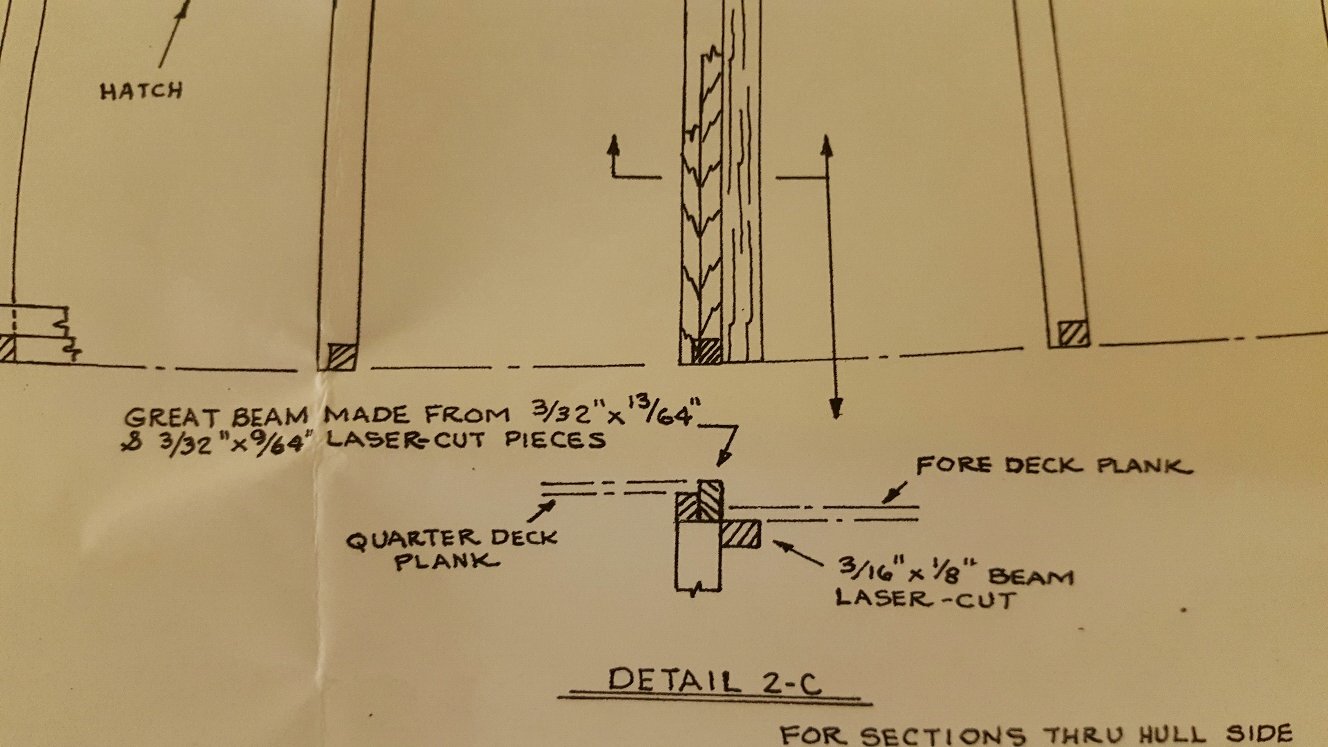
I installed the Great Beam tonight. There is a small problem with MS instructions in the fact that they tell you to install the waterways planking prior to installing the Great Beam. However, the beam should be the first thing to install. I had to cut out some planking to accommodate the beams.
Then I had to add tiny filler pieces to the planking to correct for the error
Anyway, the beam is installed. Luckily the waterways are going to be painted so it should hopefully hide the filler pieces.

-
-
-
-
Nice tiny detail work. Amazing. BTW in Newfoundland during the heyday their slogan was "in Cod we trust".
")
- Jack12477, Tigersteve and Cathead
-
 3
3
-
Hi Gunther, I read this build log for the first time today and you have given me the inspiration to build something similar as a side project. I would like to build something that I can put on display in my office and this looks like the ideal thing. However, I think I may build the canoe Peterborough as it was developed close to home.
So you need to finish this so I can see how you ended up applying finish to the canoe.
No pressure.

- mtaylor and CaptainSteve
-
2
-
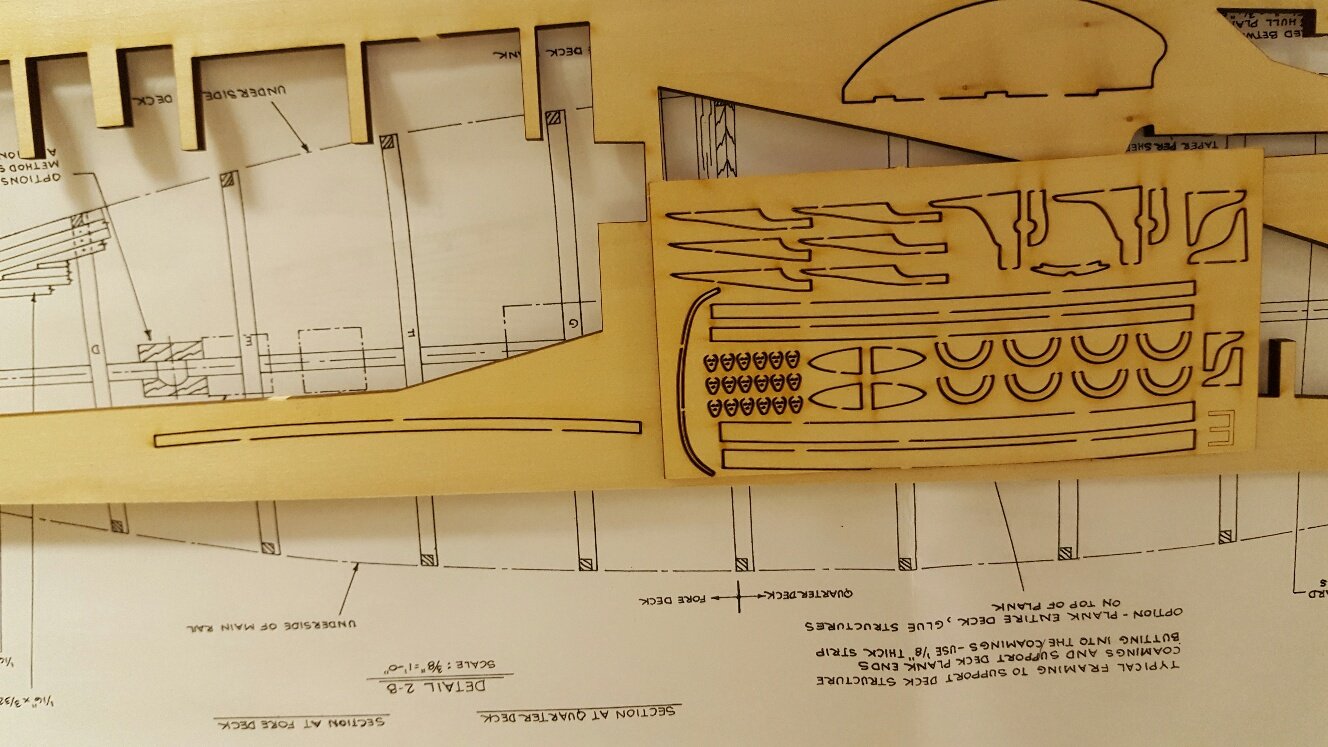
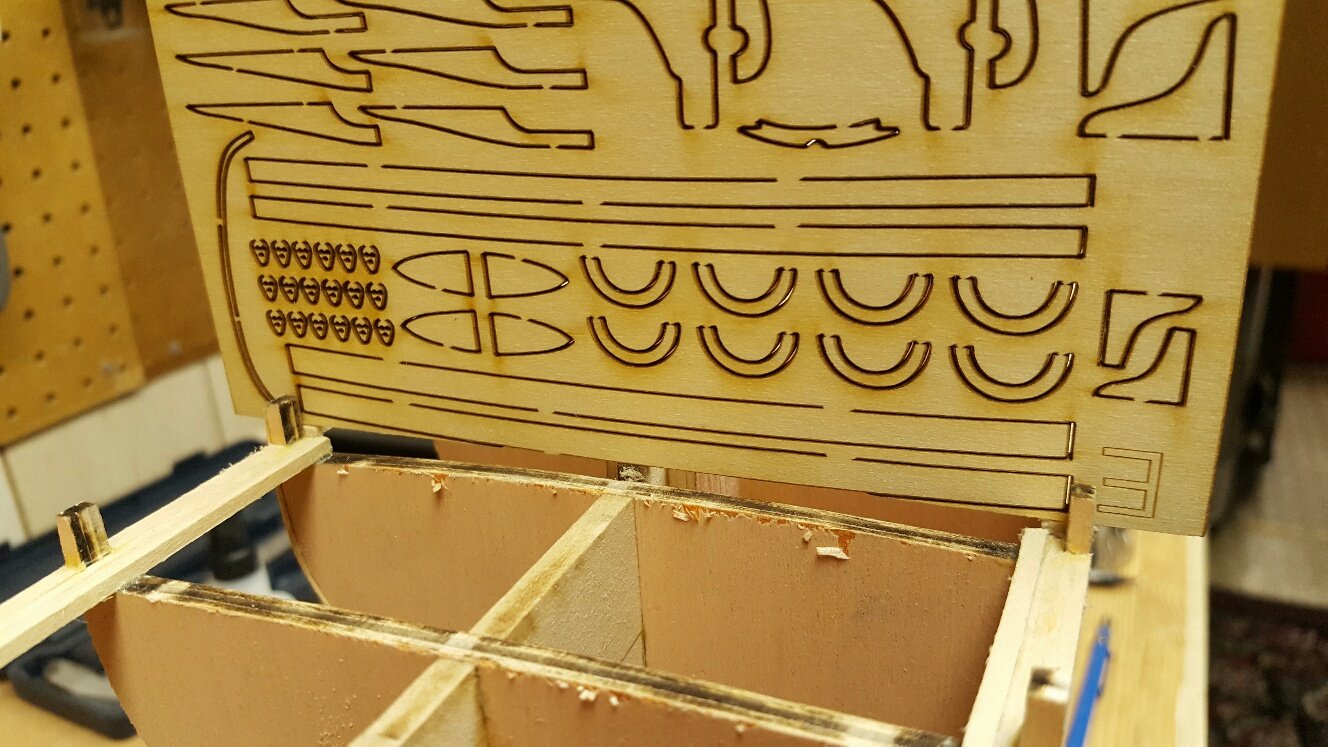
I have an issue I'm hoping someone can help me with. I have a feeling the answer is right in front of my face but I'll ask anyway. I want to install the Great Beam

The instructions say the parts are on the laser cut billets, which of course, they are
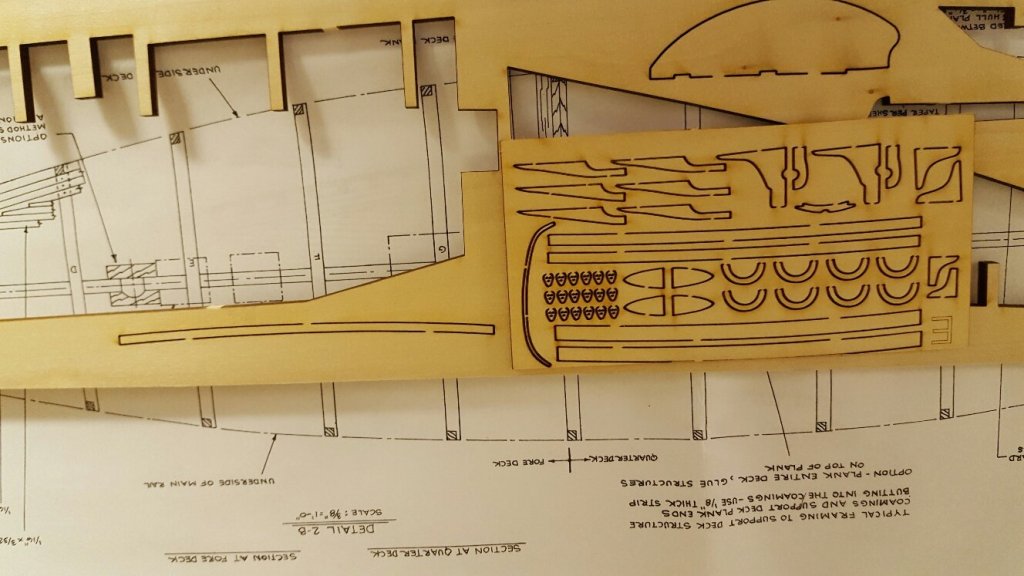
But my question is, why is there two of each beam when it seems obvious that only one is required
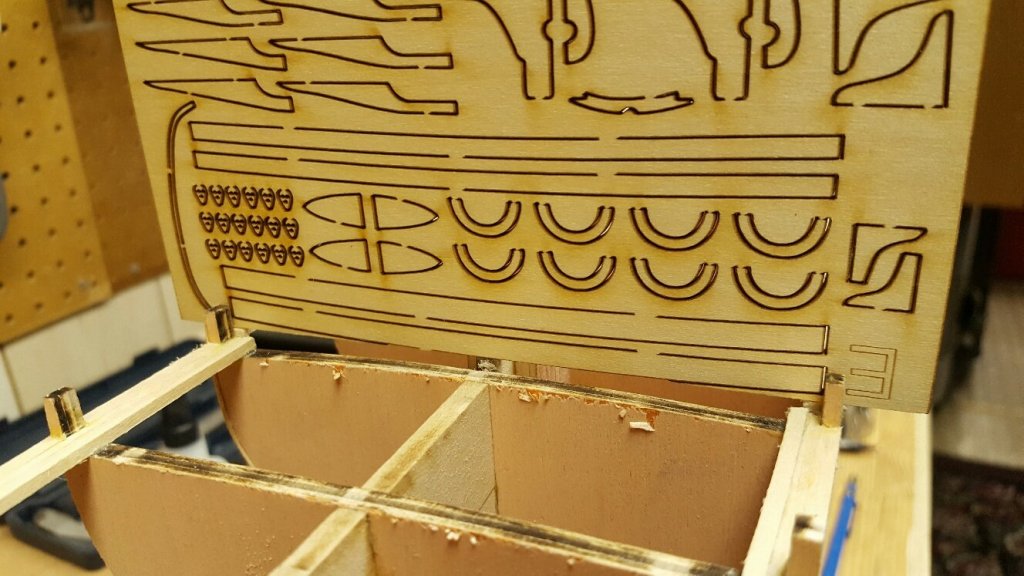
I realize I have the beam upside down.
It leaves me wondering if I am missing anything.
Please comment.
-
Mike, I believe the kit specifically states that the second planking wood is not included. I found a semi-local wood supplier and purchased Sapele veneer from him. It was cheap and was the right thickness. I cut my own strips from the veneer sheet. I was pleased with how it turned out.
- Mike Dowling and Nirvana
-
2
-
-
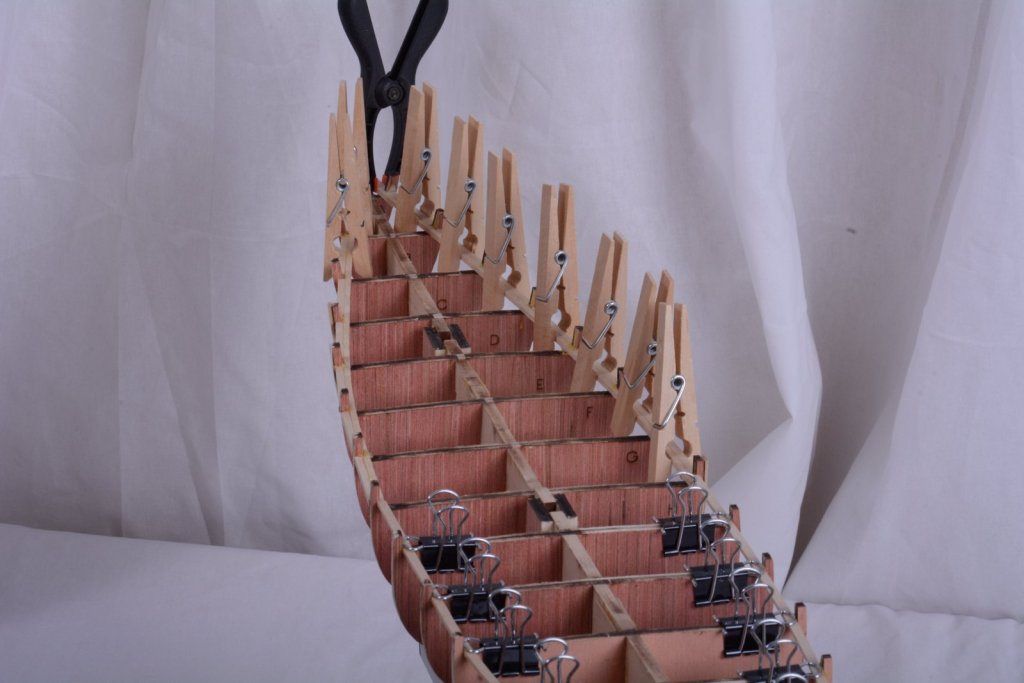
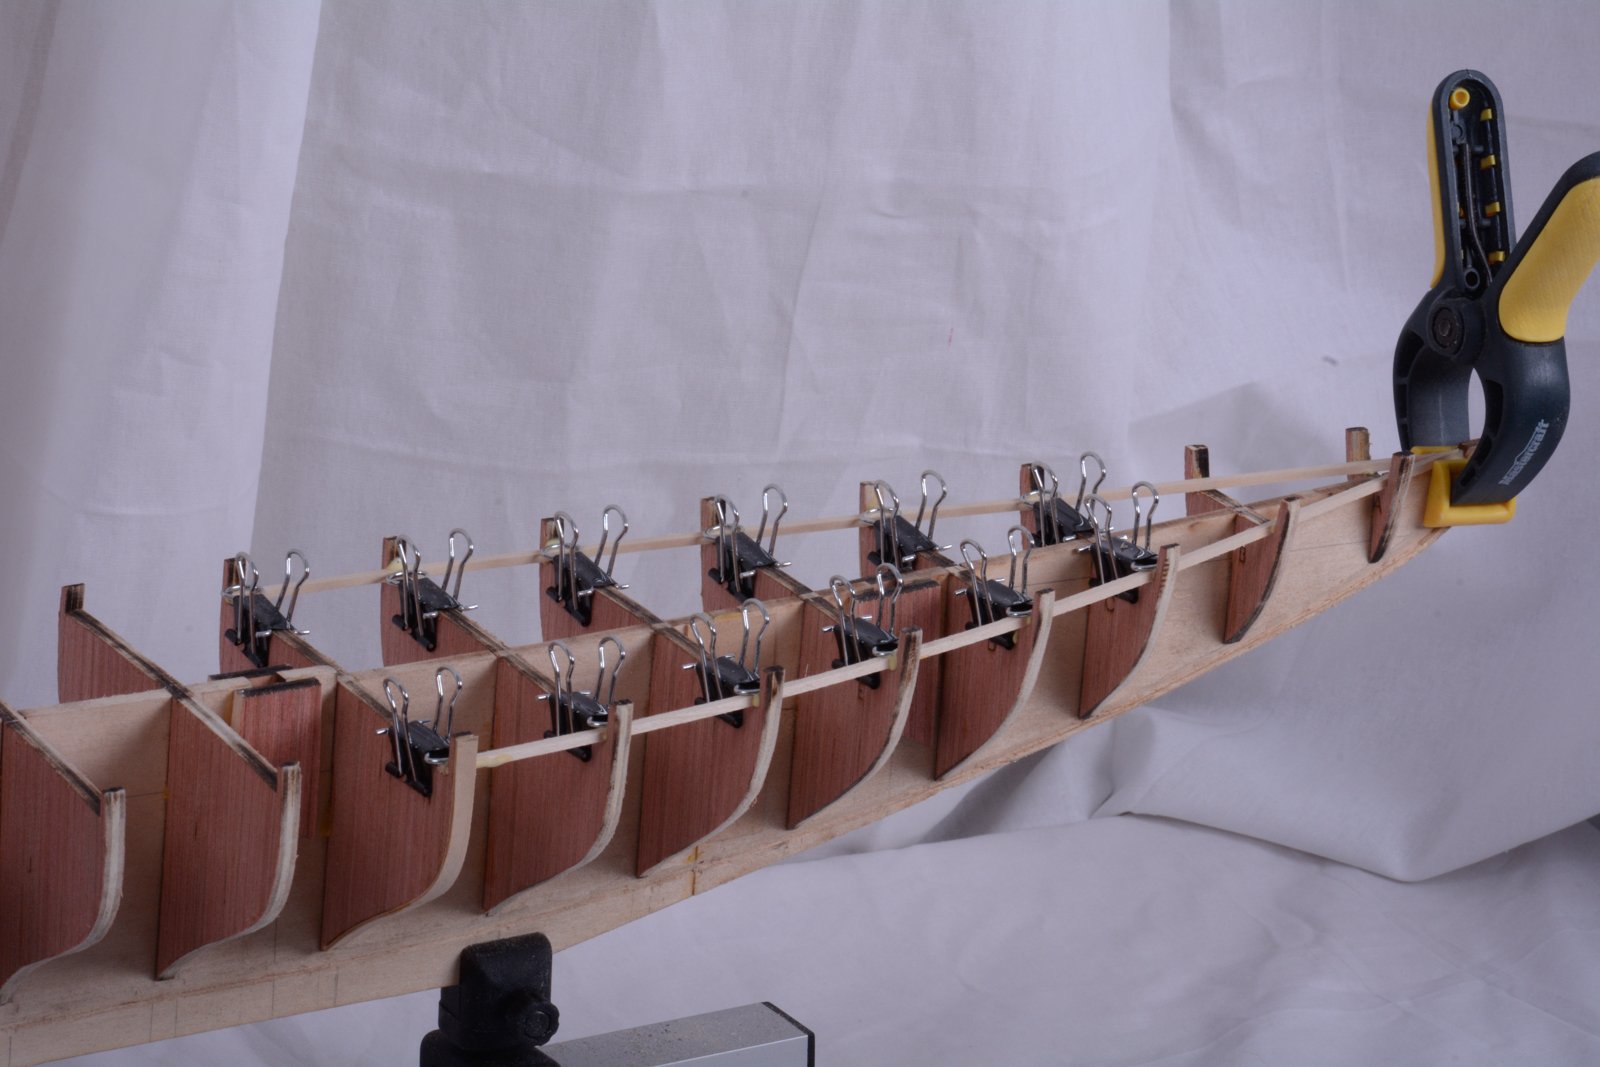
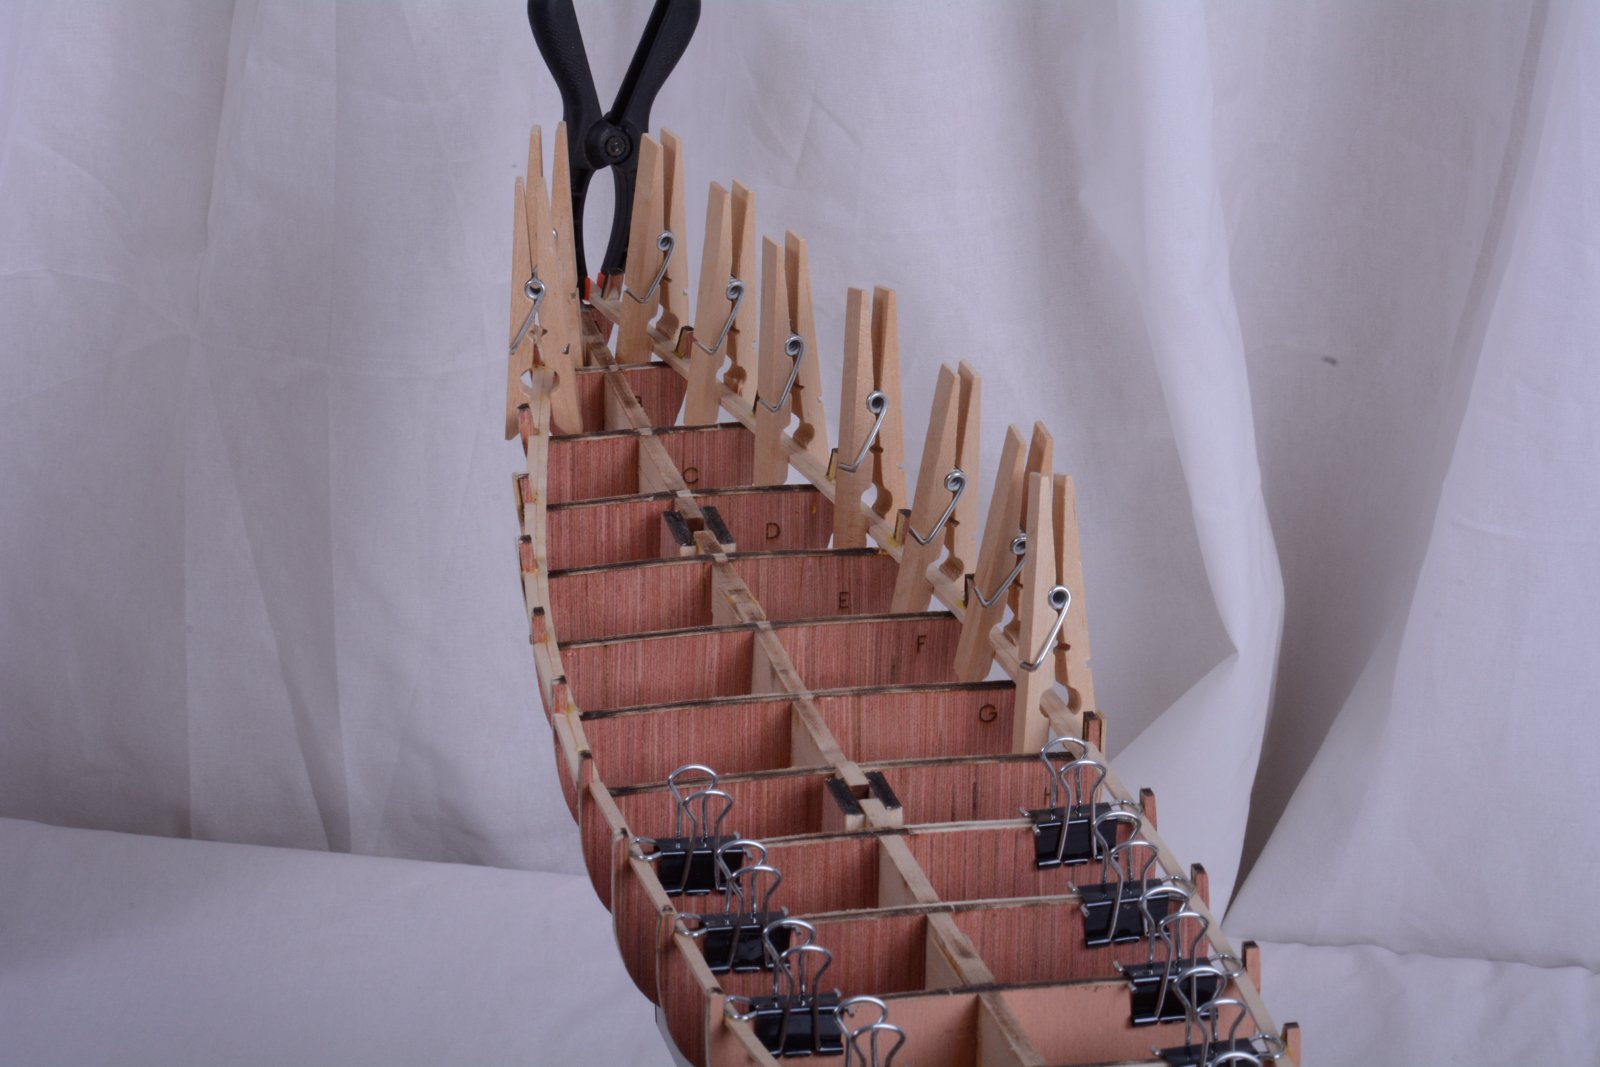
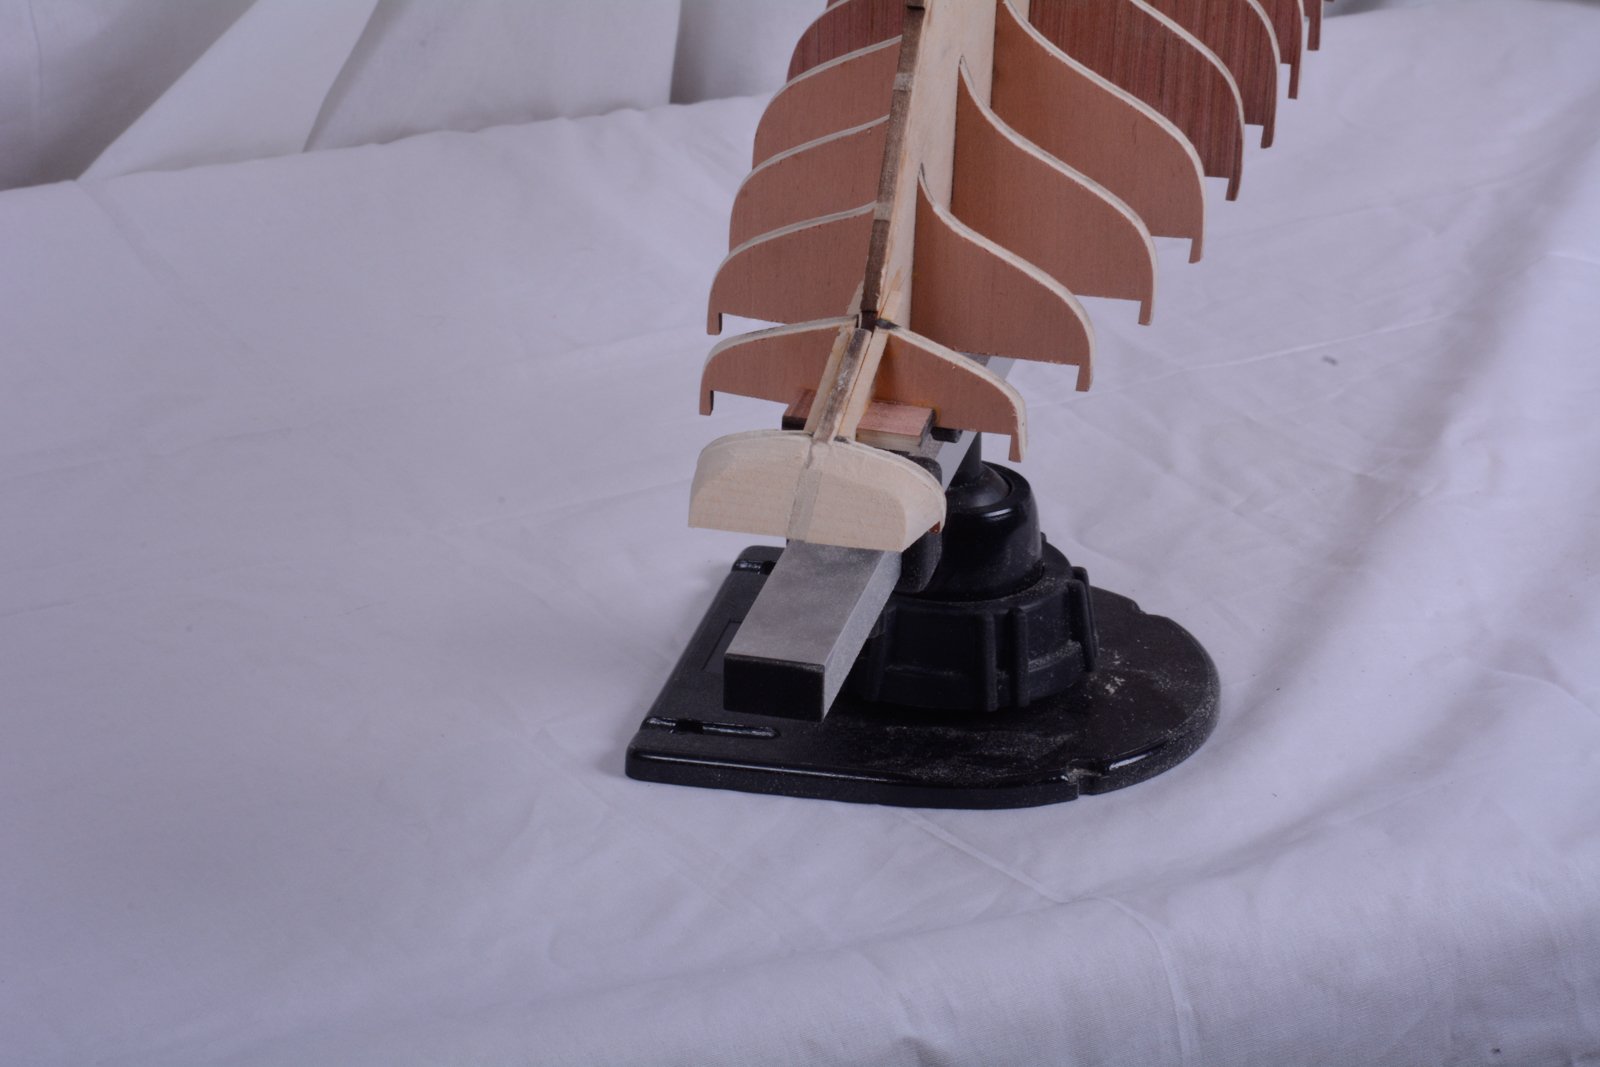
Yeh i'm regretting it at this stage. It might be nice for decking. installing deck furniture or rigging (any upright activity) but this thing advertises that it's a hull planking clamp. I dare not put it on an angle any more. I'll need to ask the admiral for an old pillow, or I'll just steal hers
")
- Nirvana, Blighty and Steve 12345
-
3
-
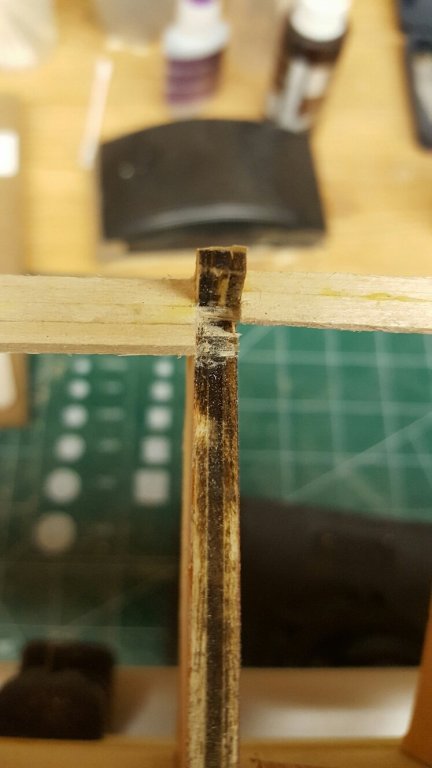
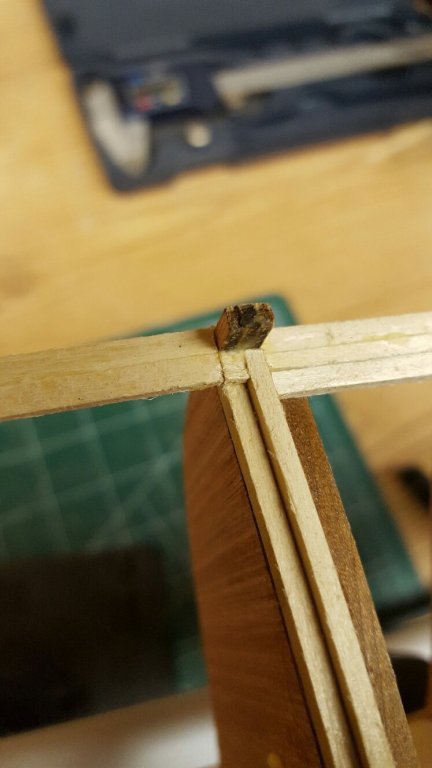
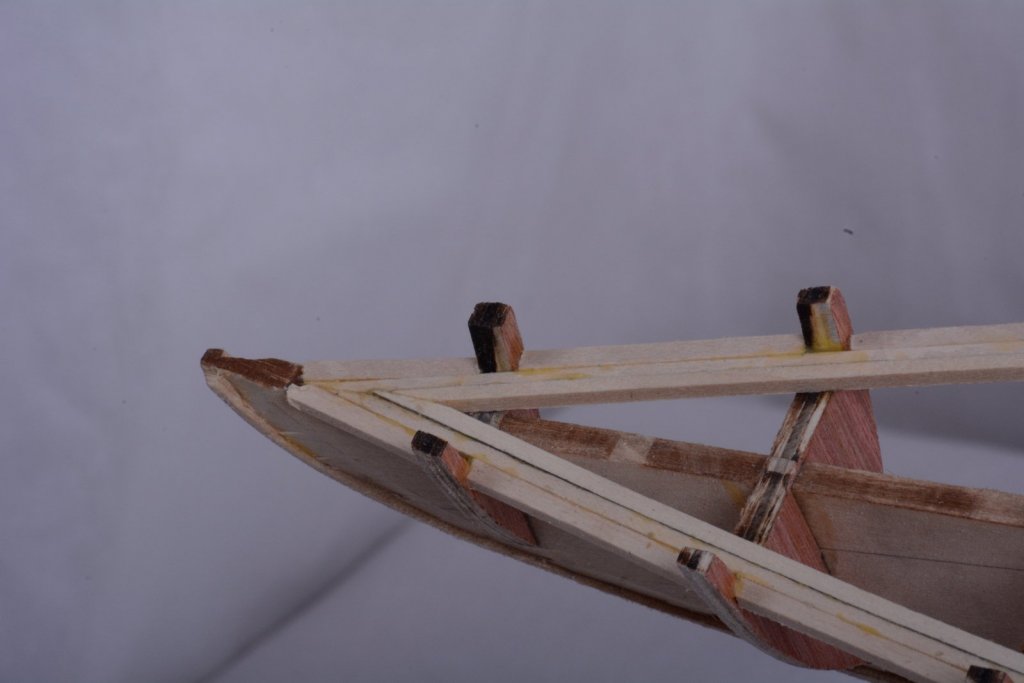
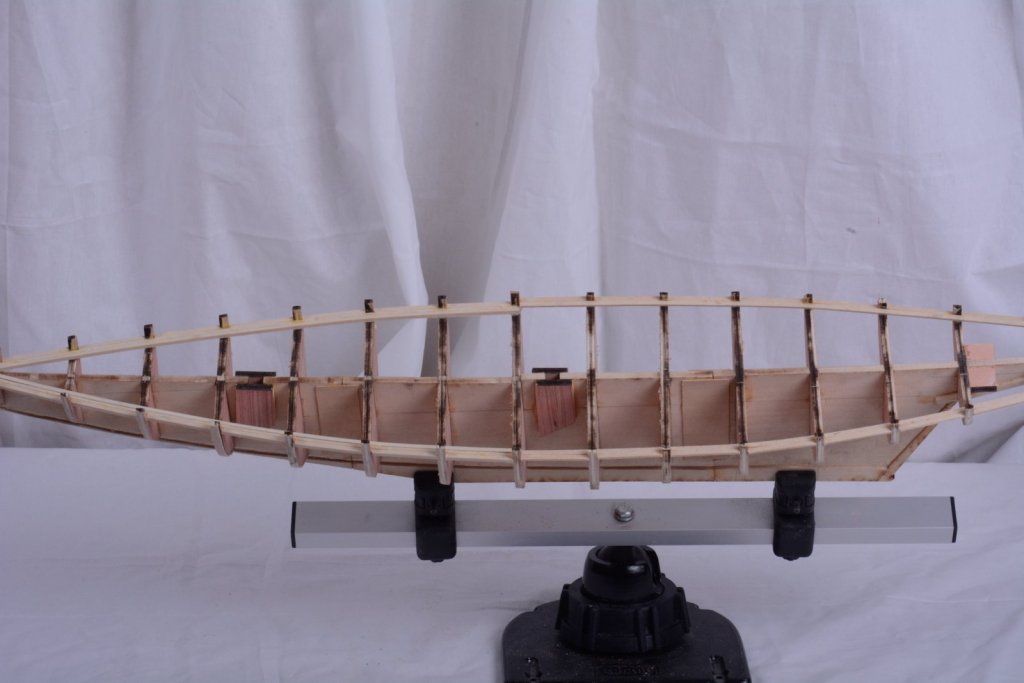
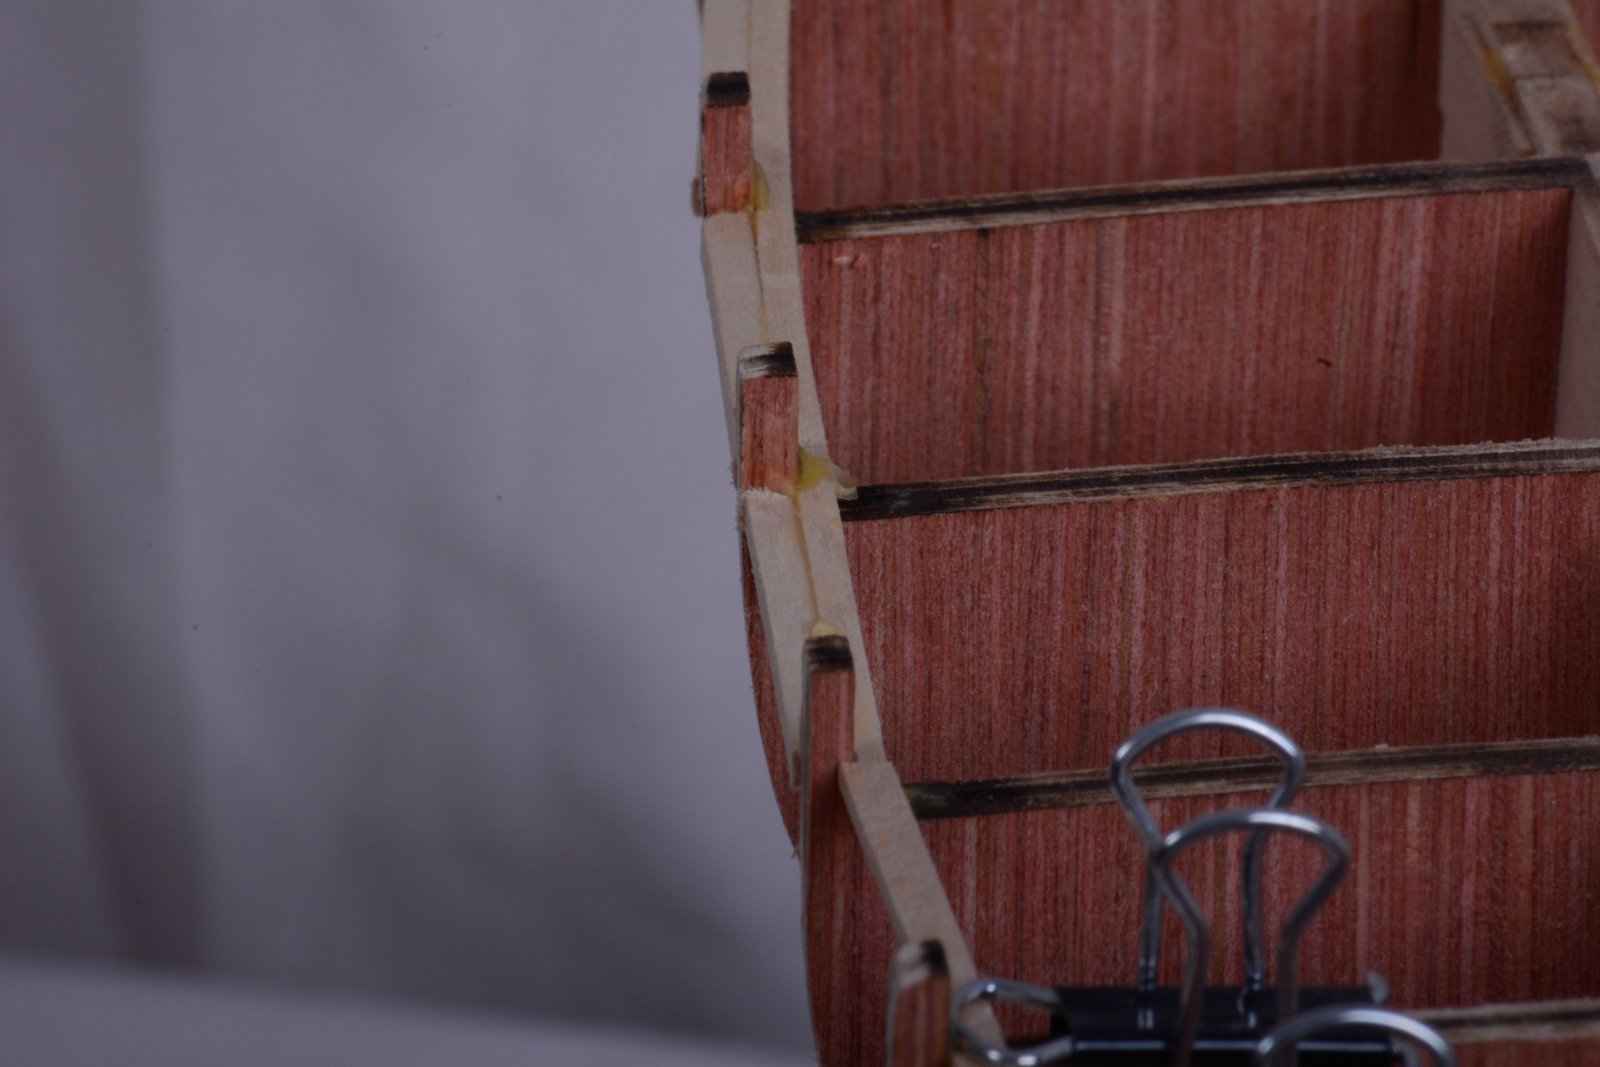
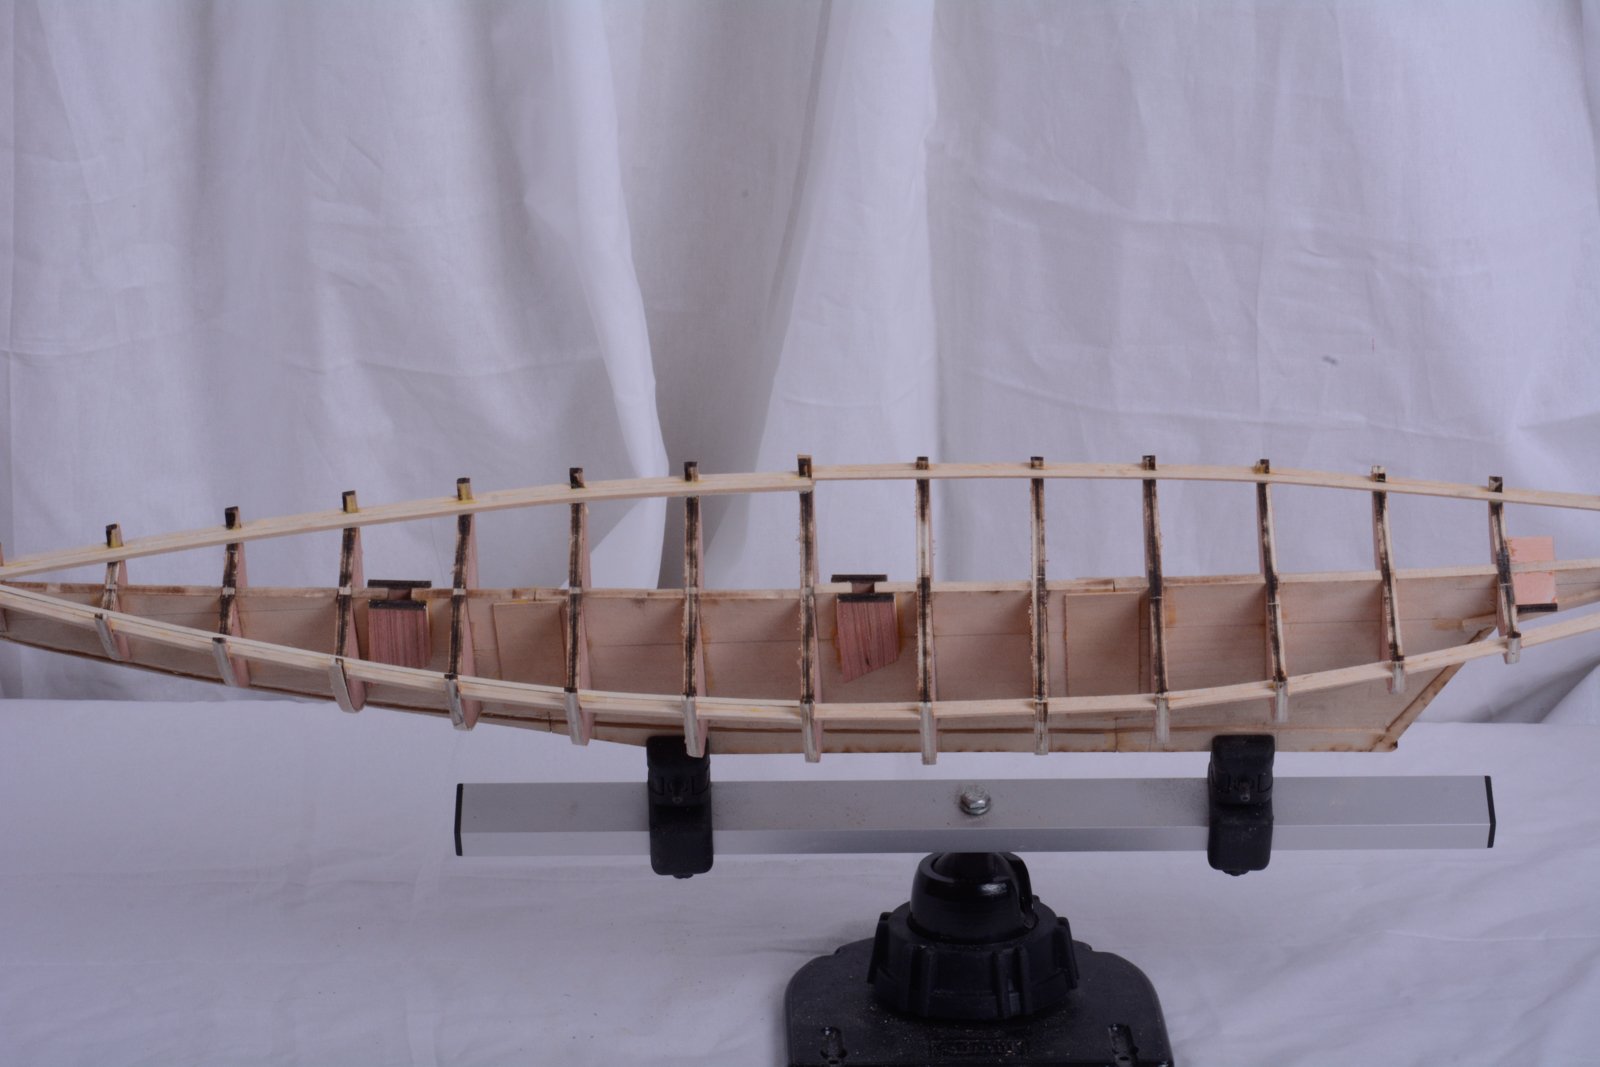
In the pictures above you can see the keel clamp I use to hold my model while I work on it. Tonight I was doing more fairing, sanding block in one hand and trying to support the model with the other hand. Then I heard the inevitable snap. I froze, set down the sanding block gently and backed away. I couldn't see any damage but as I took a closer examination I could see that I got a fracture in the keel at the bearding line. From the very beginning I told myself that there would be a weak point at the bearding line and was always trying to be careful and mindful of it. I ended up smearing some CA glue along the bearding line. I think it worked because it doesn't wiggle as much as it did. I'm very close to starting planking and I know once that is complete everything will be fine especially once I add the garboard strake.
- Nirvana, GuntherMT and Steve 12345
-
3
-
-
A double planked hull was a lifesaver for me because I got some practice planking, learned how not to plank, fixed, repaired, reworked etc etc. Then I added a generous amount of body fill, sanded down and prepped for the second layer. It's the second layer that is the picture layer, and by that time you have had some planking experience under your belt.
- Nirvana, Mike Dowling and Blighty
-
3
-
-
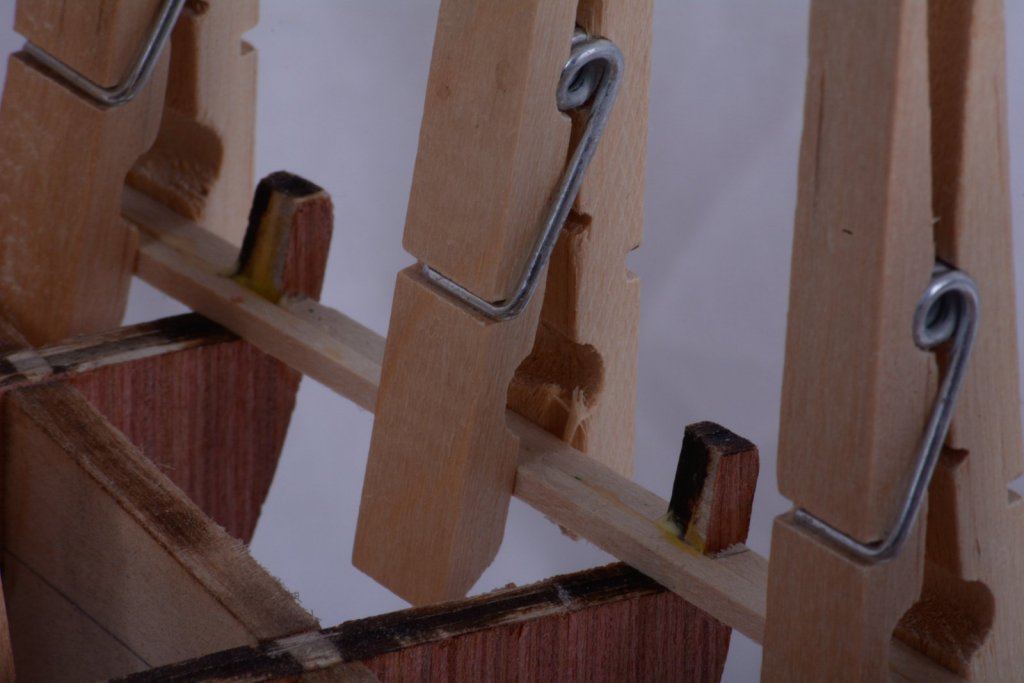
I've installed the waterways and fitted the waterways between the stanchions. It was a big of a time consuming task to measure and fit each one but went fairly well. In all it took about 2-1/2 hours. One slight problem I have is that because I had to shim a couple of the bulkheads I now have a gap between the waterways and the planking. In a couple of spots the gap is significant. I guess I'll have to spend a little more time fairing the hull to see if I can reduce the size of the gap. I can always add a little filler between the waterways and the planking if I have to.


-
Unfortunately, by doing the shimming and trimming your deck plank layout will no longer be symmetrical. I had no issues with the false deck and certainly didn't experience this problem. I agree with HOF. Perhaps detach the deck and realign it. I can't tell you how many times I have had to remove and redo an assembly. It's all part of the joy of ship modelling.
- Mike Dowling, Nirvana and Blighty
-
3
-
Mind if I ask if there is a problem with your NRG number showing?
- Scottish Guy and mtaylor
-
2
-
-
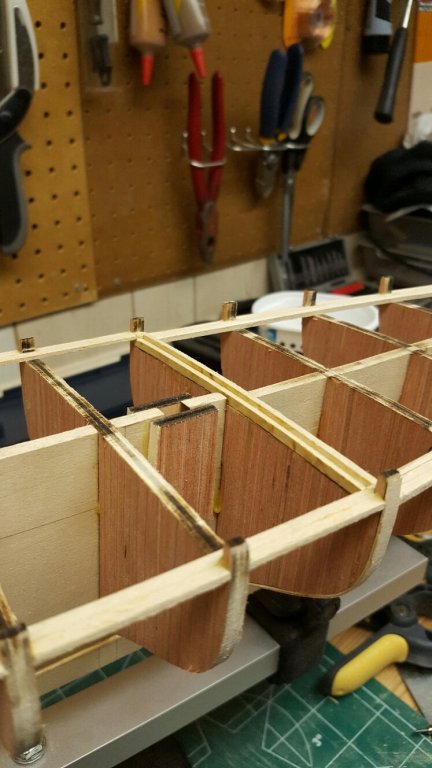
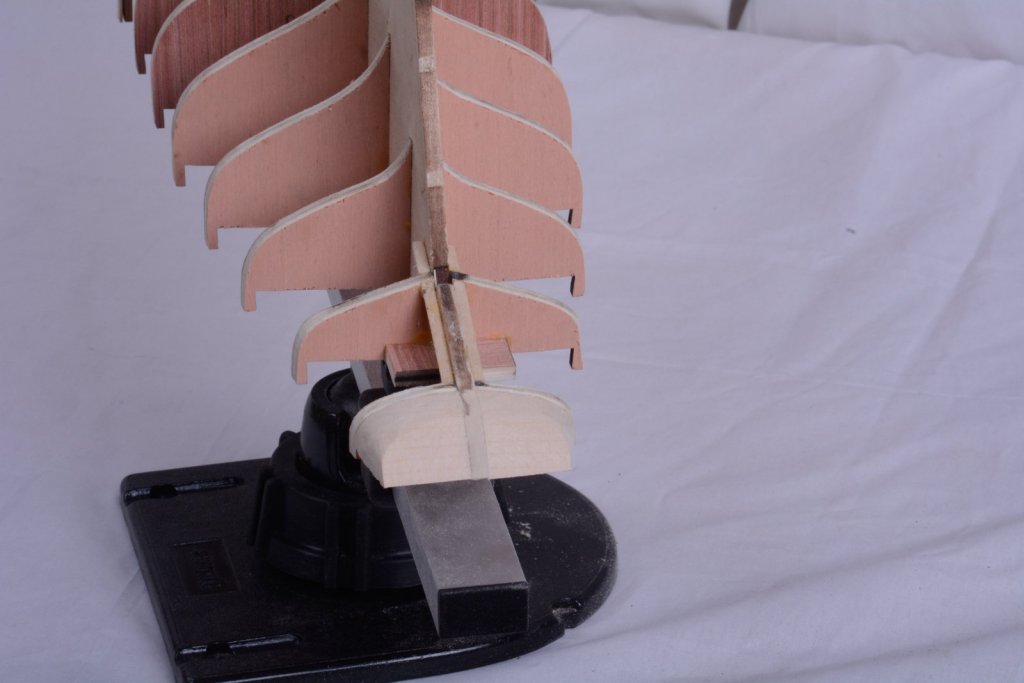
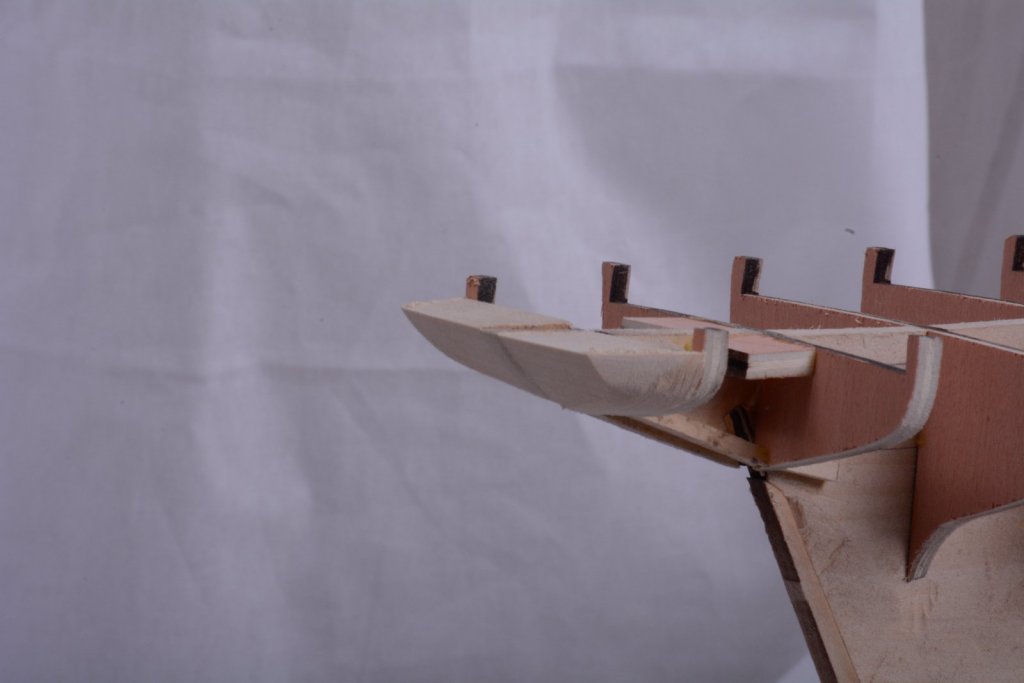
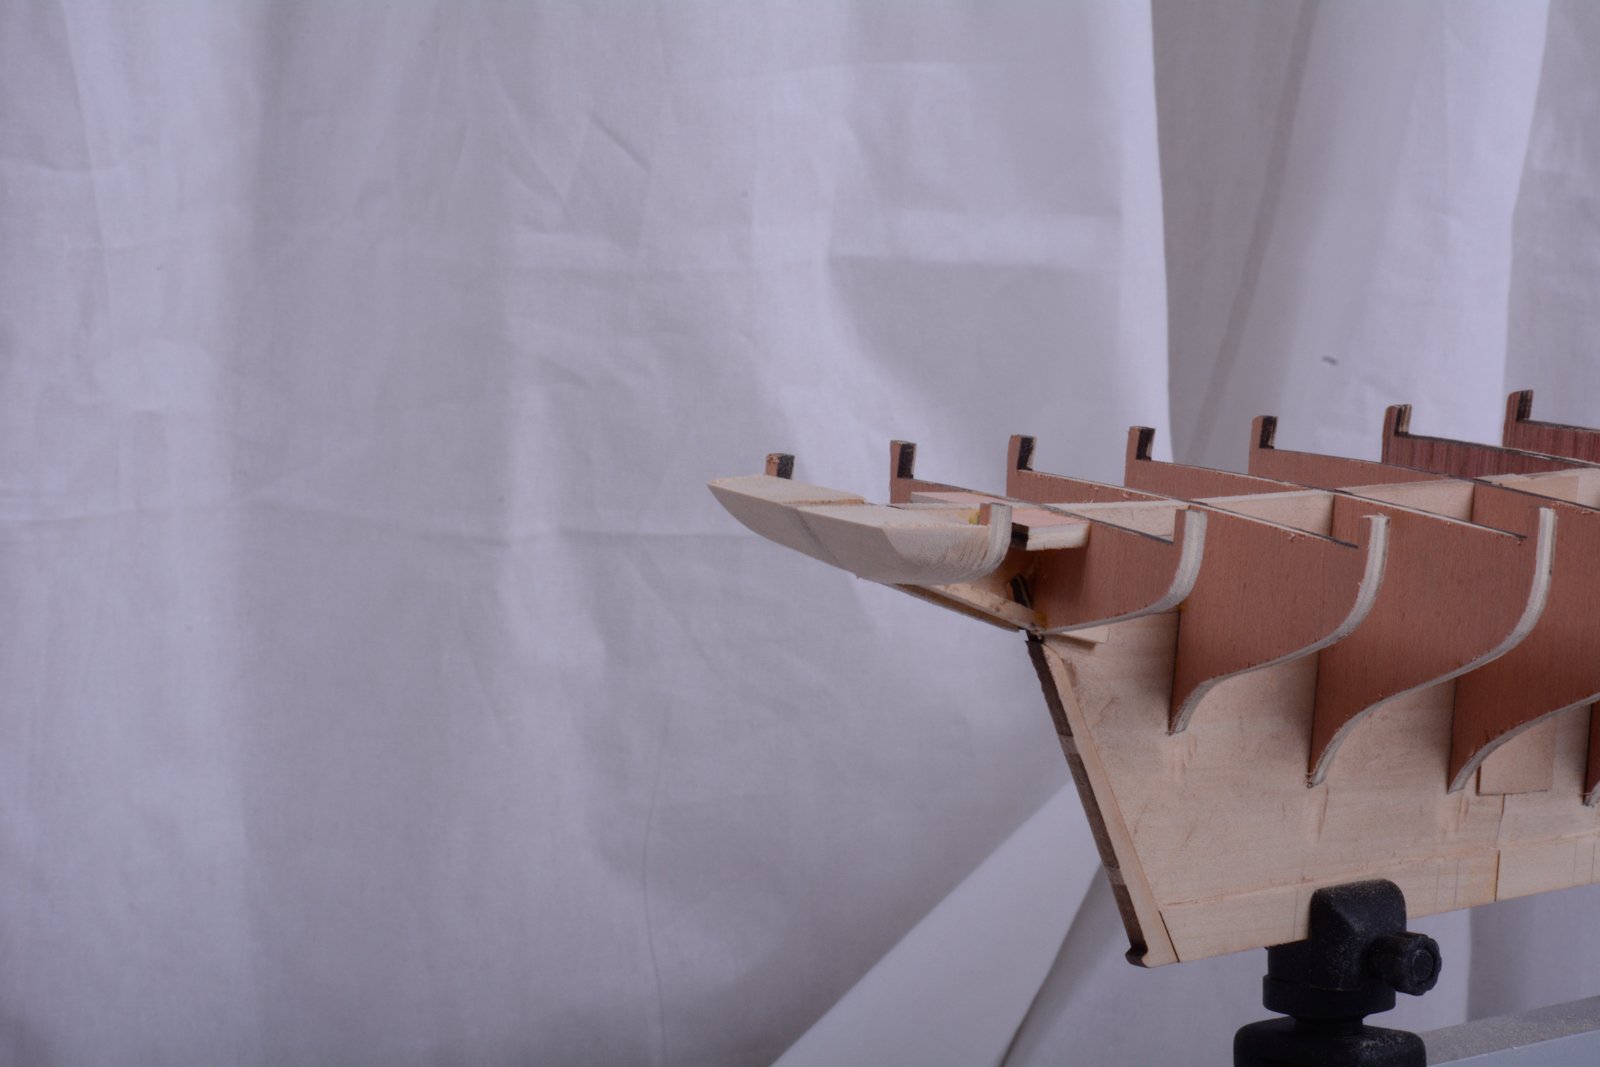
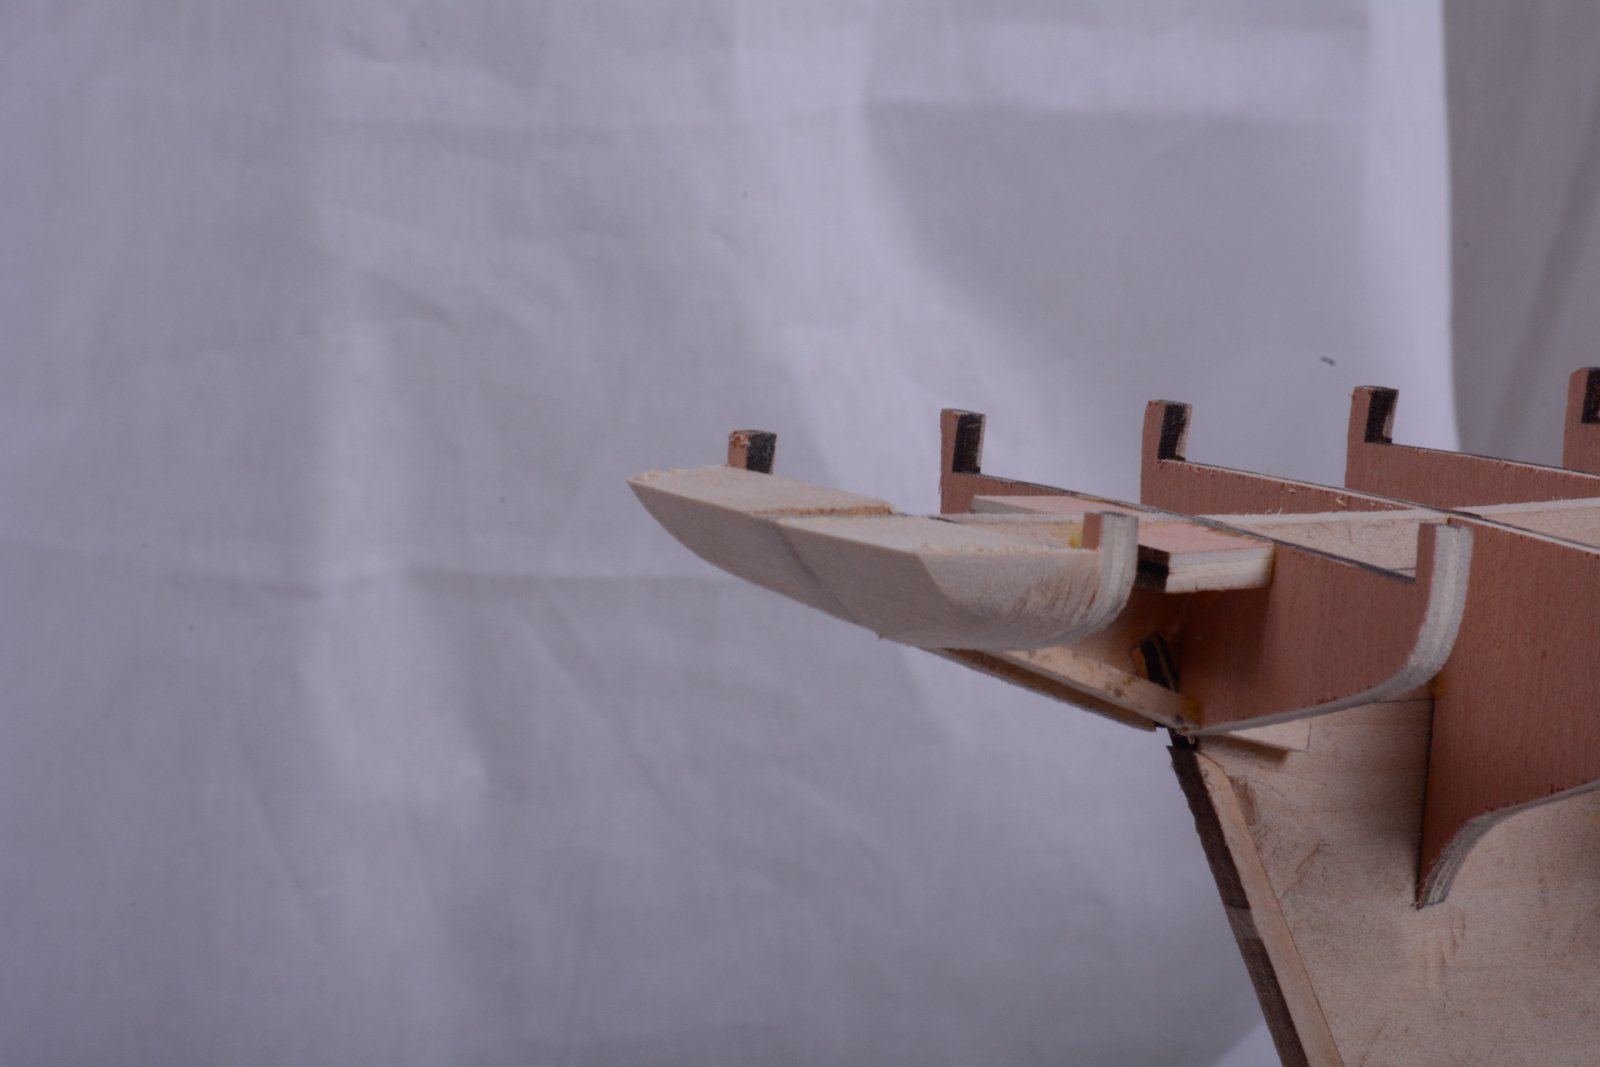
Ugh, still sanding but I'm getting close. I think I'm almost done. I've shaped the stern filler blocks. Done a little more fairing of the hull. Did I mention I hate sanding. I realize that in the pics the stern filler blocks looks a little uneven. I took some measurements after I took the pics to confirm they were. I've since SANDED more to make sure they were equal on both sides.


- coxswain, Jack12477, Steve 12345 and 4 others
-
7
-
First thing I found when I did my build log was that there is a size limit on photos. 2 mb I believe and 1600 pixel x 900 pixels. Don't quote me on that but I'm sure someone will know the correct answer. Once I shrunk my picture file size I was able to attach pictures.
Good luck on the build. I think I'll pull up a chair for this one.
- Ryland Craze, Nirvana and Dharma66
-
3
-
-
No idea about age, I'm guessing around 1950 to 1960ish. Very well made though. Compared to buying a quality product today they were cheaper. I'm glad I won the bid on this one.
- Jack12477, mtaylor, thibaultron and 1 other
-
4


Modelling magazines (Moved by moderator)
in Book, Monograph and Magazine reviews and Downloads. Questions and Discussions for Books and Pubs
Posted
I would like to bring this topic back to the front again to see if there are any good magazines to subscribe to. I am already getting the Nautical Research Journal but thought it would be nice to get another monthly publication that covers ship modelling. Any new magazines being published or existing ones worth subscribing to?