
.jpg.4b9546914df2c235b4fe82d7c03670bd.jpg)

Worldway
-
Posts
628 -
Joined
-
Last visited
Content Type
Profiles
Forums
Gallery
Events
Posts posted by Worldway
-
-
What I do is use hemostats to grip the blade. It basically goes on the top end of the holder, then you slide it down until the bottom clicks in place.
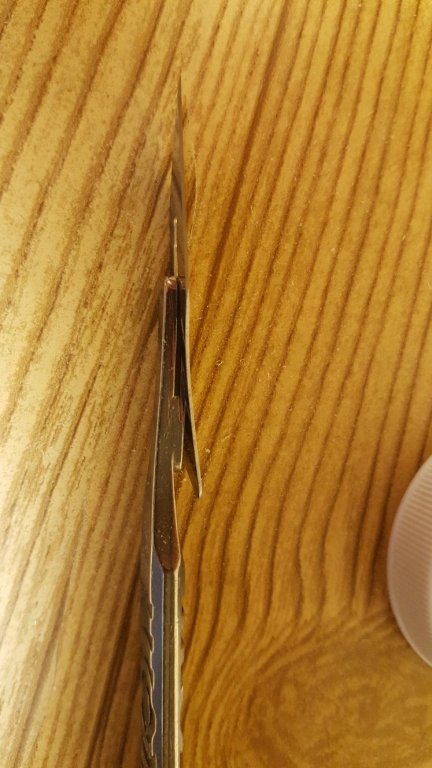

I always wear safety glasses when I'm working with them because I have had a couple of blades snap while I was using them. In all fairness I was likely using too much force on it and probably should have been using a different tool for the application. I agree though, they can be intimidating.
- mtaylor, Canute, Landlocked123 and 2 others
-
 5
5
-
I was looking at possibly purchasing a rope walk. I would like to get members opinions about their favorite make, brand, etc. I would also like to know if it is even worth it. I know Syren sells quality rope for an inexpensive price but I thought it would be nice to make my own. Has anyone built their own? I emailed Byrnes to see if they plan on selling them again. I see Domanoff has an inexpensive gravity driven model. Anyone have experience using it? Chuck, do you plan on selling yours? Please feel free to offer your opinion.
-
I'm curious how long each painting takes. You do incredible work and you have a huge portfolio. How much time do you spend painting daily? I love your work by the way.
- mtaylor, CaptainSteve, Jack12477 and 1 other
-
4
-
-
Thanks Jon, I like your suggestions. I think I'll use them.
-
It's funny you say that. Photographers have Photoshop which is pretty much mandatory in the business. I went to photography school and told myself I would never rework my photos but it becomes a necessity. Unfortunately model ship building has no Photoshop. That's why it takes a lot more hands on rework.
It's all a process that involves getting it right the first time. In photography, if you spend 8 hours Photoshopping a wedding shoot, the bride and groom have to pay for that time. If you can get it right the first time, it saves them a lot in labor costs.
It's just a necessary part of the hobby which I don't mind. As I get more experienced, the rework will become a lot less. All part of the learning curve.
-
Looking good David. The boat turned out great. What a difference a day can make on the weather though.
-
18 hours ago, JustBlowingInTheWind said:
What blade number do you use?
I have No 25A Blades for my #4 Handle and No 9 Blades for my #3 Handle (All Swann Morton)
-
Actually Doug, this is the most unrelaxing hobby I have. LOL just kidding, it is satisfying although it is frustrating. But how else does one learn the skills needed.
- AON and David Lester
-
2
-
Brian, I quickly learned that xacto blades weren't the answer. I moved over to scalpels. They have one that acts almost like a chisel but is sharp as anything, I didn't have the scalpels when I did my bearding line but wish I did. It was the first time I had to do the bearding line and it really wasn't as hard as I thought. You need to be careful. Don't go in there thinking you need to push like anything to get the wood cut. Take your time, add a little pressure and let your blade do the work. When you start to force the blade, mistakes then happen.
I have been enjoying your build and was silently hoping you would get ahead of me so I could see what to do next
")
Enjoy what you're doing. It's not meant to be frustrating but I know it gets that way.
-
OK problem solved with the bench. I took the doors off the shelves so my knees can go beyond the bench. But let me tell you one thing, if you are a serious modeler with a few extra dollars you should duplicate what Alan O'Neill (AON) did. He was kind enough to invite me over and his work bench is absolutely amazing. He is an engineer by trade (I believe) and it shows in his design. I was completely blown away by the versatility of the bench.
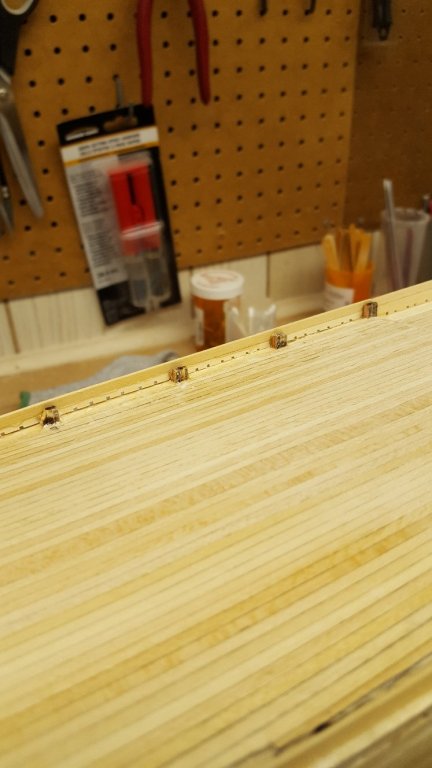
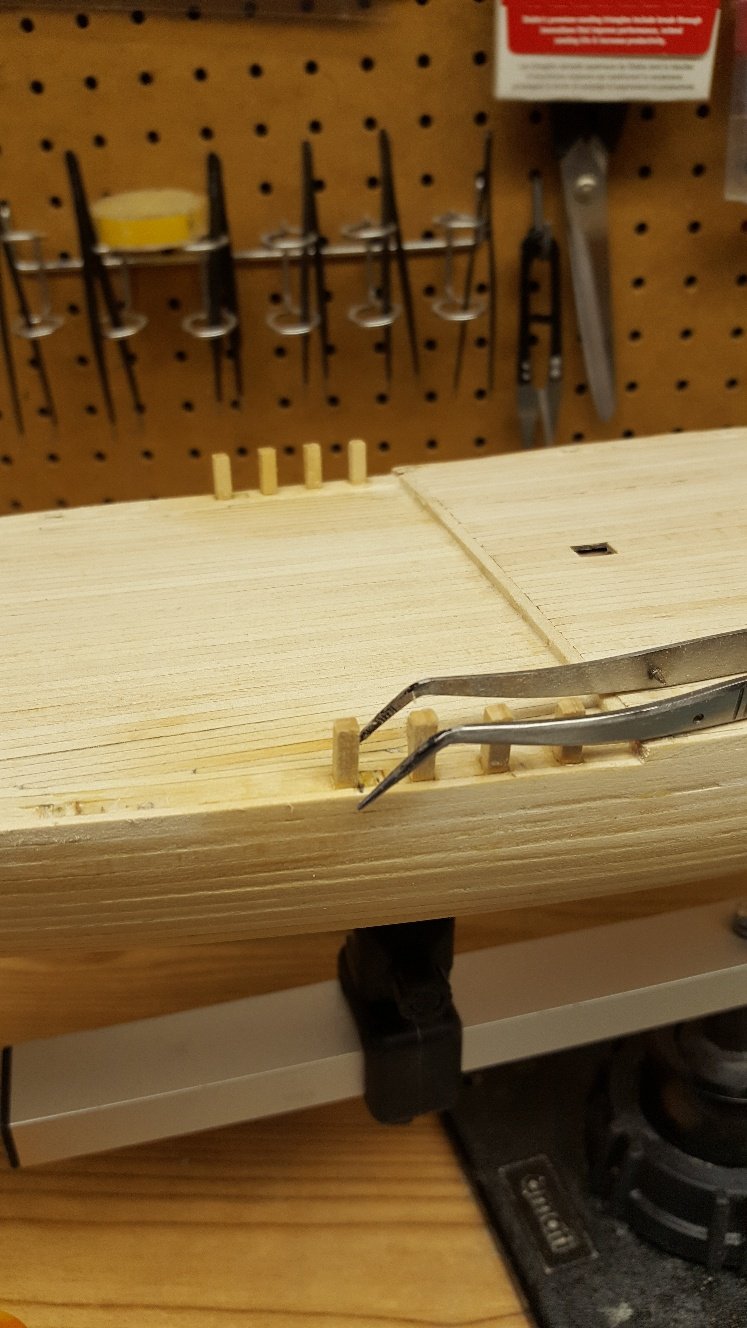
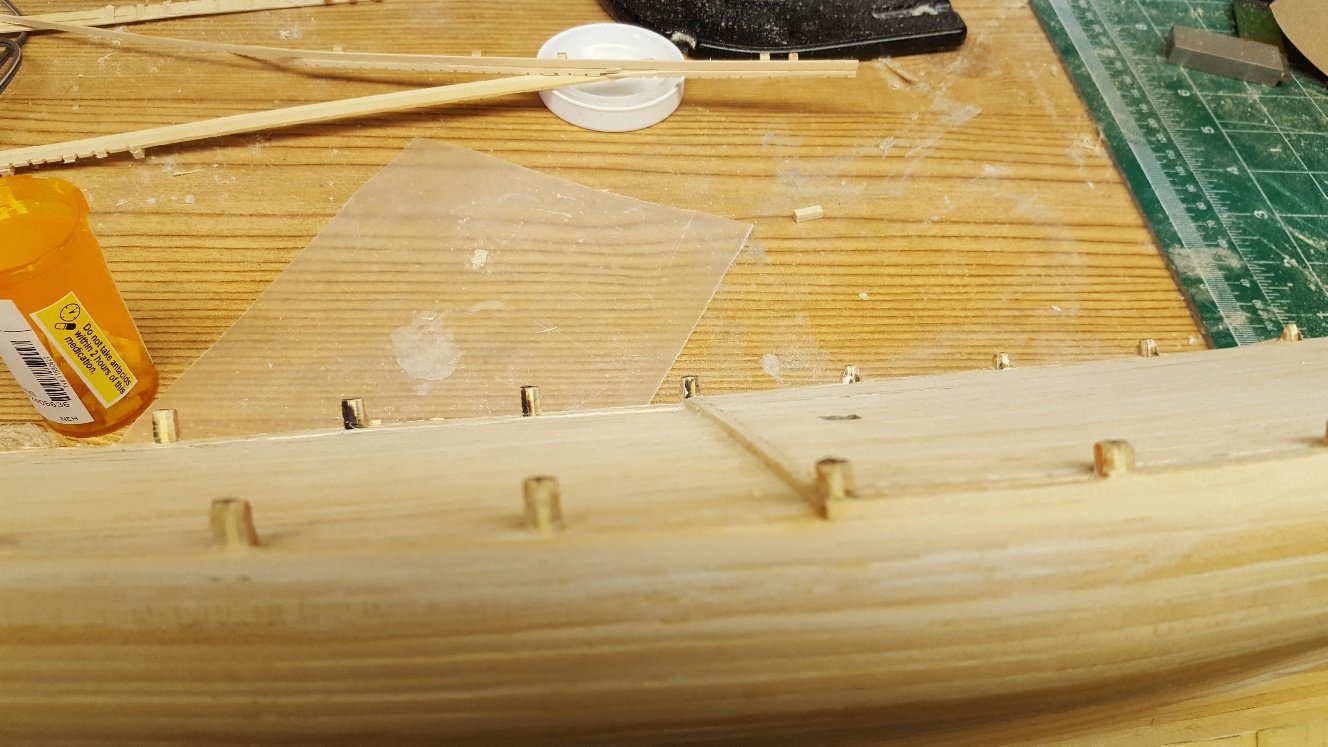
I started rebuilding the Bluenose and redoing the false frame timbers. This time, I am trying to get the base squared by sanding.
I am measuring a lot more carefully
I am trying to be careful with the placement of the timbers

Like I said earlier, attention to detail. The process shown was about two hours worth of work but I think it's a huge improvement over my first attempt.


-
Thanks for the input and kind words Steve. Another thought I had was to remove the storage shelves under my bench so I will at least be able to pull up a chair closely. That might be the best of both worlds.
-
Hi David,
The problem I have is that I can't put my legs under the bench because of storage shelves. I too have a stool but I can't sit tight to the bench and frankly my arms aren't that long
.
Thanks for the input though. Been quietly watching your Rattlesnake build. Very nice.
-
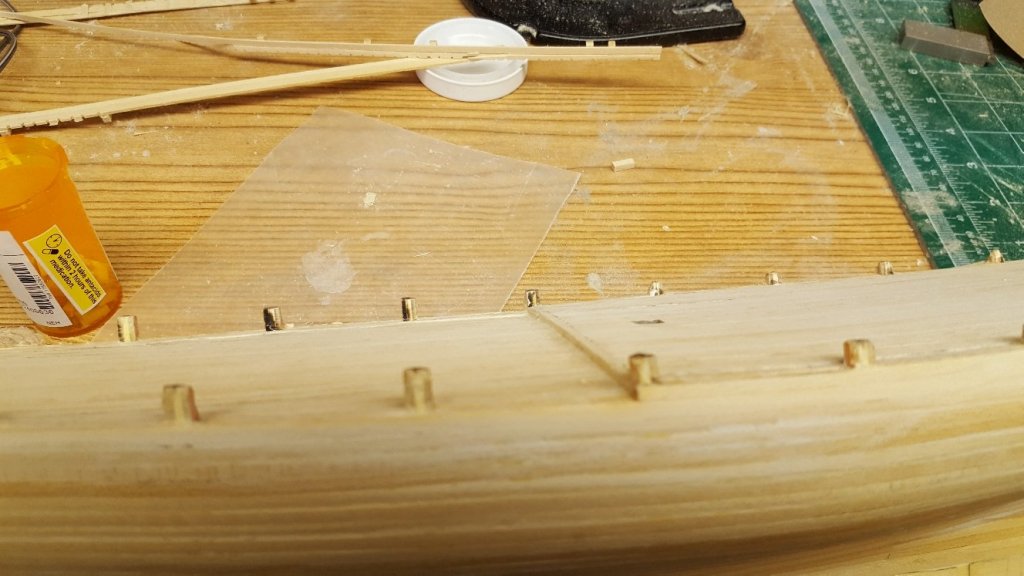
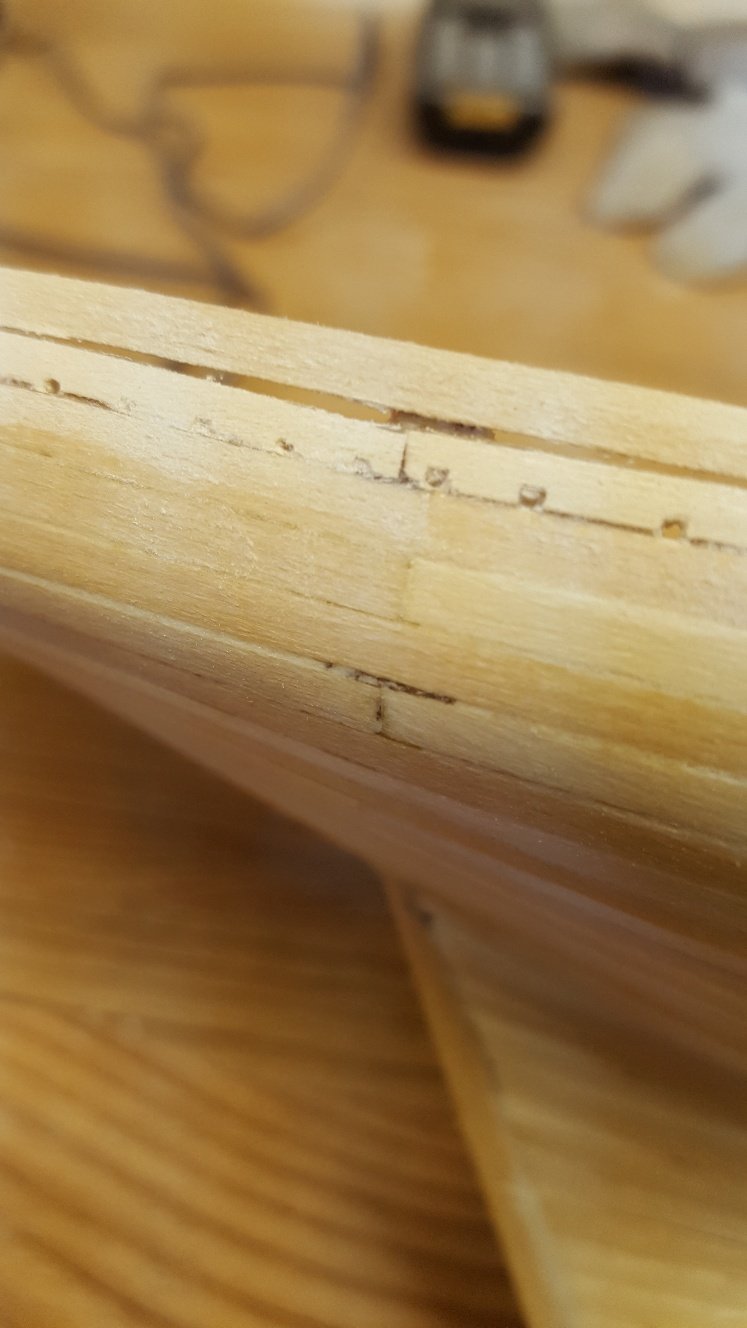
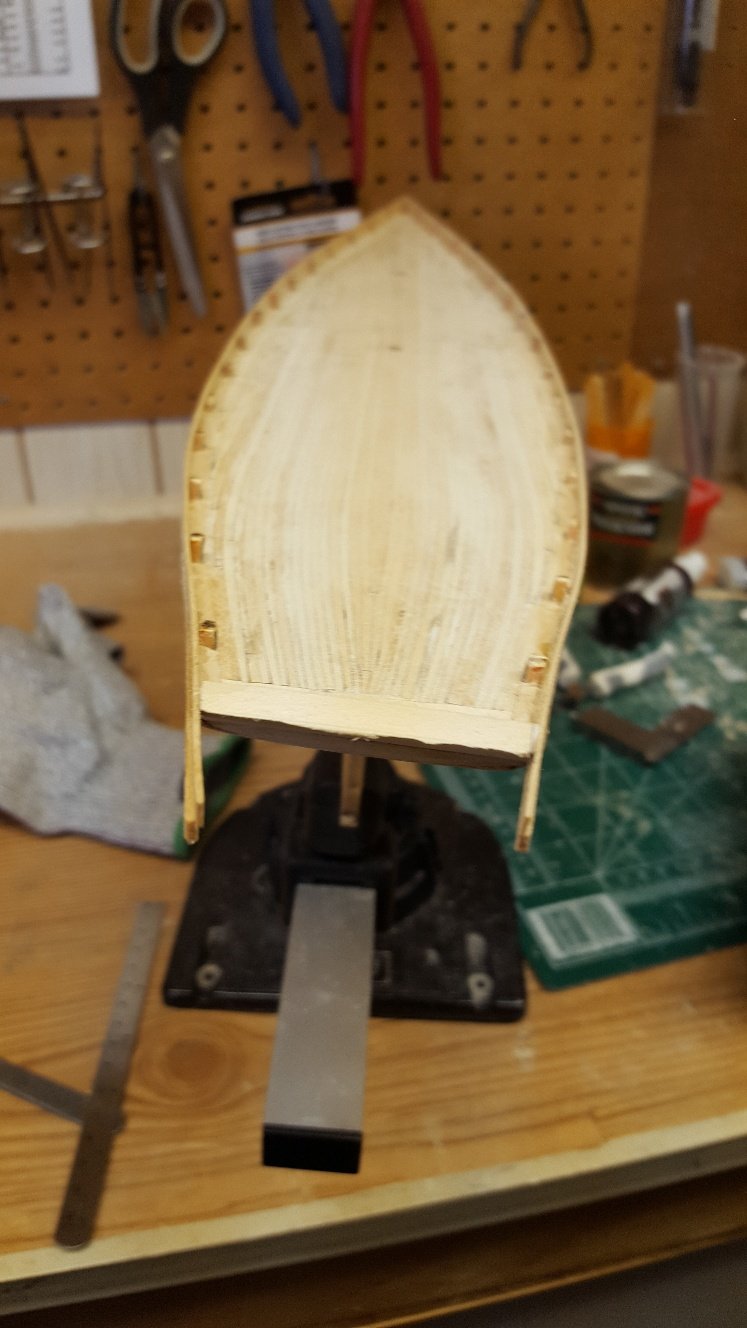
Well, a little bit of frustration is setting in. I cut off the bulkheads.
I then added the false frame timbers but I'm not happy with the alignment.
So I have since removed them as well. I tend to spend about the same amount of time in removing work that I do in adding work.
 I'm not sure what approach to take next. I think this is going to be a case of working diligently, carefully, slowly and with attention to minute detail. Hopefully I can make it work and look good at the same time.
I went down to my shop tonight to grab my tab and found myself working on the Bluenose. It's amazing how addictive this hobby can be. Basically I went to my shop for 2 seconds and left an hour later.
On another note, I'm not happy with my shop. My bench is at standing height and I find I get tired after only an hour or so. Talking with the Admiral tonight I think at some point soon I'm going to tear out the bench and put in a desk. If and when that happens it will delay the build for a bit. Hopefully though, until then, I will make some progress.
- zappto, Tigersteve, coxswain and 1 other
-
4
-
I had installed the upper planking and the false frame timbers and was not happy with the results.

So, what does one typically do when one is not happy with the outcome
I removed it all and decided I will start over again.
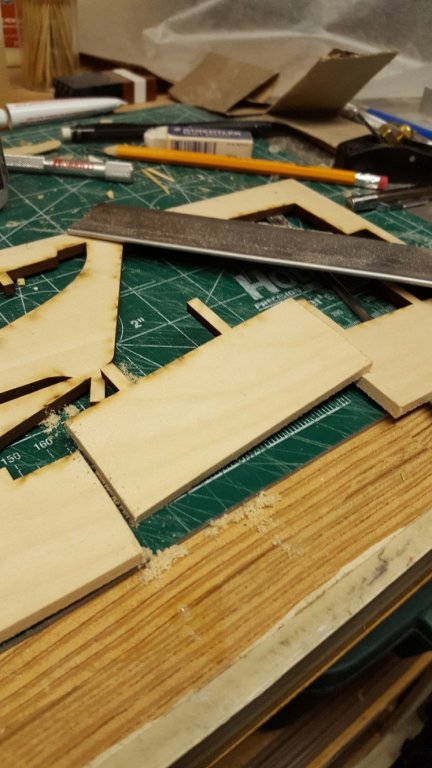
The practicum suggests adding the upper planking to the bulkheads, then installing the false frame timbers while at the same time cutting out the bulkheads as their alignment won't match. I tried cutting out one of the bulkheads and it was a tedious task.This time I'm thinking of cutting off the bulkheads prior to installing any upper planking. I will then install all the false frame timbers using the plans to determine placement. Once done, I will mark the location of them on a plank so I can cut in the scuppers. Then I will install the upper planking trying to get the joints as tight as possible. It sounds a little energetic but in my head I think it can be done.
-
Wow, looks great. Did it take a lot of time?
-
Have a look at this post I made earlier on another Bluenose build
-
-
Per, my thought process is that I don;t strive for a perfect finish. I don't want it to look like showroom quality, I want it to look used, a little worn. I've sanded the deck with 150 grit and was going to go to higher grits but I feel that the deck looks like people have walked on it and dragged things across it.
Jason, I ganged the port planks together and the starboard planks together but not both together. I was going to gang all together but I knew that this wouldn't work because there are less scuppers on the port planks. I was surprised how quickly this went. The wood is soft and the file went through like butter.
Thanks for the comments.
-
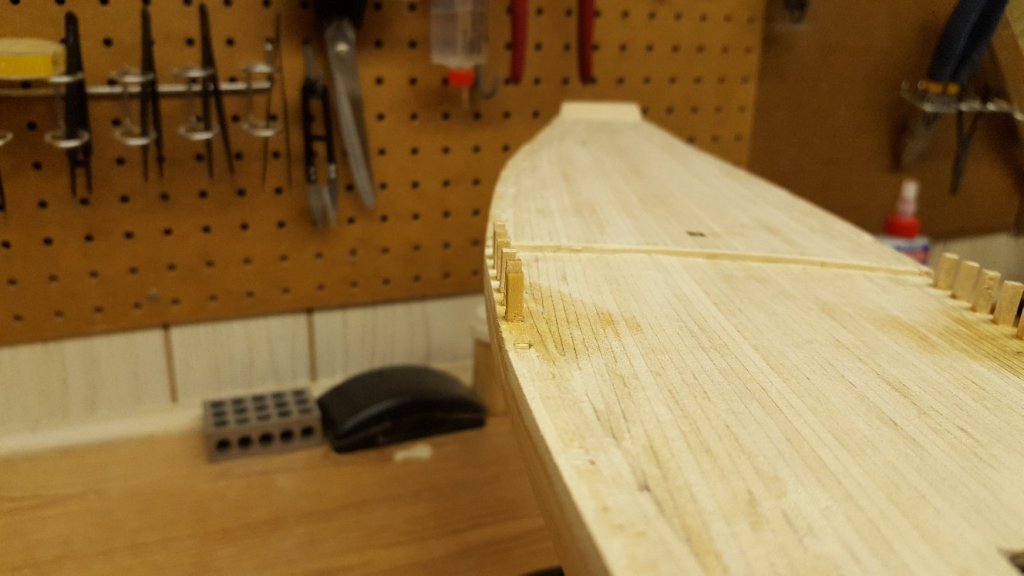
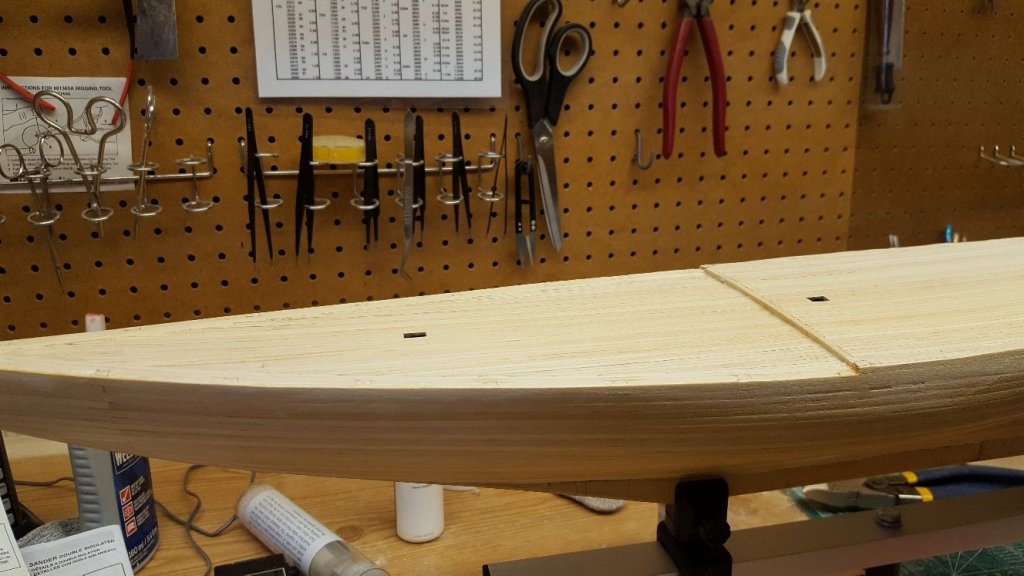
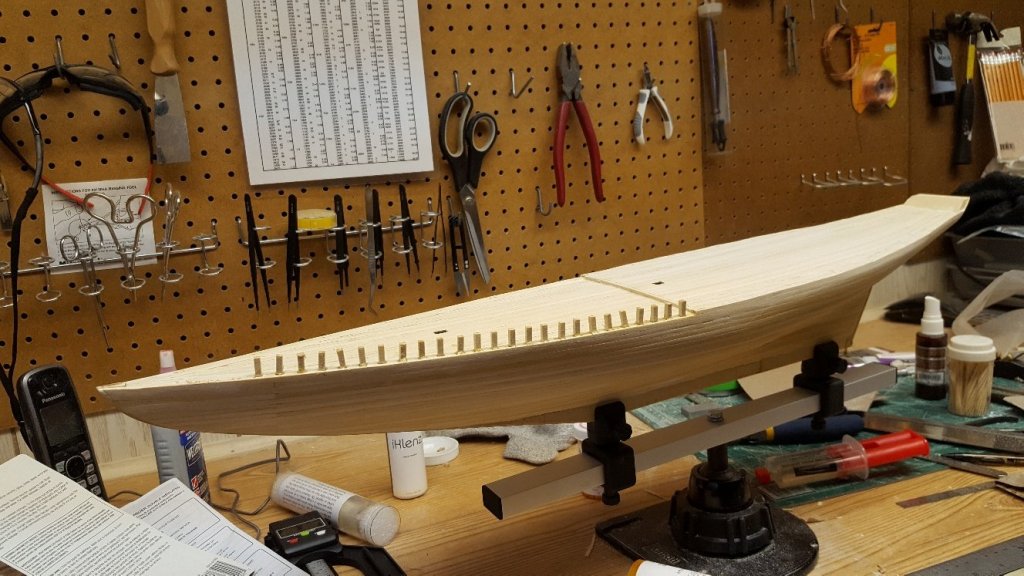
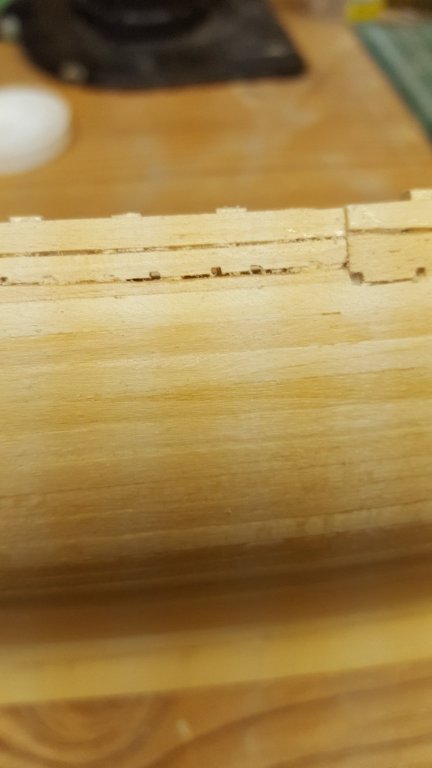
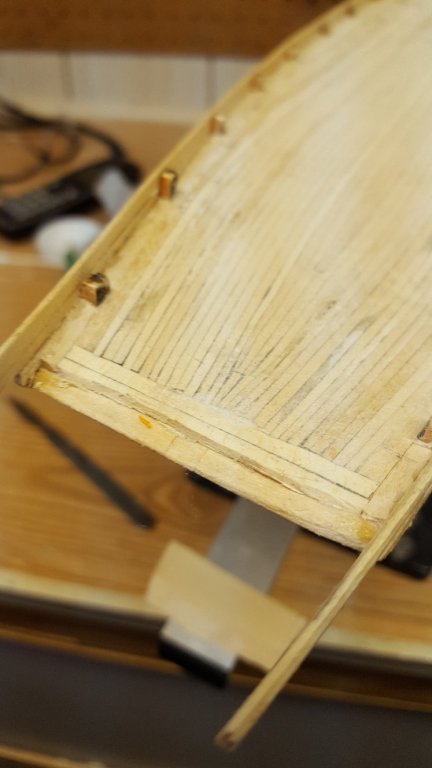
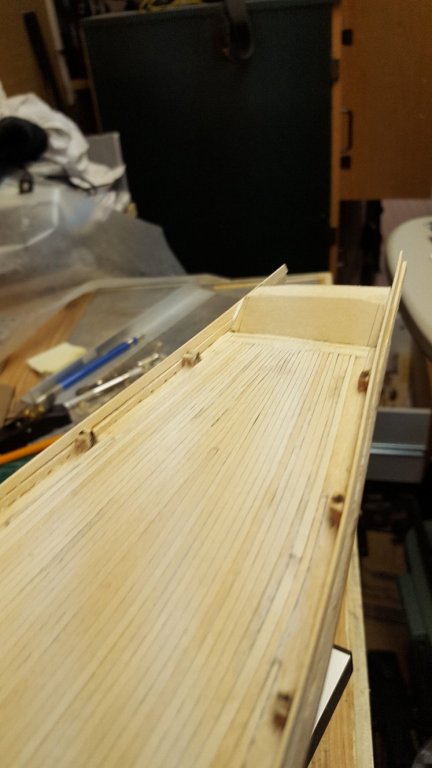
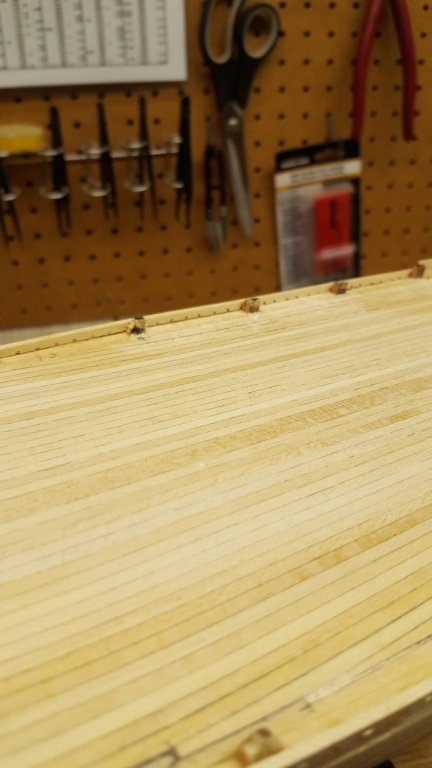
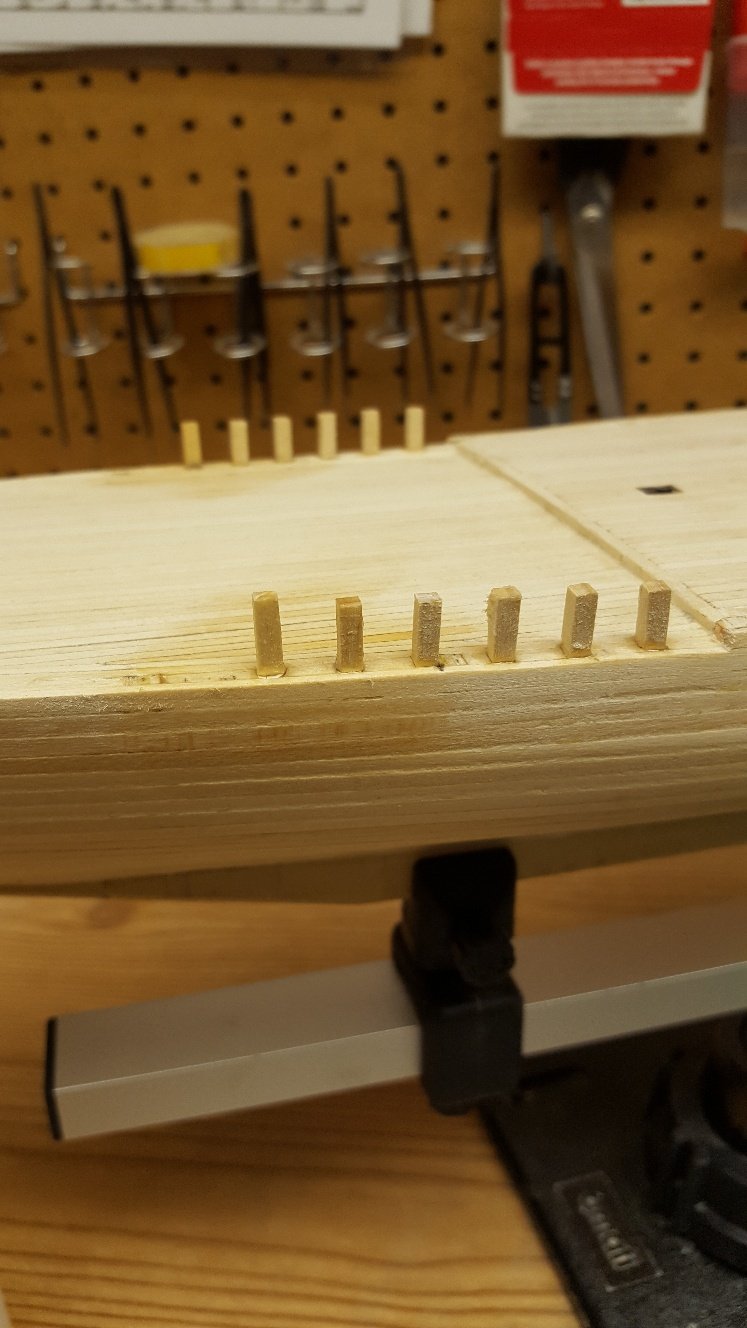
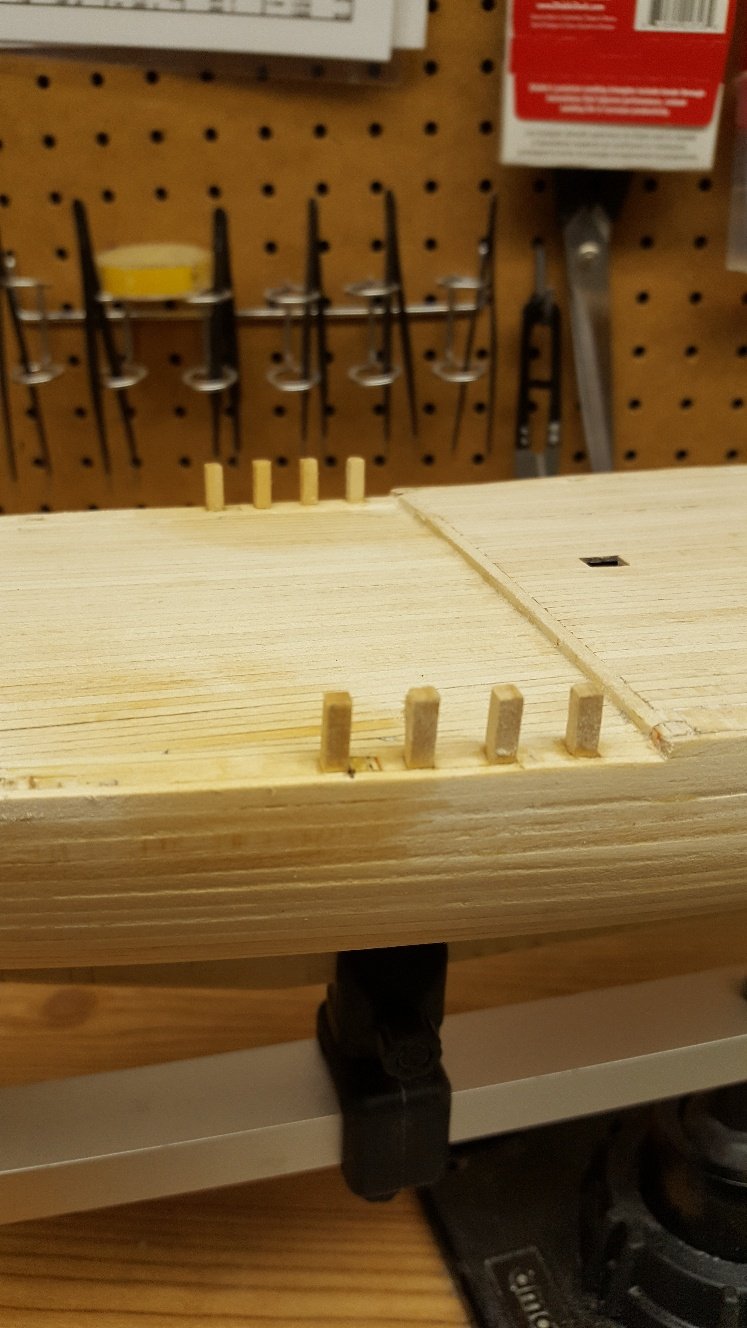
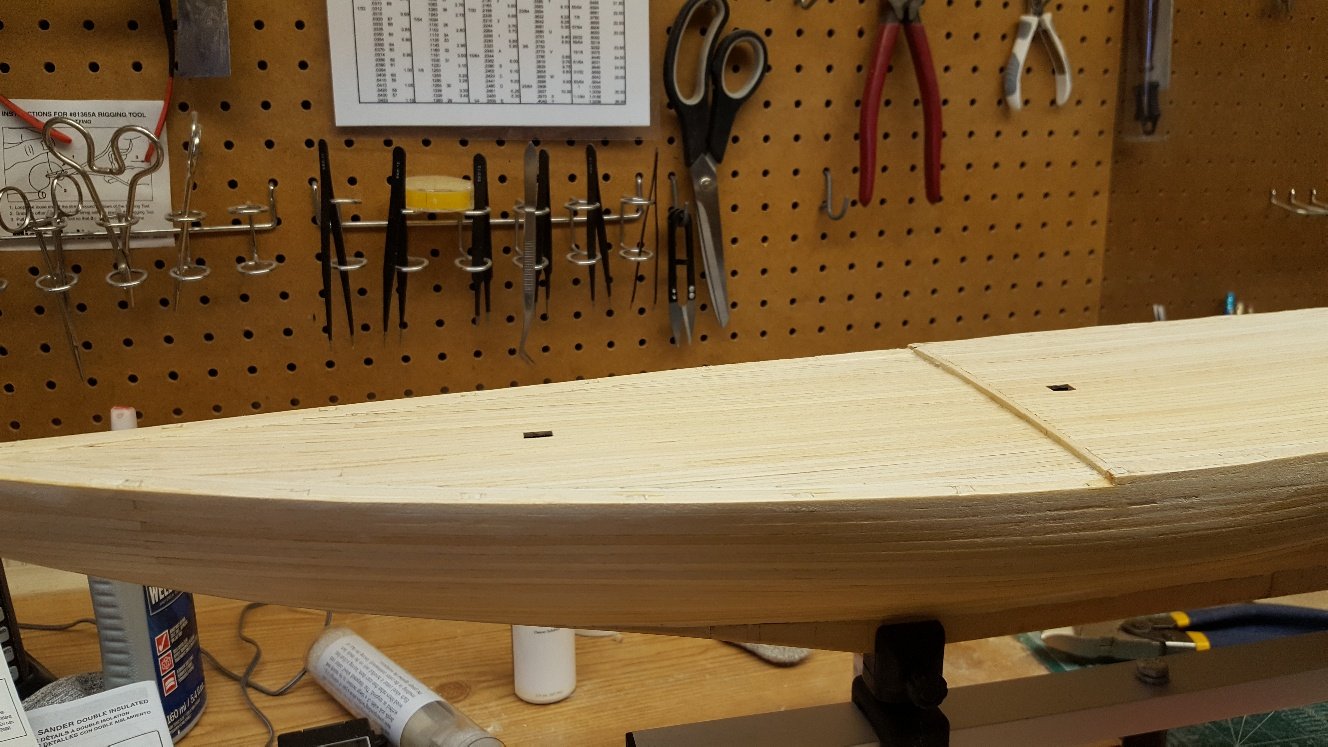
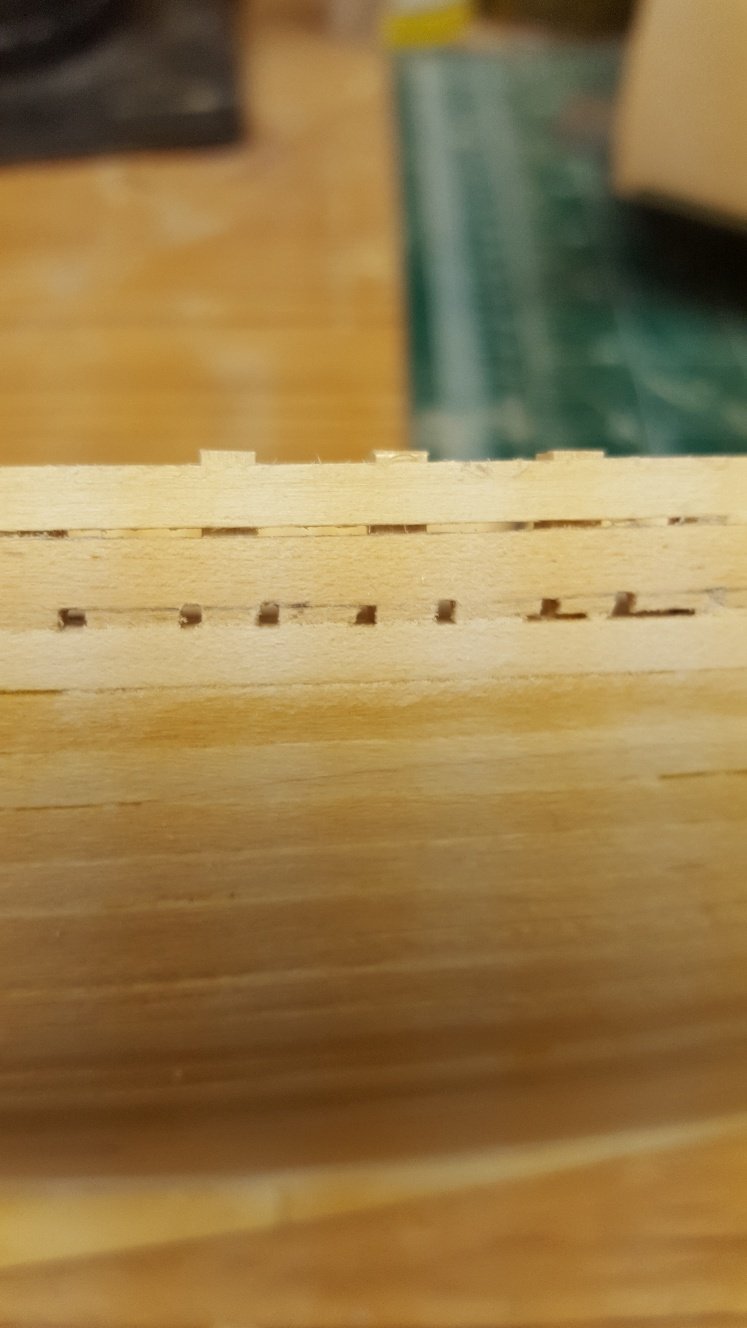
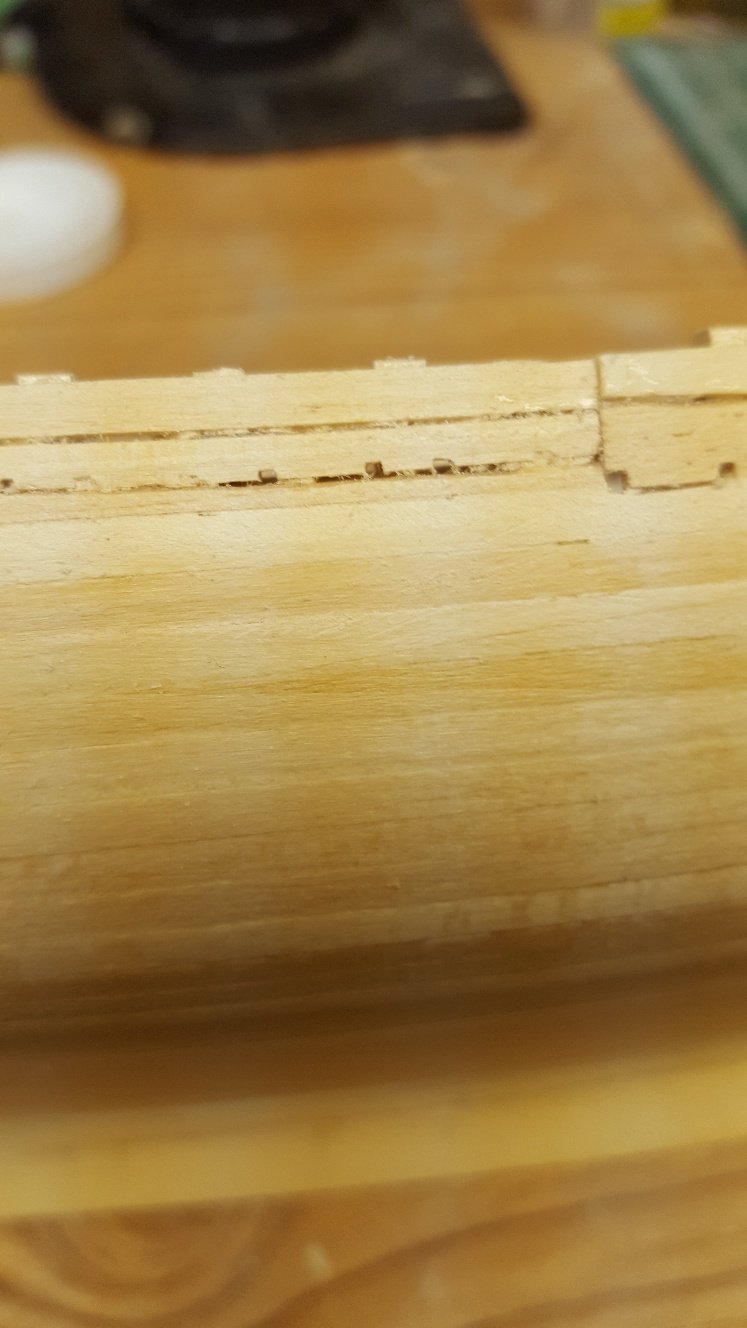
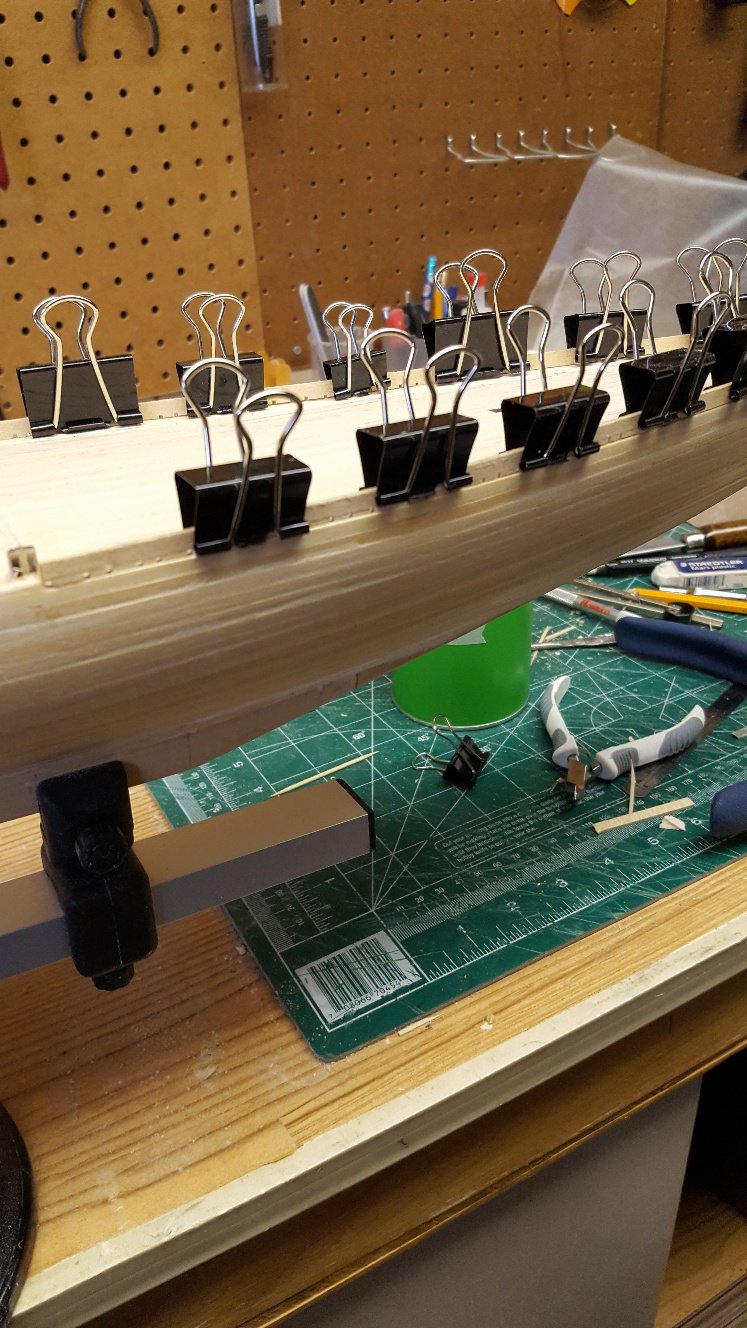
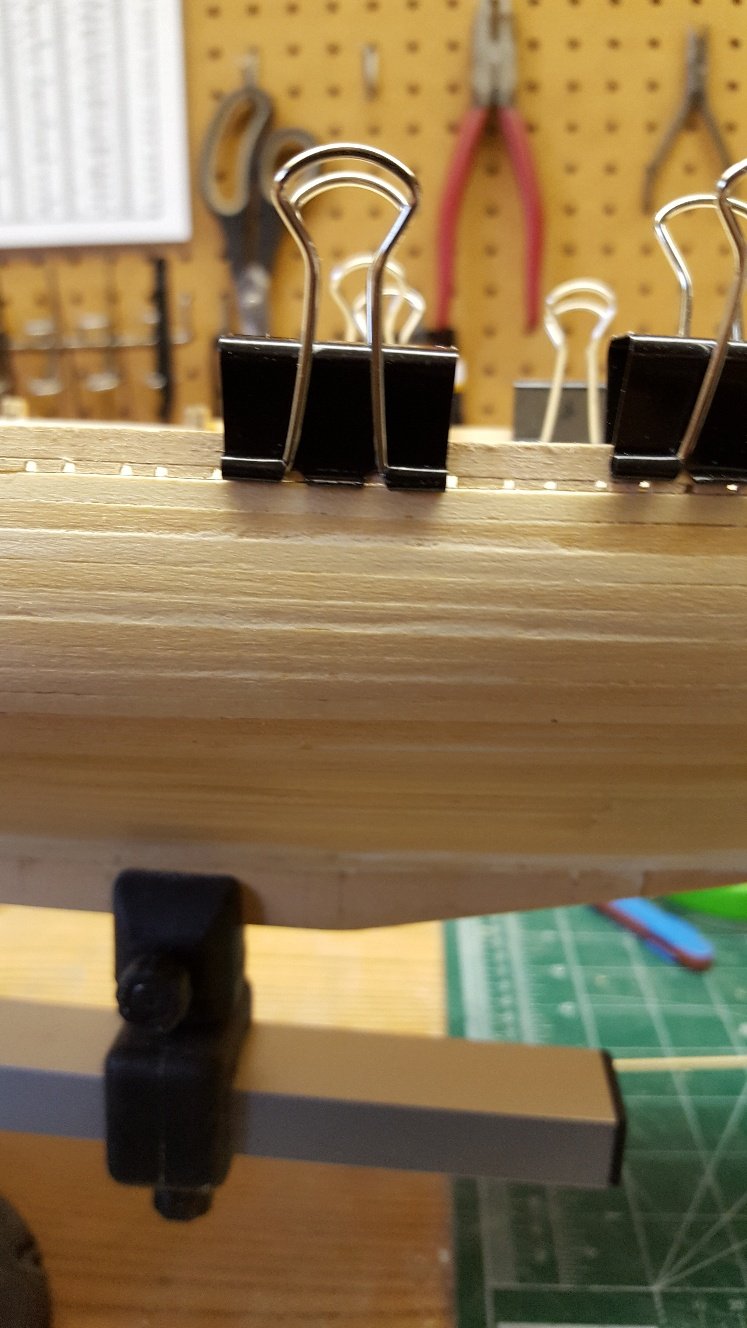
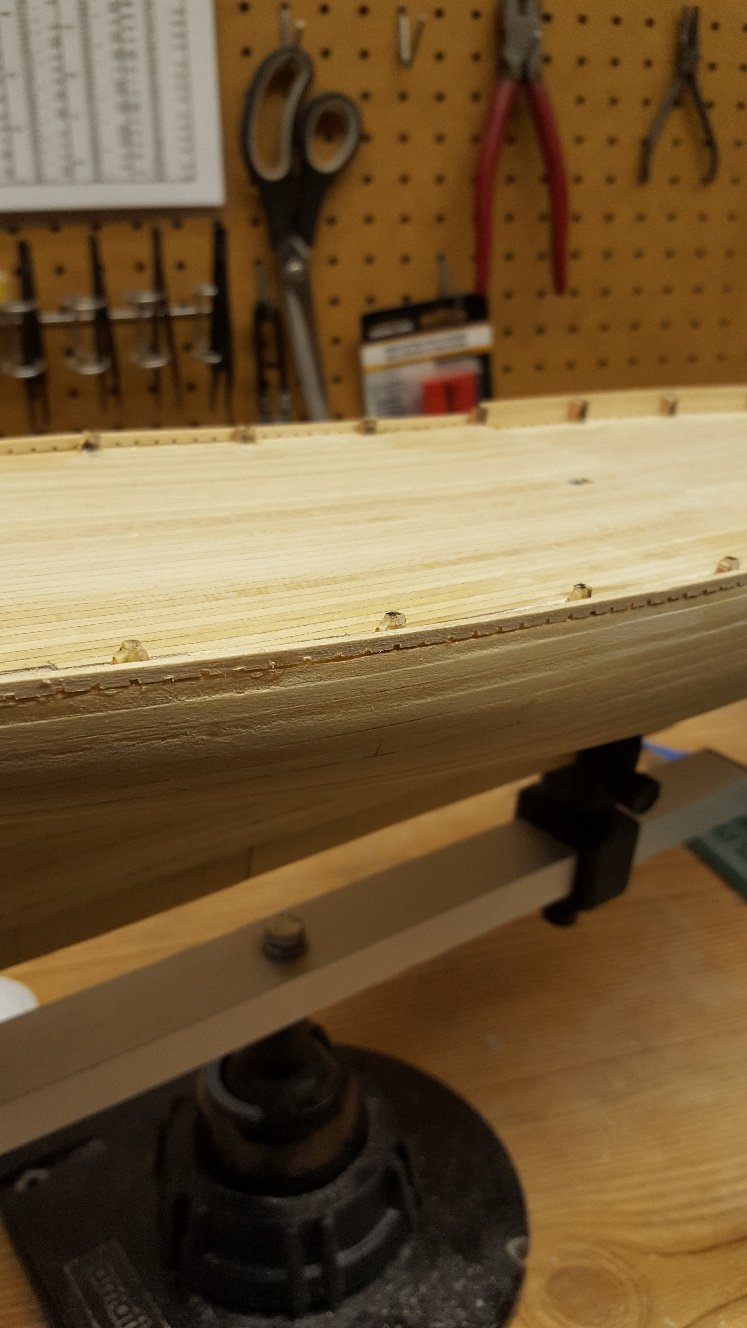
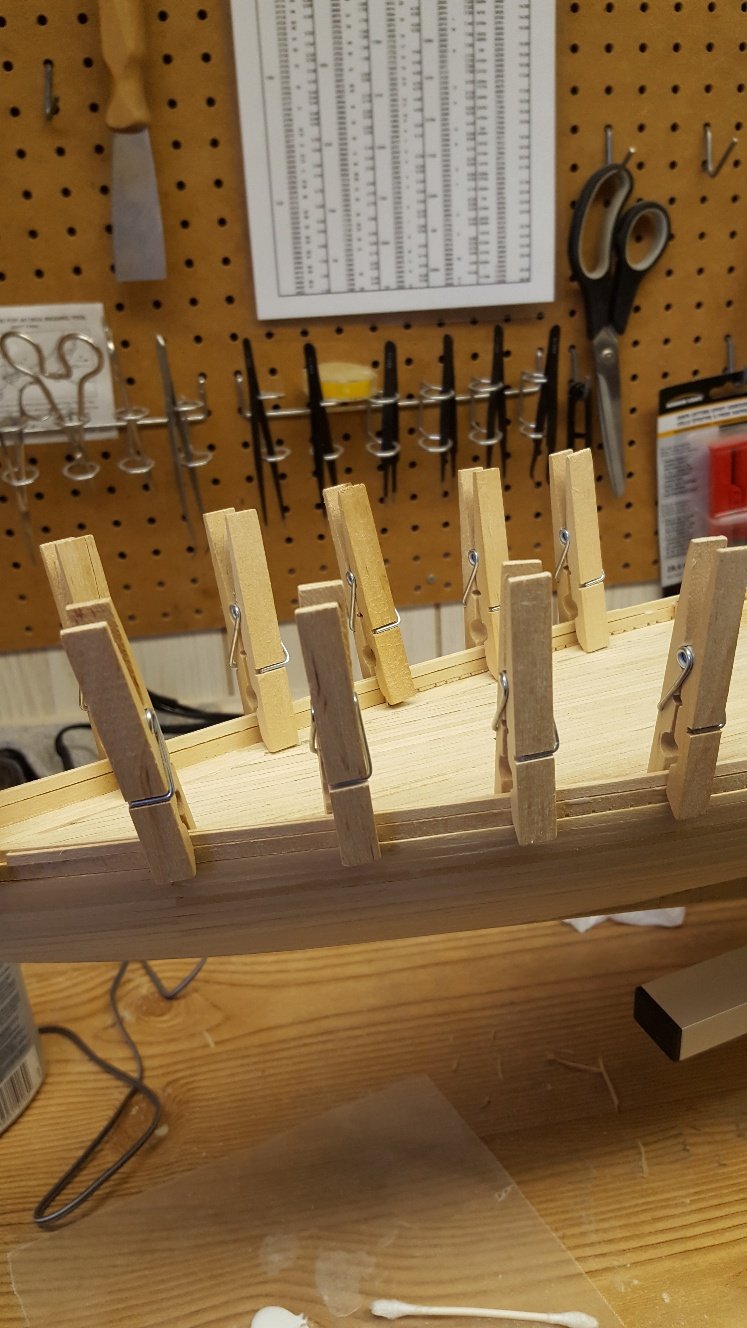
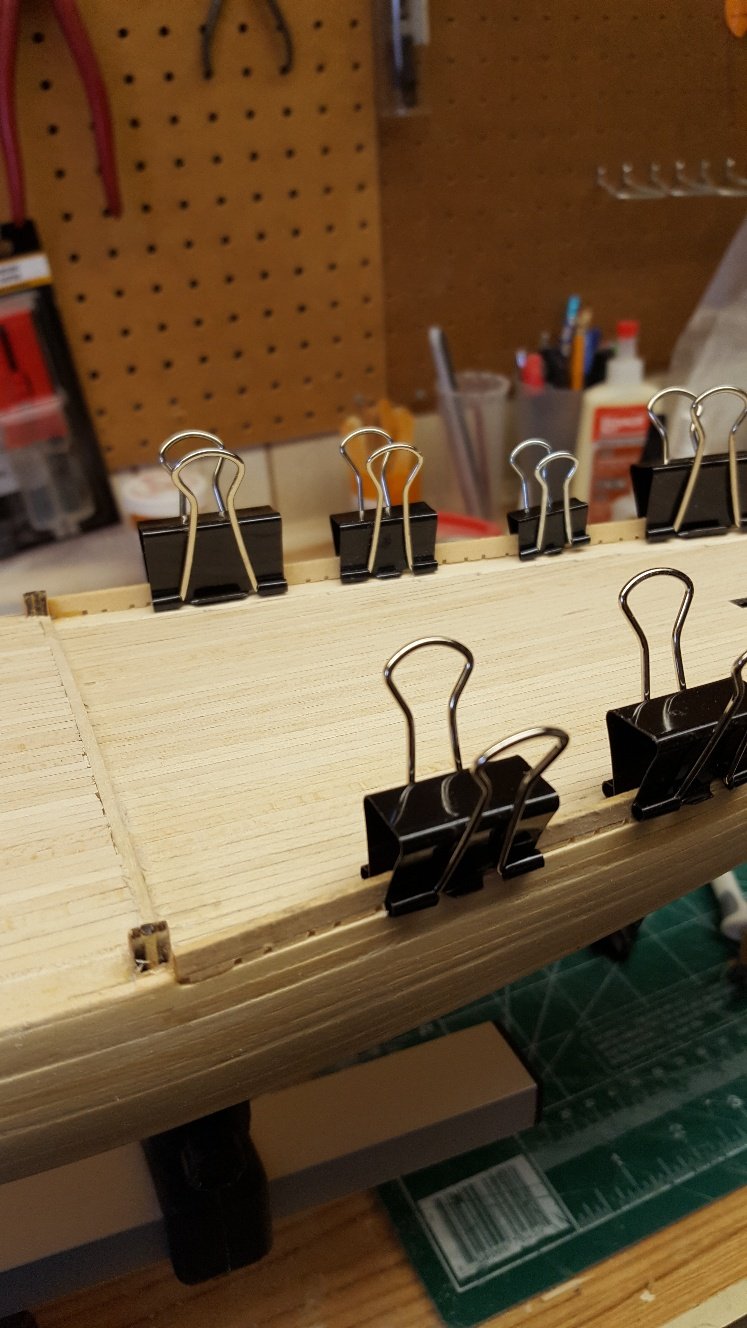
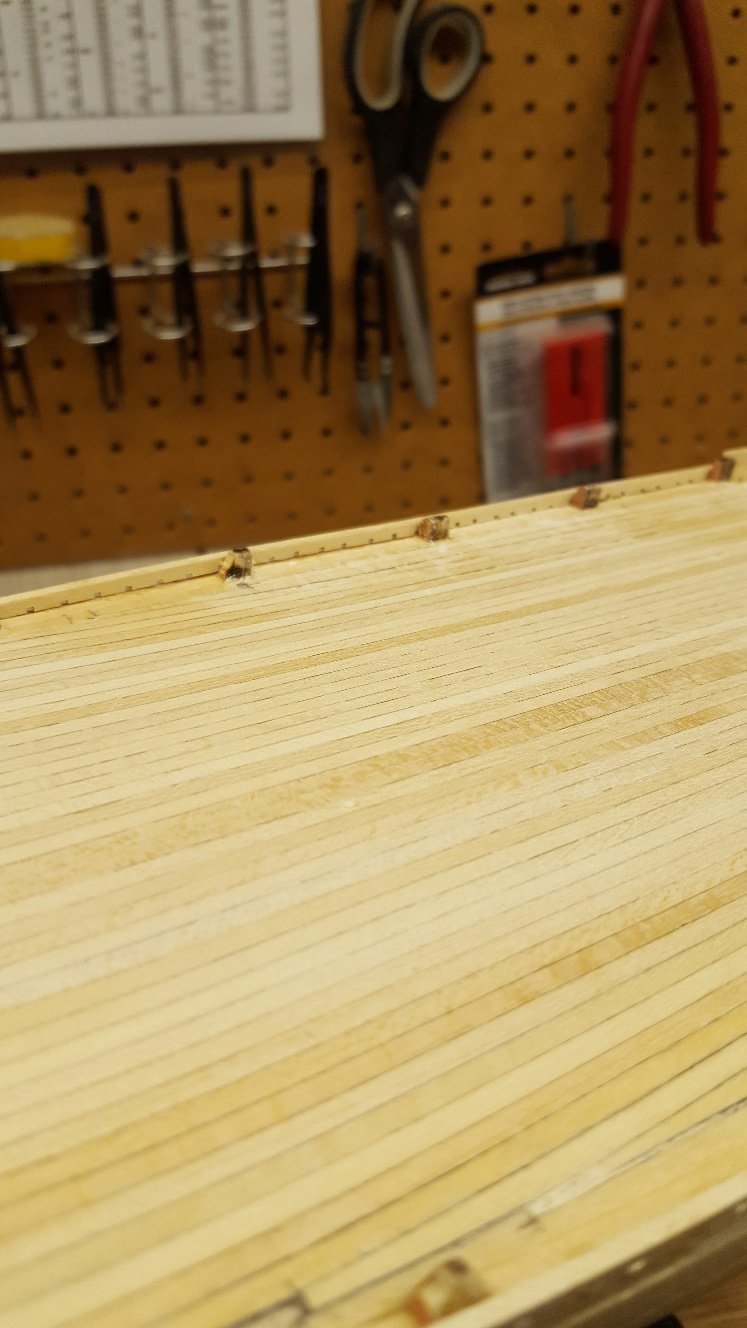
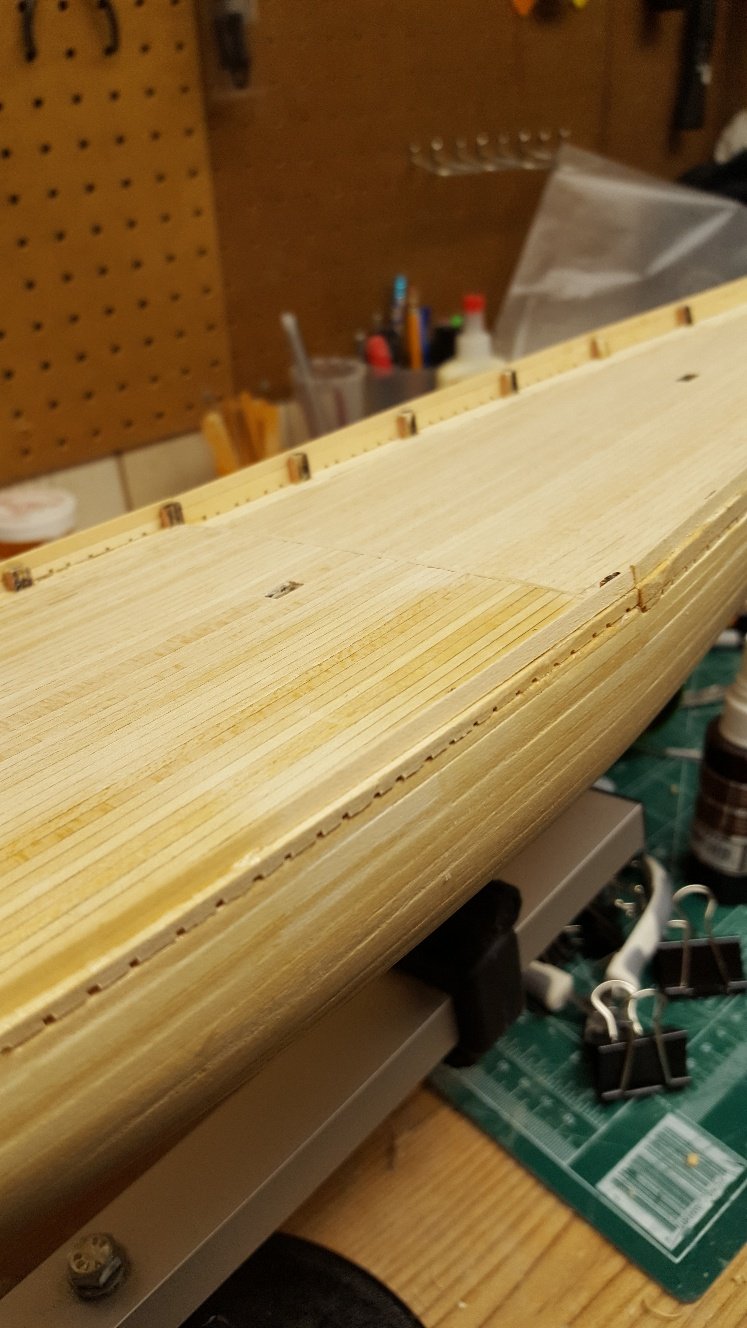
I find it's hard to stay away from the Bluenose. I have managed to set some time aside.
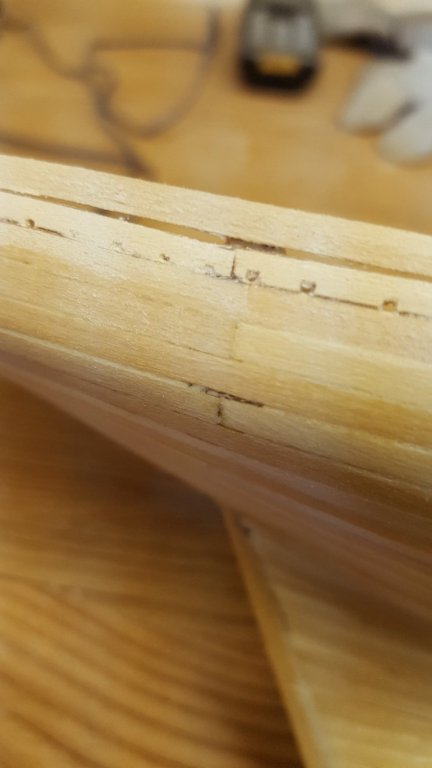
I cut in the scuppers and added the upper planking. According to the practicum I'm using it suggests doing this before installing the false frame timbers. Things didn't exactly come together as tightly as I hoped but I think I can fix it when I do add the timbers.


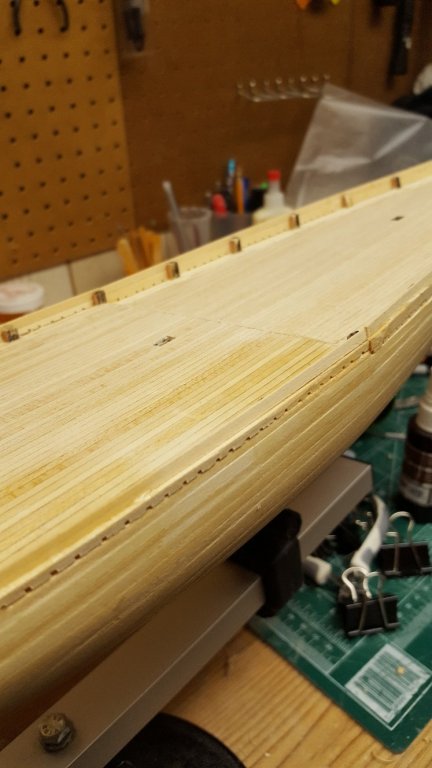
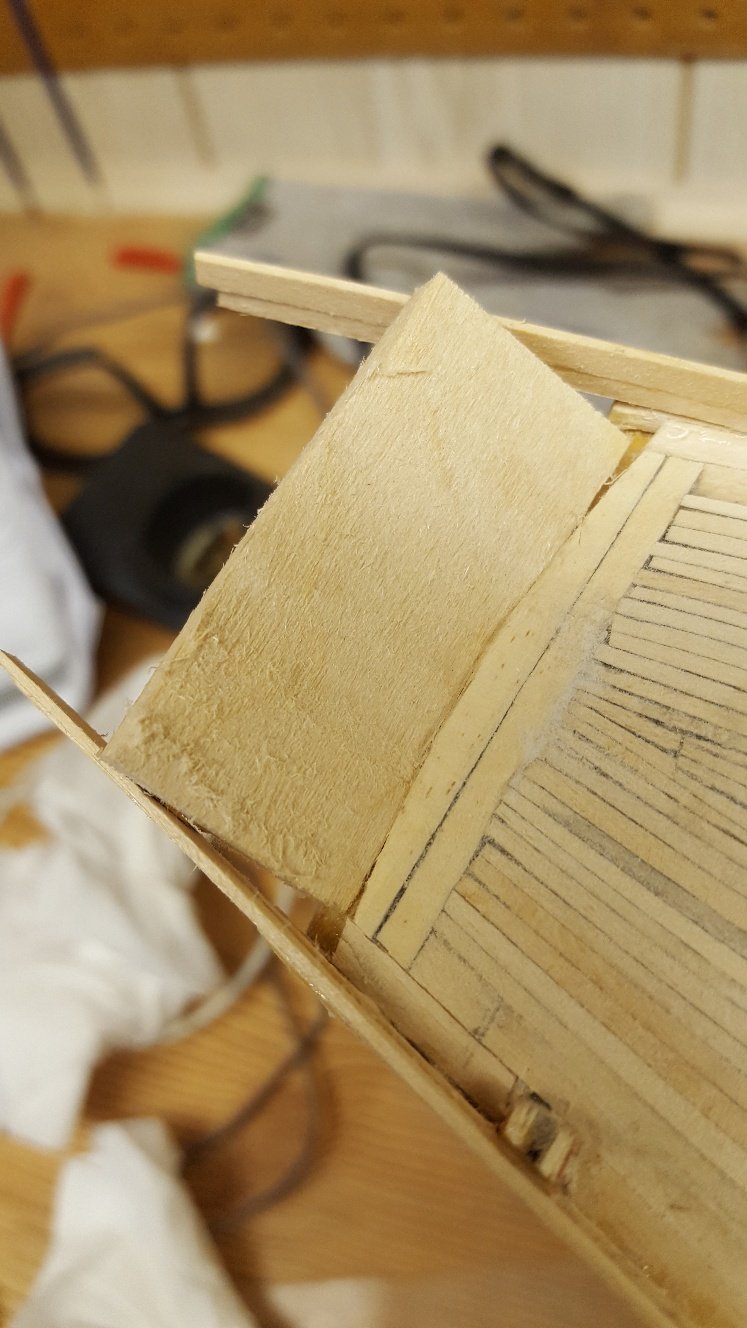
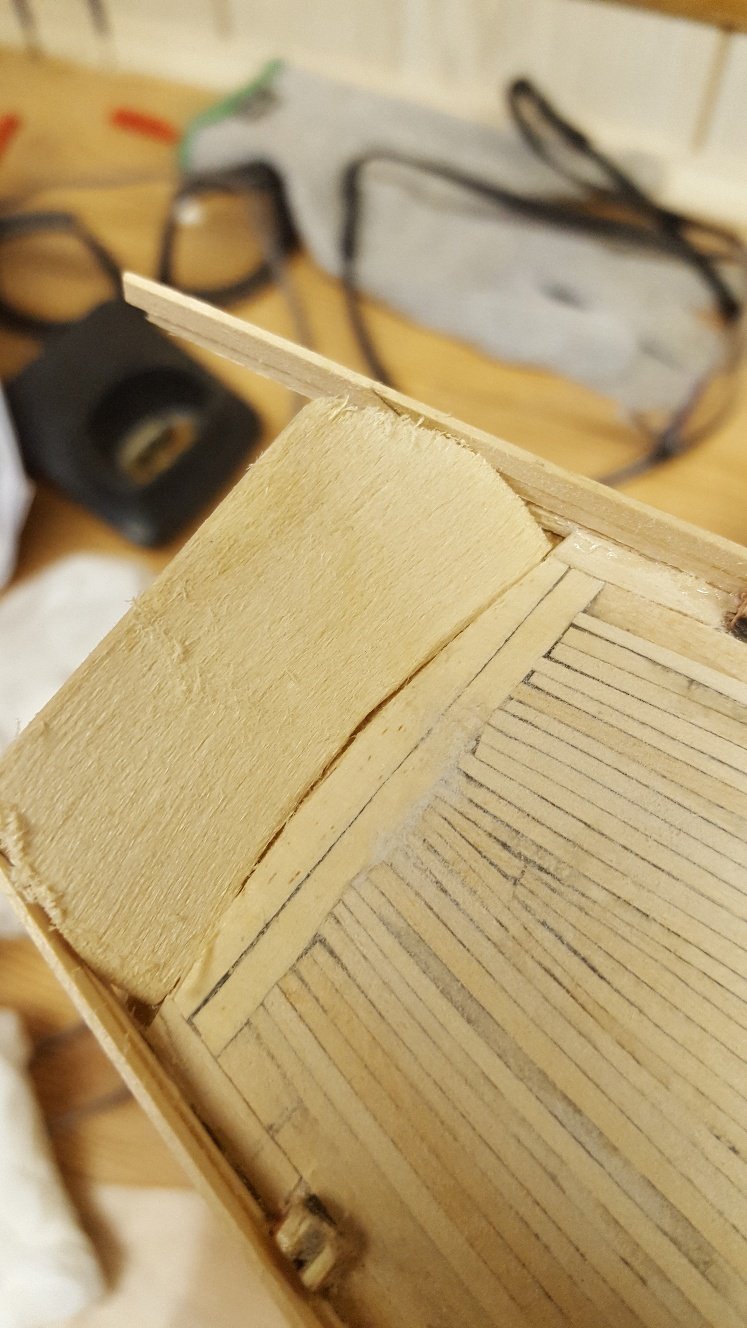
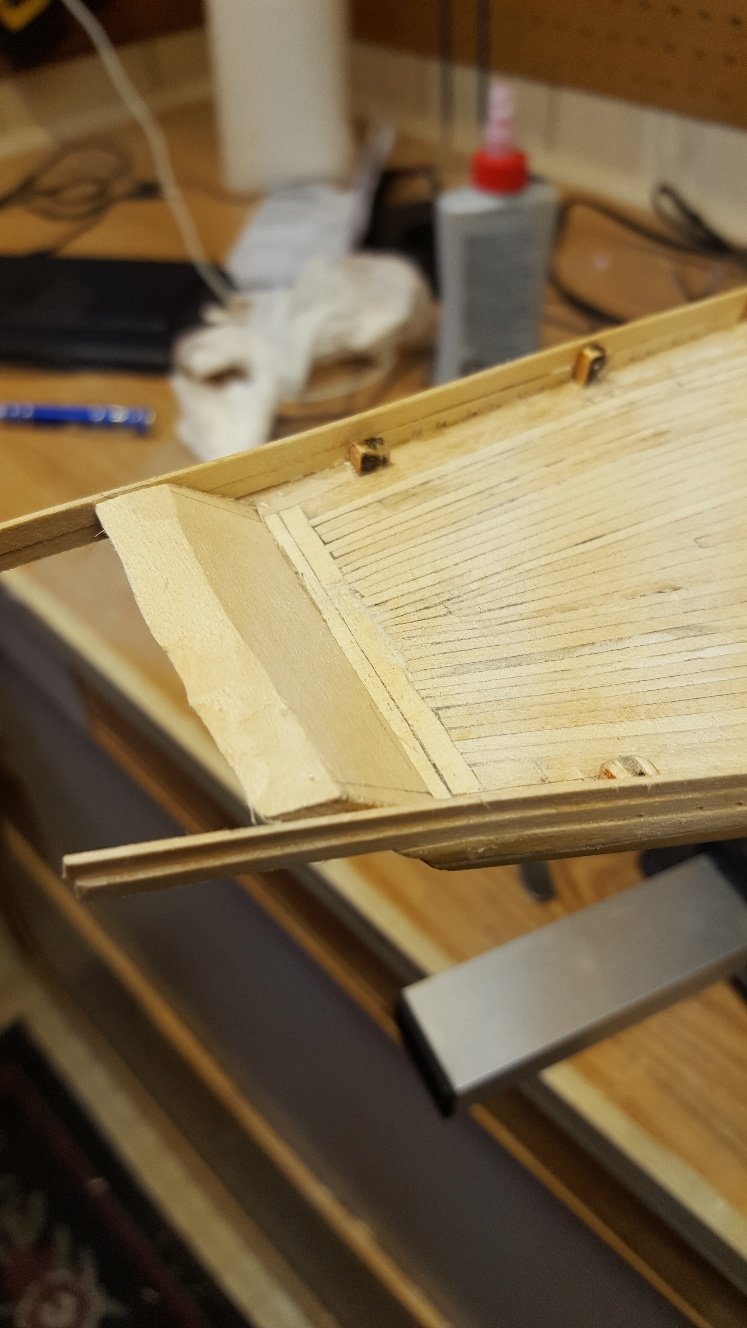
Another problem I had to deal with was adding the stern transom. The practicum suggested rounding the filler piece. I had difficulties with that and went through a couple of tries that ended up in the garbage.

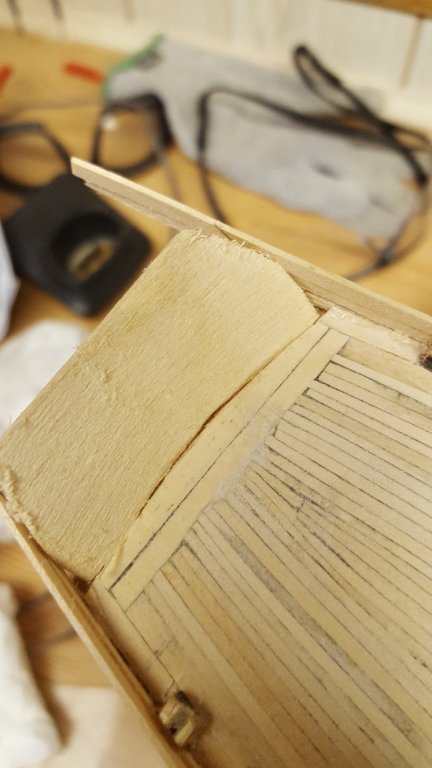
I decided to square everything up which really helped me and I fitted the piece quite easily.

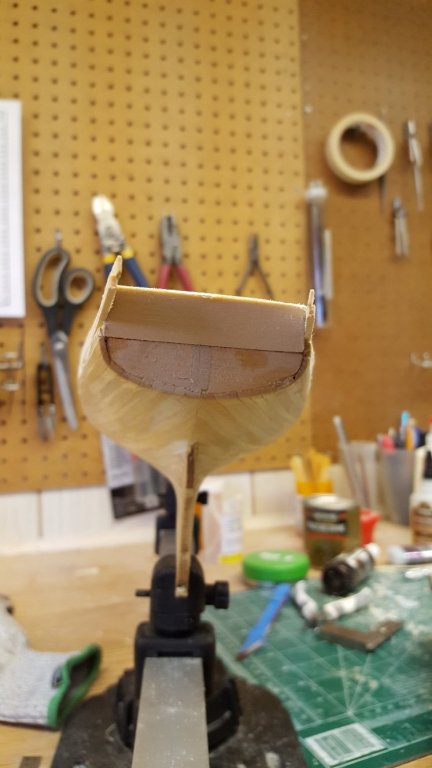
A little more fine tuning and it should be fine.


-
-
Nice job Steve. BTW, your shop is way too neat and tidy.
-
Sometimes I take painting to be a blessing in disguise. You don't have to be perfect, you can add fill, then once sanded you paint over all the imperfections hiding them forever. In my case, I'm glad the waterways will be painted. I haven't done as nice a job as you have. I look forward to following along with this build.
-
Just found this log and will pull up a chair. I am also a fan of natural wood but have to admit your paint job looks great. I plan on painting my Bluenose, I only hope I can do it the same justice.
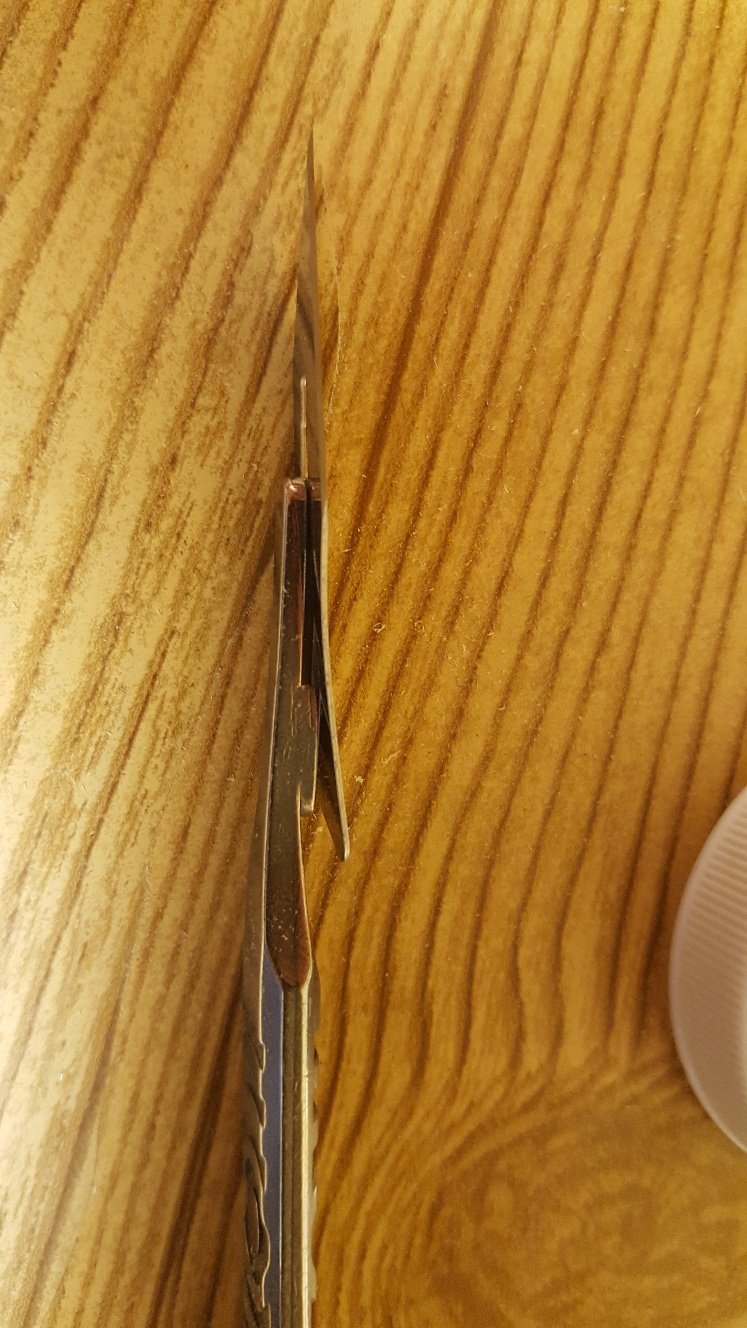


Swann-Morton Scapel
in Modeling tools and Workshop Equipment
Posted
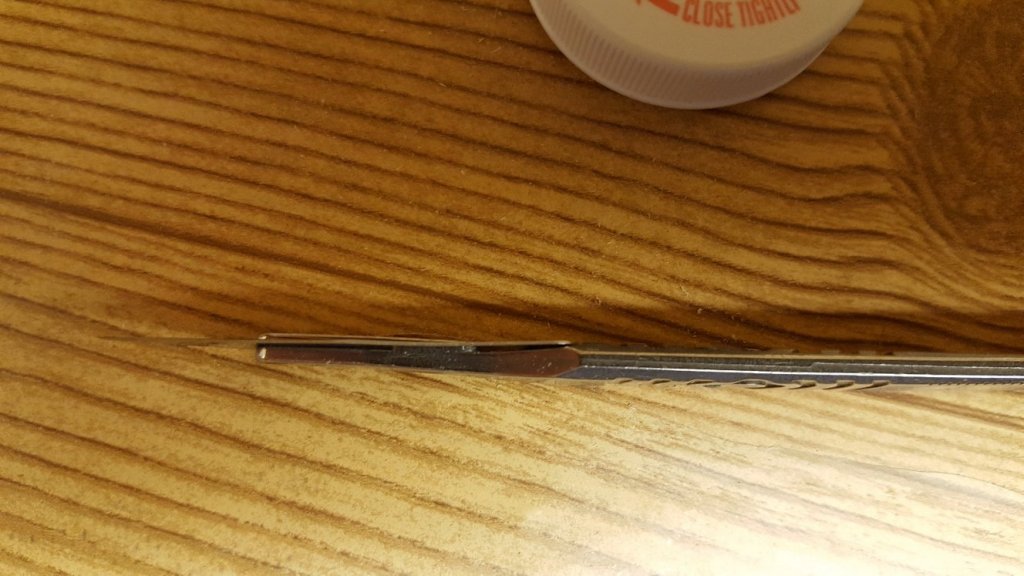
Just as a side note, I made this inexpensive way to safely dispose of scalpel blades and other sharp blades such as razor blades. I bought a can of beef stock. Instead of cutting off the top, I simply put a slot in the top carefully with a heavy kitchen knife. I then emptied the contents of the can into a soup I was making and rinsed it out several times. It takes a bit of patience because you are trying to rinse it through a narrow slot. When dull I slip the used blade through the slot. I have been using it for two plus years now and it's still not close to being filled. When it is full you can simply recycle it.