
.jpg.4b9546914df2c235b4fe82d7c03670bd.jpg)

Worldway
-
Posts
628 -
Joined
-
Last visited
Content Type
Profiles
Forums
Gallery
Events
Posts posted by Worldway
-
-
Steve, very nice. I love the detail you have put into this. Great job.
-
I'm pulling up a seat on this one. Looking forward to the build.
- Bill Morrison and Nirvana
-
 2
2
-
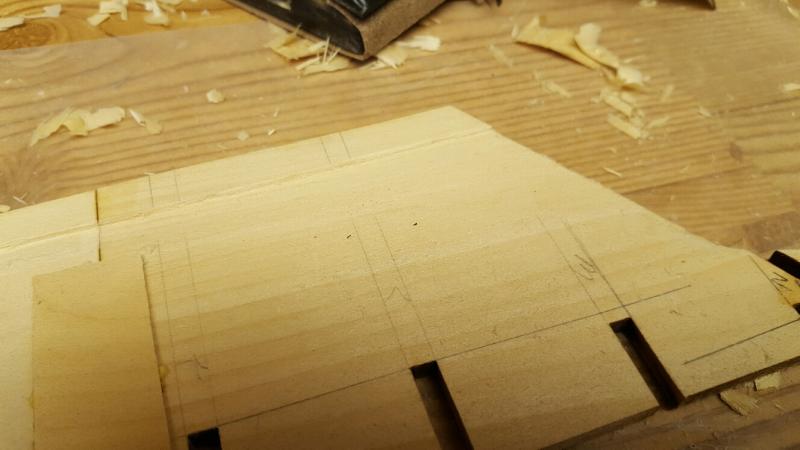
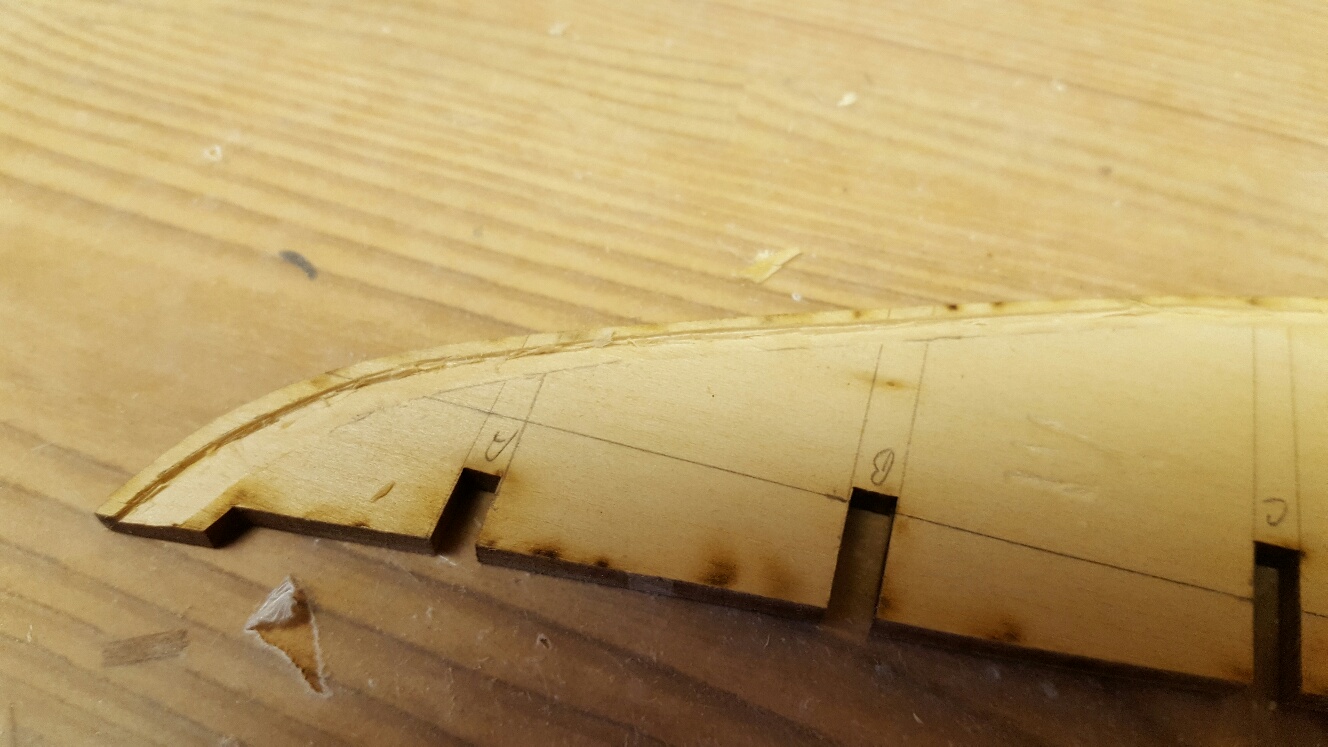
Haven't made a lot of progress. I added some bracing over the joints of the keel, market the bearding and rabbet lines and started cutting the joint. It's going fairly well. I got one side done but will give my hand a rest before I start the next side.
- hof00, Nirvana, genericDave and 6 others
-
9
-
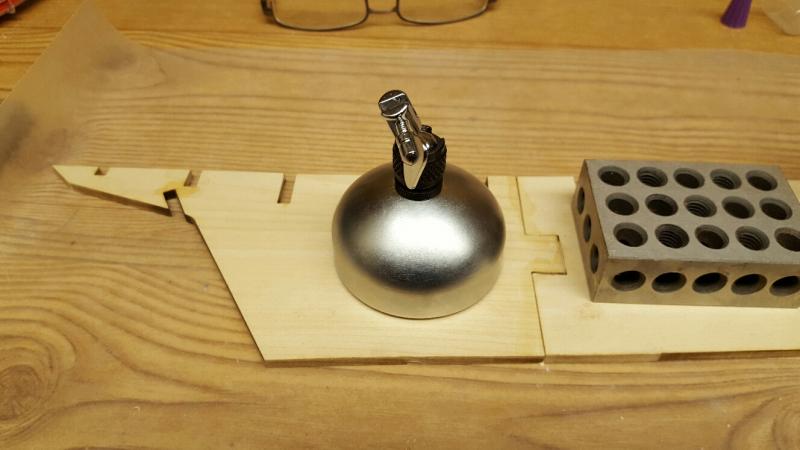
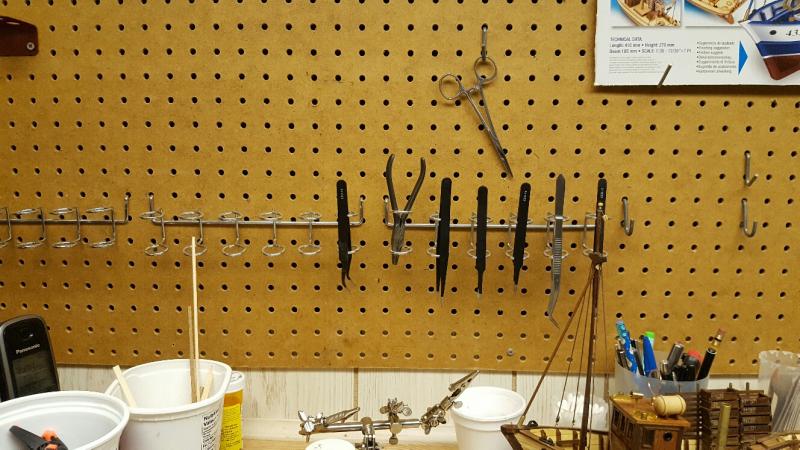
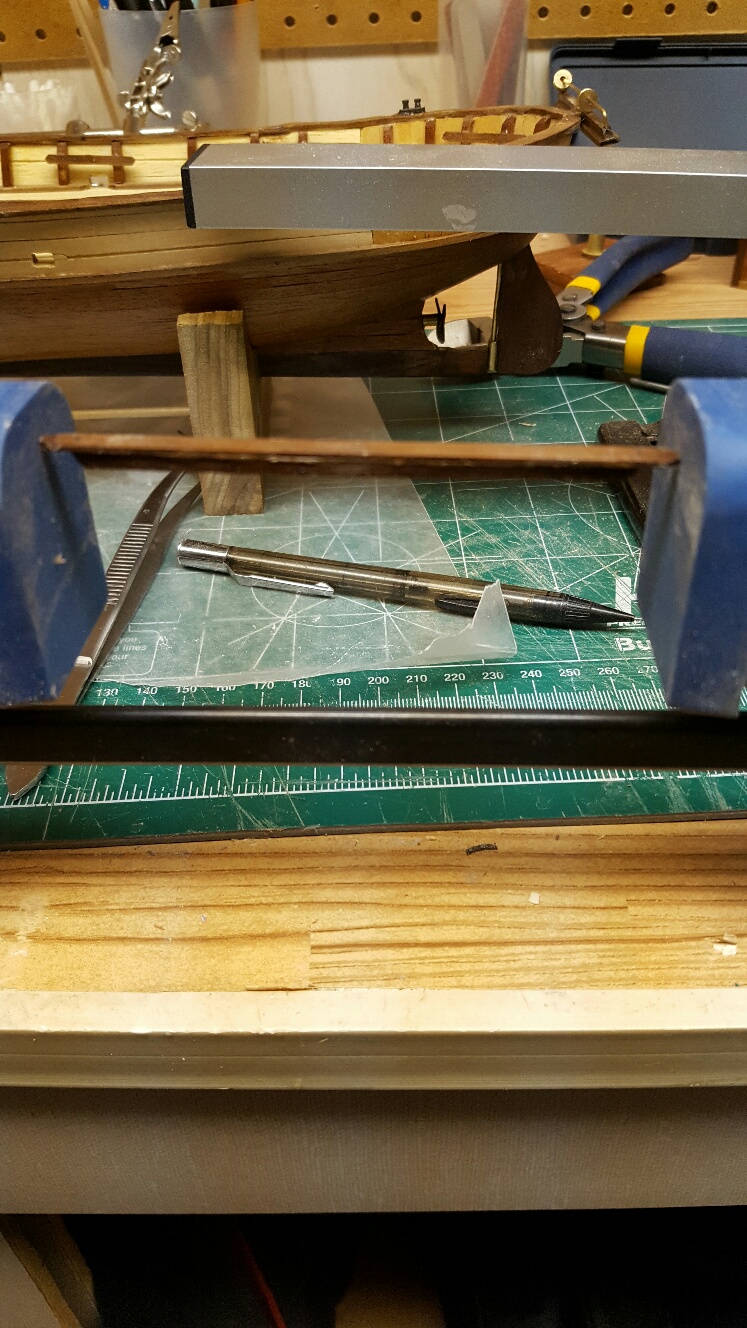
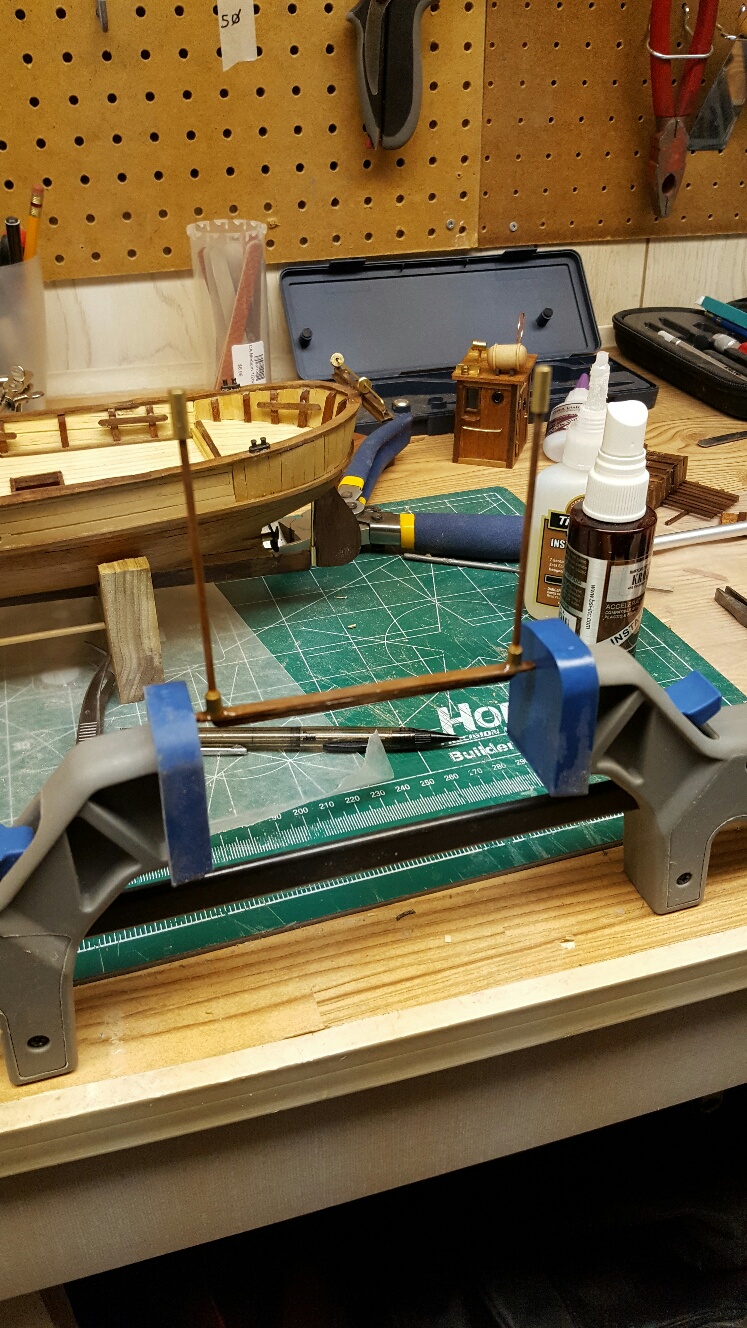
My dad worked on Canadian military jets during his career in the RCAF. With jets, most if not all nuts/bolts had a securing wire twisted on to them to ensure they don't unscrew similar to the picture below.
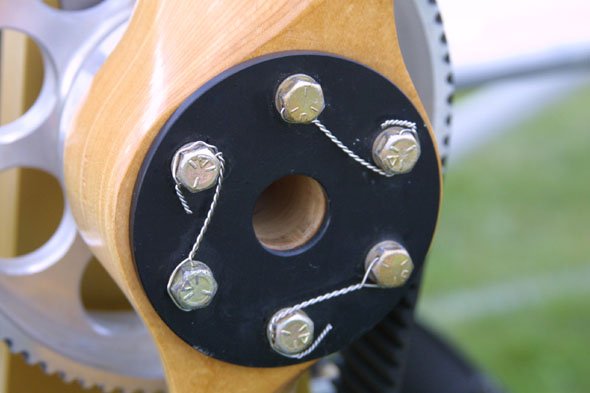
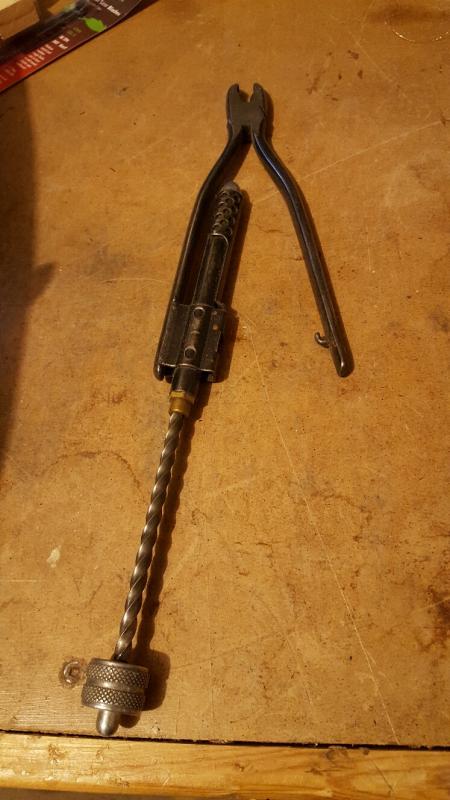
This tool was made to do just that. The pliers clamp on to the wire and by pulling the screw thread, they turned the pliers thereby twisting the wire. I figure they will be invaluable when I make my own eye bolts. I haven't figured out yet but I'm sure they will have a lot more uses in the model building world.
-
-
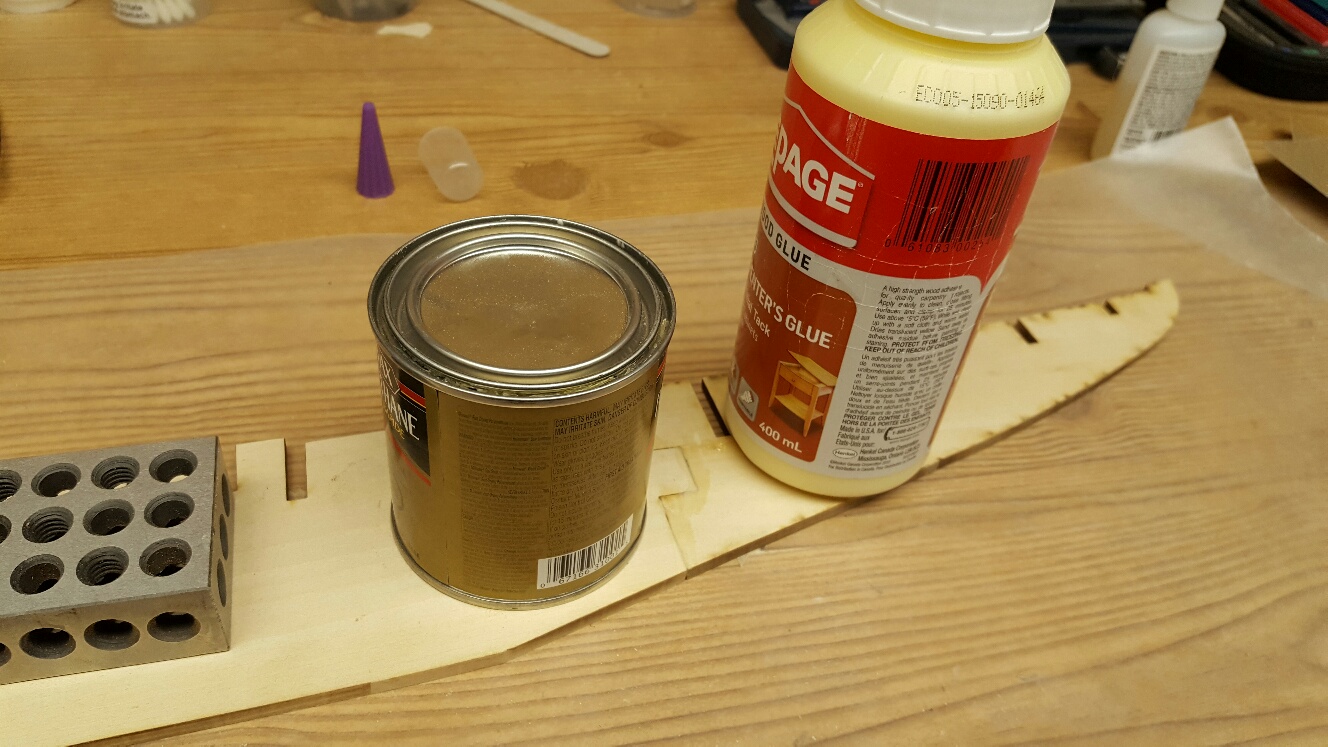
I went down to my shop tonight to grab something really quick, and well, one thing led to another.......

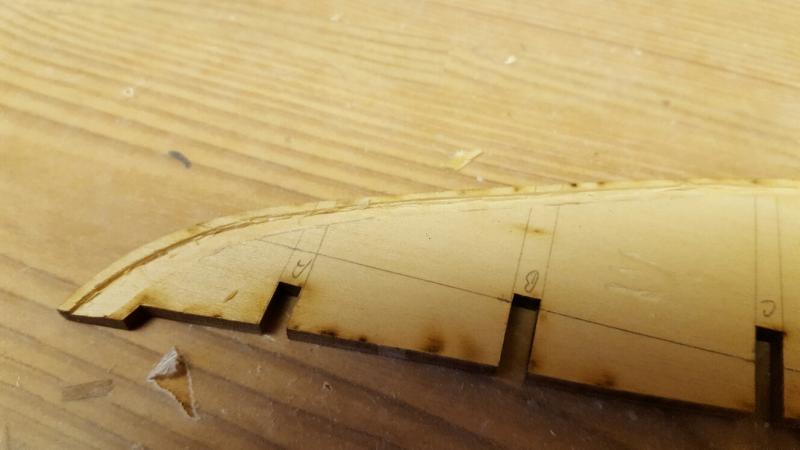
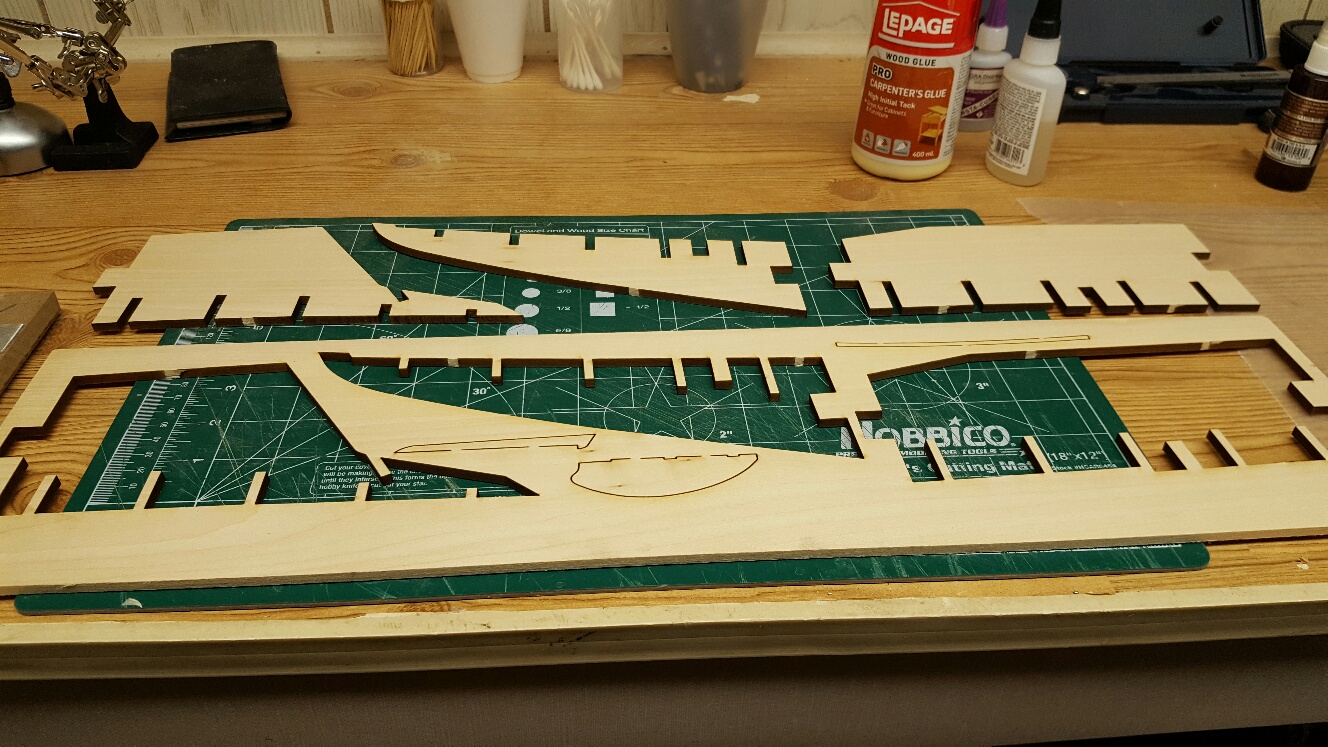
So, from reading other logs I knew that the aft section of the false keel was delicate. I still managed to break it. Luckily it didn't snap off, it was just a fracture, so I applied a bit of CA and was back in the game again.
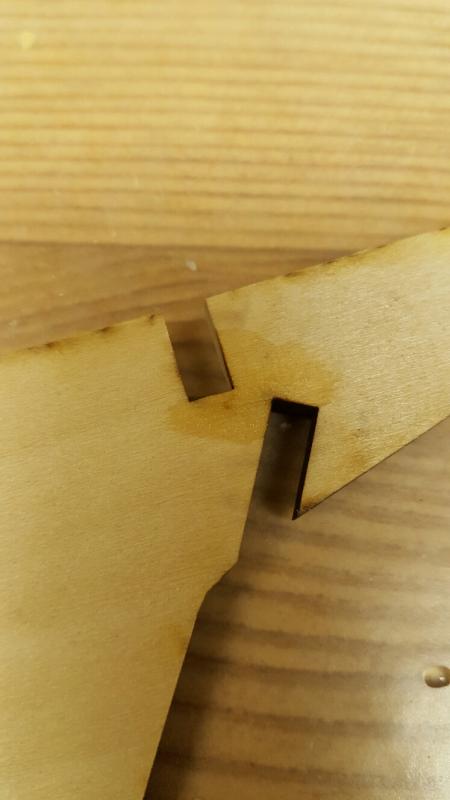
After that, I figured it was safer to sand the laser char with the keel on edge.
While sanding the middle keel, I guess I got too aggressive and, once again, I fractured the part
More CA and everything was fine. I think I was lucky that nothing completely broke off.
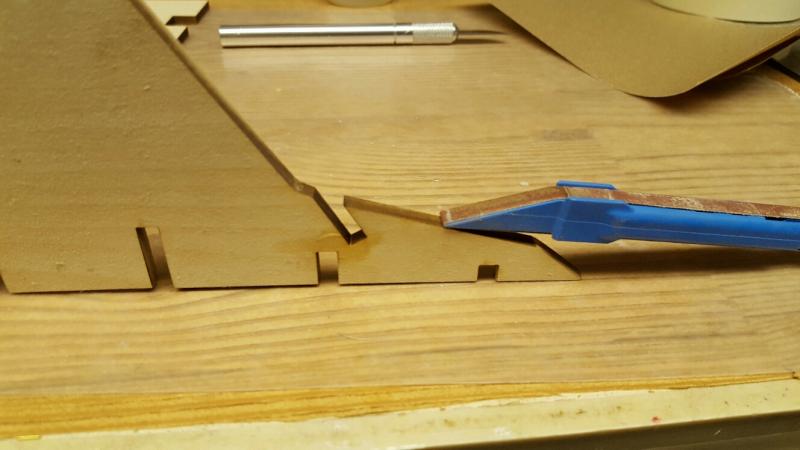
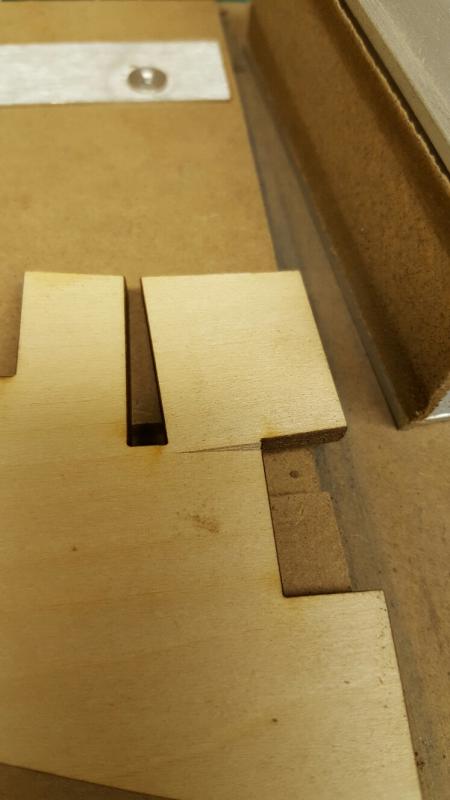
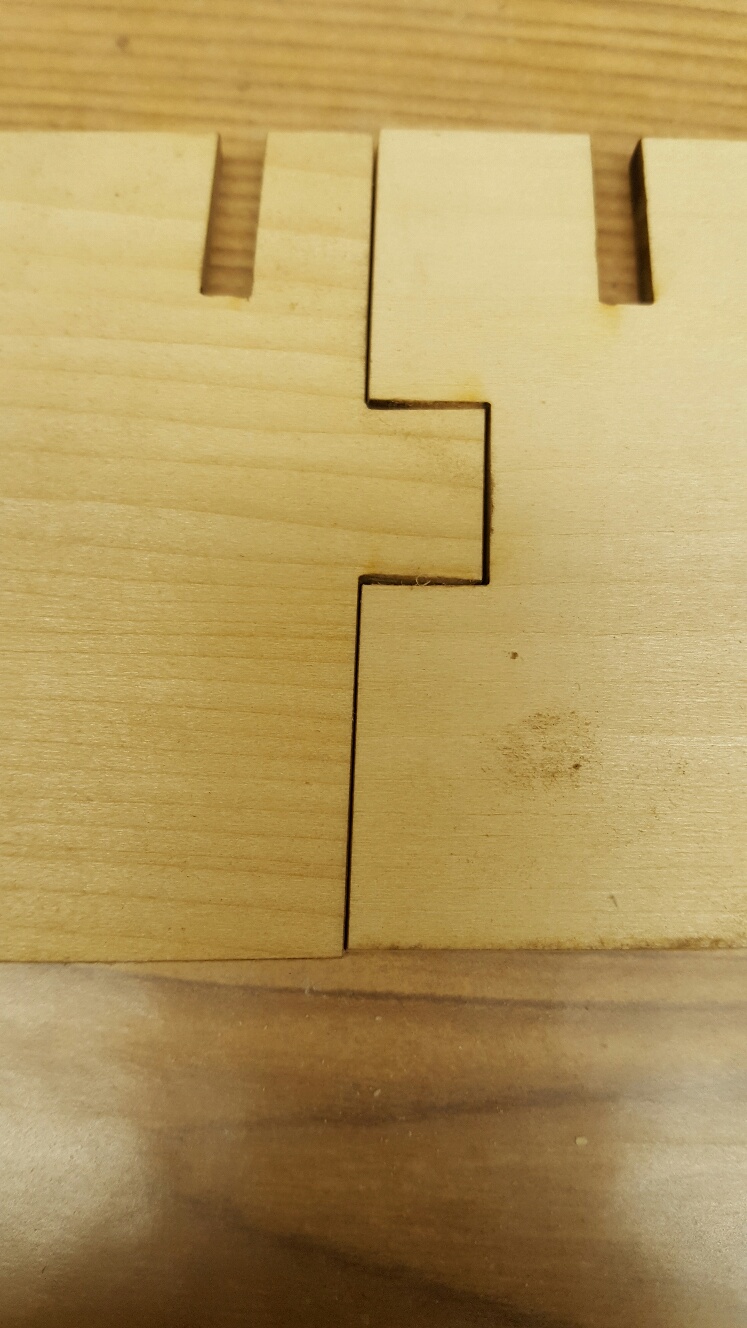
I wan't happy with the fit between the aft and middle bulkheads so did additional sanding (carefully) to get them better in line.
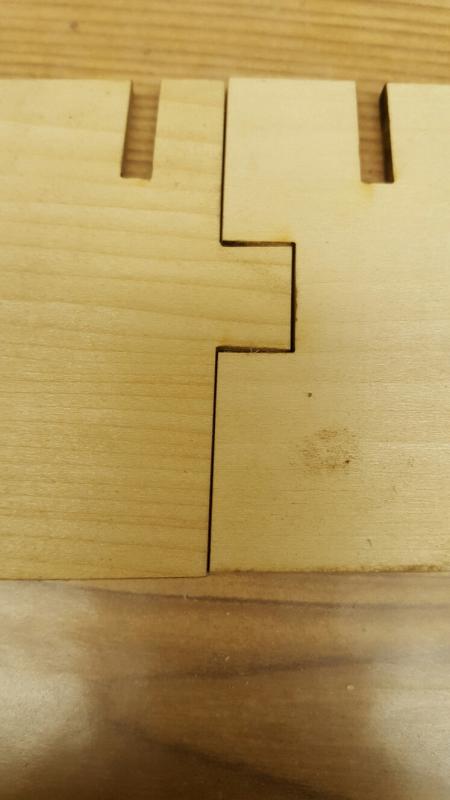
I then used a generous amount of carpenters glue to attach the three sections and added some weights. I'll let them cook over night.

- Elijah, genericDave, Nirvana and 2 others
-
5
-
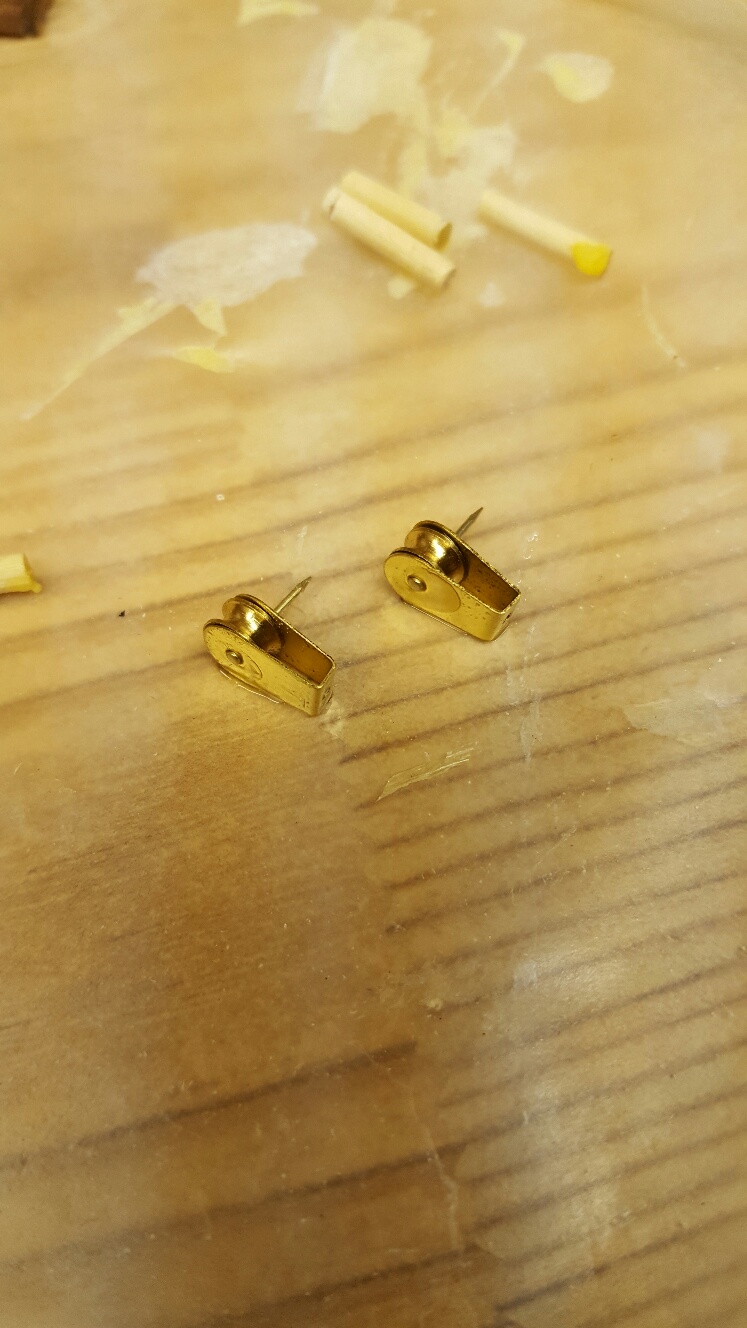
Steve, I noticed on my kit that the little pulley frame that the sliding doors sits on is mounted one way in the instructions and another way on the box cover. Did you have the same problem, and if so, which way did you mount them.
Looking great by the way.
-
This is my second build.
I received the Bluenose kit just before Christmas. The Admiral "suggested" I put it under the Christmas tree. So on Boxing Day I did an inventory. All parts were present and accounted for. However, one problem I had was that one of the dowels was badly warped. I emailed Model Shpways and had two replacement dowels in about 2 weeks. Excellent customer service. All the wood was sorted, organized and stored in cardboard tubes. I laid the plans out flat to try to get the folds out of them.
I plan on following Bob Hunt's practicum from Lauck Street Shipyards for the most part but will also be using the MS instructions manual plus other build logs on this forum.
I also purchased the book Bluenose by Brian and Phil Backman. Toronto: McClelland and Stewart, 1965. According to MS it was a major reference for the kit.
Right now I am cleaning up my workspace and getting everything prepared to start this build.
I will be pre-occupied over the next few days but hope to get started later this weekend.
- genericDave, Fright, GuntherMT and 2 others
-
5
-
-
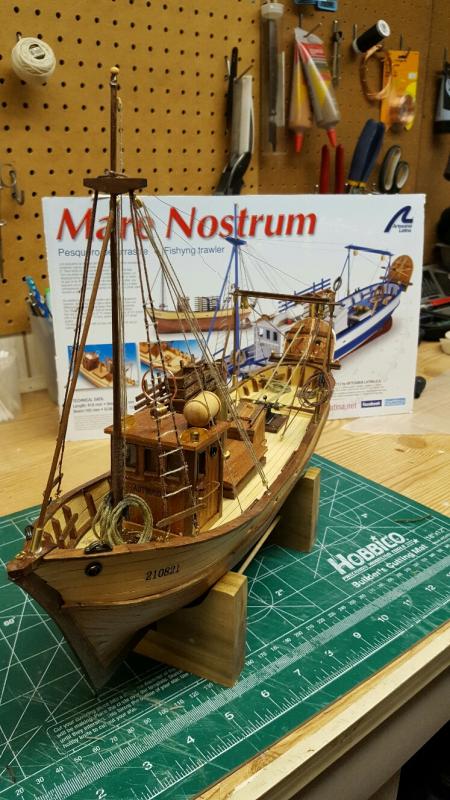
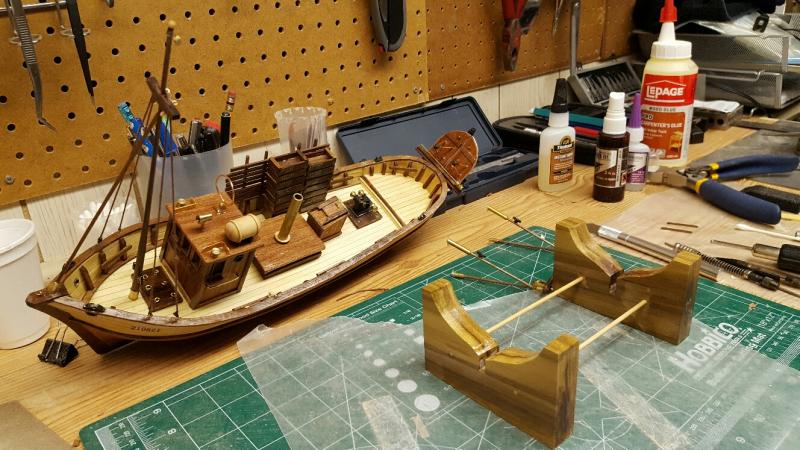
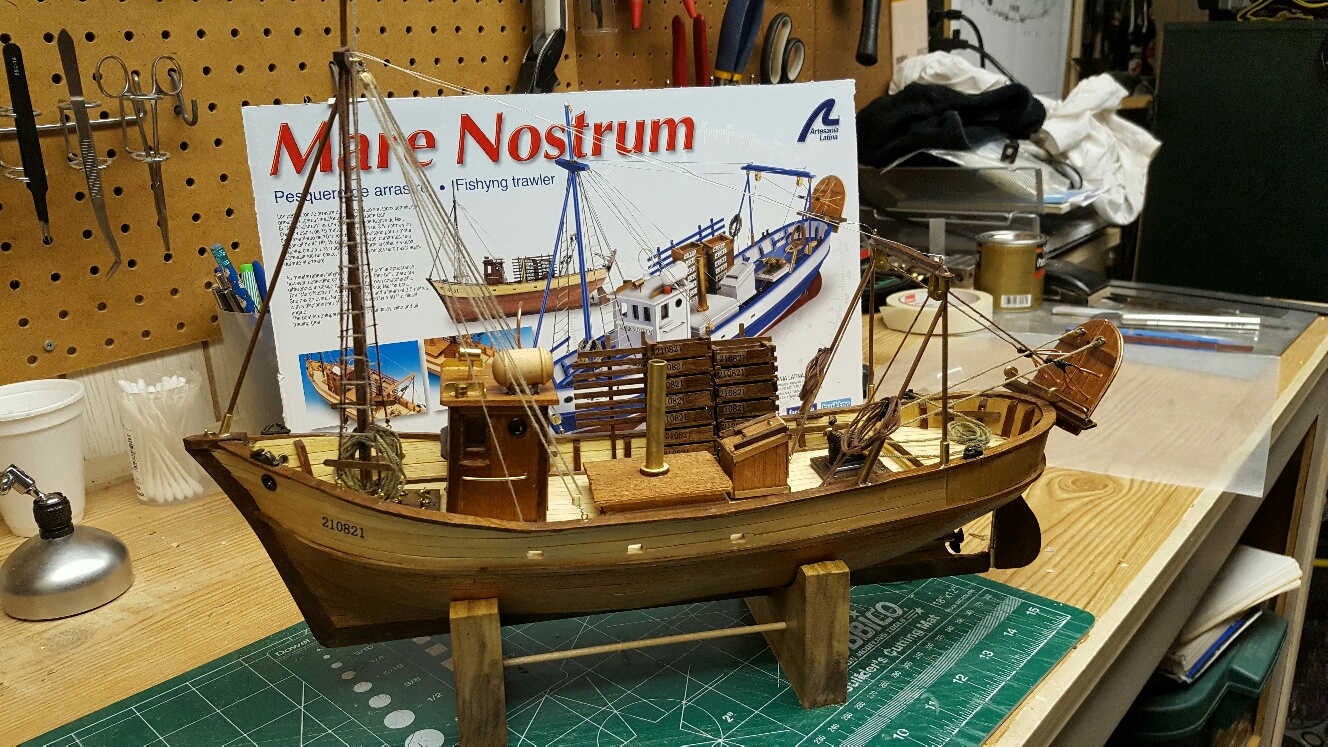
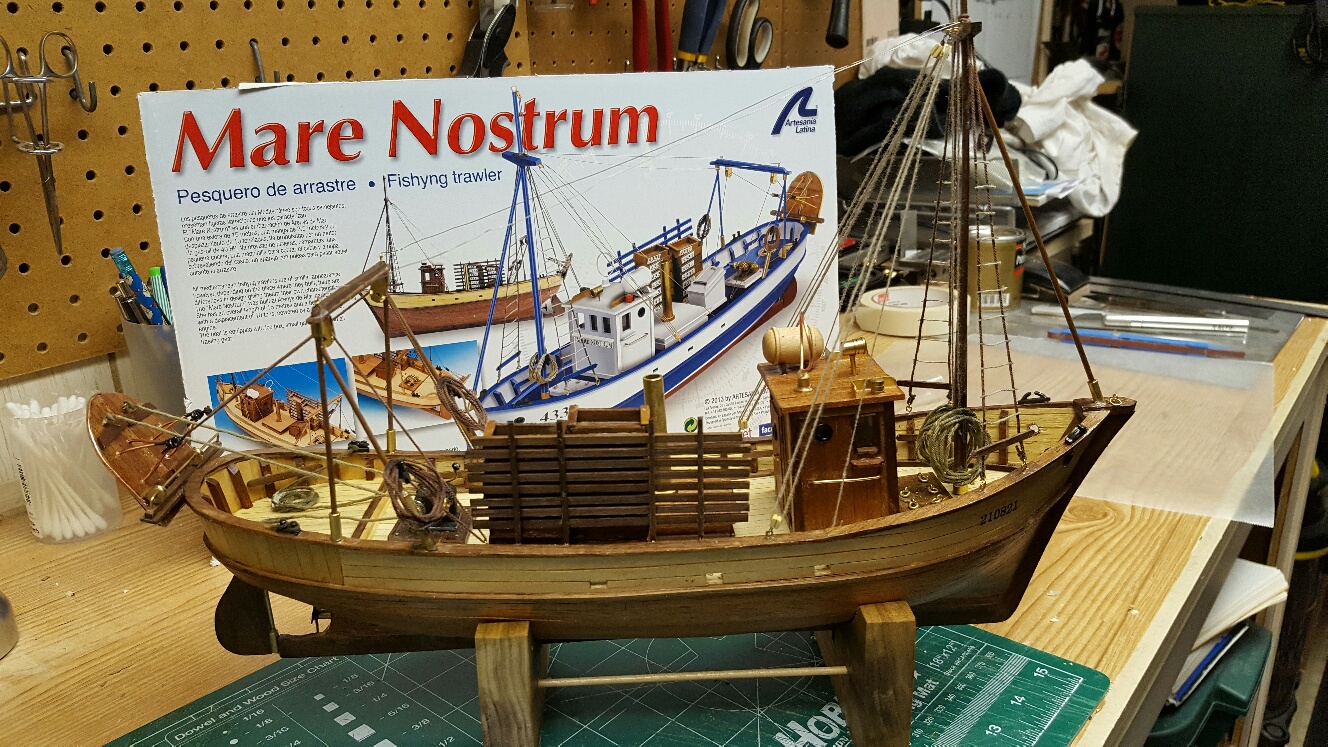
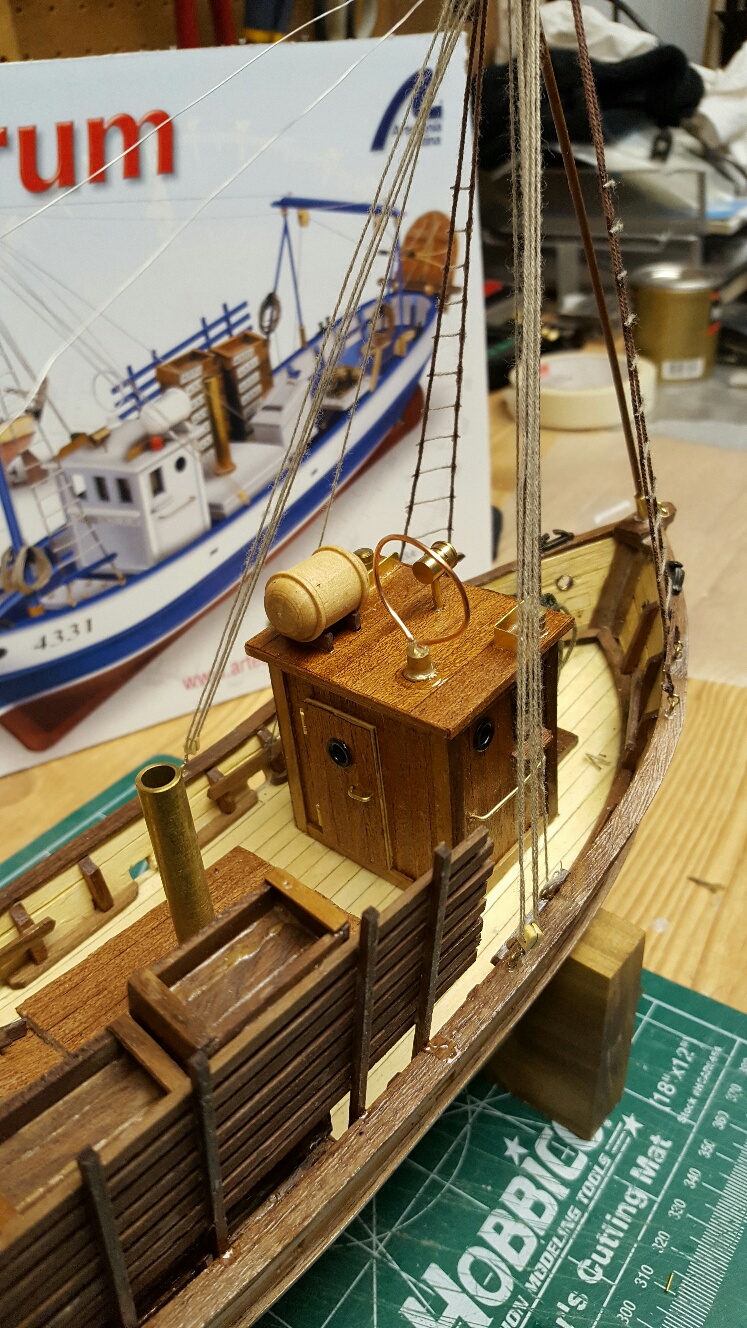
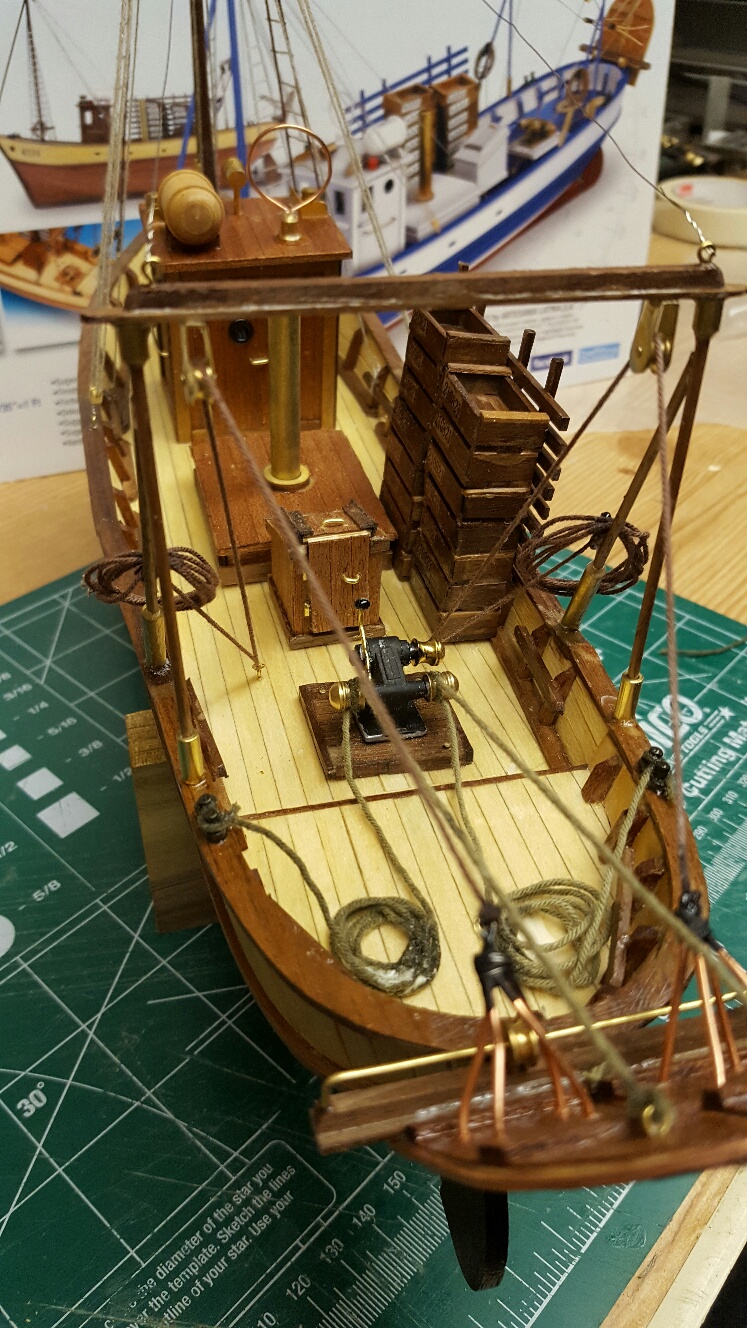
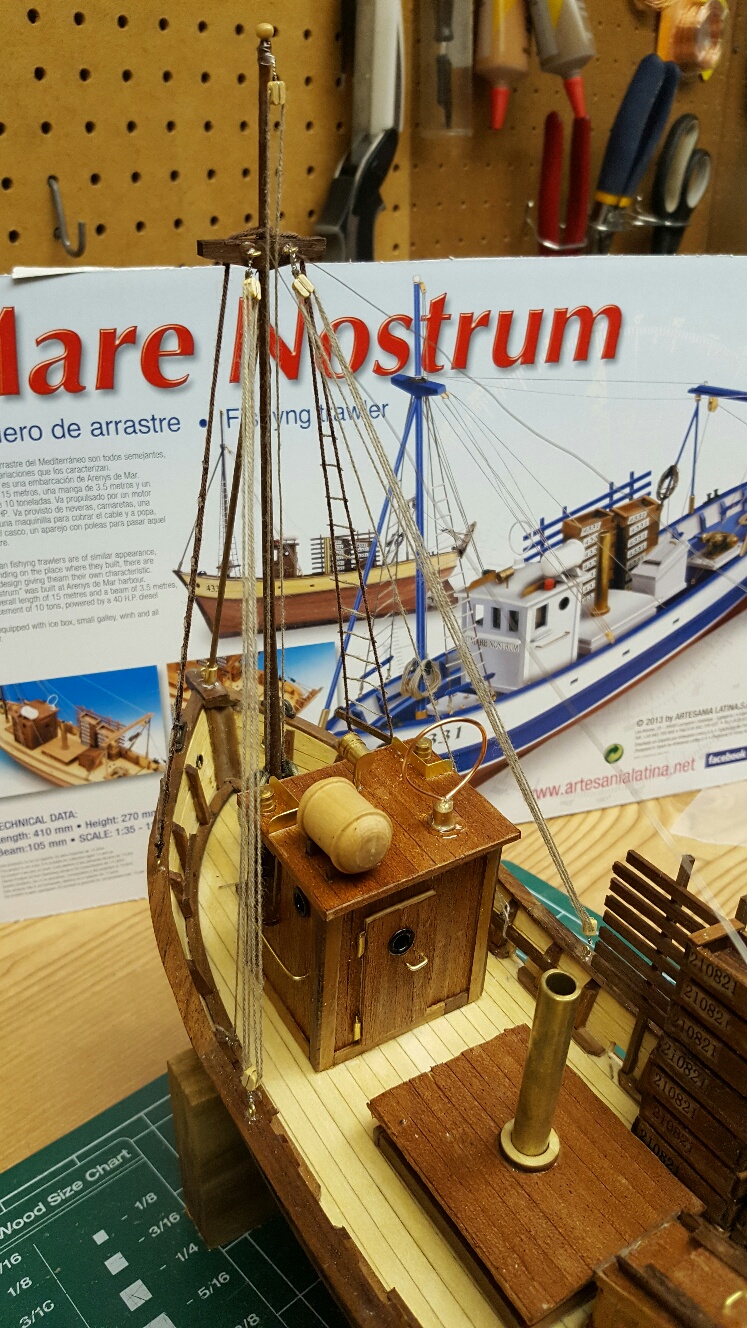
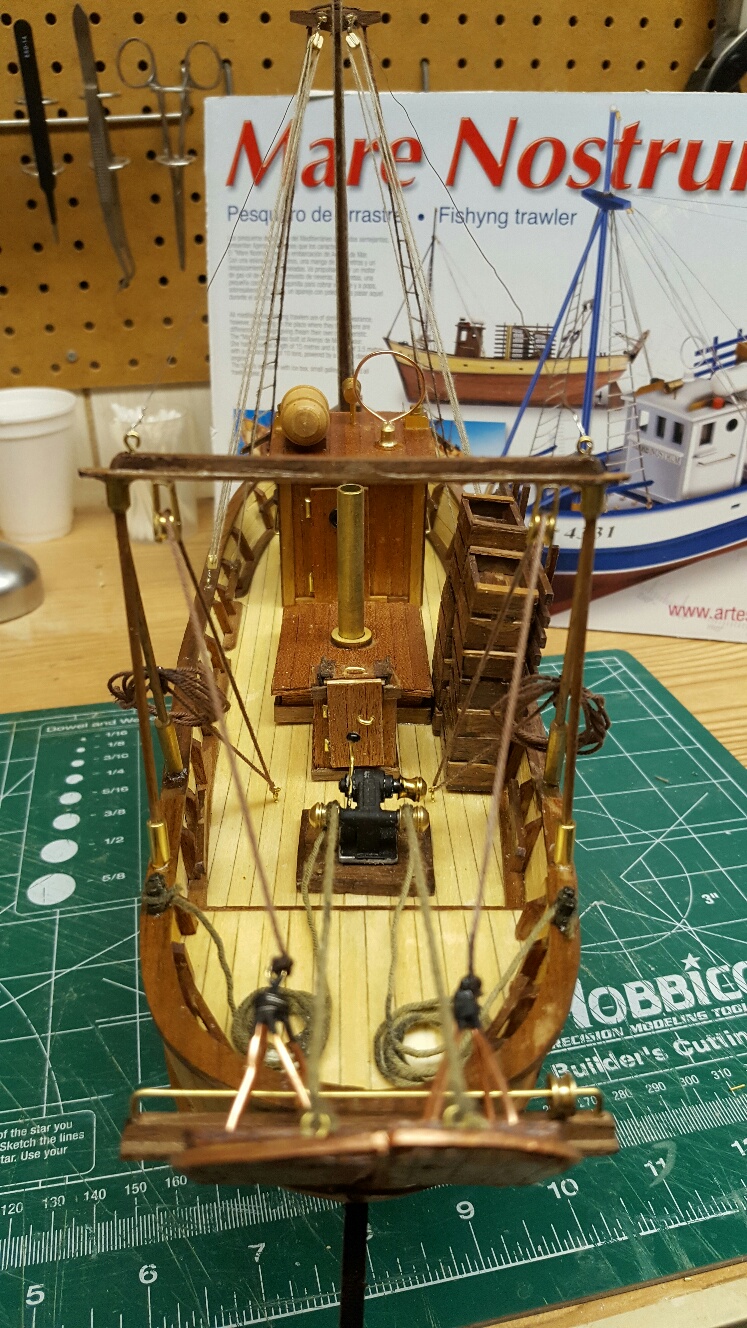
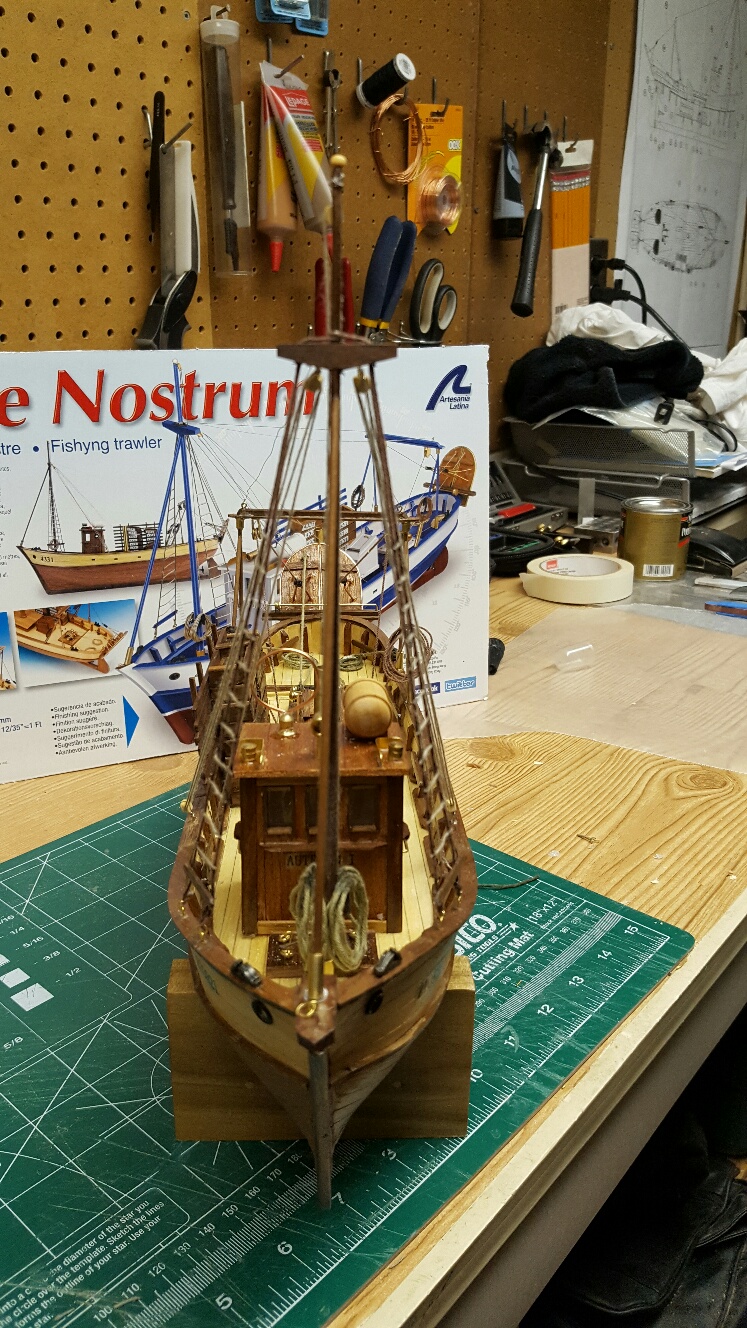
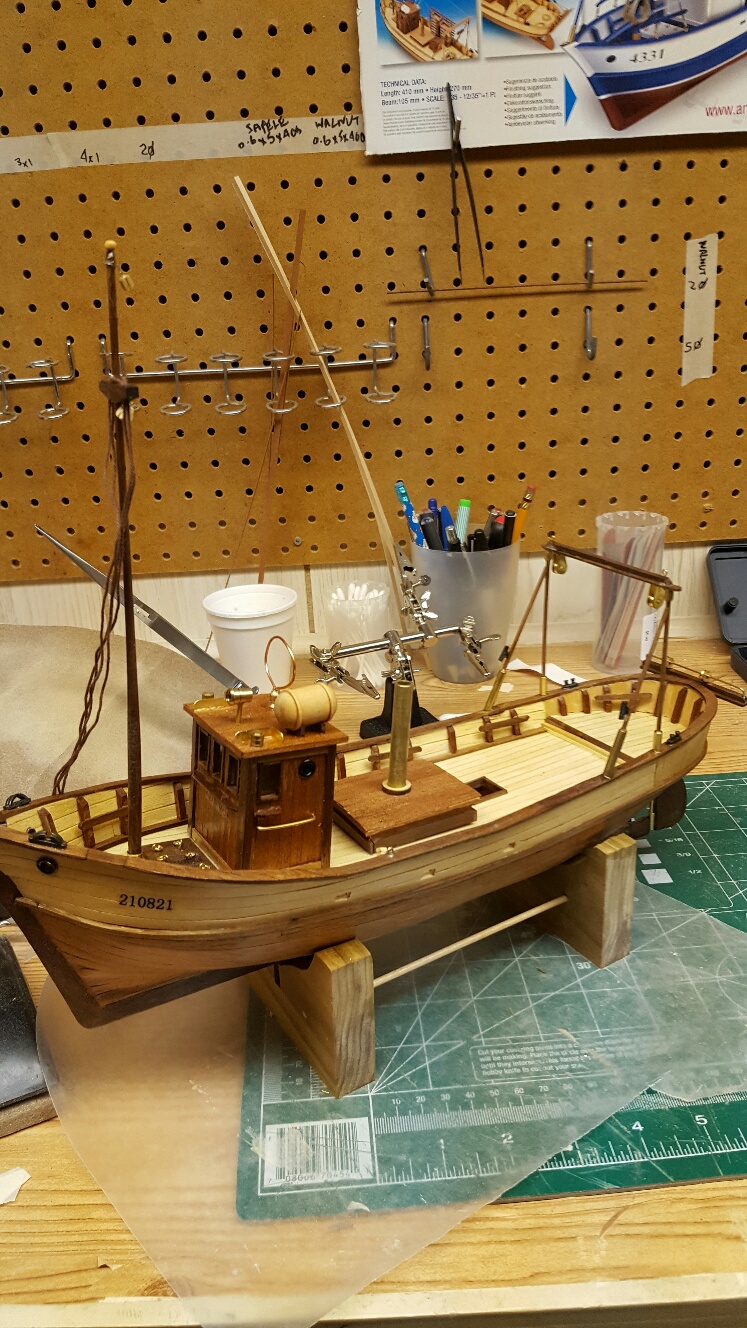
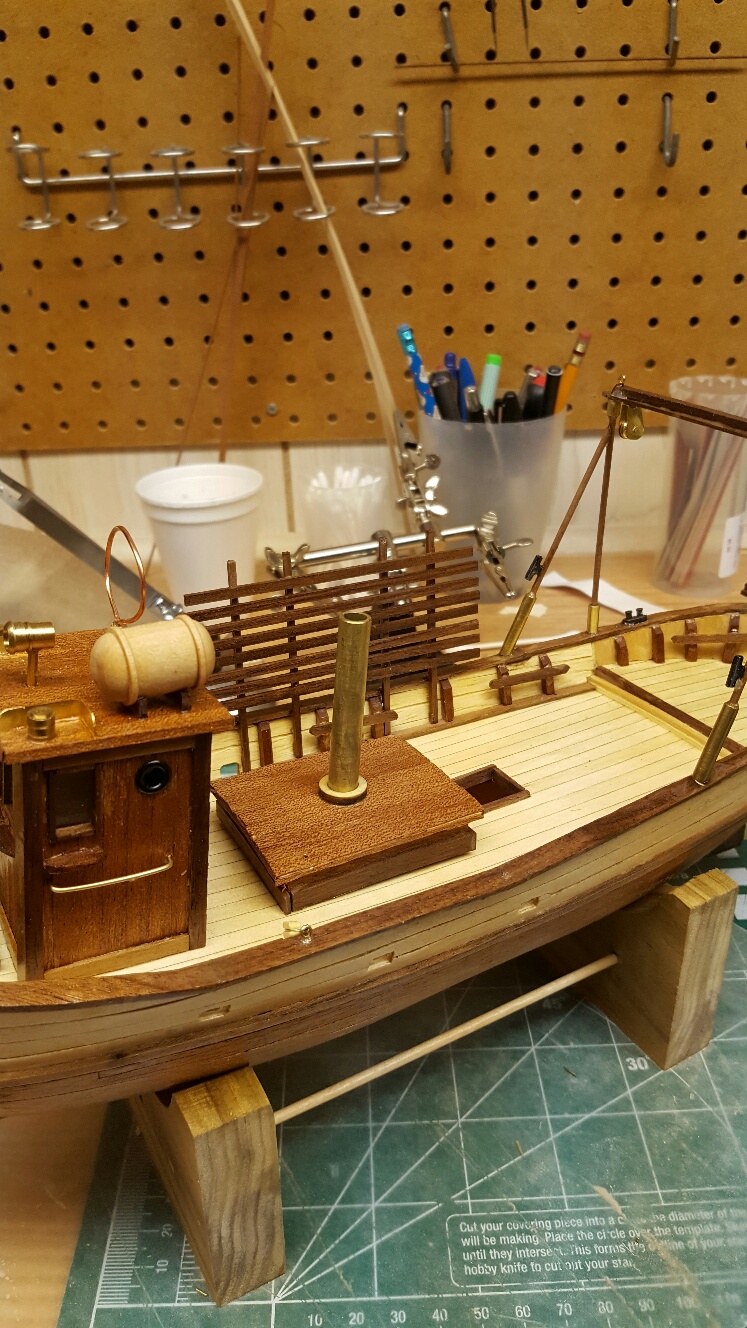
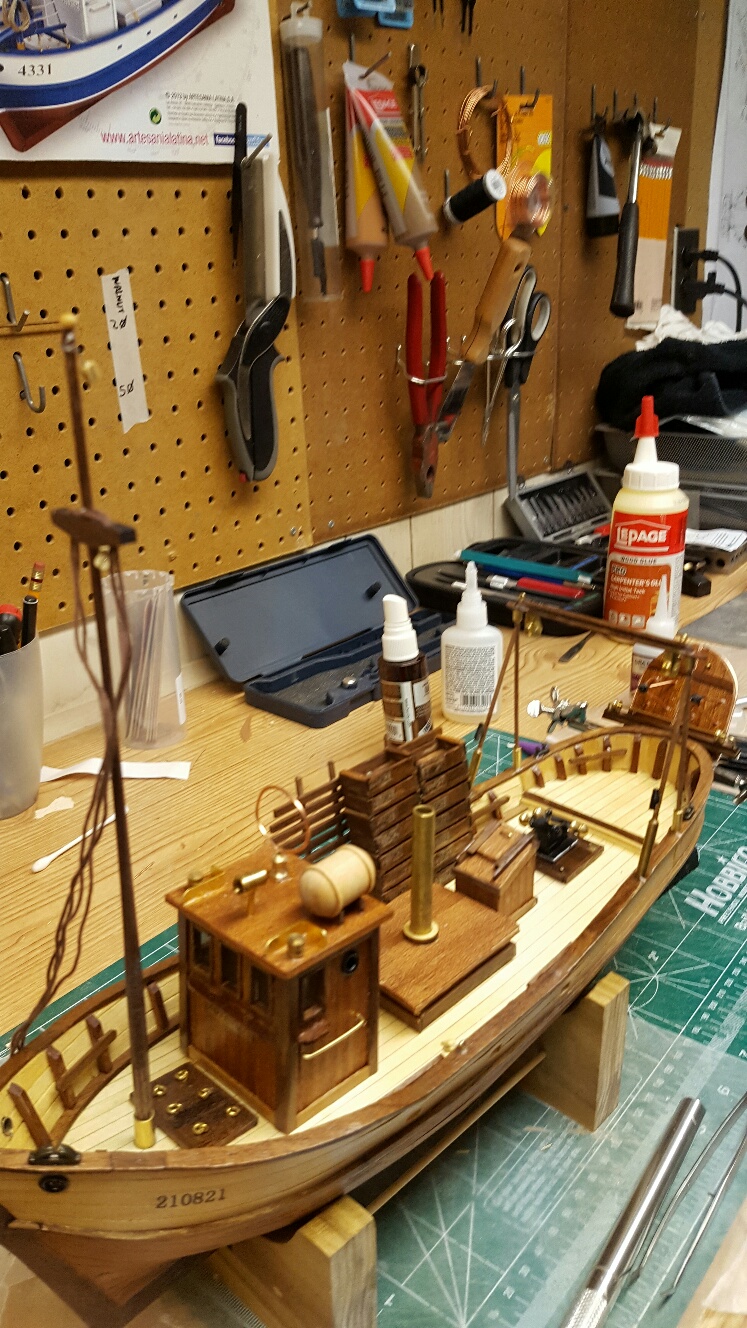
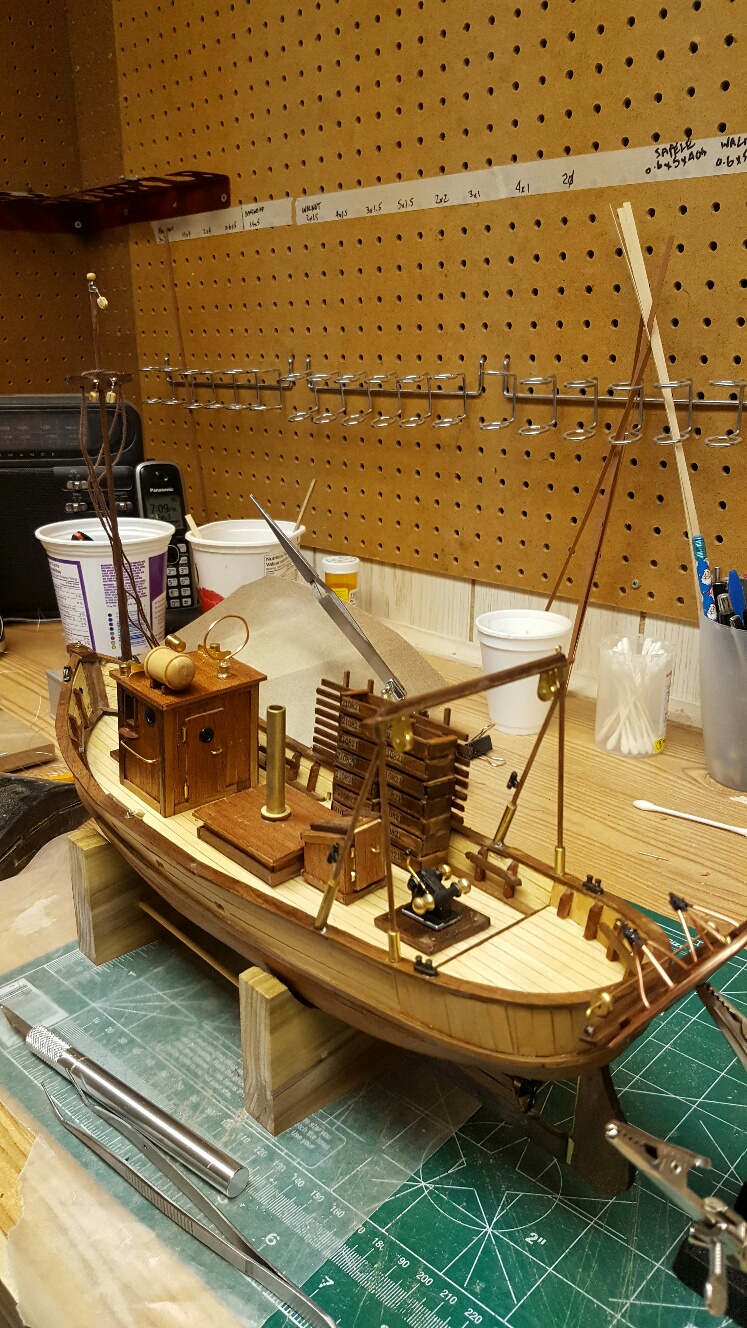
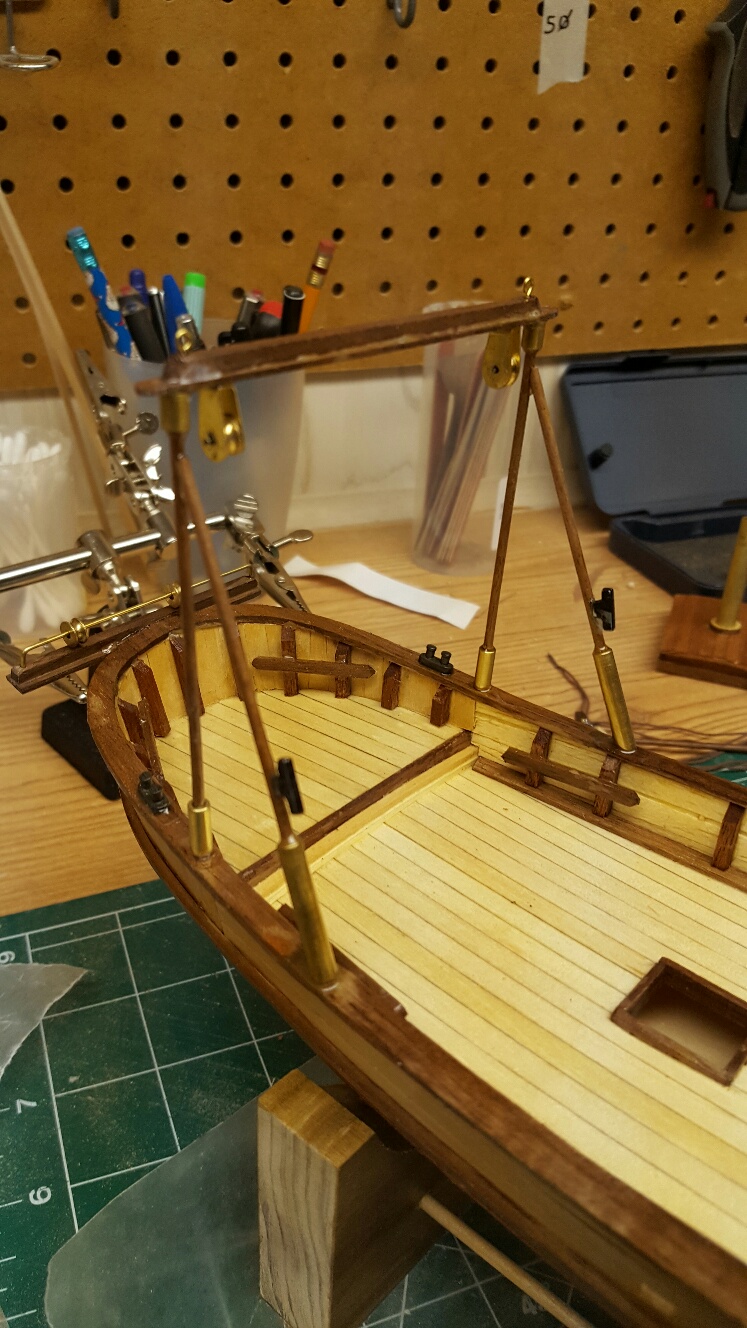
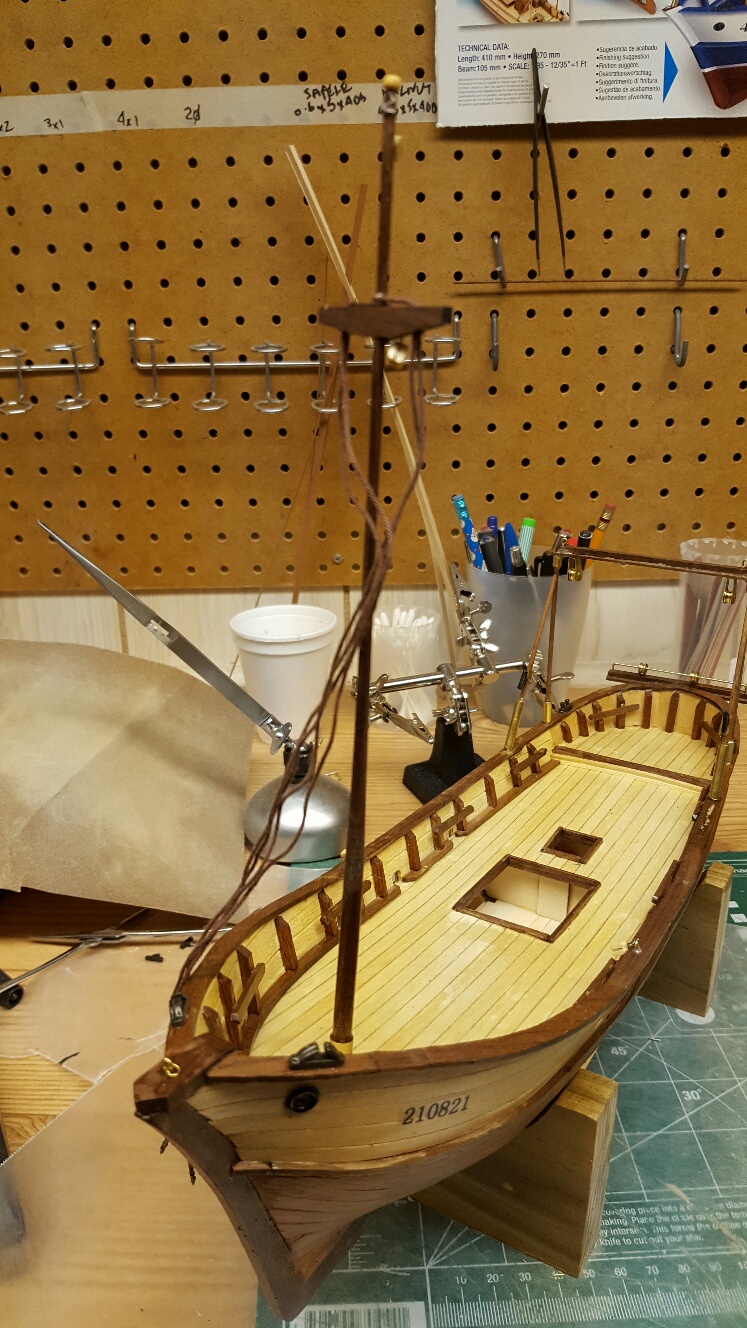
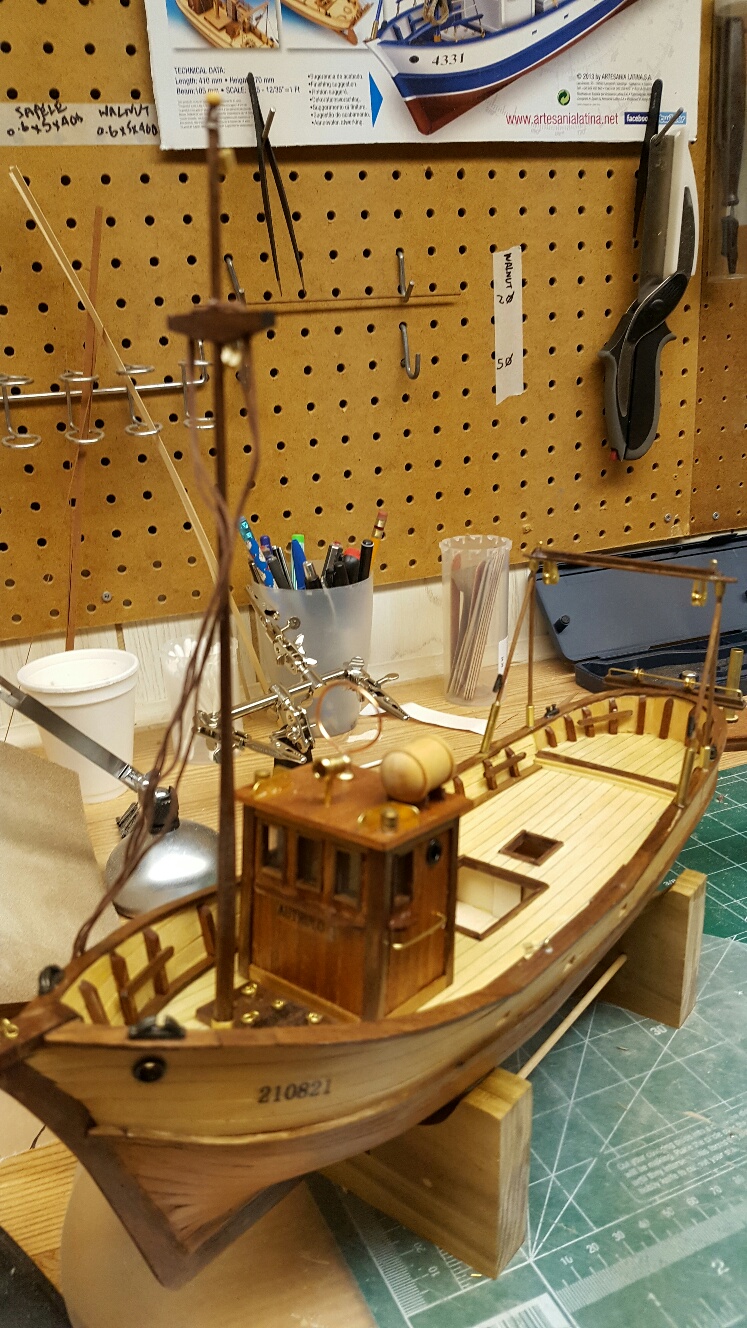
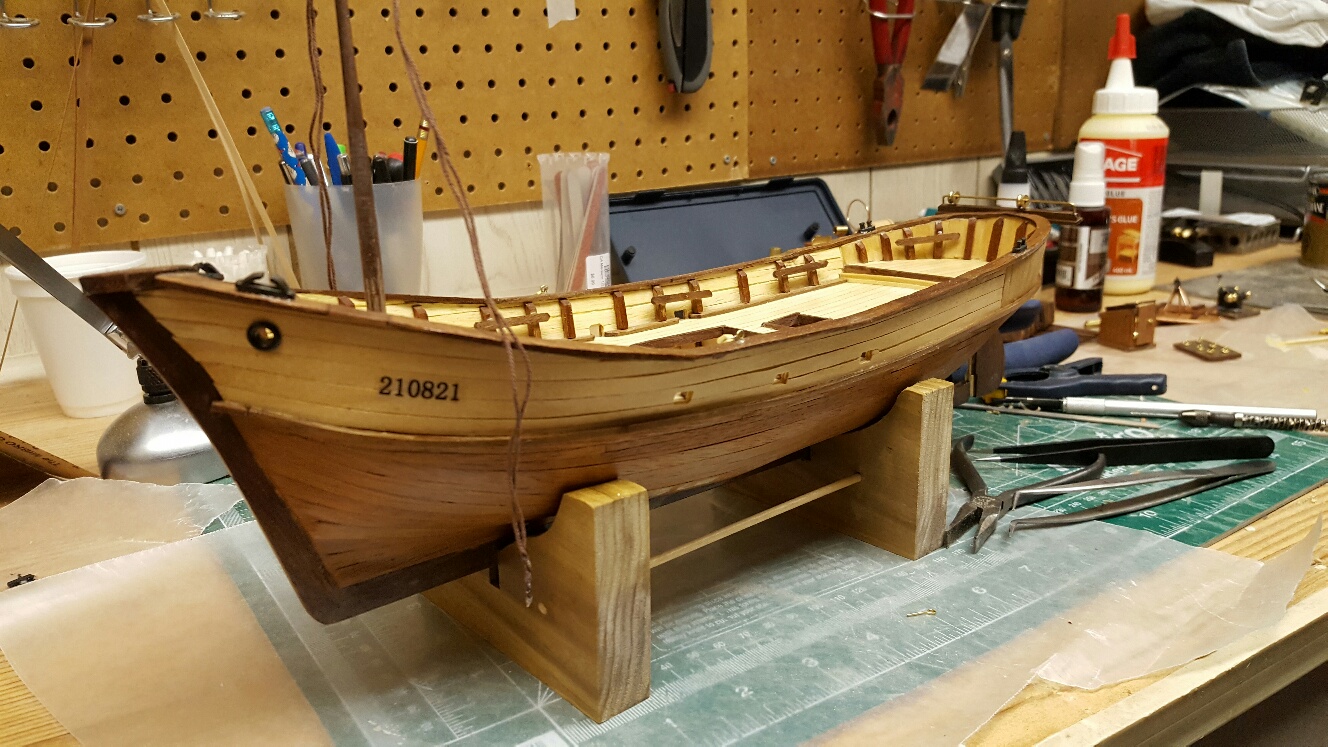
So here it is. The final pictures of my Mare Nostrum. I finished tonight. However, there is one addition I want to make but the part hasn't come in yet so I won't close off the build quite yet. But for the most part, it's finished. It's not as detailed as it should have been but to me it's a good model. There were some discrepancies between the plans and the picture on the box. But I did what I thought was correct. The bench is now empty, waiting for the next build.


-
-
-
Yeah you right. Sitting back right now and enjoying a cold pint.
-
Very impressive. I stand in awe. However, I think I'm ahead in the build and might just beat you

-
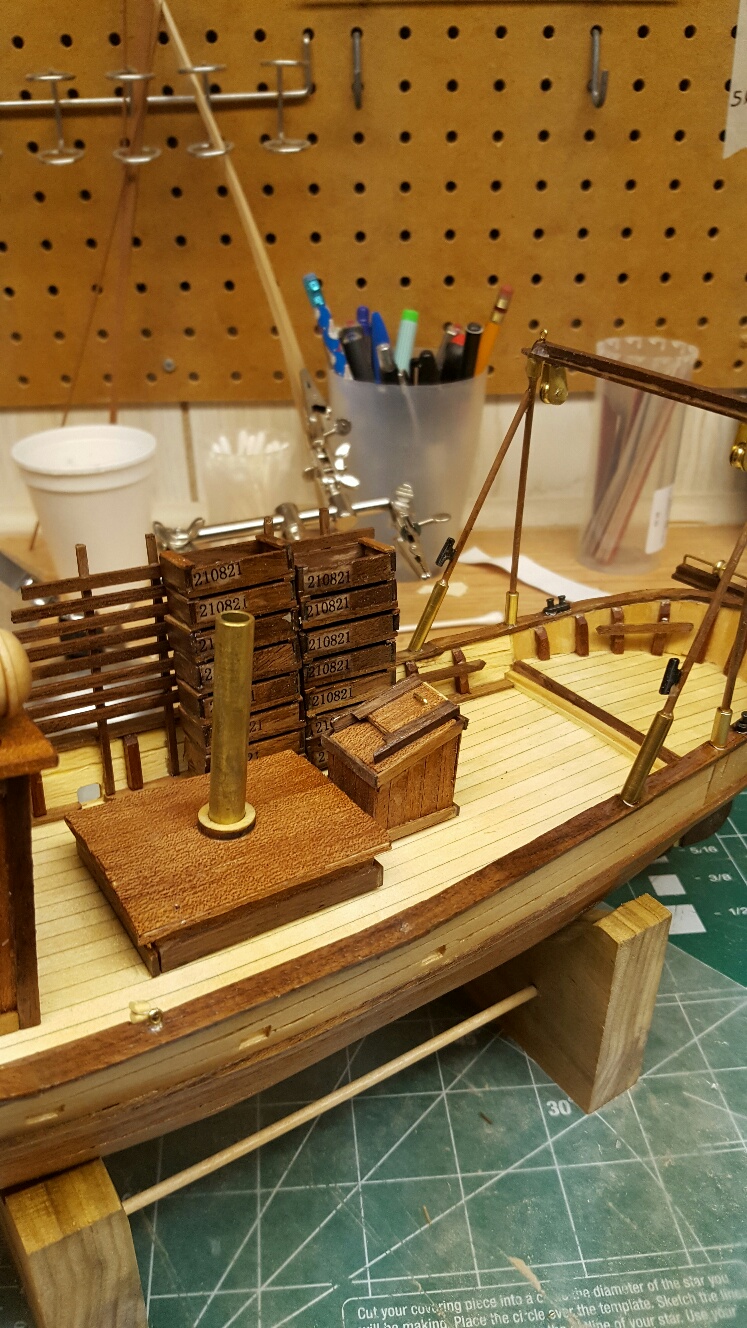
Your tool boxes are amazing. Did you make them?
-
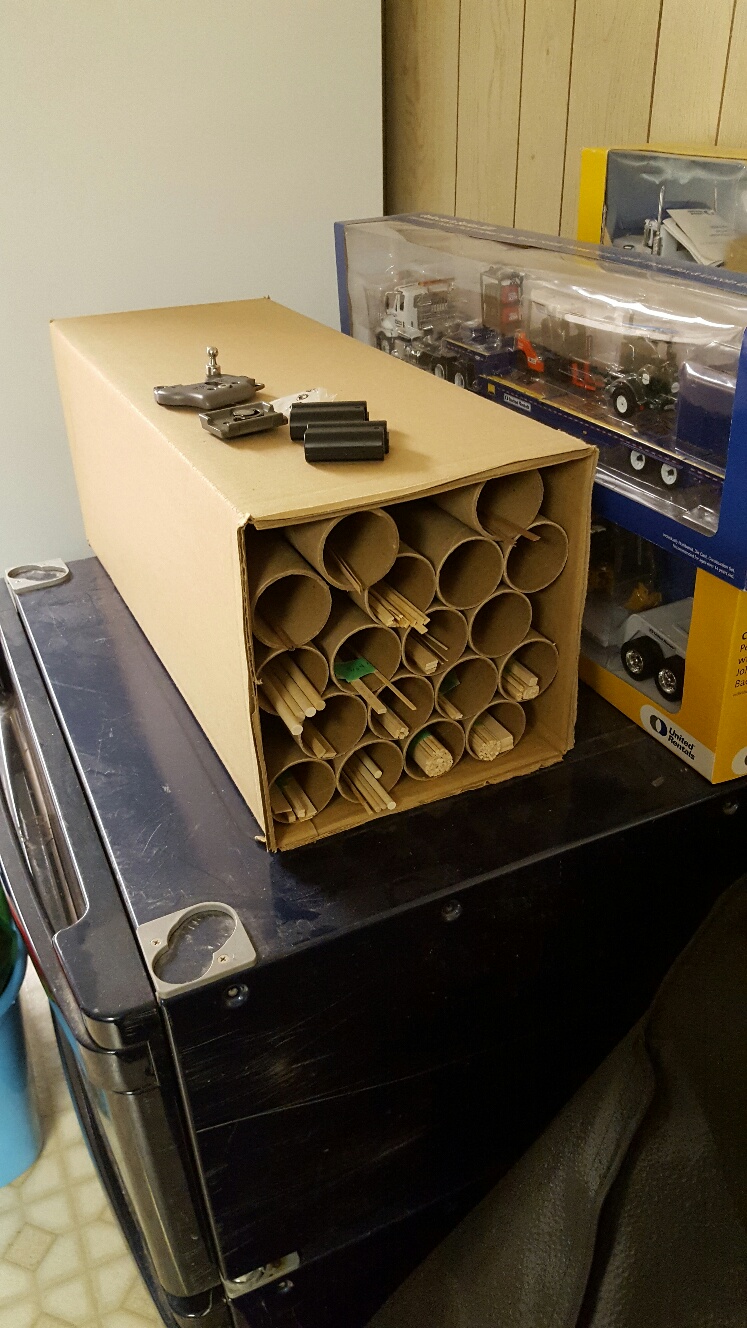
I'm close to finishing my first build and although my sorted wood worked well, I found out later that my company uses a lot of paper (for the CAD machine). And lo and behold they have perfect 24" x 2" tubes that holds the roll of paper. So they gave me a bunch and I find this is perfect. I've since repurposed my first idea.

- Tadeusz43, AON, John Allen and 8 others
-
11
-
After you tied them did you add a little glue to keep them secure?
-
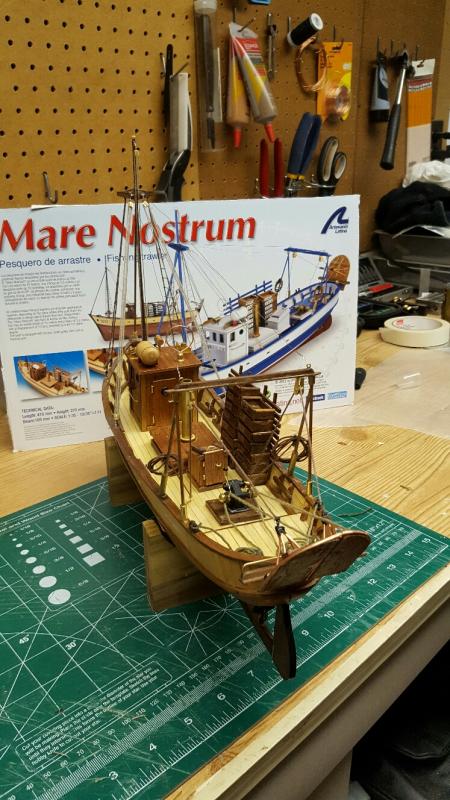
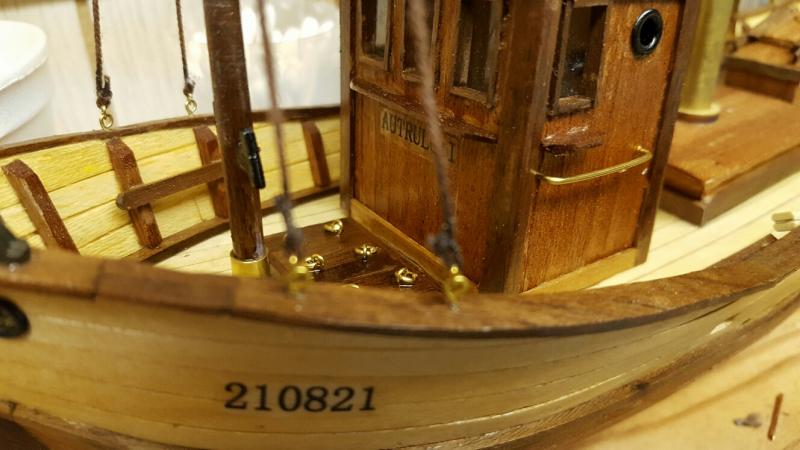
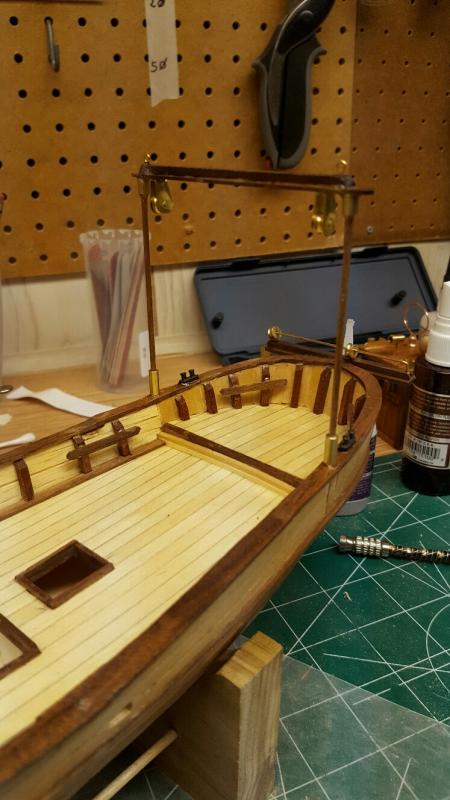
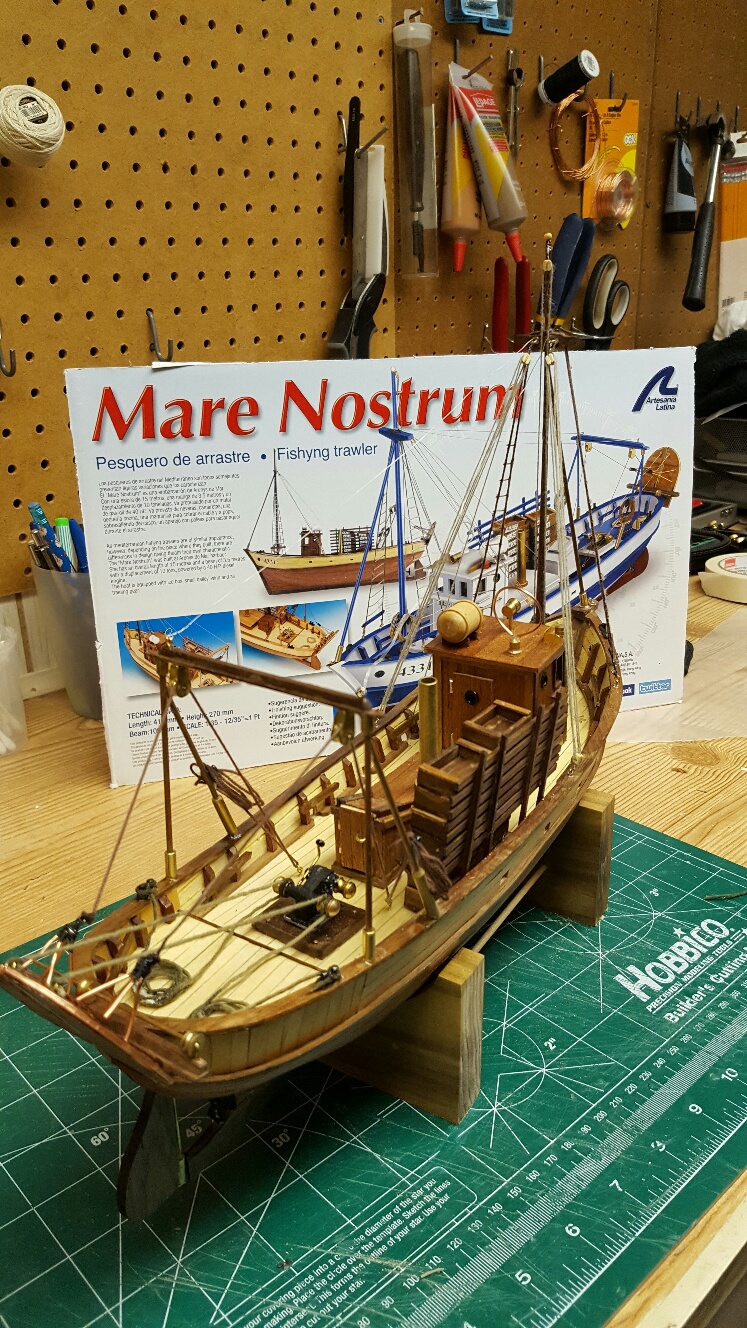
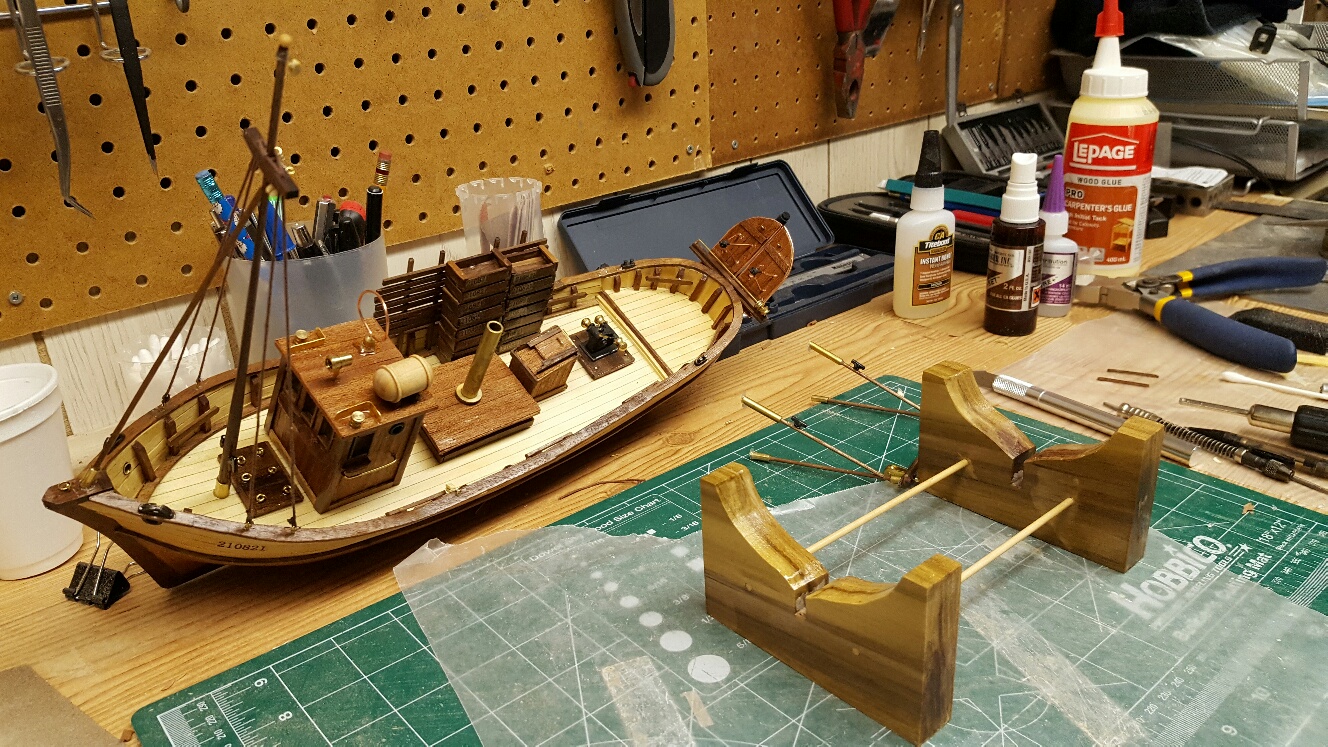
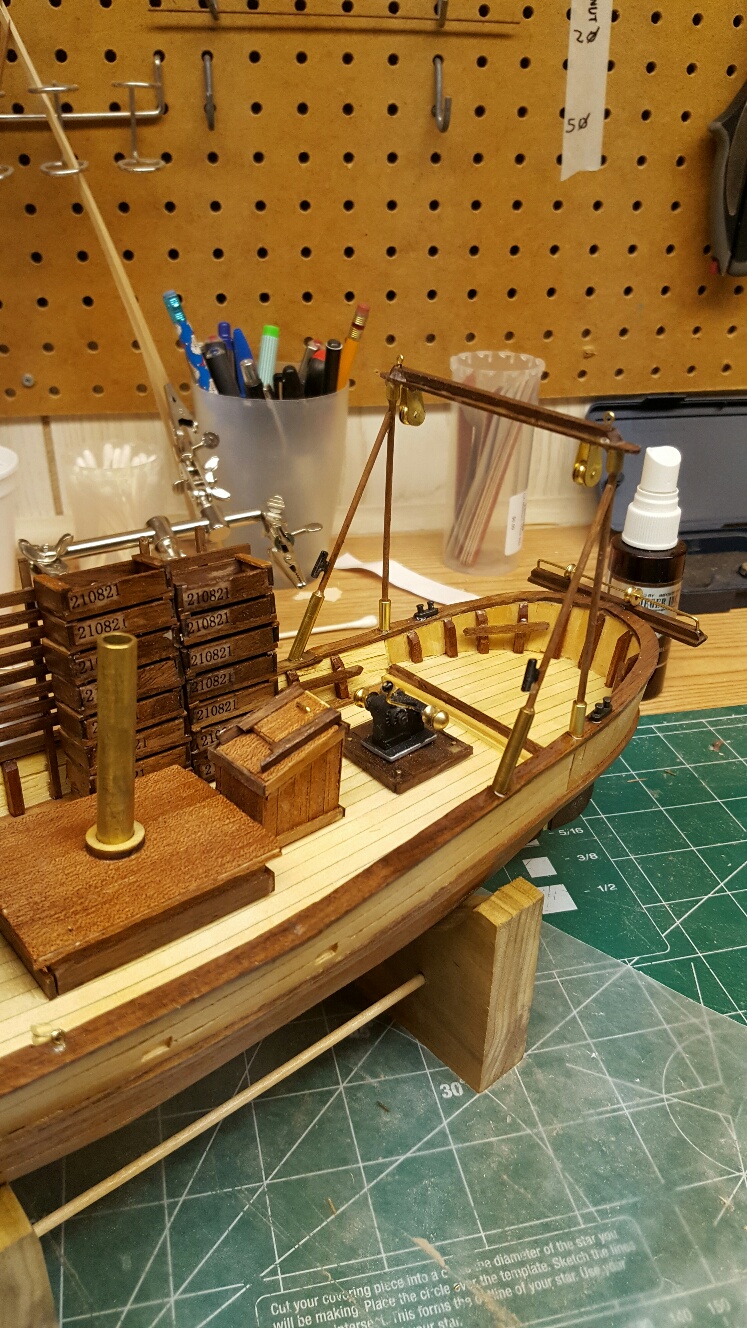
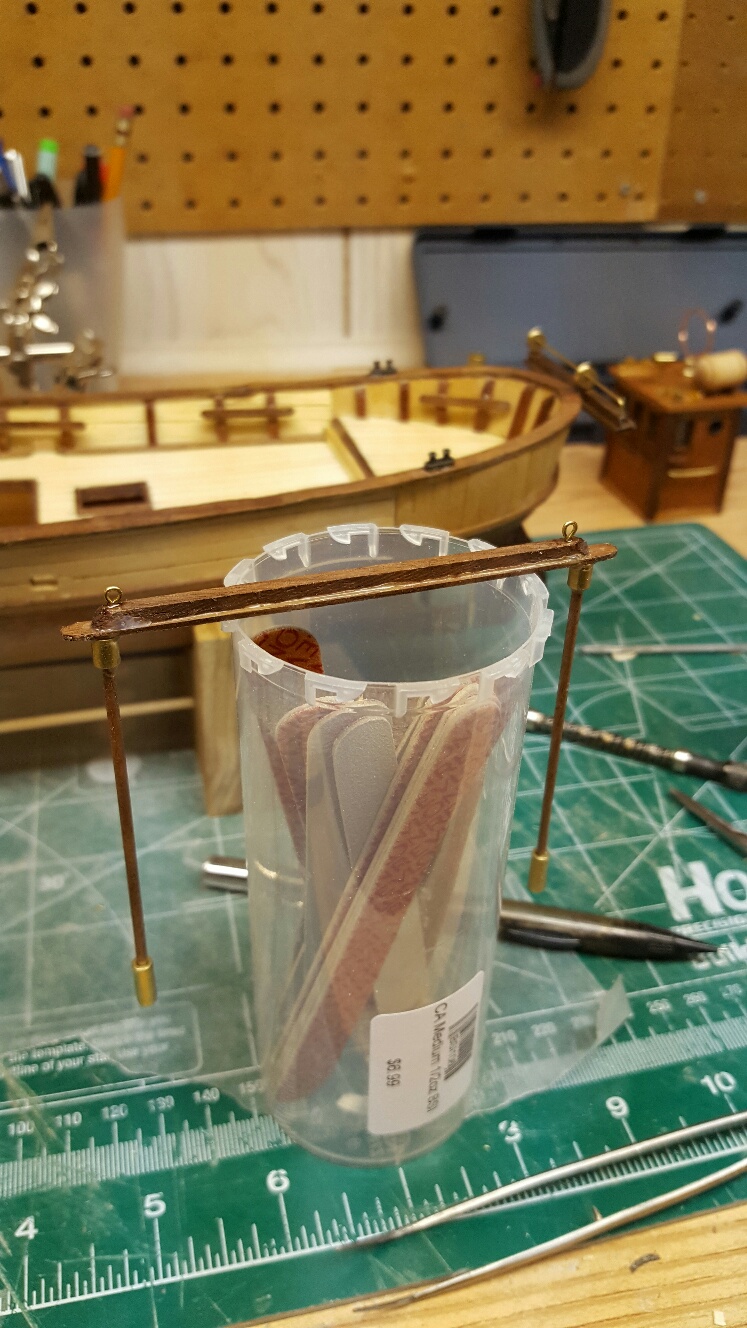
Continuing the final details. I started some rigging. I know it's not "proper" but it is as per the instructions.

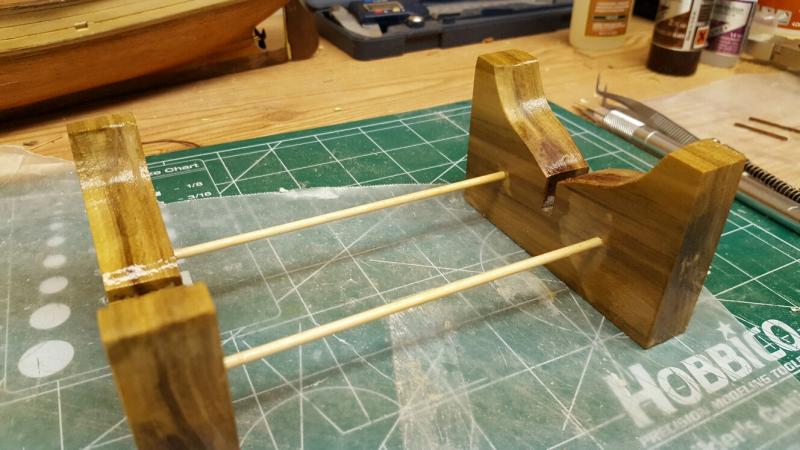
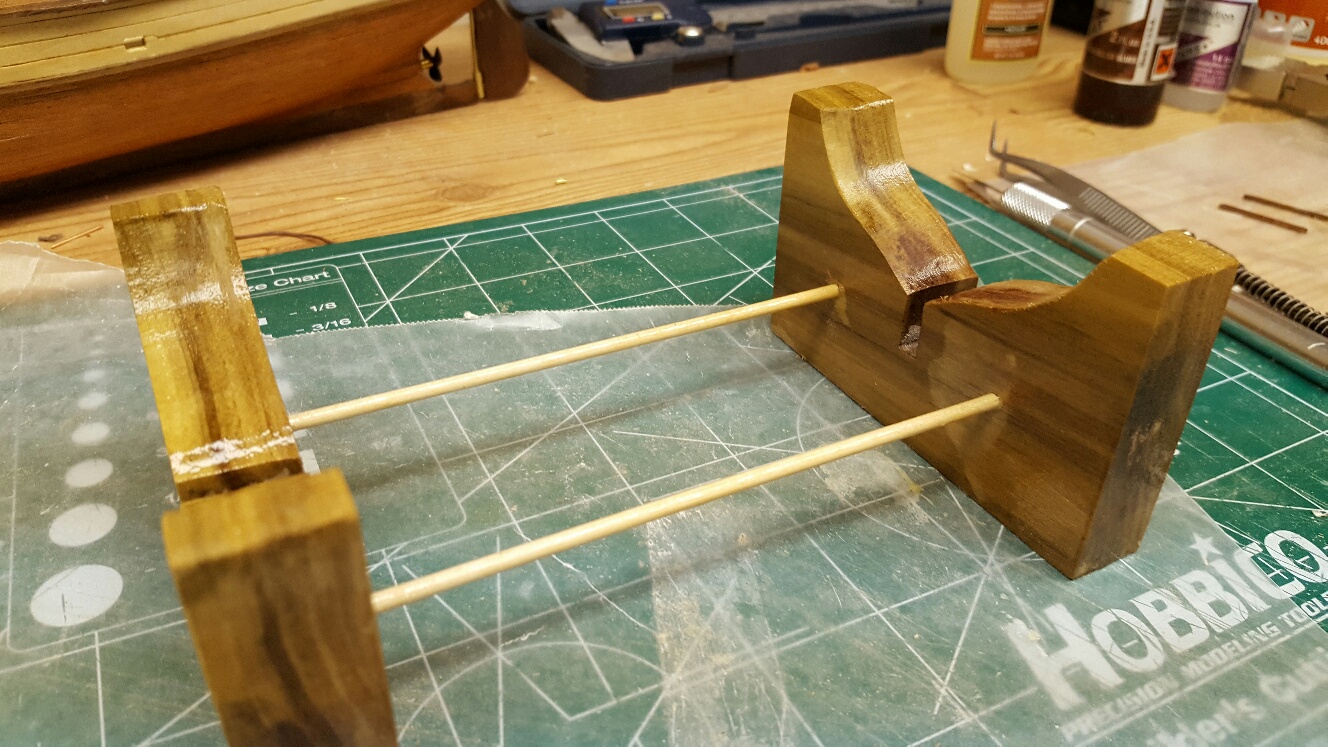
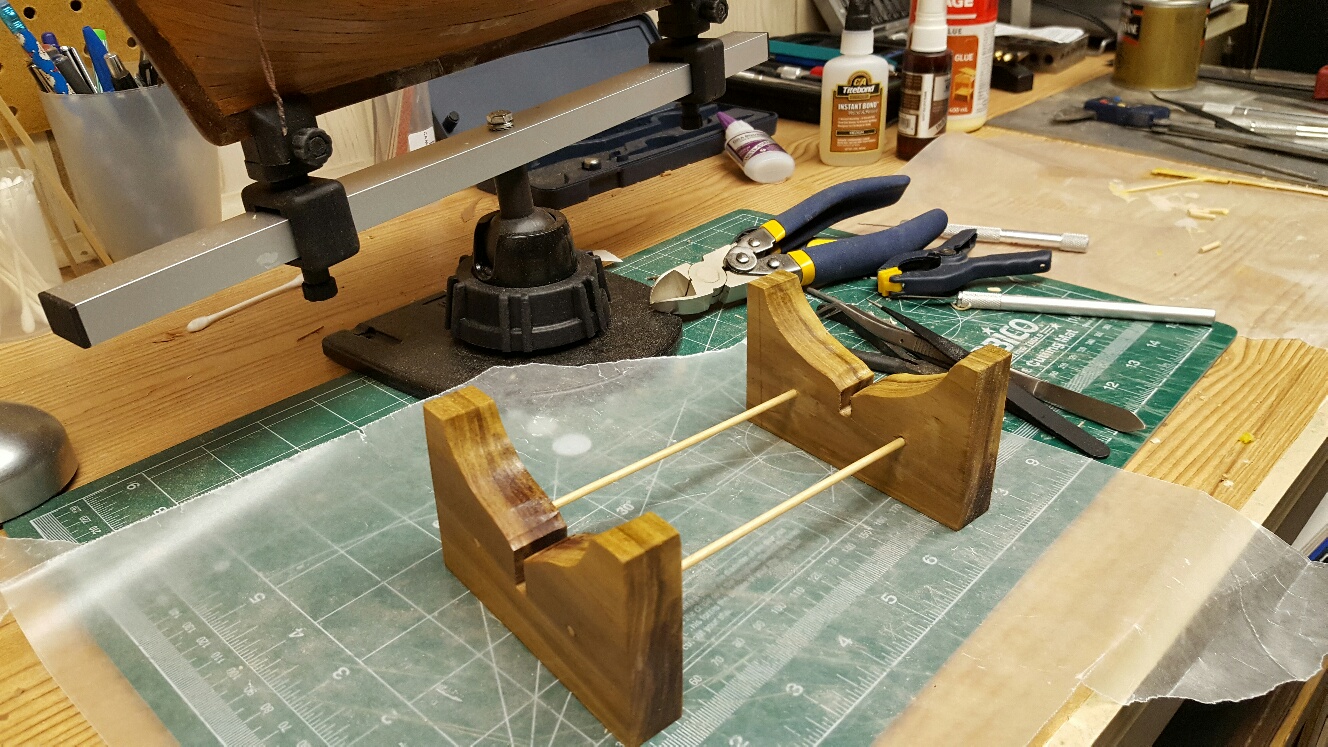
I did a little more sanding to the plinth and added a second coat of varnish
I had a small accident and knocked the model over. Because of that one of the frames broke off. Not a big deal, just re-glued it.
I'm hoping to have this finished this weekend.
I spent a half hour re-jigging my work area in anticipation of the Bluenose. Hopefully I will start the build log very soon.
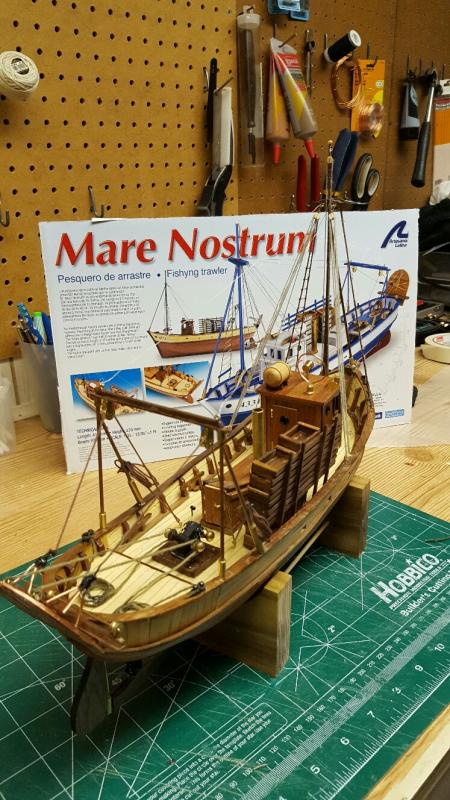
Although the Mare Nostrum has given me a lot of grief, and although I have seen a lot of much better examples in other build logs, I'm still happy and proud what I have done with this little kit. I will display this proudly.
- GemmaJF, Nirvana and Seventynet
-
3
-
Steve, would you mind telling me how you did your rat lines. I'm at that stage right now and haven't figured out how to tackle them.
-
-
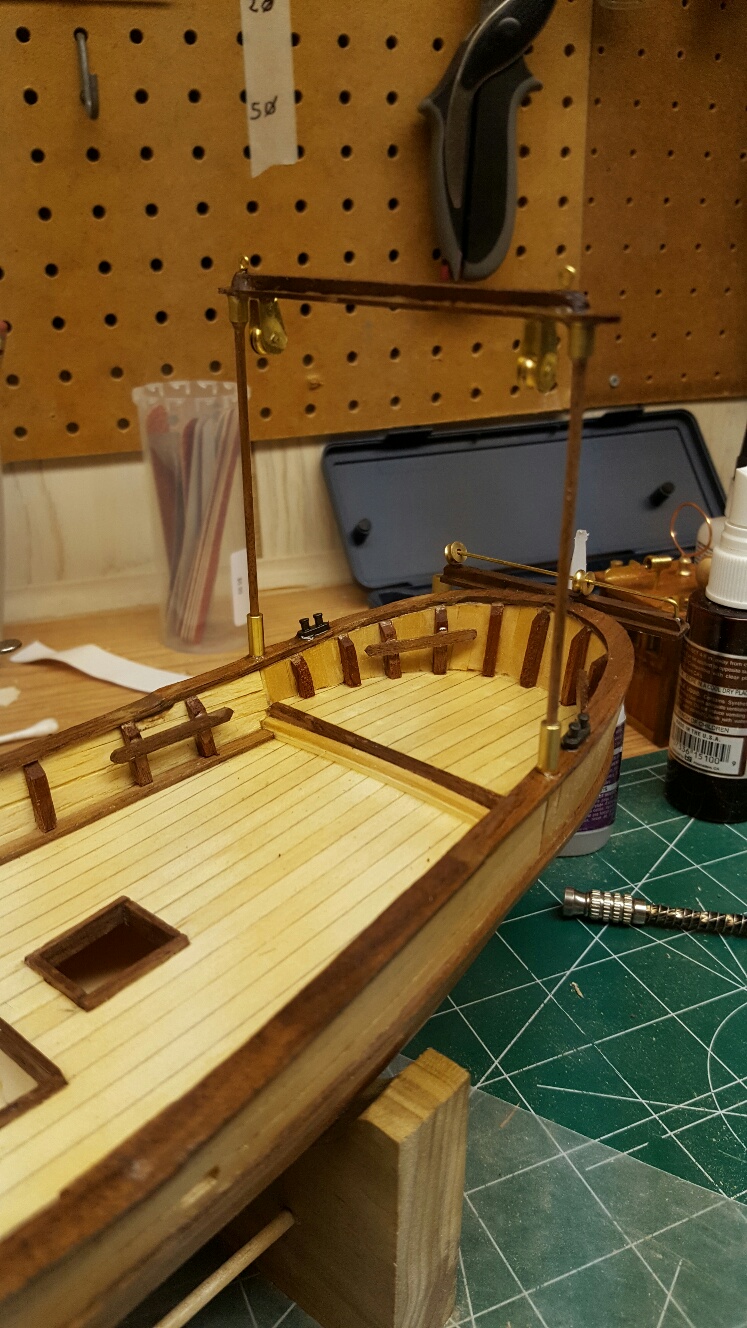
Well I'm on the finishing stages. Tonight I worked on the upper structures and mounted the deck furniture permanently.


-
Your not wasting any time with this build. Very nice work.
-
I used the sheet that the bulkheads were cut out from. From the drawing I got with the model, I determined that bulkheads 6 and 10 were the best positions. I traced the opening from the sheets onto a piece of wood and cut them out with my scroll saw. I hope you understand what i'm trying to describe.
-


Bluenose by Worldway - Model Shipways - Scale 1:64
in - Kit build logs for subjects built from 1901 - Present Day
Posted
I've installed the bulkheads and the sternpost. Some of the bulkheads were very snug and I had to do some sanding to get them to fit properly. They went together quite nicely.