
.jpg.4b9546914df2c235b4fe82d7c03670bd.jpg)

Worldway
-
Posts
628 -
Joined
-
Last visited
Content Type
Profiles
Forums
Gallery
Events
Posts posted by Worldway
-
-
Hey Chuck, I laid up a nine strand rope last night following your videos. Because of my limitations I could only do about 3 feet. Amazing results for my first try. Really impressed with the Rocket. And I might add, and trust me there is no bias whatsoever, but if you put the Rocket against MS Rope Walk, it is night and day.
-
Very interesting. Thanks
- thibaultron, BETAQDAVE and mtaylor
-
 3
3
-
Thanks Per, I think I'm getting a little screwed up with measurements. I keep thinking 1/16" but we are talking 1/32". The 1/2" strip will work fine. Thanks for keeping me on track. One question, did you cut the strip to width then bend it or did you cut it to the profile of the deck?
-
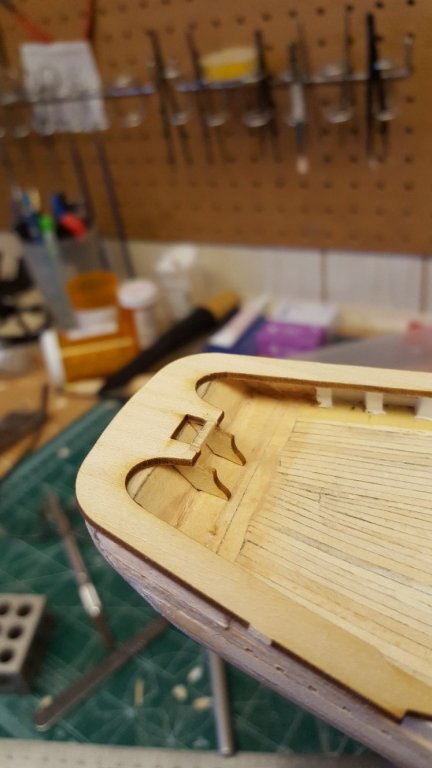
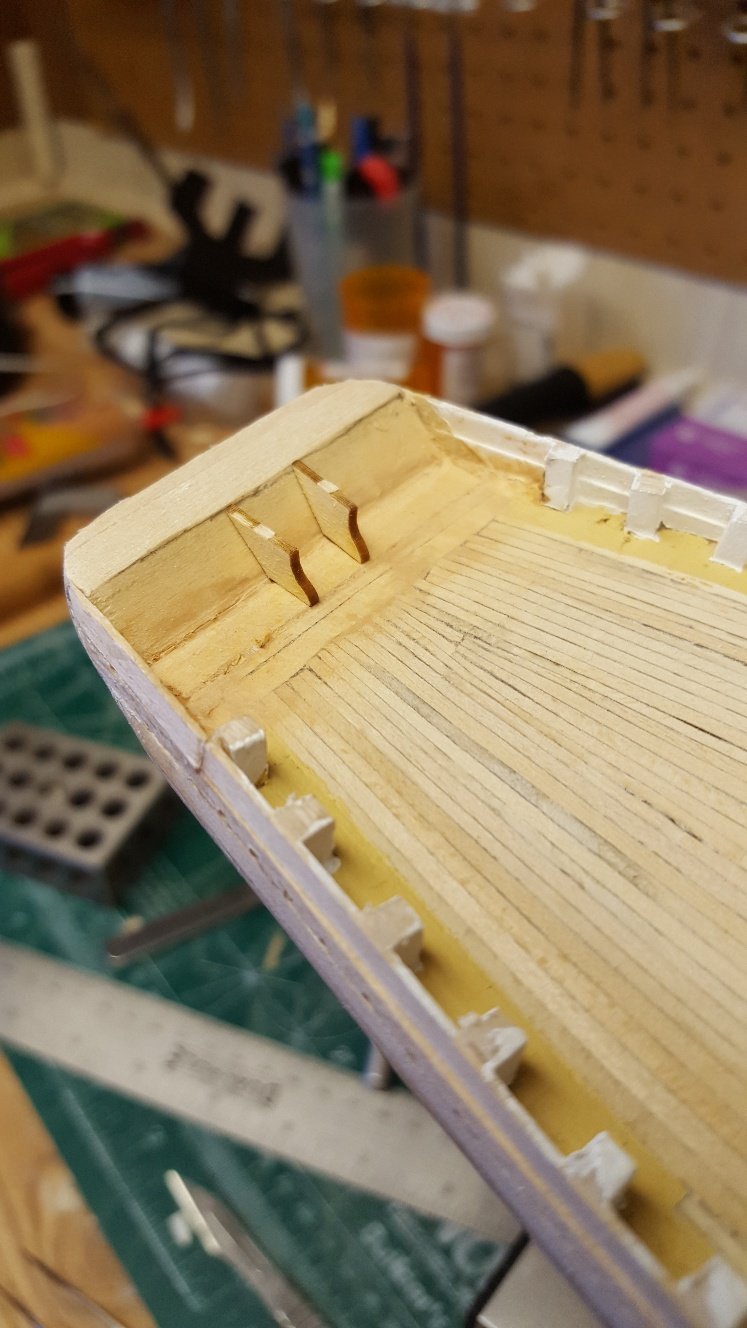
Tonight I cut in the hawse ports. Pretty easily done but had some minor damage which was easily repaired.
I initially cut the hole then used needle files to fine tune it.
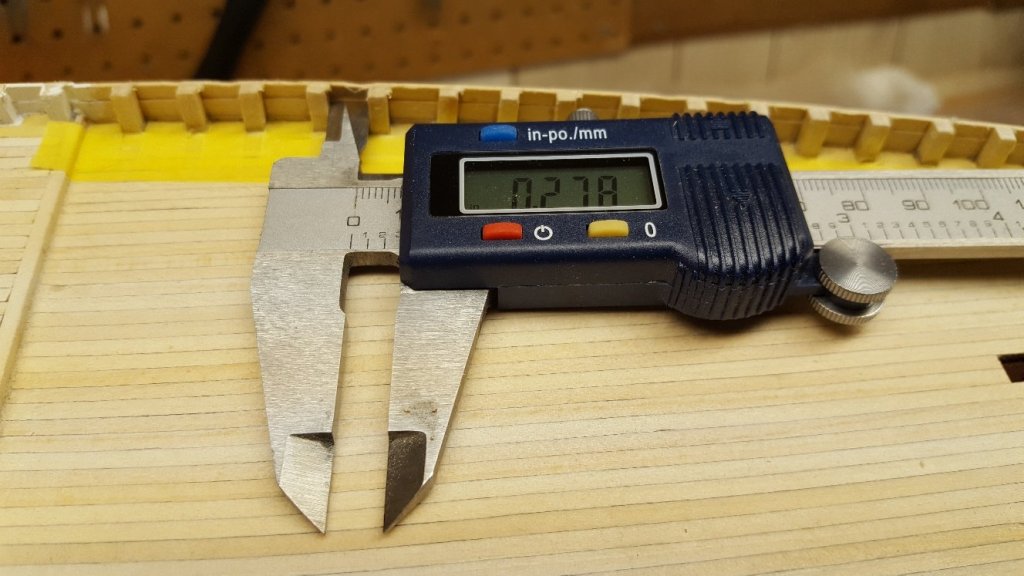
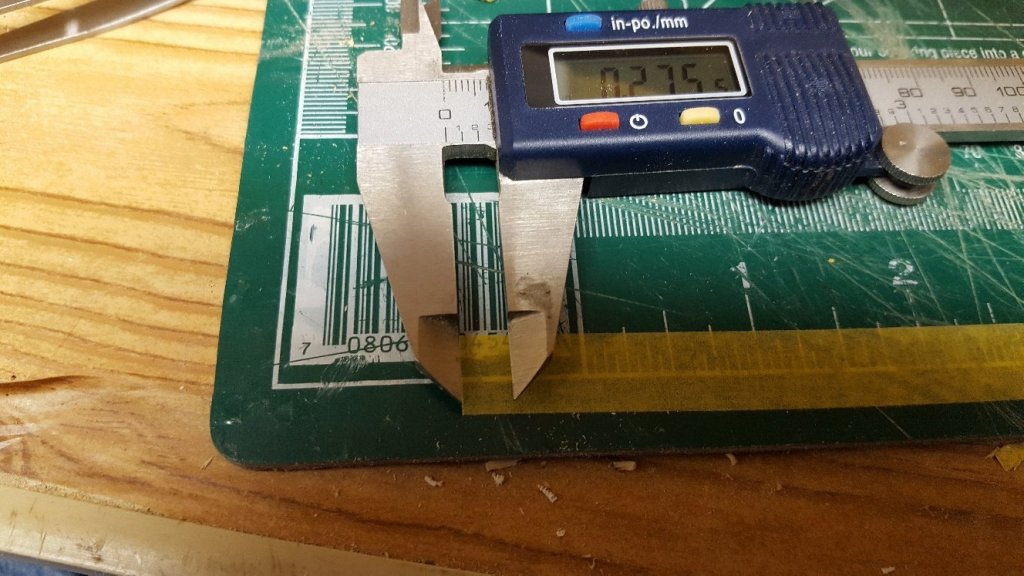
One thing I've noticed is that the caprail is 1/16" x 7/16" for the most part but widens to 9/16" in areas where there the belaying pins are located.
The kit doesn't come with either size plank. I'm curious what others might have done at this stage or I'm open to any suggestions.
- Jack12477 and fnkershner
-
2
-
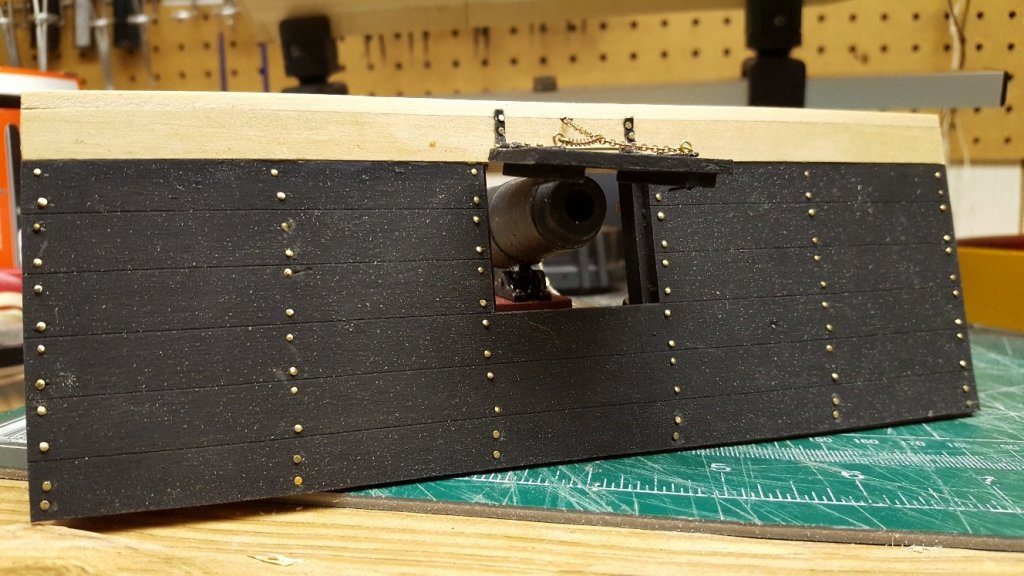
A little more fine tuning and I think I finally got it. I haven't attached anything permanently yet, just showing perspective.
- David Lester, Jack12477 and fnkershner
-
3
-
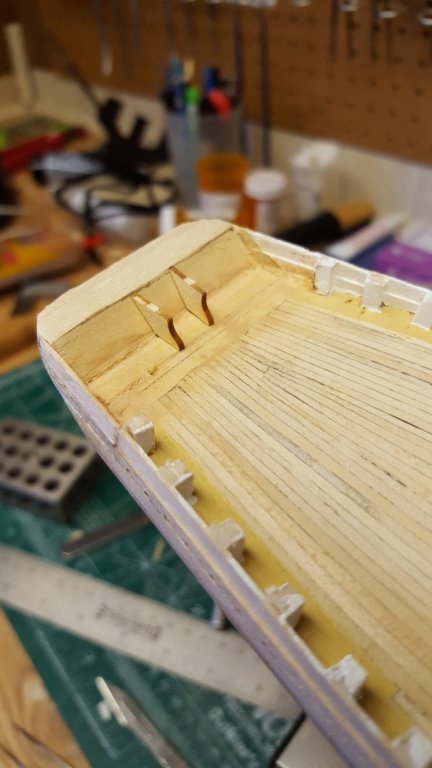
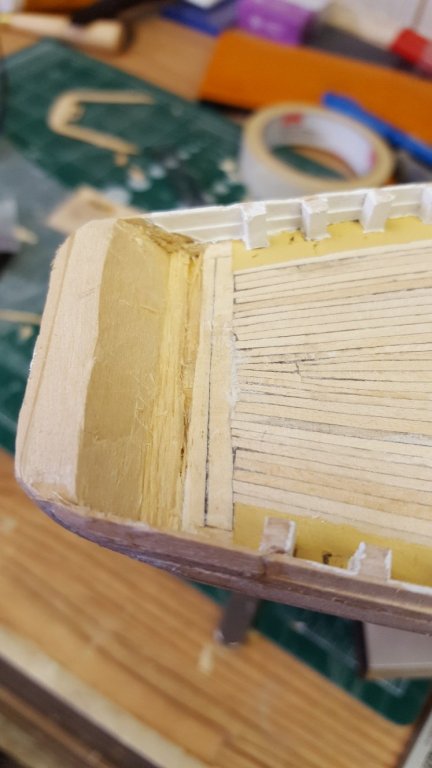
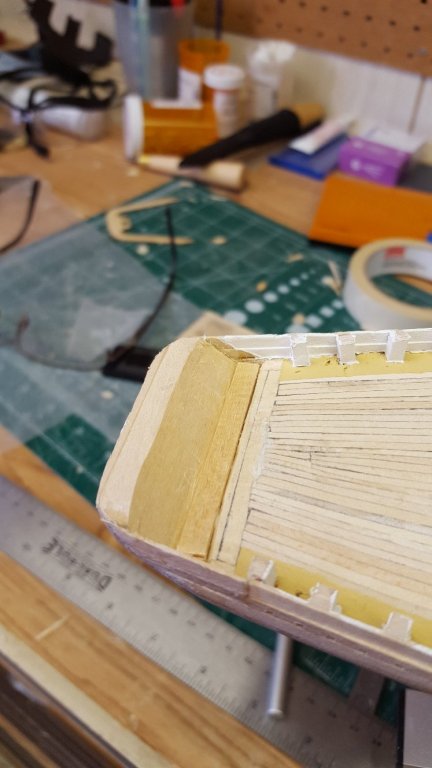
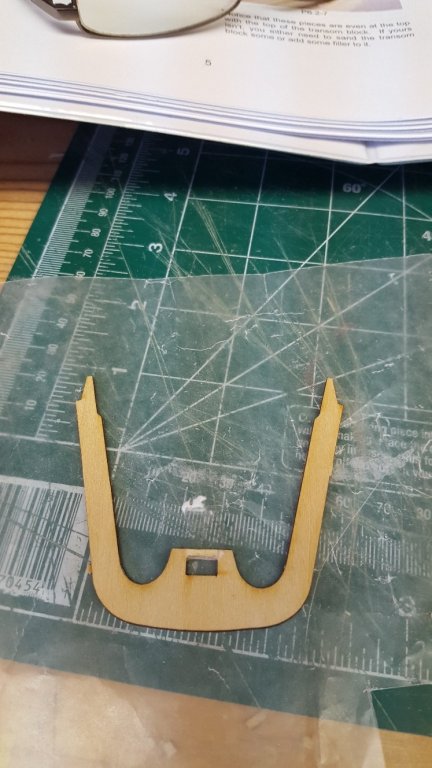
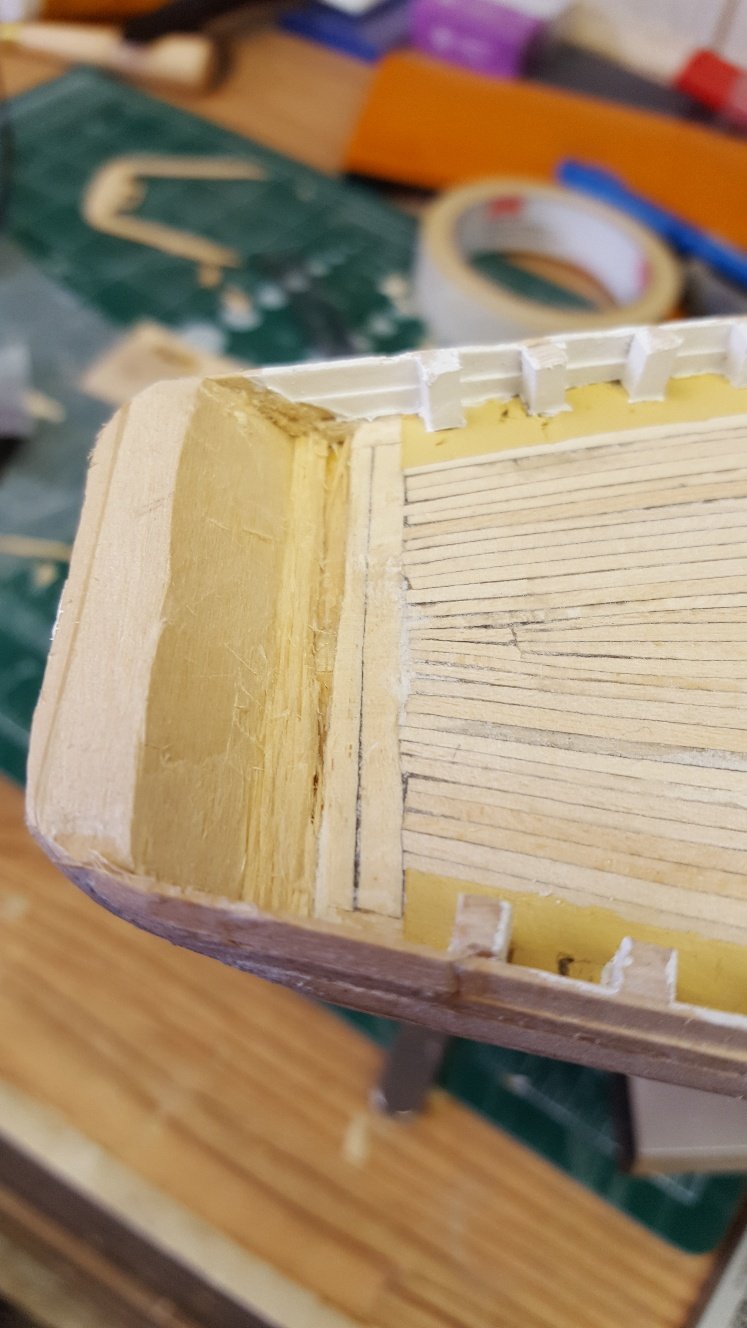
Taking advice from Per, I began reworking the transom. I chiseled it until I achieved the proper proportion. I added a filler piece then finished it off with some wood fill. I think it's a good improvement.


- Duanelaker, Jack12477 and fnkershner
-
3
-
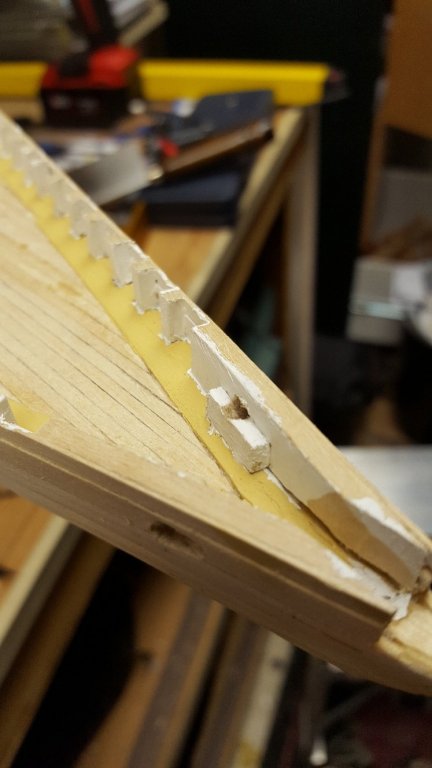
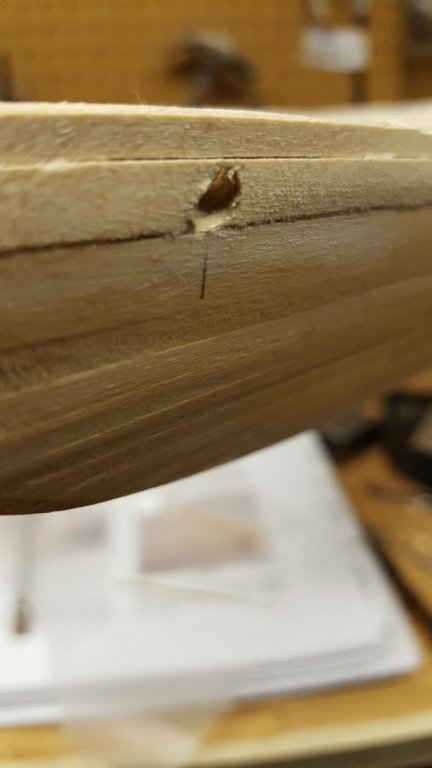
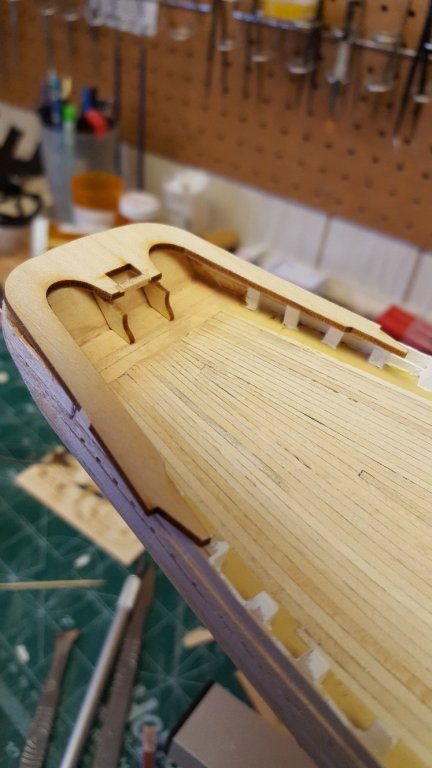
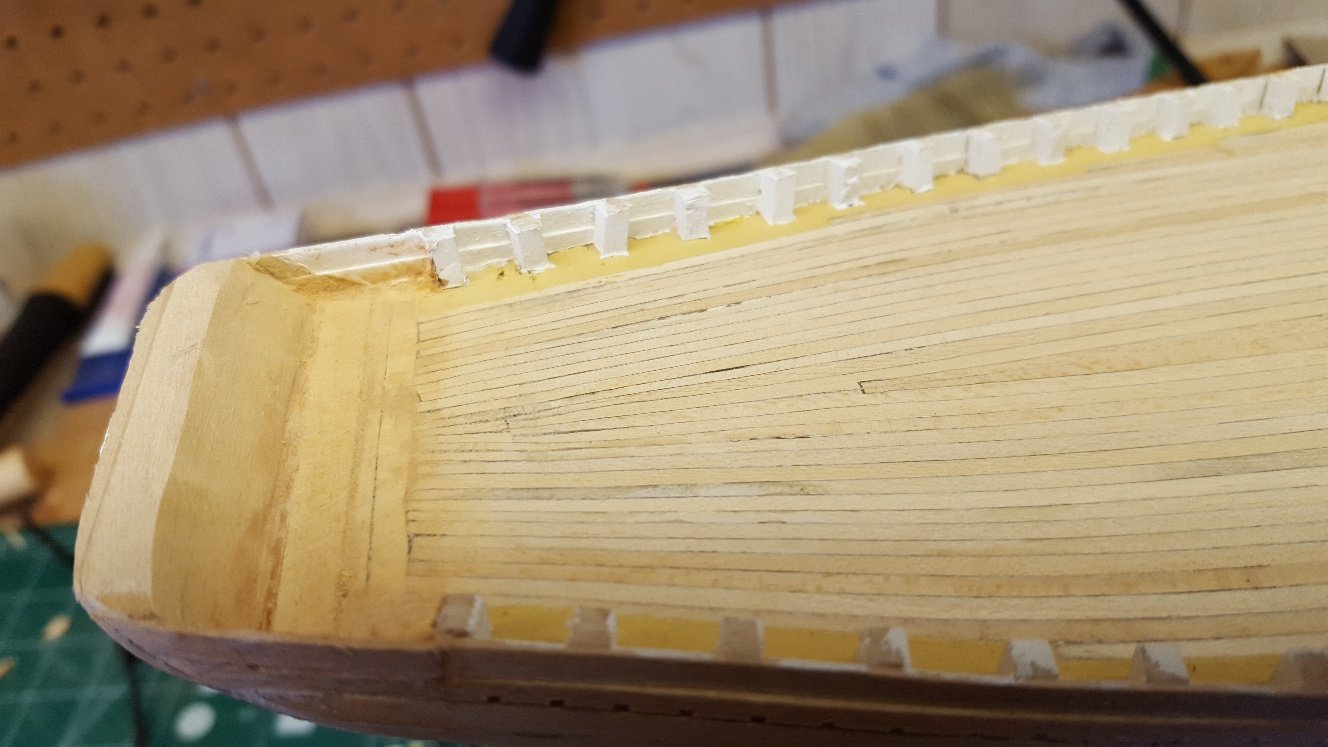
I was removing the cap rail from the billet and broke a small piece off. No worries, a bit of 1/16" x 1/16" scrap and the fix was made.
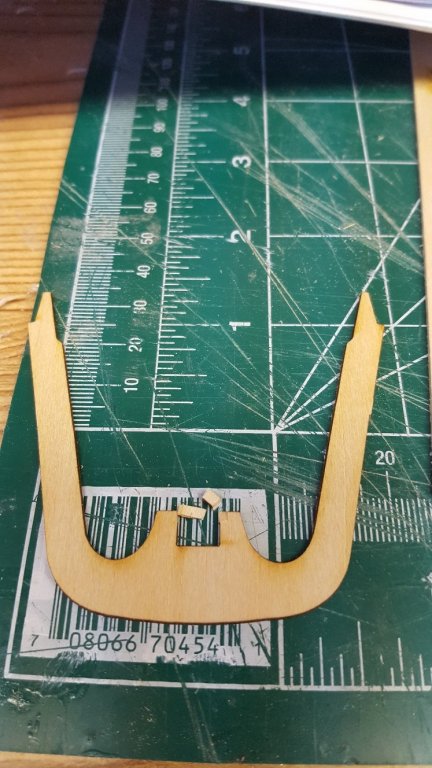
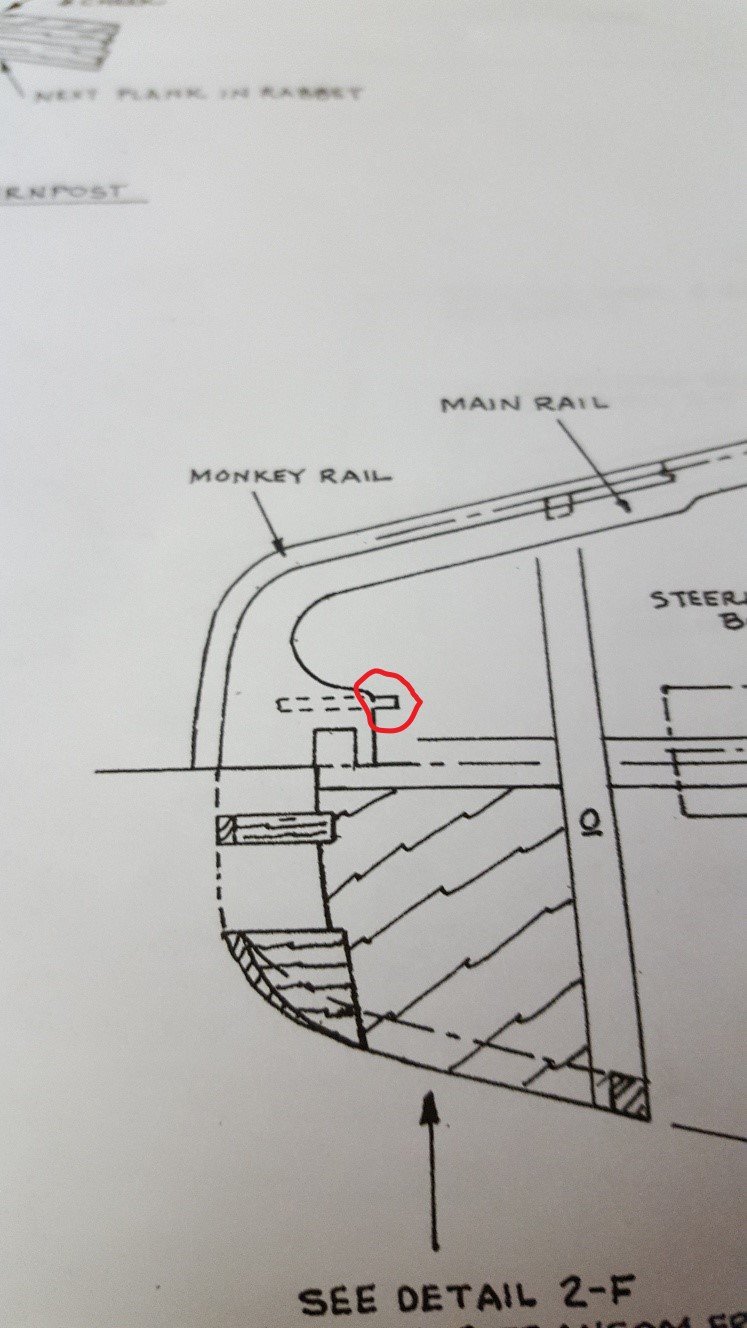
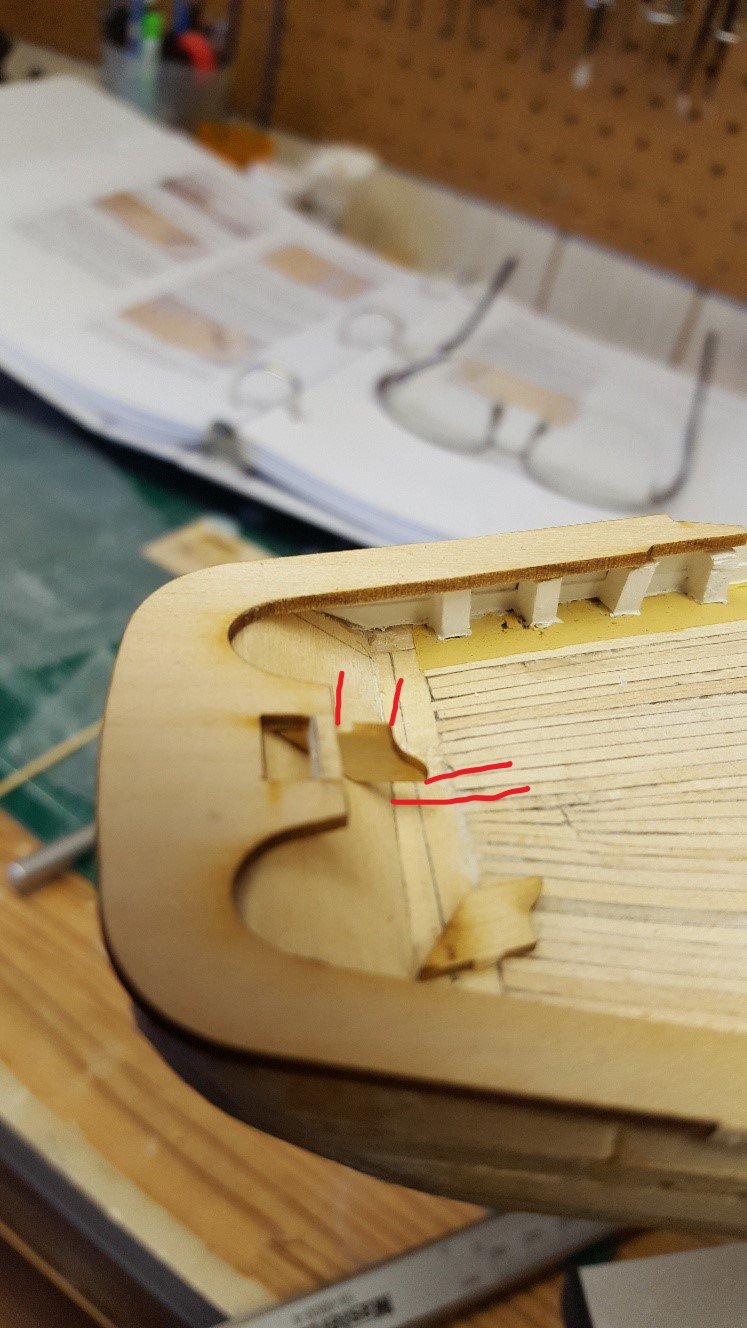
However, I do have a situation that I need your help on. As you can see, .my cap rail doesn't completely line up with the transom block. The drawings show about an 1/8" reveal but I have close to 1/2". Also I need to raise it about 3/8"

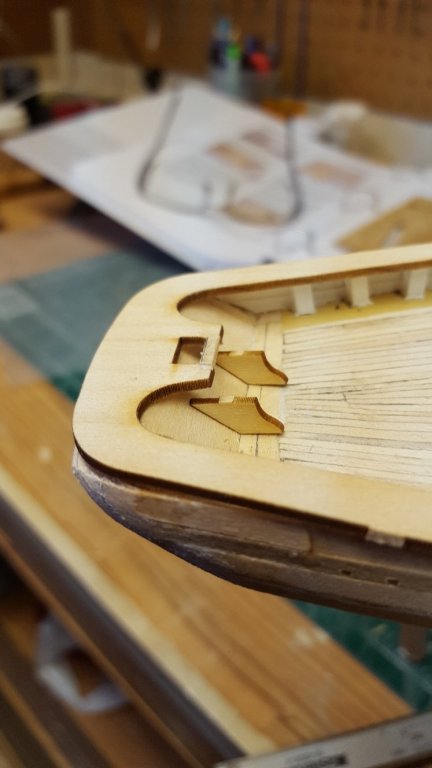
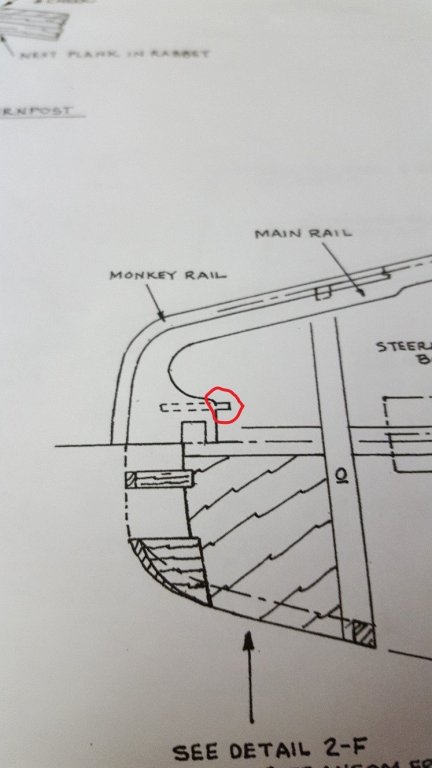
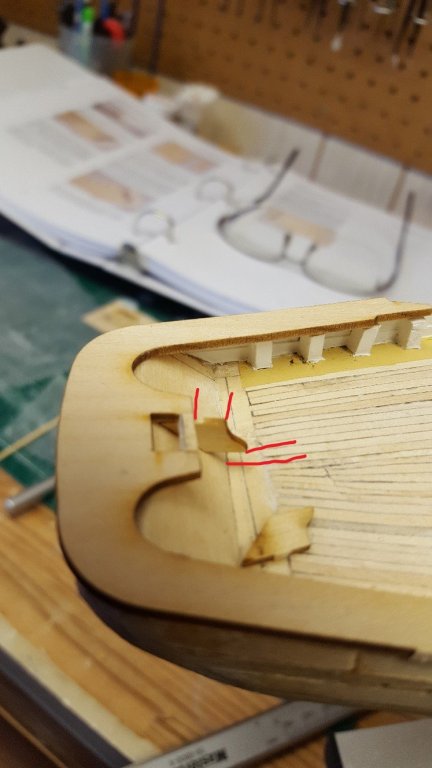
So I'm curious how critical all these dimensions are or what I need to modify for a proper fit. Should I build my own vertical pieces or just move the kit supplied ones up to meet the top rail. Is this critical or is this just an unnecessary detail.
Any advice would me most helpful
-
Trust me Brian, if you do it by hand then go for it. Myself, I'm not artistic at all and tend to get paint all over the place
")
-
On 2/25/2018 at 7:45 PM, JustBlowingInTheWind said:
Once you've eliminated all the wrong ways, the right way is all that's left.
Well put Brian.
On 2/25/2018 at 5:17 PM, Heronguy said:I sometimes find that walking away from a “disaster” for while allows it to fix itself at least partially! I can be confident about this as I get lots of disasters to check it out!
Good work Derek
Your absolutely right Doug. My problem is that when a task gets very repetitive I tend to quickly lose interest. Especially if I feel that it needs to be repeated. If you look at my posts for this build I haven't been very active lately. However, because of the cost of the kits and money spent getting the right tools etc., I told myself that I have to get back at it.
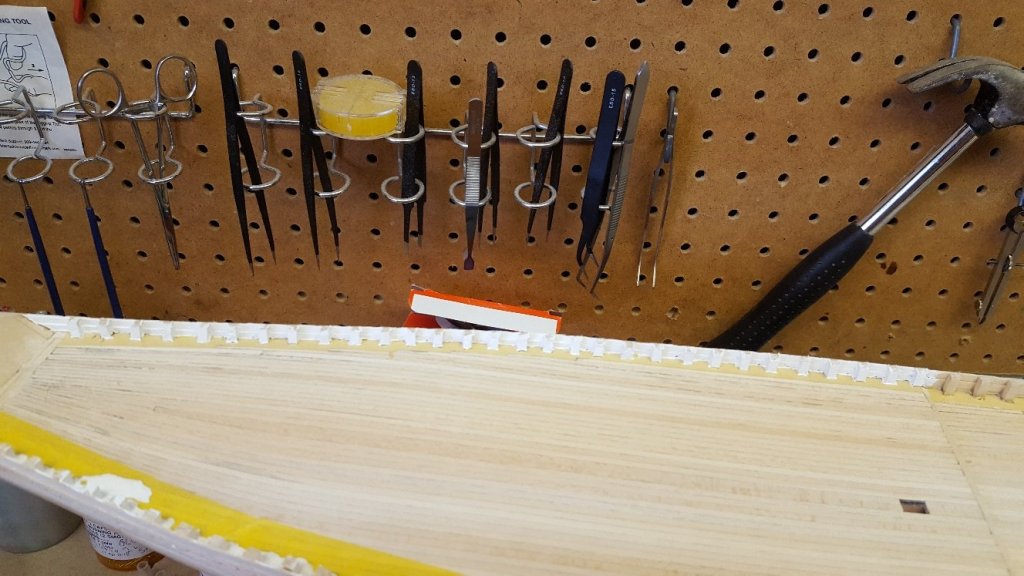
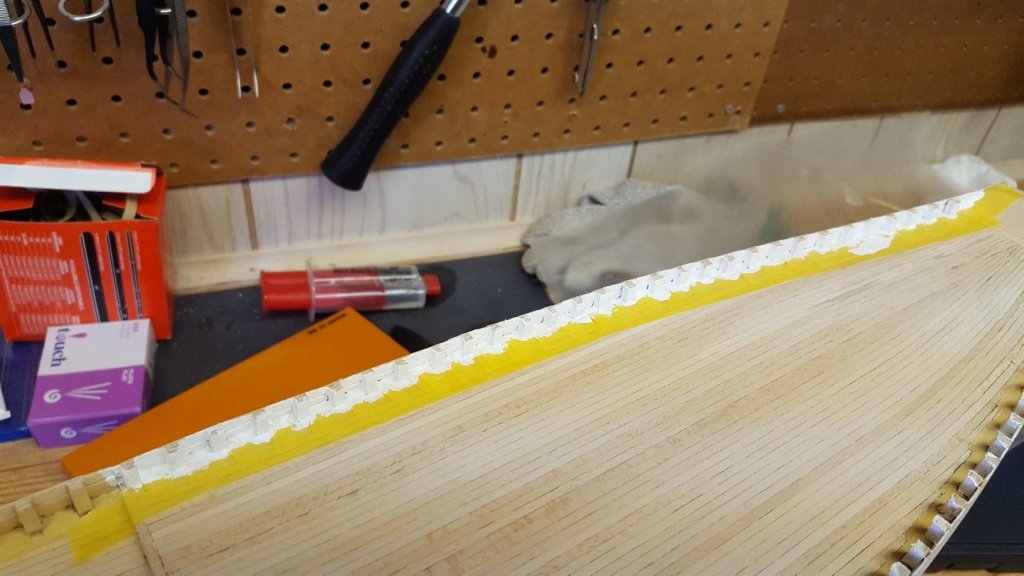
I found an easier and quicker way to mask. As shown by the following pictures.
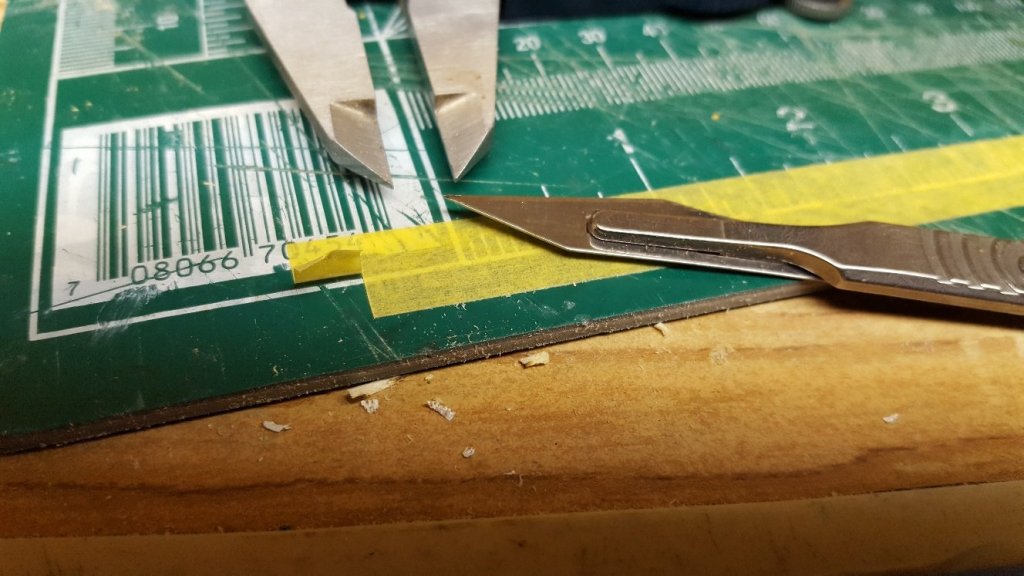
I managed to mask the quarter deck and paint it in about half the time I spent on the foredeck.
-
I went back to the Bluenose today and had a closer look at it. It turns out the bleed through wasn't as bad as I originally thought. Apparently the masking tape didn't fully come off. Once I removed the rest of the masking tape there was very little bleed through.

So I masked the opposite side and painted it.
- David Lester, Nirvana, Jack12477 and 1 other
-
4
-
-
Looks nice, good job
-
OK, I have to give a shout out to Model Expo / Model Shipways. I screwed up the center keel as you can see from my posts above. Also, I didn't do a great job with bulkhead #1 and broke a small bit of it. So I emailed ME/MS. In my email I asked for a price to replace the two billets. I also mentioned that I got my kit a few weeks before Christmas but just did an inventory on the parts and realized a couple of dowels were warped and there were a couple of single blocks missing.
Long story short, I fully expected to pay for the two billets I need replaced because of my workmanship. However, I got an email from them tonight saying that they would be shipping everything shortly. Not one mention of price.
I am a purchasing agent by profession and deal with a lot of companies. It's funny how, I can place an order for say $12 million. If our installers screw something up, I pay dearly for a replacement part. However, you take a company like ME/MS and they 100% stand behind their product even when the error is not there own. It's refreshing to see amazing customer service. i don't see that much these days.
We also have a local company that sells campers, etc. They too have amazing customer service, Because of that, most parks that I camp in have trailers with this company's name on them (both Ontario and New York parks).
I was pondering what I was going to do for my next build but I definitely think it will be something in the ME/MS inventory.
-
Looks good Doug. Nice brass work and great detail.
-
-
Hi David,
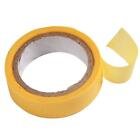
It's Washi masking tape that I ordered on Ebay. It came highly recommended on this site and said it was comparable to Tamiya masking tape. I think the problem really lies trying to get the tape tight to the surface in such a confined space. I've used this tape in other areas and it performed well. Just more rework, that's all

-
I spent an hour masking the quarter deck port side so I could paint the bulwark planks. What a nightmare. I had a ton of bleed through. I'll have to repaint. Boy this is frustrating. A ton of repetition and it isn't going well which makes it double the effort. Oh well, just another day in the life.
-
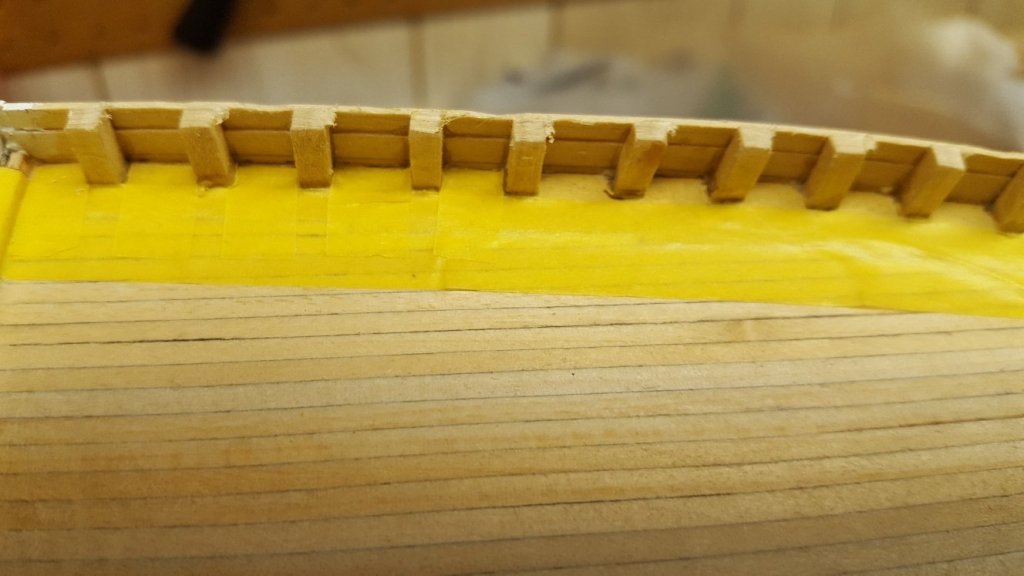
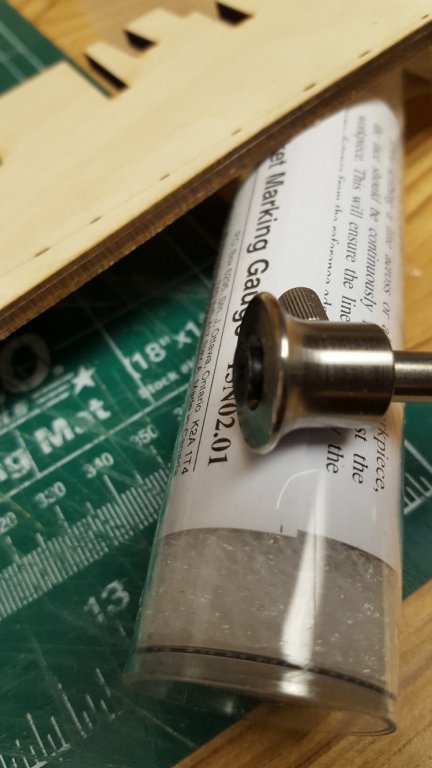
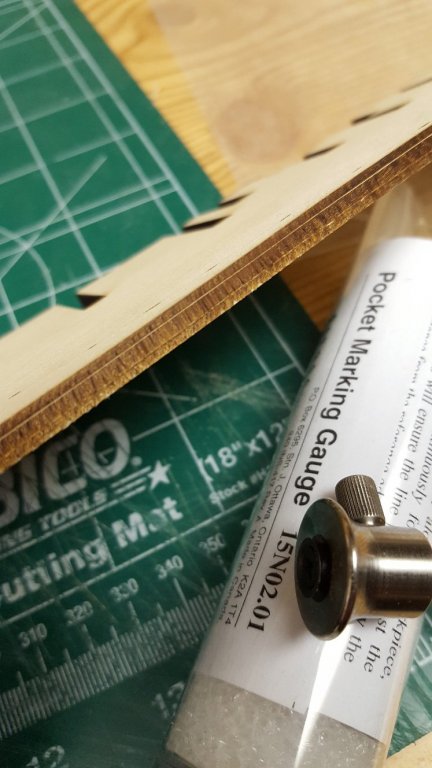
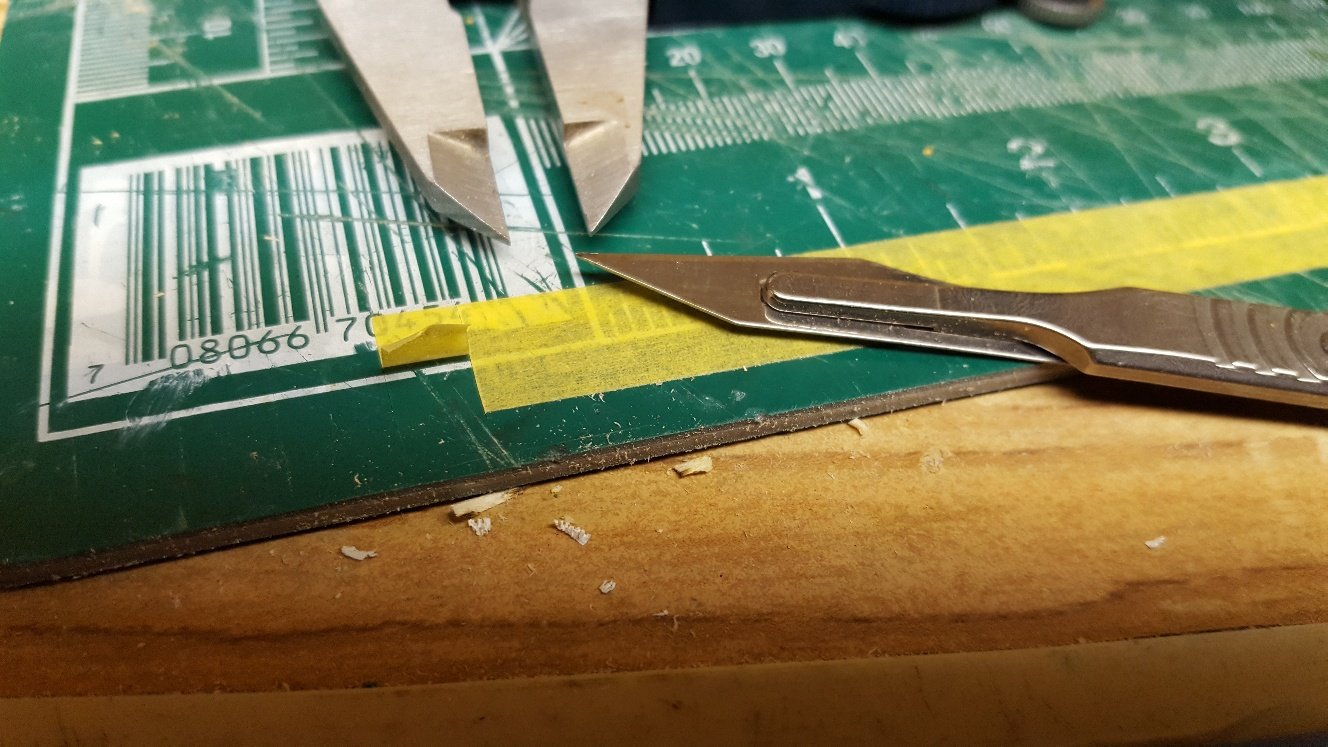
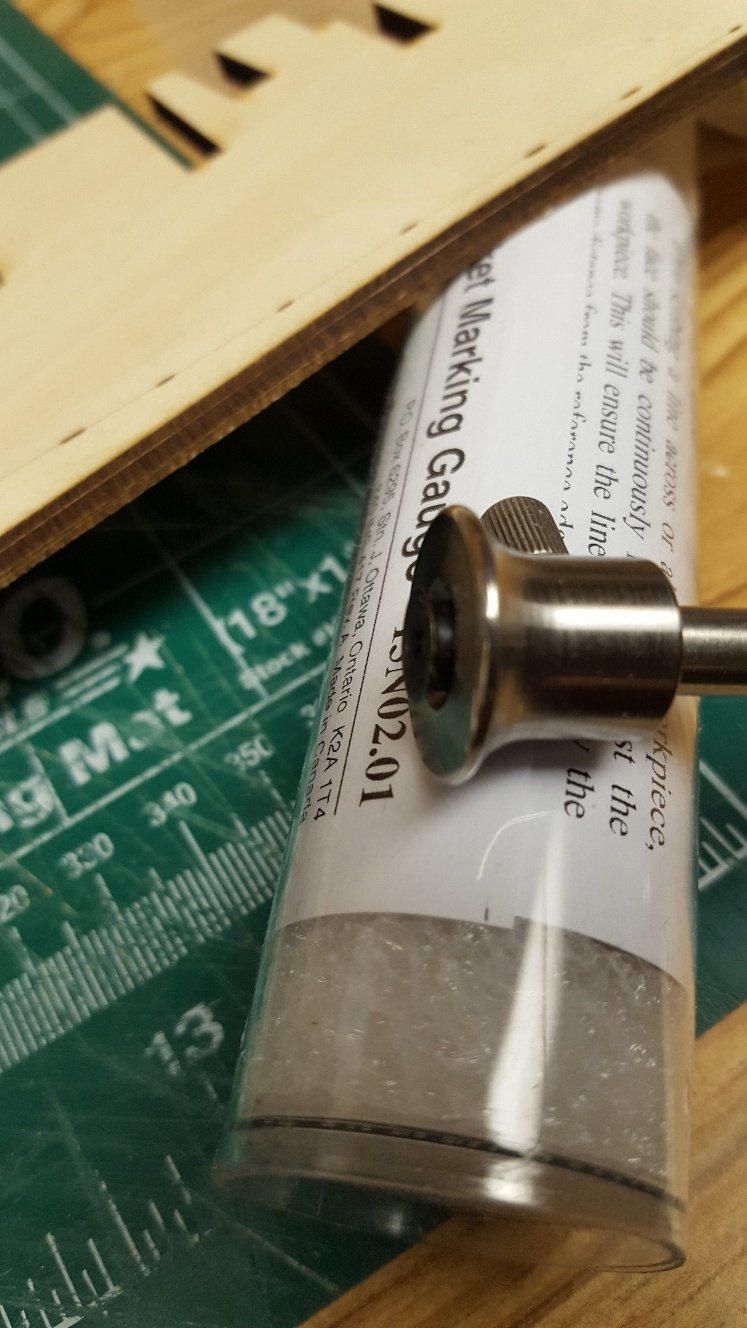
I used a marking gauge to locate the depth of 1/16" for the bearding line depth. Work quite well.

Luckily the bearding line was already marked on the hull. Just a matter of making some cuts.
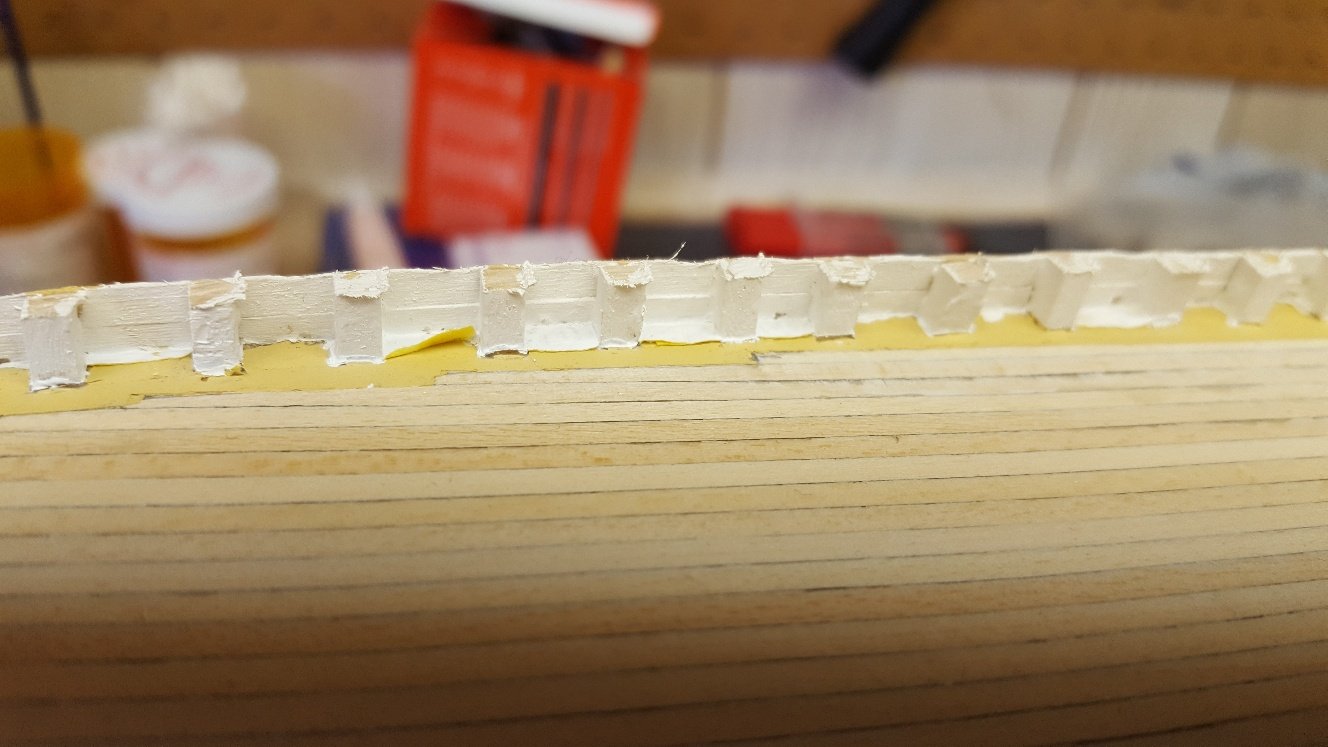
Got a little too aggressive with the scalpel. Kinda went a little too deep in a couple of spots.


I decided to apply a bit of wood filler to build the area back up again. Once dried, I will carefully sand away the wood filler to the required depth.
-
I saw your build log Bob. I will be happy if I can achieve 1/10 the quality of yours.
I think I am going to limit painting of the Fair American. The kit comes with walnut strips for double planking and I would like to keep that look. I prefer the look of natural wood over painted wood.
I'm curious. As far as I know the original Fair American was a 16 gun ship and Model Shipways makes reference to this fact quite often on their plans yet they advertise this model as a 14 gun ship. Is it because they don't display the 2 aft guns? Glancing at the plans, they show 2 the two aft guns however the kit only comes with 14 guns. It does include 2 gun doors. I'm assuming that the 2 aft gun bays will have the doors in the closed position. Is this because you can't access the location? Bob Hunt's practicum kit bashes in the fact that he opens up the quarter deck to show the Captains quarters. I guess if I was to go with his bashing I would have to purchase two more guns to be historically accurate. And I apologize for the terminology if it's incorrect. Learning a new language (nautical terms) is taking time.
-
Welcome aboard Don and Doug. It's funny Doug, I was actually thinking about the number of kits you have on the go when I opened the Fair American. Cursed you a bit under my breath
for making me believe it's OK to have more than one on the go at a time.
Having said that, I find that I'm always waiting for glue or paint to dry. With two kits, I can always alternate between the two although my bench and shop is going to get crowded.
-
-
I'm putting this kit on hold for a couple of months. I am at the painting stage and need to paint the hull however, I'm working indoors with no ventilation and want to spray the hull. I'll have to wait for the weather to warm up a bit so I can spray in my garage or even better, outdoors. I'll be back.
-
This is my build log of Model Shipways Fair American. I also have Bob Hunt's practicum to reference. He does a bit of kit bashing in his practicum. At this point I'm not sure if I'm going to do the kit bash or not. I have a bit of time to figure that out.
I'm not going to post a pic of the kit itself, I'm sure there is enough of those pictures on this forum already.
Well, it started early. As I was taking the center keel out of the billet I dropped it and of course......

So of course I glued and clamped it and will let it sit overnight

One thing I noticed is that the instructions show the center keel as a two piece assembly yet in the kit it came as one piece. One less thing to do I guess.
- Tom E, Elijah, Ryland Craze and 3 others
-
6
-
I finished this kit tonight. It was enjoyable and I learned a lot along the way. It's a relatively straight forward kit with no major challenges. It was a good side diversion.

- David Lester, Canute, GrandpaPhil and 7 others
-
10


Bluenose by Worldway - Model Shipways - Scale 1:64
in - Kit build logs for subjects built from 1901 - Present Day
Posted
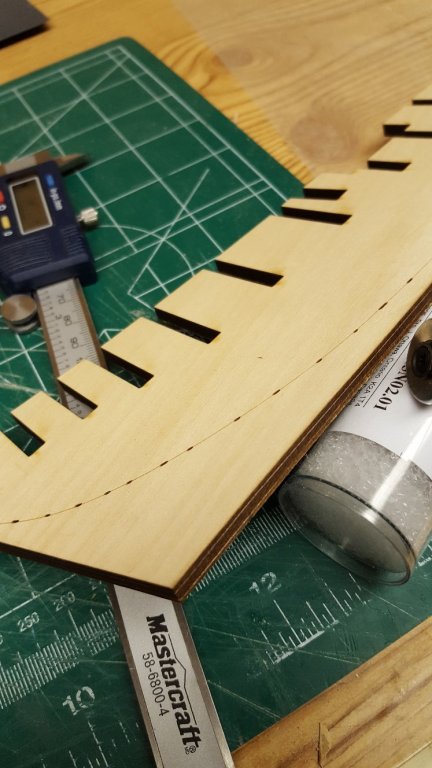
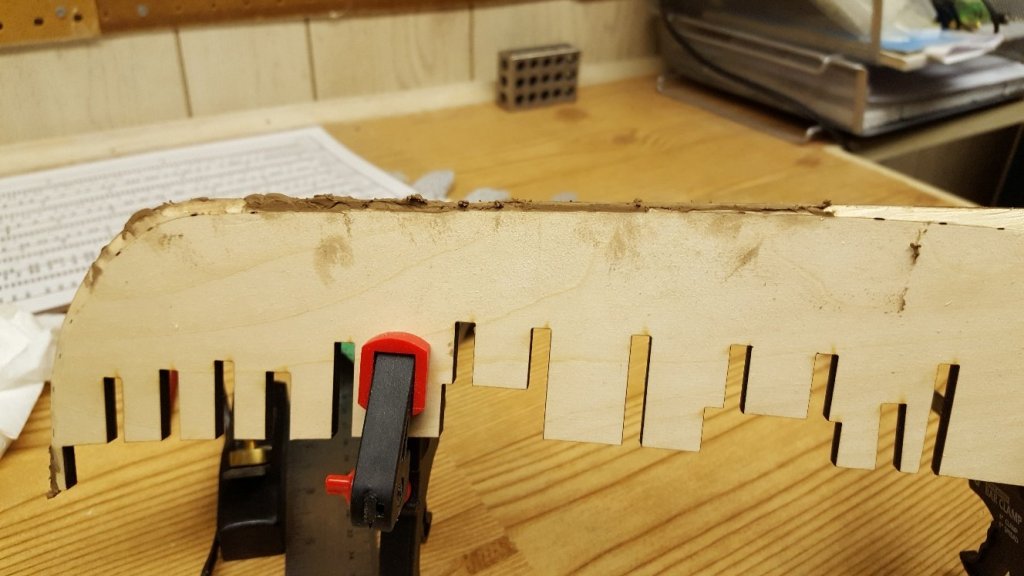
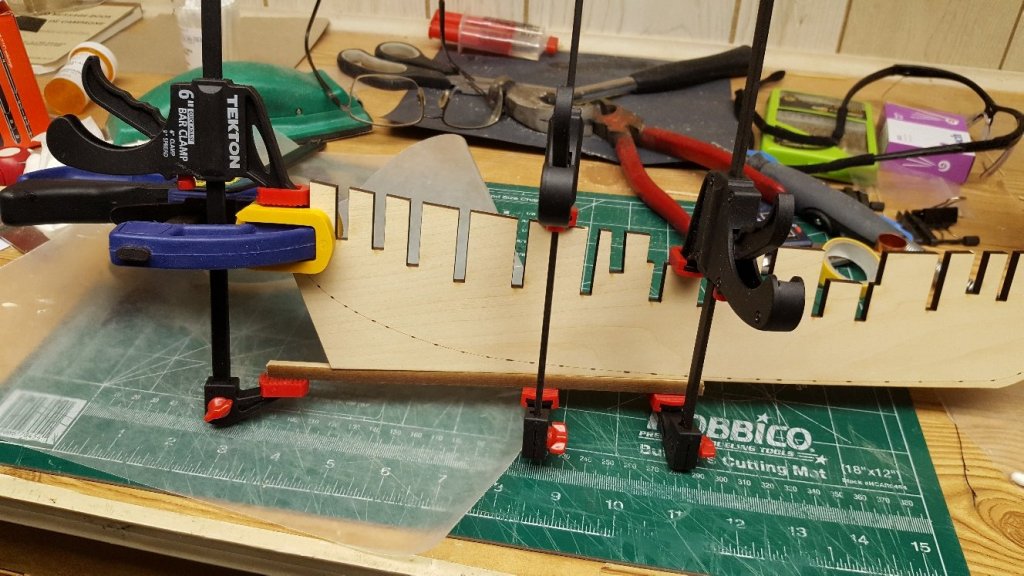
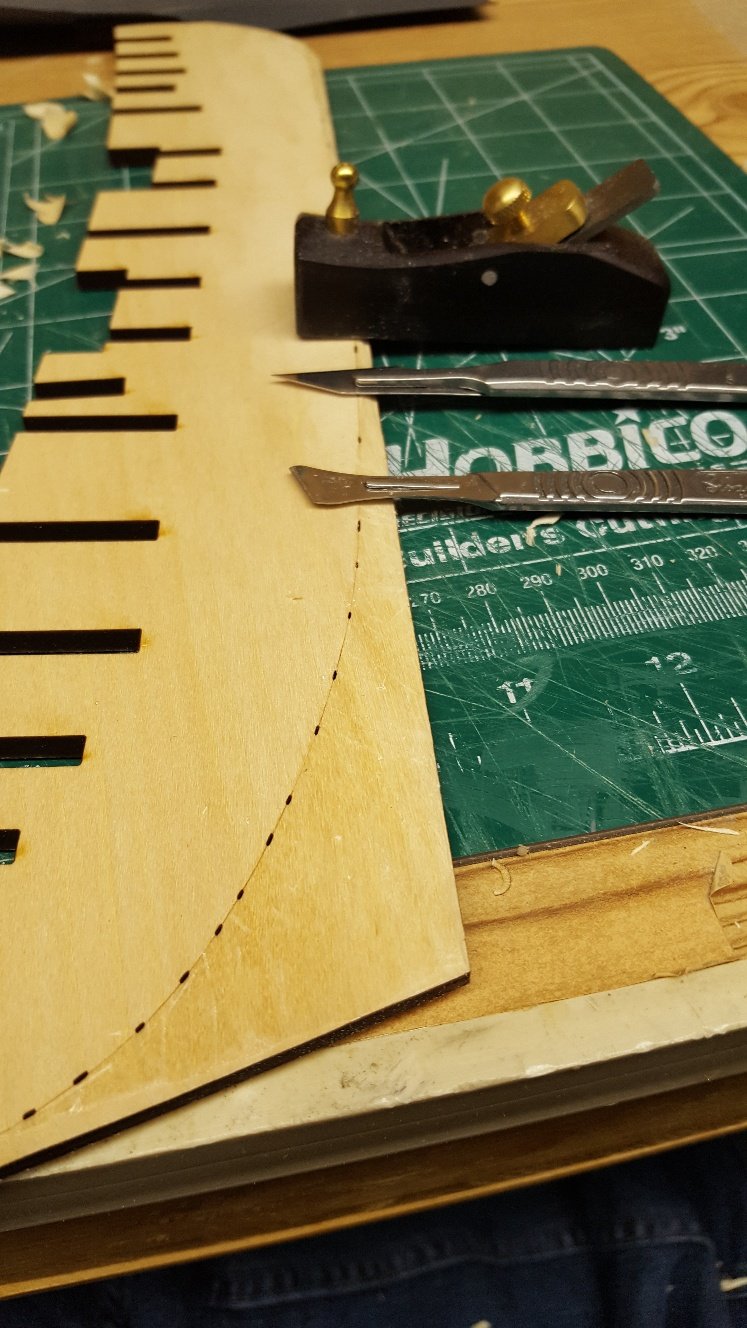
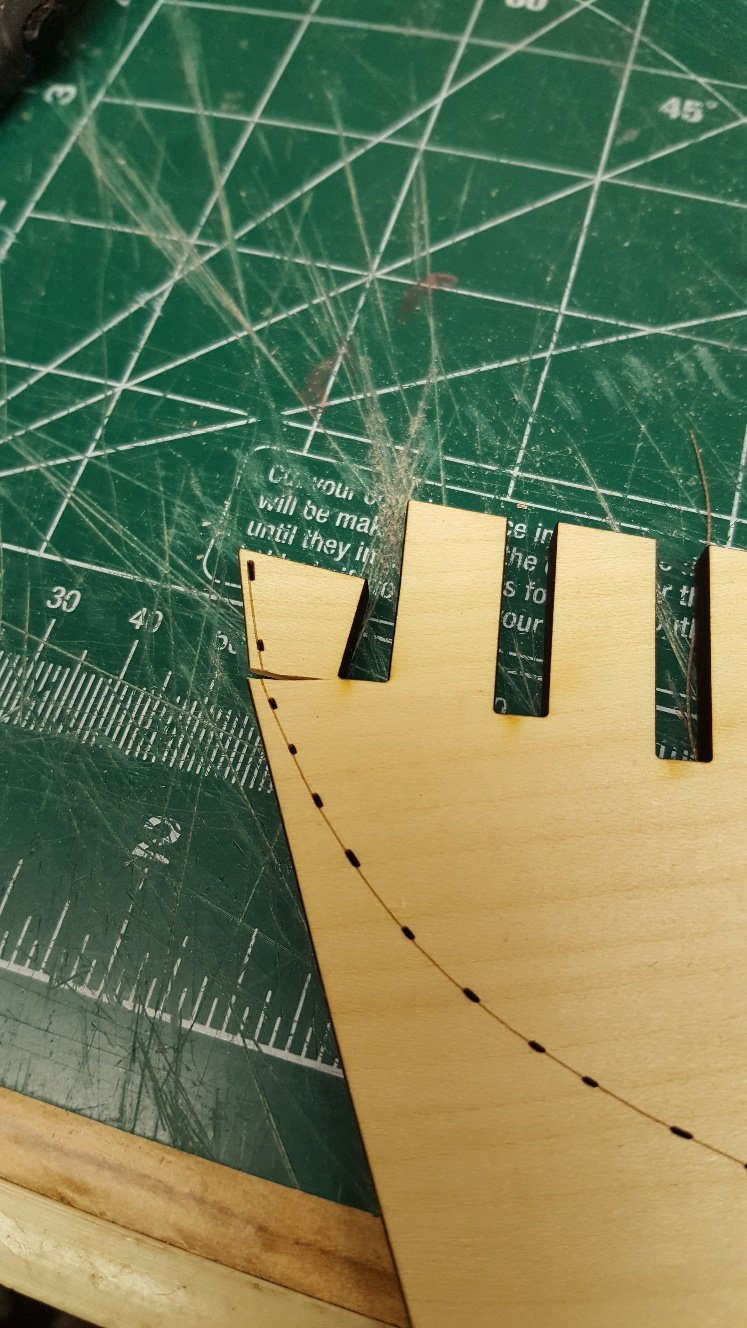
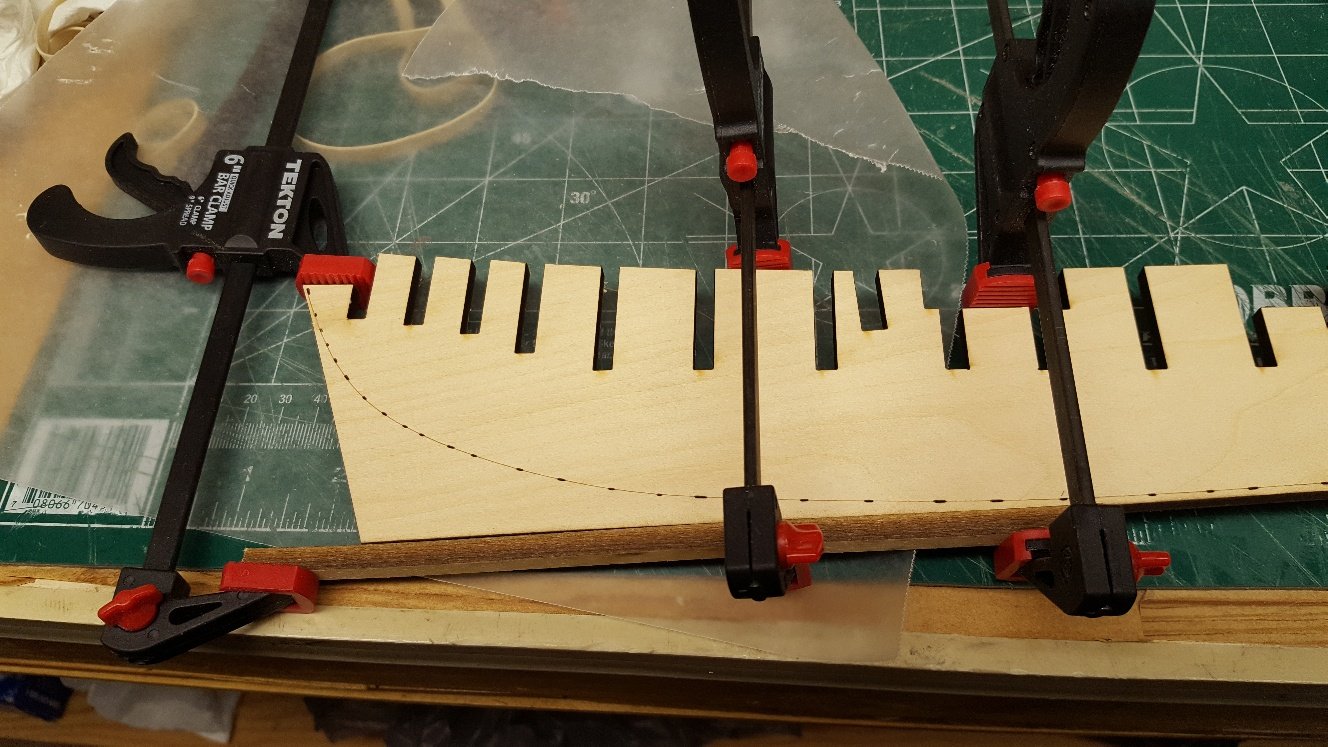
It's been a while since I updated my progress. I decided to try my luck at a bit of scratch building for the main rail. As usual, when I'm tasked with something new, I tend to over analyze for quite a while until I finally break out the tools. I bought a sheet of balsa wood and glued on the pattern using a glue stick. I cut the rail out using my scroll saw trying to stay as close to the line as I could.
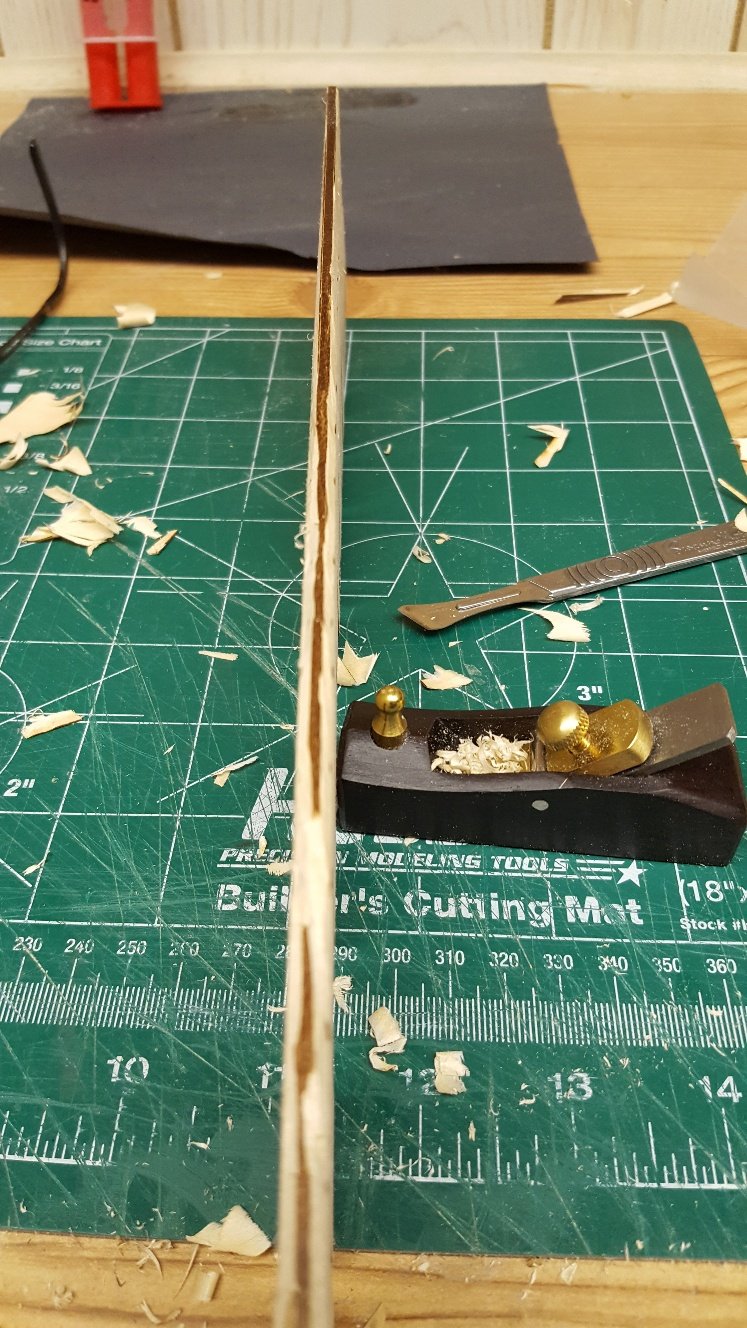
There was a bit of sanding required but no big deal using the sanding options I had. I also set up my Dremel so i could use it like a drum sander to help make the task go faster.
I'll still have a lot of fitting to do and cutting to length.