garyshipwright
-
Posts
939 -
Joined
-
Last visited
Content Type
Profiles
Forums
Gallery
Events
Everything posted by garyshipwright
-
 Thanks guy. That's what am hoping is a more comfortable way of working on her and not being bent over to do that.
 -
Looking good Doc and a nice finish on the wood. Gary
-
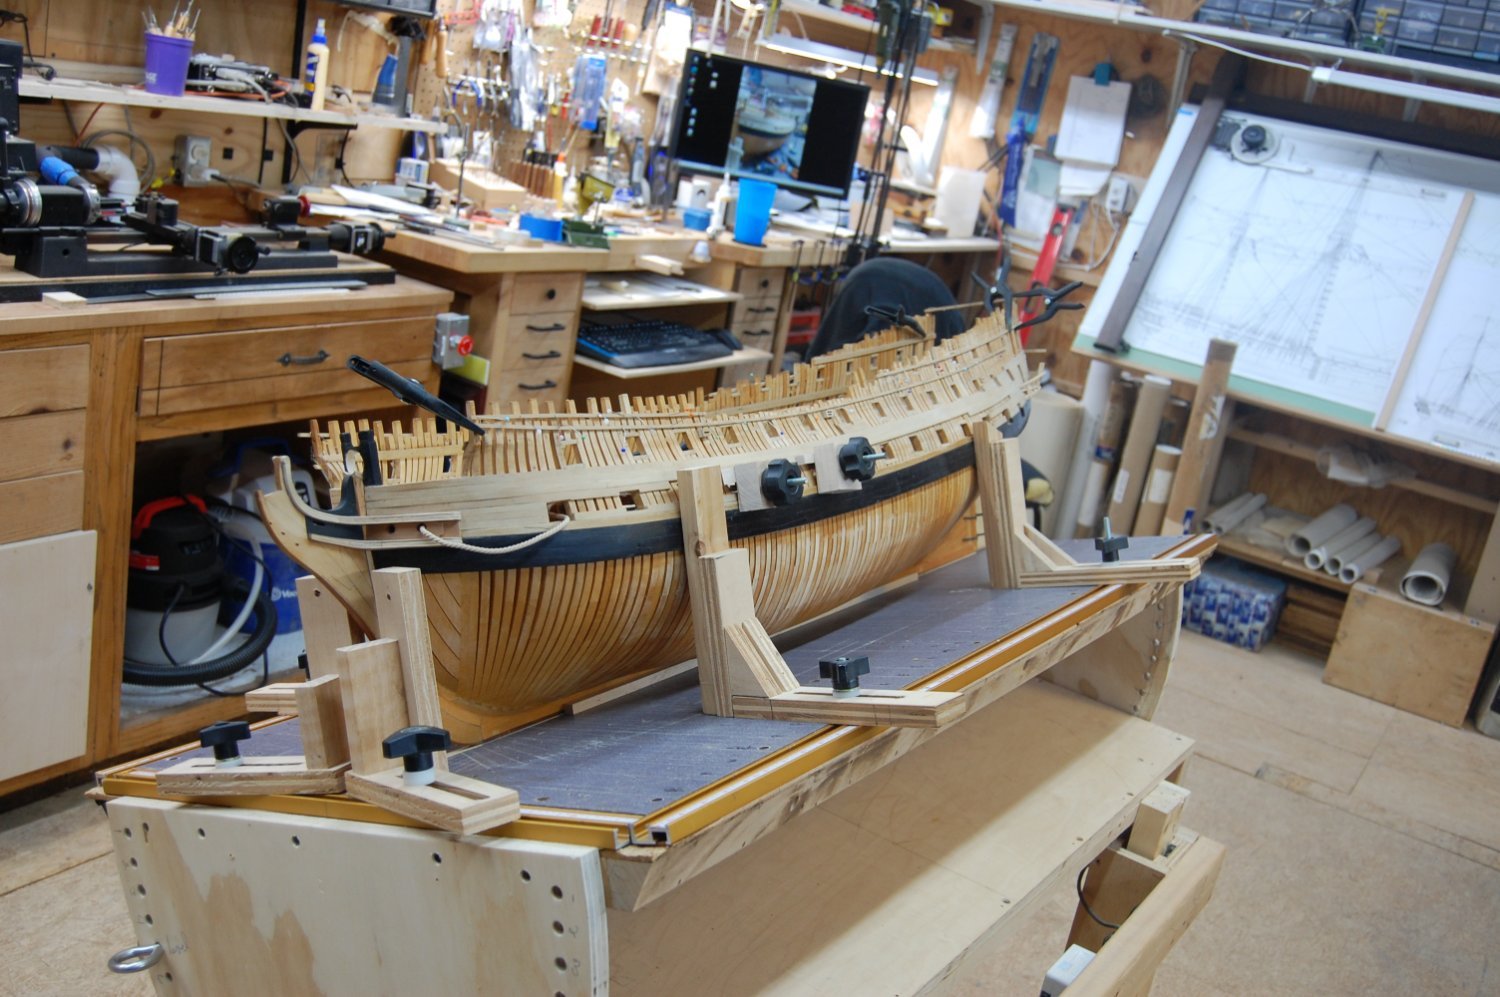
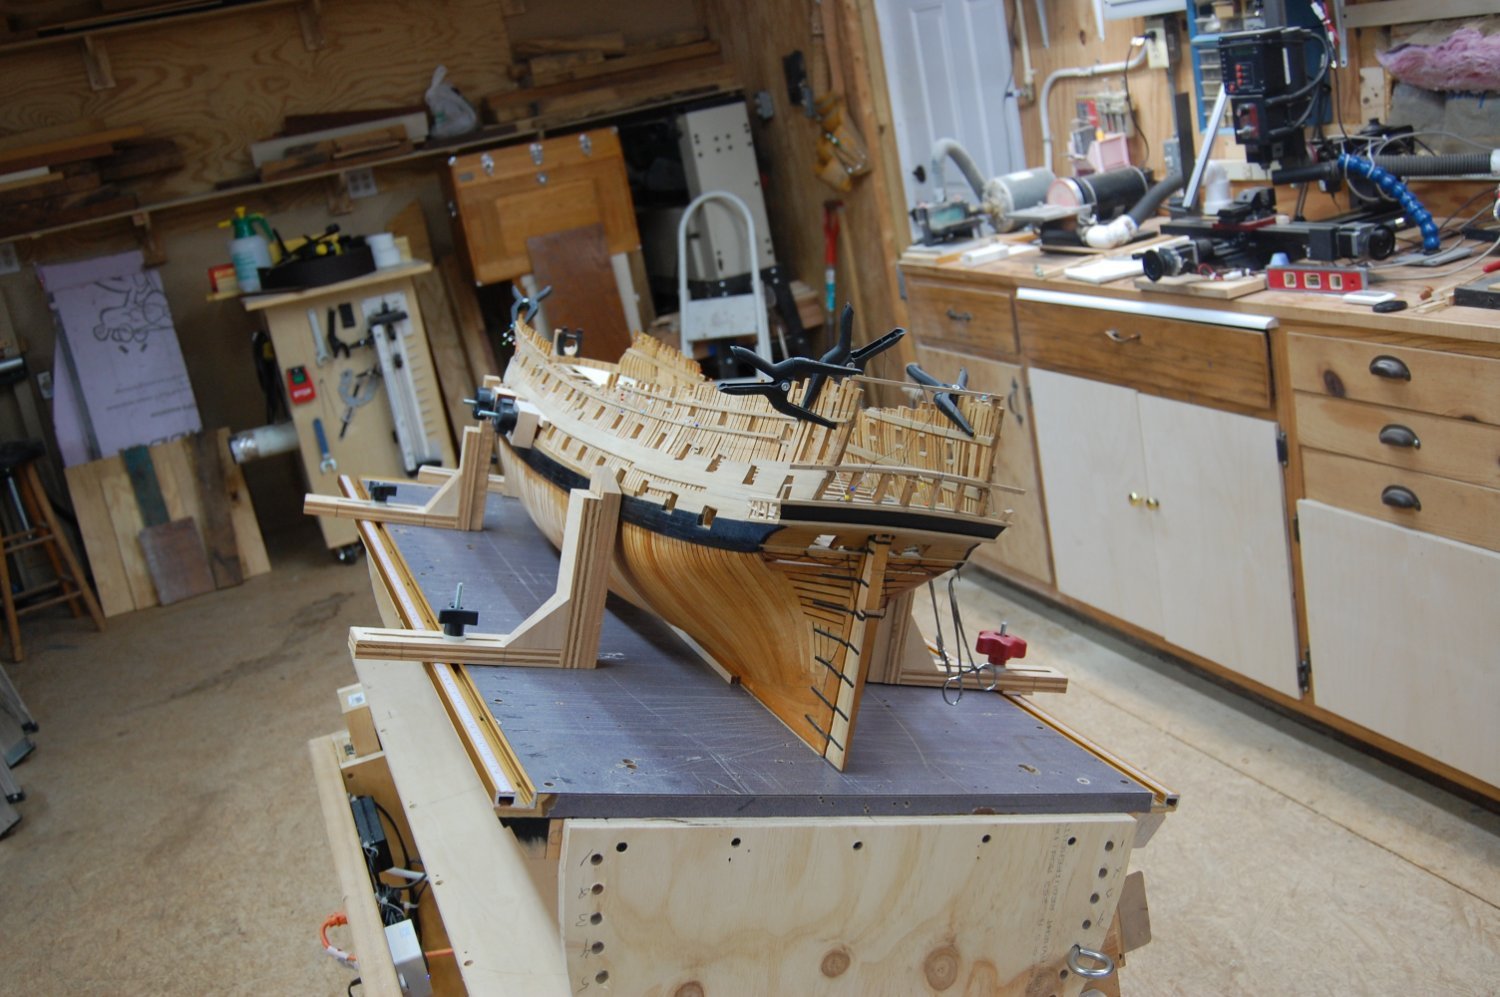
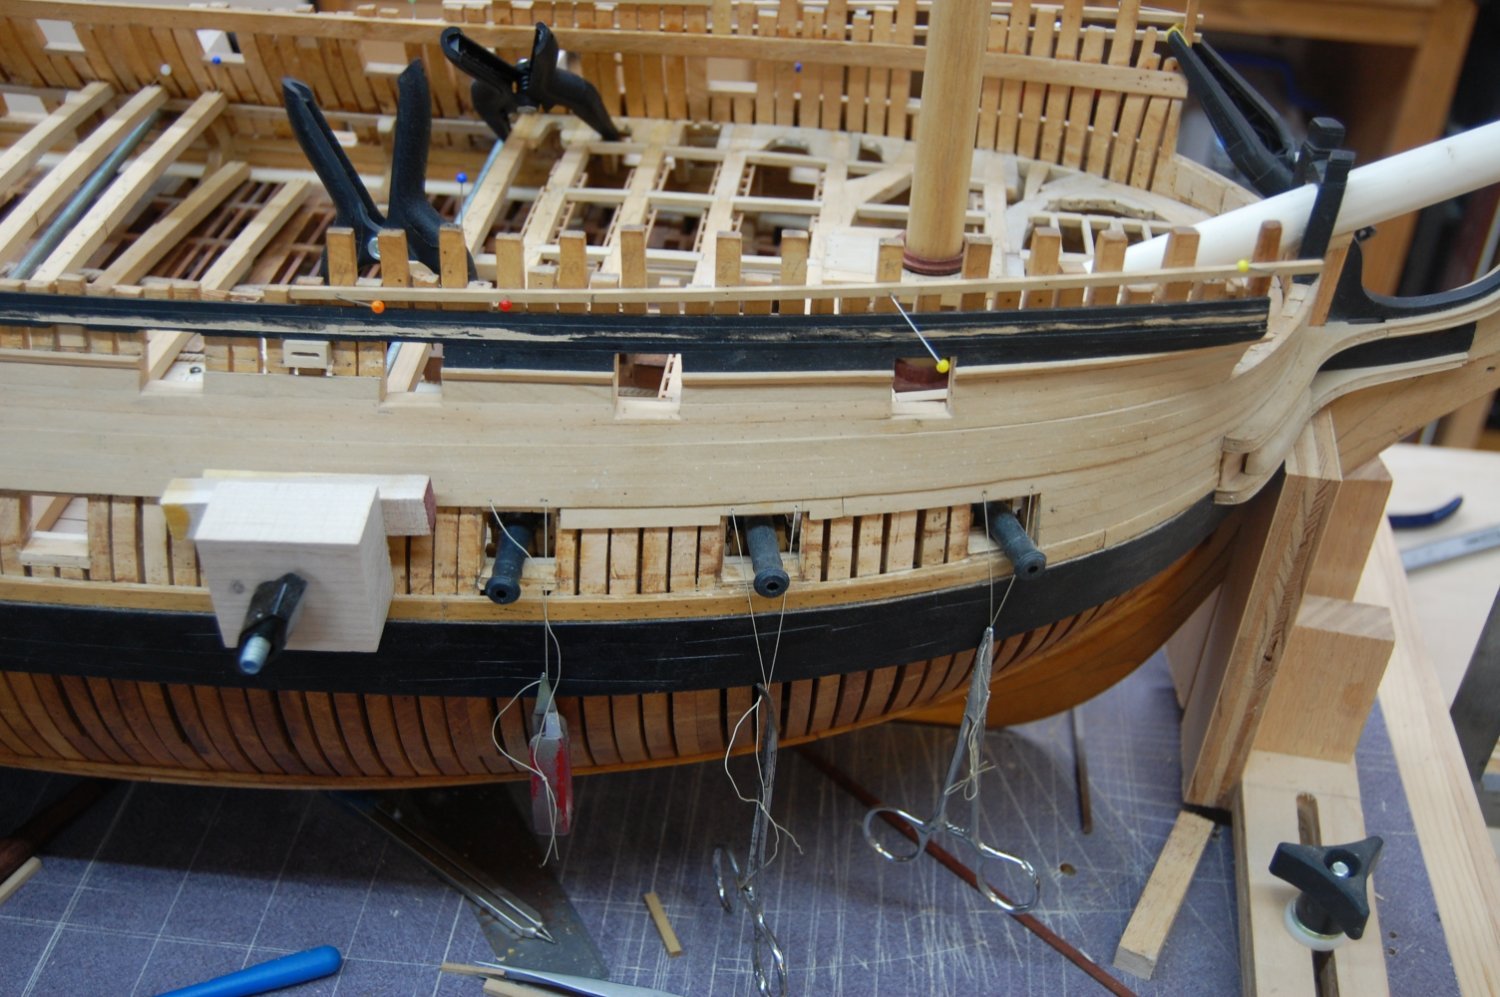
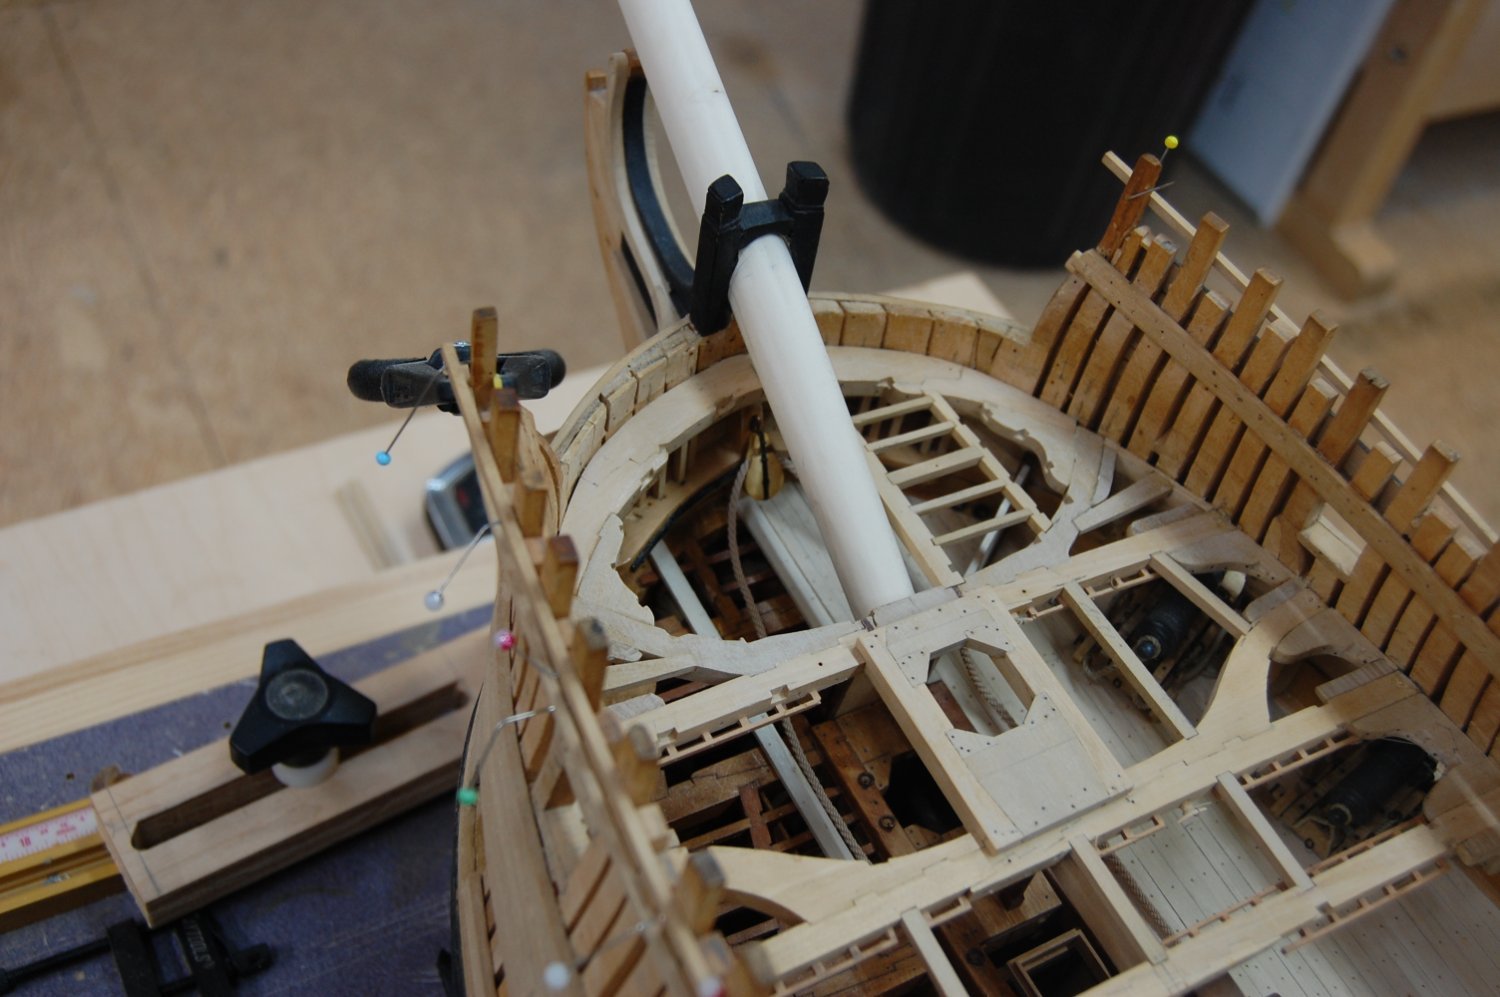
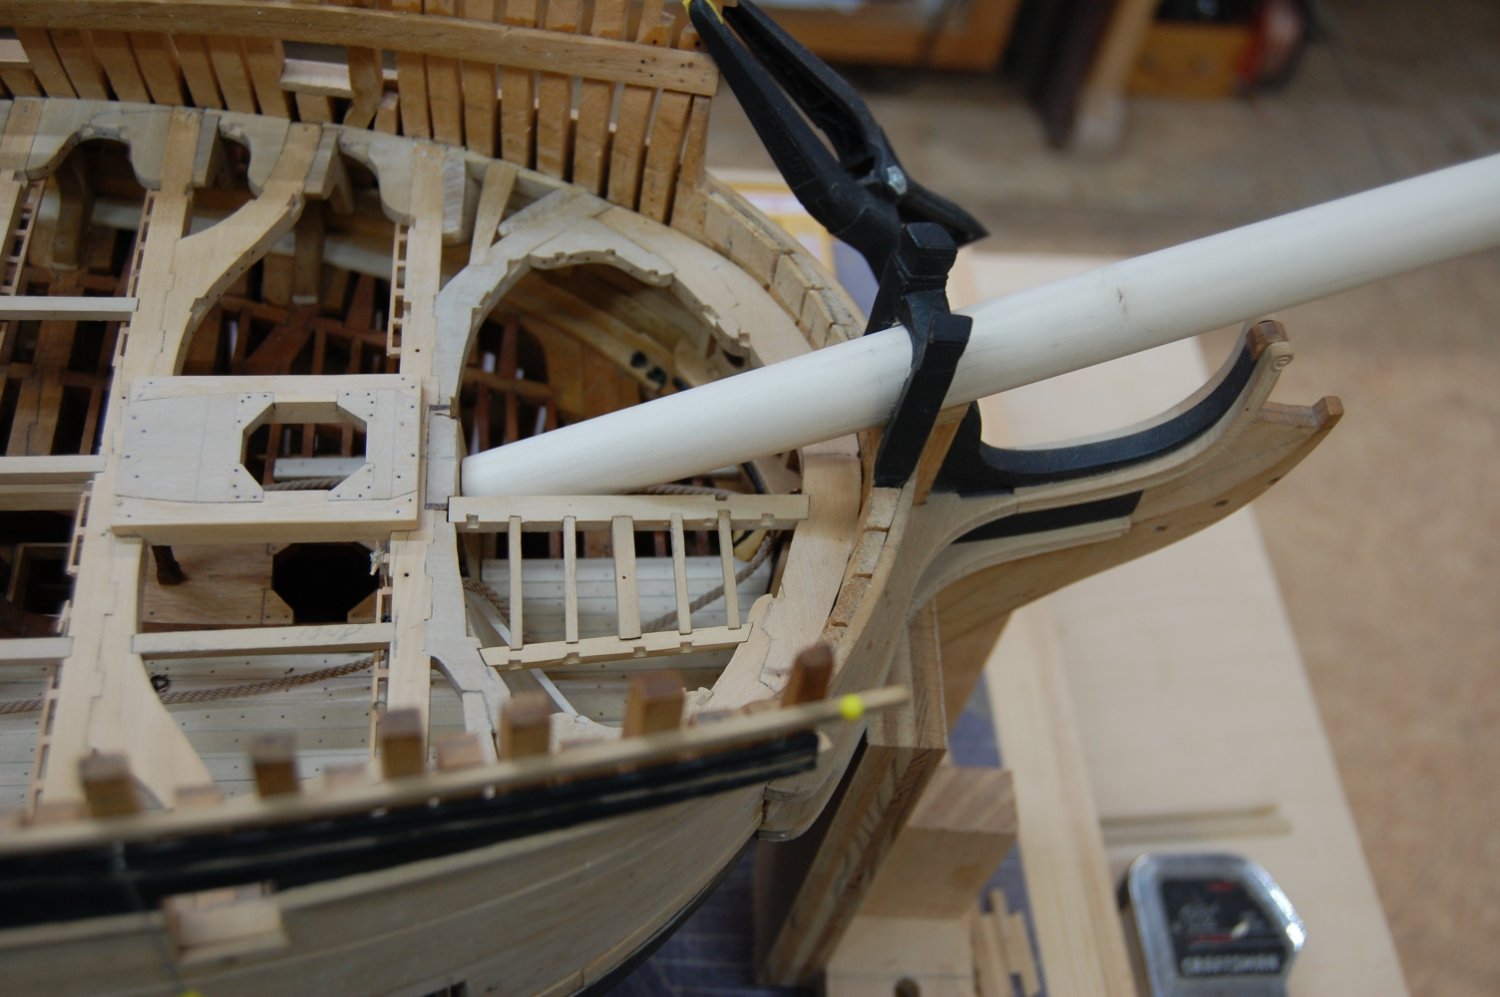
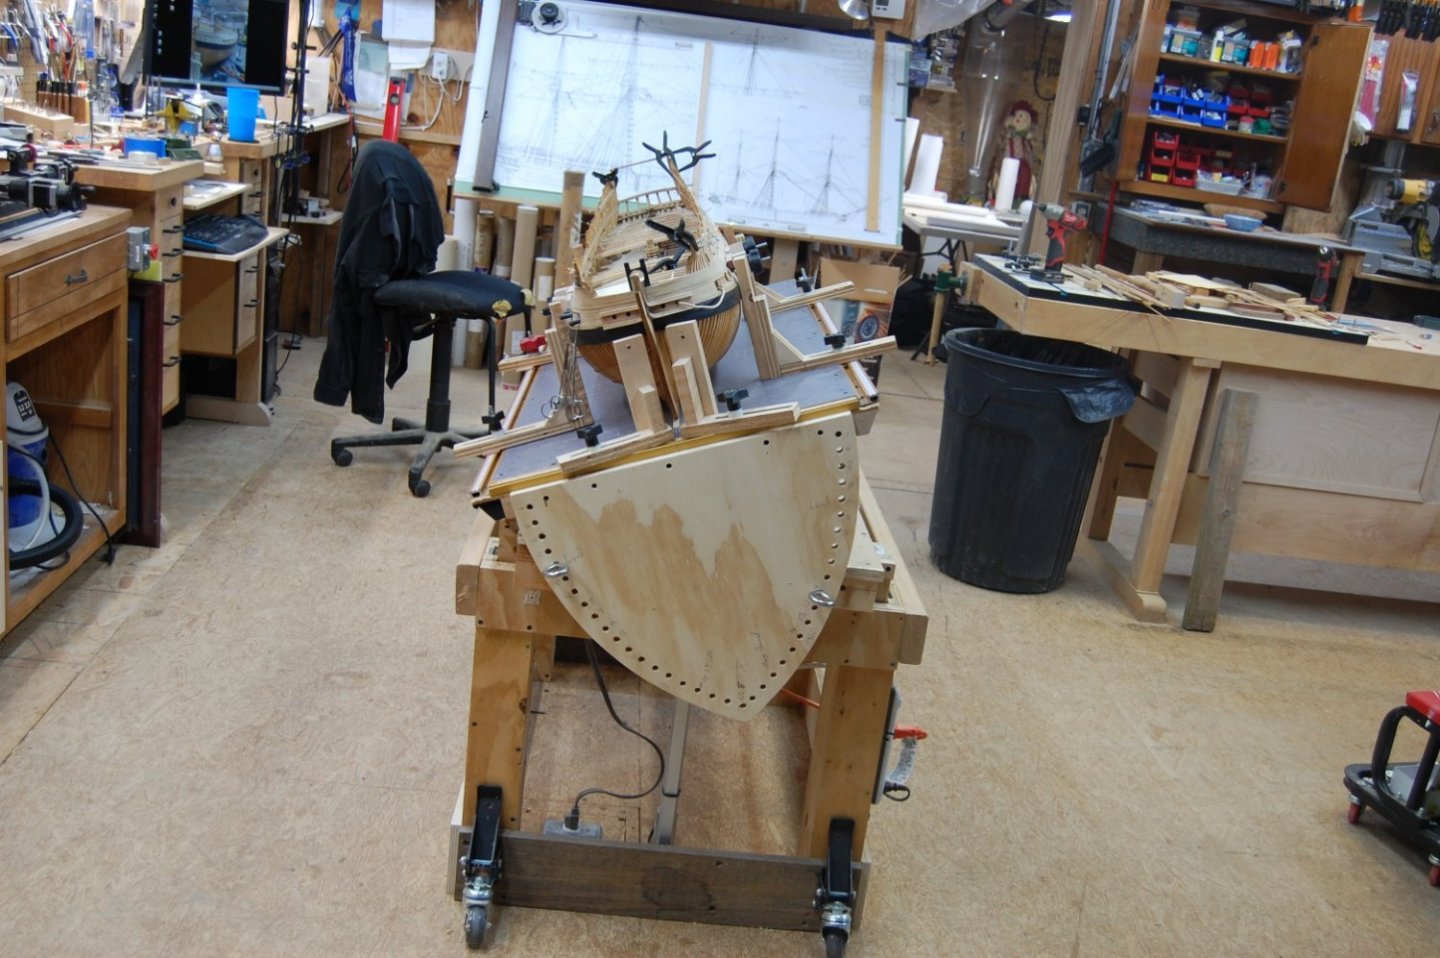
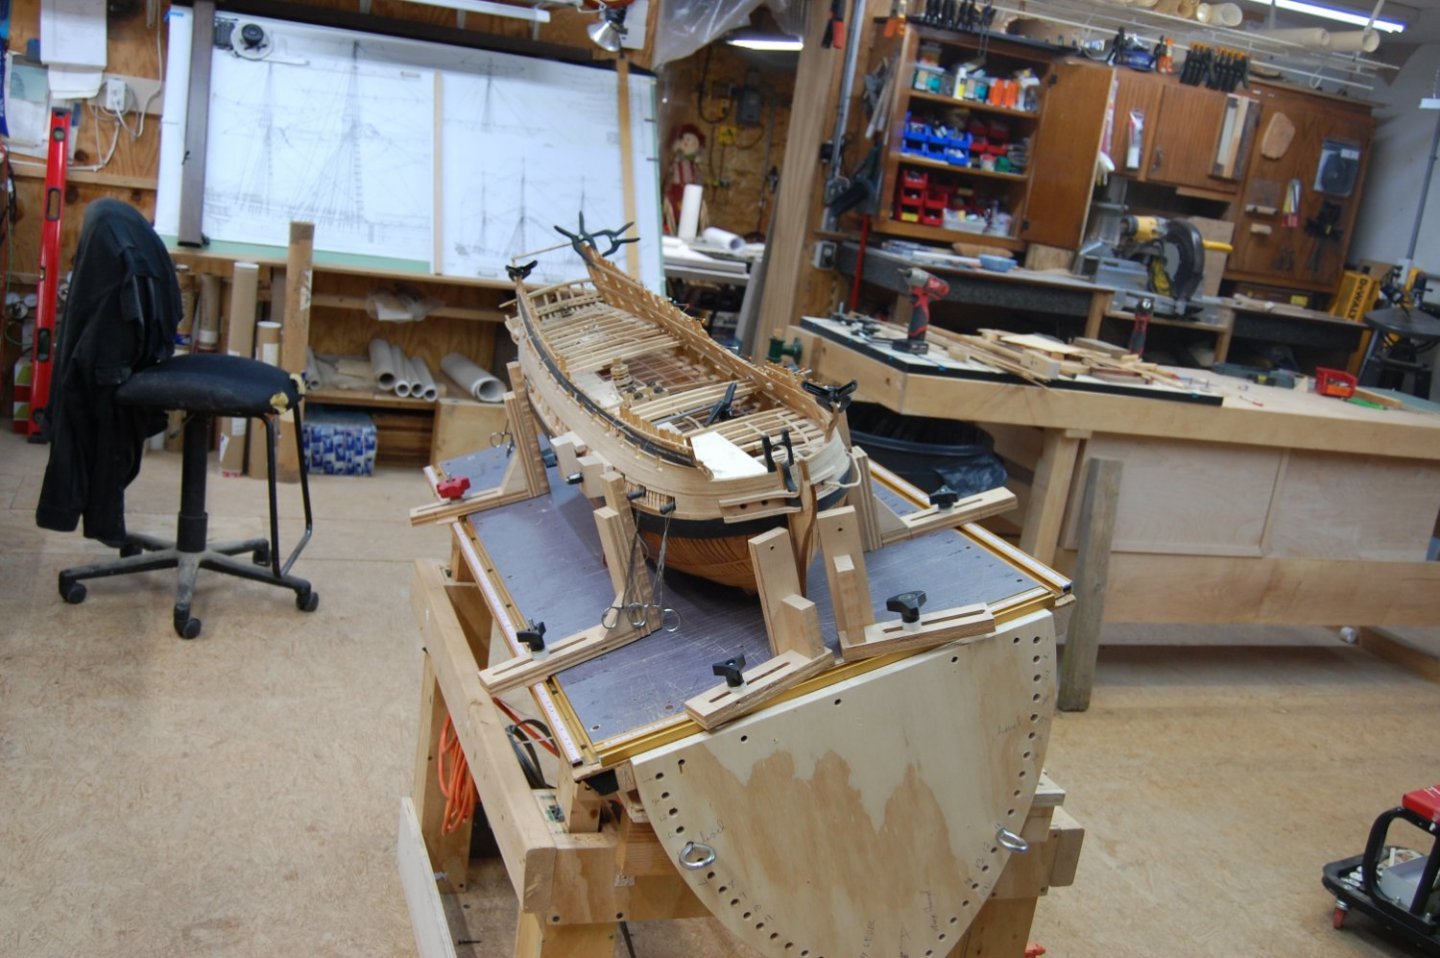
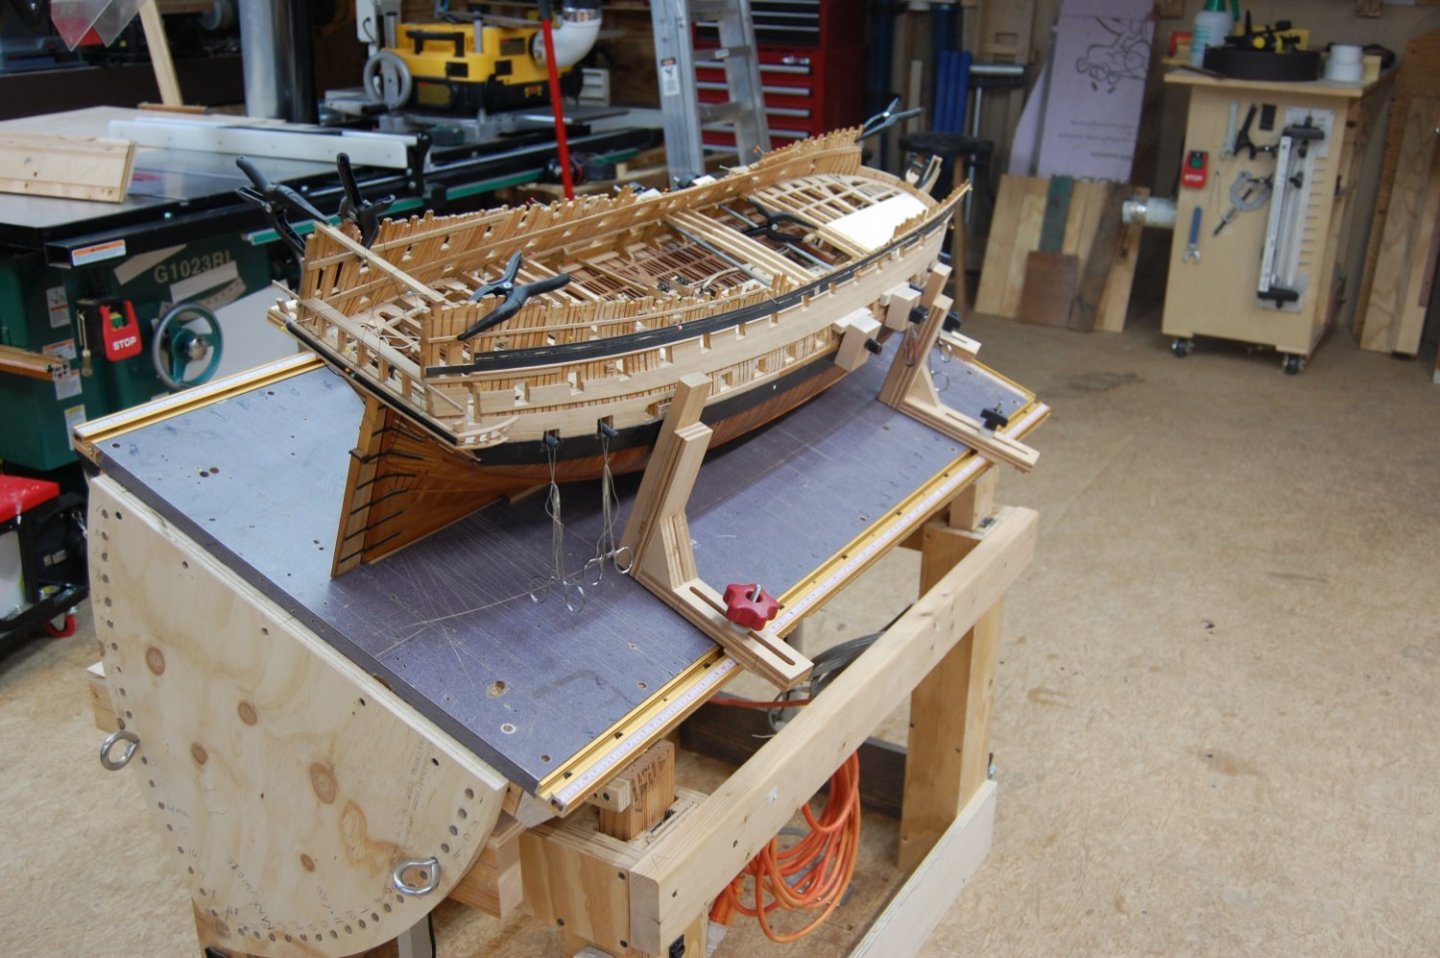
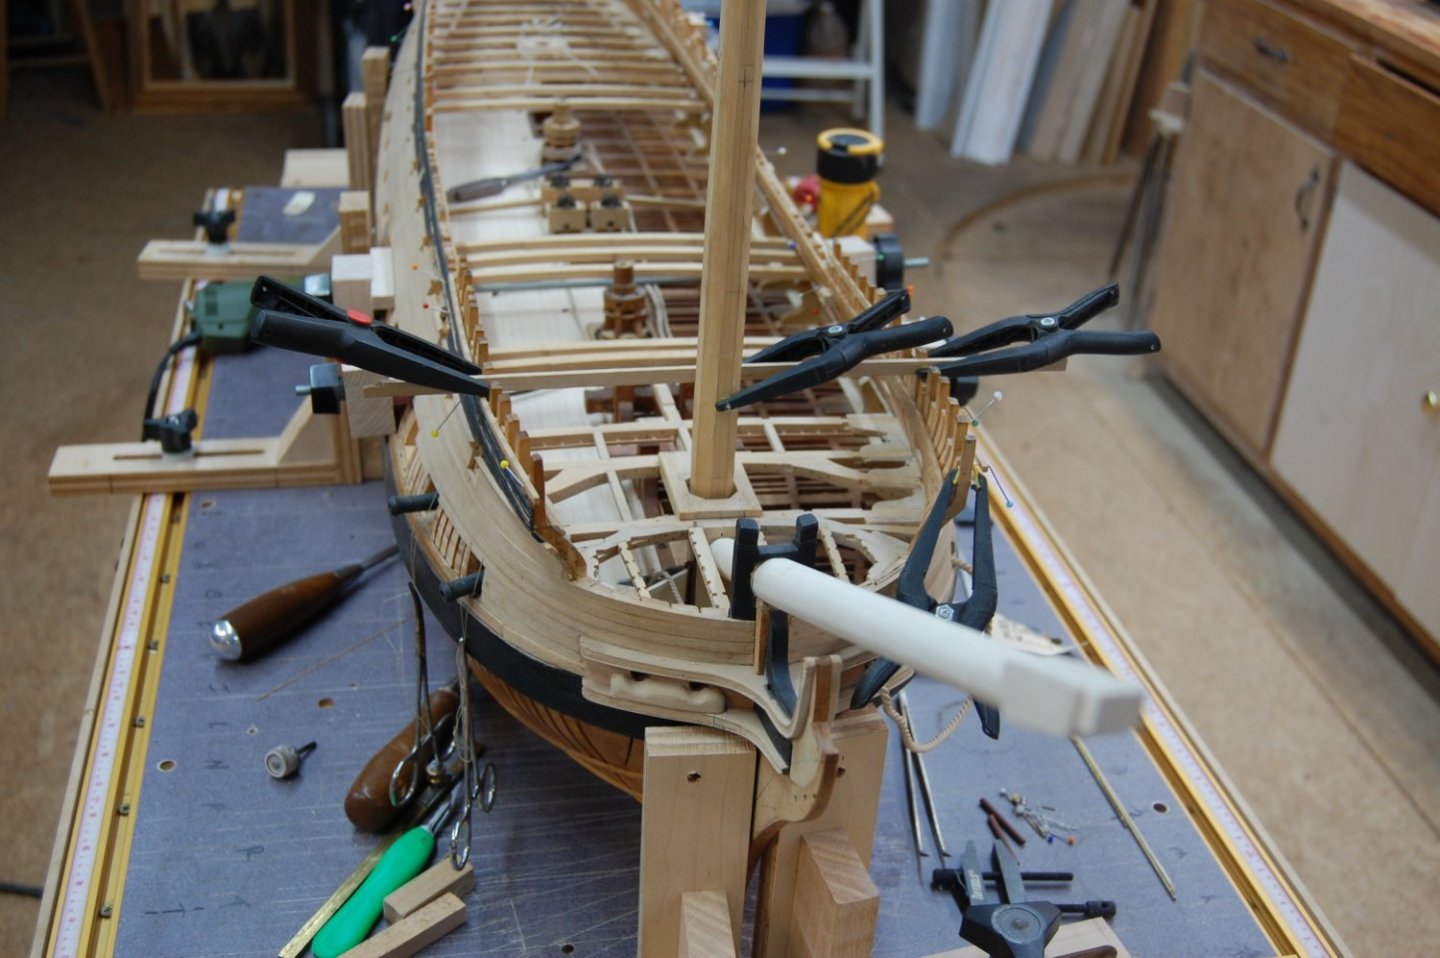
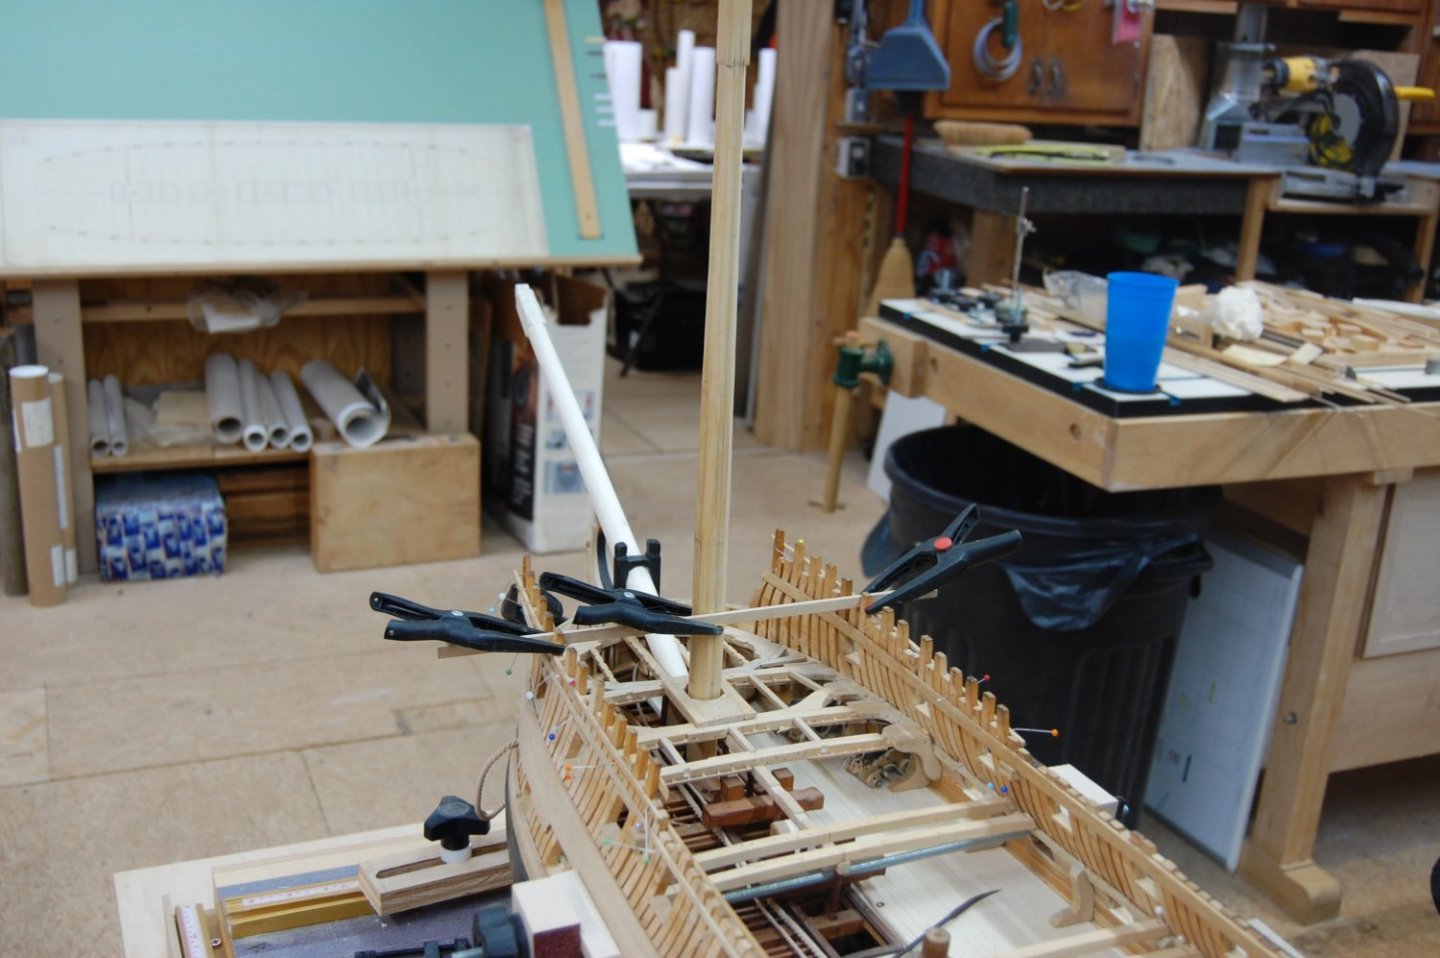
Hi guy's. Here's a update on the build but this time it is more about her building board. I add a way of being able to tilt her from side to side which helps keep the back in tack and a lot easier getting to thing's. I worked on a couple of hanging knee's and being tilted made it a lot better. I can't take the Credit for it which goes to Alan/AON and the tech info on it. Hope you enjoy the pictures and any question will be more then happy to answer them


- 835 replies
-
- 28
-

-

-
Nice job Doc, and looking good. Enjoying your build very much and look forward to the next update. Gary
-
Oliver enjoying looking in on your build and the workmanship that you are putting in to her. Nice job sir and another build for me to aspire to. Thank's and looking forward to your next update. Gary
-
Morning Giampiero and thank you. I like the boxwood light color and wish I had built her gun deck with it but hindsight is 20 20. The pear does show up nicely. She does have a few different wood's in her and hope my son wil get some enjoyment out of her in the future. Once again thank you,. Thanks Bitao and Druxey. Glad you guys like her and hope to do even better on her in the future. Getting the lower deck some what done, it's giving me a push to get more done on her, that and having you guy's push me forward. I do get a lot of enjoyment out of looking at her, and thanks again. Gary
-
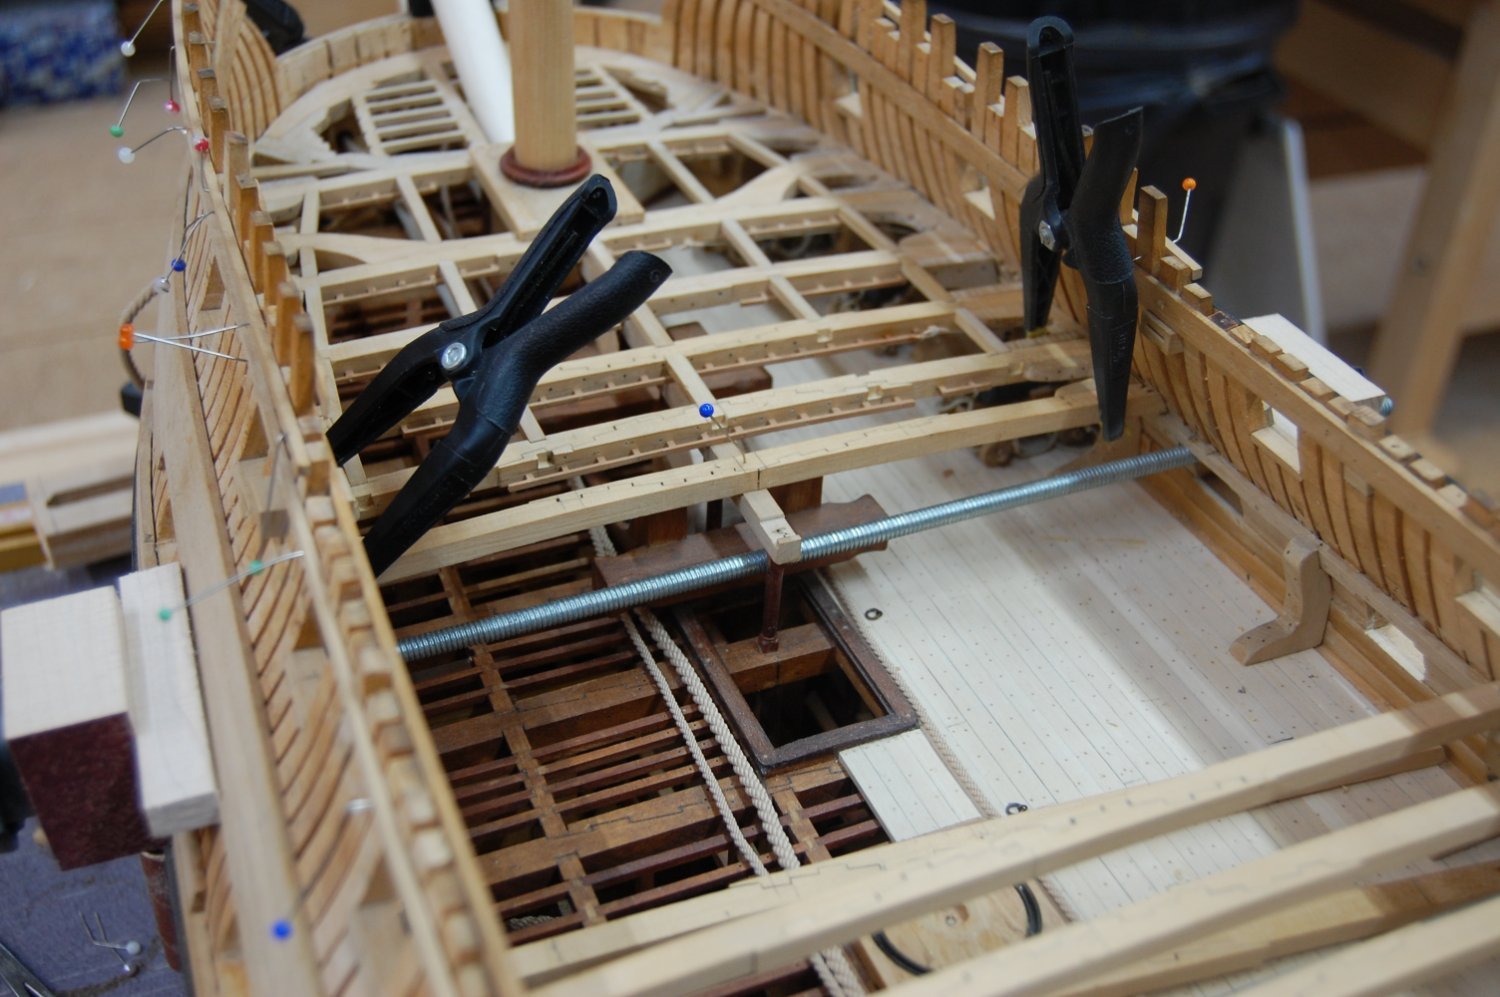
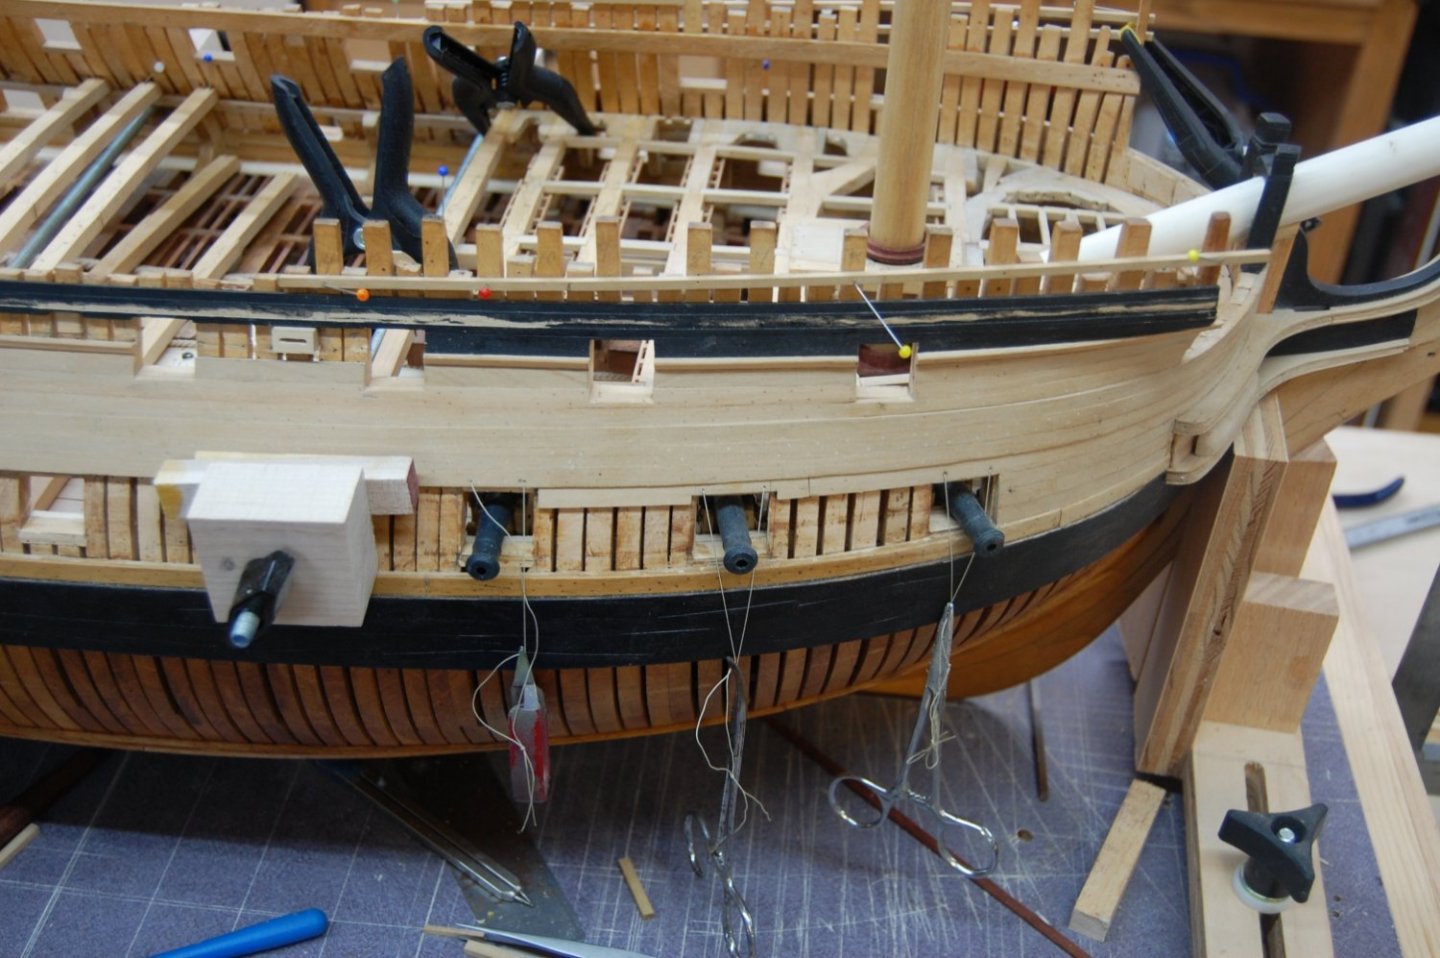
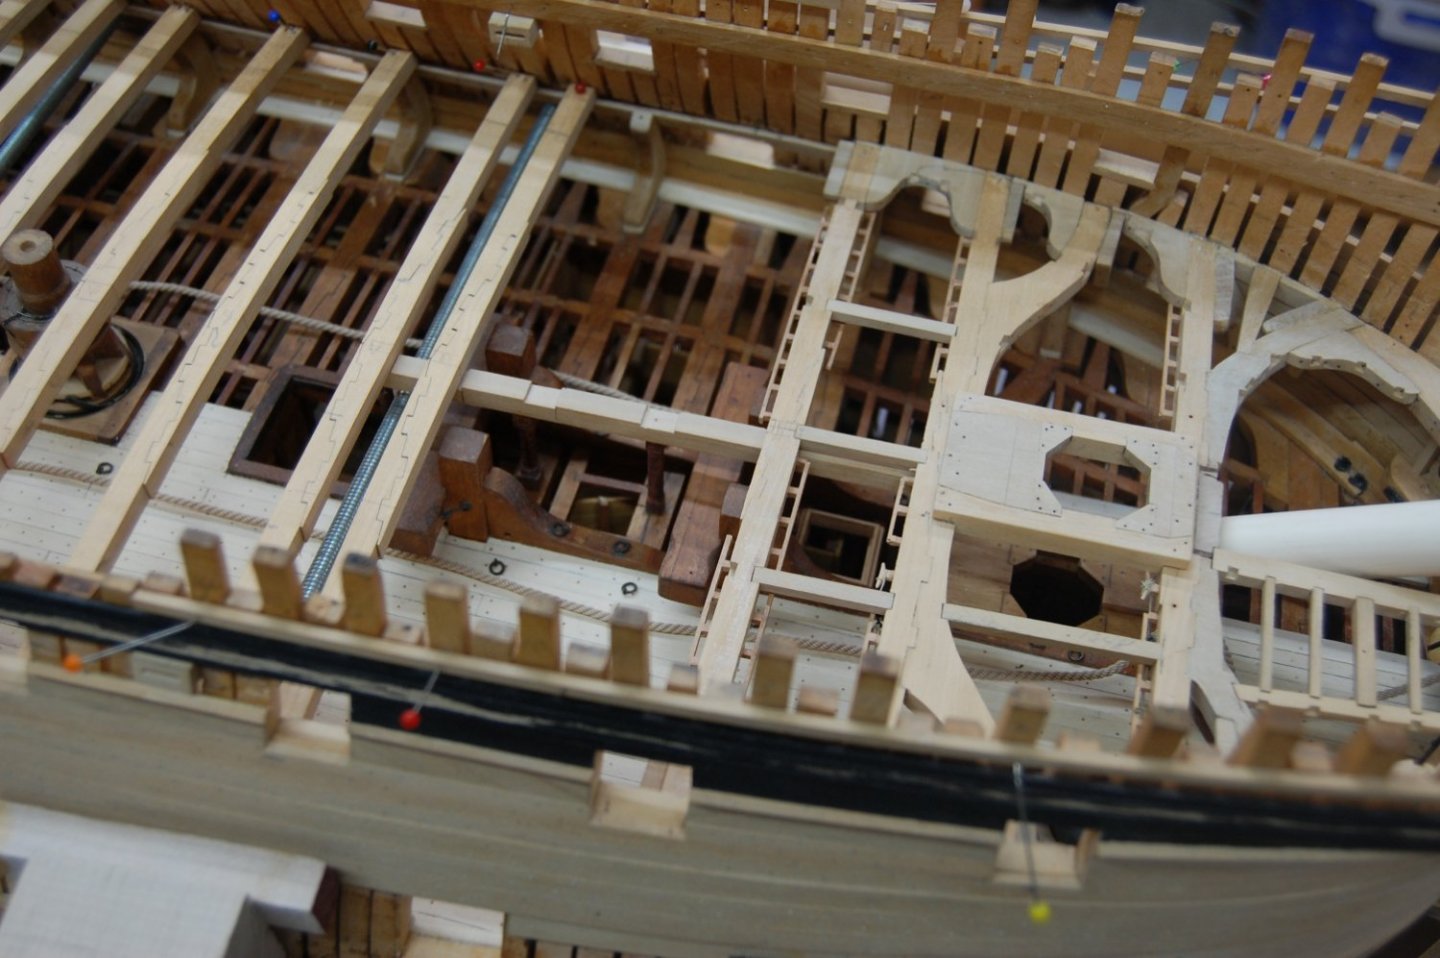
Hello. Here's a new update for you. Not perfect but I like it . One thing for sure, It really takes a lot of time to make and fit the knee's to the side but am getting there. Thank's for looking in.


- 835 replies
-
- 19
-
-
-
Thanks Doc, It should come in handy.
-
Hi Doc. Can you give me some ideal were to get a set of those fashions ring bolt pliers? Could be a good one for the shop. Thanks for the tool infor. Gary
-
NAIAD 1797 by Bitao - 1:60
garyshipwright replied to Bitao's topic in - Build logs for subjects built 1751 - 1800
Bitao have a question for you . Was wondering how you go about cutting the notches in to your beams and carling's? Very outstanding build you have and enjoy visiting and seeing how your coming along on her. Clearly shows the talent behind the building so keep up the very detail work. Brings a smile to my face ever time I see your update's. Gary -
That's a possibility druxey, of course I probably need to finish the rest of her first 😁
-
Hi Bruce d. I did finally get a reply which came from Henry Kriegstein late Friday but didn't get to it till today. Took the family to Cincinnati and just got a chance to look at it. It helped me answer question about pillar's in the manger and was it possible that they may of been used as roller's for the messenger. I was excited to see this in their book, the pillar's in the manger but looked to be holding up the beams and not what you think of as rollers. Hard to really make it out from the picture for sure. I would post it but would have to ask the Kriegstein first to make sure its ok. If your interested let me know please and will ask them if it ok. Gary
-
Thank you very much Hubac's and hopfully I have another up date some time in the near future.
-
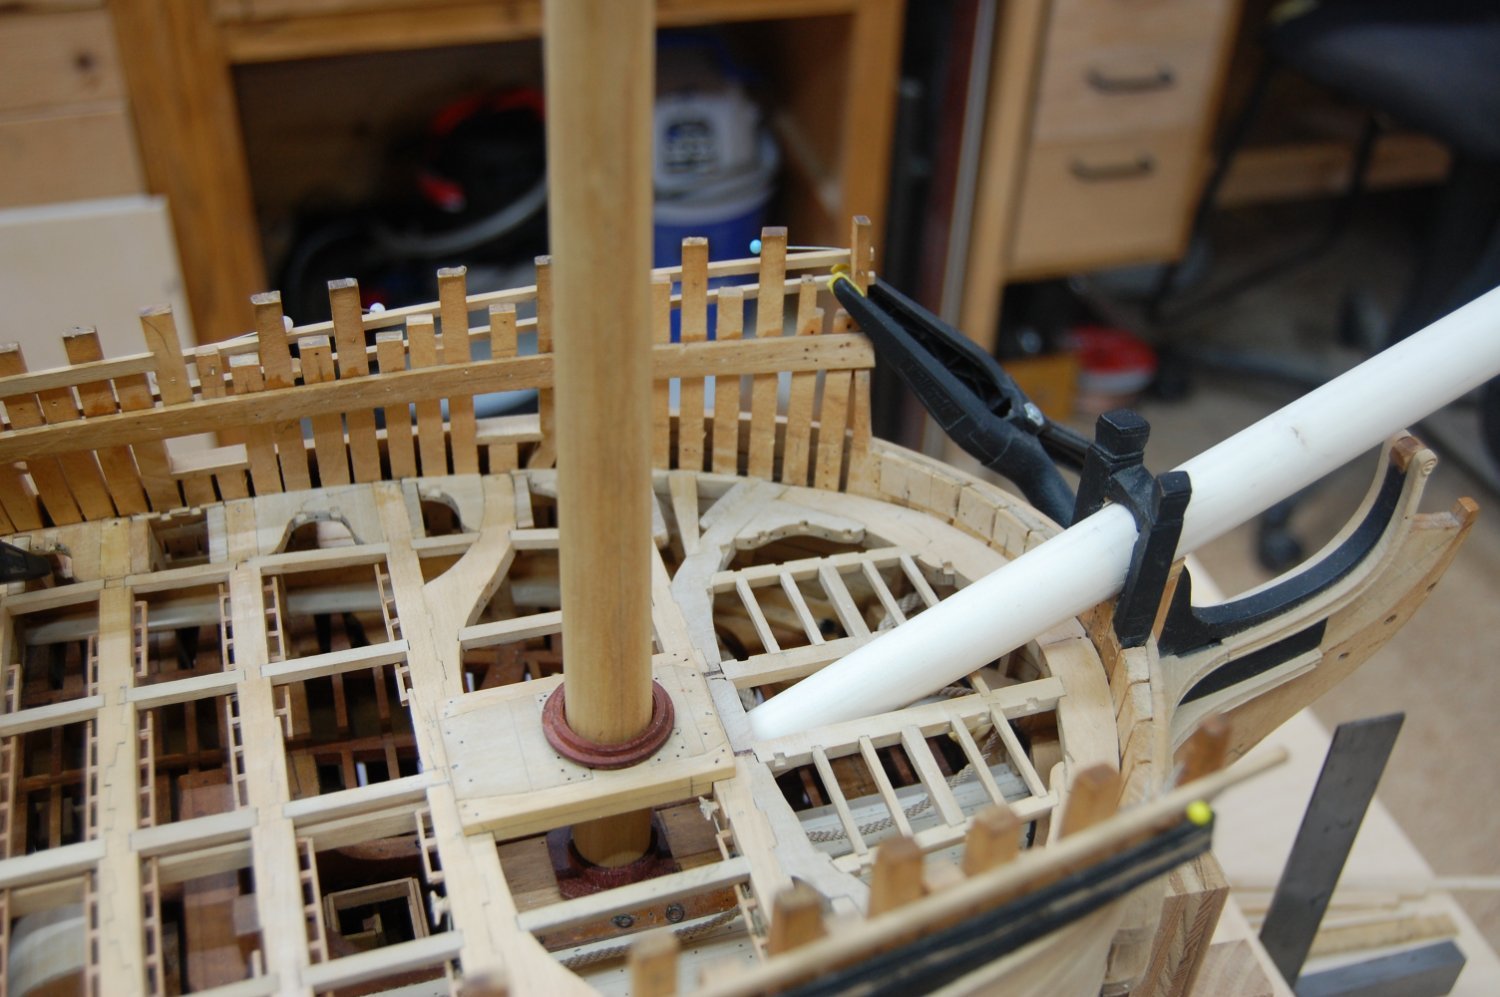
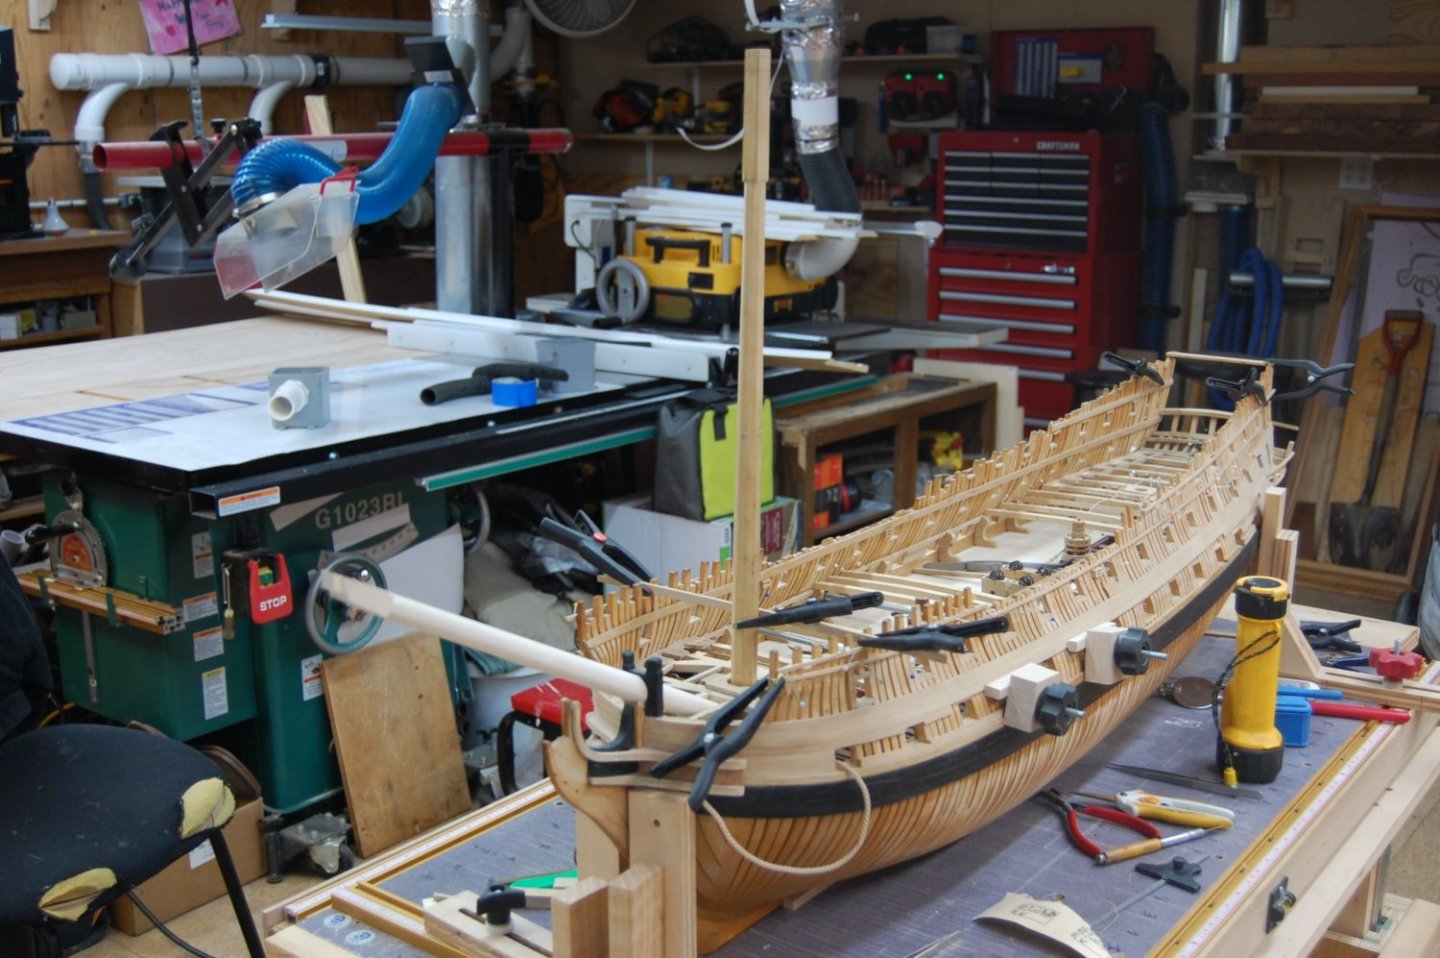
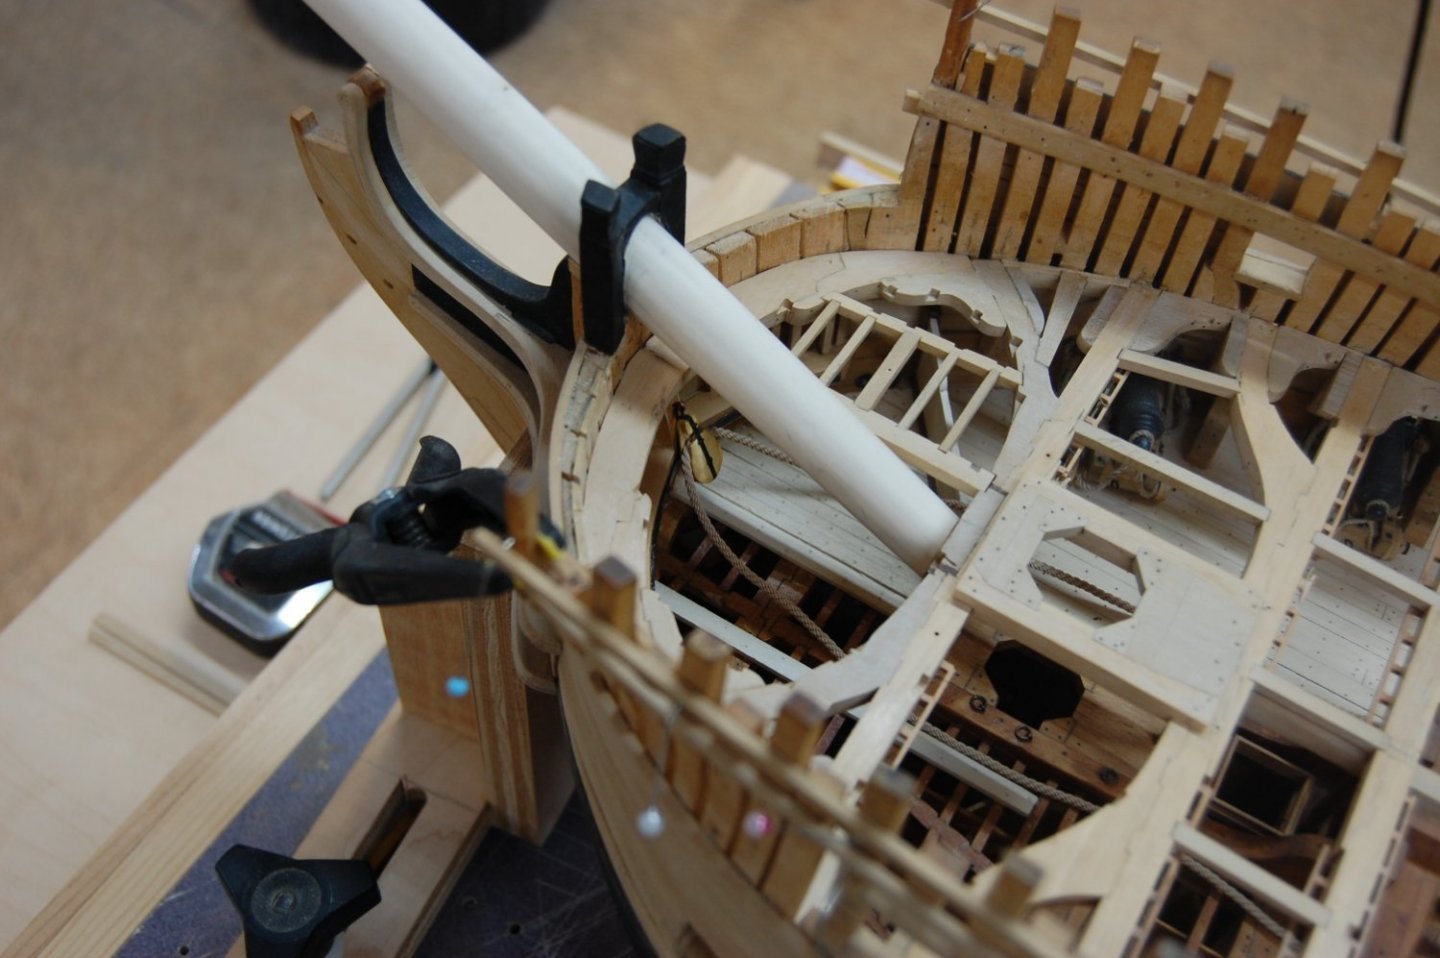
Well guys, sort of out done my self this time on updates, figure it was time to work on the mast to make sure it fit in place before I can't get to certain places. After a couple of daysI finally got the fore mast looking some thing like a mast, but still a long way to go with it but its a start. Have to say thank you to Alan and druxey for info on the mast and helping me bring it to life.
- 835 replies
-
- 24
-
-
-
Thanks Siggi. It's no problem, the new photo show's what was missing, the over head view of the forcastle. Thank you again Gary
-
Looks good Siggi. On the one photo that you showed how you draw out the size of the main headrail what angle are you using? Thank's Gary
-
HMS VICTORY 1765 by albert - 1/48
garyshipwright replied to albert's topic in - Build logs for subjects built 1751 - 1800
Have to agree with you 100 percent No Idea. Really outstanding work Albert. Been watching your build and she is really growing. -
Hi Every one, Its been awhile since my last update and most probably figure I fell off the ends of the world. Well the misses sent me a life line and finally went back to doing some thing on her. I sort of been stuck on the cables and how the messenger was routed. Ben from Ropes of Scale help me on the cable and Druxey gave me the ideal about the snatch block. So I went to work on making a snatch block for the messenger using Lee's measurement, from his book The Masting and Rigging of English ships. It didn't come out to bad But I leave that up to you.


- 835 replies
-
- 28
-
-
-
Hi pm. I do believe that the showing of the eyebolts on the outside were a french/continental preference. But am also not sure that this was that, a preference. When you go through the photo's of the models in the Musee de la Marine collection, Historic Ship models you will see that most of them do not have the through bolts on the outside just like the English models in the NMM. Doesn't mean they didn't do it but each country did things a little different in their ship building. In one of the contract that I have, and was written in 1782 for a 74 gun ship, which I believe was also used for the Bellerophon, has information on how the eyebolts were installed for the gun ports. To have four Ring, and two Eye bolts to each gun port with bolts of 1 3/8 inches diameter two of the ring bolts to be place in the second timber from the port, the rings 5 inches diameter in the clear, the eye sufficiently open for the tackle hooks. To have sufficient number of ring bolts on the deck for the guns, with bolts of 1 1/8 inches diameter and for the stoppers with bolts of 1 5/8 inches diameter the diameter of the rings of the stopper bolts 6 1/2 inches in the clear with short snug eyes, let well down into the deck and the ends of the bolts to be clenched. To have two eye bolts over each port for lashing the guns of 1 1/4 and to be placed as high as possible , to give the better room for securing the muzzle of the gun on the clamp, the eyes to be 2 5/8 inches in the clear, the ring and eye bolts to be well forelocked and so well let in, as only to let the ring have play, the bolts that forelock with out board to have short thick points and fore lock holes that the rings may be let into the wood in belaying them. It is your model and if you want to show the through bolts, that is total up to you and others. It is a nice detail but I think I will wait on the next one that I do. This is a little late but maybe it might help the next person. Gary
-
Hi Siggi. I gain a lot of information when going through your log and really enjoy what the crew is doing, which is a really outstanding job. Watching what your doing really help's my crew carry on with building Montague/Alfred. Look forward to the next job that your crew under takes in the coming future.