


flying_dutchman2
-
Posts
1,735 -
Joined
-
Last visited
Content Type
Profiles
Forums
Gallery
Events
Posts posted by flying_dutchman2
-
-
Thanks for all the likes and comments.
Cut out and rough sanded all the cheeks from walnut and some extra pieces from cherry and basswood. I use the basswood and cherry pieces as practice. Once these pieces fit I will take and compare them to the walnut cheeks, fine sanding where needed and glue them together. I know this is a lot of work but it is my way of getting it right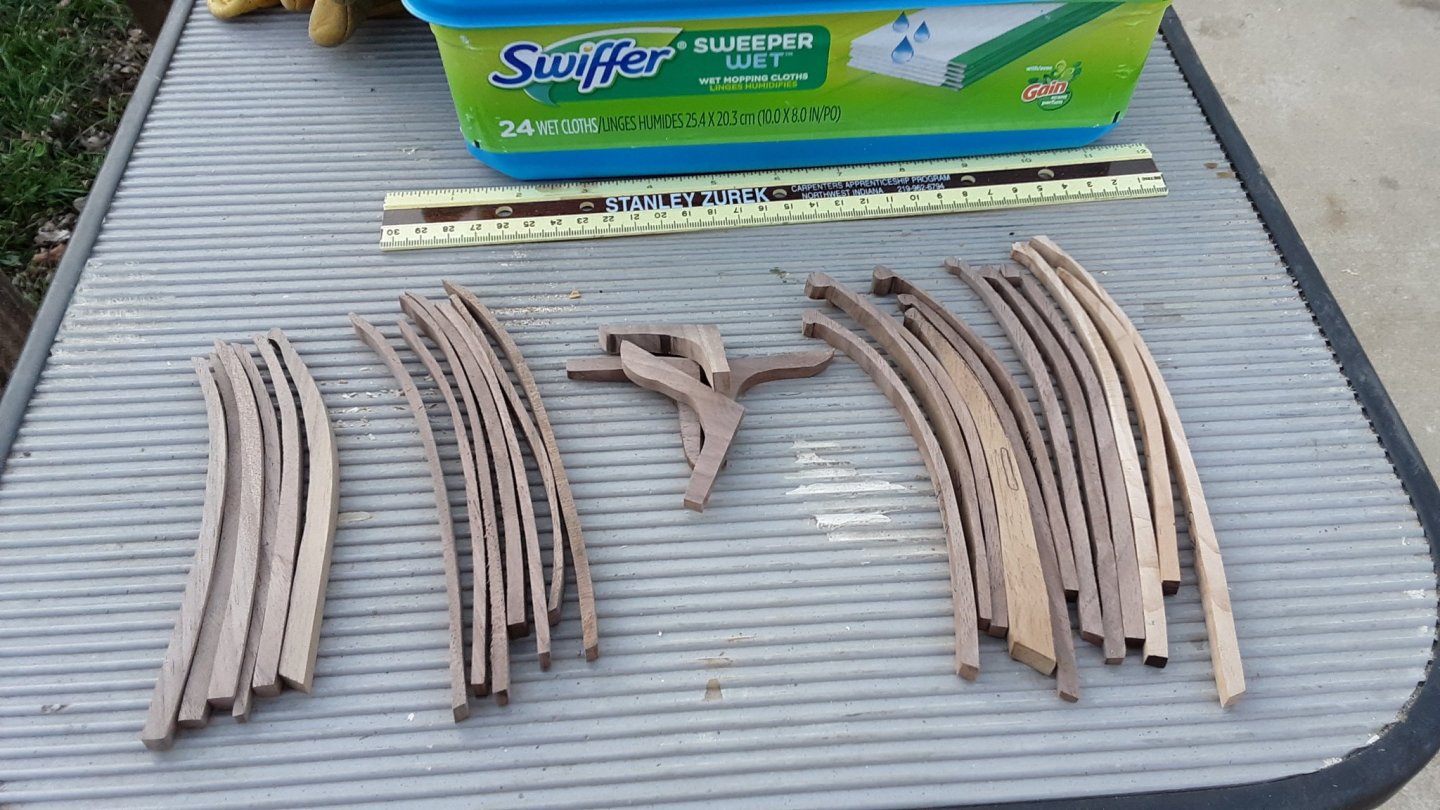
It has been warm these last two days so all the cutting and rough sanding was done outside.Marcus
-
Thanks for all the likes and wonderful comments.
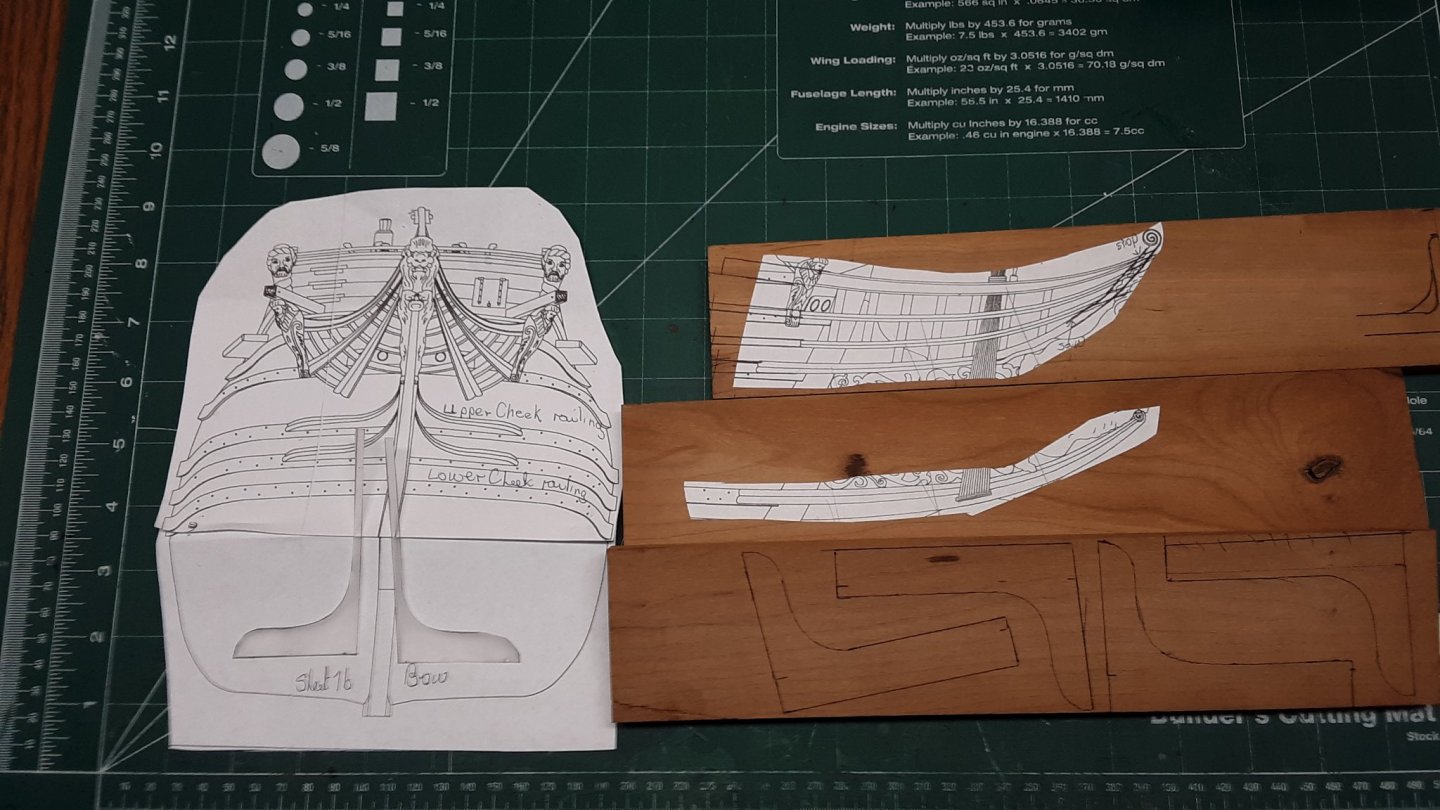
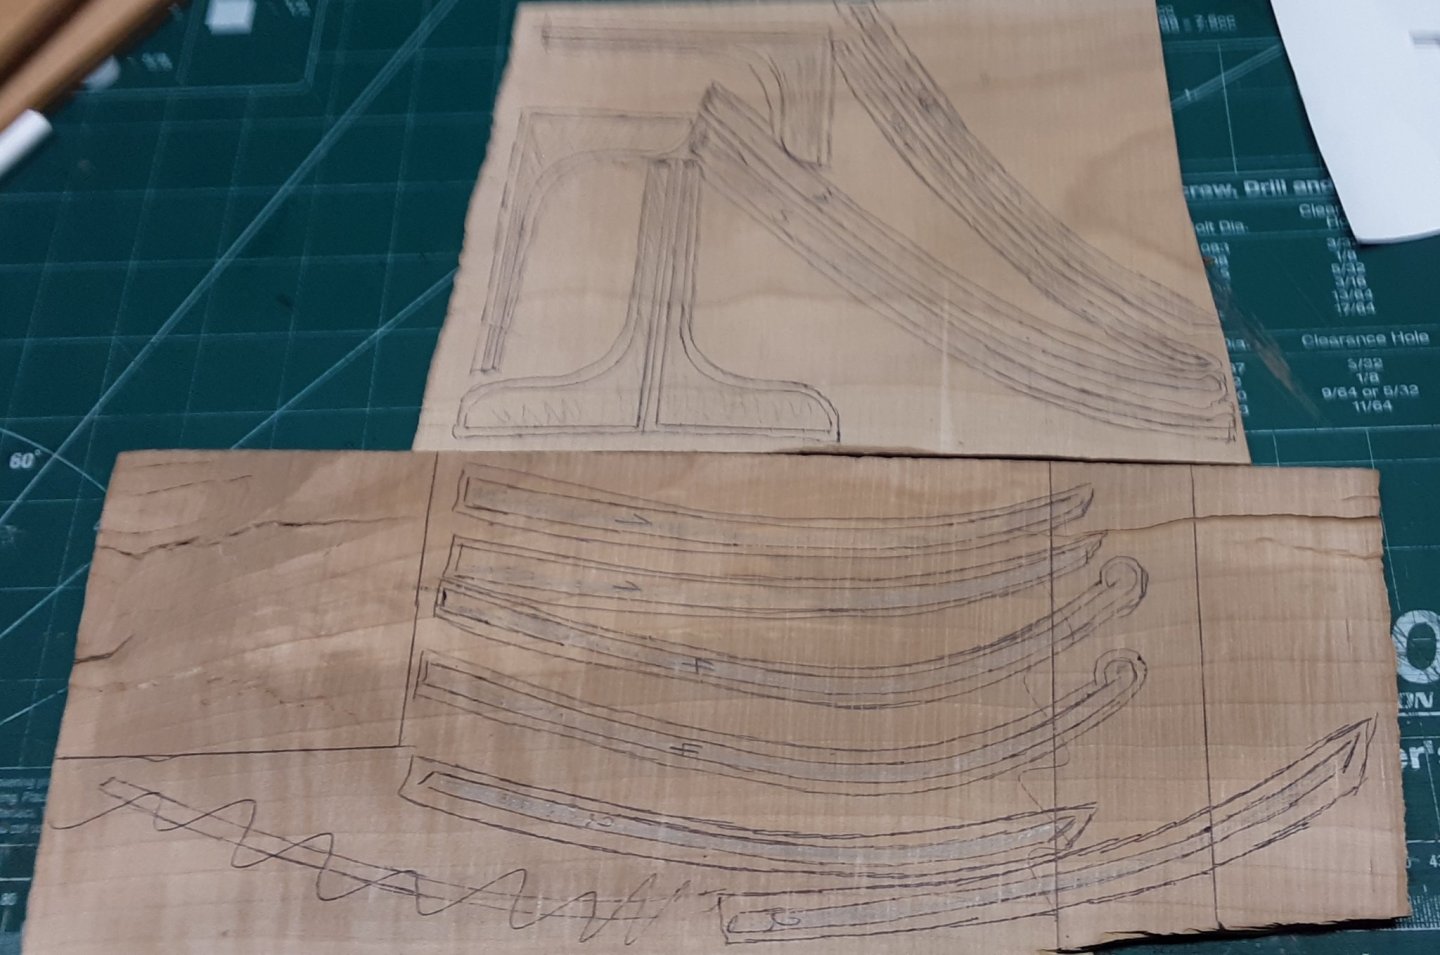
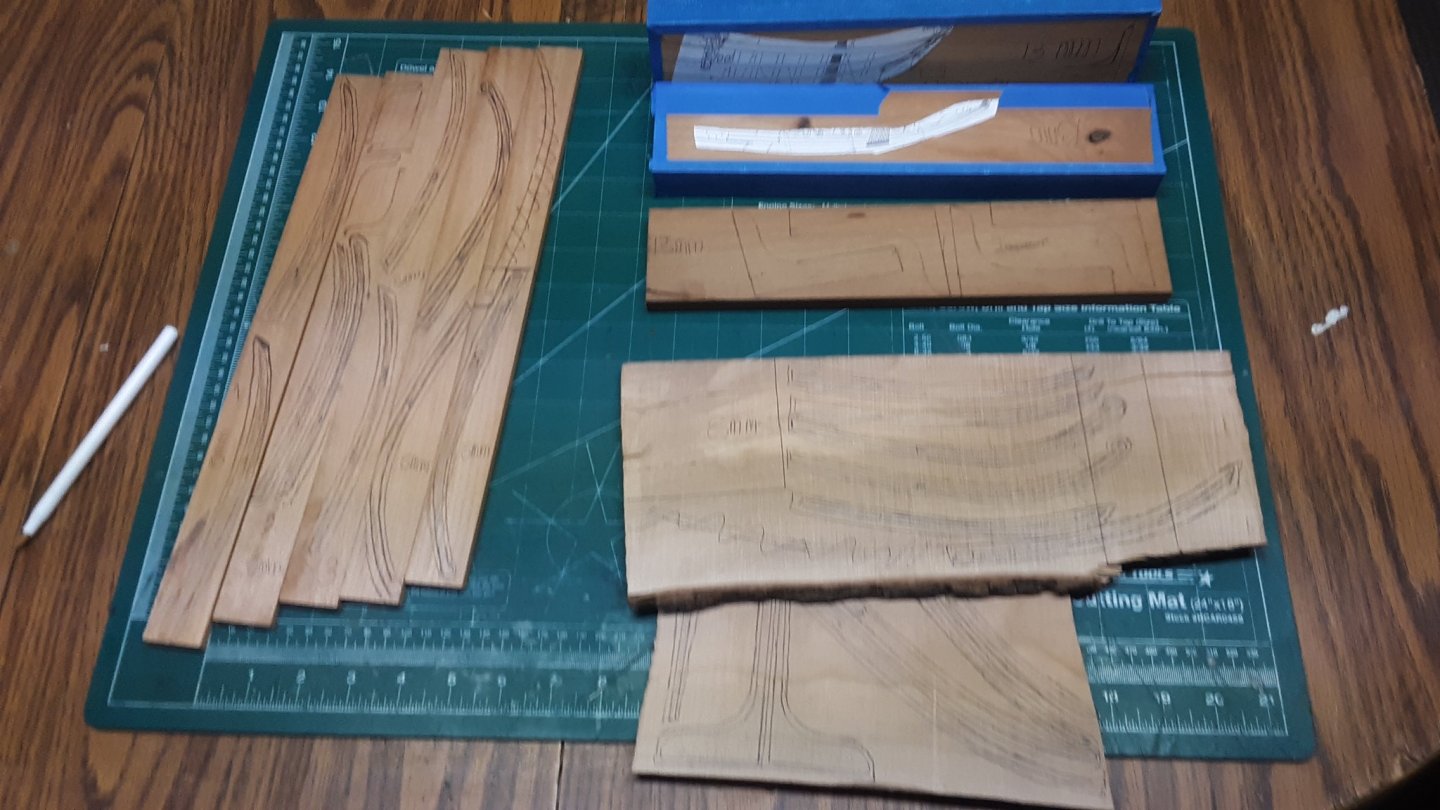
Building the bowsprite. I find this part on of the most demanding exercise of building a scratch ship model. I always double or triple the pieces of wood that make up the bowsprite. I always break one or two.
I have glued some of the paper templates to the wood. I will make them out of walnut and cherry.

Marcus
-
-
Thanks for all the likes and comments.
Small update.
Painted all the windows yellow ochre.
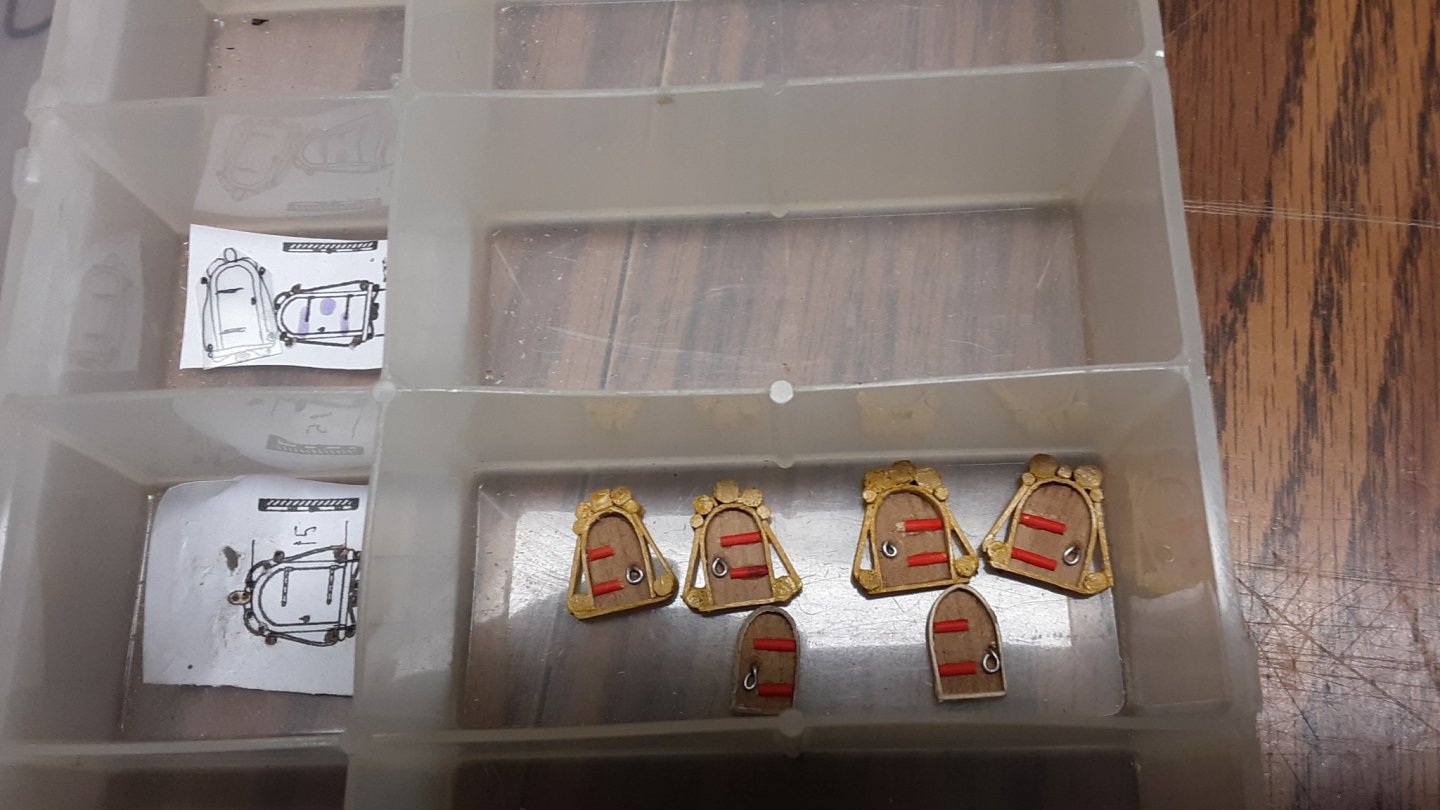
Inserted the single and double blocks in upper area of the hull. The area where the single blocks are located will be painted 'An Dyk' green.
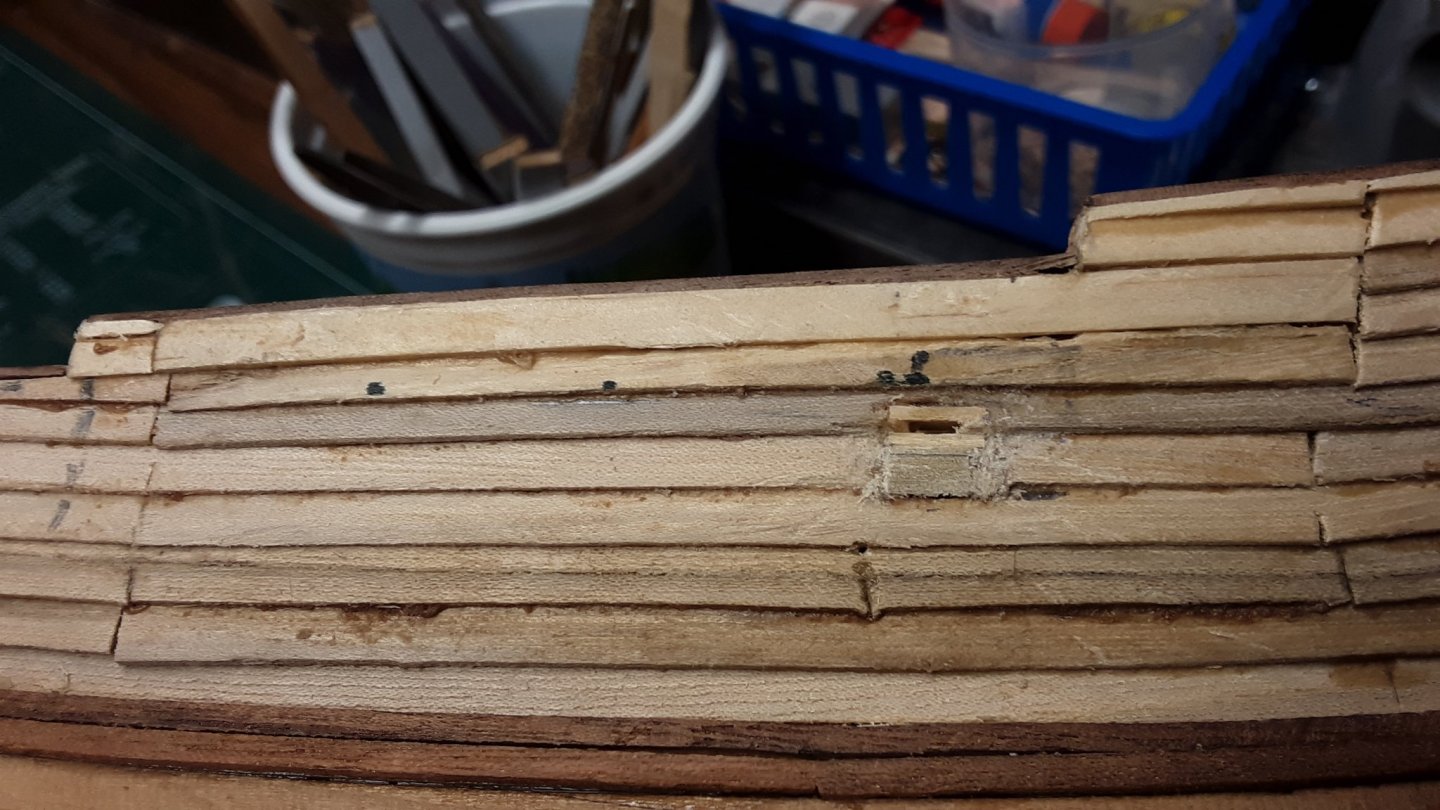
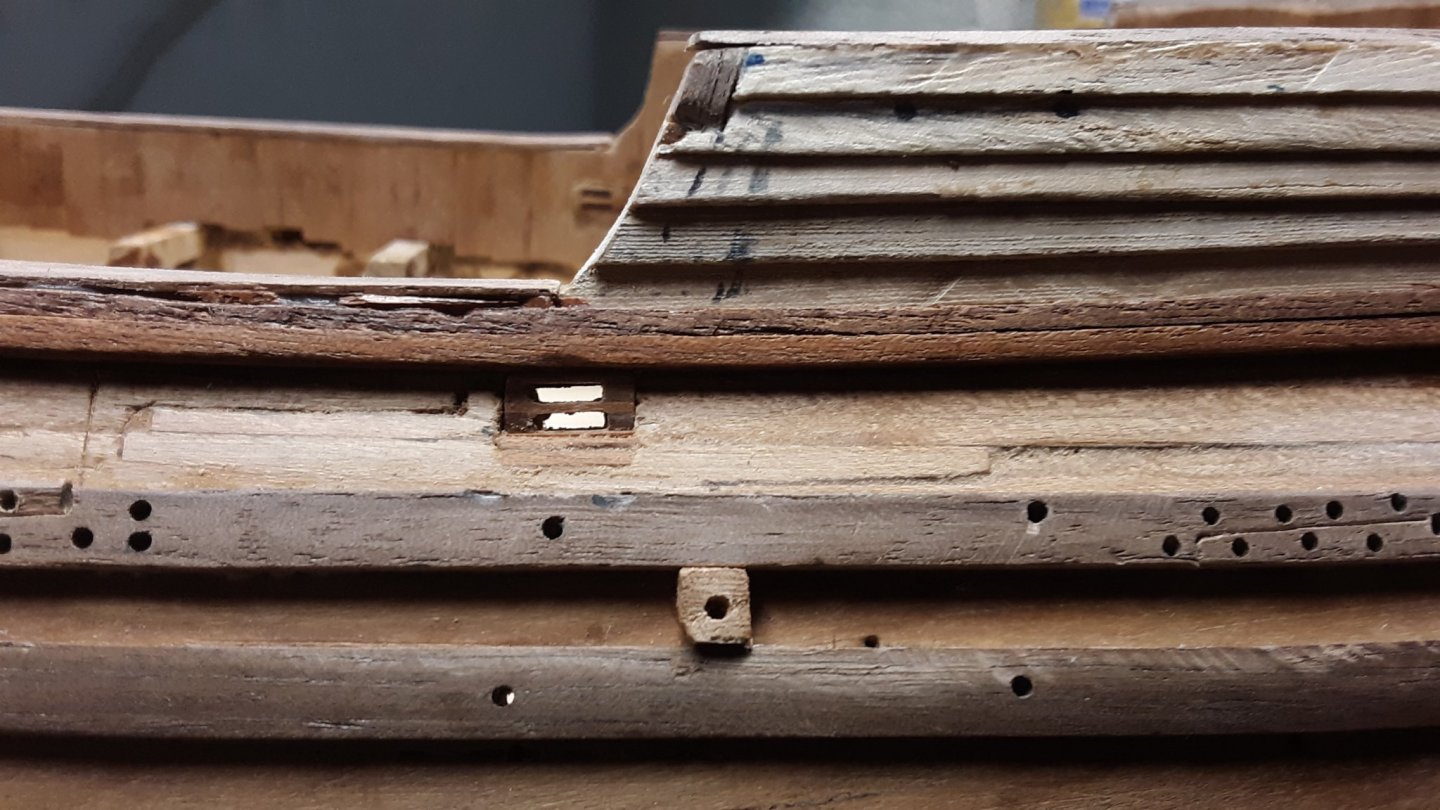
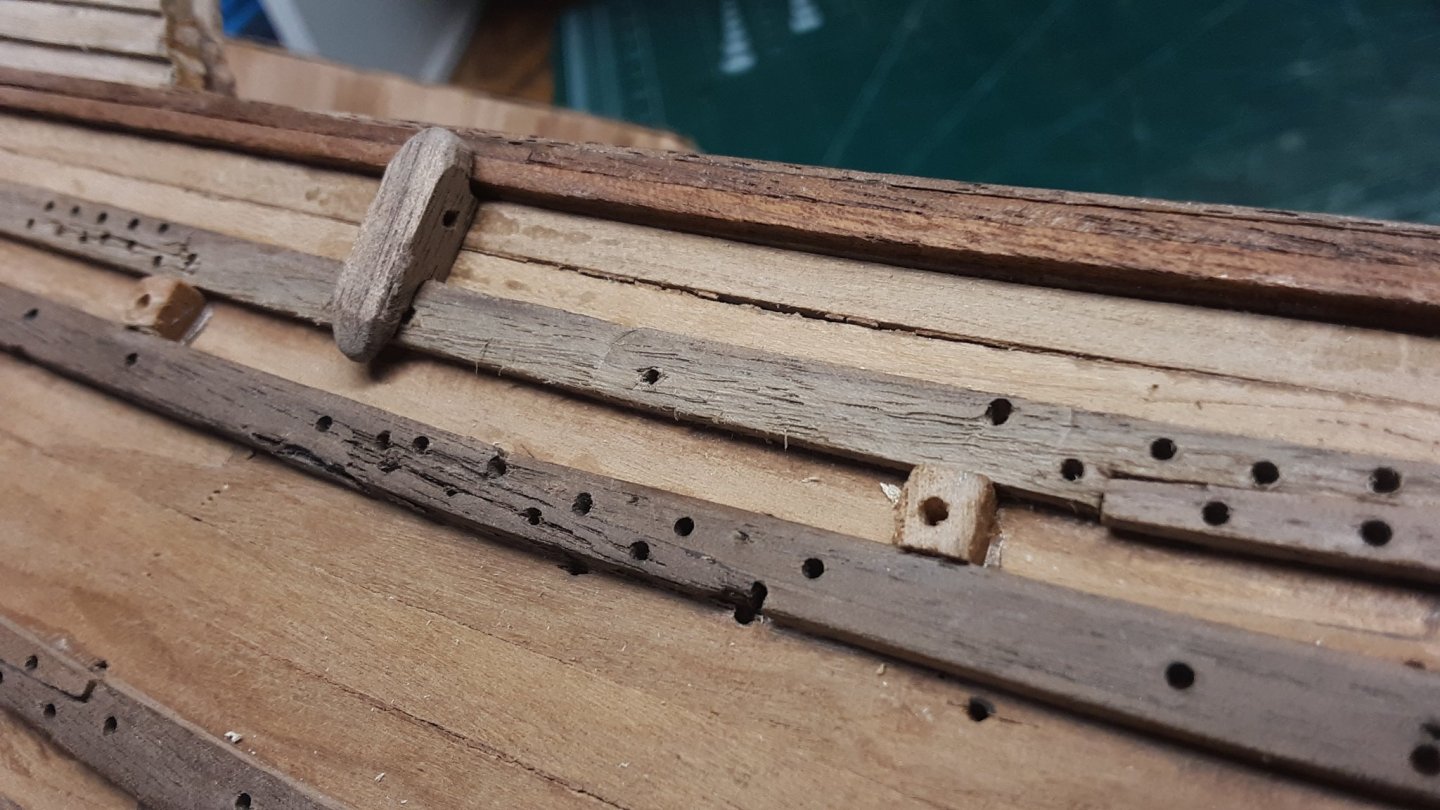
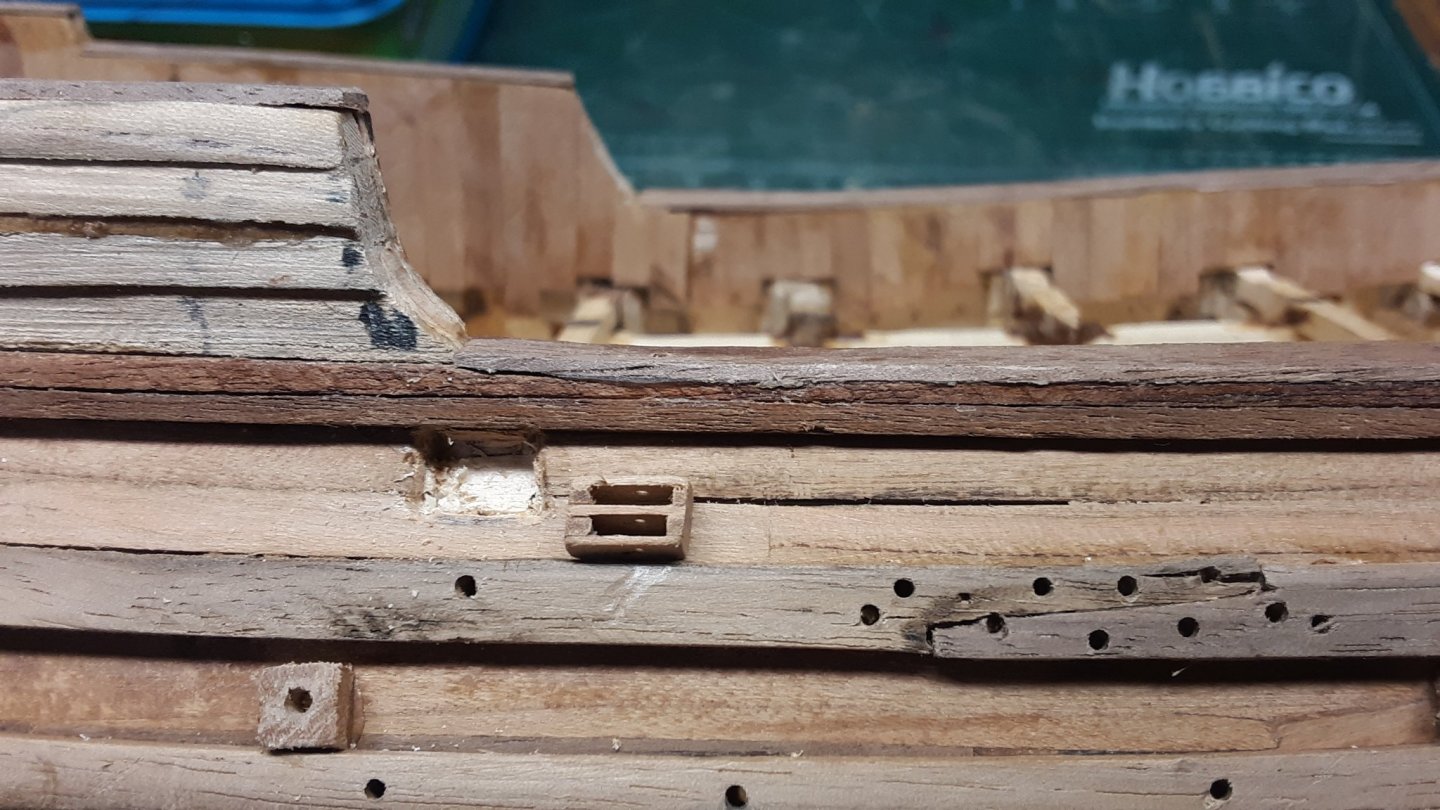
I don't know the name of this but installed a small rectangular piece of wood with a hole for rope in between the upper wales.
Marcus
- cog, RdK, GrandpaPhil and 2 others
-
 5
5
-
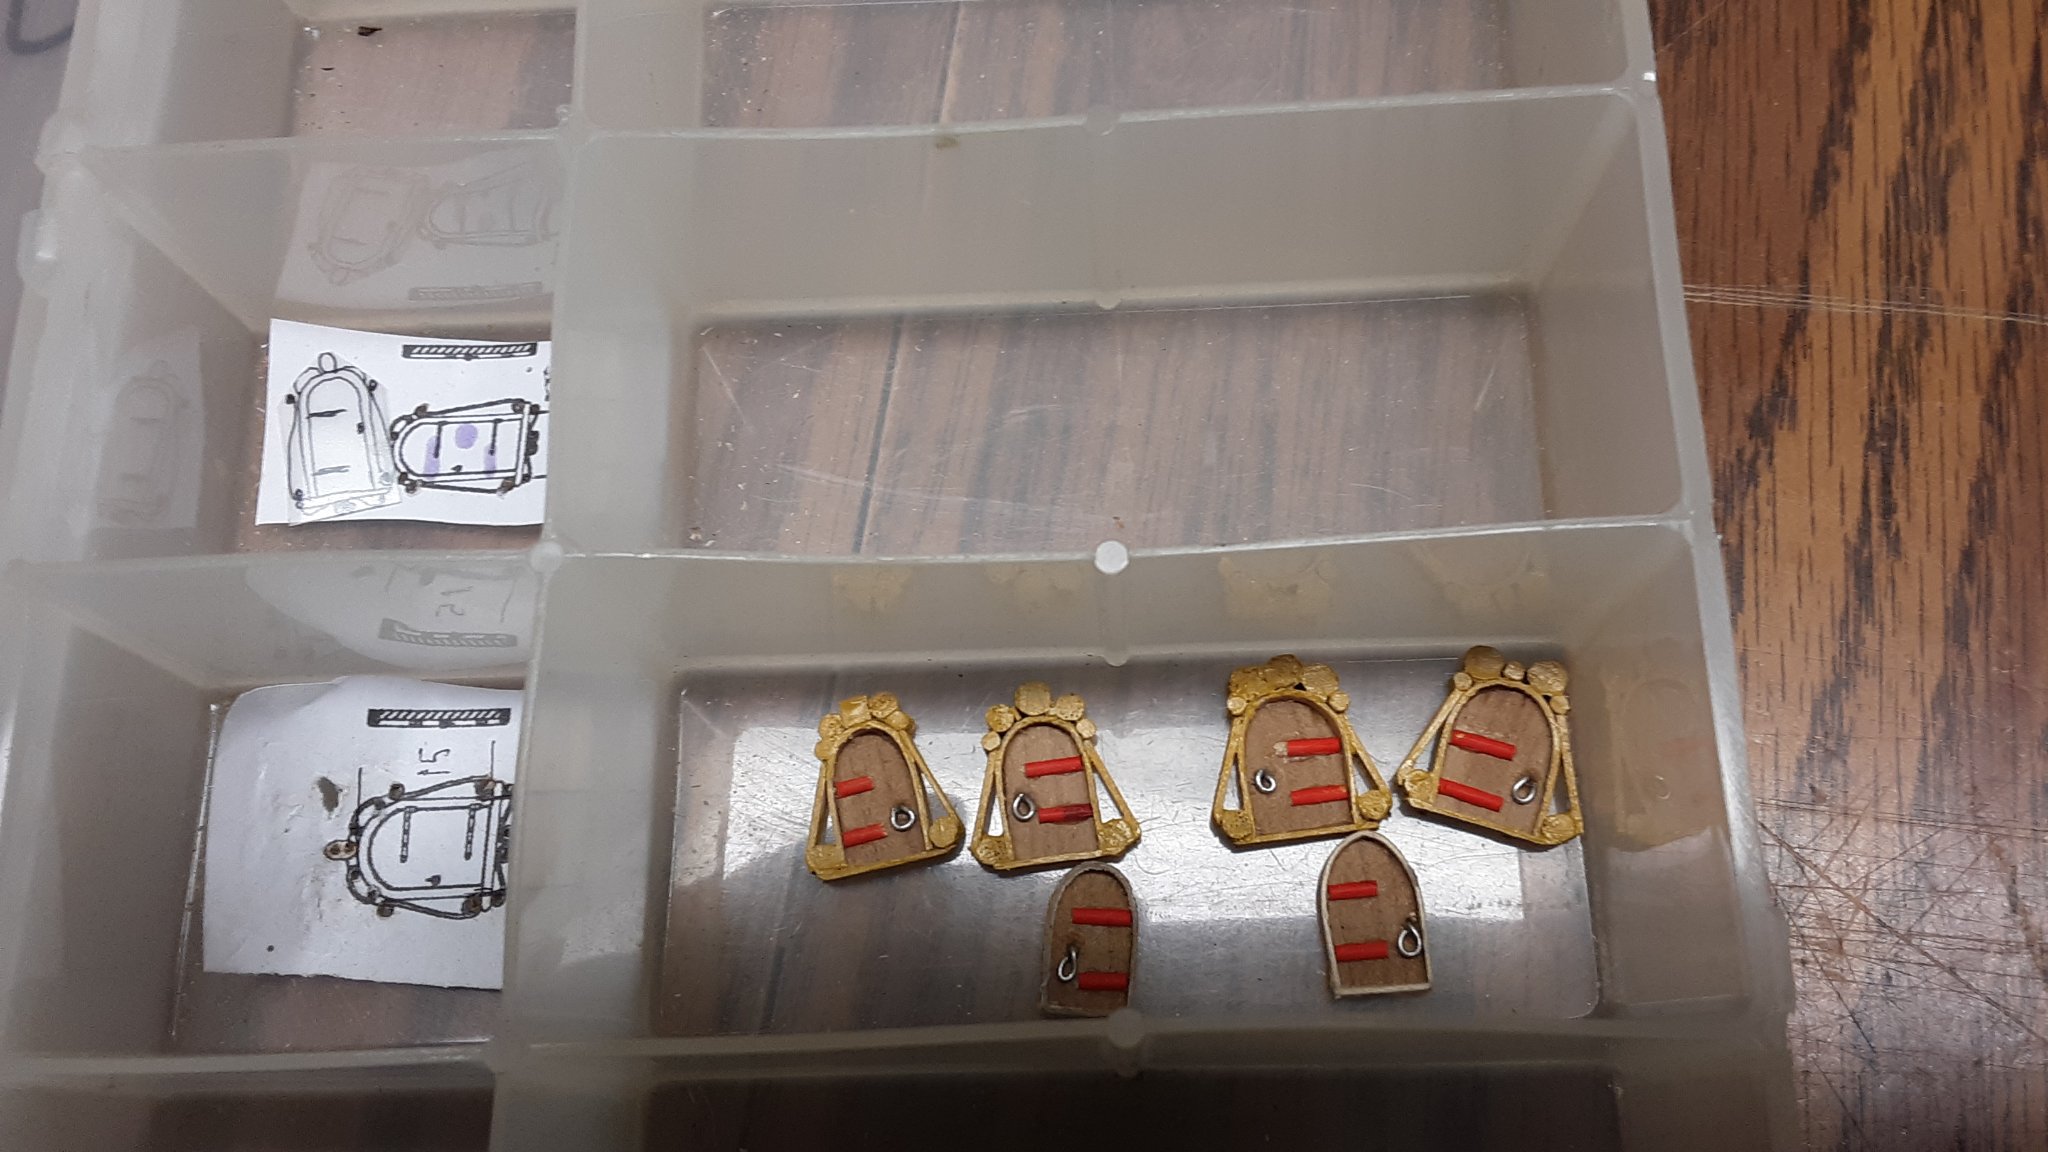
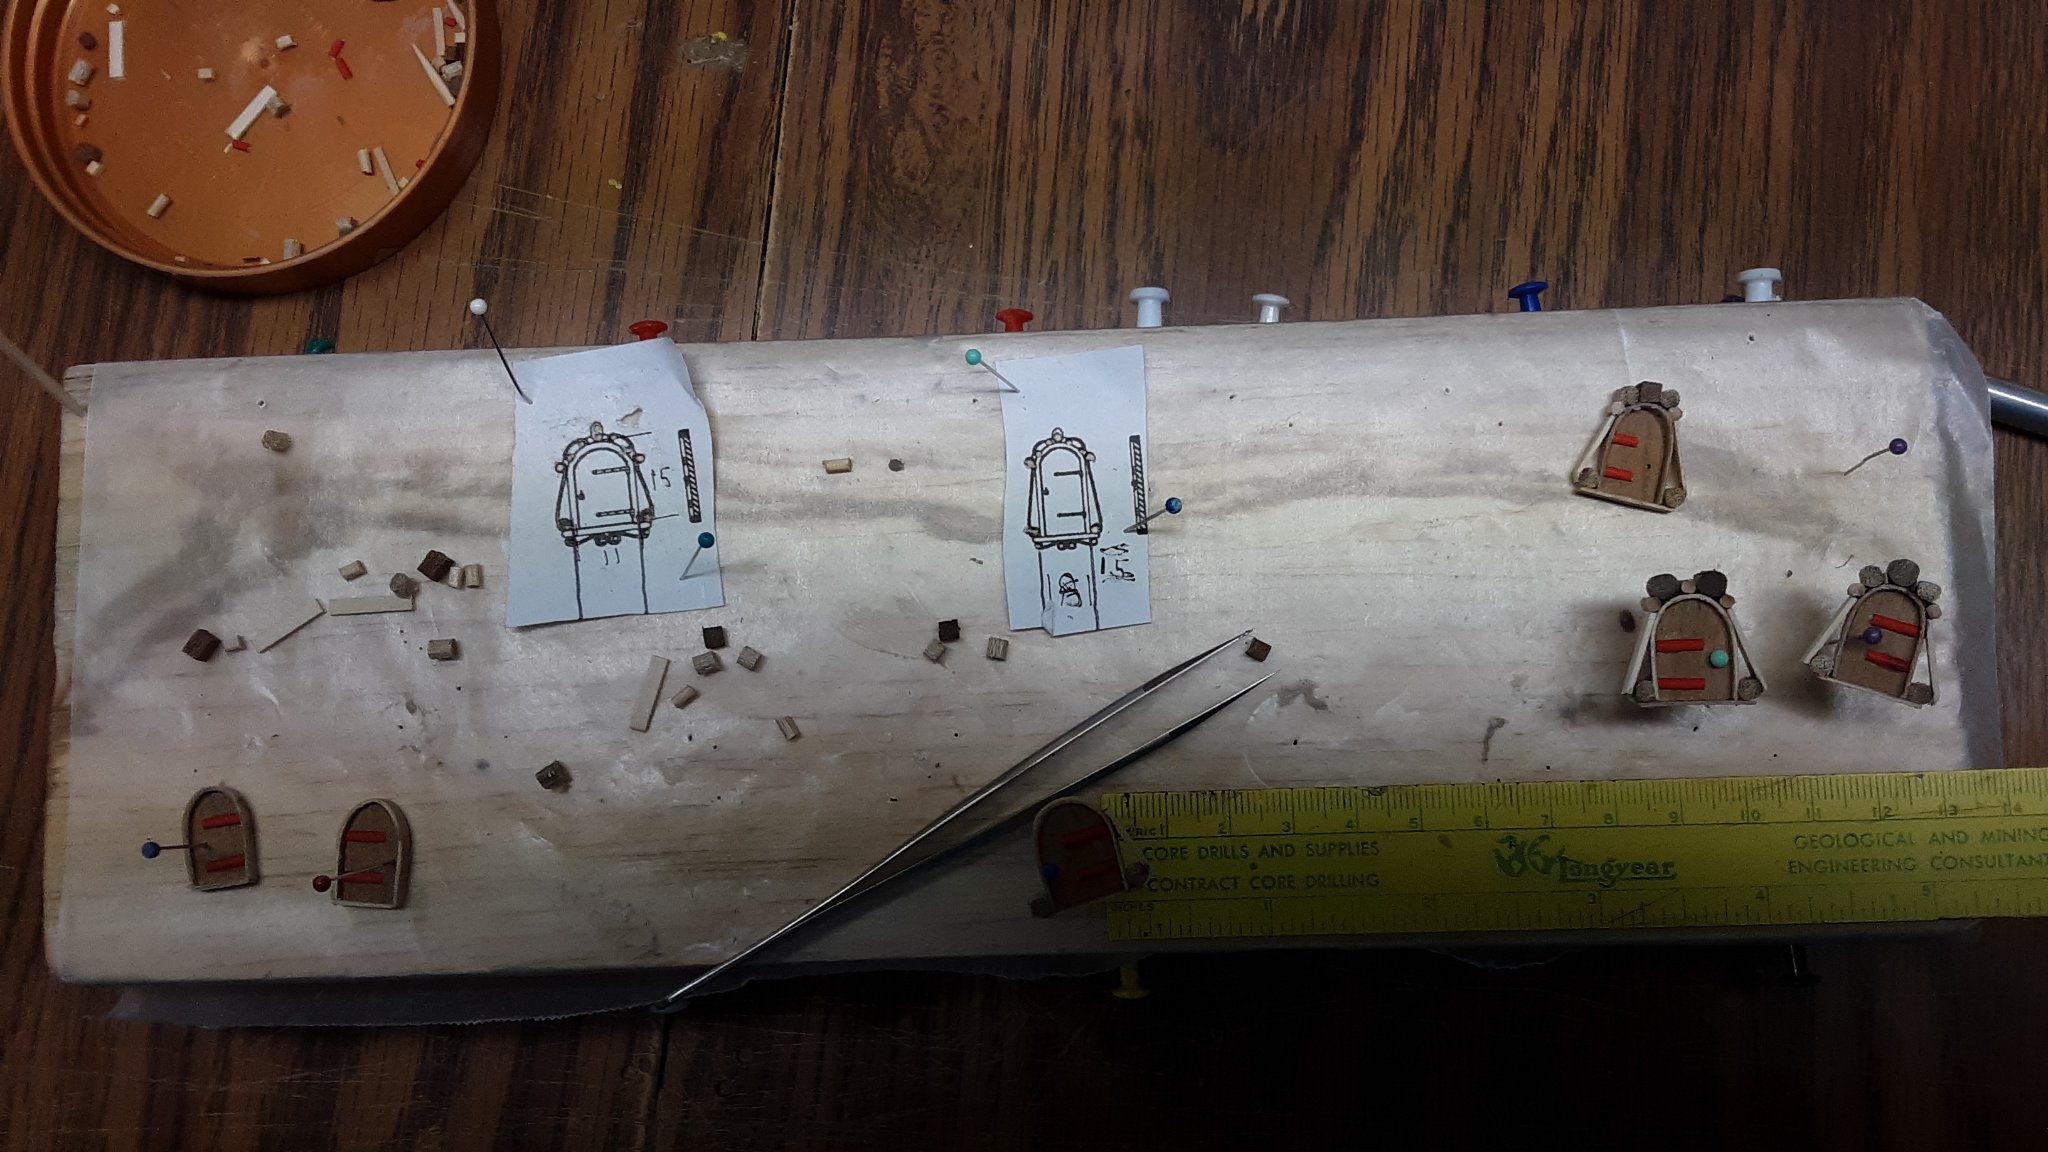
Presently adding a few things to the hull. Created the 4 windows on the stern area and the two in the upper area of the back of the hull.
I am not doing these Itty bitty carvings and instead putting little pieces of wood around the window frames and then painting it Yellow Ochre, a color that existed in the Dutch golden age.


Holes are cut into the hull on different areas and single and double blocks are put into them.
Marcus
-
On 11/5/2020 at 5:06 PM, Louie da fly said:
Heroic (and imaginative!) solutions.
Just one question - why do the additions to the sternpost not go all the way down to the keel? You've probably got a good reason, but I can't see it at the moment.
Thanks for all the likes and comments.
I don't know. The plan shows the way I did it.
Marcus
-
Beautiful and well executed. Clean lines.
Marcus
- mtaylor, EJ_L and Keith Black
-
3
-
Thanks for the ideas and likes.
The bend 0.5mm thick plywood has been formed and installed where the tiller goes in and filled with the combo glue / sawdust.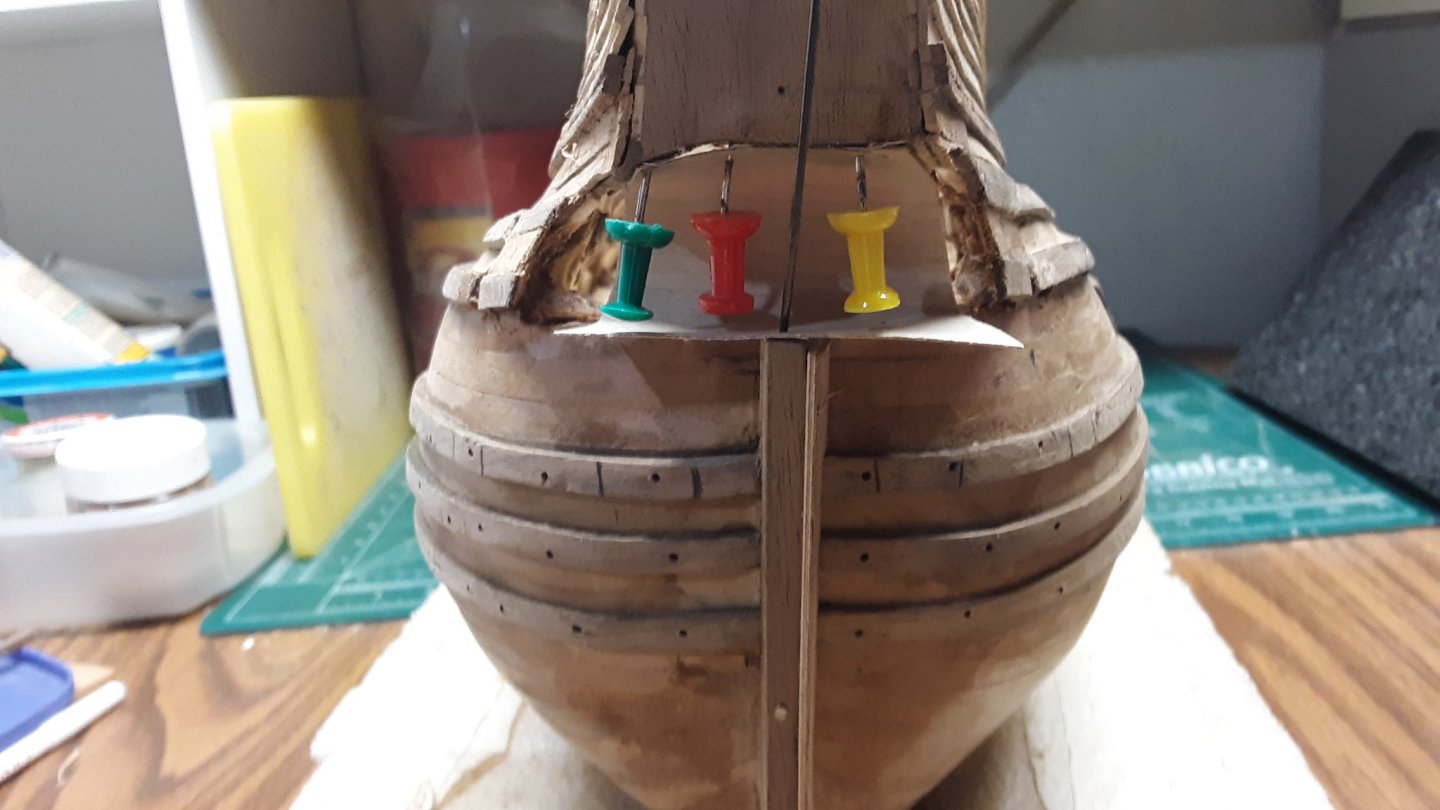
Once this is dried and hardened I can make a rectangular hole wher the tiller goes through. After that I will plank it with walnut planks that are 0.5mm thick by 2mm wide strip wood.

The wales have been redone. Still needs much sanding
Marcus- mtaylor, Louie da fly, G.L. and 3 others
-
6
-
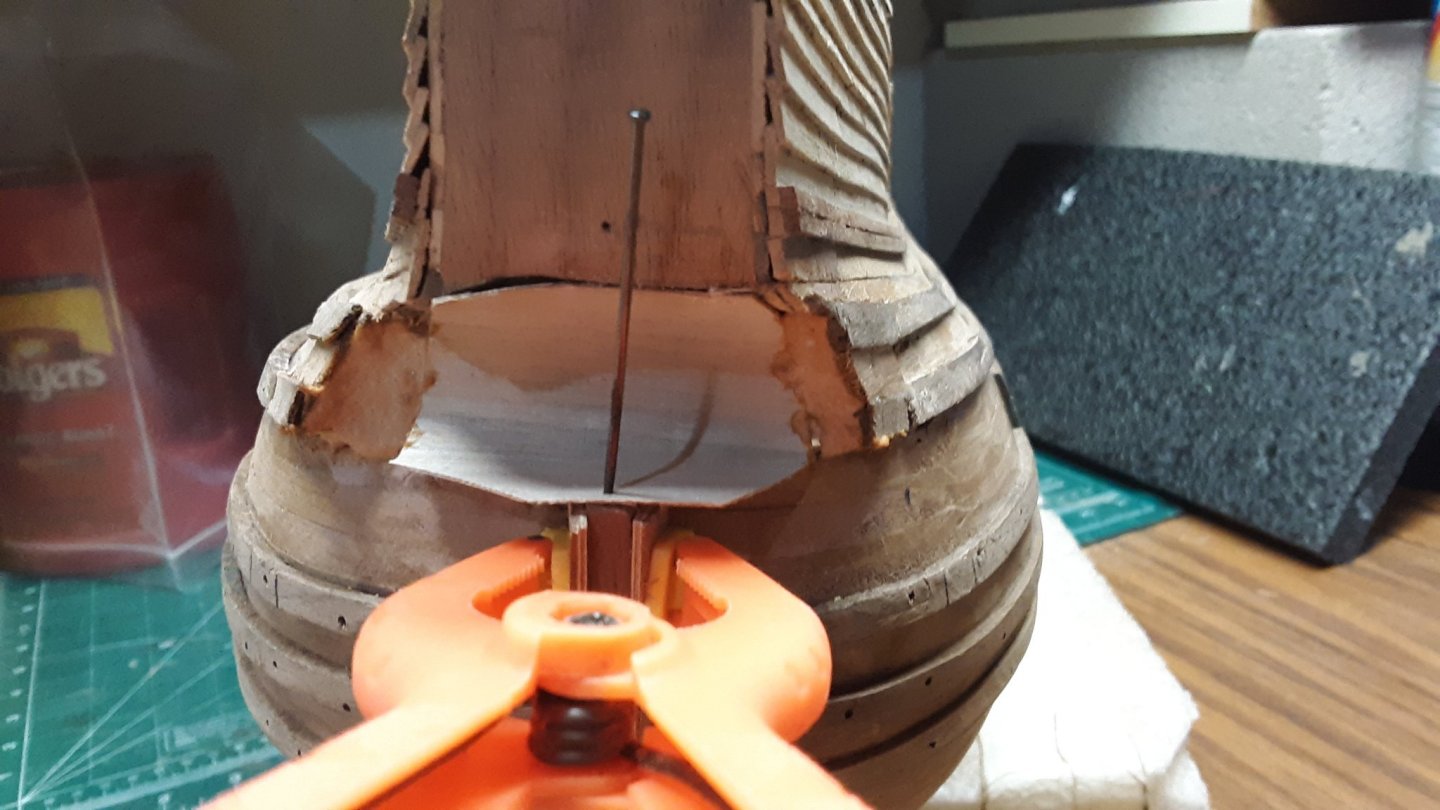
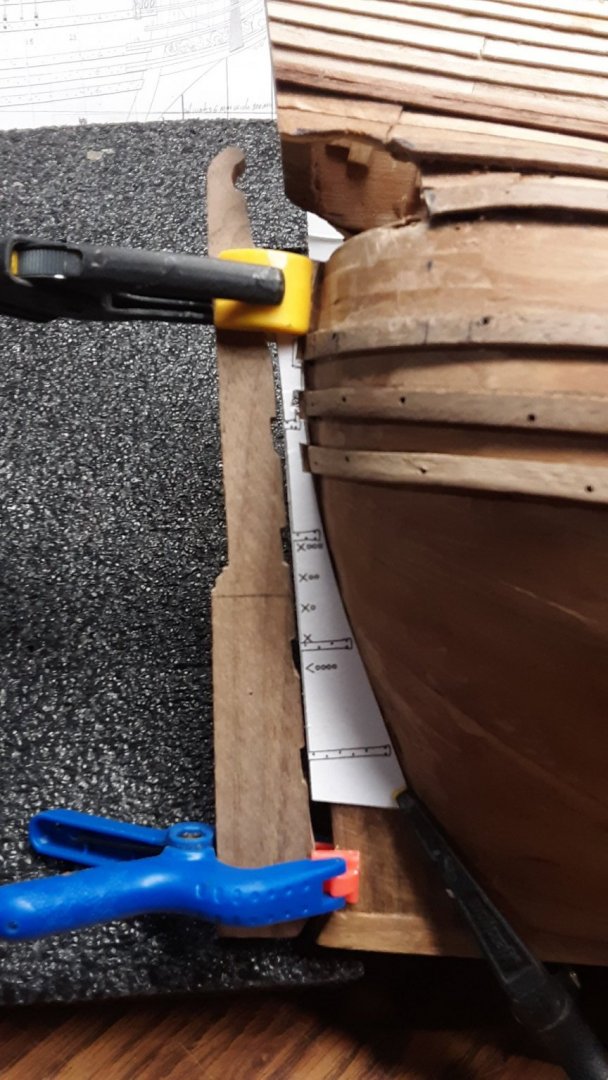
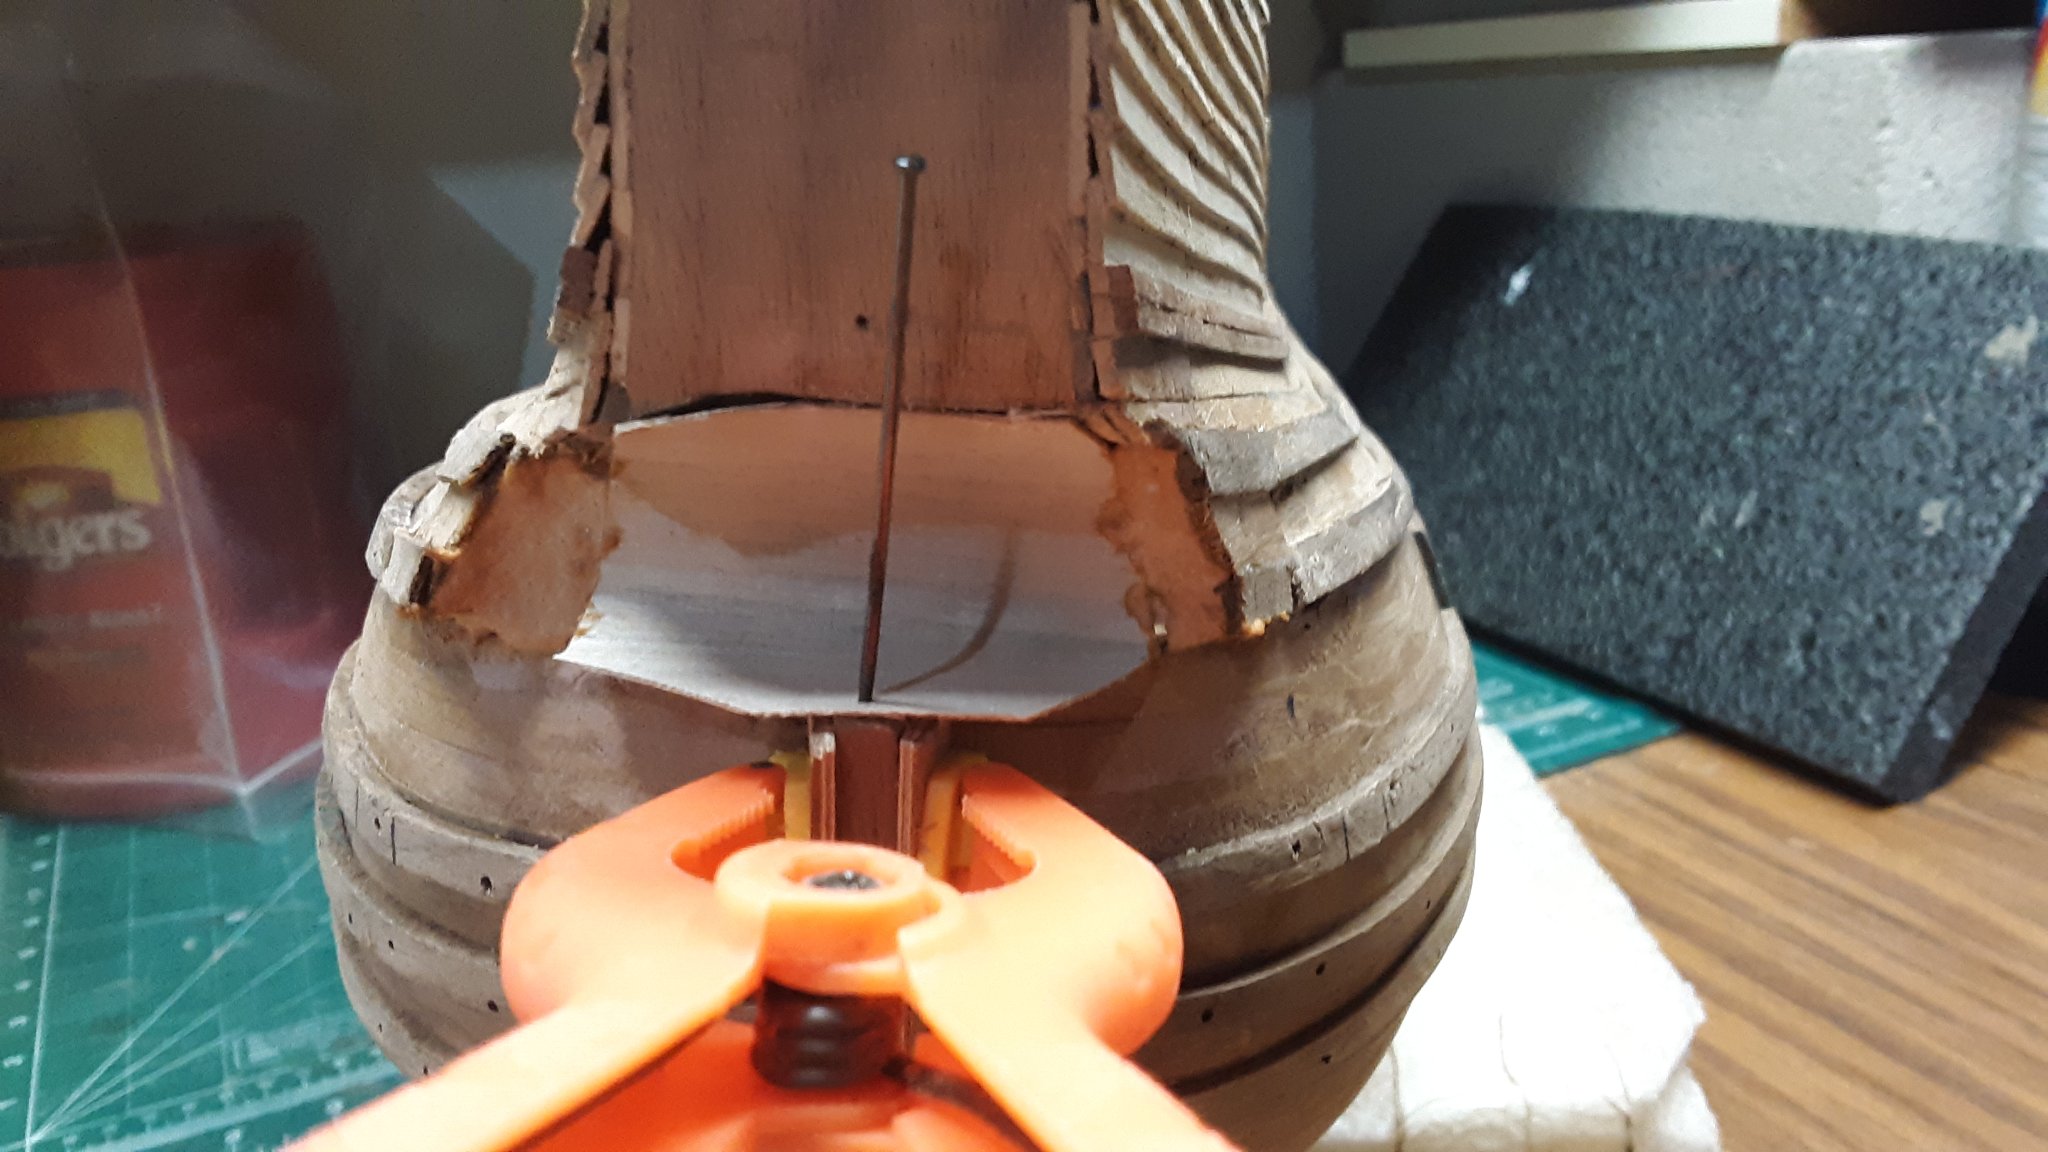
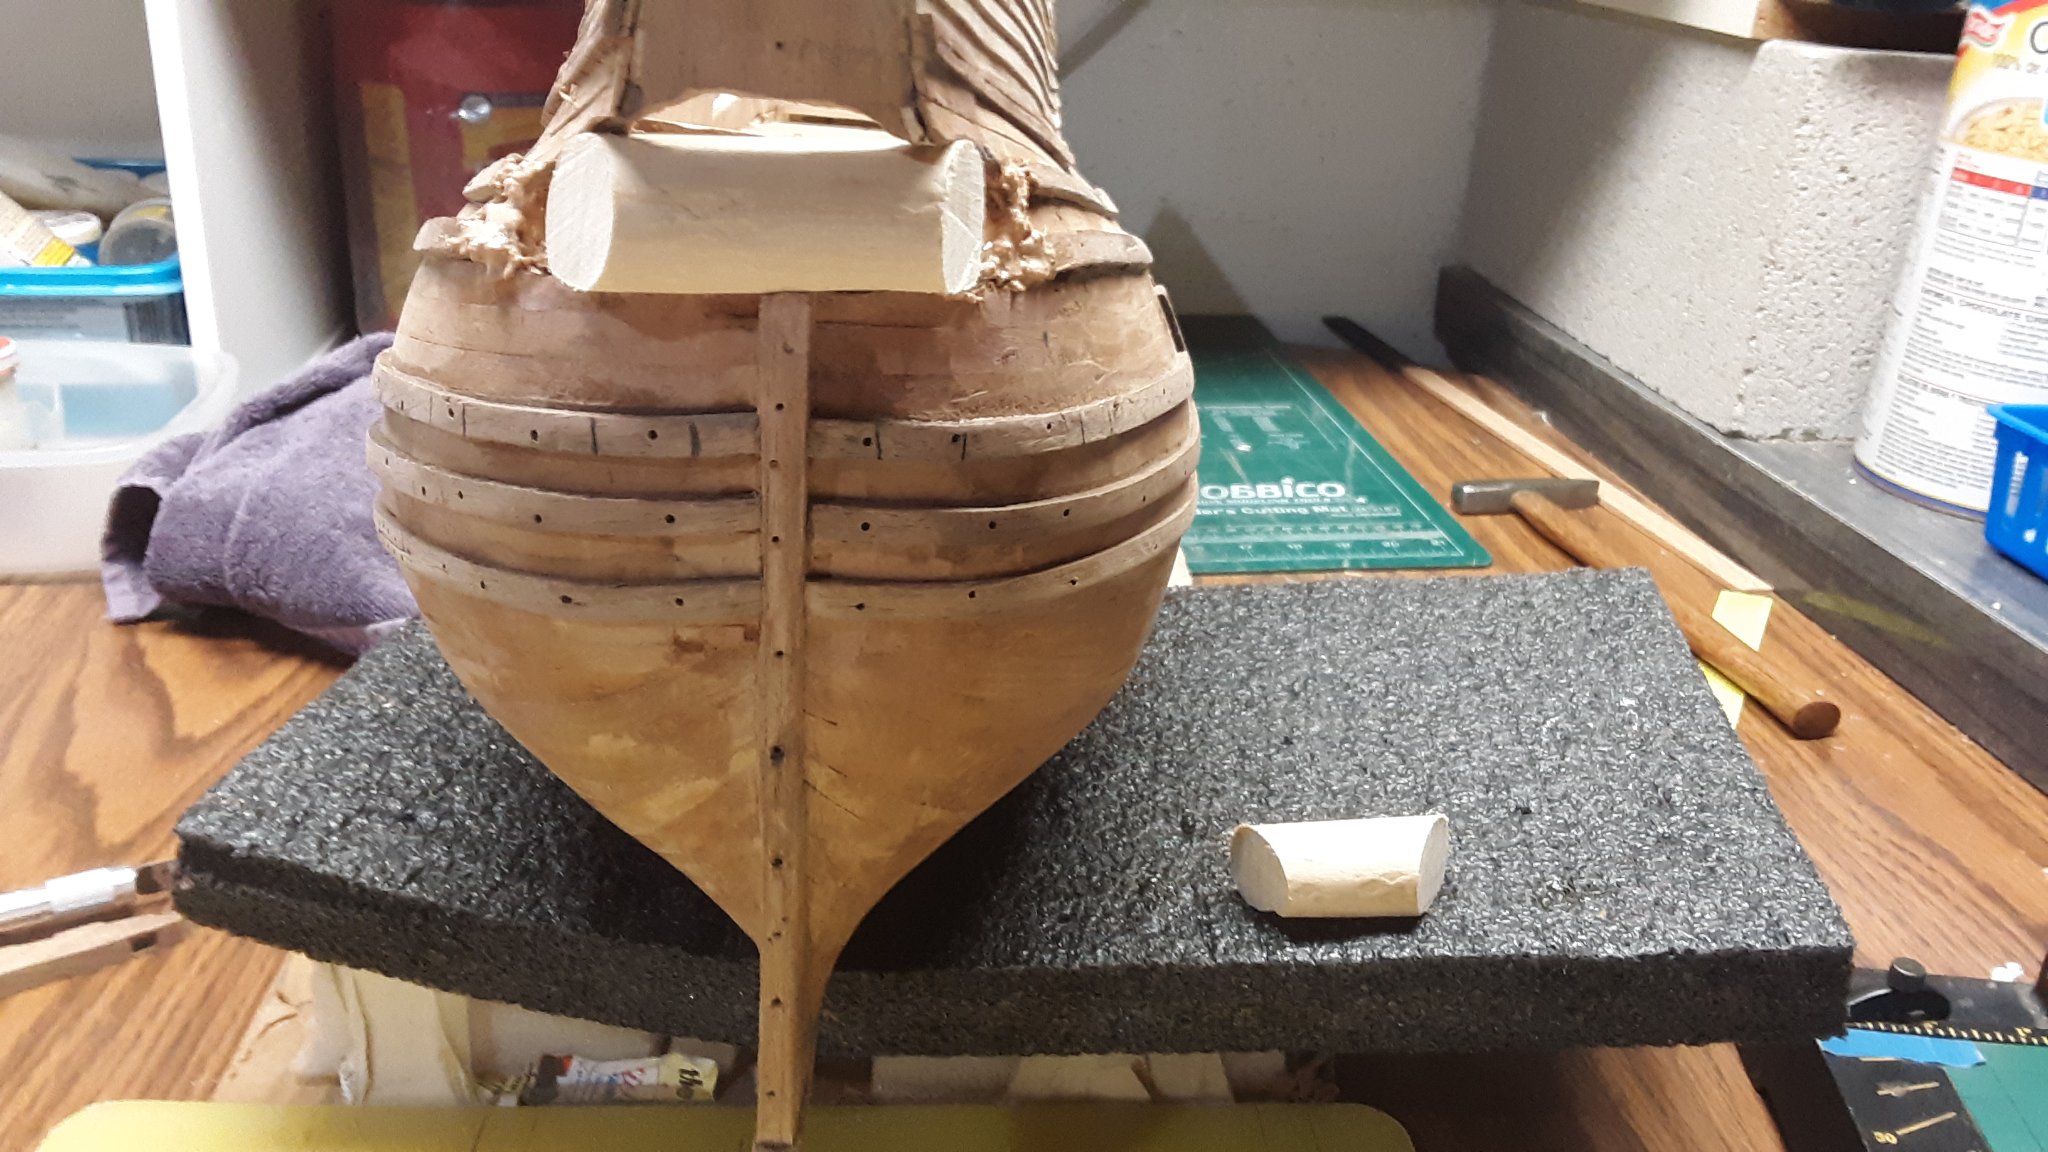
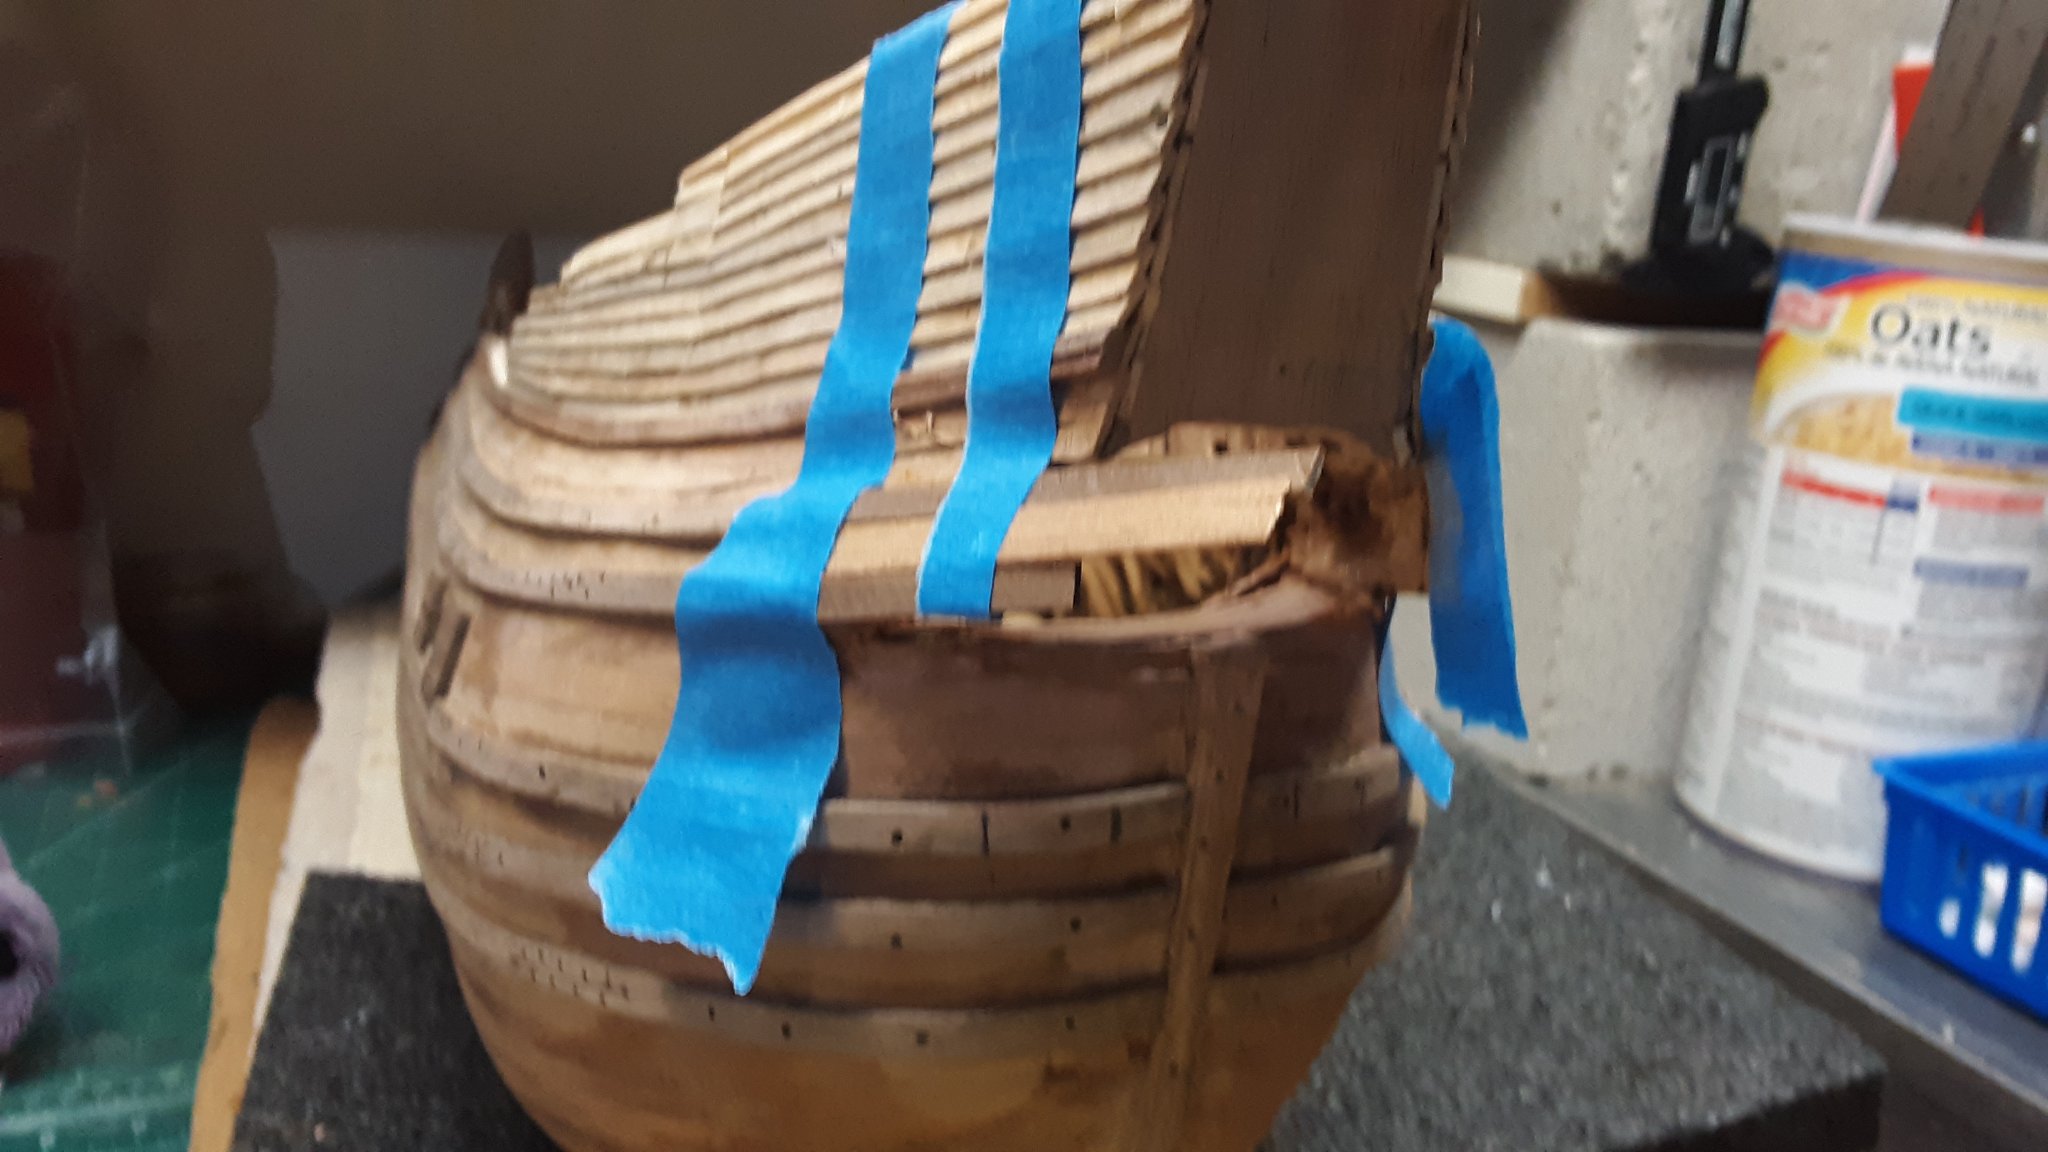
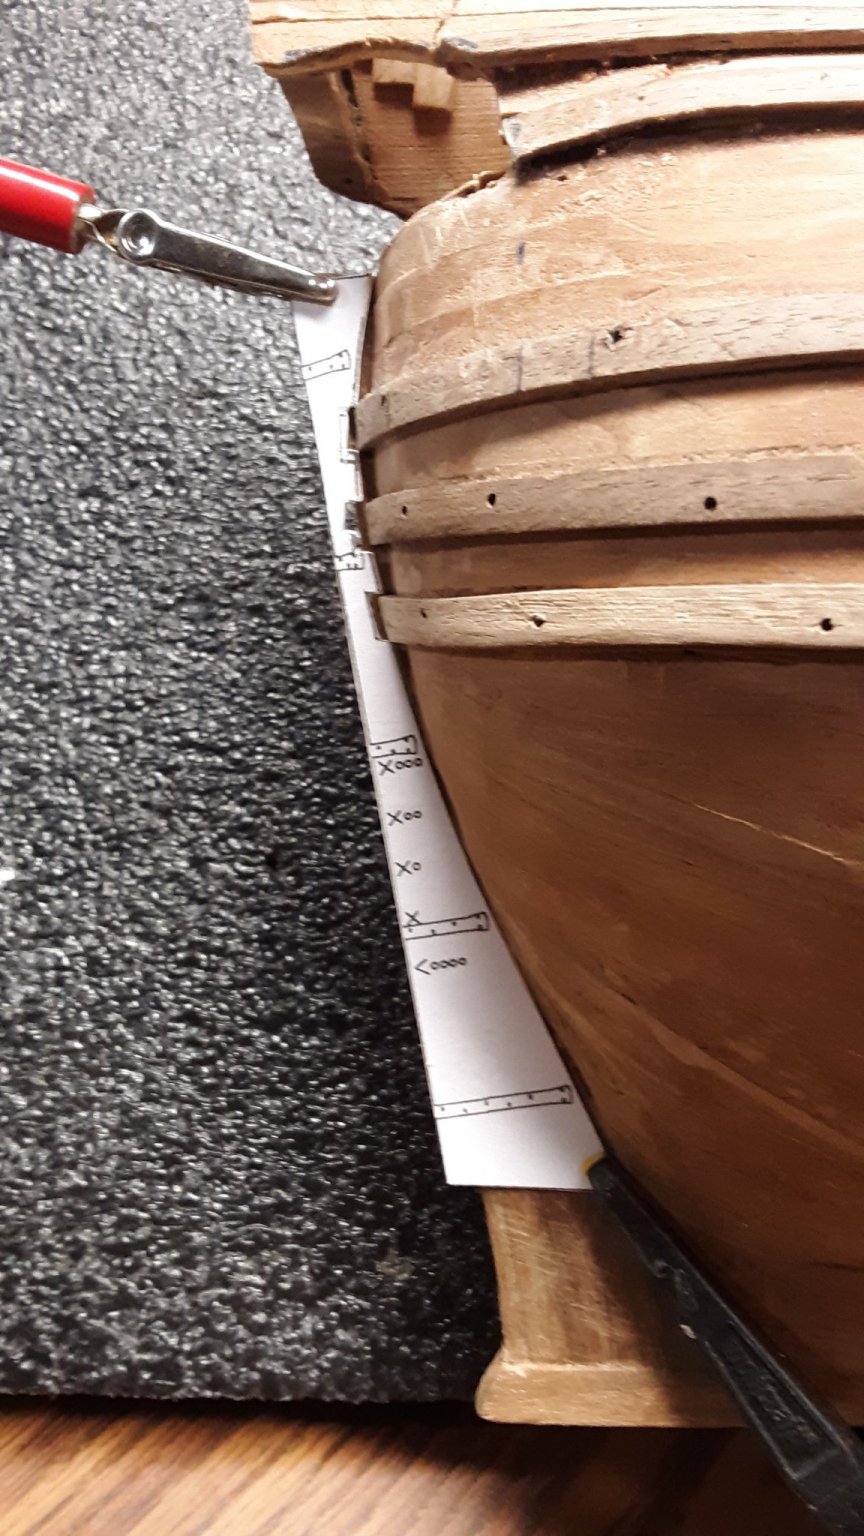
Now the area where the tiller goes in. In Dutch it's called het "hennegat".
Removed with a x-acto knife and saw the two upper wales on both sides. Then sanded it even.

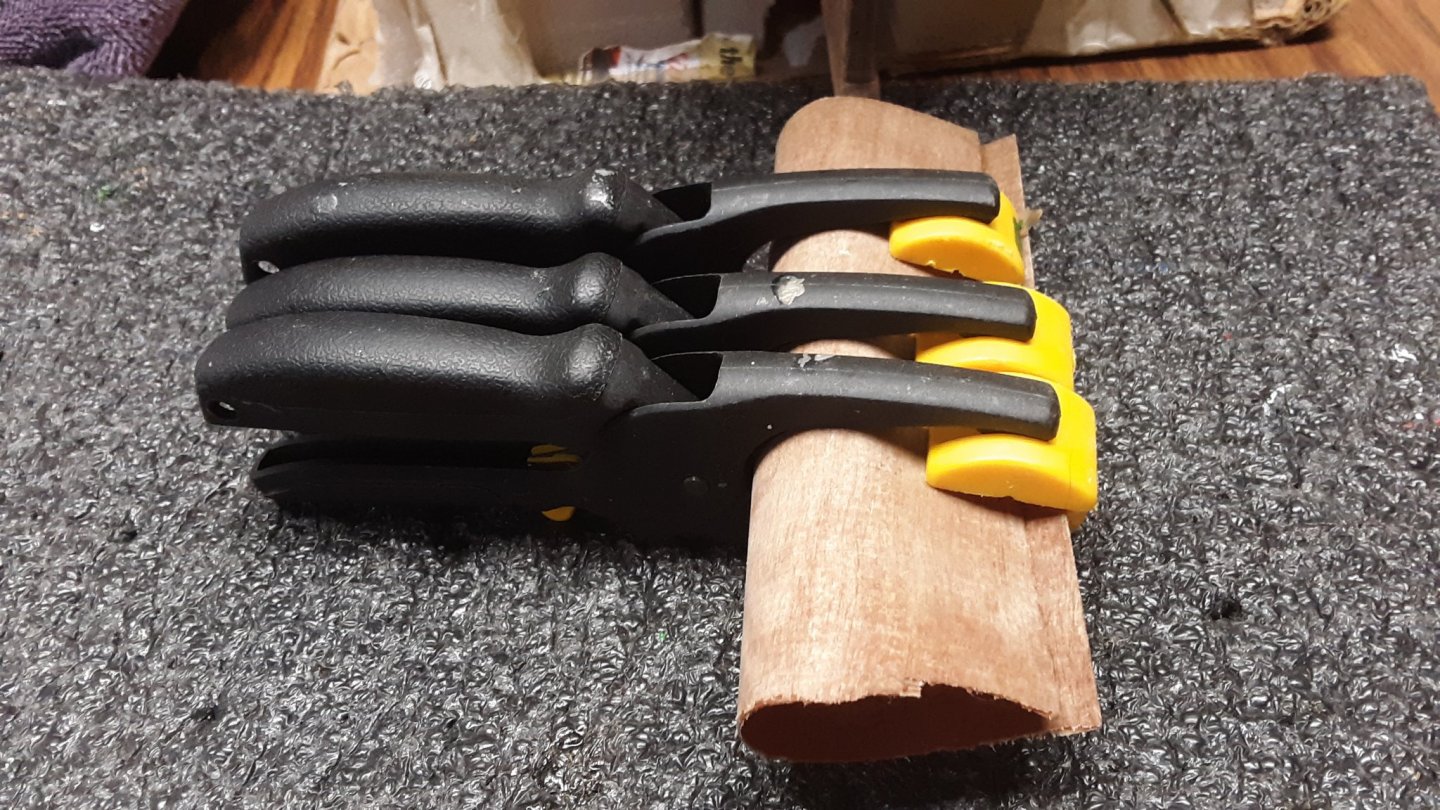
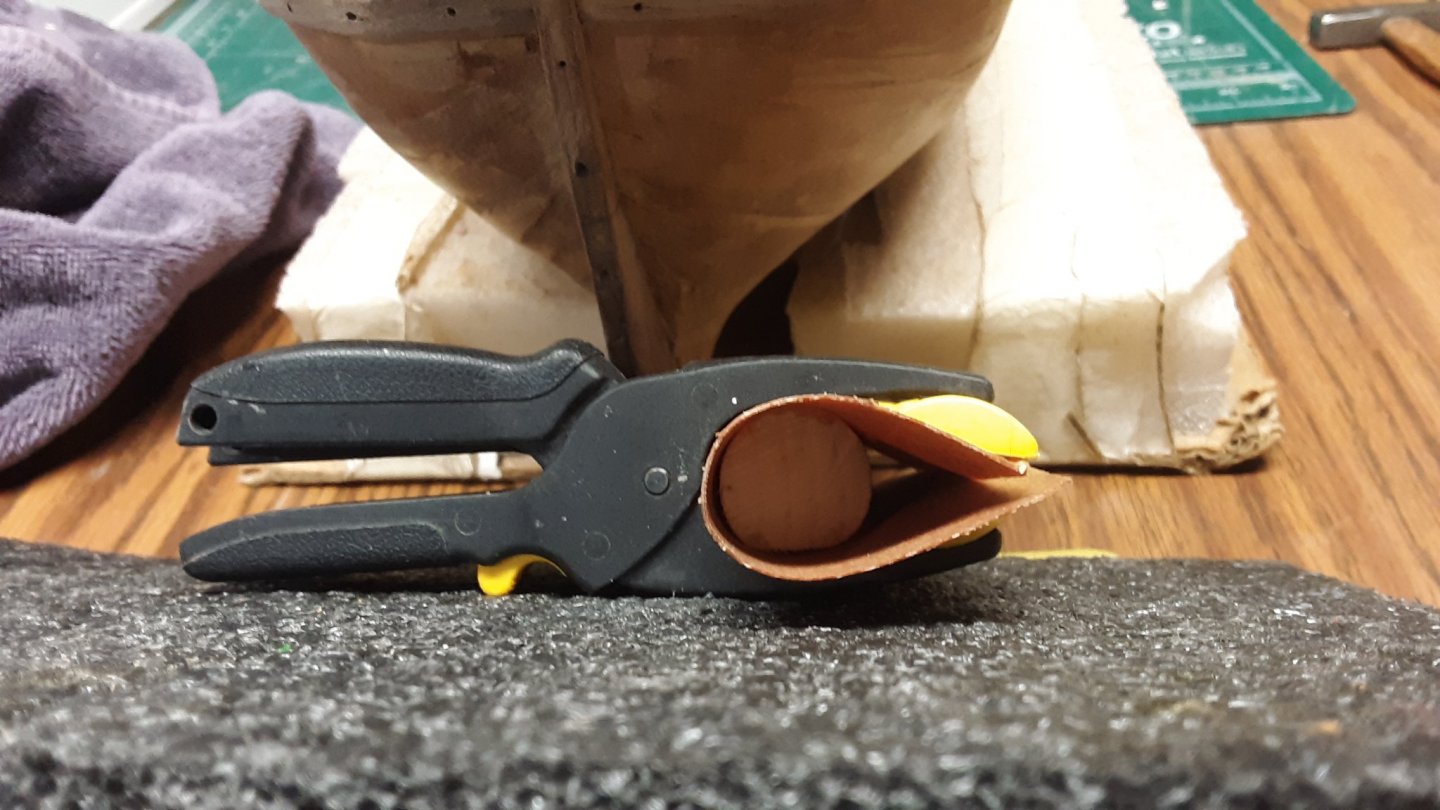
Created a template from a round dowel. Both sides of the dowel have the same angle as each of the sides of the Fluit

With a combination of glue and sawdust re - installed the upper wales. The glue / sawdust combo was also added to the inside of the planks to create a hard structure.The newly glued on planks were held together with painters tape. The planks are thin as second layer will be installed on the first layer.

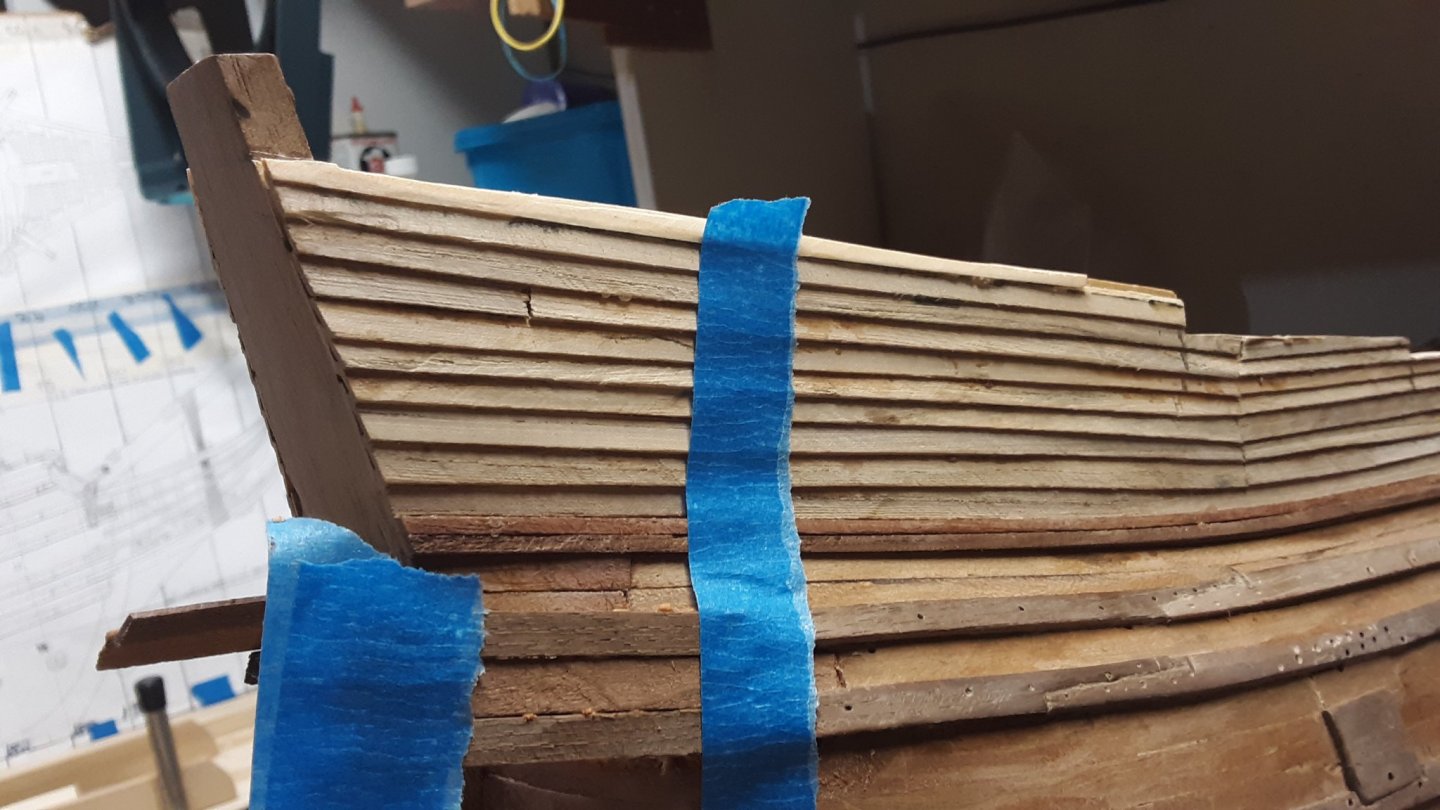
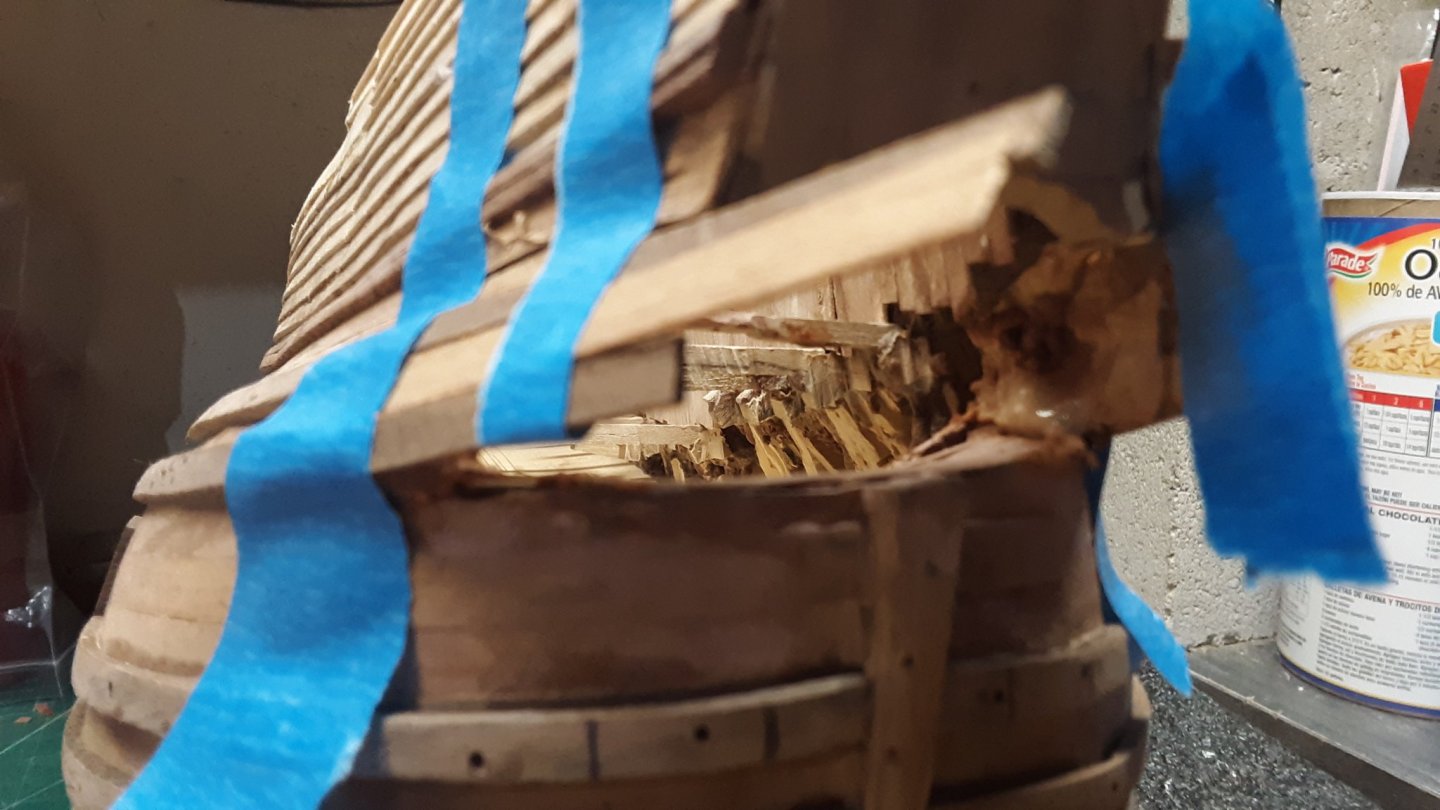
0.5mm thick small piece of plywood was soaked for 30 min in water. Shaped it around the round dowel. This piece follows the curve of the area where the tiller goes in.
If this does not work I will go back to the drawing table and figure something else out. Eventually I will find a solution. I refuse to trash this and start over correctly..
Marcus
-
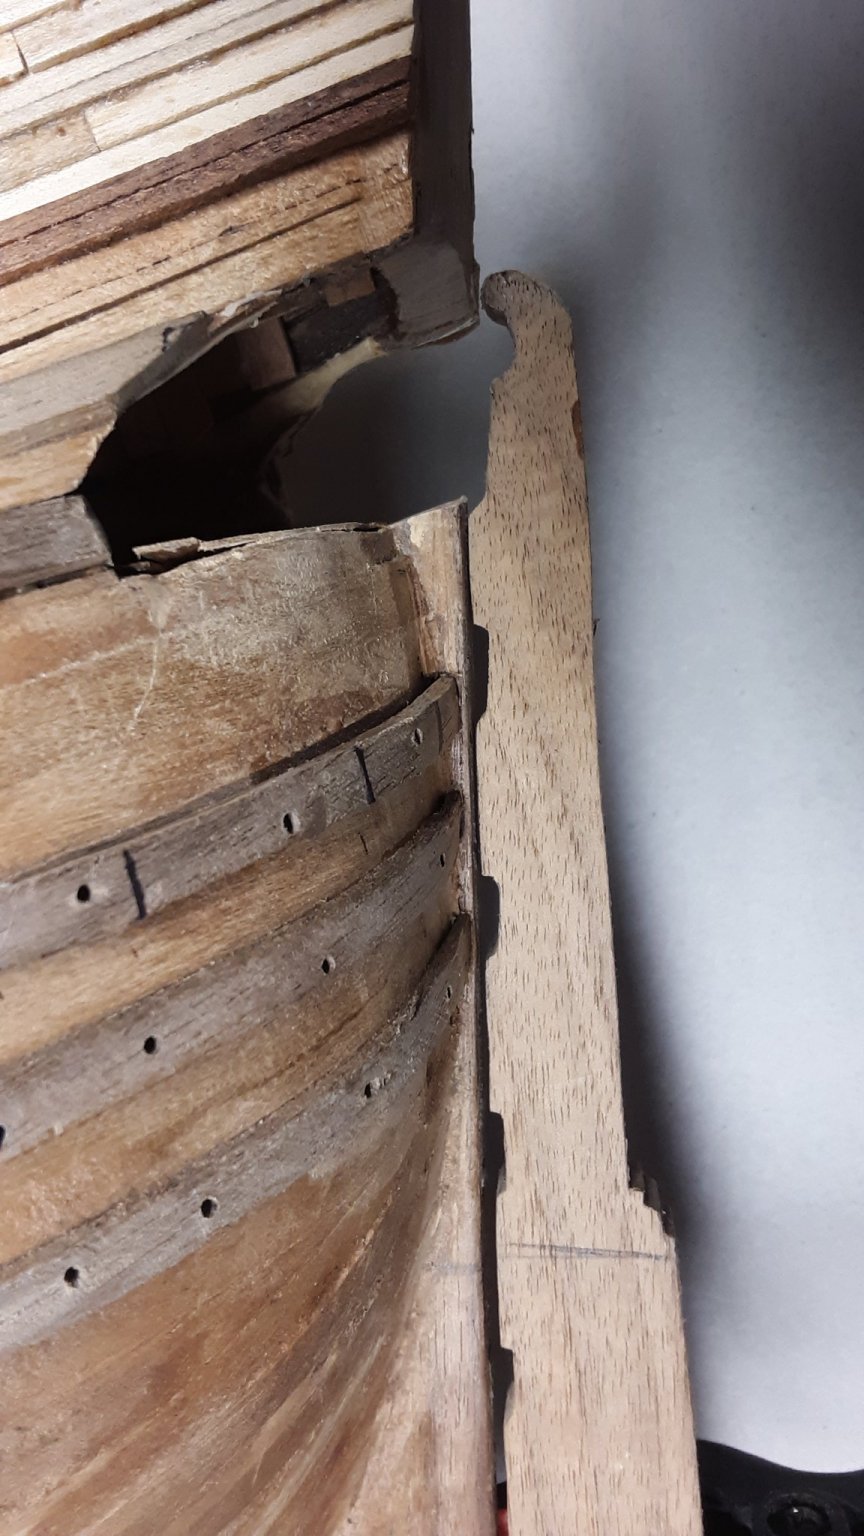
Made a template from the area that is glued on top of the sternpost.

Created a 1mm thick veneer by glueing 0.5mm plywood and 0.5mm walnut veneer together. Used the template to create those 2 pieces and glued them to the sternpost. At the same time it will hide the square dowel added to the sternpost.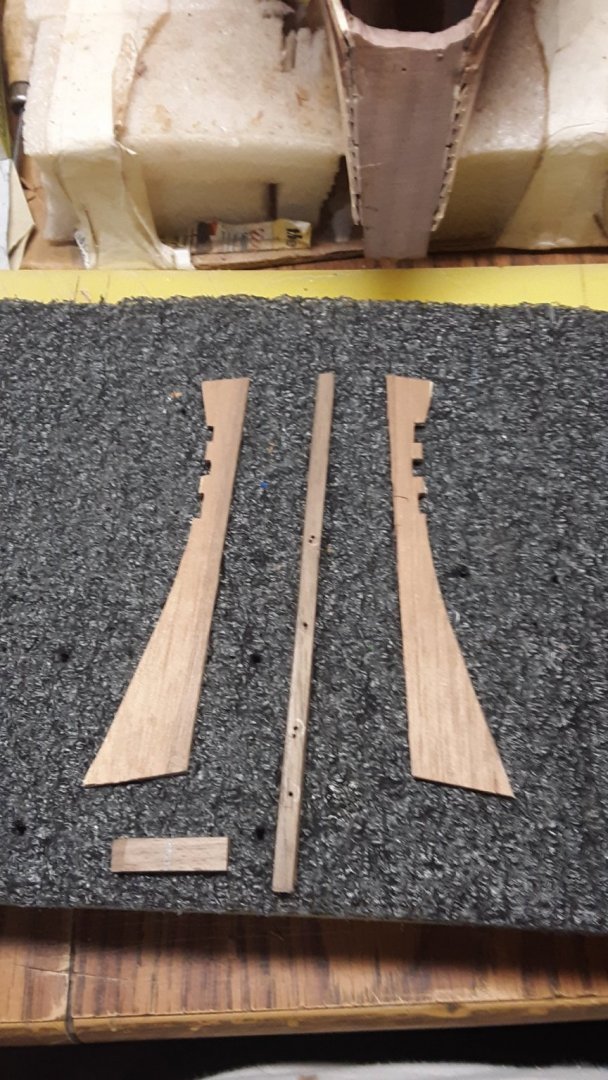

Marcus
- Louie da fly, mtaylor and G.L.
-
3
-
I just noticed this built and I like the figures you added. It makes it so much more realistic. Excellent craftsmanship.
Marcus
- Louie da fly, mtaylor and EJ_L
-
3
-
Thank you both for your imput. The only thing I will be doing is add 10mm piece of wood to the keel and sternpost. Several people said the same thing on modelbouwforum.nl as you both did.
Marcus
- Elijah, mtaylor and Louie da fly
-
3
-
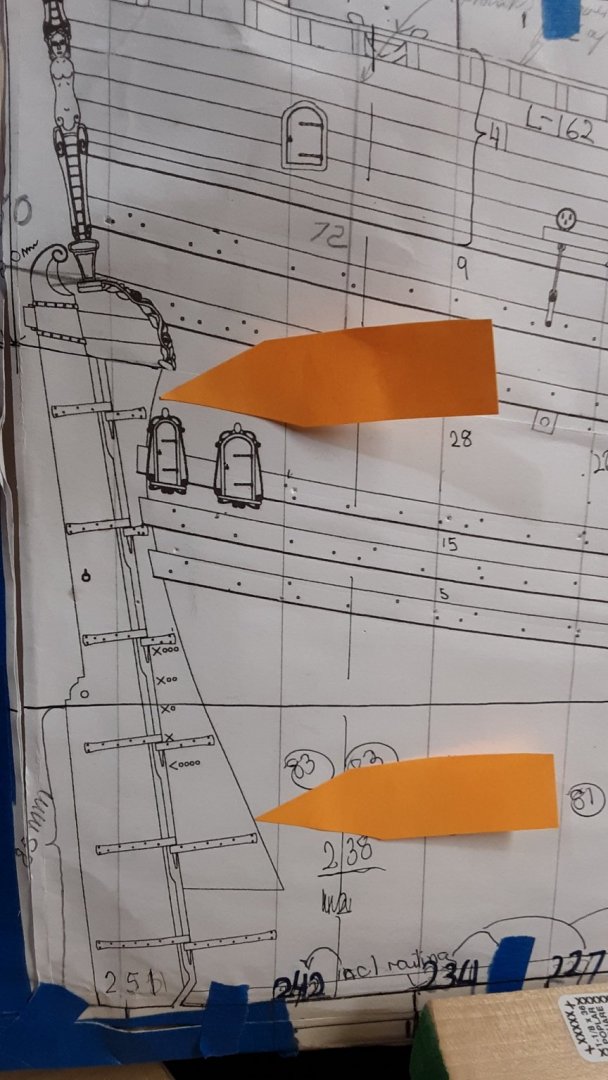
Thanks for all the likes and comments.
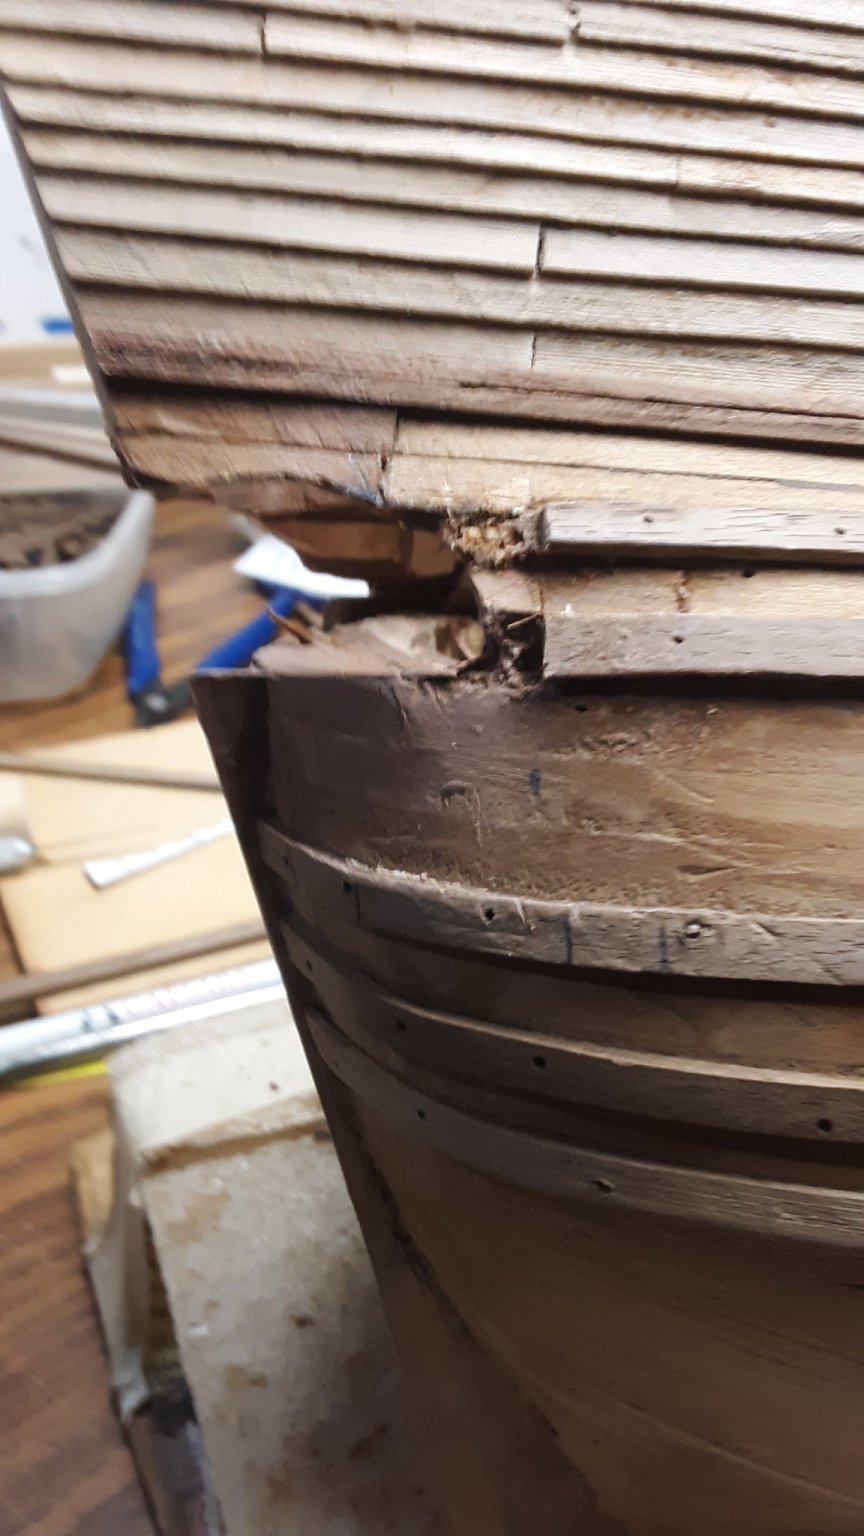
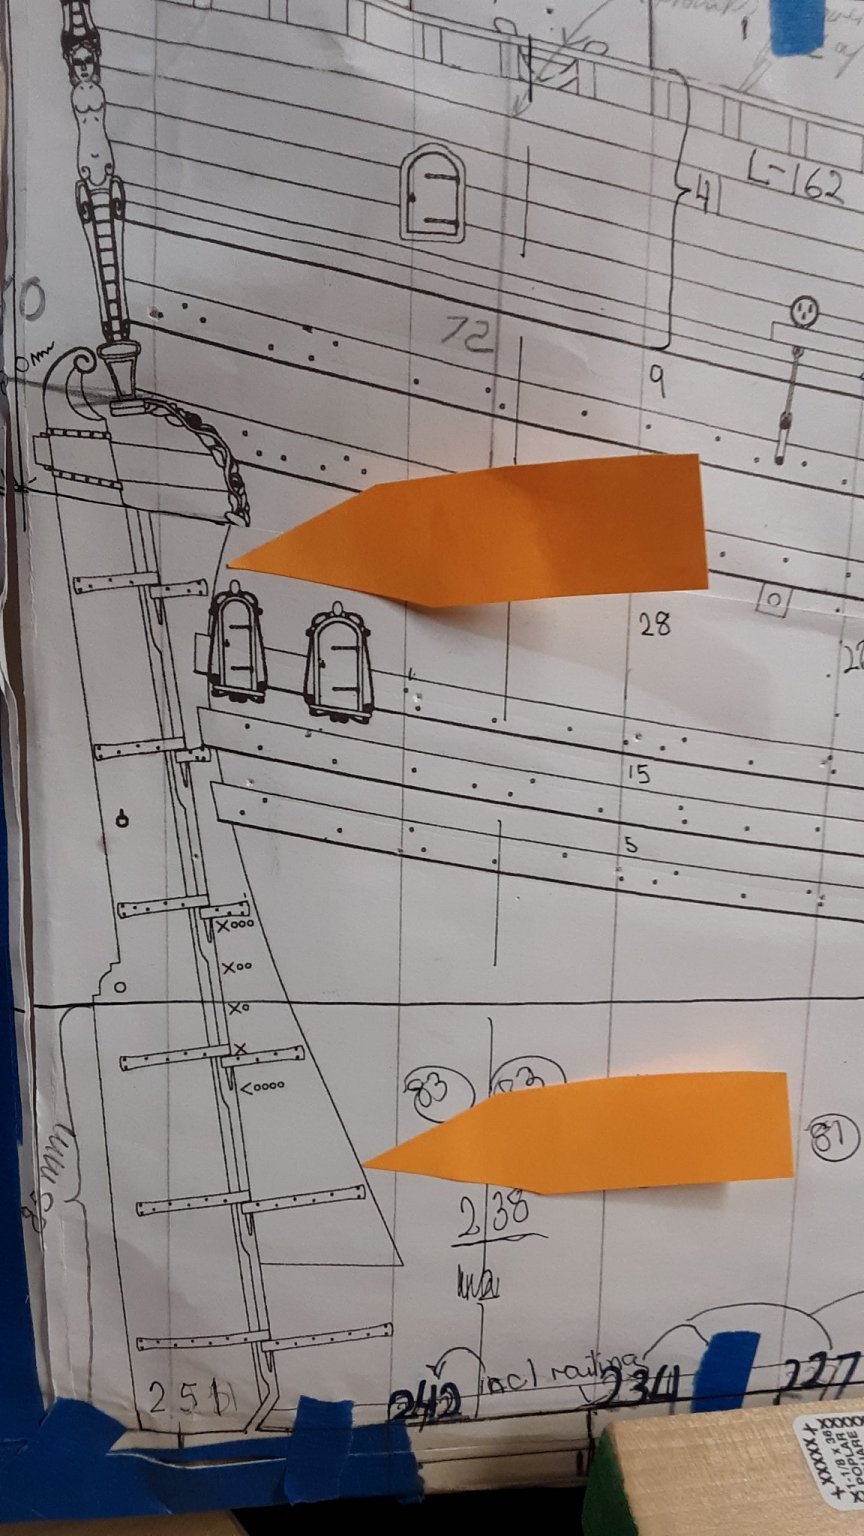
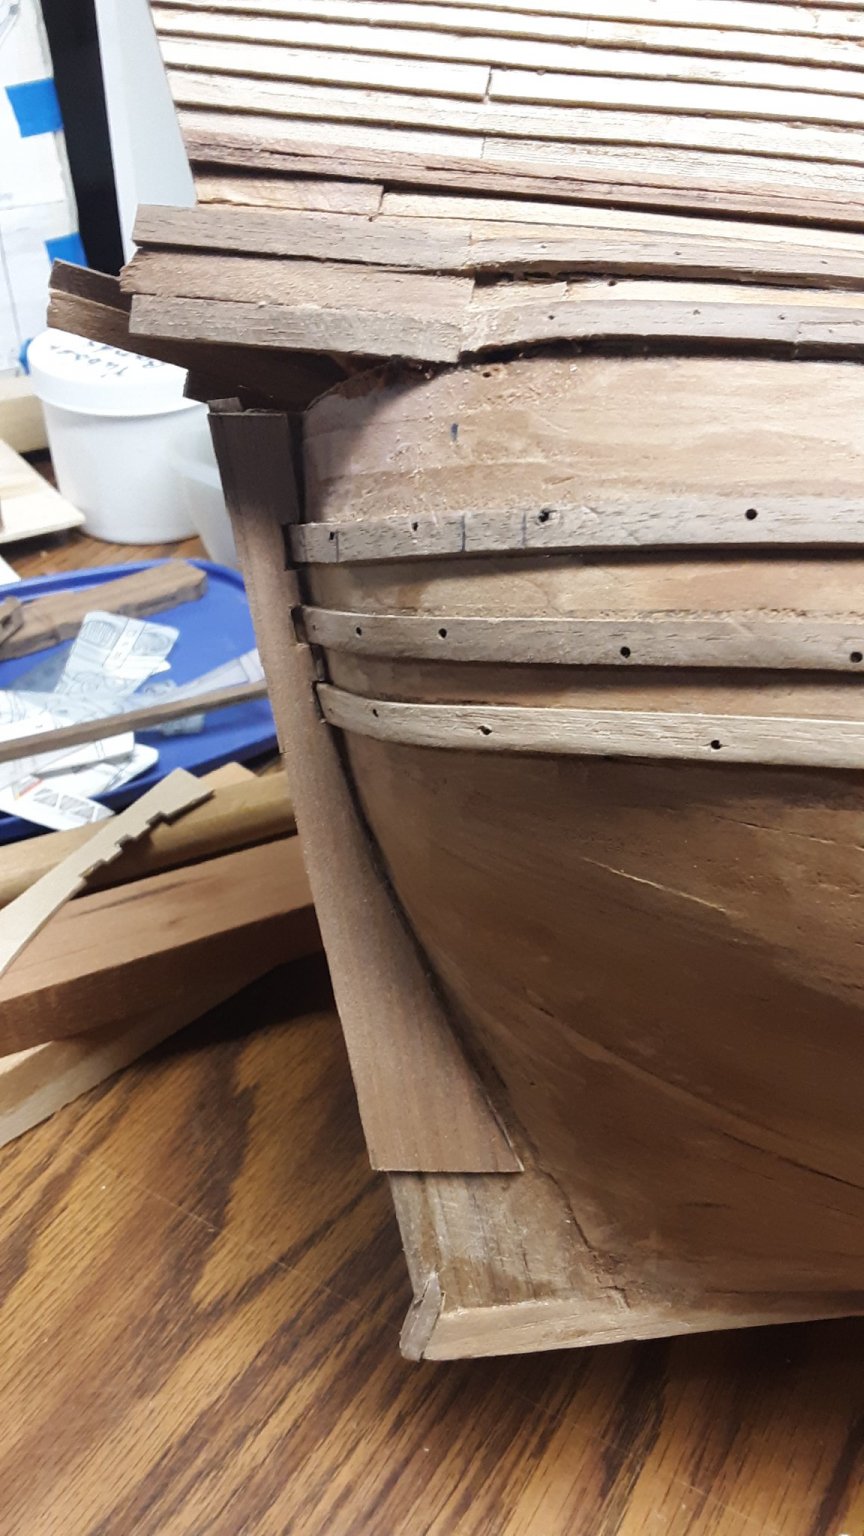
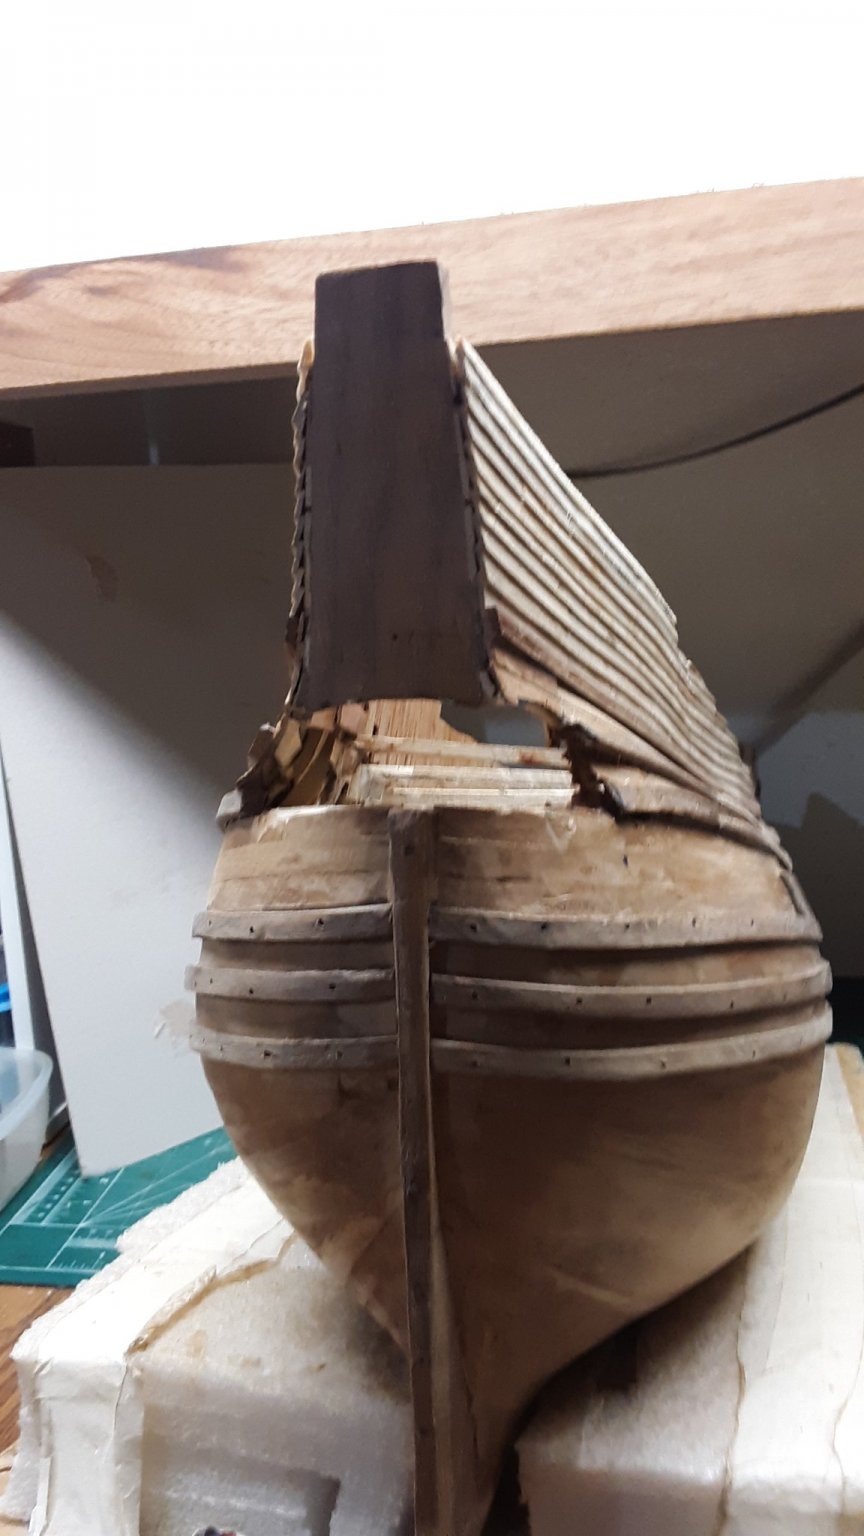
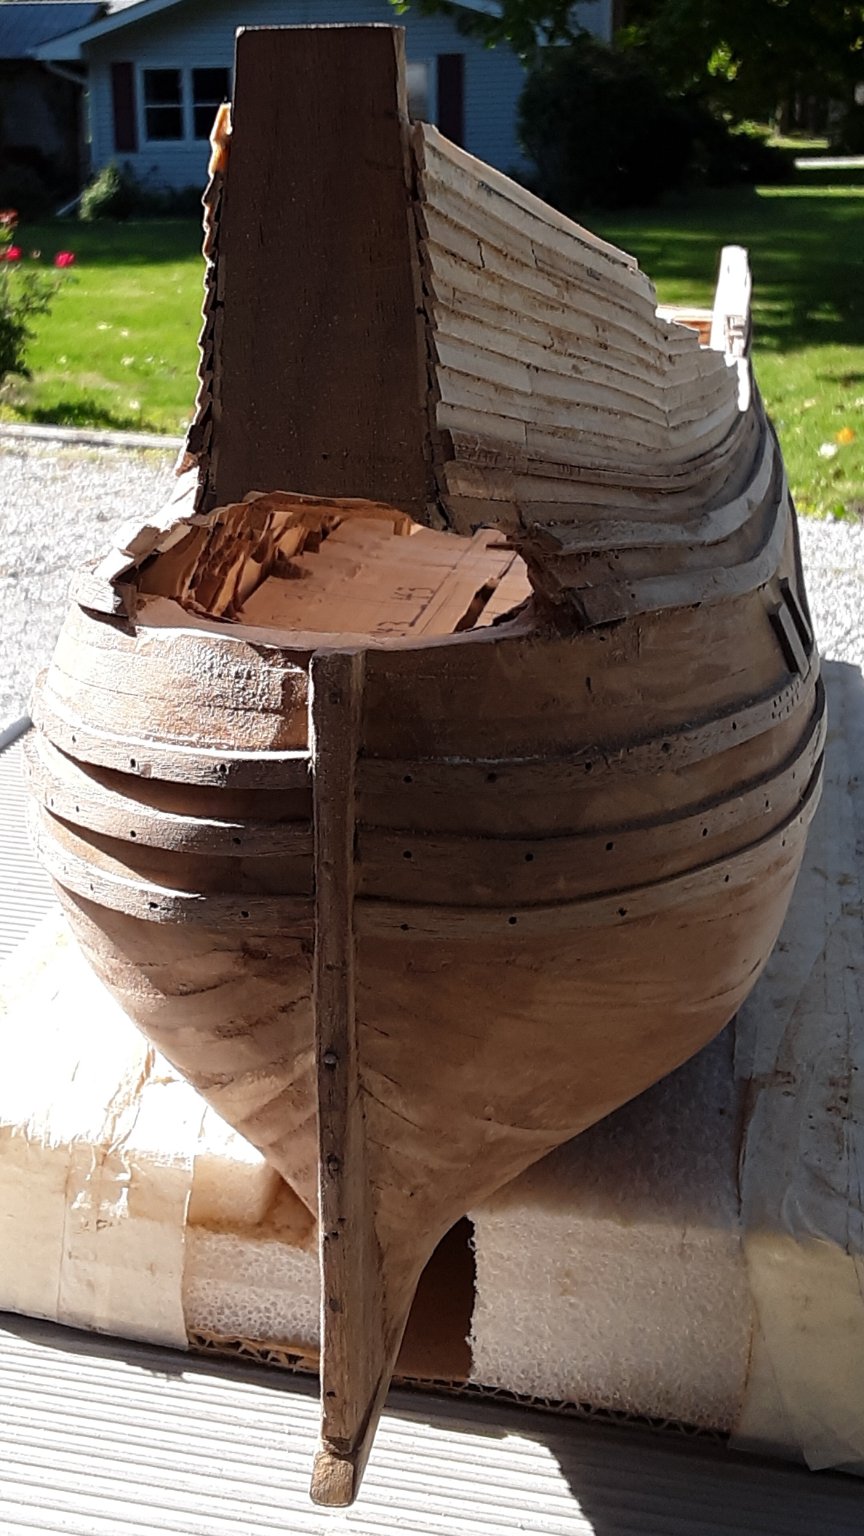
I've noticed another mistake (I keep doing this). When I initially cut out the sternpost it was according to the drawing. Glued it to the skeleton frame and started planking. My guess is that my planking is to thick as well as the wales because the post slowly disappeared.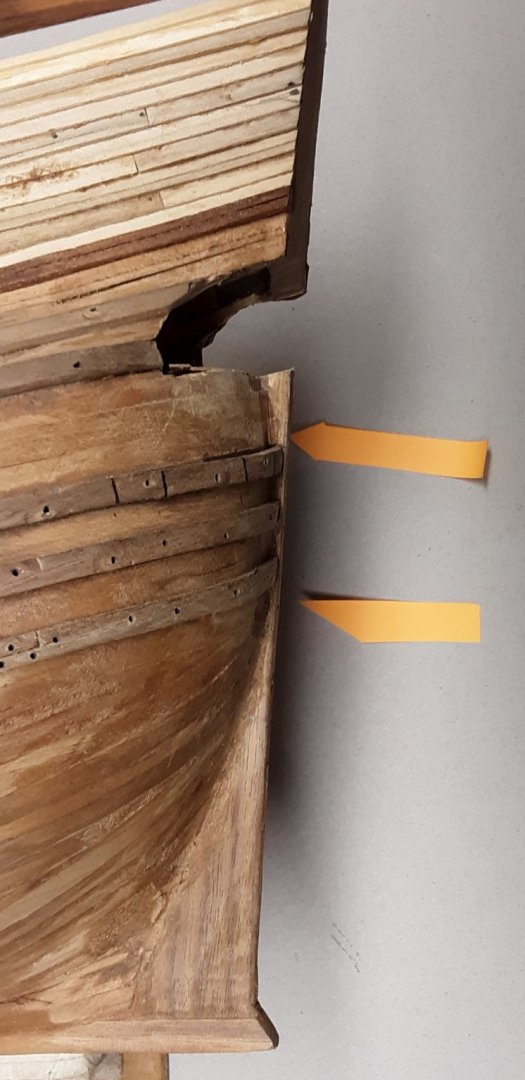

I should have planked the hull first and then glue the sternpost and add the wales last. So in some areas of the sternpost I will have problems gluing the gudgeons on to it. What I need to remember is dat the angle of the sternpost has to be equal to the angle of the transom.

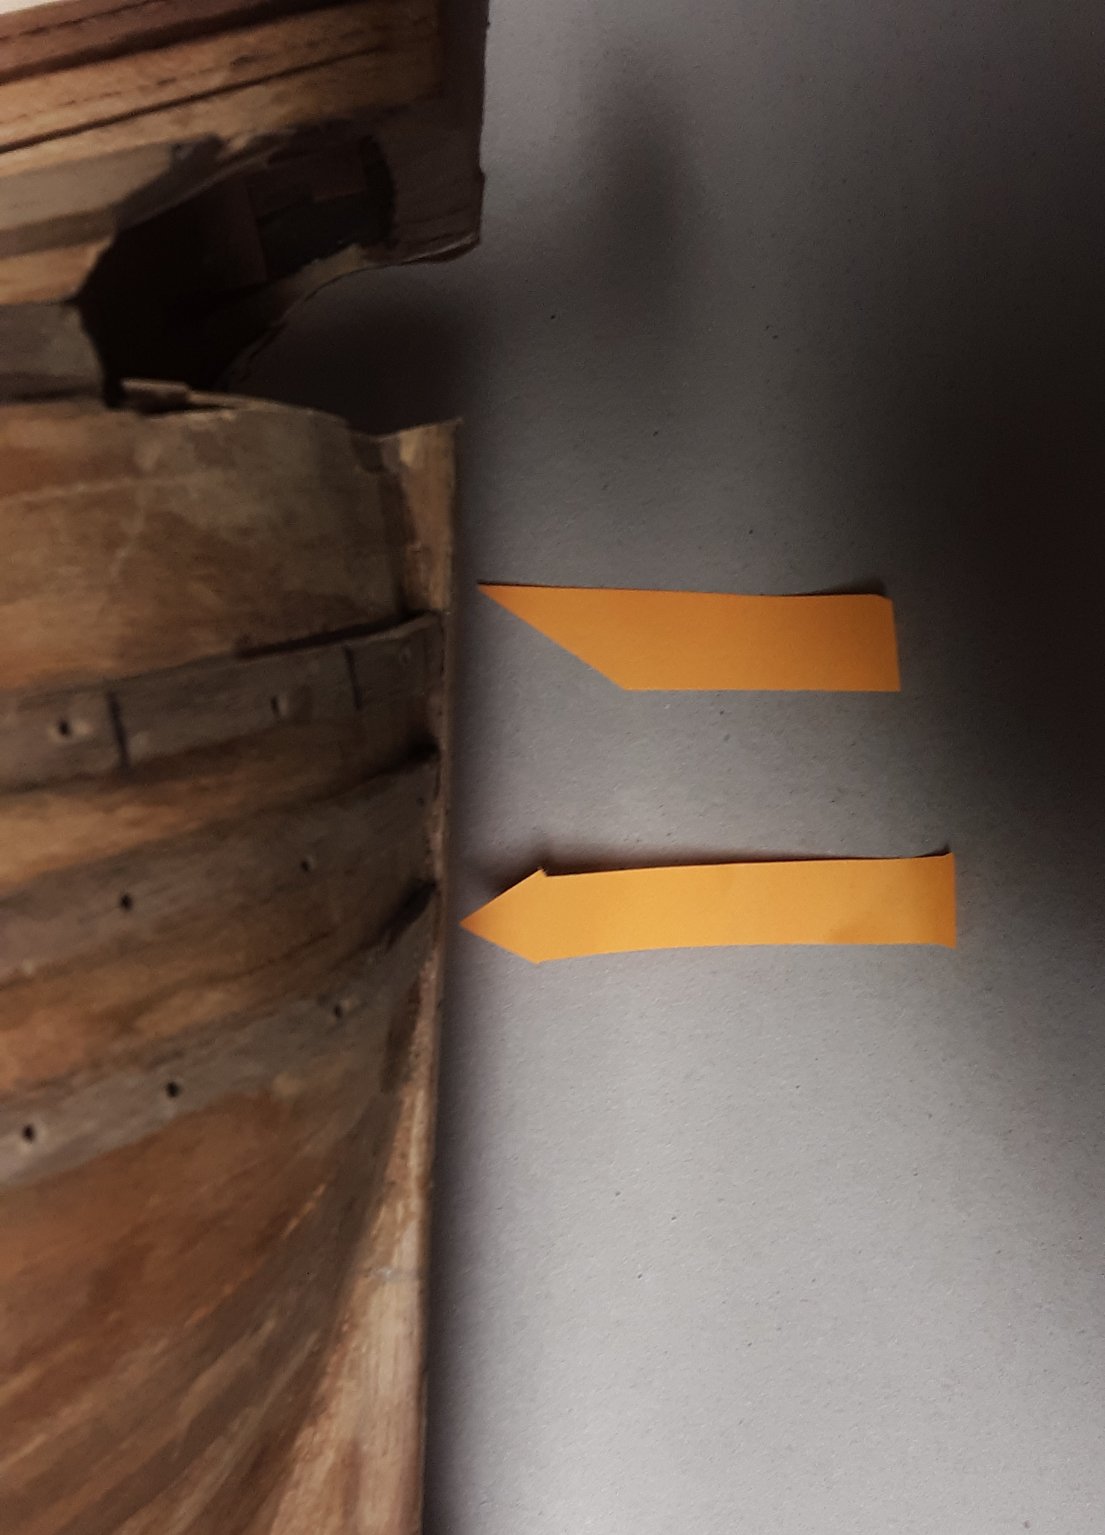
My options.
1. Leave as is and just add the gudgeons.
2. Add wood to the keel, sternpost and then install the gudgeons. Problem then is that the top of the rudder is to far away from the transom.
3. Add wood to the keel, sternpost and cut the transom to add more wood. When the keel is installed the top of the rudder is close to the opening where the tiller goes in.
Hope this made some sense and if not, look at the pictures of the final results.
Basically making the sbip 1 cm longer.
The problem with this method is that the hole were the tiller goes is is going to be 1 cm larger, basically too big. So then the drastic thing to do is to remove the transom area above the sternpost from frame 0 to frame 15 and start all over again. I have done something like that already. The more I think about it the less I want to do that.
Marcus -
-
1 hour ago, burrapeg said:
One must admire your persistence. And even with real fluits, no doubt they were not all alike and some were more successful than others. I had a question: Some time back you mentioned half-round headed black stainless pins. Where did you get those?
Thank you.
The pins I got a long time ago. In the 70's in the Netherlands. I bought a thousand and still have a couple of 100 left. I use the as steel pins in the wales. I'm looking for more. Once I find them I'll let you know.
Marcus
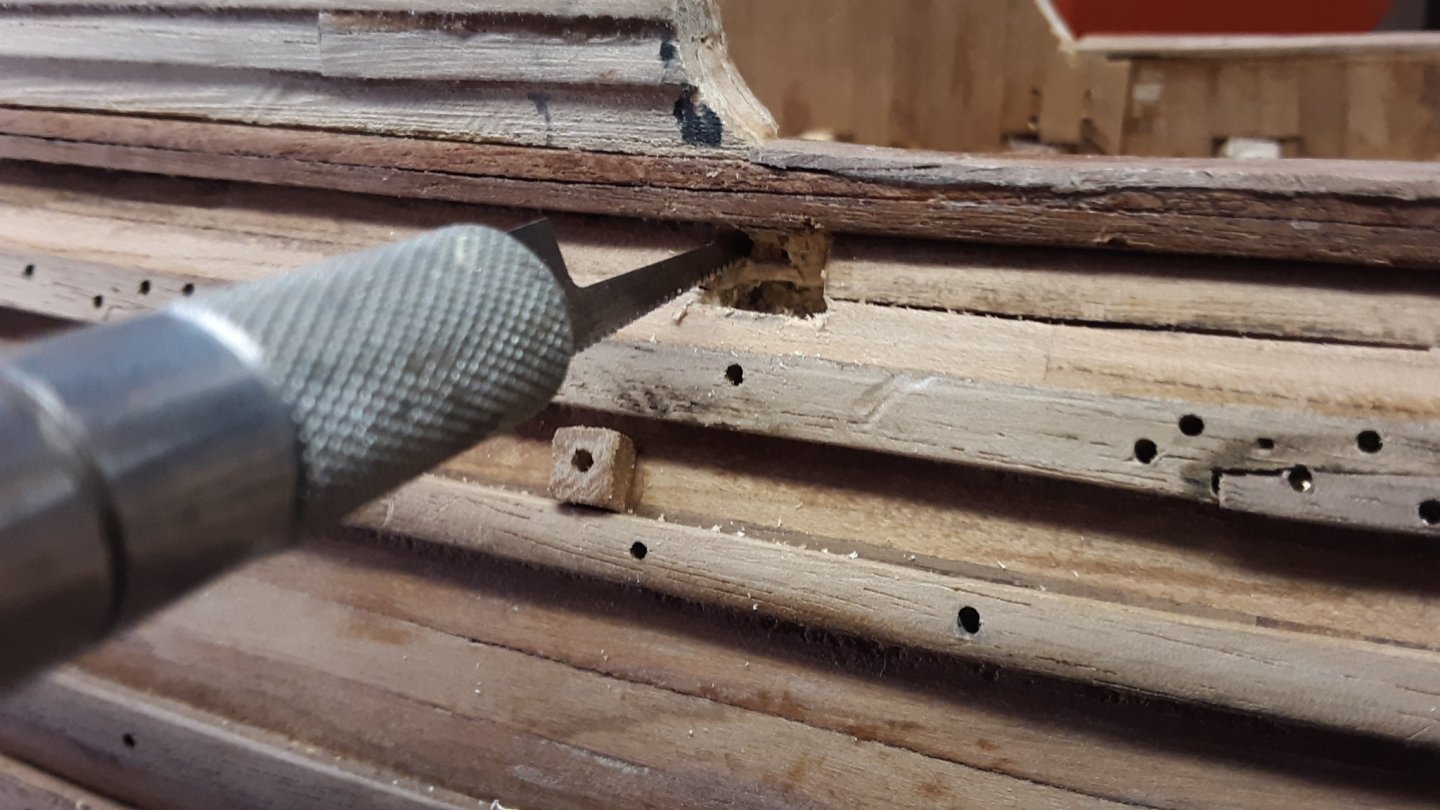
-
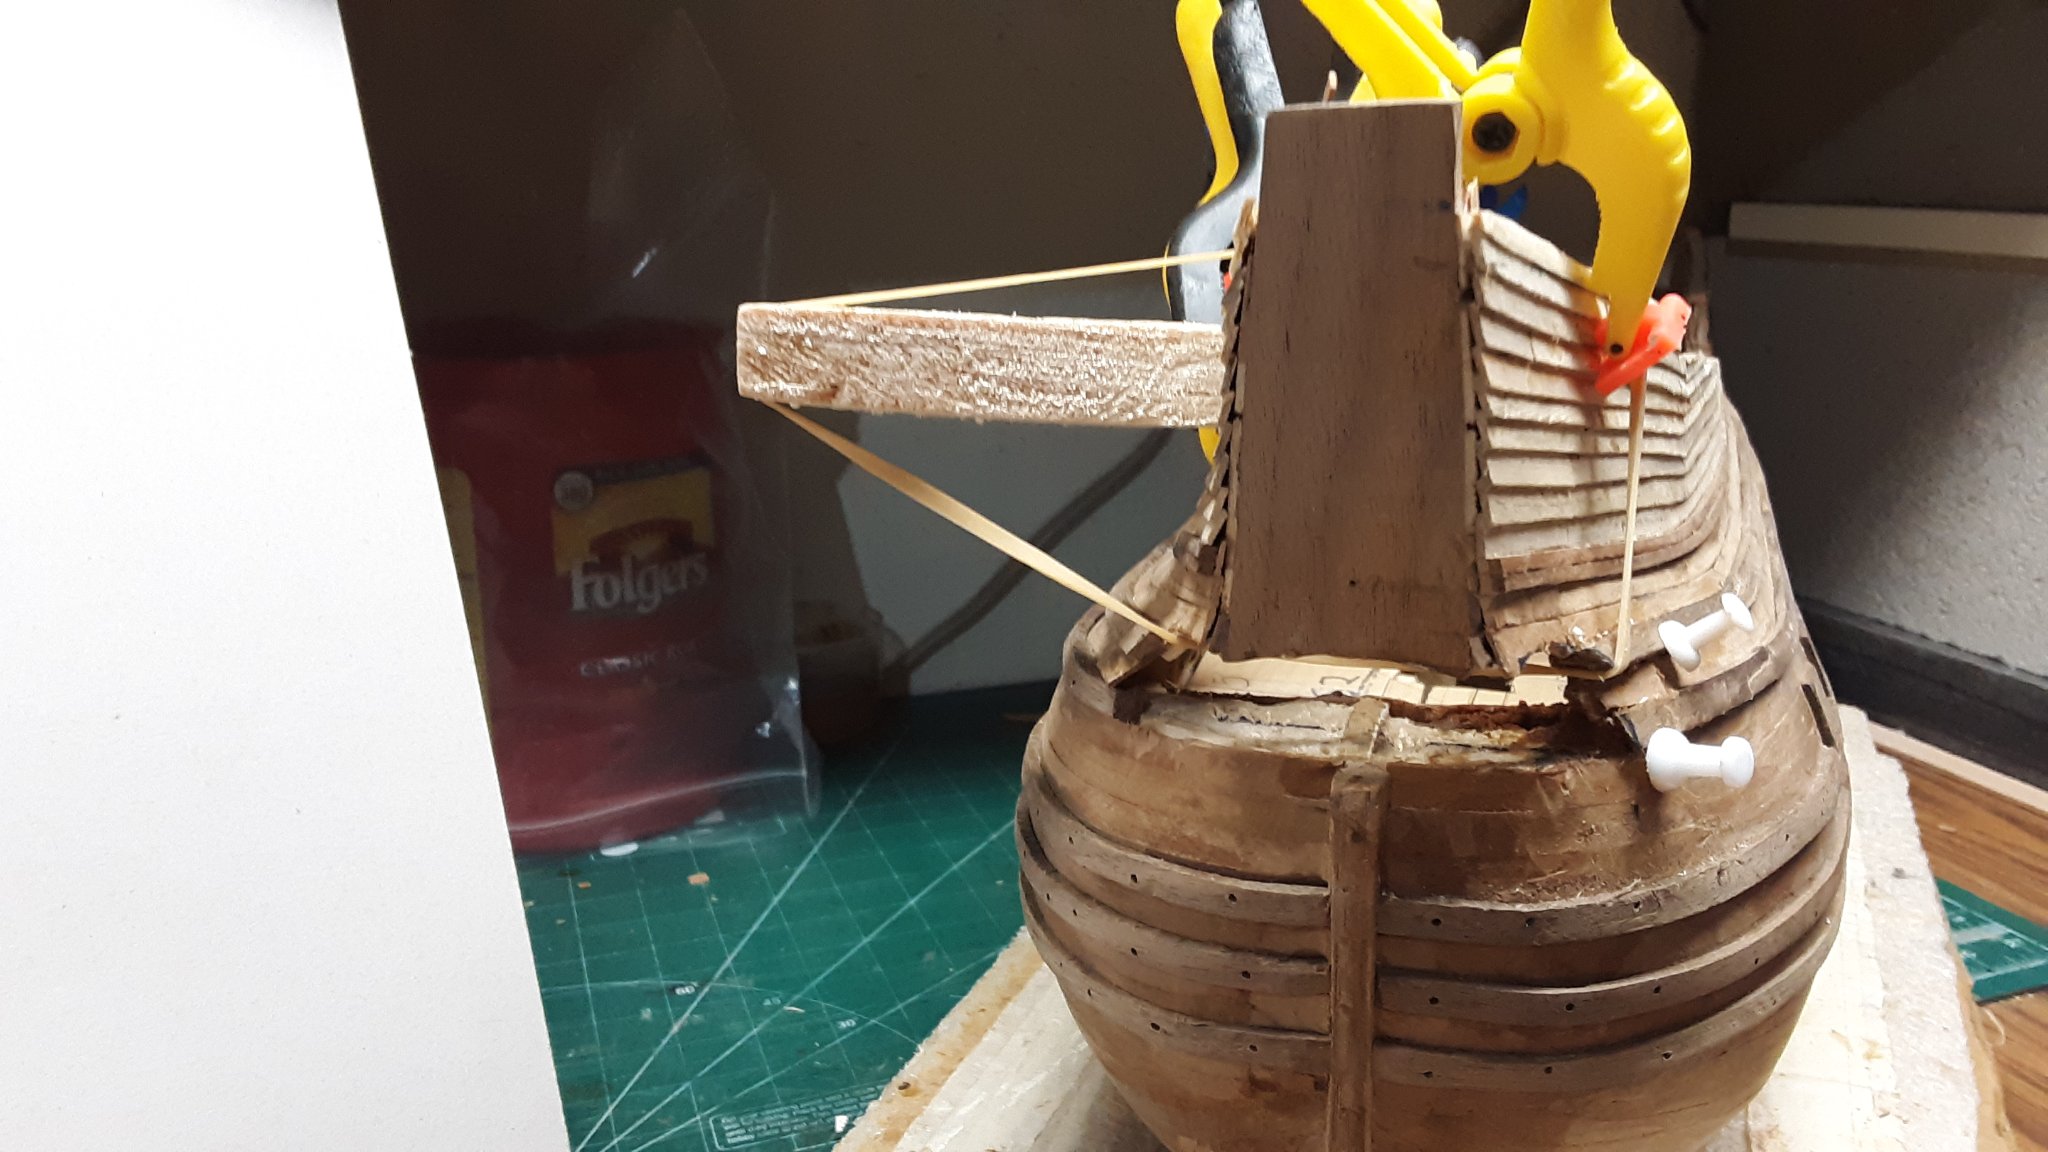
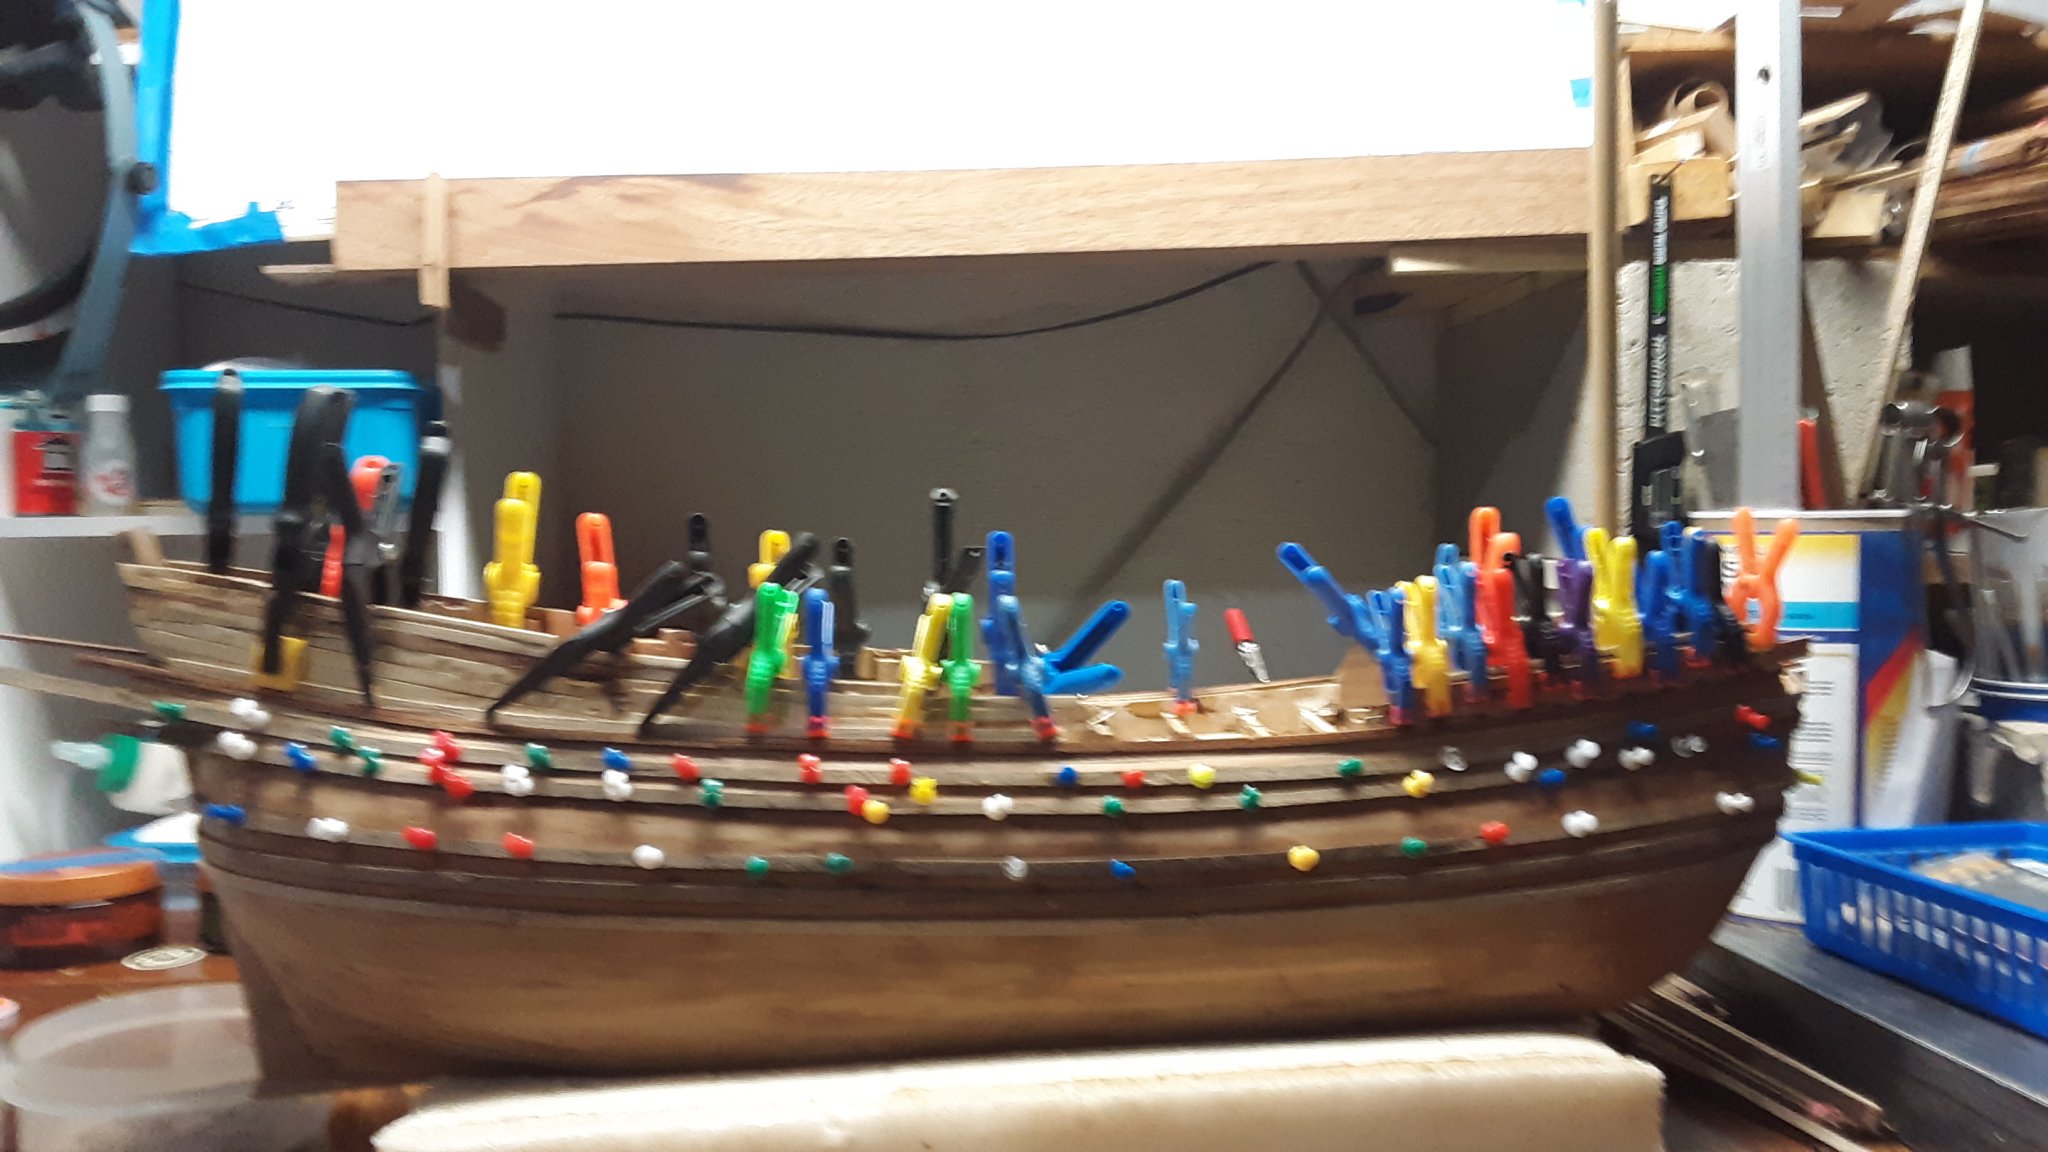
Thanks for all the likes and comments.
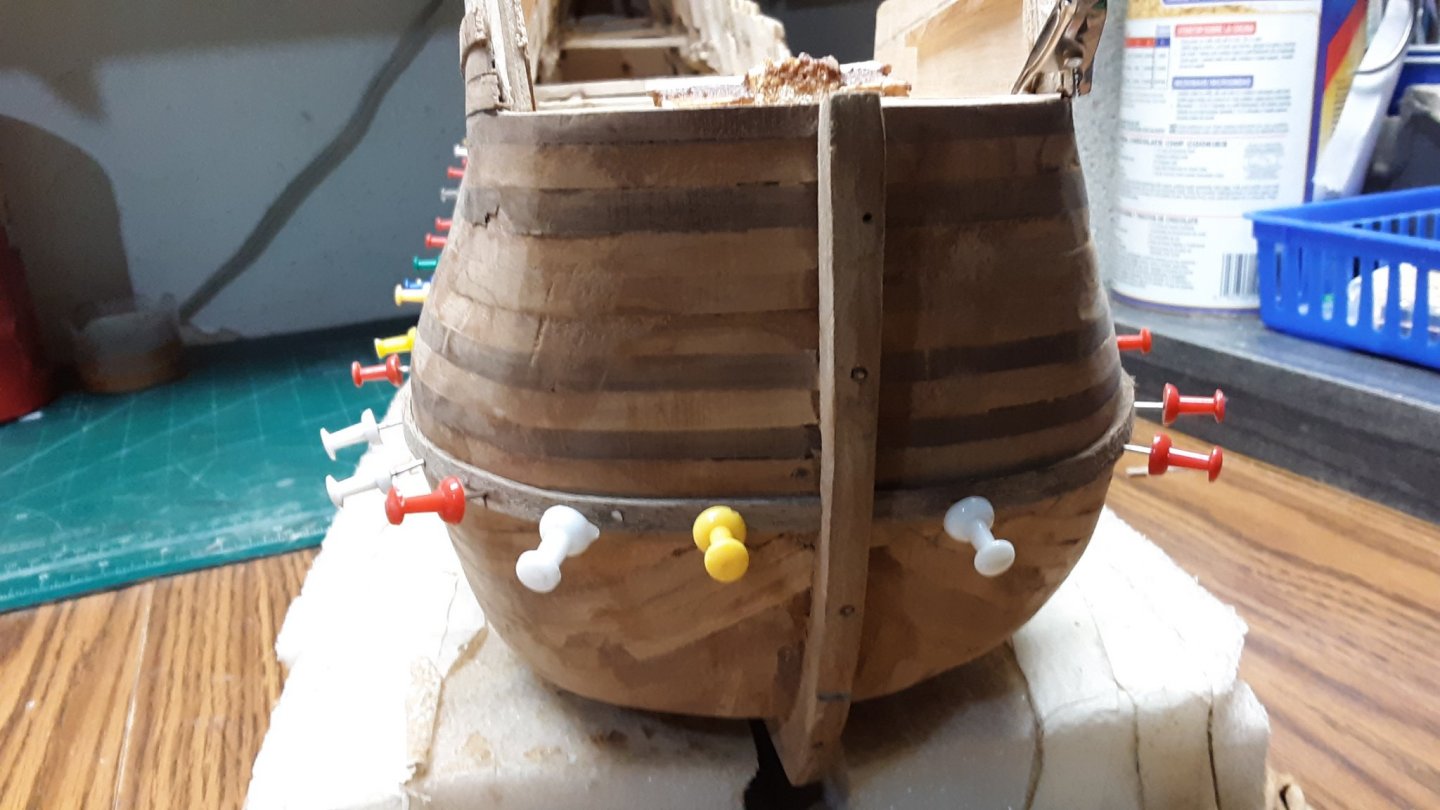
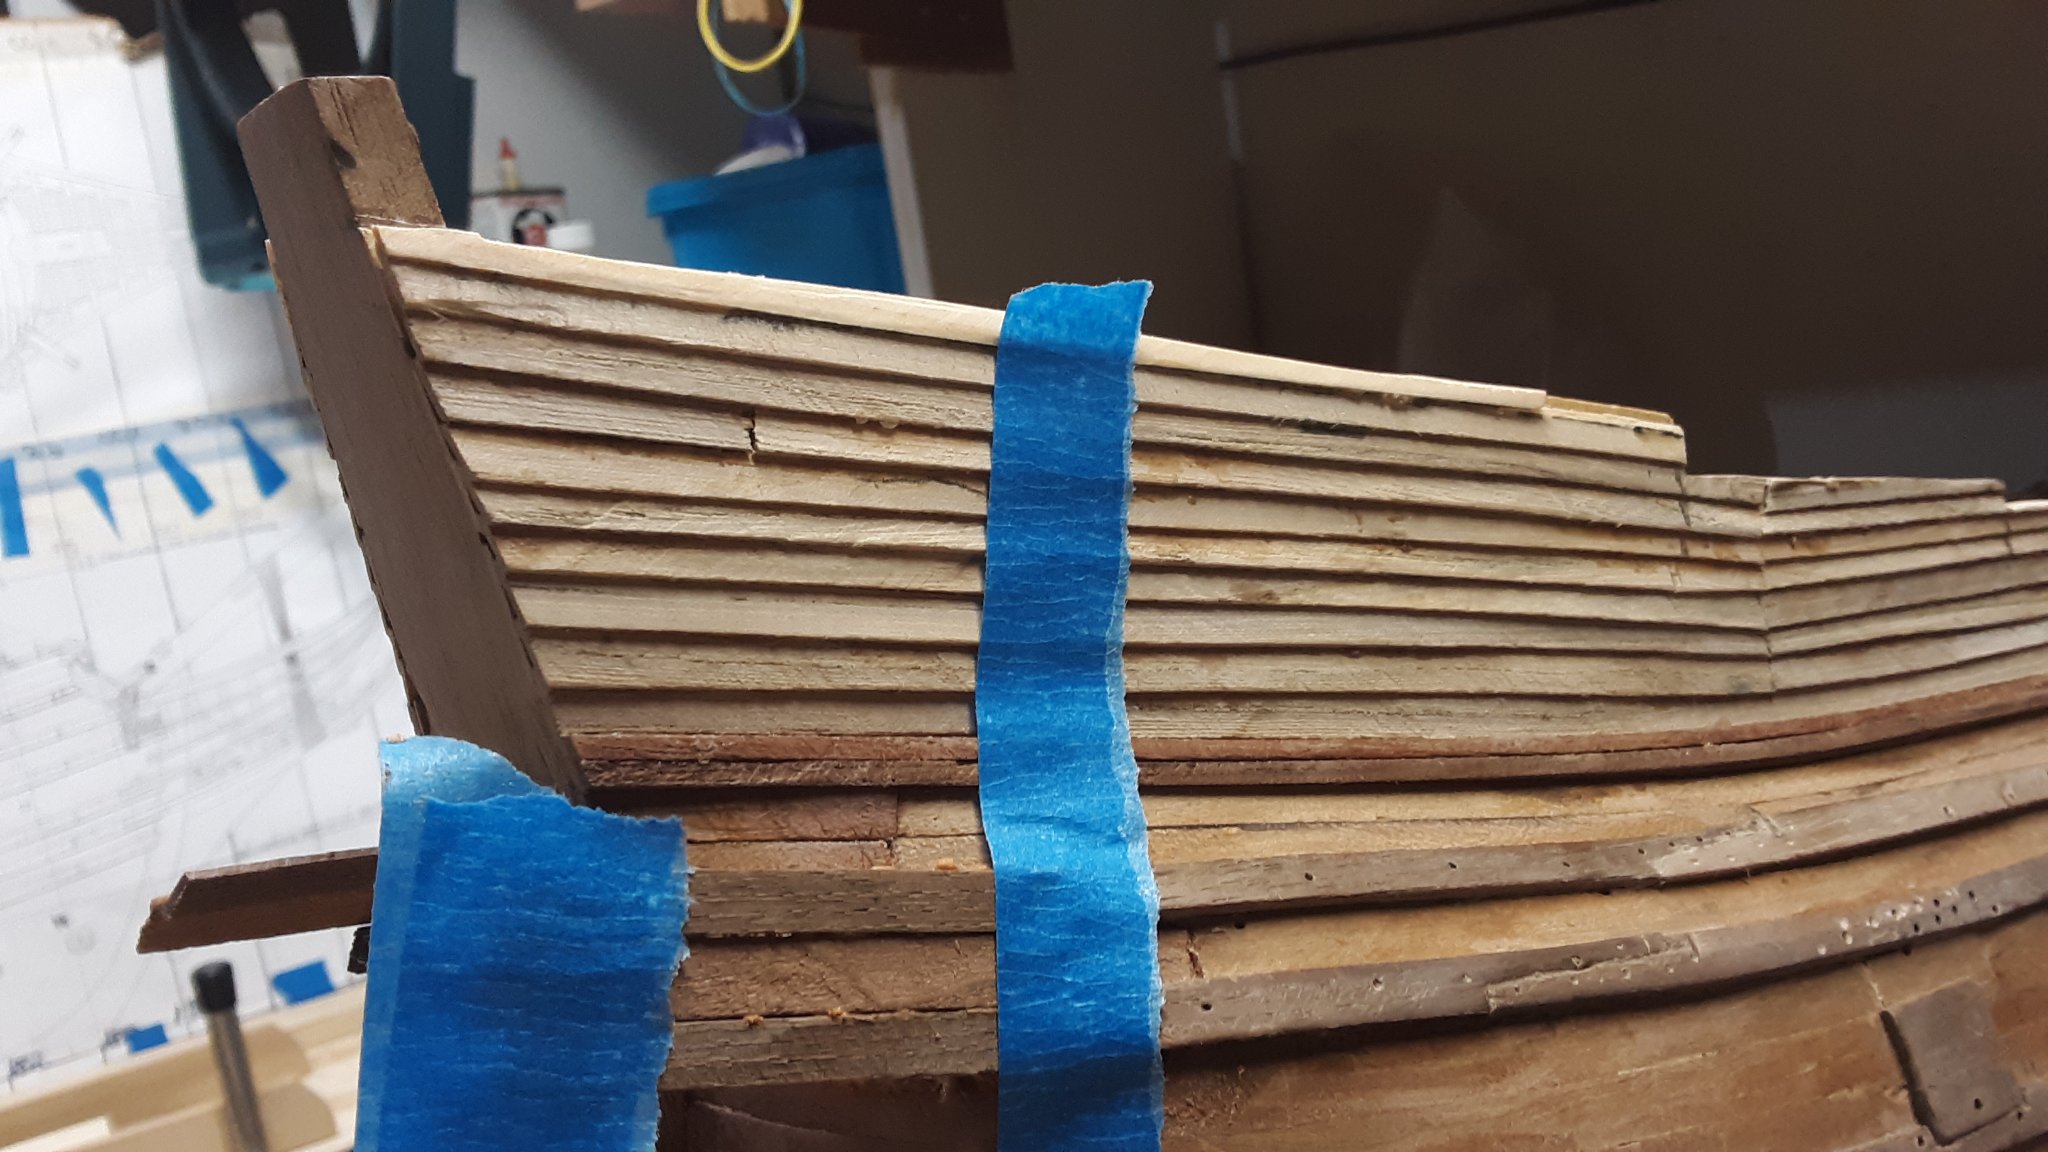
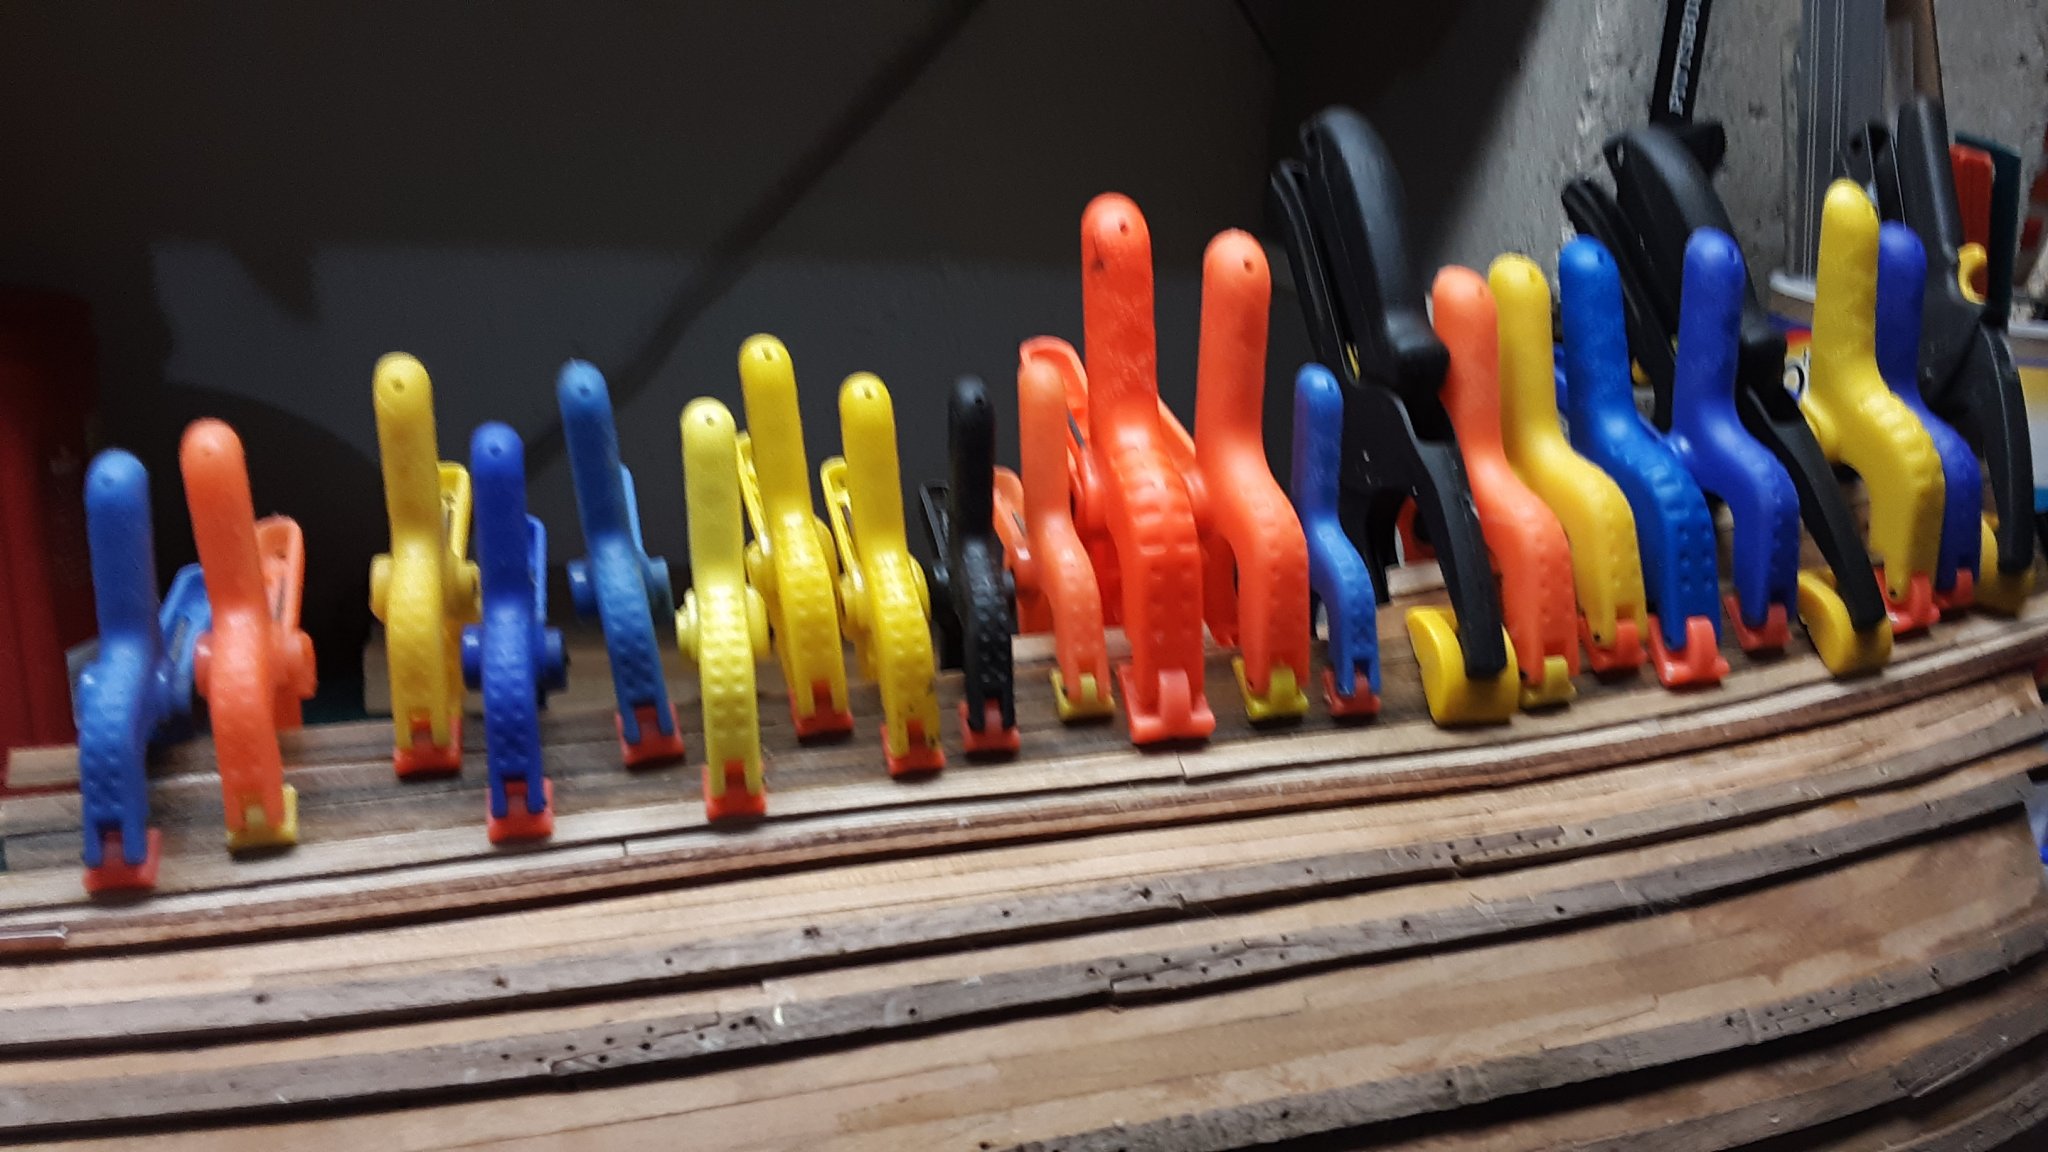
When I was sanding the opening where the tiller goes in, the two top wales sprung loose from the hull. Ten cm of that wale was removed and 8 cm of the wale below the top wale was removed. Created 2 new scarph joints and placed 2 new walnut planks in place of where the other wales were removed. Using glue & sawdust combo, bend the wales towards the hull, clamped and pinned the area and let dry overnight.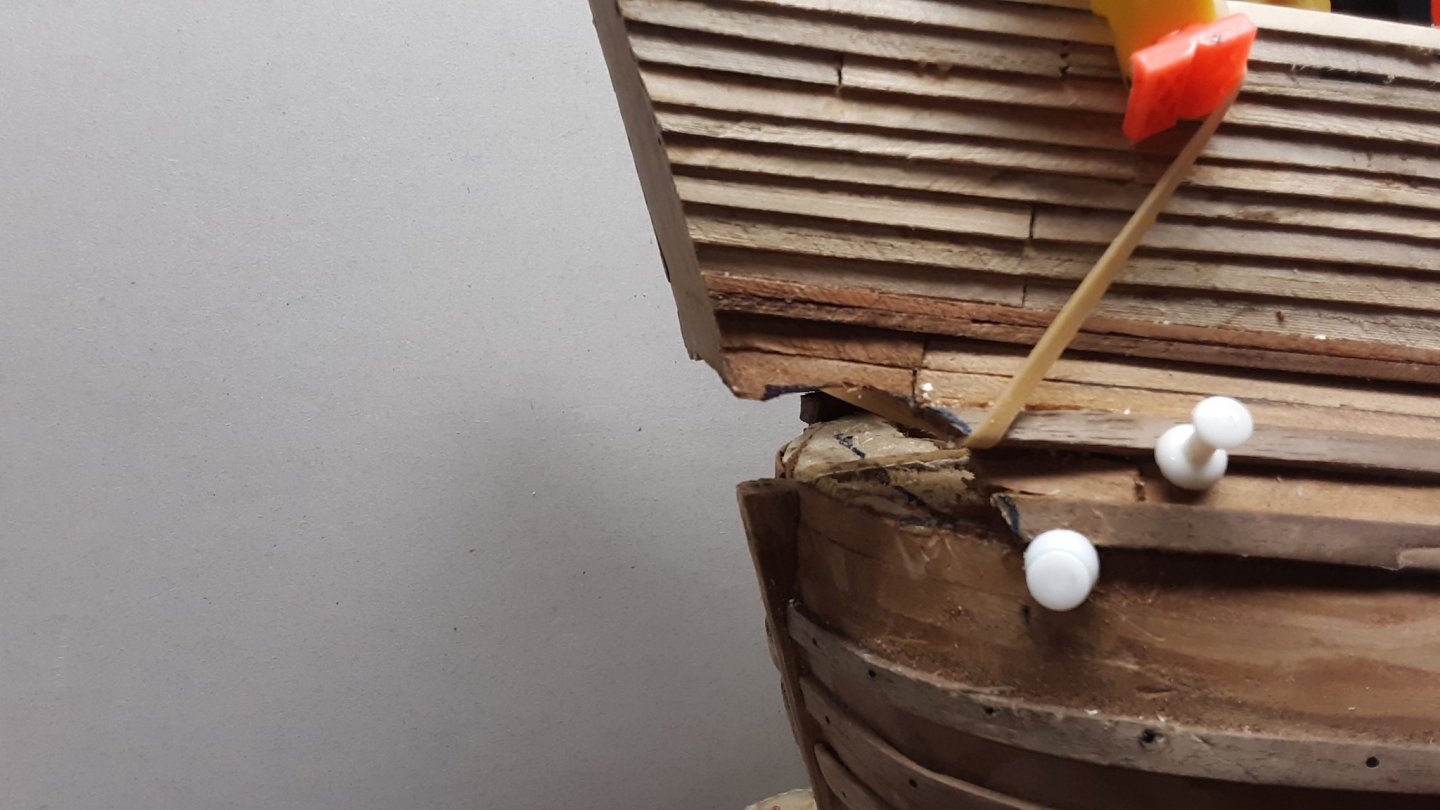


On the inside installed 0.5mm thick planks and most of it will not be visible.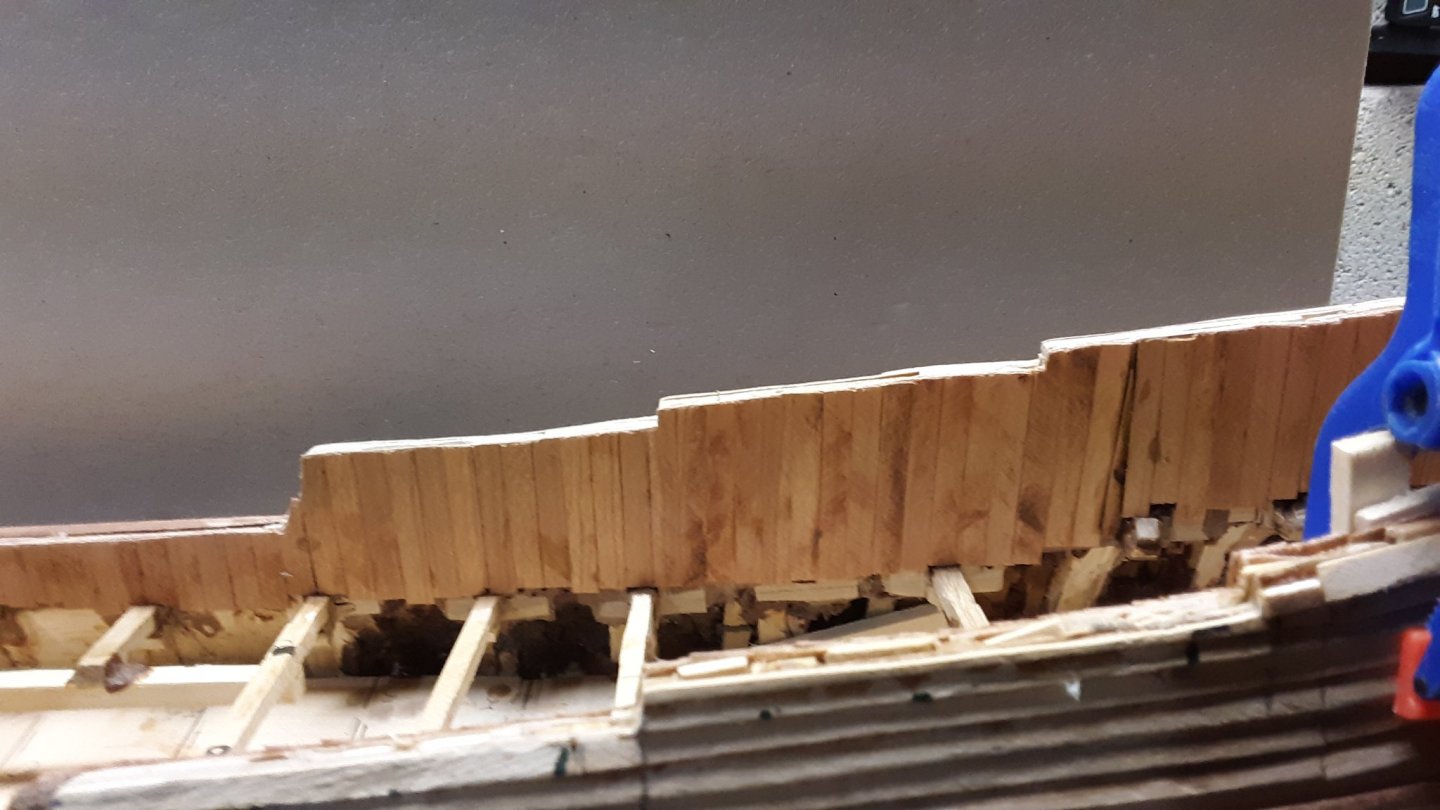
The tiller opening the stern area is a bit off. If you look towards the hole and keep the stem as your middle point the left area is a bit bigger than the right side. I'll figure something out to make it more even.

Next will be the 4 windows on the rounded stern.

Up to now this is what she presently looks like.
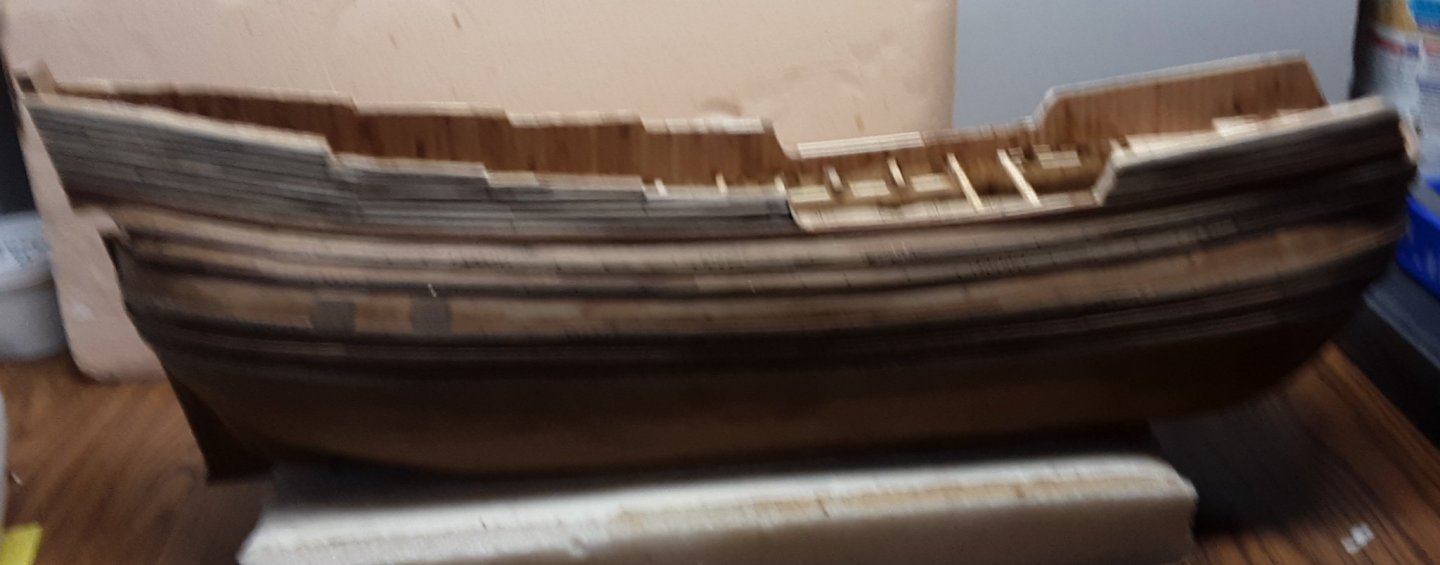
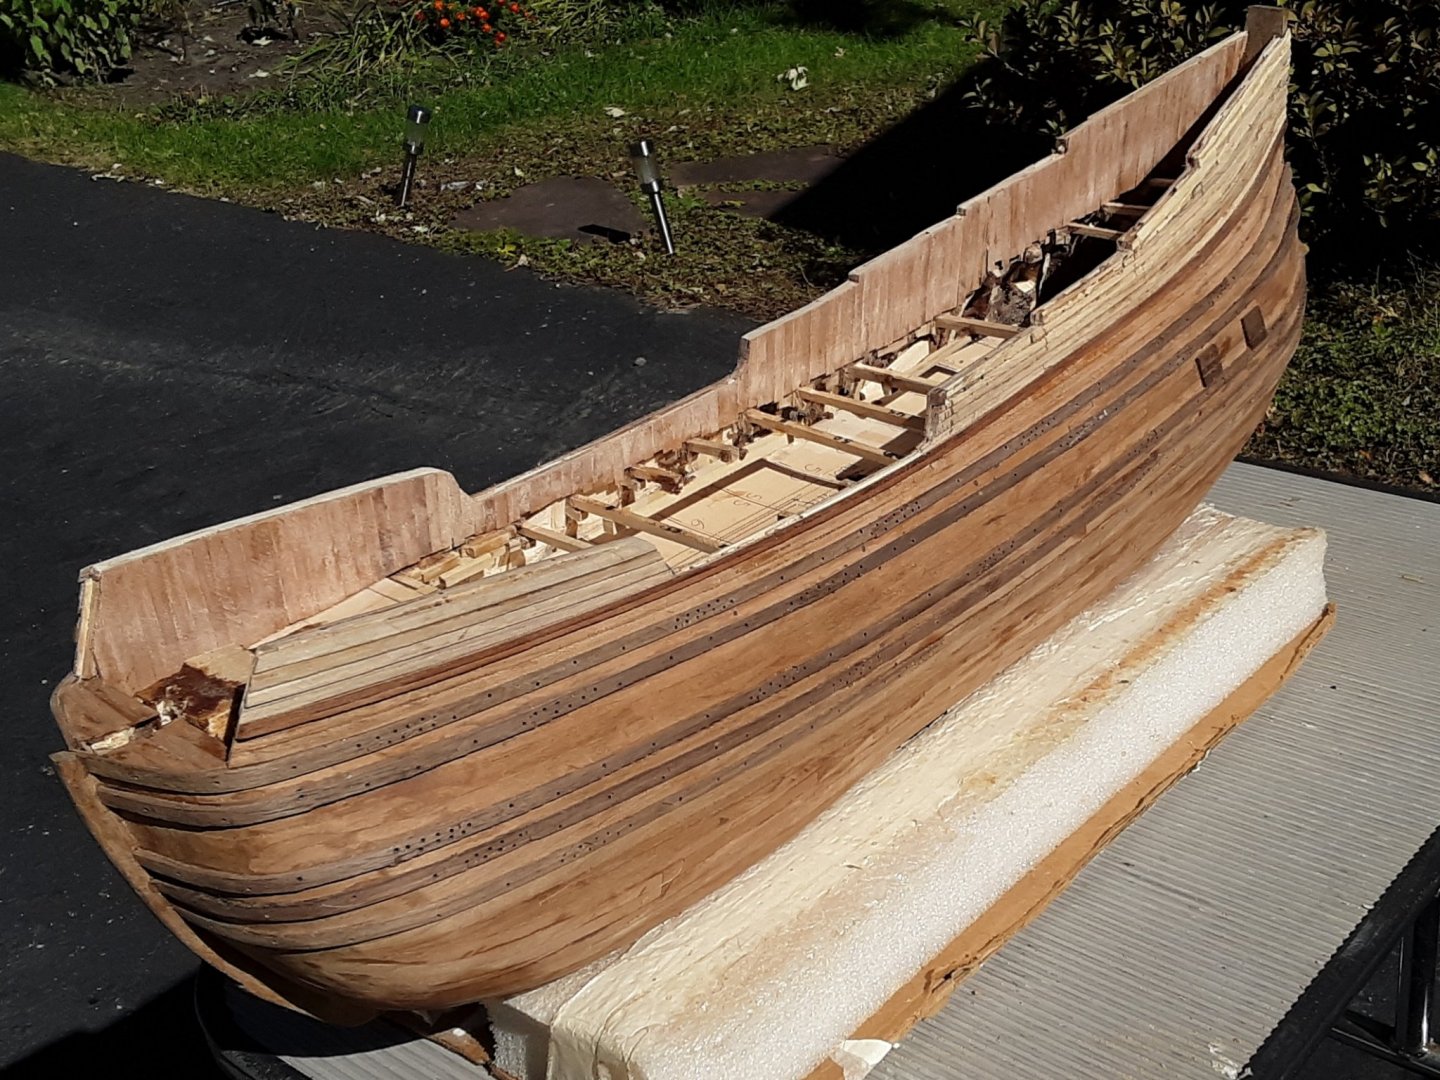
Marcus
- YankeeD, mtaylor, Louie da fly and 4 others
-
7
-
-
5 hours ago, Boxbuilds said:
This is sooo much more complicated than many builds. The complicated wood manipulation is commendable. ......and a good lesson for many of us. I've run into a few types of these complications but for them all to converge in one build is mind boggling.
Thank you very much for the compliment. A Fluit is one of the most difficult ships to build. I've always loved her shape and always wanted to build one. But I had to built other ships to get ready for this one. I soak the walnut an cherry for several weeks and the planks become very playable. I also use many thin planks and layer them together to get a thick wale.
The planking of the hull is the most difficult part of the built. You can read about some of the mistakes I made which Ab Hoving has mentioned and I redid it as he suggested. Ab has built several Fluits so I consider him to be an expert. Also there is a Dutch forum (modelbouwforum.nl) where several members have built fluits and they have been a great help.
Marcus
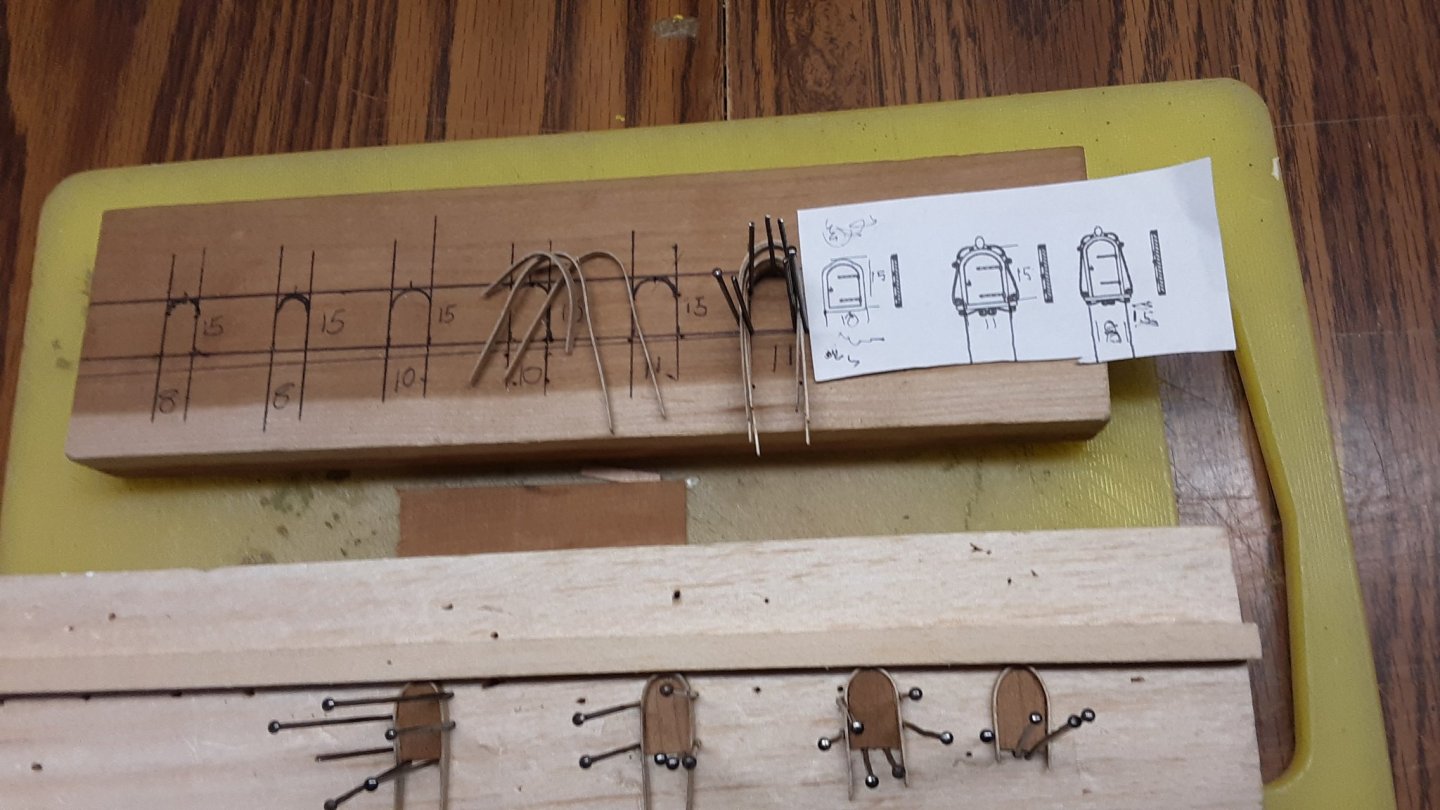
-
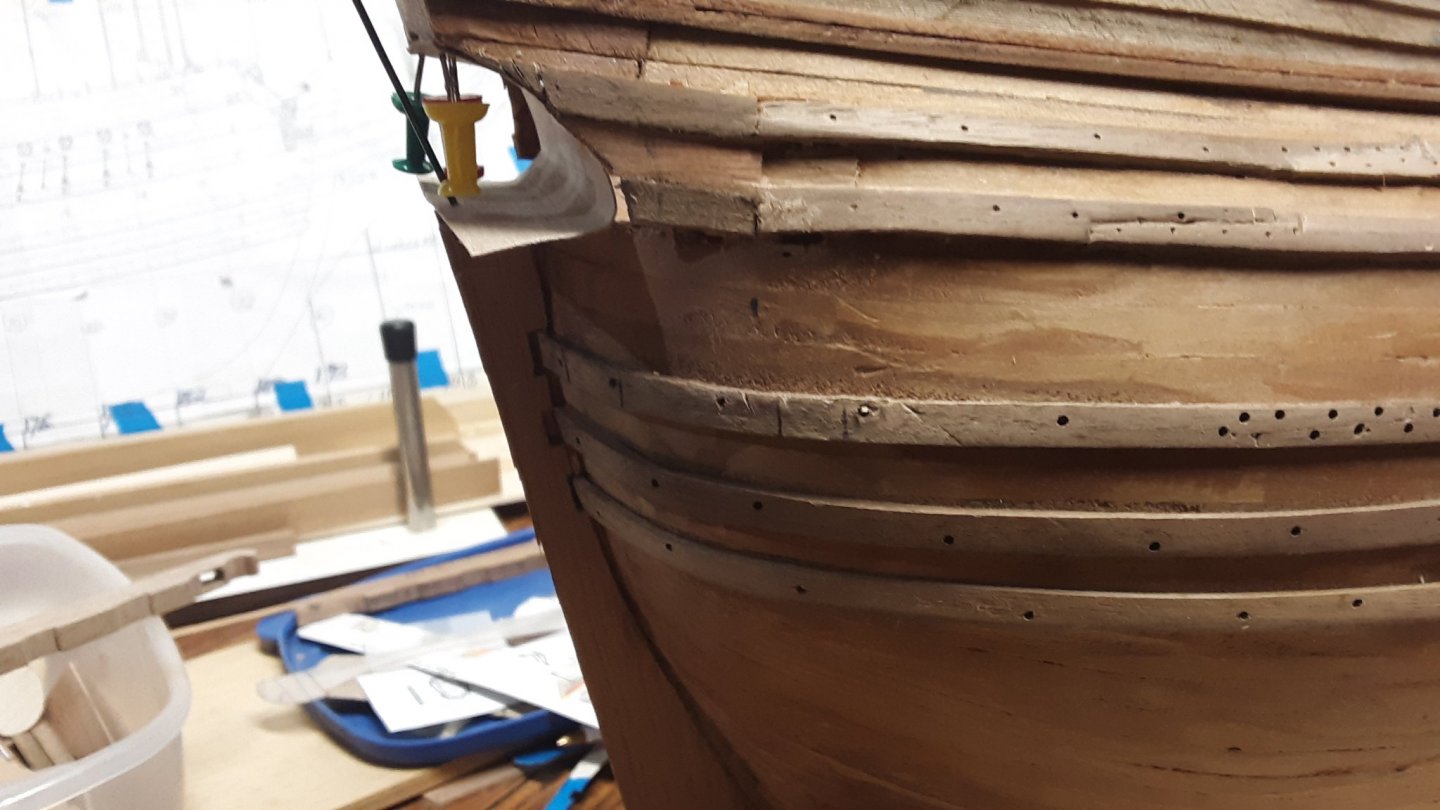
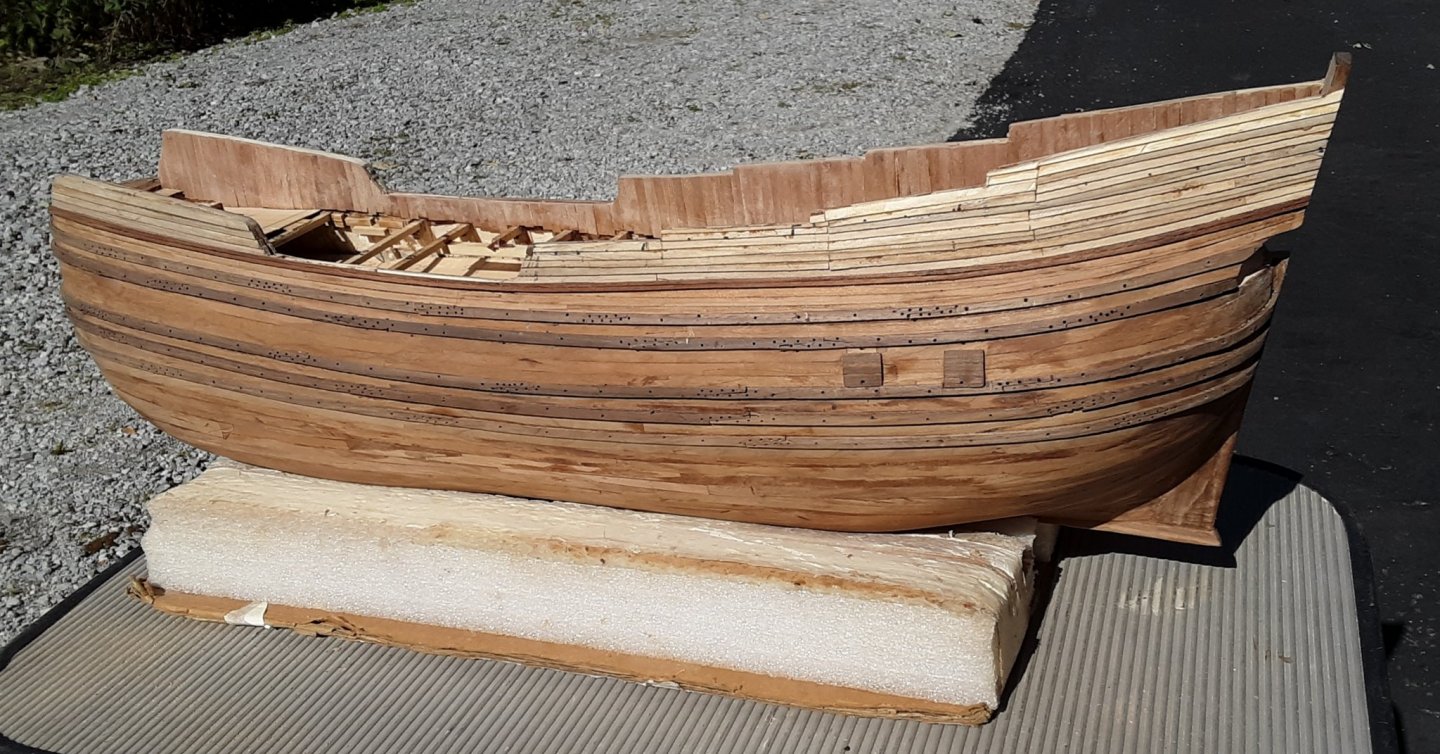
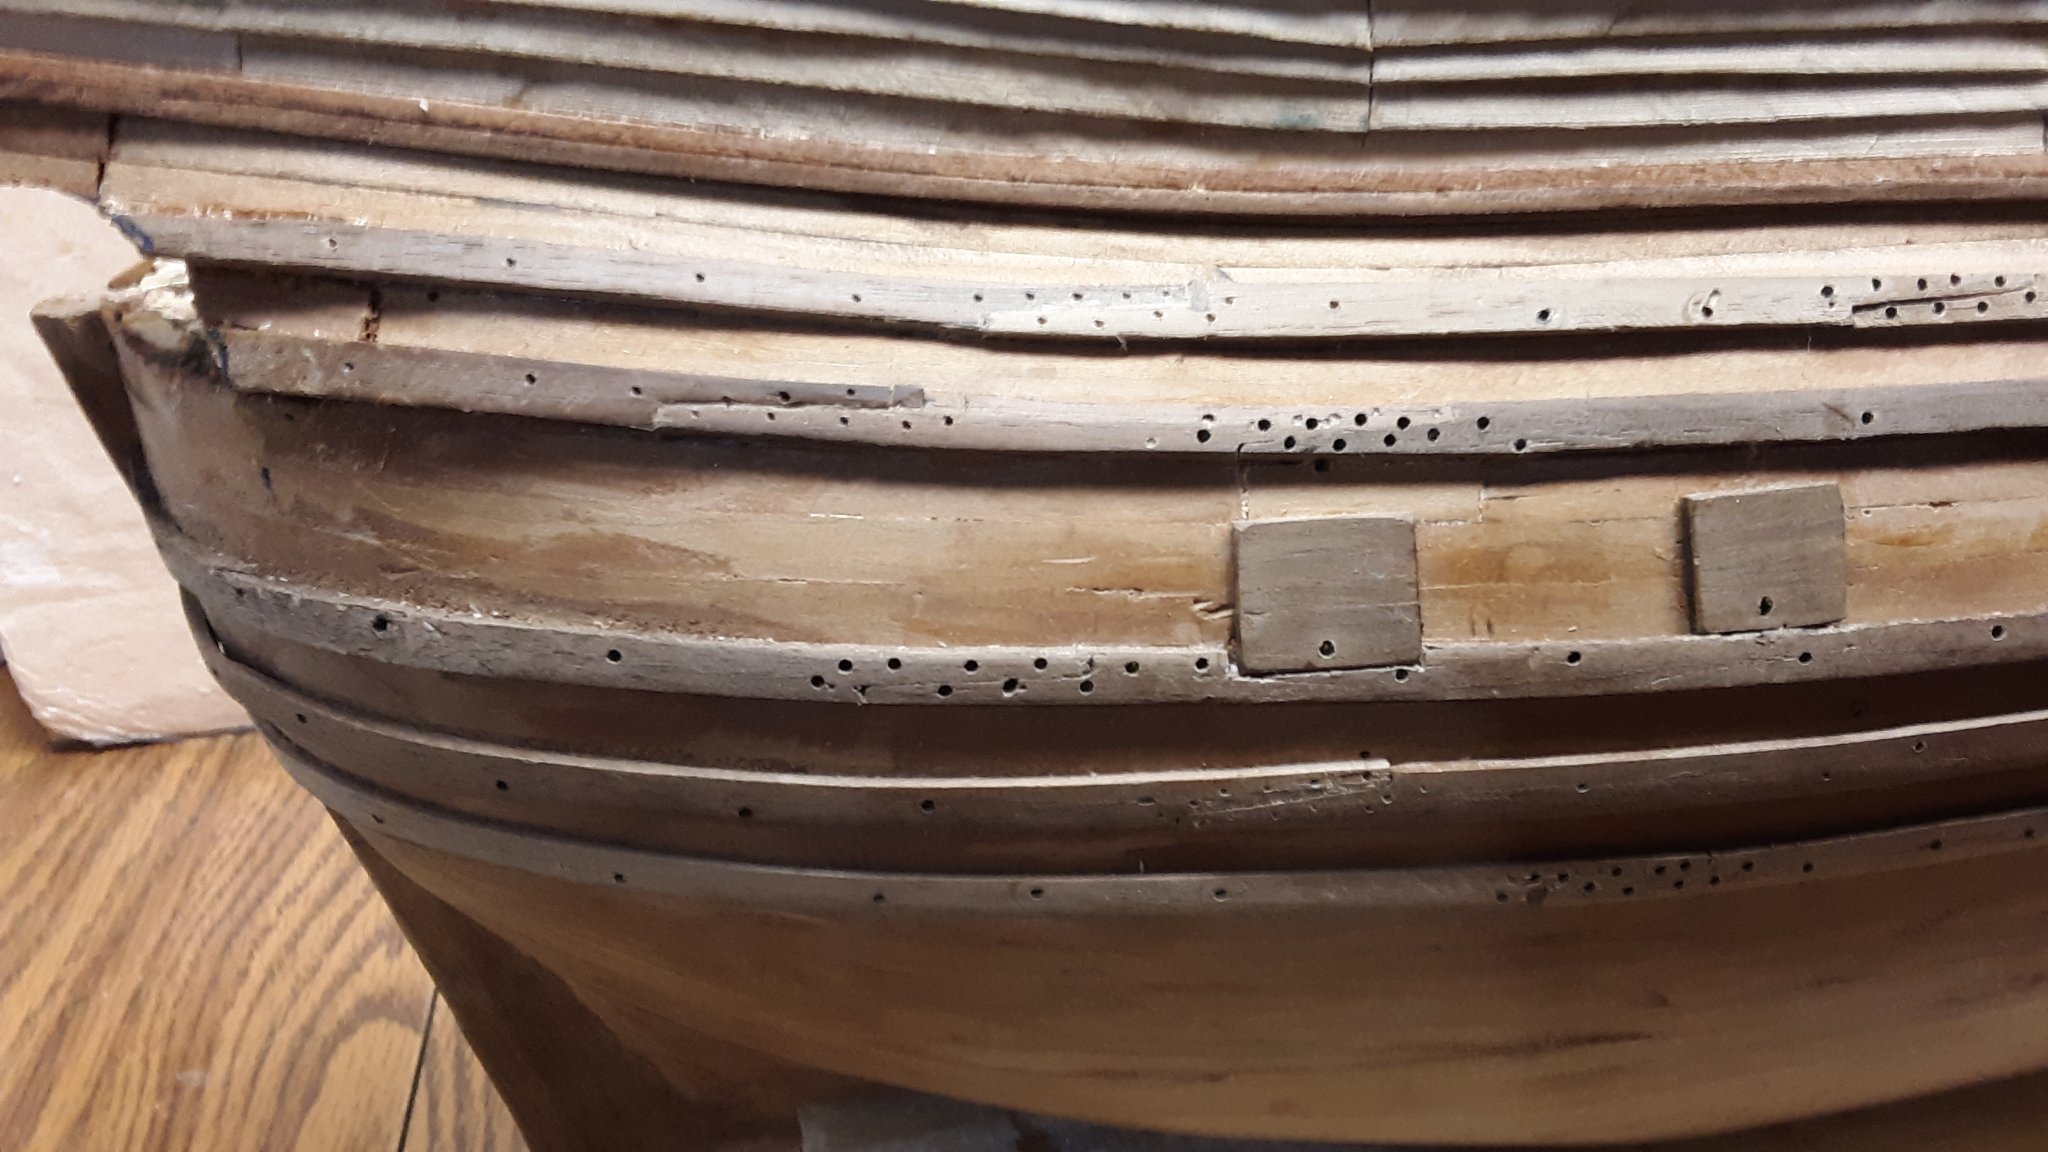
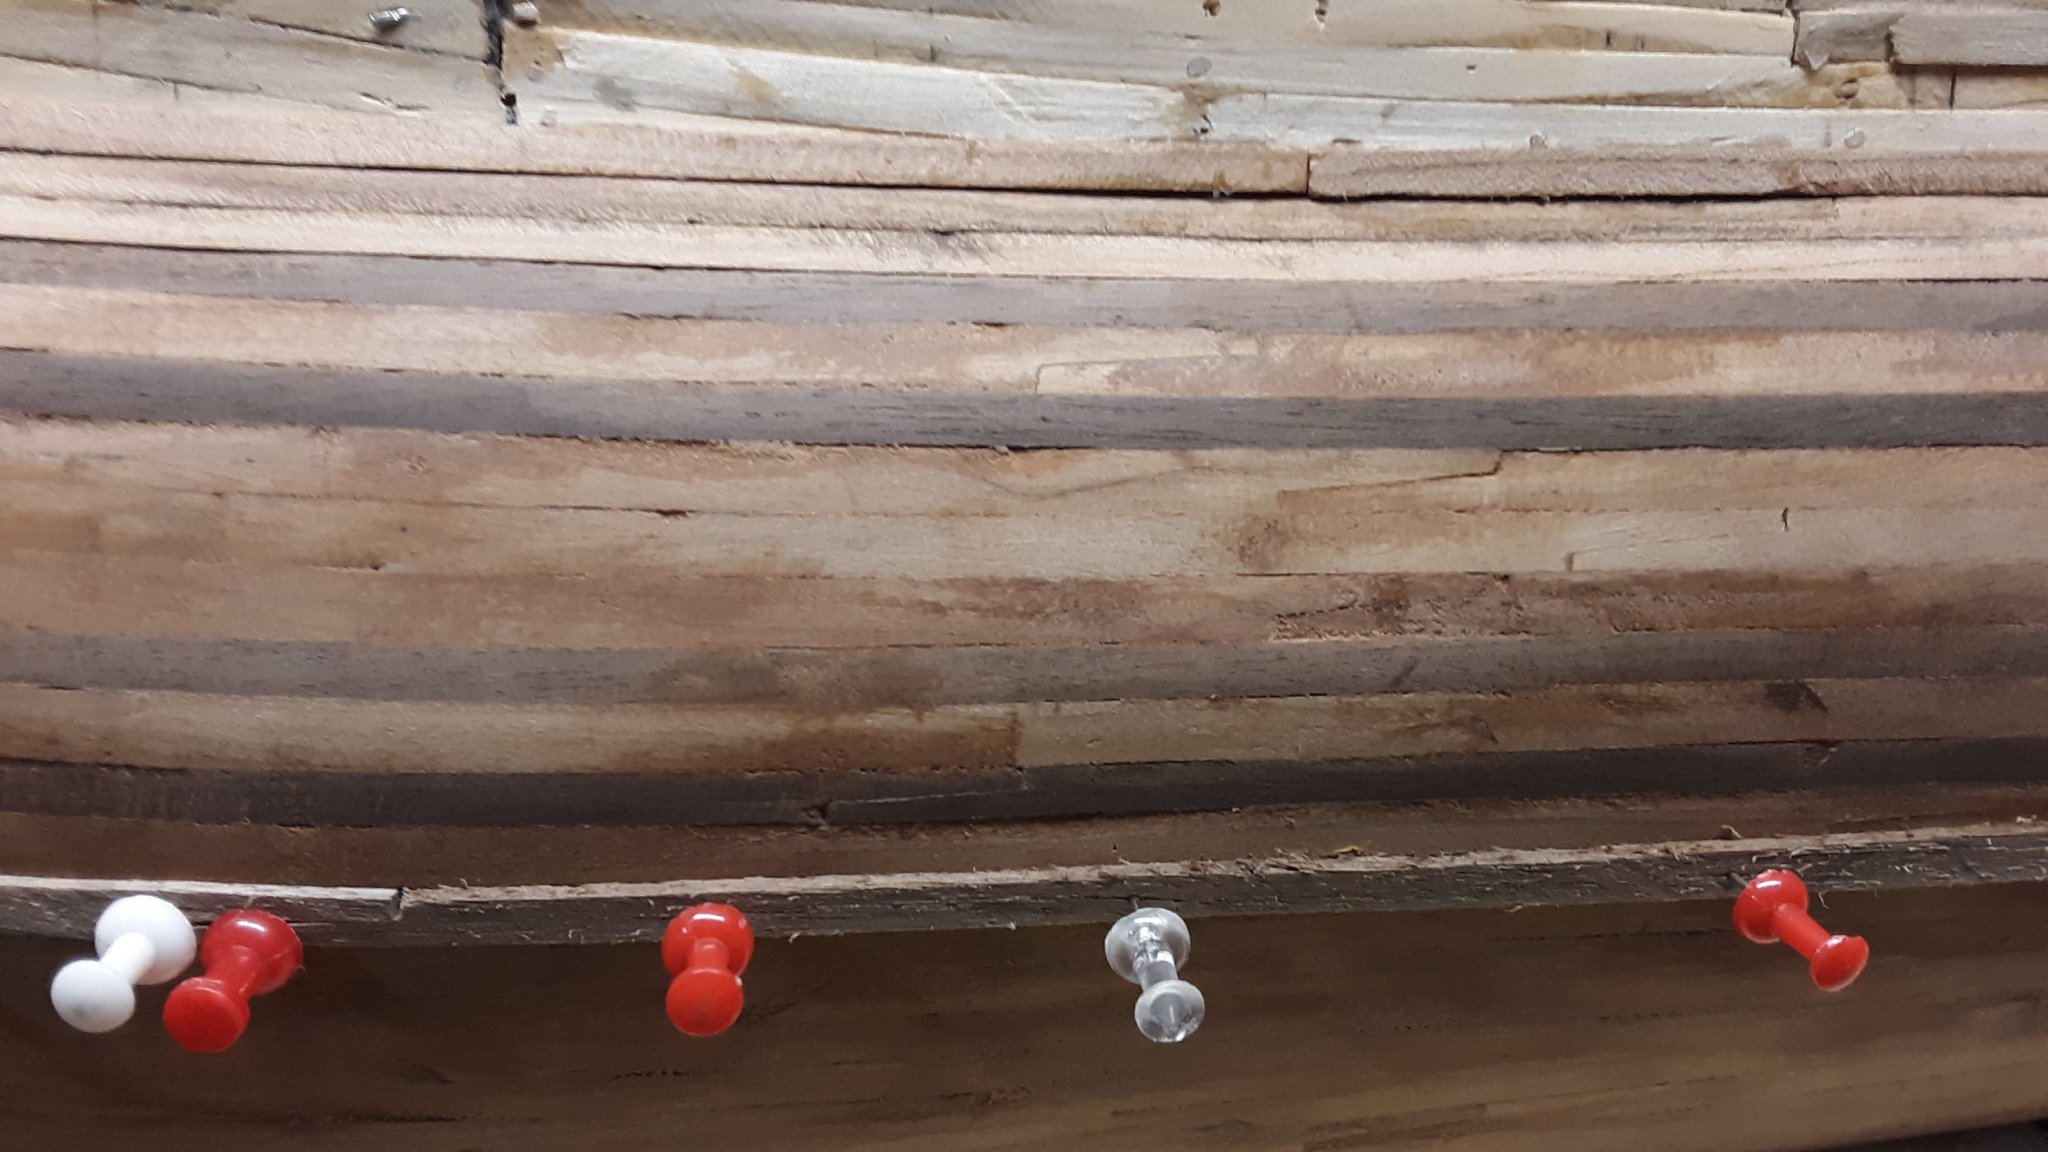
Wales have been glued on and scarph joints have been created.

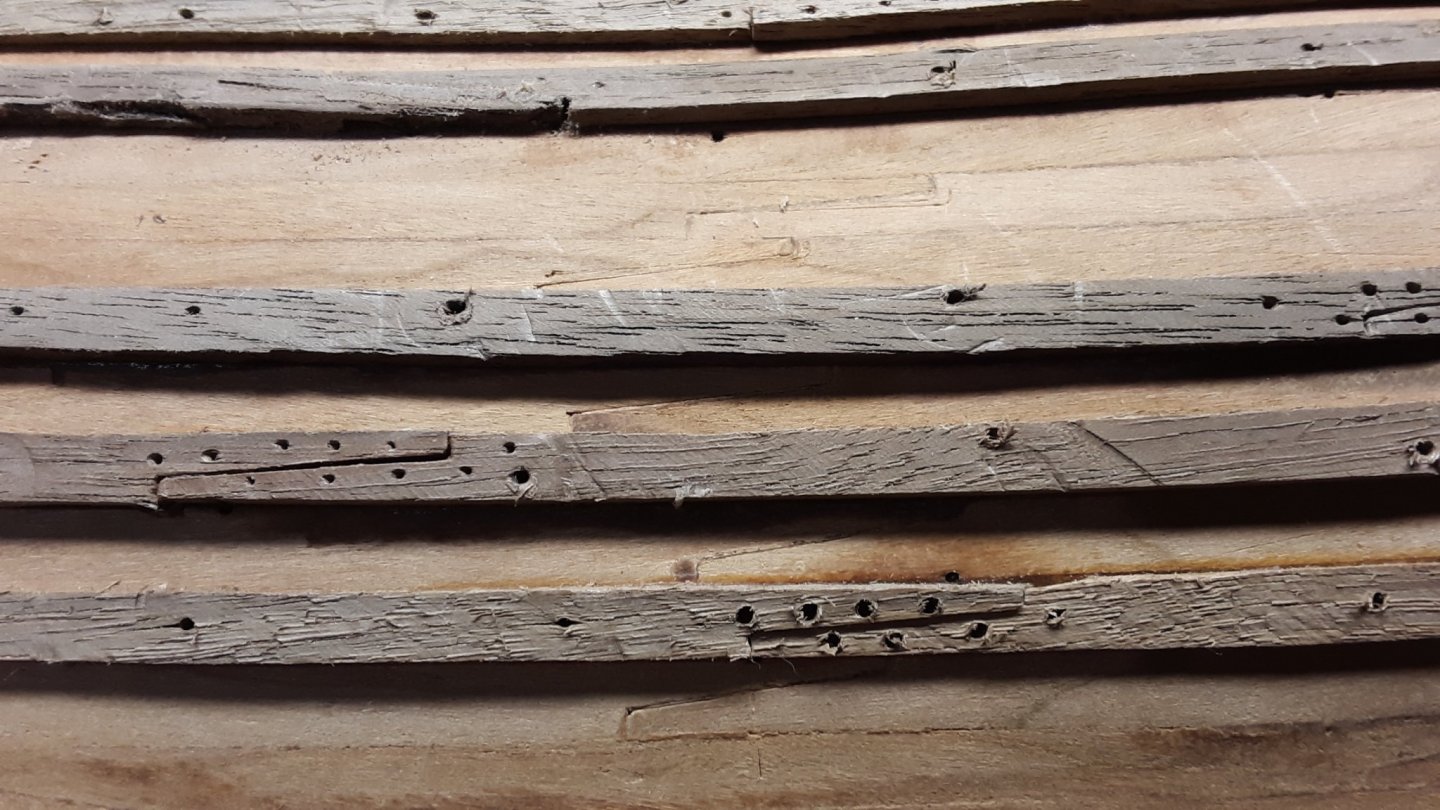
Made some pilot holes with an awl and will drill them a bit bigger so a black pin will fit into the hole.
Planking the sides above the wales and eventually paint it green.
All colors for the Fluit will be paints that existed in the 17th century.
Marcus
- YankeeD, Boxbuilds, Louie da fly and 4 others
-
7
-
17 hours ago, Louie da fly said:
Marcus, not sure if it's just the photo, but in the third last pic above the topmost wales port and starboard seem to be aligned differently. I don't know if this is a problem. Other than that the wales look very good.
Thanks for the compliment and they are. I started out wrong and by layering the wood slowly adjusting them to get it straight. I thought of a tear down and redoing this but that meant removing a significant amount of wood and than I might as well starting from step one.
There are so many mistakes I made on this ship that I see this as an exercise towards another Fluit.
On modelbouwforum.nl there is a guy, handle name amazone, and he has built several Fluits. He mentioned that the Zeehaen is one of the most difficult to built. He tried twice and they both ended in the trash.
Marcus
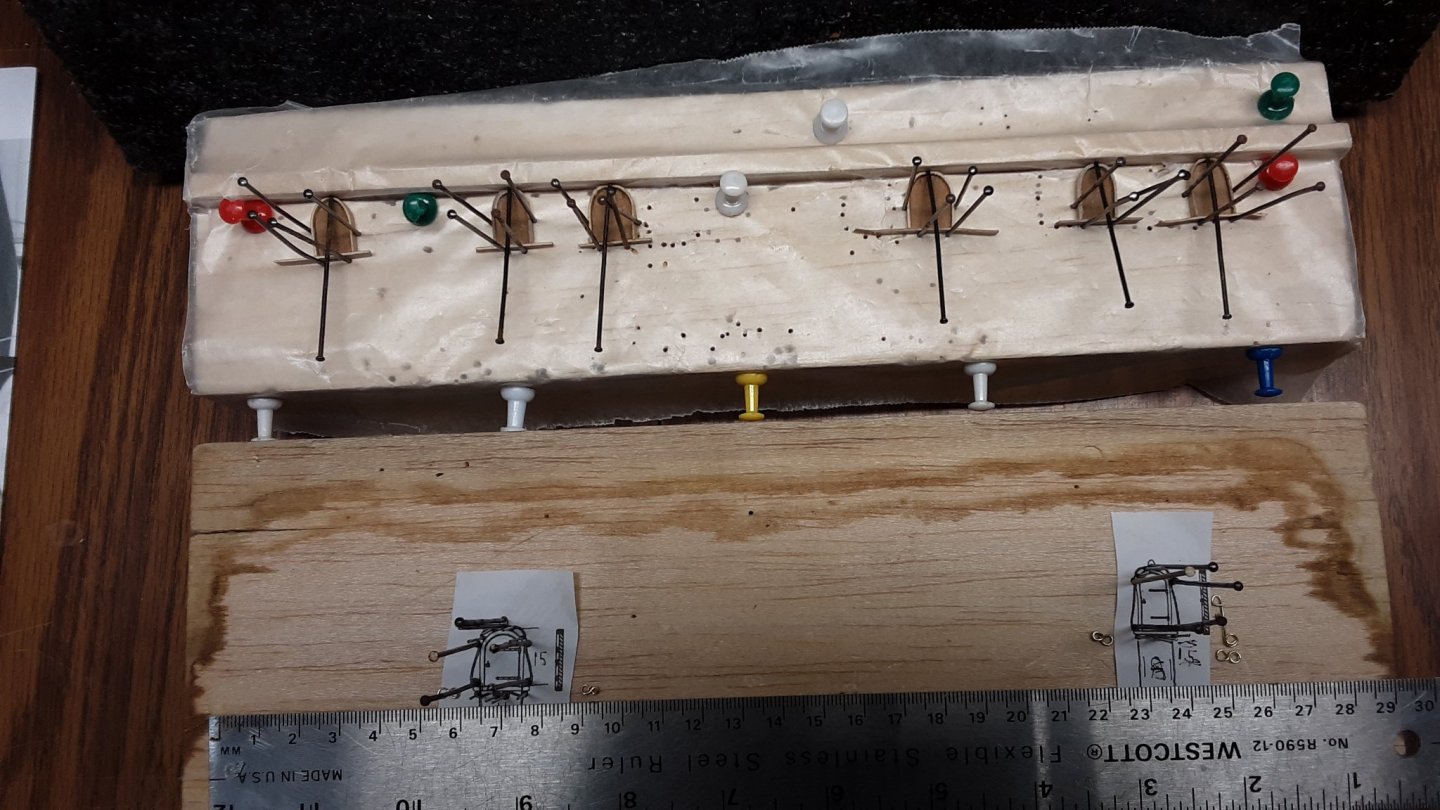
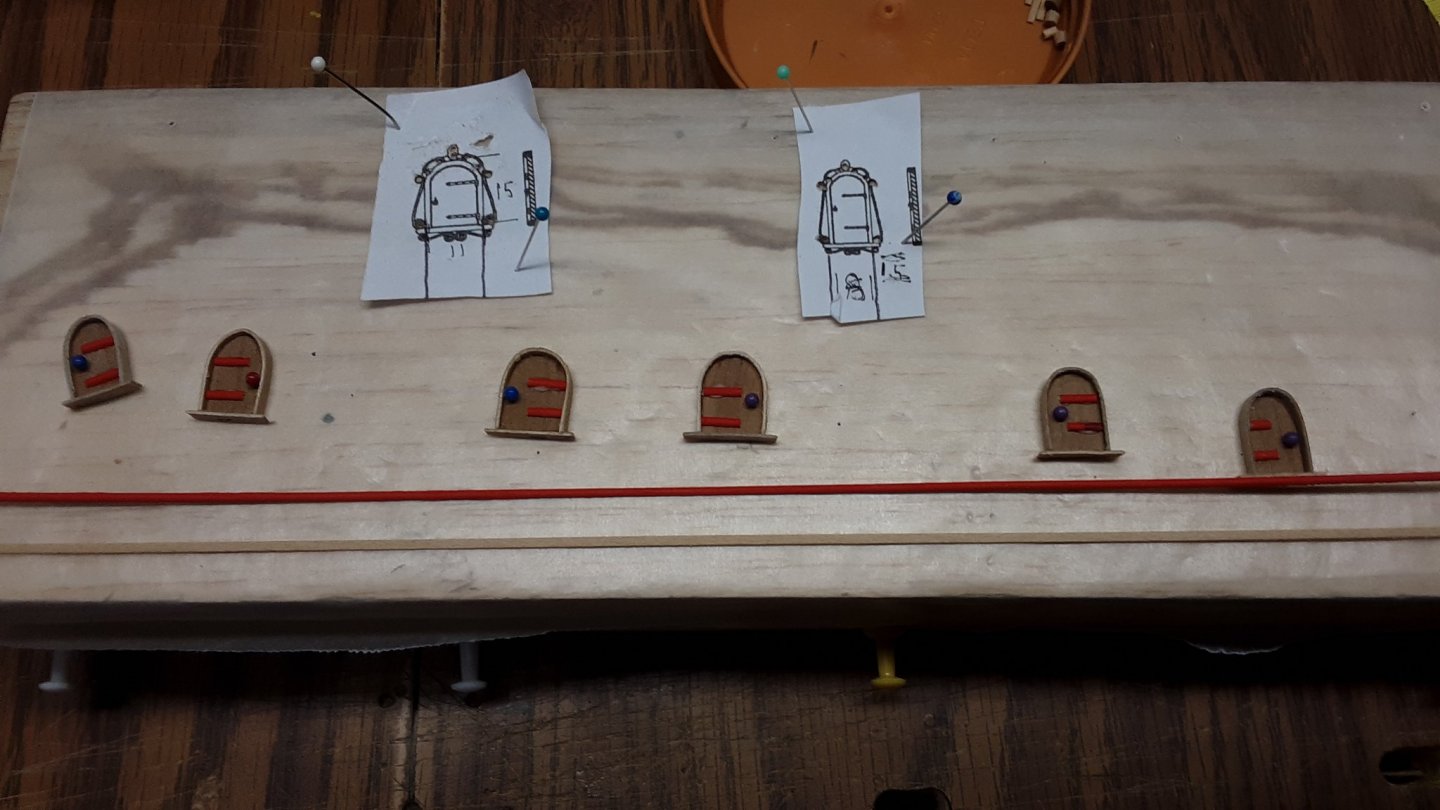
-
Thanks for all the likes and comments.
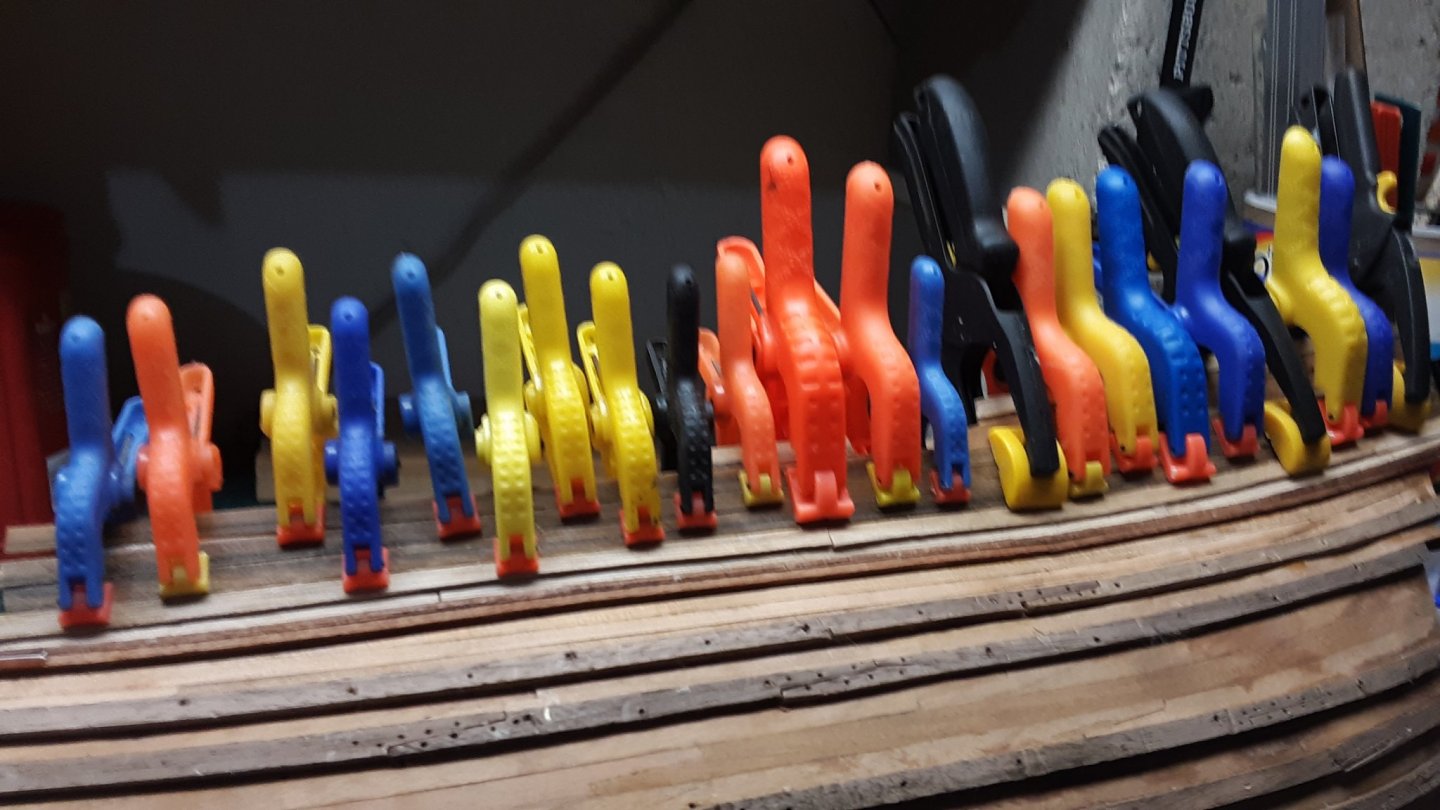
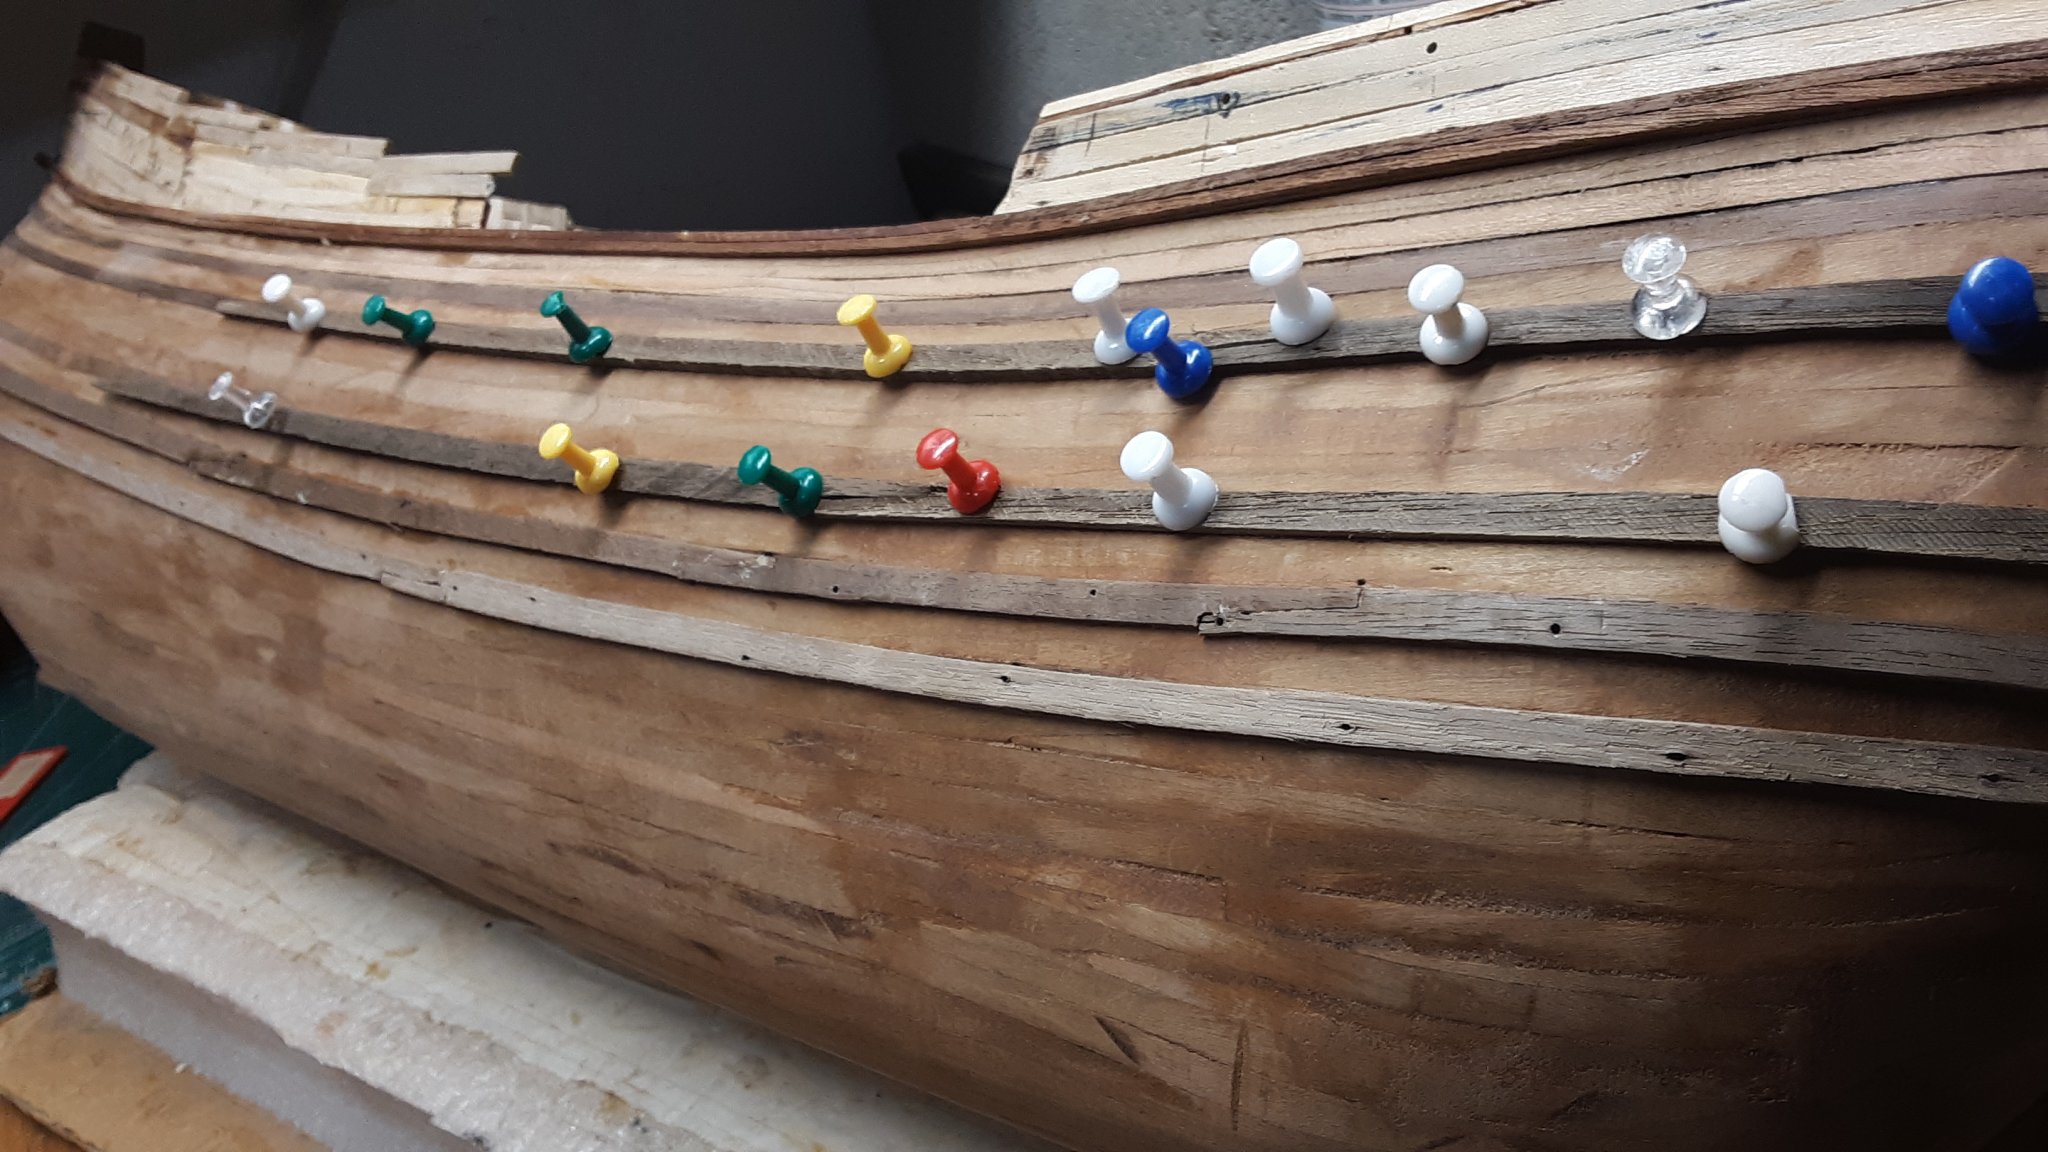
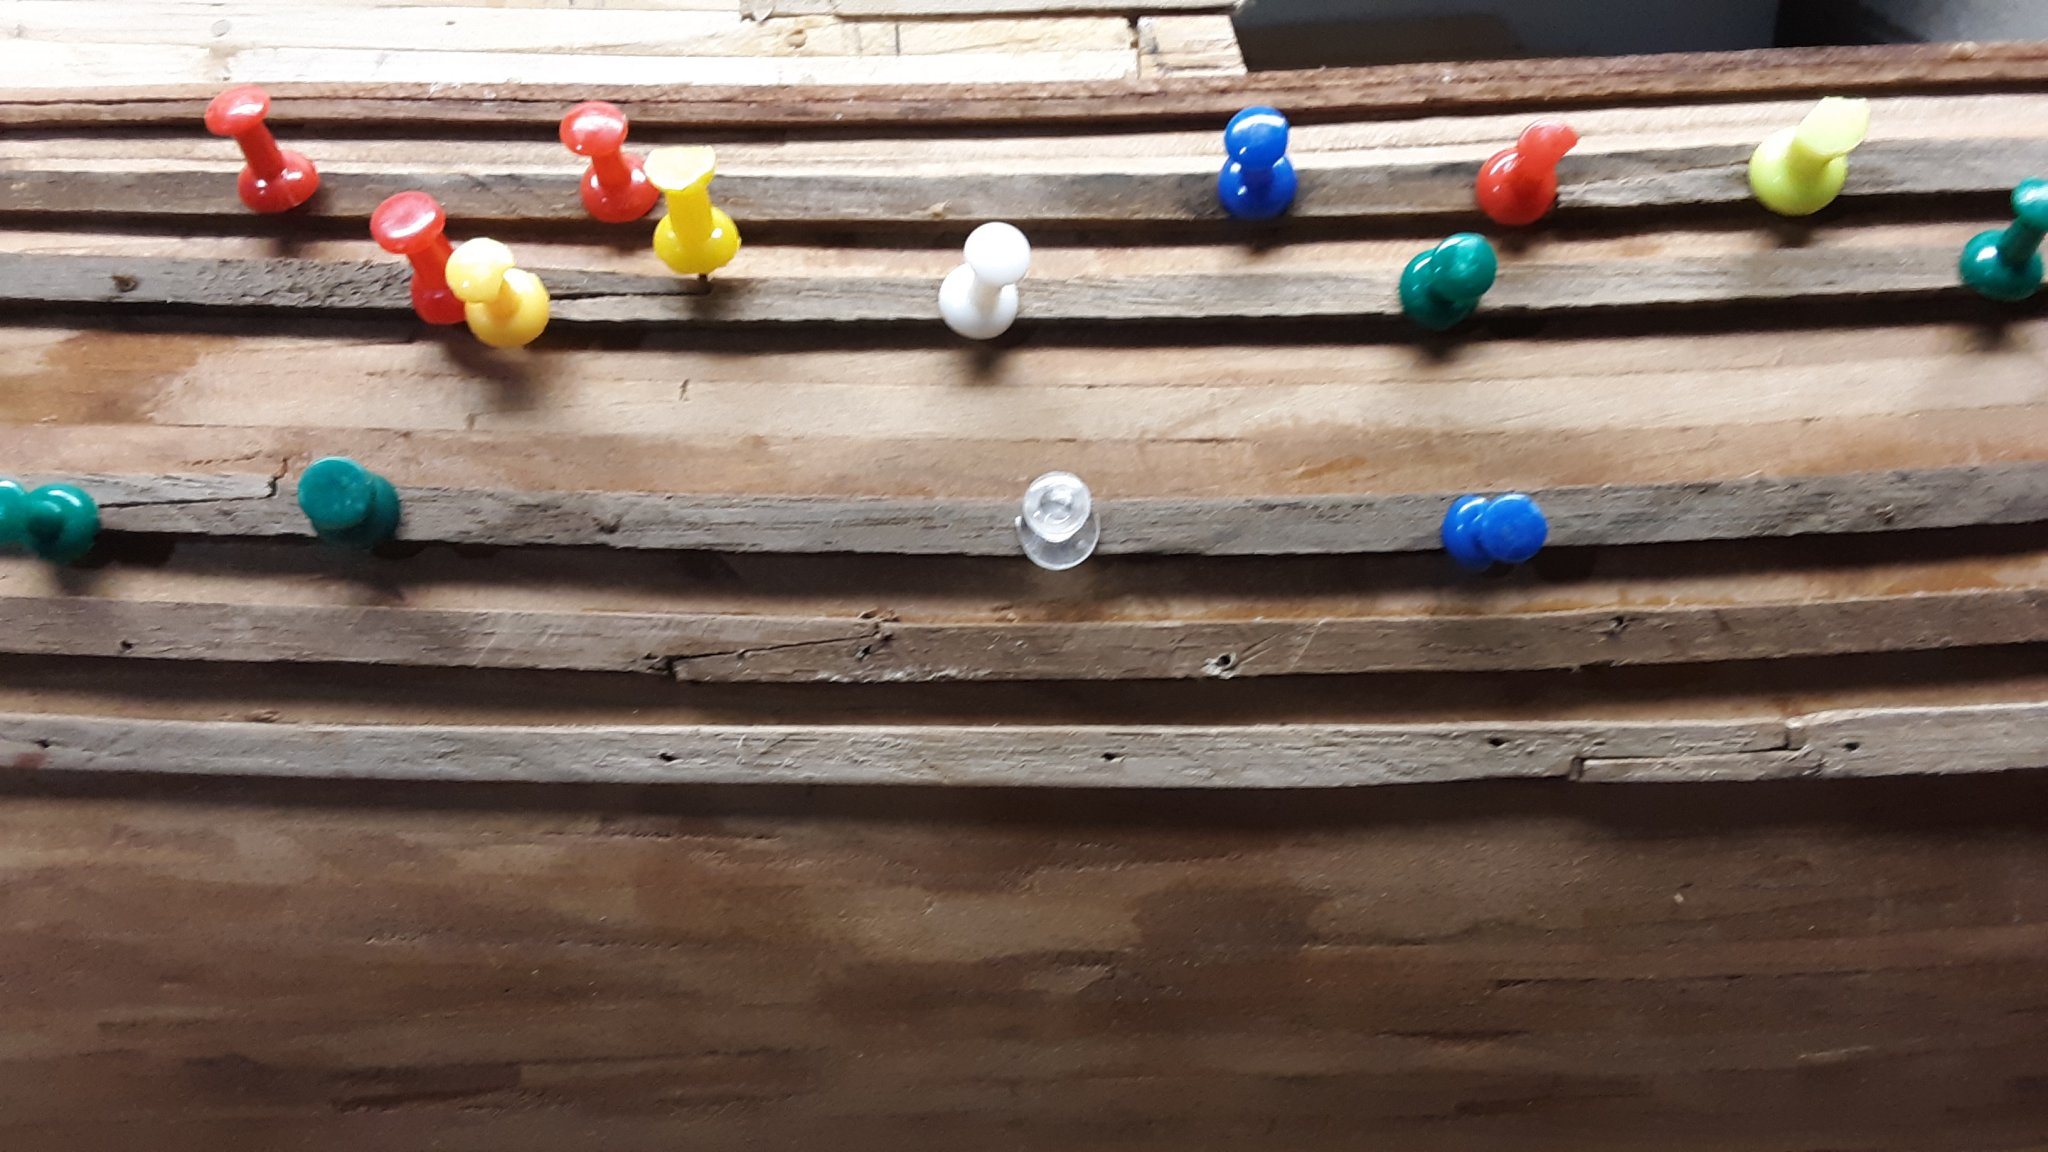
As I mentioned before the wales are 2.5mm thick and 6mm wide. The planks have been soaking in plain water for about 4 weeks. I soak all my wood a long time especially with building the Fluit.
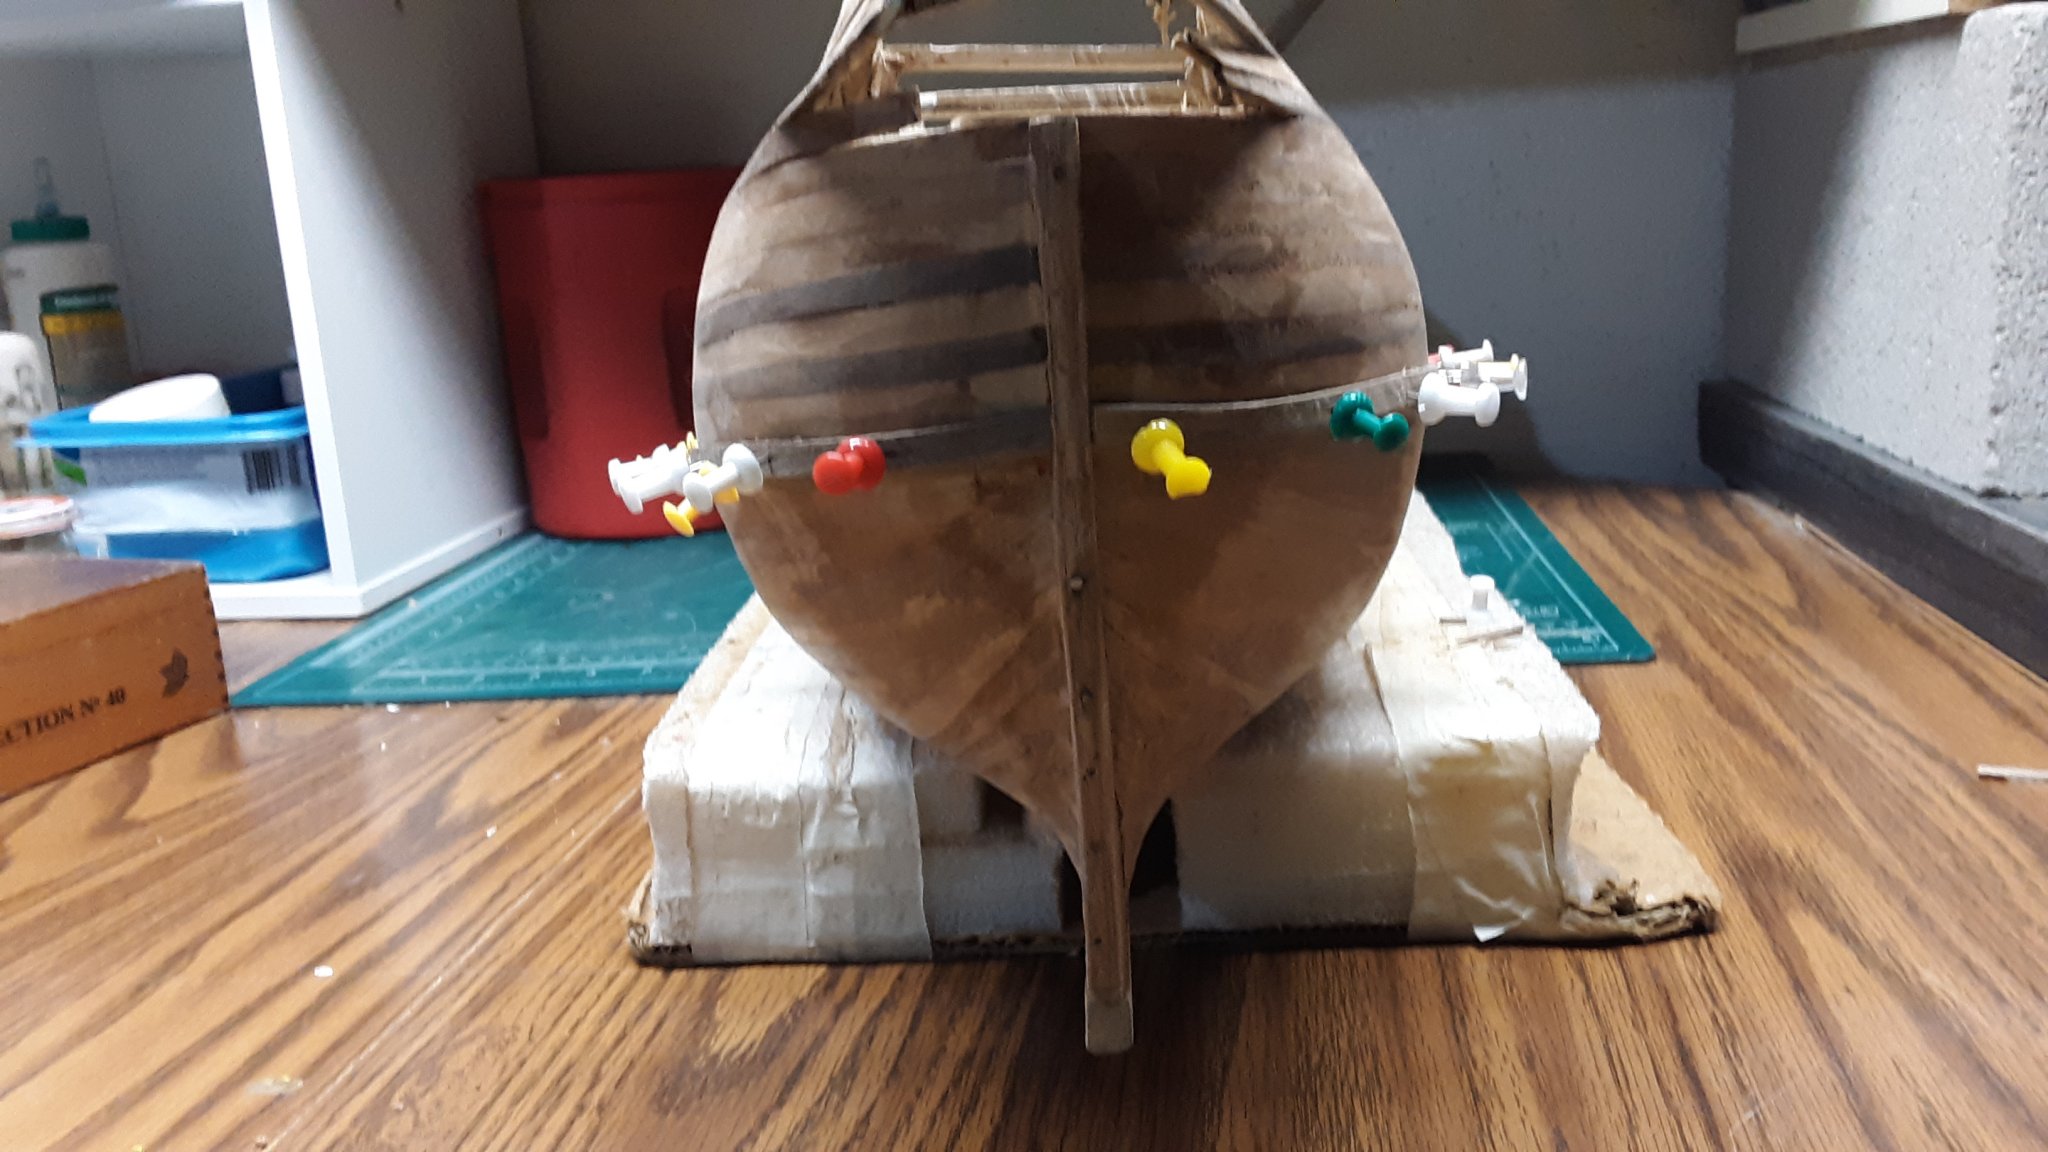
I made small indentations in tbe stem of the bow and stern.
The plank for the wale will be pushed into it. I than slowly bend the planks by pushing with my fingers to the contour of the hull. At the same time I make small pilot holes and use pushpins to hold the we on the hull.
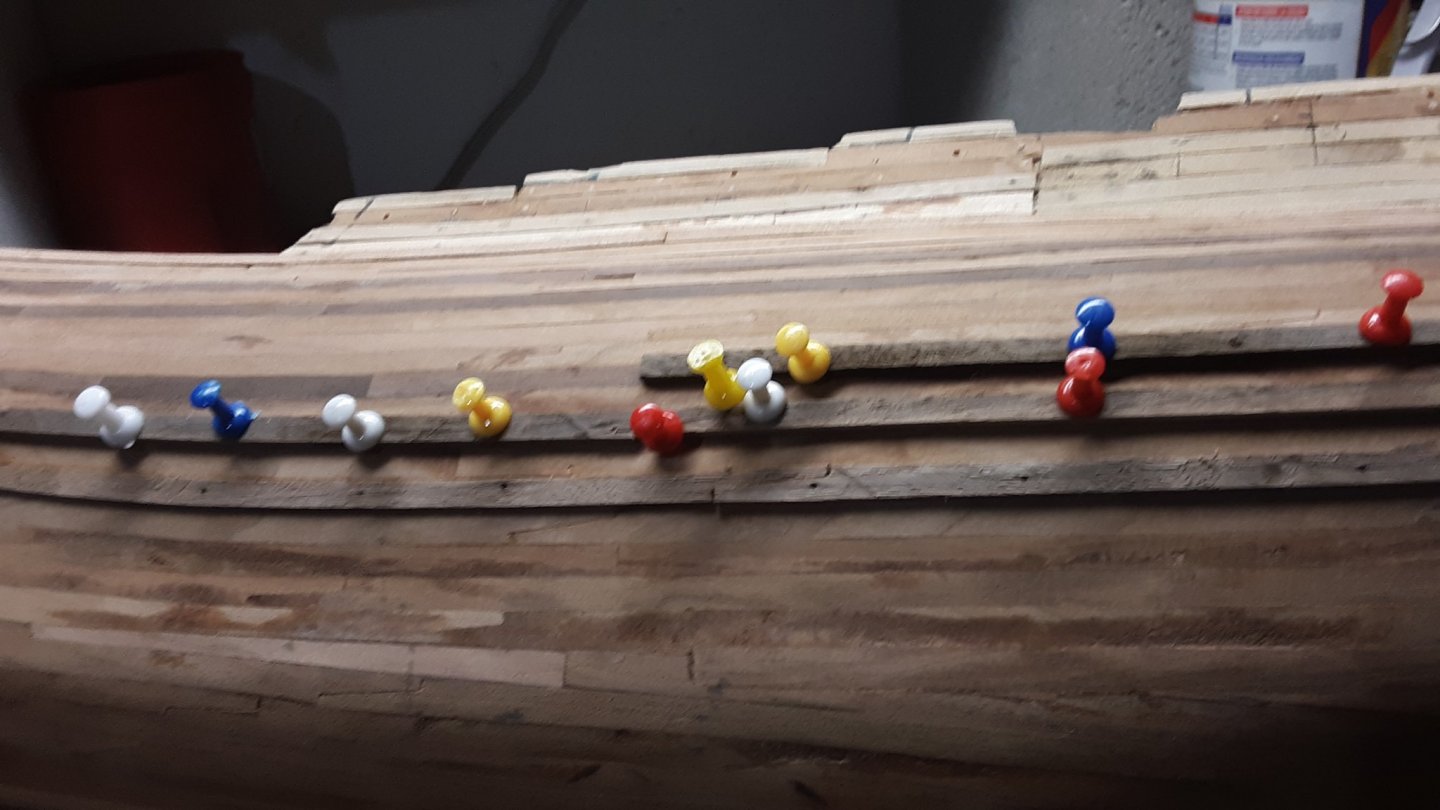

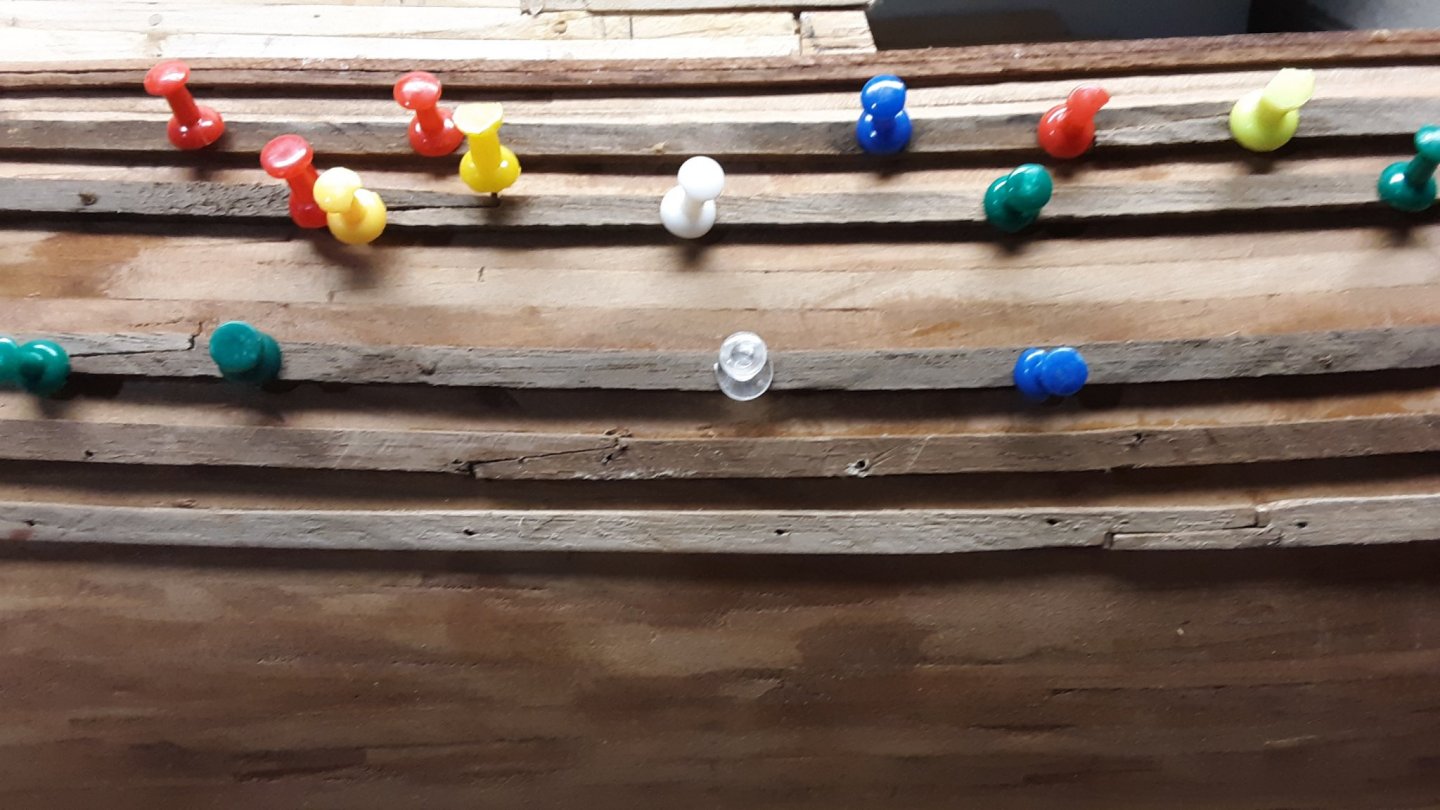


Initially I make scarph joints for every plank. Once set, I will add more.
The holes from the pushpins become holes for half round headed black stainless steel pins imitating the heavy nails used to hold the wales on the hull.Marcus
- YankeeD, amazone, Louie da fly and 2 others
-
5
-
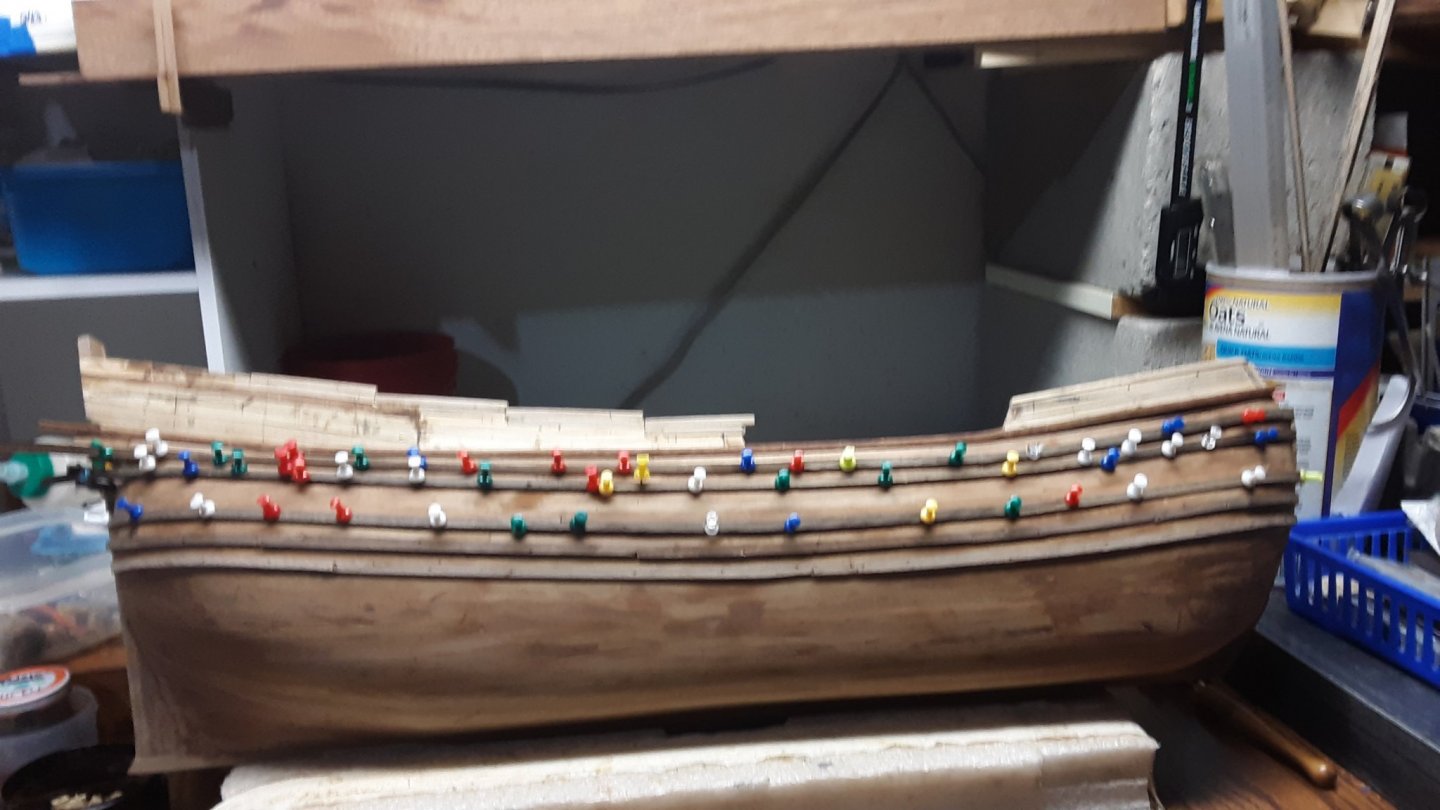
Thanks for all the likes and comments.
Started back on the Fluit after lots of garden work, redoing some perennial plant beds. All that is left is harvesting the last of the food and put everything to bed.
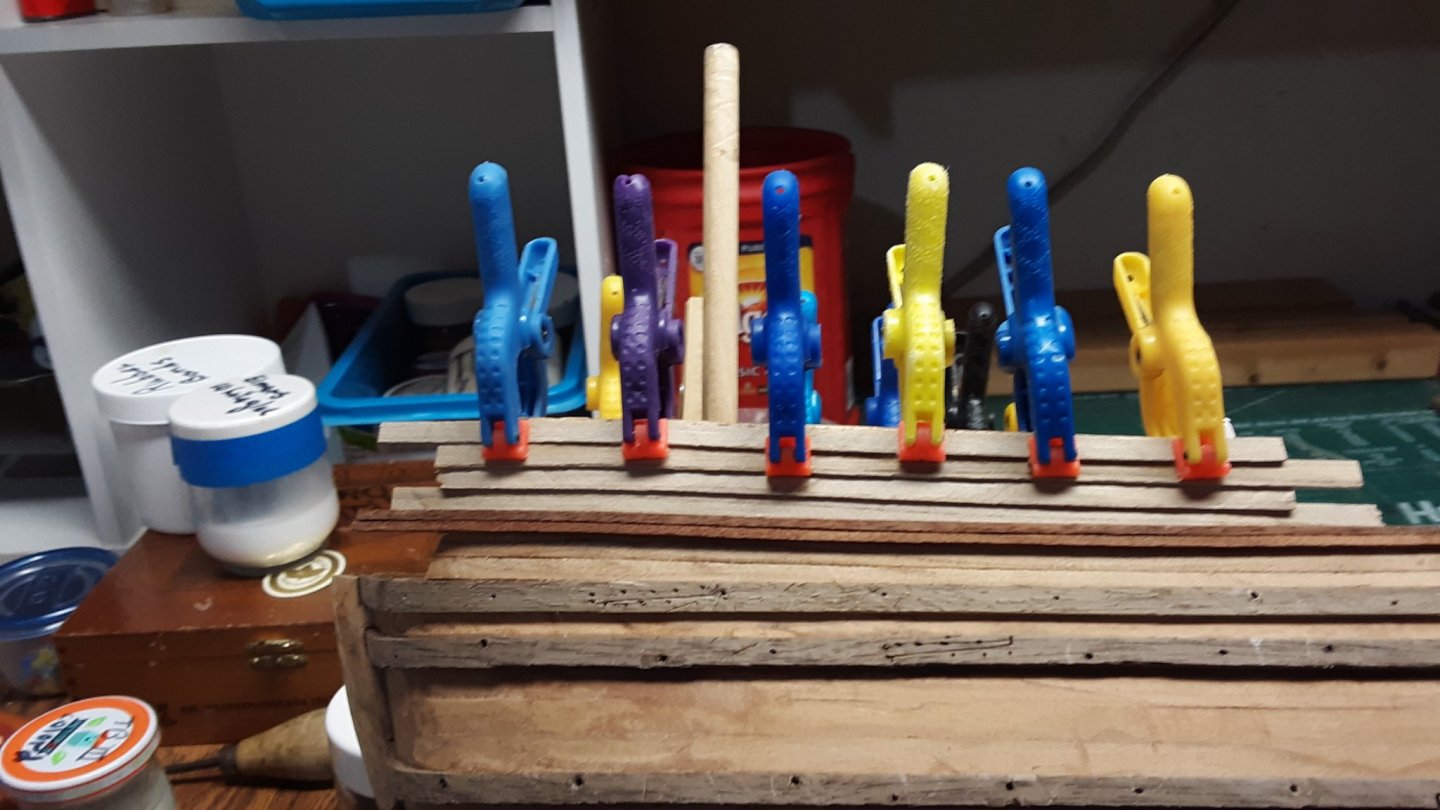
After much sanding started on the third layer of the wales. The planks are 2.5mm thick and 6mm wide. There will be a total of 6 on each side. The last one which is towards the top is 2mm x 2mm. There will be two of these side by side


Marcus- Louie da fly, mtaylor and G.L.
-
3
-
Thanks for all the likes.
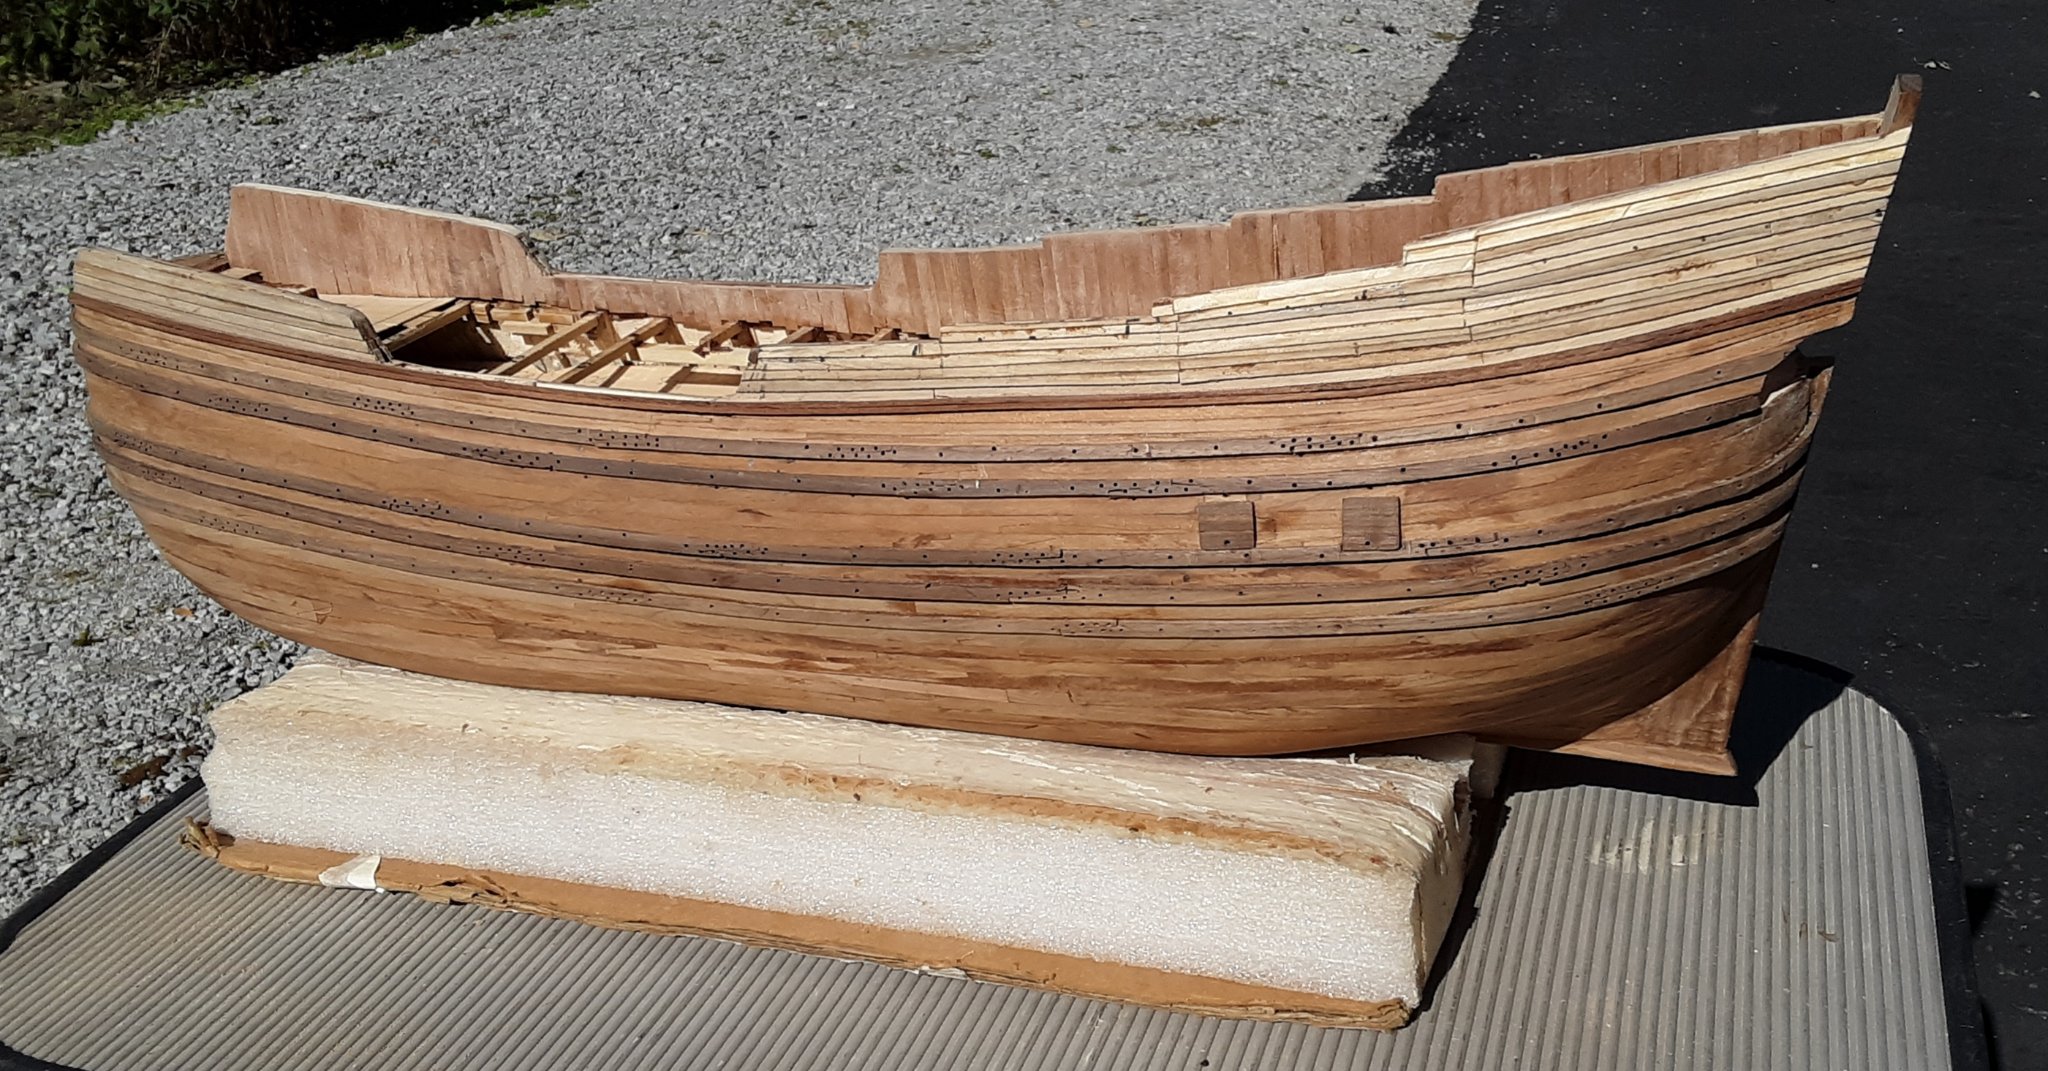
Her hull has been evenly sanded.
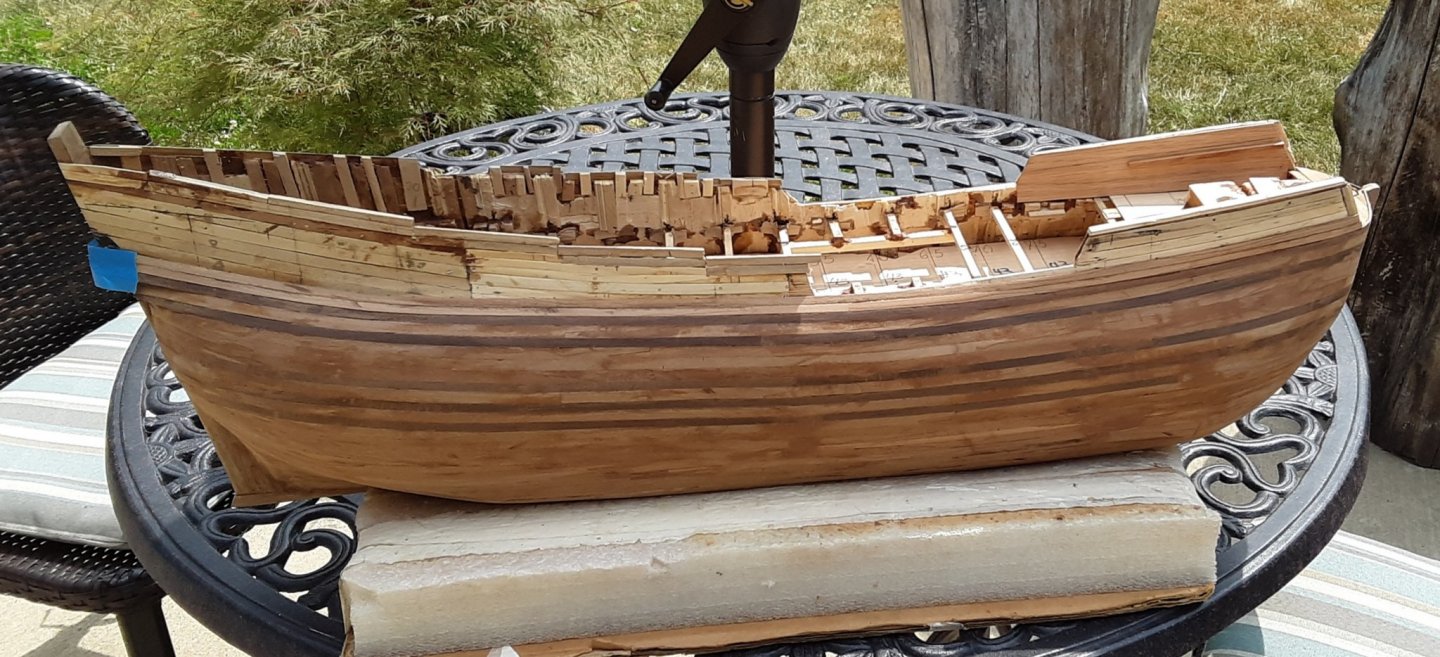
Next I will sand the inside. This has to be even as I need to install an inside wall.
I will do this with a belt sander which is has a belt that is 1/2" W and 18" long.
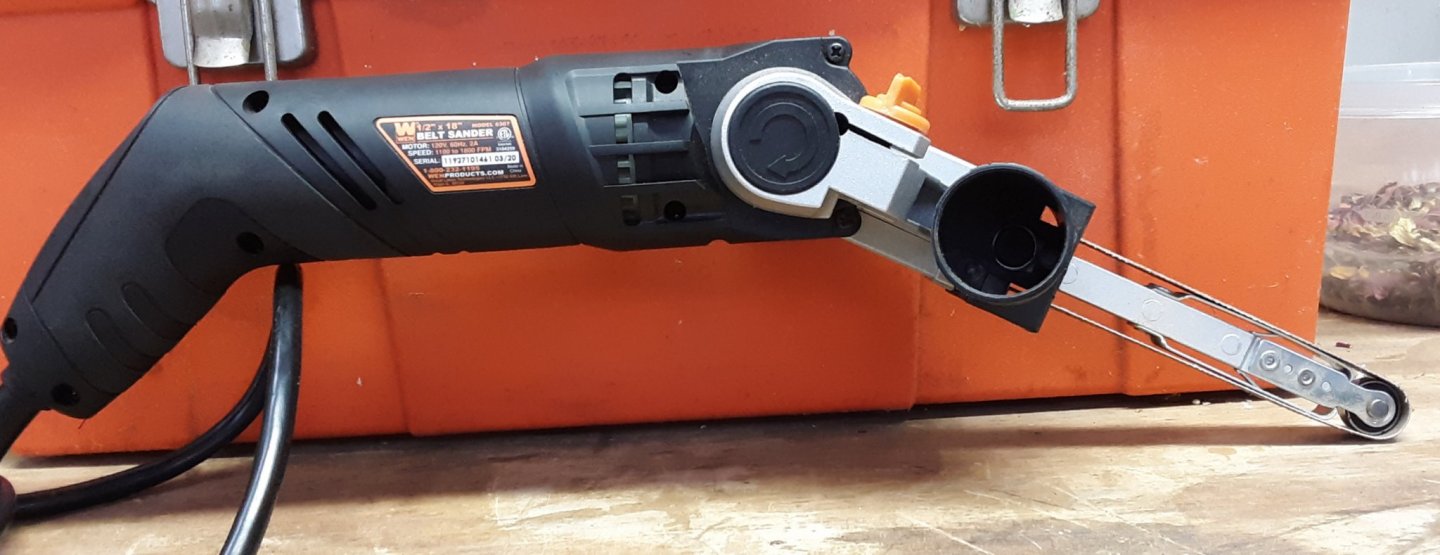
This item has been very handy since building the Zeehaen.
Marcus
- Louie da fly, tarbrush, Boxbuilds and 4 others
-
7
-
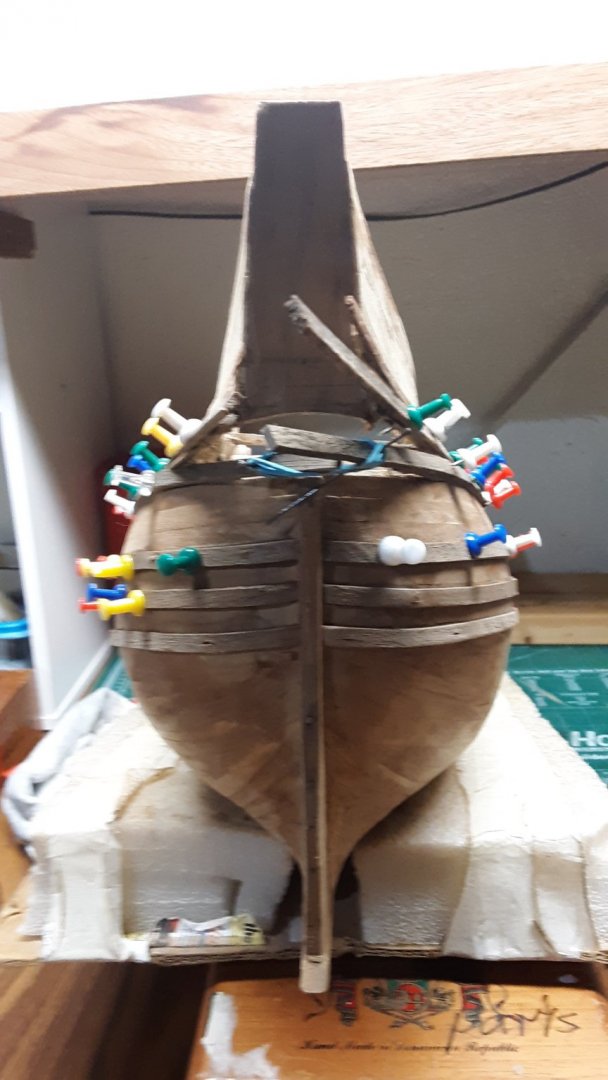
After installing the 2nd strake I noticed that I was off again just like the first time I planked that area. After much measuring different areas and comparing the left hip to the right hip I noticed that the left hip (when facing the stern) is slightly more rounded than the right hip.
I will need to put a steeler between these planks. It won't show as much as a carving will be placed their.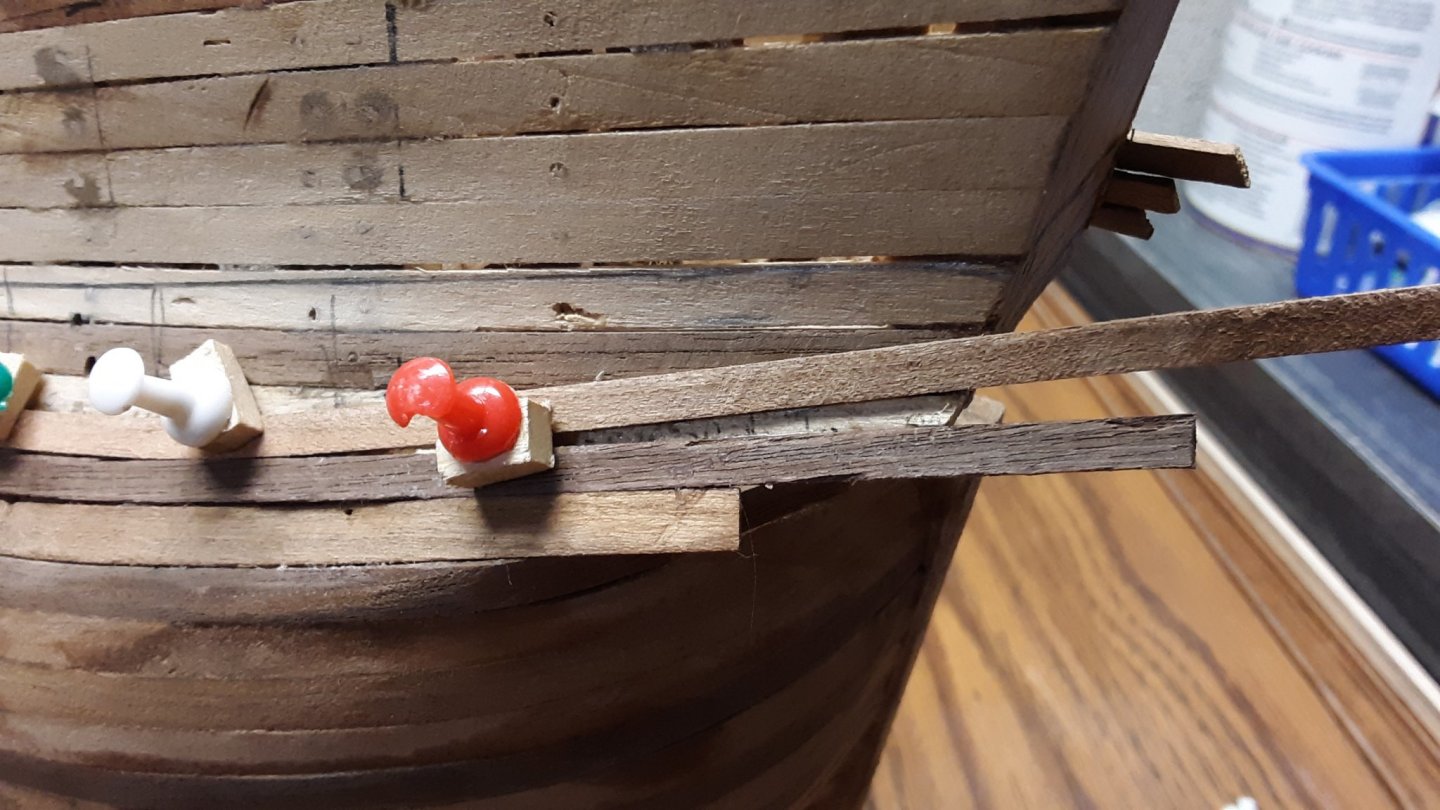
I know that the last view posts weren't that exiting, but they were necessary.
Marcus


Zeehaen 1639 by flying_dutchman2 - 1:37.5 - Dutch Fluit of Explorer Abel J. Tasman
in - Build logs for subjects built 1501 - 1750
Posted
Thanks for all the likes and comments.
After all the cheeks were rough sanded, I started to dry fit the bottom cheeks. When everything fit I glued each side in place. The next day I sanded the bottom cheeks and dry fitted the second layer of the cheeks, glued in place and the following day sanded that and did the same for the 3rd, 4th,and fifth cheek layer. This process has taken me 3 weeks.
Also my first attempt a lion from Sculpey, looks more like a monster. I see that it needs work.
With Christmas did not work much on the Zeehaen. I spent several nice days in December outsie with my newly acquired bandsaw from WEN. Most of the wood I got from my woodworkers club has been sawn in 3, 5, 7 an 10mm planks.
Next will be the grating that is inside the cheeks.
Marcus