


flying_dutchman2
-
Posts
1,735 -
Joined
-
Last visited
Content Type
Profiles
Forums
Gallery
Events
Posts posted by flying_dutchman2
-
-
Thanks for all the likes, suggestions and comments.

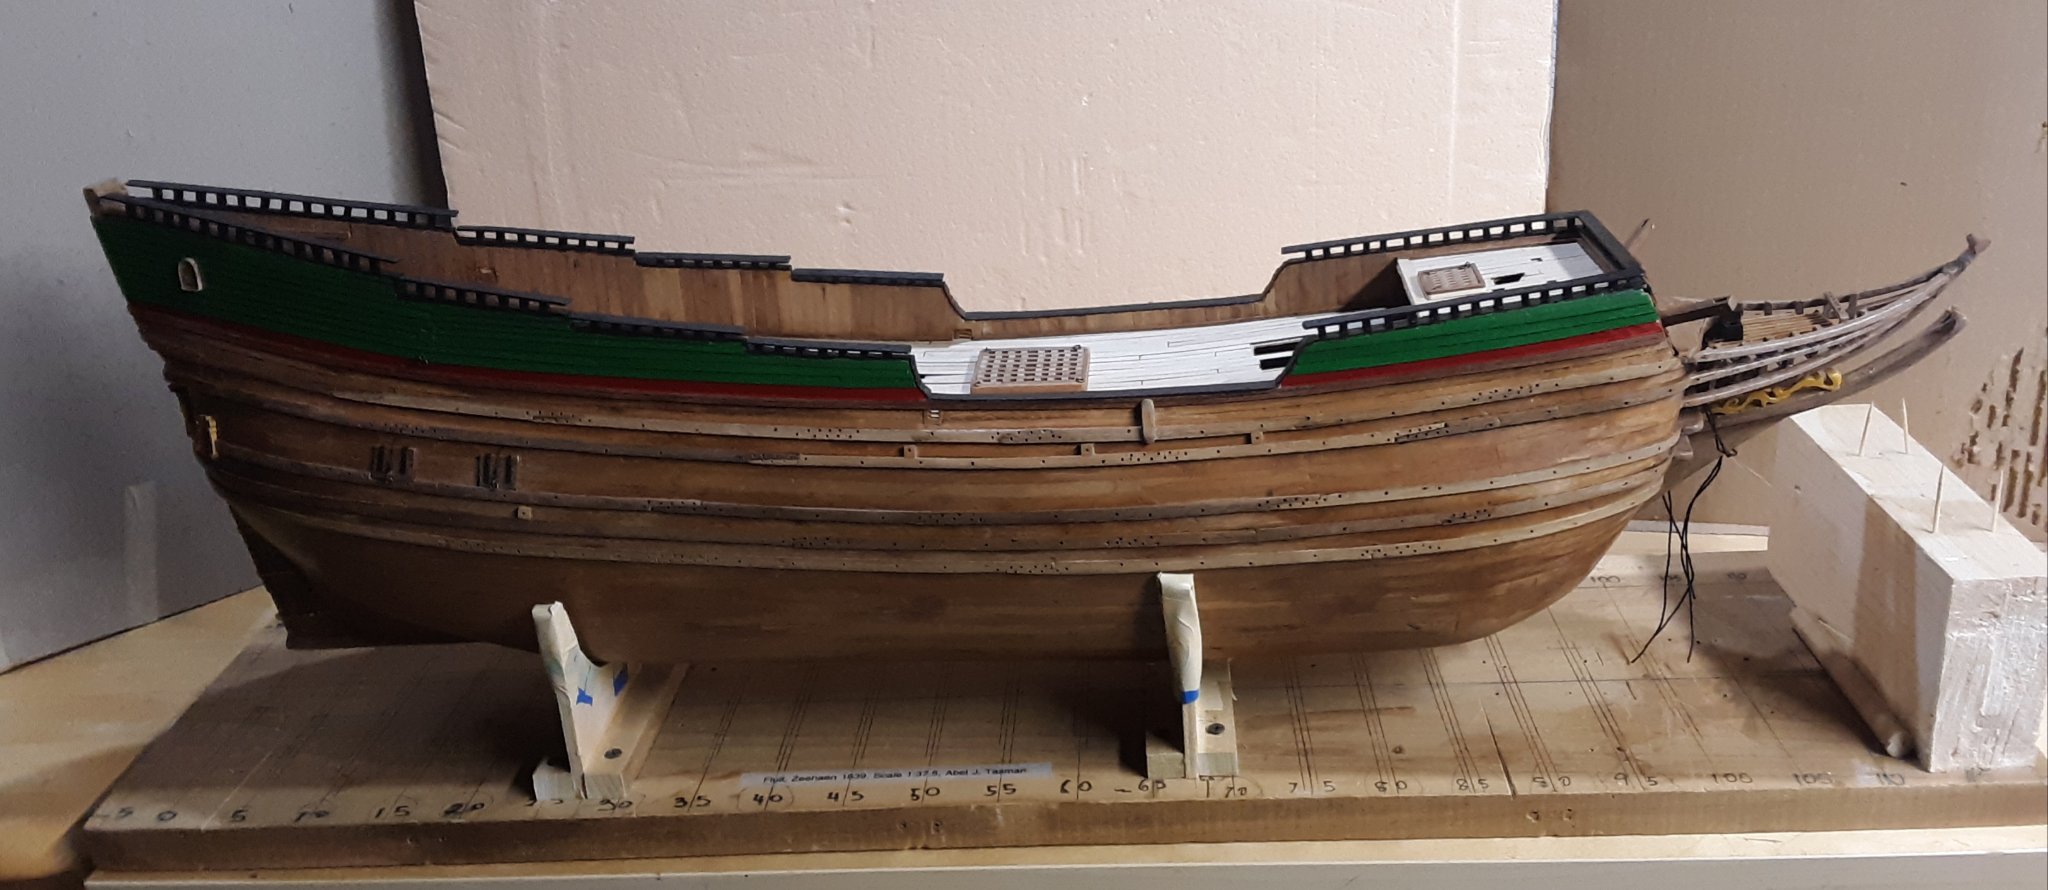
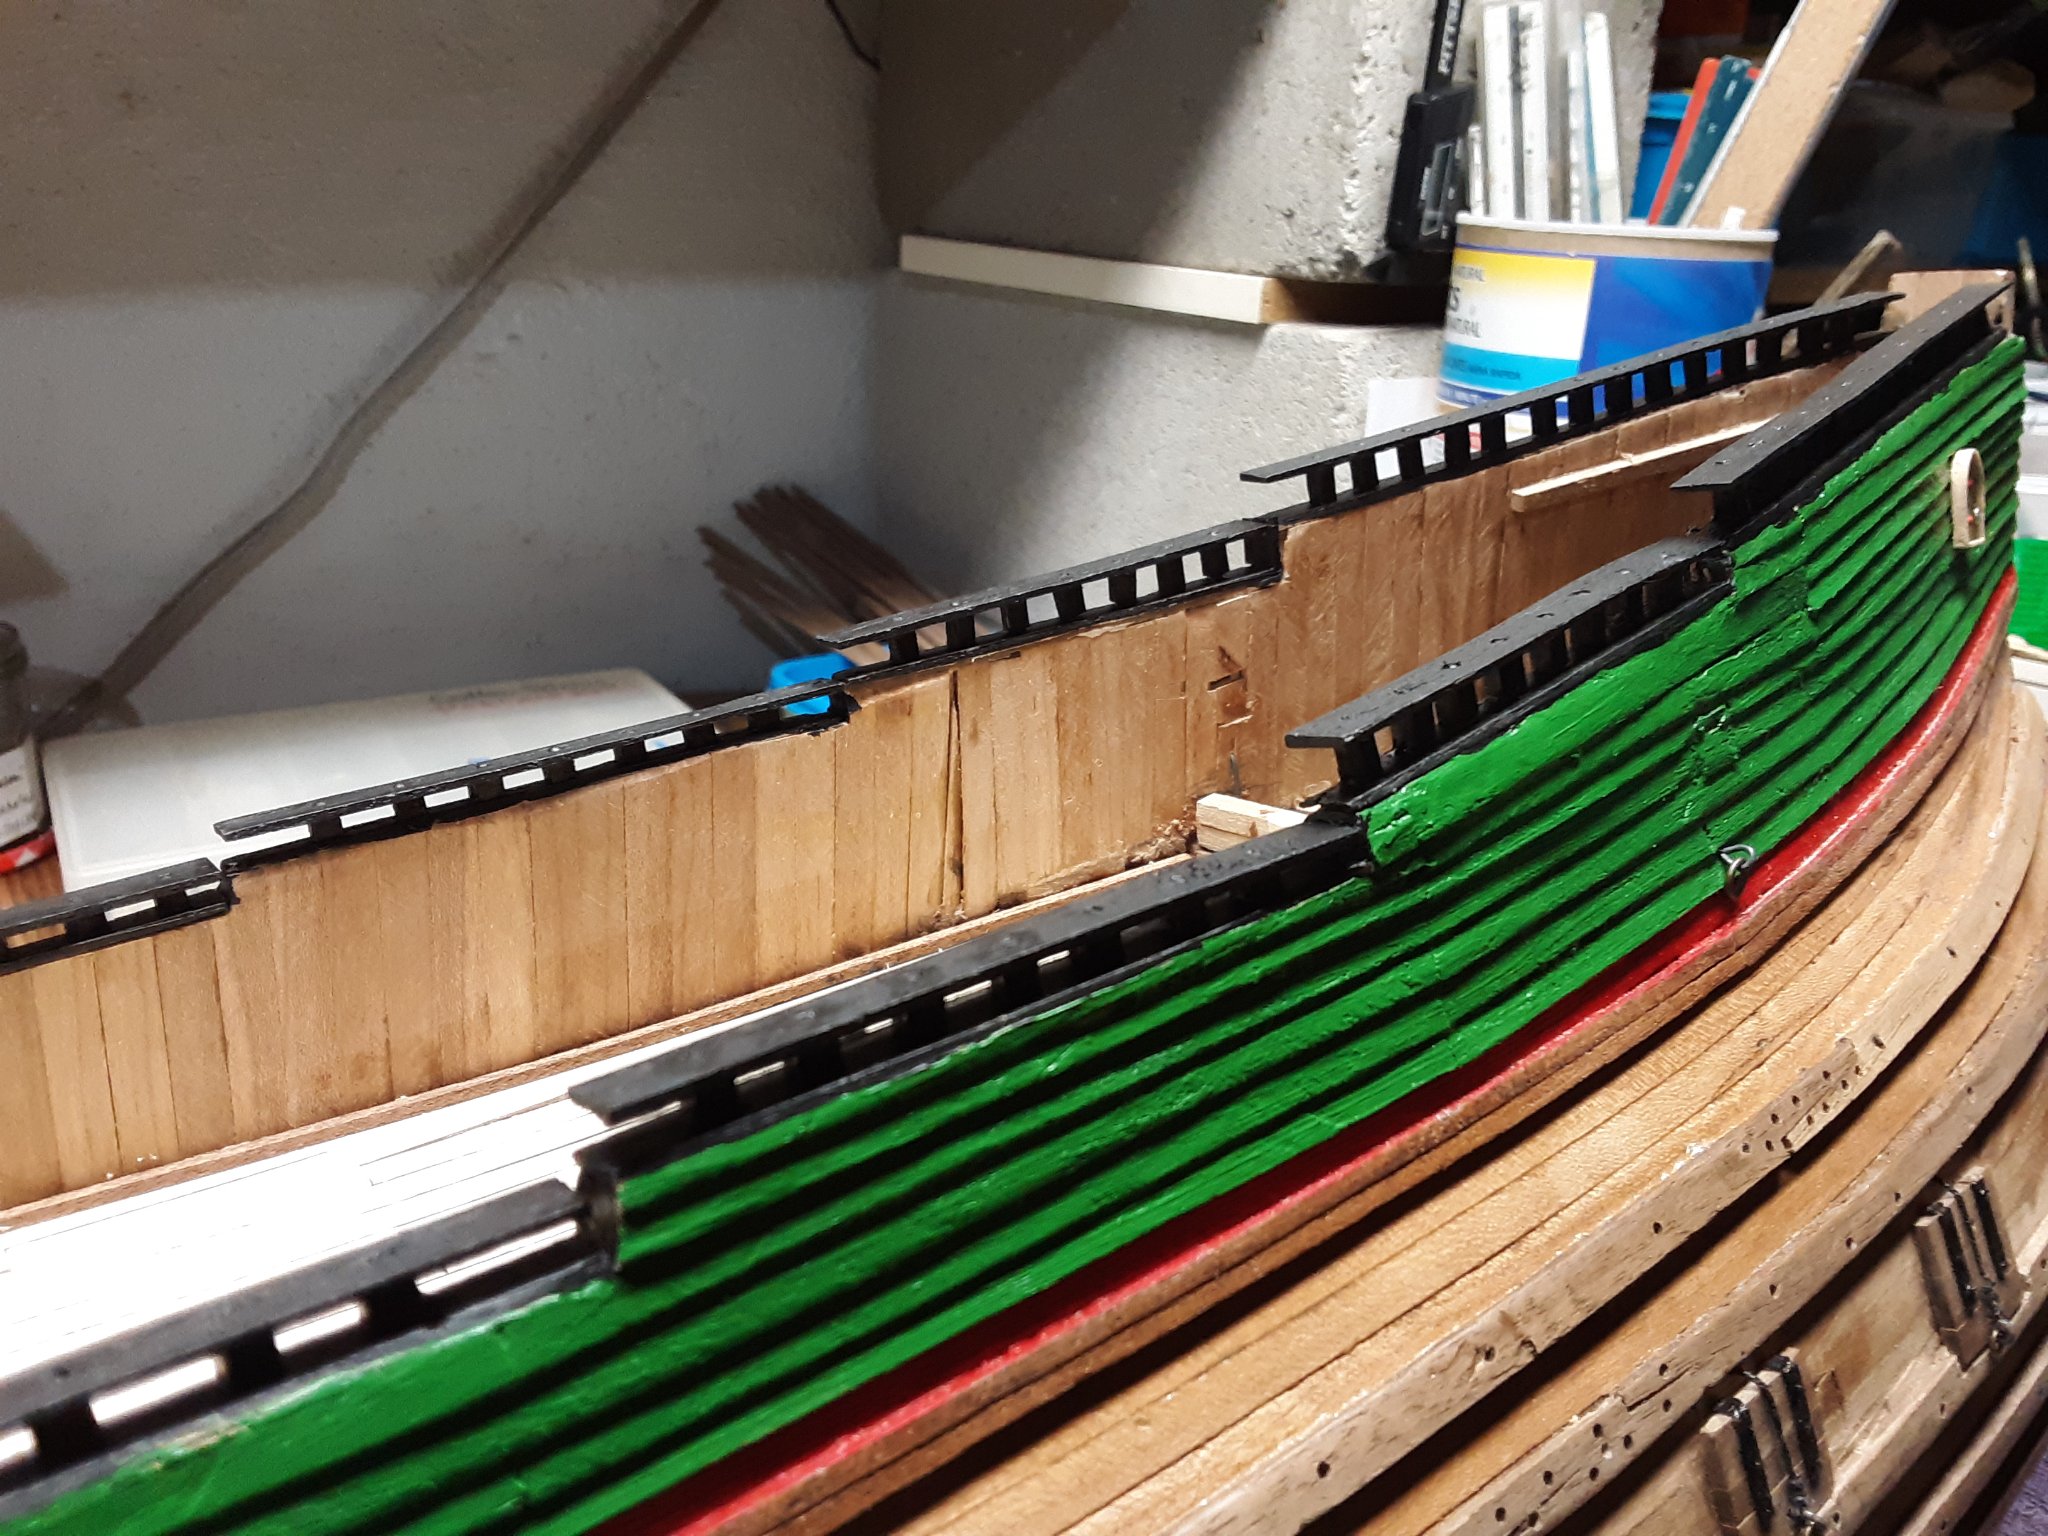
375 This is wat the Zeehaen presently looks like.
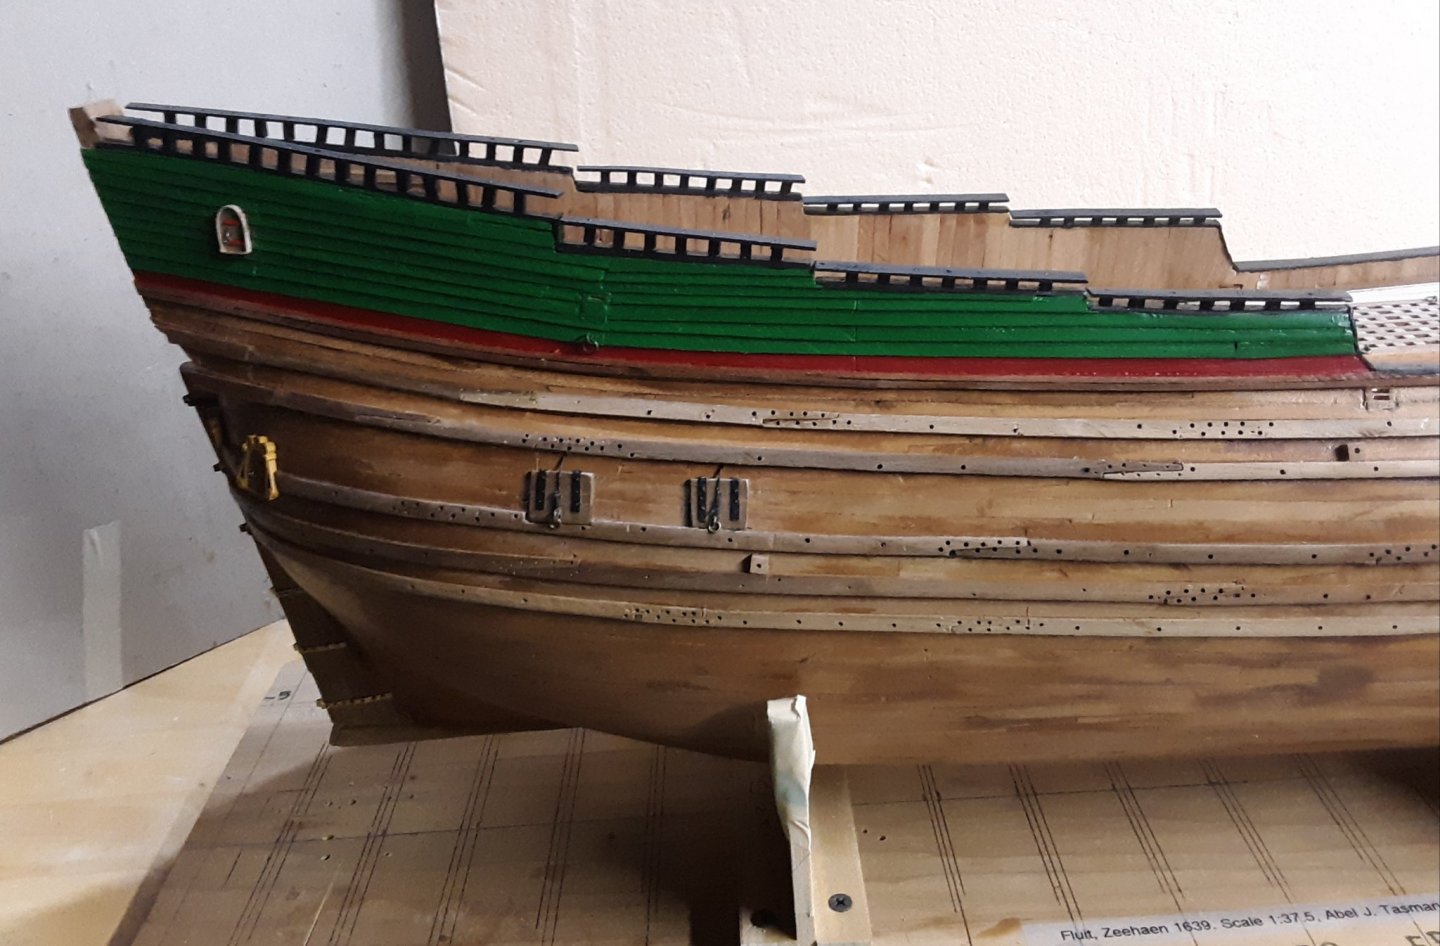
376. Made the railings. Cut numerous little blocks from square dowels and glued them in place, then added a strip of wood on top and painted it all with Acrylic Mars Black which is matt.

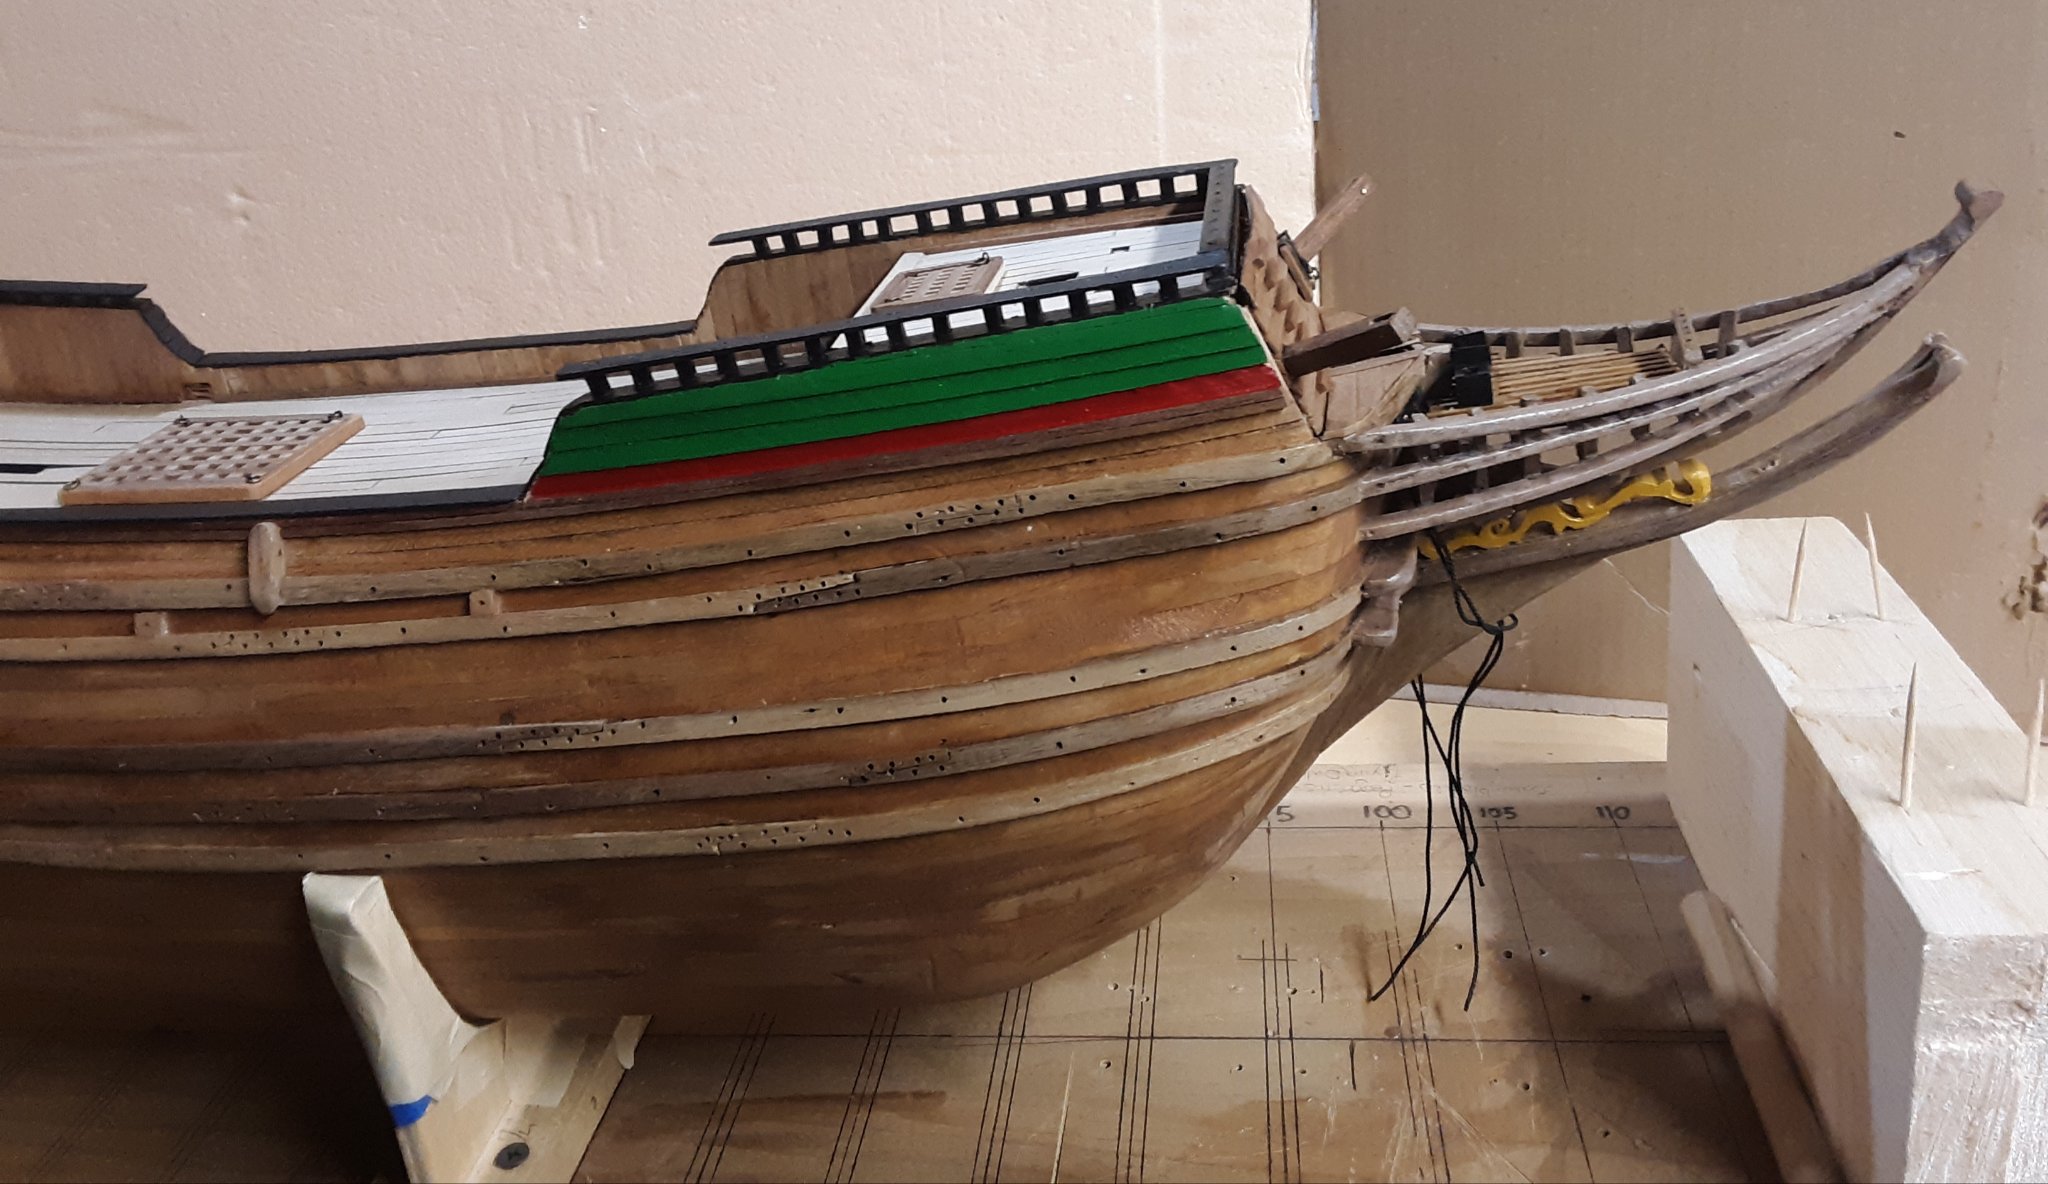
377 Railings
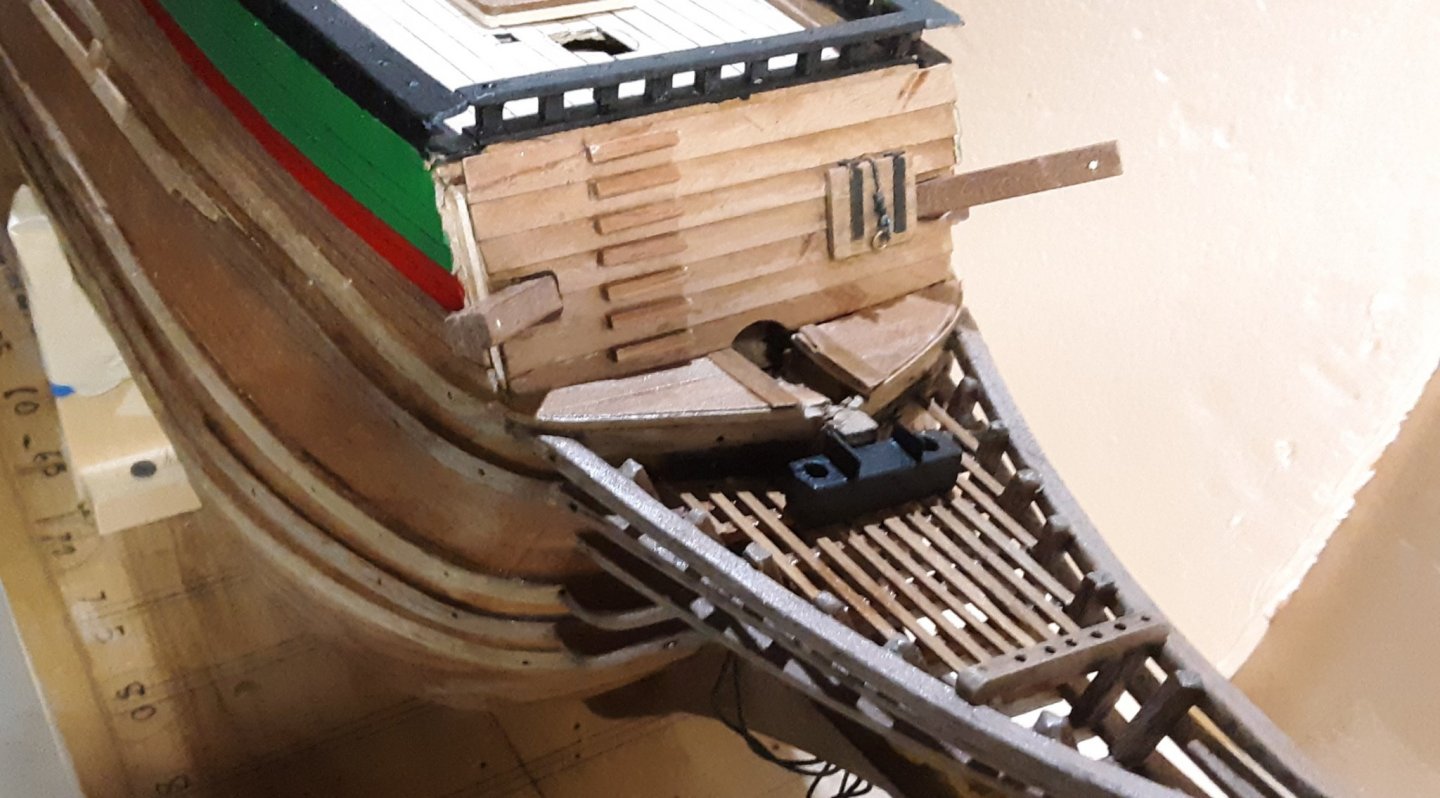
378 Front area which has not been glued on the ship yet. The davits have been glued on an angle in place.

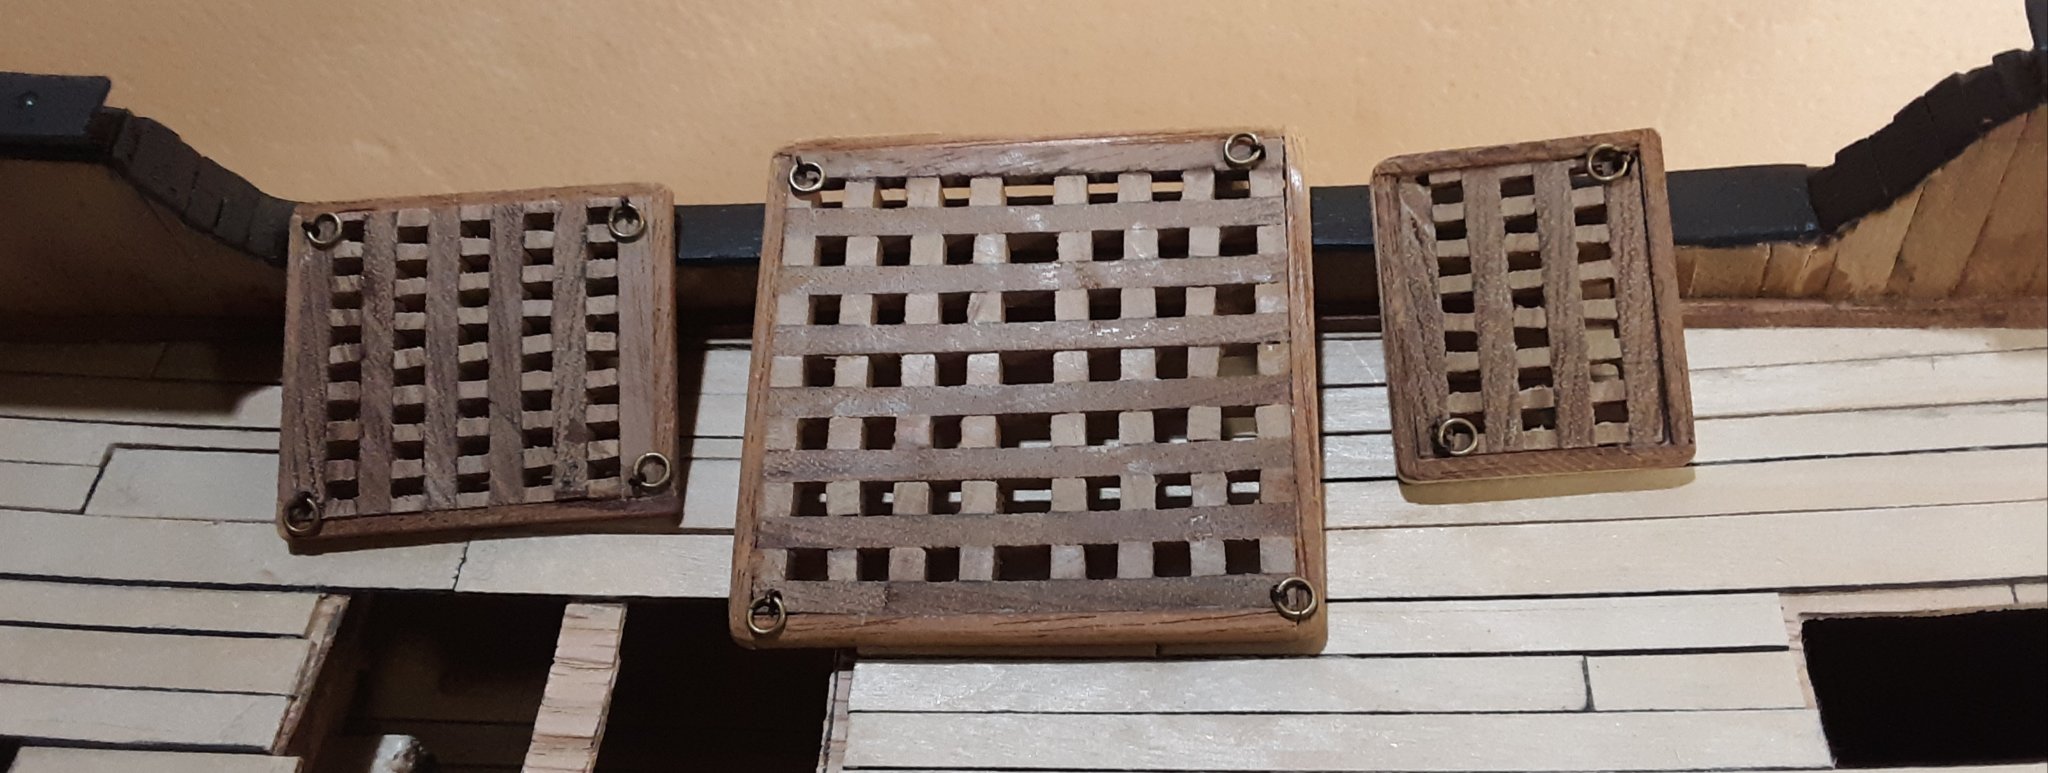
379 Railings on an angle.

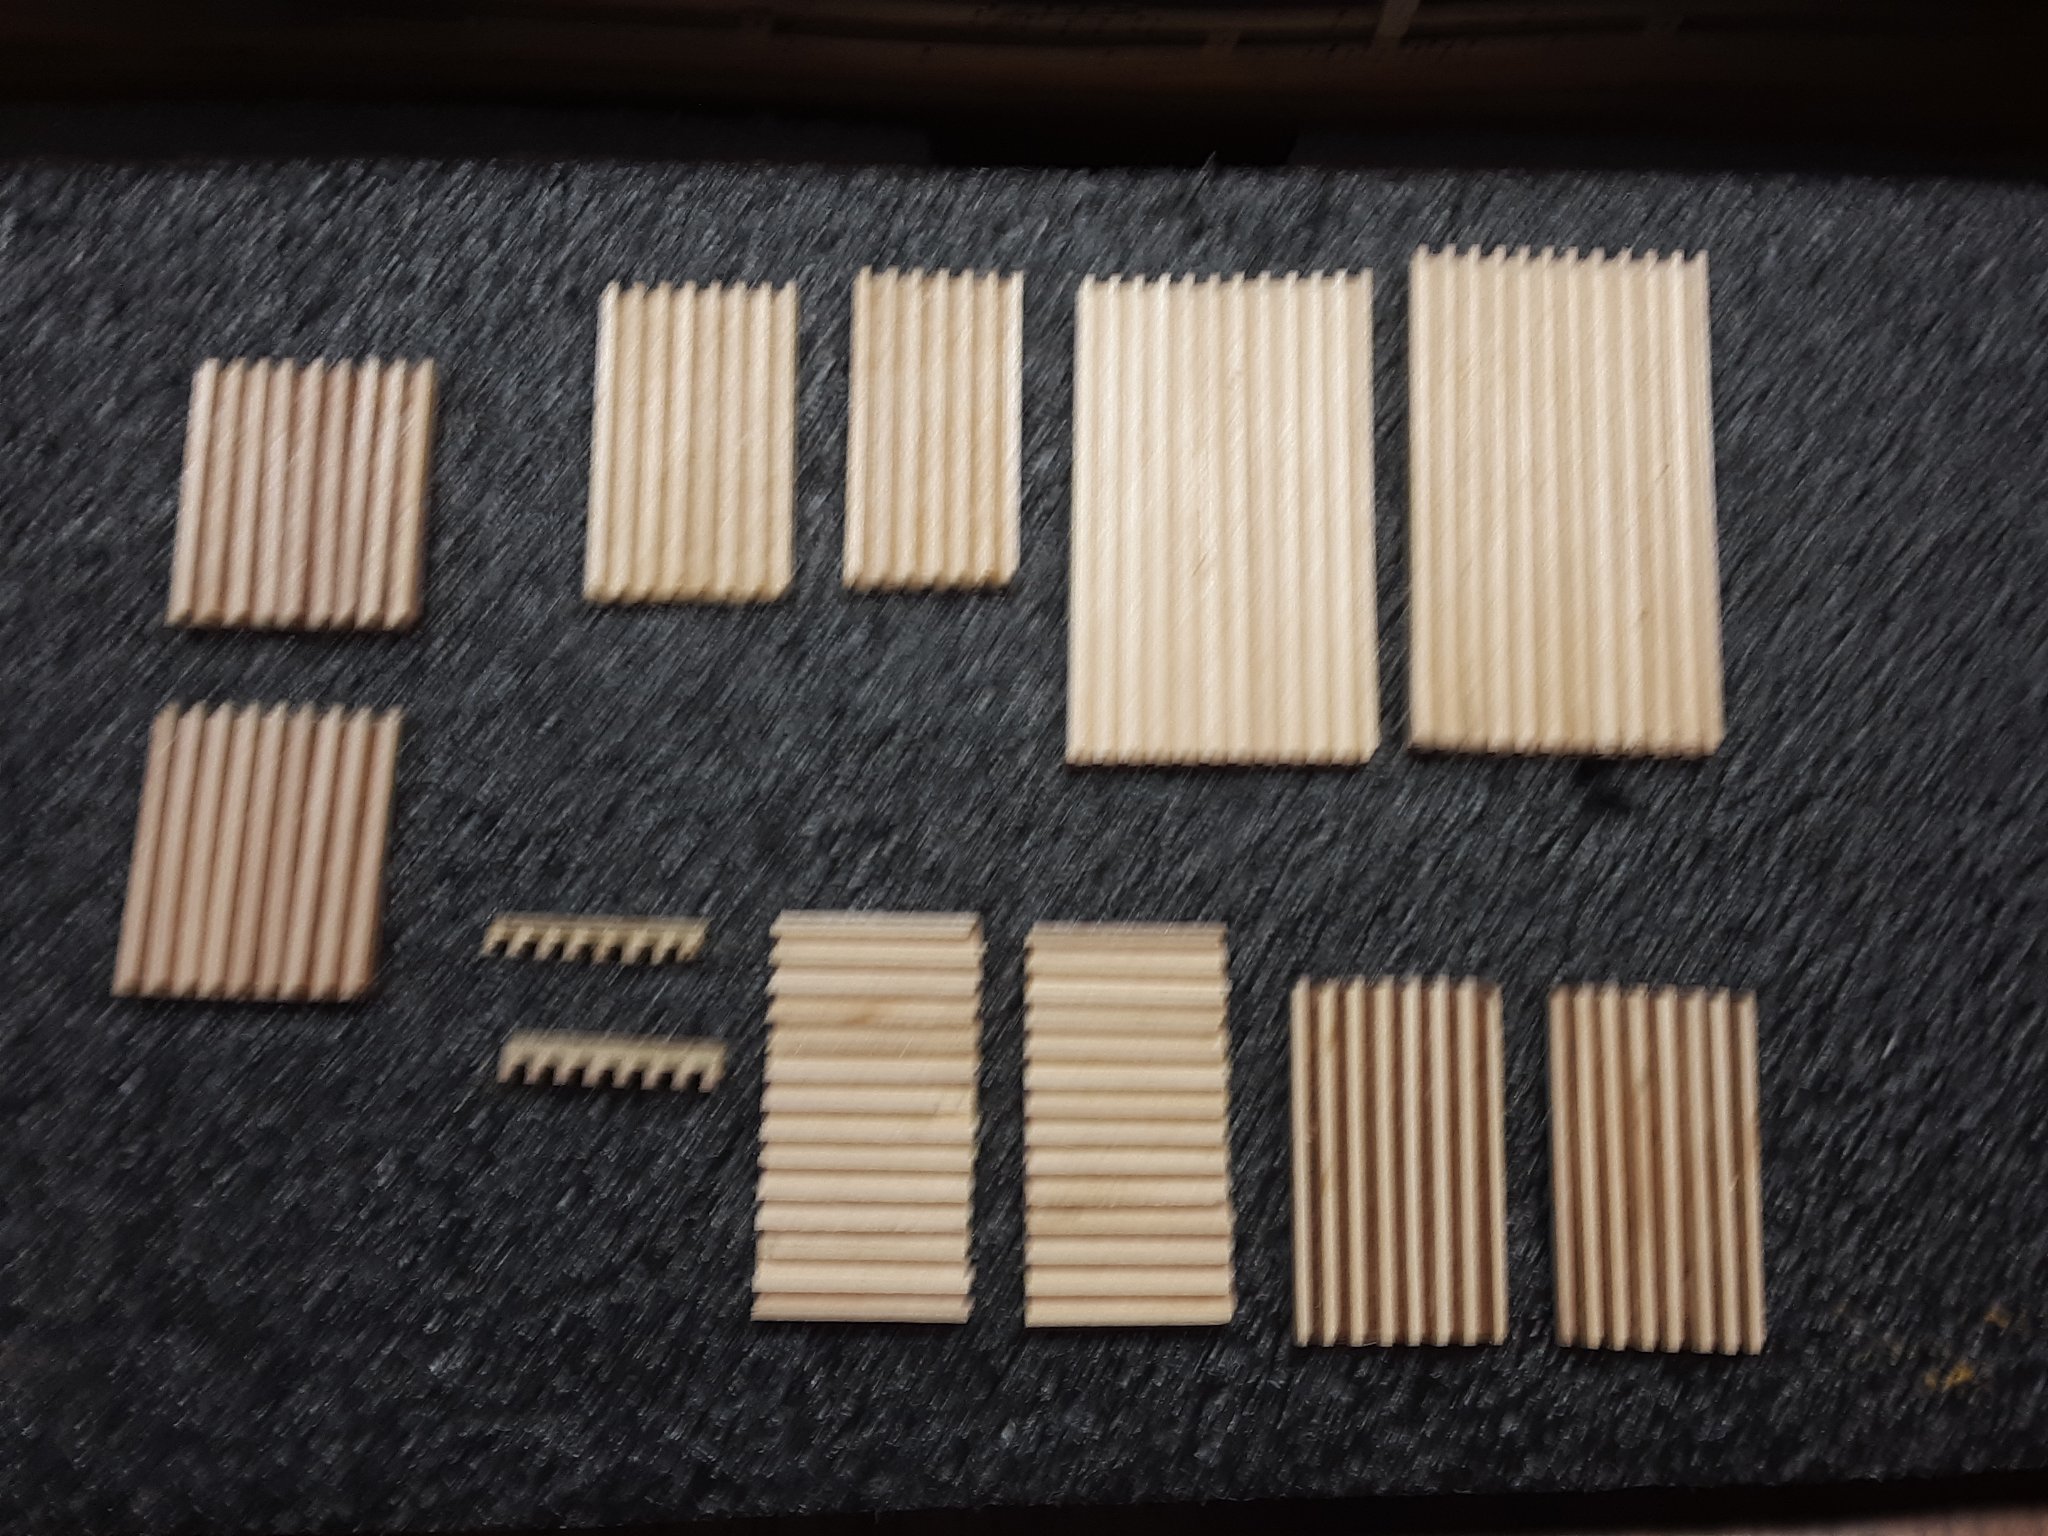
380 All gratings were made from walnut and added 4 rings to the large and medium grate an 2 rings to the smaller one.

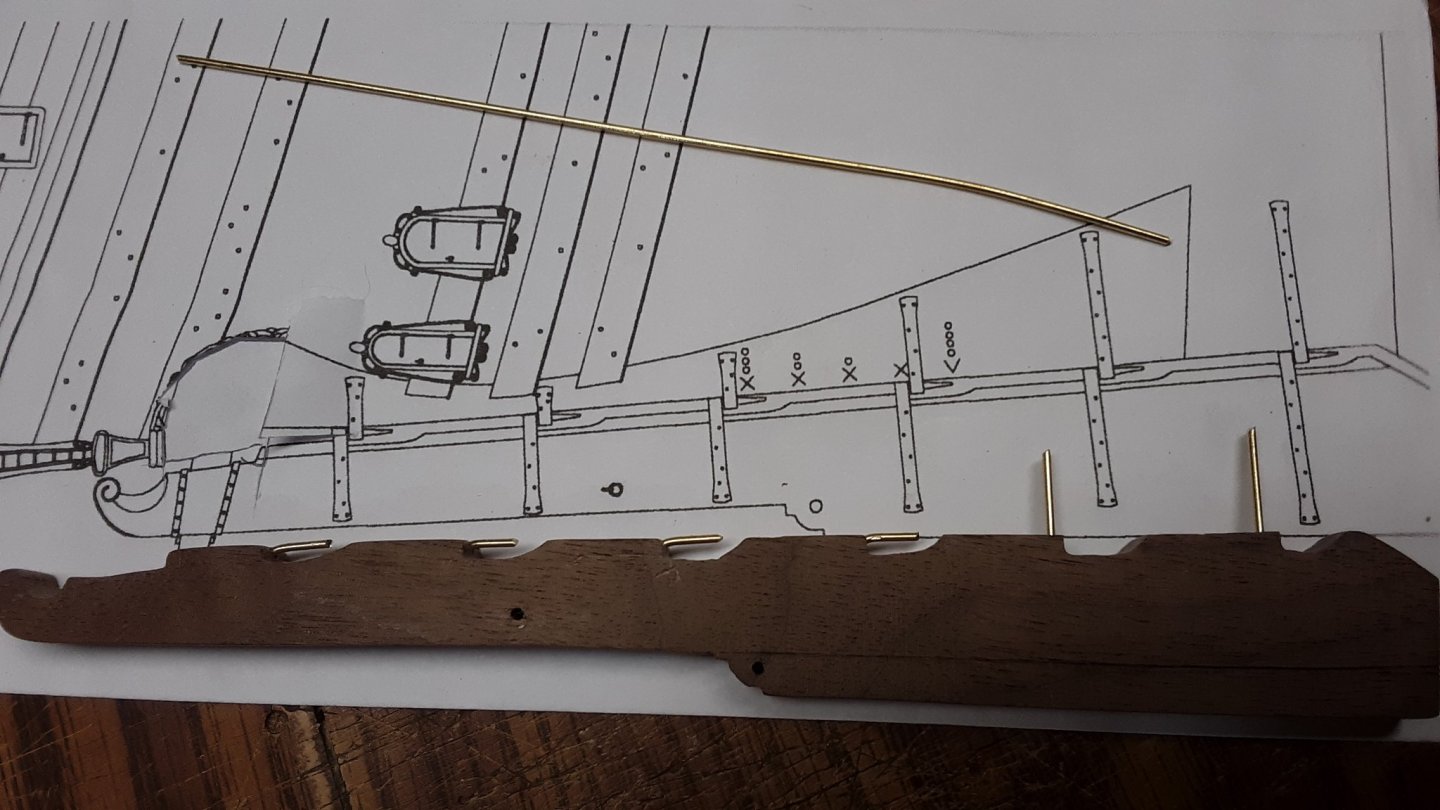
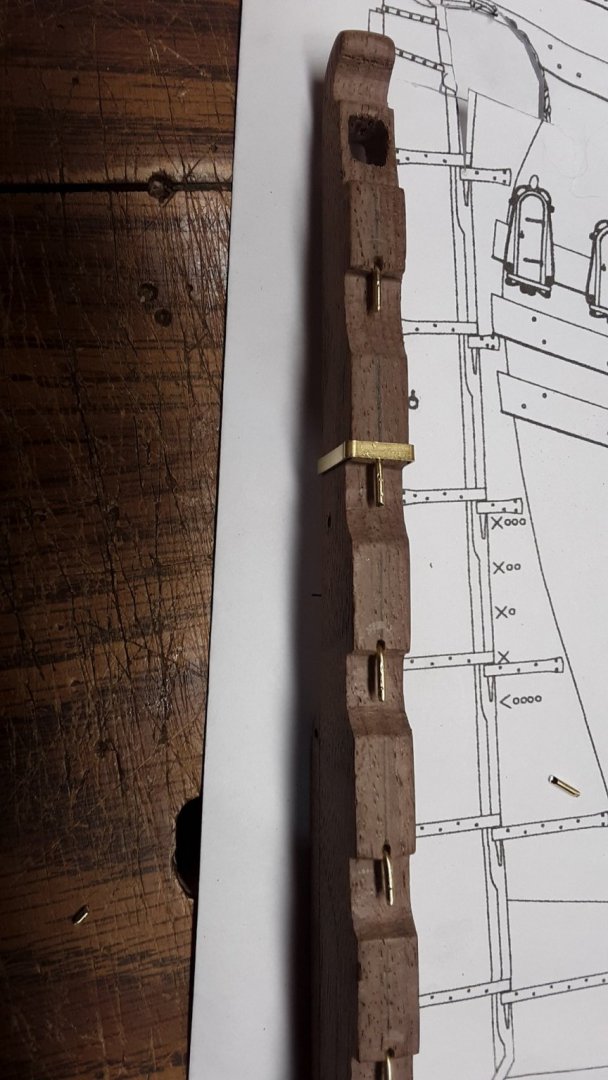
381 Starting to work on the channels.
As the weather gets warmer, I spend less time building and more time in the garden. This year my edible garden will be intense.
Marcus
- mtaylor, Archi, Meriadoc Brandybuck and 5 others
-
 8
8
-
7 hours ago, Meriadoc Brandybuck said:
Silicon casting is kind of costly and troublesome but would allow you to duplicate small parts accurately.
I am going to look into this and see what the costs are. Thank you for recommending this to me.
Marcus
-
-
Thanks for all the likes and comments.
Last couple of days have been in the 70's F (20°C) (rare watm weather) so spend time cleaning up the flower beds and edible garden.
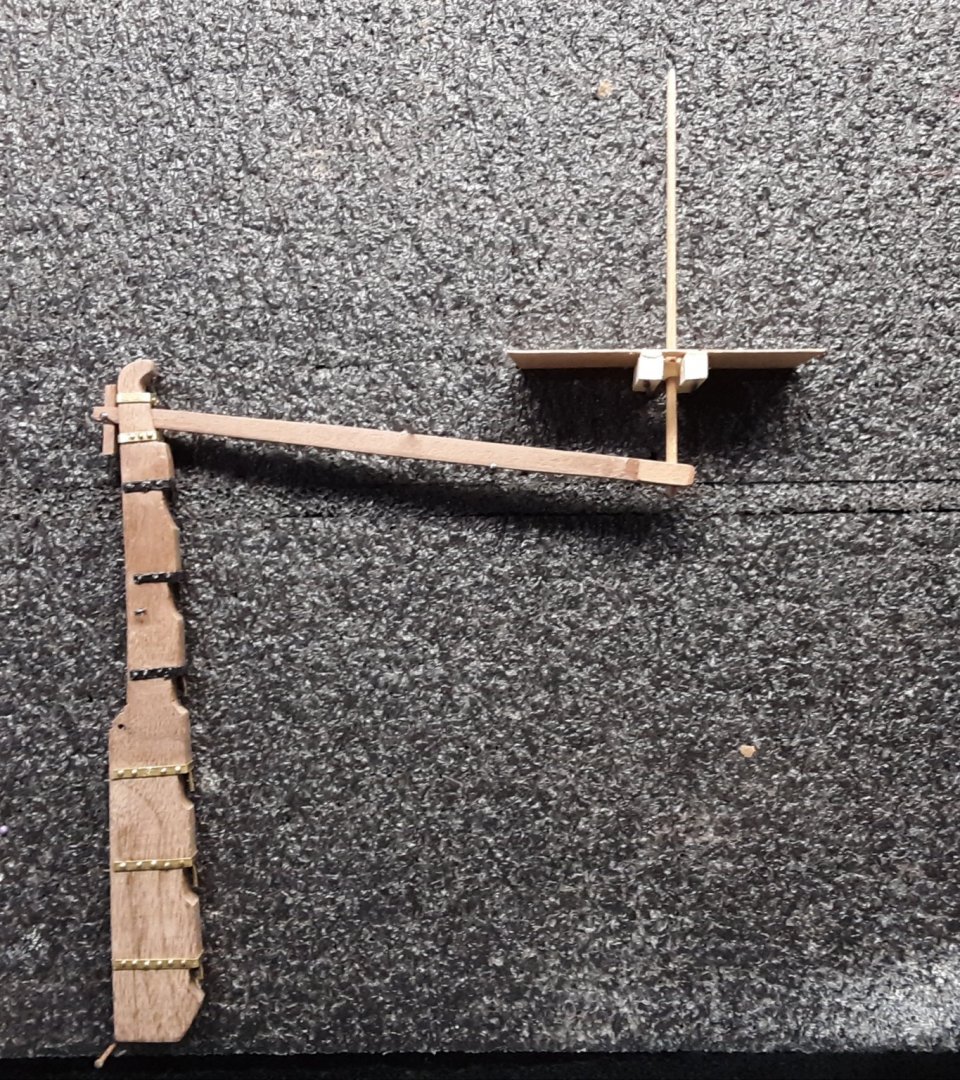
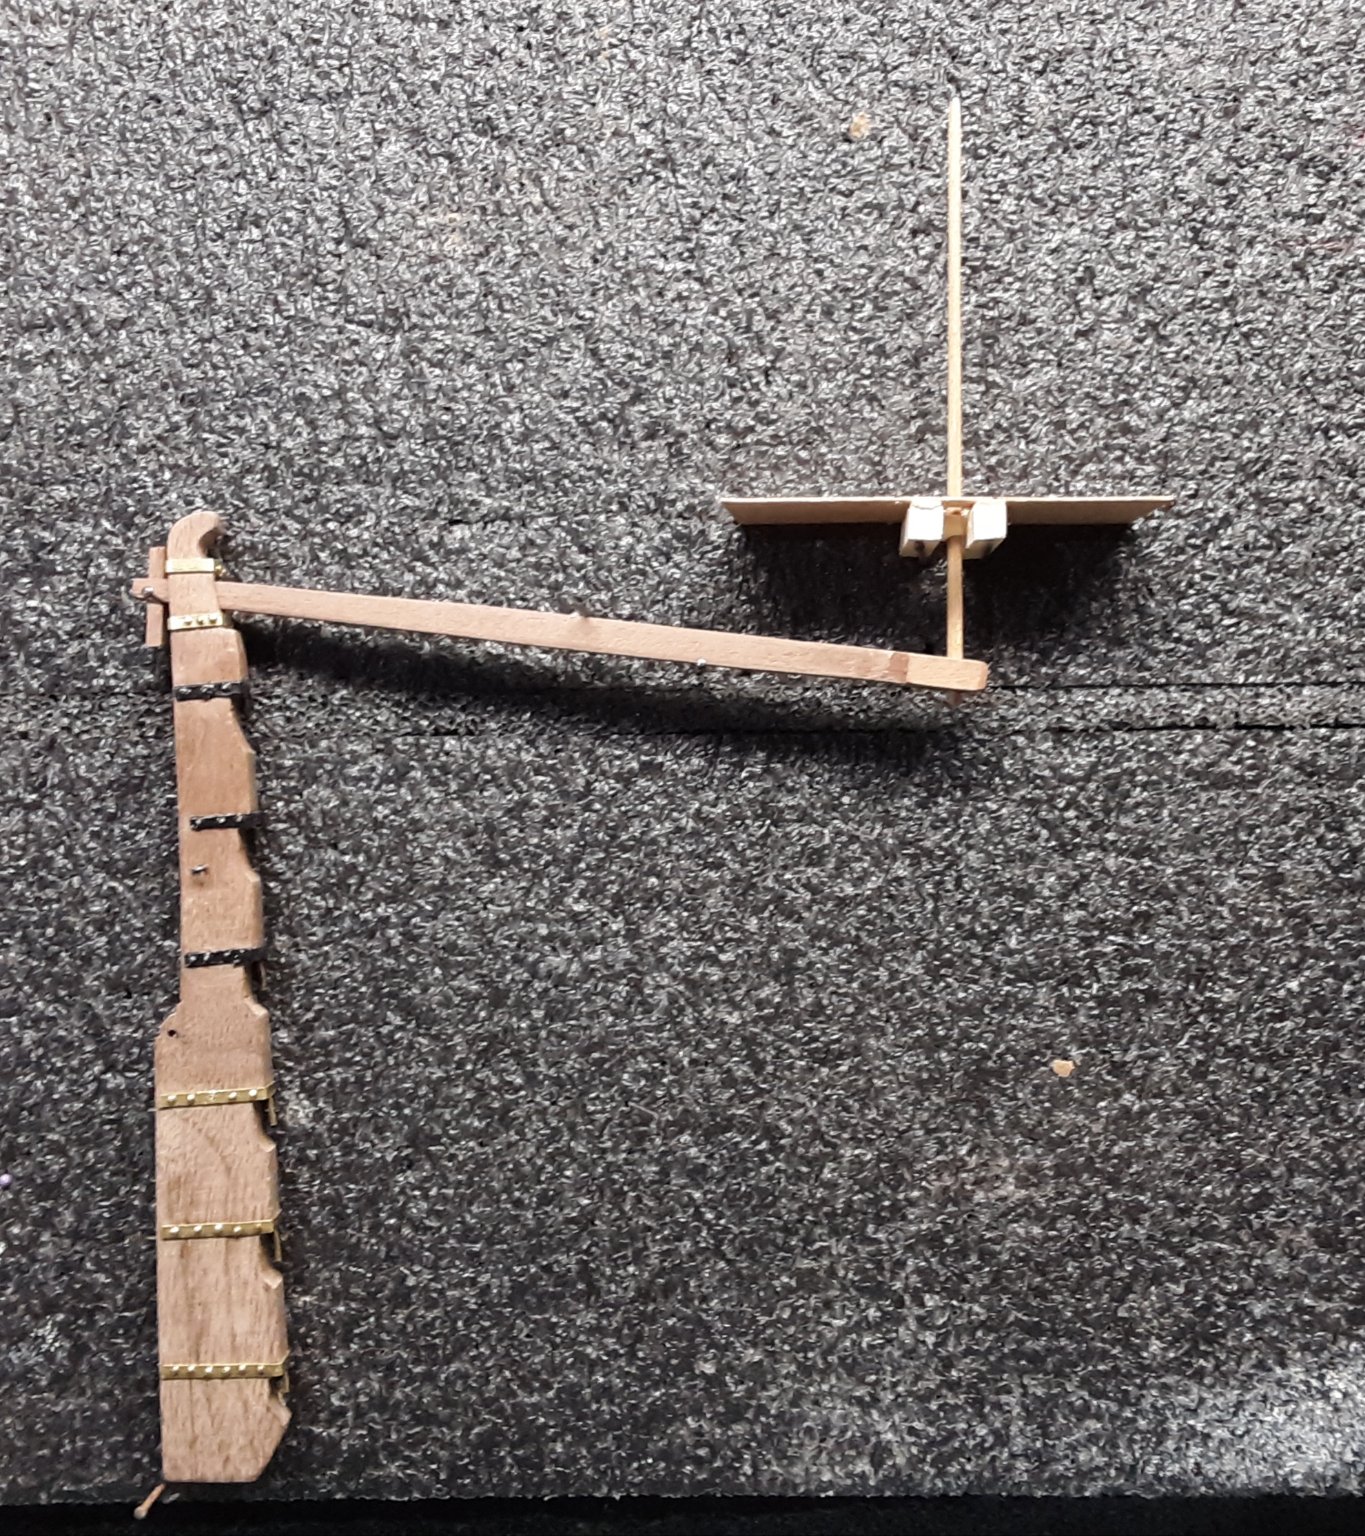
Finished the tiller and whipstaff. I will install this when I am ready to put the back deck in. I built it in a way that once installed it actually works.
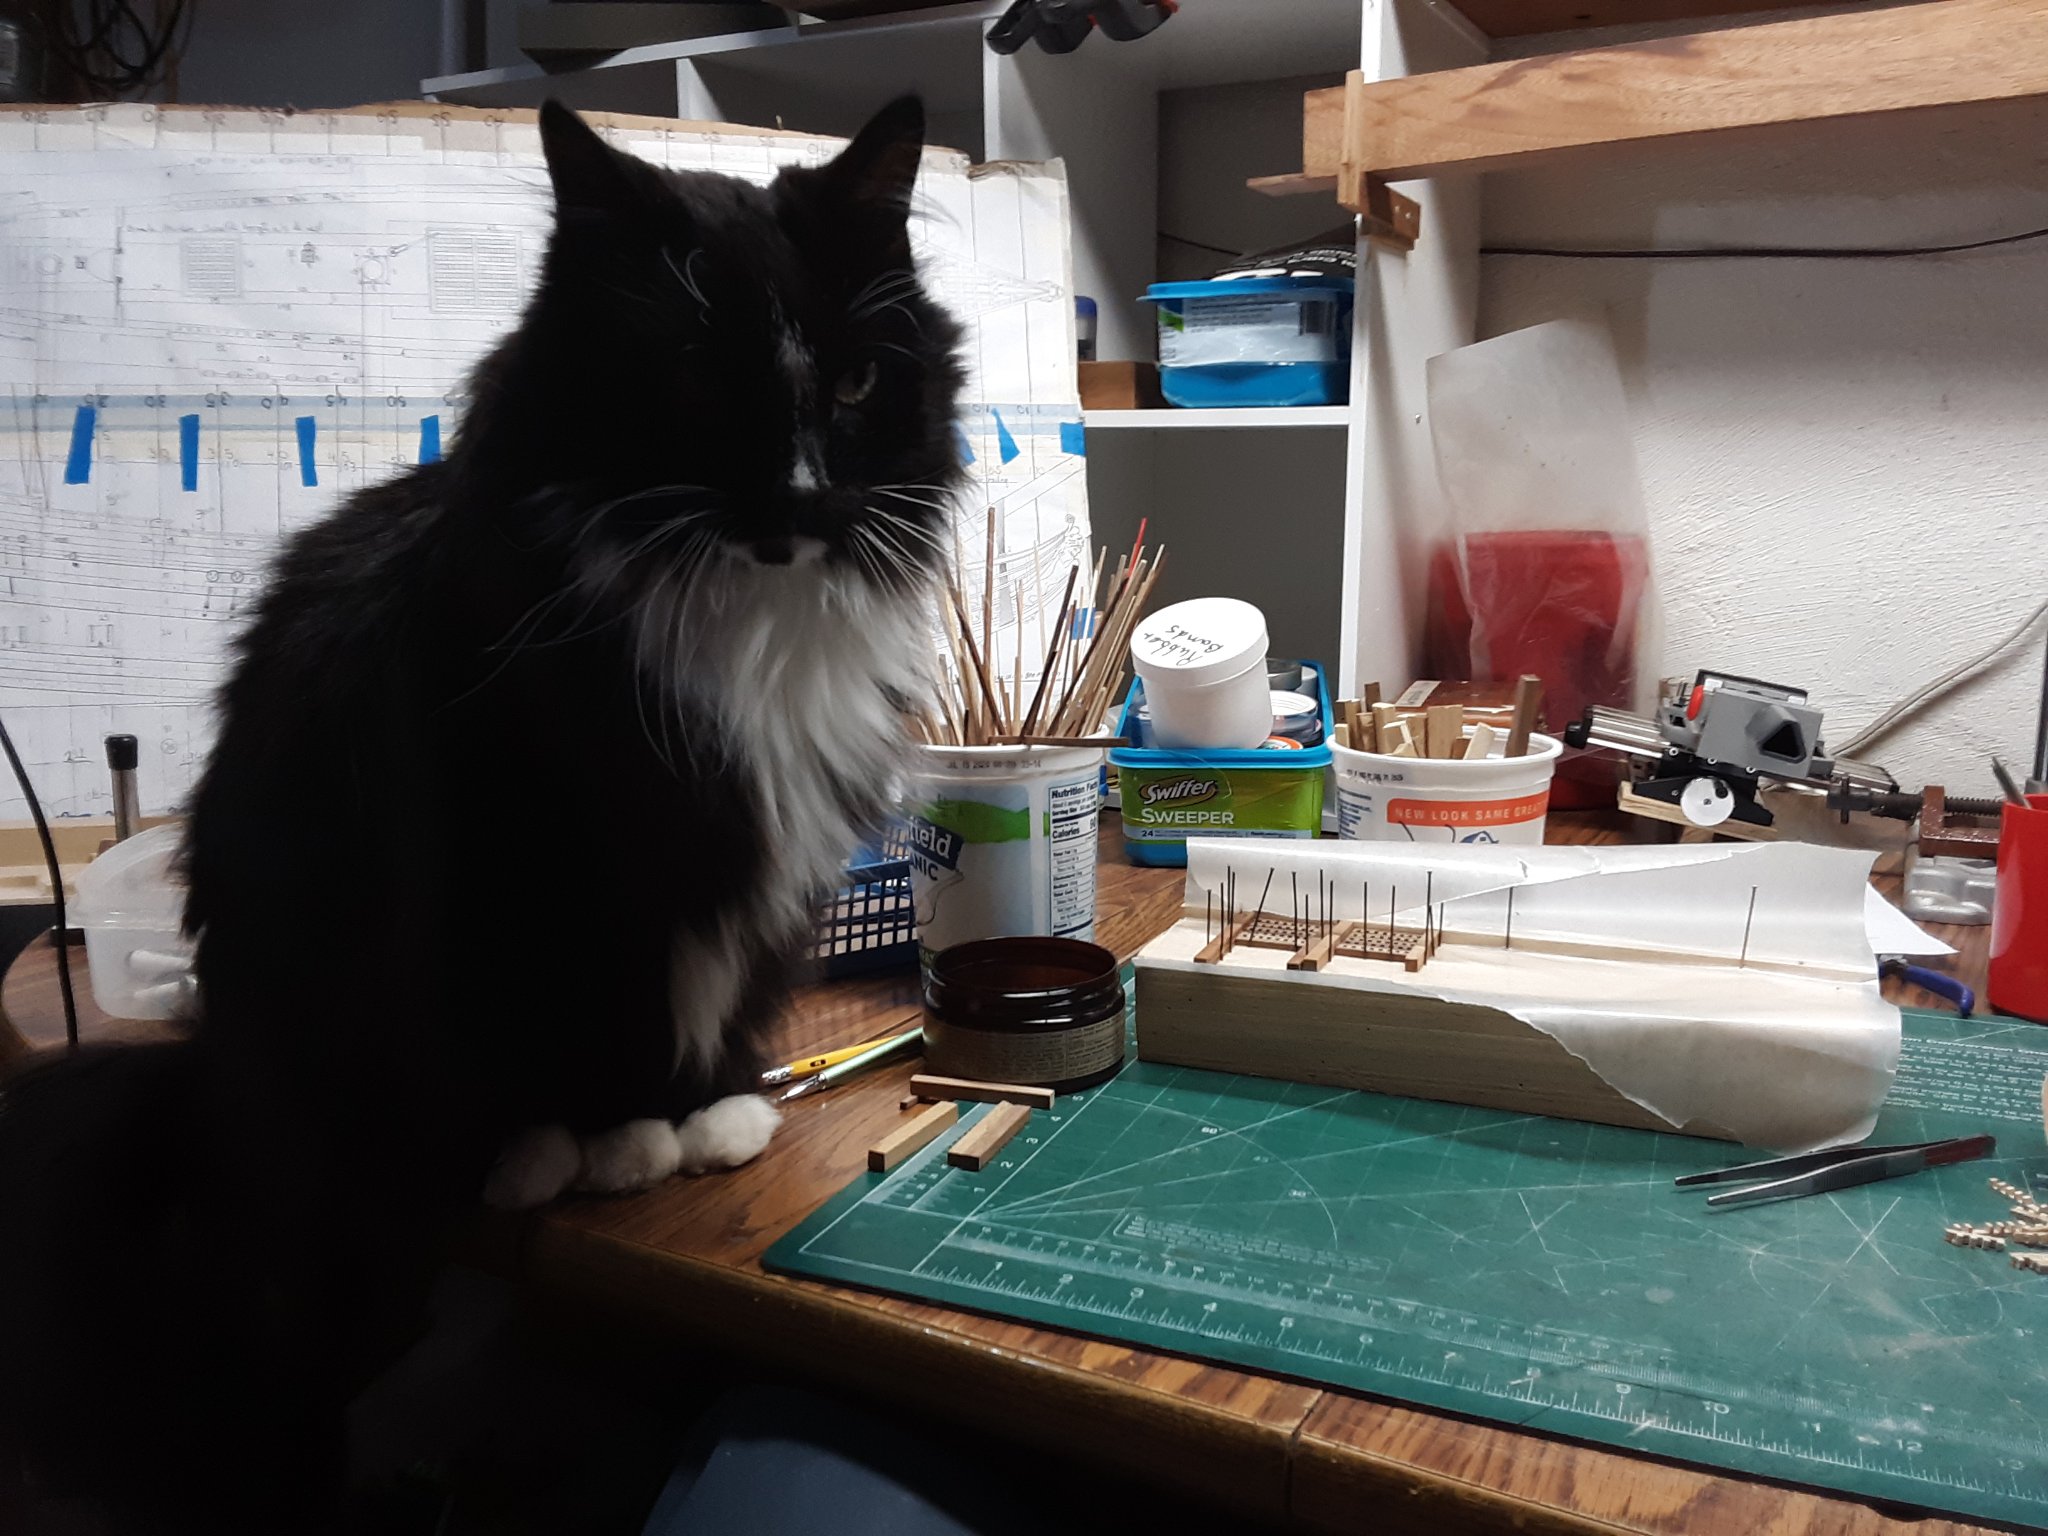
The nosy cat, Boomer at 18 years.
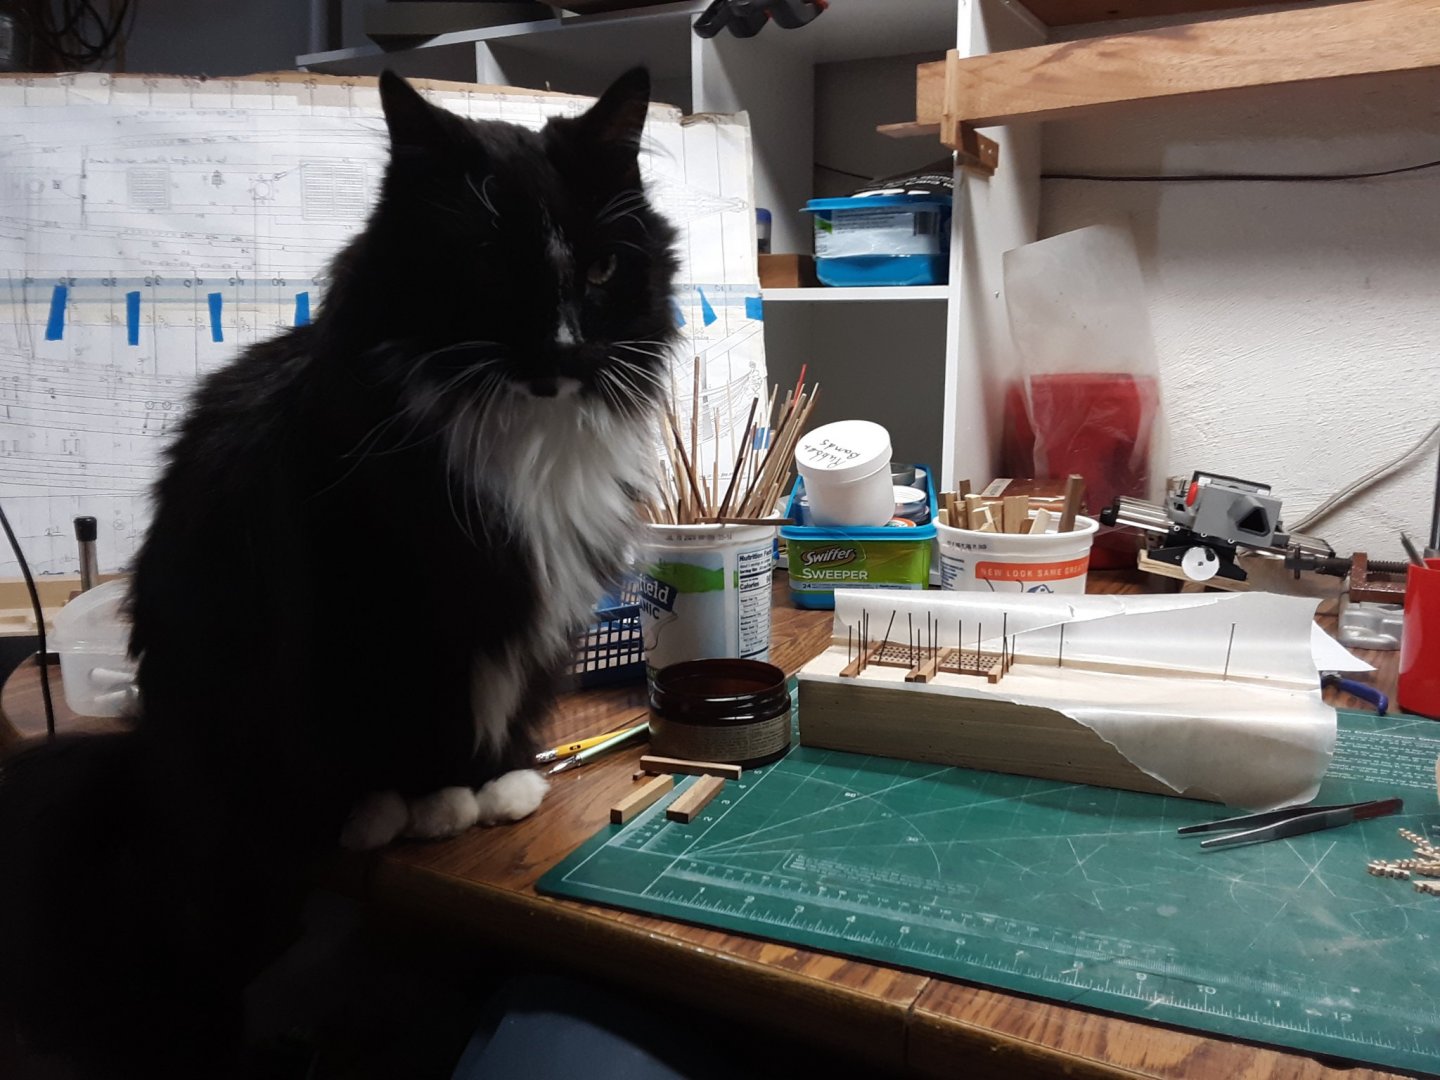
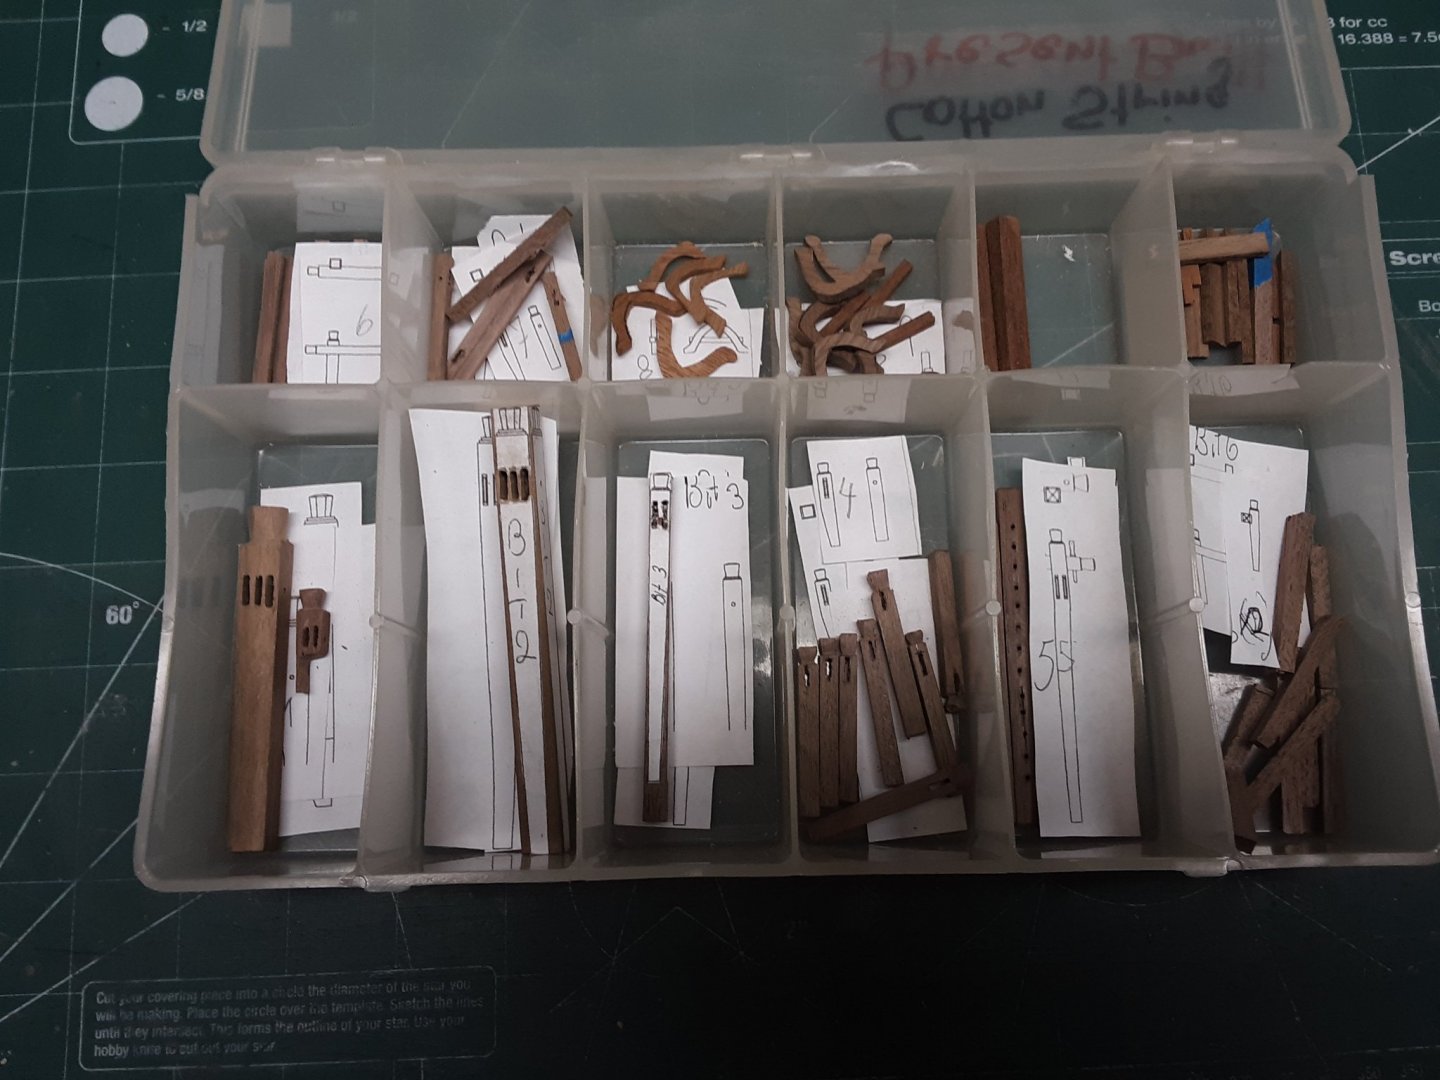
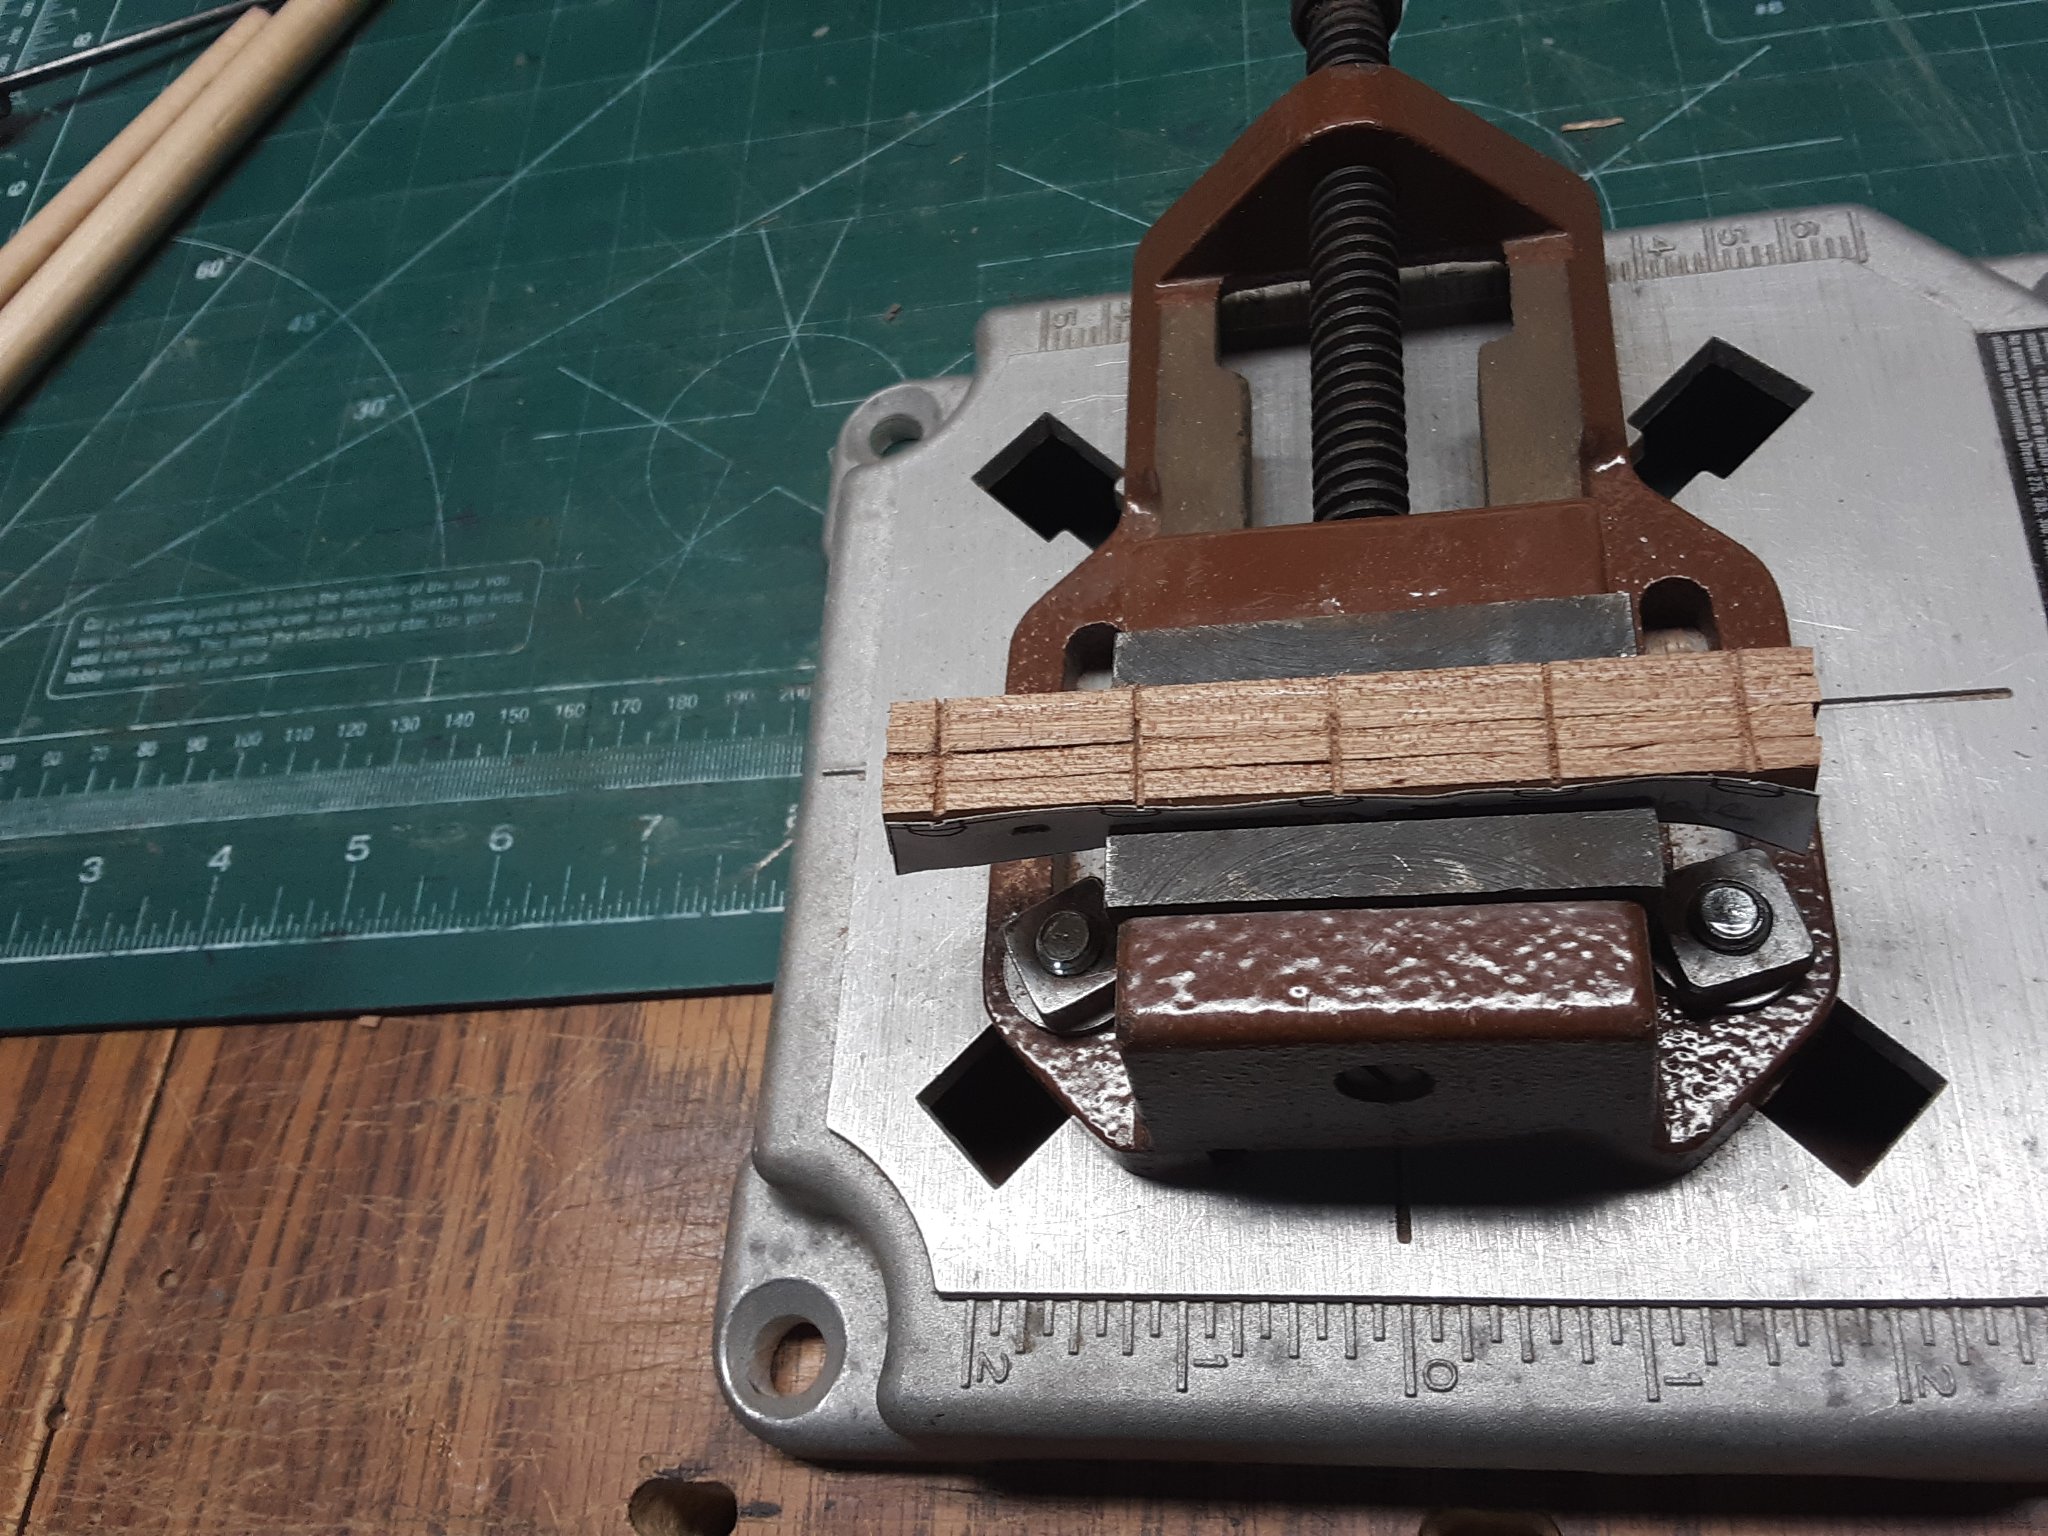
Gratings have been glued together and need a good sanding. Also made the mast holders (don't know the name) and the railings with the reiling pillars.
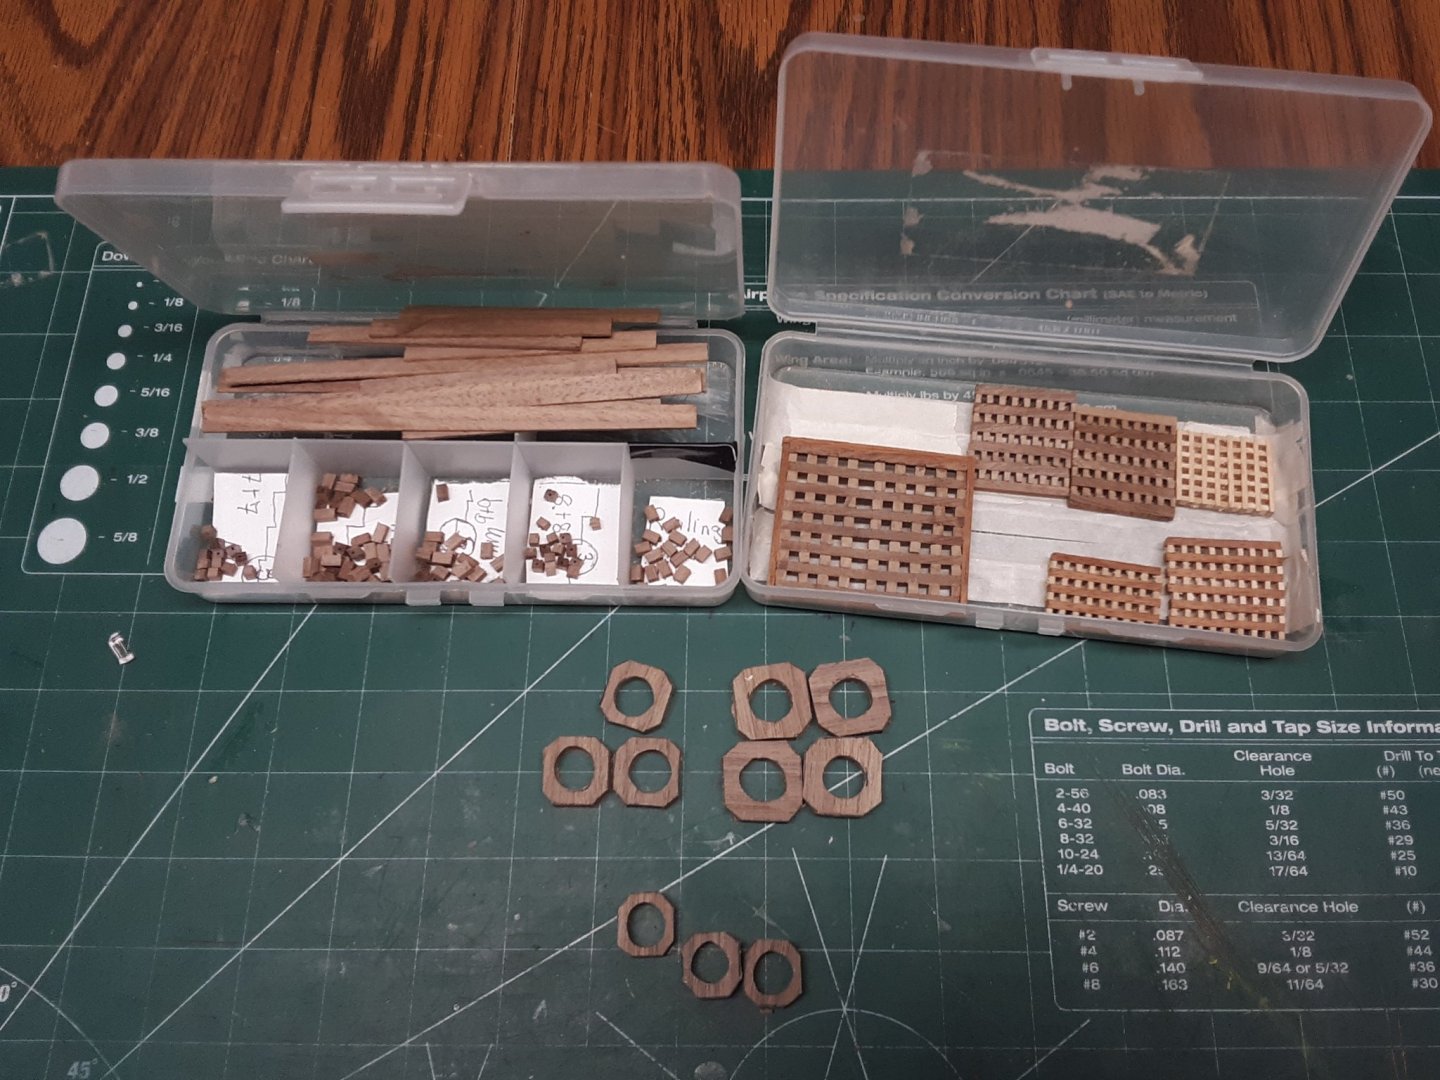
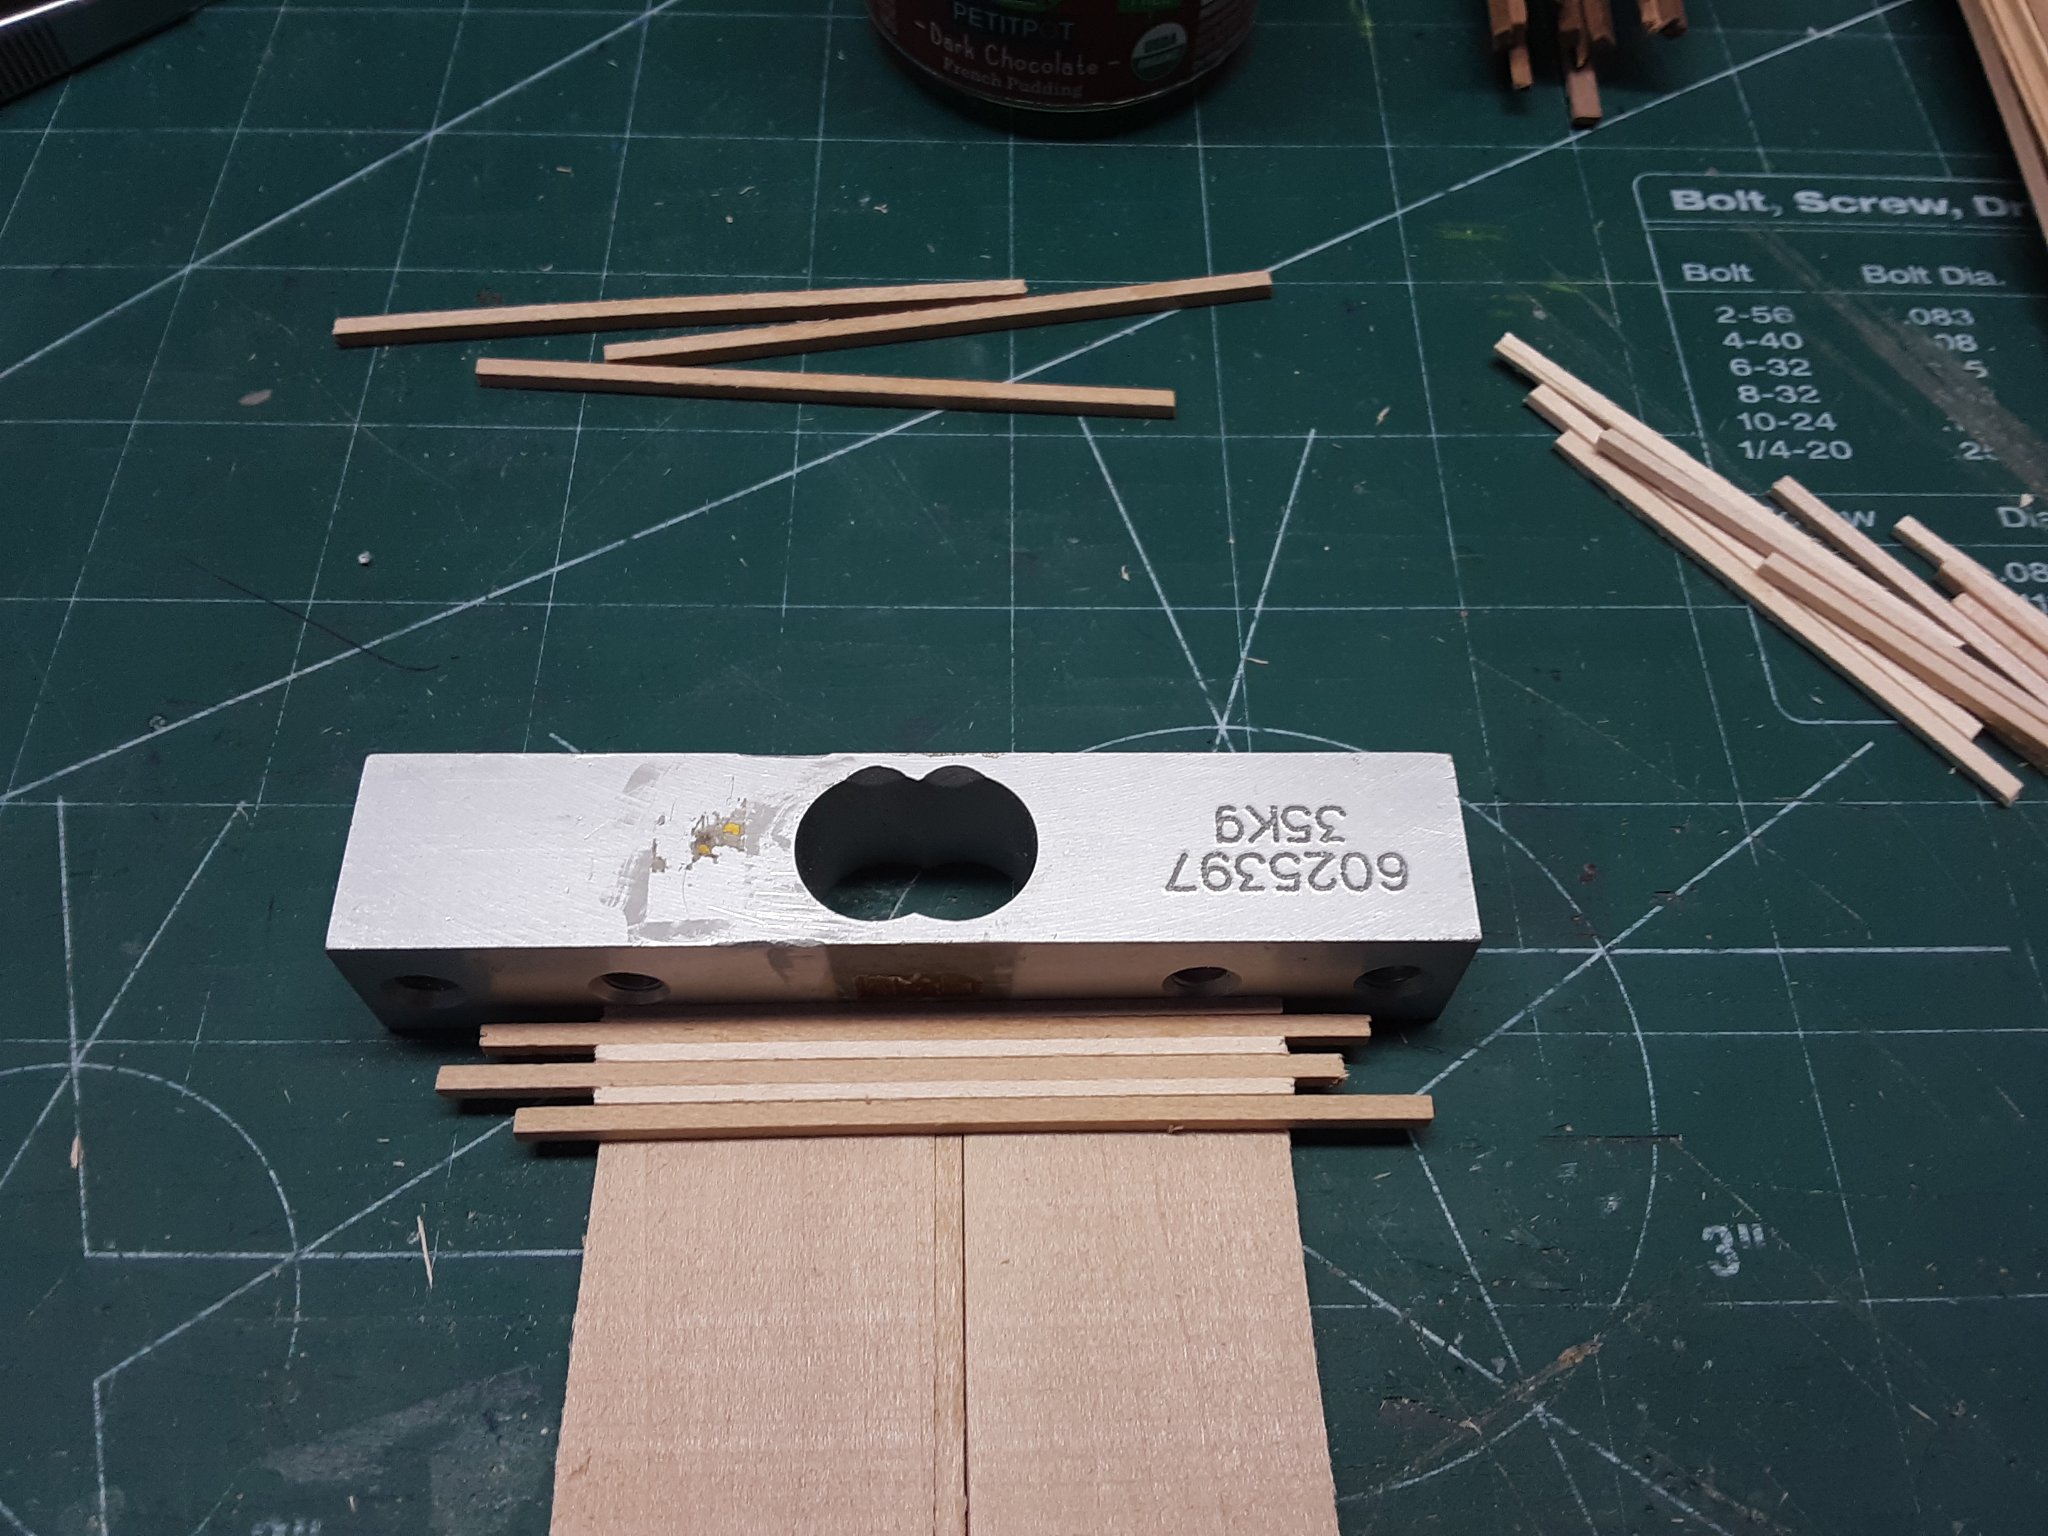
Cut out all the different types of bits and started shaping them.
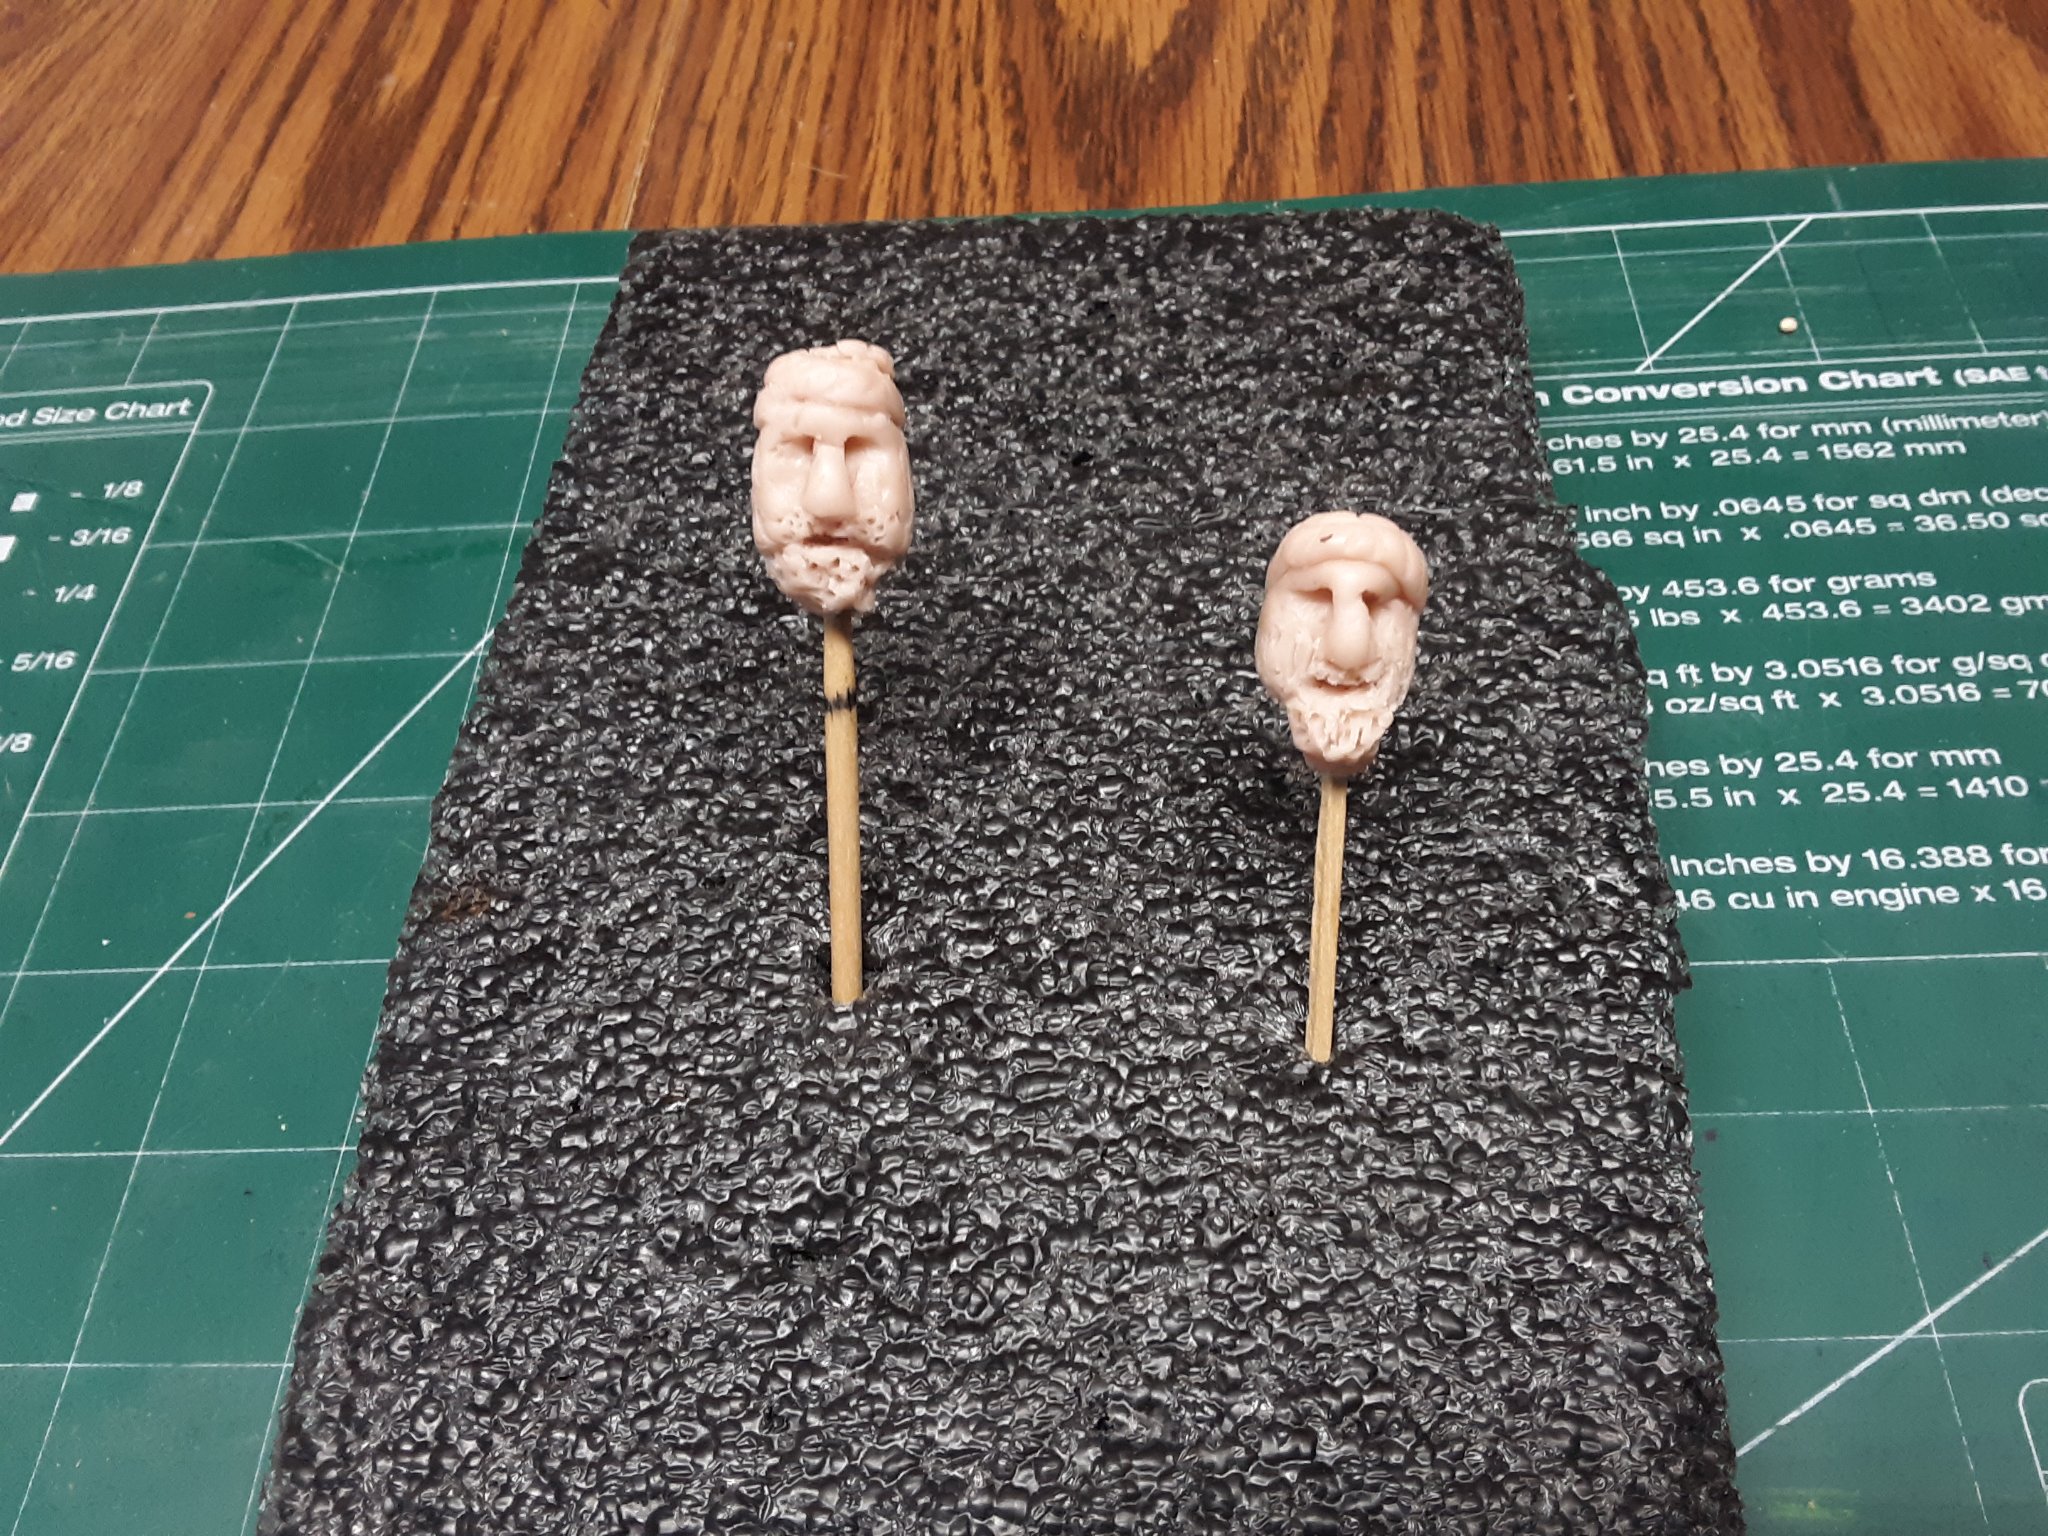
Did some more Sculpey work. These two faces/heads need to be identical, but they are not. Will need to adjust this or leave it as is.

Marcus
- GrandpaPhil, PietFriet, G.L. and 6 others
-
9
-
WOW, One of the best and most detailed "read" I have ever experienced here on MSW. I have several books on rigging and they don't even come close to the details you give on various items on a ship.
Like some have said, "write a book about it" and I would be the first one to buy it.
Marcus
-
-
Thank you for the wise words. Actually, I obsess about everything and after that, I take it in stride. It is only a hobby. I am not doing any life threatening work. You would figure I would be good at it as it is my favorite exercise of building a ship.
Thanks for mathematical formulas and I heard from others that Mondfeld is wrong in many ways.
I do like the diameter of the "mainstay" formula and thanks to giving me examples with how you got to the answers.
Marcus
-
57 minutes ago, amateur said:
Do you have the book (including Cd) of the Tasman-ships?
There is a rather extensive rigging table on the CD. (At least, I guess that is were mine came from). Essentially the system in Dutch ships is comparable to that of the English: rope size (actually: weight) relates to the size of the mainmast (or the mainstay). You can 'rescale' the table in the book. Gives a reasonable outcome. (At least, I am still rather content with the result
") )
)
Jan
LOL, I have the book and cd and I am building the Zeehaen from that book. I am looking at the table and you are correct, it is extensive. How embarrassing, I should have checked this out. (goes and hide in the closet)
I am still interested in how to read the rigging tables in Montfeld's book.
Marcus
-
-
Next question.
How do you determine what is the right size of line? Historic Ship Models by Wolfram zu Mondfeld cover standing rigging sizes from 16th through 19th century on page 272 and 273 and running rigging on page 308 and 309.
How do I read this information?
40%, 16%, etc. What do the percentages mean?
Thanks
Marcus
-
Thanks for all the suggestions.
@Justin P. I do not know the diameter of the real rope. I wish I did because than my job would be much easier.
@Jaager Love the simple explanation and will give it a go.
@allanyed No British vessel, I built only Dutch ships. There is much more info on rigging British ships than on Dutch ships.
Marcus
-
On my last 2 scratch build ships I have guessed the thickness of the different types of rope used. Now that I am working on the Fluit, the Zeehaen, I think that guesstimating the thickness of rope is out of the question.
Is there a formula one uses to figure out how the thickness of rope is calculated?
For example :
x = scale of the ship
y = real size of the ship
z = thickness of rope
Taking in account the year and nationality of the ship (1639, Dutch), or this does not matter?
I know the scale is important which for the Zeehaen is 1:37.5.
Thank you in advance.
Marcus
-
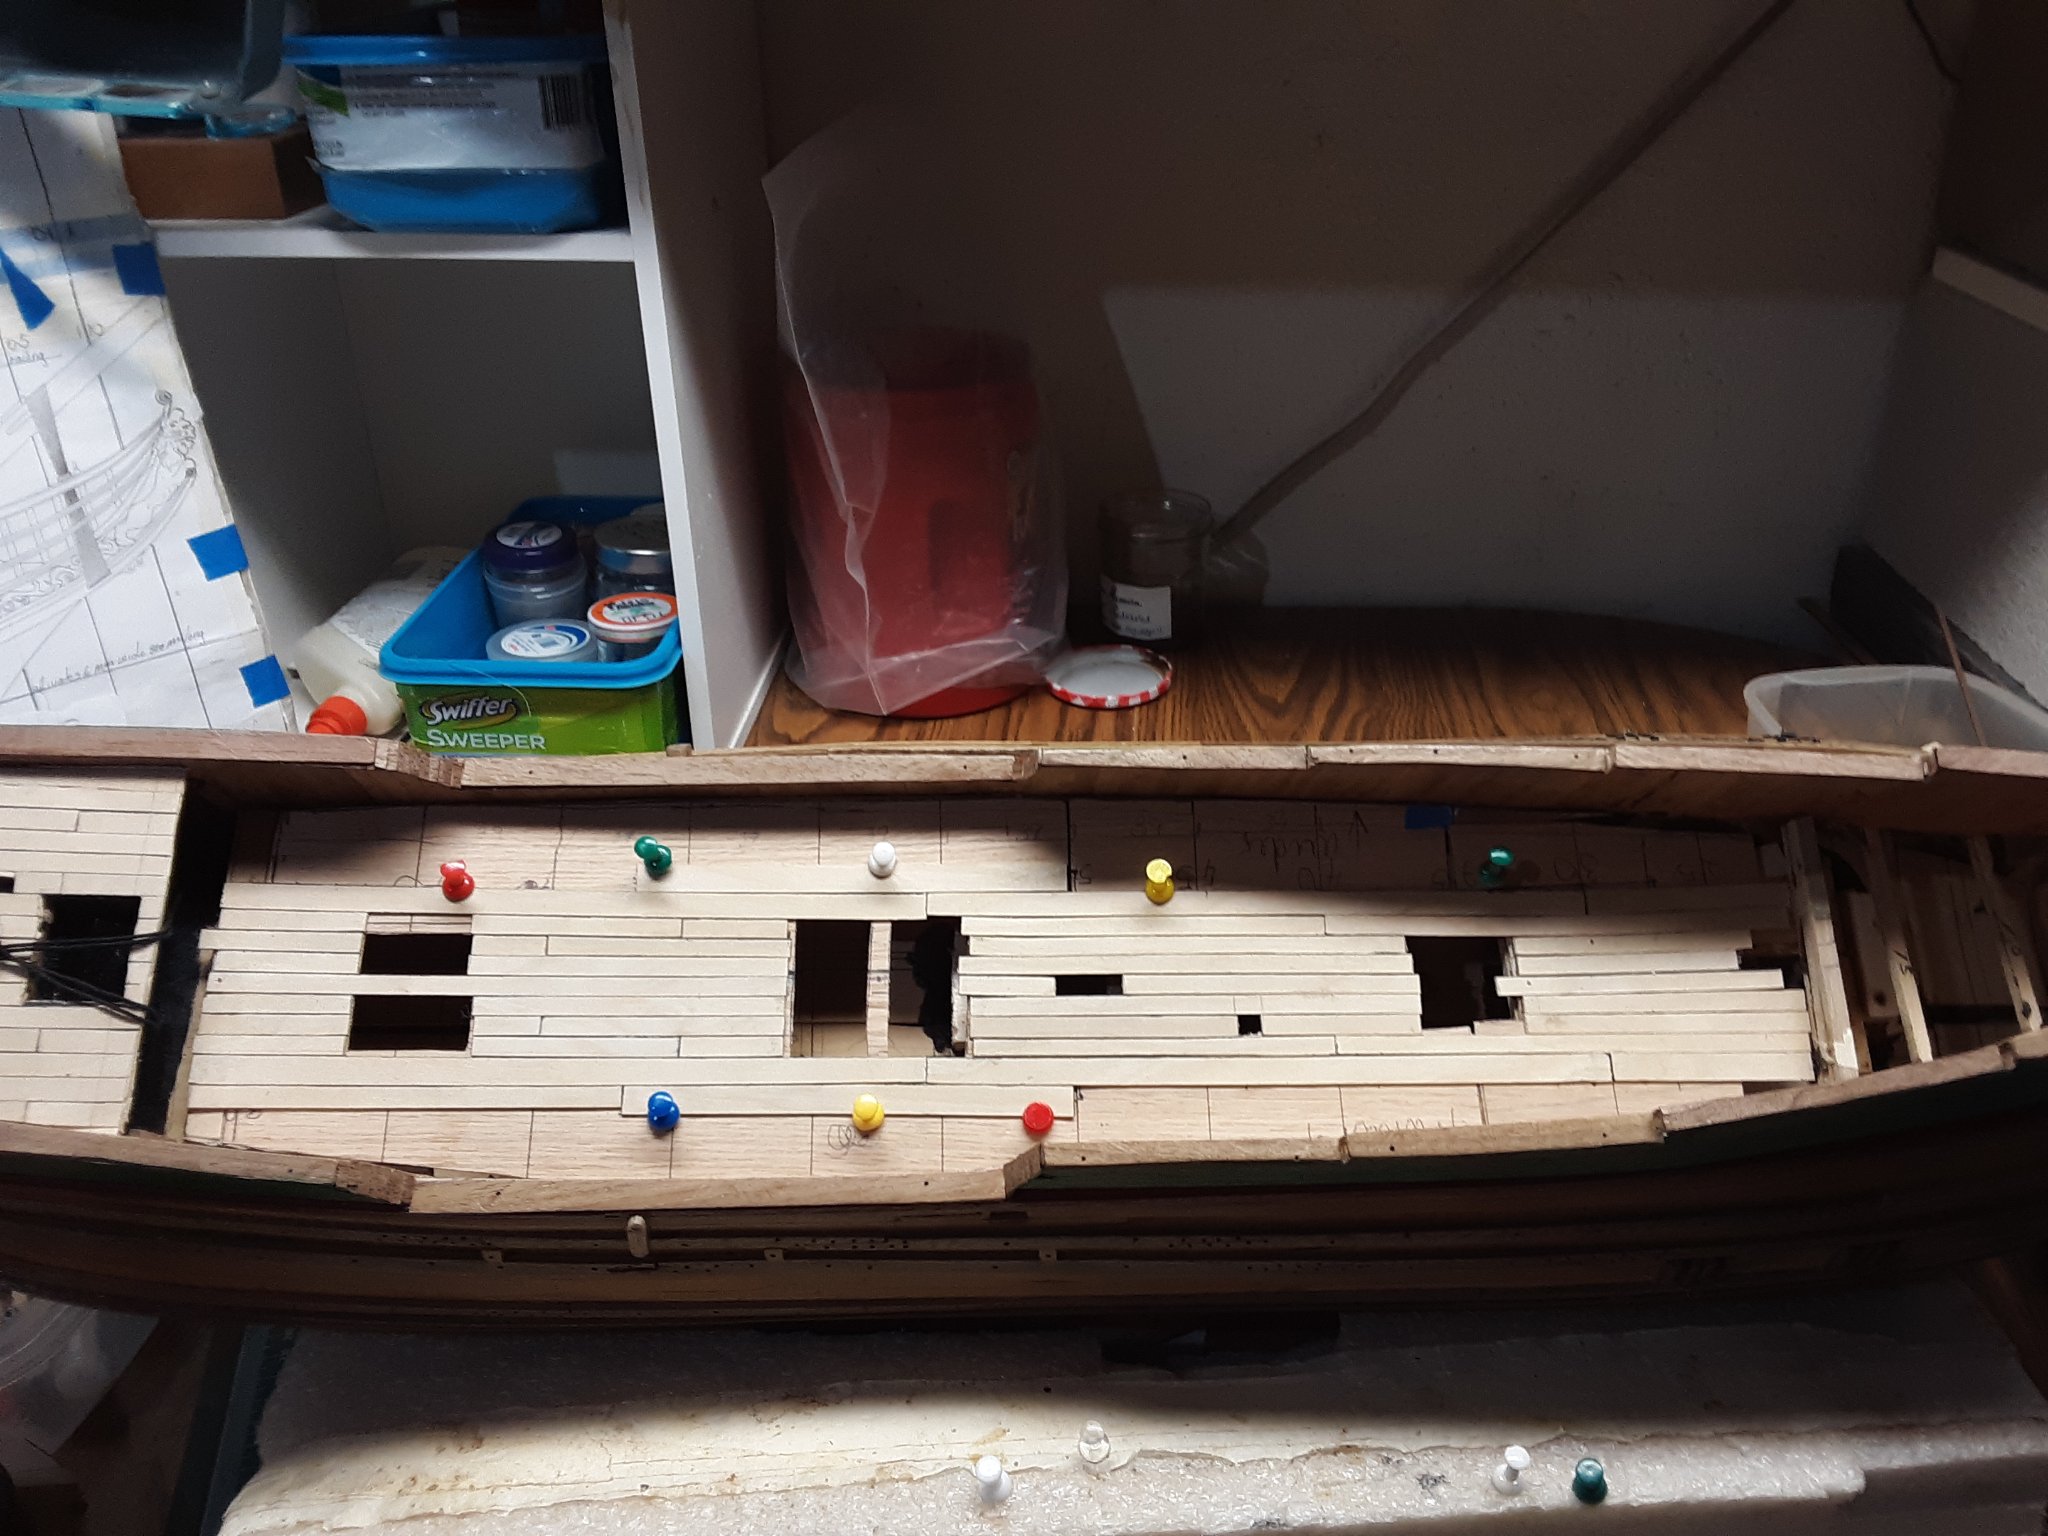
Thanks for all the likes and comments.
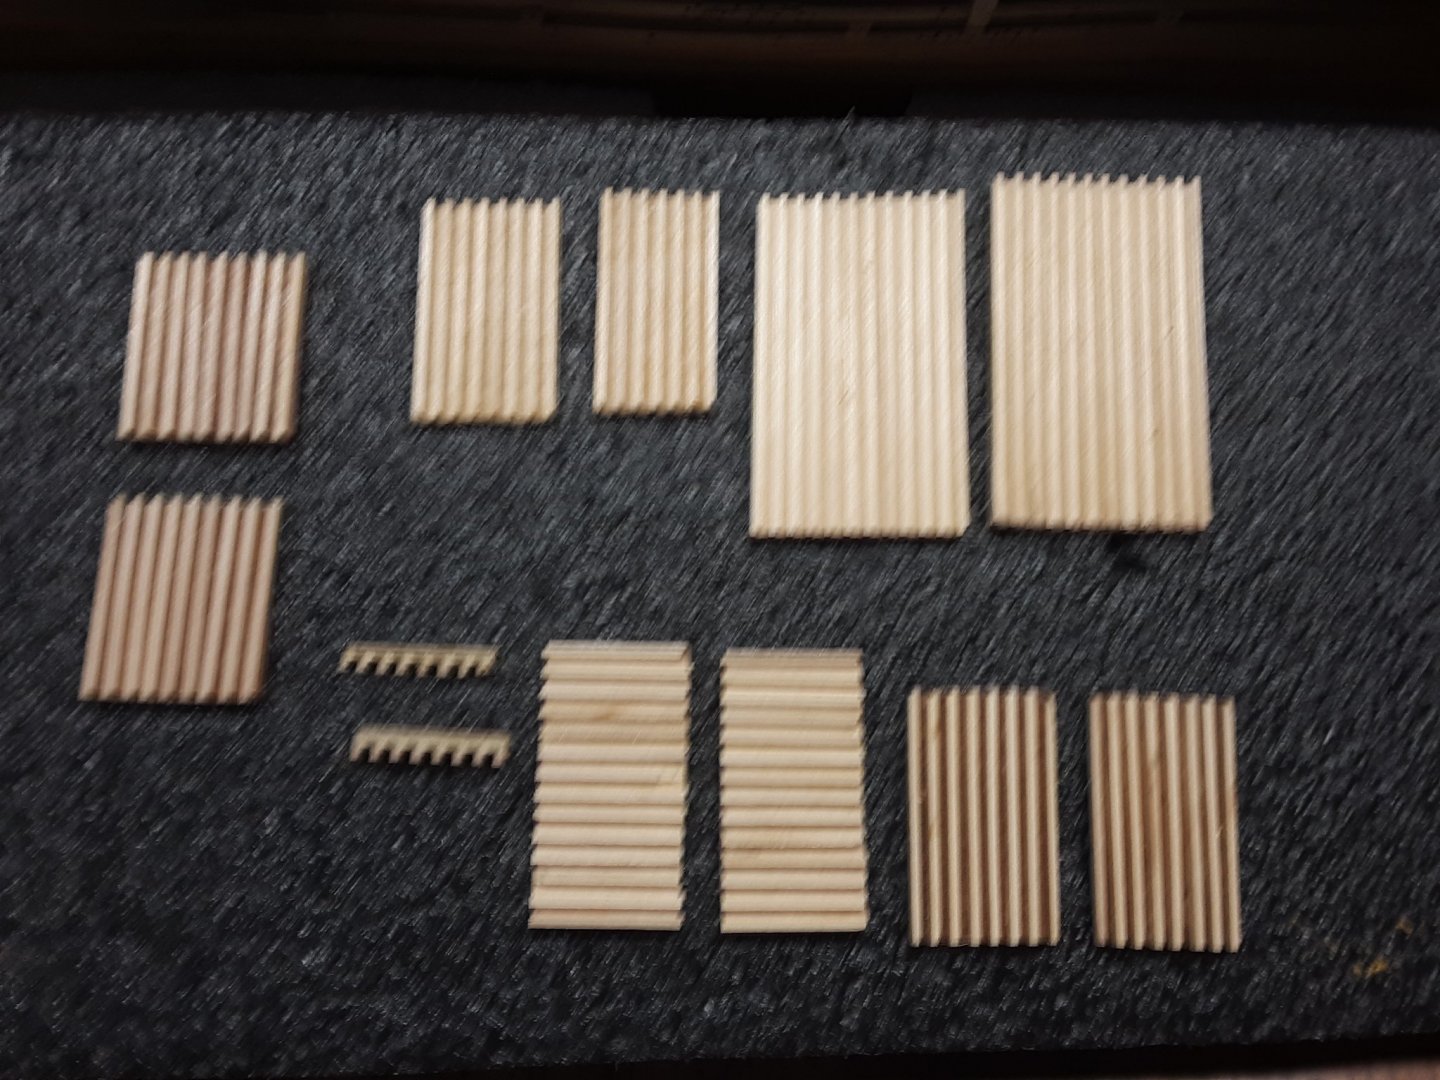
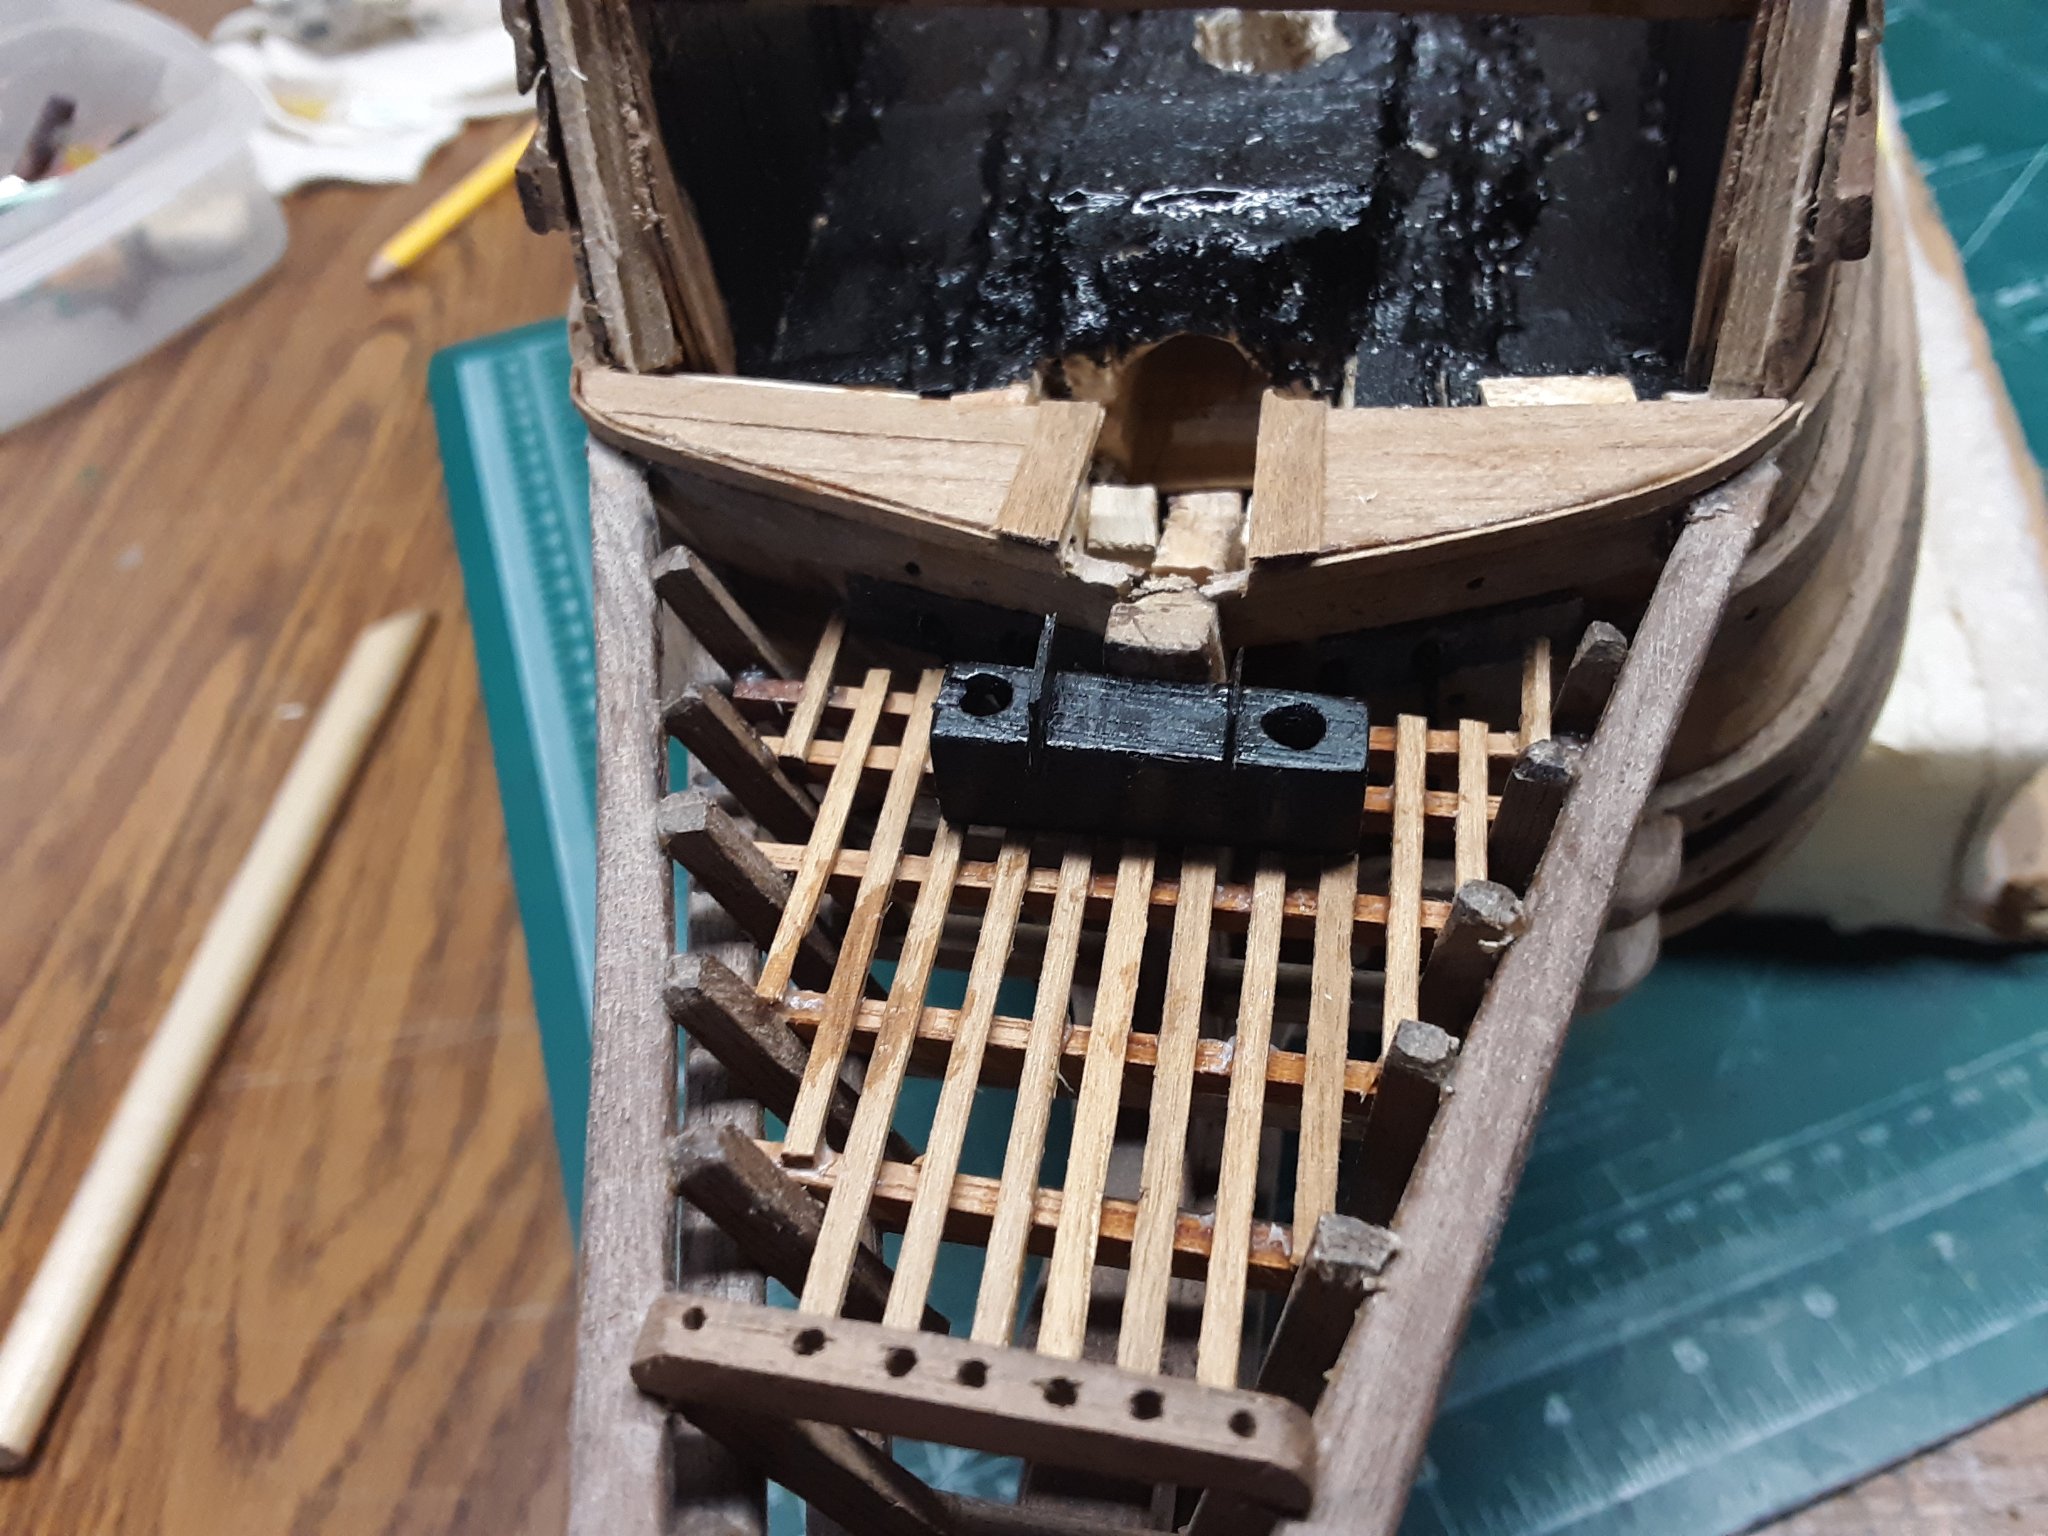
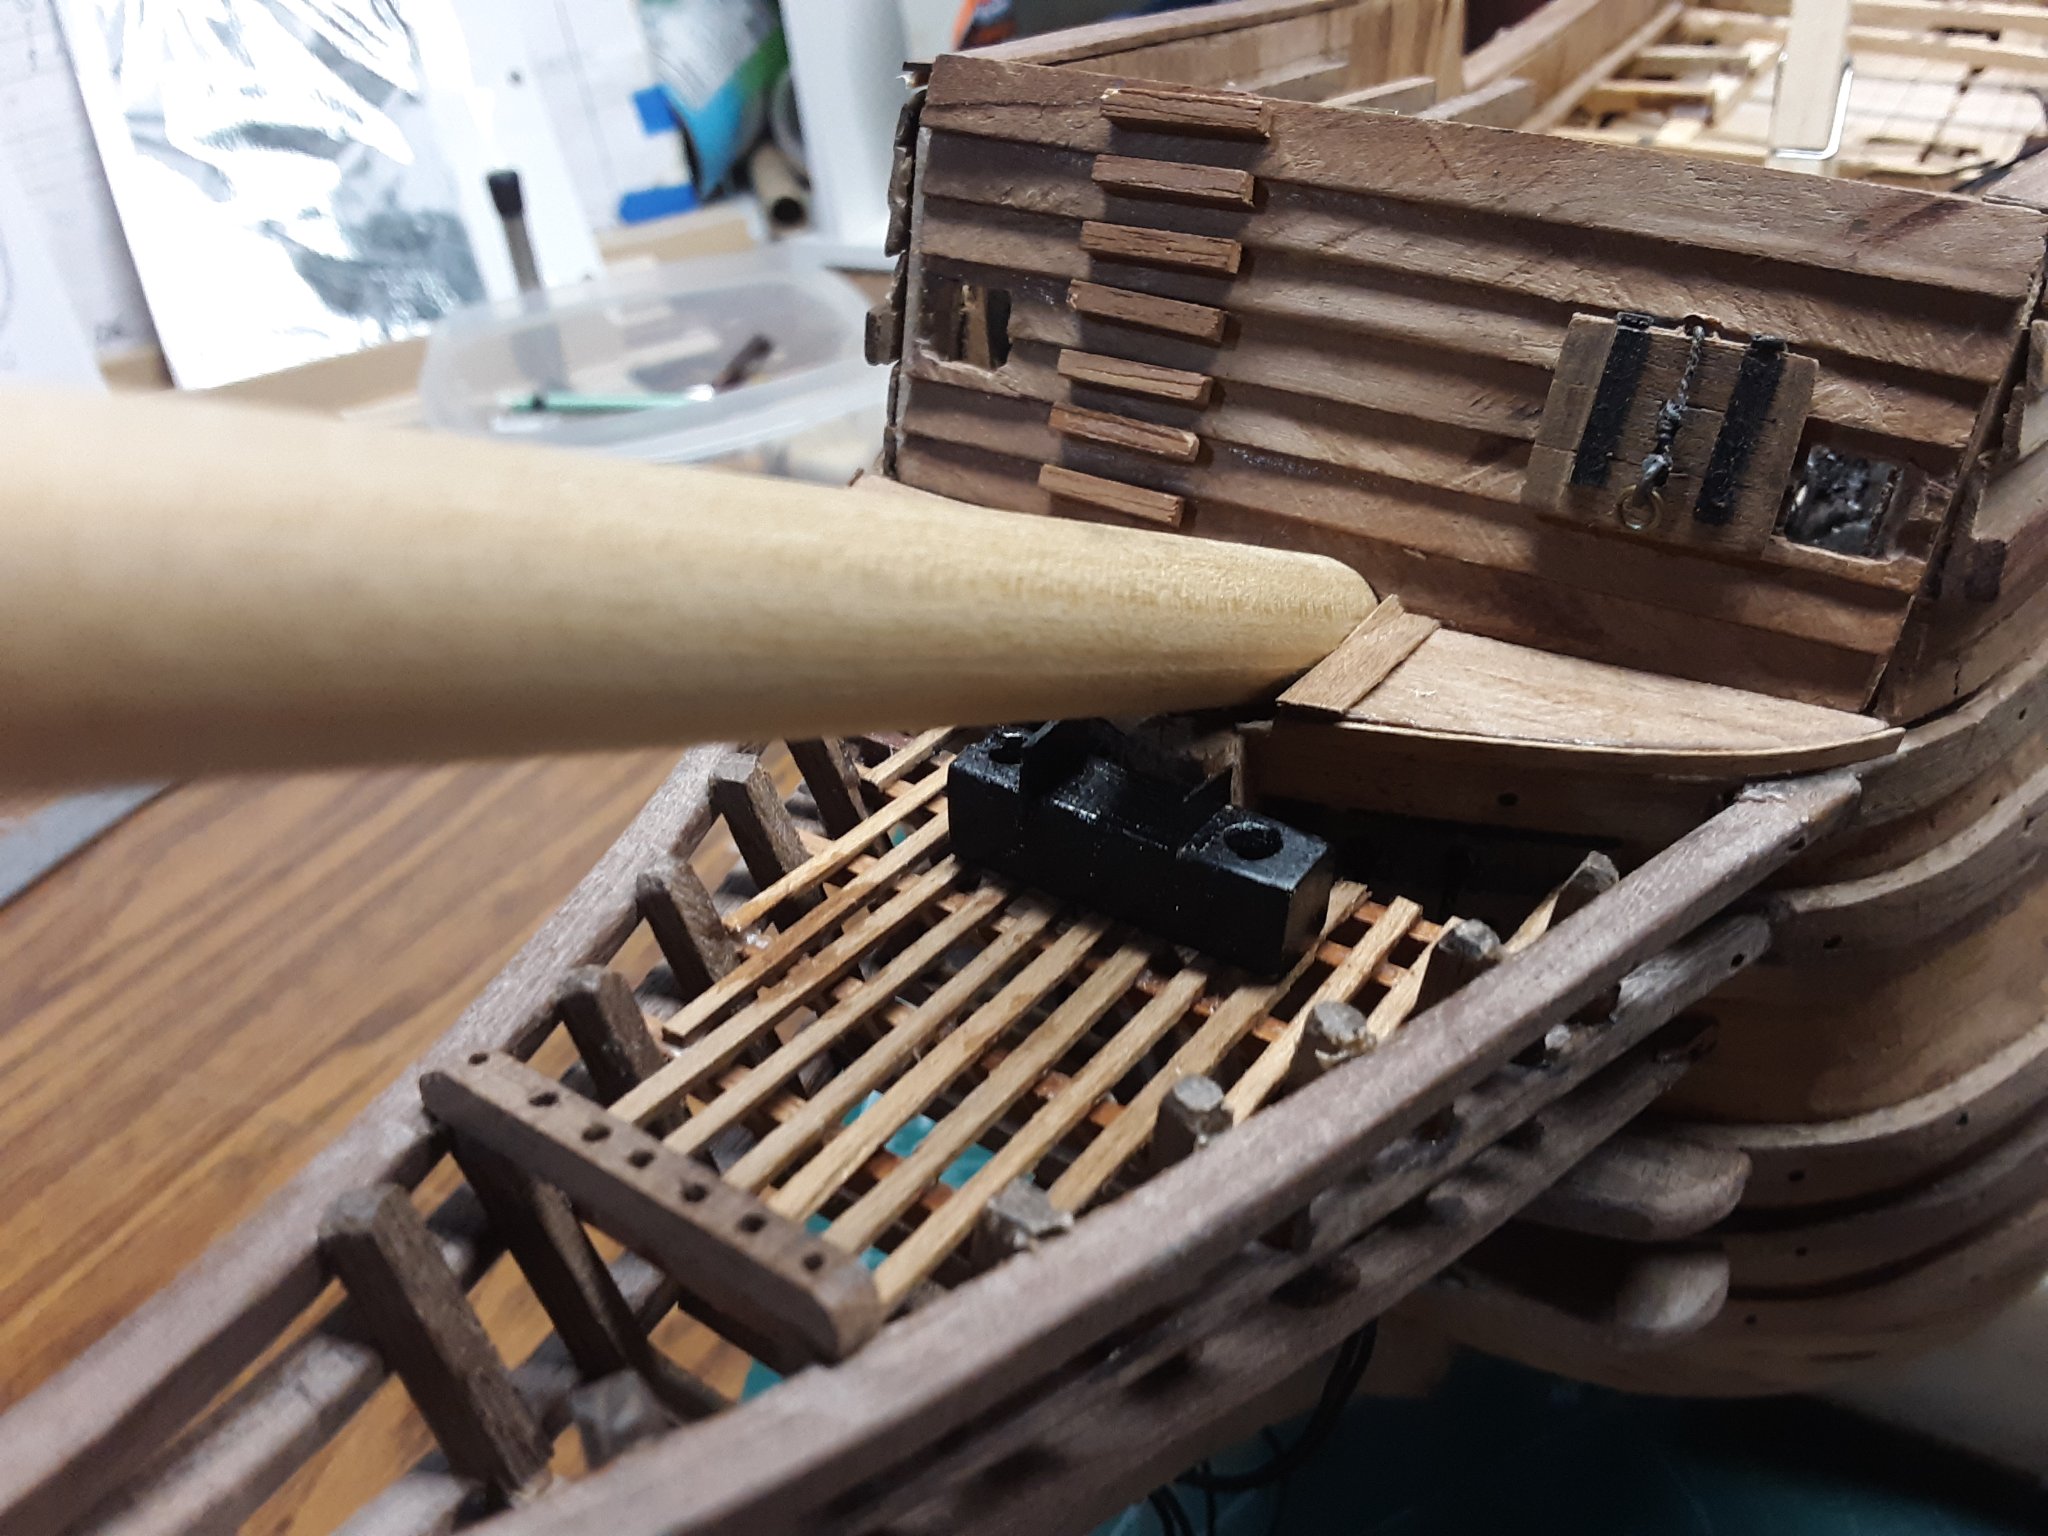
Gratings:
Started glueing 1mm x 1mm strips of basswood on basswood squares. Once dry I will cut them in 3mm pieces. Then I will turn them on edge and glue the pieces together. Once dry, a frame will be made around it and installed on the decks. (I am using the example on pg 113, 114 of Ship Modeler's Shop Notes 1 from the NRG).

Next, slowly planking the deck. The wood strips that are located where the gratings go are 8mm and 9mm wide and all other strips are 6mm wide. The average length on all of them is 200mm. Planking the decks towards the edge of the inside of the hull wall is another exercise of patience. Unlike most ships the hull wall goes straight up but on the Fluit it bends inward. Lots of trail and error.
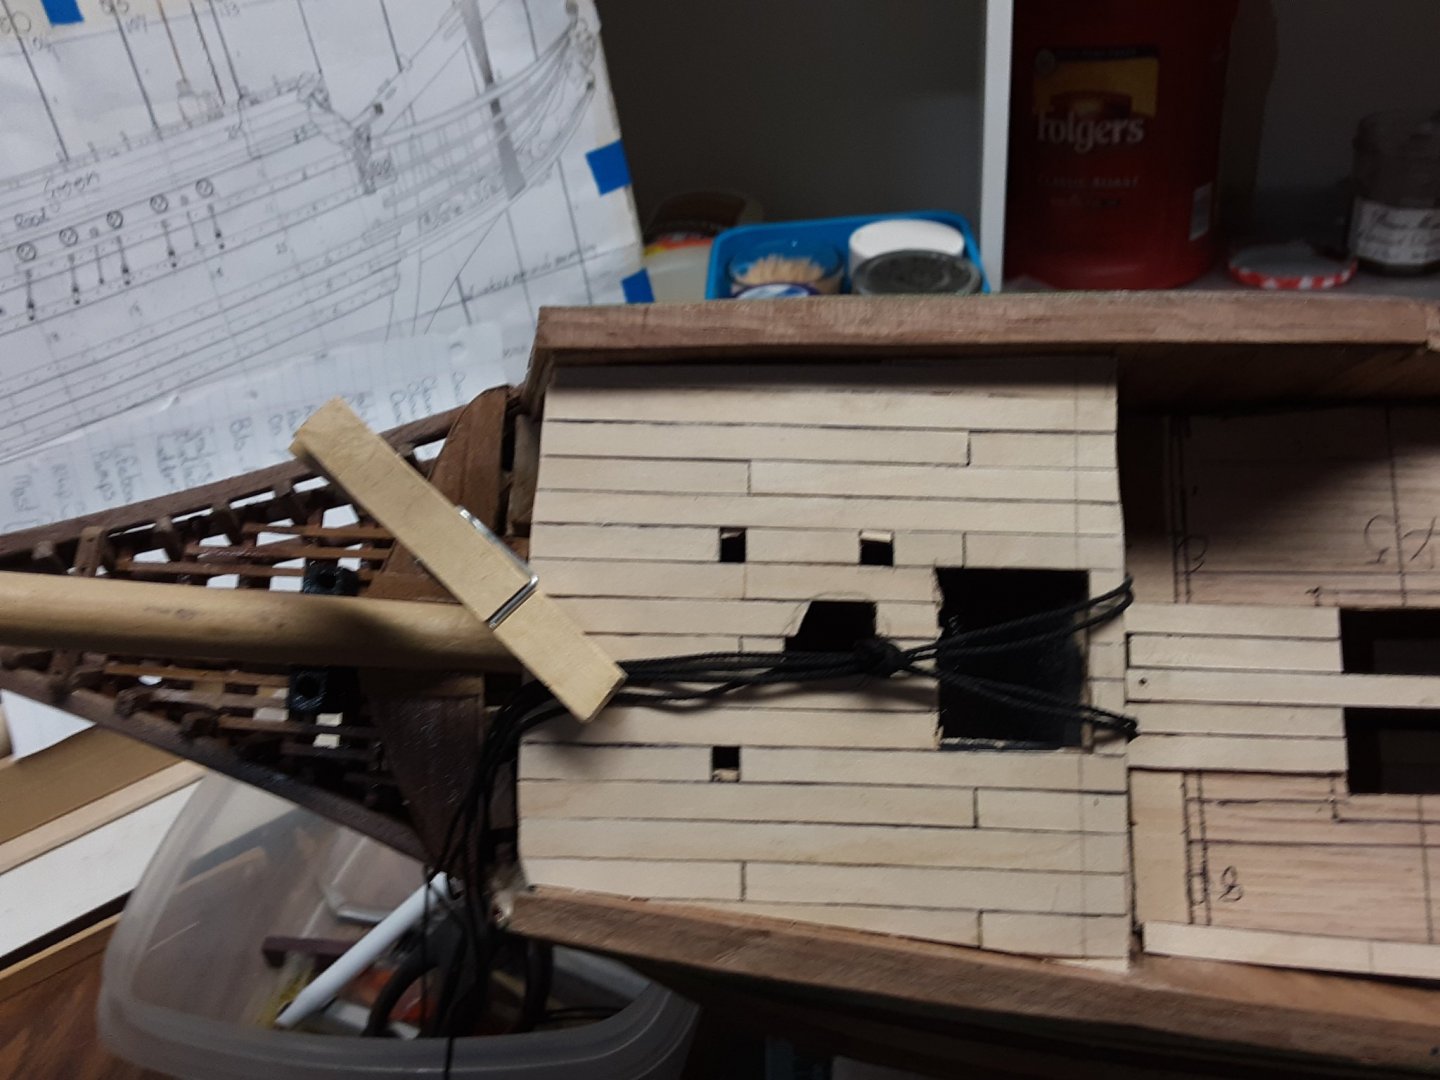


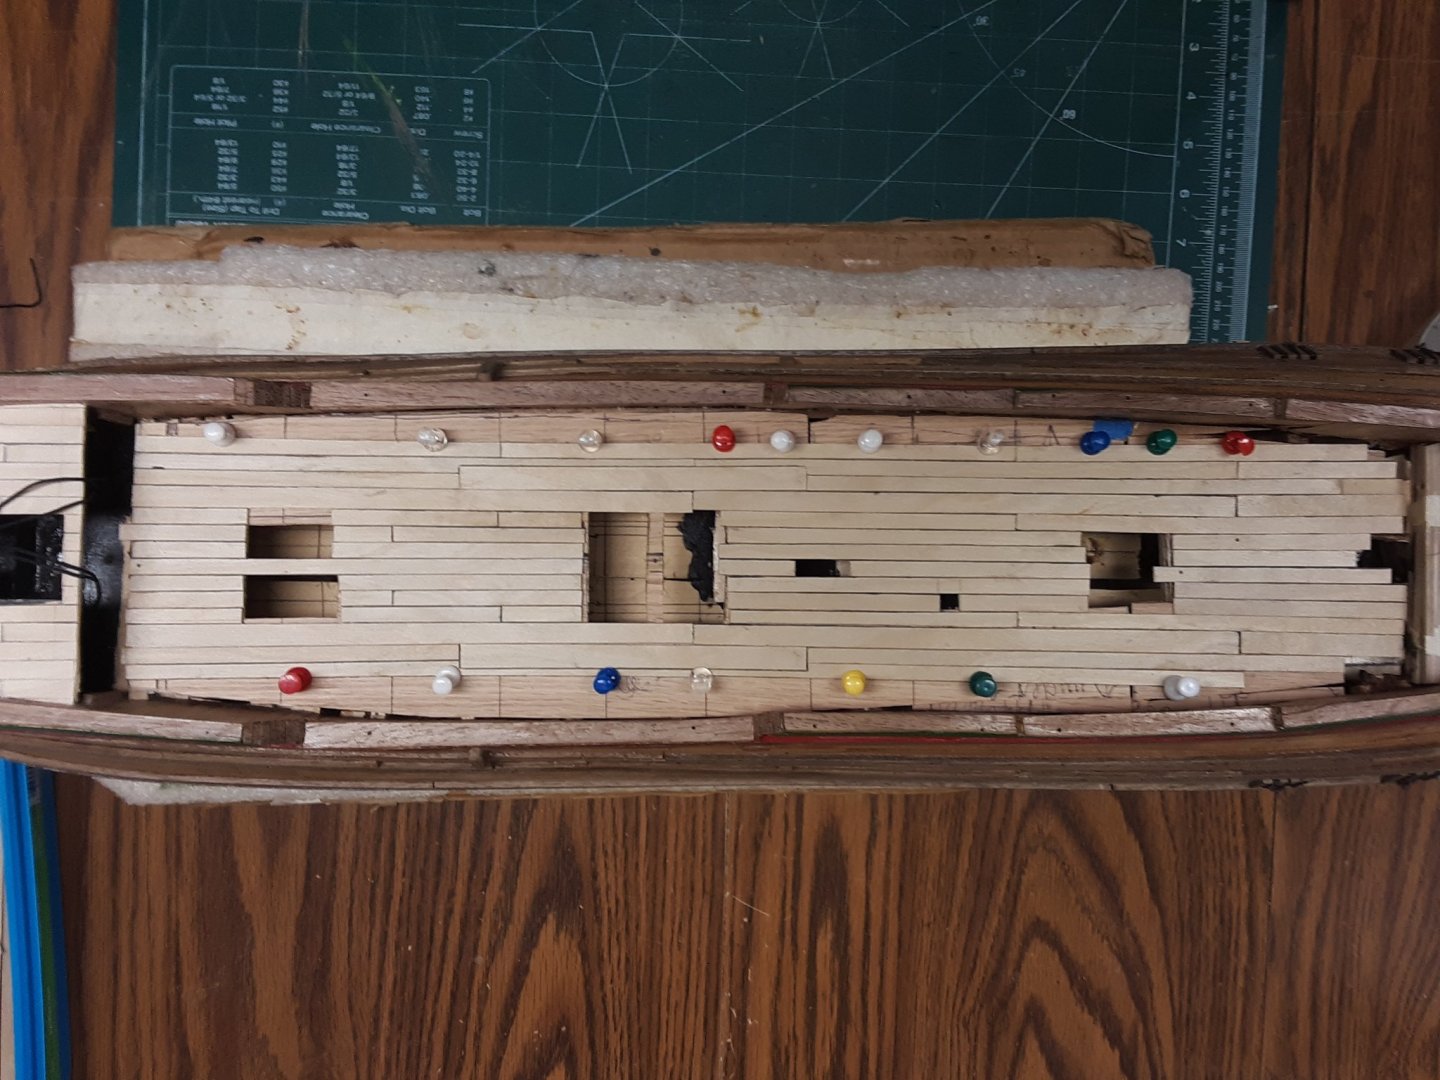
Stern windows have been glued.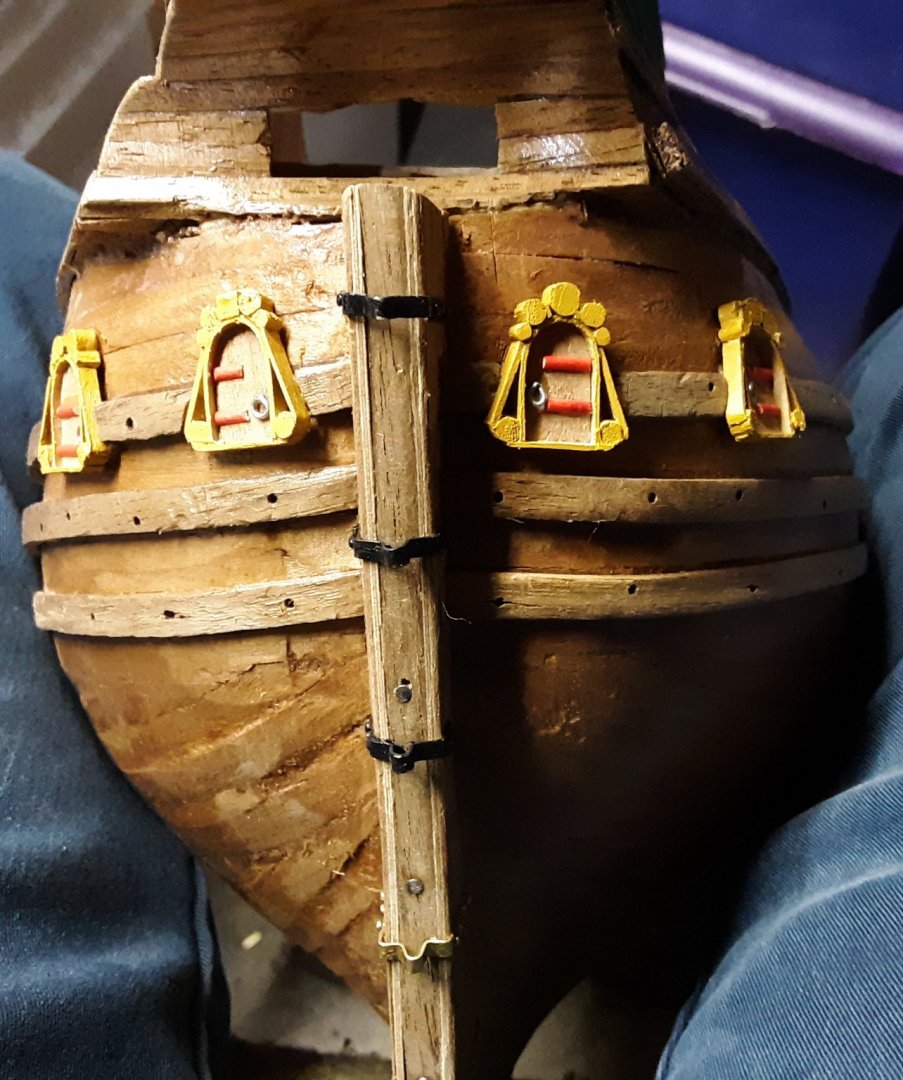
Marcus -
Steven,
Thanks for the comment and I agree with you on the Sculpey subject. I'm just not very good with carving figures. I attempted this with basswood in my Statenjacht Utrecht built and most of the carvings look more like 2D than 3D.
What I like about building just merchant ships is that there is a minimal amount of ornamentations. The Zeehaen has a few here and there.
On a Dutch site, modelbouwforum.nl there is a advanced builder who built "het wapen van Hamburg", he has posted a tutorial on how to do faces in Sculpey.
Marcus
-
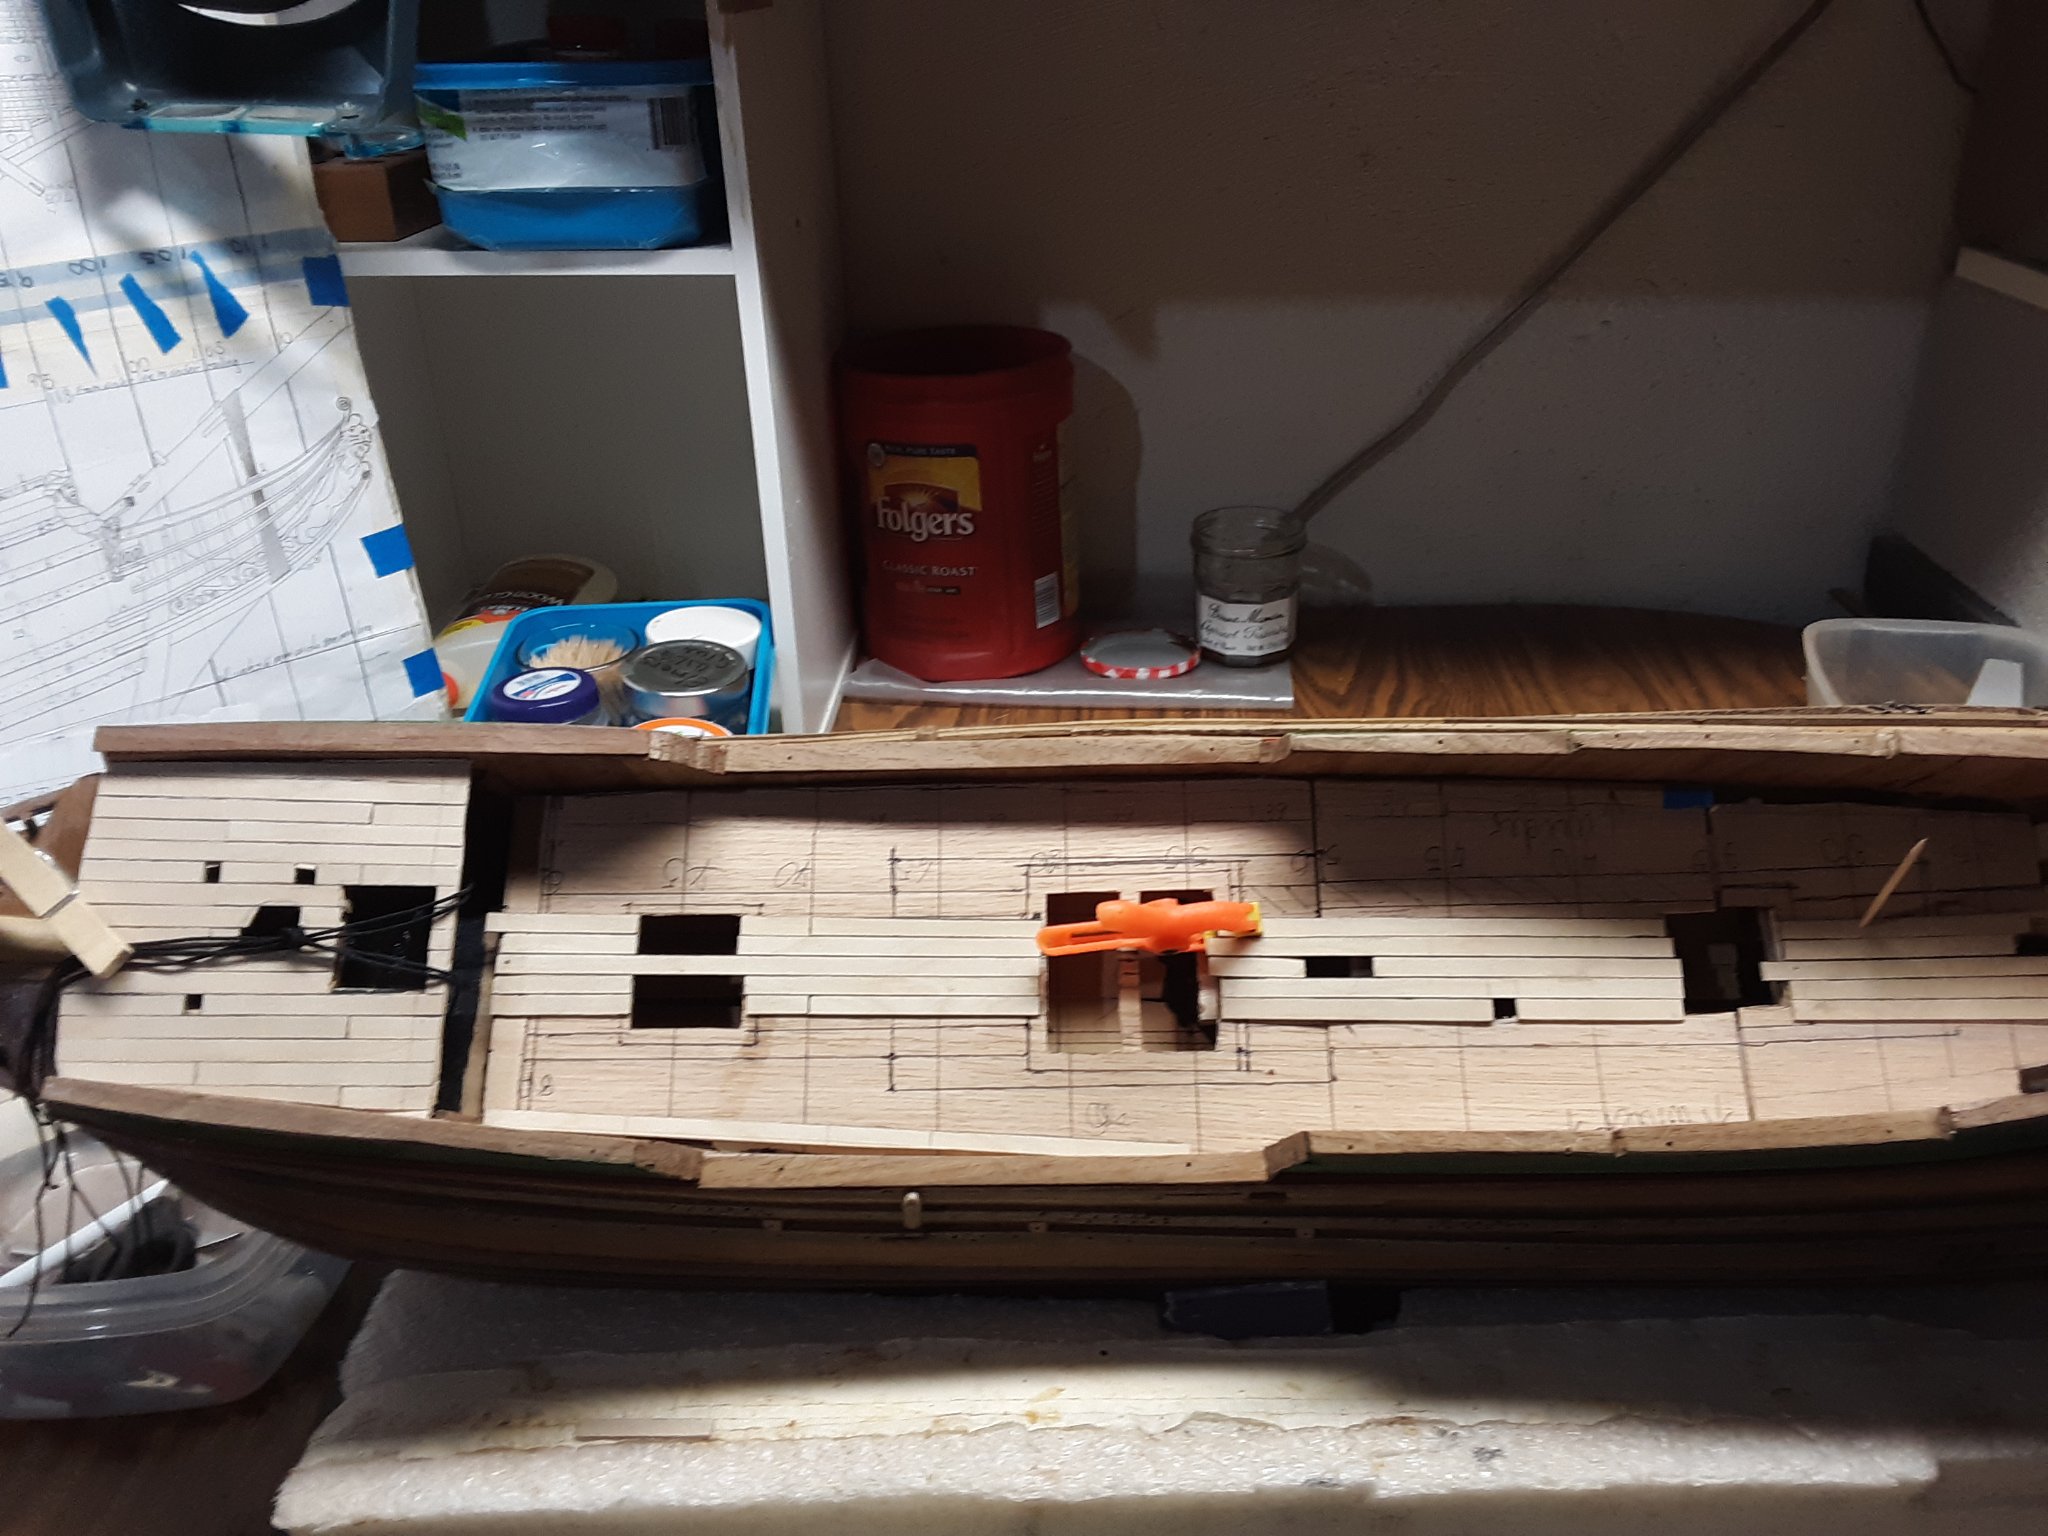
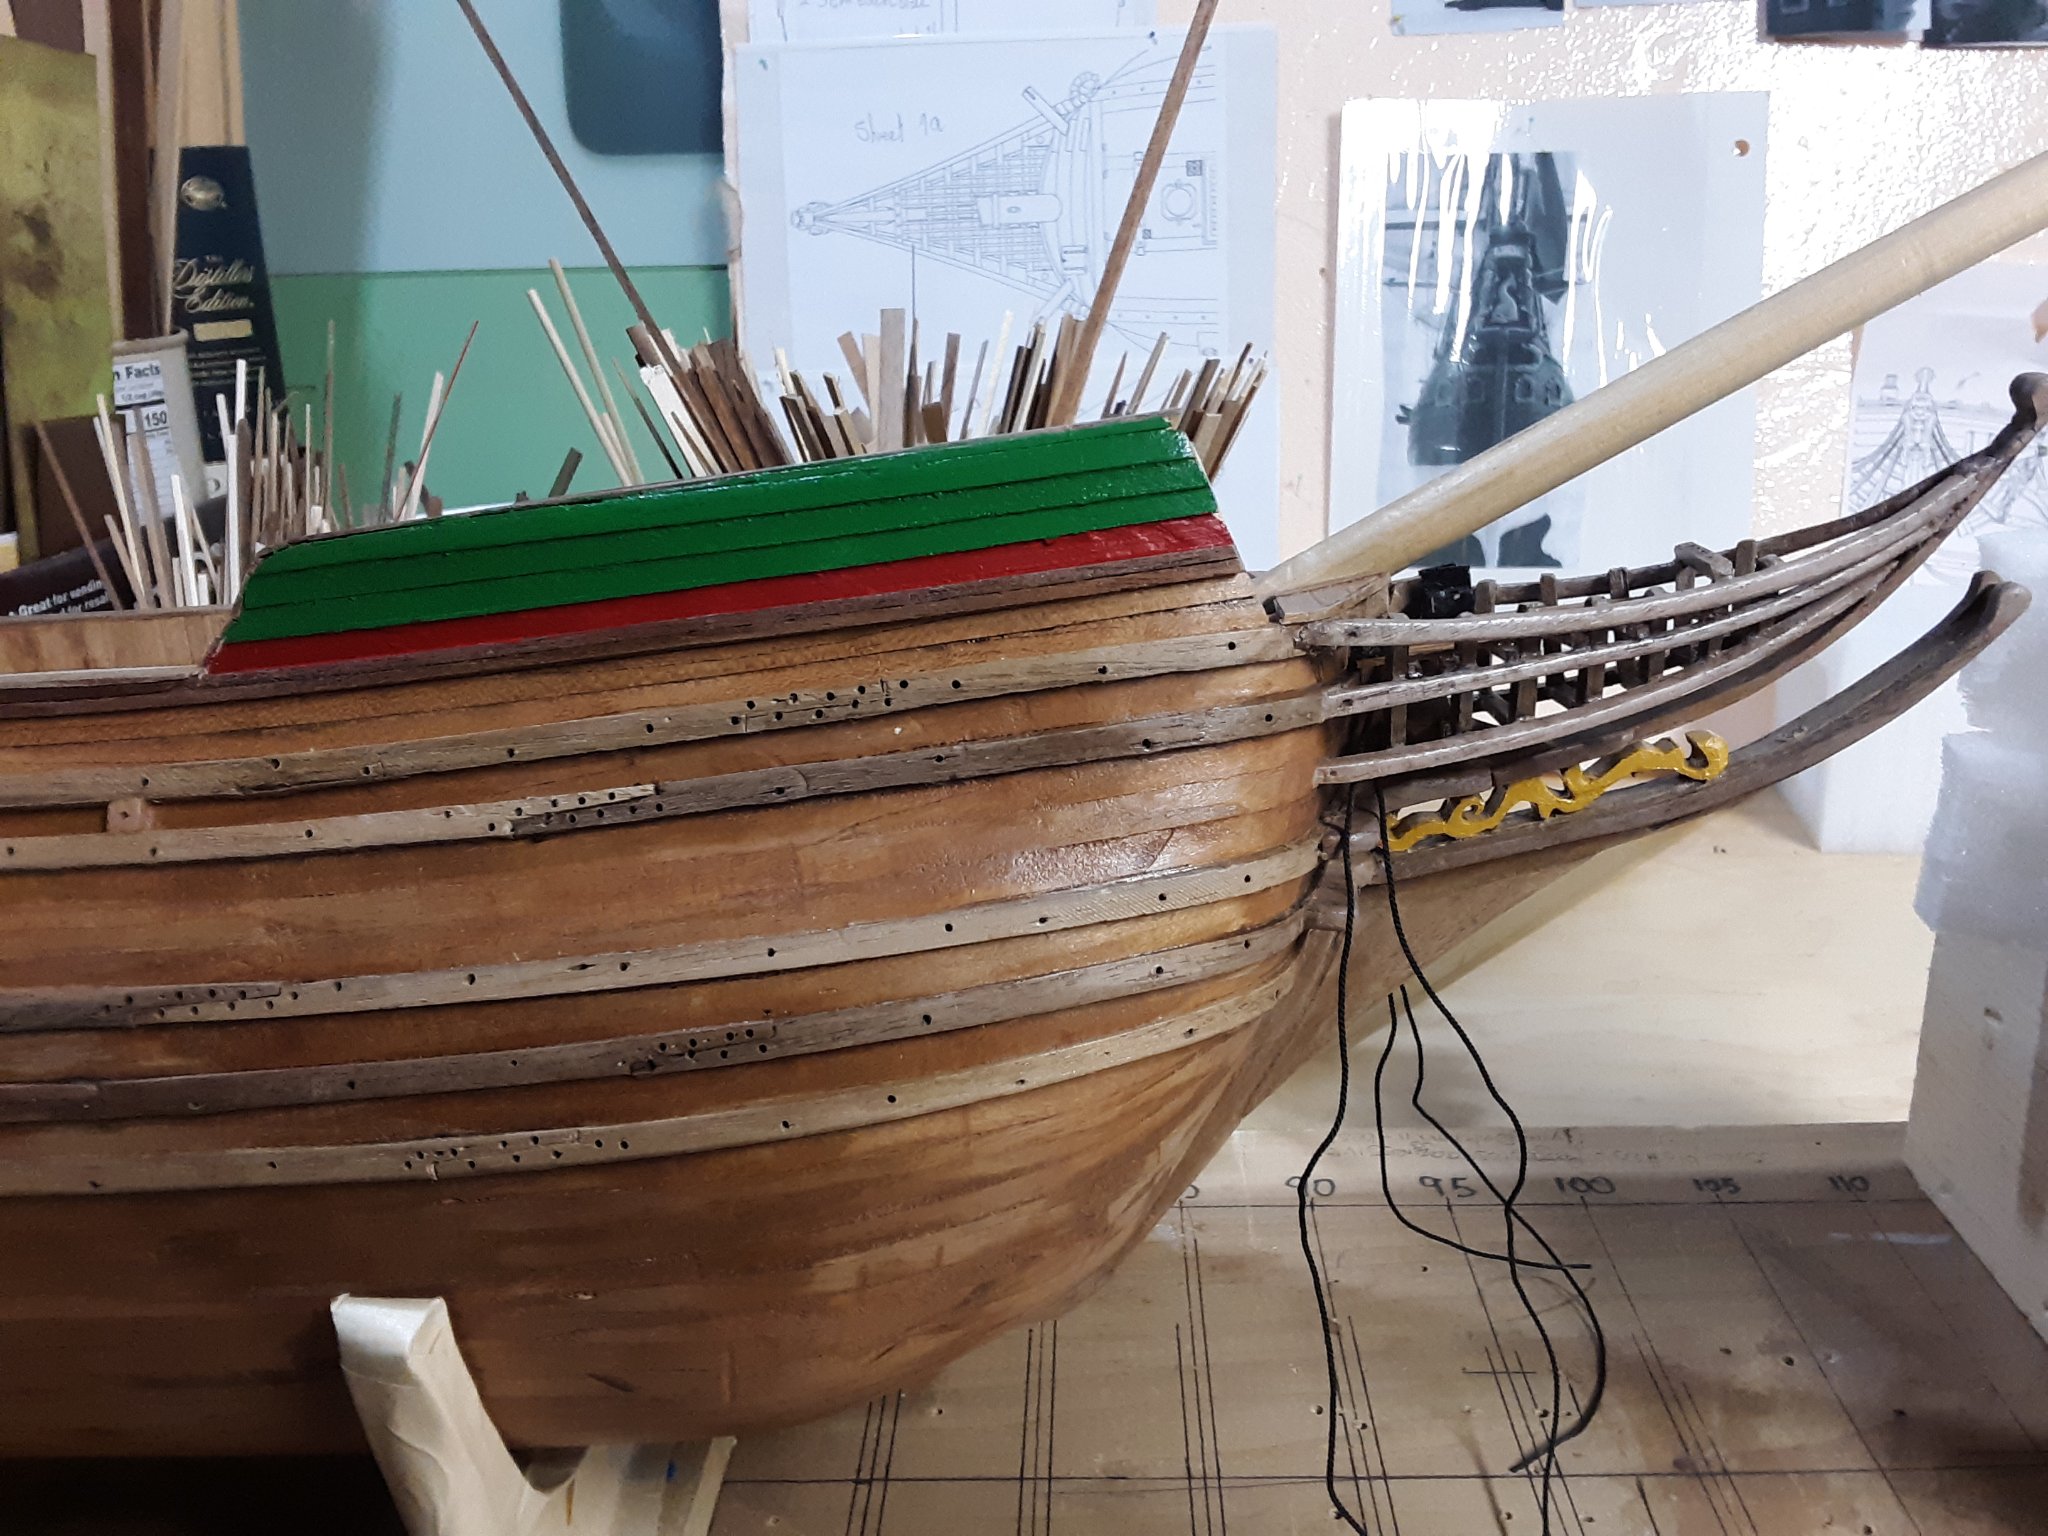
Thanks for all the likes and comments.
Added a layer of sanding sealer to the outside of the hull. The advantage for me is that when I paint any area of the hull and accidentally get paint on an area which is not to be painted, it wipes off easily without leaving anything behind.
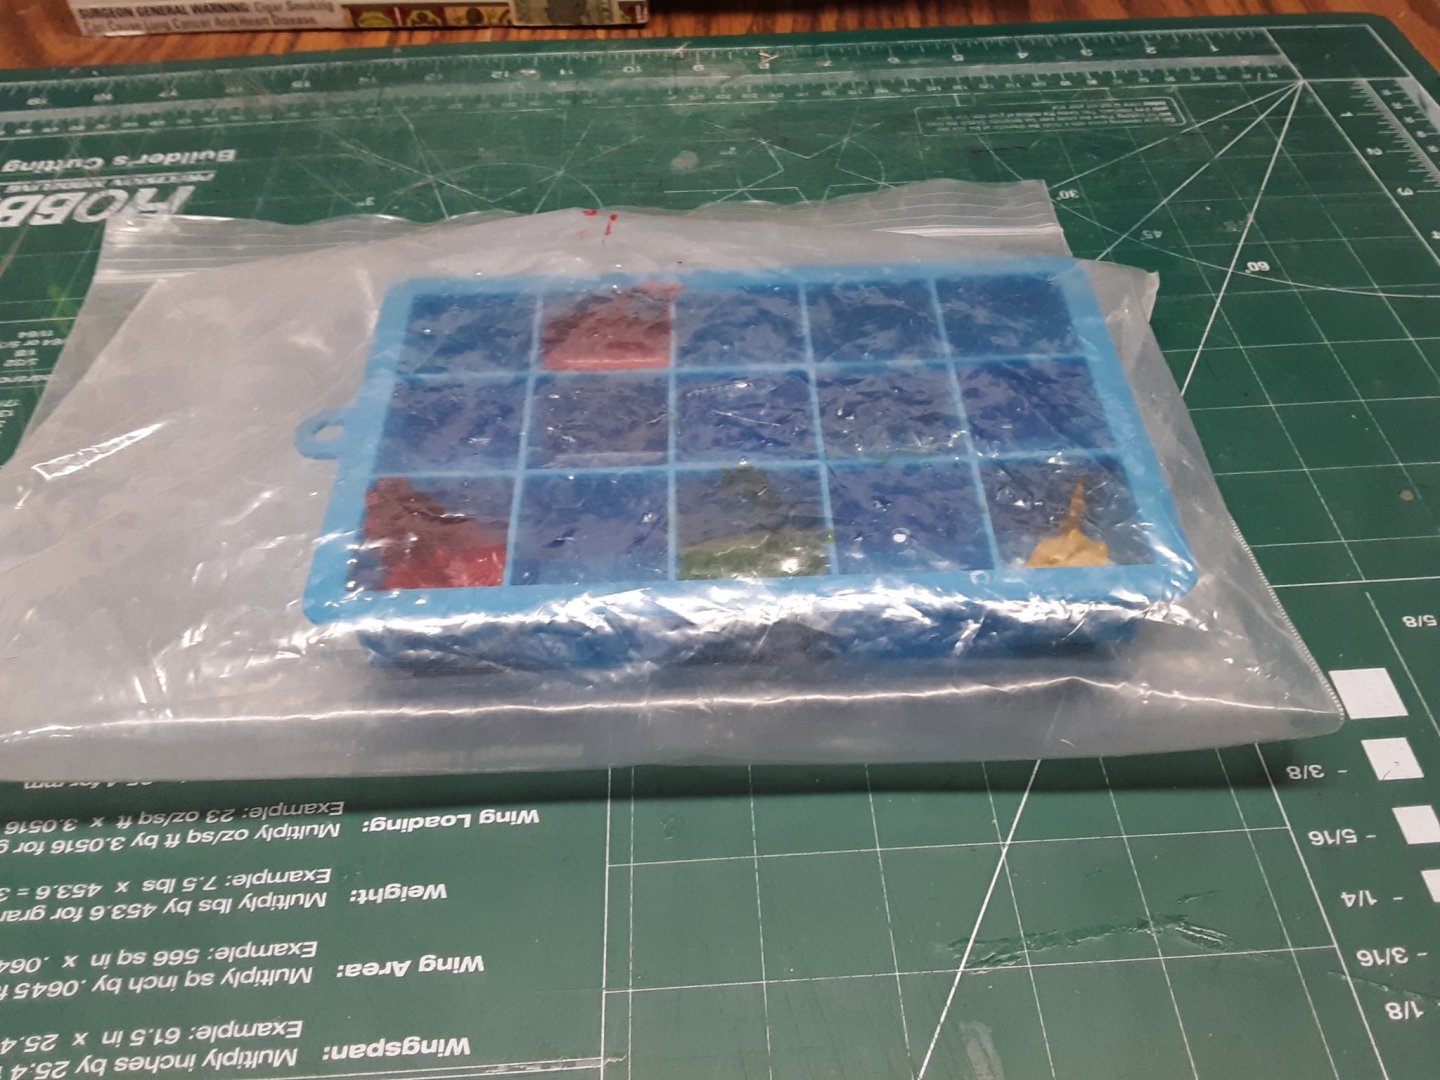
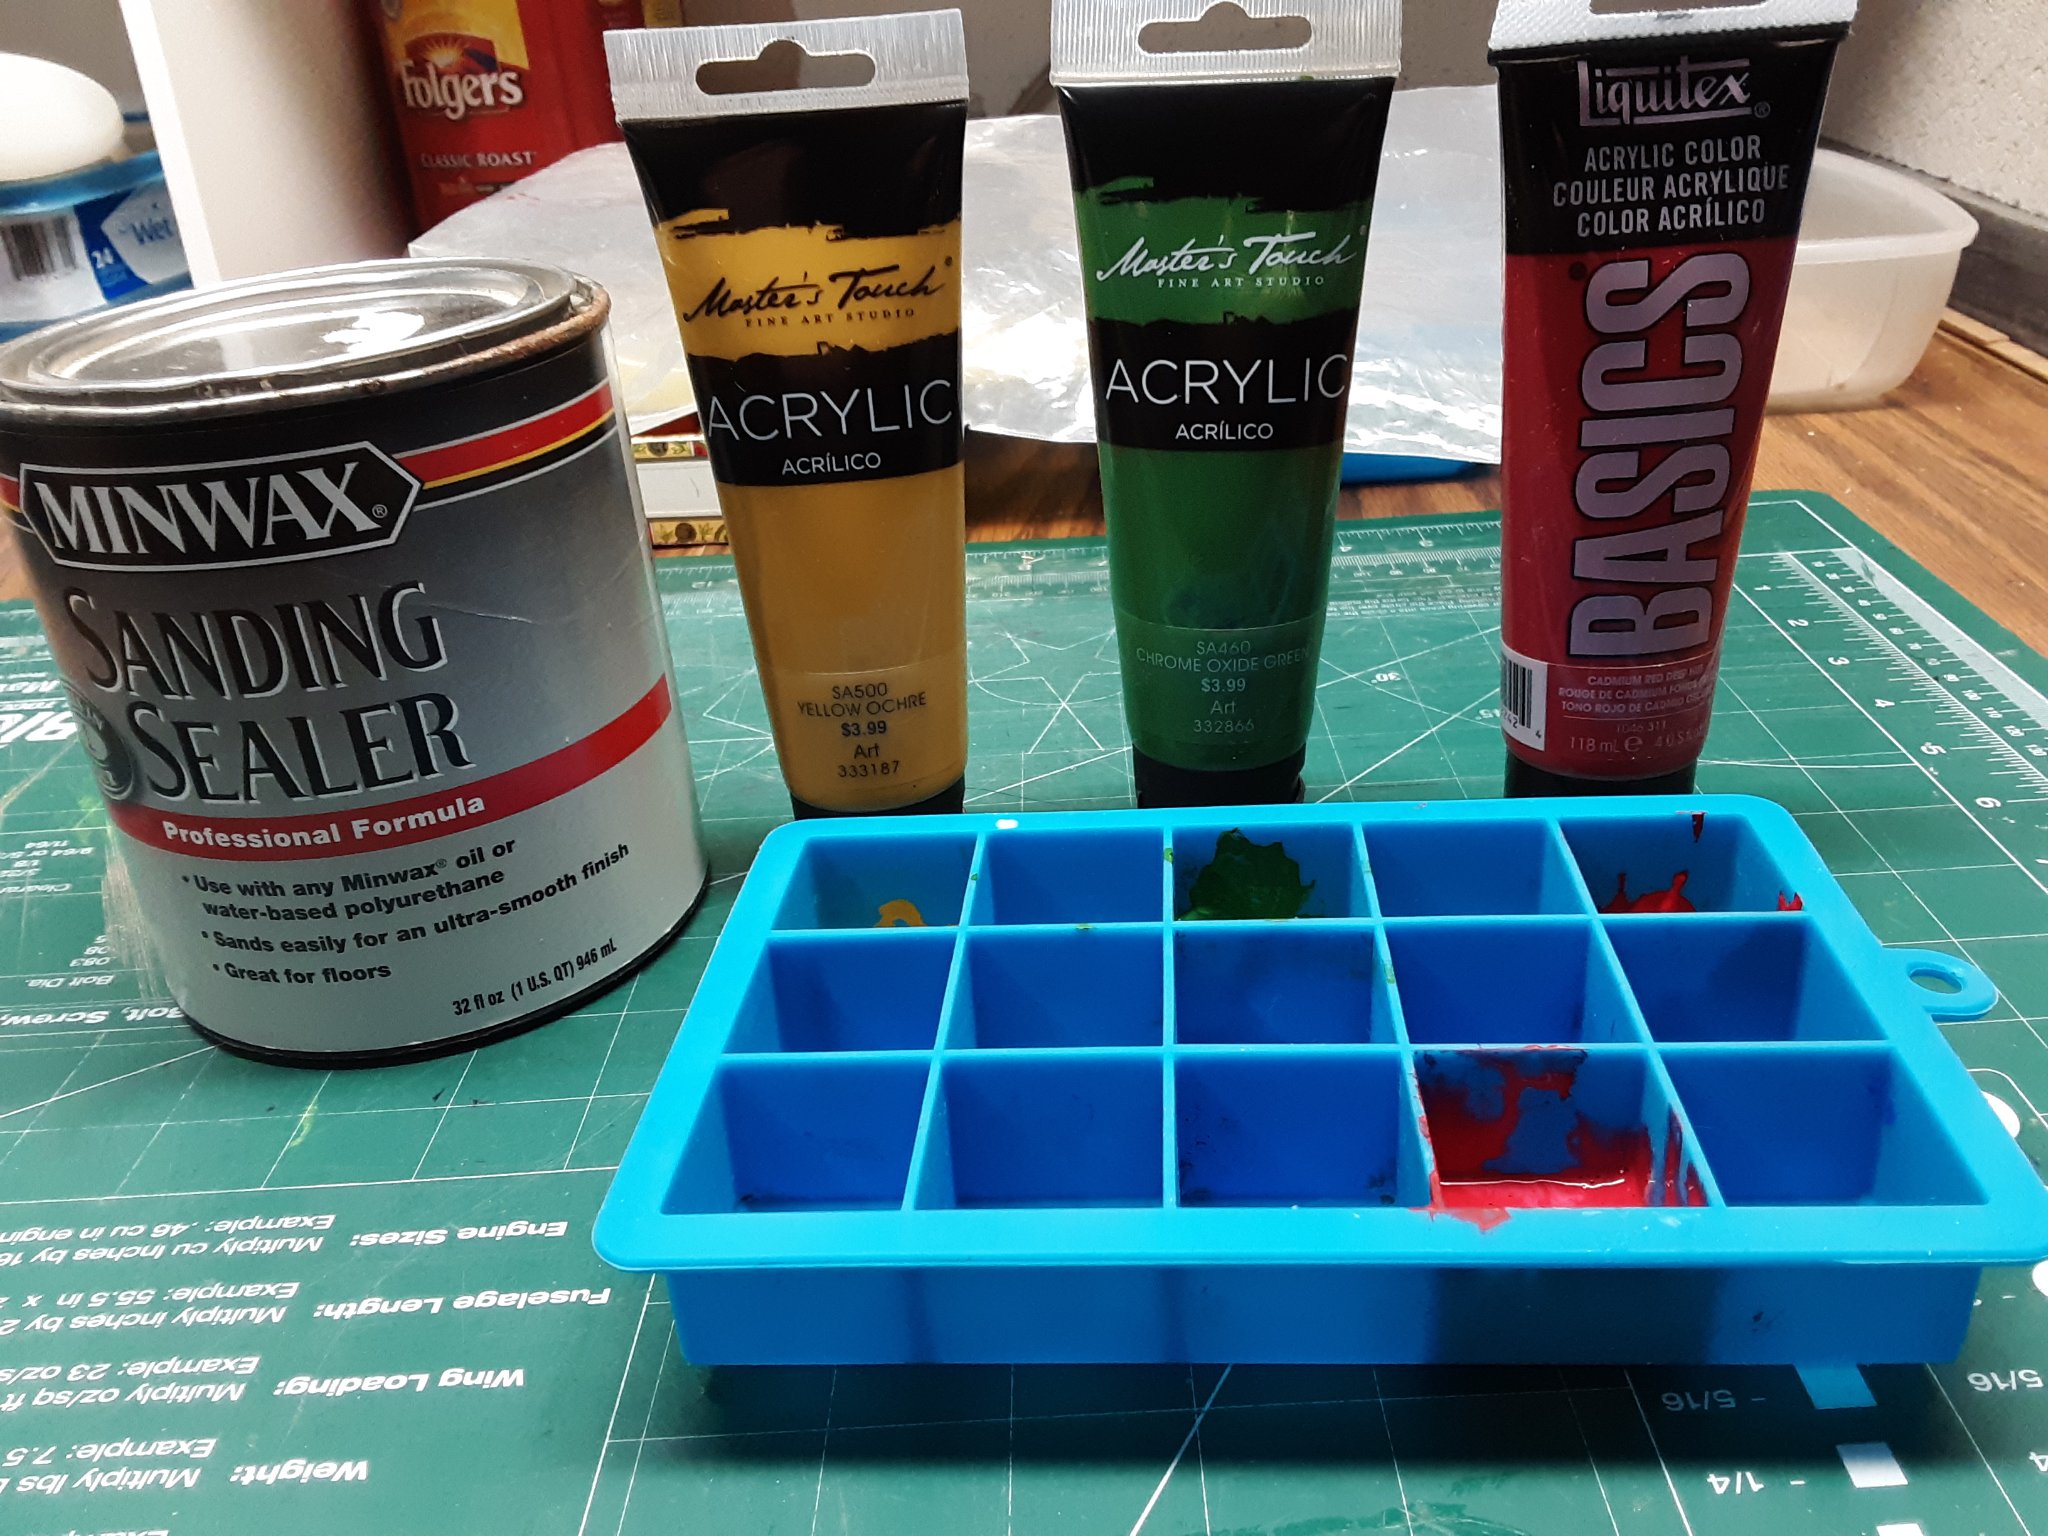
The blue thing is a silicone ice cube tray and it is where I keep the paint I use in.
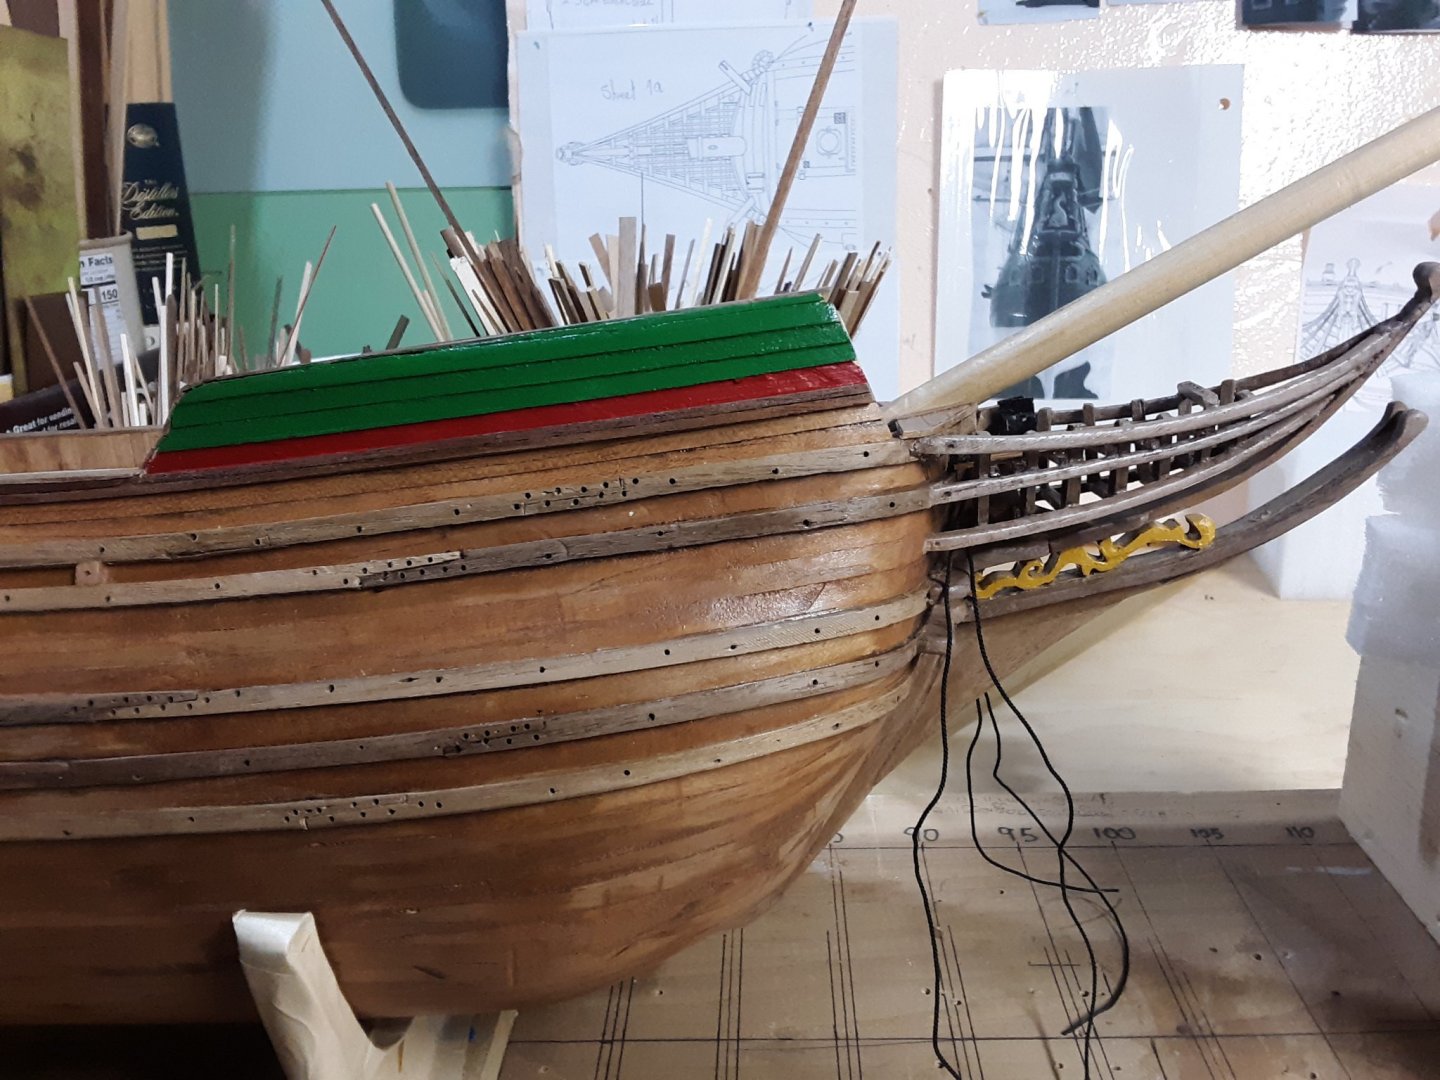
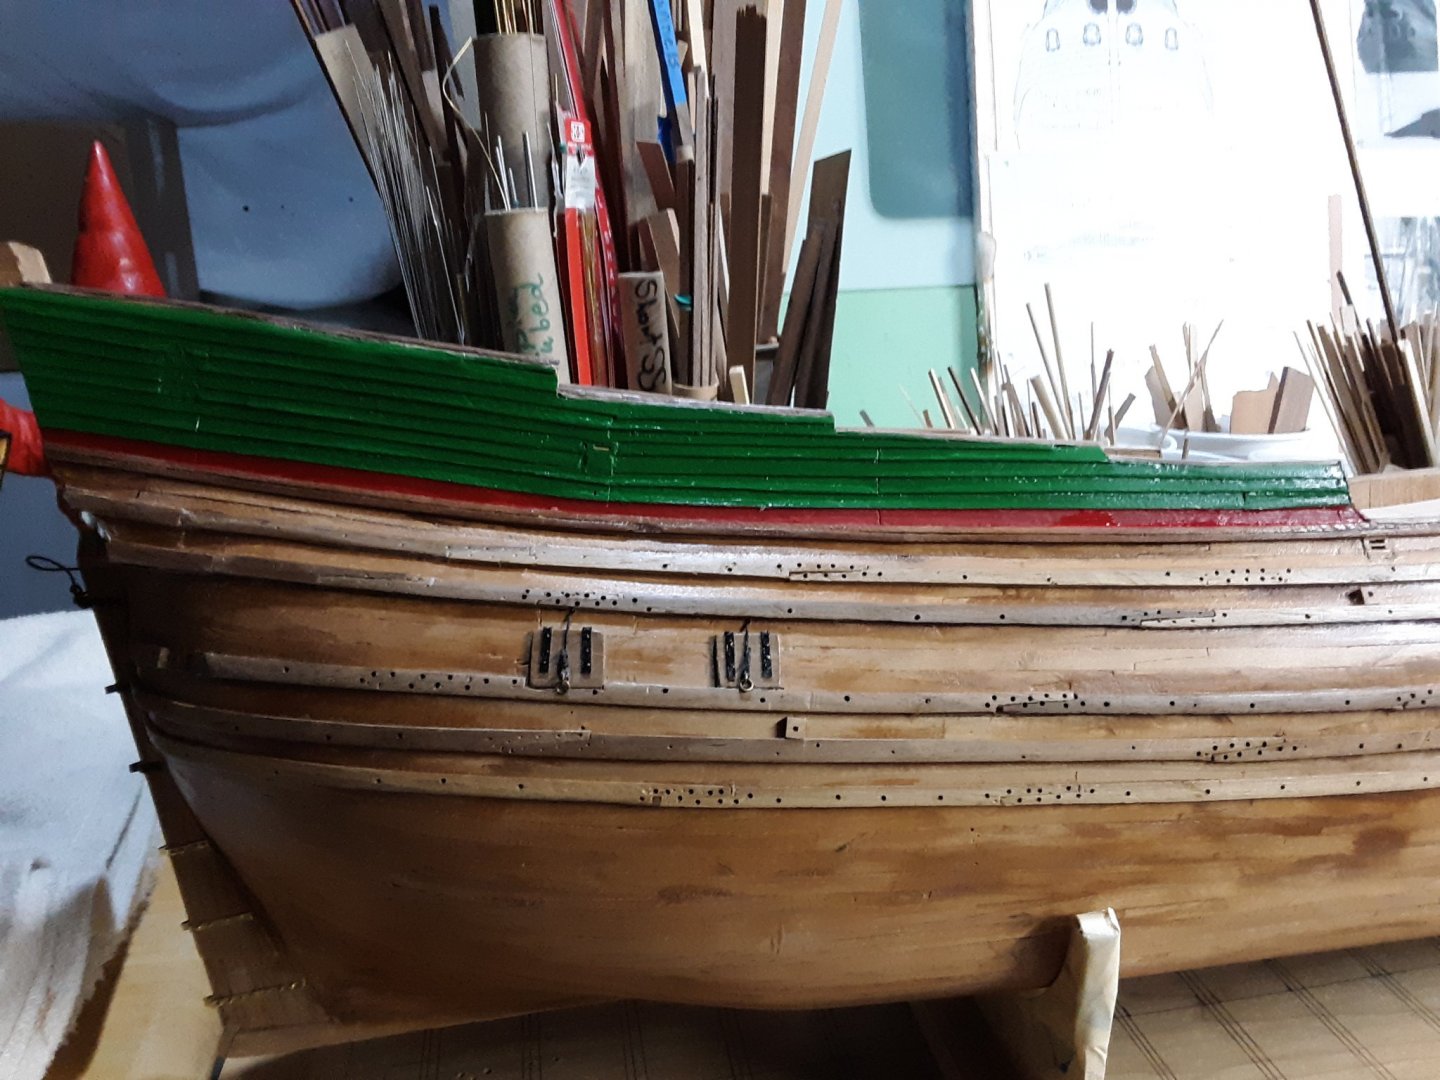
Painted the upper area of the hull and the little windows on the stern.
Colors used: Yellow Ochre, Chrome Oxide Green and Cadmium Red Deep Hue.
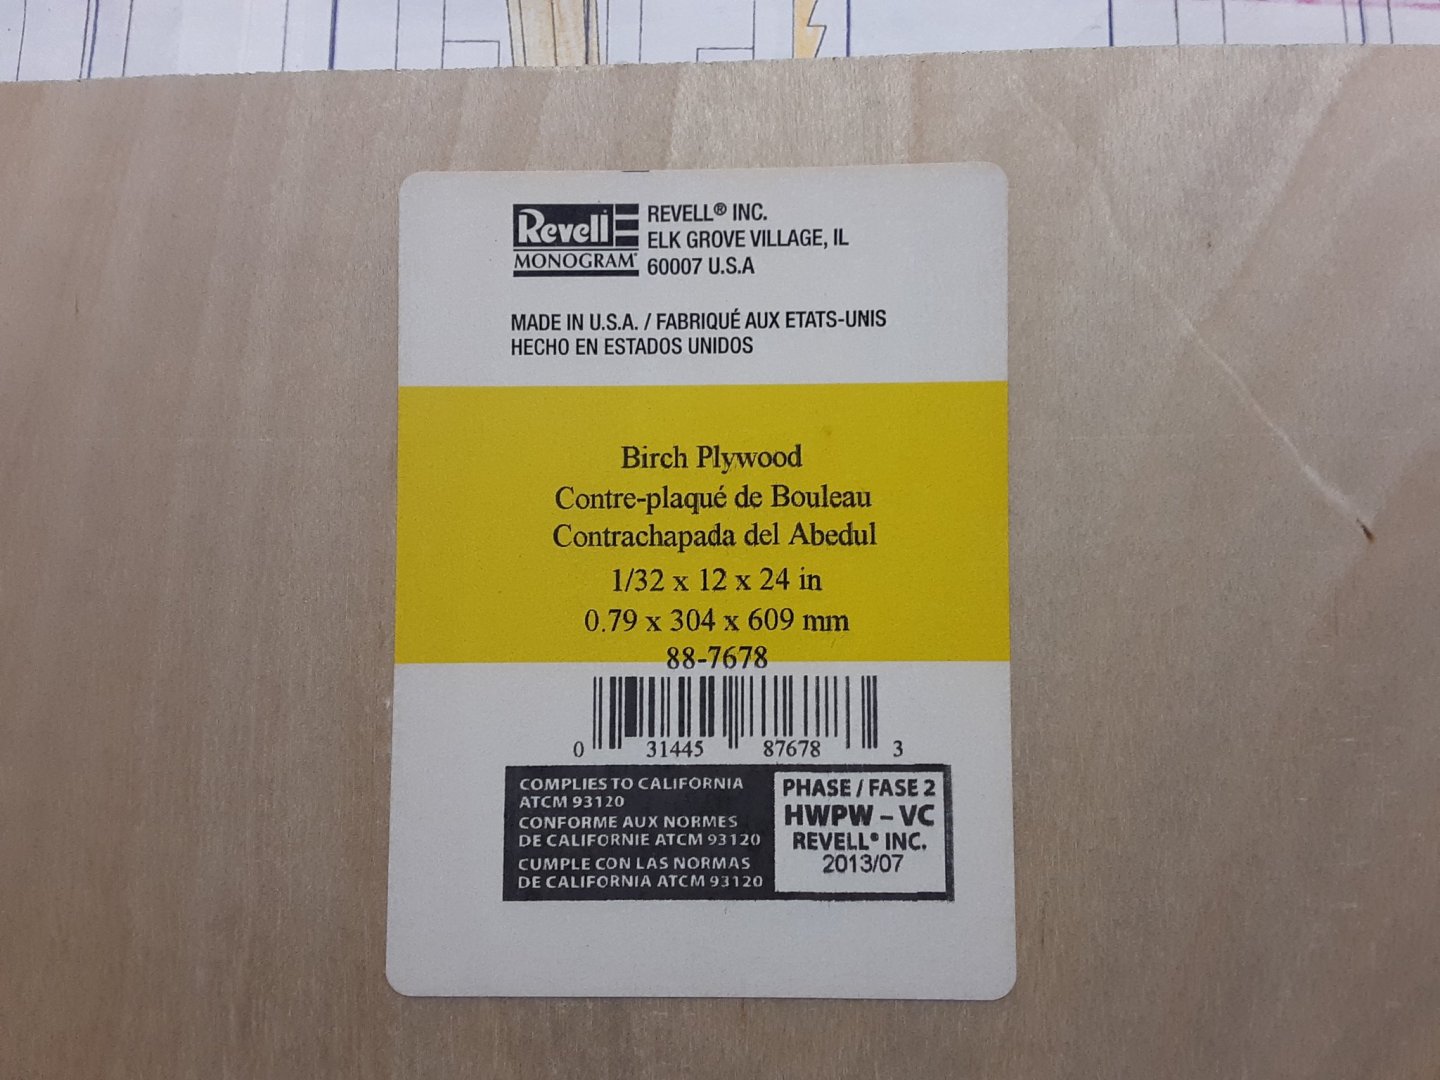
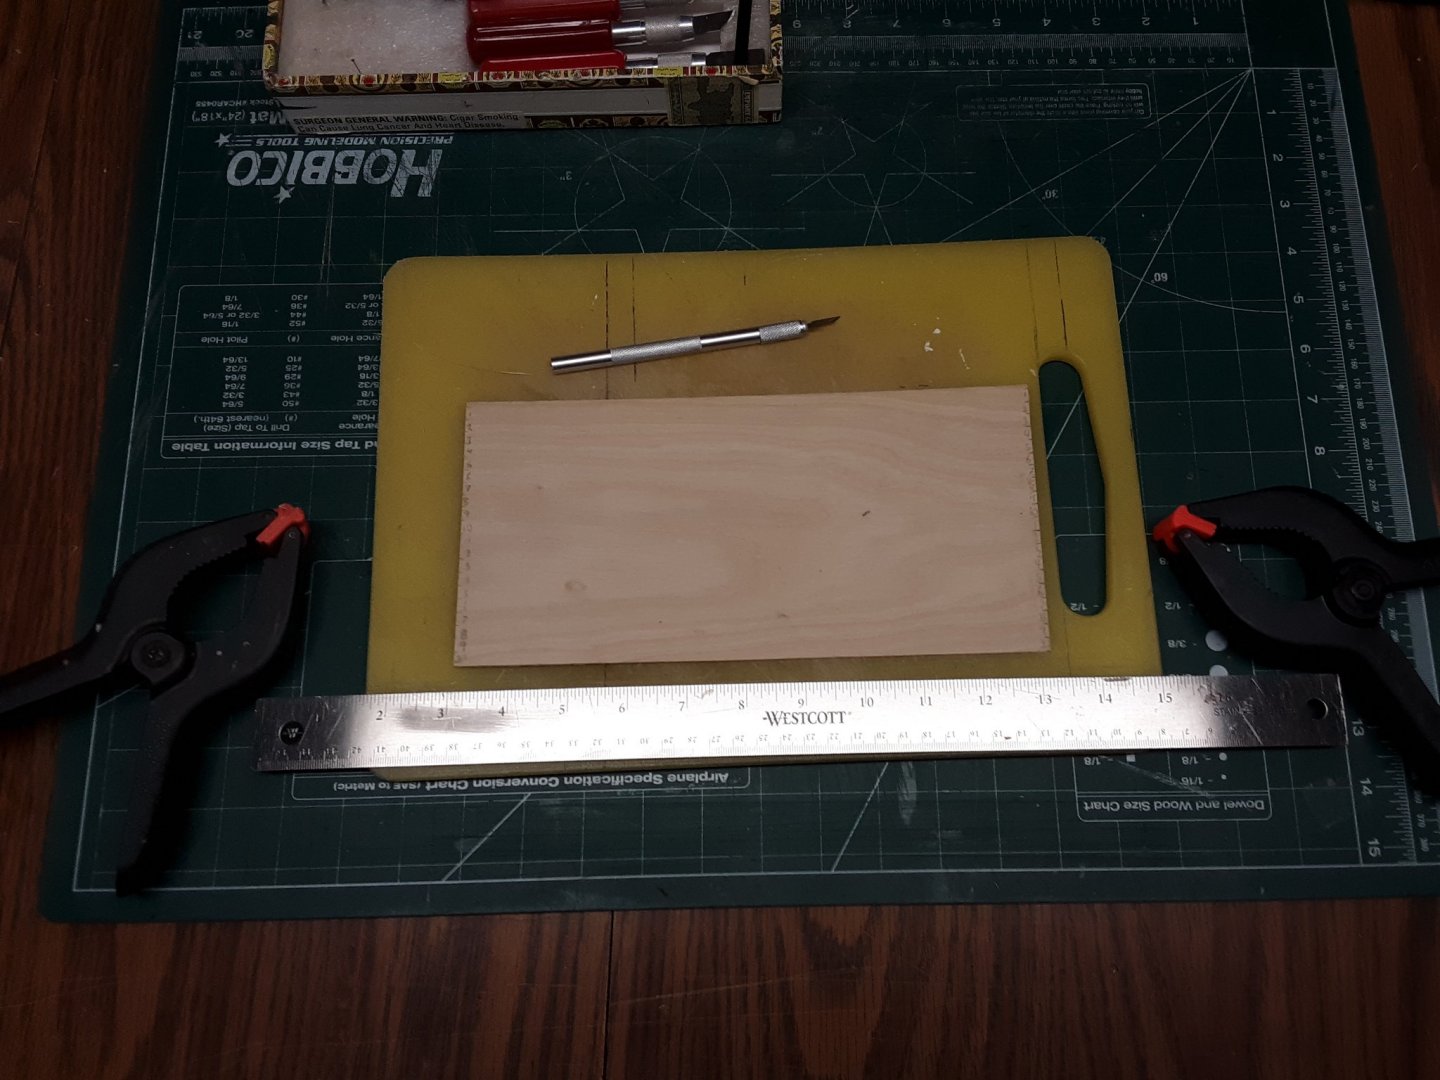
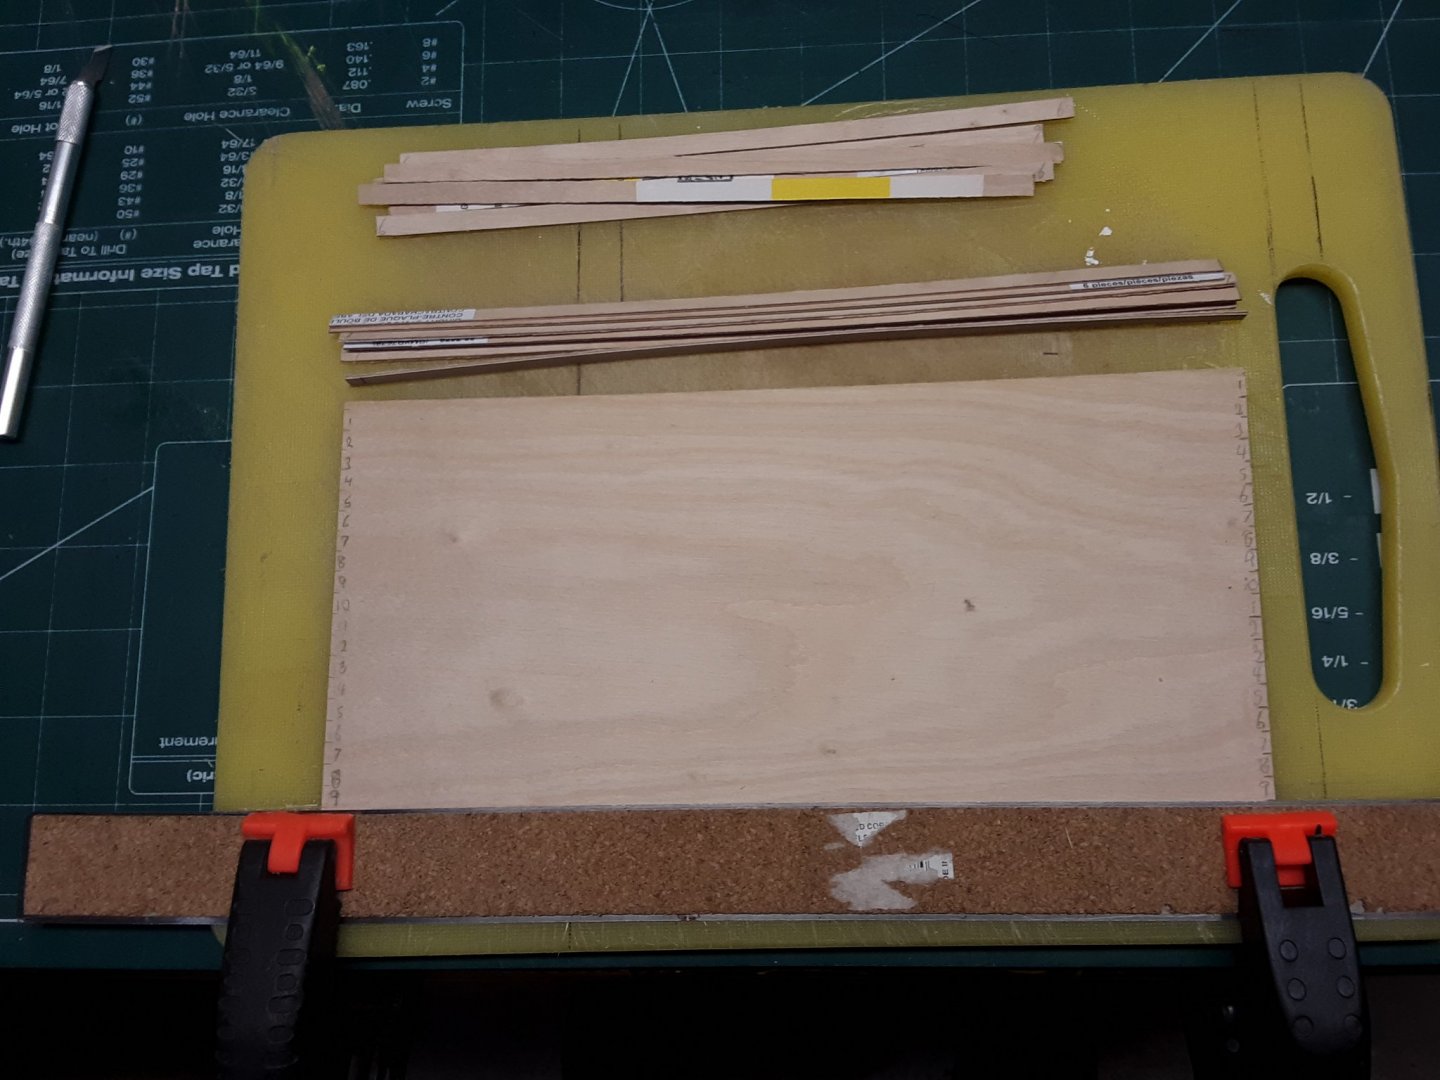
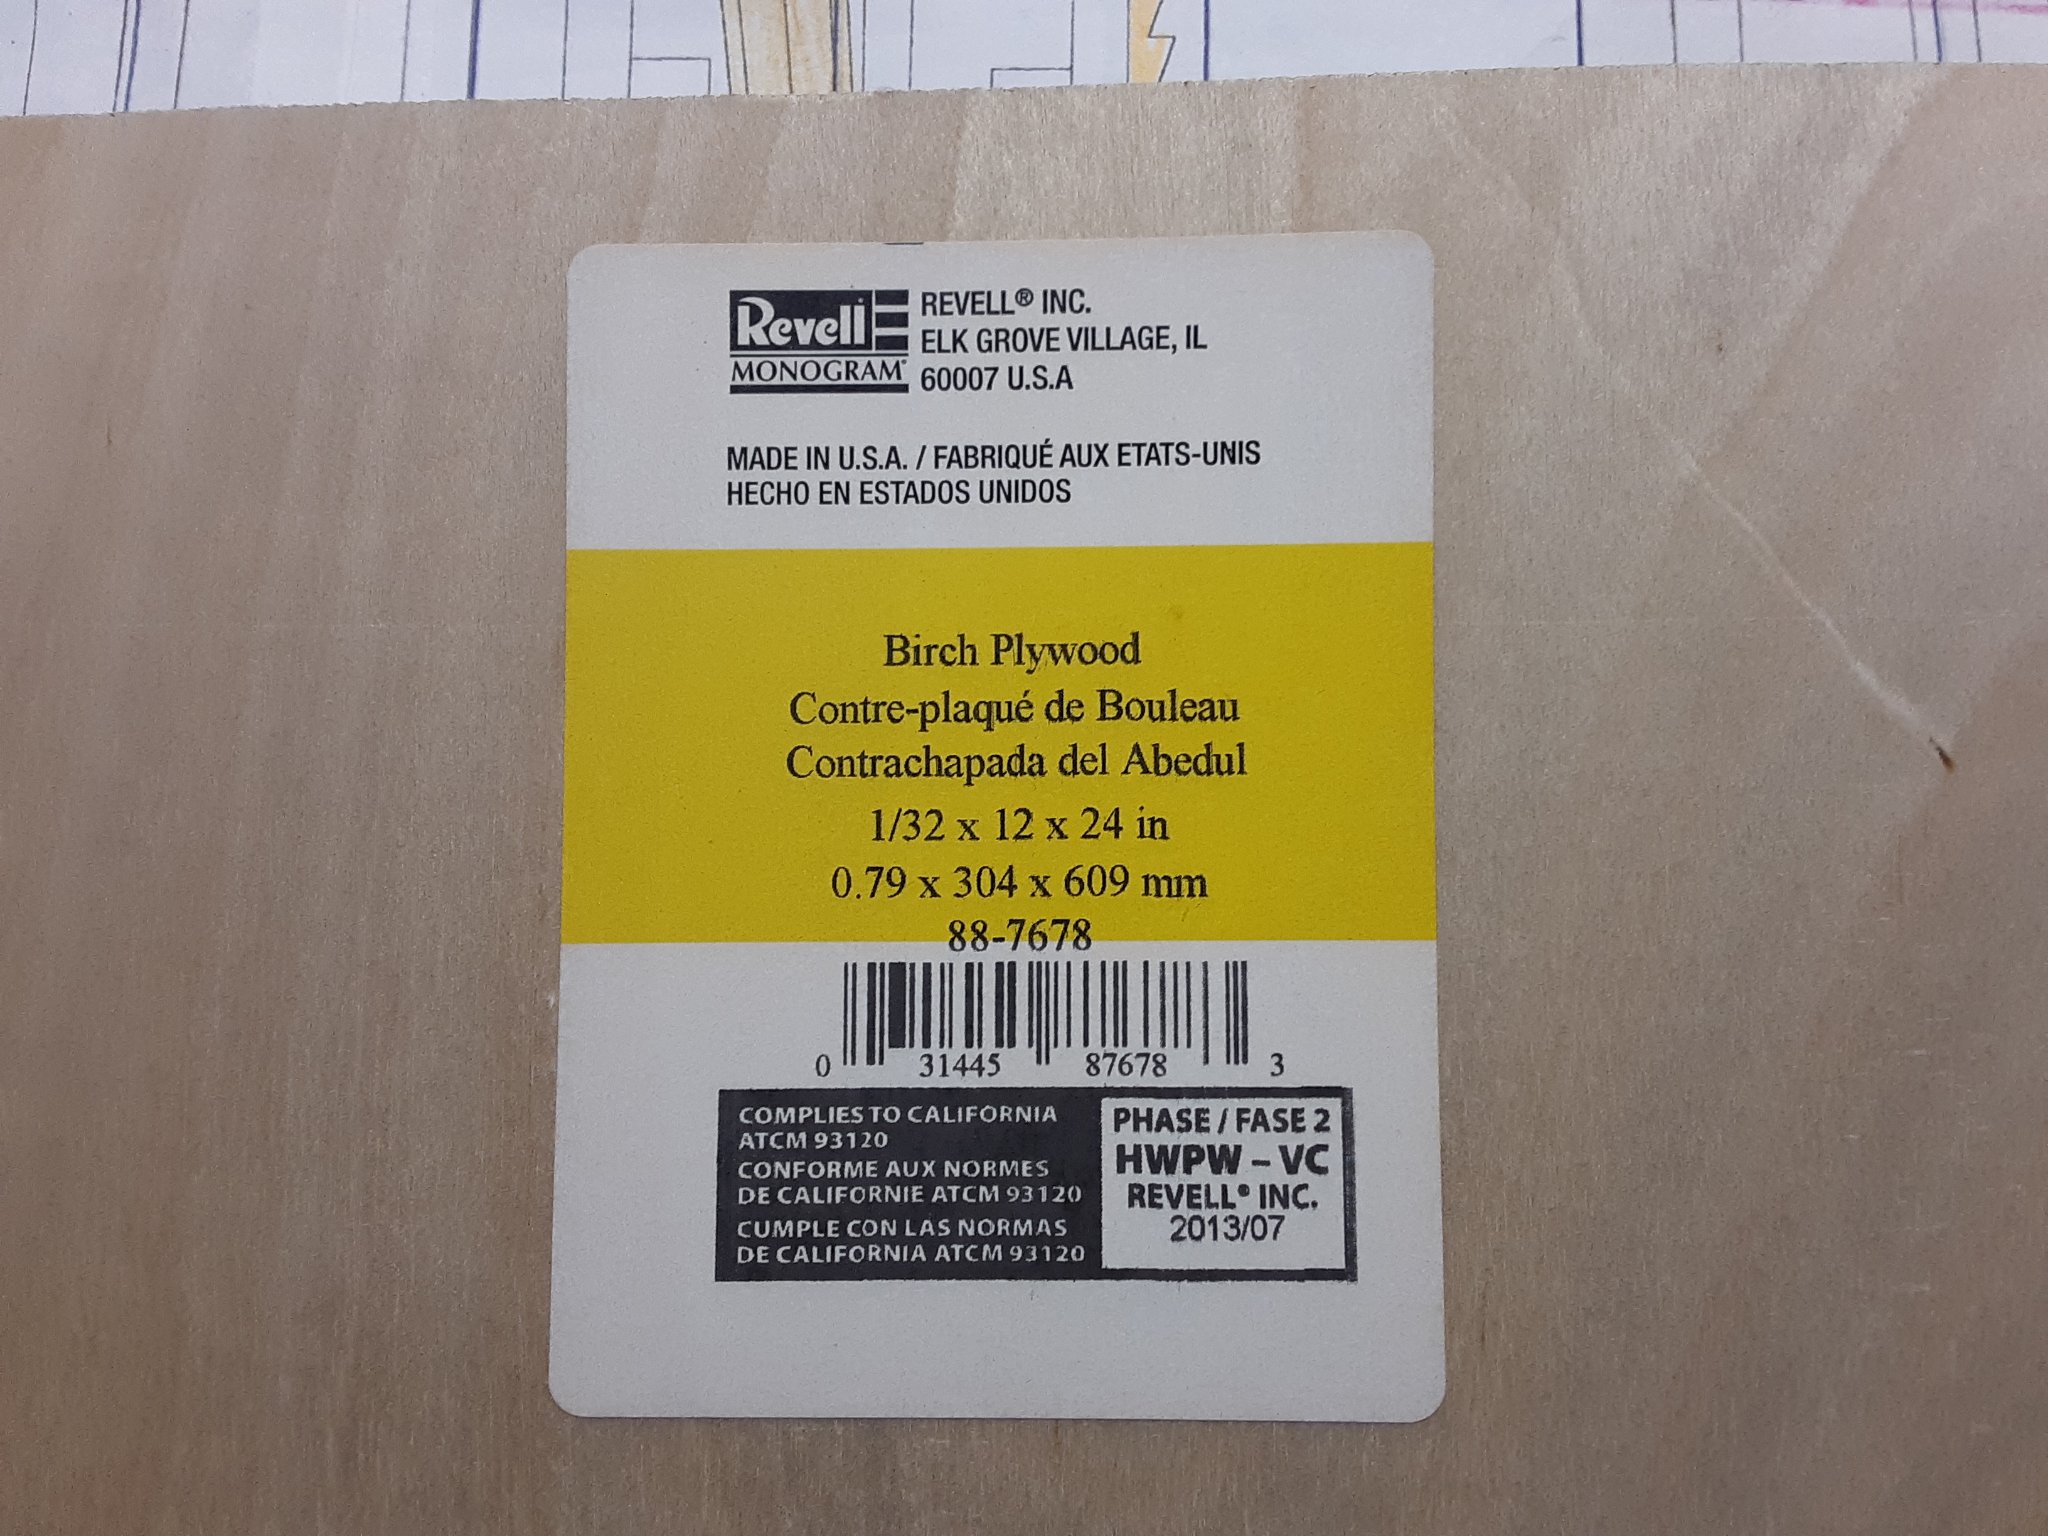
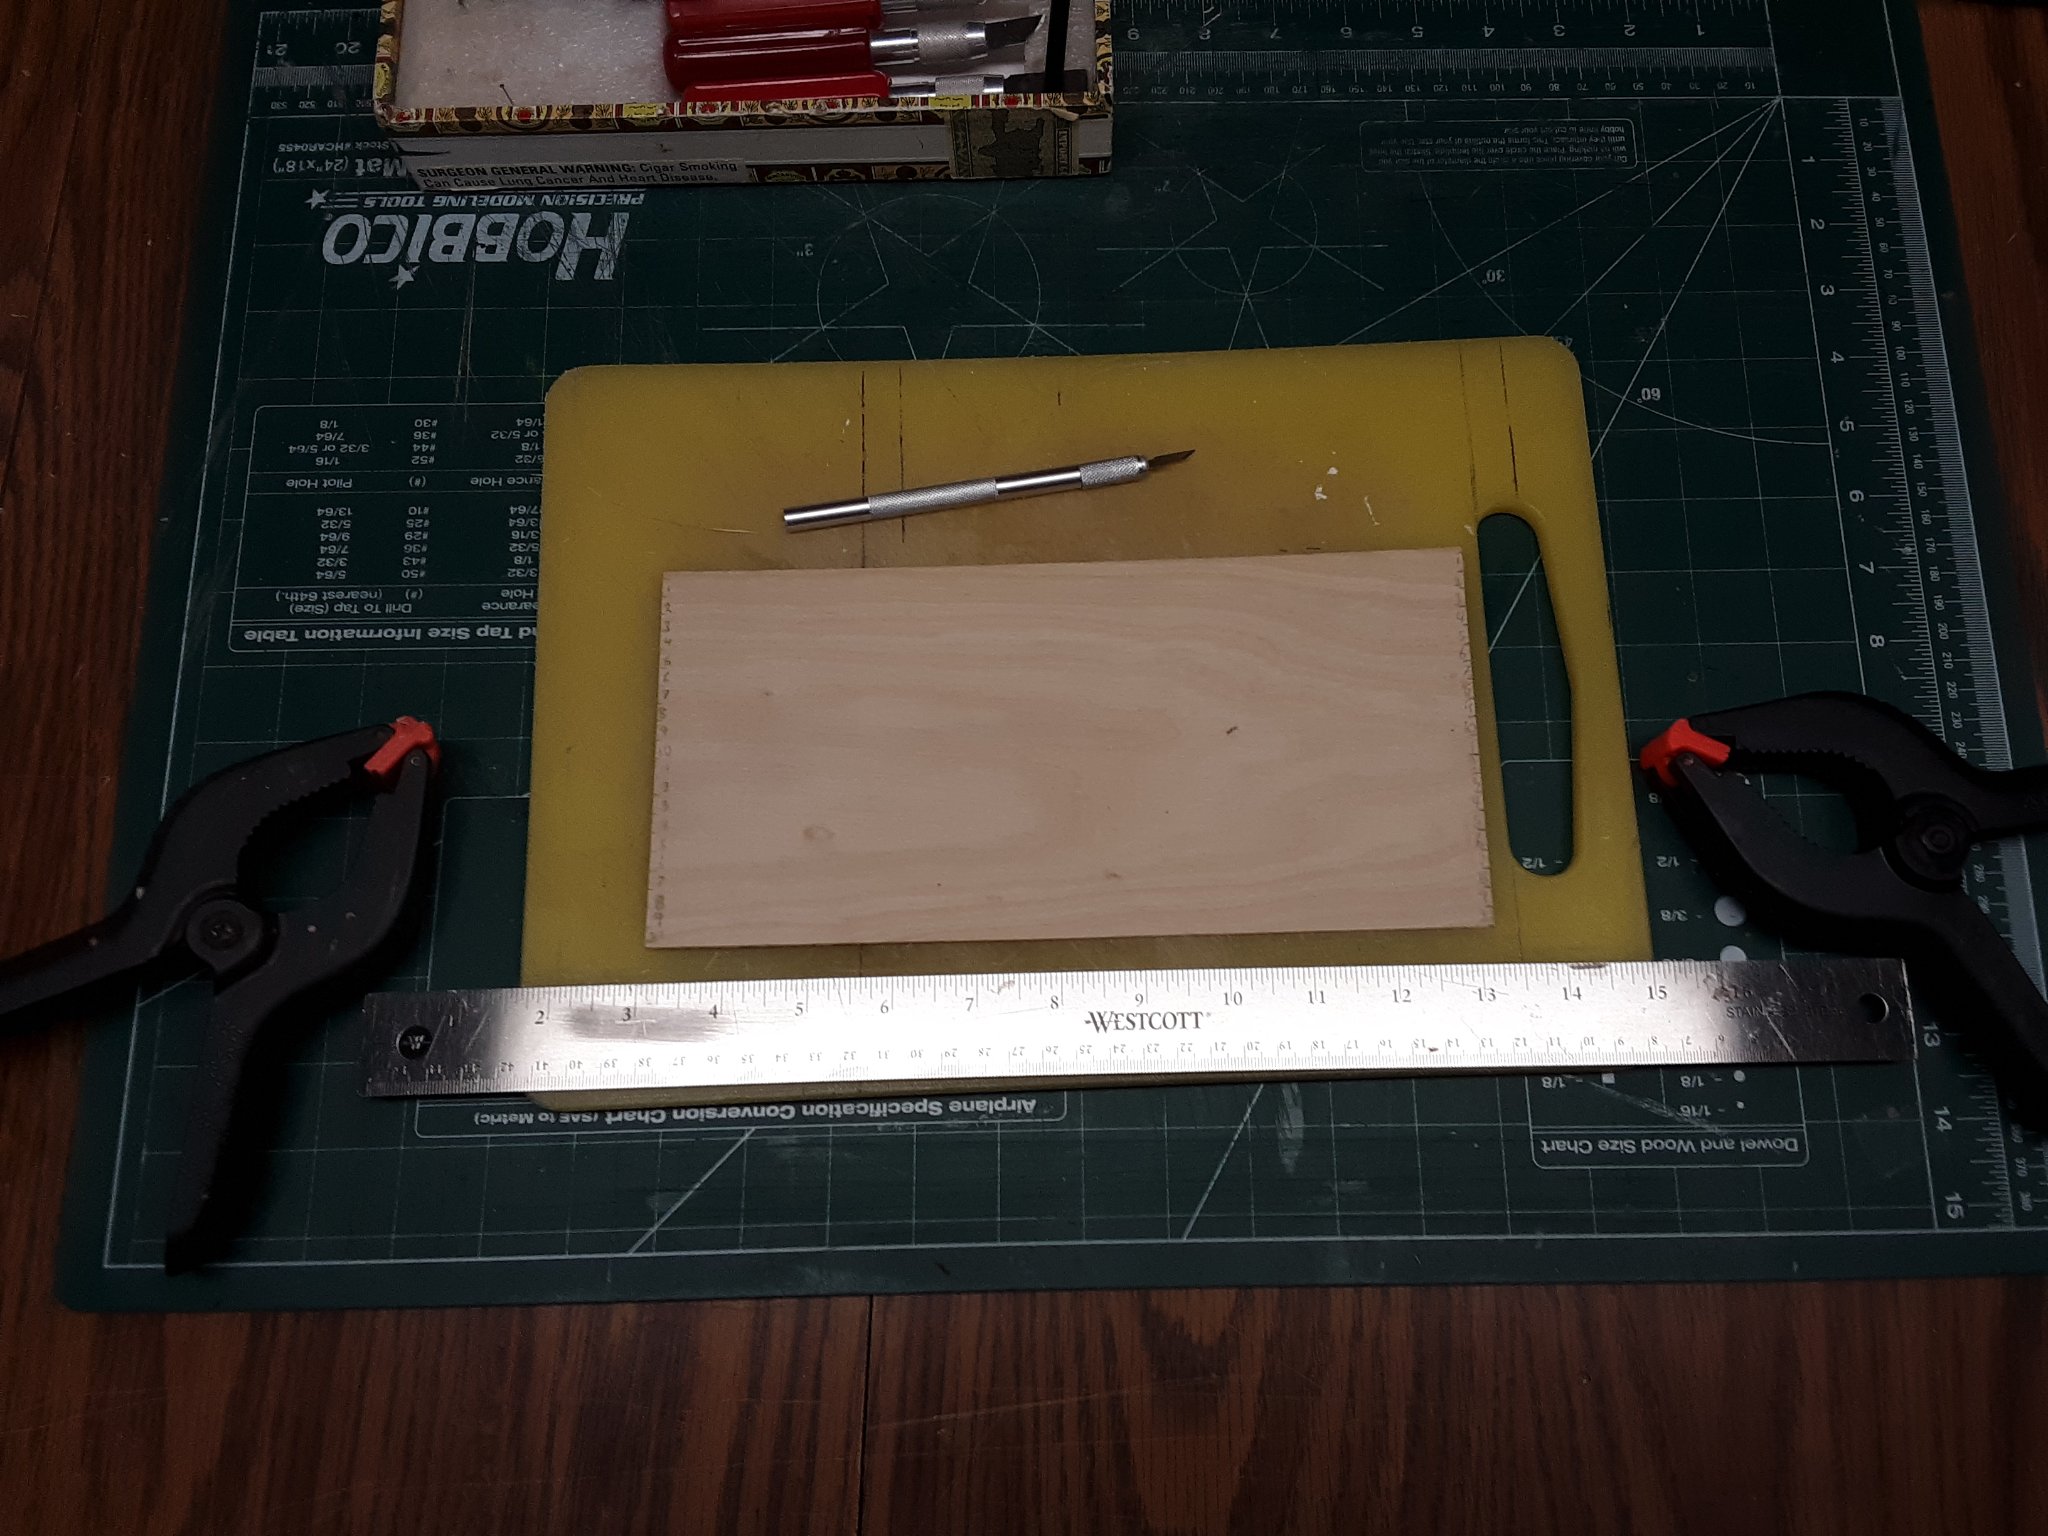
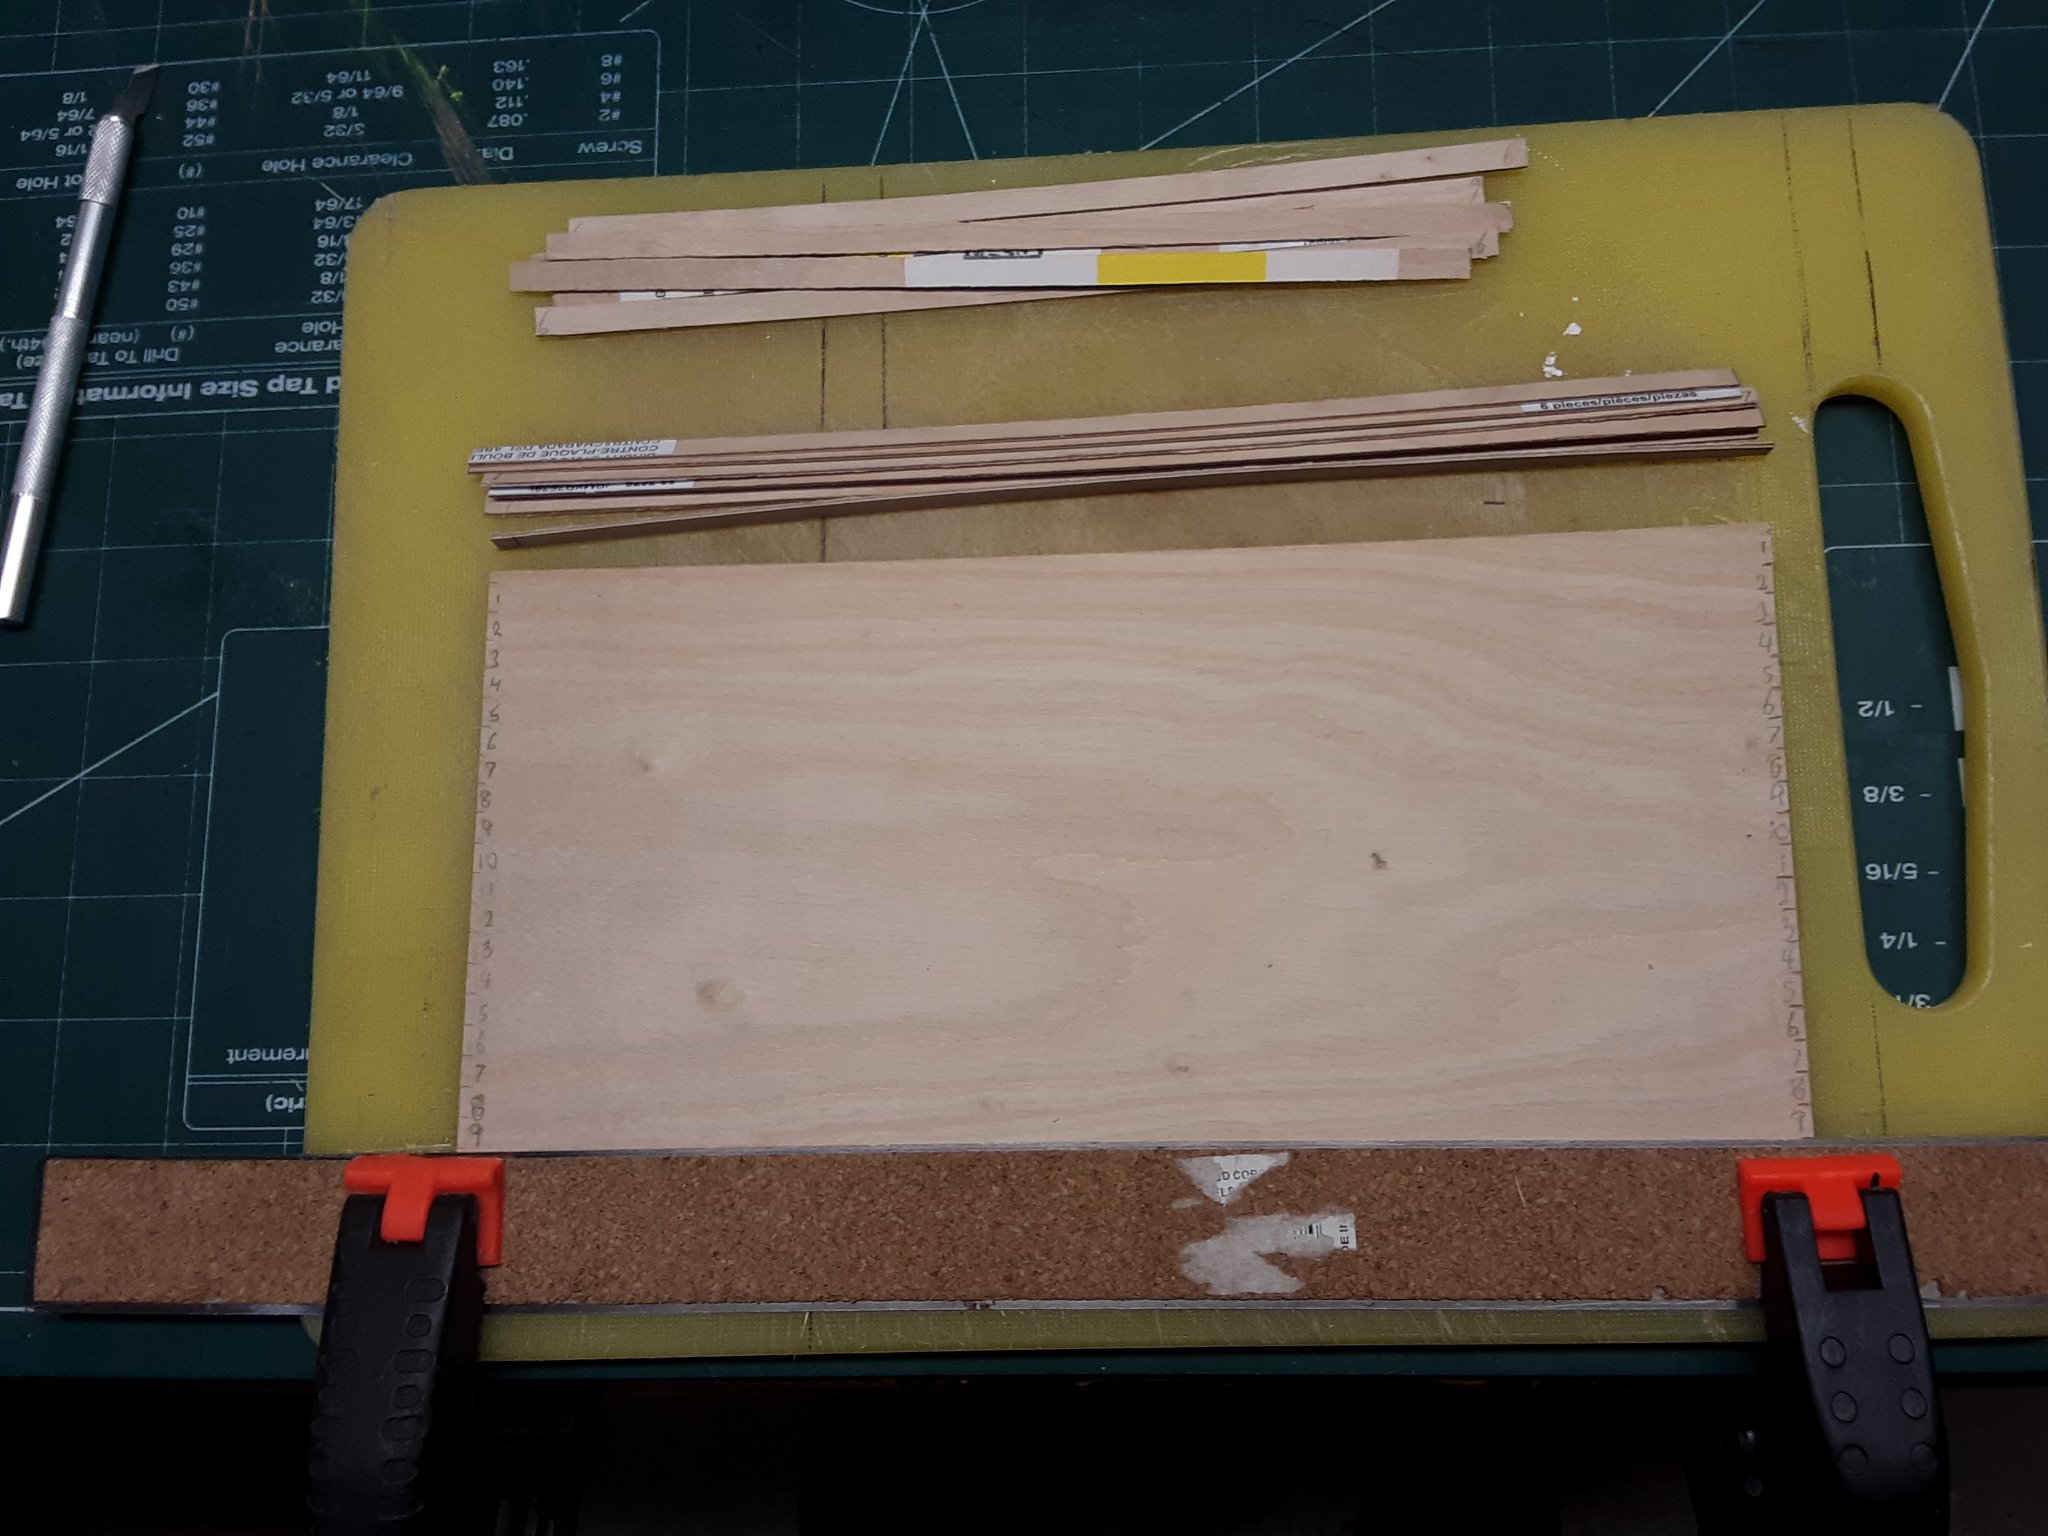
I ran out of maple for the deck planks so instead I am using Baltic Birch which is also nice and light in color, 1/32" (0.79mm) thick. Cut strips of 200mm L, by 6mm W and darkened one edge of it. I know it is not the conventional planking method but it works for me and the end result is about the same.
Next I will start making the different deck items.
Marcus
-
-
Thanks for all the likes and comments.
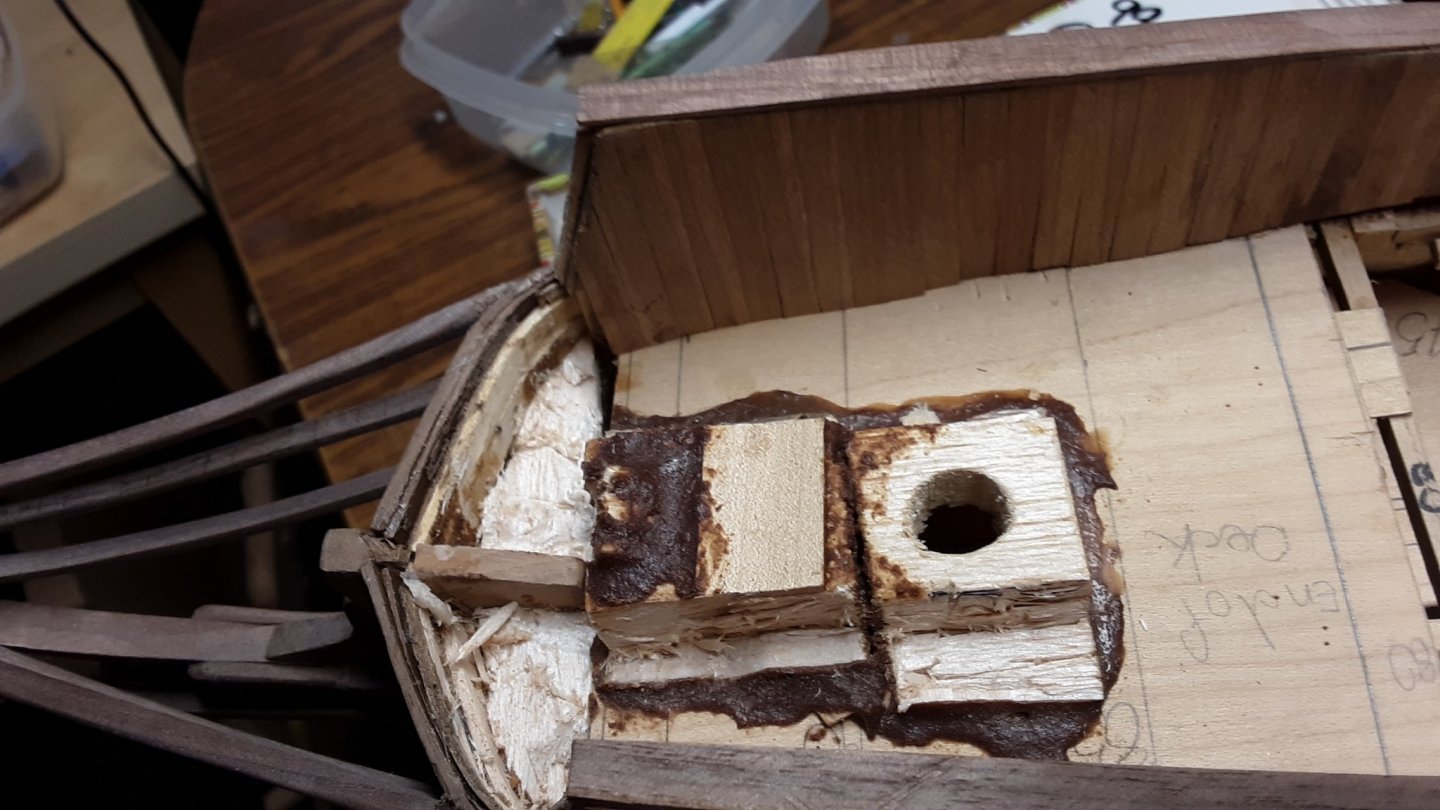
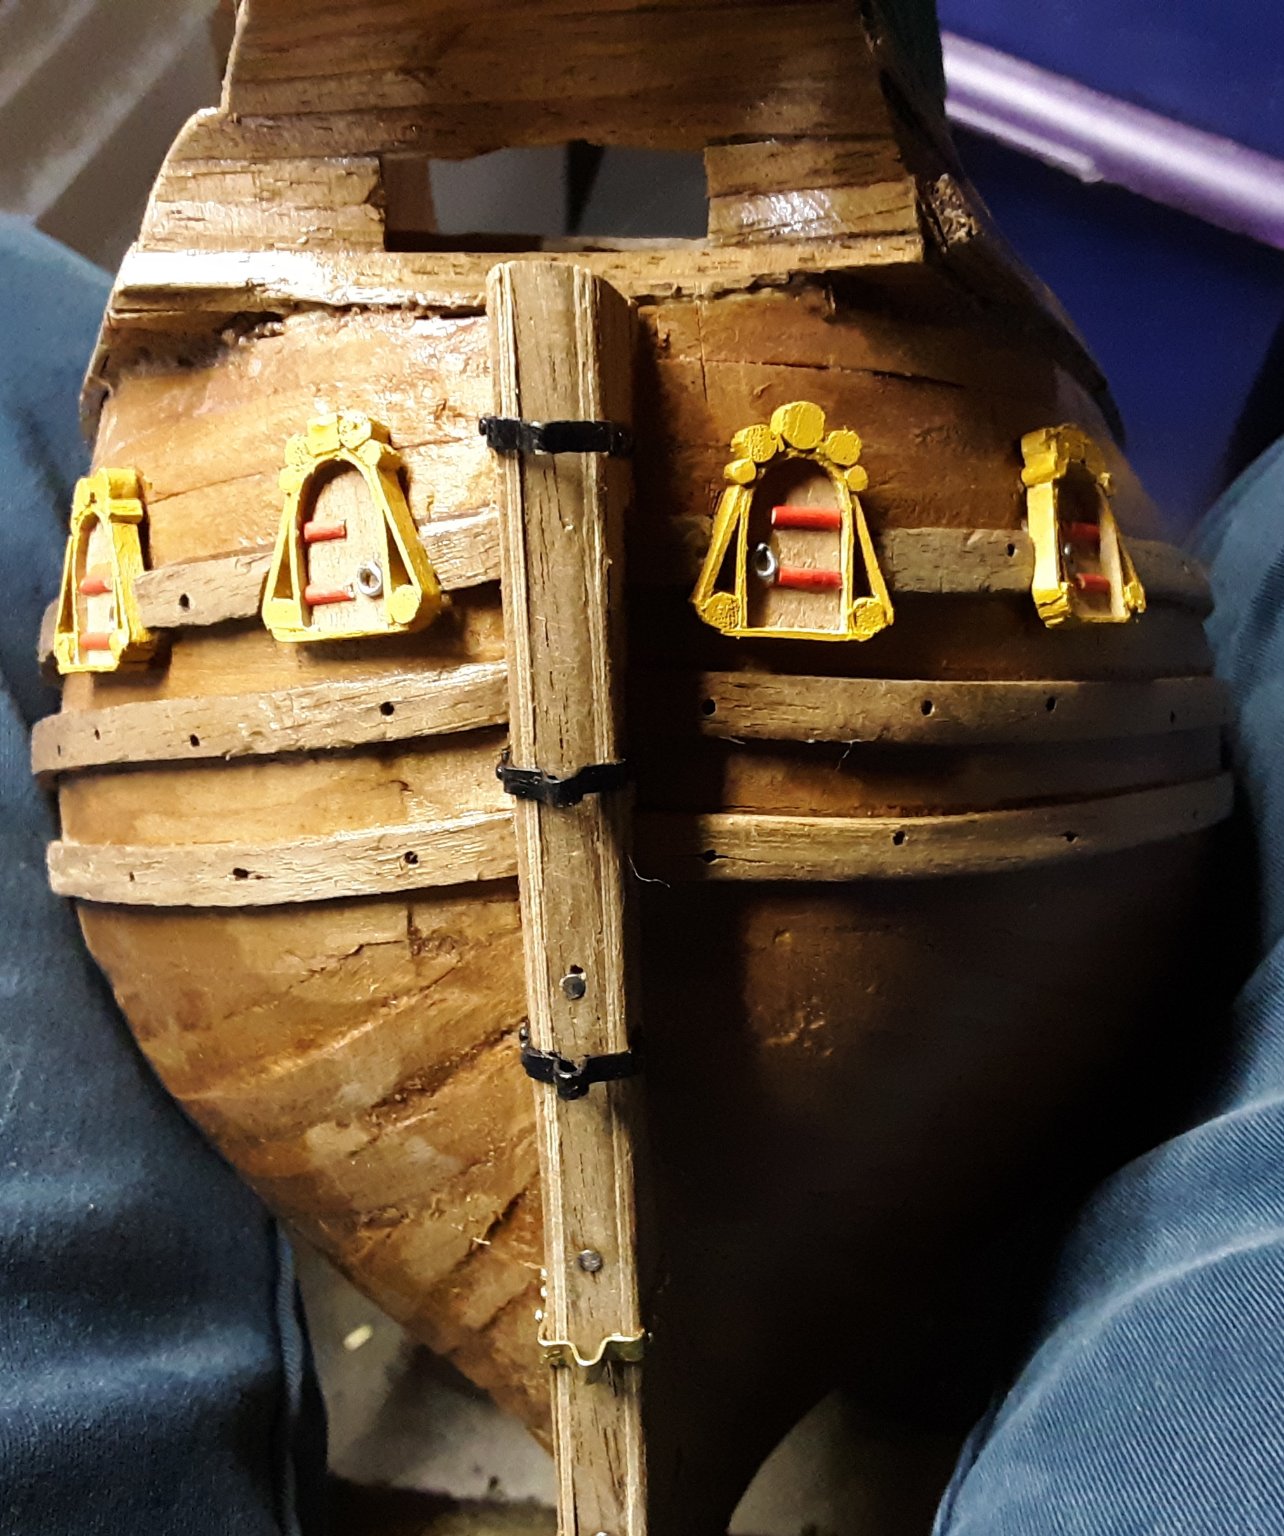
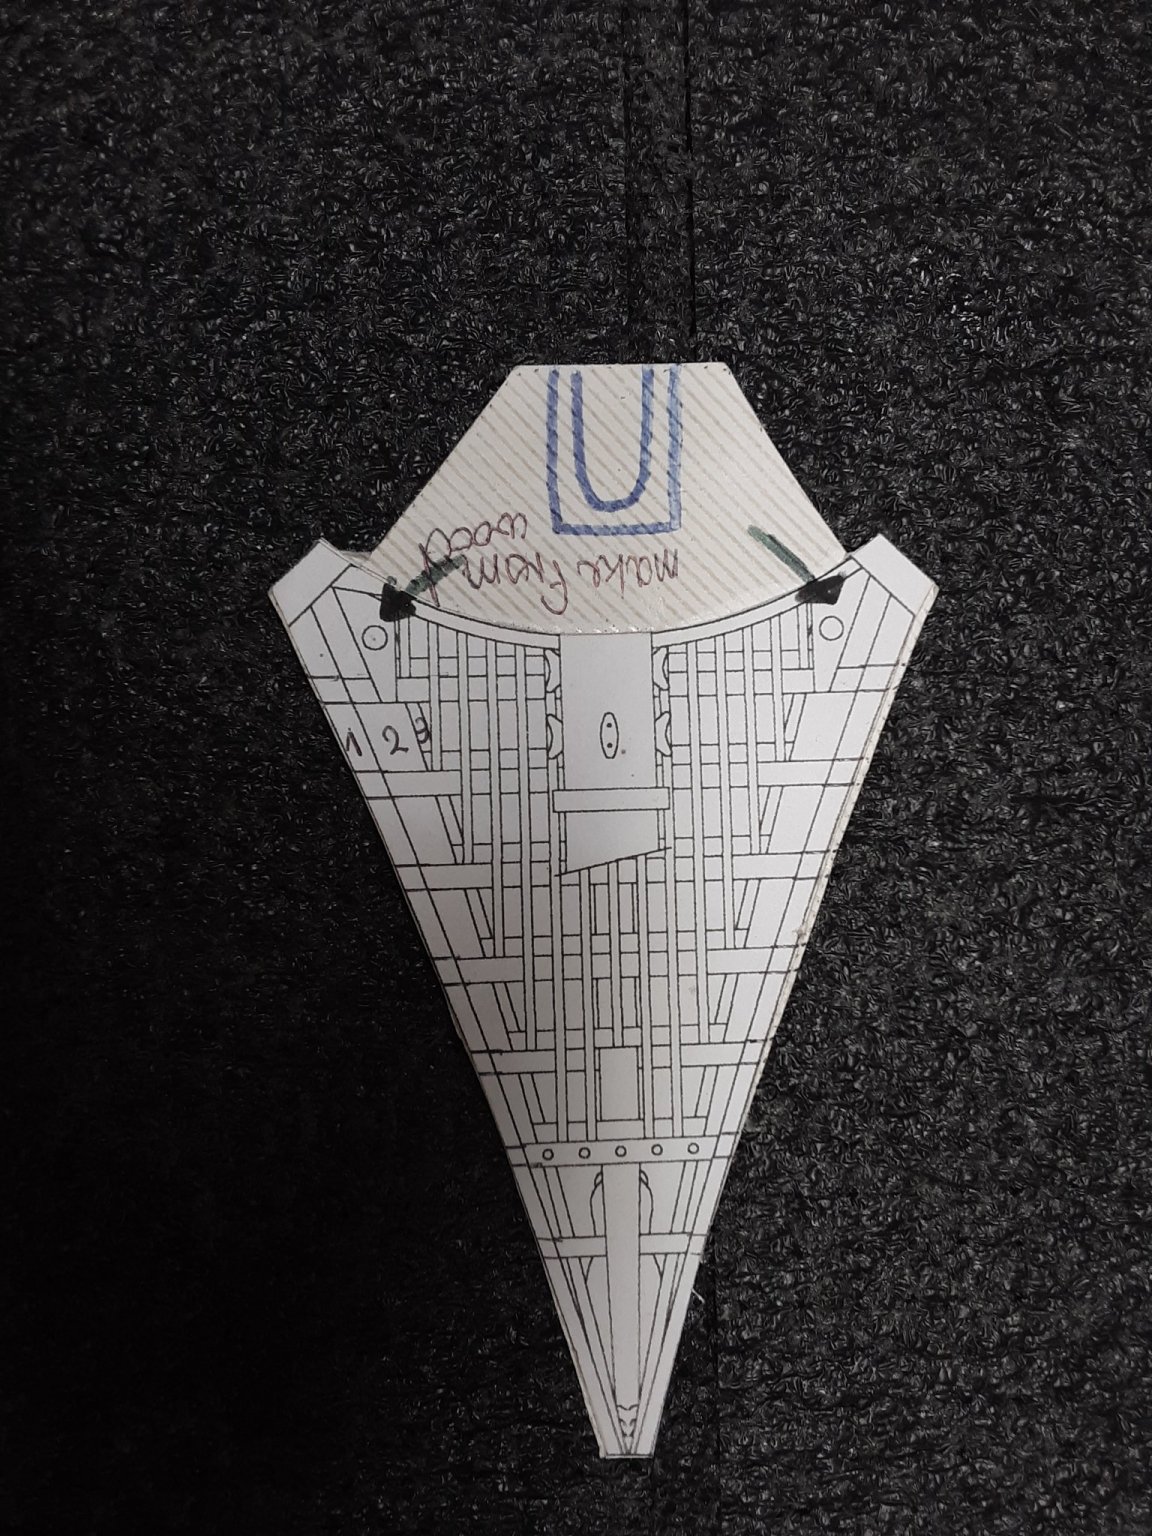
I was reading the book from Mondfeld and on the pages of the "Head" he talkes about the "seats of ease", the latrines on a ship. He says that modelers rarely add this item. There is a modeler on MSW that built the Victory and he has added them on the head.
I checked the plans of the Zeehaen again and wondered if Cor Emke had added this to the head. I did notice a circle on each side of the head and wondered if that was it.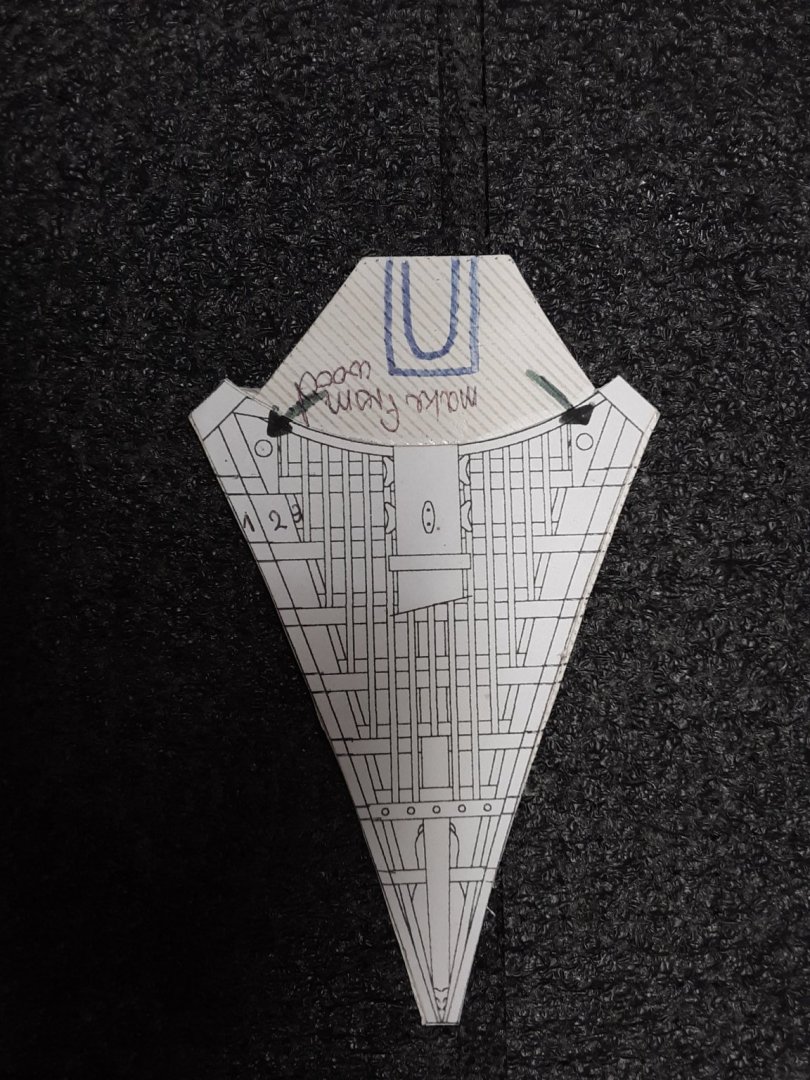
So I researched examples on other ships and it is rare that you find anything about it. I did find an article about Queens Ann Revenge wreck and divers had located a porta potty of that ship.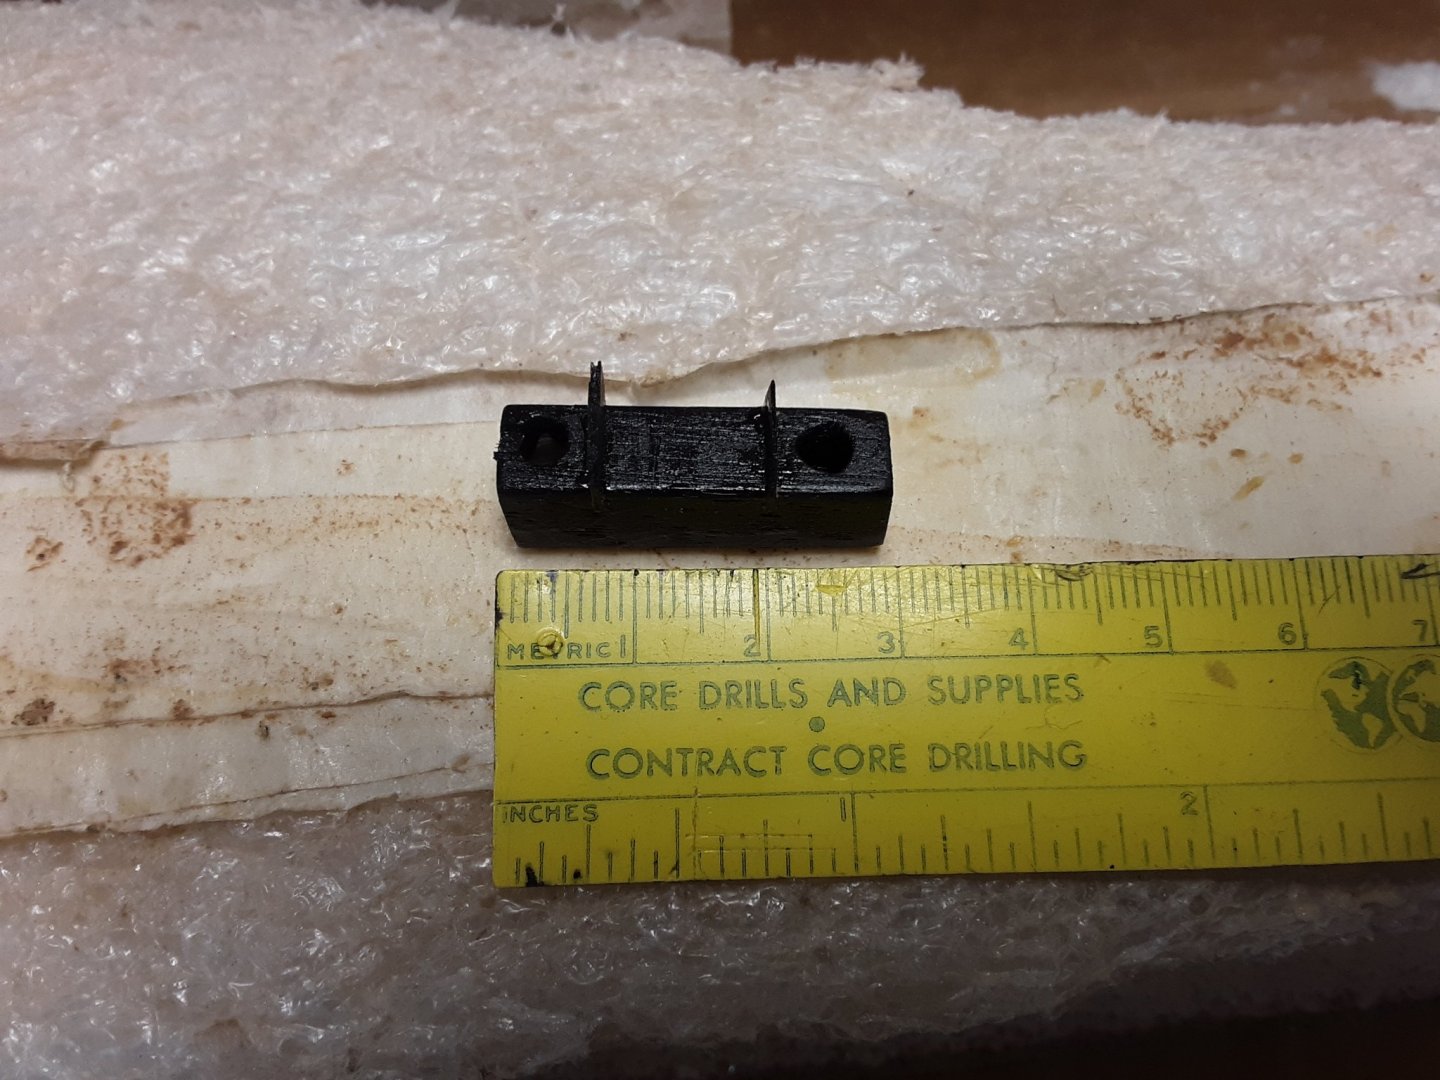


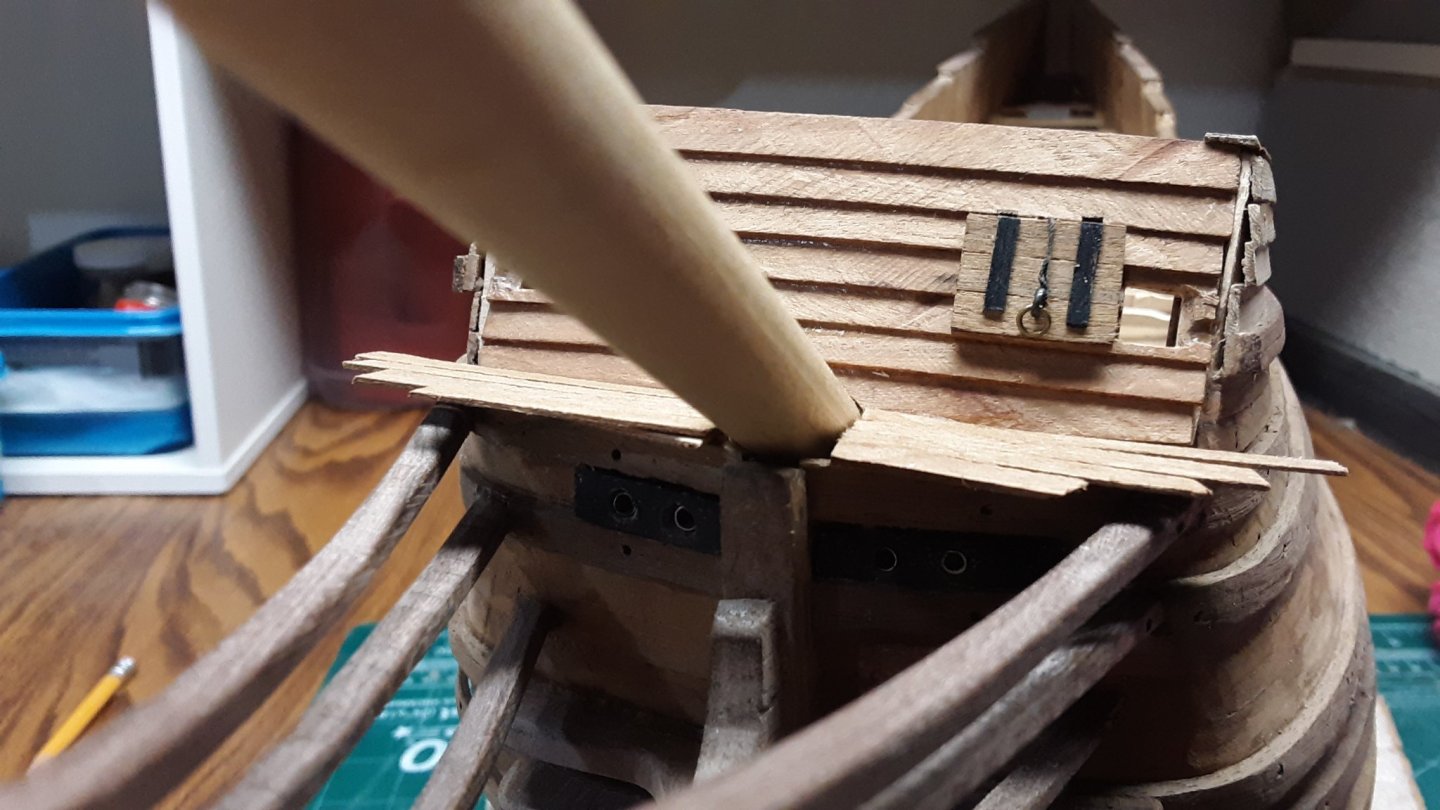
I decided to create 2 seats of ease and installed them on the head.
Marcus -
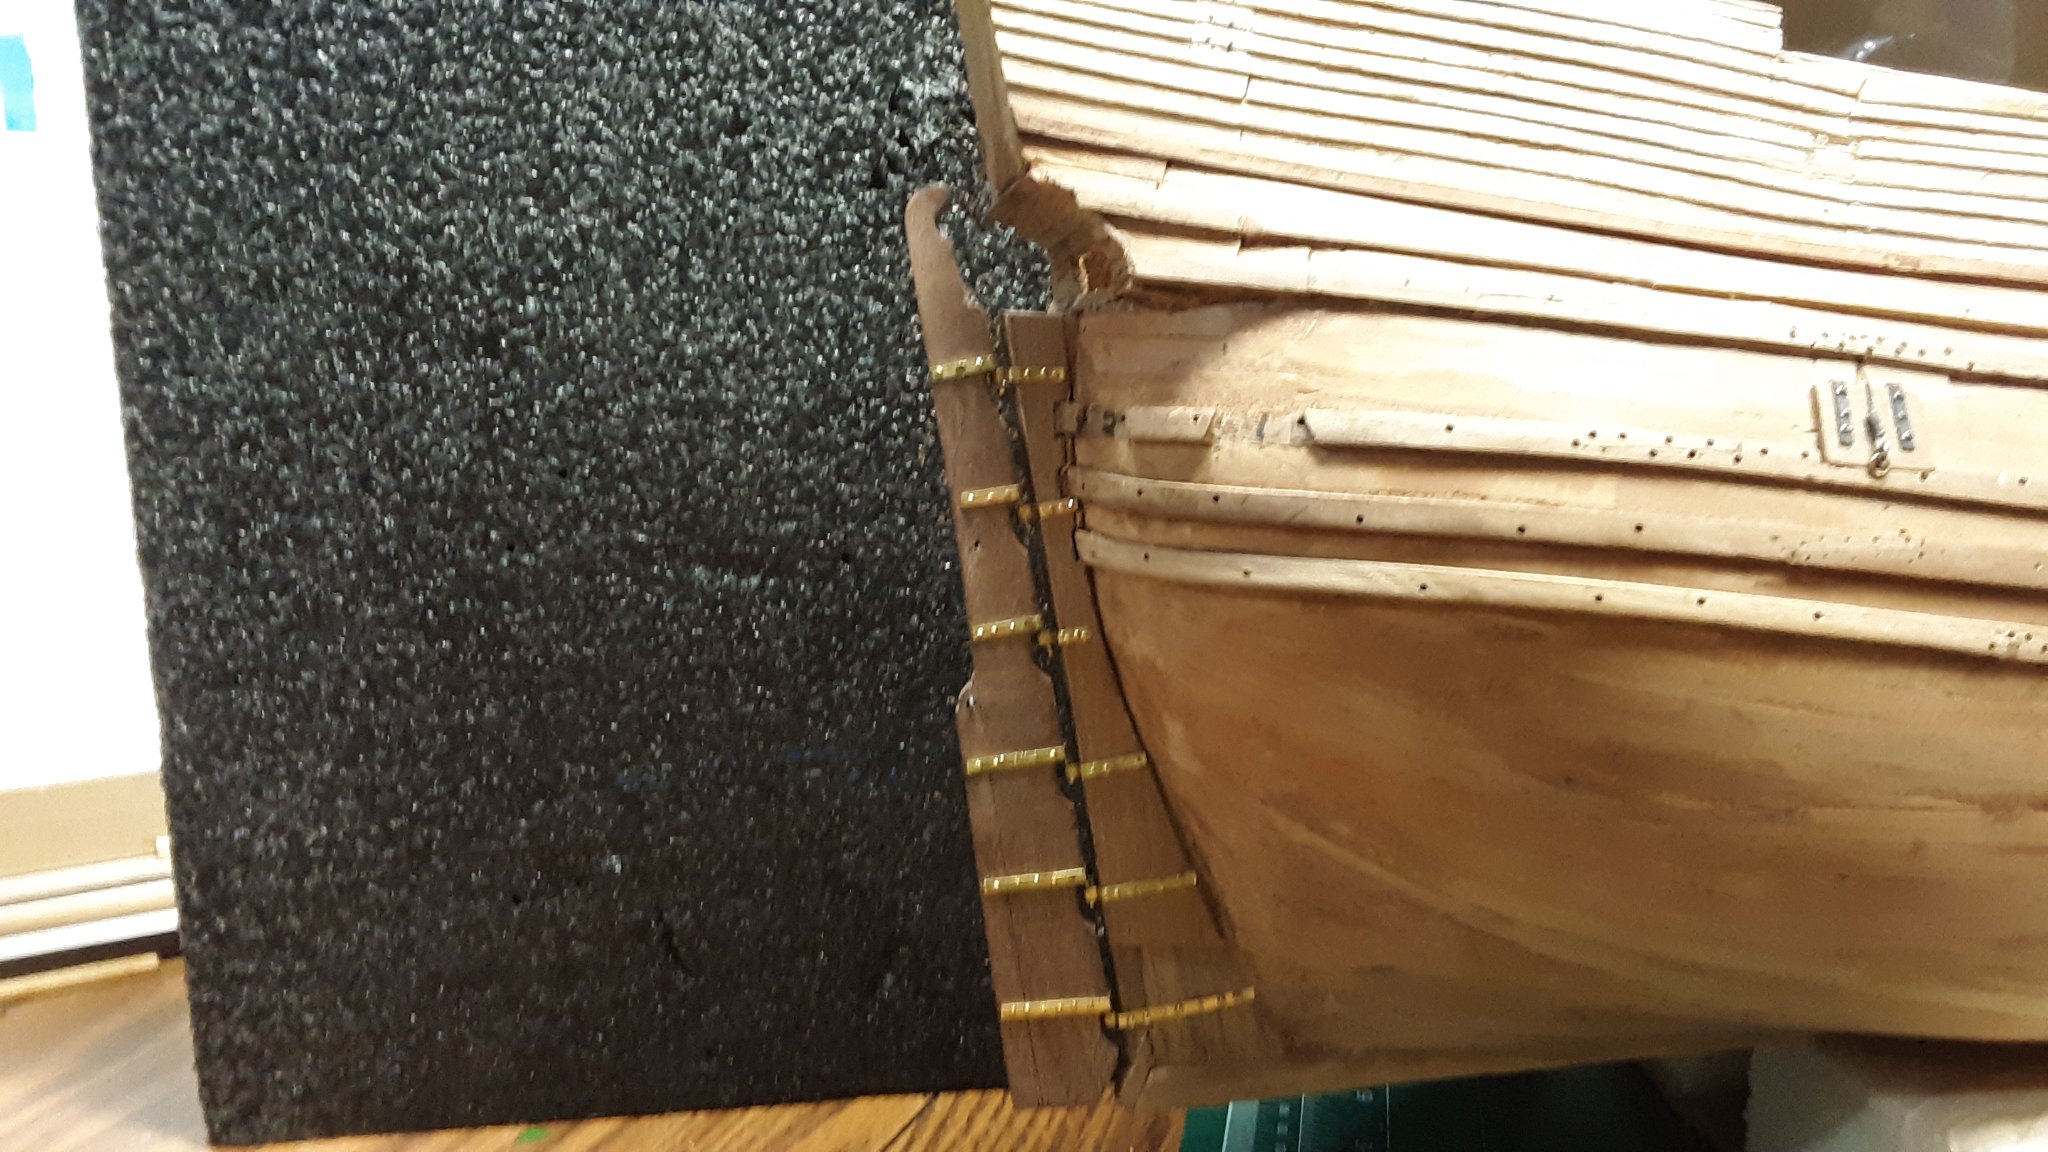
Worked on the rudder and created 6 gudgeons and pintels from brass bars which were 1/64" thick and 3/32" wide.
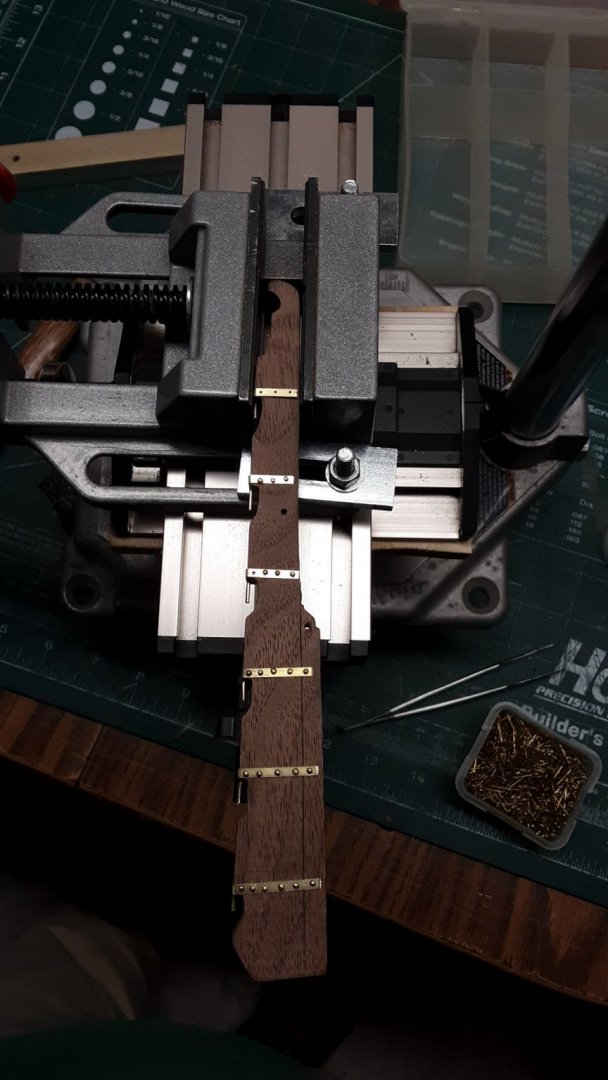
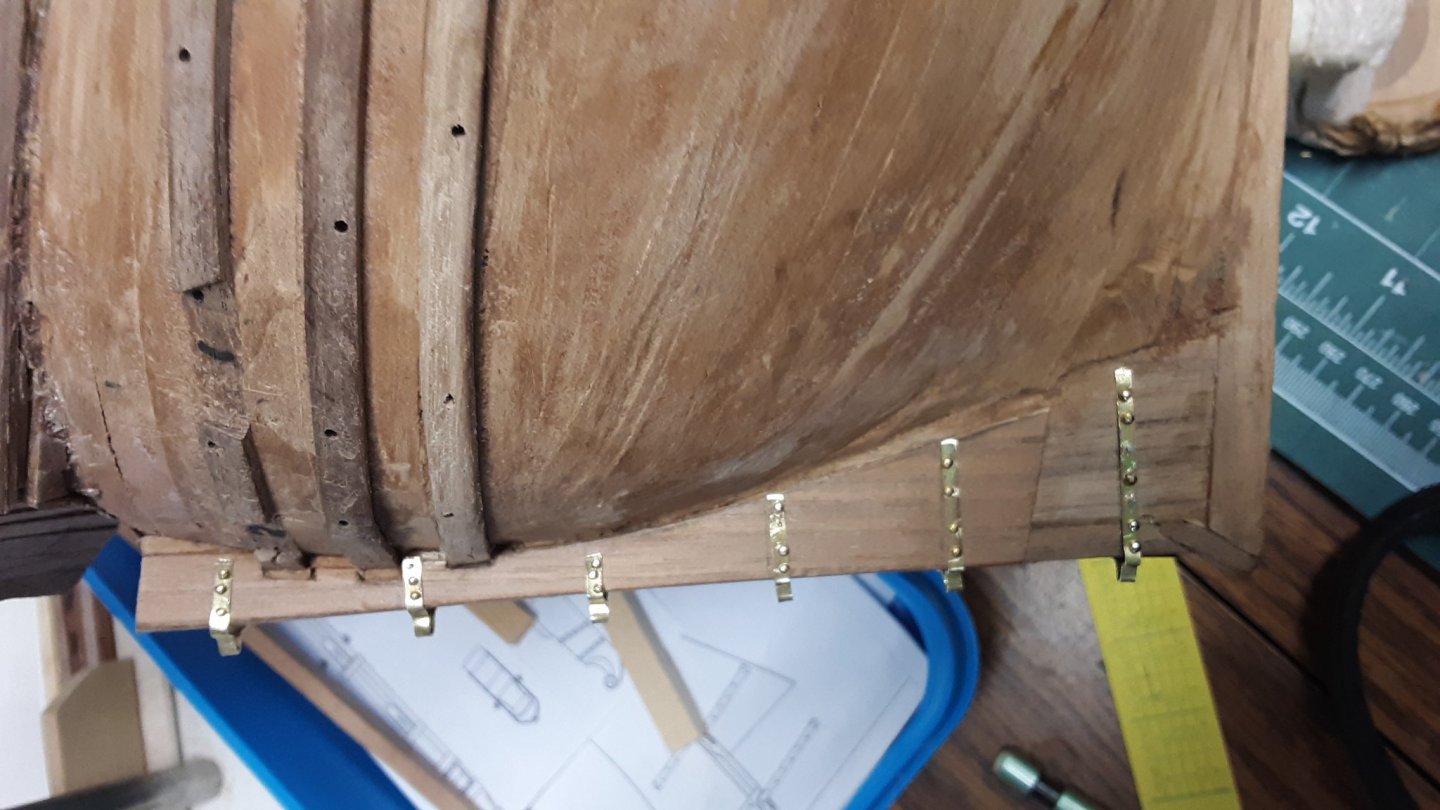

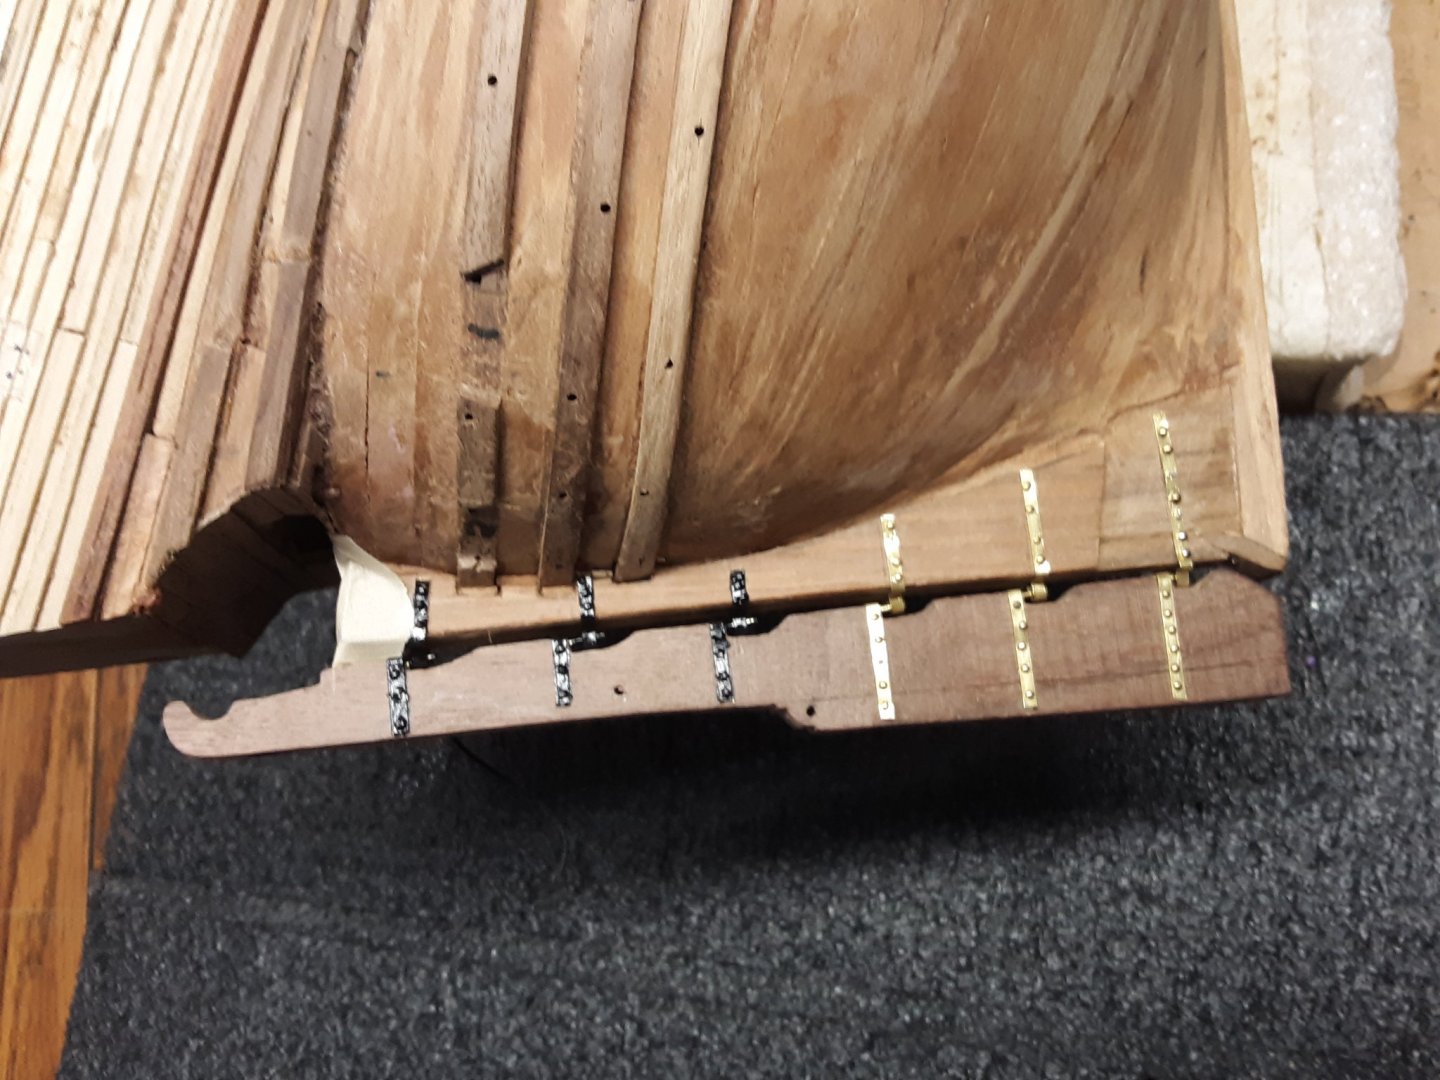
The top 3 were sanded lightly and painted with matt black oil paint. The bottom 3 and the bottom part of the hull will be painted dirty white.
Started working on the different decks. Lots of measuring.
Yesterday it was in the upper 40's so I put the bandsaw outside and cut 3 inch cedar planks down to an inch thick each. Made 2 birdhouses. They will probably be occupied by the many wren's I have.
Marcus
- Archi, Meriadoc Brandybuck, G.L. and 4 others
-
7
-
-
-
Jean-Pierre,
Here is the link. Big discussion on the reason why the Fluit was built the way she was built. As so many sources say that her narrow deck was so a Fluit payed less toll. Totally Wrong.
https://www.modelbouwforum.nl/threads/17e-eeuwse-fluyt-kolderstok.274136/
Marcus
-
3 hours ago, Meriadoc Brandybuck said:
Recently came across this and I'm loving what you're achieving here! I'd like to build a fluyt someday (perhaps after some practice with one of the Kolderstok kits). Can't wait to see more of how this lovely lady takes her shape. The beakhead and head timbers are coming together quite nicely!
Thank you so much for the compliment.
Kolderstok is in the process of creating a Fluit. It is the same one as I am building here.
Marcus
-
-
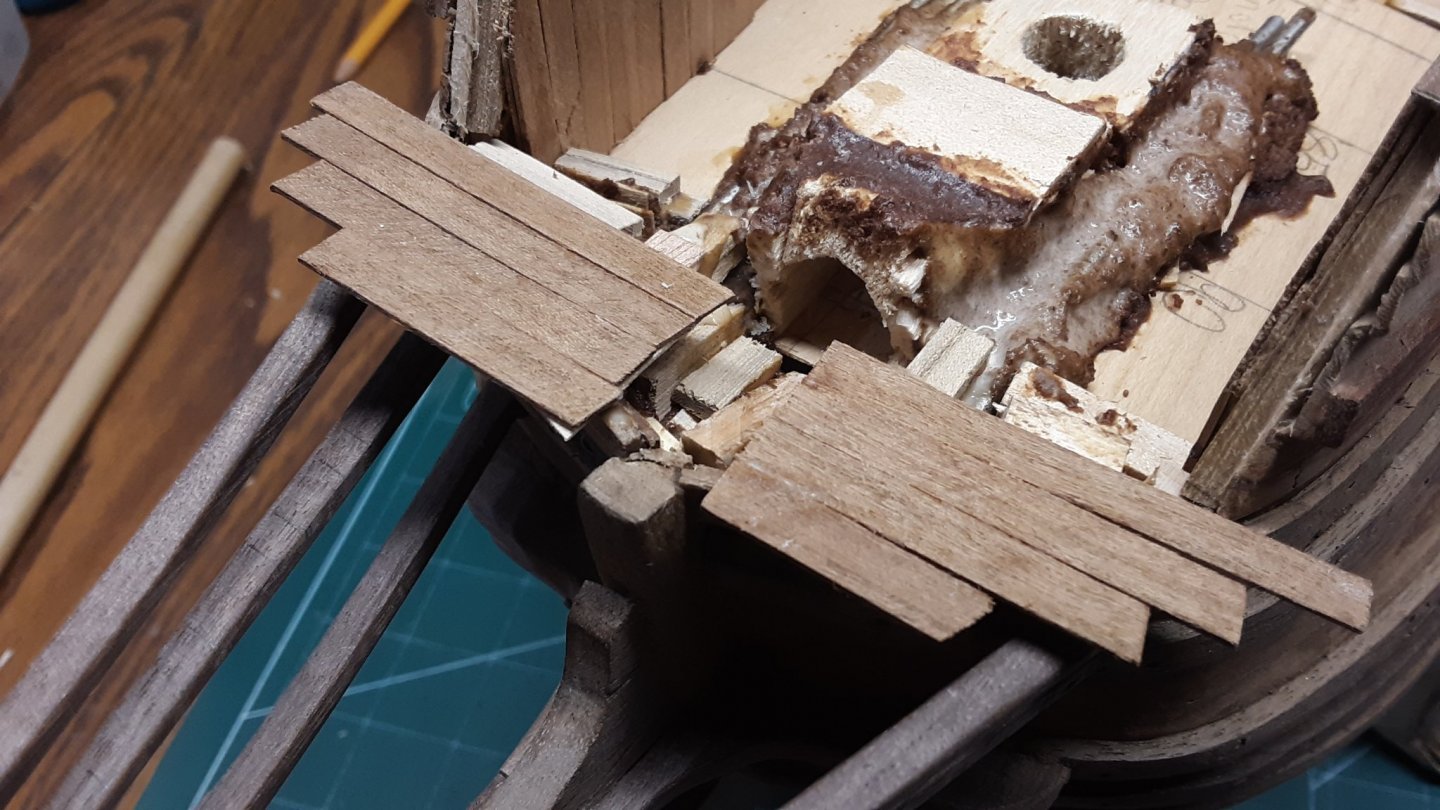
Thanks for all the likes and Steven, thanks for the compliment.
Speak of ripping stuff off, after installing all the cheeks I noticed I had forgotten the anchor rope holes. So without removing the bowsprite and the cheeks I removed the little deck, drilled 4 holes with great difficulty, reinstalled everything and need to let dry overnight so I can sand and shape the area.

Marcus
- GrandpaPhil, G.L., RdK and 1 other
-
4


Want a virtual tour through a 17th century Dutch ship?
in Nautical/Naval History
Posted
Ab,
Very nice. Will spent more time this weekend looking through the details. Thanks for the link.
Marcus