Keith Black
-
Posts
6,766 -
Joined
-
Last visited
Content Type
Profiles
Forums
Gallery
Events
Everything posted by Keith Black
-
 He says deck planks here.
 -
Nick, did you watch the Tally Ho YouTube videos I posted yesterday?
-
Joggling planks
Keith Black replied to CLovehitch's topic in Building, Framing, Planking and plating a ships hull and deck
CH, this is video is of the Tally Ho getting her deck planks. Watching Leo and crew work on all aspects of rebuilding the Tally Ho is instructional. -
Really nice work, Eberhard. The jolly boat is a little beauty, I look forward seeing her in her slings aboard the Wespe.
-
CH, welcome to MSW. Glad to have you aboard.
-
Very well done DJ. It's been a pleasure looking over your shoulder as you restored the Malek Adhel to her former glory. Wishing you the best on your life journey.
- 32 replies
-
- 3
-

-

-
- Malek Adhel
- Restoration
- (and 1 more)
-
Introducing myself and already seeking advice
Keith Black replied to kdm's topic in New member Introductions
LOL........it's never too late for a warm welcome. I totally missed the 5 year gap. Only two post, the last one May of 2021. I'm thinking this one got away. -
Introducing myself and already seeking advice
Keith Black replied to kdm's topic in New member Introductions
Keith, welcome to MSW. There are a lot of us here on MSW. Glad to have you aboard. -
Timber-framed outdoor kitchen - Cathead - 1:1 scale
Keith Black replied to Cathead's topic in Non-ship/categorised builds
Eric, grape vines are nice and they provide fruit but they can get pretty aggressive. Bittersweet is a great vine that produces pretty flowers and provides berries for the birds in spring after they've had a chance to sugar over winter. -
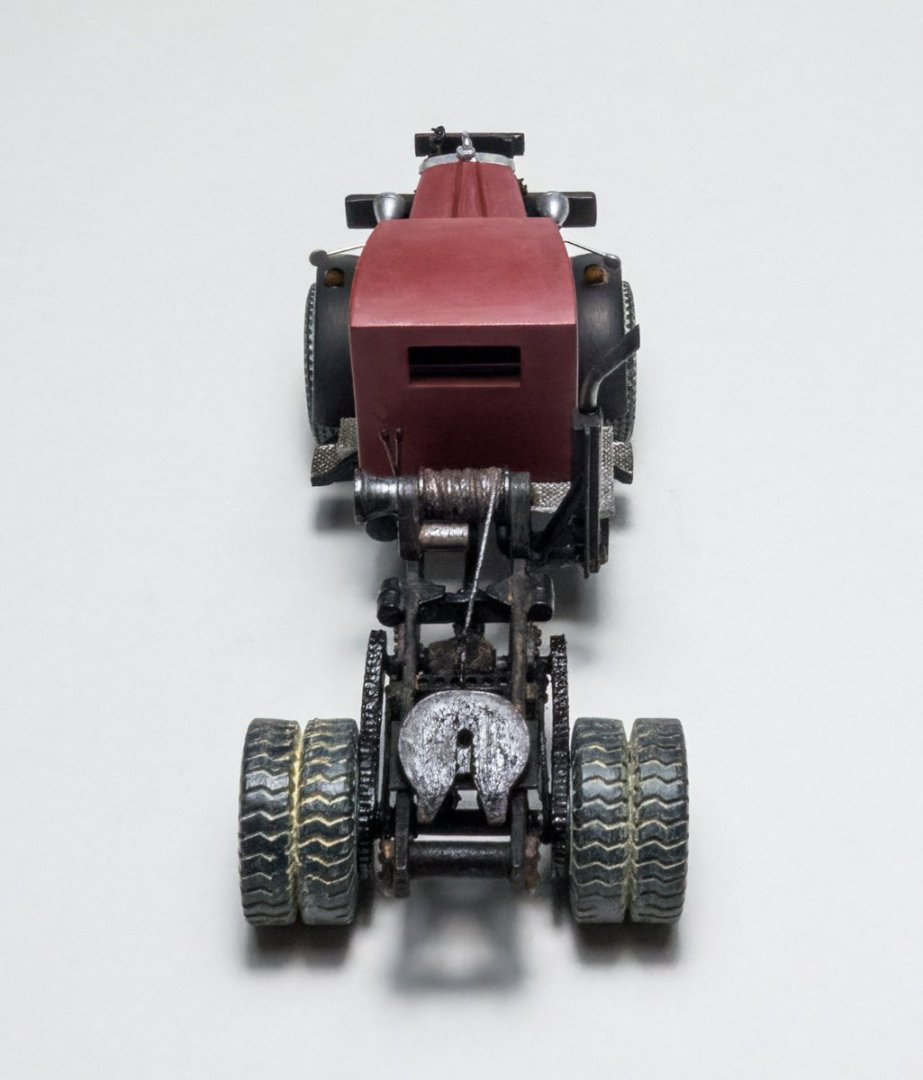
Gary, awesome! In this photo the fifth wheel plate looks greased. Did you add the "grease" or did the part come that way?
- 98 replies
-
- 10
-
-
-
Very nice, DJ. I do hope you've found the end result worth the time you've invested and are at peace with the effort.
- 32 replies
-
- 1
-
-
- Malek Adhel
- Restoration
- (and 1 more)
-
Joe, welcome to MSW. Glad to have you aboard.
-
At some point I hope you try to replicate the way the water looks, maybe not on this build but some future build because it does look absolutely amazing. You need to add a little plaque to the base that reads........."Stand Here"
-
This is a great Sib. I love the water treatment at the bow of the ship, it's awesome! it really gives it a sense of motion. The figureheads turned out really nice, the sail, oars and shields, everything is spot on, Glen. If you stopped right here, it's a treasure. I can't wait to see stage two.
-
Gus, welcome back.
-
Brian, your workspace is way too neat. Just joking, it's a really nice setup, I'm envious. Good to see pieces parts in the process. Thanks for the photos of the M/V Mississippi. Wow, they had/have great quarters. I see Marquette Transportation has openings, maybe I should do my wife a favor and apply. At this stage of my life I don't what use I'd be, maybe they have a boat's cat that needs taking care of? All kidding aside, I wish I'd been exposed to this lifestyle and opportunities 50 years ago but then....
-
I am completely worn-out after watching your video Glen. If I had to do that I'd go rabid skunk crazy knowing the epoxy meter was running while trying to join the two halves together with the tools (I use the term "tools" lightly, very lightly) you use while keeping the lines from becoming entangled and epoxied between the two halves. Nope, I couldn't be a SIB builder, i couldn't afford the illegal drug bill. My friend, I take my hat off to you for managing to get that process done without sending the whole kit and caboodle flying across the room. You be amazing.
-
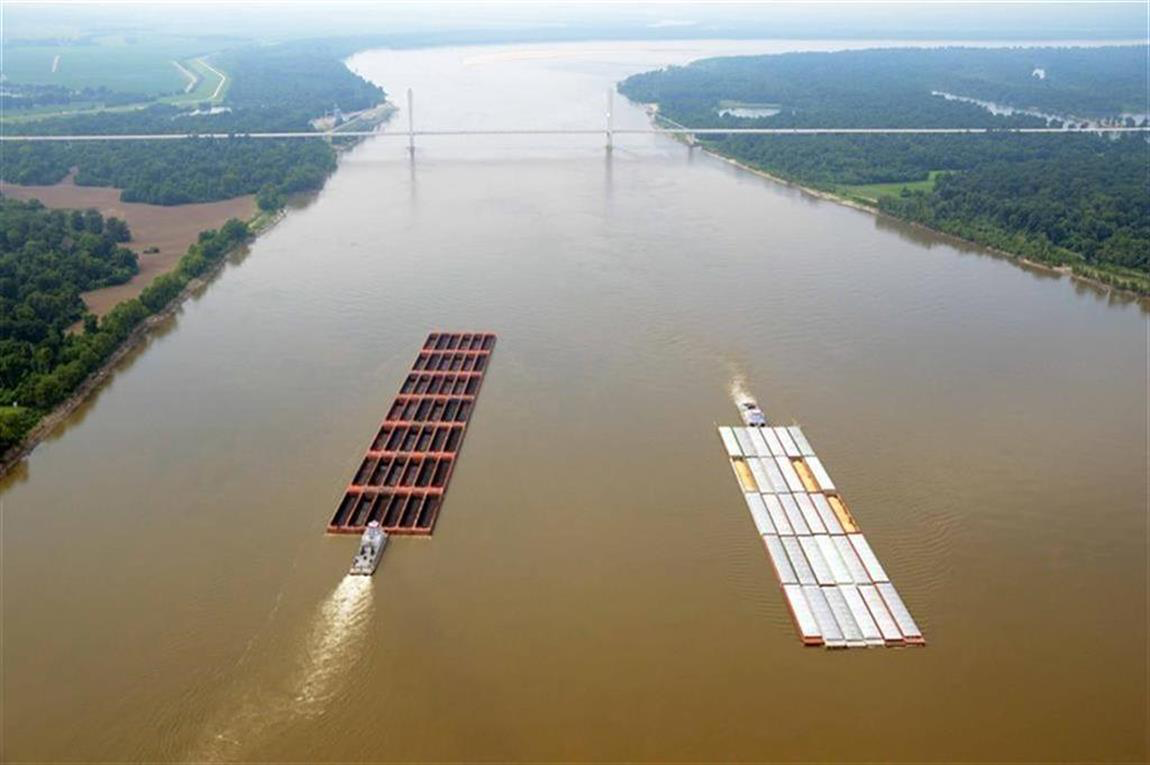
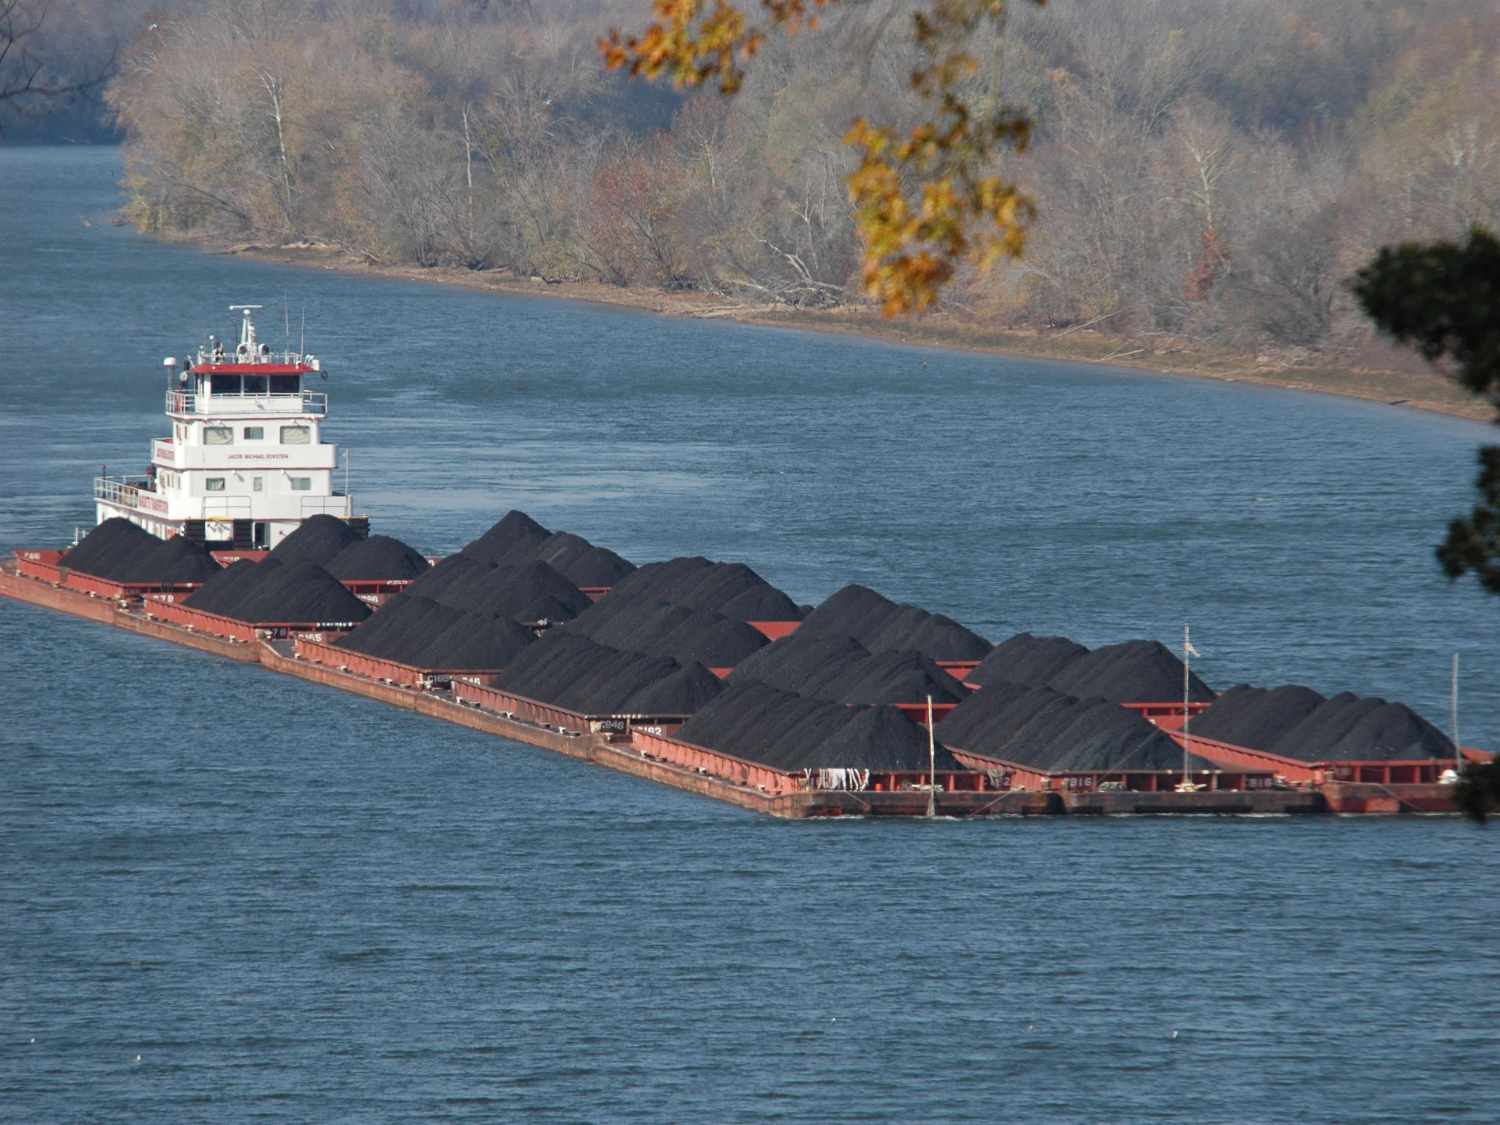
Tow size info and towboats in general. https://www.globalsecurity.org/military/systems/ship/towboat.htm
-
From earlier reading the Coast Guard is the governing body that places tow limits. I'm not sure if that is dependent on the stretch of river and river levels. At some point X number of barges in a tow is going to be potentially unmanageable and potentially dangerous. To my untrained flatlander eye that last picture you posted in the above of the 48 barge tow looks like port side disaster is at hand.
-
An explanation of "tow" listed in the chart above. A maximum tow is 42 barges lashed together, 6 barges across and 7 barges long. But lashed barges are not towed, they're pushed as there's less resistance pushing the barges than pulling them which begs the question, why call it a tow? And if you're facing a barge shortage, you just pile it higher.