


Keith Black
-
Posts
6,706 -
Joined
-
Last visited
Content Type
Profiles
Forums
Gallery
Events
Everything posted by Keith Black
-
 Pianos are moved up and downstairs all the time. I dare say a piano's average weigh is close to 500 lbs. I don't know what the cannon barrel weighs but it would be a heck of a lot less awkward to move. Shipping cost, yeah that's gonna be a bugger.
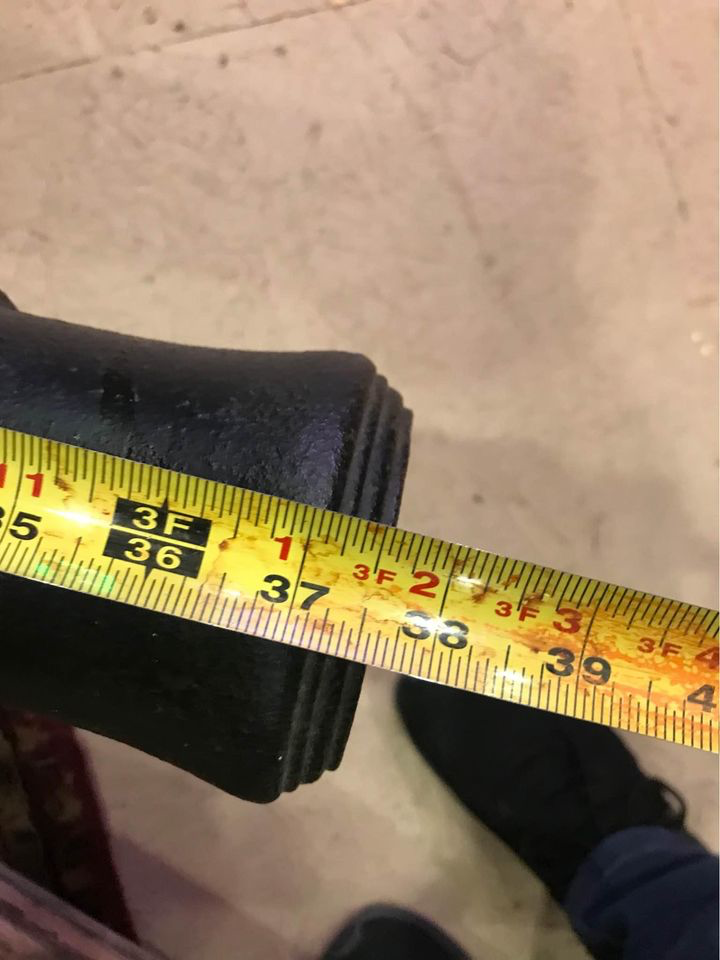
-
Mark, I think this would be something for private display/showing. You'd probably be the only one on the block to have one but no sense in drawing unwanted attention. It would certainly be the center piece of a nautical collection.
-
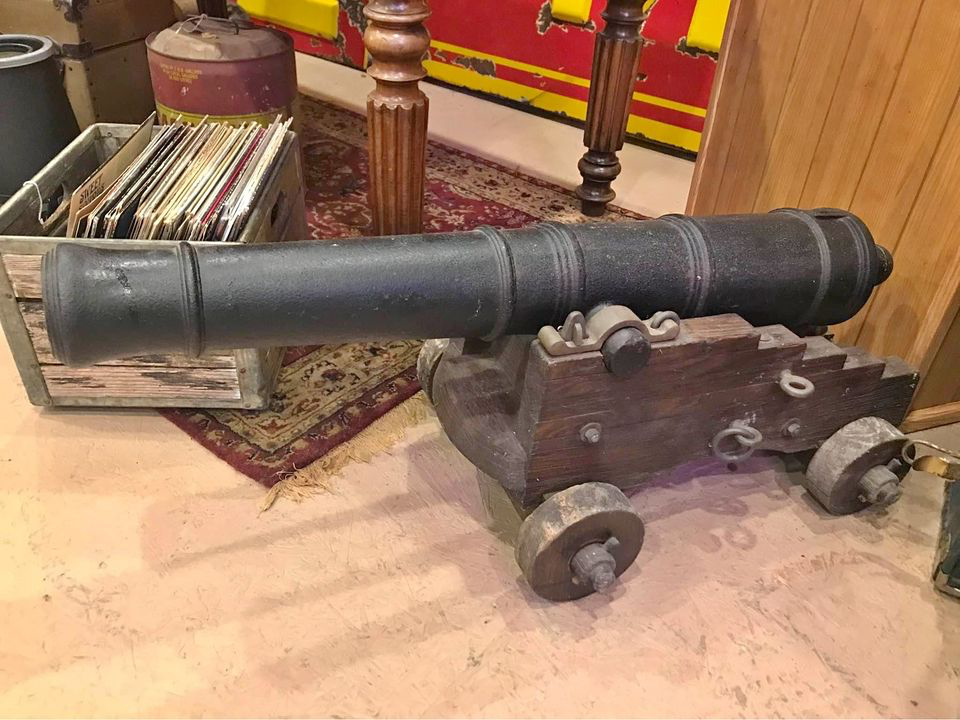
I agree, Roger. I would think one would need to have a discussion with the seller to try and establish provenance and make sure no laws were/have been broken. I see field pieces come up for sale but this is the first "real" ships' cannon I've seen for sale. Who ever made the carriage did a nice job. In today's world that's got to be worth at least $500.00 to $750.00
-
British cannon supposedly recovered from a river on reproduction carriage for $2,500.00 located here in Michigan. https://www.roadsidemetamora.com/product-page/1780-s-british-insurance-cannon-w-vintage-handmade-carriage
-
Bail you out, in your dreams!
-
Lorraine, welcome to MSW. You did such a grand job on the Wasa hull it's a shame you couldn't finish her. Rob has been away awhile, hopefully he returns to once again work toward completing the model you started.
-
PS21, welcome to MSW. Love your vocation. Glad to have you aboard.
-
Painting a .008 rubbing strake freehand makes my eyes hurt. Considering the jolly boat's size, Eberhard, it looks absolutely amazing! Great job.
-
Guy, please do. I'm pleased that you would consider doing so.
-
Guy, unfortunately Paul (whom I considered a true friend) has been MIA for over two years. I diligently searched any and all connections in the UK to Paul that I could conceive of but to no avail. In my heart I feel Paul has passed on and as difficult as it is I've made peace with Paul being no longer with us.
-
Jim, welcome to MSW. is there a time period that you have a particular interest in? Glad to have you aboard.
-
Tim, the images are fine. Leave as is, the bigger the image the easier to see detail. I dislike small images taken with a phone, you can't make out detail for diddly.
-
VB, welcome to MSW. We lived in Egegik for nine years. Glad to have you aboard.
-
Valeriy, will the model be displayed open or in a case?
-
Fantastic work/presentation, Glen. I think this one is the pick of the litter.
- 134 replies
-
- 2
-

-
- Captain Kidd
- bottle
- (and 3 more)
-
Tim, welcome to MSW. Glad to have you aboard.
-
Introduction - André Dethioux
Keith Black replied to Wonko the Sane's topic in New member Introductions
Andre, welcome to MSW. Glad to have you aboard. -
Greetings from North Carolina
Keith Black replied to PostCaptainAubrey's topic in New member Introductions
Will, welcome to MSW. Glad to have you aboard. -
Eve turned out really really nice. I'm sure Captain Bean will have fond memories of her evermore.
-
Hi everyone from Brisbane Australia
Keith Black replied to Ray Durant's topic in New member Introductions
Ray, welcome to MSW. Great looking models. Glad to have you aboard. -
David, welcome to MSW. I look forward to seeing your work. Glad to have you aboard.
-
Ian, beautiful build, congratulations!
-
Organization is the tool of the Devil. I got organized once and couldn't find anything till I got disorganized again.
- 346 replies
-
- 7
-
-

-
- Sophie
- Vanguard Models
- (and 1 more)
-
Hi Everyone from Savannah GA
Keith Black replied to bgilbertsound's topic in New member Introductions
BG, welcome to MSW. Glad to have you aboard.

