


Keith Black
-
Posts
6,744 -
Joined
-
Last visited
Content Type
Profiles
Forums
Gallery
Events
Everything posted by Keith Black
-
 For a total of at least two, correct?
 -
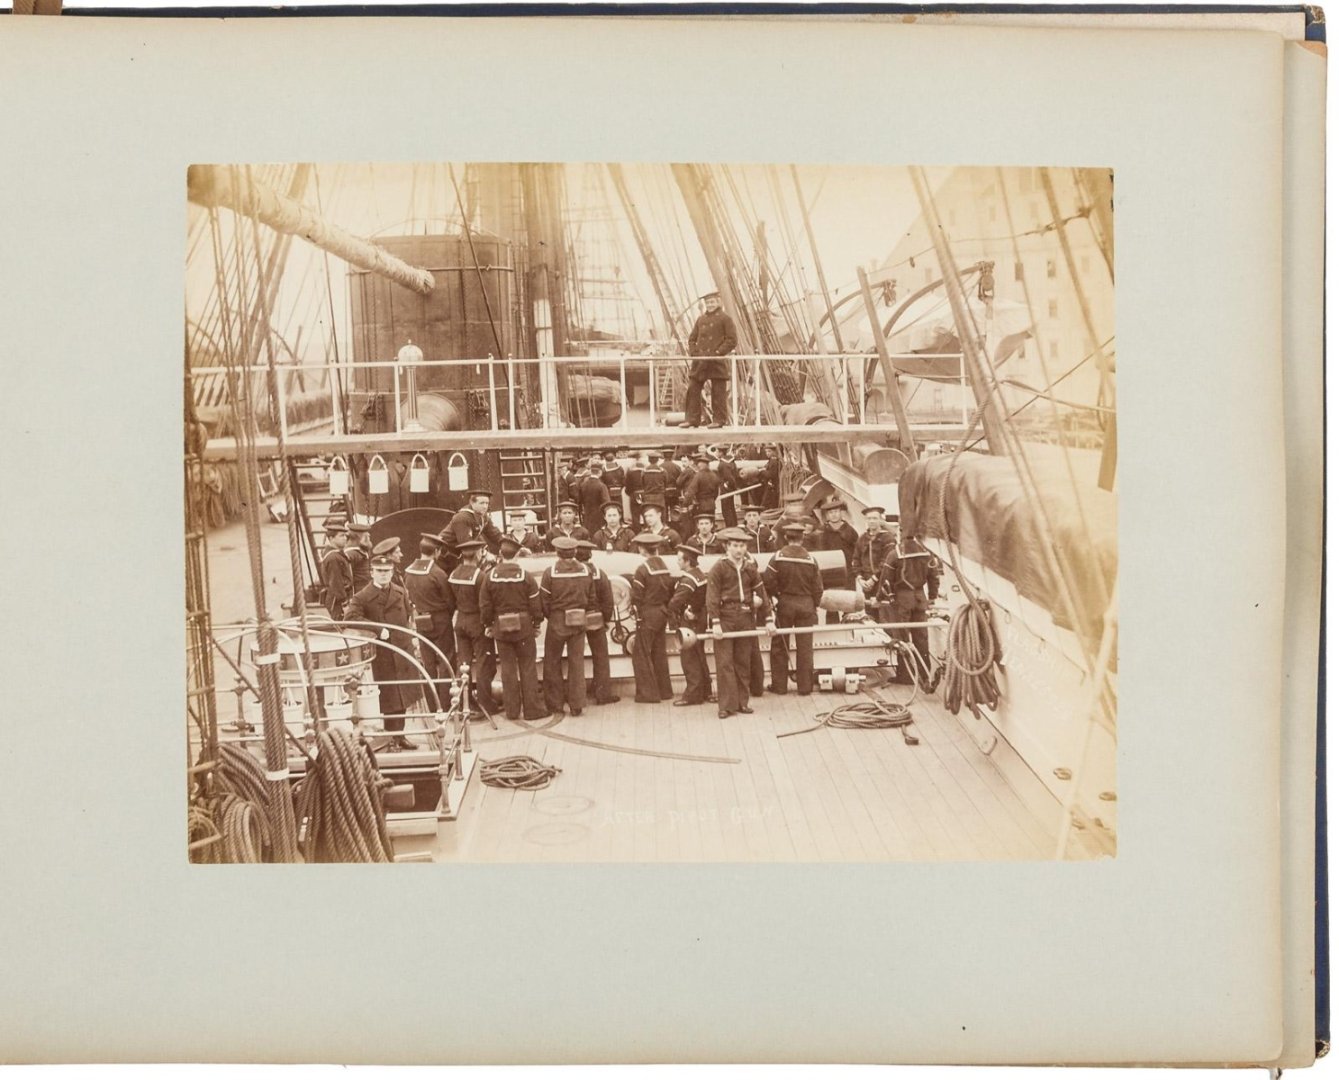
Keith C, I'm of the opinion that once the Terror was fitted with steam engines the ice/flying bridge would have been permanent. On the Tennessee there was a engine telegraph where the engineer on the flying bridge could instantly relay instructions to the engine room. With sail alone, a keel and rudder was it. Once fitted with steam they had a prop, prop shaft and stuffing box to worry about none of which took kindly to being bounced about and would have required dry docking to be repaired had any been damaged. . I bet the "Ice Master" had a crew of at least four (one starboard, one port, one forward and one on the main top) all relaying information to him and he in turn relaying information to the helmsman at all times and also to the engine when under steam.
-
Keith S, okay, you dismantle it. Then what? Where would they have stored the stanchions, the iron runners/joist in which the deck planking was fitted, and the stairways. IMHO, when a ship's wheel is below the cap rail or so far astern making visibility almost impossible for the helmsmen, a flying bridge is almost imperative in the case of ships fitted with steam engines. Course corrections, engine speed, and engine forward, reverse and stop needed to be made much quicker than a ship under sail alone and couldn't have been preformed without a clear field of view whether in icy waters or clear.
-
Keith, you kept referring to a "ice bridge" and I wasn't sure but I thought you might mean a "flying bridge". A lot of ships carried flying bridges including the Tennessee and they were permanent structures. Why do you think they would assemble/dismantle at certain points in the voyage?
-
Valeriy, magnificent work as always. Question, I know there's a reason but why are there three portals on the starboard side and only two on the port side? TYIA.
-
Wieslaw, welcome to MSW. Glad to have you aboard.
-
Ah, the joys of fuzzy teenagers. Simon, enjoy their kittenness while you can and post some photos of the little buggers.
-
Sorry, Bob. And if Bob isn't right I'm gonna go ahead and schedule that lobotomy my wife and doctor have been pushing.
- 179 replies
-
- 3
-

-

-
- Second Build
- Pinta
- (and 2 more)
-
TJ, welcome to MSW. Glad to have you aboard.
-
Last I was there (the original building) the wait time could be as long as 45 minutes to an hour. Well worth the wait. I think the original building was a hardware/feed store but that was 50 years ago so that might be iffy.
-
Isn't that the truth, it's absolutely amazing.
-
It's grown some since I lived there in the early 70's. Tioga, Texas, the birthplace of Gene Autry and home of Clark's Barbecue. "see it and get bored with it" Absolutely not, never.
-
Brian, you might be able to find a place to display the Cairo in the bustling megatropolis of Tioga.
-
Brian, when you finally finish you could have photocopies of the images showing the internal details displayed alongside/with the Cairo. Some of my favorite remembrances of your Cairo build are the engine room with the boilers and engines.
-
Rich, welcome to MSW. Glad to have you aboard.
-
Hello from Escondido, California
Keith Black replied to Coyote_6's topic in New member Introductions
Steve, welcome to MSW. Glad to have you aboard. -
Brian, fantastic and I do mean fantastic work! The bell and flag locker are super nice and the padlocks are ingenious.
-
Your bulkhead measurement of I = 90.5mm, the plan measurement is 98mm. That's a little more than a quarter of an inch difference. Does your earlier bulkhead measurements the full width of bulkhead edge to edge? Is the 7.5mm difference in the two I measurements because of the keel width?
-
That looks great, Richard.
-
Dave, I added up your measurements for each bulkhead and the only way the totals make sense (to me at least) is for G and H to be swapped. Or am I completely off my rocker? What does G measure on the plans?
-
Dave, is it possible to remove the filler blocks?

