Keith Black
-
Posts
6,684 -
Joined
-
Last visited
Content Type
Profiles
Forums
Gallery
Events
Everything posted by Keith Black
-
 It runs in the family as I'm in the same boat, Tom. I gave up and went with some off the wall knot hoping no one would notice. The Sophie is looking great! 👍
 -
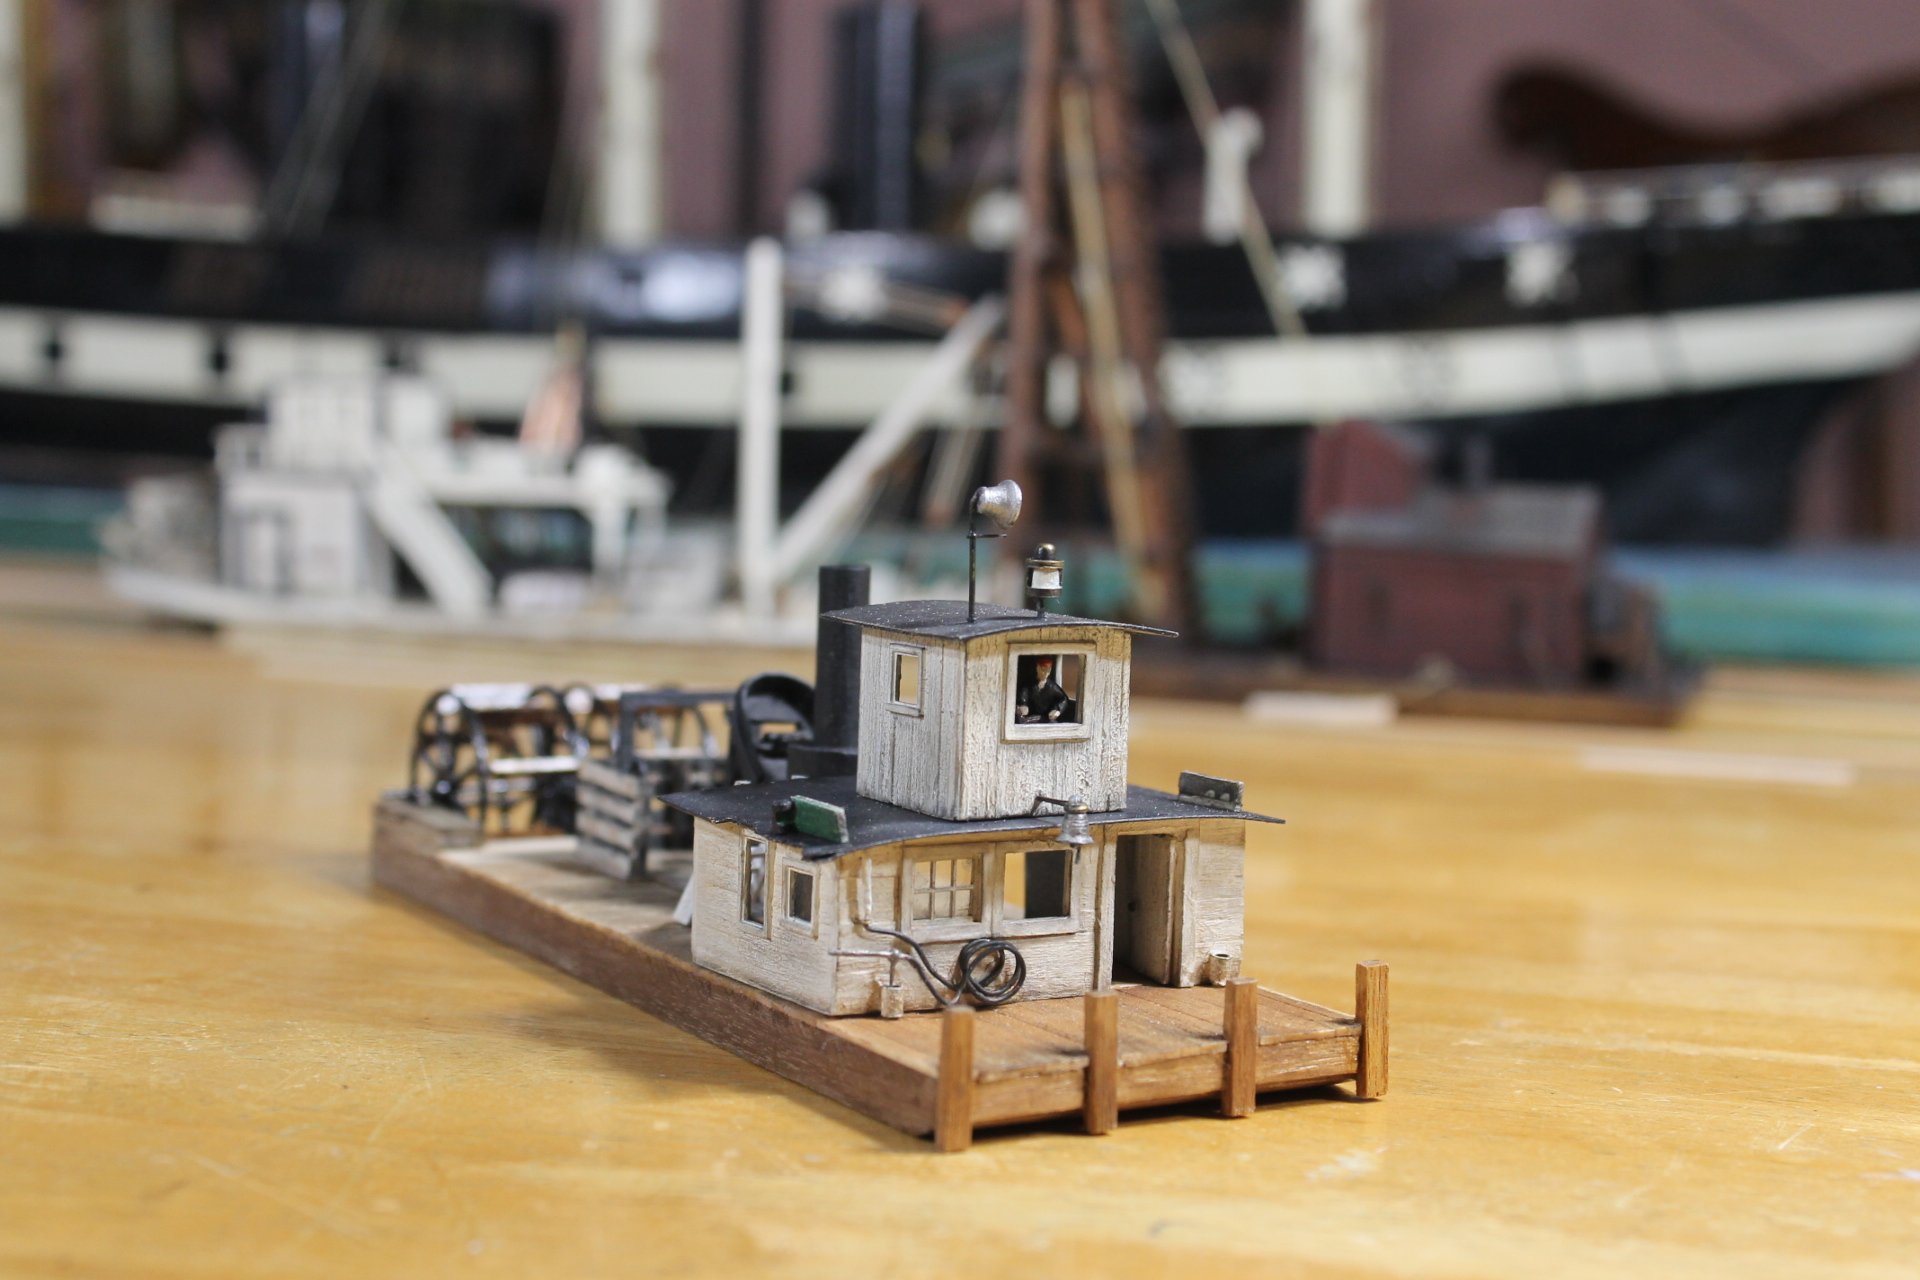
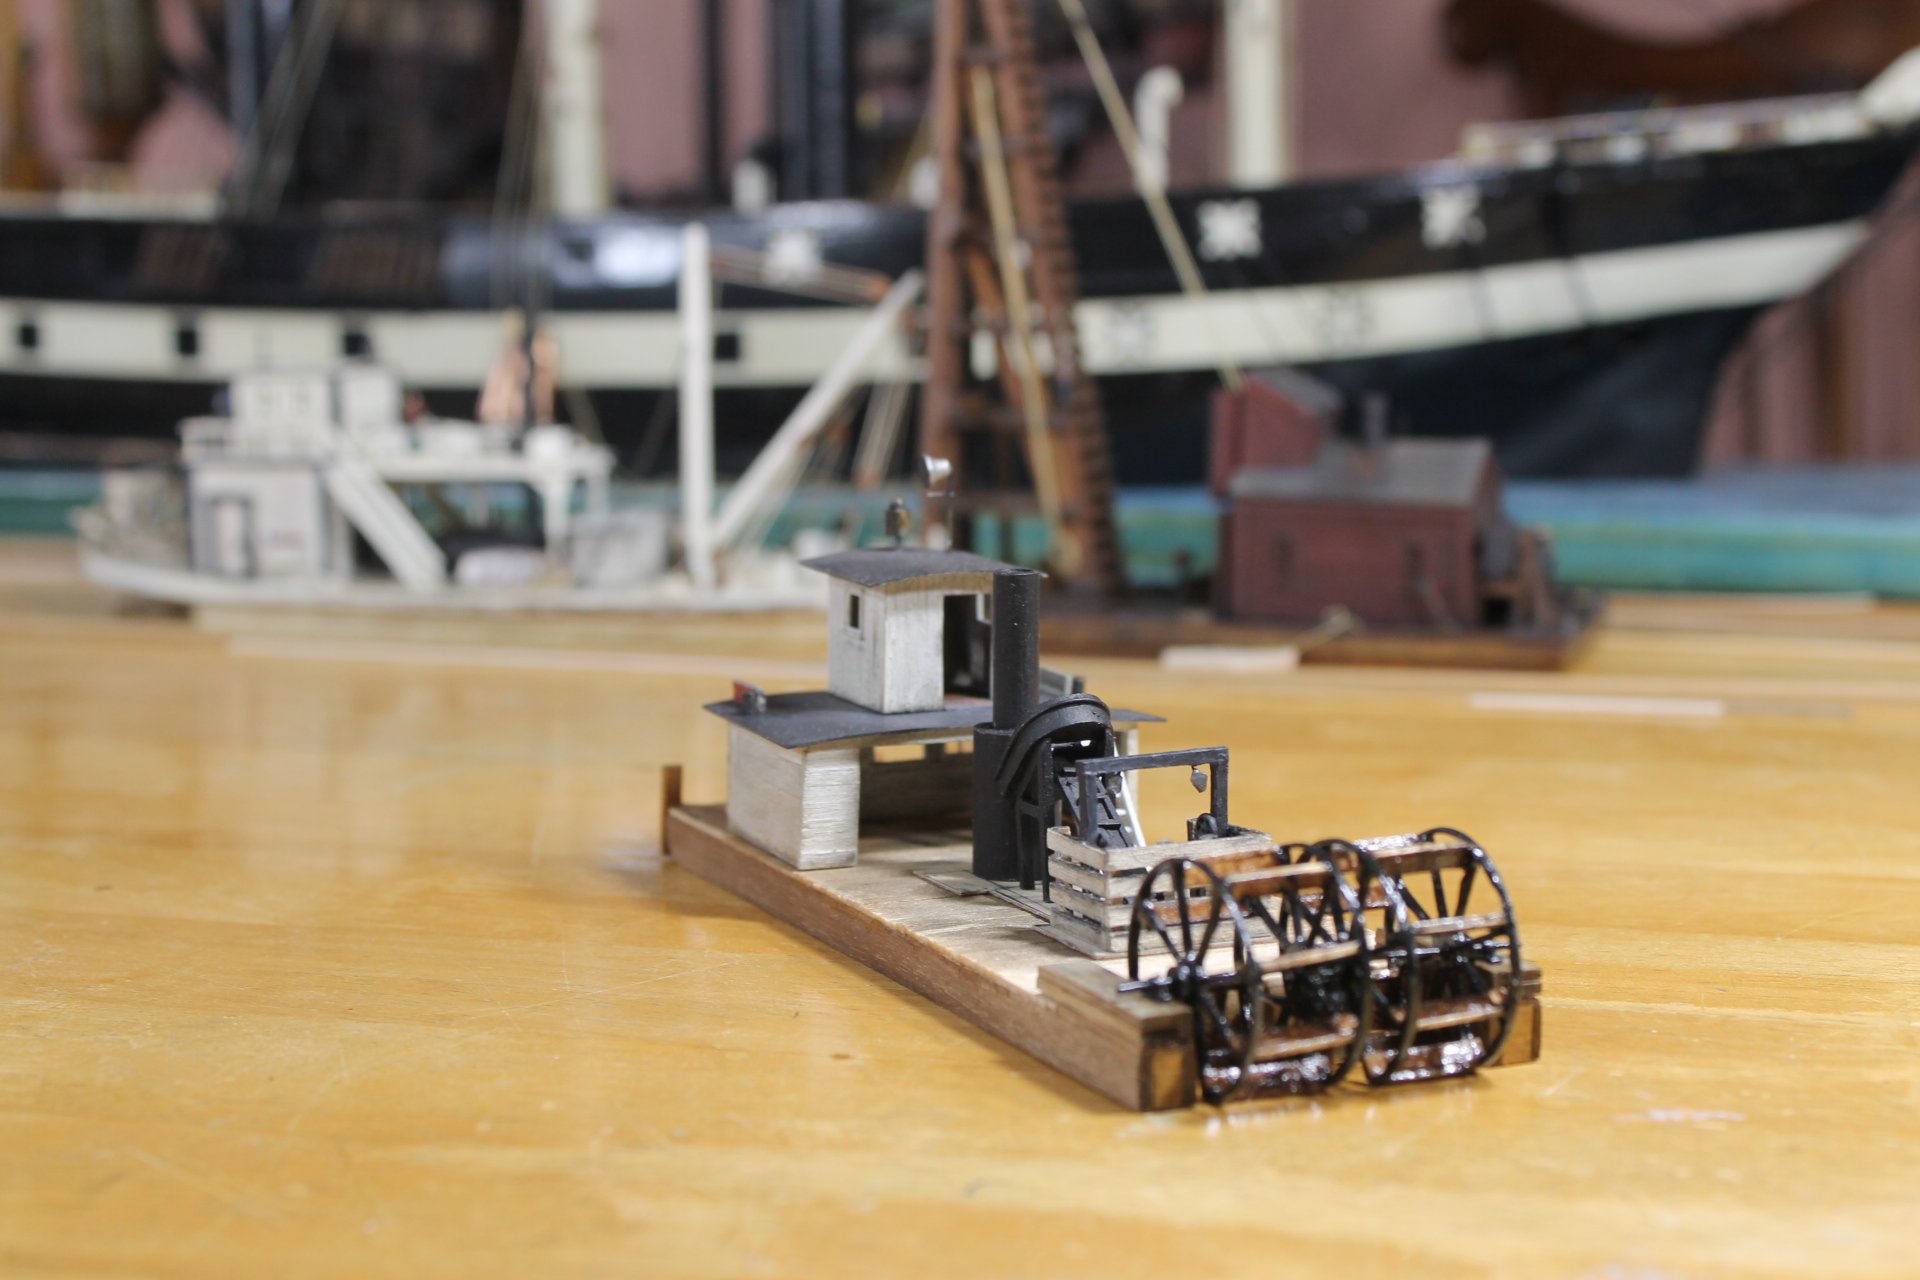
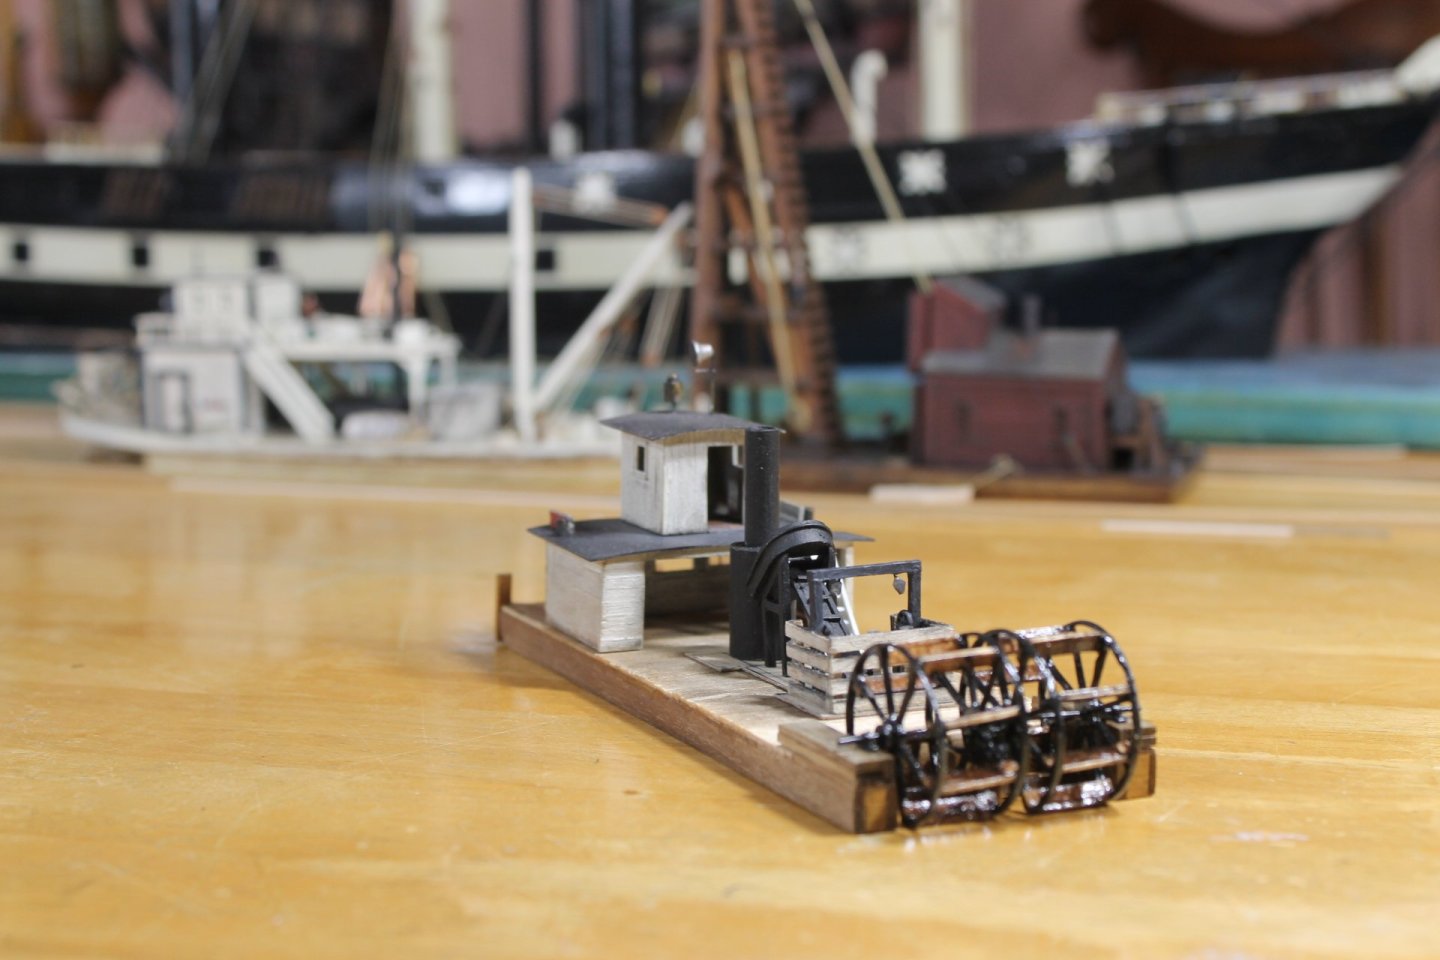
Thank you to everyone for your kind comments and likes. What a taffy pull it was getting the wheels built. For as long as it took I should be dancing a jig but alas, that's not the case. The wheels are loosely placed as more work in the stern is required before they are glued into place but this little ugly duck now looks the part. I poly coated the wheels to represent being wet. The buckets are 14 inches to scale but could have been a tad bit wider. I did a poor job pairing the Amati ships wheels used for the framework as evidenced by the port side wheels canted bucket. Not all Amati ships wheels are created equal. I'm not staying up until the wee hours of the morning working anymore so the pace it's going to be a little slower going. Thank you guys for your support by following along and being part of the journey. Keith


- 457 replies
-
- 24
-

-

-
- sternwheeler
- Hard Coal Navy
- (and 1 more)
-
What a beautiful gem. Siggi, thank you for sharing and letting us be part of the journey.
-
I bet all the heads were continuously occupied.
-
Welcome to MSW. Nice photos, beautiful work. Glad to have you aboard.
-
Congratulations, Siggi. She is beautifully built displaying your extraordinary skills. 👍
-
Unfortunately those good old days maybe returning.
-
Which is/was worse on the environment, coal or wood?
-
Four foot sections, they must have split those with wedges. Lots of hard work sitting there.
-
Dan, create a build log and post your photos. We share because that's how we learn.
-
Bob, checkout Glen's Constitution build page 6, post #167 for a perfect explanation.
-
The lighting is the cat's meow, John. 👍
-
The rigging is more than likely cotton thread/line, it will only continue to deteriorate. I daresay in another 20 years most of the rigging will be in shambles. The only "fix" is to replace the rotten cotton thread with polyester. If the model is important to you, you or someone needs to see to a proper restoration of the rigging, IMHO.
-
And this is how one becomes a ship modeler. It's a deep rabbit hole but cozy if you like creating and working with your hands.
-
Welcome to MSW. Glad to have you aboard.
-
Sure but... I've got nothing against 3D printing. I buy 3D parts but I wish I didn't have to, I wish I could make those parts myself. I think there's something to said for building a model totally by hand. I can't do it but for those that can, I admire them and their skills greatly.
-
That's great work, Eberhard. Many a time I've wished you and your milling machine were sitting next to me when tackling small pieces.
-
Sean, welcome to MSW. Glad to have you aboard.
-
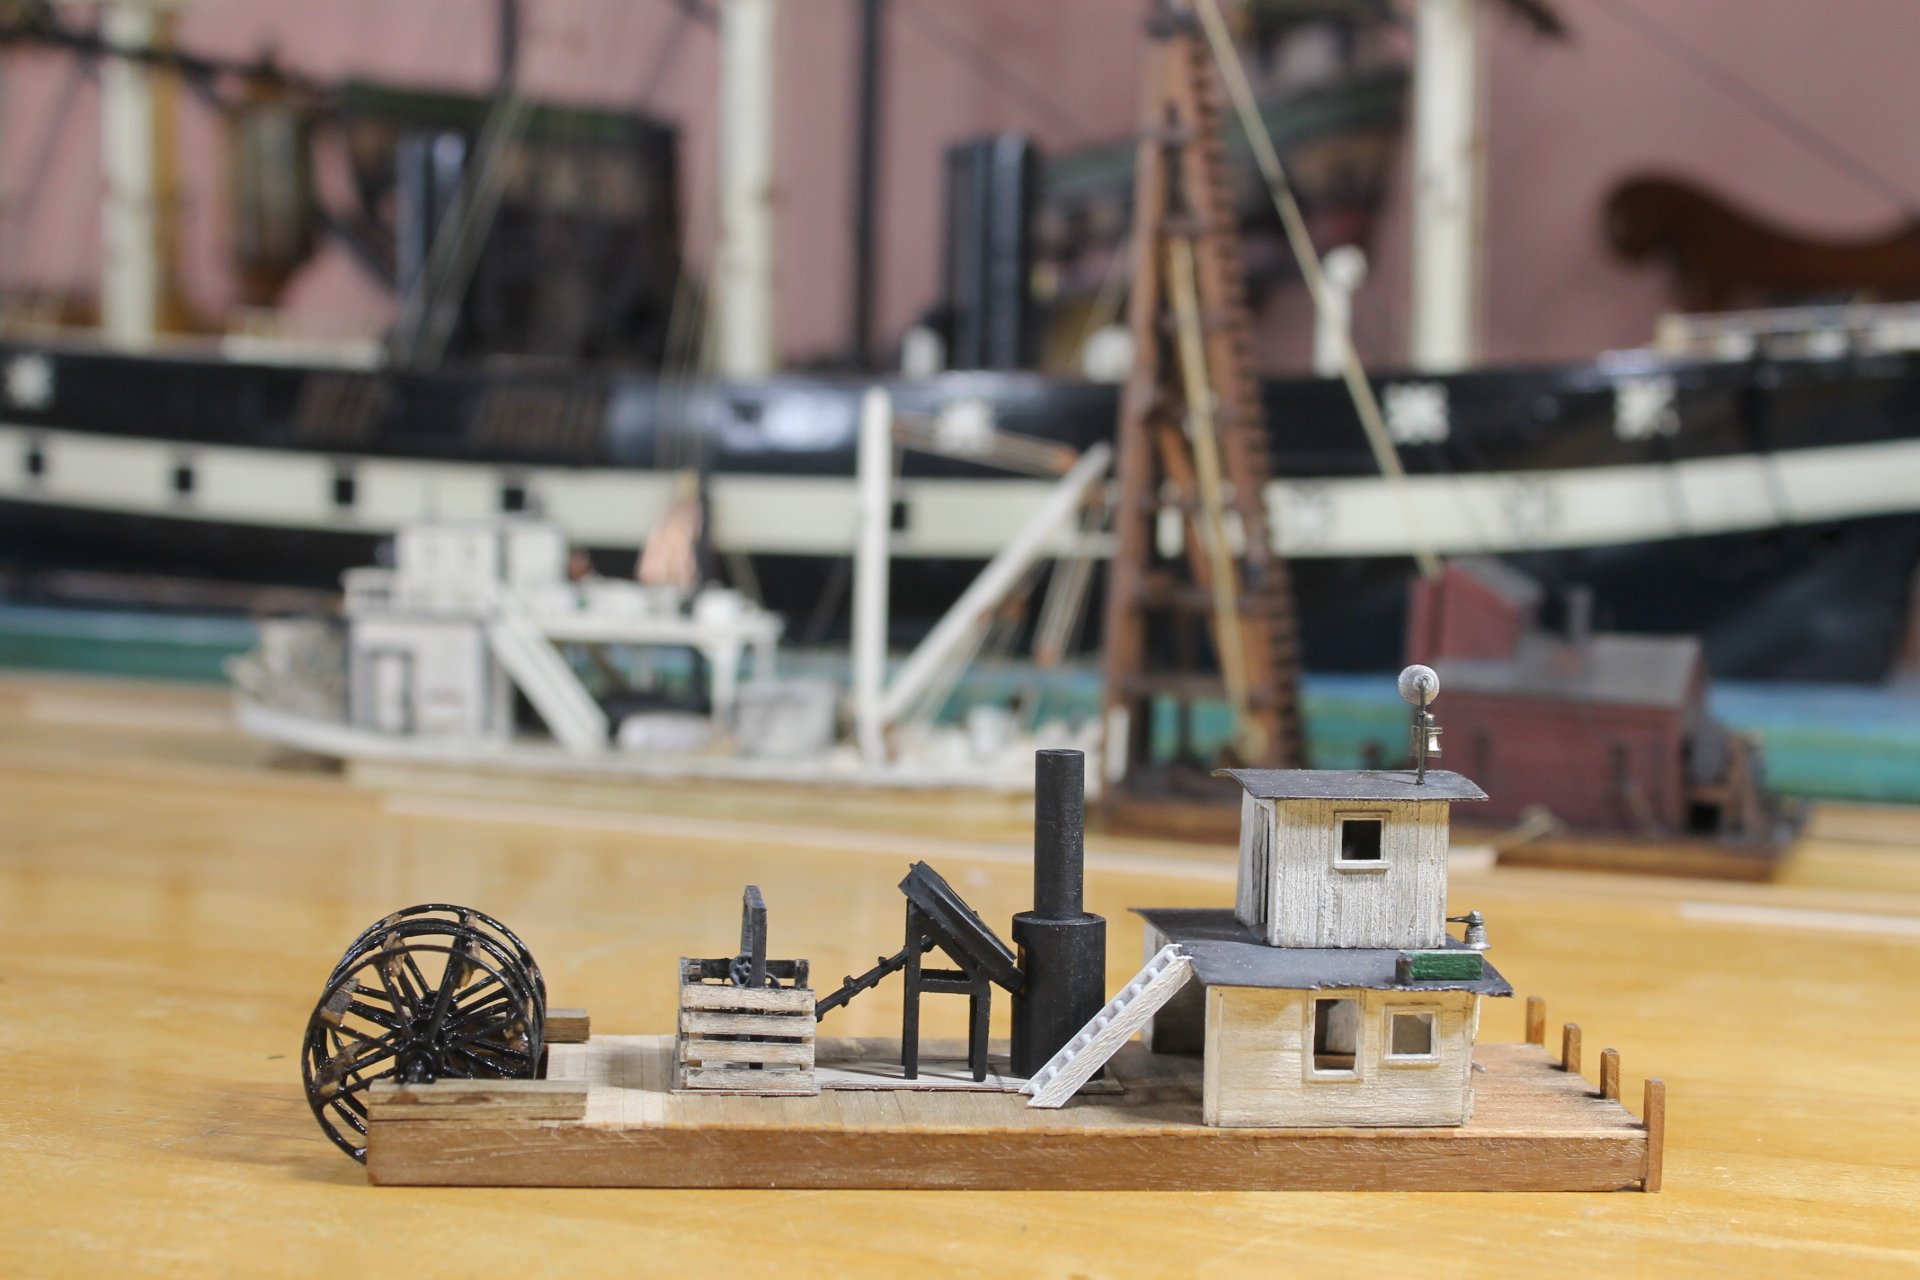
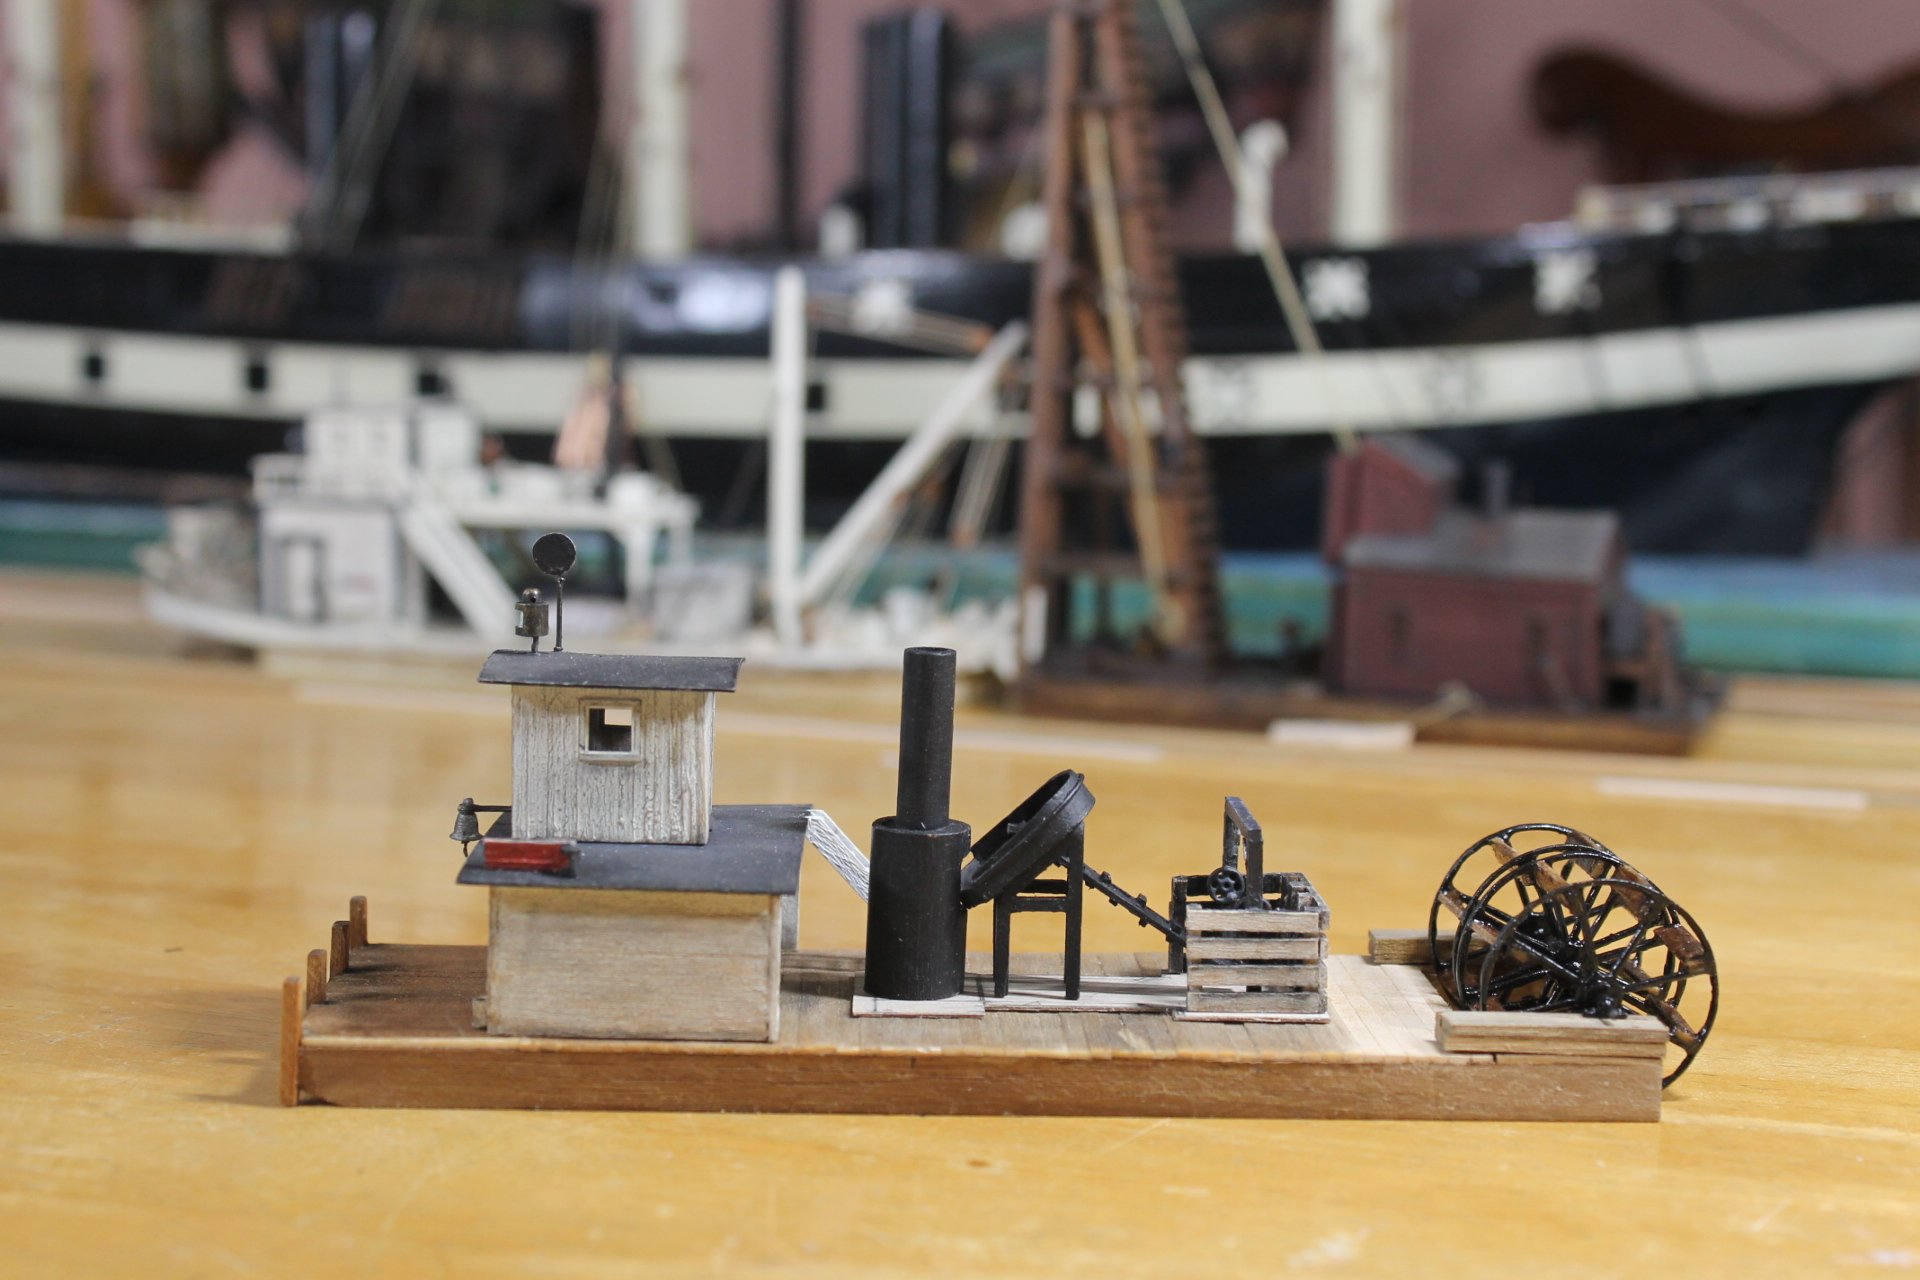
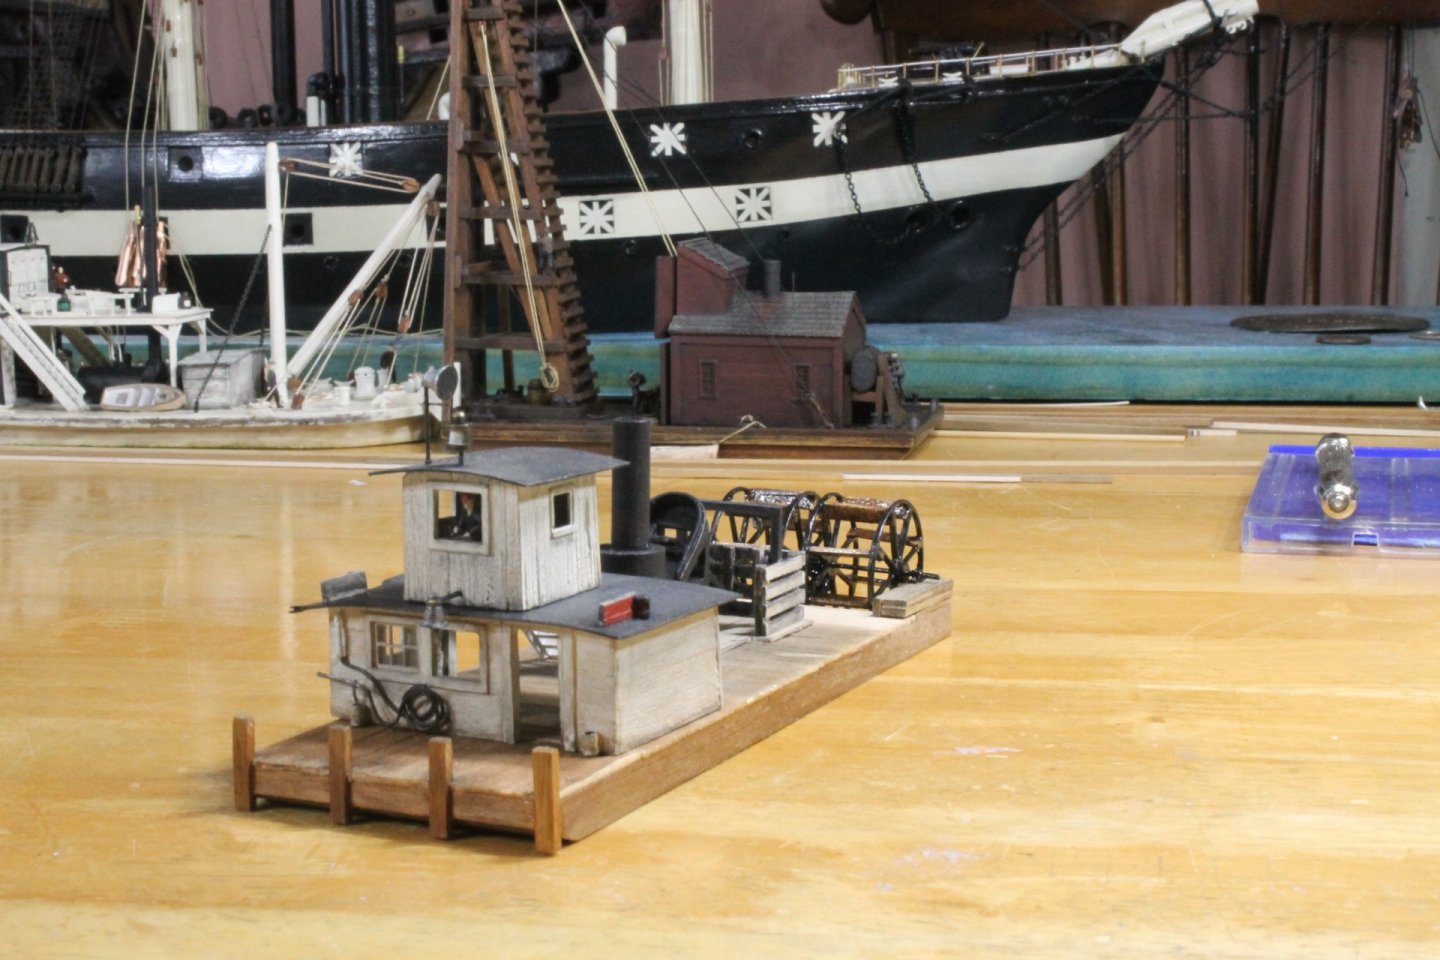
Phil, I also thought it was an auger system but that didn't square with the blocks and spreader bar above the coal crib. The drive shaft to the wheels runs directly beneath the boiler, stoker, and coal crib. It could have taken power off the shaft with a levered gear system that was operated by the skipper as need required?
- 457 replies
-
- 3
-
-
- sternwheeler
- Hard Coal Navy
- (and 1 more)
-
Dan, welcome to MSW. Glad to have you aboard. For no ship models you can post photos to the below. https://modelshipworld.com/forum/174-completed-non-ship-models/
-
Any and everyone. It's merely a statement of non importance on how I feel about trying to build something when lacking what I feel to be adequate information.
- 457 replies
-
- 3
-
-
- sternwheeler
- Hard Coal Navy
- (and 1 more)
-
Eberhard, thank you for your kind comment regarding my health. Regarding the stoking system, I wasn't able to find anything on this type of system. I had to rely solely on photographic evidence and clues. I detest ambiguities when trying to replicate a thing as it always takes three to four times longer to build rather than the simple monkey see, monkey do.
- 457 replies
-
- 5
-
-
- sternwheeler
- Hard Coal Navy
- (and 1 more)
-
Welcome to MSW. Glad to have you aboard.