Keith Black
-
Posts
5,903 -
Joined
-
Last visited
Content Type
Profiles
Forums
Gallery
Events
Everything posted by Keith Black
-
 I can almost smell that nice looking wood, Andy. Happy New Year.
- 174 replies
-
- 2
-

-
- Vigilance
- Sailing Trawler
- (and 1 more)
-
Keith, Happy New Year.
-
Ron, welcome to MSW. Glad to have you aboard.
-
Like I said, it looks great. At this scale I'm not sure a bolt rope would be visible. So much of what we do is providing impressions and let the viewer's mind fill in the blanks.
-
In my limited rigging experience, the rule of thumb I go by is the sheave opening is always on the anchored end. for those who have been rigging for 40 years I can hear you saying, 'duh' but for those of us with limited experience this is one of those 'light bulb' moments.
-
One can't tell manufactured from the real thing. Before reading the text, just looking at the photo, I thought I was looking at some rock you found which would have been astonishing enough on as it's a perfect fit for the project. But then reading that you made the bloody thing is amazing!
- 174 replies
-
- 7
-
-

-
- Waa Kaulua
- bottle
- (and 1 more)
-
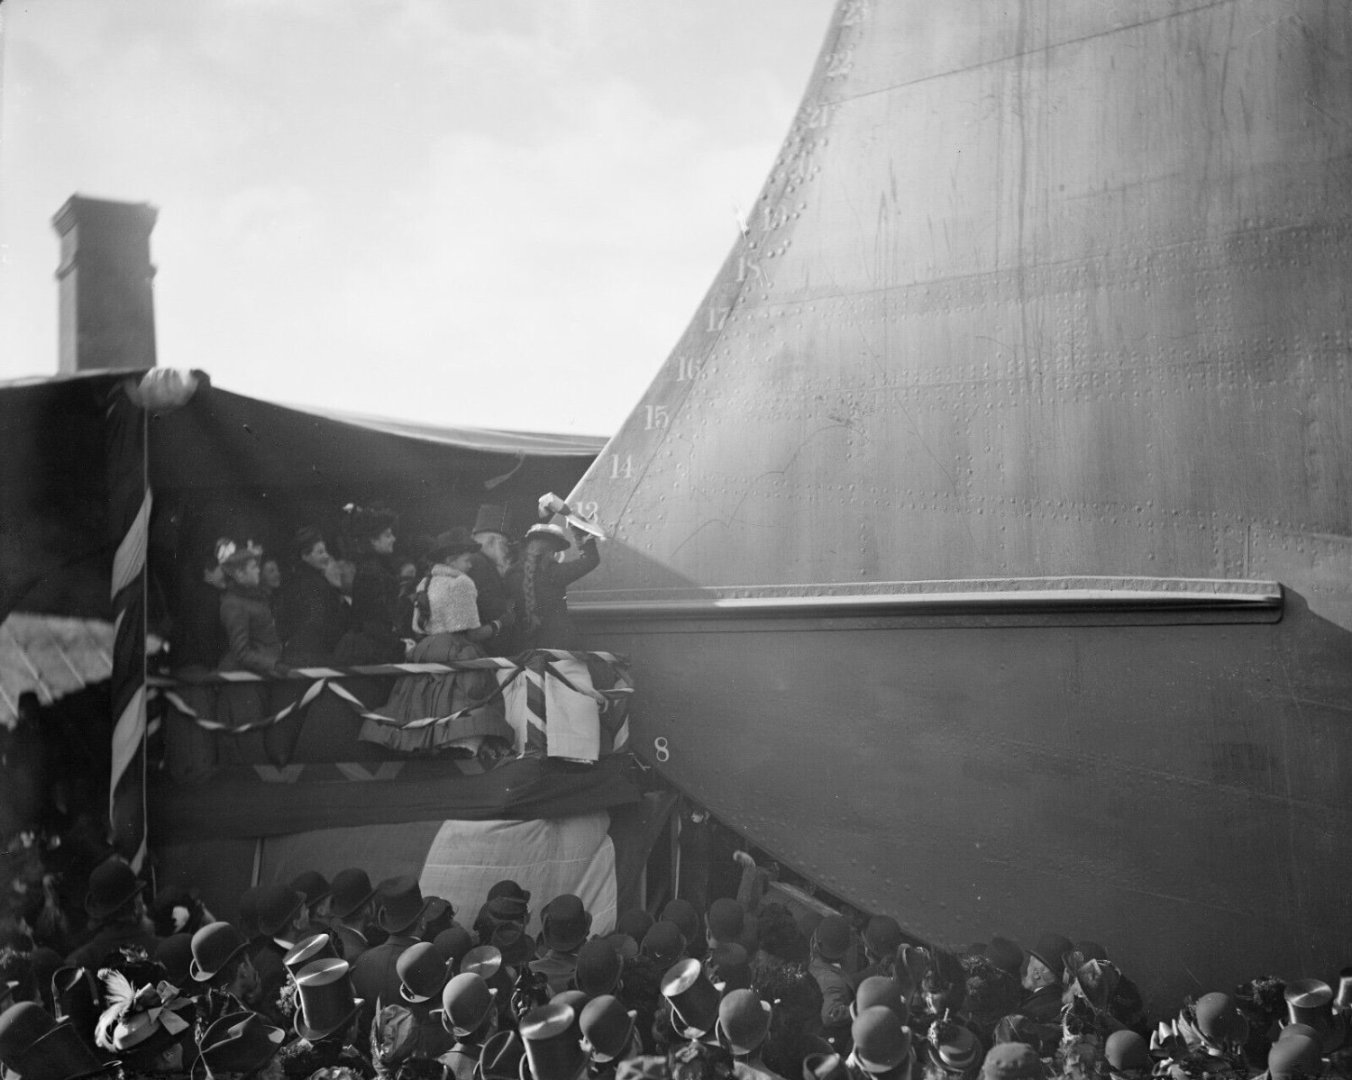
Late to the party regarding the visibility of rivet heads. I finally located a photo of the Maine I knew I had somewhere on the day of her christening. The hull is new and and the sunlight is at an angle. Those rivets on a model at scale would not be visible, IMHO. Impeccable work, Valeriy. I look forward to each new post.
-
Dave, welcome to MSW. Glad to have you aboard.
-
Ian, welcome to MSW. Glad to have you aboard.
-
Possible reason, less turbulence? Beautiful work as always, Valeriy.
-
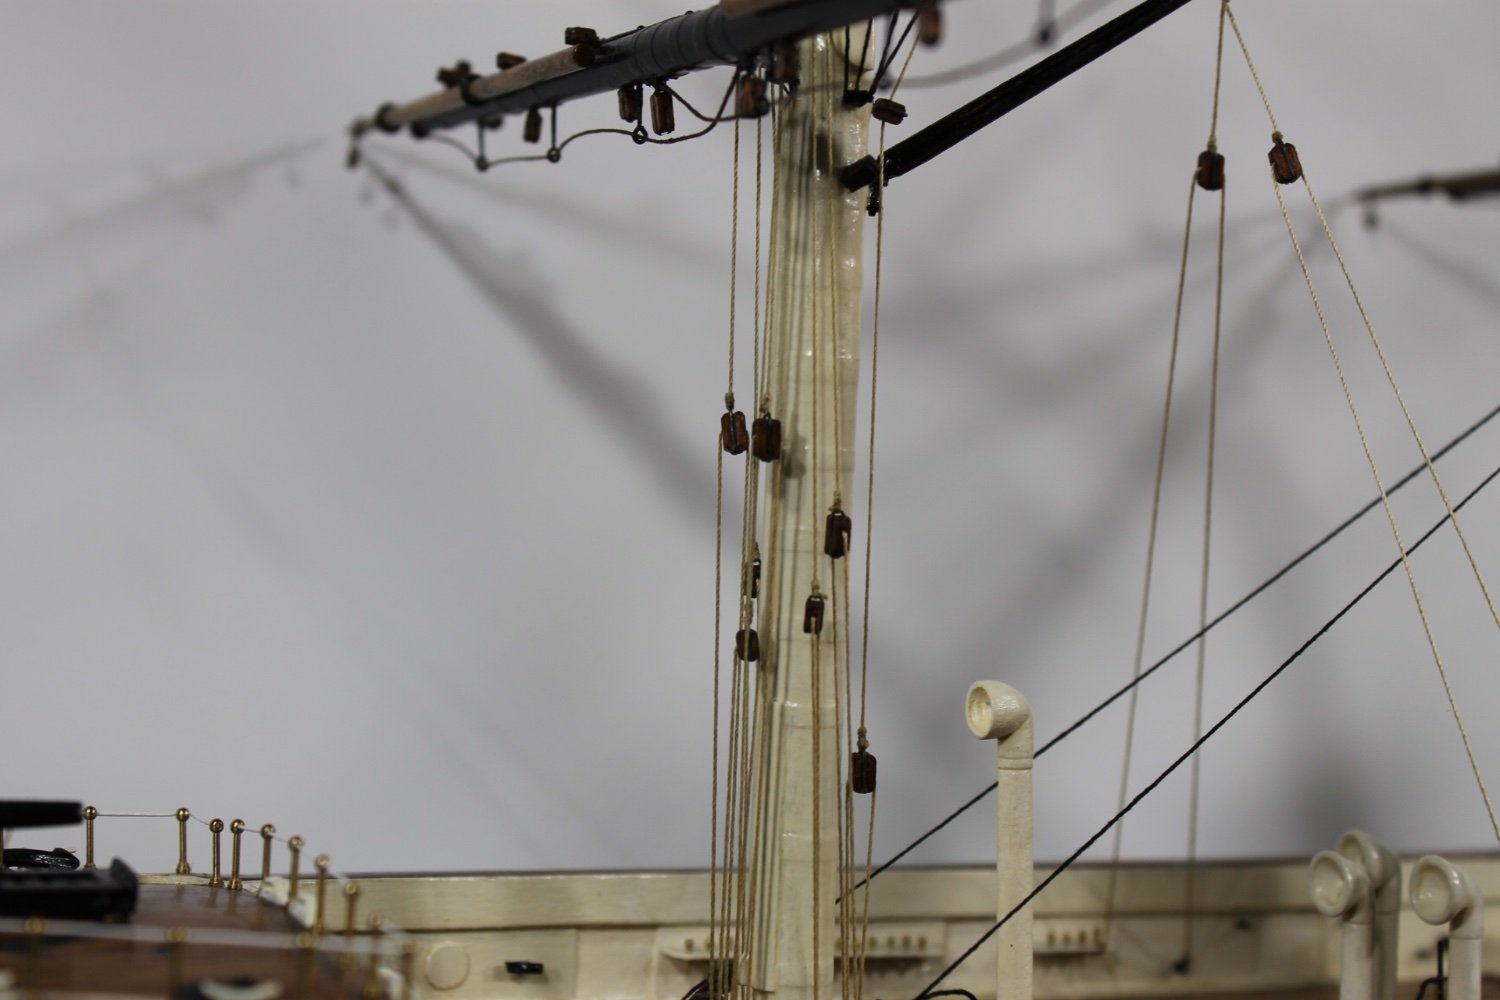
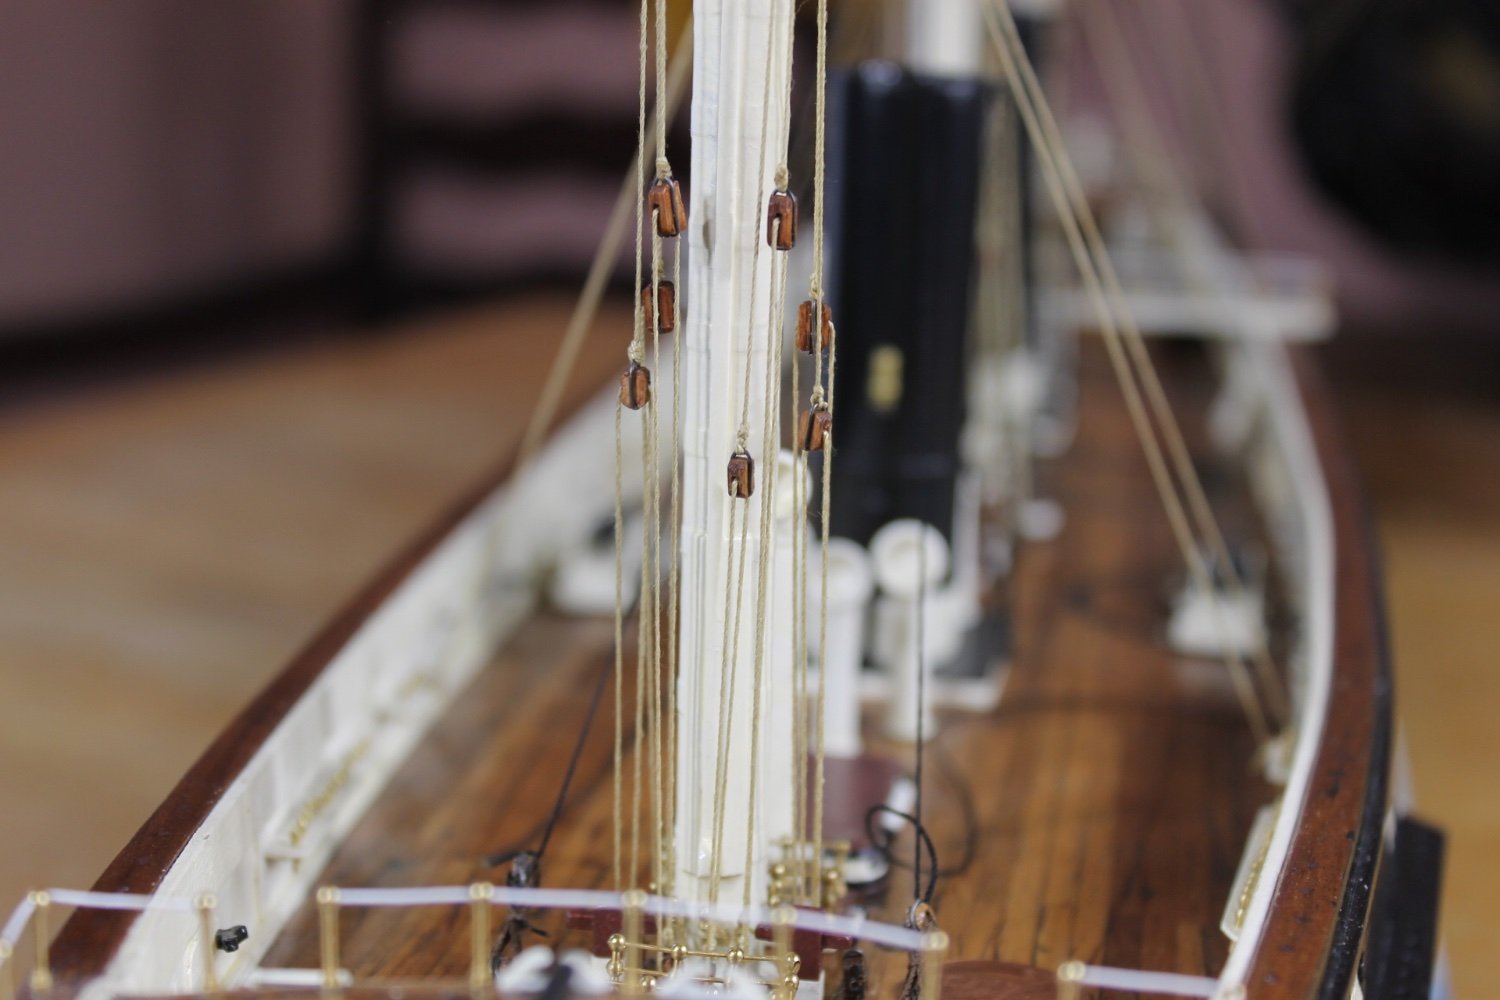
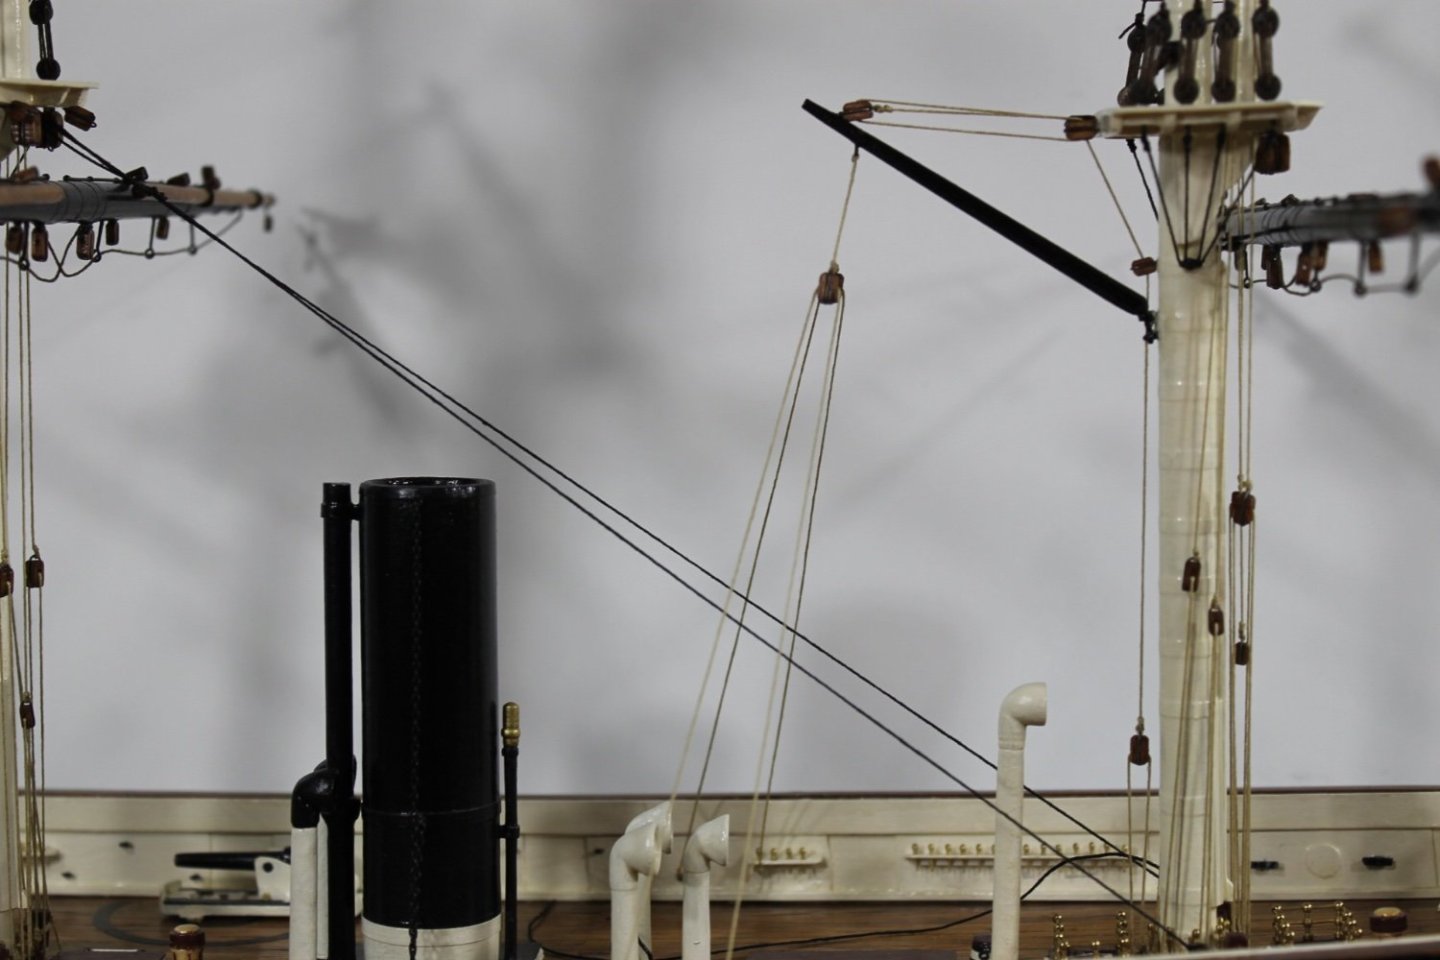
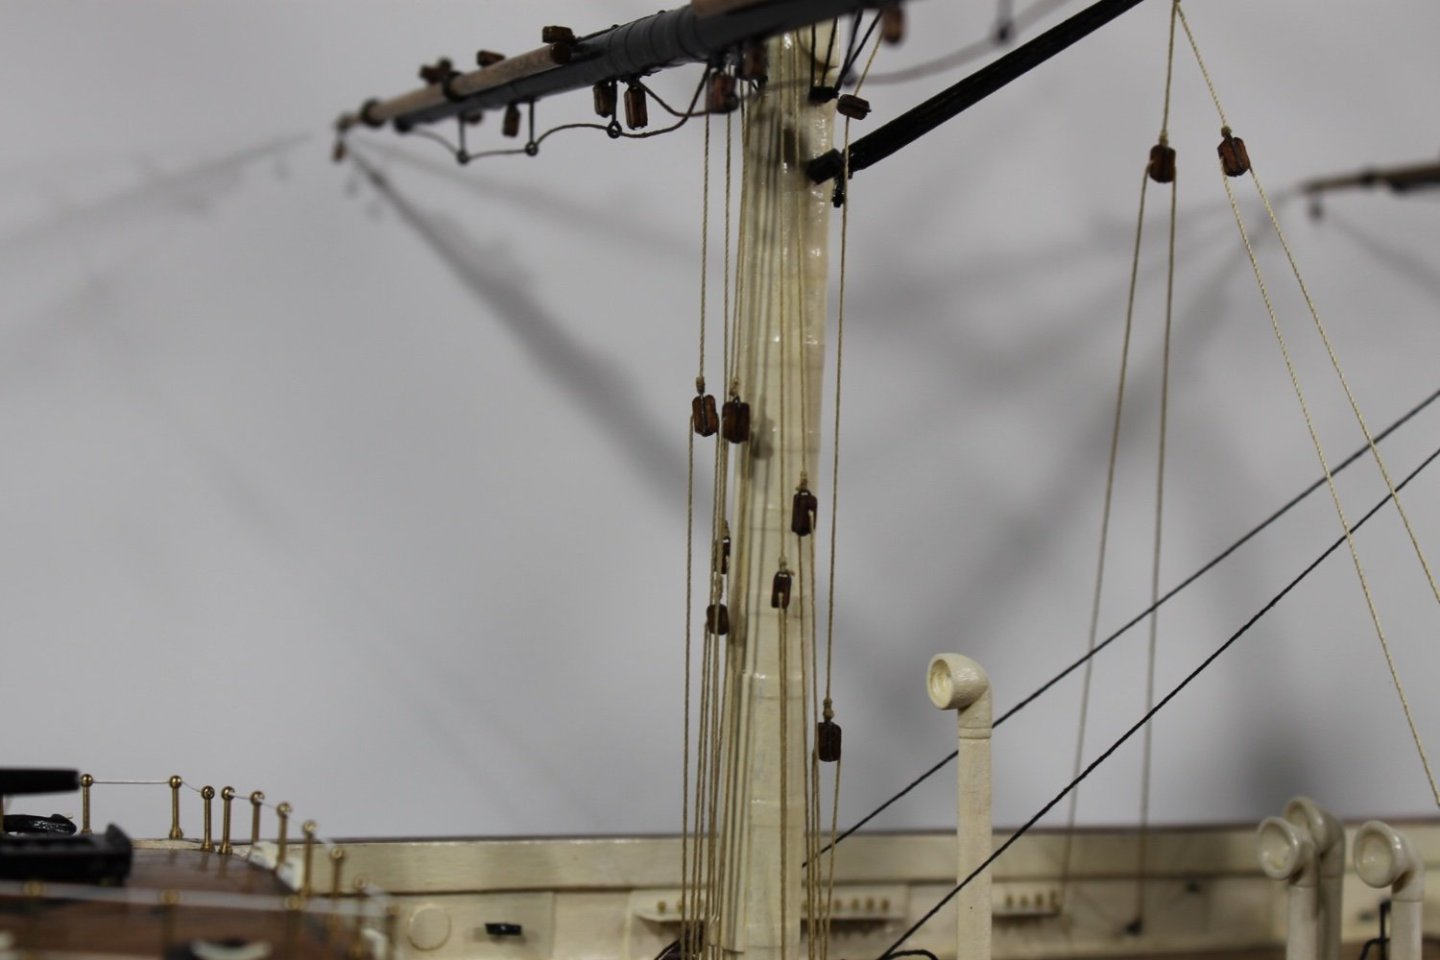
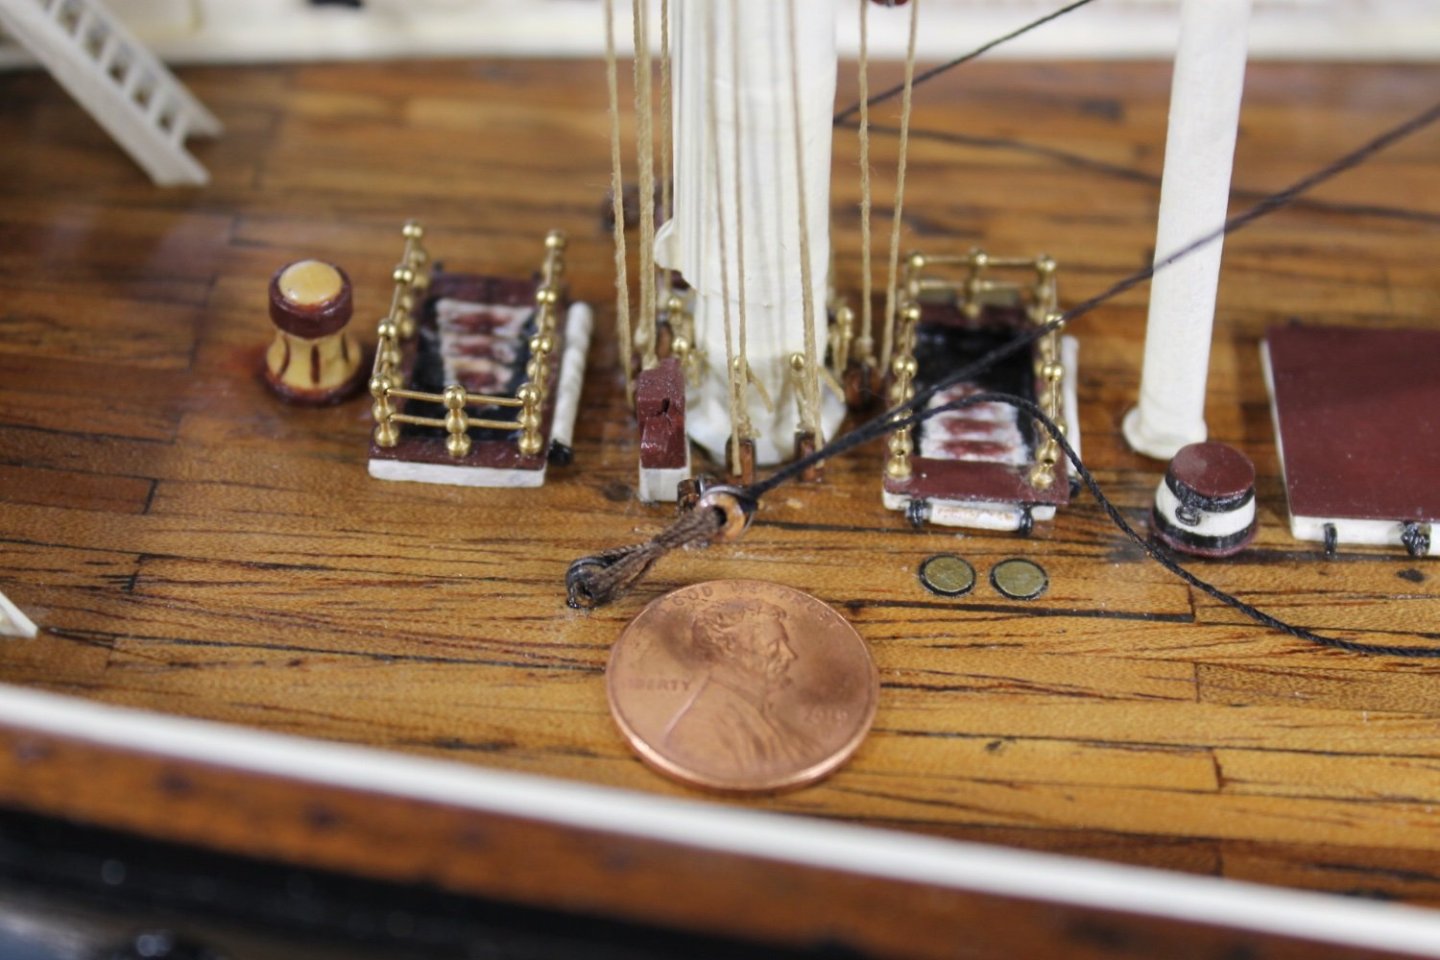
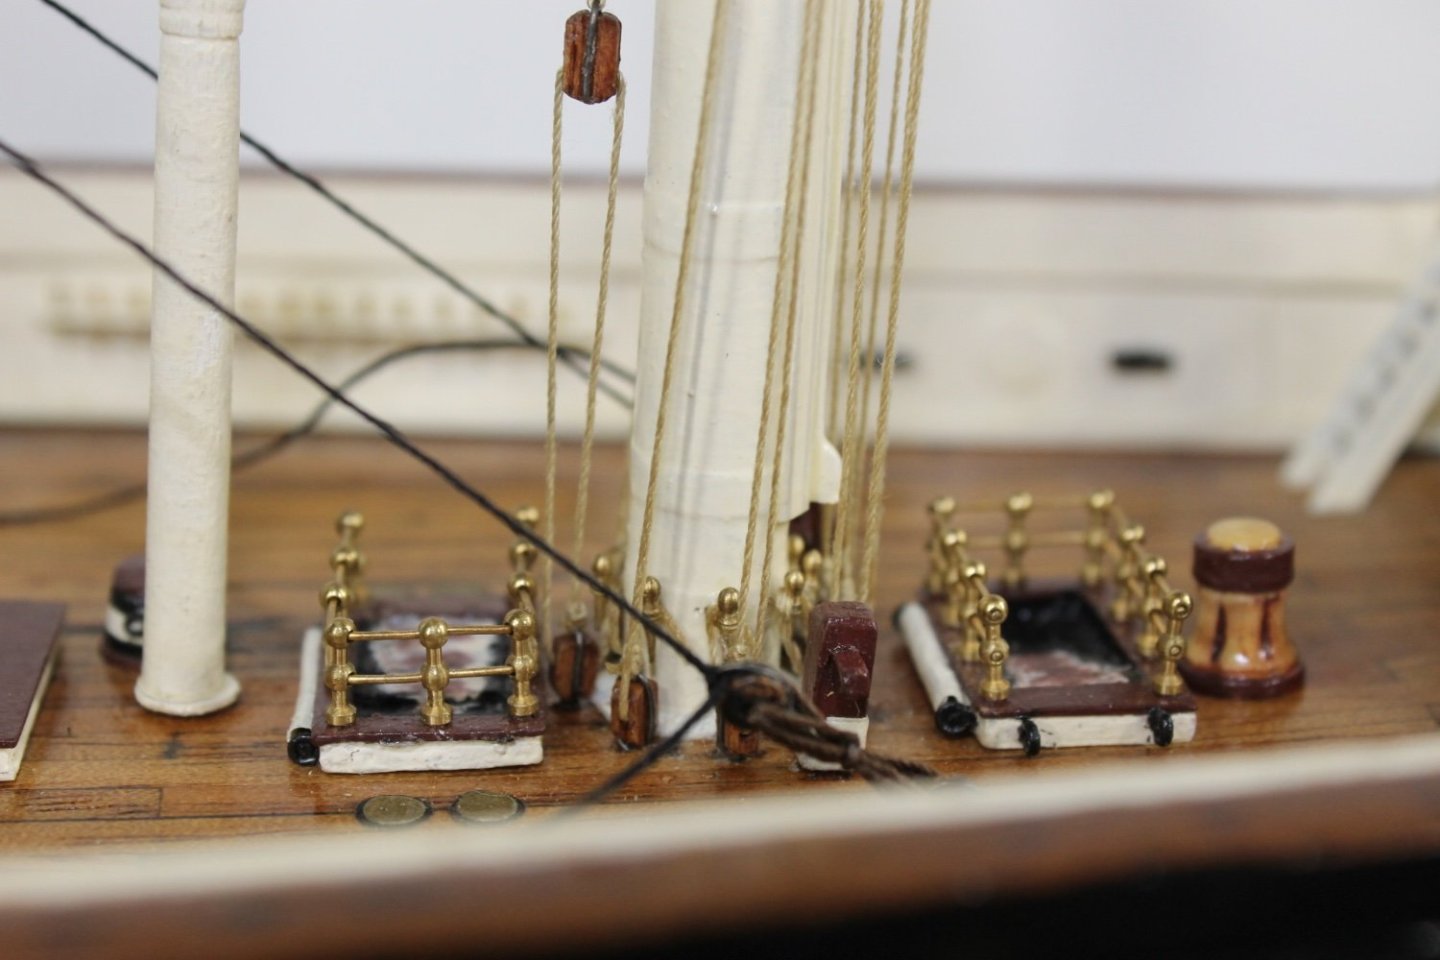
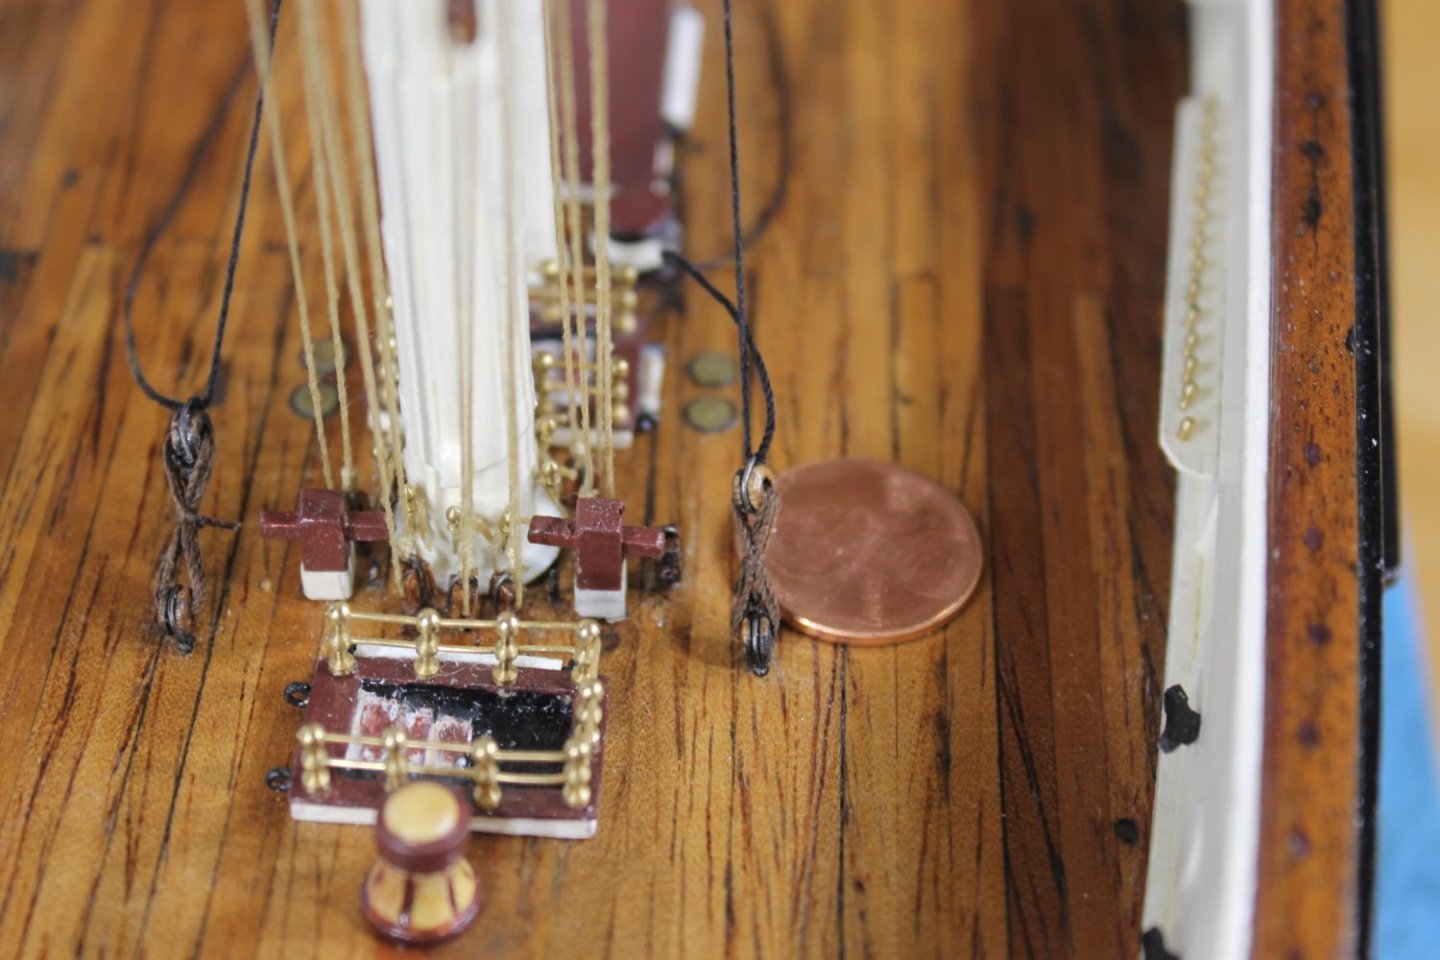
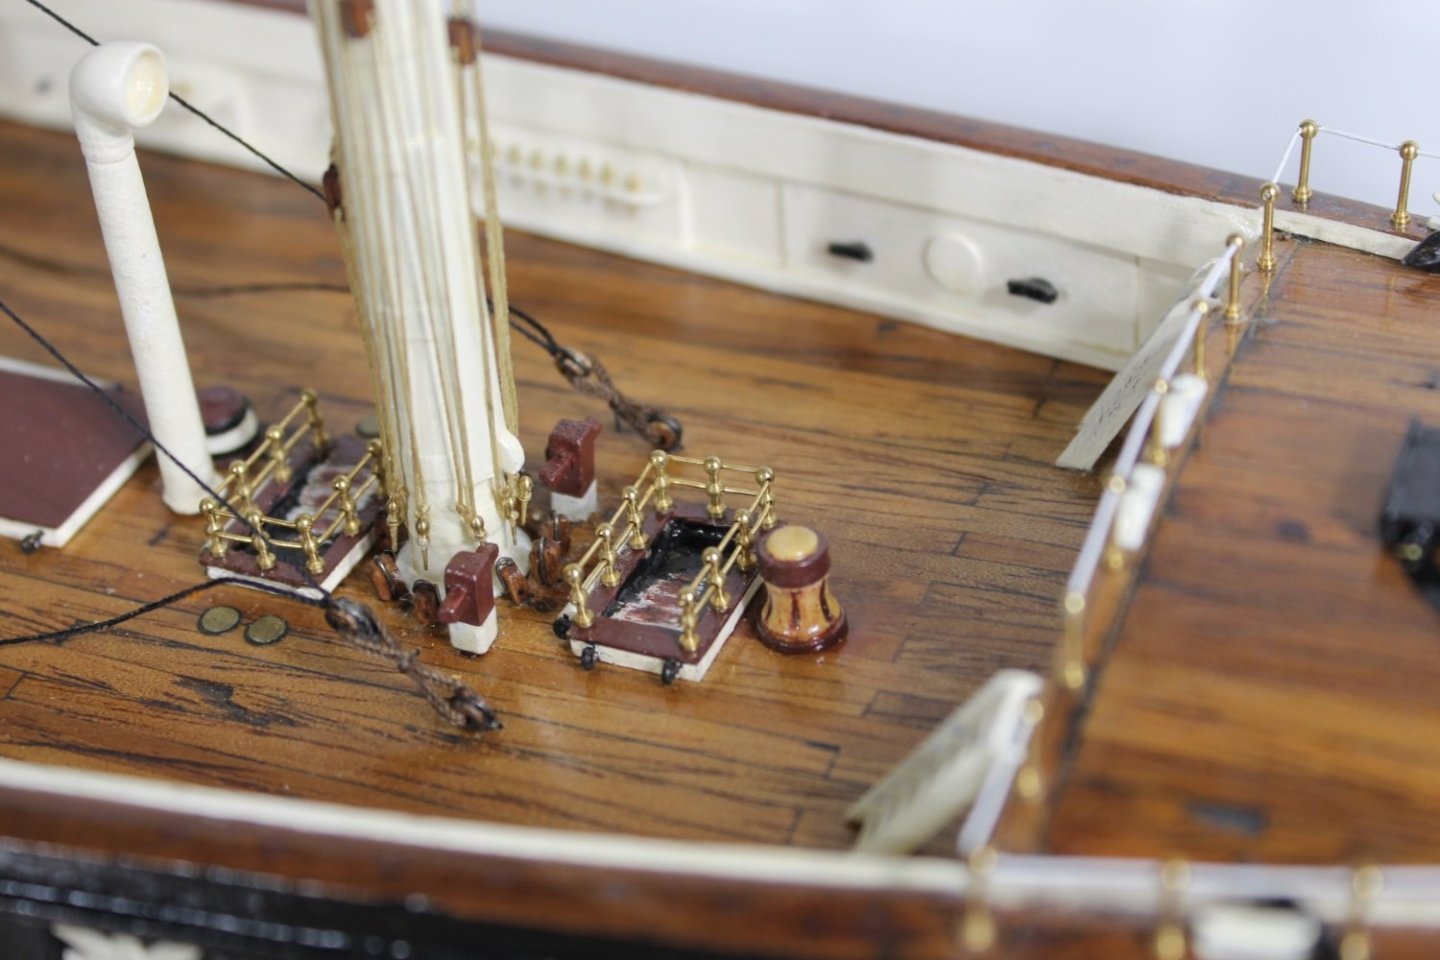
Thank you @Cathead @Roger Pellett @mcb @AJohnson @wefalck @mbp521 @Rick310 @mtaylor @BANYAN @Glen McGuire @Knocklouder @Bob Cleek @My Fathers Son for your Holiday wishes, kind thoughts, and support and thank you to Andy, Siggi, Tom, Dave, and Phil for the likes. It's been busy times at the worktable, I got the gaff rigged and the lifts around the foremast rigged. The blocks at the base of the mast sit at the edge of a diameter the size of a US penny, .75 inches. The distance between the block's inside edge and the mast is .2 inches and .1 inches between the belaying pins and block's inside edge. The block (gaff lift) between the companionway railing is so tight I had to glue the block's sheave side perpendicular to the mast and once rigged, it was twisted 90 degrees to line up correctly. It's kinda like SIB work without the bottle, it's all done with tweezers. The main problem is the thread wants to hang up on everything and the belaying pins are easily bent out of position. I really don't care how long it takes to preform a task at this scale as long as I'm successful. Sometimes the result is more suggestion than 100% accuracy and that'll just have to be okay. I worked Christmas Eve and most of Christmas Day.....'the blocks were hung by the foremast with care in hopes that' Thank you for following along and smooth sailing to all throughout the New Year. Keith

-
Johnny, Merry Christmas and Happy New Year to you and yours.
-
Aleksandr, great post. Happy Holidays and a Happy New Year to you and yours.......Keith
-
Andrew, welcome to MSW. Merry Christmas and Happy New Year. Glad to have you aboard.
-
Merry Christmas and Happy New Year, Keith.
-
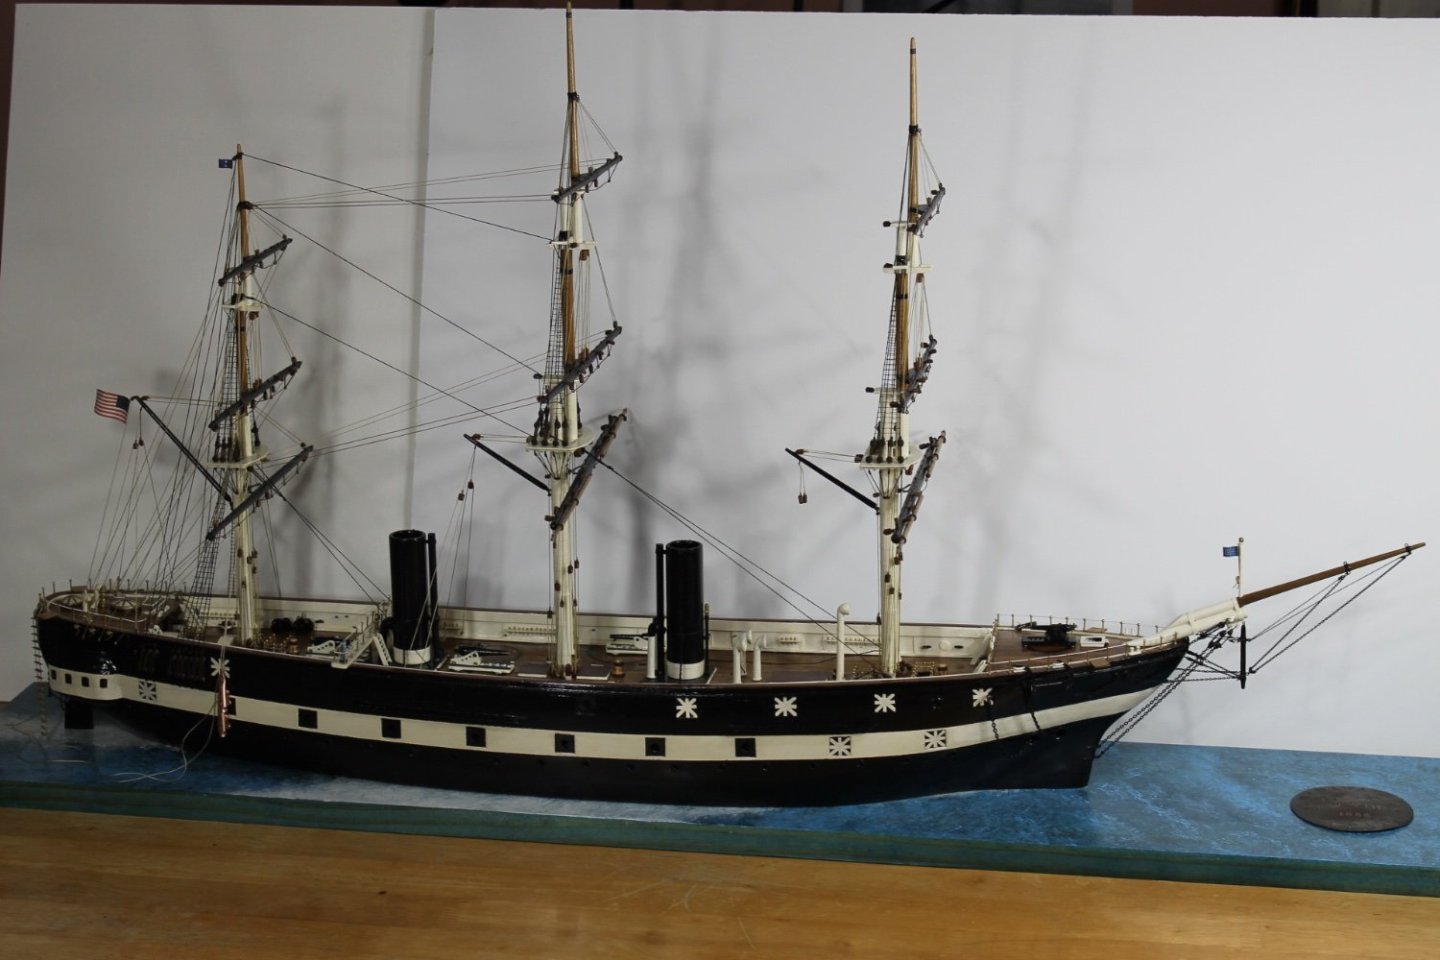
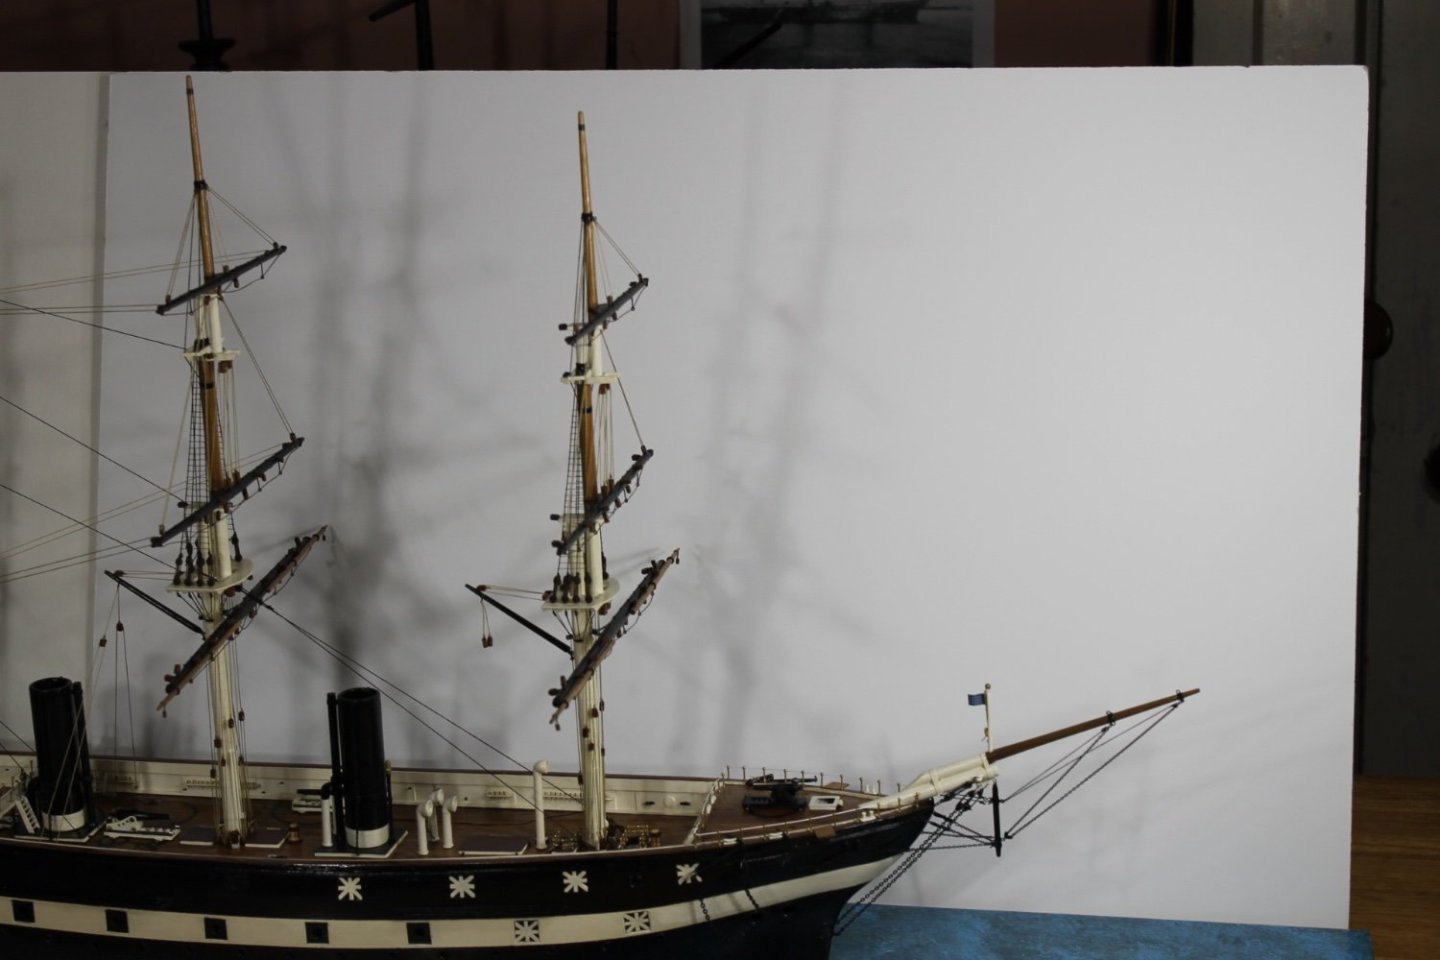
A long past due 'hello' to all. The last time I posted a meaningful build addition was April the third. We ran down a couple of rabbit holes and while I throughly enjoyed the tangents they didn't add to the task at hand. Once again, thank you to all who helped chase those pesky wabbits and to all for the likes. The hiatus was due in most part because I absolutely detest working on shrouds but I have managed to strop the 56 deadeyes for the main's lower shrouds and have one pair lashed. Pretty good for nine months, eh? My mind wasn't in a good place, stropping deadeyes is tedious rote work and once my fingers are engaged my mind slips into neutral. My thoughts kept going back to unhappier times and I couldn't shake it so I basically quit working on the Tennessee. Last week I thought, if I couldn't get over the shroud hump there is still plenty of other work to be done. So this past week I worked on getting the work table/area organized, installing the foremast for the last time, and installing the lift blocks that go round the mast which required some finger retraining. What a difference in my attitude and my enthusiasm. The Tennessee is back on the menu! As the Tennessee now sits. Foremast installed. Lift blocks installed. A Merry Christmas and Happy New Year to each of you and your families. Thank you for the kindness you've show me through the years.......Keith
-
Peter, Merry Christmas and a Happy New Year to you and yours. The Sark is looking wonderful.
- 195 replies
-
- 1
-
-
- billing boats
- cutty sark
- (and 1 more)