JpR62
-
Posts
699 -
Joined
-
Last visited
Content Type
Profiles
Forums
Gallery
Events
Everything posted by JpR62
-
 Wonderful model! Thank you for taking the time to share this great work with us. What a pleasure to have been able to follow this wonderful adventure.
- 433 replies
-
- 5
-

-
- open boat
- small boat
- (and 1 more)
-
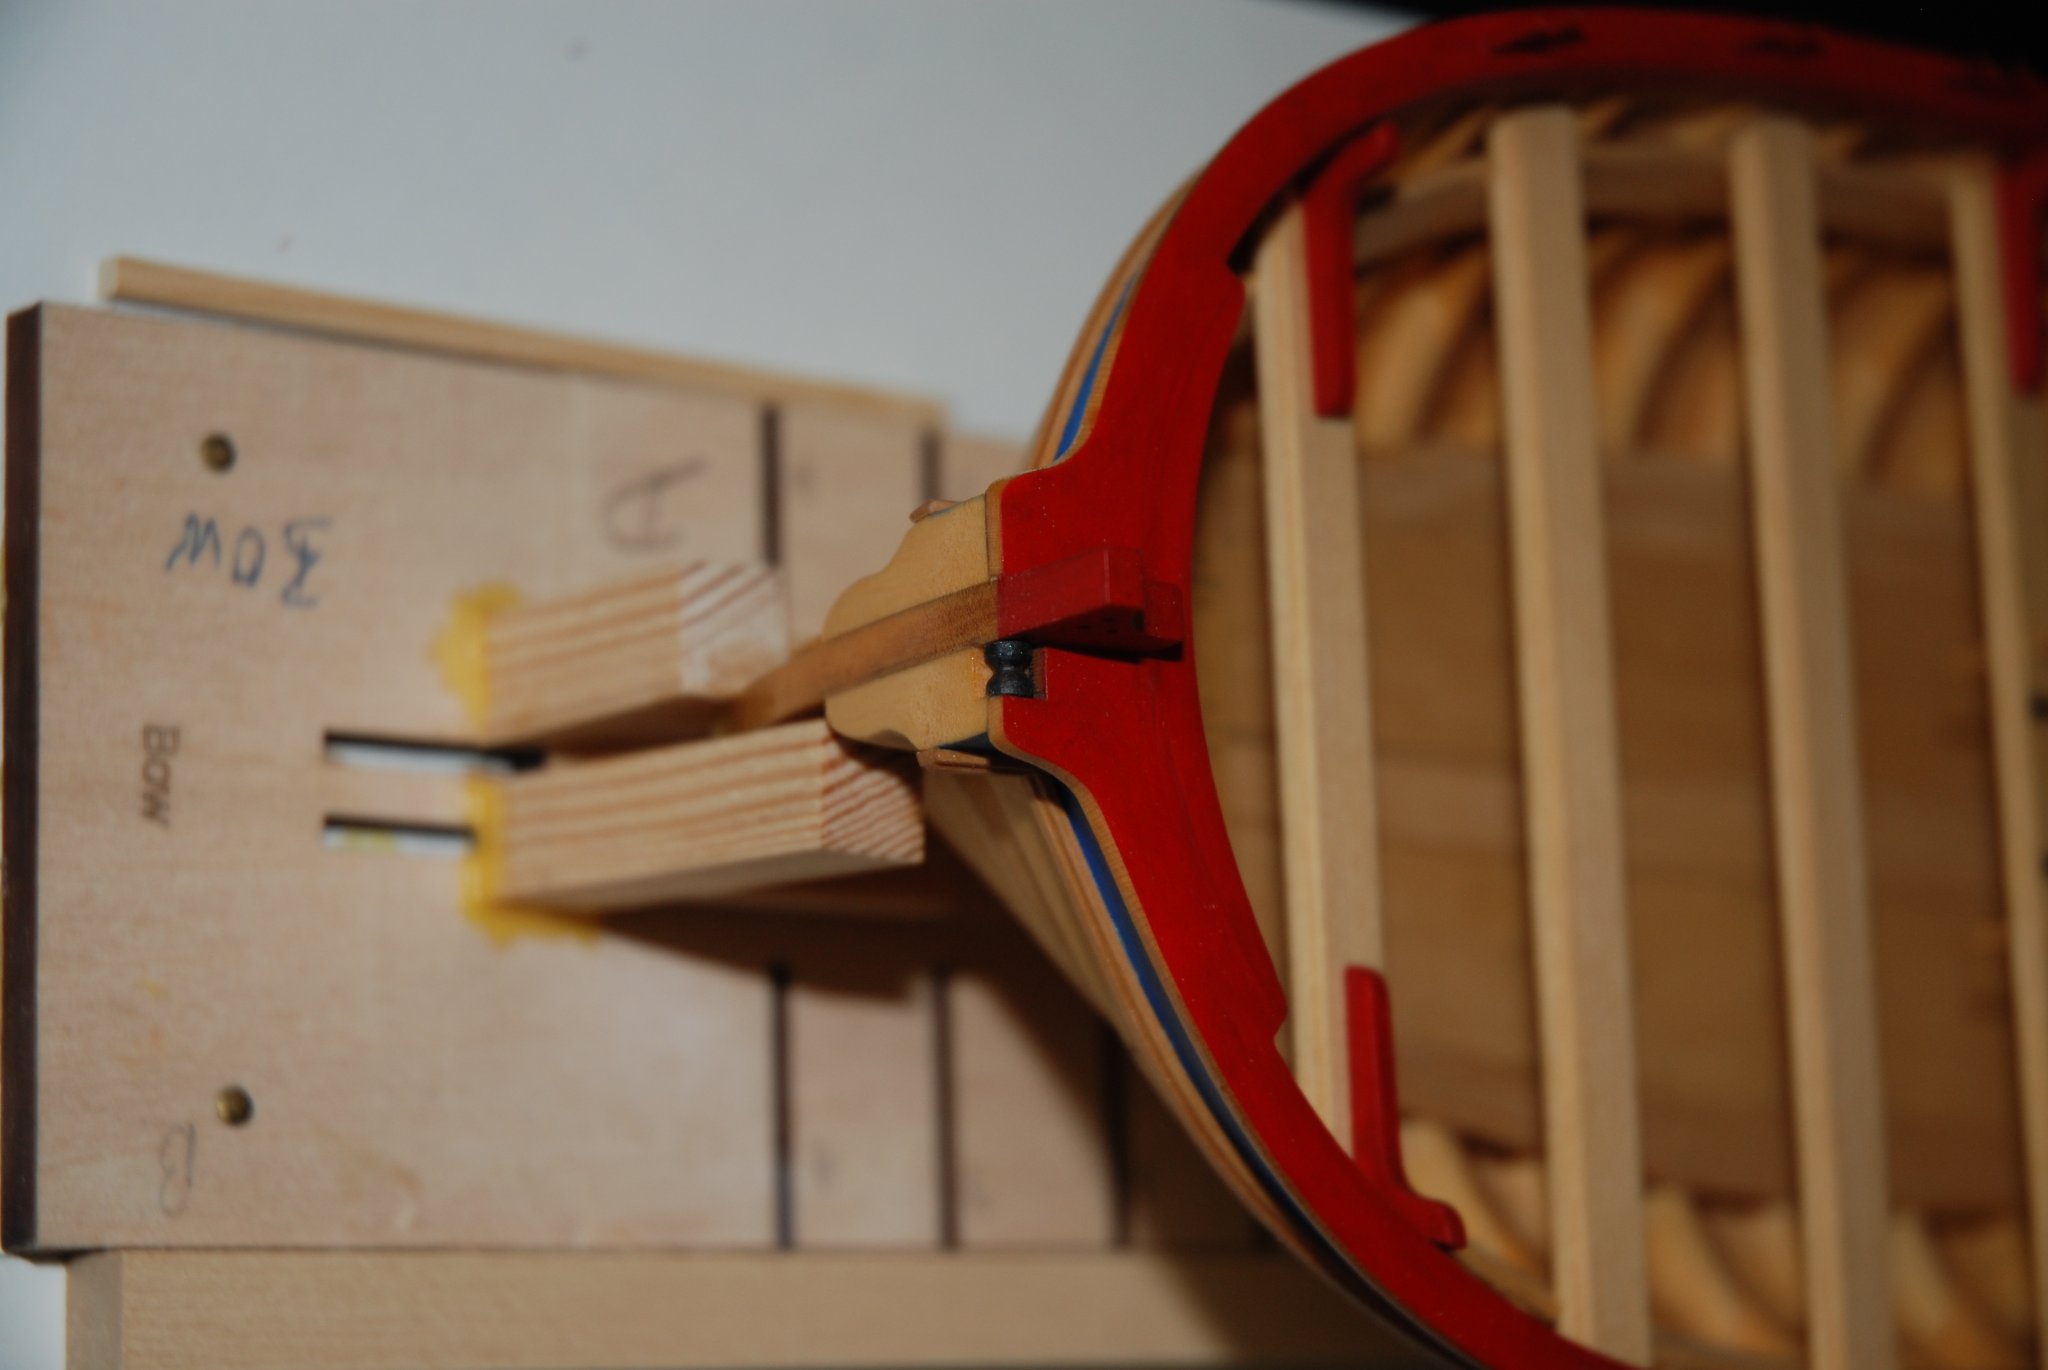
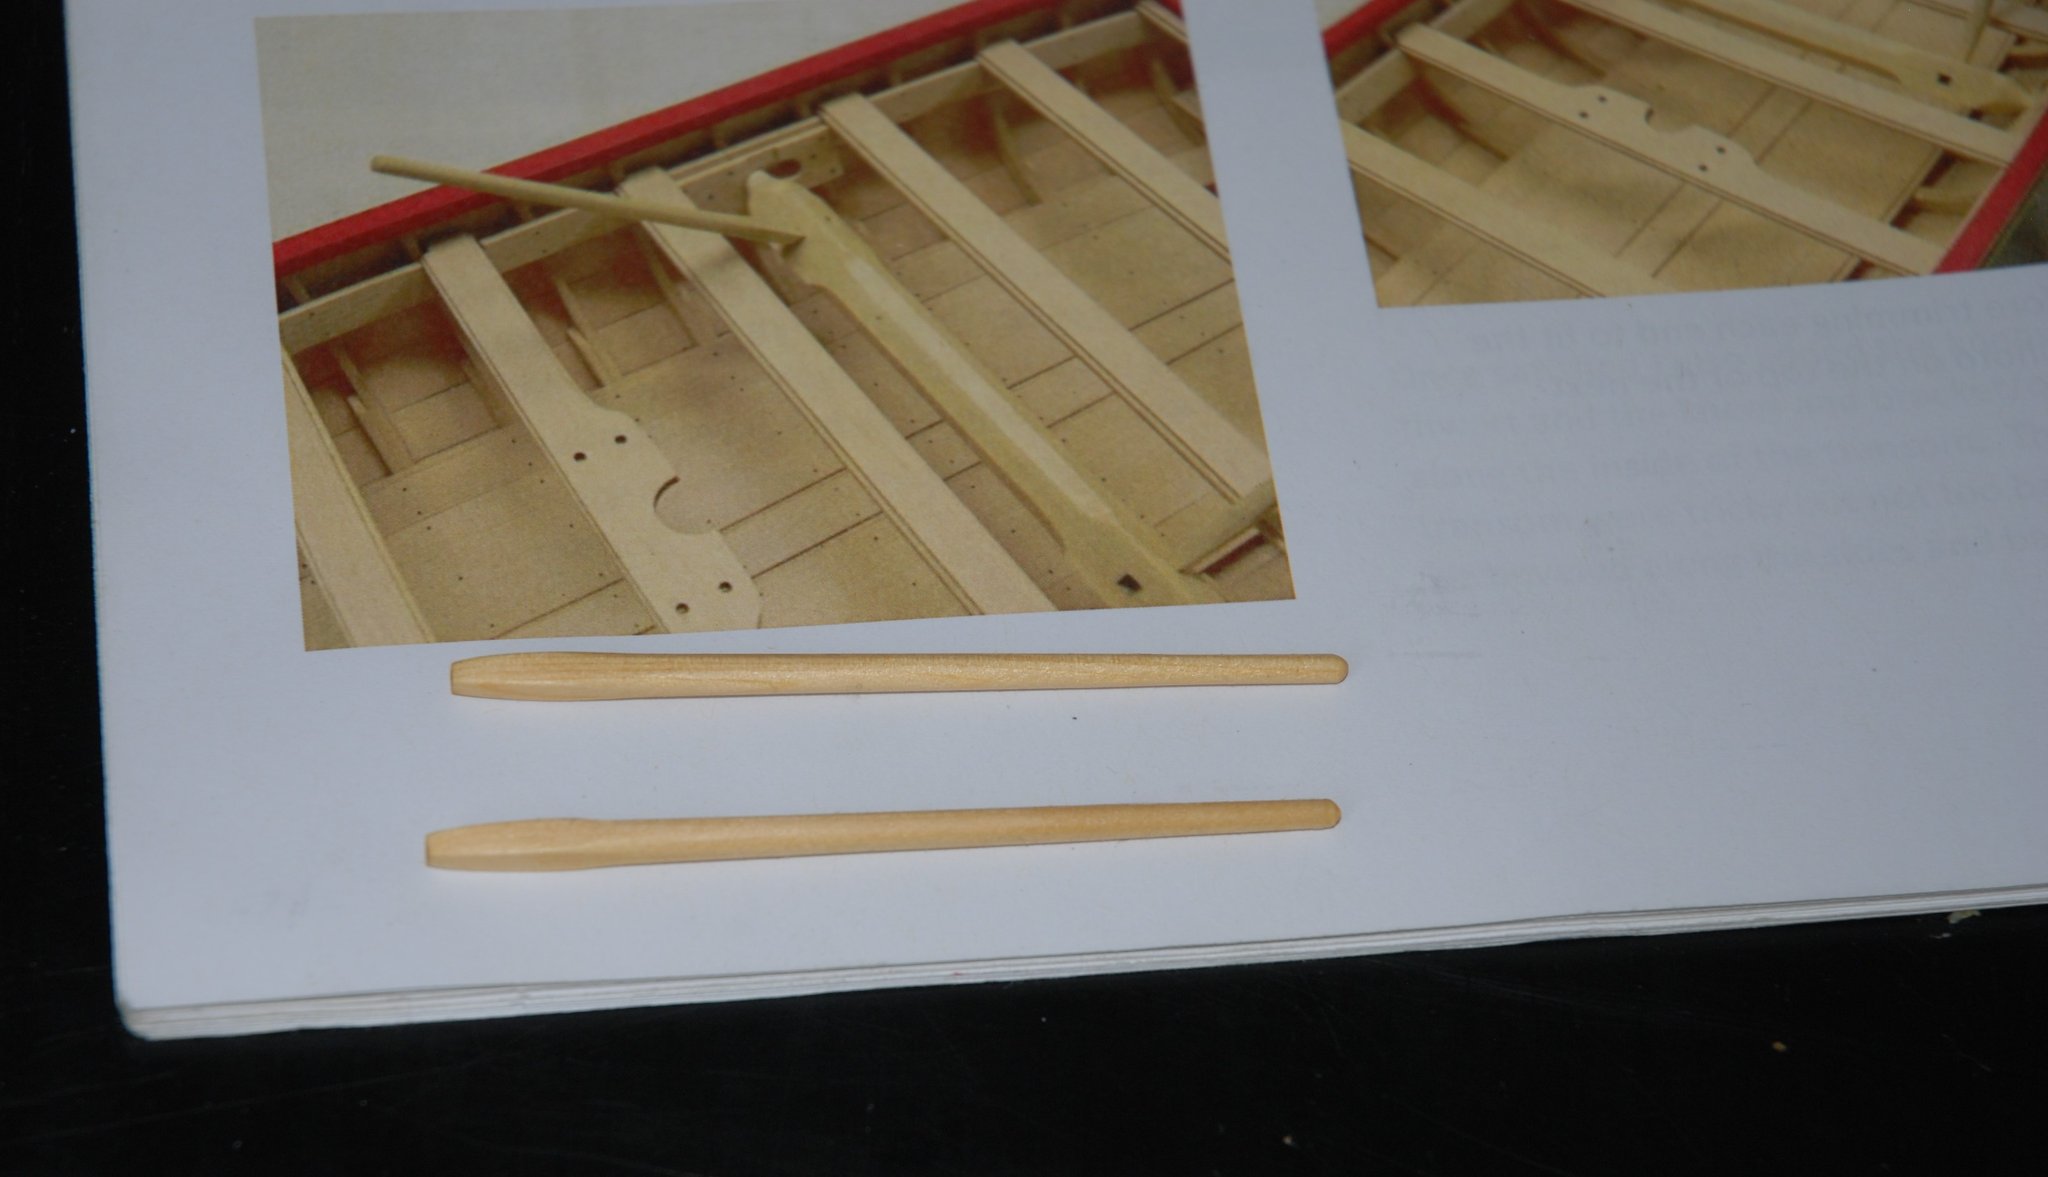
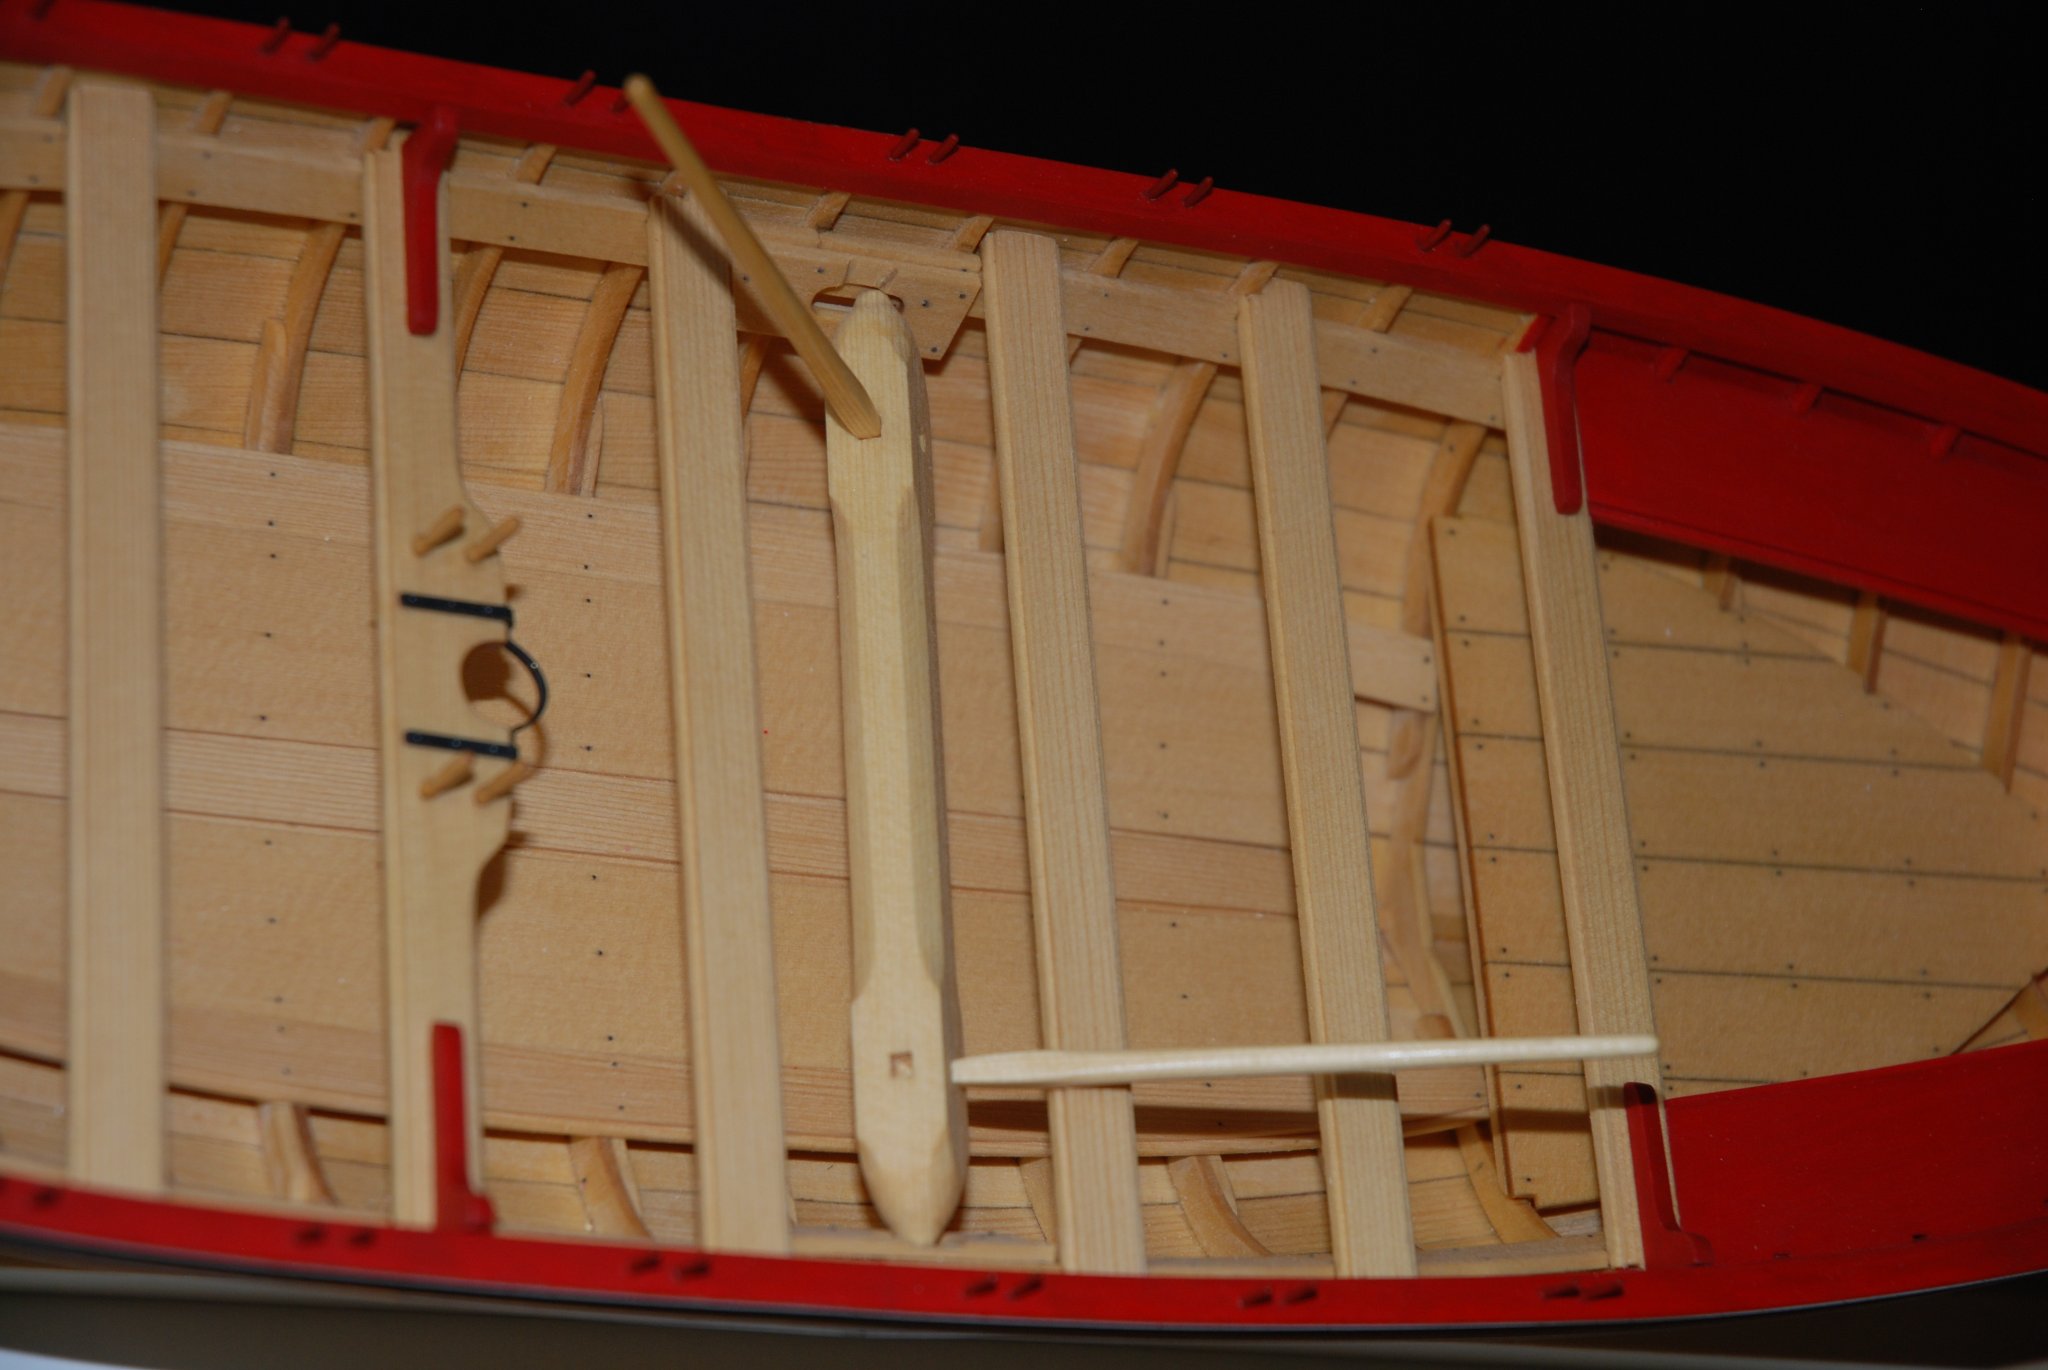
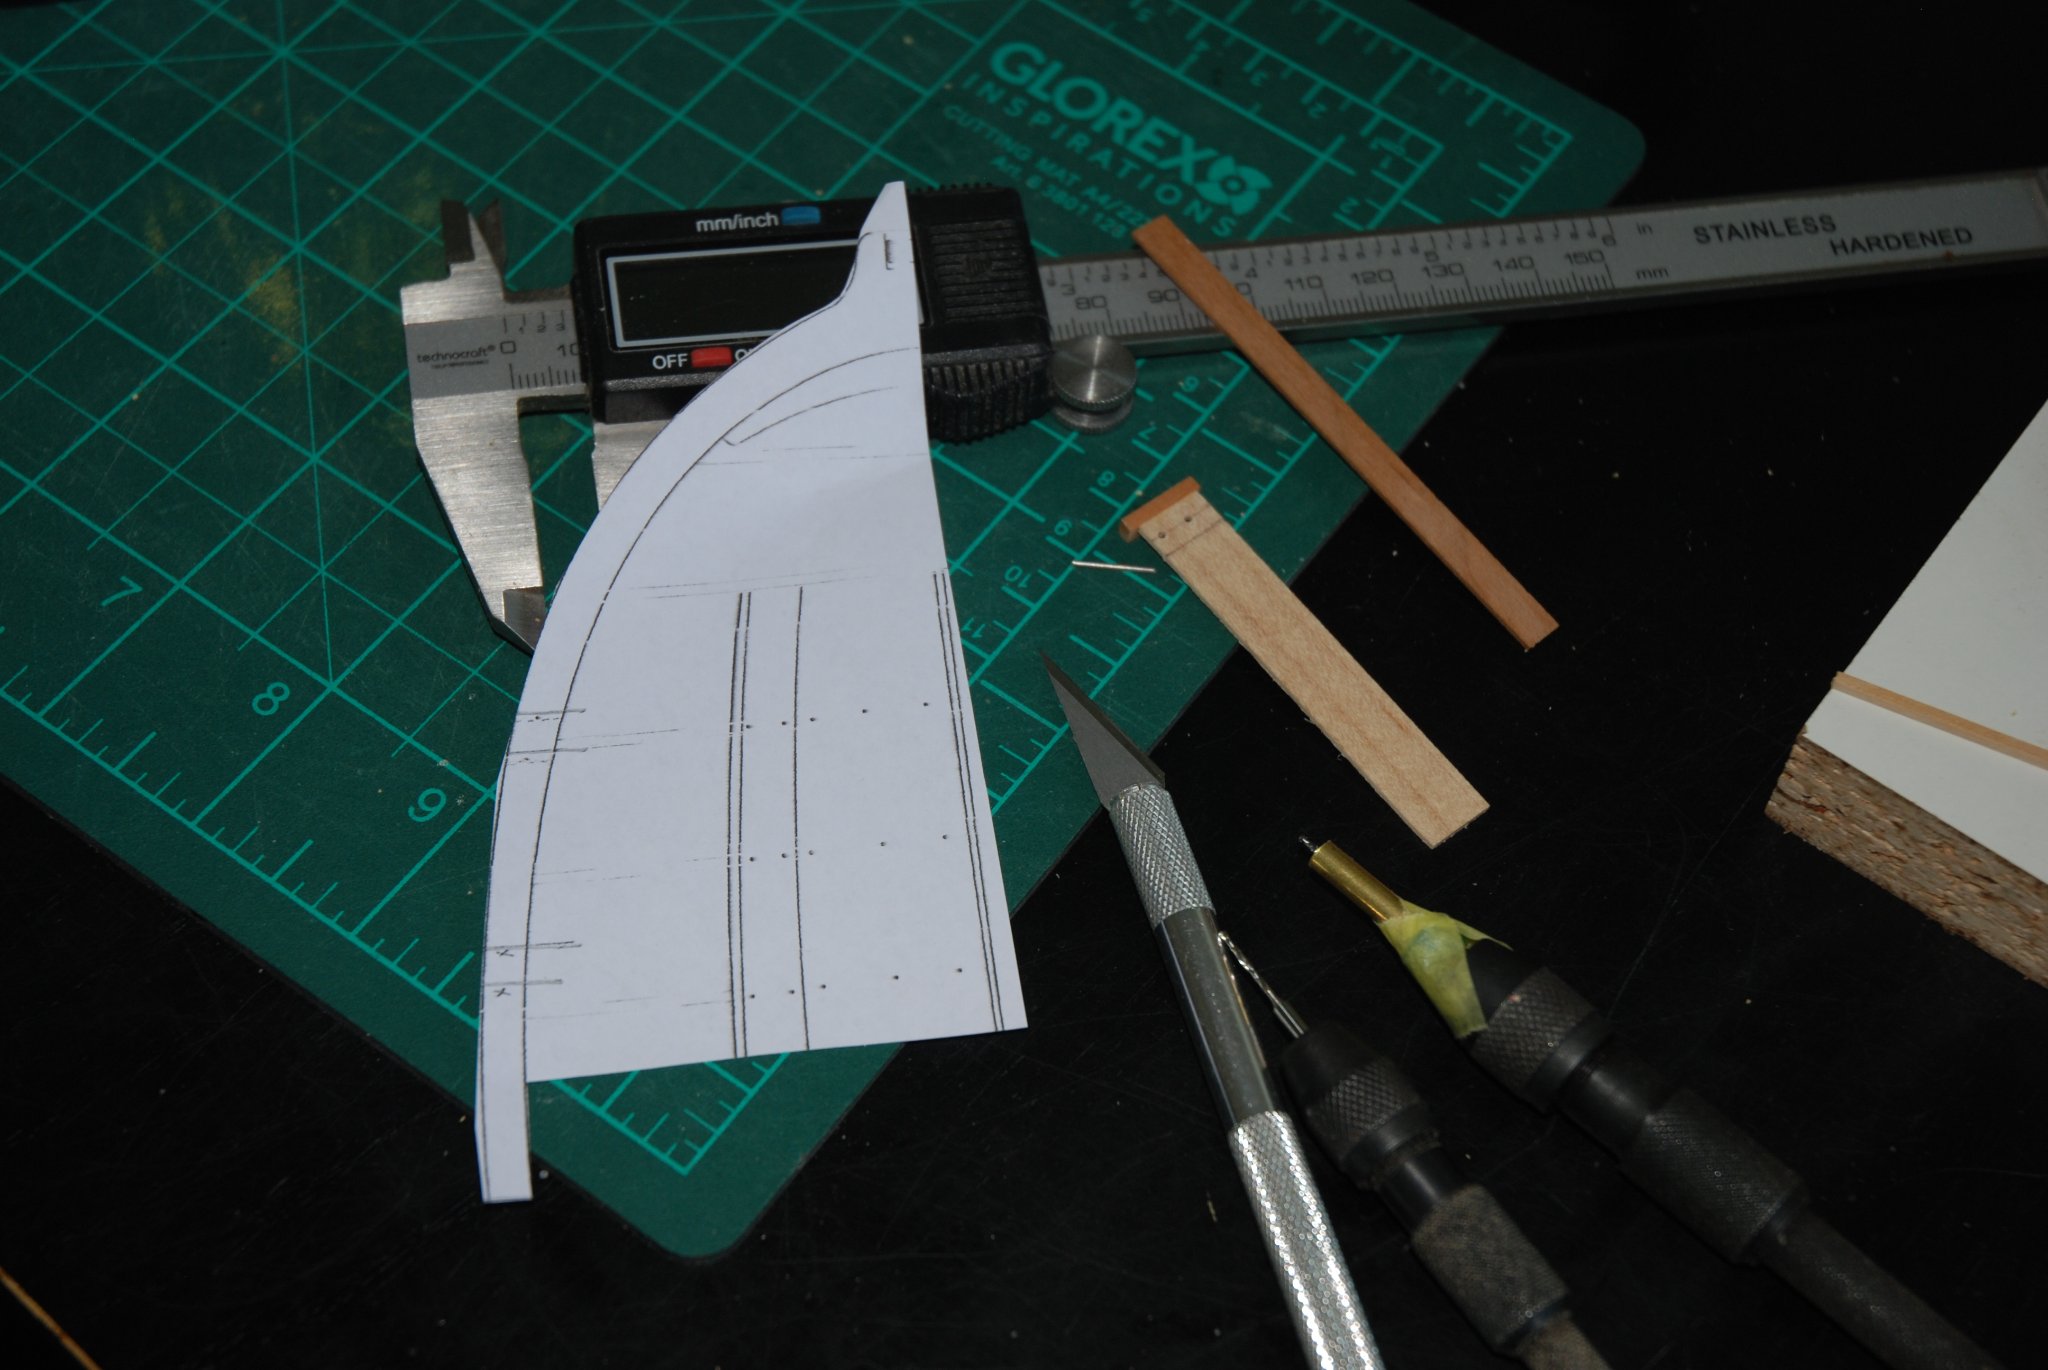
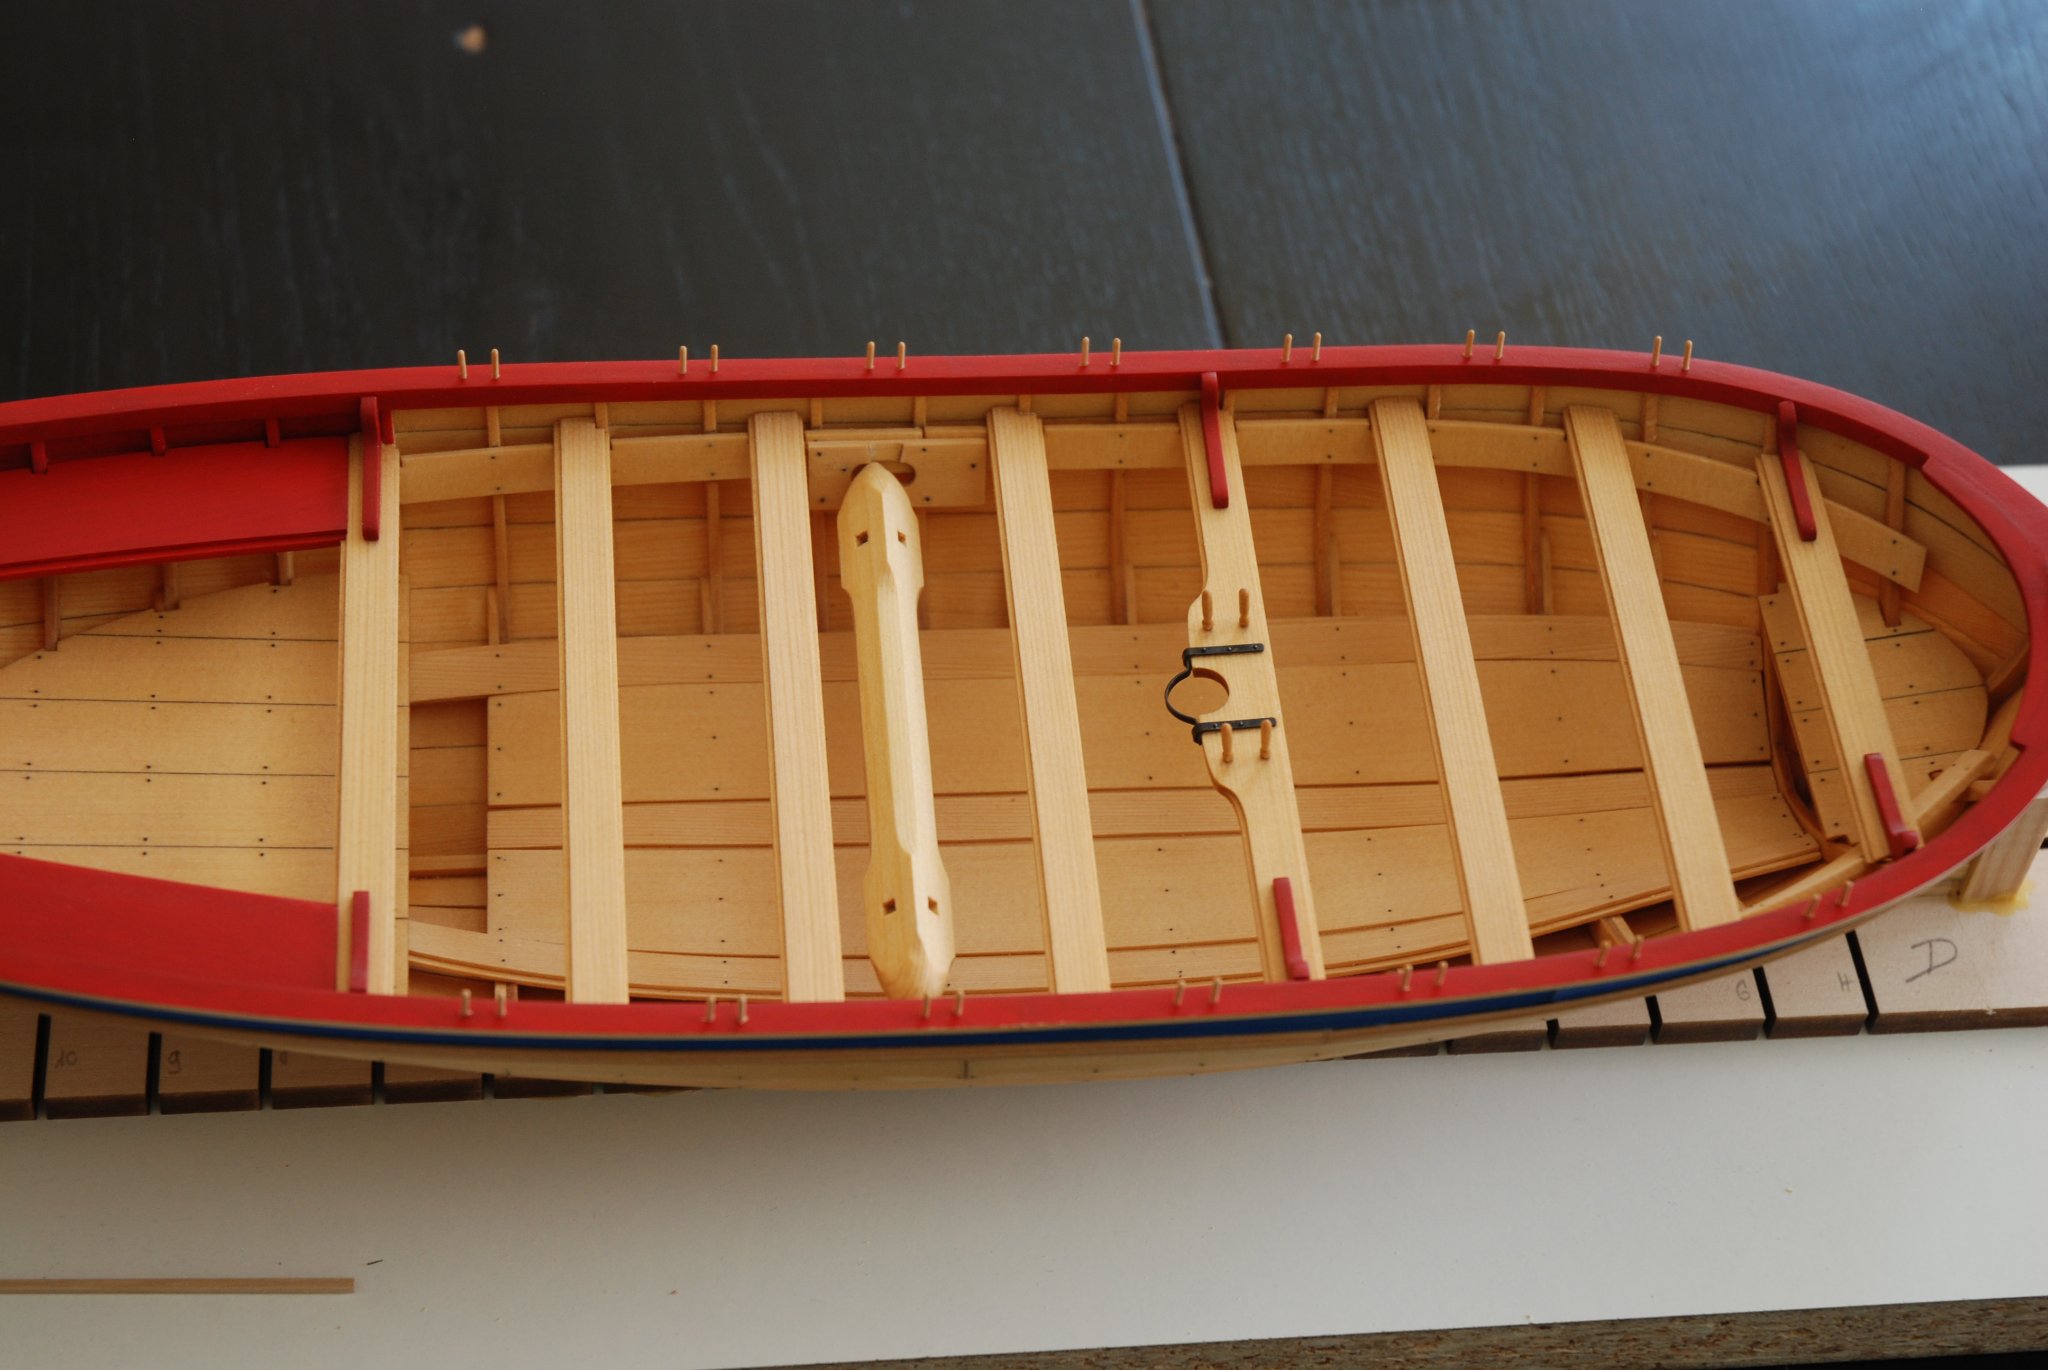
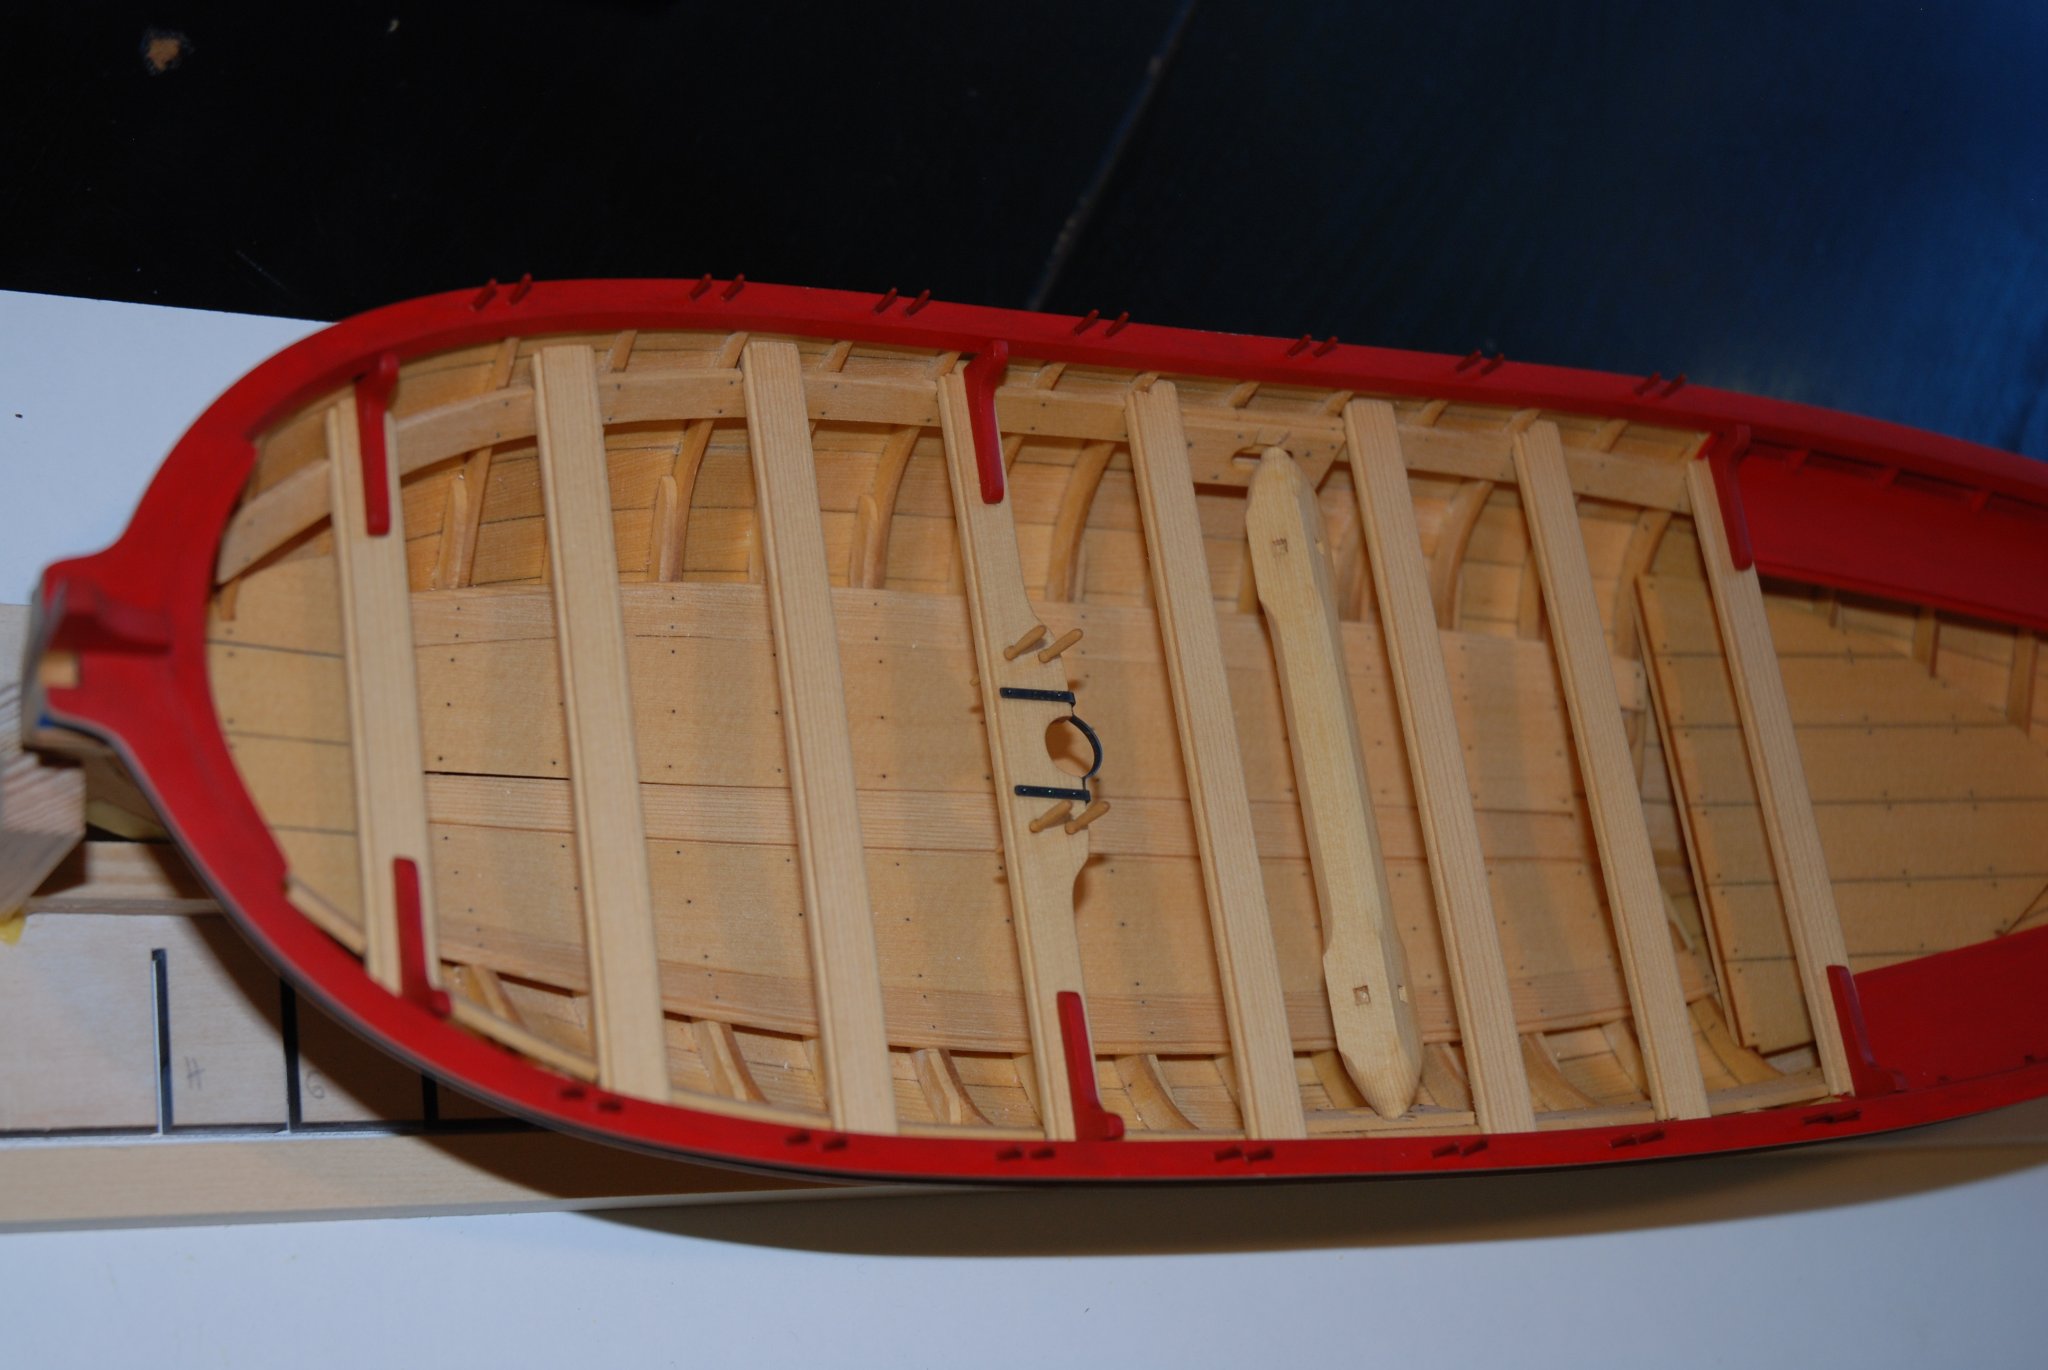
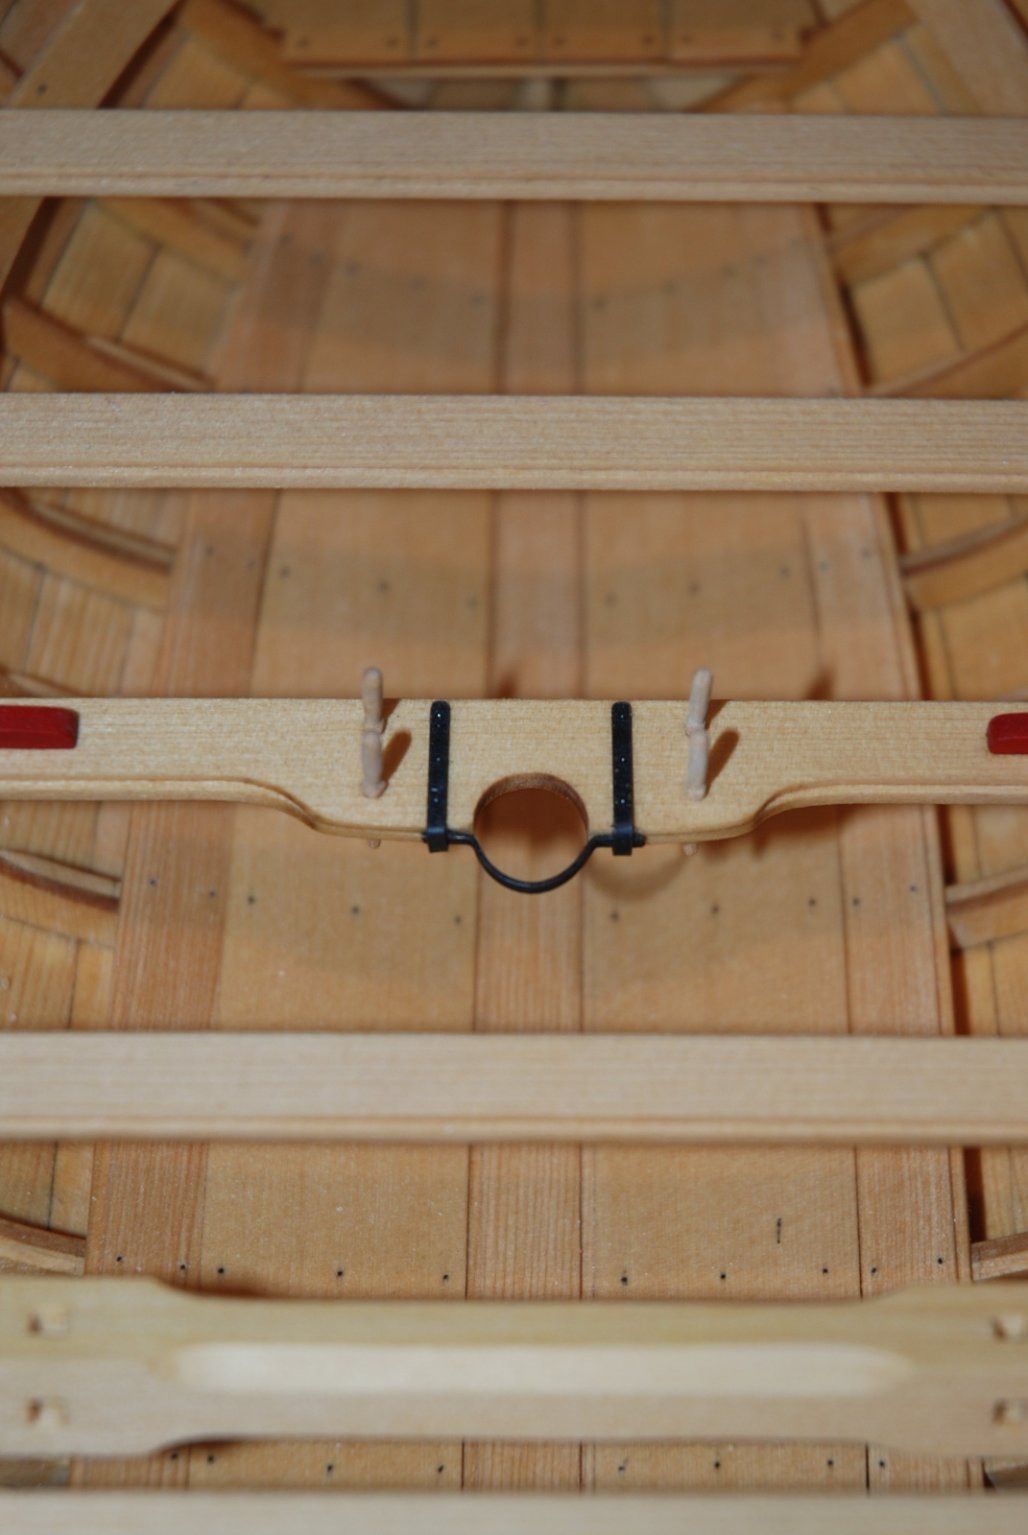
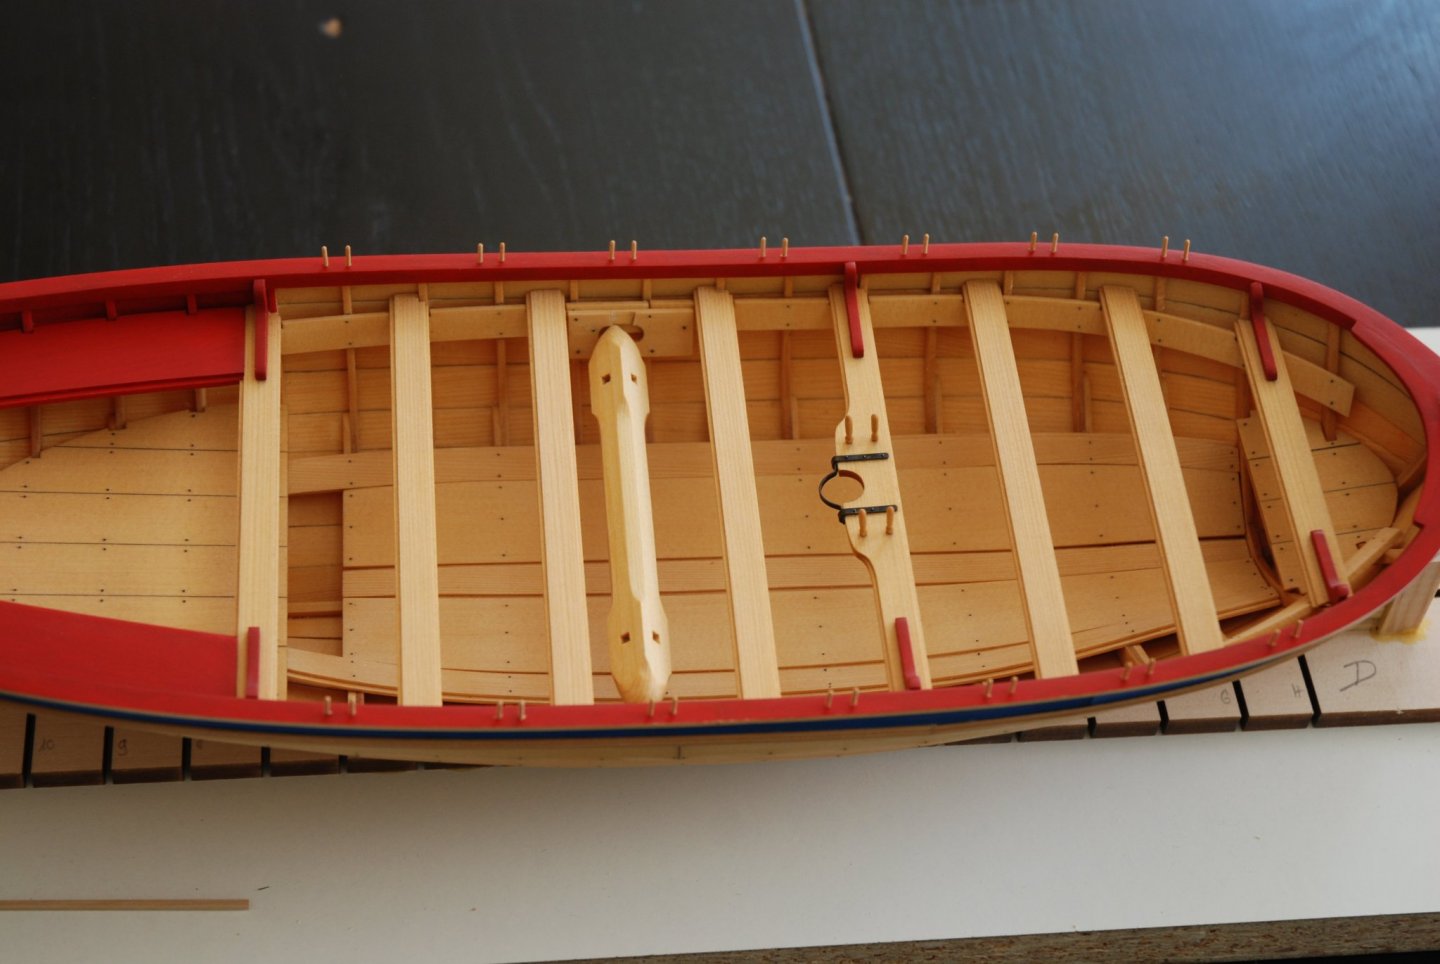
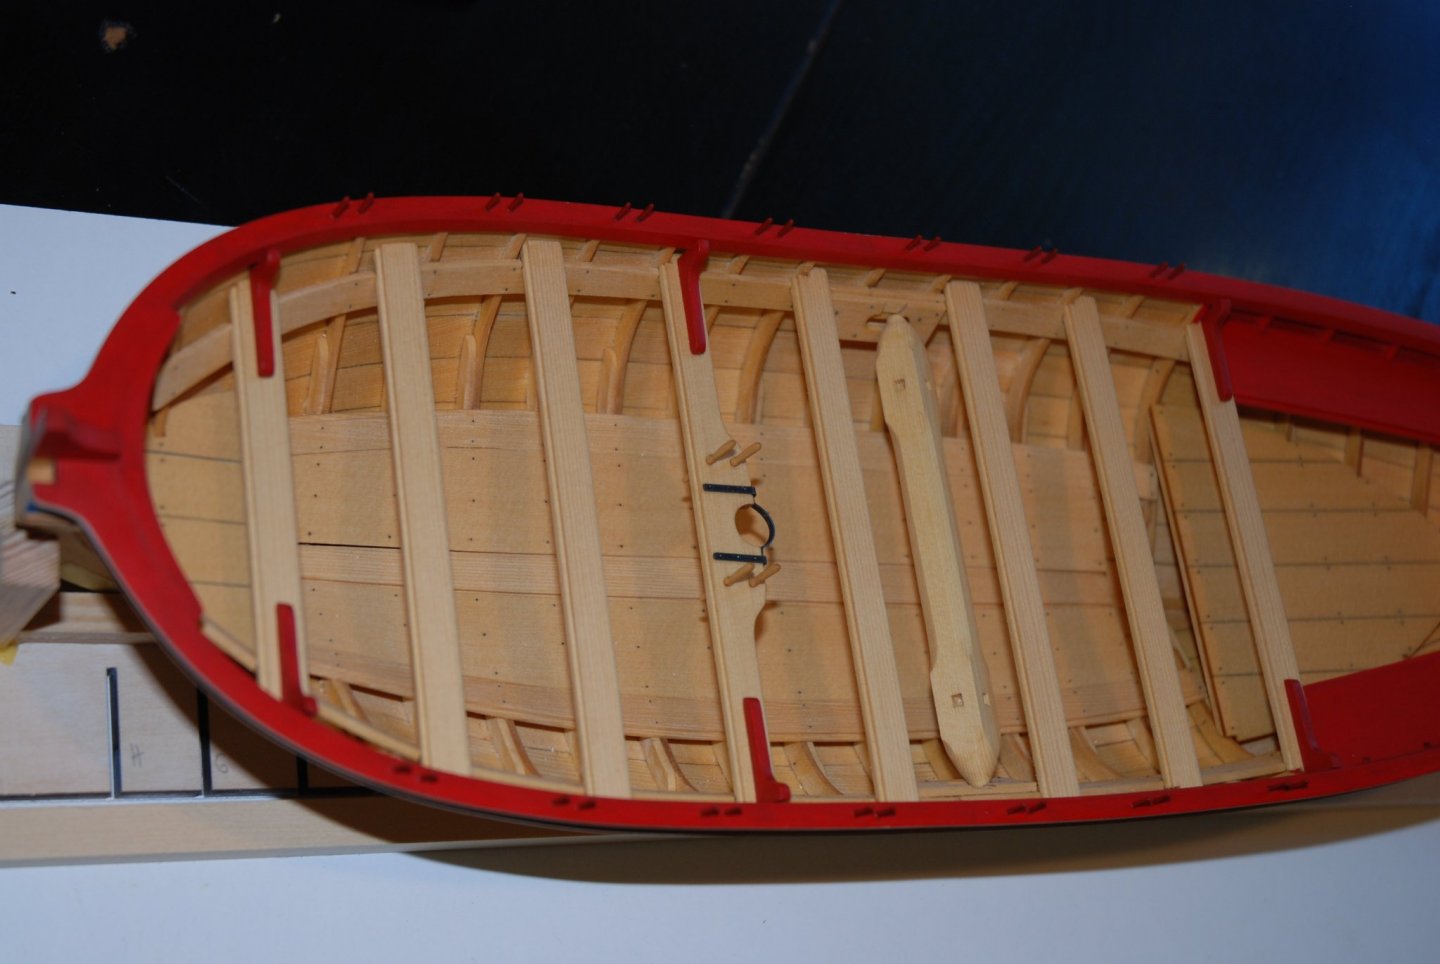
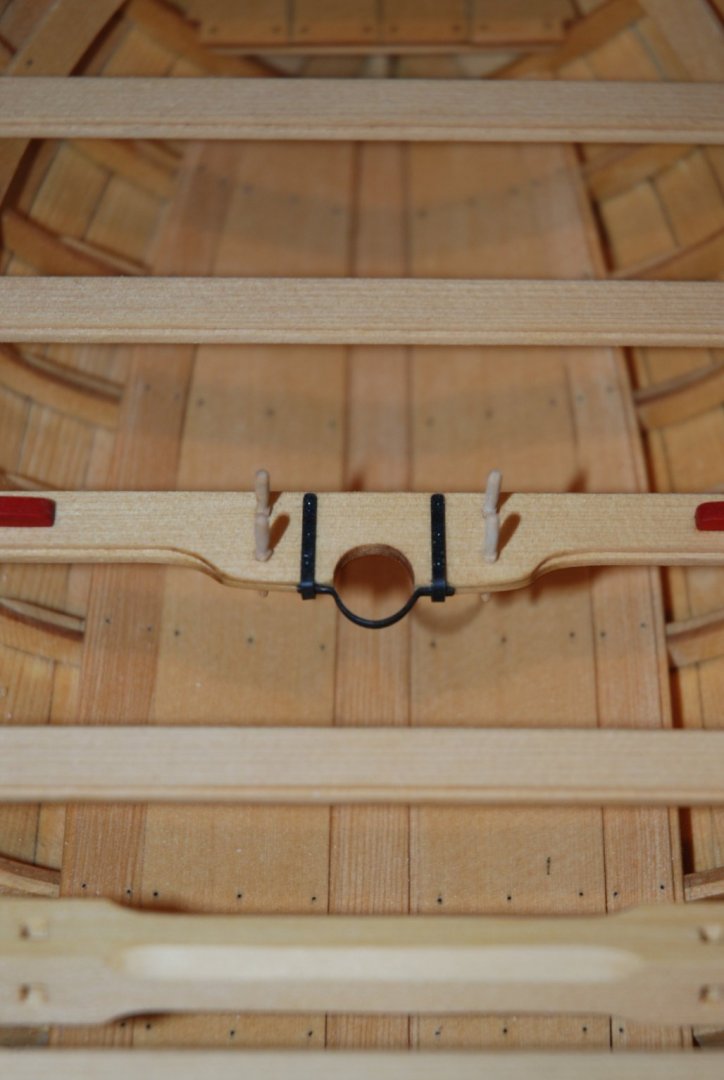
Thank you to all the Likes. This week, I just added two small details. First, the roller on the bow was turned using the Proxxon DB 250 wood lathe. I used the same lathe to shape the 2 windlass bars from a 1/8" x 1/8" cedar strip. Still a lot of fun to work on these little details and Alaskan yellow cedar is really a nice wood to work with. The more I work with it the more I like it. Next element to be treated: the rudder.


-
Superb model. You have succeeded in building a magnificent version of this brig. Thank you for sharing.
-
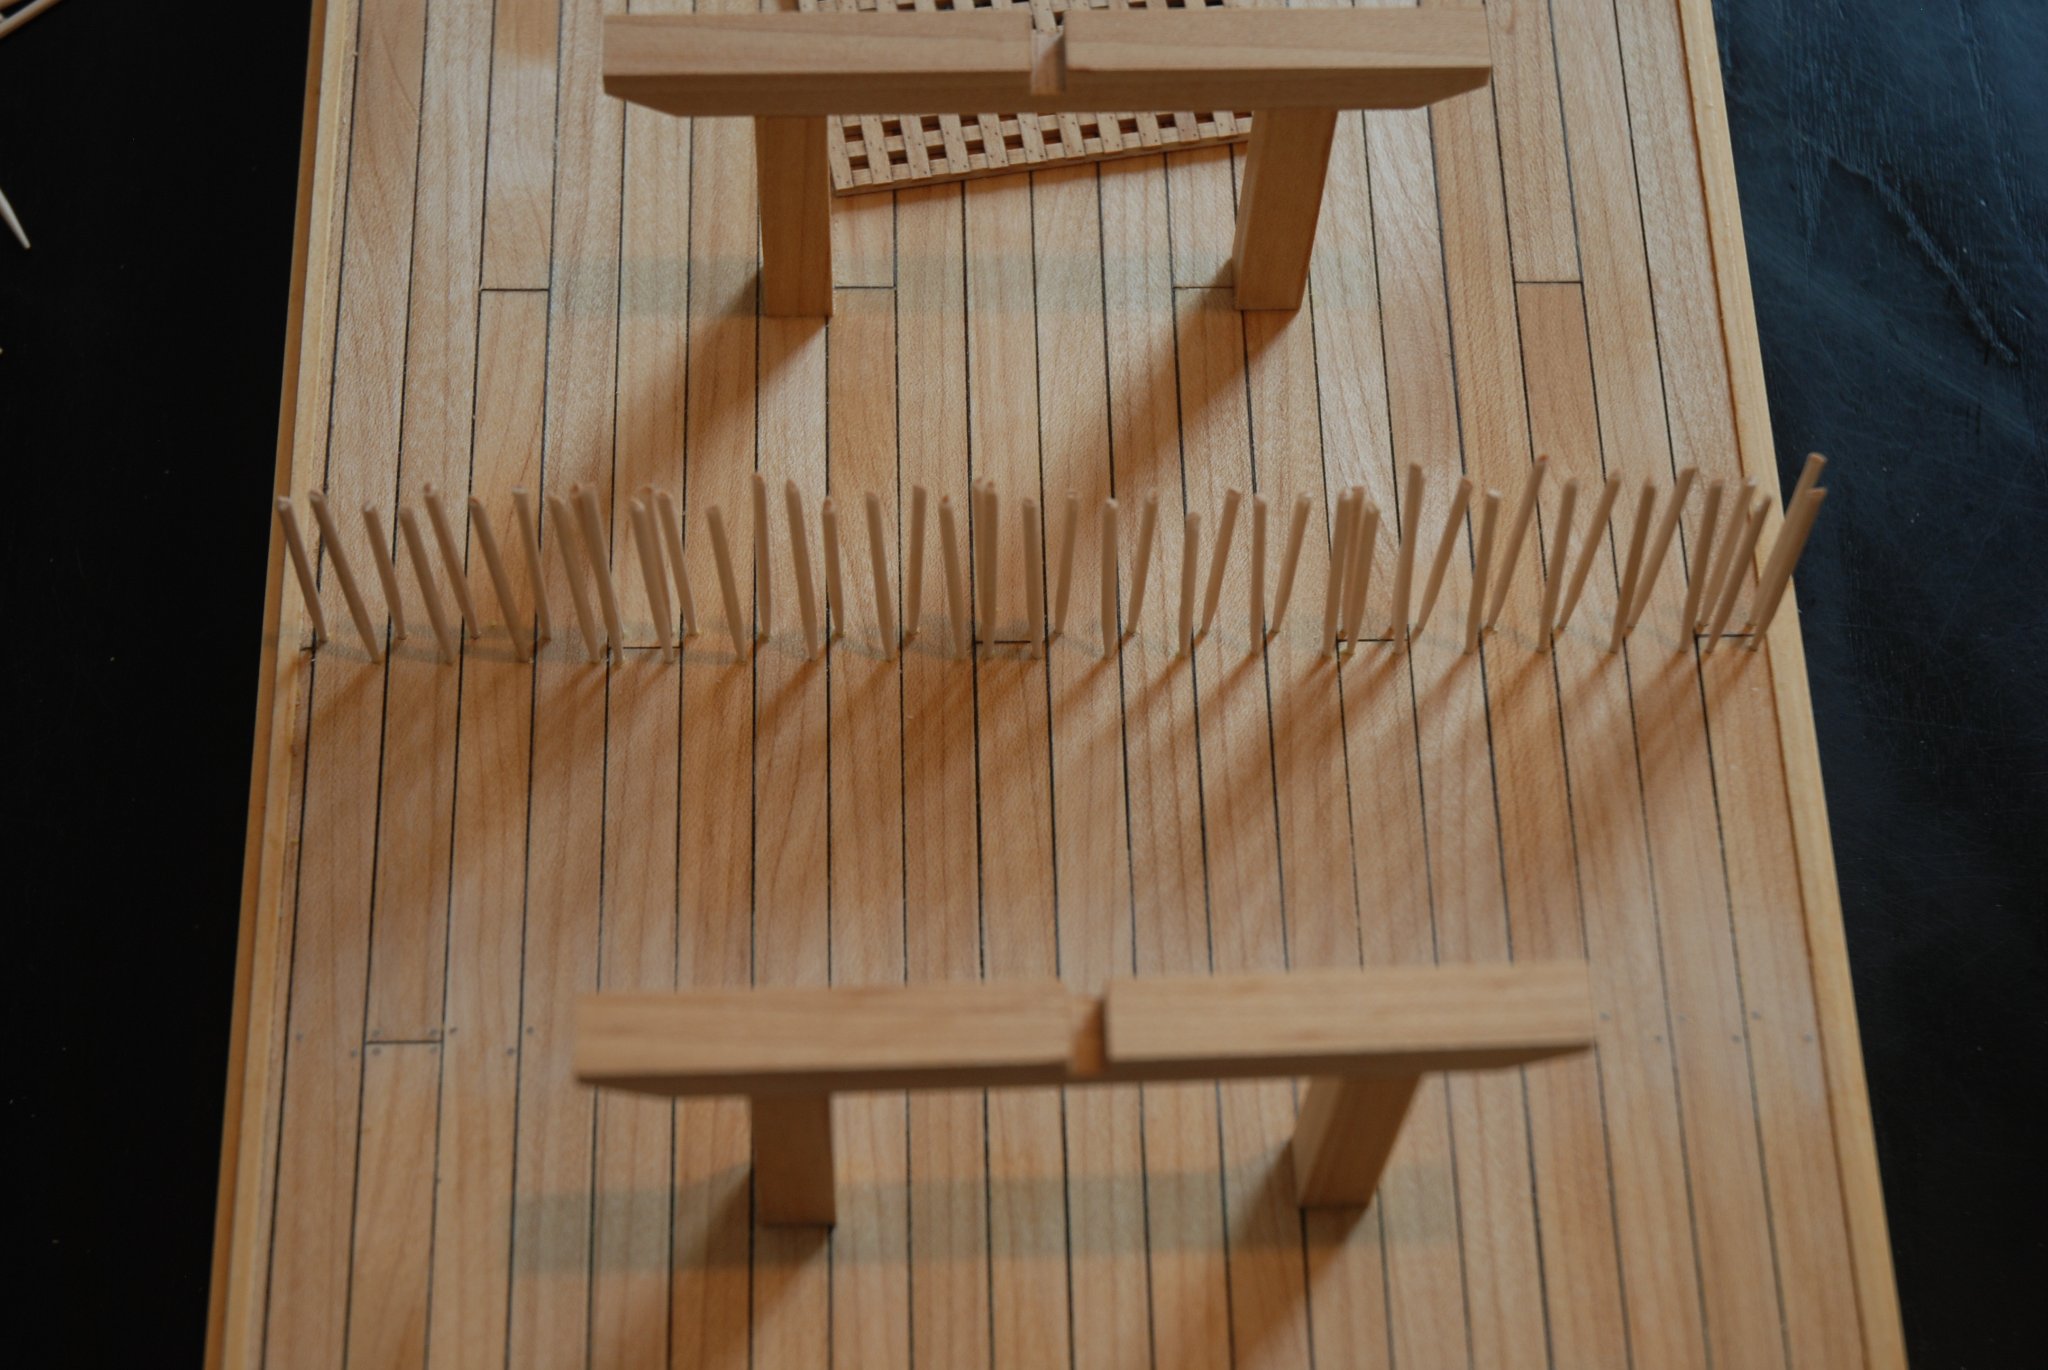
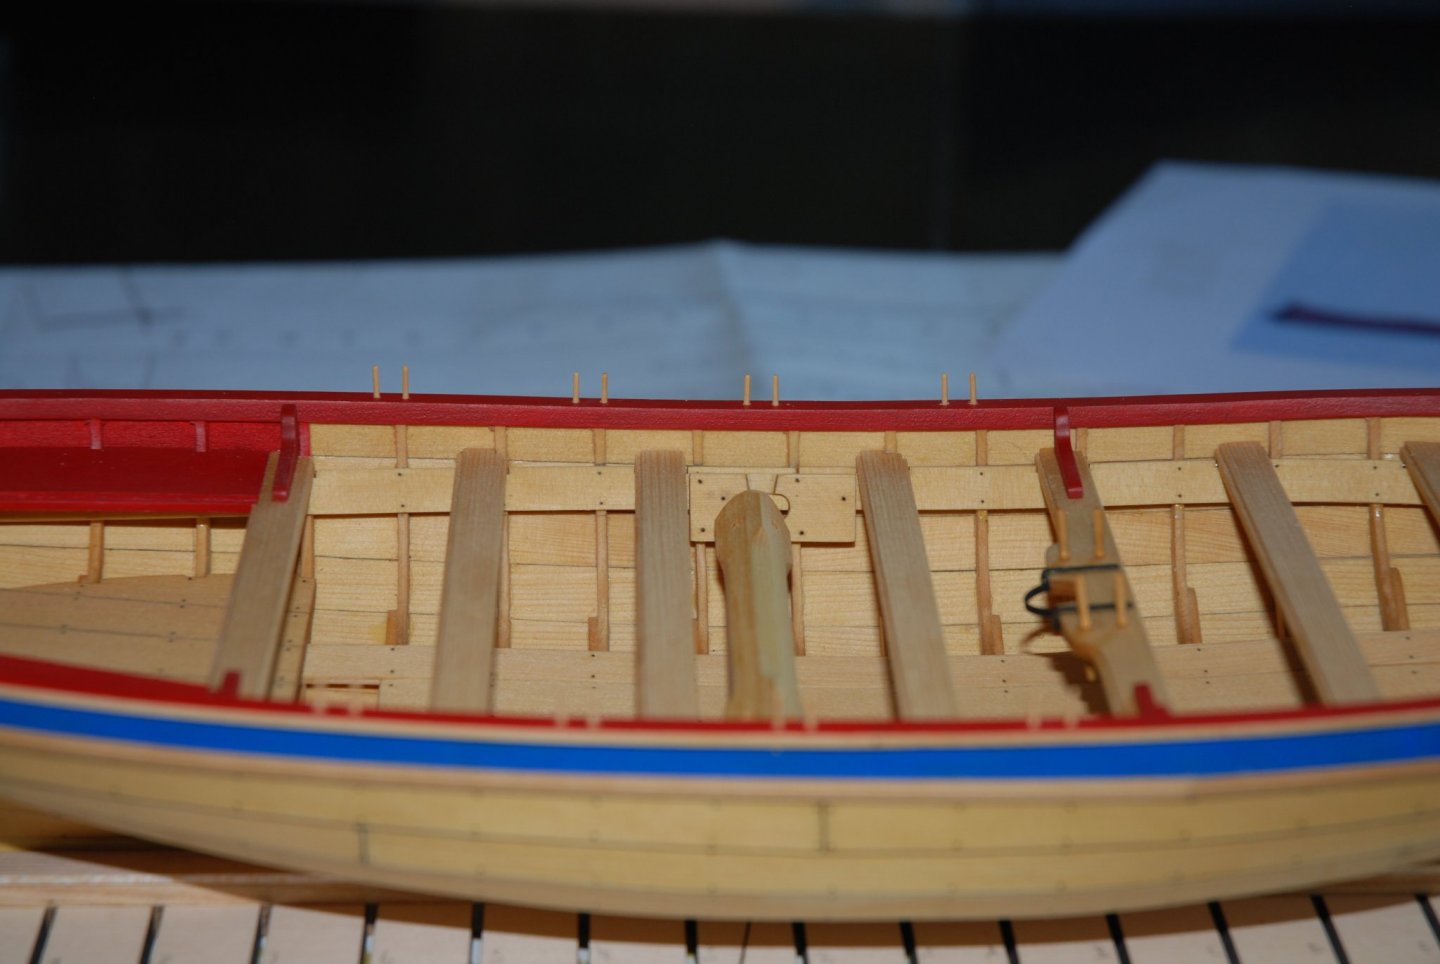
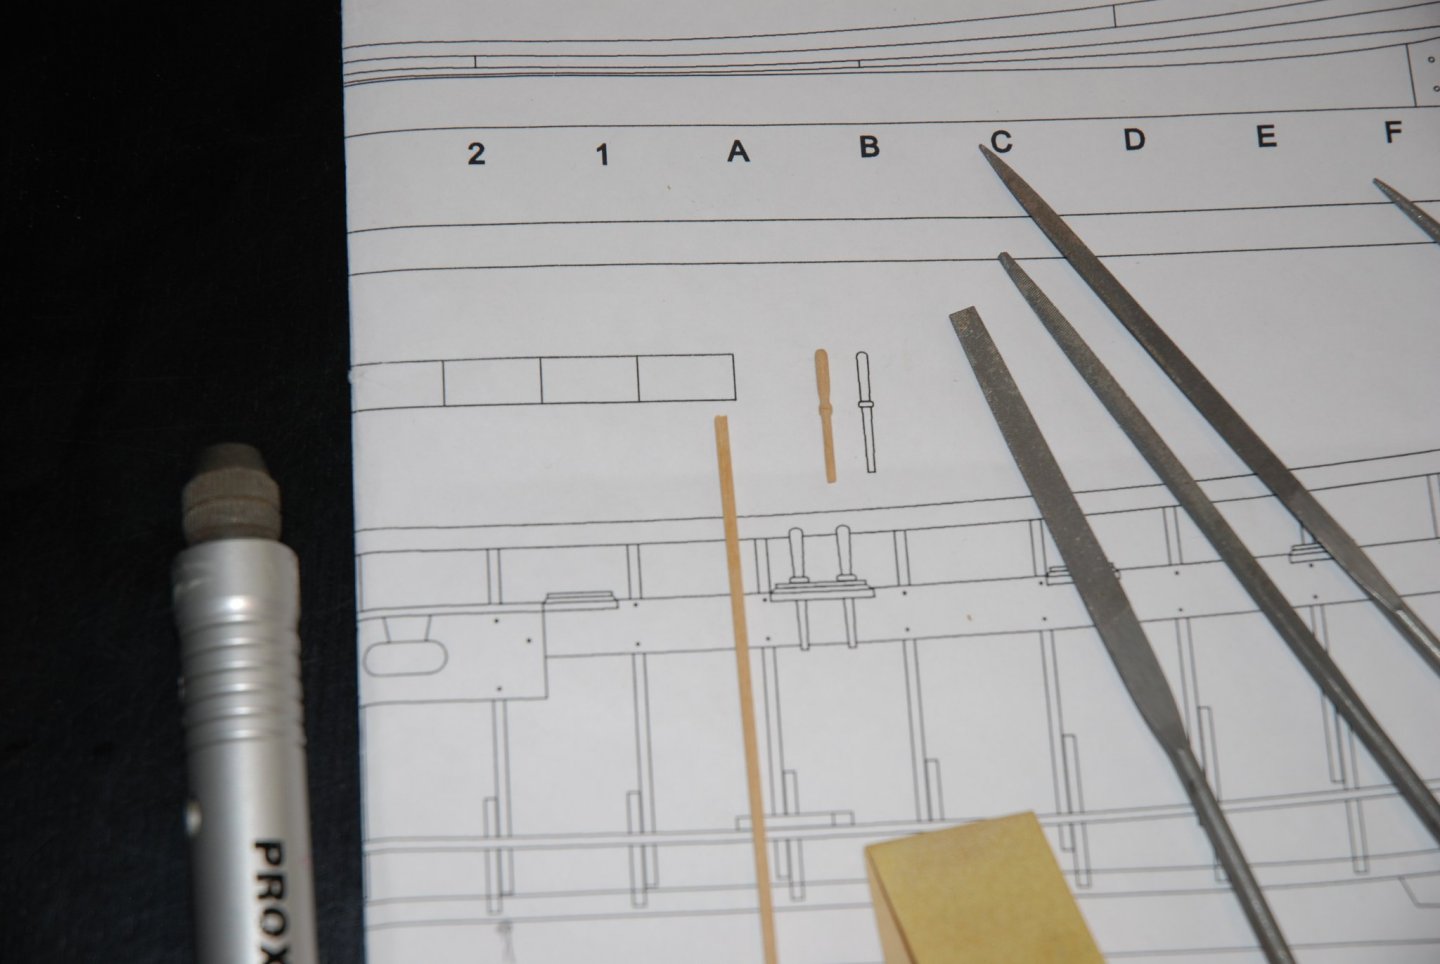
Thank you Mike for your kind words and thank you to all the 'Likes'. Last week I worked on thole pins. They were made from 3/64" x 3/64" boxwood strips. I first cut the strips into 2 cm long pieces The angles of the strips are blunted with a cutter blade and finally they are rounded with my Proxxon. Finally, they are passed through the Byrnes draw plate to be sure that their diameter is all the same. The holes are drilled on the top of the cap rail and the pins inserted. I used a segment of brass tubing inserted over the drill bit to leave only 3mm of the drill bit protruding. This way I can get holes of the same depth. For the positioning of the thole pins, I first drew their positions on the plan which was then photocopied. I start to place the pins from the stern. I use the same photocopy on the port and starboard sides (it is simply turned over). So the photocopy is initially cut at the position of the second pin at the very back. To drill the first hole of the pair, I built according to the excellent idea found on Ryland Craze's build log (#137) a small jig to drill this hole at the same spacing each time. Once the pairs are inserted to starboard and port, the photocopy is shortened to the position of the second pin of the next pair. Finally, the thole pins are painted red. Next elements to be build: the roller at the bow and the two windlass bars.

-
Absolutely amazing. It's a perfect realism. You would never think that it is built from wooden elements. It is again a very high level mini-kit! And the paint job and weathering add the final touch of veracity. Thank you for this extraordinary work!
- 1,784 replies
-
- 4
-
-
- winchelsea
- Syren Ship Model Company
- (and 1 more)
-
Bravo Bob! The time spent and the patience invested was really worth it. The result is superb!
-
Thank you Chuck and Steve for your kind words and thank you to all the 'Likes'. Just a little advance: I turned the four belaying pins using a 1/16 x 1/16 boxwood strips. Difficult to reproduce them identically... I still have to coat them with teak oil. I'm going to focus on the thole pins. They too will need to be turned into a boxwood strip.
-
HM Cutter Cheerful 1806 by JpR62 - 1:48 scale
JpR62 replied to JpR62's topic in - Build logs for subjects built 1801 - 1850
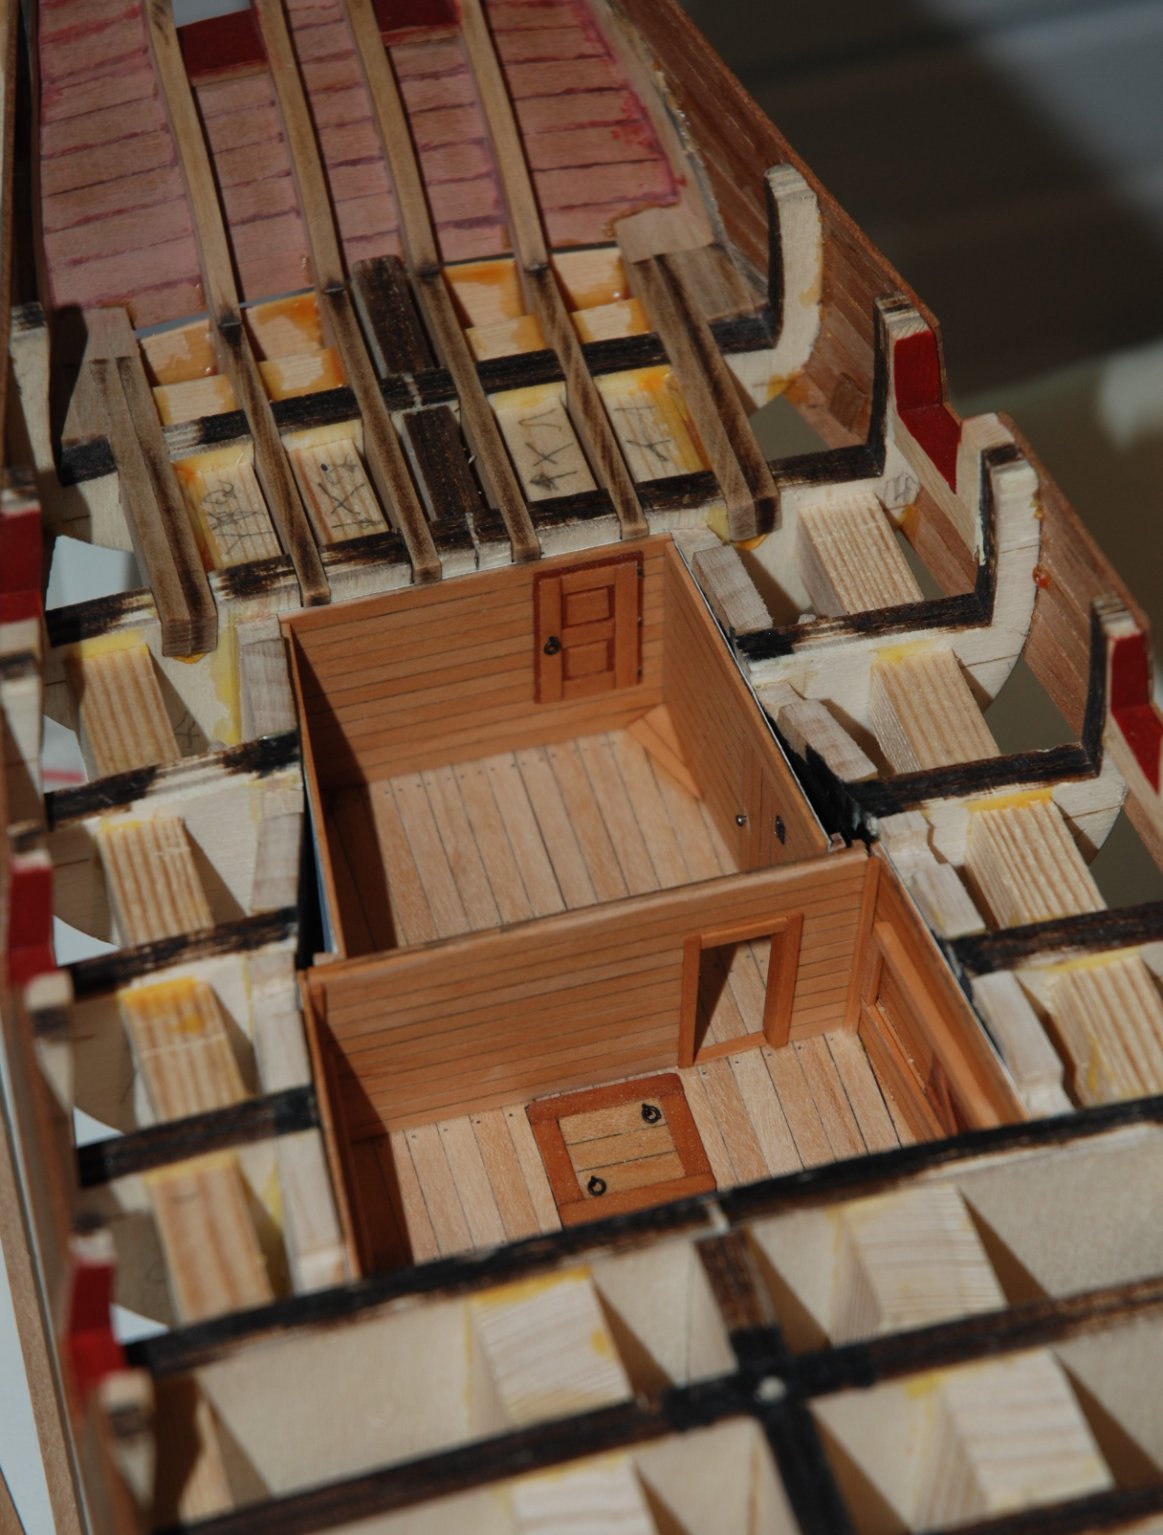
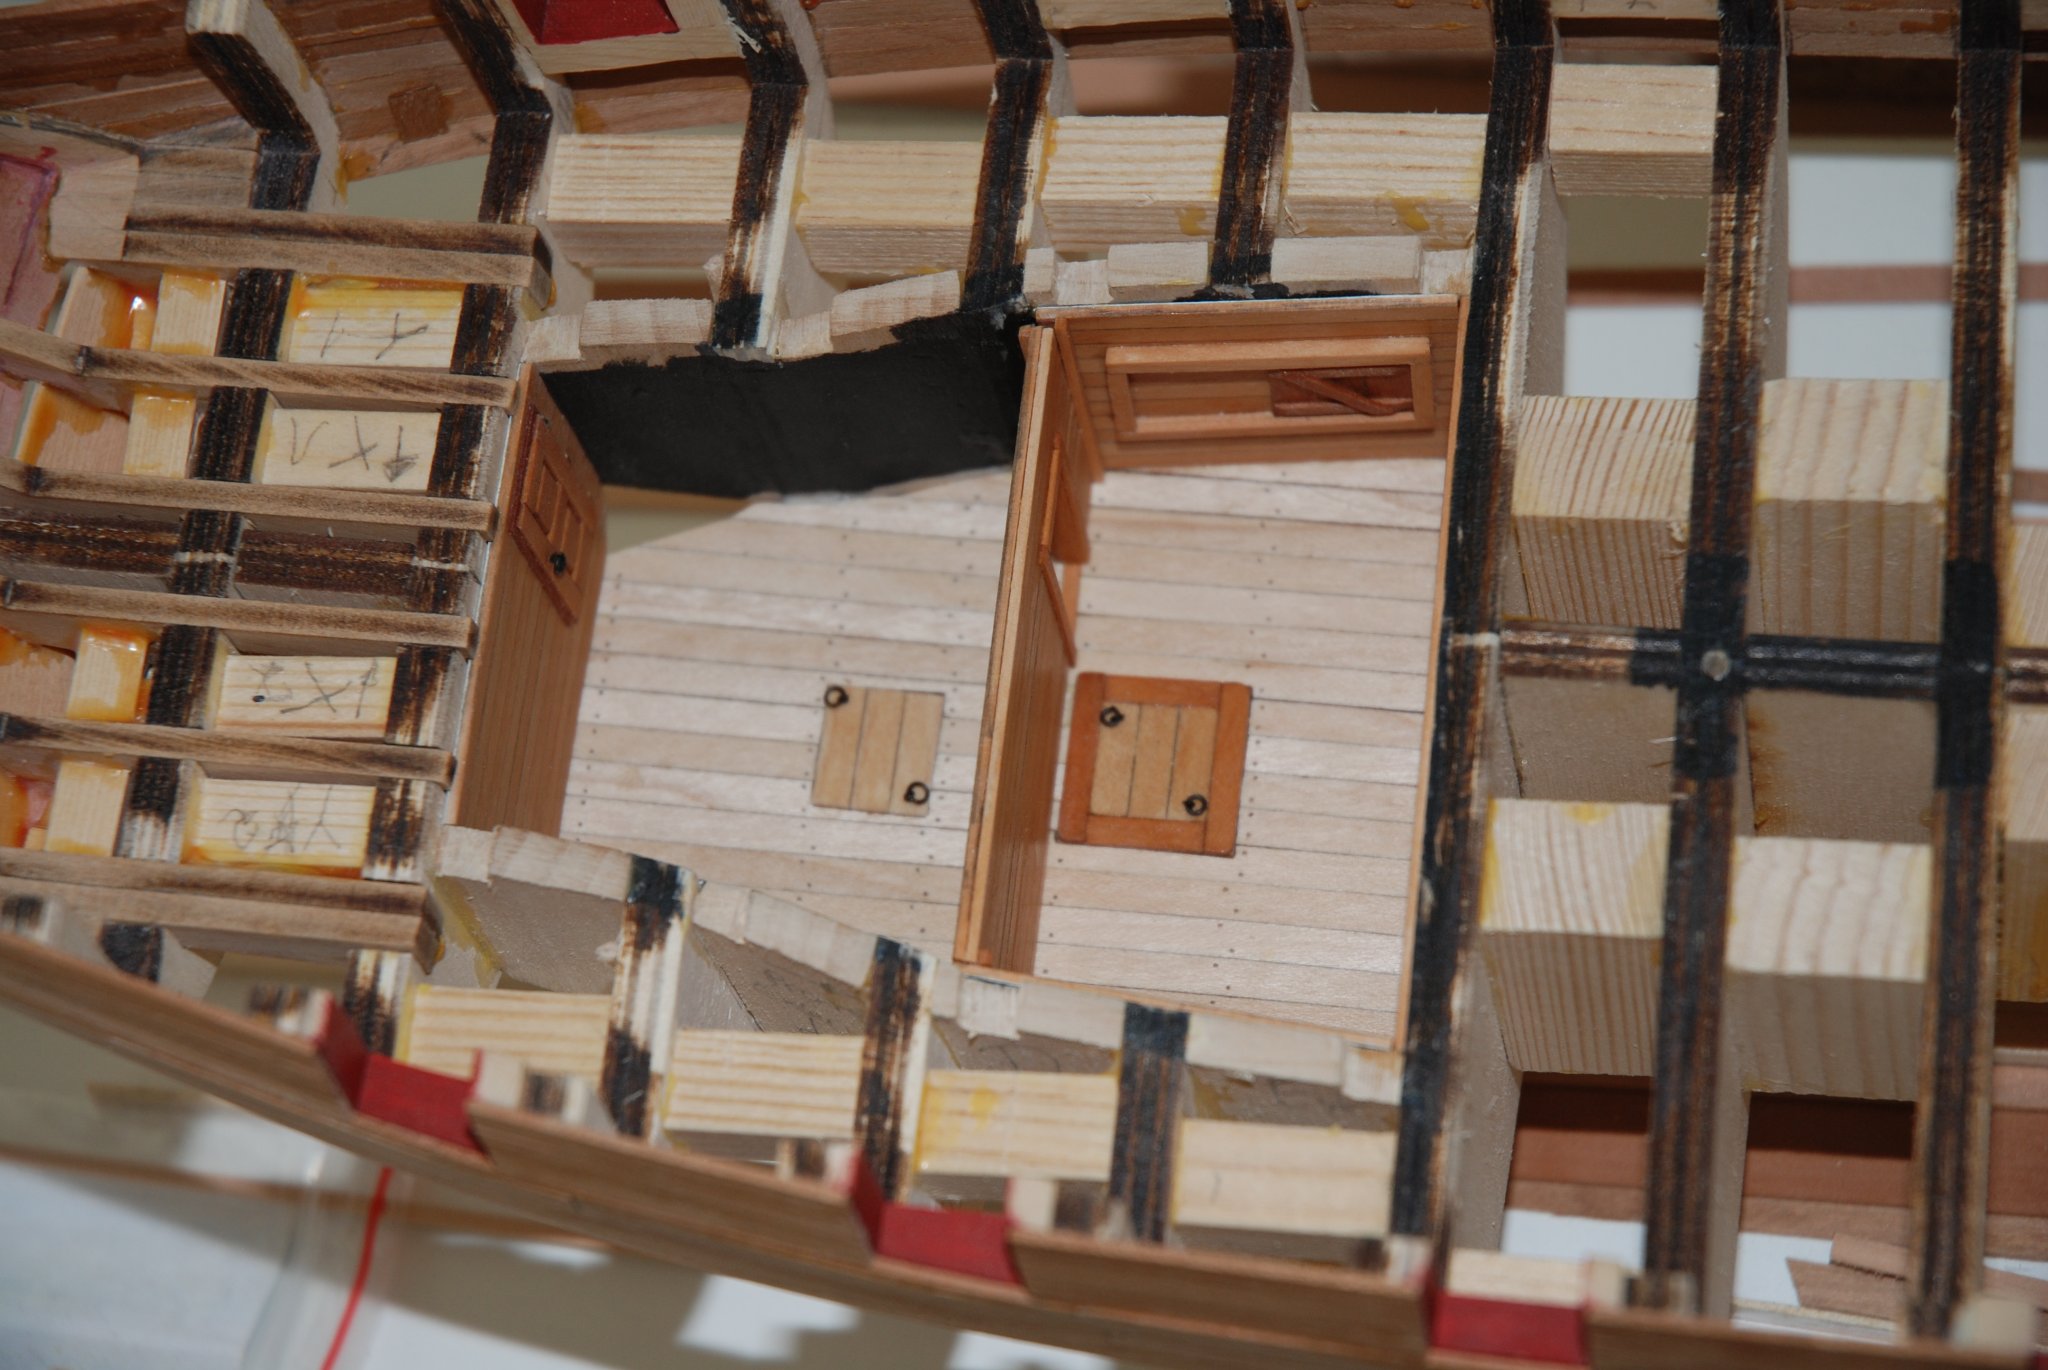
Thank you to all the 'Likes'. The two side panels have been glued. I then closed the small triangular space on the back of the captain's room with 3 small pearwood boards. They were glued from the outside. I still have to order the necessary material to set up a small lighting in these 2 rooms so that we can still see these details.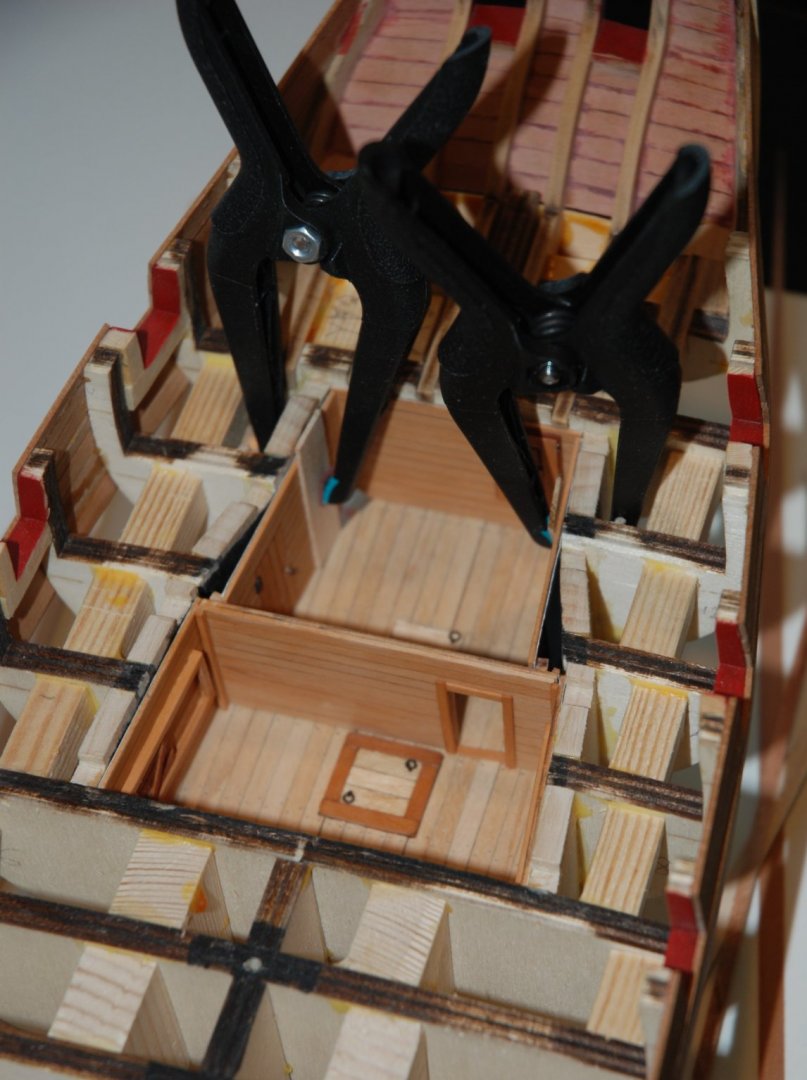

-
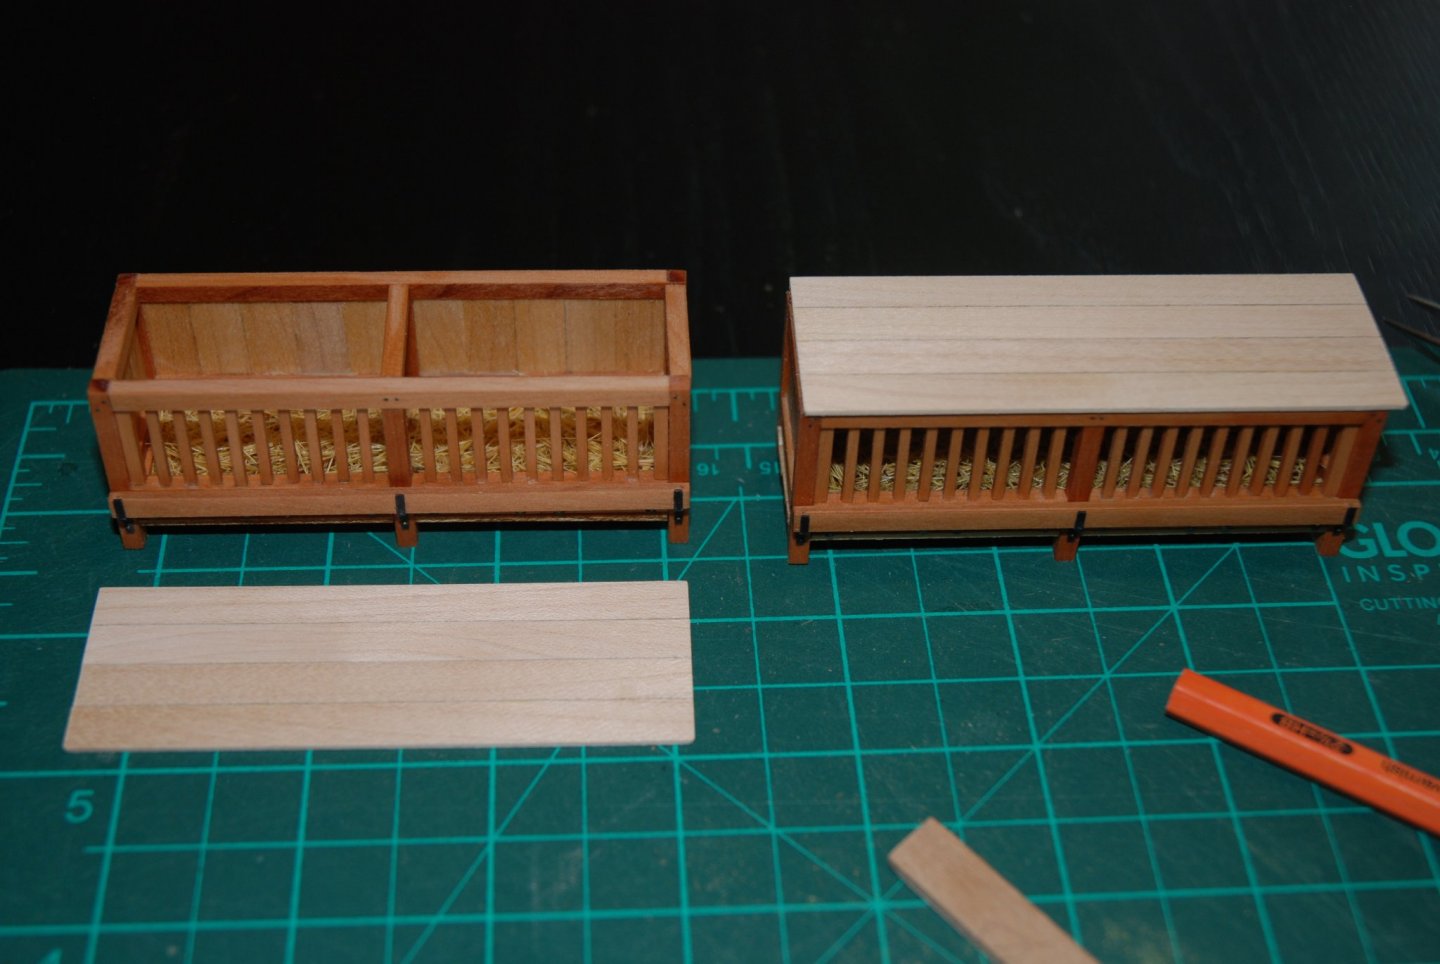
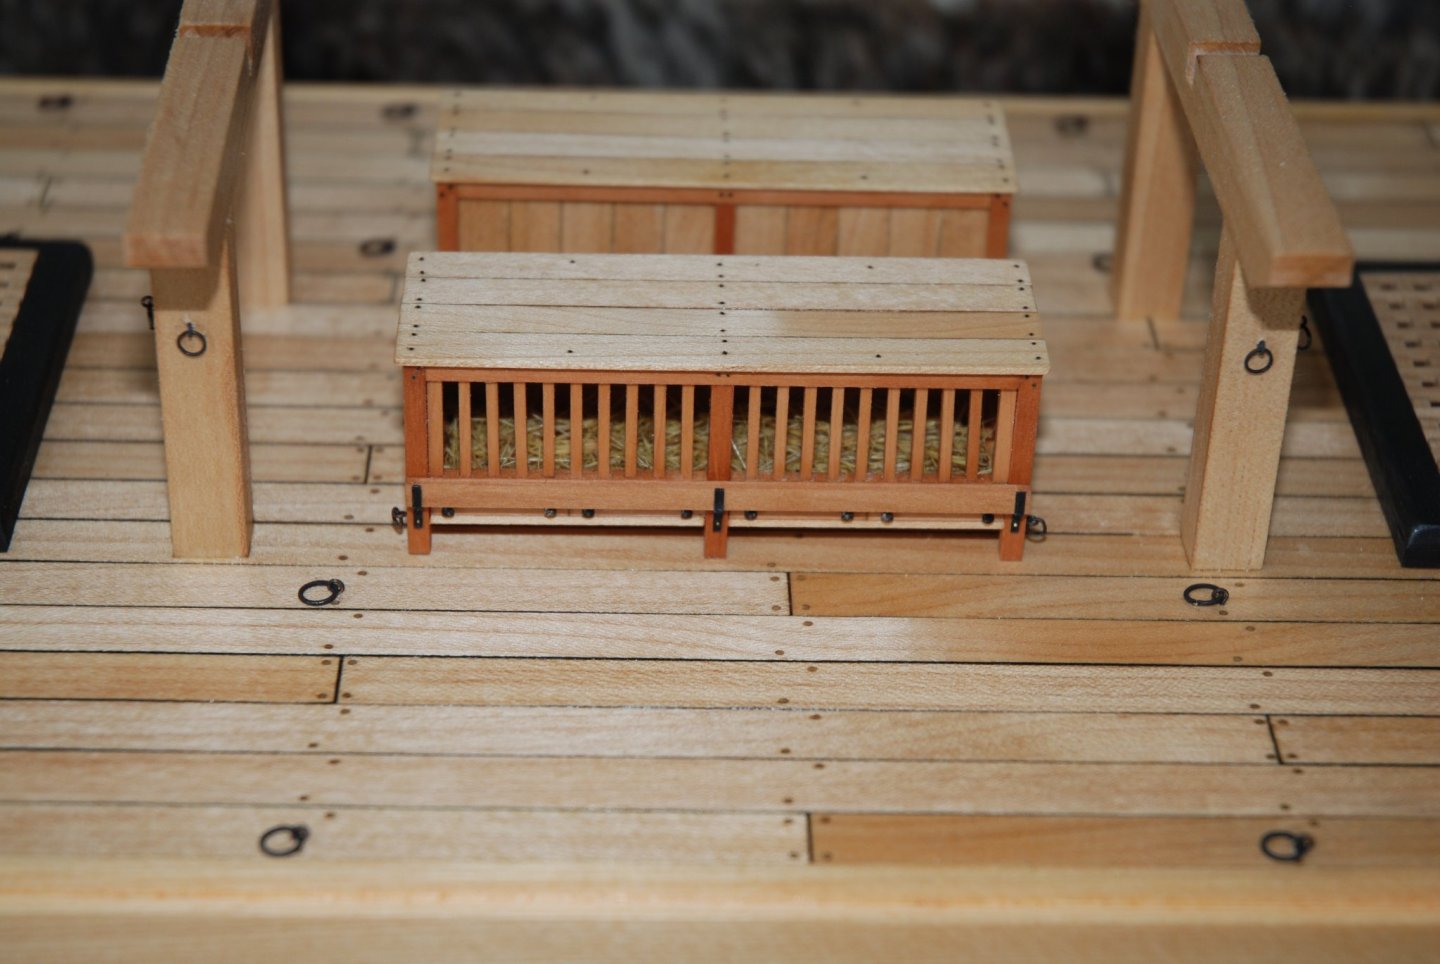
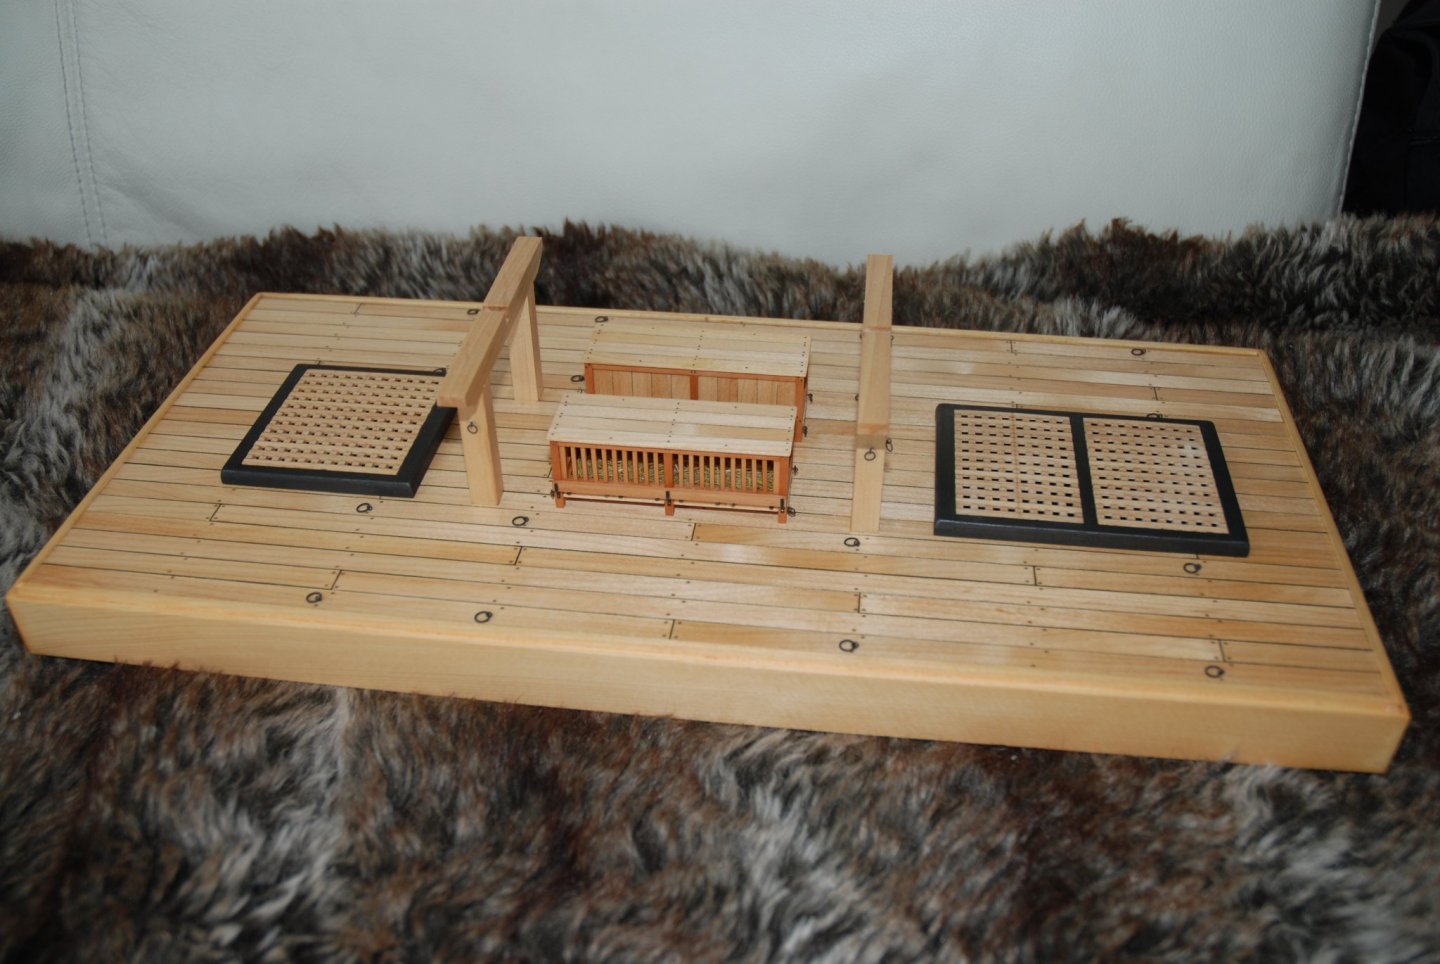
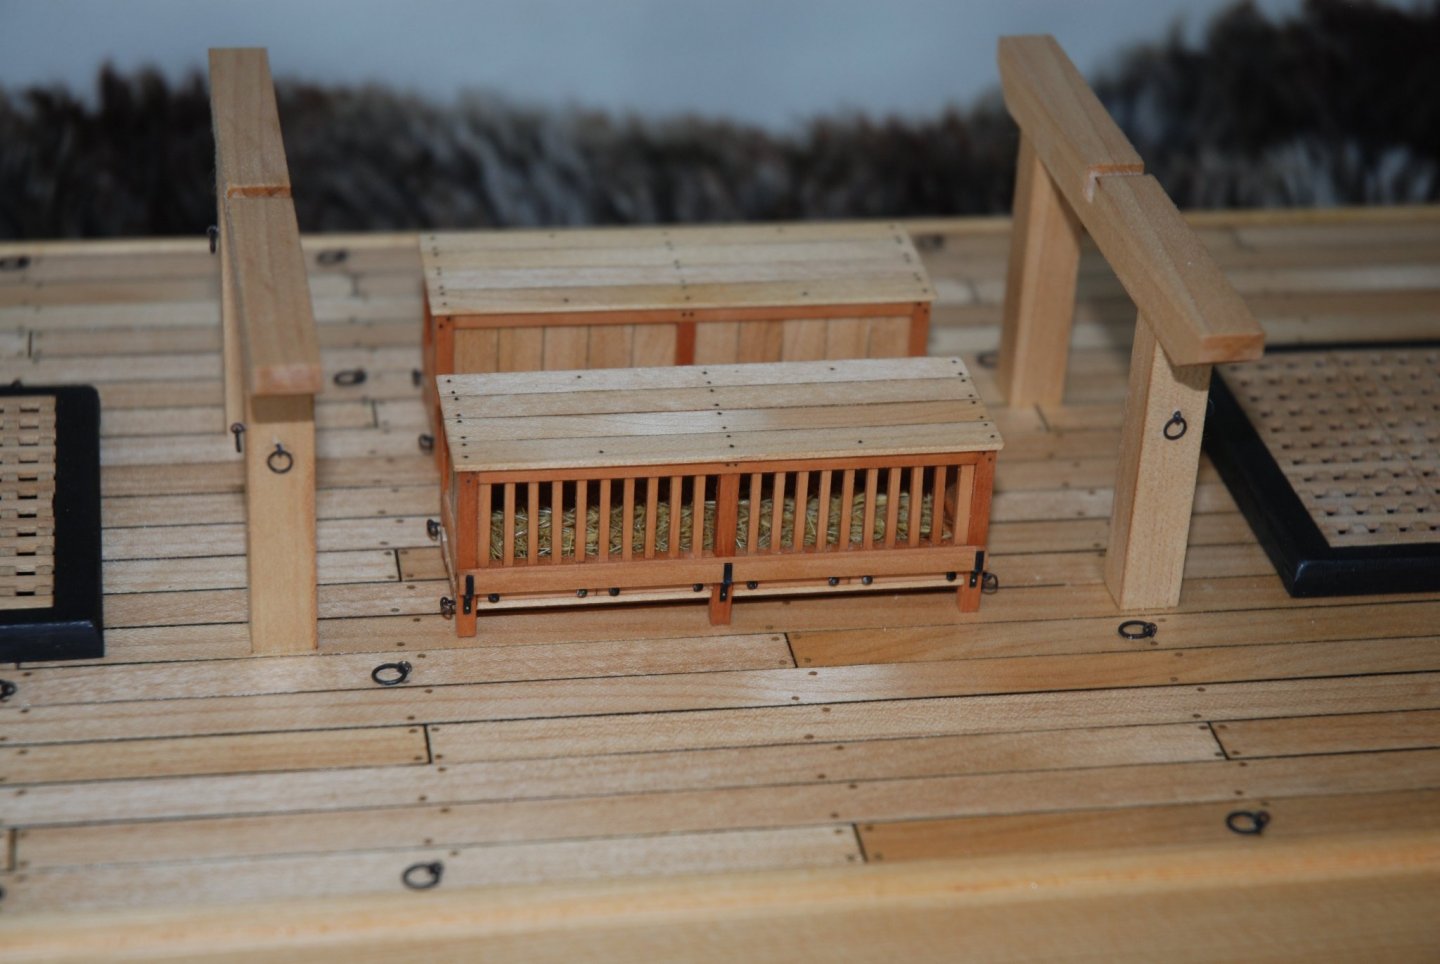
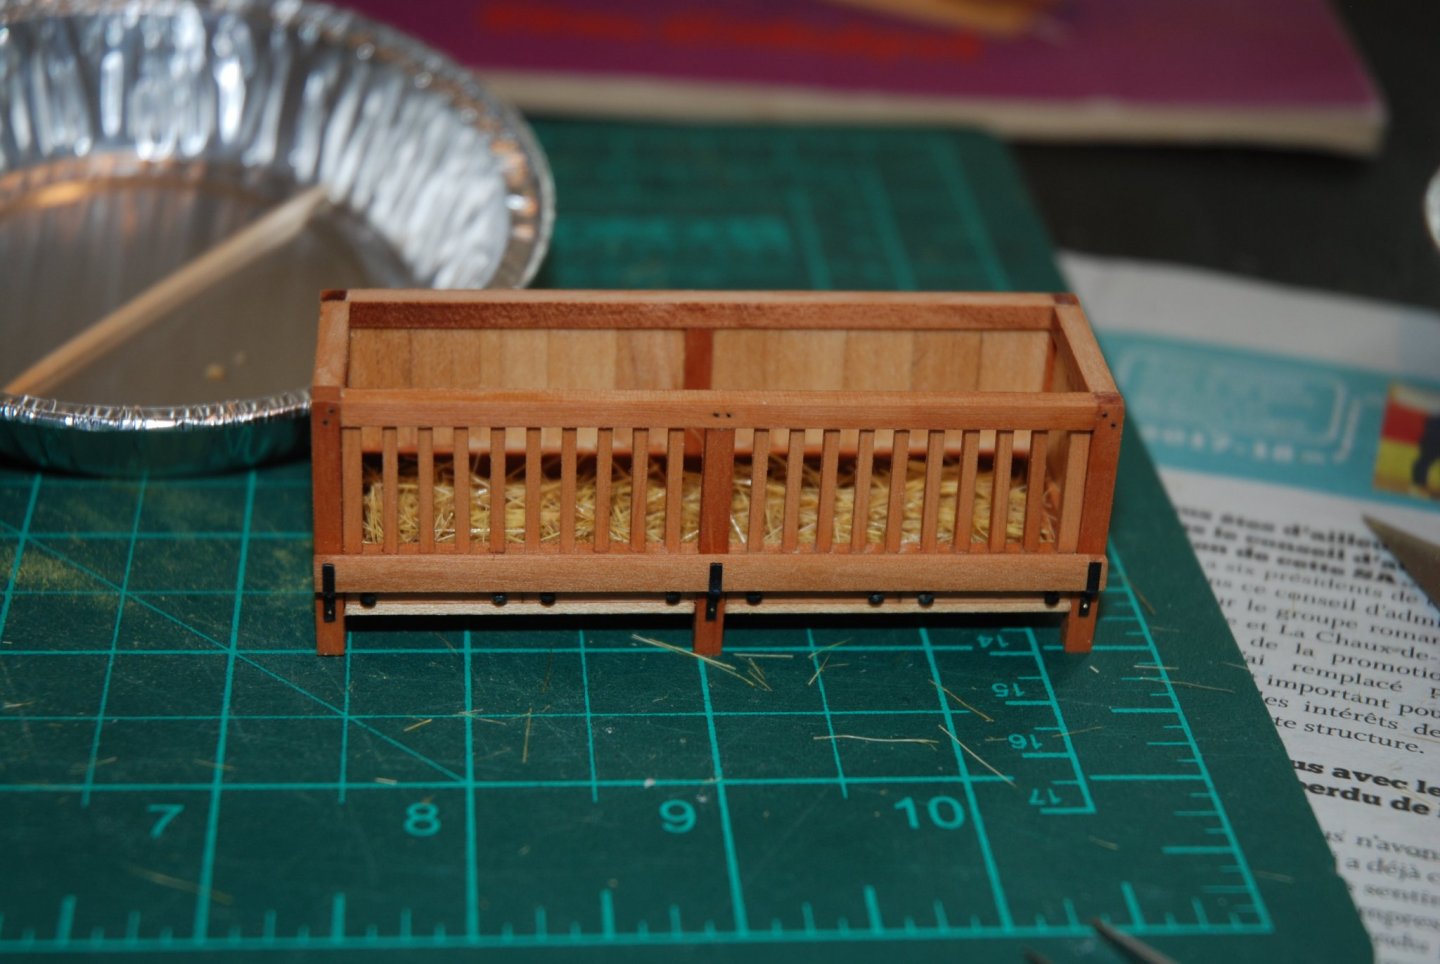
Thank you to all the 'Likes'. The two cages are now finished. They were first closed with American maple boards (as for the bottom and sides) Nails were simulated using black monofilament (15LB) And finally the two cages reach their final location on the deck section of the ship. It's time to refocus on the longboat itself 😁
-
Great job on this barge, B.E. It's a beauty. I really like the contrast between the thwarts left in natural wood and the red. It's true that Chuck really put out a marvelous kit and you can feel the pleasure of assembling it.
- 185 replies
-
- 1
-
-
- queen anne barge
- Syren Ship Model Company
- (and 1 more)
-
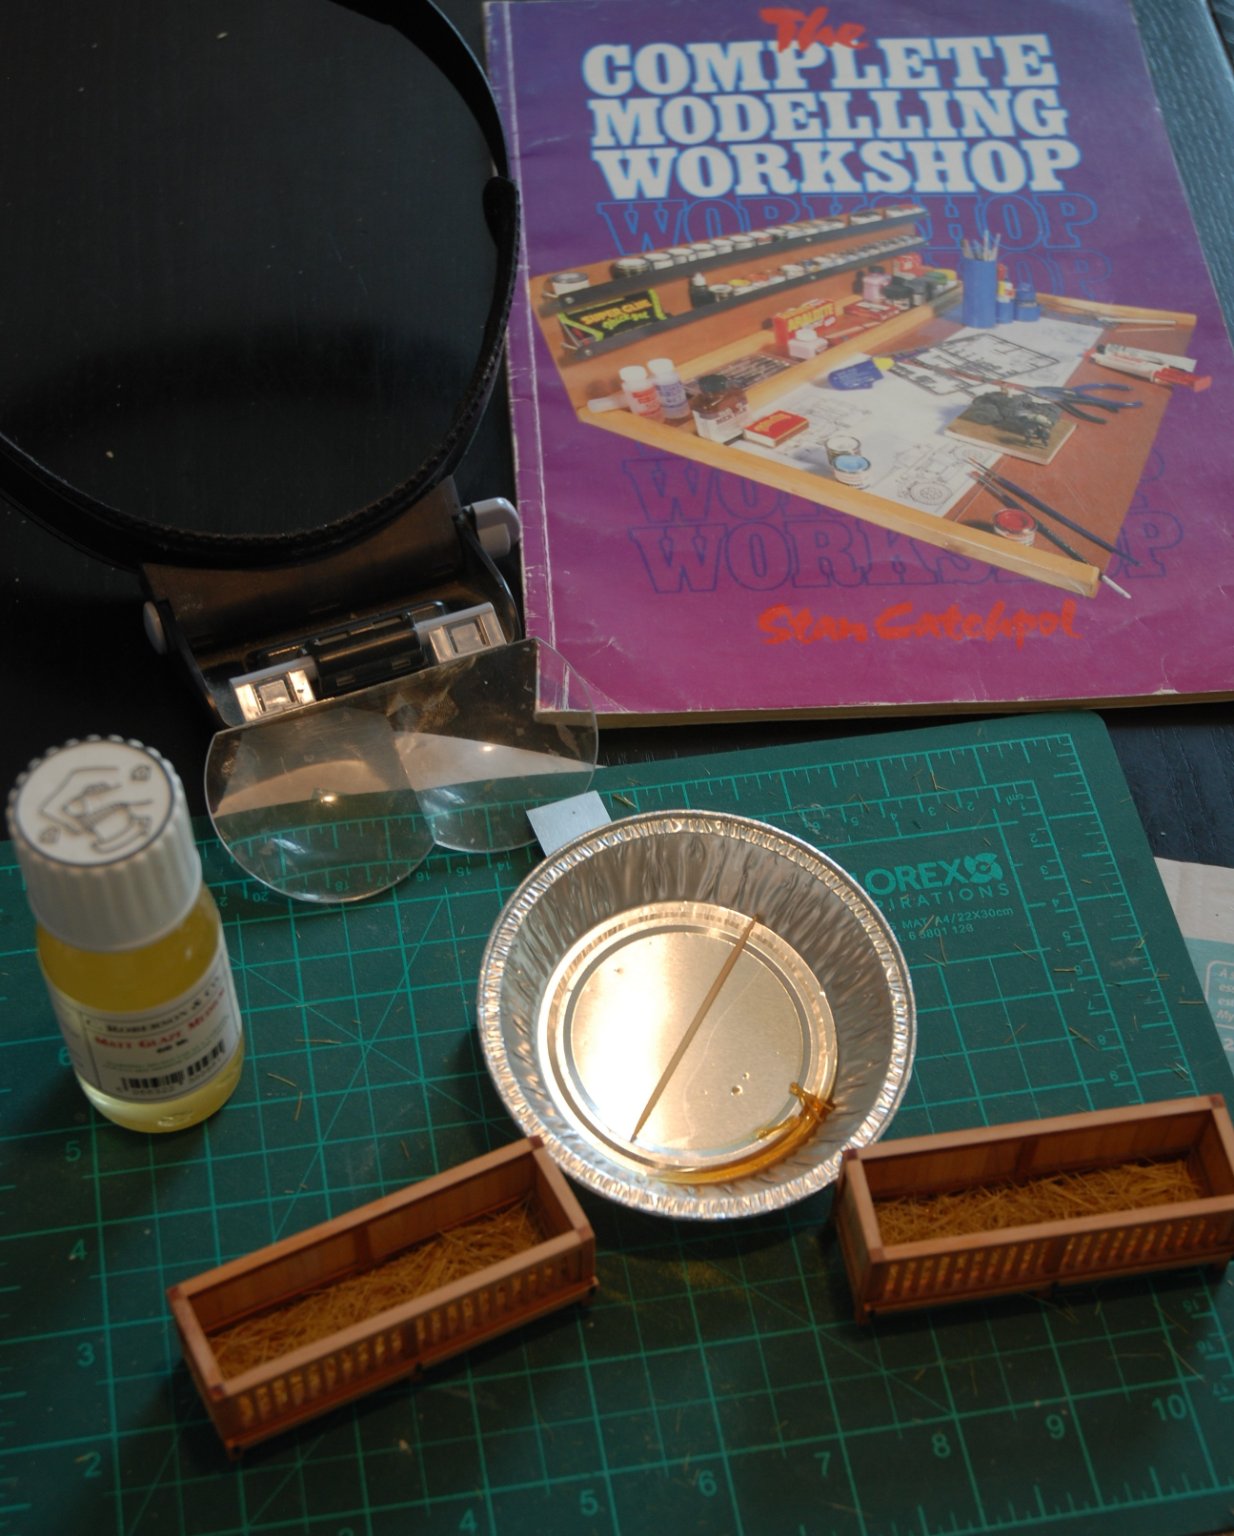
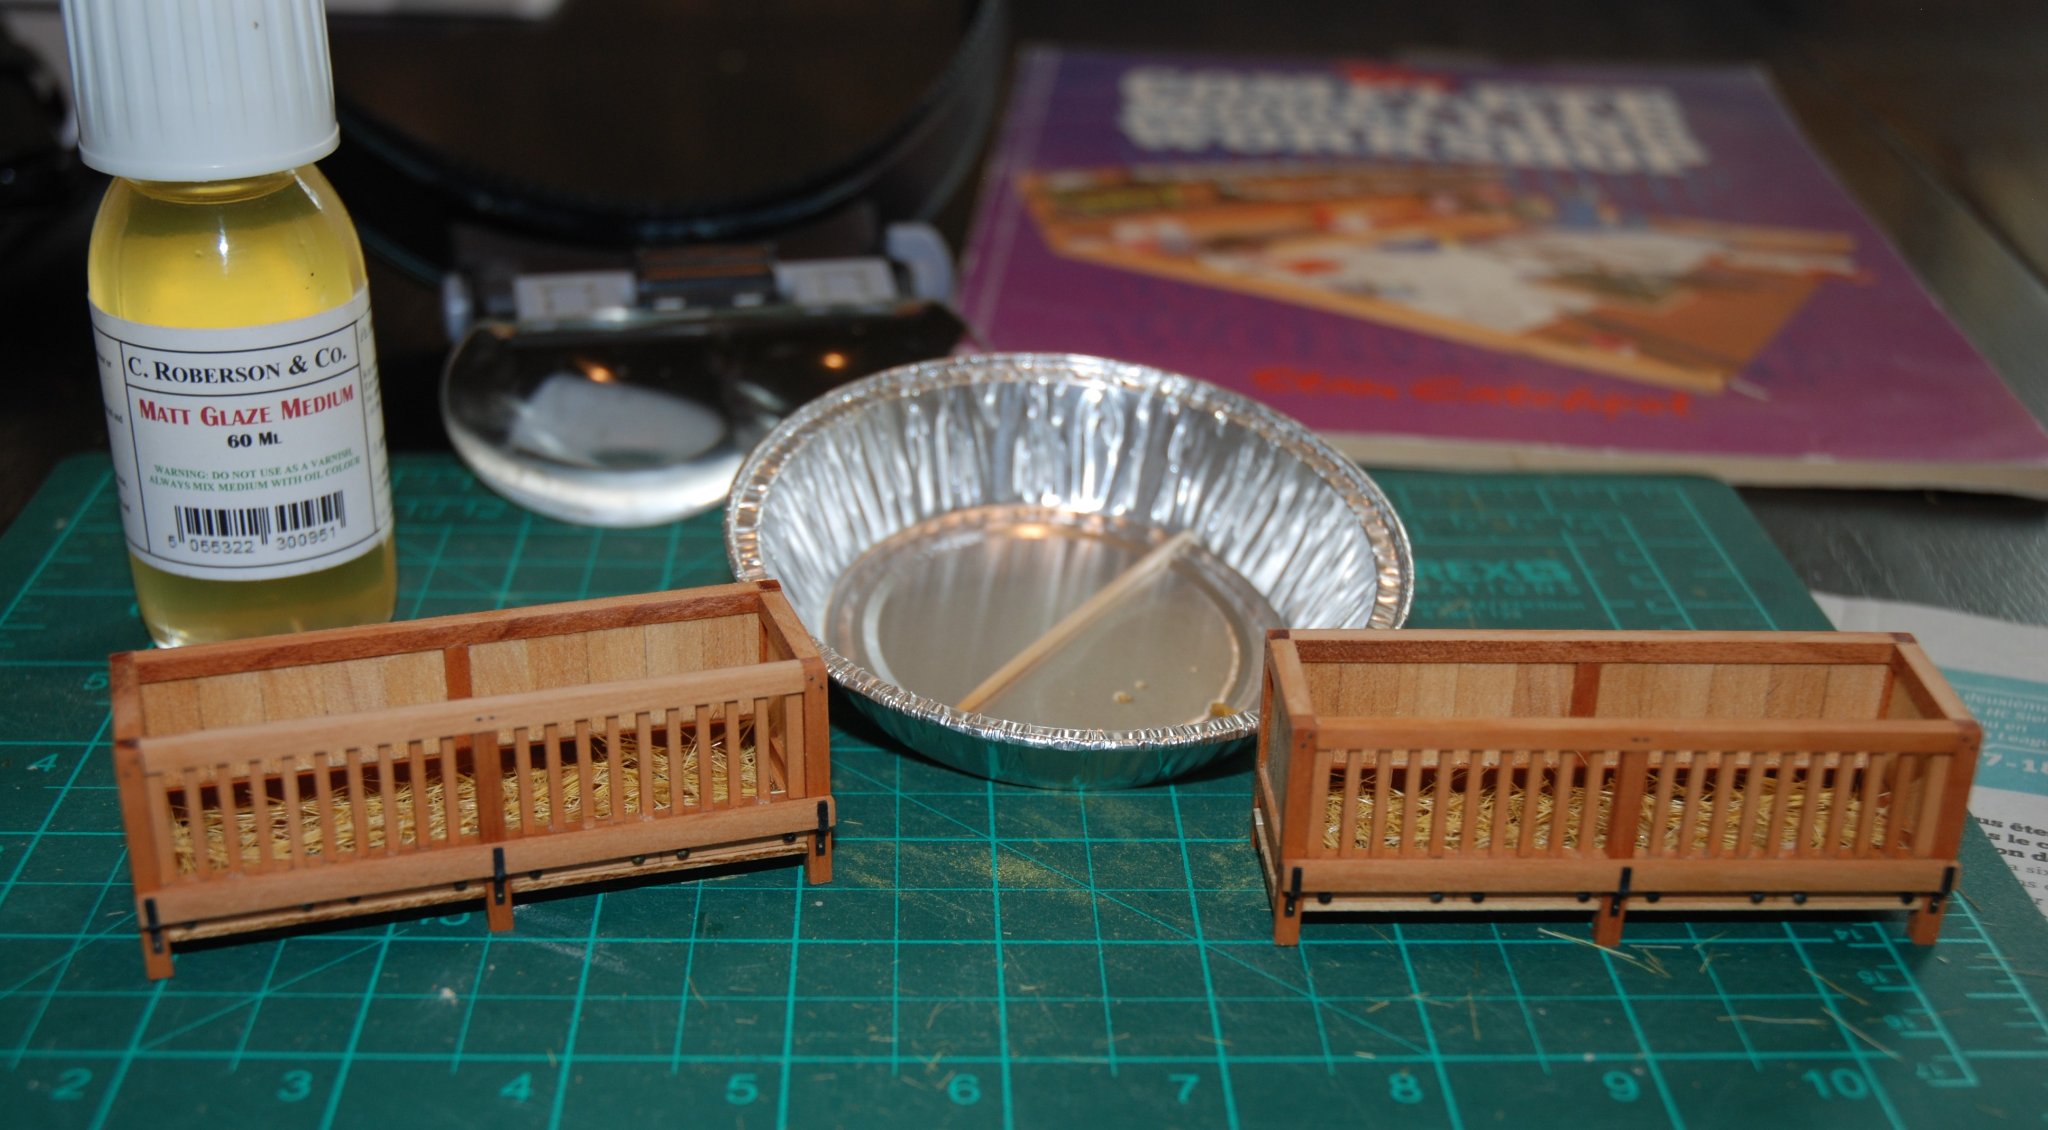
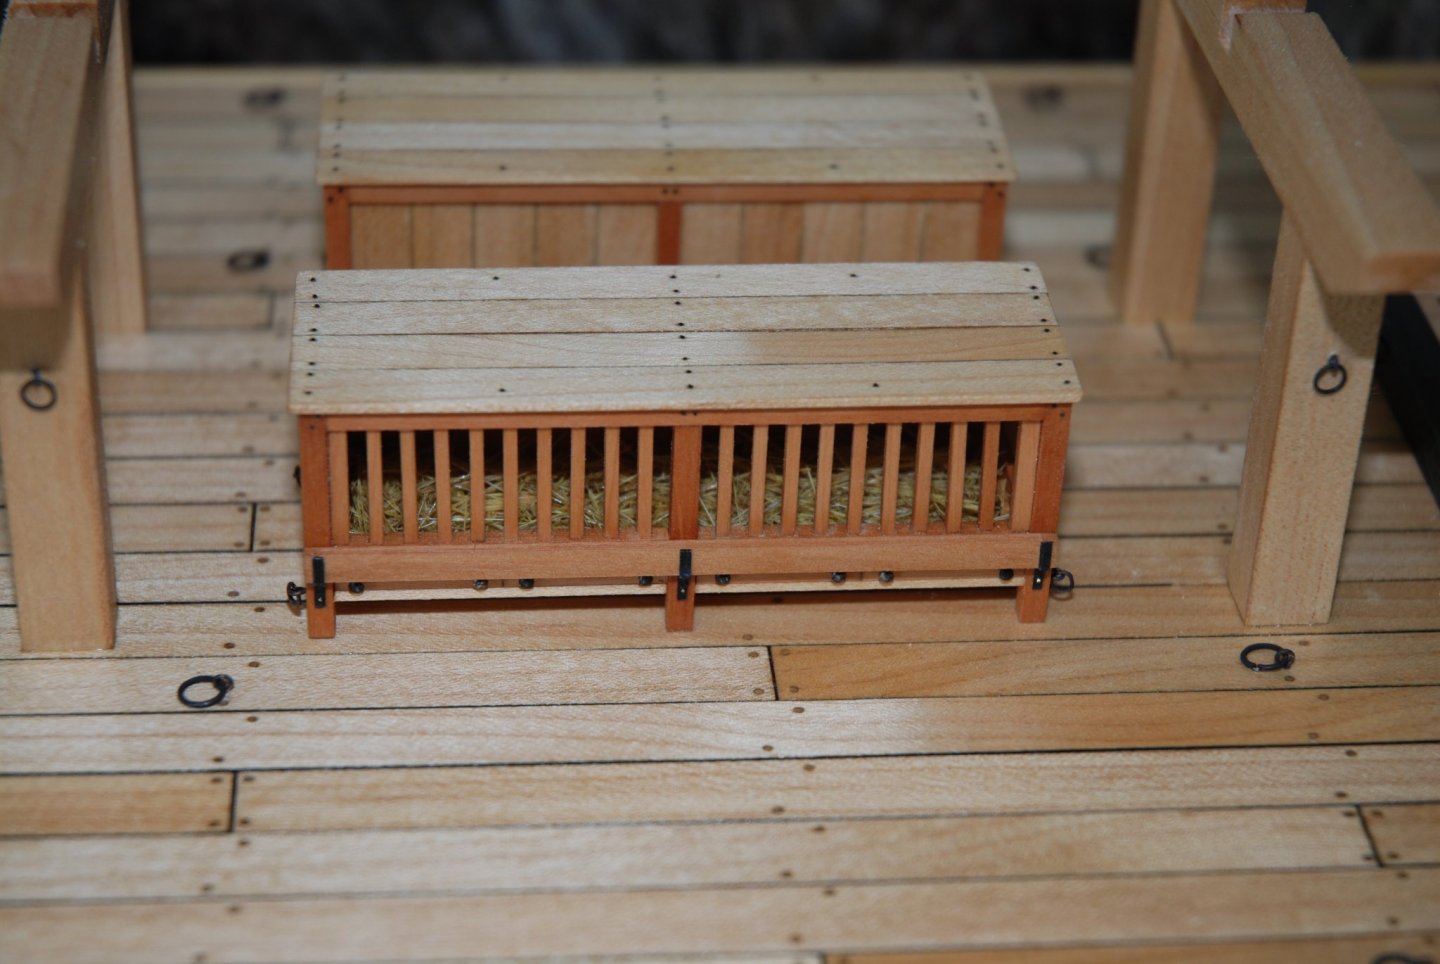
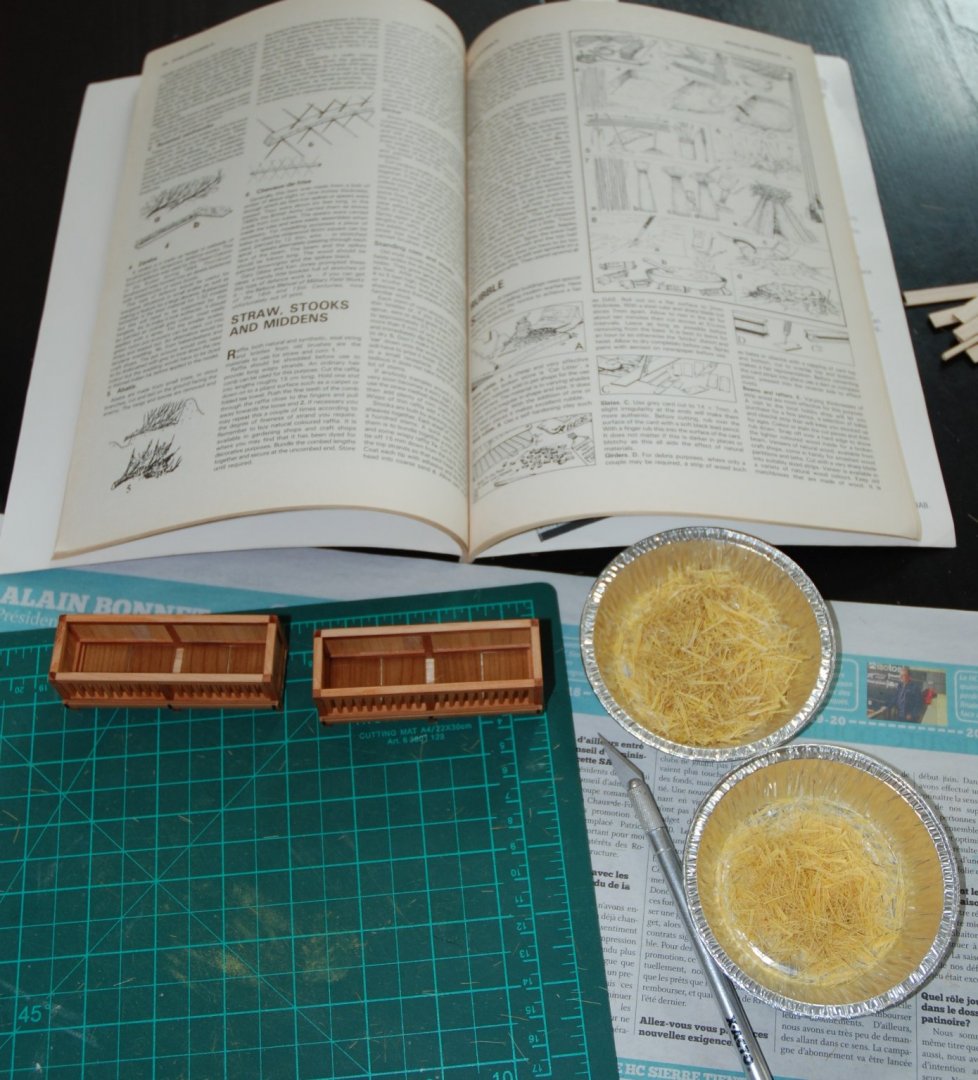
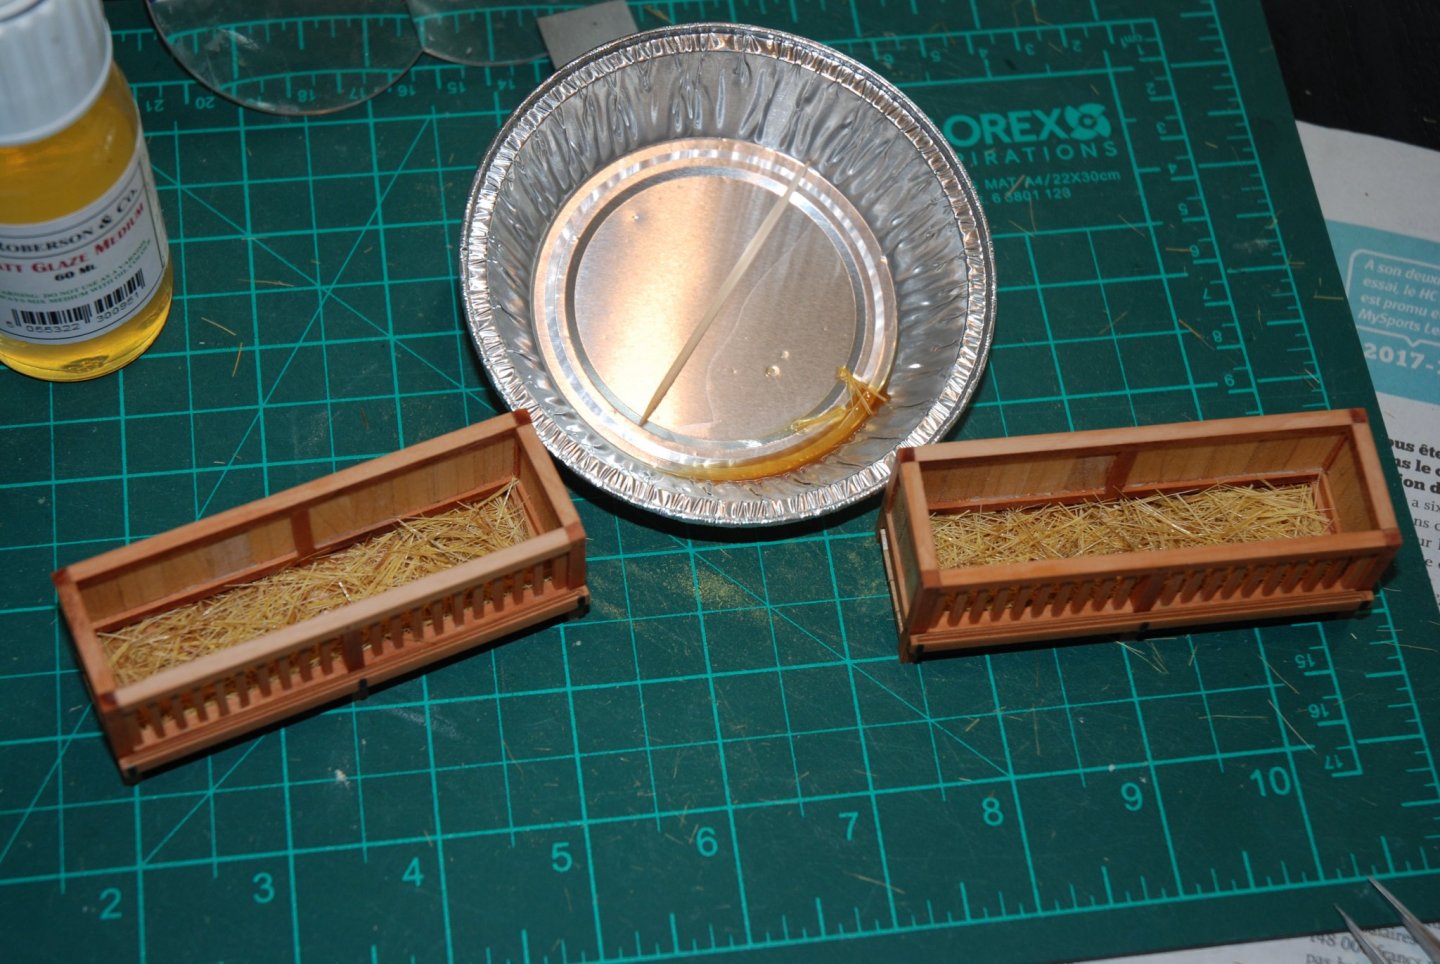
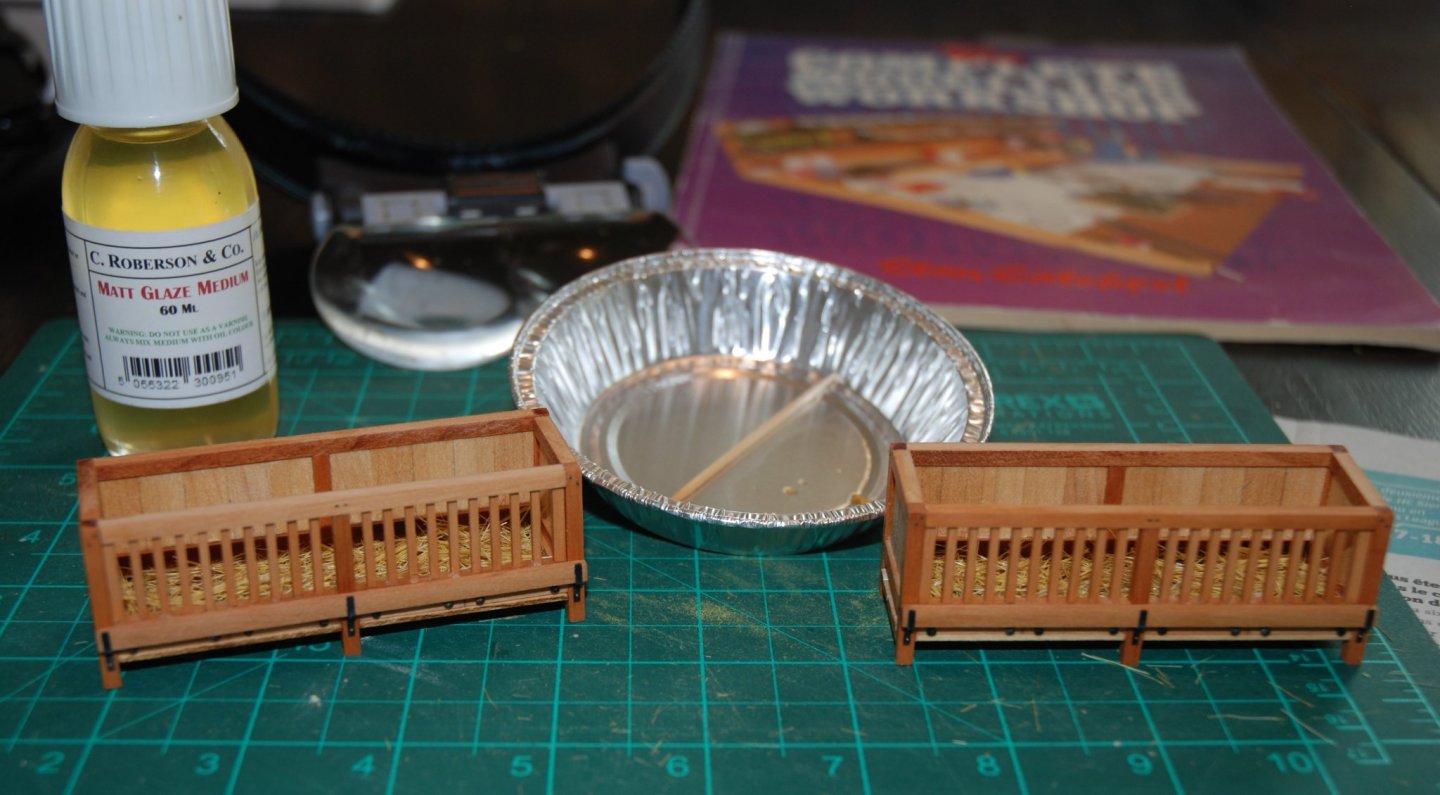
Thank you Glenn. I am indeed discovering this mill and it is a new world that offers itself. It's quite amazing in terms of precision. I do not regret the purchase of these tools. And thank you also to all the 'Likes'. My work continues on poultry cages. I first put the bottom of the cage using again american mapple boards. I then reproduce the bottom of the 4 drawers used to clean the cage by using thin boards cut with a cutter in the rest of the boards used for planking the Queen Anne royal barge. What luck to have kept these boards... Then comes the fun part of this job. I decide to reproduce a straw bed at the bottom of the cages. I pull out Stan Catchpol's excellent technical book 'The Complete Modelling Workshop' (published in the 1980's, this book is a series of technical tips published over the years in the English magazine 'Military Modelling'. This book is a real gem) The straw is therefore reproduced using the bristles of old brushes. These bristles are cut to different lengths and dyed with different acrylic colors. A thin layer of Humbrol clear varnish is applied to the bottom of the cages and the straw is applied with tweezers. I then tap the straw with a brush coated with a matt glaze medium from C. Roberson & Co. I had a lot of fun reproducing this straw bedding and the result seems quite convincing. Now I have to close the cages.

-
This Syren is absolutely beautiful. Congratulations, you have done a truly remarkable job. A pure beauty.
- 950 replies
-
- 1
-
-
- syren
- model shipways
- (and 1 more)
-
What a beautiful job on these sails. Tom, many thanks in advance for sharing your technique. Much appreciated.
- 421 replies
-
- 5
-
-

-
- medway longboat
- Syren Ship Model Company
- (and 1 more)
-
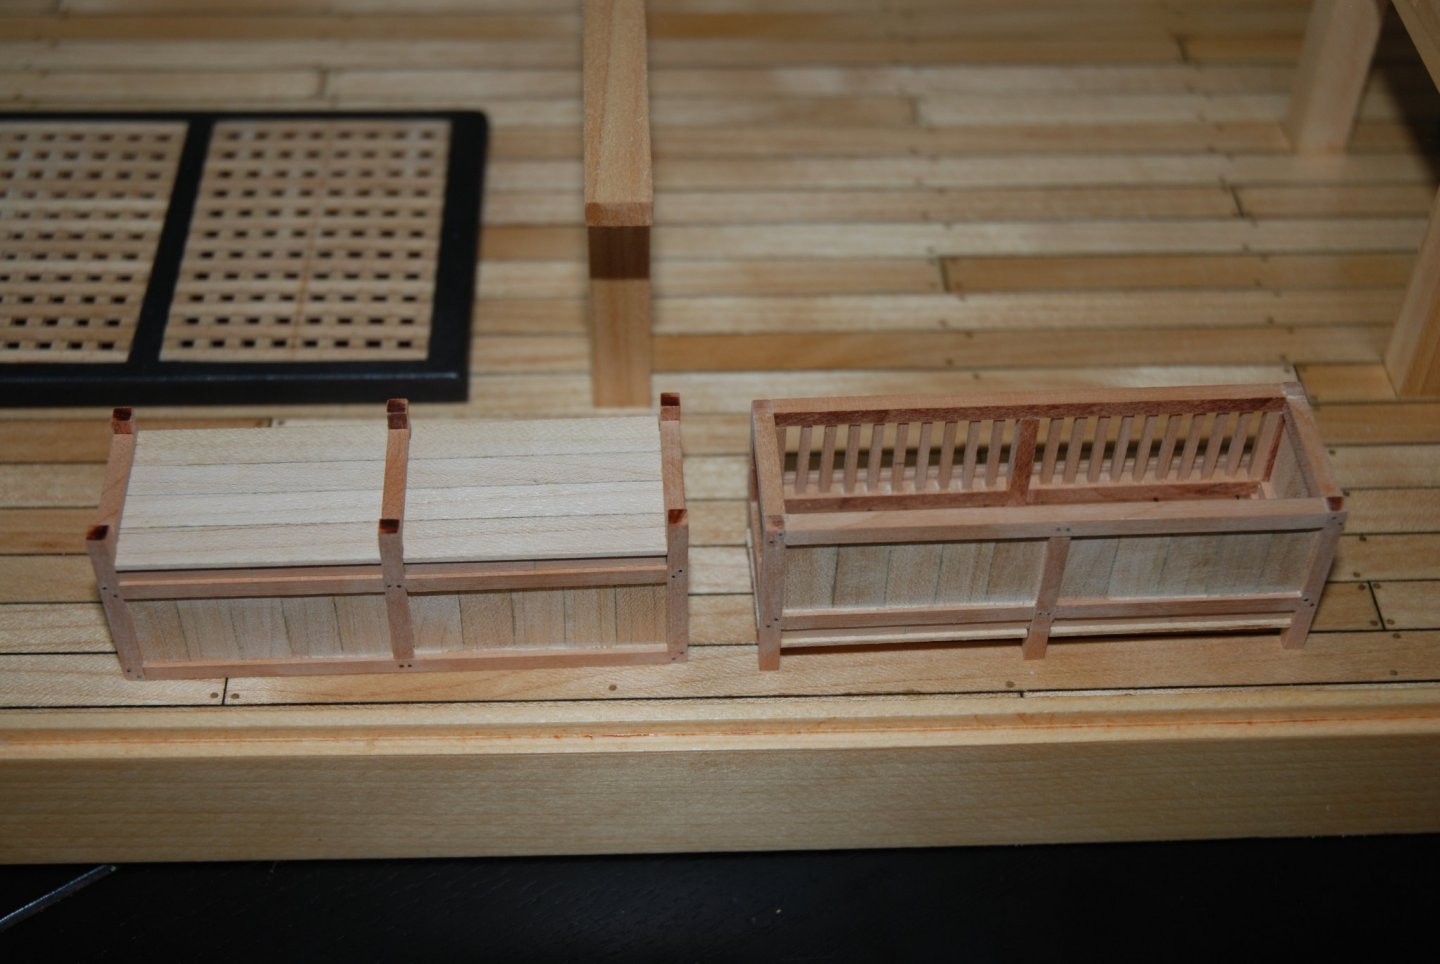
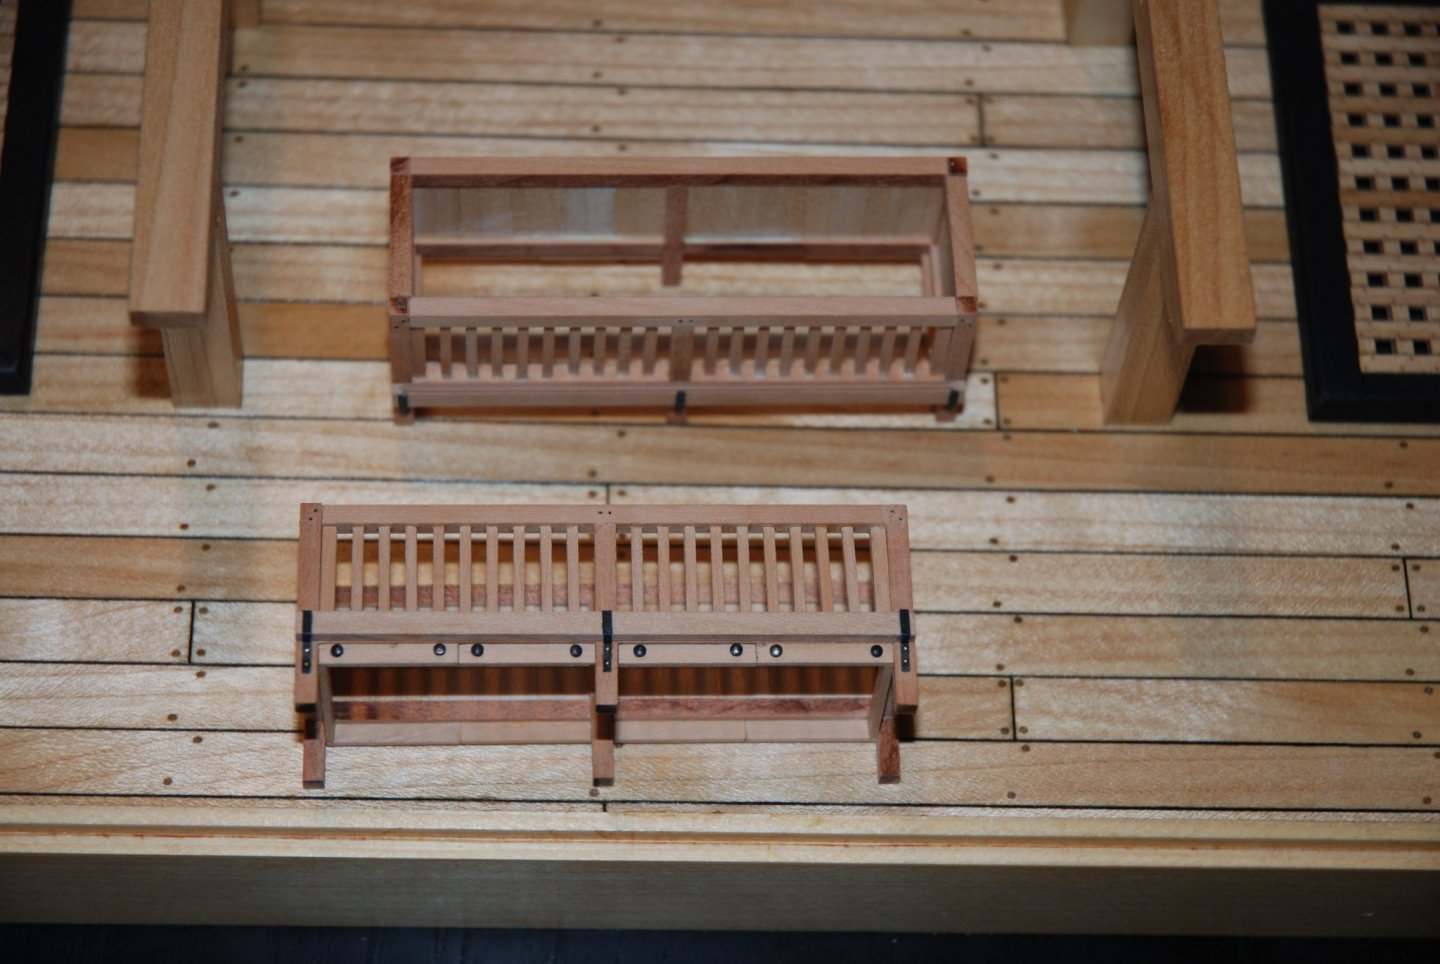
Thank you Mike. The crosspieces, bars and uprights are made of pear wood. The boards of the side walls and the back wall are in american mapple. This wood will also be used for the floor and ceiling. It's really a pleasure to build these two cages. I will probably lay a thin layer of straw on the bottom of the cages. I still have to find a way to imitate this litter as well as possible.
-
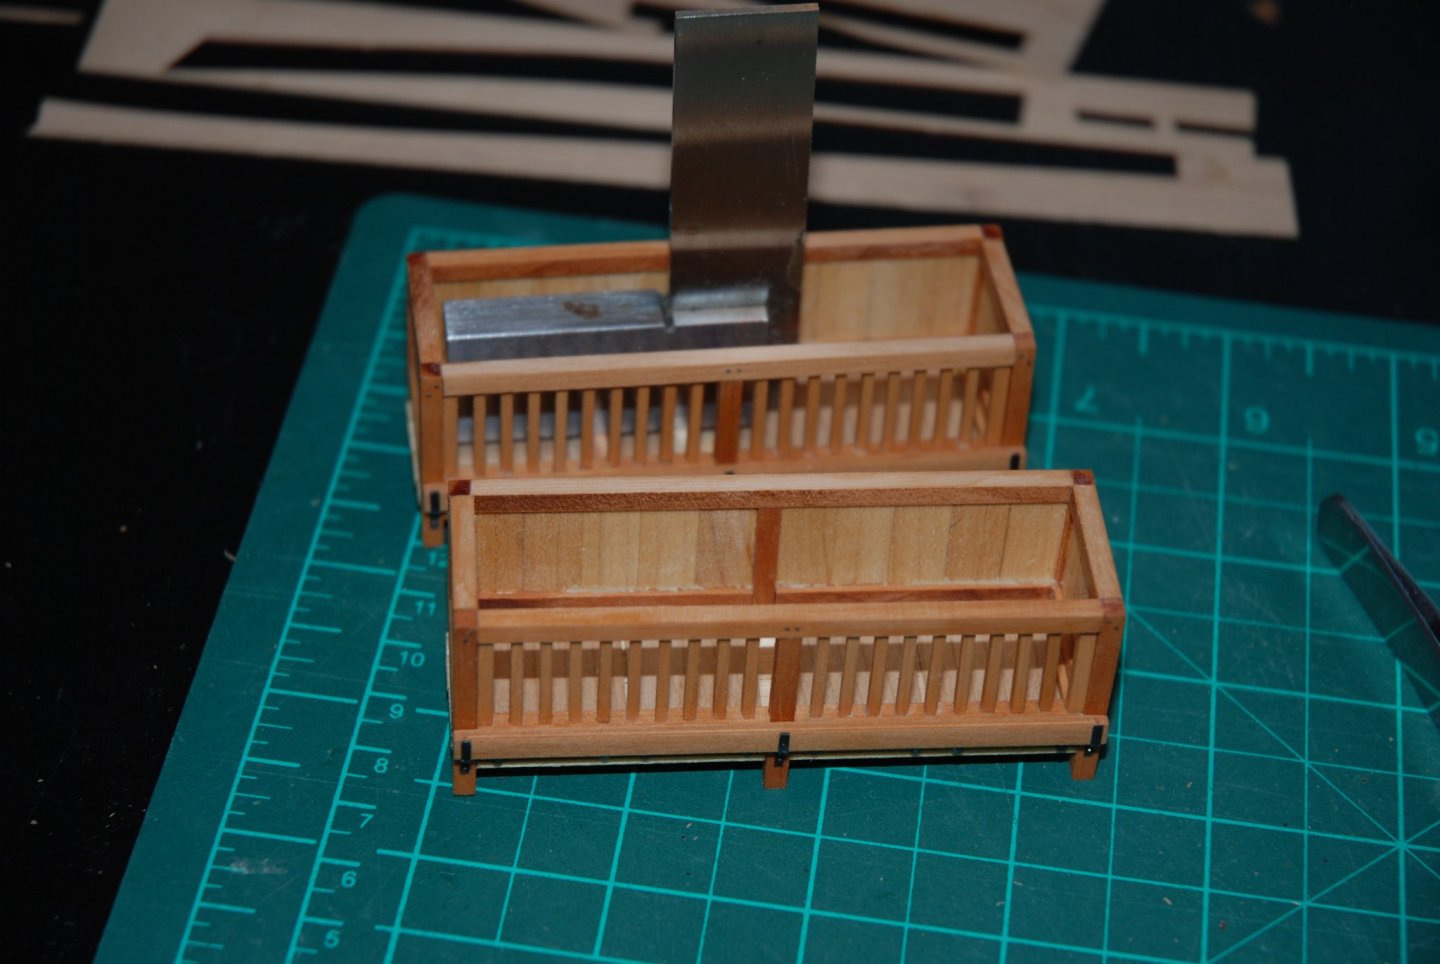
Thank you to all the 'Likes'. I continued my work on duck cages. I first hollowed out the two corn troughs with my new tool, a Proxxon MF70 micro milling machine. I used a 2 mm milling cutter which left a .25 mm thick wall on each side. I am quite amazed at what is achievable with this tool. The deepest part was hollowed out with a 1.5 mm cutter. I was afraid to drill the edges. The two troughs are glued to the front of the cage and the flat iron brackets are simulated with black paper strips. The joint between the paper strips was filled with a little epoxy putty. They will receive a touch up of acrylic paint black metal. The 4 elements are then assembled, taking care to ensure the squareness of the cage. I then added the 4 small drawers at the bottom of the cage that were to be used for cleaning. The bottoms of these crates will be added once the floor of the cage has been built. The handles of the drawers are simulated with the help of pinheads. Work is progressing nicely and I'm really enjoying creating these elements that I hope will bring a touch of realism to the base.

-
HM Cutter Cheerful 1806 by JpR62 - 1:48 scale
JpR62 replied to JpR62's topic in - Build logs for subjects built 1801 - 1850
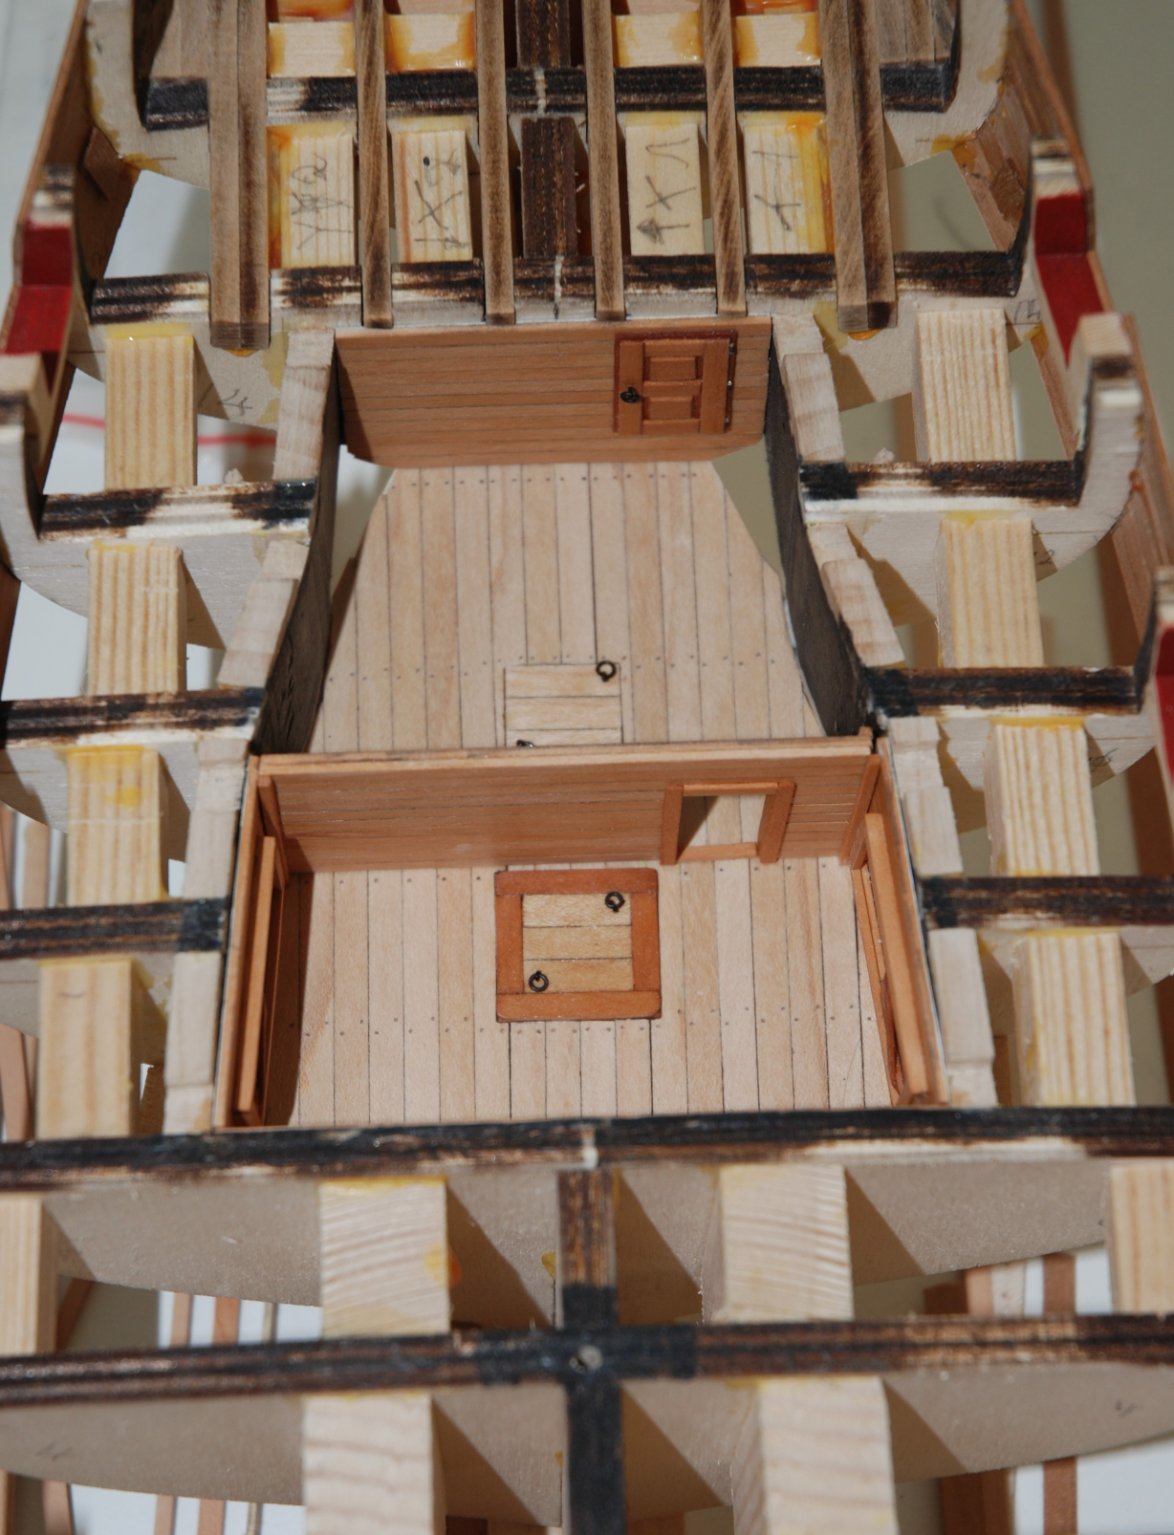
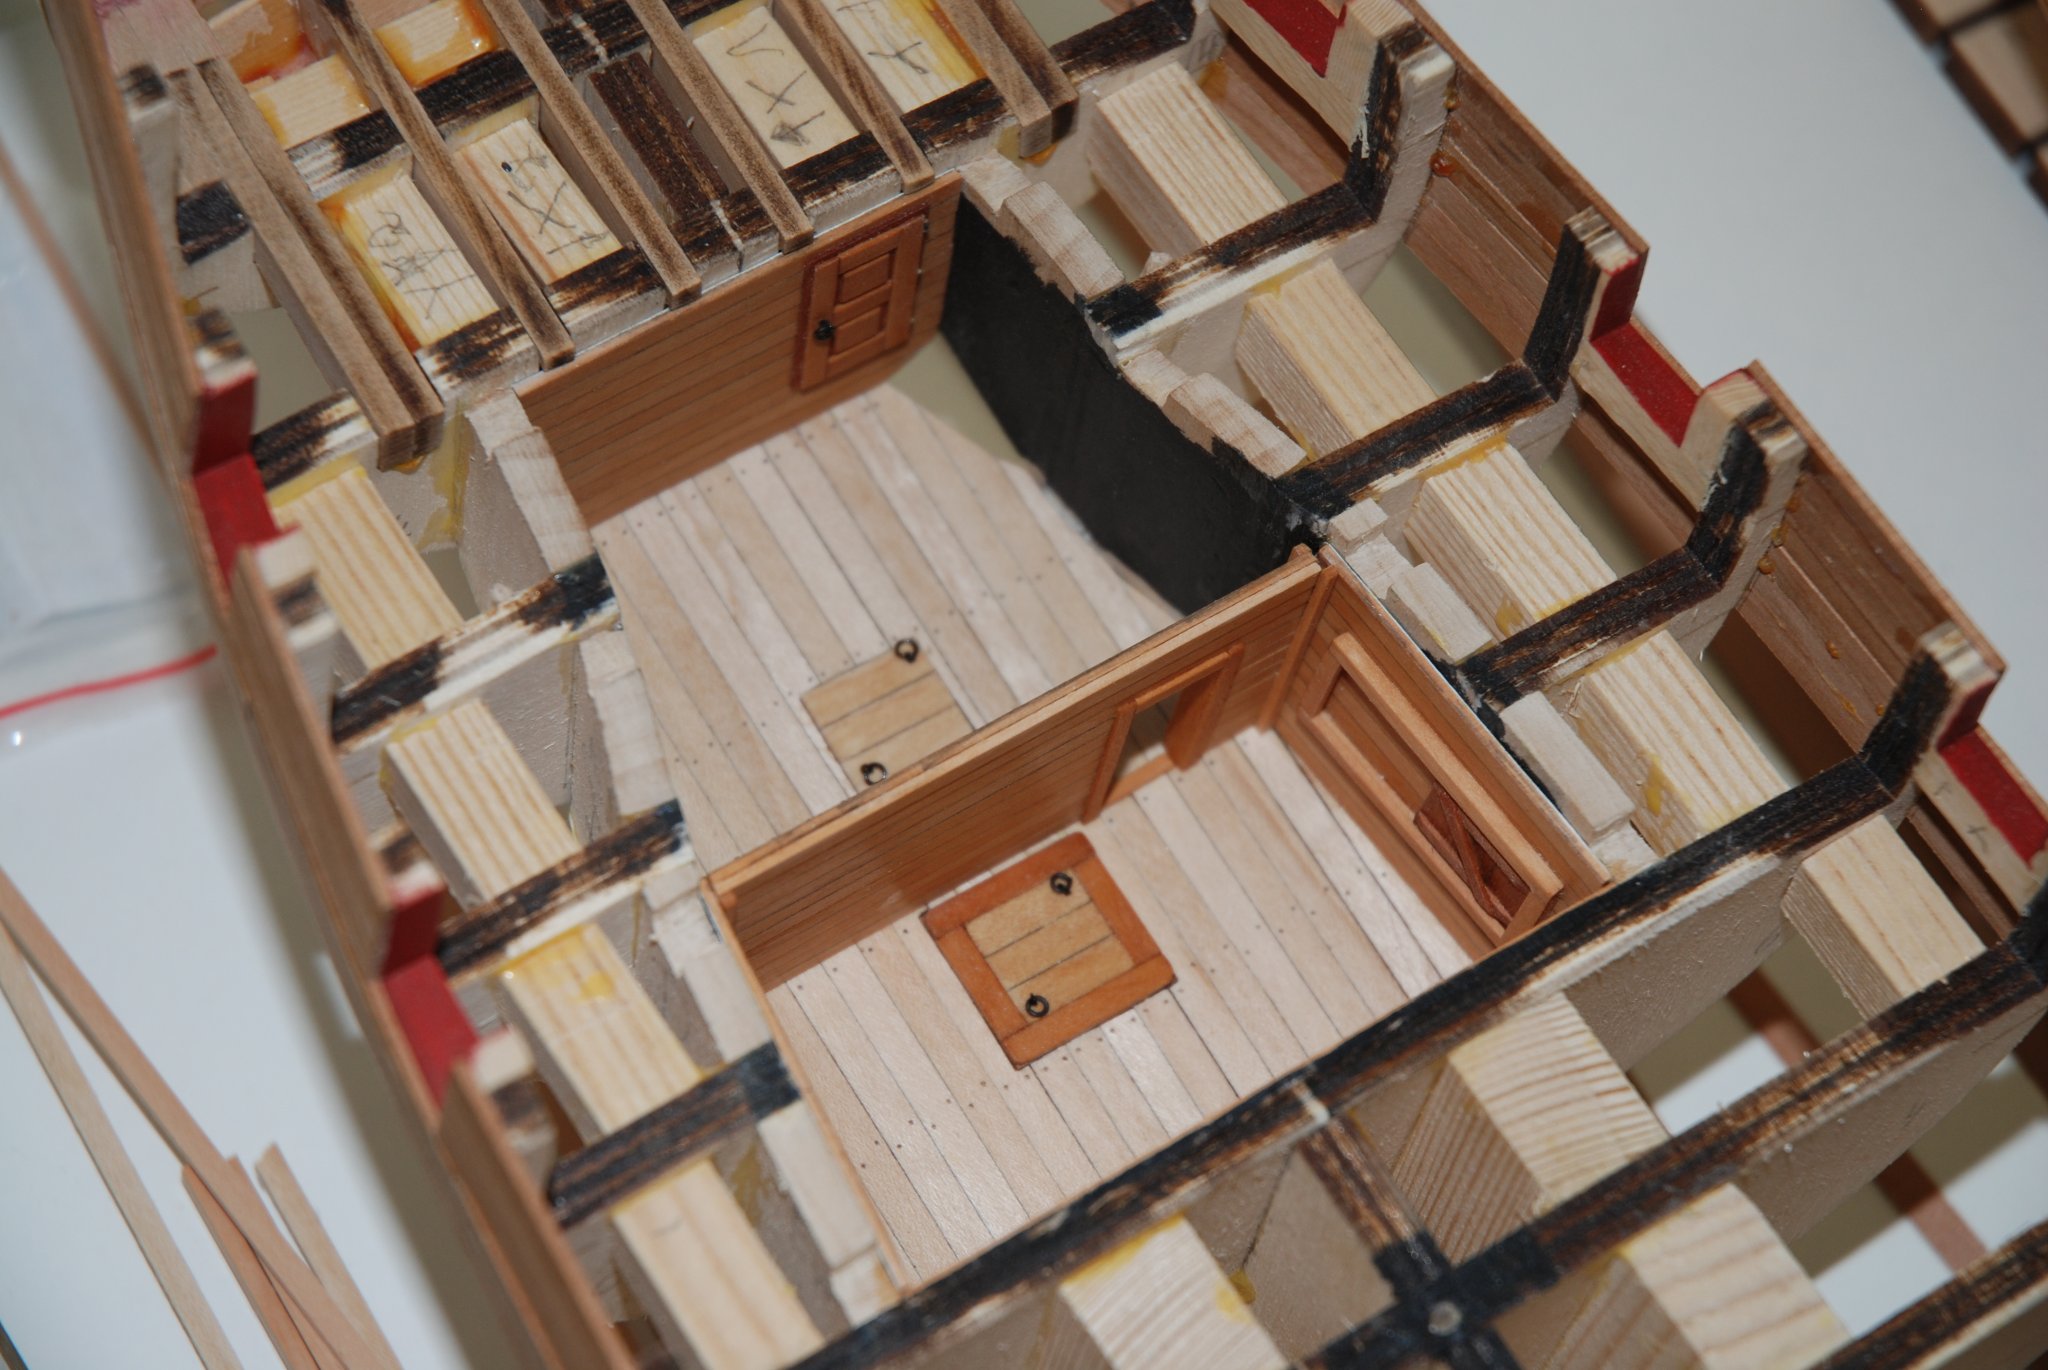
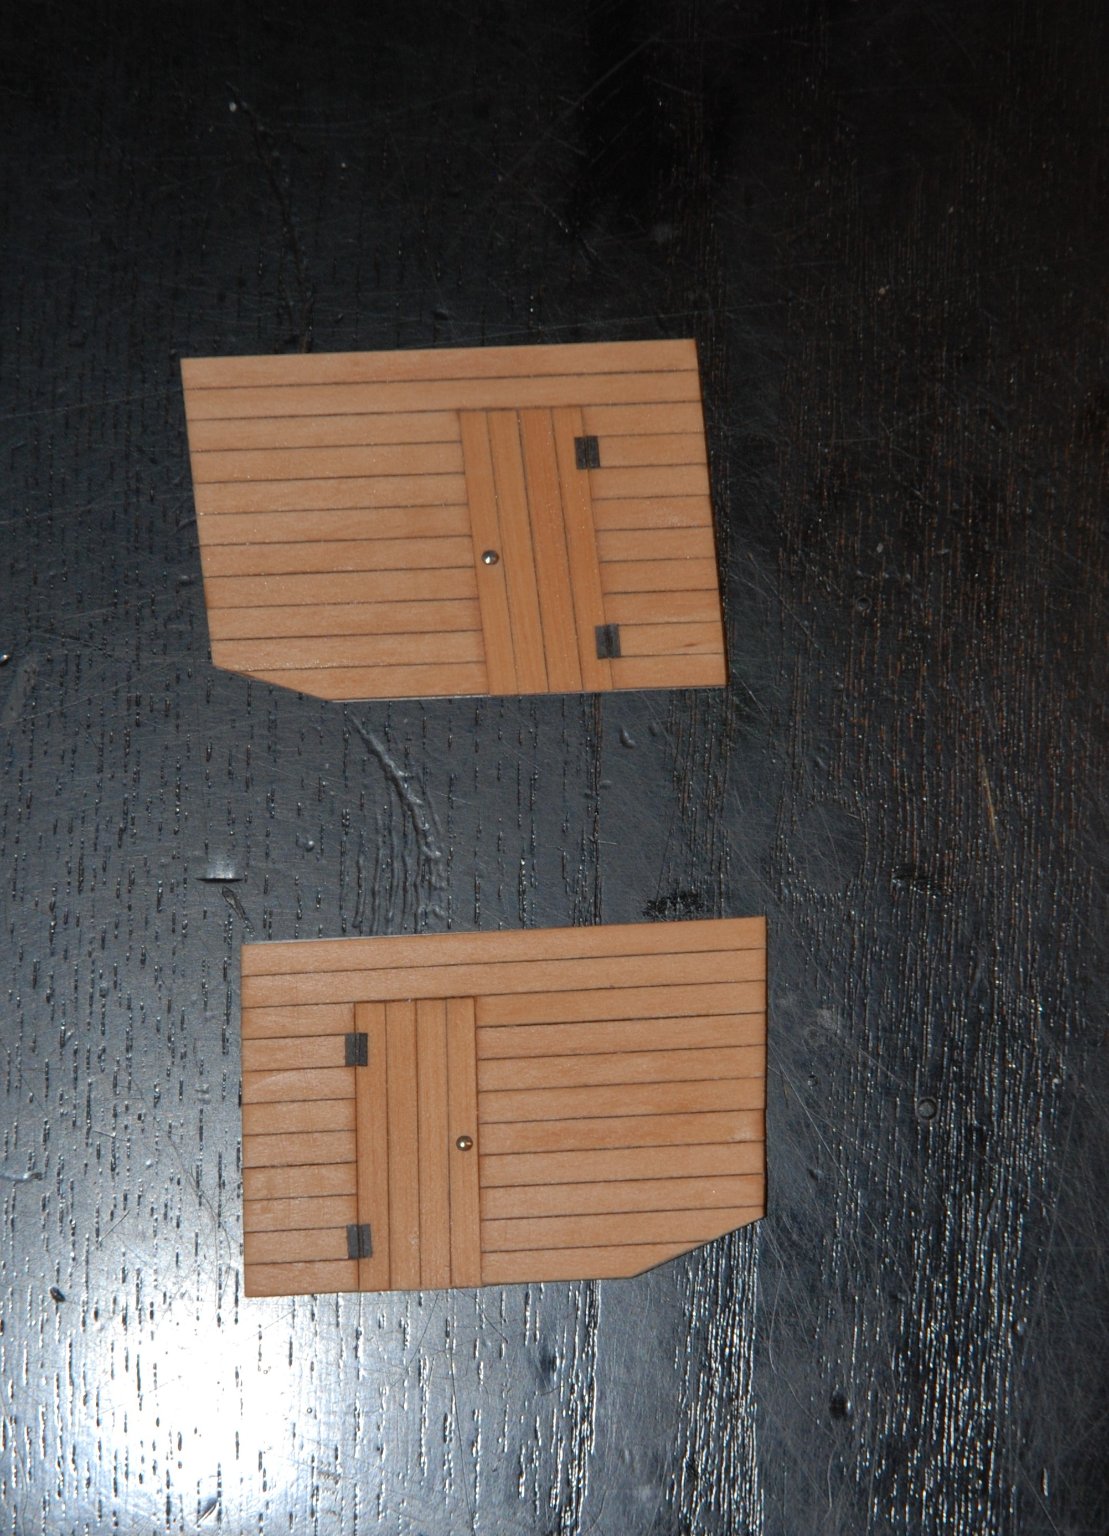
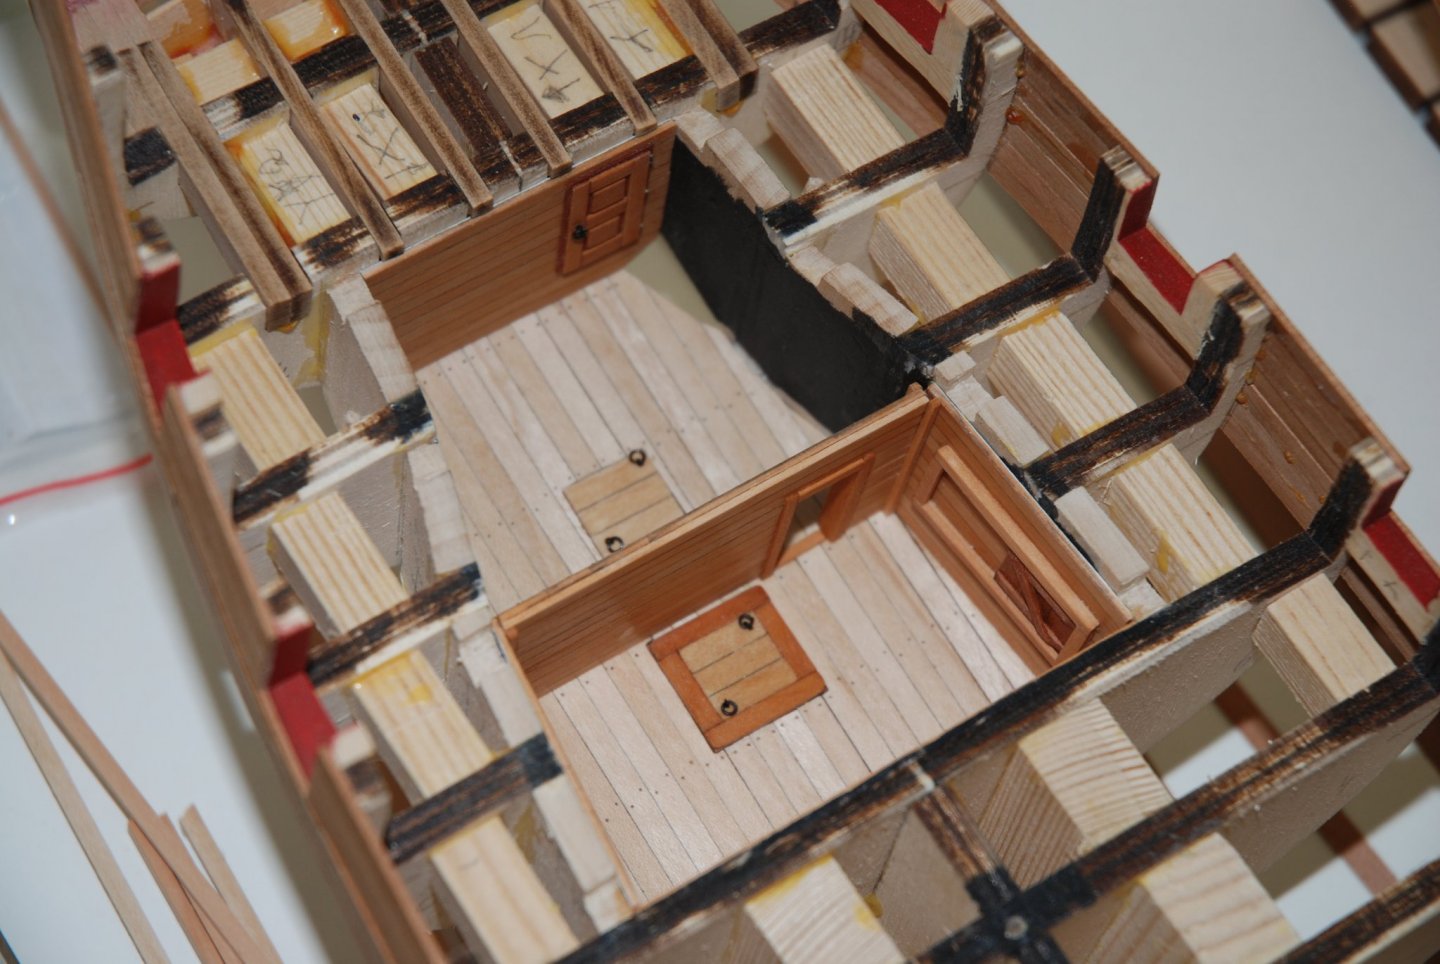
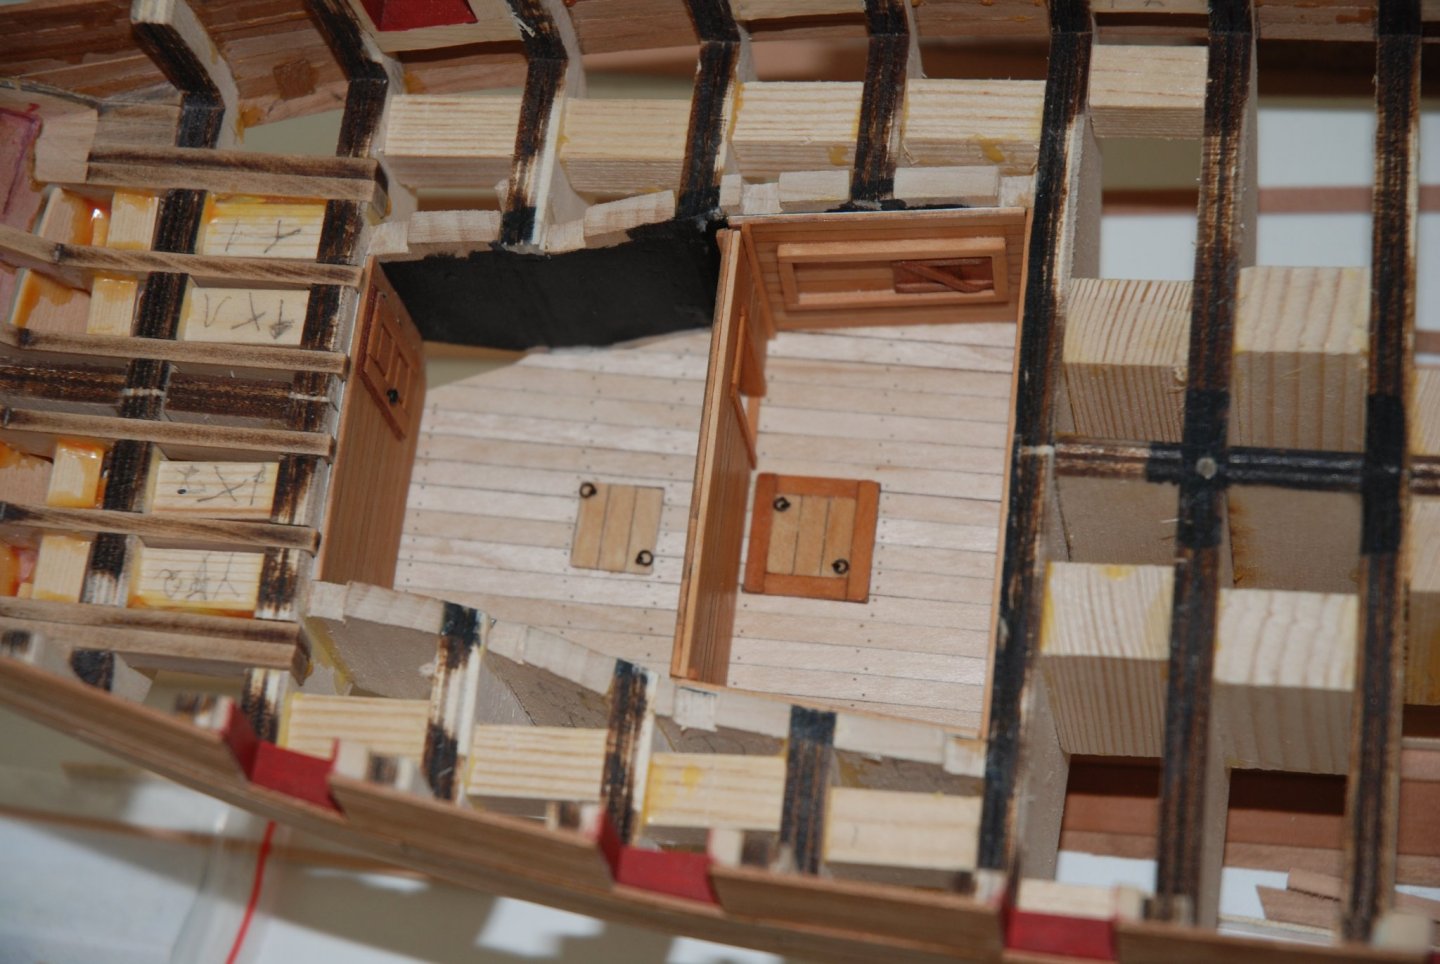
Thank you Blue Ensign for your kind words and thank you to all the 'Likes'. As I have resumed my work on the longboat, I move slowly on the Cheerful. I set up the separation between the two rooms. I still have to place the door between the two rooms. The door will remain open so that light can pass between the two rooms. The two side walls of the captain's room are ready to be glued. Just need to add a few micro details on the hinges and I can glue them inside the ship. And blacken the door handles.
-
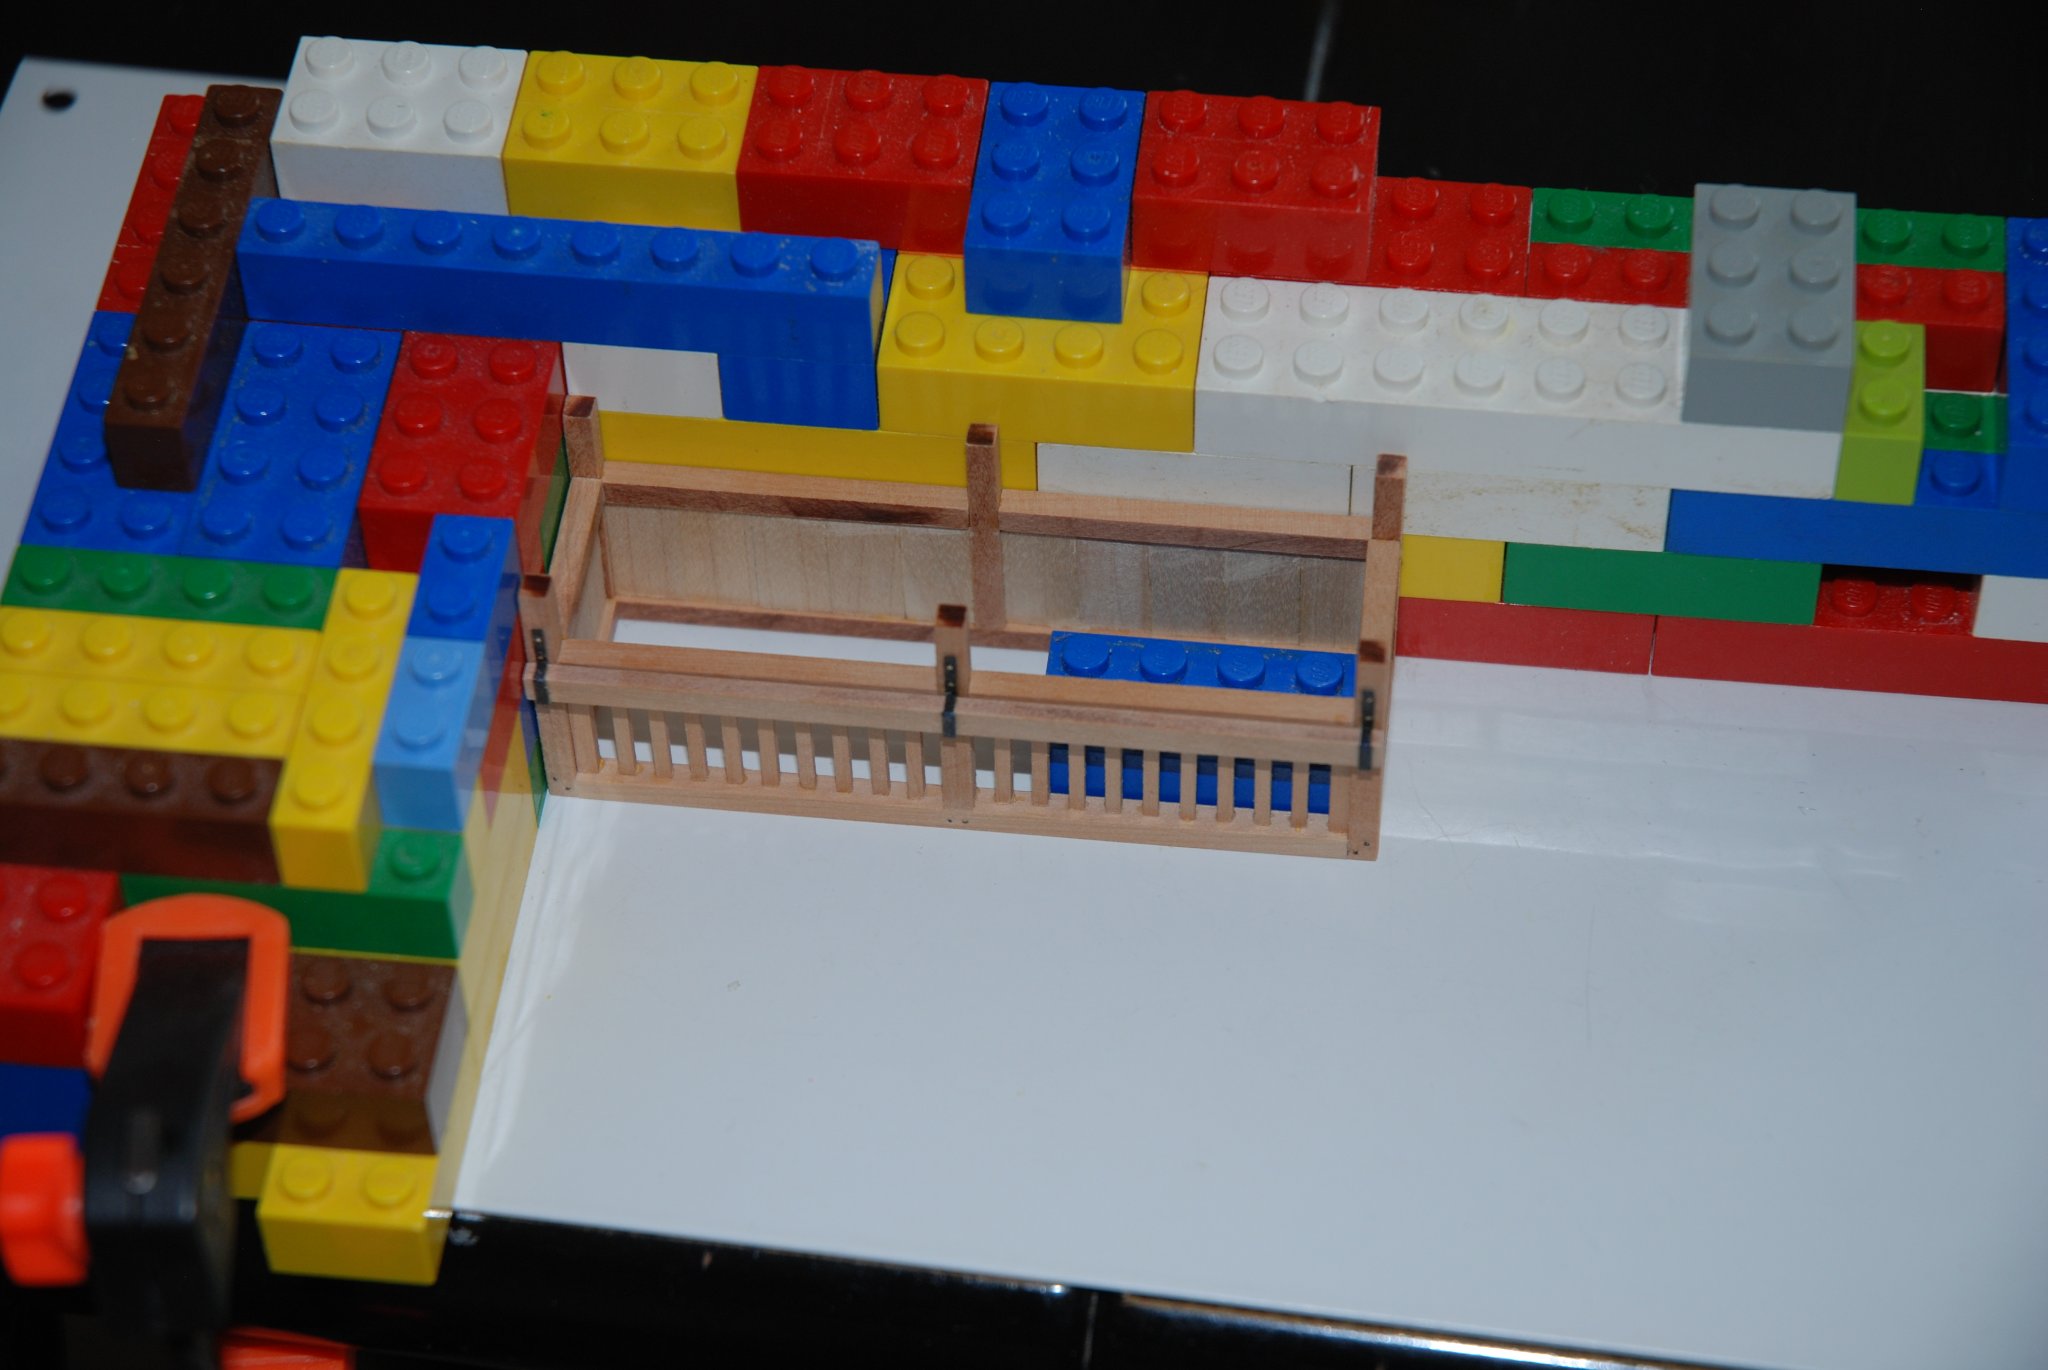
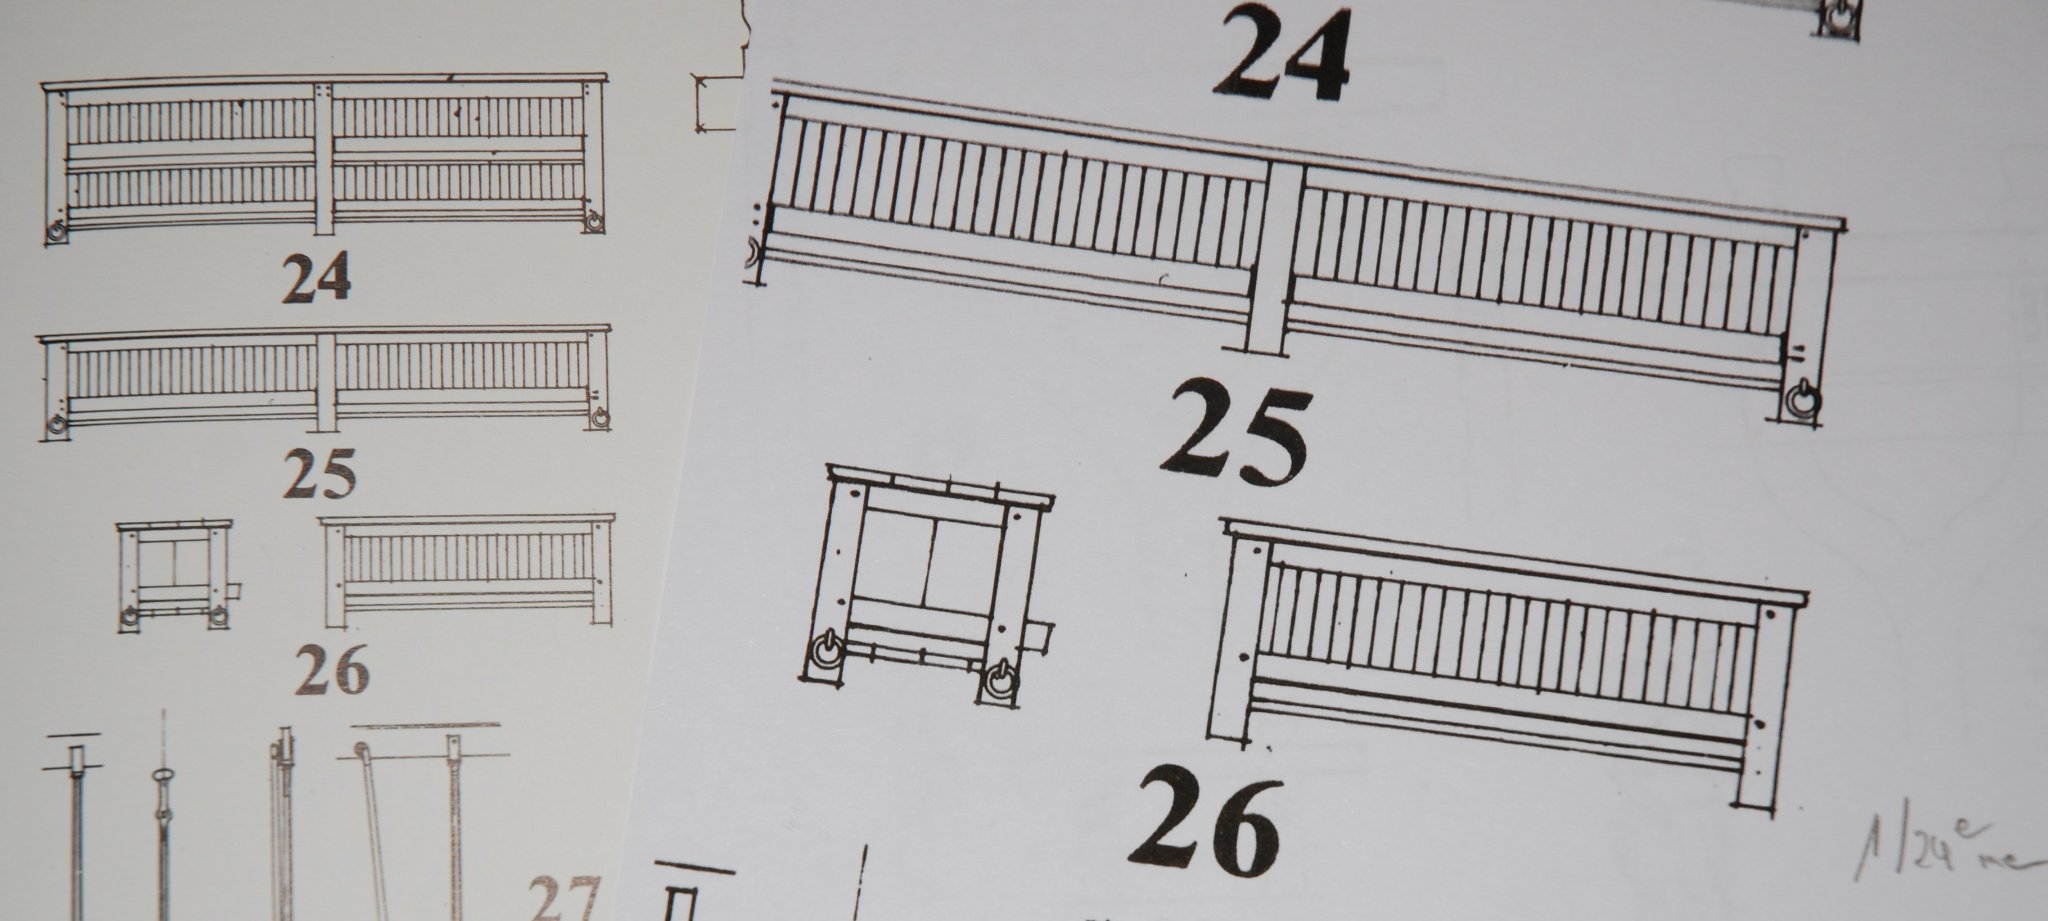
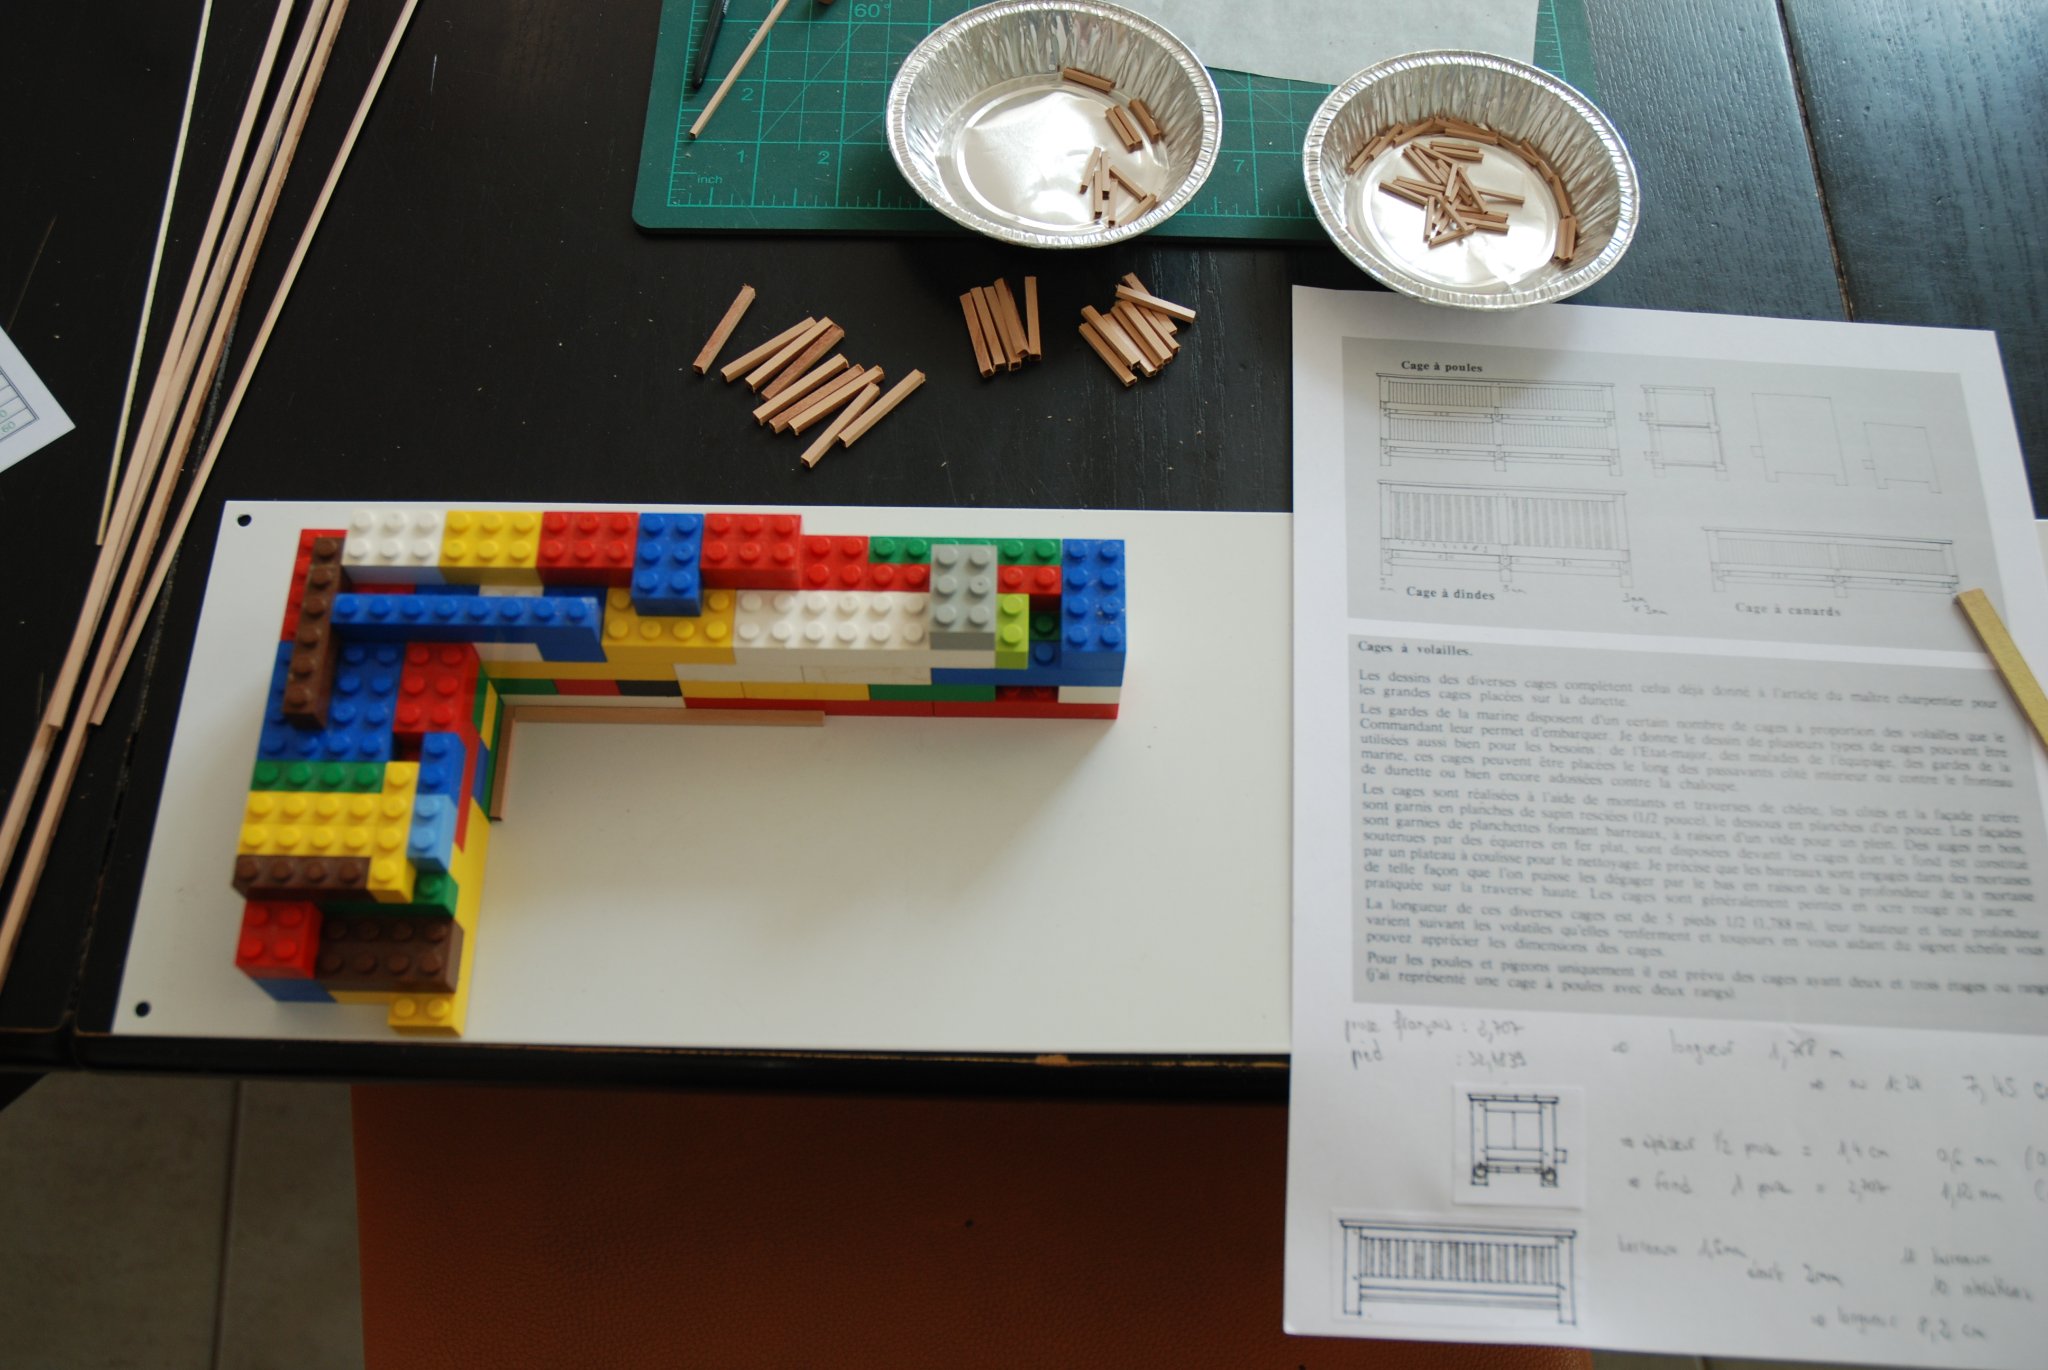
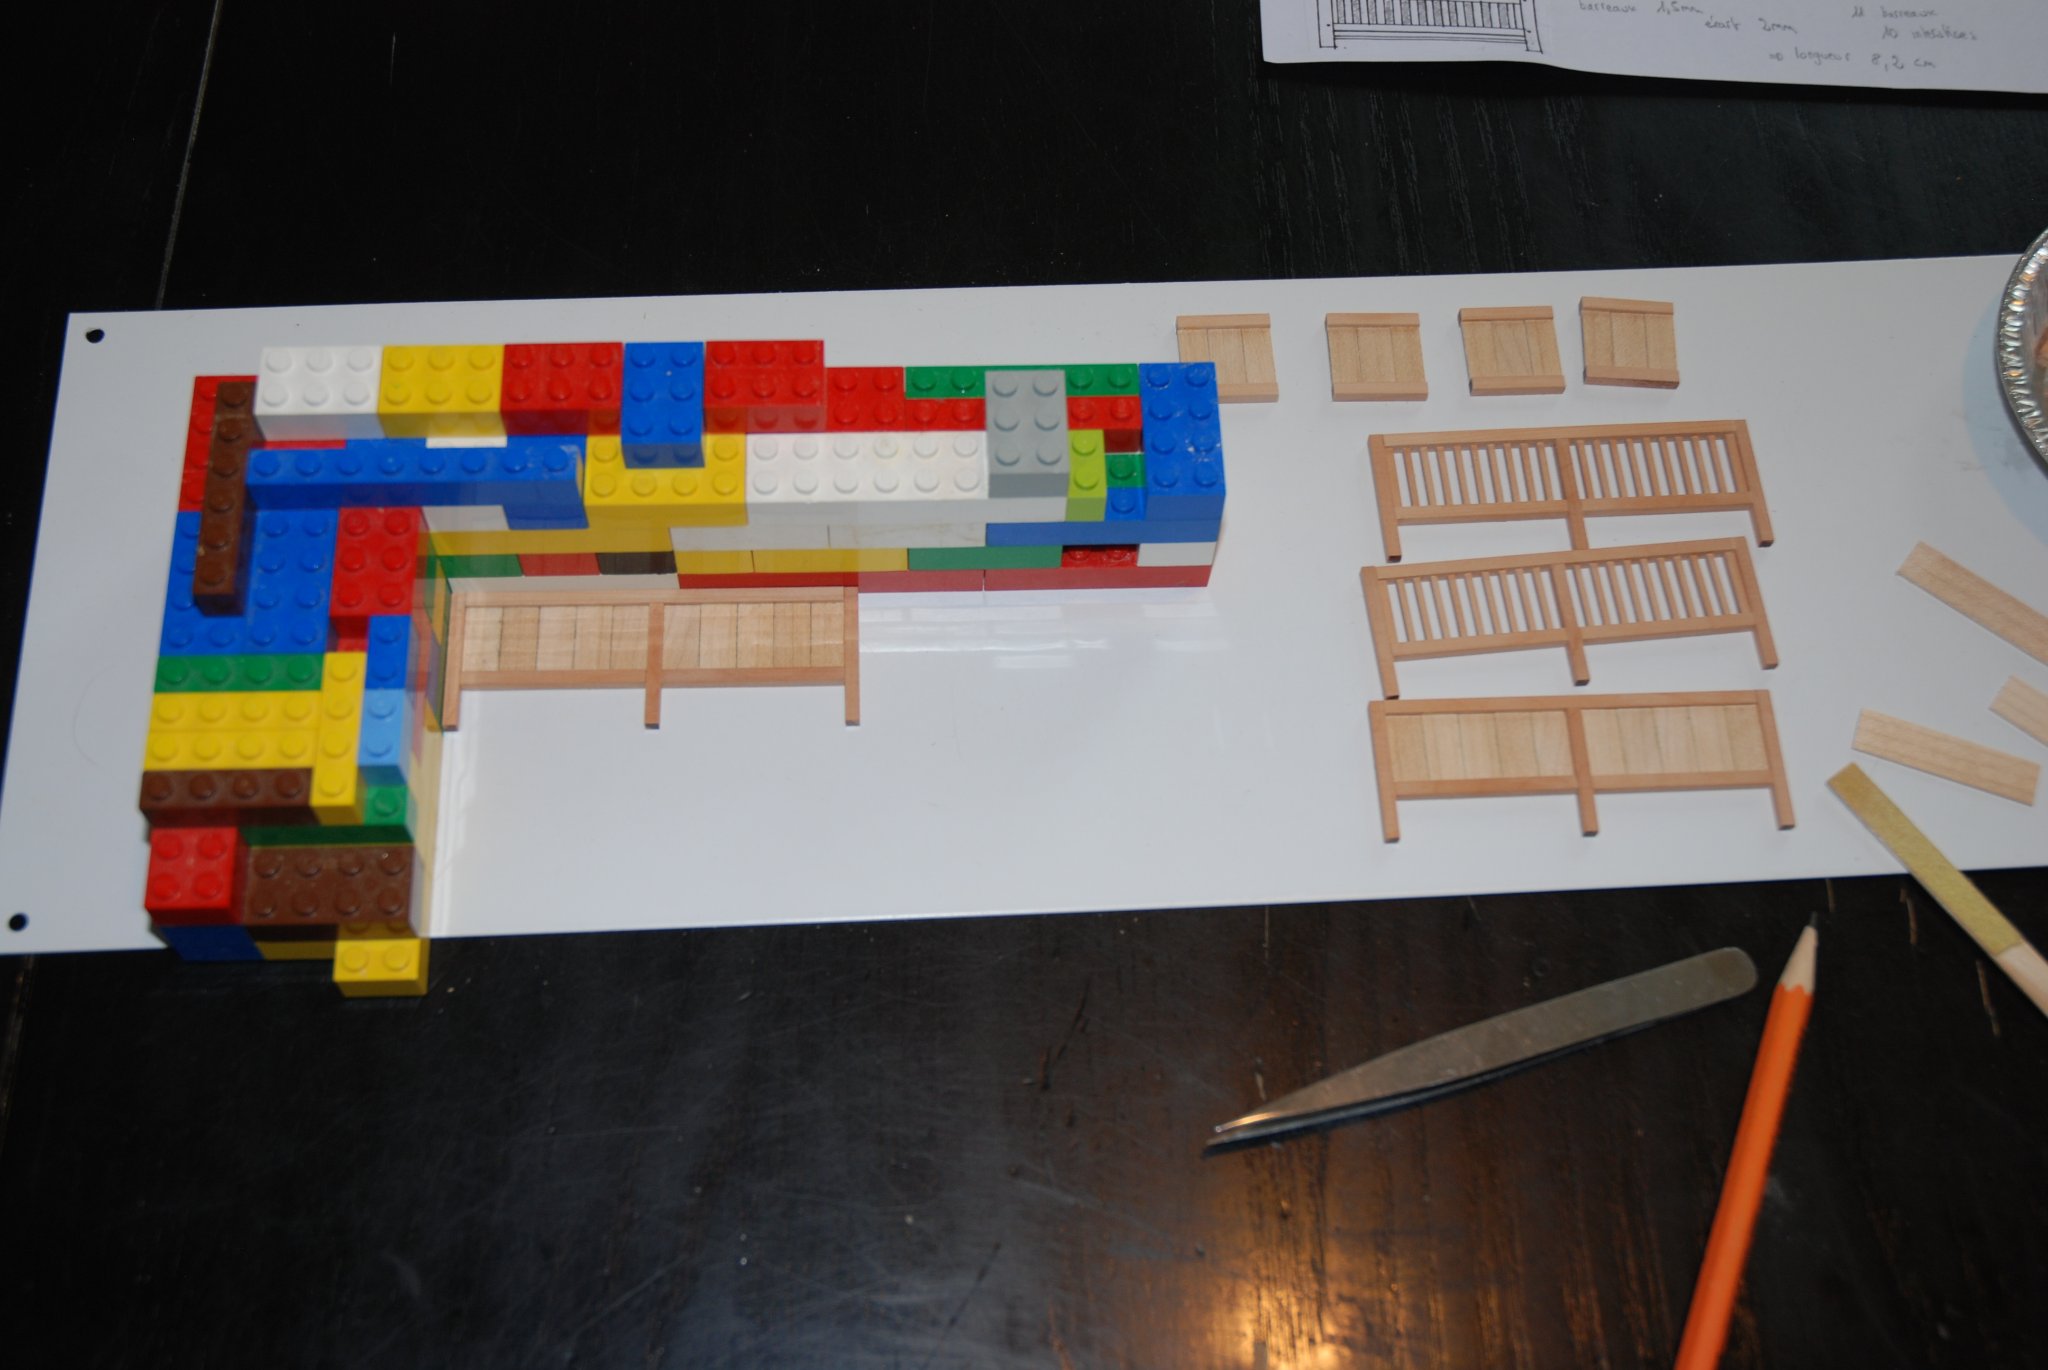
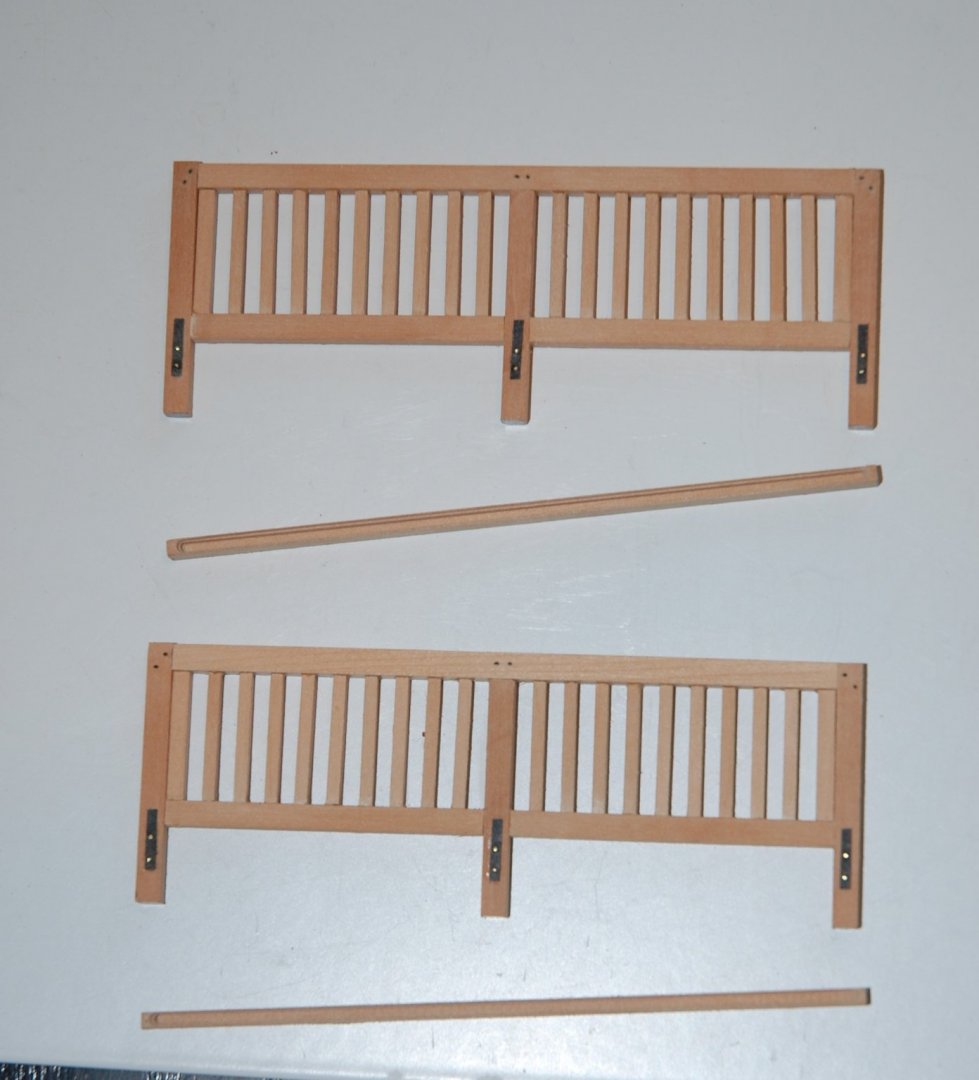
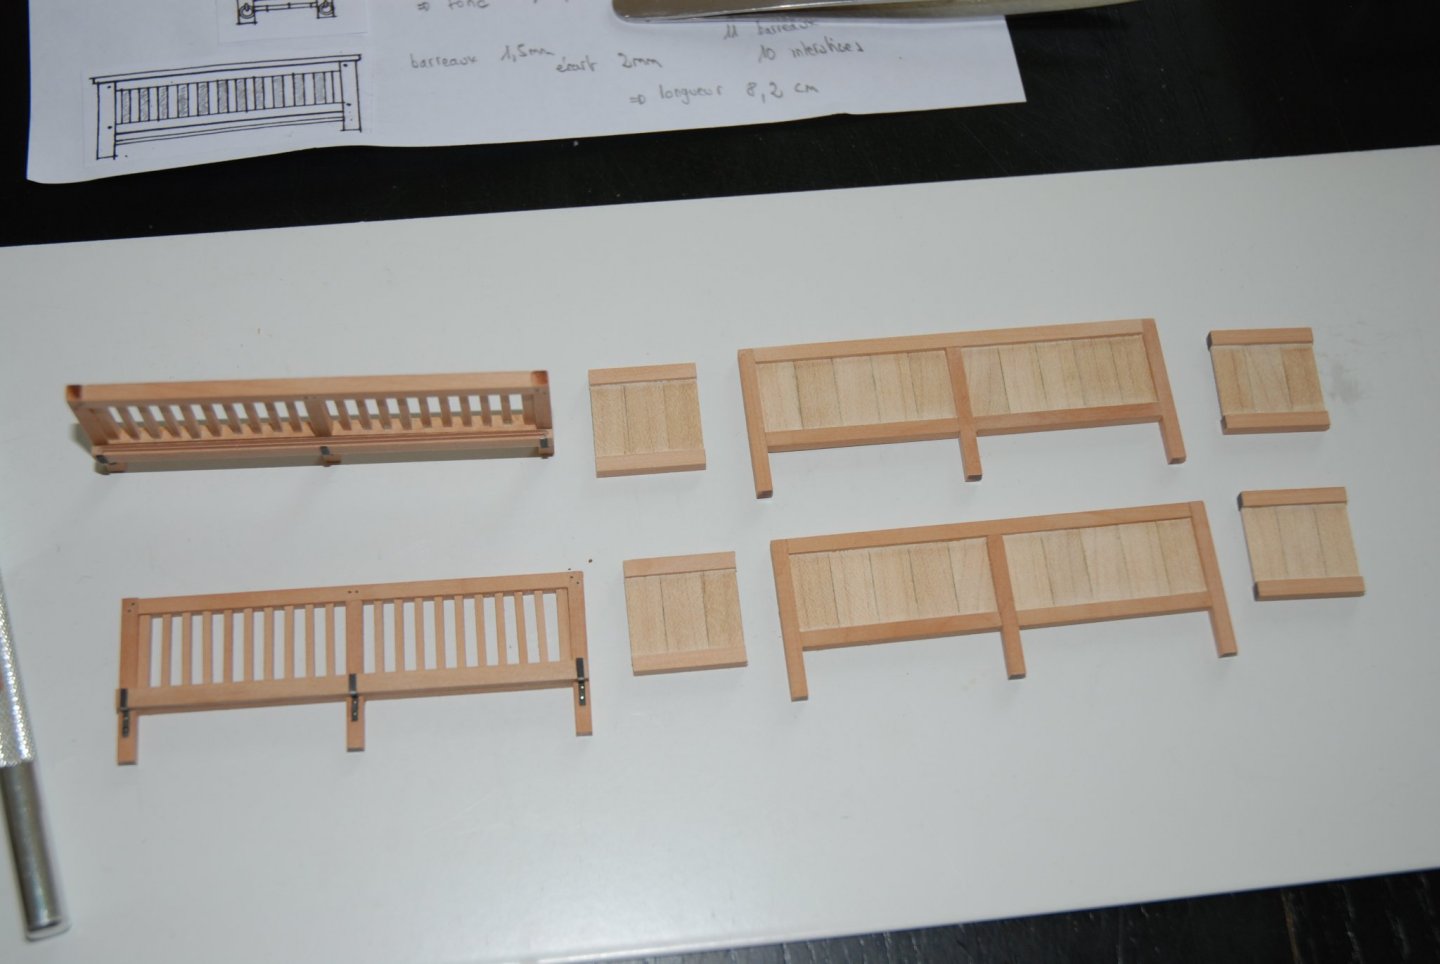
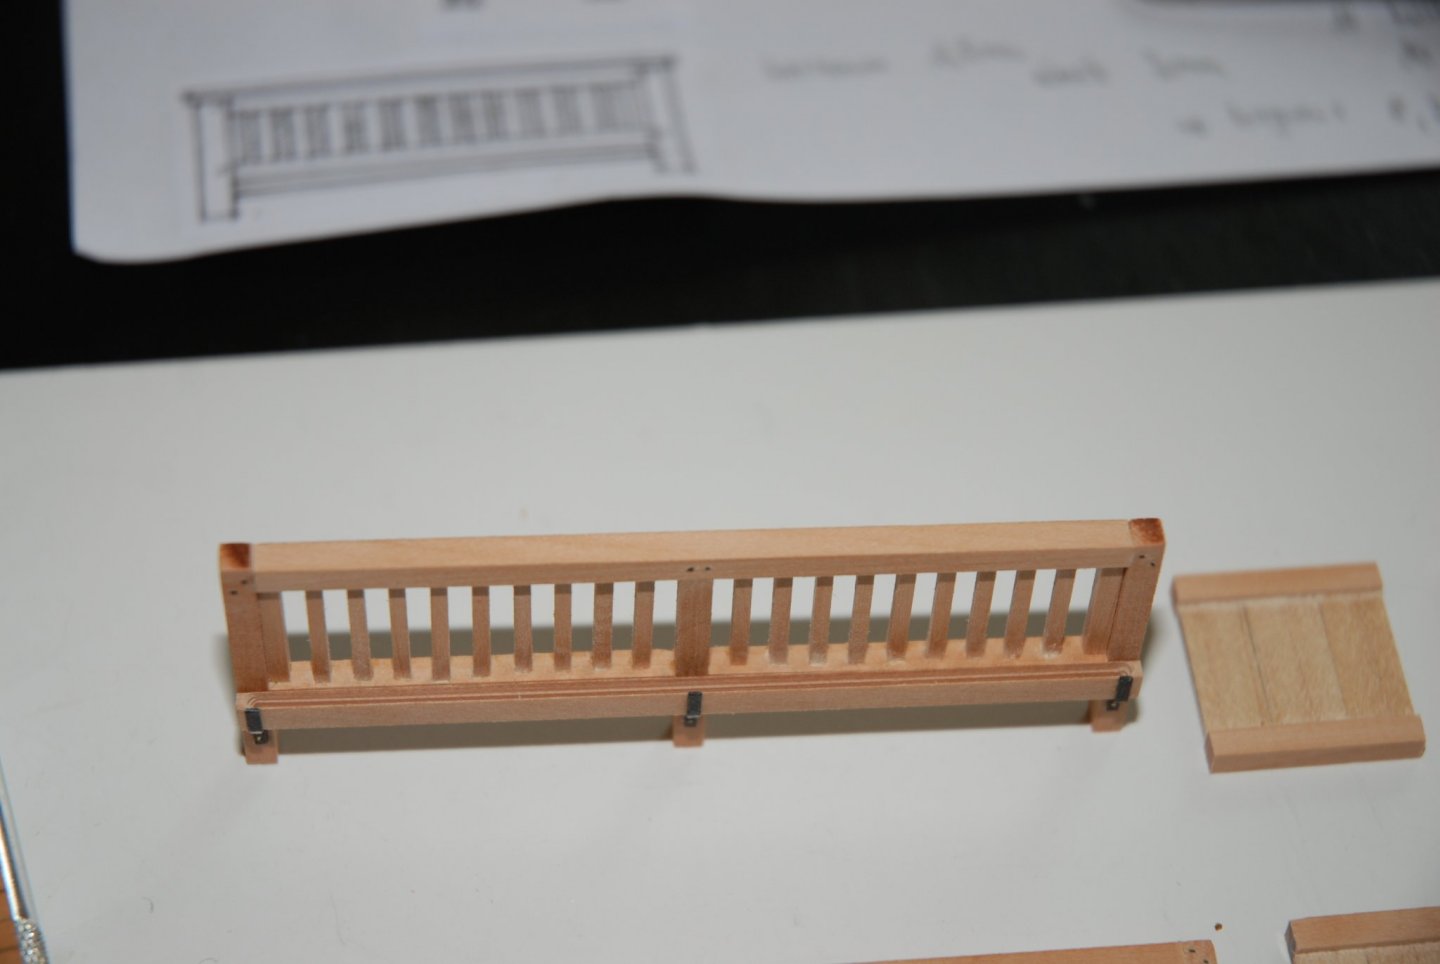
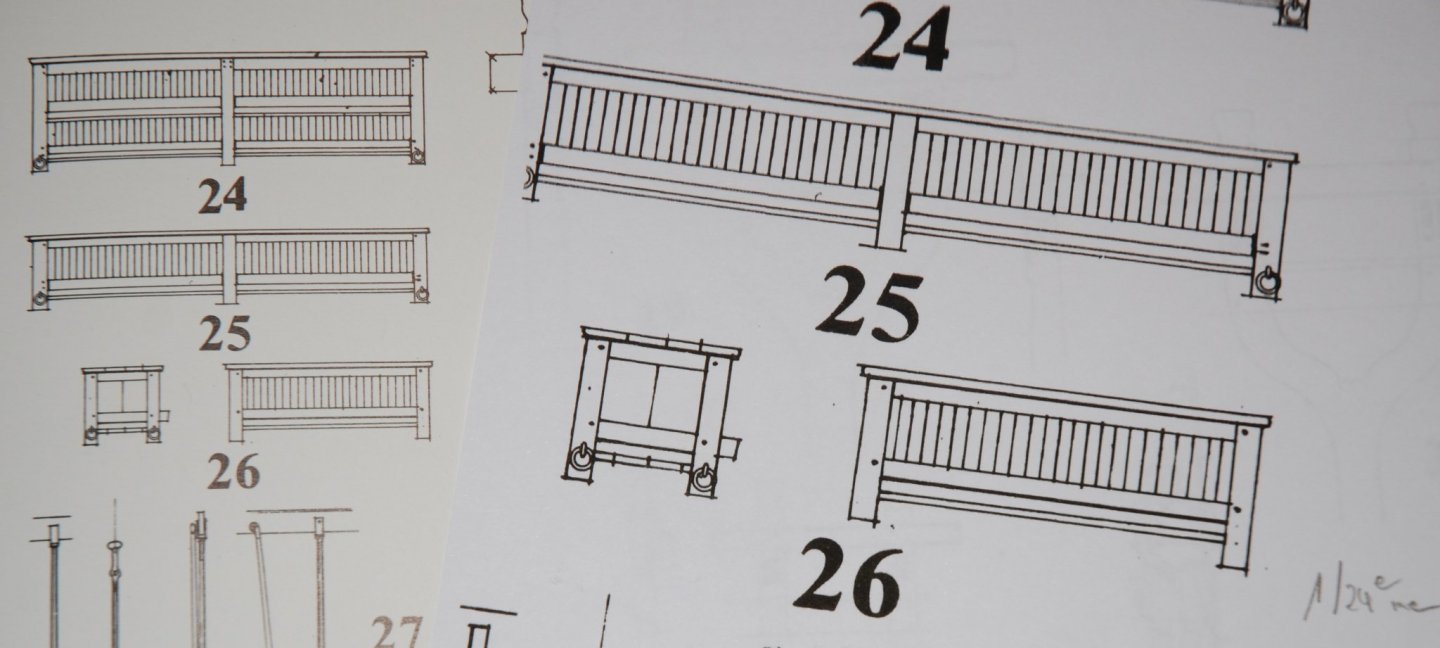
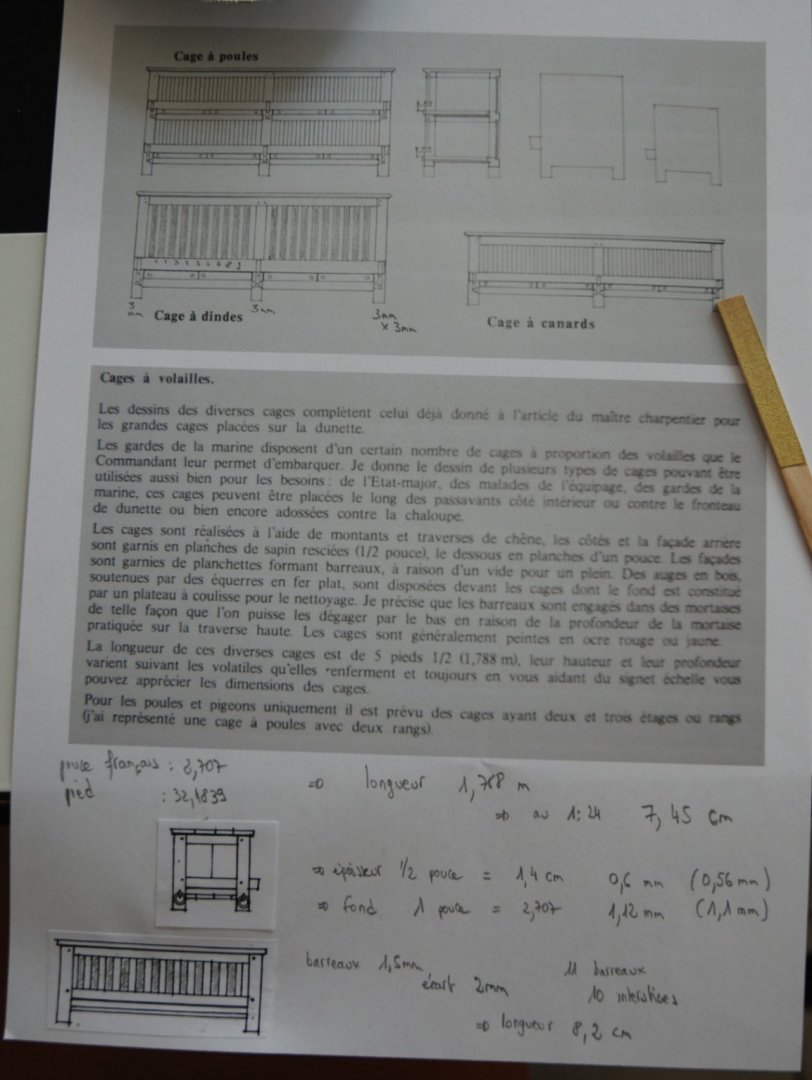
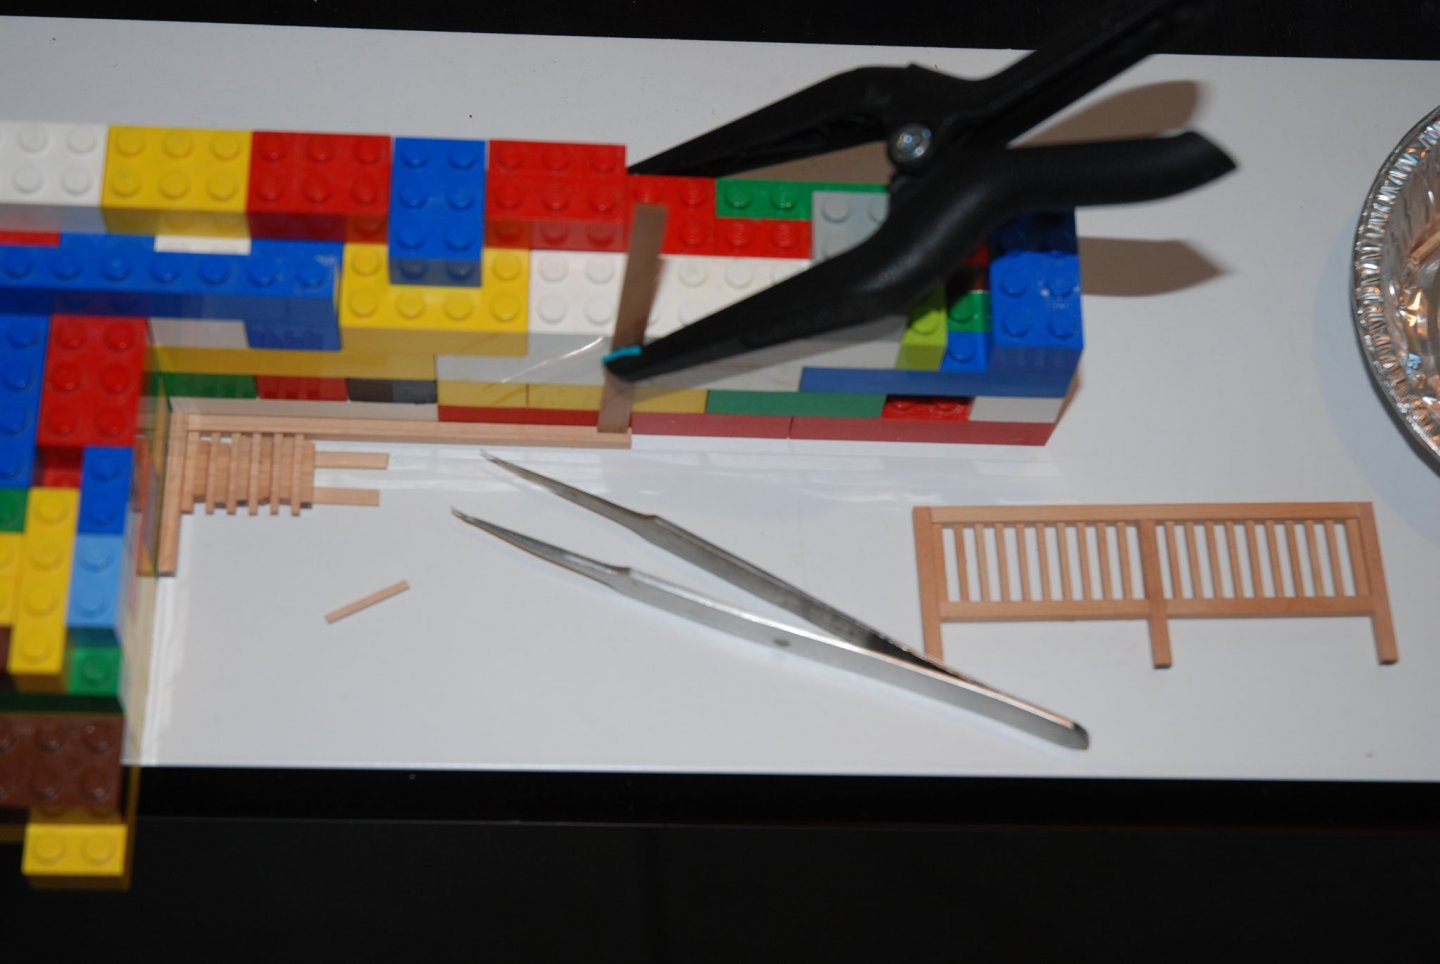
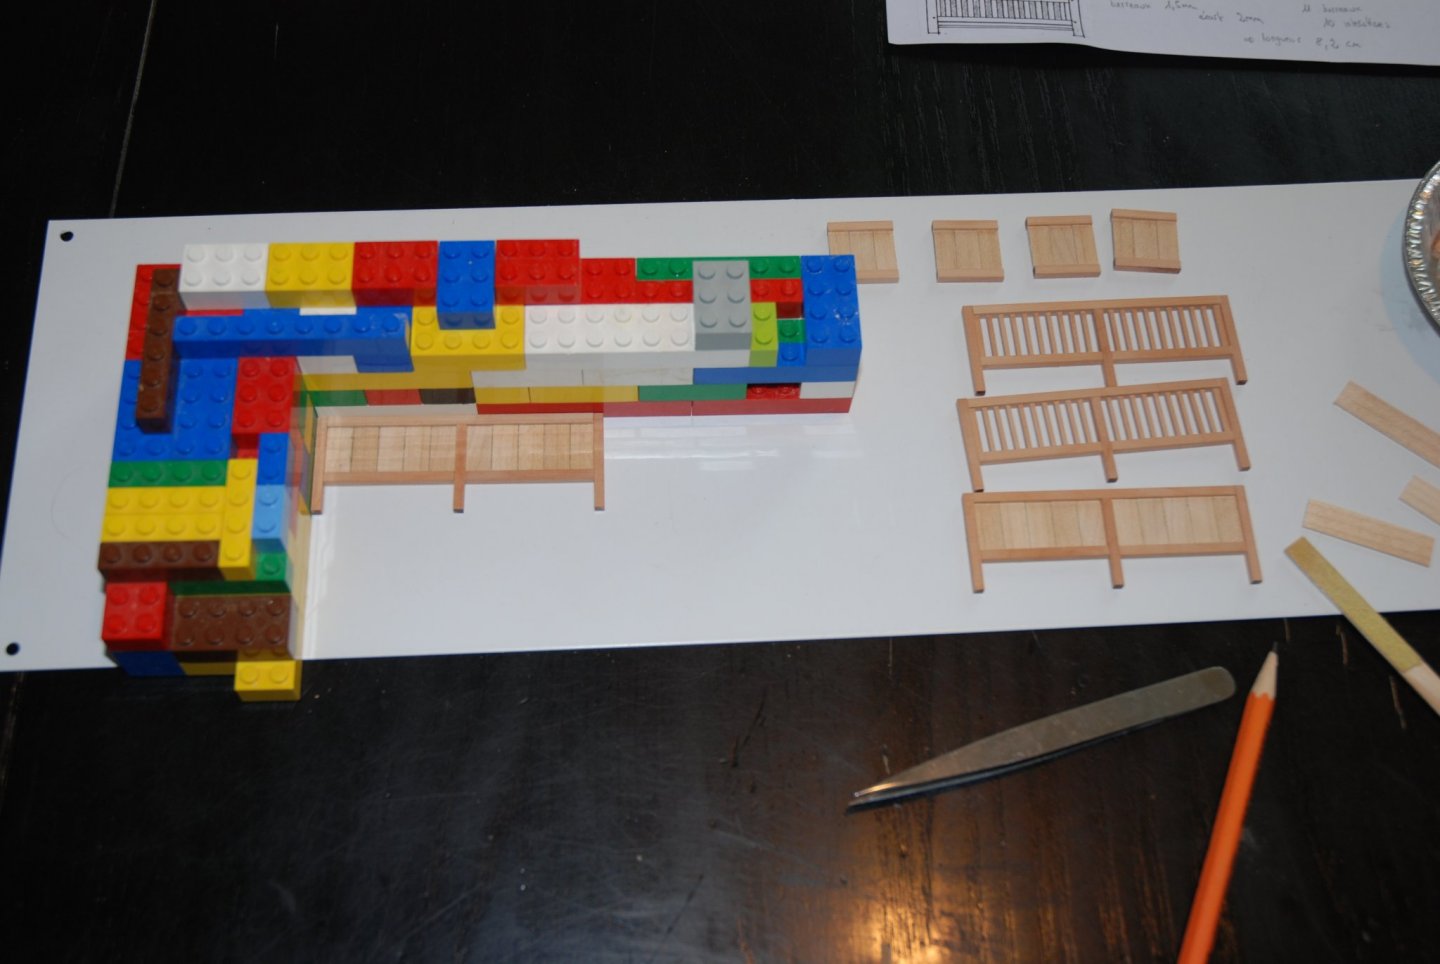
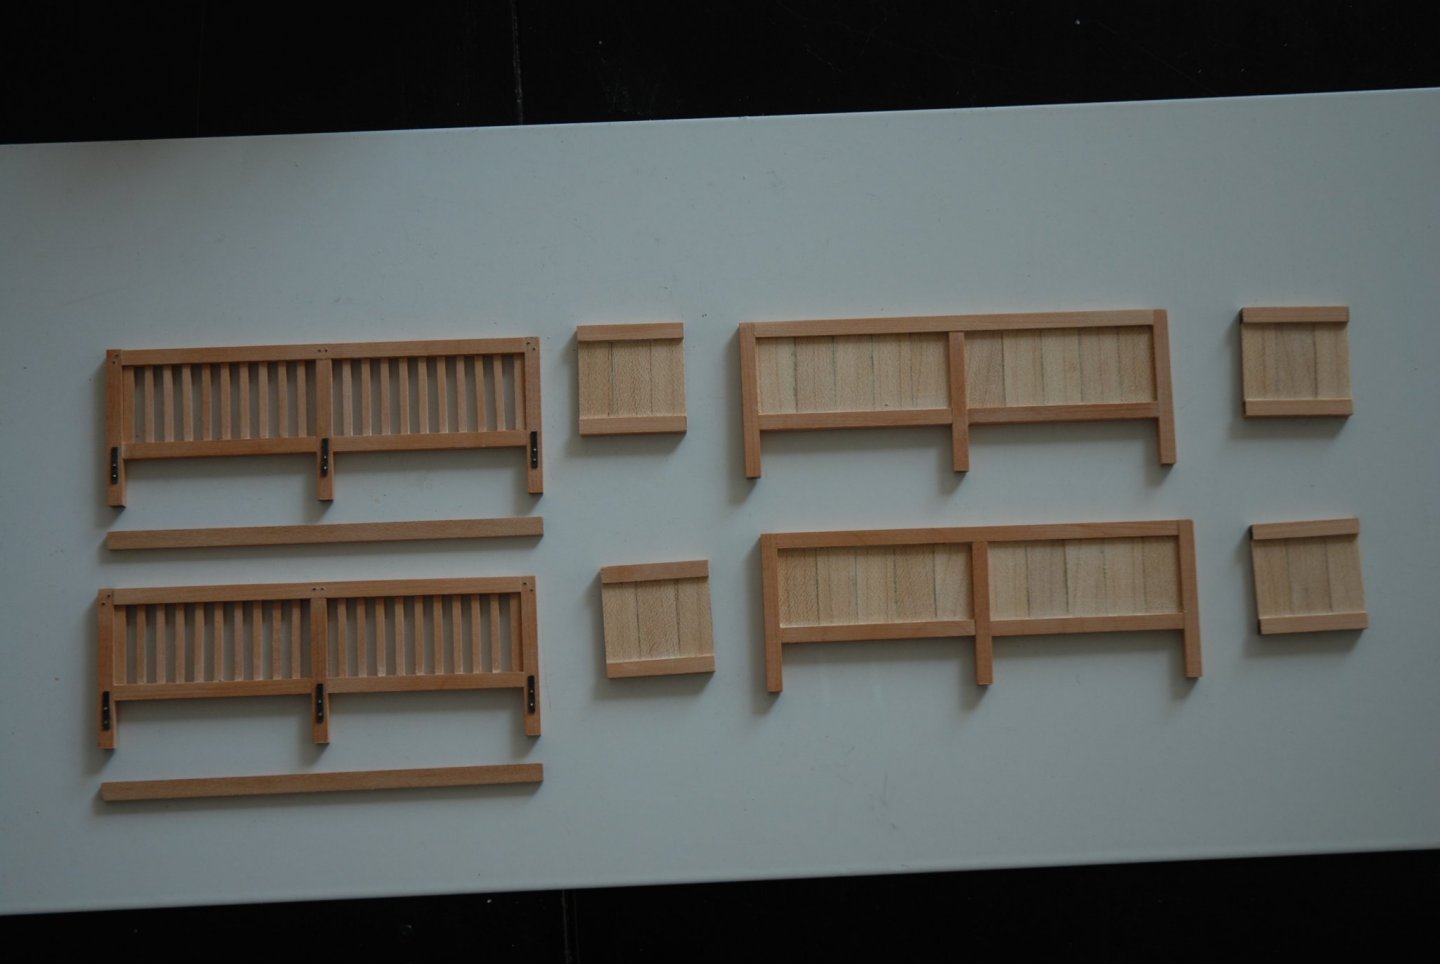
Thank you Brian and Glenn for your answers and thank you to all the 'Likes'. I probably won't add treenails so as not to overload the deck. My work continues on the base of the longboat. I decided to add an extra detail which will consist of 2 turkey cages that will be positioned under the longboat. I had the good fortune to find all the necessary documentation either in the plans of the 'Bonhomme Richard' monograph (plate 16), or in volume II of the 74-gun ship, written by Jean Boudriot (page 196). The plan was enlarged to a scale of 1:24 and all dimensions were calculated using the documentation provided in the Boudriot book. All boards were cut from pear wood using my Byrnes table saw. It is truly a diabolical precision tool. A real pleasure. The assembly is then carried out by using again the legos of my children (who passed the age to use them, but me not 😁) I placed two thin boards under the bars in order to center them well, the regular space being maintained by inserting small pieces of wood between each bar. Since Boudriot says the frames and rails are oak, but the sides and back are lined with fir boards, I use american mapple boards to line the fronts. Next step: hollow out the inside of the wooden troughs located on the front of the cage and supported by flat iron brackets.

-
Always so didactic. It is again a step by step model. Thank you for these instructions which are always so precise. The art of making things easier for us!
- 1,784 replies
-
- 1
-
-
- winchelsea
- Syren Ship Model Company
- (and 1 more)
-
YOUNG AMERICA 1853 by Bitao - FINISHED - 1:72
JpR62 replied to Bitao's topic in - Build logs for subjects built 1851 - 1900
It is always so splendid! What a precise work. It is superb.- 257 replies
-
- 4
-
-
-
- young america
- Finished
- (and 1 more)
-
These chain pumps are little jewels! Every time I discover a new element, it's a wonder.. Laser cutting mastery at its highest level!
- 1,784 replies
-
- 3
-
-
- winchelsea
- Syren Ship Model Company
- (and 1 more)
-
Always so much pleasure to follow this adventure. The work is excellent and this log is a real source of information. A real chance for those who will follow.
- 778 replies
-
- 3
-
-
- cheerful
- Syren Ship Model Company
- (and 1 more)
-
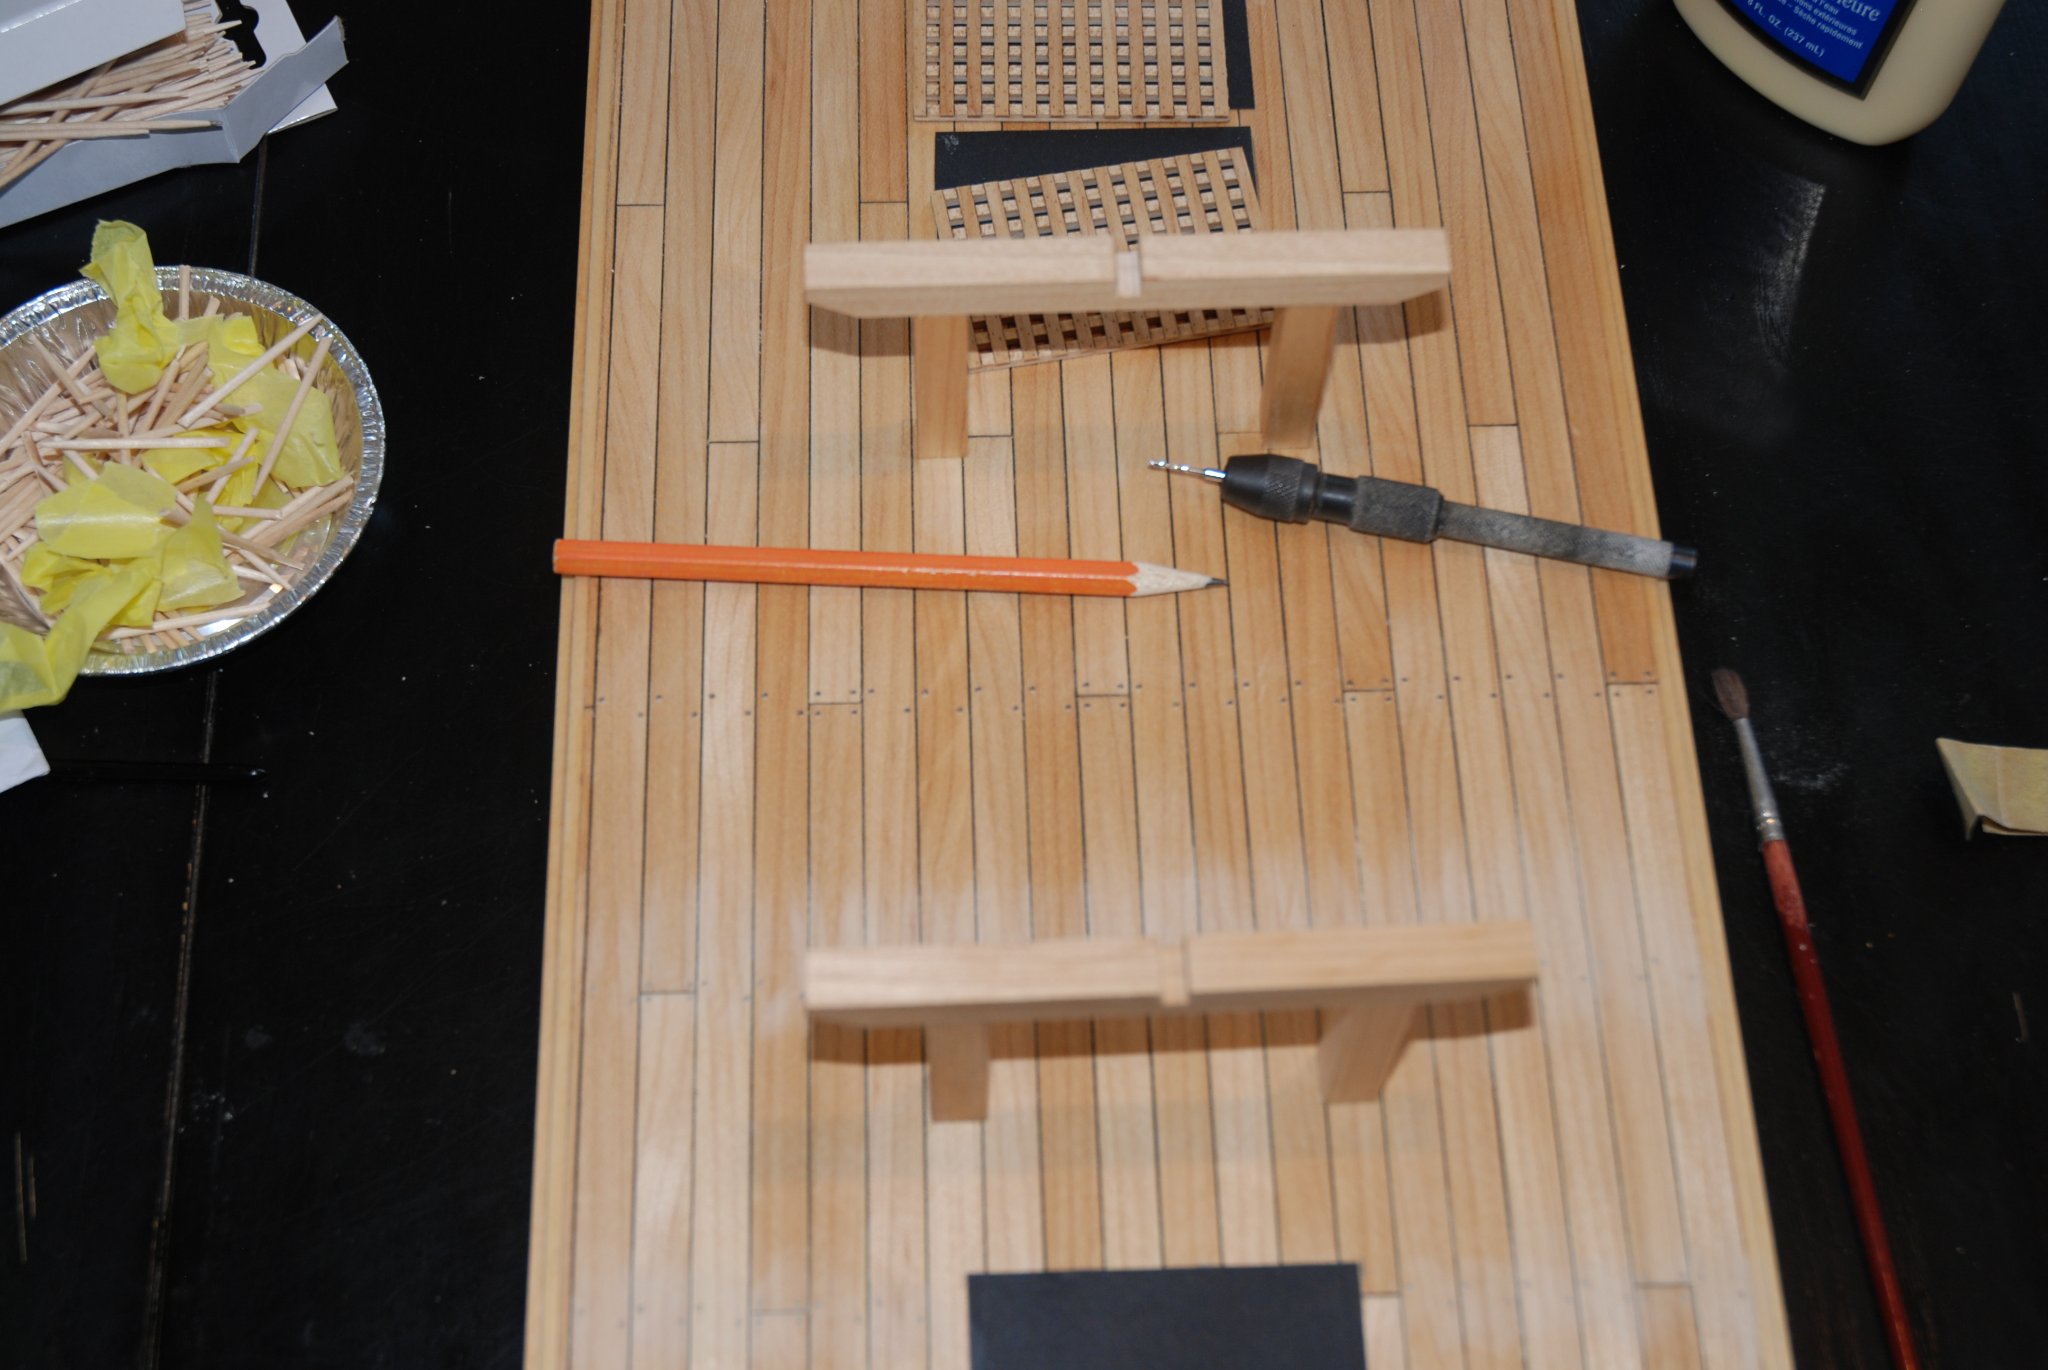
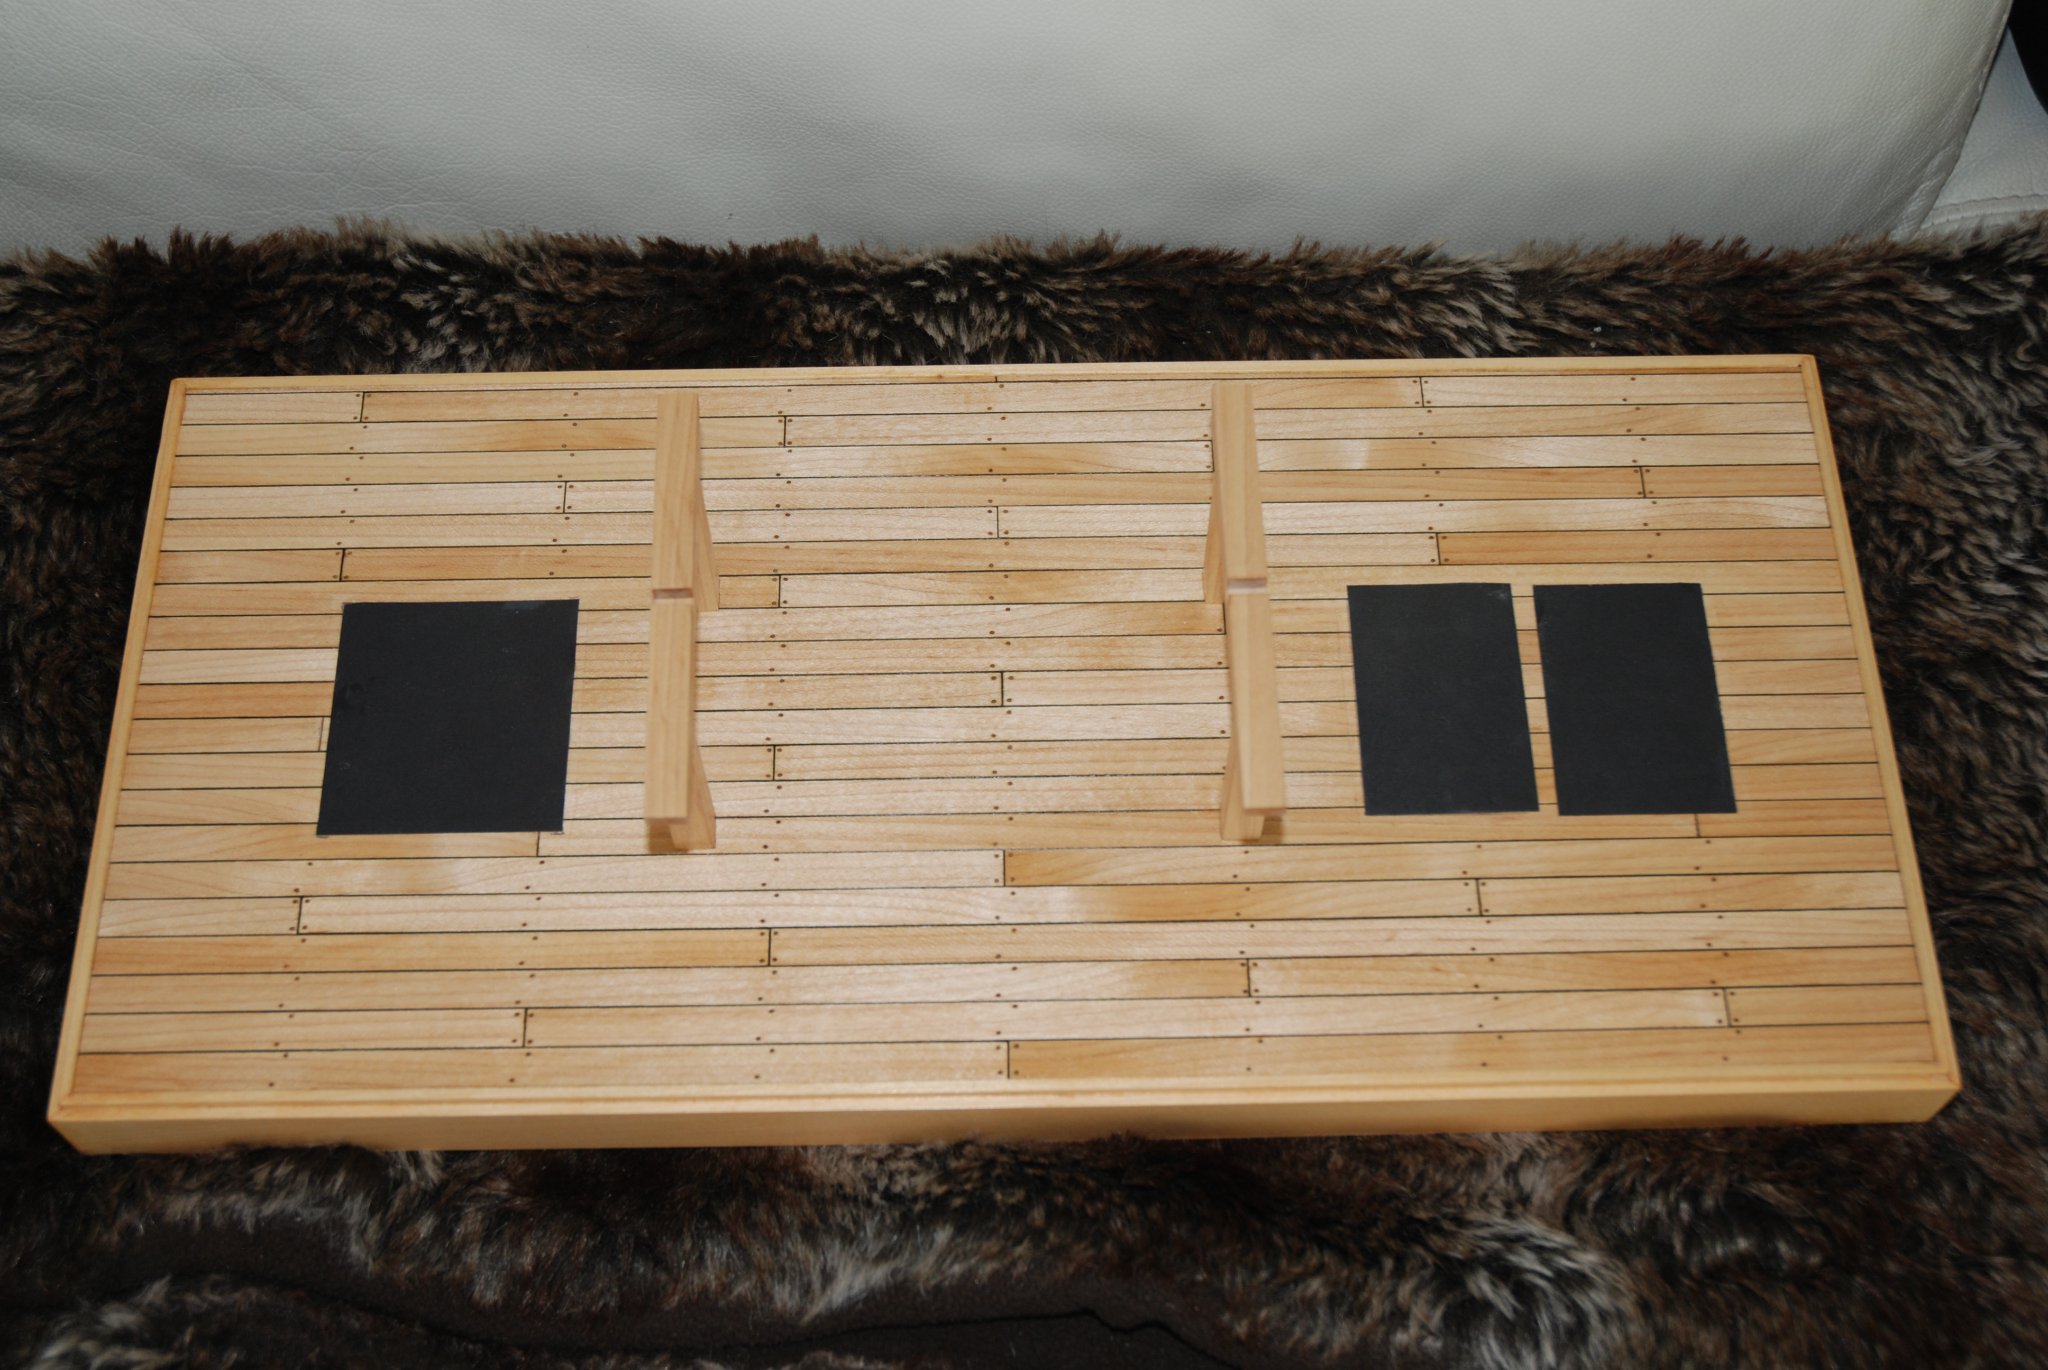
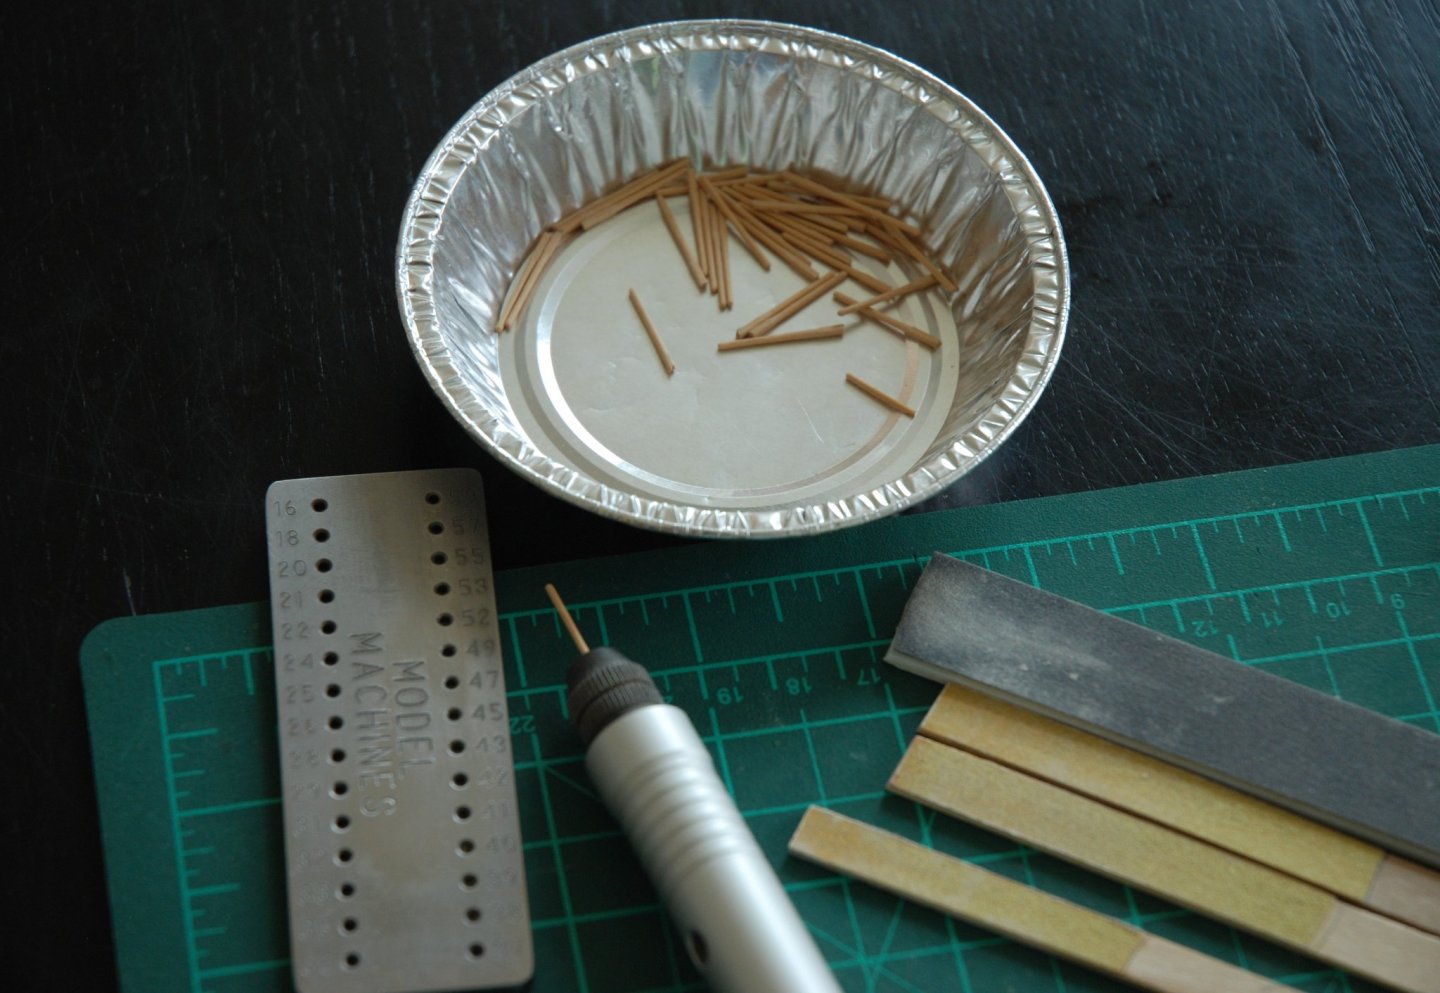
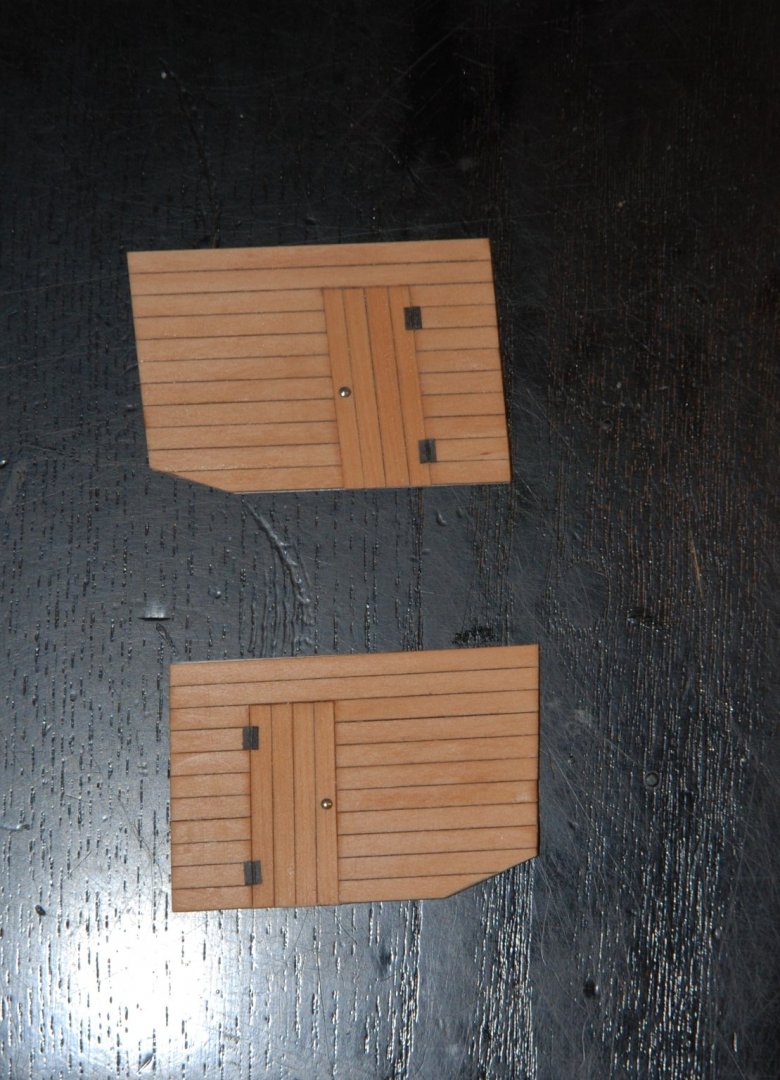
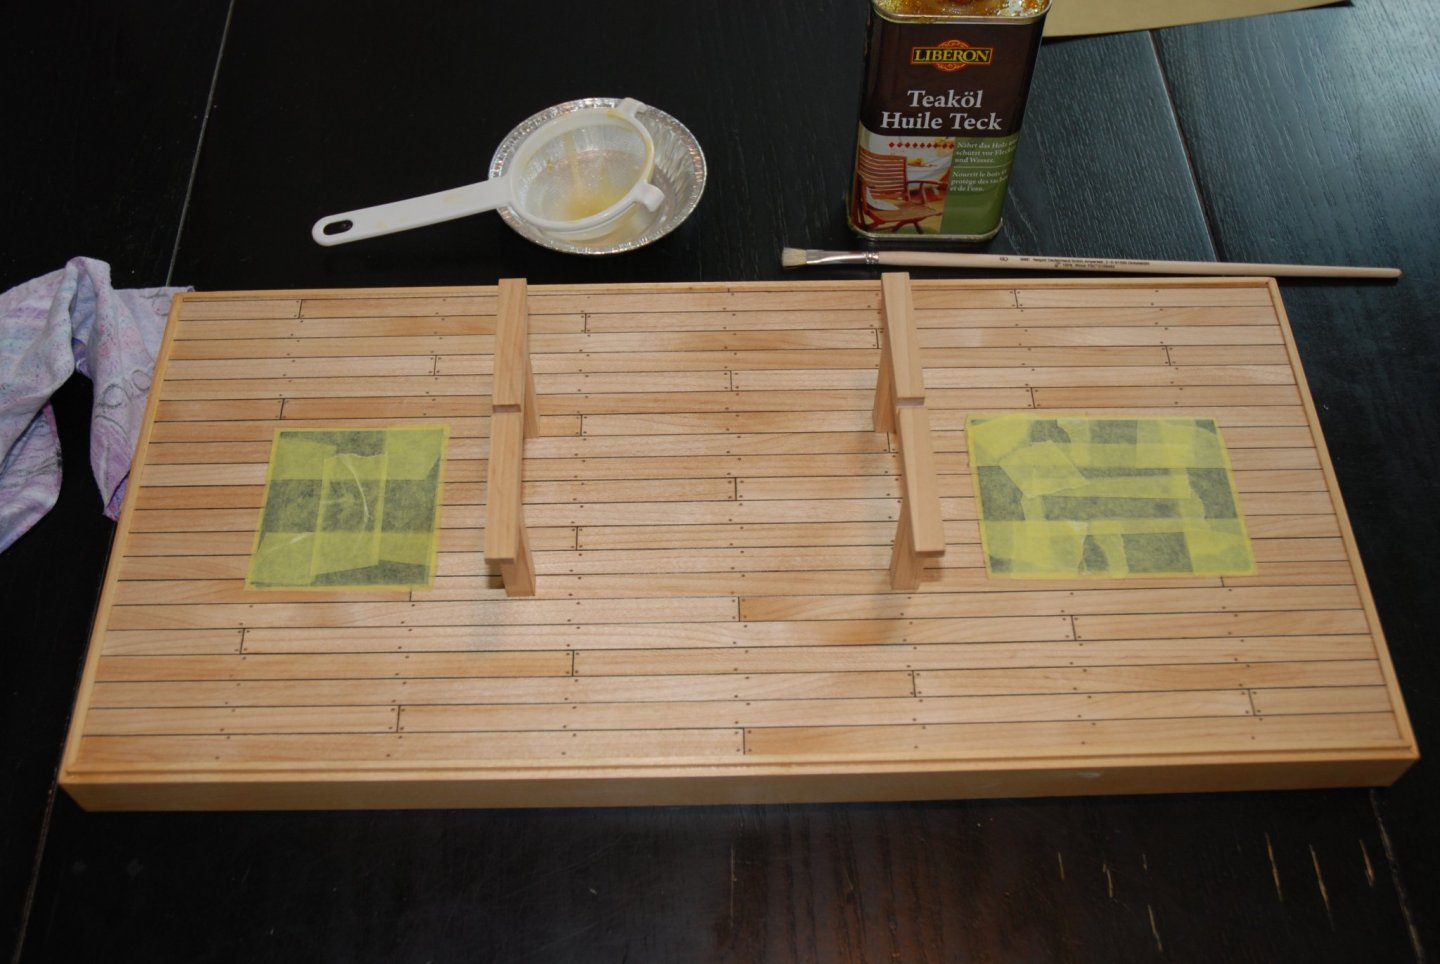
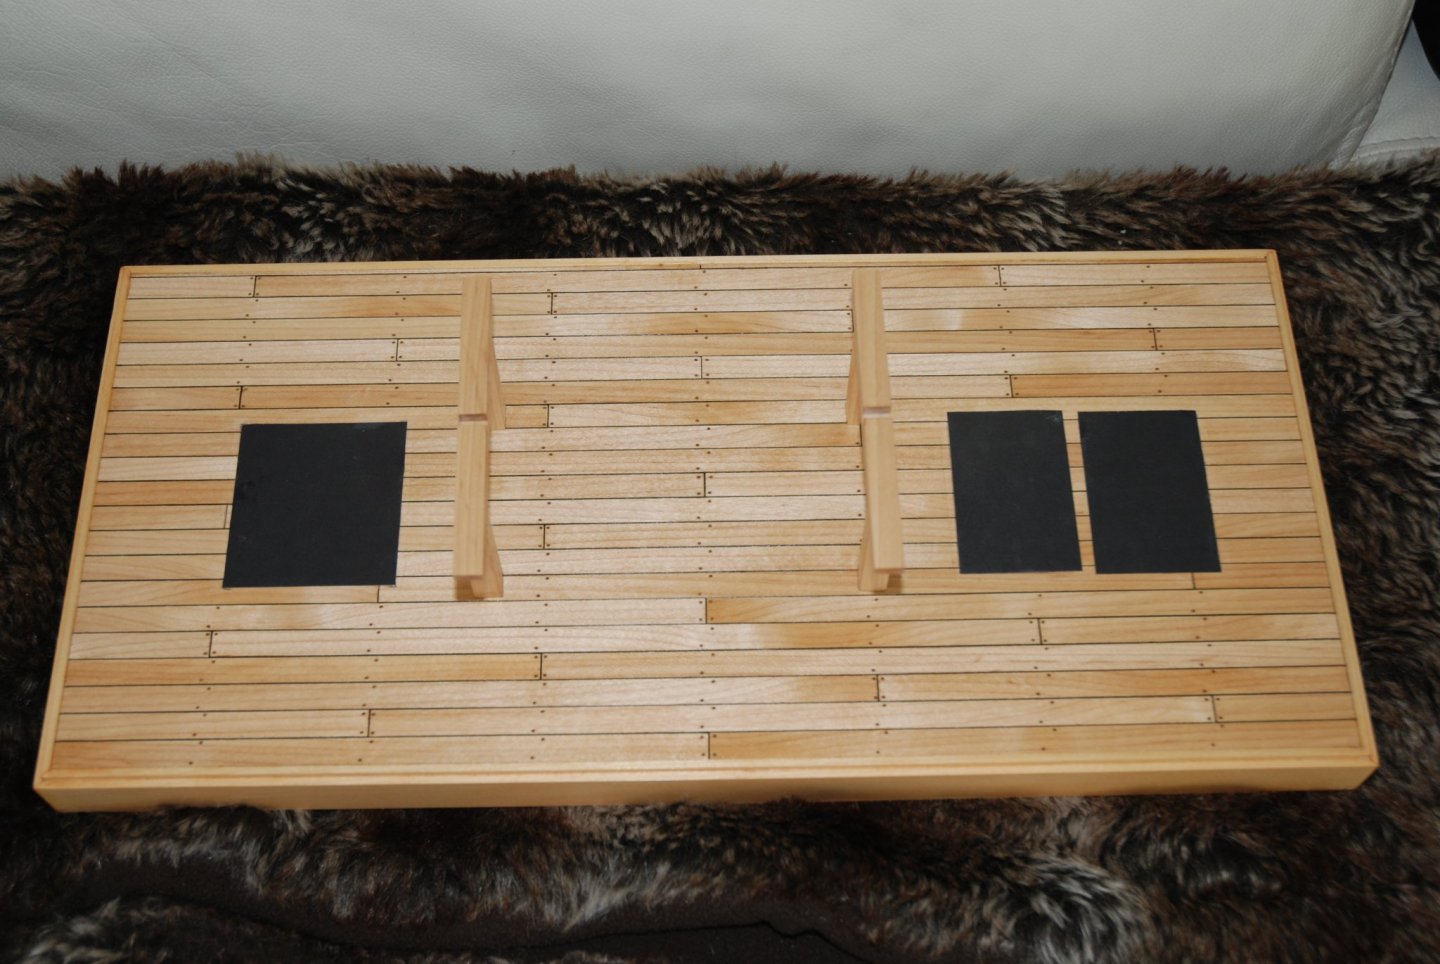
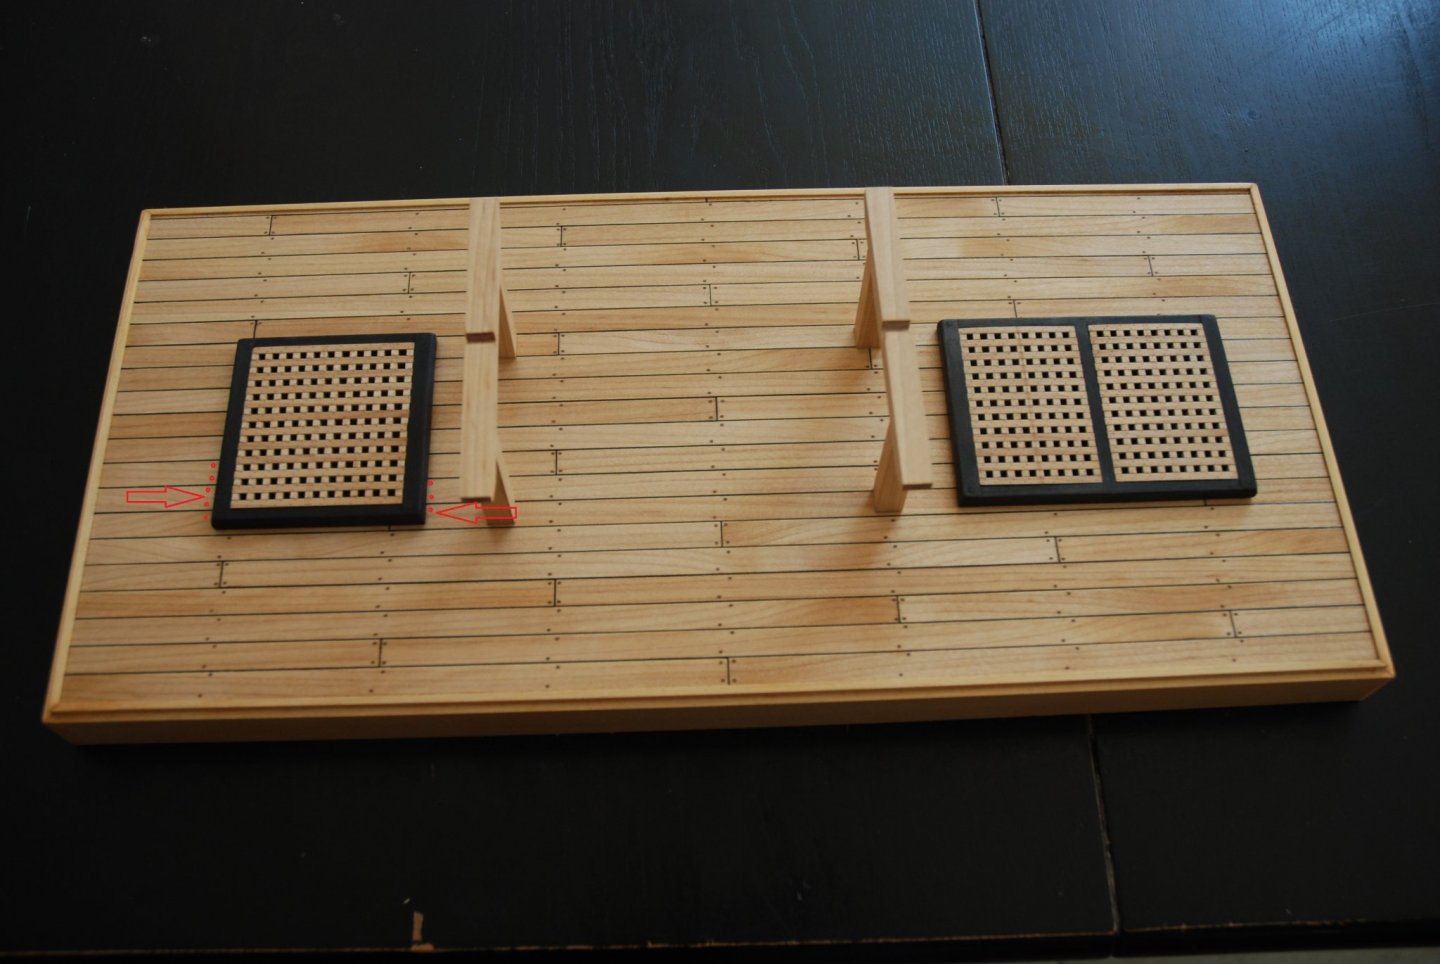
Thank you Bob for your kind words and thank you to all the 'Likes'. This week I worked on the simulation of the deck treenails. I therefore opted for a 1 mm drill bit. Once the holes are drilled, the edge is accentuated using a pencil with a finely sharpened lead. At this scale, it seemed appropriate to use toothpicks to simulate treenails. A new coat of teak oil is applied to remove the traces of sanding. The deck is ready to receive the two hatches. But... Before gluing them, I would like to know if I should add treenails on the front and back edges of the hatches? Does anyone have an opinion on this question?


-
What an interesting project! Exactly the type of project to get started with scratch building. Very nice initiative!
-
What an imposing battery of guns. This deck really looks good. Excellent work Bob!
-
Superb realization. The construction of this wonderful model was really a pleasure to follow. Thanks for sharing.